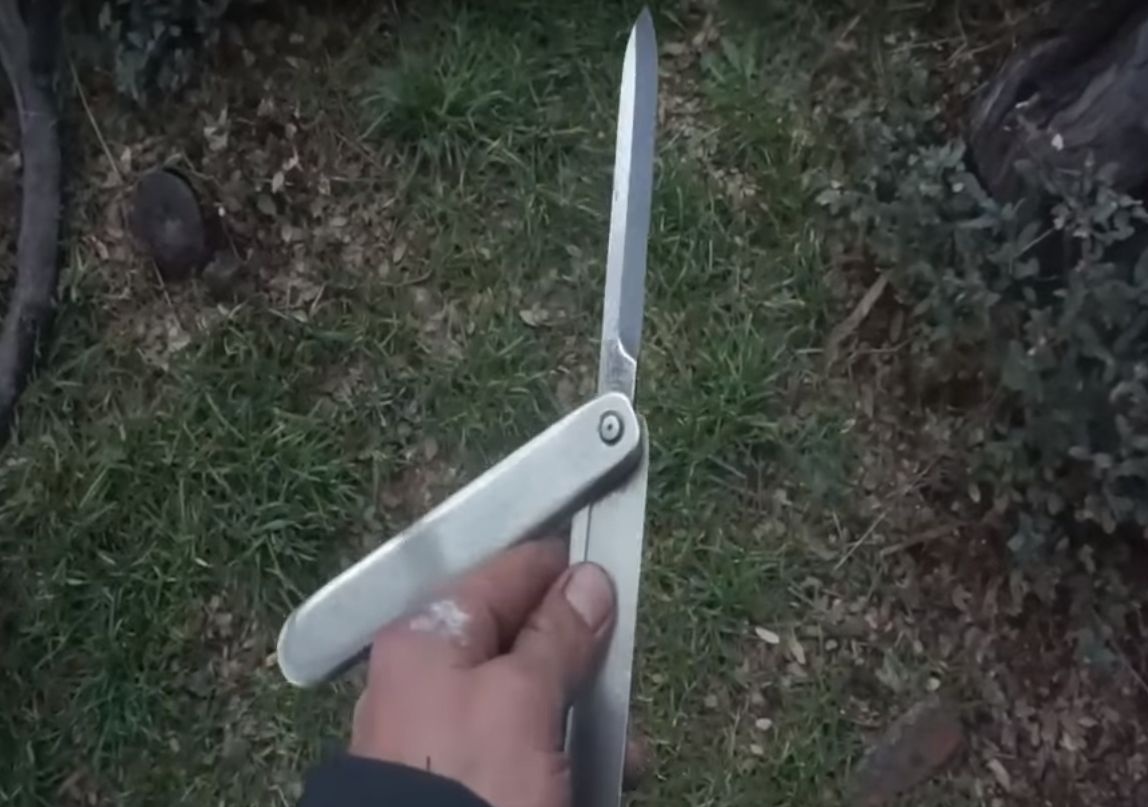
The butterfly knife has inspired and continues to instill terror in people for many years. This is a favorite tool for bullies. A feature of this design is two movable handles, thanks to this, a knife can produce various tricks. For an ordinary person, such a knife is also quite convenient, it is quite durable, you can go pick mushrooms with it, take it on a camping trip and so on. The quality of the knife will depend on the skill of the master and the quality of the feedstock.
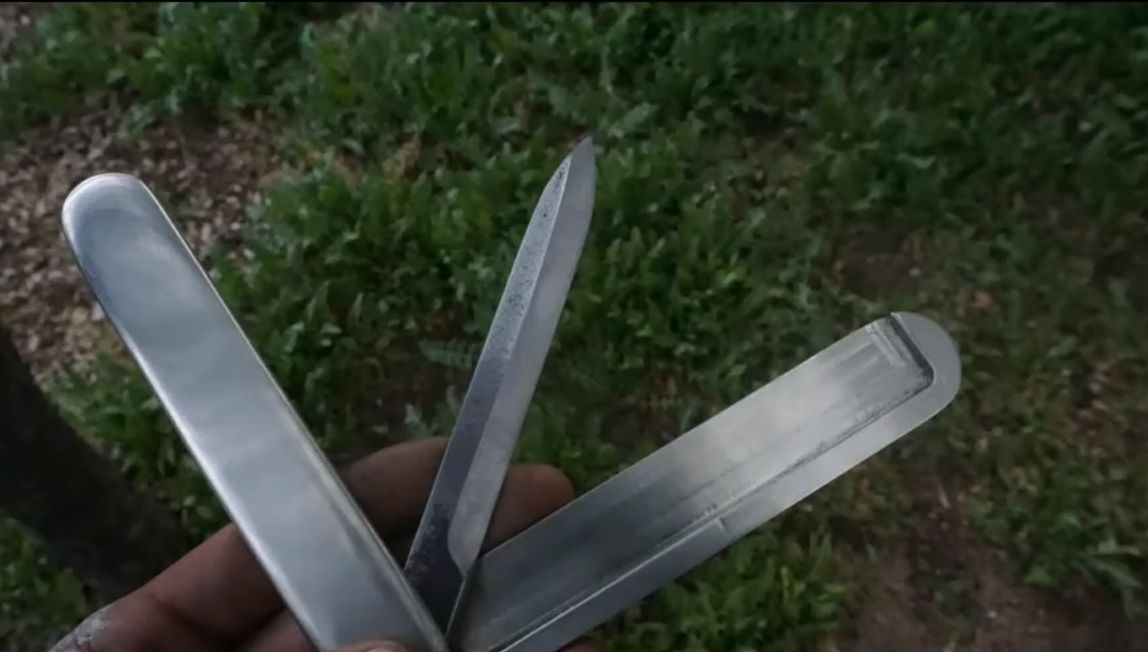
The knife described in this manual has a unique design. It uses only one axis for attaching the handles, and not two or even three, as in ordinary similar knives. Structurally, the knife consists of handles, an axis and a blade, that's all! There are no latches, springs and other things here. This simple principle was achieved thanks to the special shape of the handles. The grooves are made in them, into which the blade enters, by them it is fixed in the open state. For the manufacture of pens, aluminum sheet was used. This metal lends itself well to processing, it is lightweight and does not rust, which is a lot of importance. If desired, aluminum can be polished to a mirror finish. So, we will consider in more detail how to make such a knife.
Materials and tools used by the author:
Material List:
- steel for a blade;
- sheet aluminum;
- suitable axis (stand nut).
Tool List:
- belt grinding machine;
- drill;
- milling machine;
- ;
- tape cutting machine;
- and oil (for hardening).
The manufacturing process of the knife "Butterfly":
Step one. Let's start with the pen
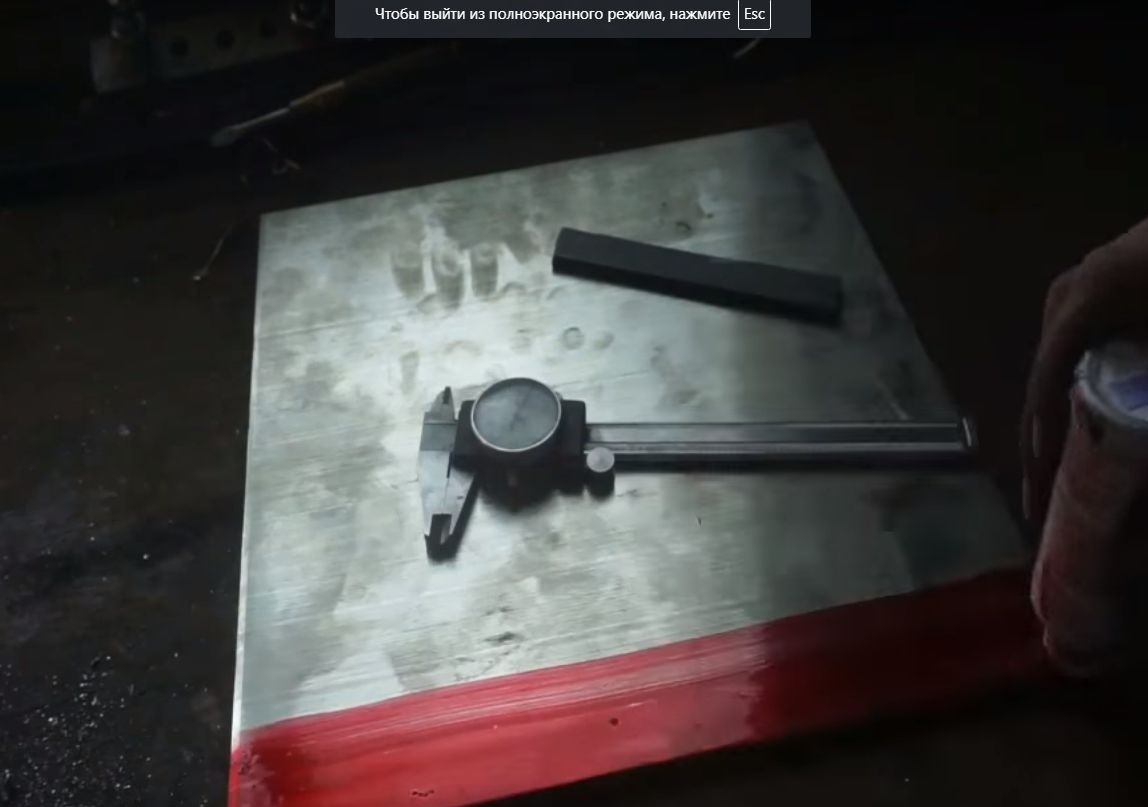
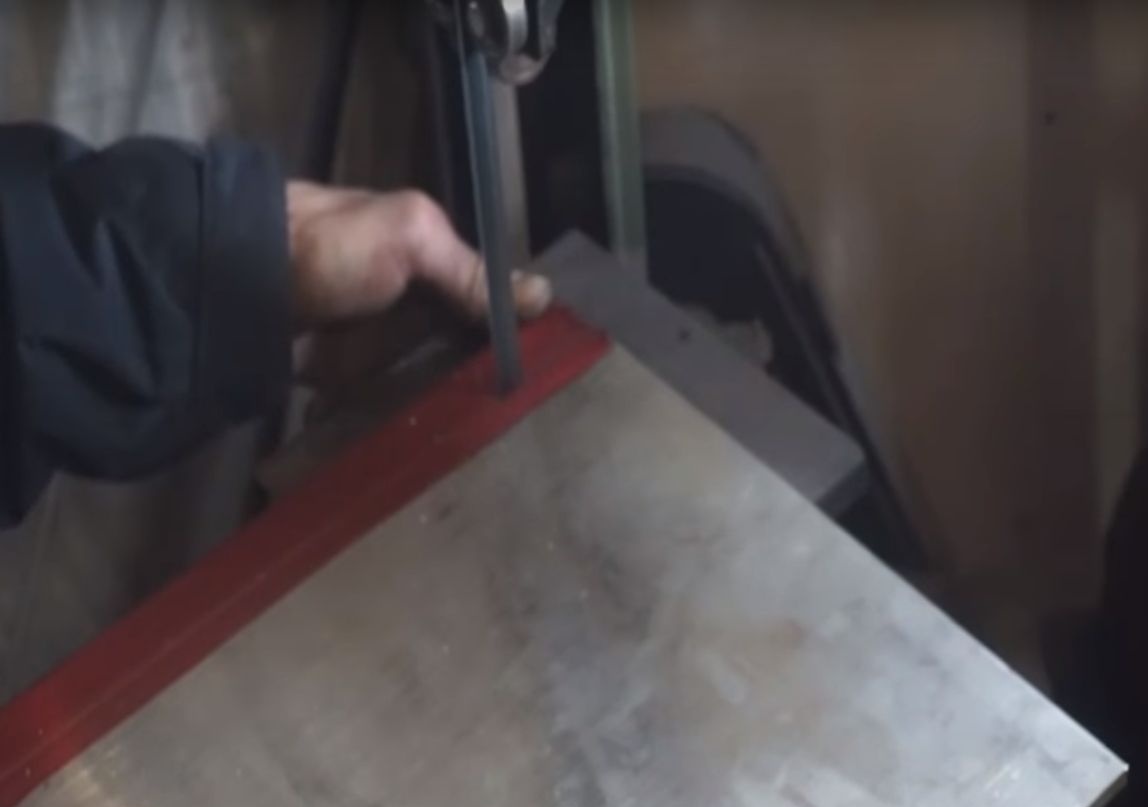
For the manufacture of pens will need aluminum sheet of suitable thickness. The author decided to paint the metal, and then, using a vernier caliper, drew a line for the manufacture of two parts. Cut the workpiece using a band saw. If there is none, you can deal with a grinder or a hacksaw for metal.


Next we go to the milling machine. On the blanks, you need to groove the grooves into which the blade will go. See exactly how they should look in the photo. Such grooves can be made with other tools, for example, using a grinder and files, but here you will need some skills.
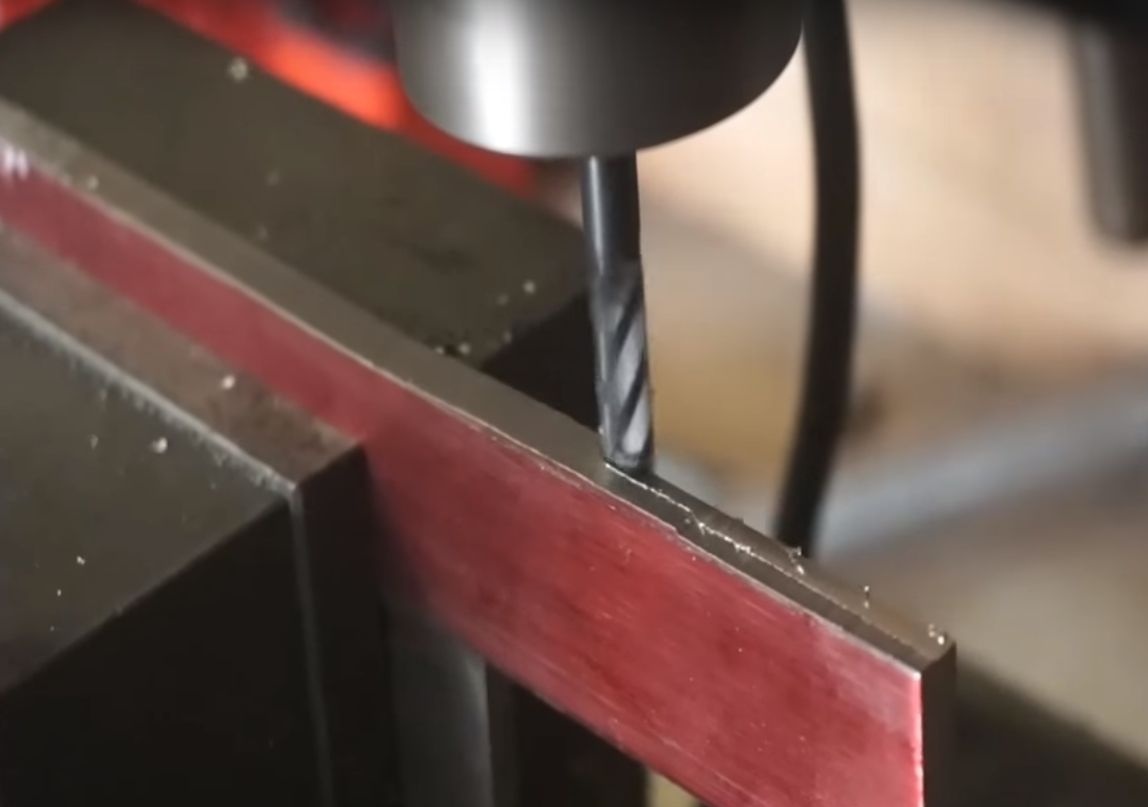
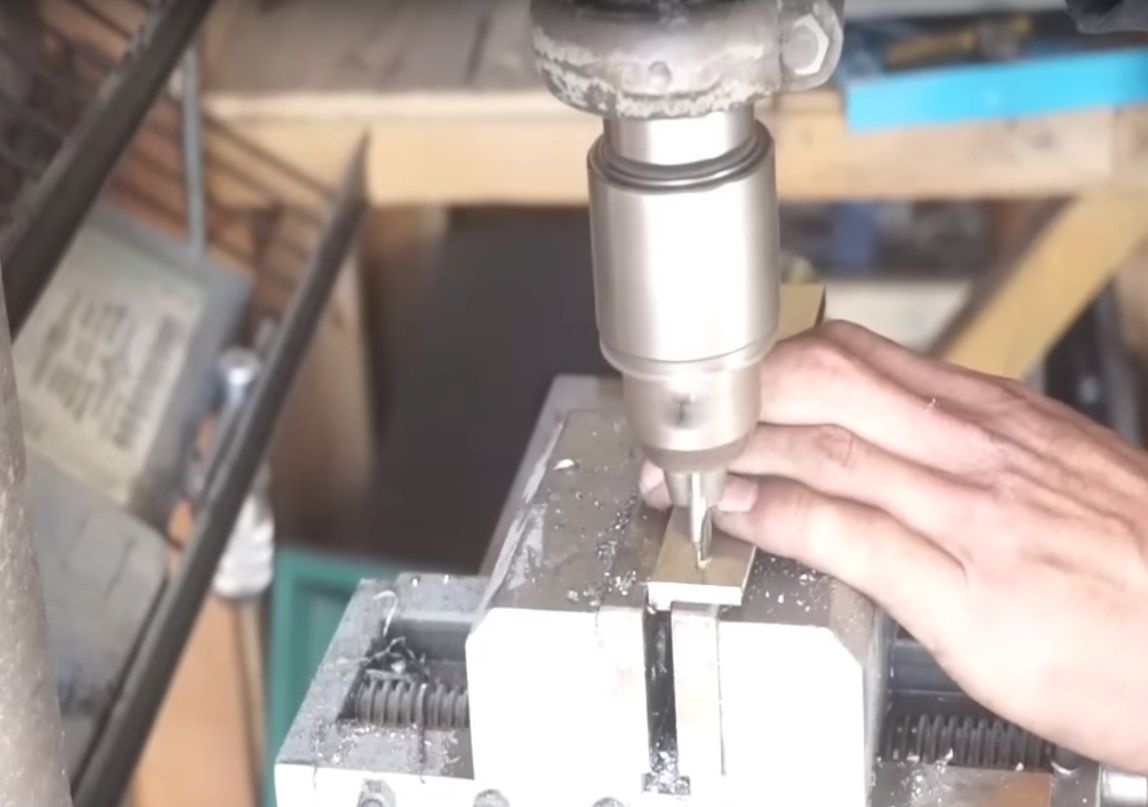
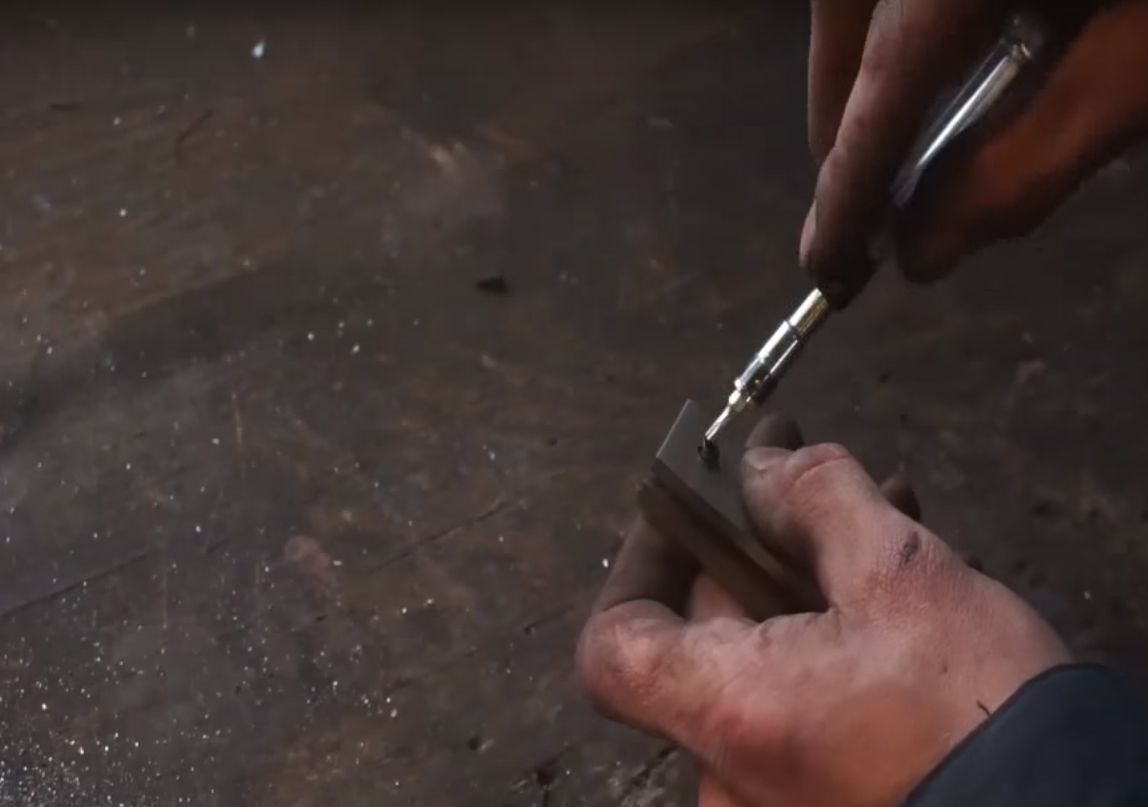
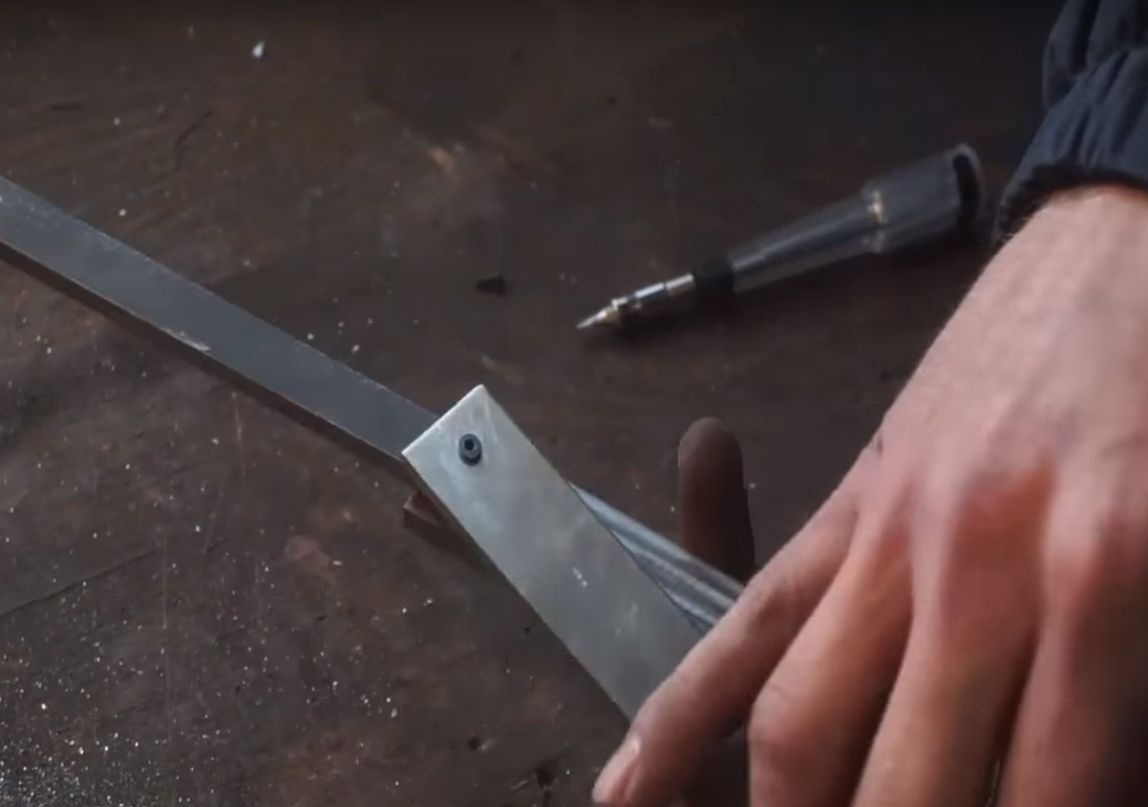
In one of the handles we drill a hole and cut the thread. The nut-stand will be wrapped here, which will be the axis of the blade fastening. In the second handle, we drill a through hole, here we will insert a screw.
Step Two Blade blank
In the manufacture of the blade, you need to responsibly approach the choice of metal. Steel should be strong, it should be hardened, then the blade will hold sharpening for a long time. And so that steel can be hardened, it must have in its composition a large amount of carbon. Typically, such steel is used in the manufacture of various tools, including saw blades. This steel can also be found in cars; suspension springs make them.
In order not to guess where the steel is, you can buy the right steel grade on the Internet. Today they sell steel of any hardness, for any purpose. Depending on the price, the metal can be very strong. As an example of common steels, 1095 steel and the like are actively used abroad.
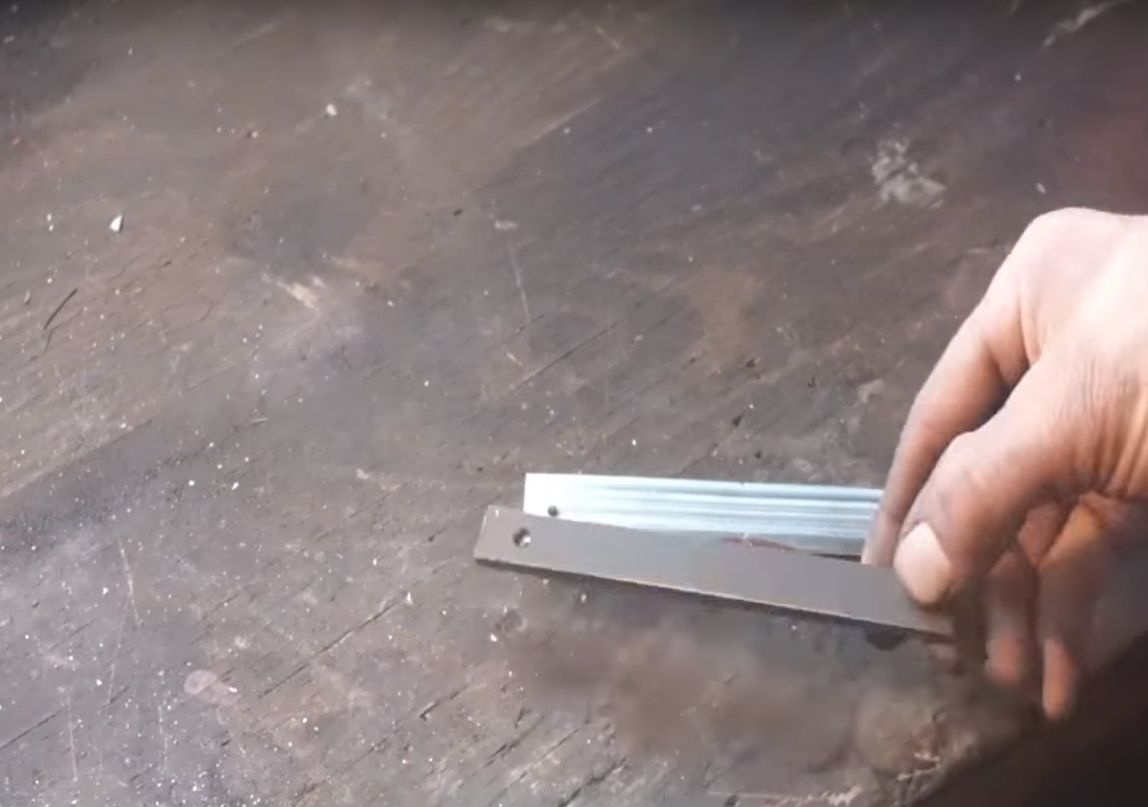
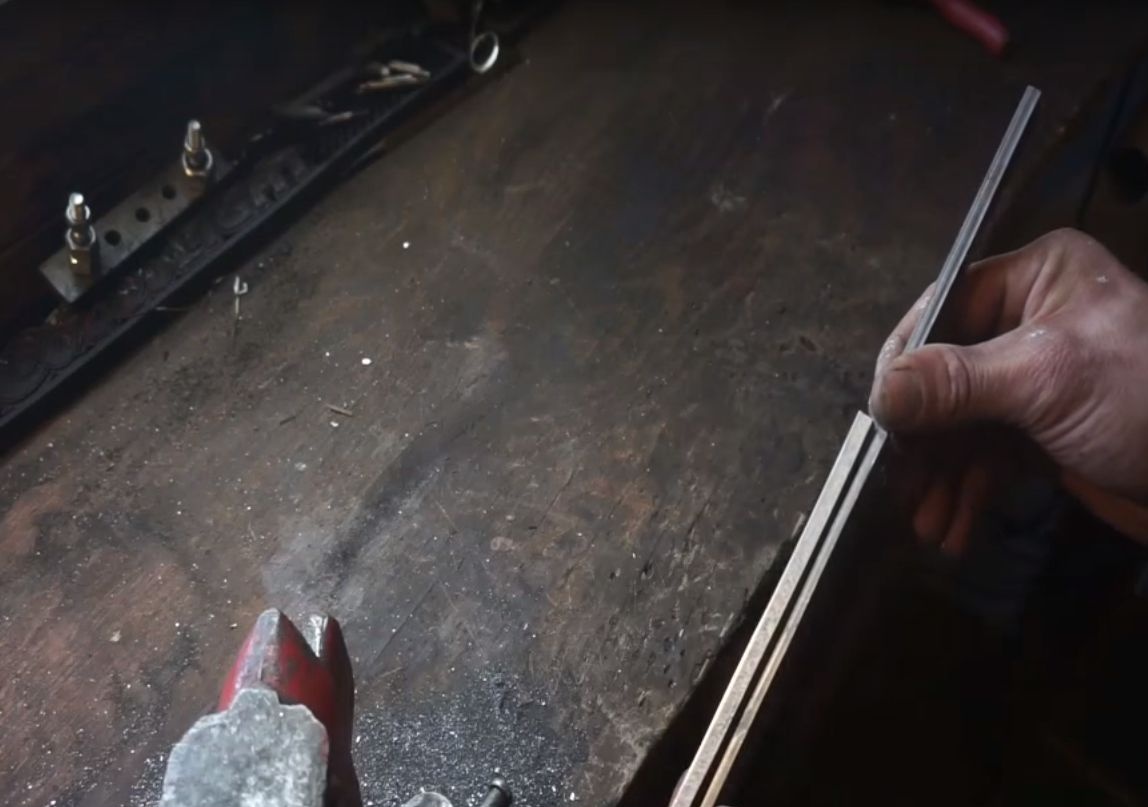
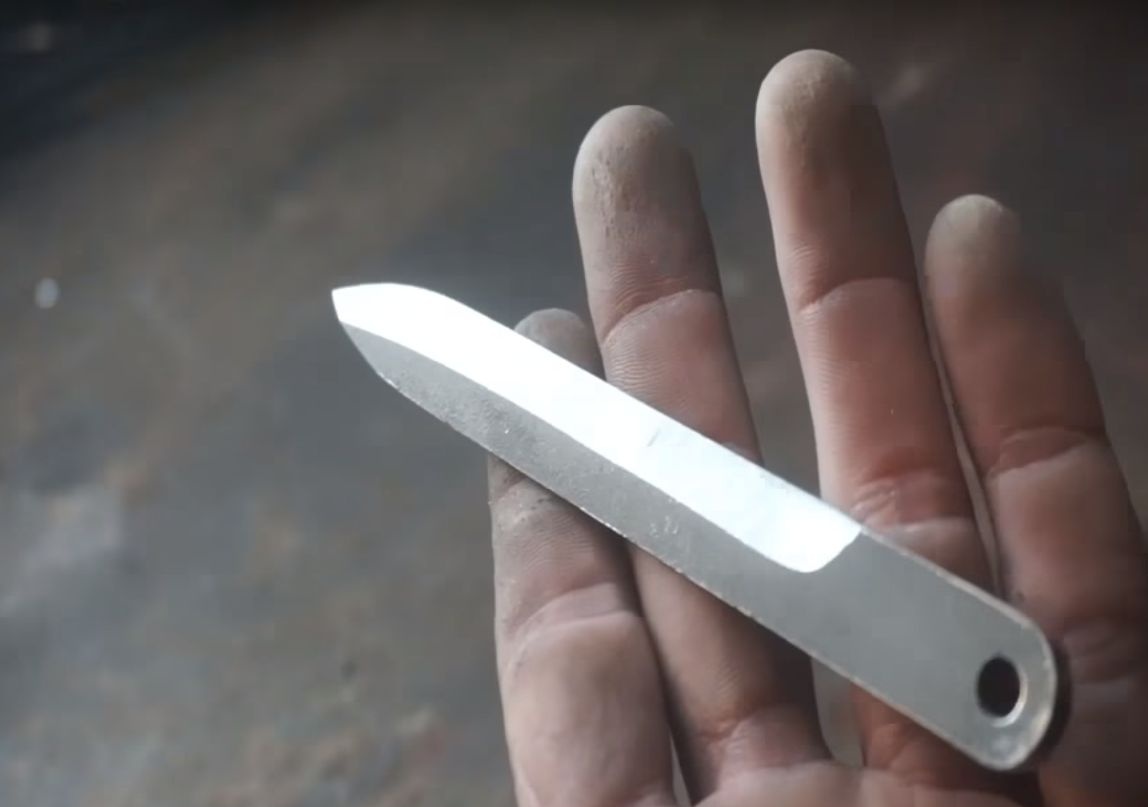
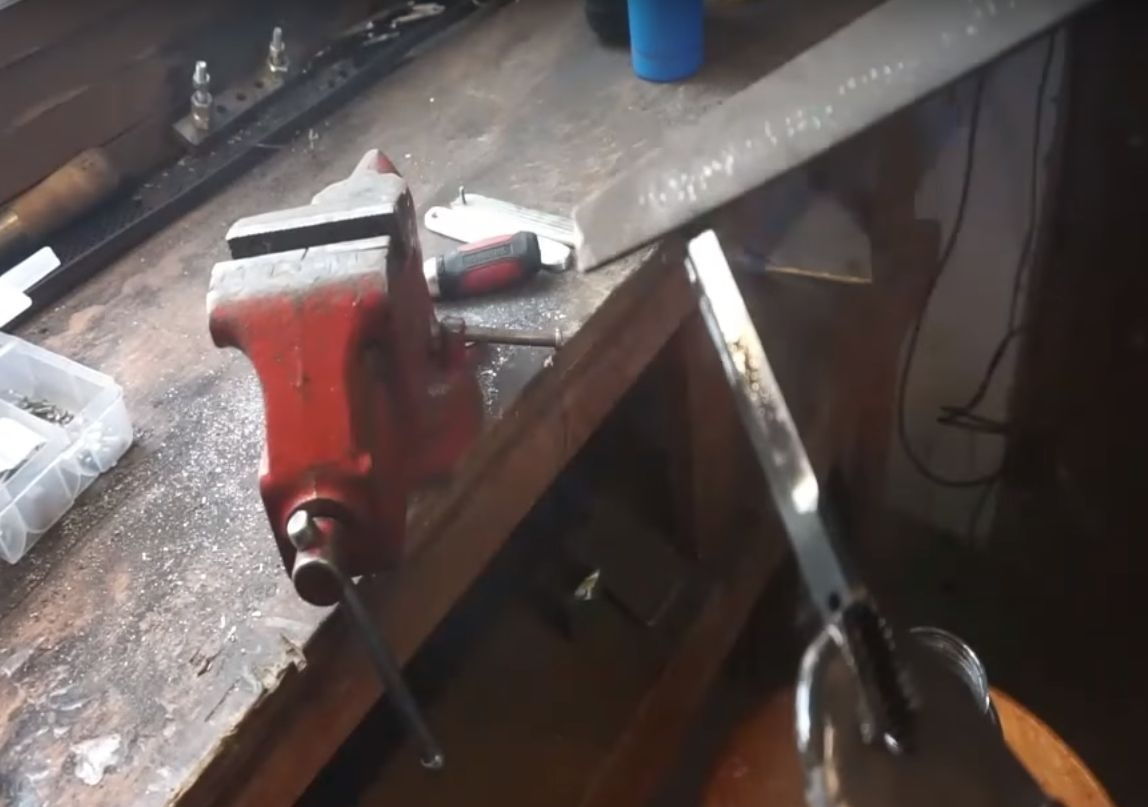
Cut a blade of steel so long that it interferes with the inside of the handles made. Drill a hole at the end of such a diameter that the selected axis enters into it with a minimum clearance. Using a belt sander, grind the corners of the workpiece at the end to which the handles will be attached.
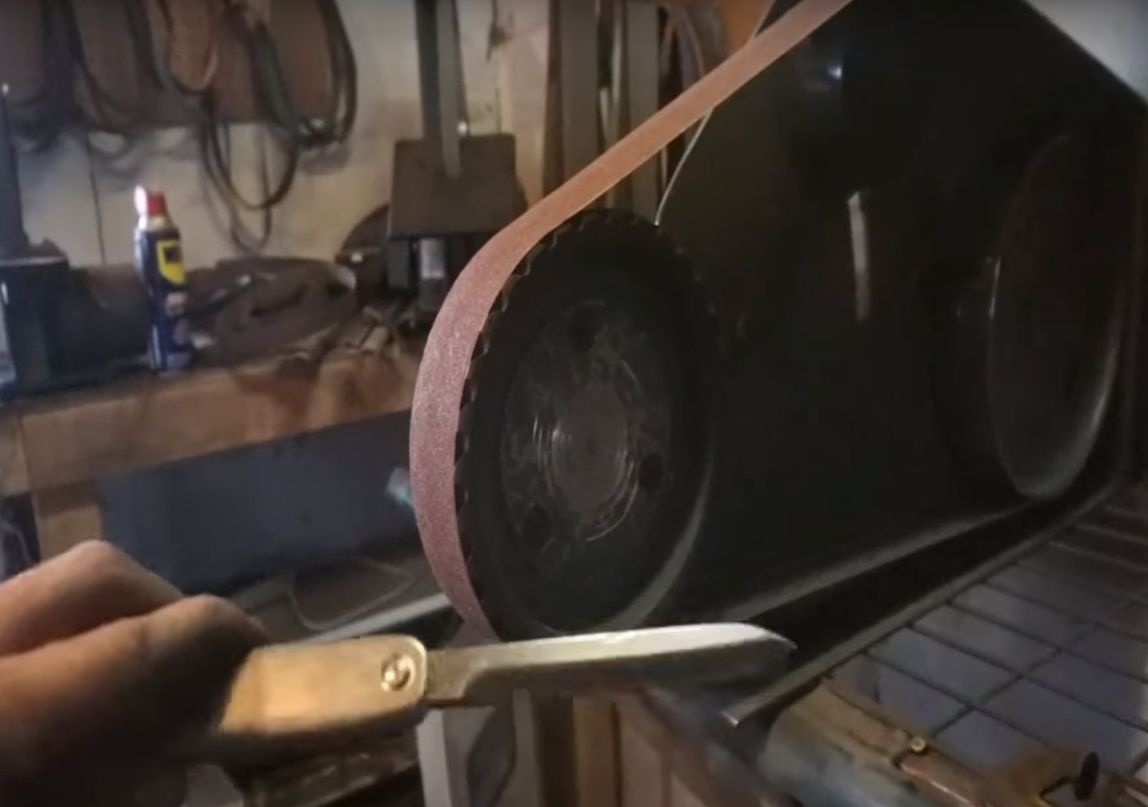
Step Three Grinding
Before grinding, we have to collect our future knife. To do this, take a rack nut and wrap it in one of the handles. Next, we put on a nut a piece of a metal tube, which will work as a plain bearing. We establish the future blade, and on top the second half. We fasten them with a screw.
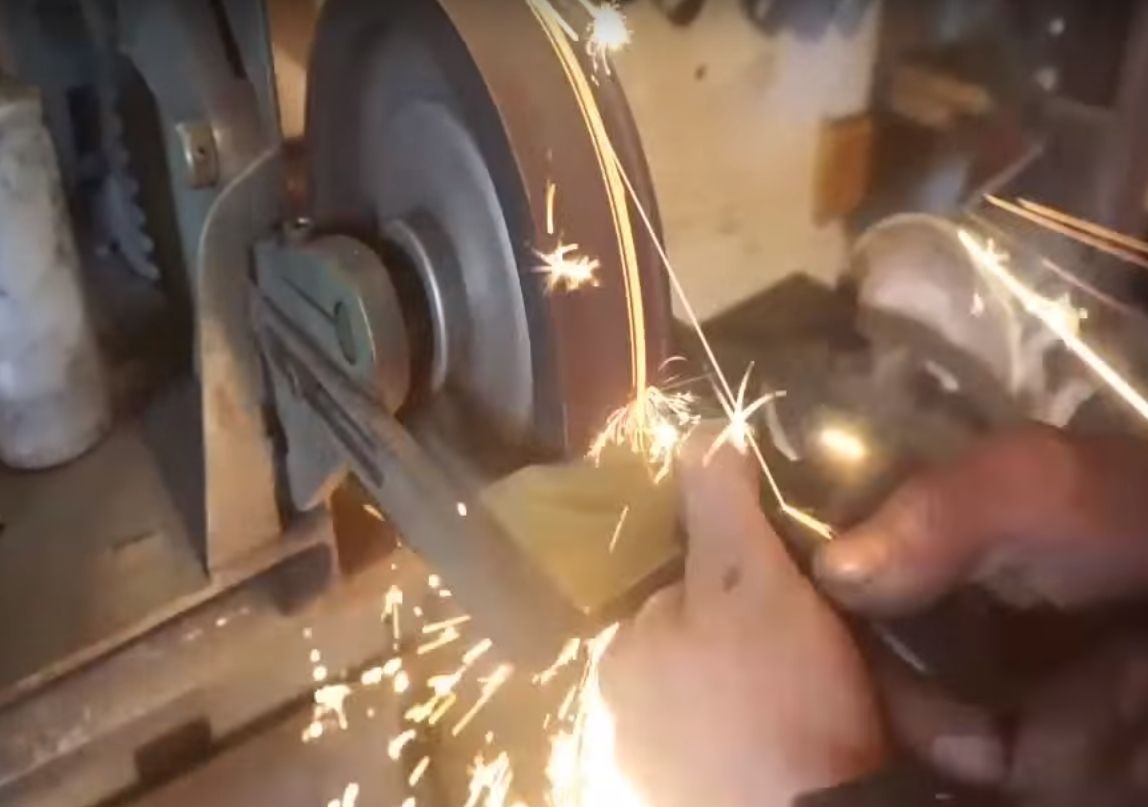

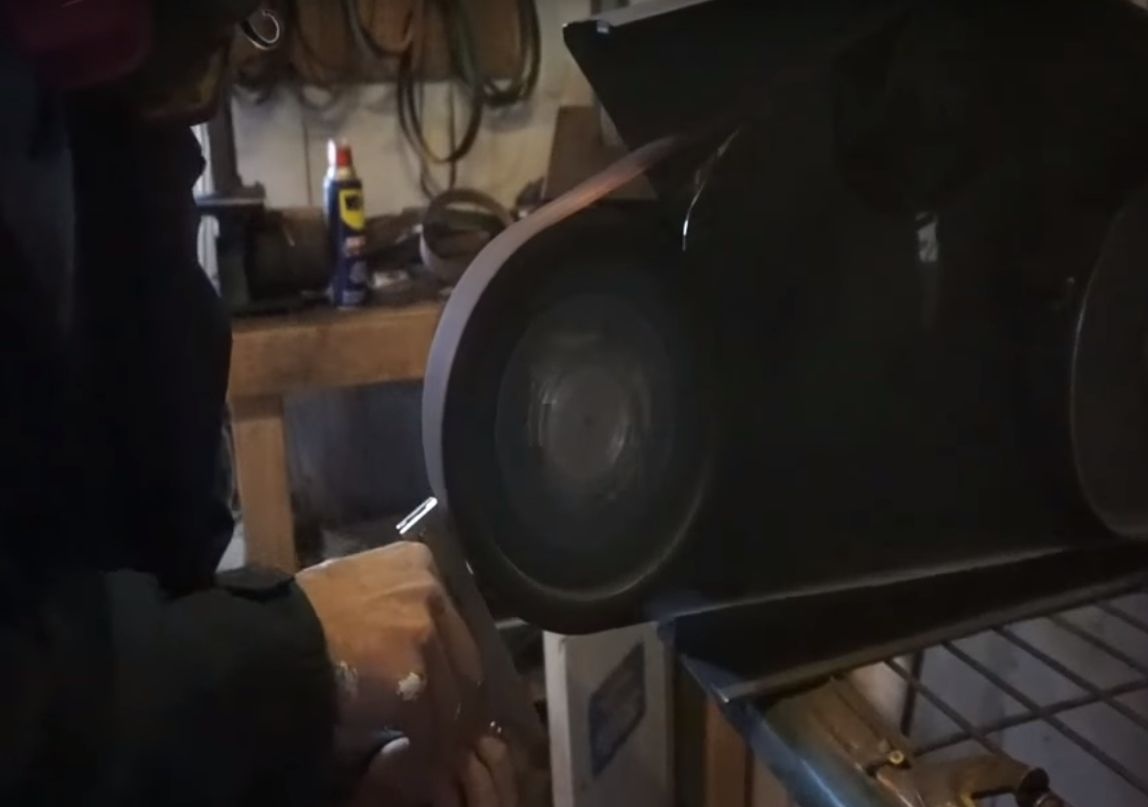
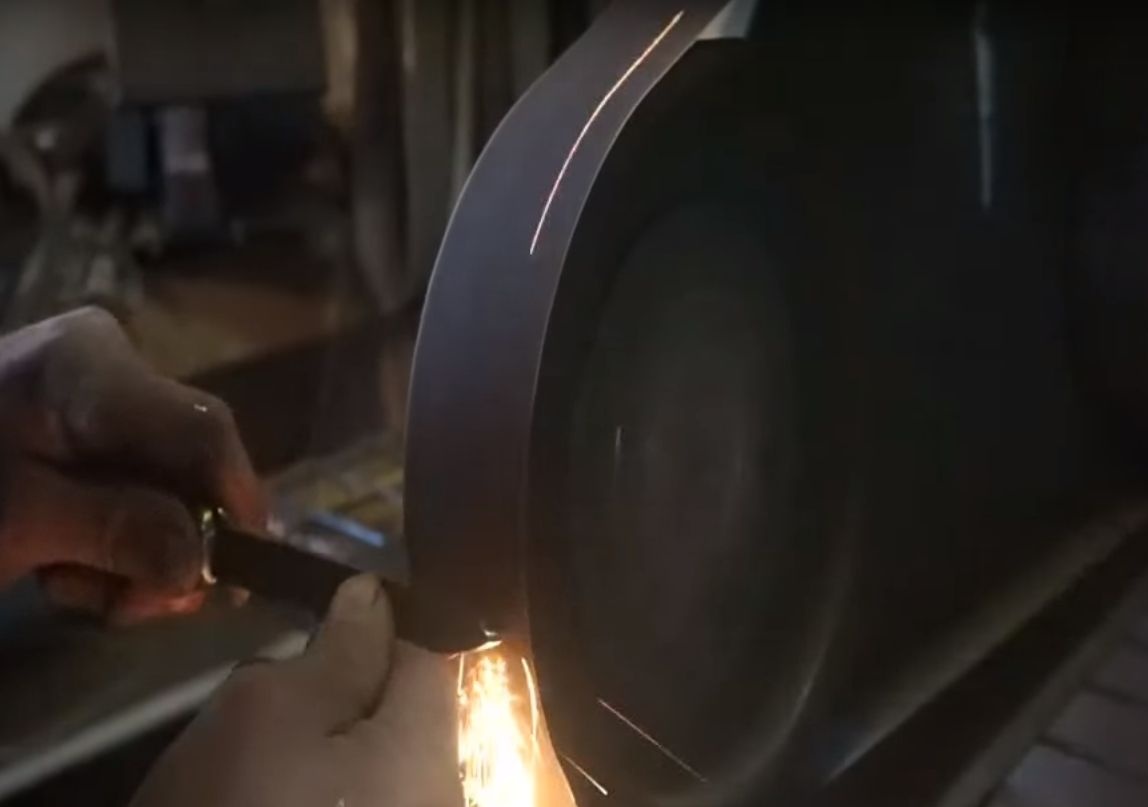
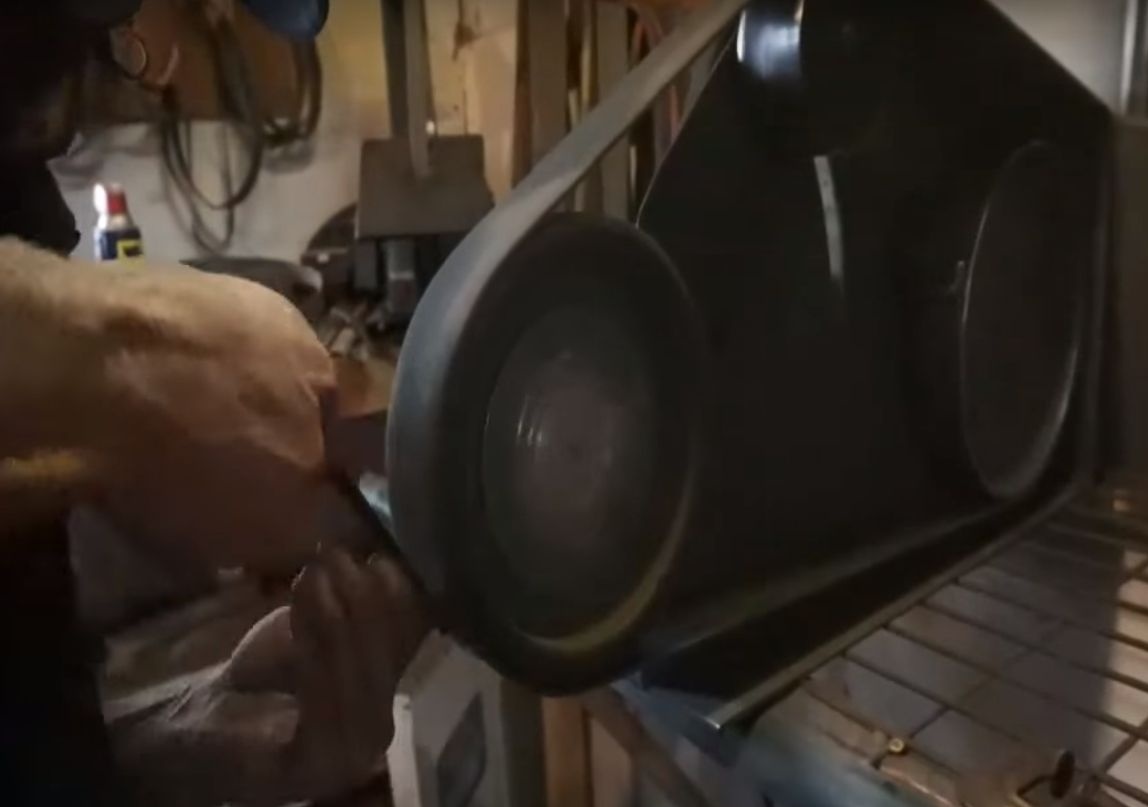
That's all, we go to the belt sander. Now you can make your knife. We form the desired profile of the handles, as well as the blade. We make bevels on the blade, but do not sharpen the blade yet, since there is still a tempering ahead. When the profile of the knife is formed, go with a fine emery cloth to smooth out all the deep scratches. The blade must be sanded very carefully, as it will be hardened, after which the steel will become strong and will not respond well to processing.
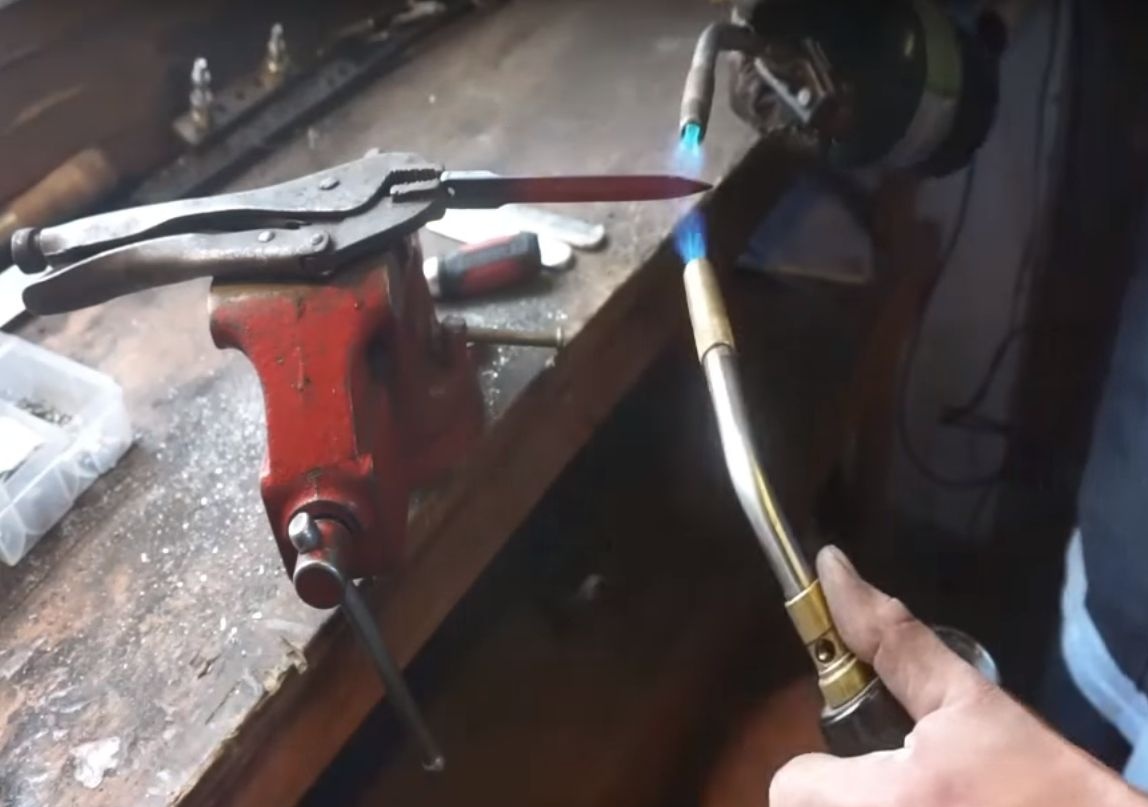
Step Four Blade hardening
If we make a quality blade made of quality steel, it must be tempered. Temperature and hardening methods will greatly depend on the particular steel grade selected. We do not know which steel the author chose, so we will use an approach that is suitable in most cases for most steels.
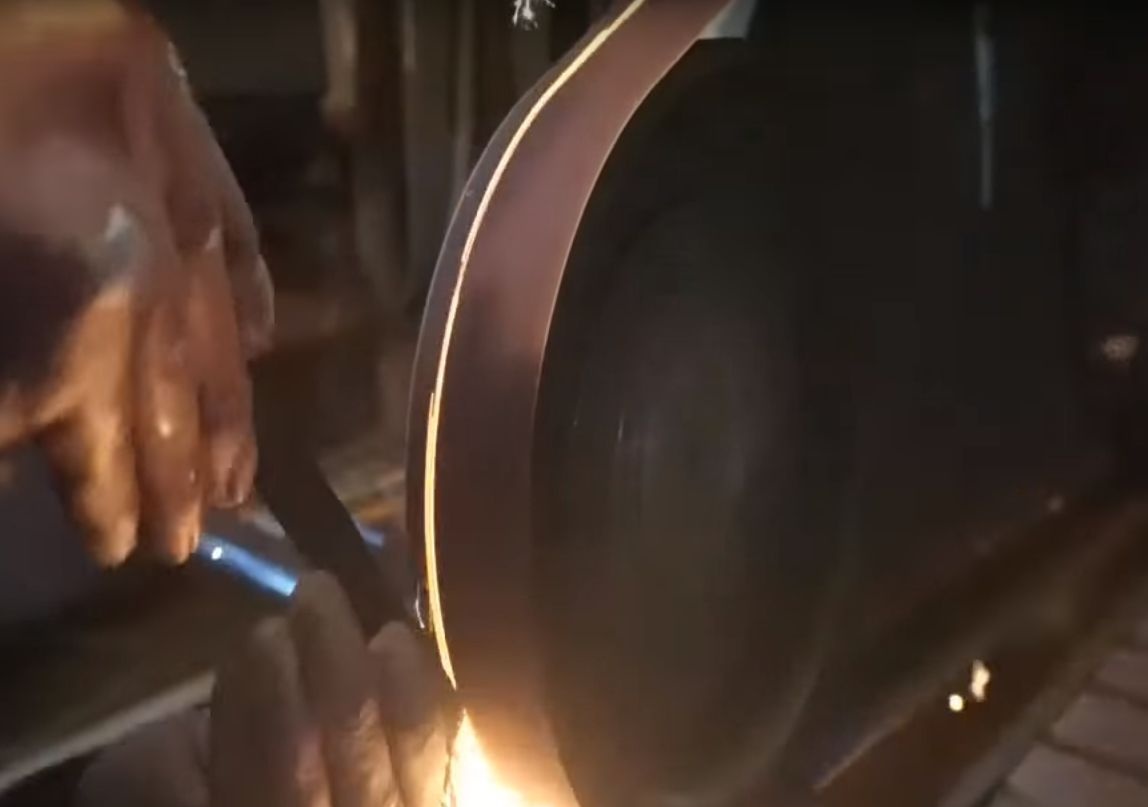
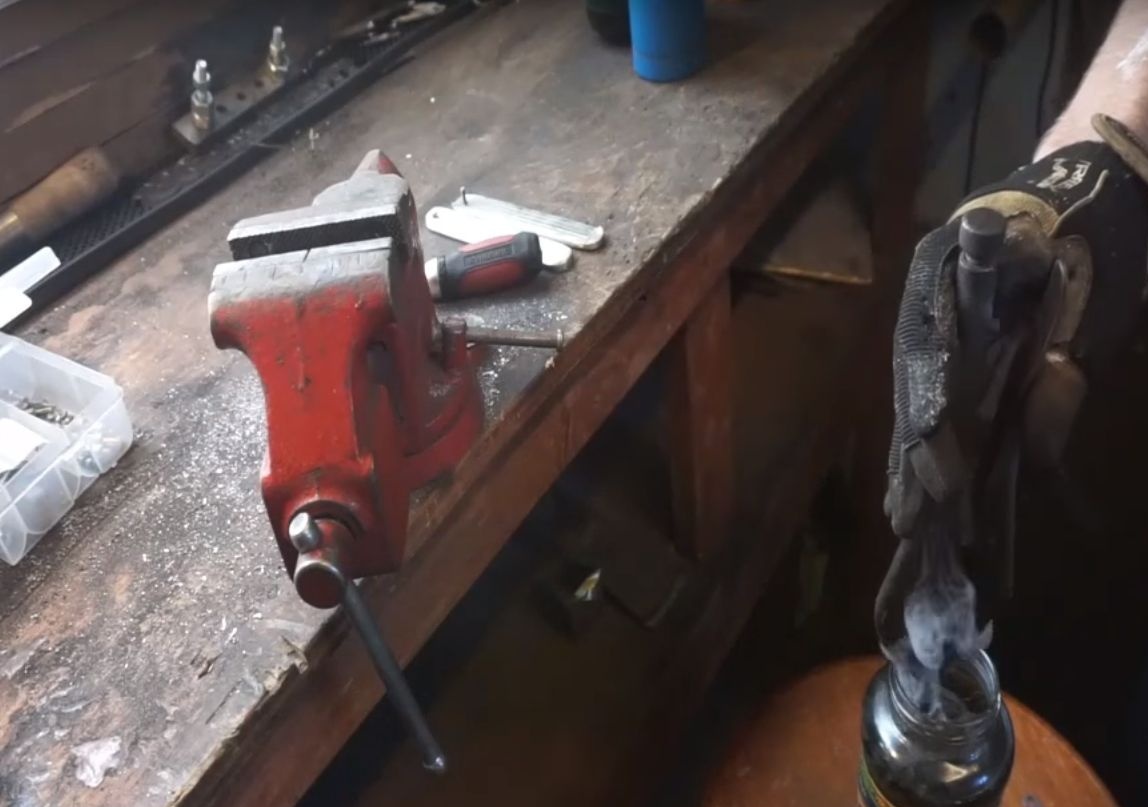
We warm the metal red-hot; the author used two gas burners for this, gradually leading them along the blade. If there are no burners, not a problem, the blade can be heated in coals by blowing them with a hairdryer, vacuum cleaner and so on. Take the magnet and bring it to the red-hot blade, if it does not respond to steel, then it is warmed up to the desired temperature. We immerse the blade in oil, this is the most humane way of hardening, when compared with water.
When the metal cools down, we will try to scratch it with a file, if there are no scratches, then the hardening was successful. If there are scratches, try to warm the metal to higher temperatures.
Half the job was done, but the heat treatment procedure was not completed at that. Further, the steel must be “let go”, otherwise the metal will be very brittle and the blade may scatter into pieces if dropped. For this procedure, we send the blade into the oven, the temperature should be in the region of 200-250 ° C. We heat the blade for an hour and allow to cool with the oven in the closed state. If the temperature regime is chosen correctly, we will get a blade of excellent quality.
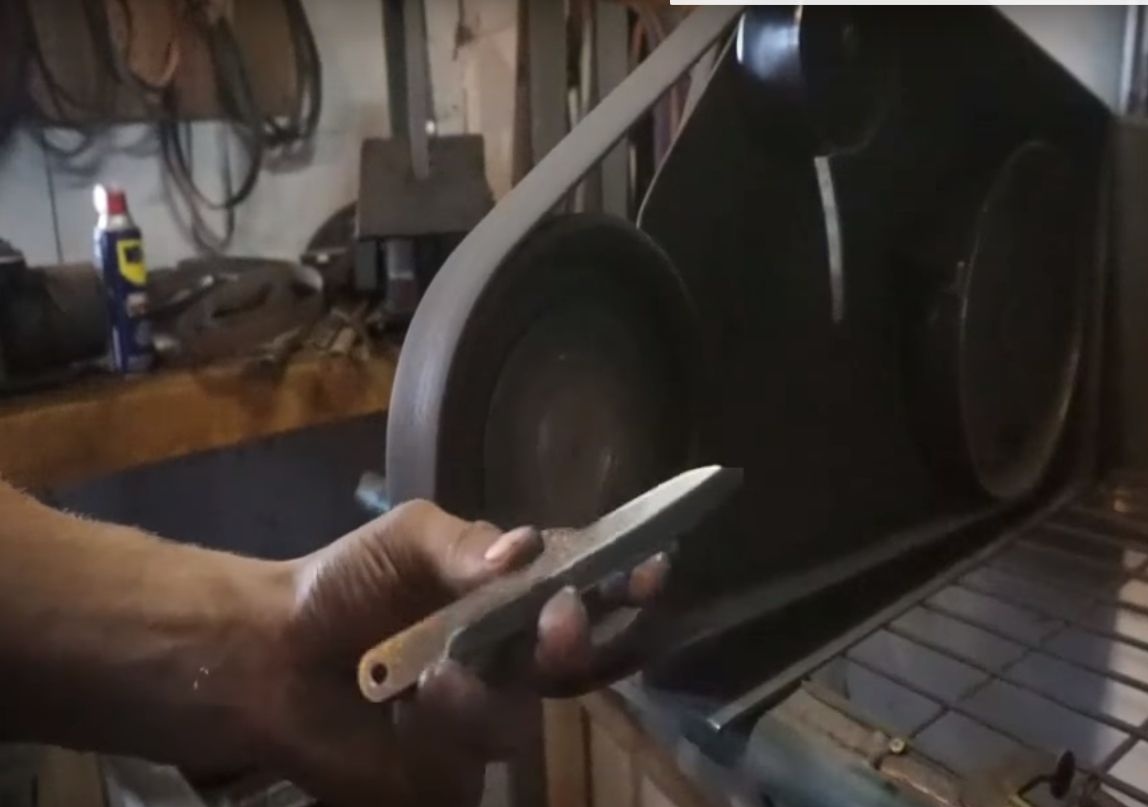
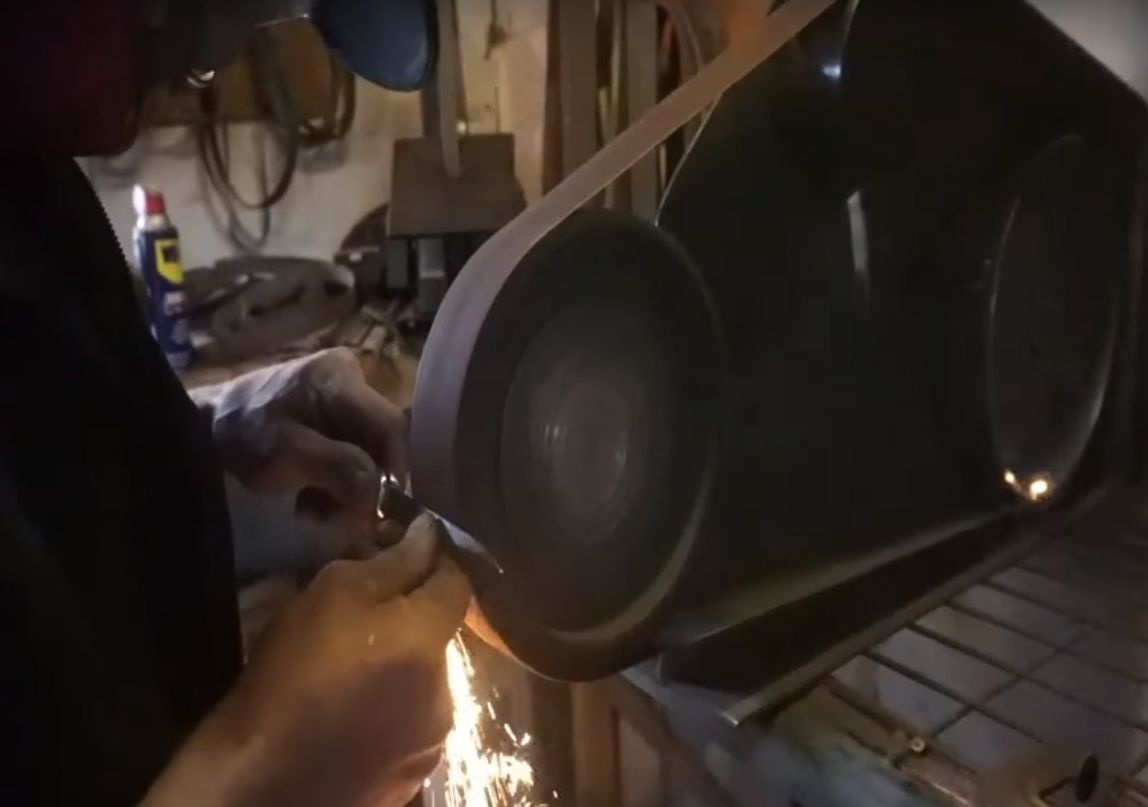
Step Five Final grinding
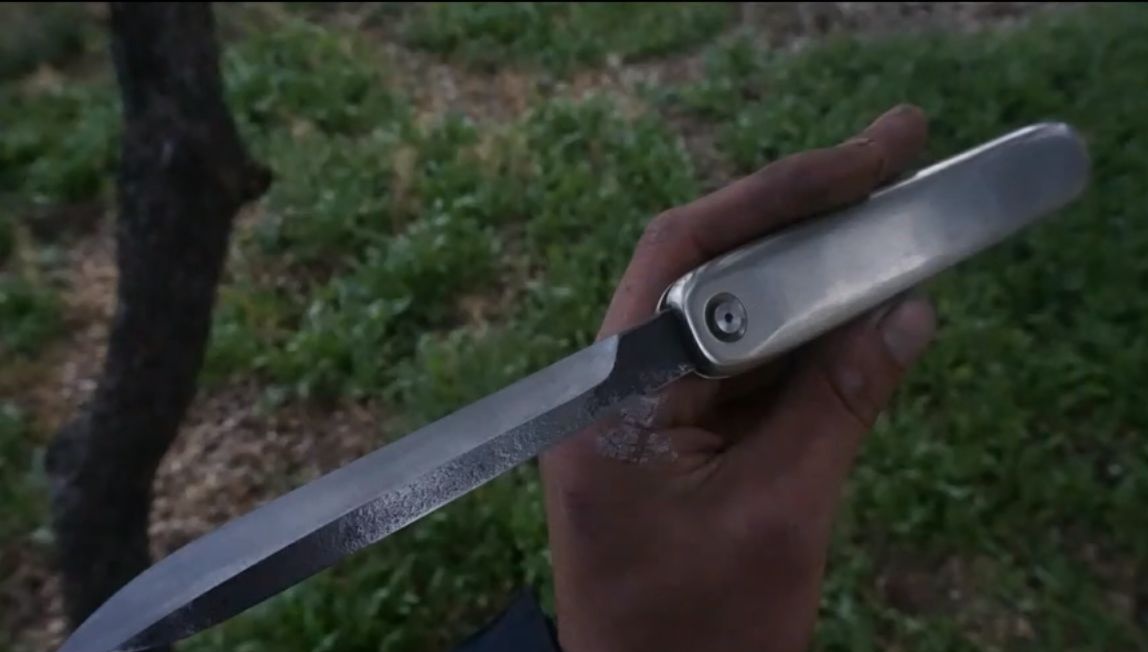
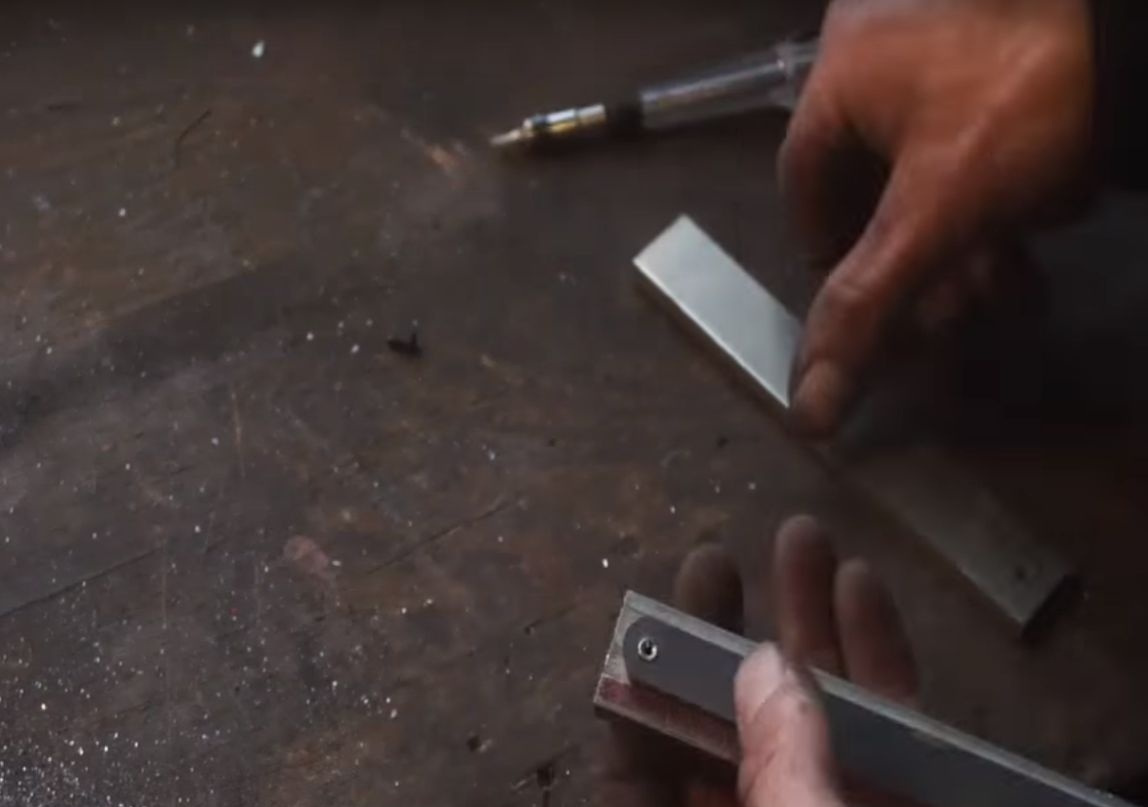
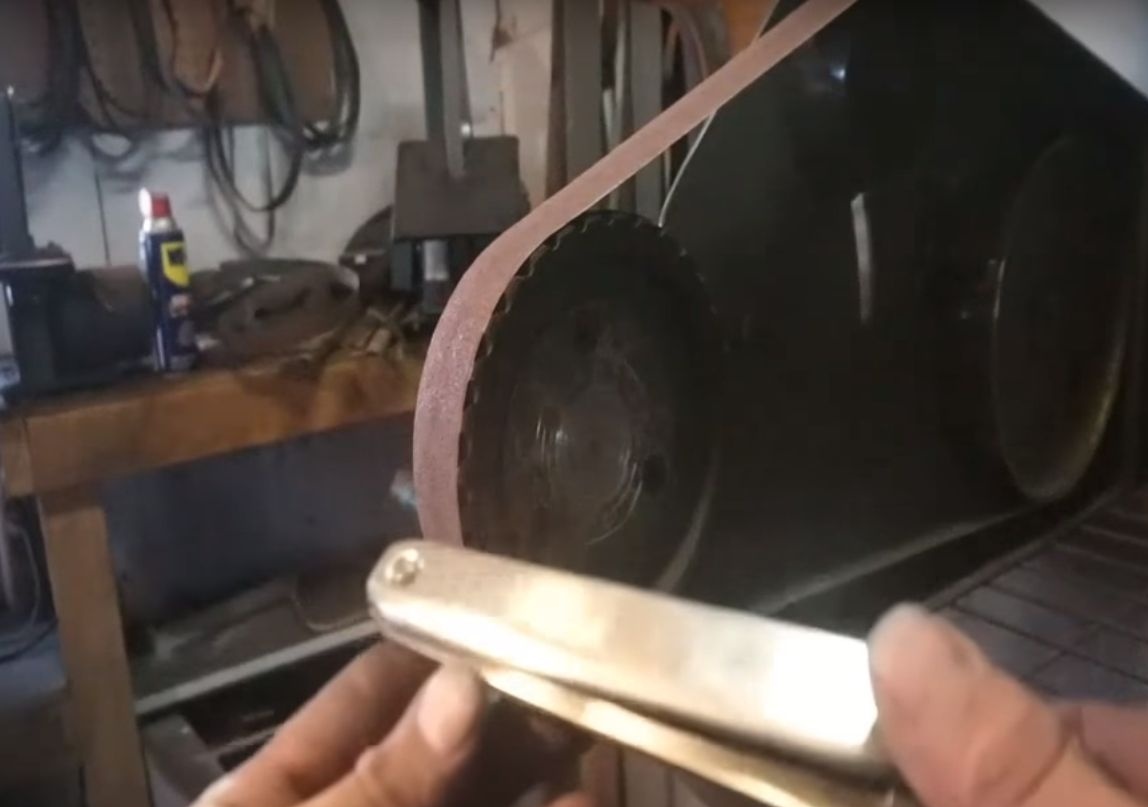
After hardening, the metal of the blade darkens, at the end of all work it should ideally become a straw color. We have to clean this plaque. To do this, take small sandpaper and get to work. You can cope with this task on a belt sander, but with your hands it will turn out more efficiently and quickly, since you need to constantly reduce the grit size of sandpaper as you sand it. If desired, the blade can even be polished.
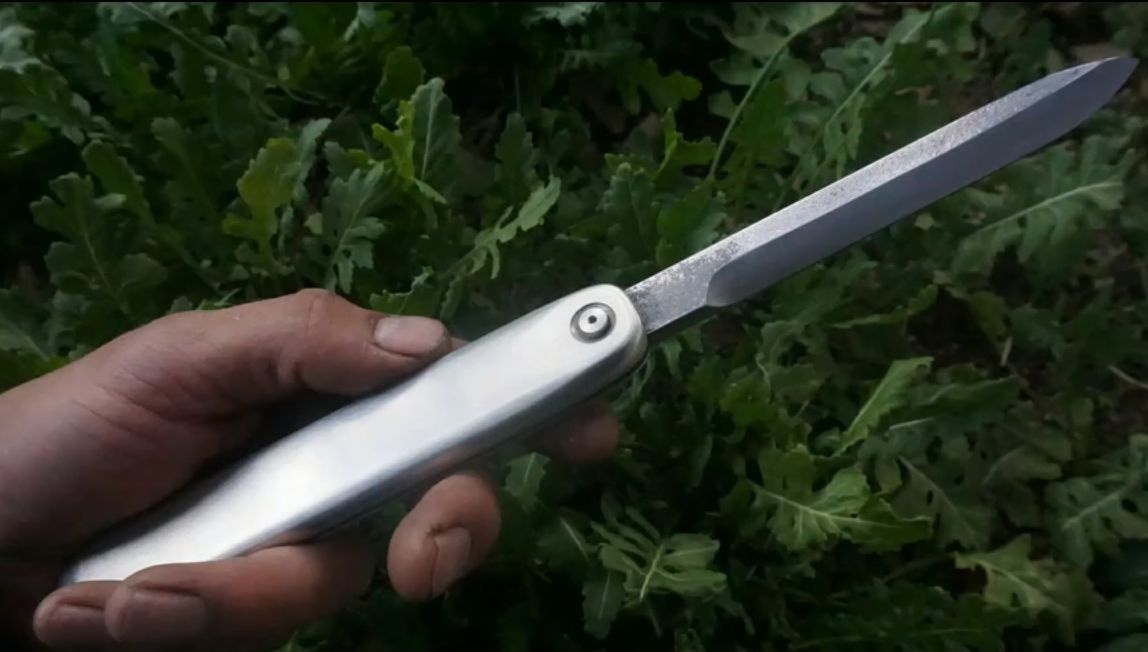
Now assemble your knife, threaded joints can be put on glue. Sharpen the blade, if desired, it can be brought to the state of the blade. You can sharpen the knife with fine sandpaper dipped in water, well, or use special sharpening devices. As for the pen, you can polish it, aluminum can shine like a mirror.
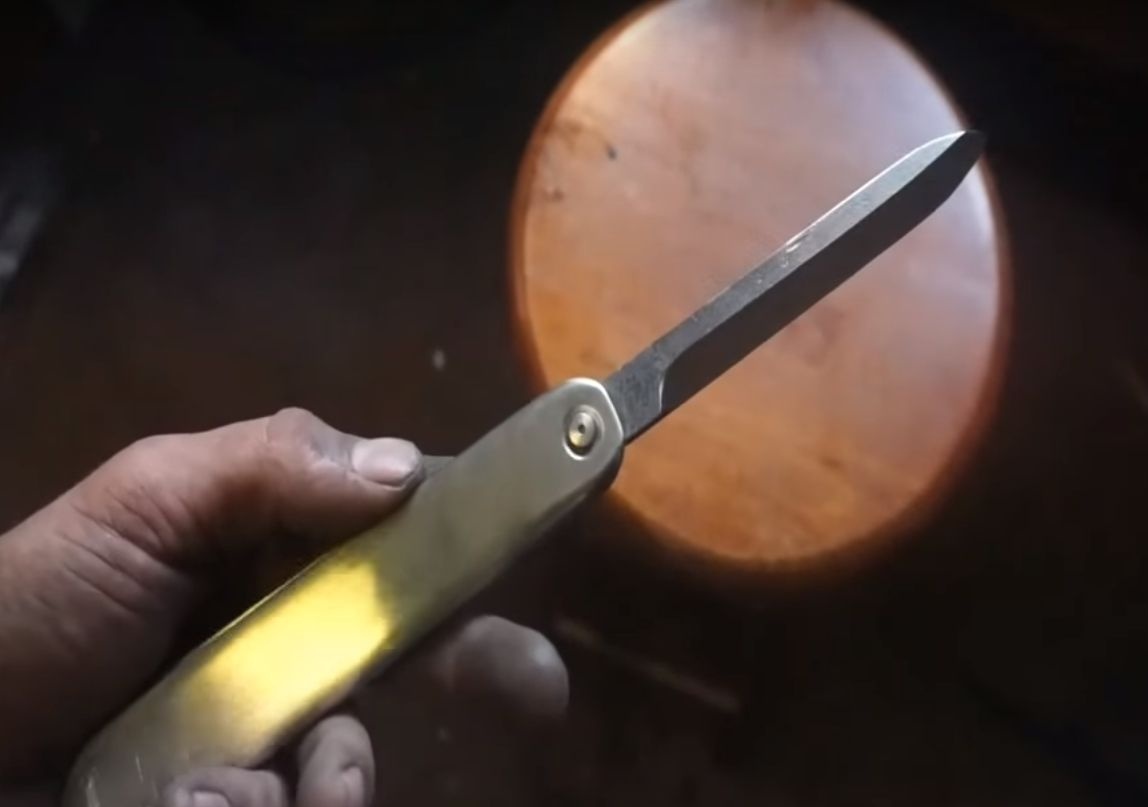
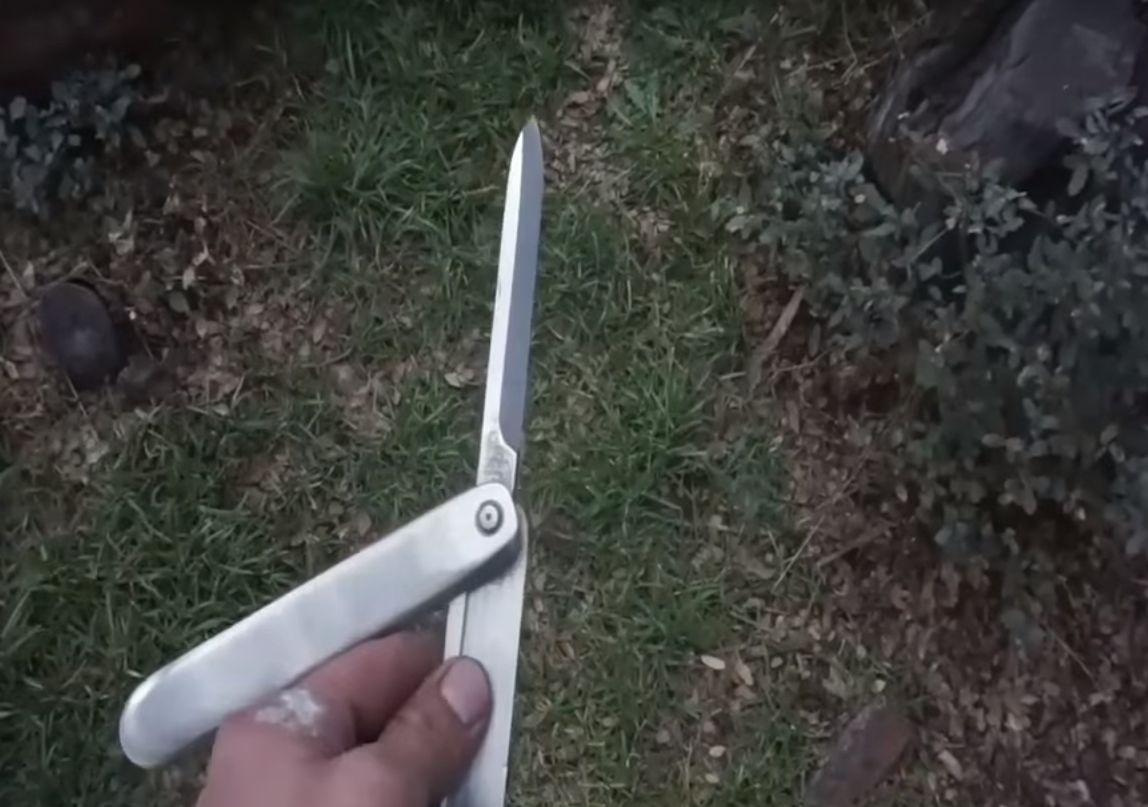
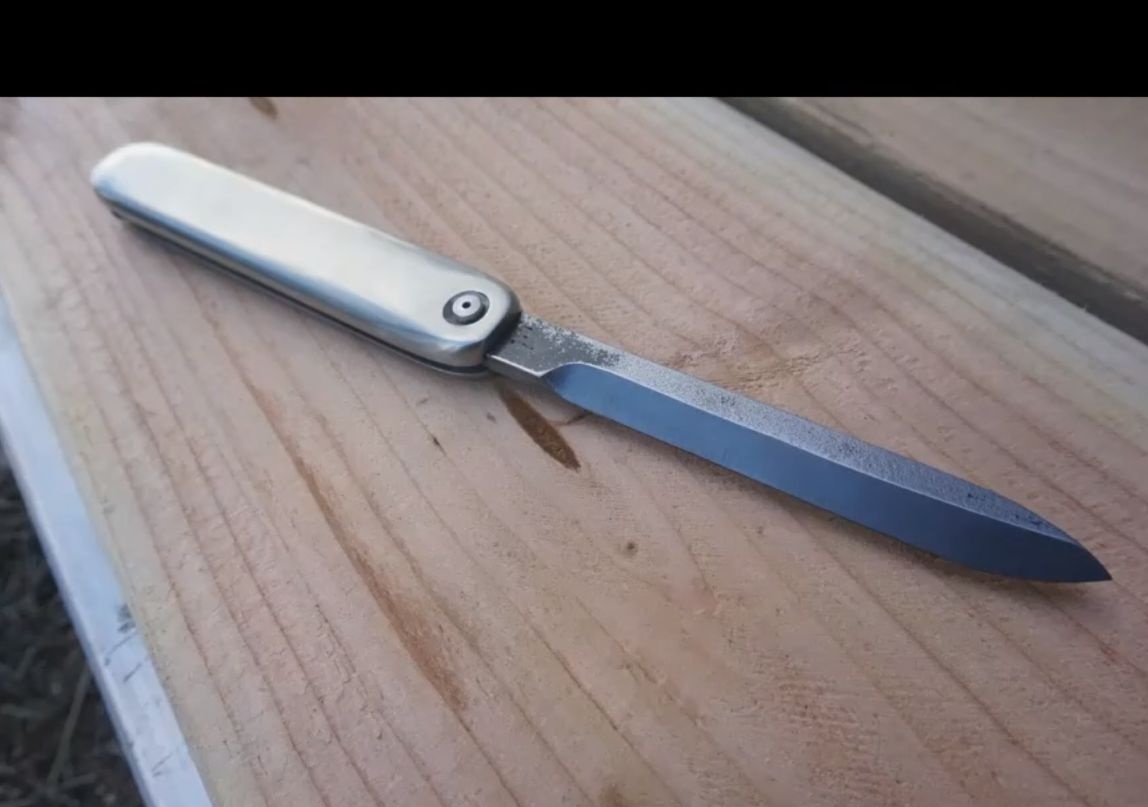
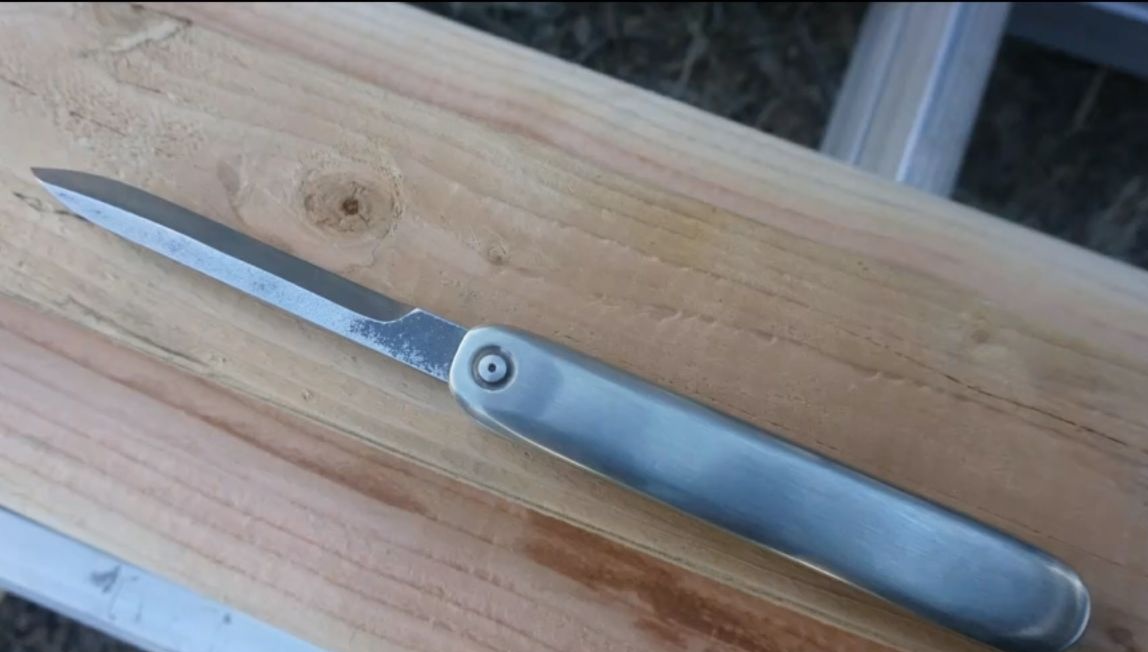
That's all, the knife is ready, you can test! The knife works quite well for the author. The only minus in my opinion is not a very beautiful performance, the knife was made in an ambulance. However, even so he looks respectable. If desired, you can make such a knife a real masterpiece.
That's all, I hope you liked the project, and you learned something new from the article. Good luck and inspiration in making homemade! Do not forget to share your best practices with us!