Now, in the modern world, LED bulbs are very popular. They have good efficiency, small size, do not heat up much, and their prices have recently dropped significantly. All these factors have provided LED bulbs a steady increase in popularity, now they are in many modern apartments. Manufacturers in every possible way praise their LED products, showing its advantages and masking disadvantages. Therefore, few people know that a LED bulb, unlike a classic halogen lamp or incandescent lamp, has a very different emission spectrum from the sun. Put two bulbs nearby - incandescent and LED. Many people will agree that the soft light of an incandescent lamp is much more pleasing to the eye than the hard light of LEDs. The soft, yellow light of a red-hot spiral creates coziness in the apartment, a warm pleasant atmosphere.
In this article, we will consider the process of creating a homemade lamp that will fill the bedroom with warm cozy light. In many apartments, the light switch is far from the bed, on the opposite wall, so it can sometimes be difficult to get to it in pitch darkness. If you place the nightlight switch near the head of the bed, and fix the light bulb somewhere in the corner under the ceiling, you can turn on the backlight without getting out of bed.
To make a lamp you will need:
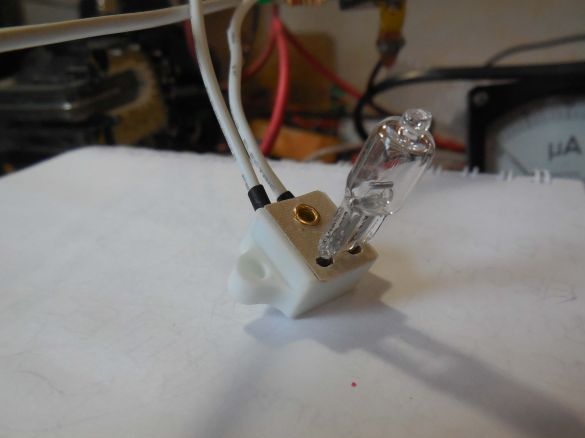
• A 12 volt bulb is sufficient to illuminate power. If you put a light bulb of small power, then it will create a bewitching half-light in the room, which looks very unusual. It is best to use a 12 volt light bulb, as this voltage is easy to switch and it does not pose a danger to humans. In addition, do not forget that the holder or cartridge must be included with the bulb. I use a 12 volt halogen bulb.
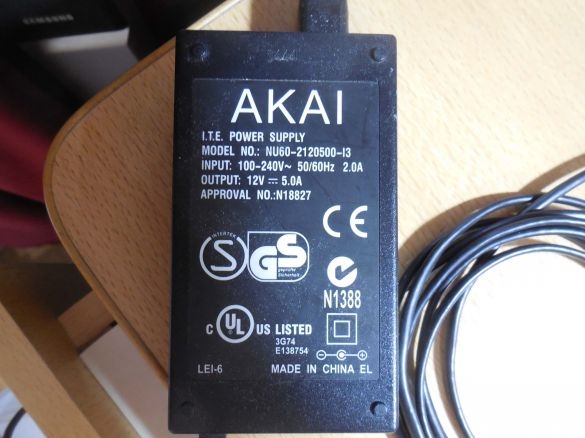
• 12 volt power supply. The power supply must have a power margin, otherwise it may fail. If the bulb power is, say, 20 watts, then the power of the power supply should be 30 watts or more.
• Connecting wires. The cross section is also better to take with a margin, based on the power of the bulb.
These are the main components that are needed to create a lamp, not to mention a soldering iron, solder, flux and the ability to use these things.
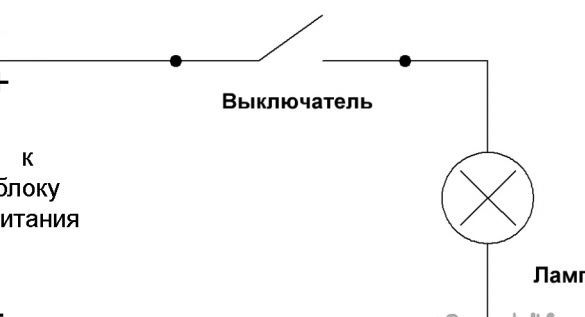
In the simplest case, the connection diagram of the bulb and the switch will look like the one shown in the picture below. The switch is turned on to break the power of the bulb.
It is worth thinking in advance about where the power supply, light bulb, switch will be located. If the switch and the bulb are at a great distance from each other, then it is advisable to use the key on the field effect transistor, the circuit of which is described in detail in another article. I did just that, used a transistor as a switching element, then you can take thin wires to the switch itself, there will be no load on them. In this case, the item “materials” should also record a transistor and a pair of resistors.
The transistor switch circuit is shown in the picture below.
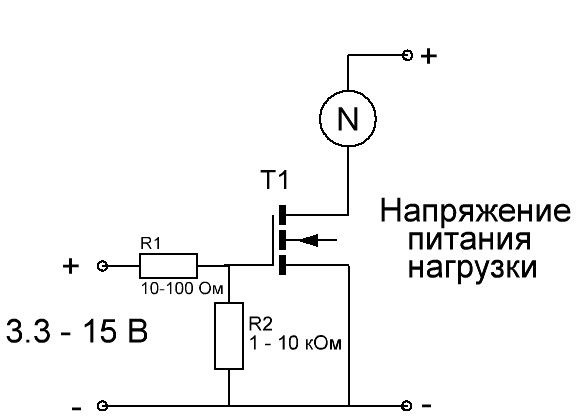
The load, in our case, is the bulb itself. The shutter will be controlled by the same voltage that the bulb feeds, turning the toggle switch on and off, we will either supply voltage to the shutter, or, conversely, remove voltage from it.
Assembly of a night lamp.
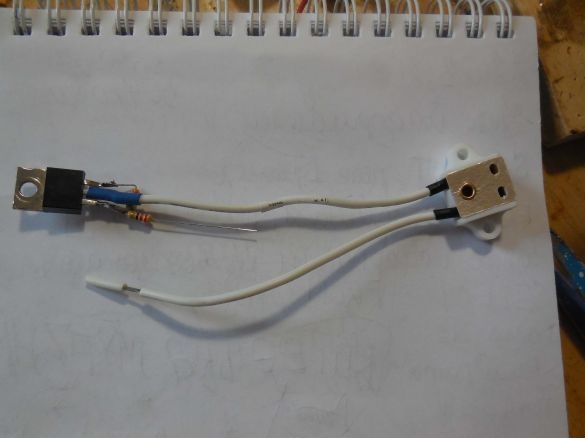
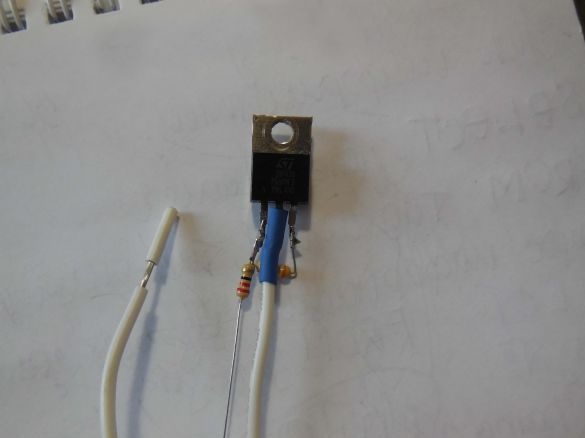
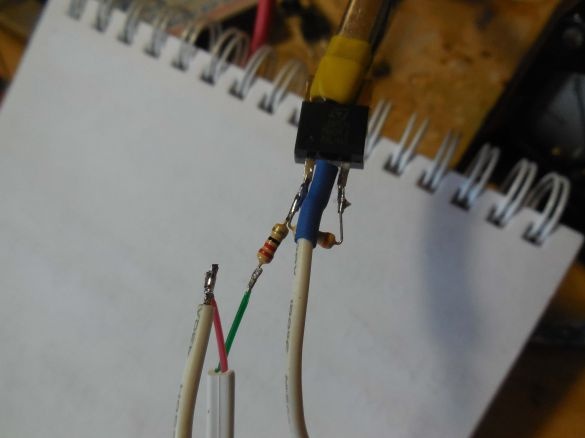
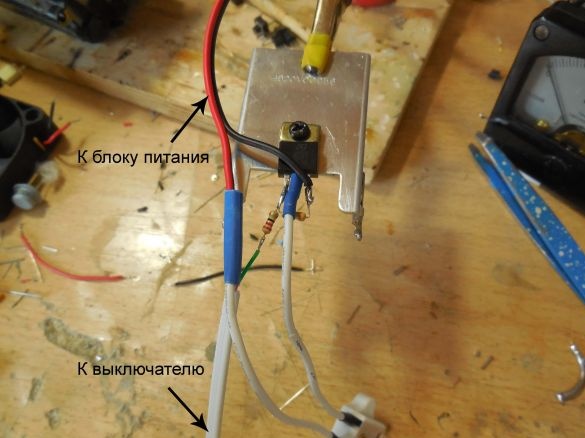
You can get by with the simplest circuit consisting of a light bulb and a switch, but if you want to use a transistor switch, then first of all you need to solder the resistors to the transistor, this is easiest to do with a wired installation. One of the contacts of the bulb holder is also soldered to the drain of the transistor.
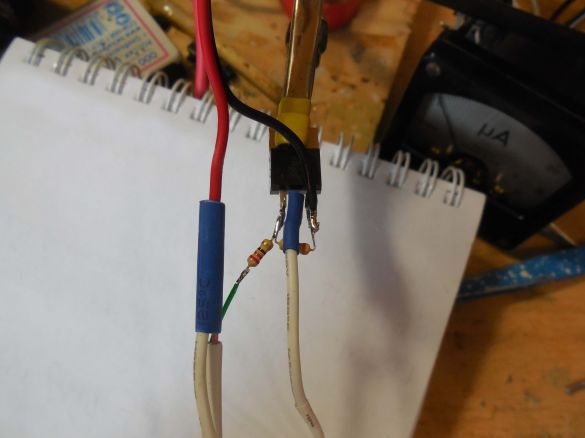
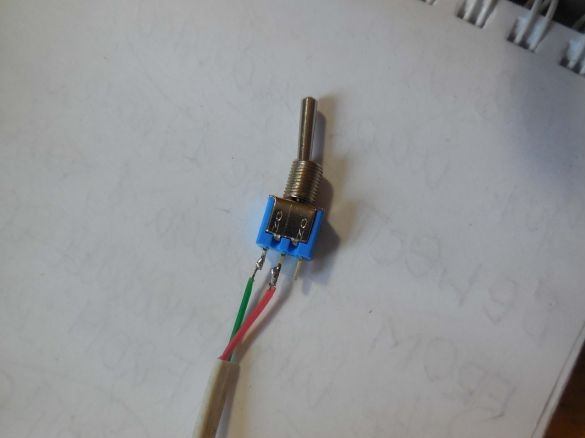
After that, solder the wire that will connect electronic a key with a switch at the head of the bed. I used a cheap ADSL cable with two wires (red and green). One of his veins is soldered to the gate of the transistor through a resistor, and the other to the plus of the power supply. Also connected to the power plus is the second contact of the bulb holder.
The transistor may warm up slightly during long work, so for reliability it will not hurt to put it on a small radiator. In general, the connection of all the wires is clearly shown in the picture below. Compounds are preferably insulated with electrical tape or heat-shrink tubing.
As a switch, you can put a normal toggle switch, a button with a latch. If you turn off not the transistor, but the bulb itself, then you should make sure that it withstands the current of the bulb.
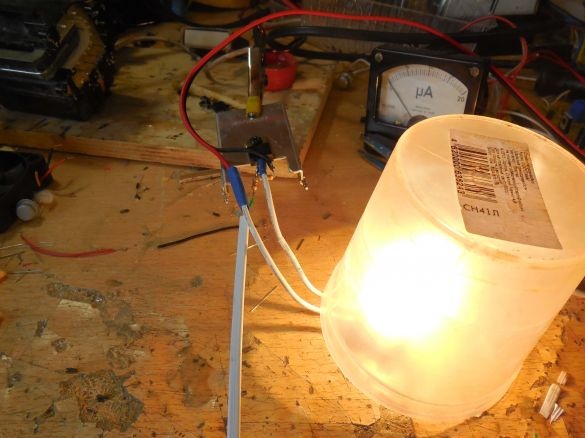
After soldering all the wires and verifying the installation, you can begin with the tests.
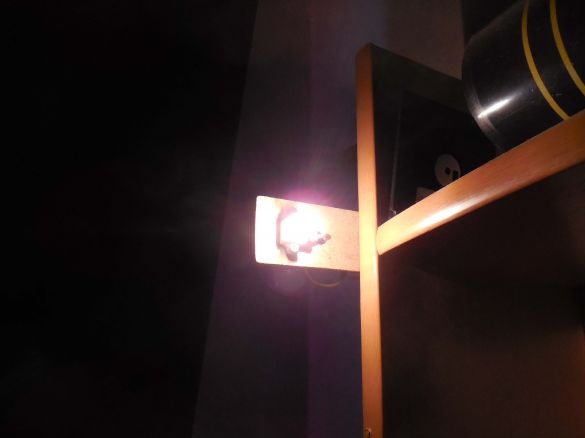
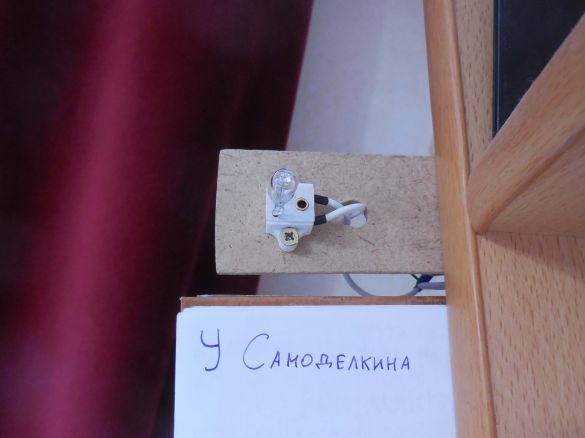
The bulb should shine at full strength, if it glows dimly, it means that somewhere there is a poor connection, or the cross-section of the wires is chosen too small. If everything works properly, it remains only to hang a light bulb in a suitable place in the room, run the wires so that they are not striking, install a switch near the bed. It is advisable to cover the light bulb with a beautiful lampshade. I just fixed the light bulb in the holder on a piece of fiberboard, it does not look so pretty, but the bulb copes with its task.
In the dark, the not too bright glow of a halogen bulb looks very mesmerizing; a pleasant romantic atmosphere is created that is conducive to sleep. It is a pity that the photograph does not convey all the charm of the warm dim light.


