
Today we will talk about how to expand the capabilities of a conventional line filter or extension cord. The author of the video proposes to carry out a simple alteration (modernization) of the network extension cord, during which he will integrate a universal charger inside the block.
Of course, at various trading floors of online stores you can always buy a turnkey solution. But the device that is assembled do it yourselfmuch nicer to use. To him, as a rule, a person has more confidence and confidence in his reliability. Unless of course everything is done wisely and in compliance with safety precautions.
And so, let's get started.
What will be needed to make a charger built into the extension cord:
1. Extension cord or surge protector (you can use a separate block, which you can easily find in a specialized store).
2. A power supply with a voltage of 5 volts, the current preferably not less than 2 amperes.
3. A pair of wires
4. Soldering iron
5. Solder, rosin
6. Knife
7. Nippers
8. Heat Shrink Tubing
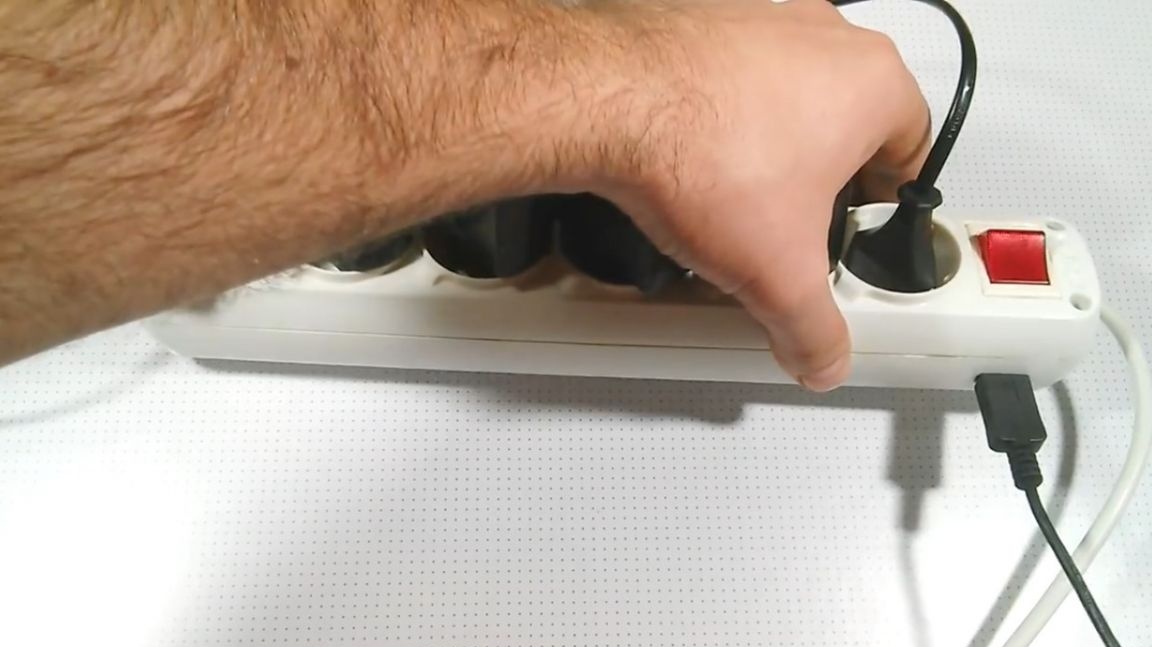
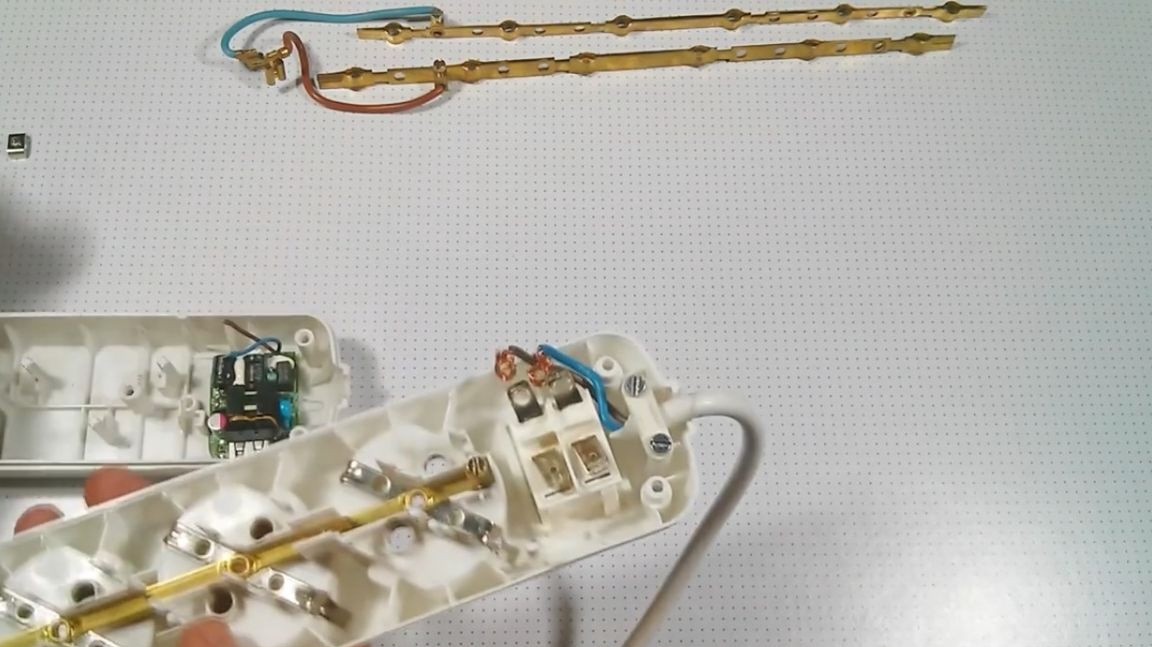
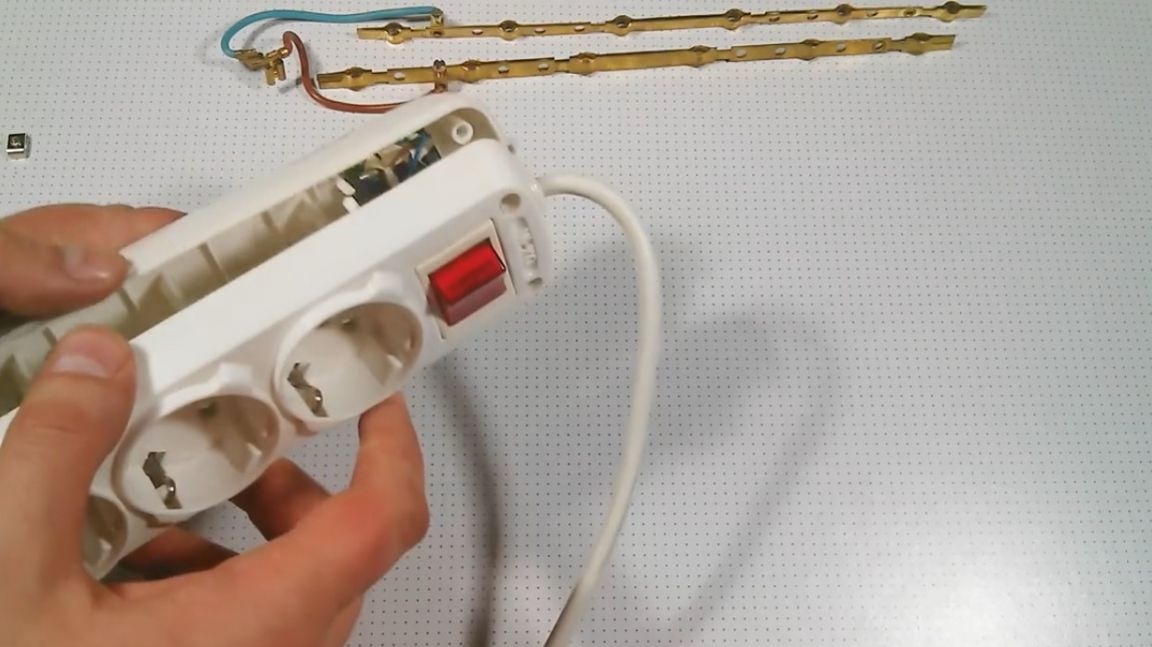
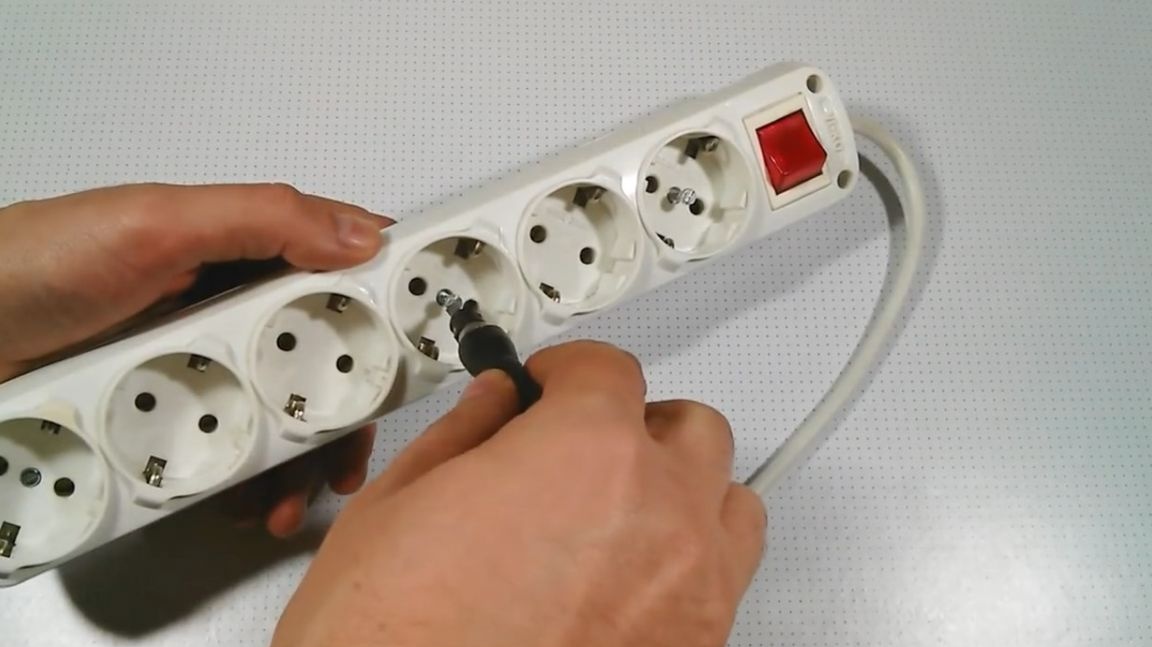
First you need to find a suitable extension cord, preferably with a power button and of course with a collapsible housing, because there are also just rivets.
Next, you need to disassemble the shoe and inspect the design of the button assembly. Is there enough space for a power supply board?
The power supply itself, I think, will not be difficult for anyone to find. For many years of using gadgets, a decent amount of all kinds of old chargers has accumulated.
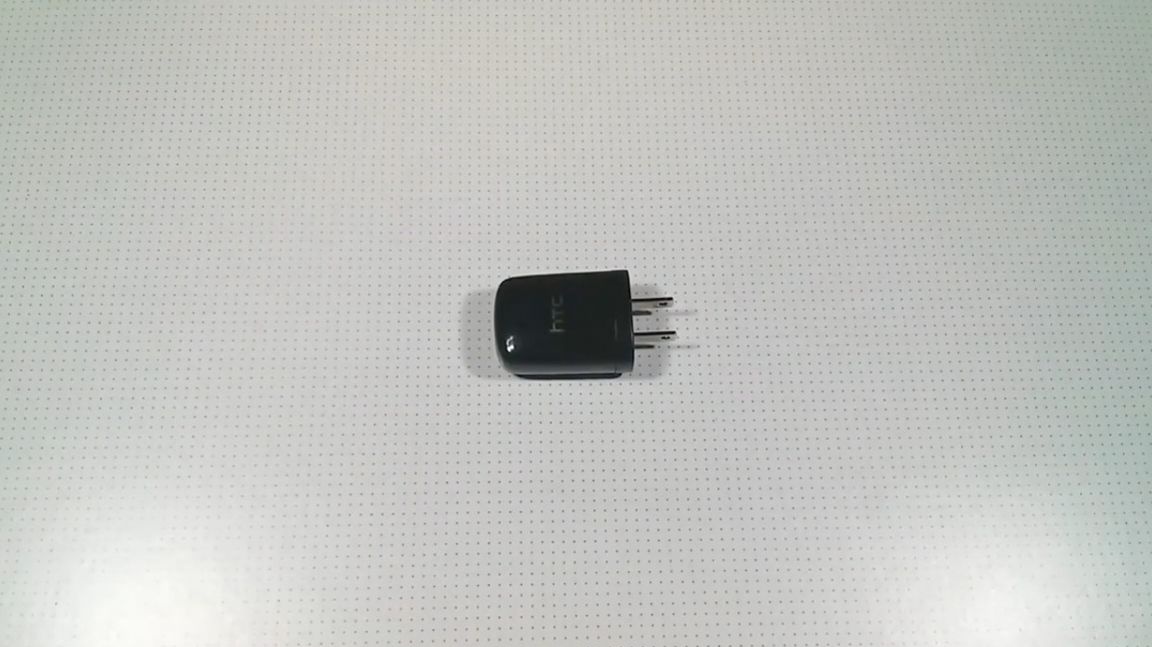
For this homemade product, you need to choose one of them that has the most compact dimensions and, if possible, produces a decent current of about 2 amperes. This is necessary so that you can charge devices that require a large charge current, for example, a tablet.
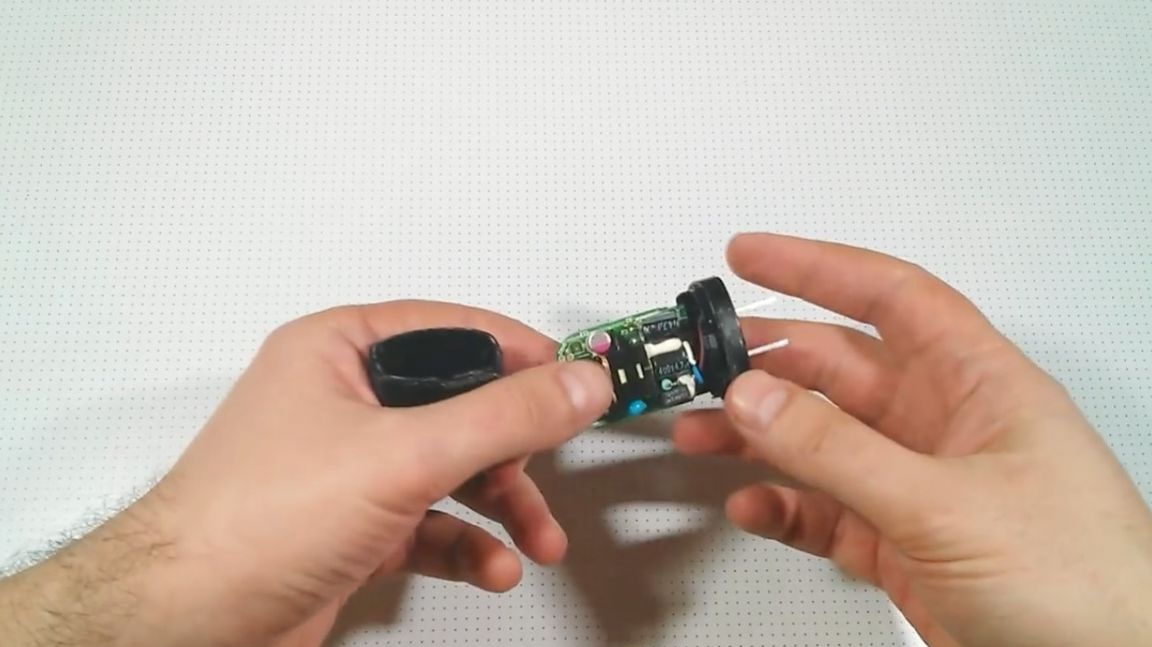
The next step will be the disassembly of the case selected, according to the above requirements, power supply. If possible, we disassemble it in the least barbaric way, so as not to damage those inside electronic Components.
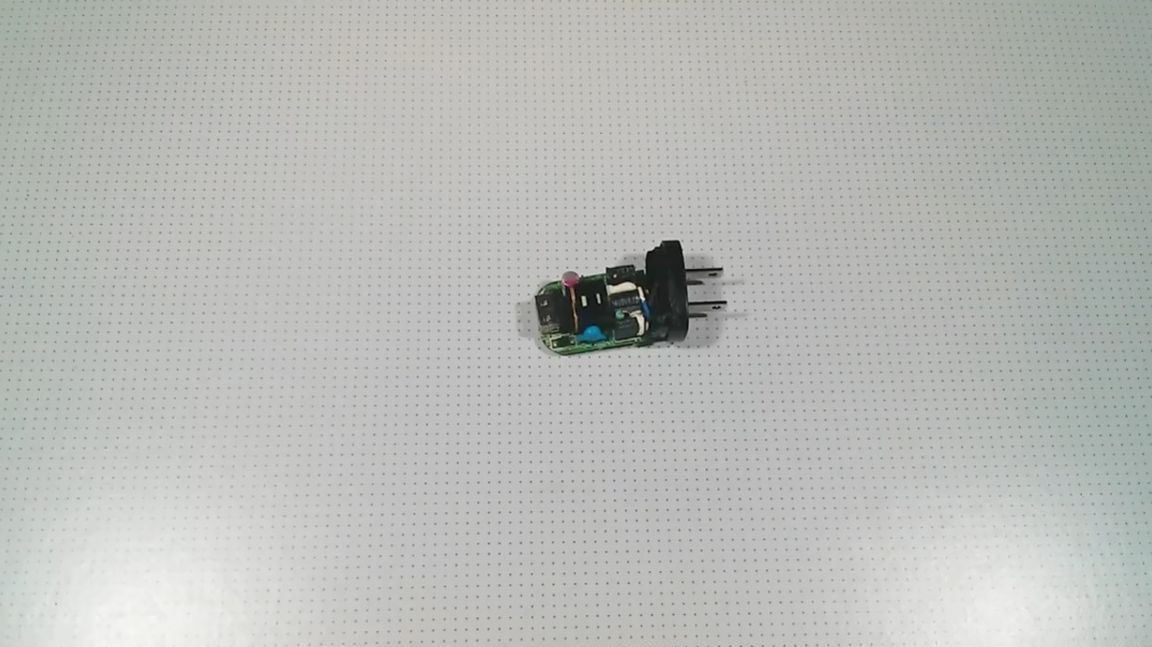
When the autopsy is completed, we try on the power supply board in the lower part of the body of the power strip extension block.
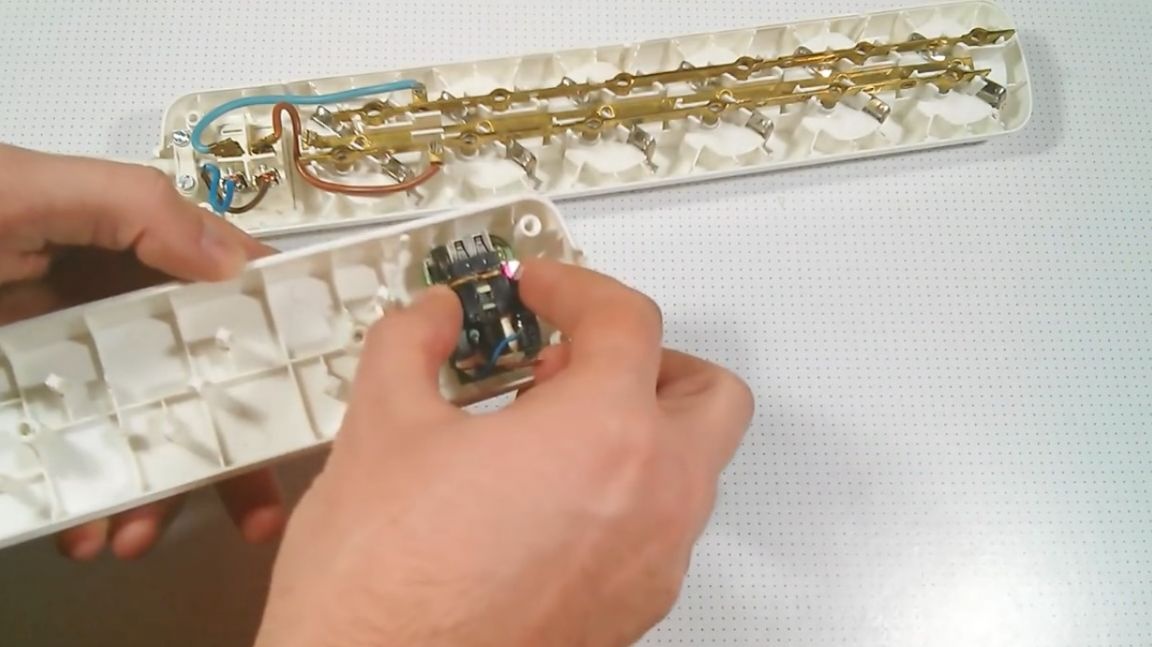
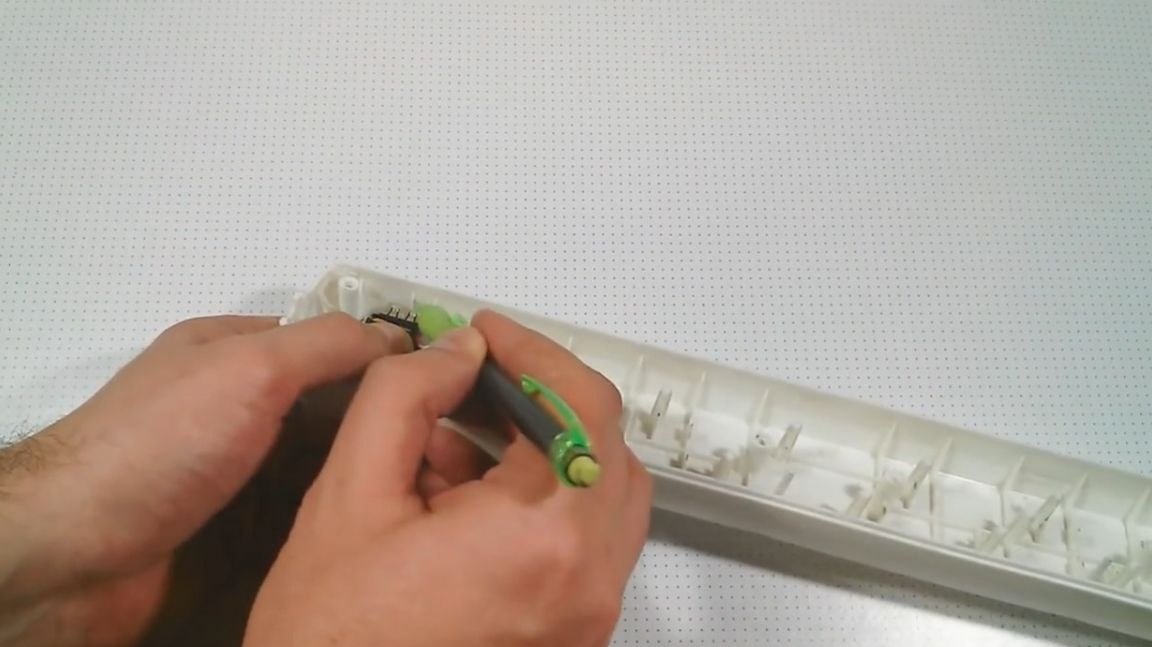
If necessary, we expand the space by removing part of the partitions and stiffeners.After such a procedure, it will stand up as a native, but in the top cover the power on / off button has rather long contacts. In addition, the plastic partition protrudes sufficiently above the surface and will not allow you to freely install the charging board. Have to fix it. To do this, the author takes out the clamps of the contact plates. Next, he extracts the button itself. Since the button body does not have much strength, and if you overdo it with the application of force, it will simply burst.
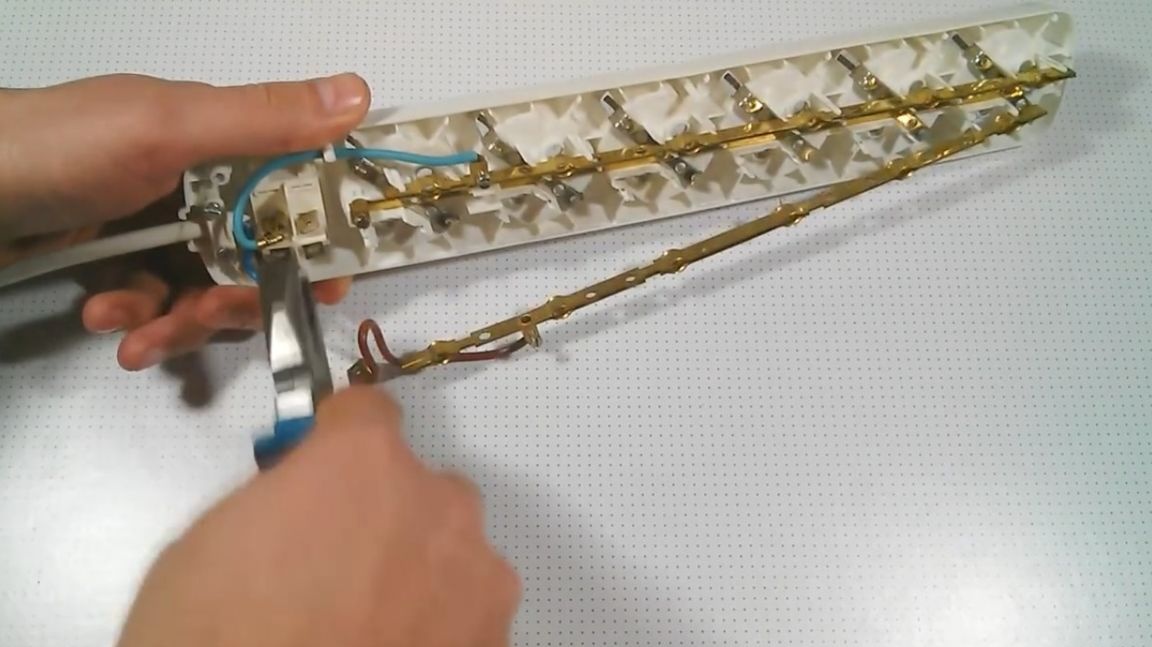
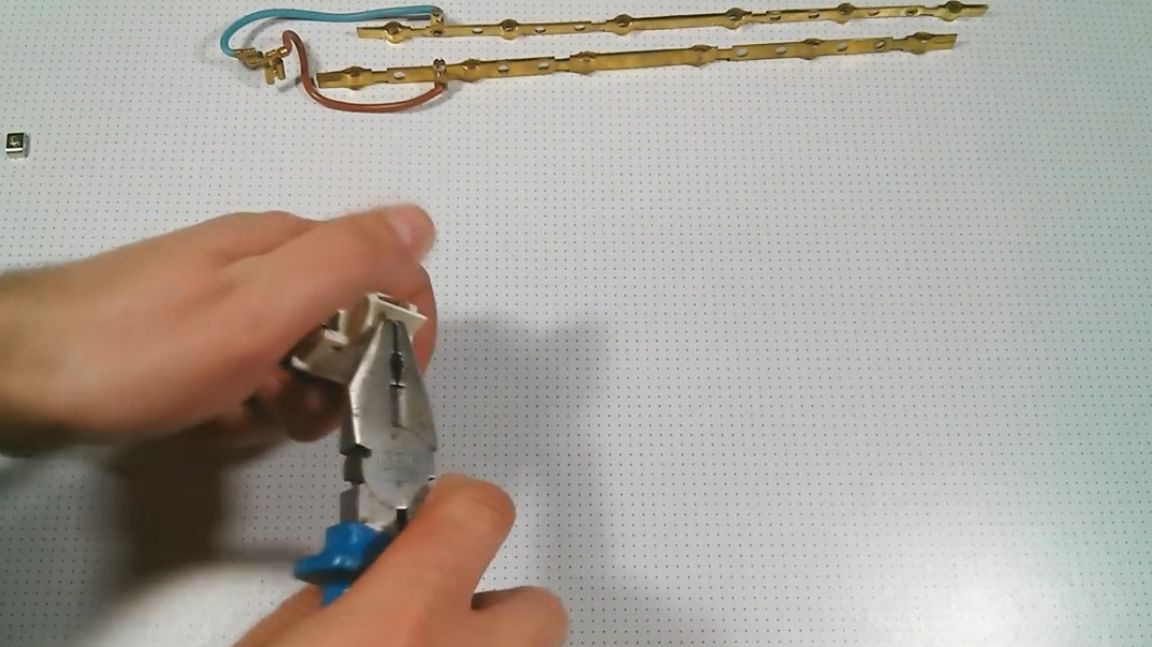
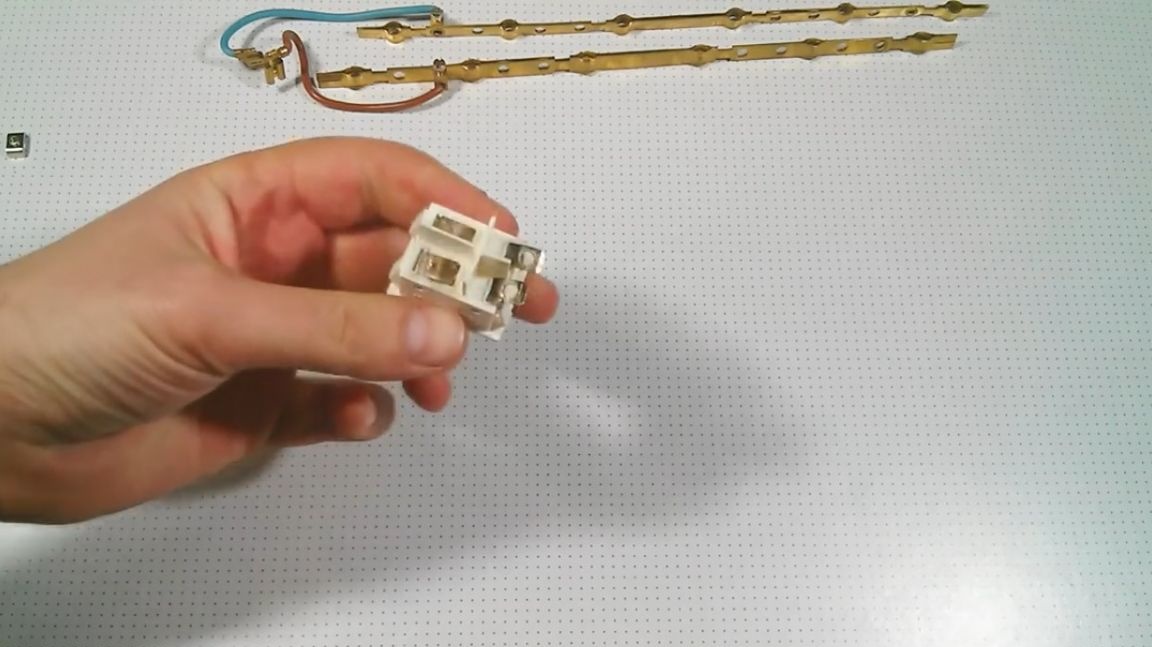
Therefore, very carefully, he bends the contacts of the button. Then she cuts off the plastic partitions with a knife.
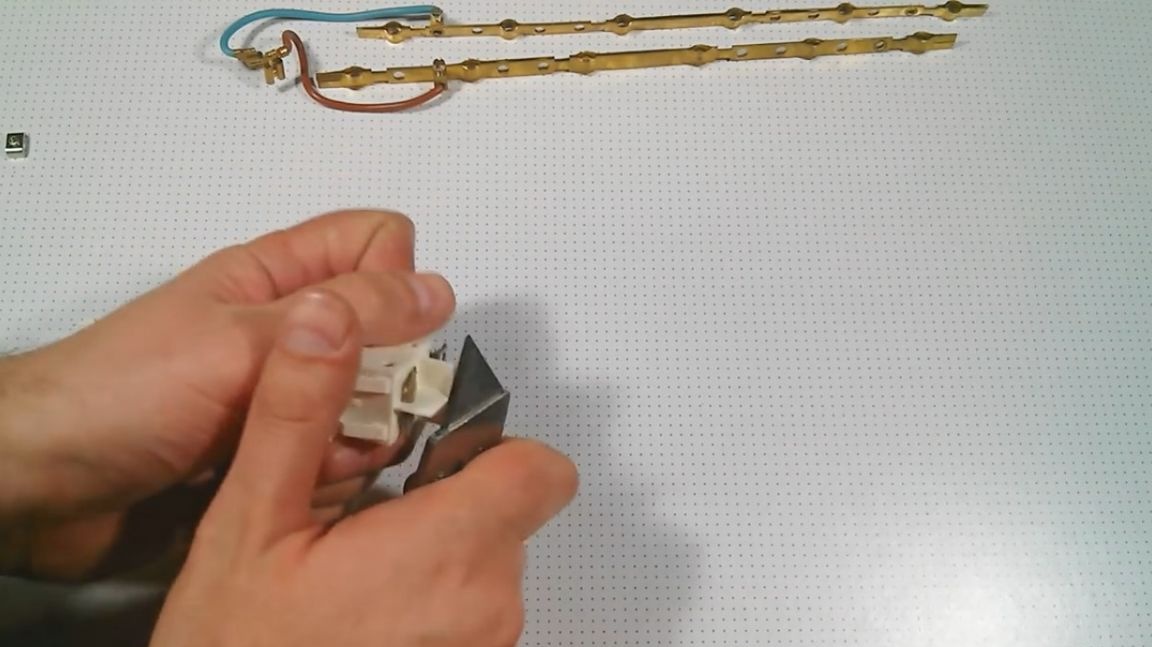
It does not completely remove them, leaving thereby the opportunity to continue to bear the function of separating contacts assigned to them. With trimming excess plastic, the main thing is not to overdo it. It needs to be cut exactly enough so that it is possible to tightly connect both halves of the body of the extension block pads together, but at the same time so that not even a fixed board is held in a closed case and does not hang out. Plastic cutting can be carried out in various ways and tools. The author uses a knife. It is also possible to remove the elements of the plastic case of the electrical block that interfere with the installation of the board using side cutters. In general, any sharp tools suitable for such structures will do. Manufacturers are constantly trying to reduce the cost of production as much as possible, as well as the cost of the product. Therefore, for the manufacture of such electrical appliances, plastic of rather poor quality is used. Usually it has an unpleasant chemical smell and does not have a special strength. And the processing of such plastic can be handled quickly enough without much effort. Therefore, it doesn’t matter how you finish the inside of the extension casing.
After a couple of trials, the extension cord began to close freely with the power supply board installed inside.
The author of the homemade product used a power supply board on which a usb connector was already mounted and installed to connect a cable with the appropriate type. If you want to repeat this homemade product, but your home / work (it doesn’t matter) does not have the same power supply that the author uses. I mean with the usb port located directly on the circuit board of the power supply. To make the same device, you can use any other power adapter, regardless of the presence of the aforementioned connector. The main thing is that the characteristics of the charger correspond to the requirements of your devices, which you will charge using an upgraded AC extension cord. And the usb connector itself can be mounted inside the extension block housing in any other place. Just for this you will need an additional pair of wires and the usb port itself.
When you have decided on the placement of all components, you can proceed to the next step.
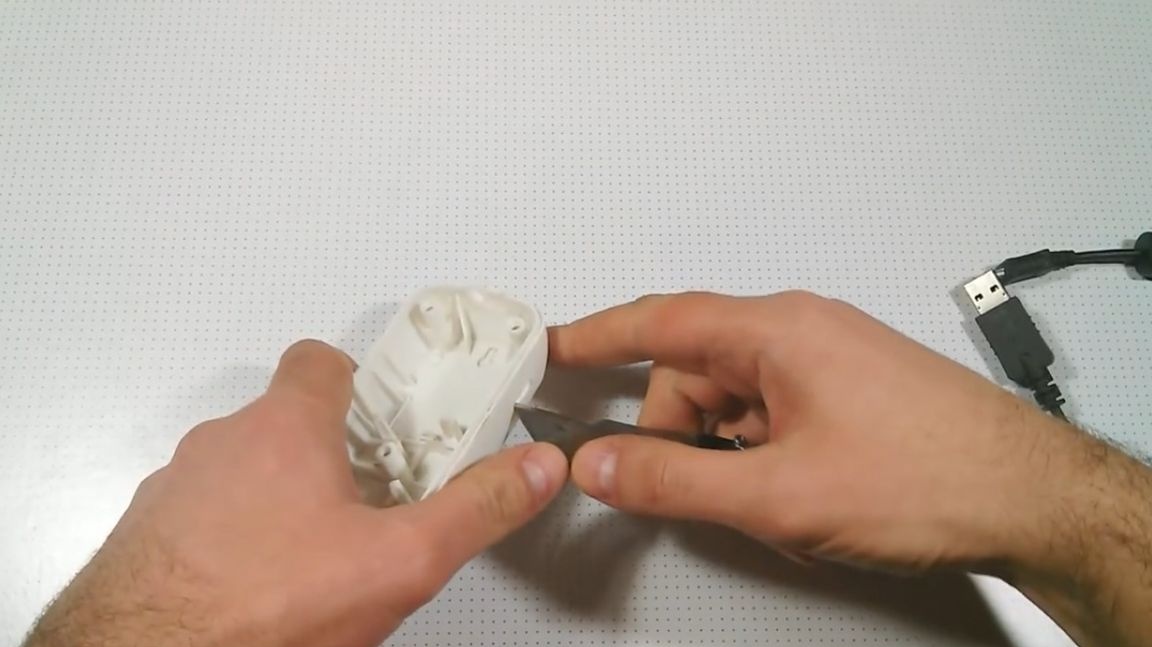
Namely, you need to mark a place under the hole for usb input.
Then you need to cut this hole. You can cut anything. You can use any tool, the main thing is that it be sharpened sufficiently sharply. I repeat once again that the plastic of the case is quite thin and soft, it easily bends and cuts.
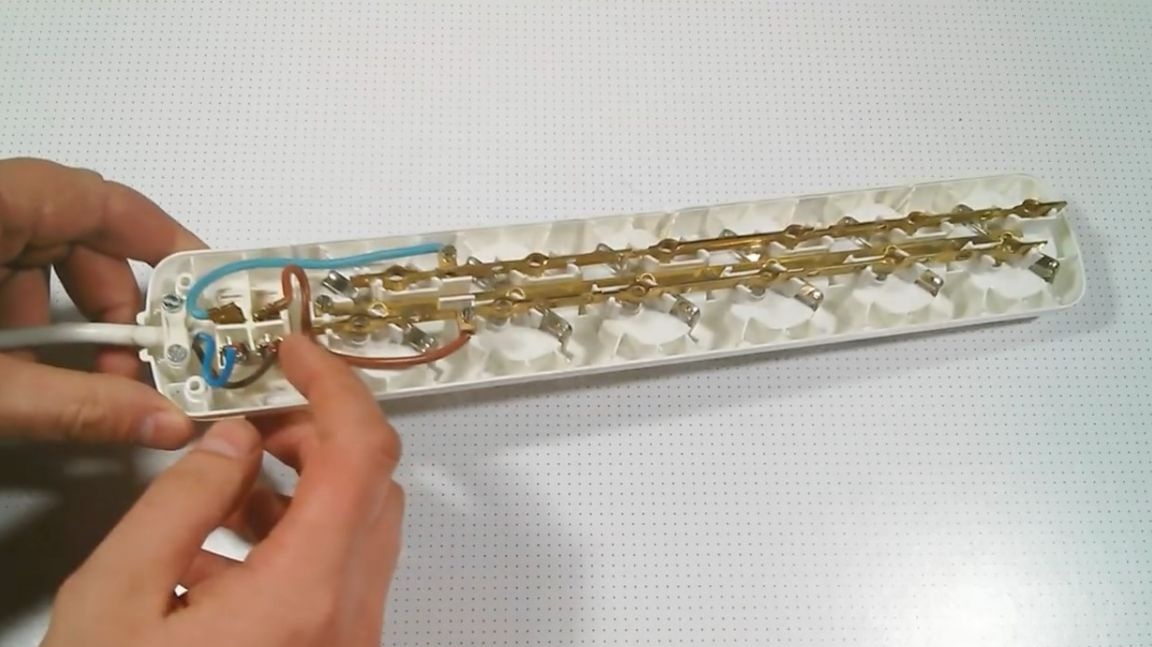
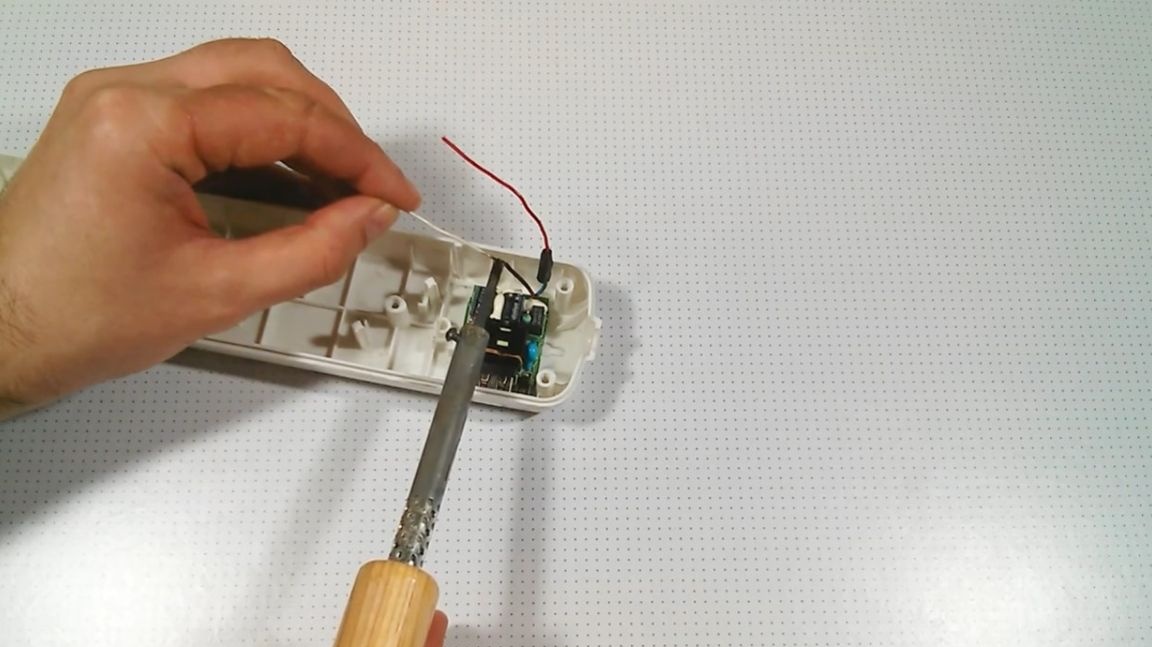
After the rectangular hole is ready, it remains to try it on, substituting the power supply board. Since the board has very short wires, to connect it to a network with a voltage of 220 volts, it is necessary to lengthen the wires.
The author extends the wiring from the power supply board so that subsequently the block body can be easily disassembled and nothing interferes.
He solders them to removable terminals located at the output after the power button.
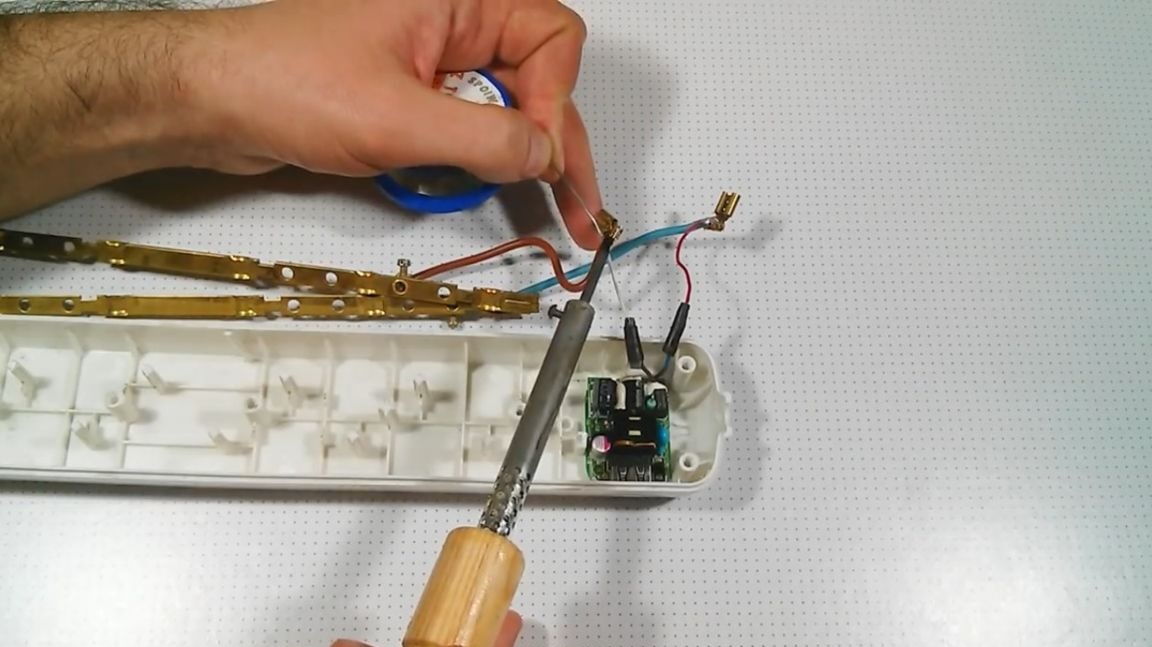
Inserts them and checks if everything is done correctly.There are no damages or breaks that could occur both when connecting the circuit with terminals, and directly when mounting the power supply board itself in the extension casing. After checking and making sure that everything is in order, the author glues the block board with hot glue to the inner walls and the bottom of the plastic case.
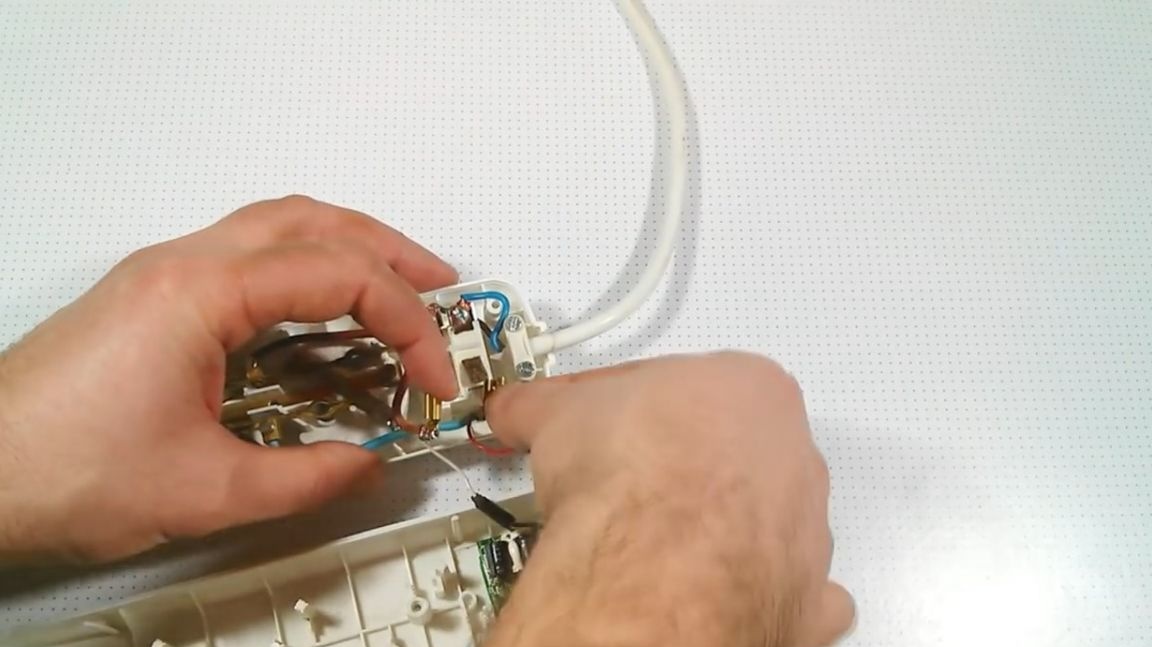
Next, the necessary step will be the separation of the power board from the exposed contacts of the on / off button of the extension cord.
In this case, it does not directly concern them, but in order to surely exclude such a possibility during operation and avoid troubles, it is necessary to lay a dielectric layer between the contacts of the switch and the power supply board.
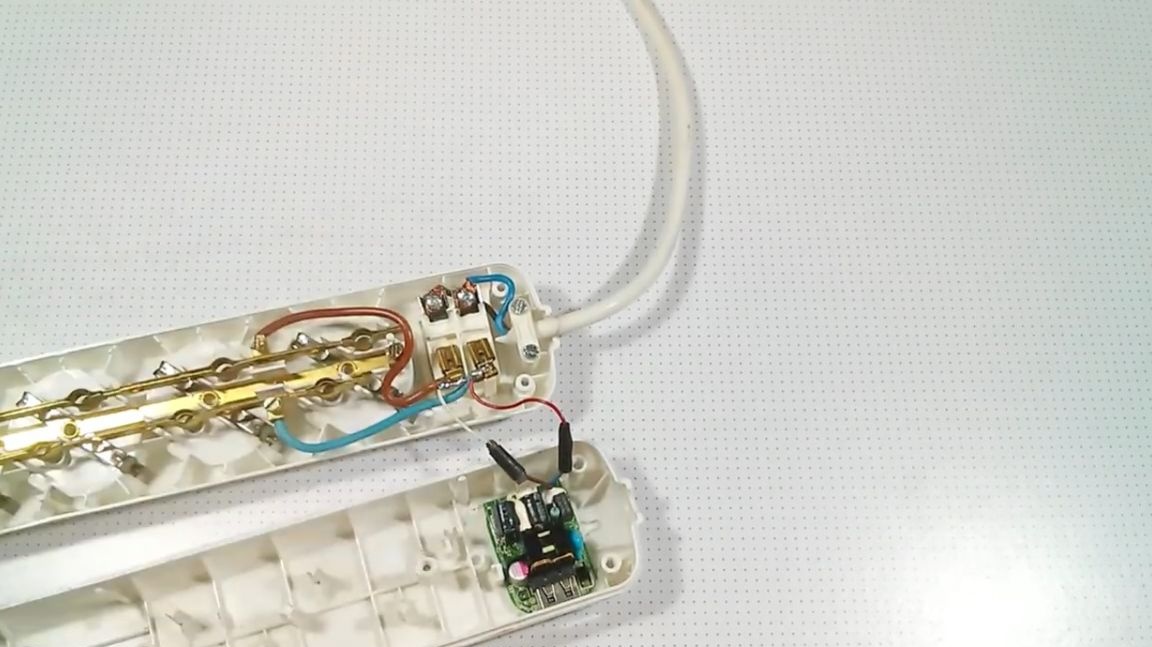
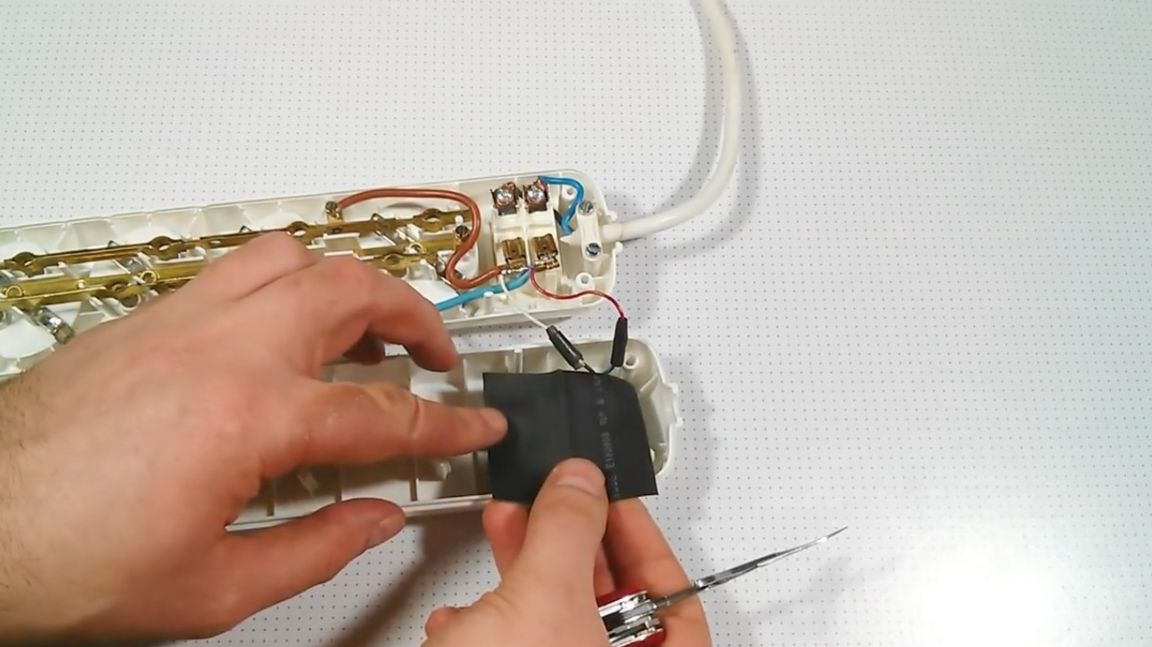
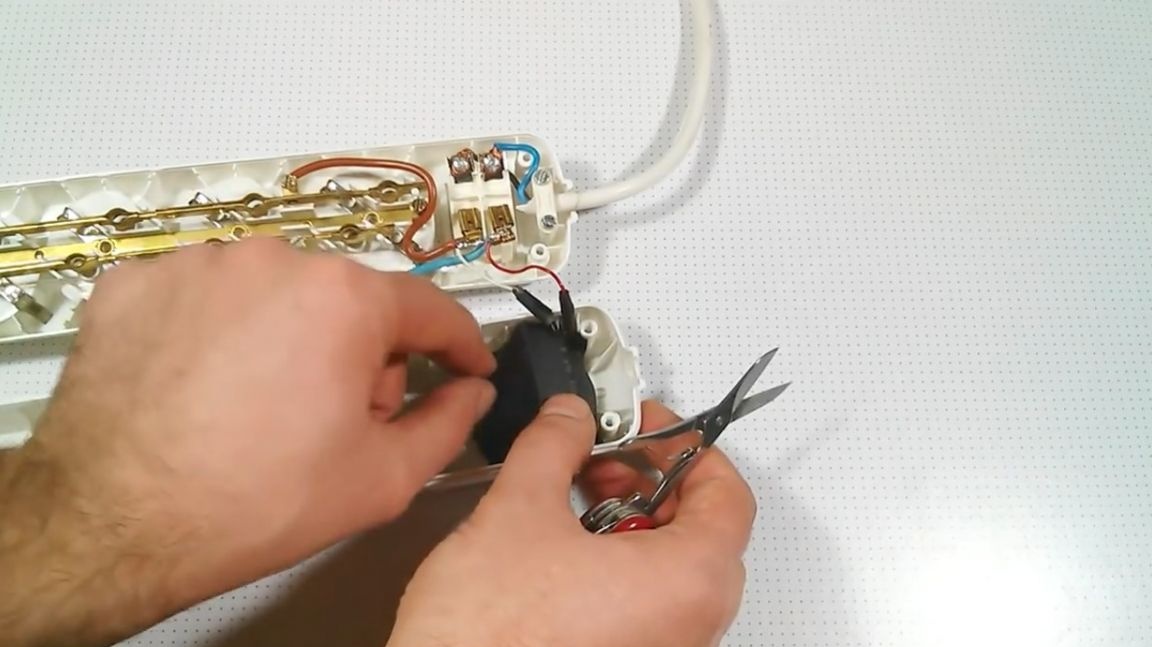
For this purpose, according to the author, a wide heat shrink tube is perfect.
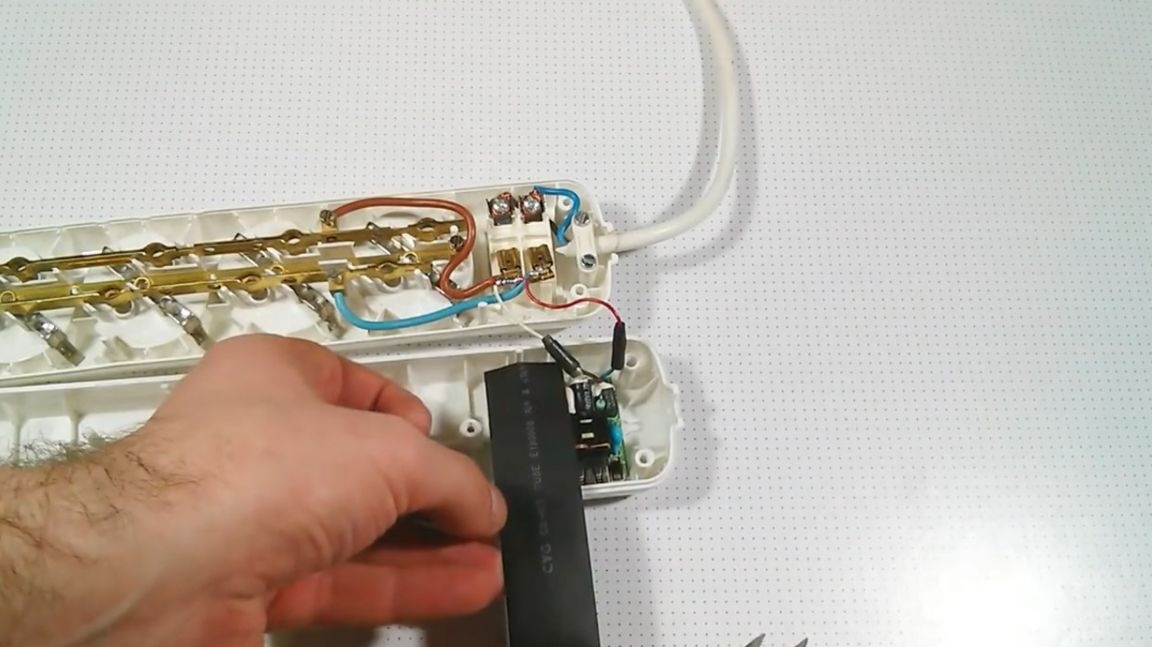
First, he measures a piece of the tube necessary in order to completely cover the bare board of the power supply unit, thereby preventing any possible short circuits. In order to close the board with such a piece of tube, it must be cut along with scissors.
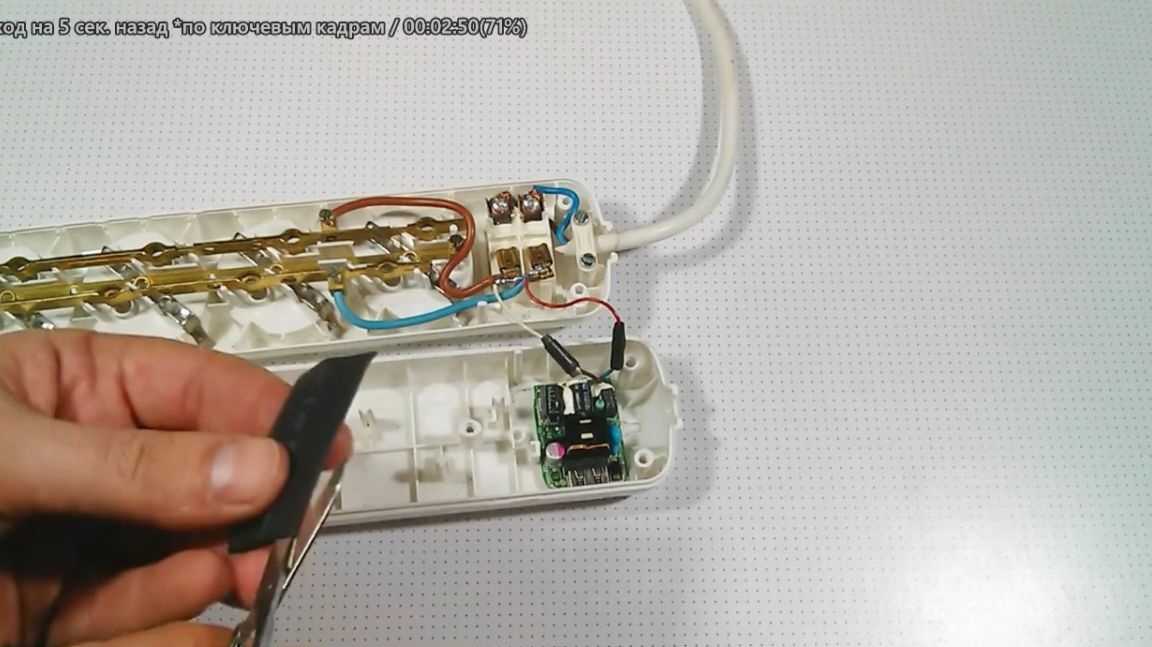
Then the resulting insulating layer must be positioned so that it completely covers the board. So that the heat shrink tube does not move during installation, you can glue it with any available glue. For this purpose, for example, all the same hot glue will do.
The final stage.
Assemble the extension casing. To do this, the author carefully laying all the wires, and making sure that nothing interferes and squeezes anywhere, he connects the upper and lower parts of the block.
The time has come for the test.
The author demonstrates that he got a full-fledged charger. To confirm, he connects a music player to it. The animated indication in the upper right corner of the mp3 player indicates that the battery is charging.
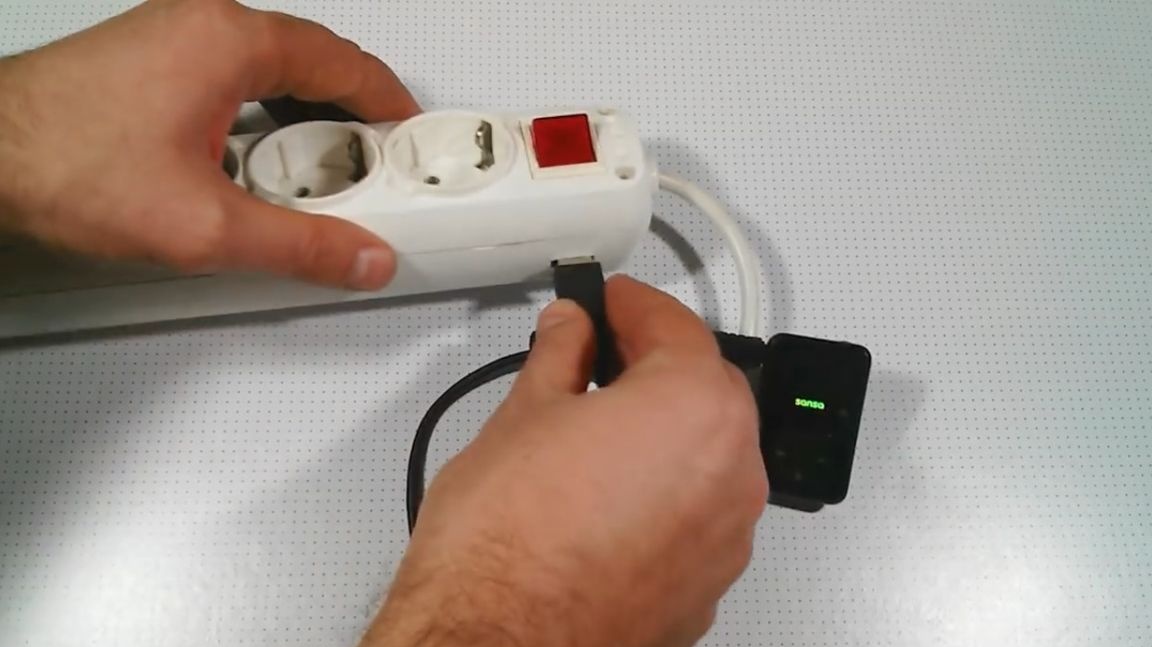
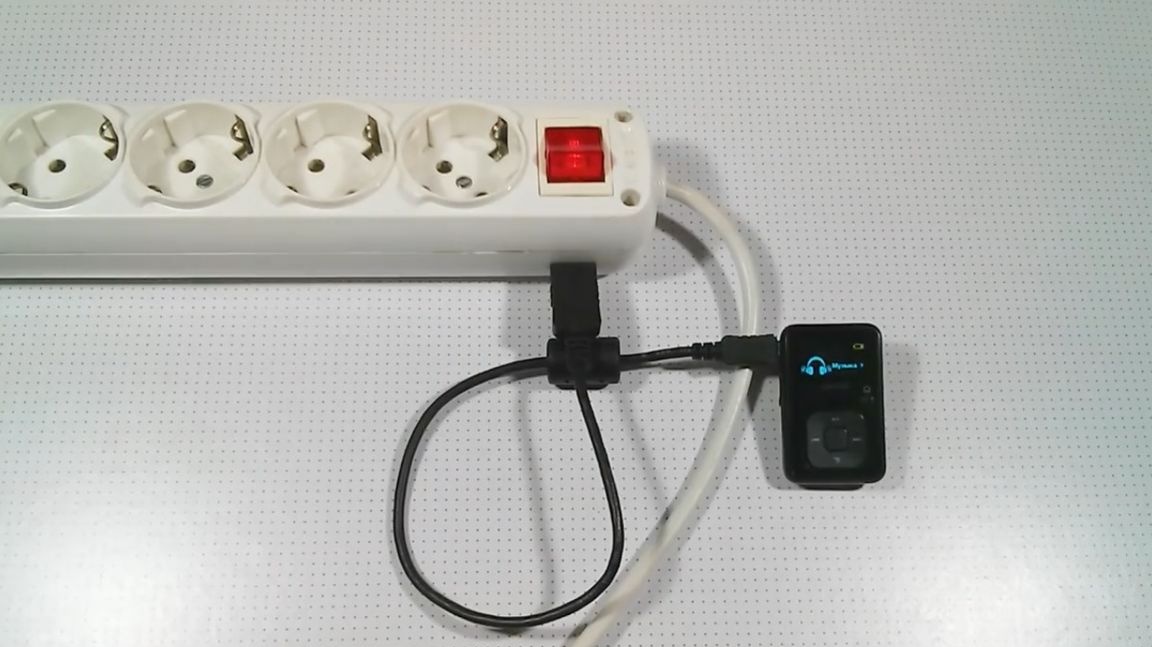
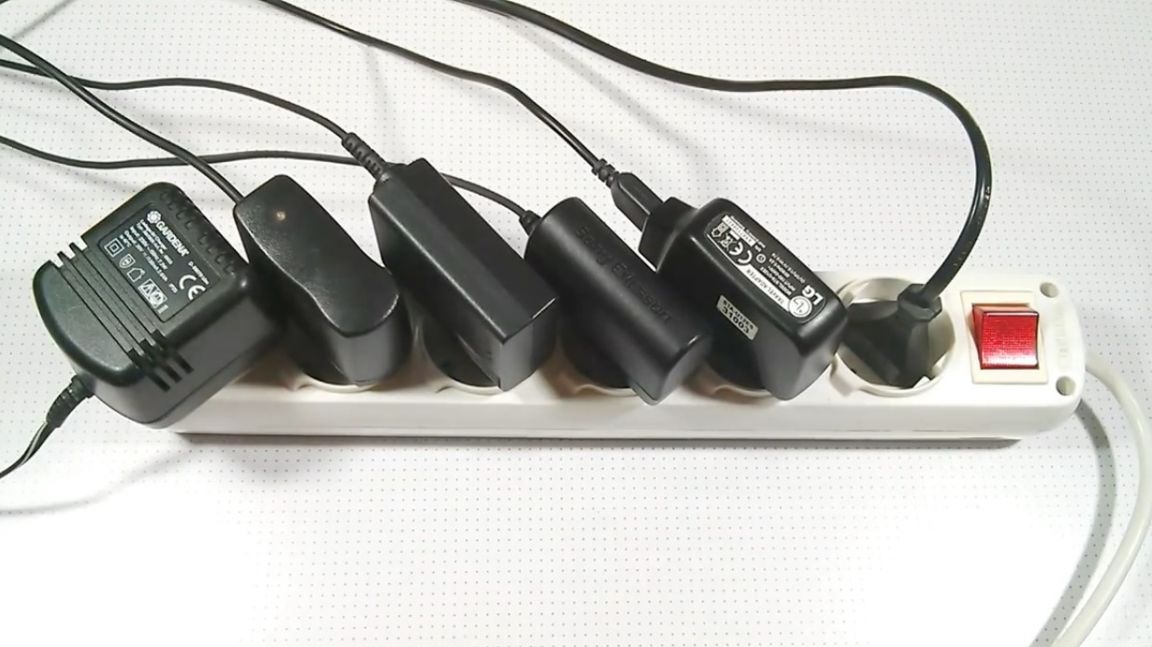
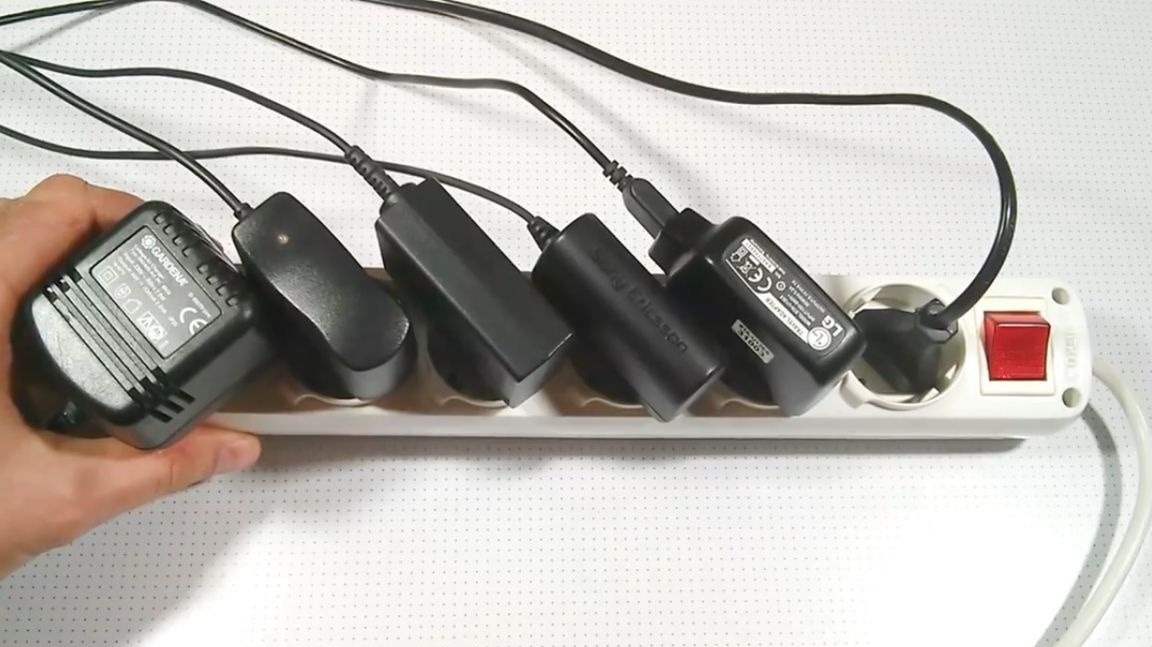
Nothing shorted out - that's good. Further, the author suggests adding a little versatility to his homemade product. He suggests using adapters. And now you can charge the android device via the standard micro usb, and if you change the nozzle, then the iphone.

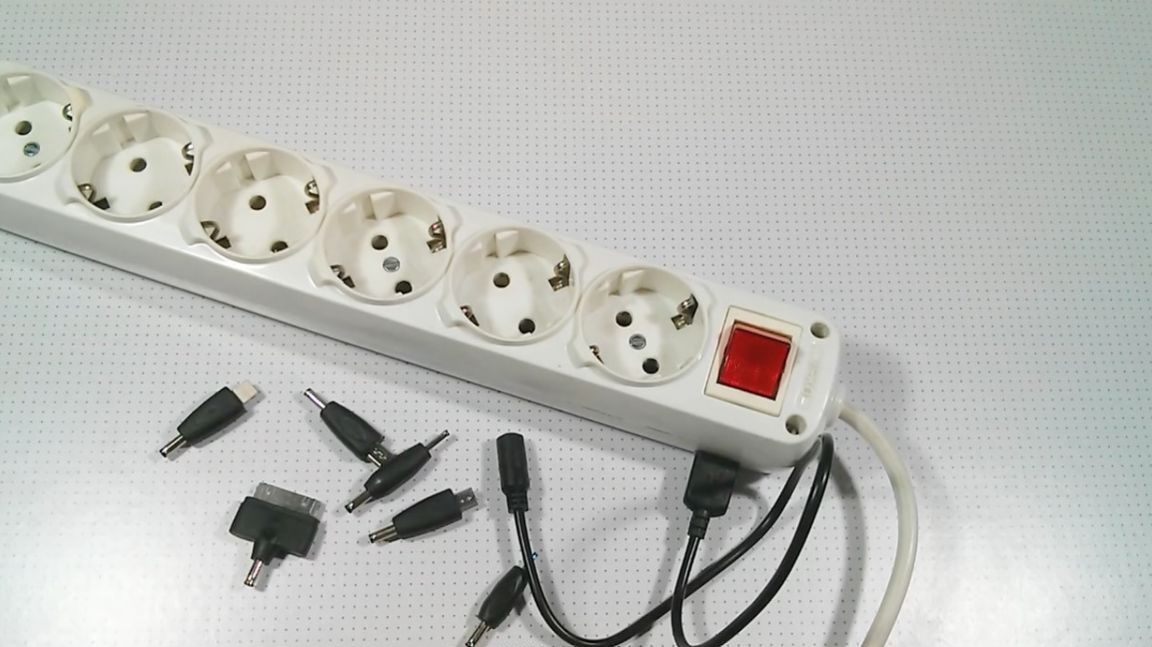
The power supply used by the author is quite enough for these purposes.
Thank you for attention. See you soon!