
Today I would like to share with you and show how to make one universal and very useful thing. In fact, this is a three-in-one organizer. In this case, it will be used to store any e small things and soldering accessories, as well as for one thing - it will also be a stand for a soldering iron. Oh yes, also part-time with a third hand, designed for soldering.
So let's get started.
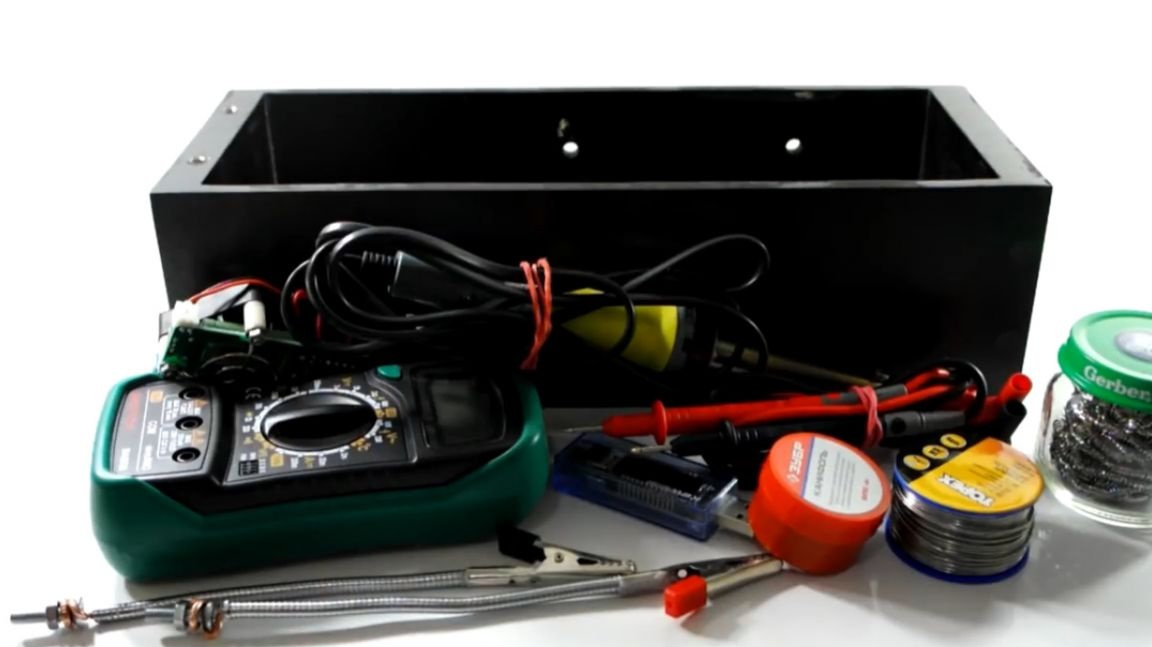
To do this, we need the following tools and materials:
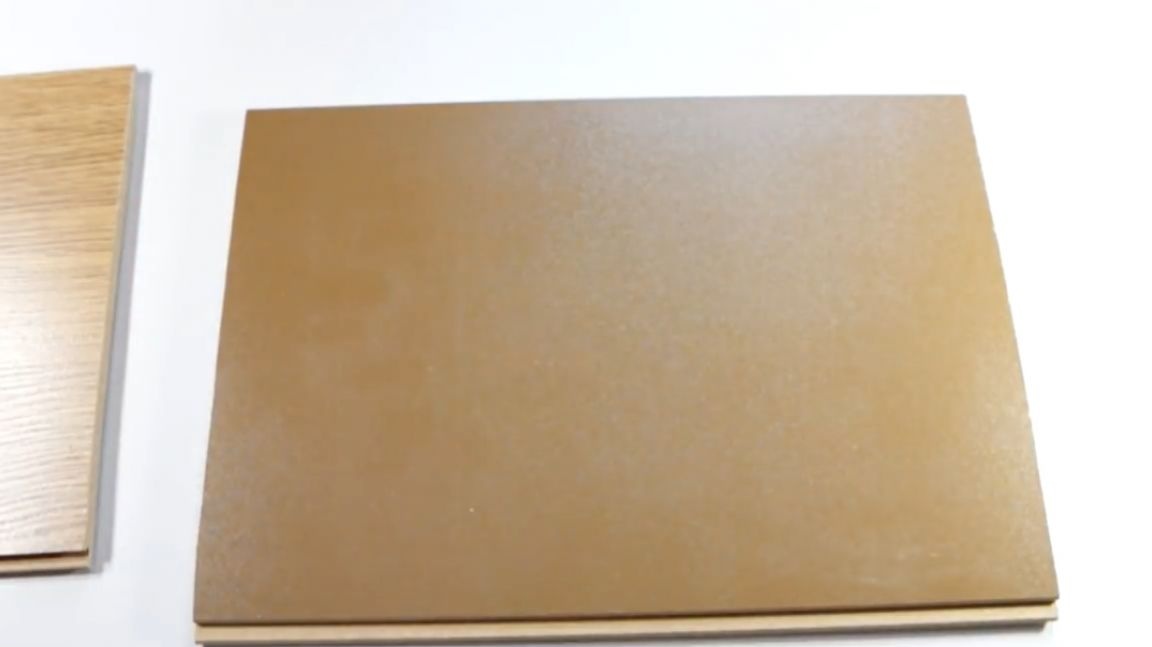
1. Laminate scraps remaining after repair
2. A small piece of a 16 mm chipboard
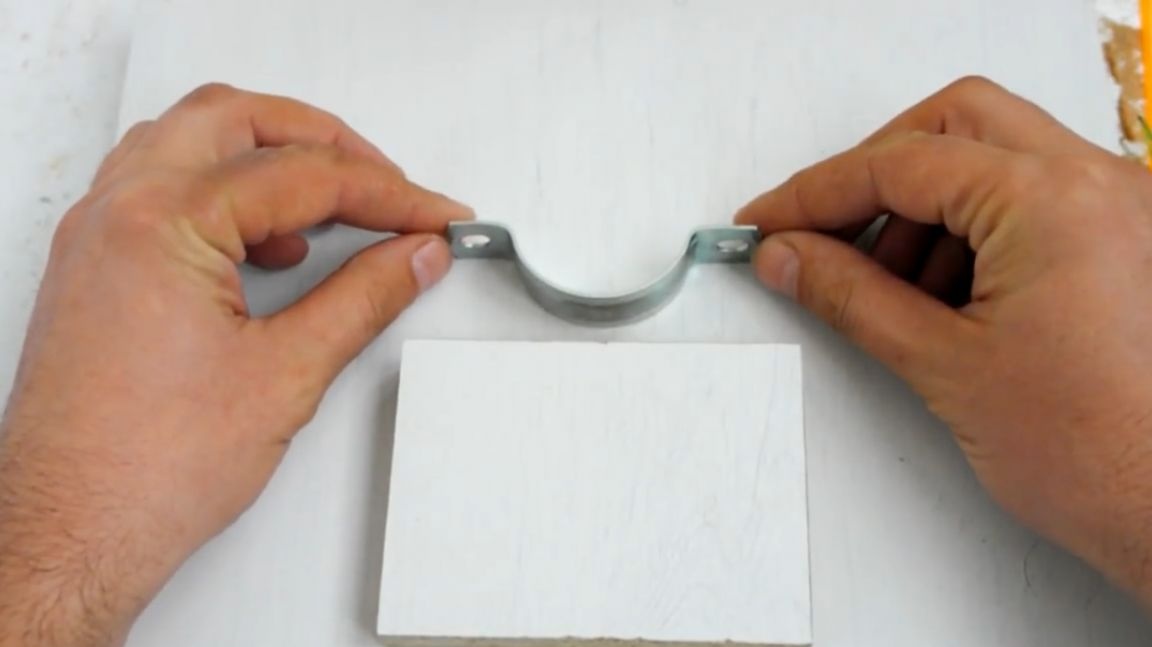
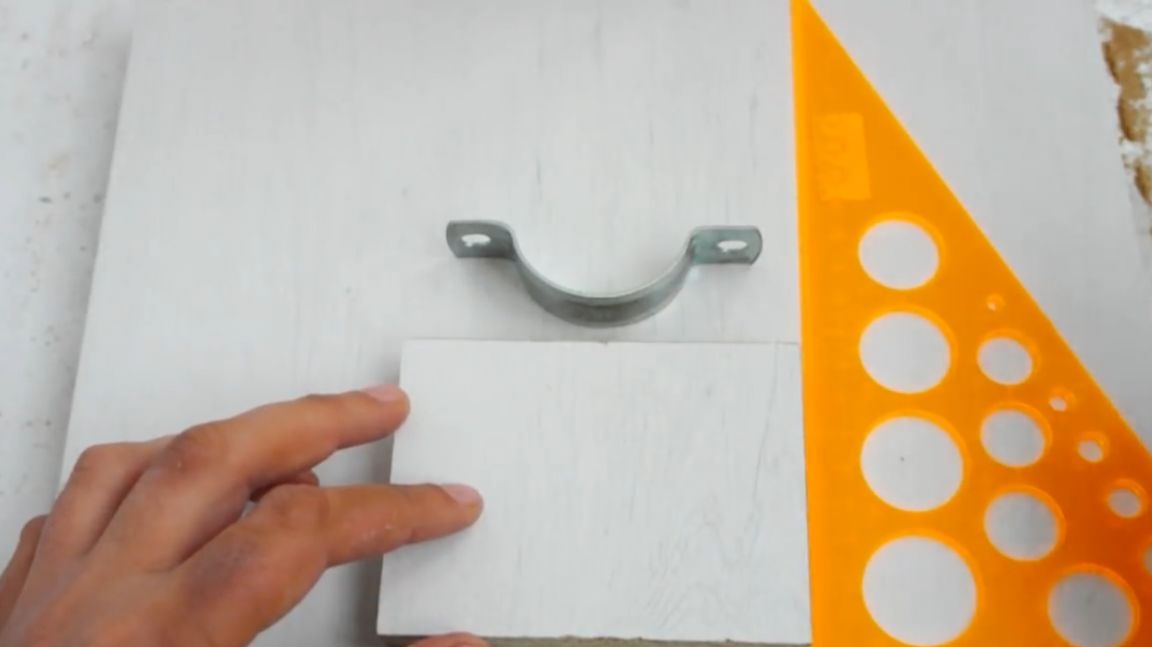
3. Clamp for polypropylene pipes
4. Electric jigsaw
5. Glue for wood
6. Paint in the spray can. The author used black, but then, in some way, regretted that he opted for such a gloomy dark color. Therefore, it is advised to choose a more fun color.
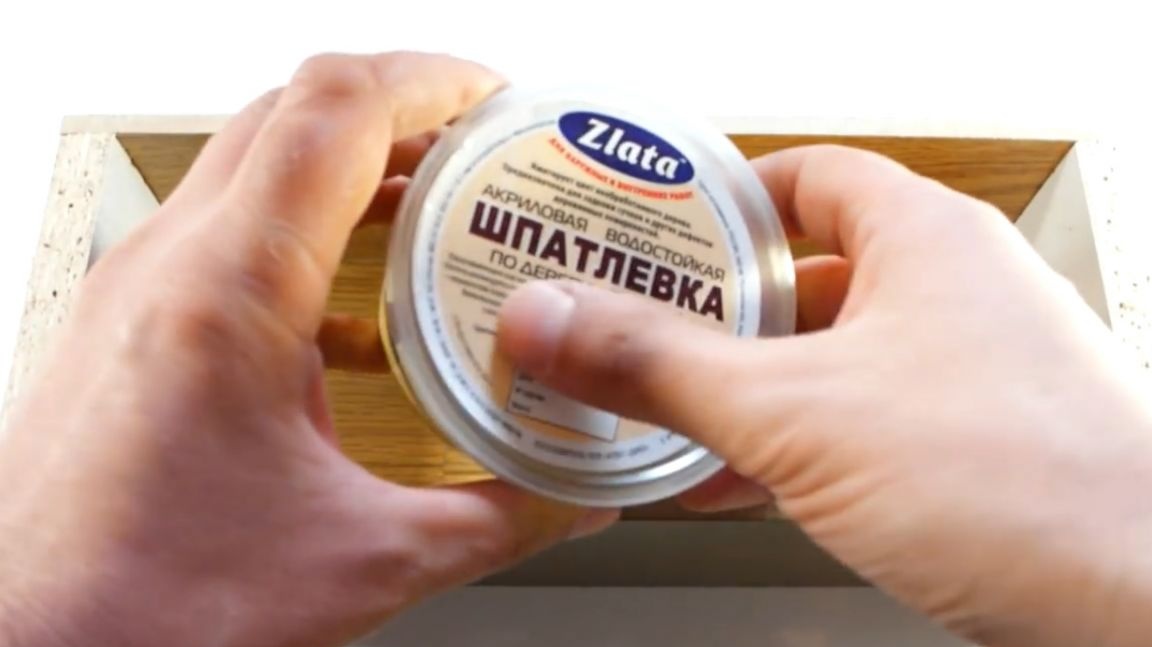
7. Putty
8. Sandpaper
9. Usb lamp from the store fix-price
10.2 Crocodile Clips
11. A pair of small bolts and nuts to them
12. Copper wire
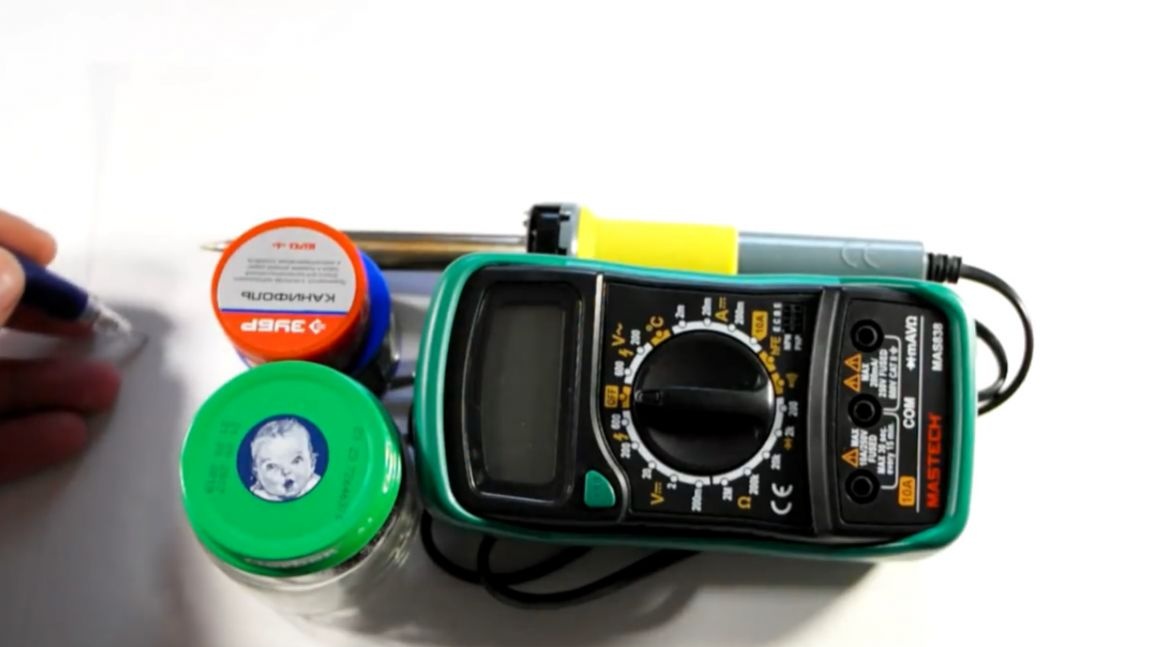
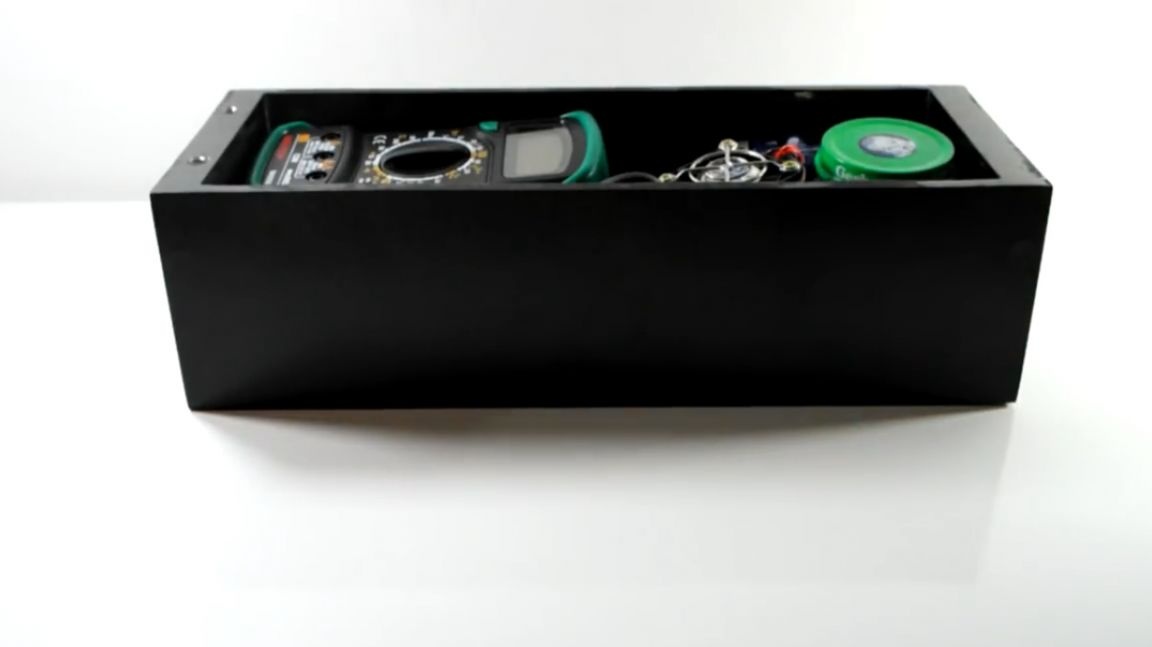
The author begins work on homemade work. First you need to decide what you are going to store in your homemade product. To determine the size of the future product, it compactly folds what will be stored in a makeshift organizer in the near future.
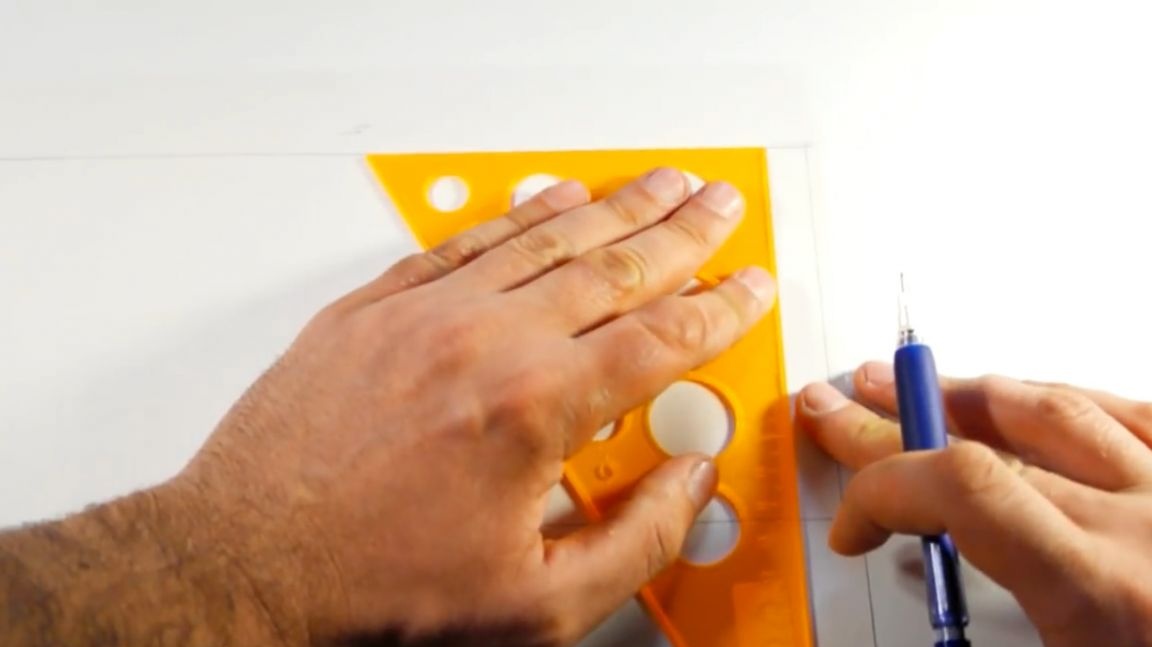
At this stage, he also notes the approximate dimensions of the future product.
Now, but more precisely, he is making a drawing of the workpiece. In the manufacture of the drawing, it is also necessary to take into account the thickness of the materials used.
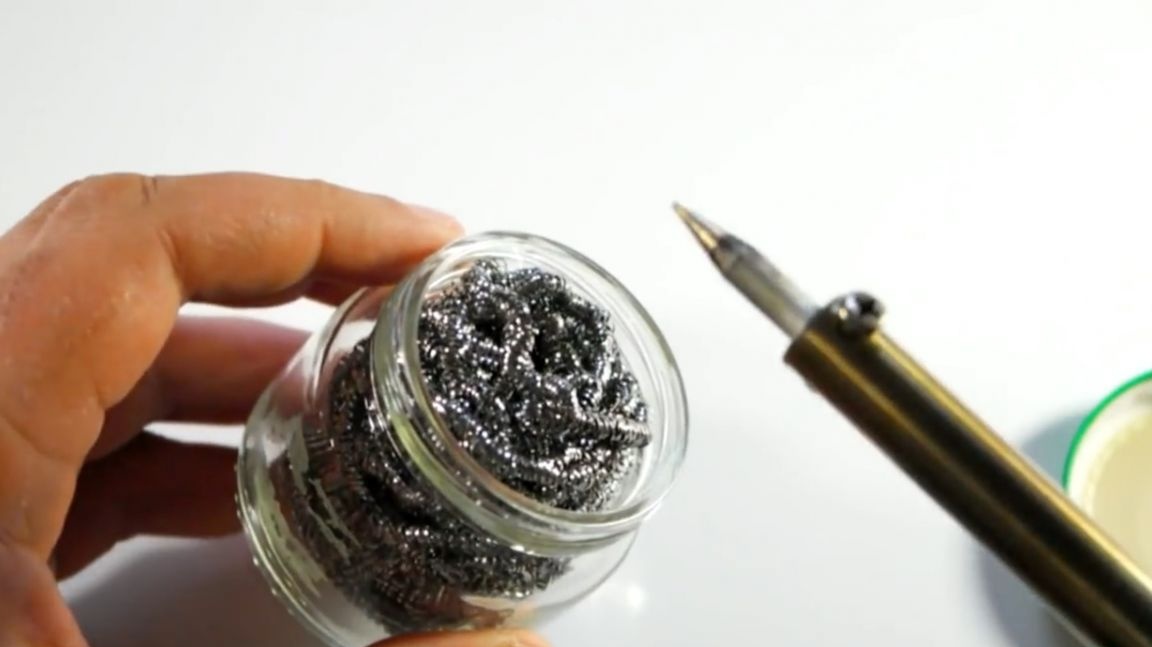
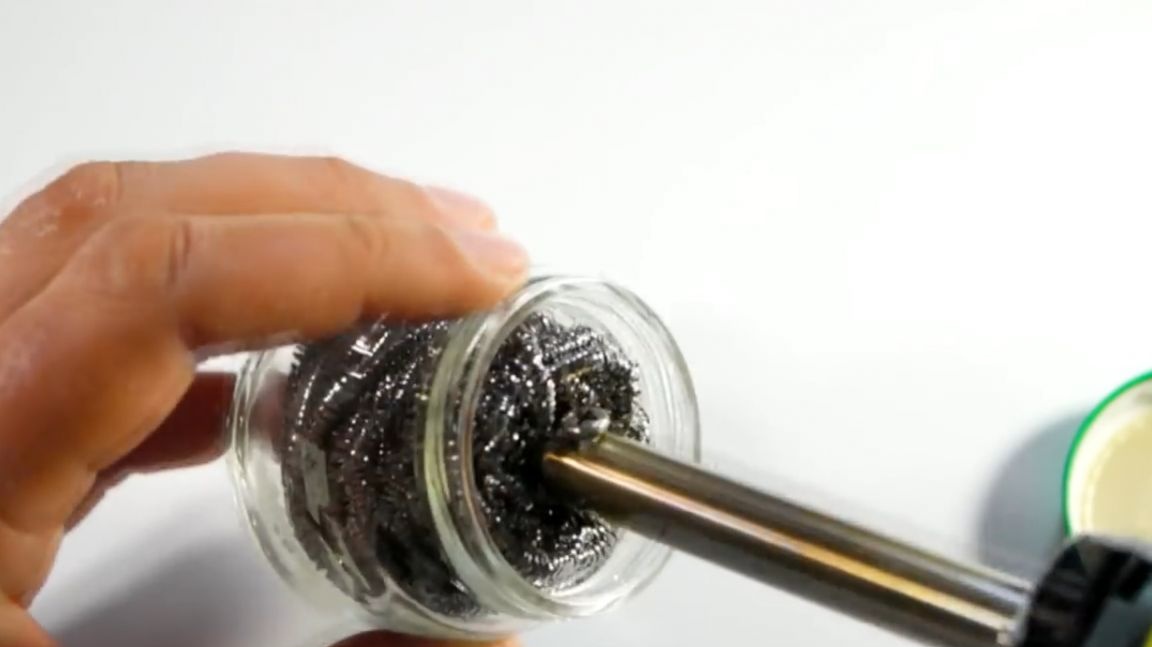
During the manufacture of the organizer, the author decides to share with us one very practical and convenient life hack. He shows a baby food jar inside of which there is an ordinary metal sponge for dishes, which fills the entire interior of the glass. It is she (this same sponge made of metal wire), according to the author, that perfectly cleans the soldering iron tip from carbon deposits, as well as any rubbish that forms on the soldering iron tip during soldering. In order to update the sting, it is enough to make just a couple of simple movements, and it will sparkle as if just from the store. Very convenient thing, I shook out the garbage from the can six months later and continue to use it. Virtually no wear.
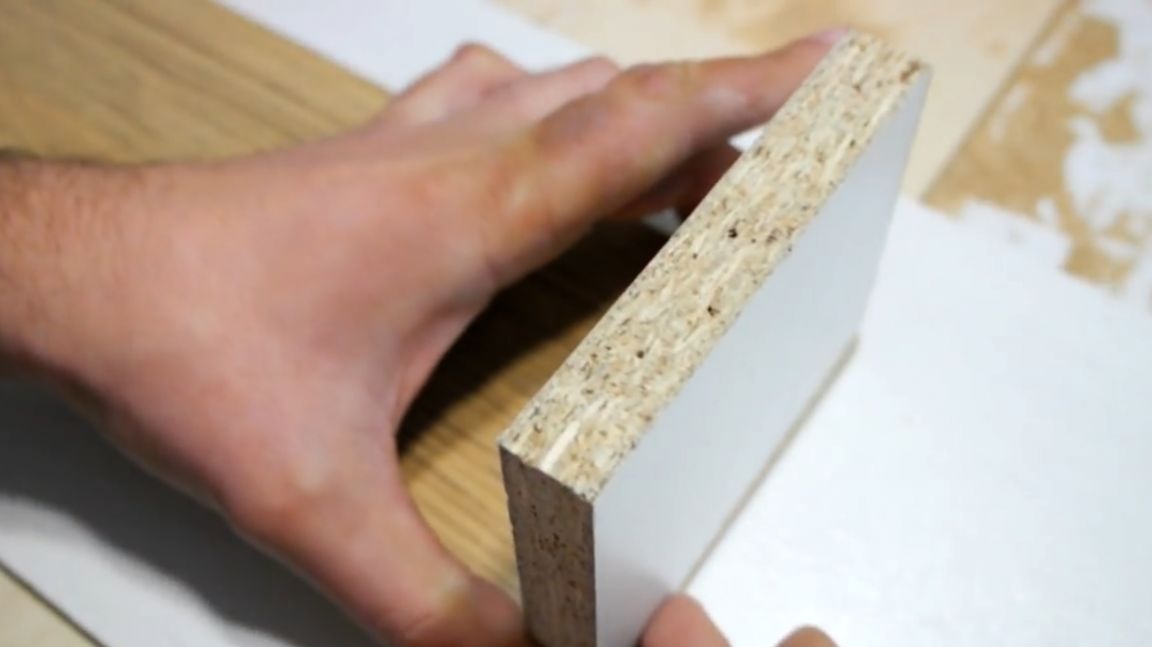
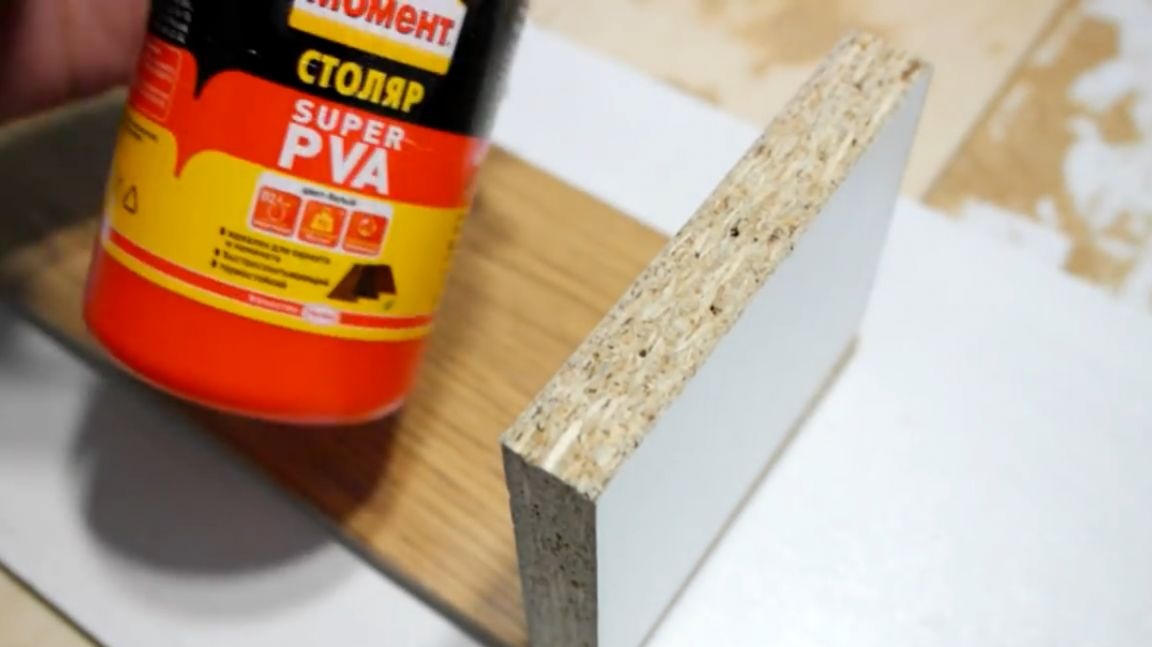
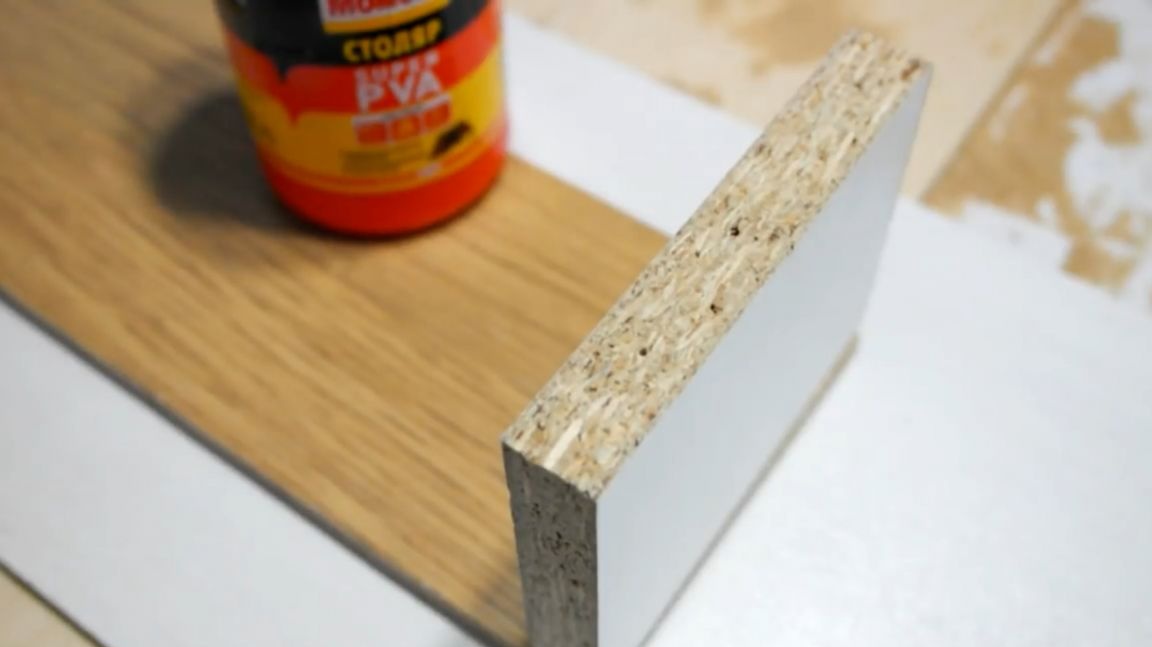
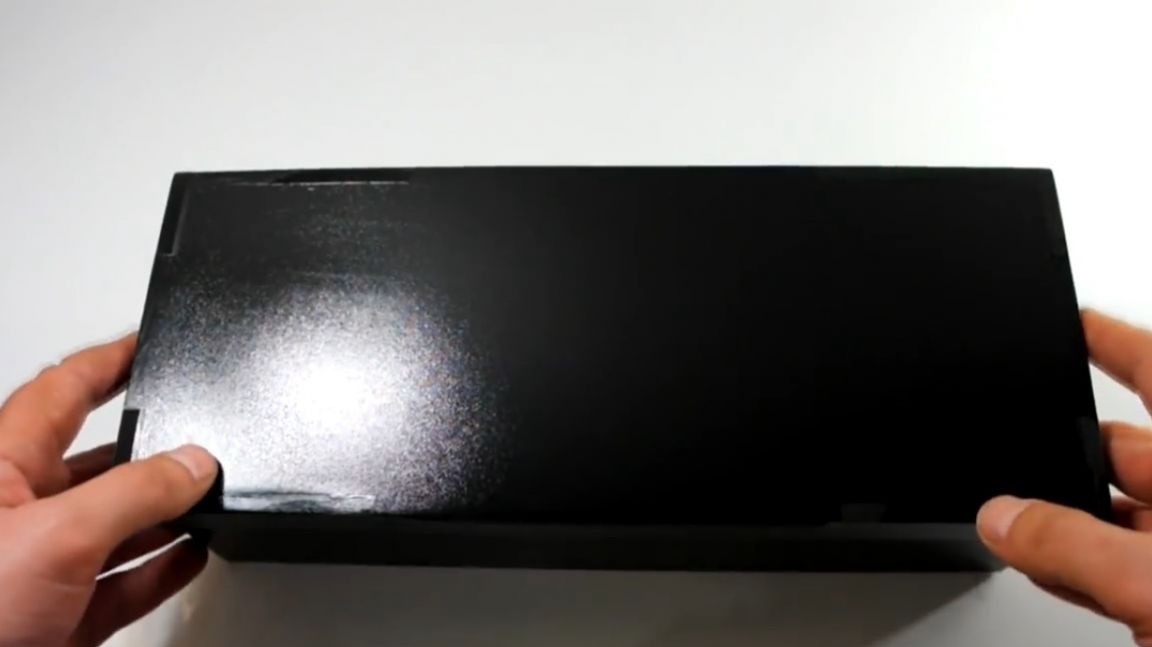
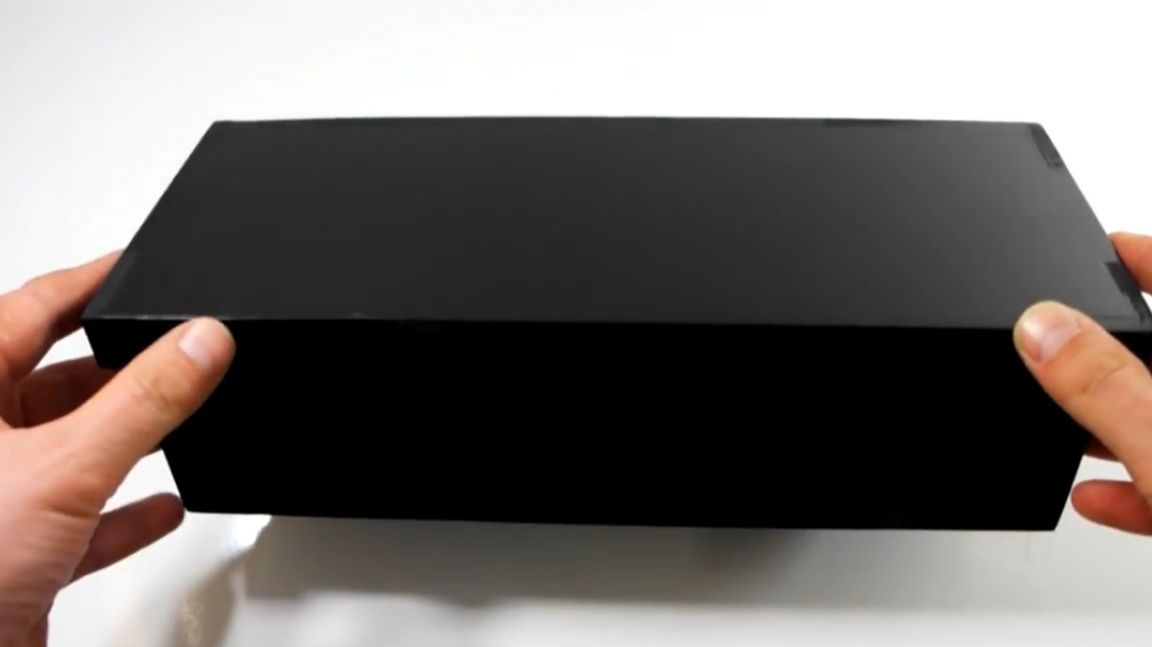
Now the author proceeds directly to the manufacture of the organizer. To begin with, he saws the size of a laminate and chipboard.Super precision is not needed here, but still try to make the cut as close as possible to 90 degrees. Here is a box should work.
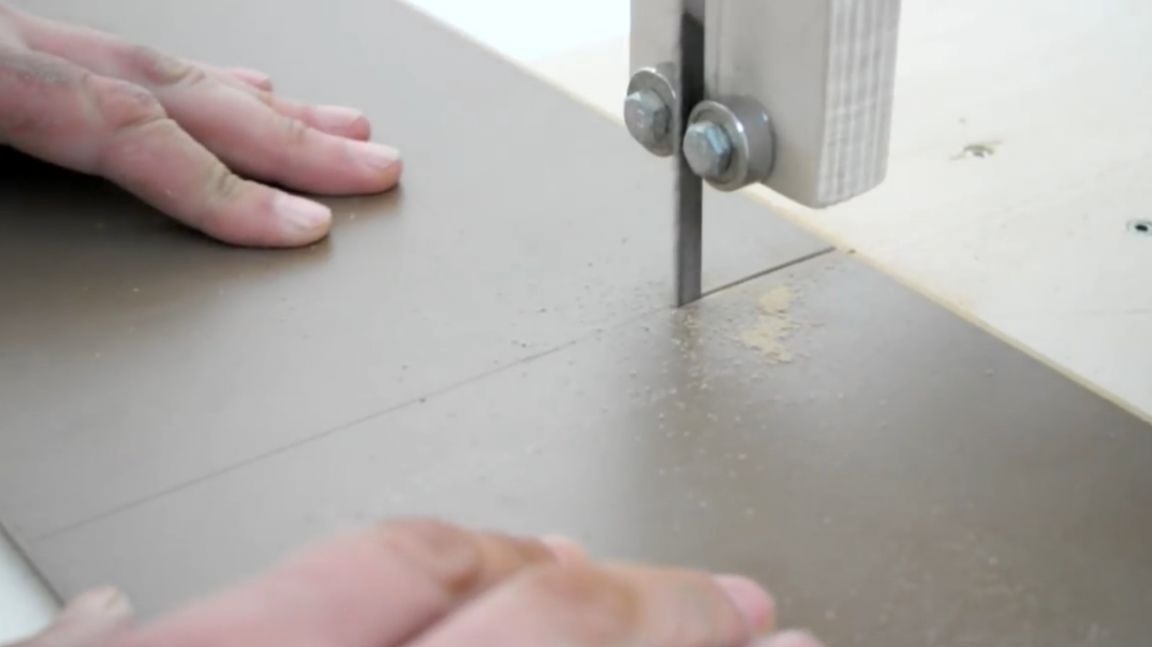
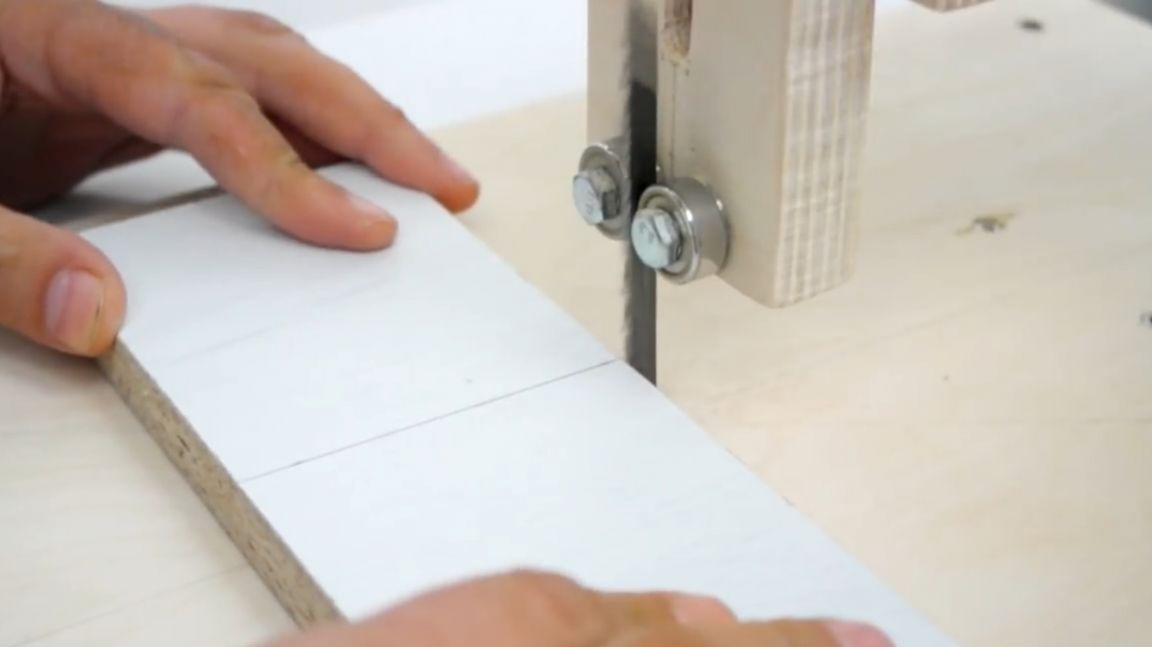
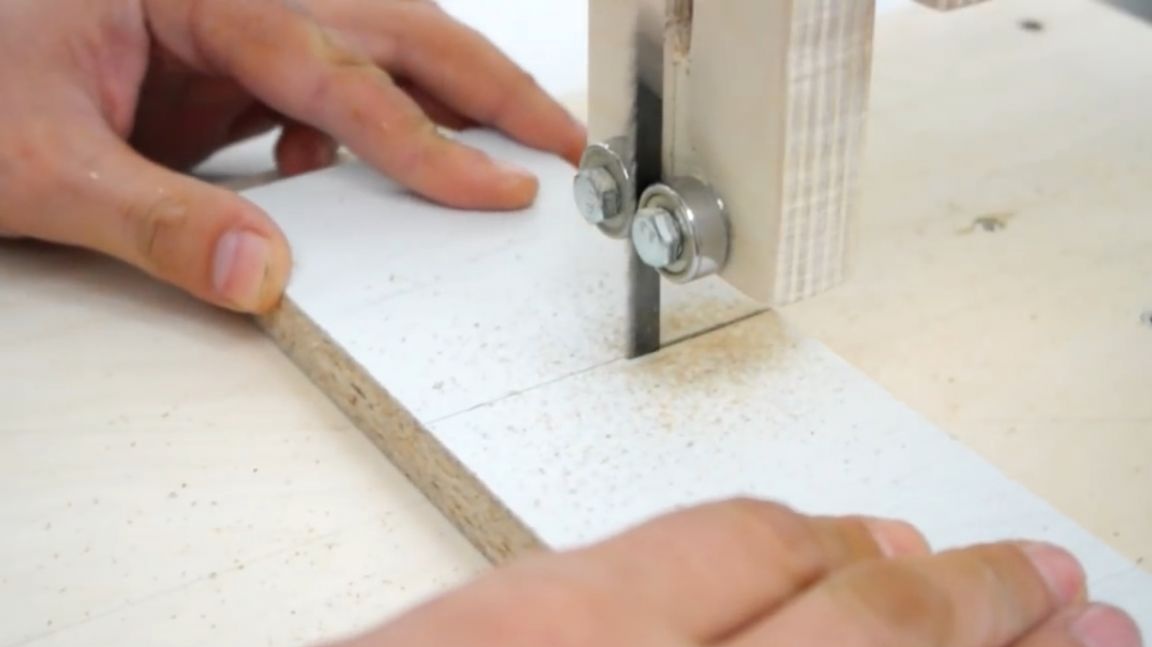
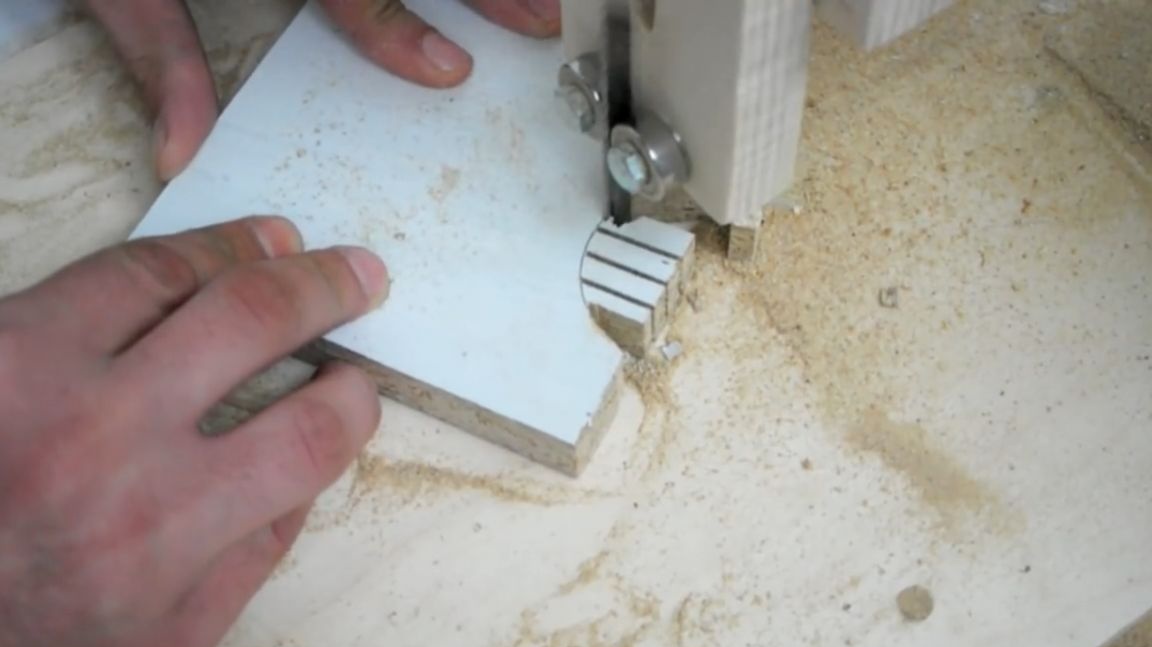
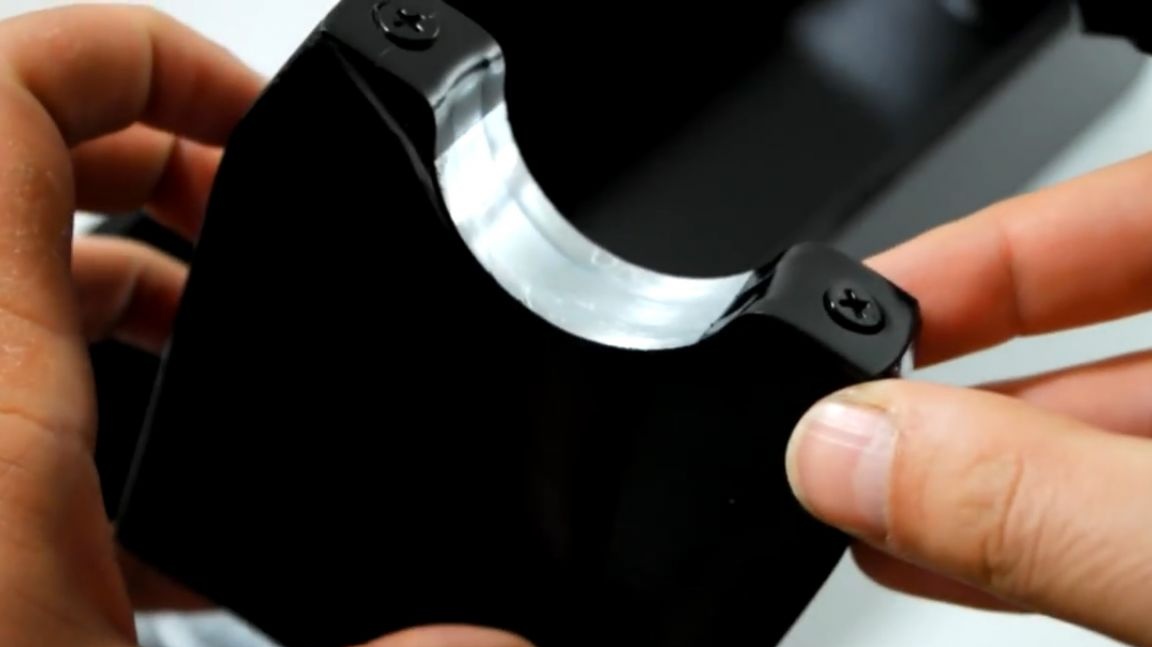
Next, you need to mark out what size the supports for the soldering iron holder should be. The recesses should be naturally higher than the walls of the box, and the supports themselves are of such a length so that lying quietly fit in the box, and in one layer. Now you need to cut out the recess for both metal parts. The author does it like this:
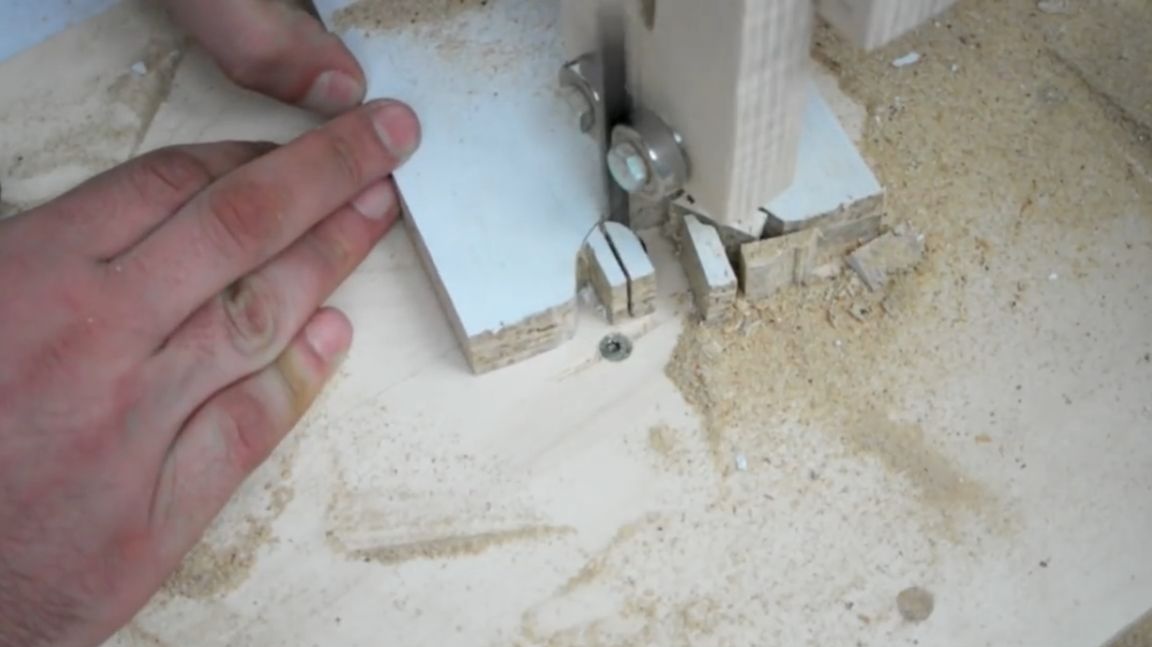
After some time, he realizes that this could be done much easier with a crown on a tree, and only then cut in half. Well, as they say, a good thought comes to someone else or to ourselves, but with a delay.
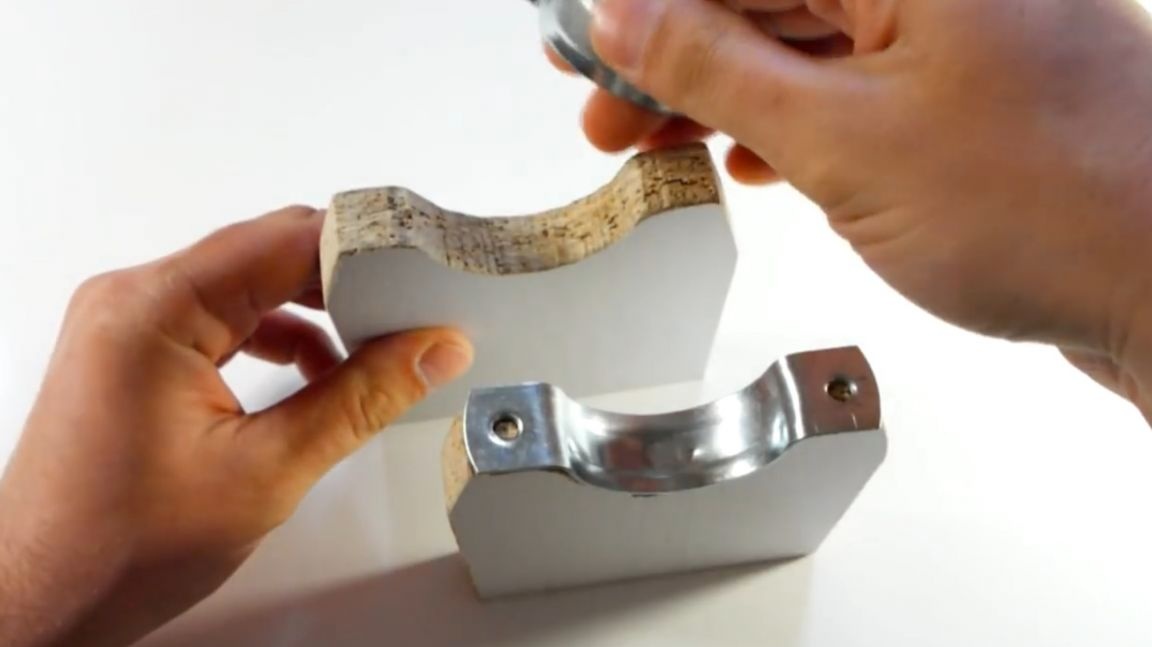
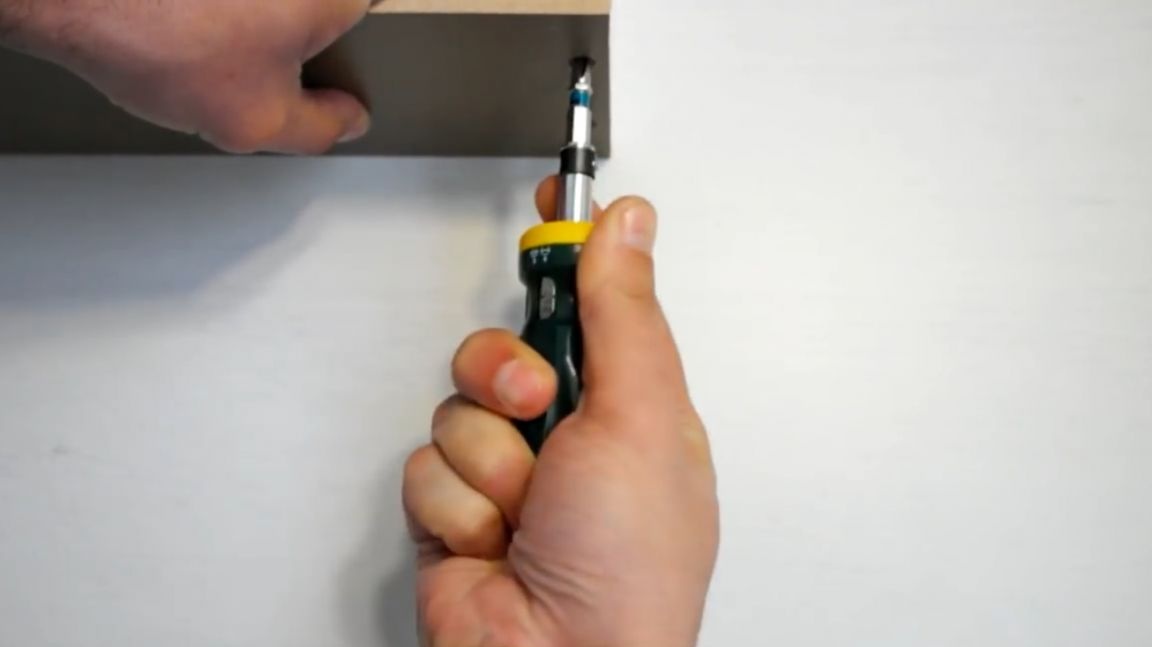
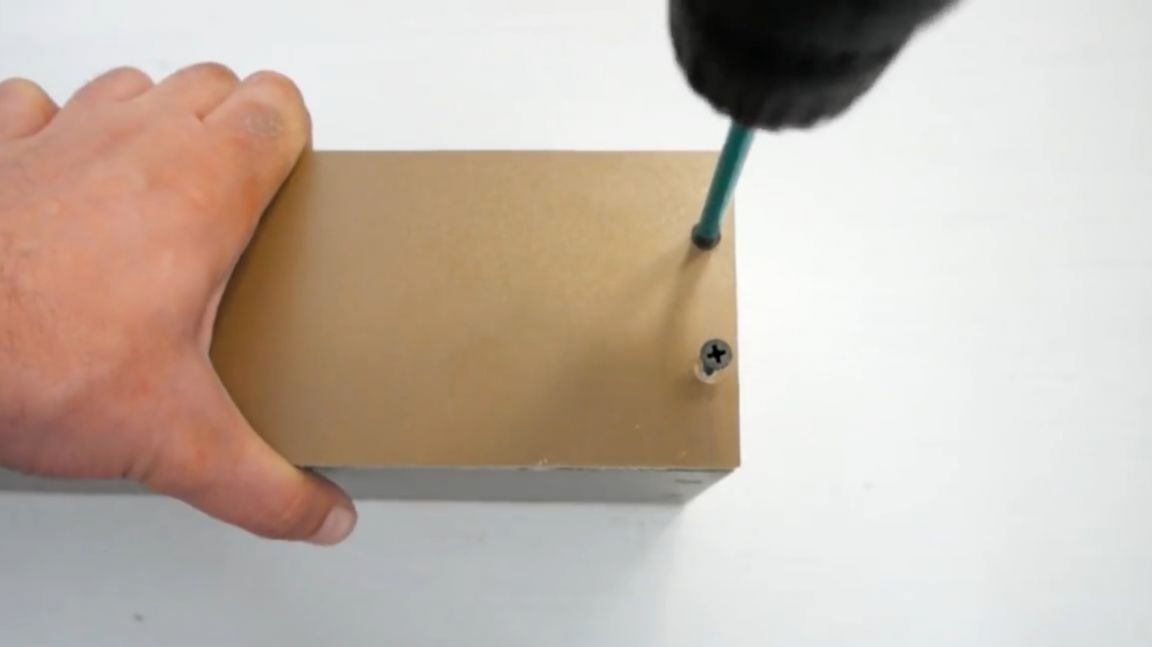
Here is what happened in the end. It remains to tighten a couple of screws and you're done.
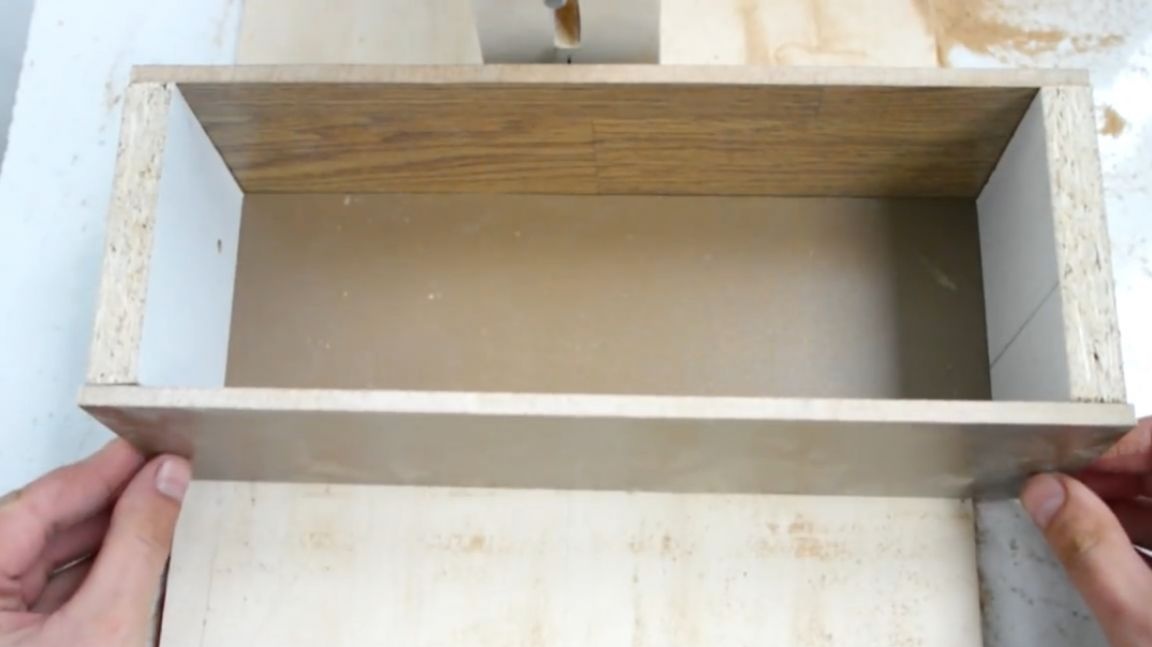
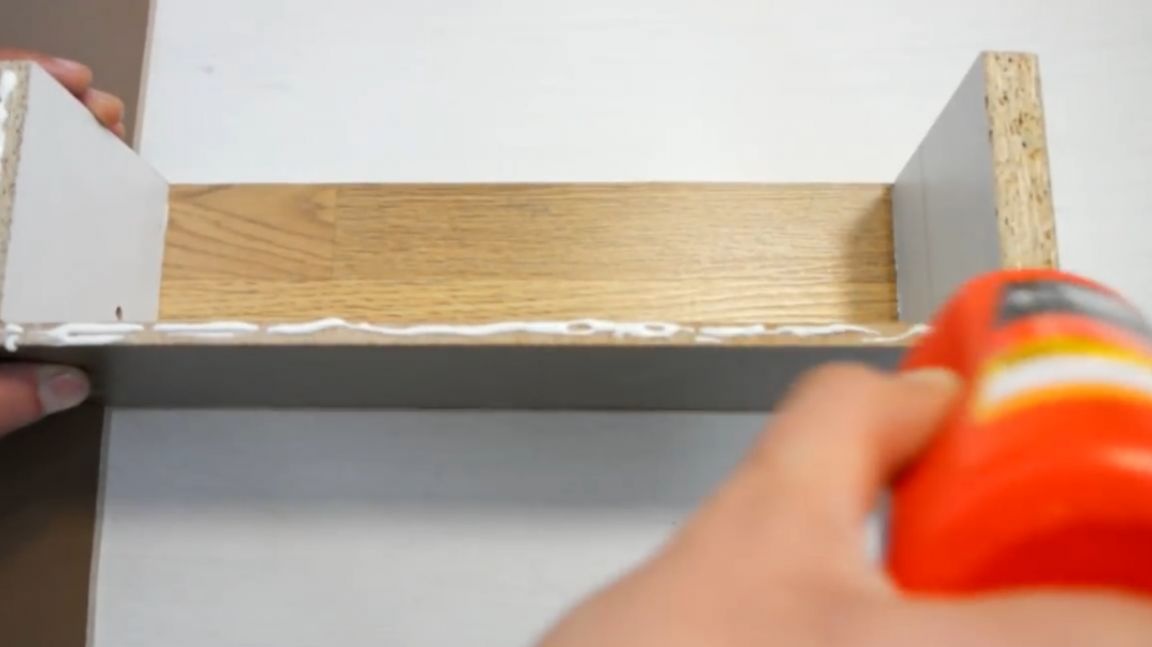
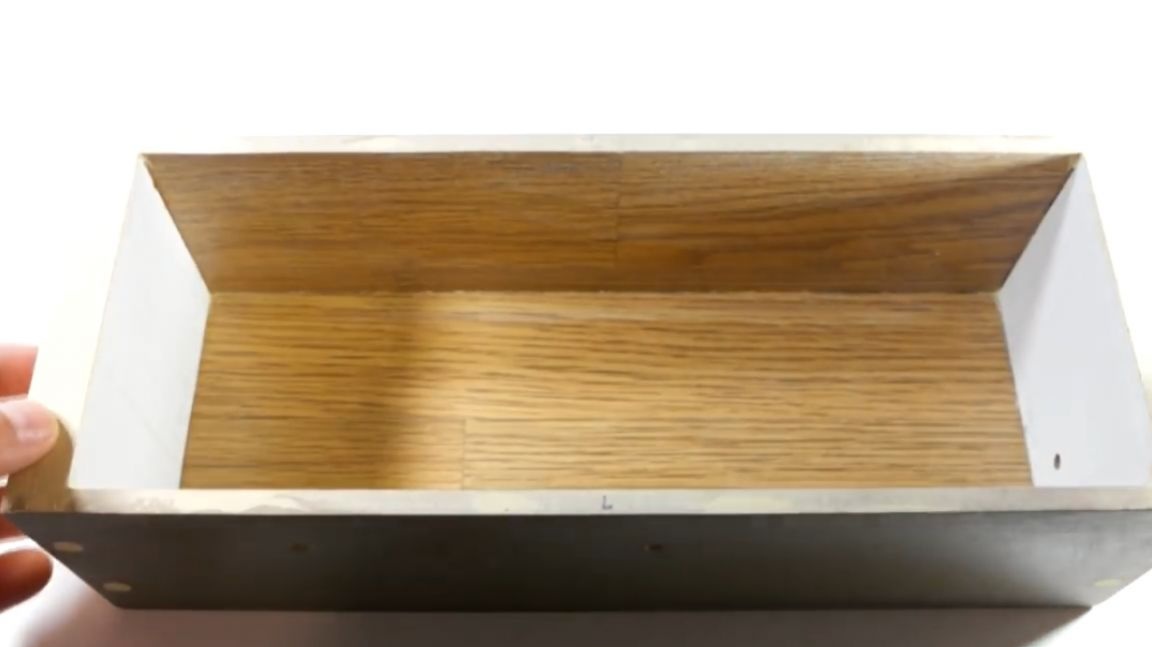
Now begins to assemble the box itself. It starts from the bottom. In advance, makes small recesses under the caps of the screws. Then in the places of gluing with sandpaper it removes the entire glossy layer of the laminate. Next is gluing. The author takes special glue for wood products and glues wide side walls made of chipboard. When bonding, it is advisable to use clamps. After the glue has dried, it is necessary to fix the entire structure from the bottom to the screws. Next, check the perpendicularity of the walls. It is necessary to measure the angle between the walls. It should be straight - 90 °.
Everything is fine, let's go further. Now this design has rigidity, so you can glue and screw on the screws at the same time. Here's what happened.
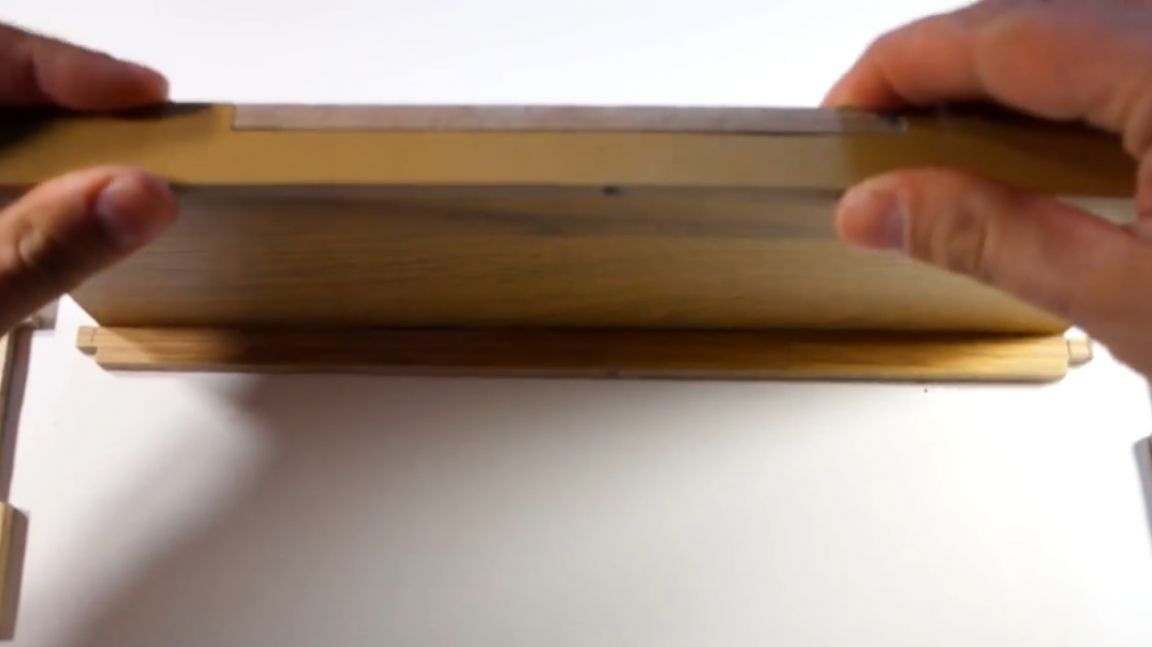
The author made the lid of the box on the spike-groove connection. It is long and dreary. The author drove everything manually so that it fit tightly enough into a single whole. Next glues all the details. This will be quite enough, since practically no loads are expected on this part of the organizer.
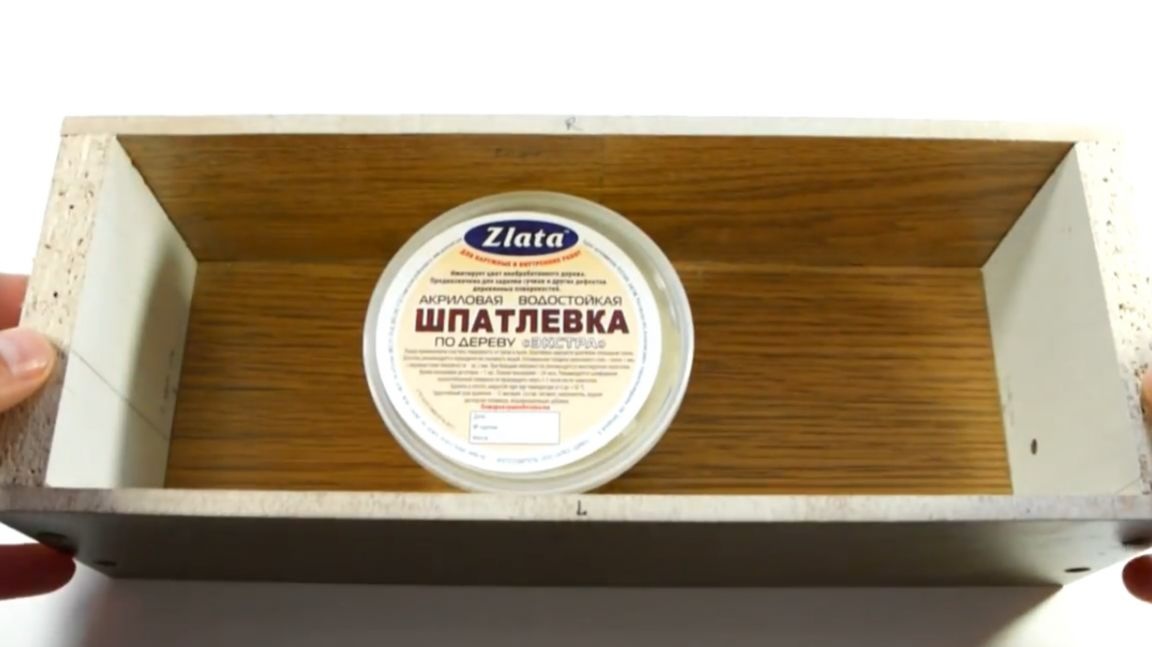
Then you need sandpaper. It is necessary to use it to sand all possible irregularities and putty on wood. Putty is mainly needed to close the chips on the ends of the chipboard, and to hide all the jambs that formed during manufacture. After the putty hardens, it is necessary to clean it. All the same sandpaper will come to the rescue.
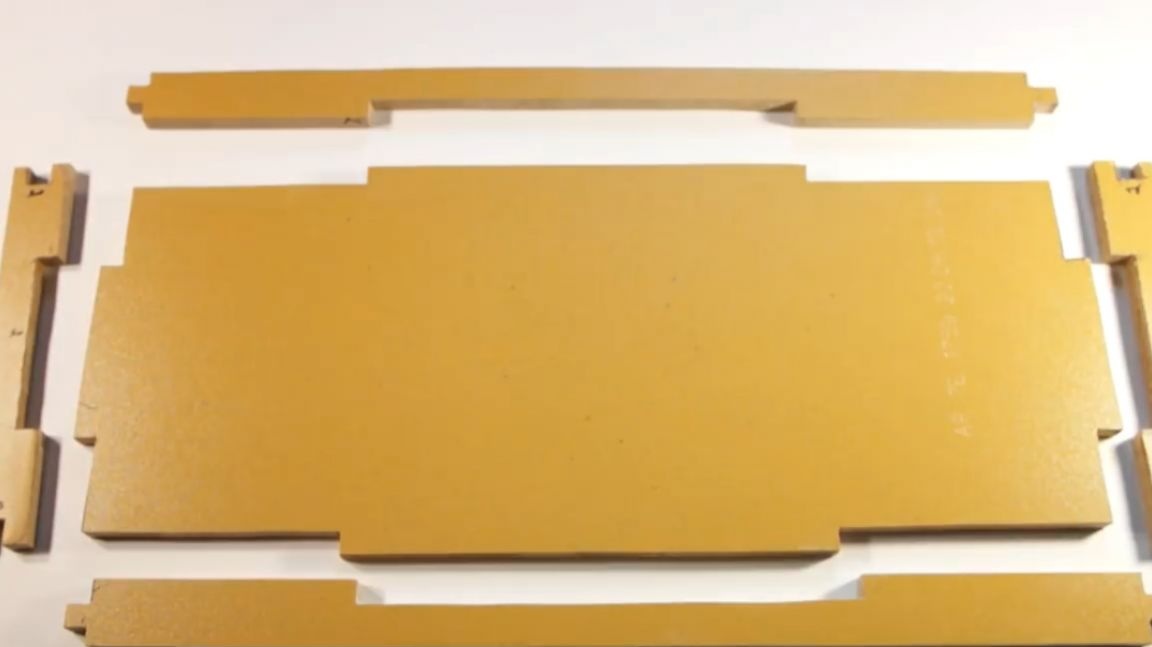
The next stage is painting.
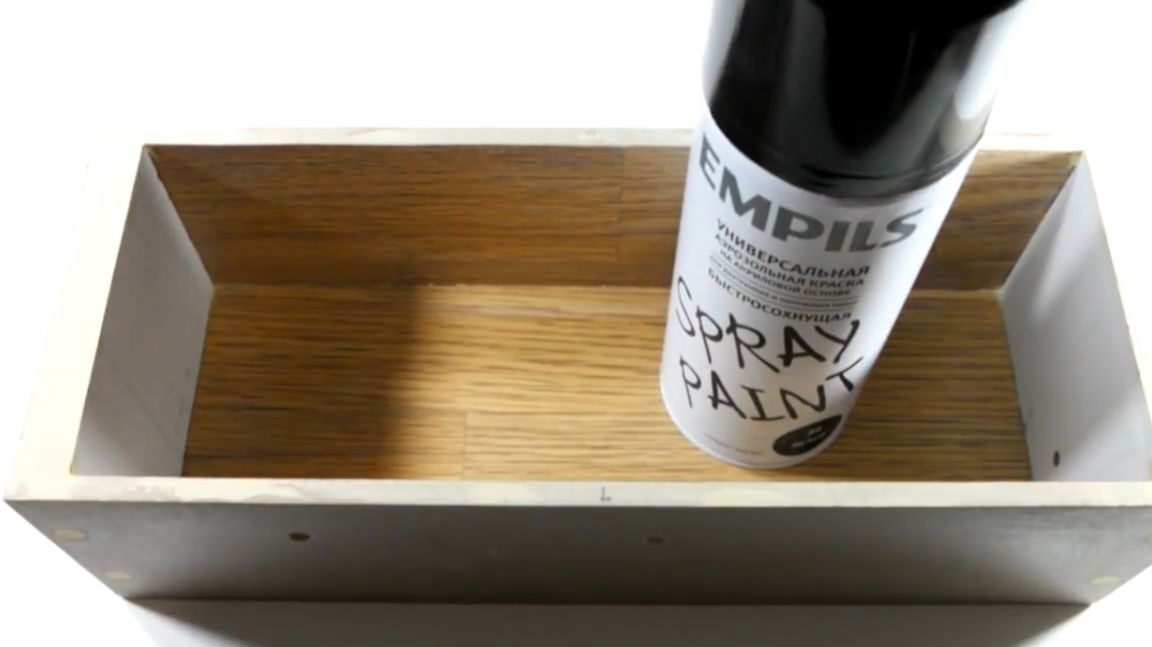
It is necessary to color the box to give it a presentation.
Well, the paint is completely dry and then the author would like to add one point. It was necessary to select a more cheerful color, so that relatives did not have a desire to take away the box and bury, for example, a hamster in it. Anyway.
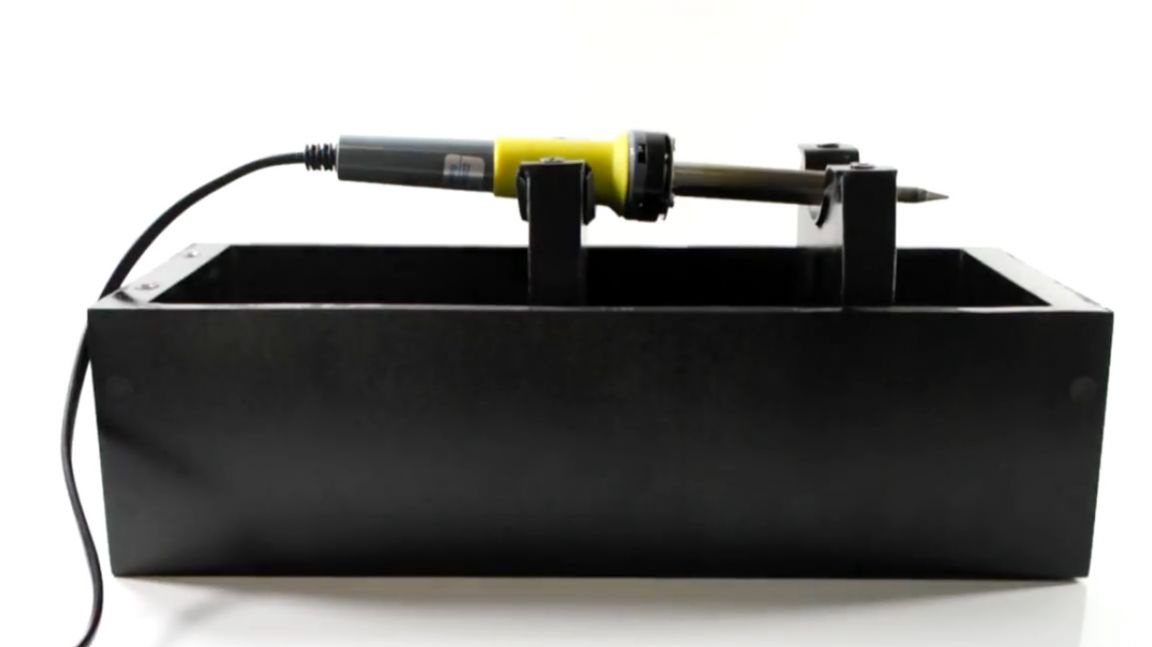
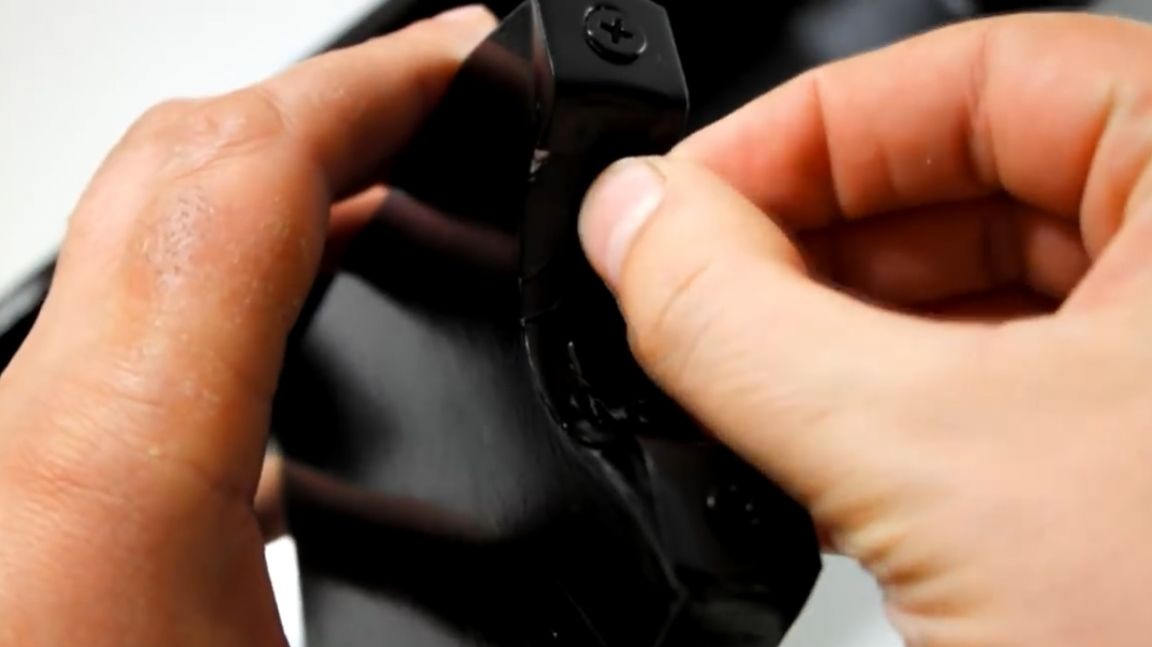
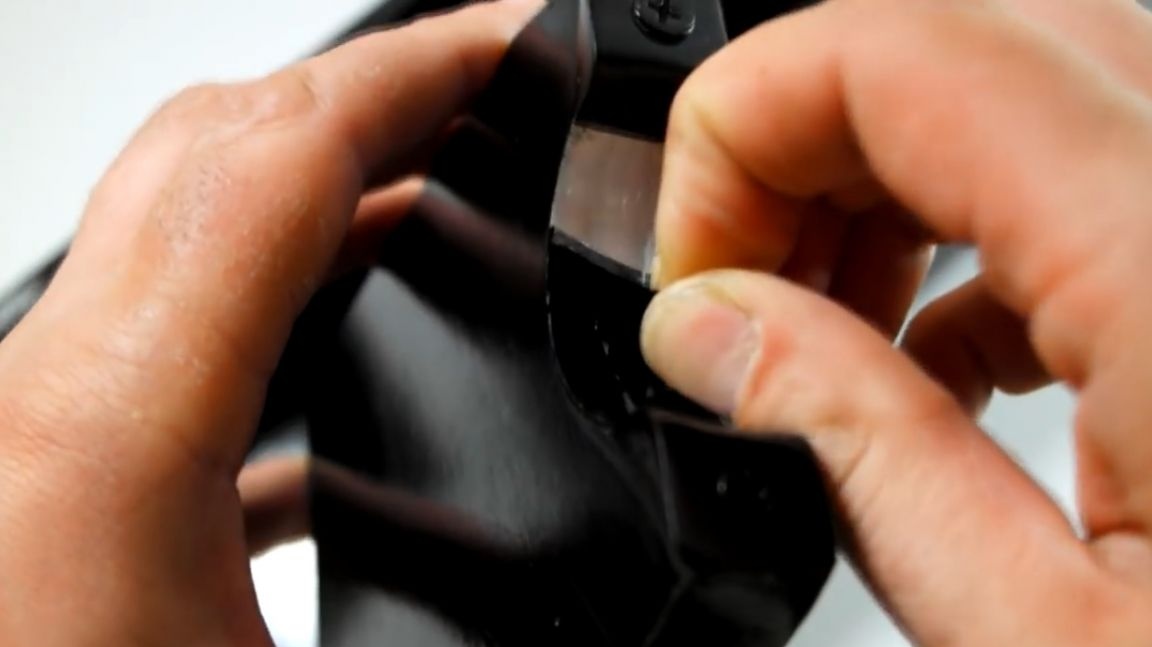
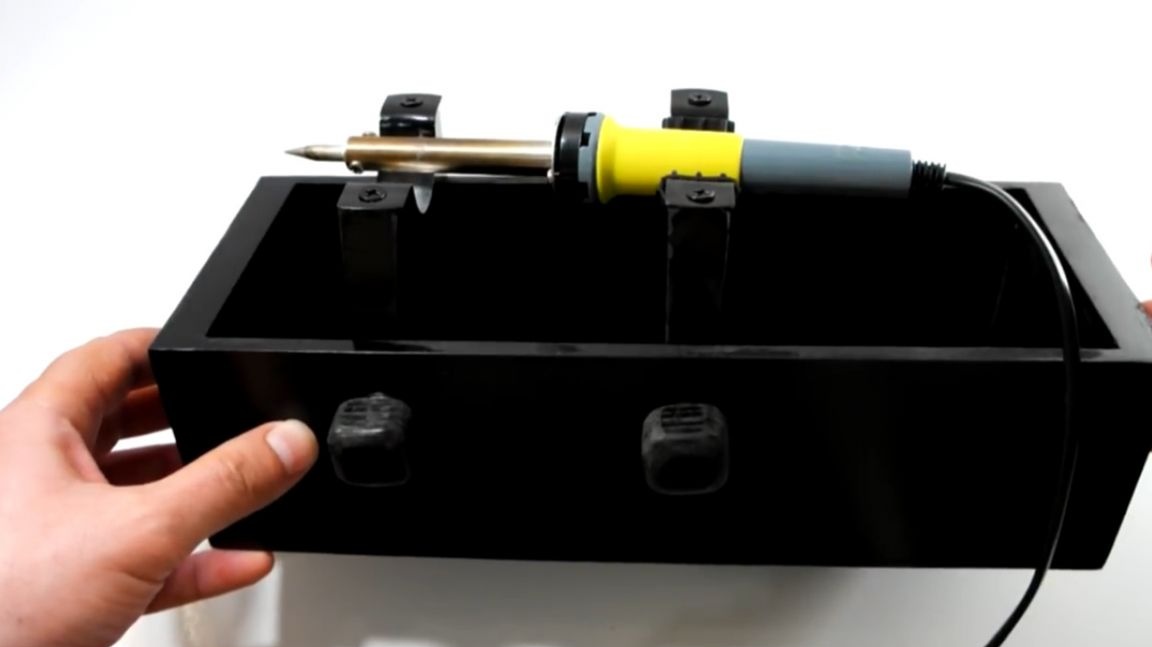
Now you can gently separate the tape from the rack where the hot part of the soldering iron will be. The smell of charred paint is useless to us. If there are sticky marks from adhesive tape, you can try to remove them. Or leave it as it is. After turning on the soldering iron, the adhesive remaining on the rack from the adhesive tape should burn out.
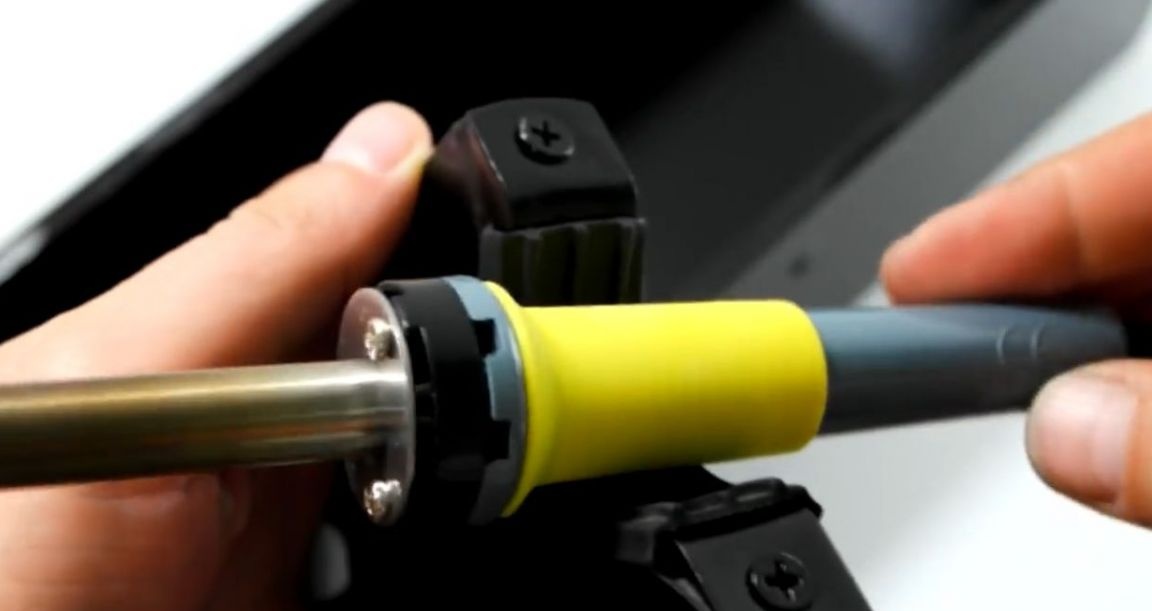
And on the part where the handle will be, we put on our own rubber band from the fasteners for the polypropylene water pipe so that the soldering iron does not slip on the rack.
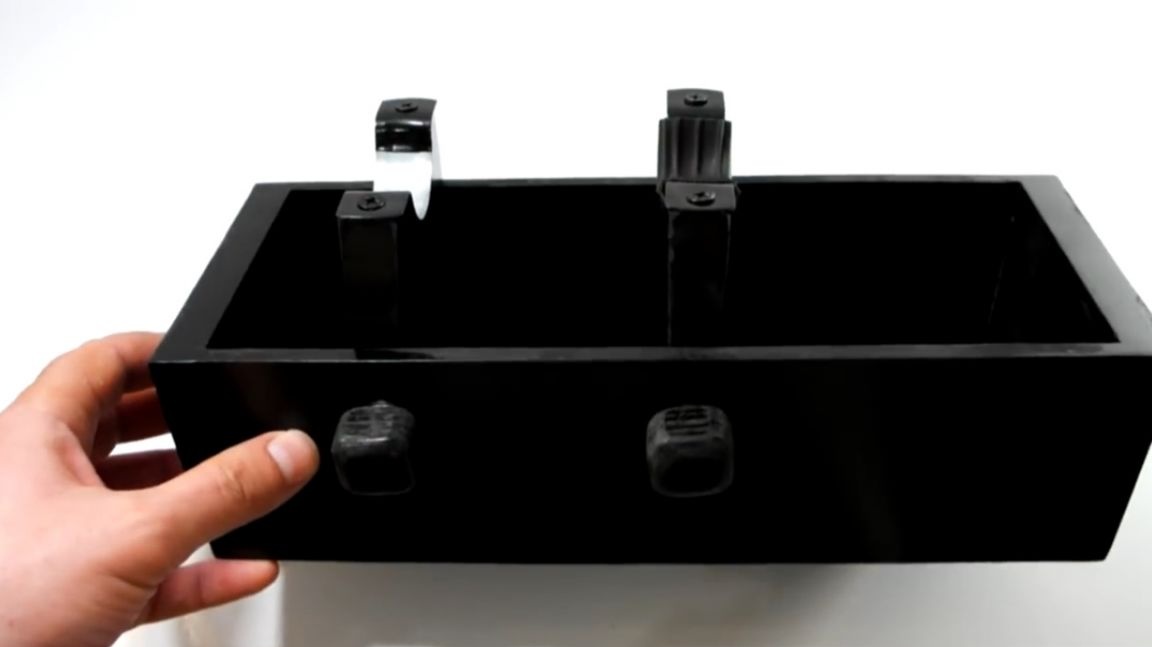
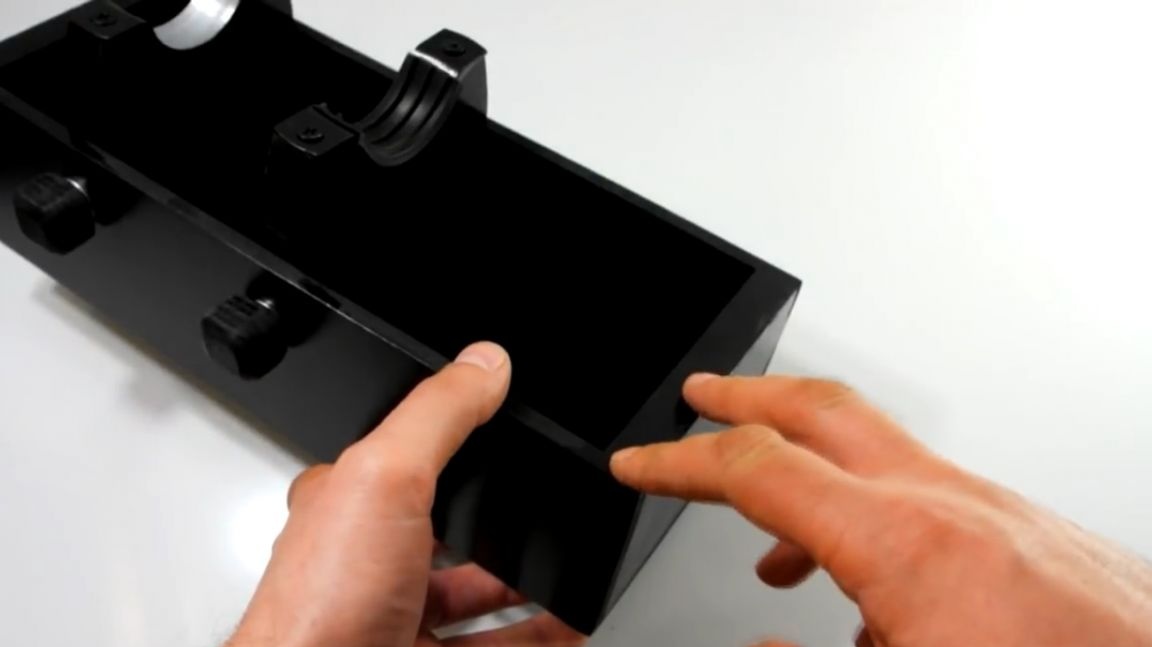
The fastening of the soldering iron stand itself will be very simple. Nuts are glued in the racks and all this is pulled together with bolts with caps to the box wall. Here is the result:
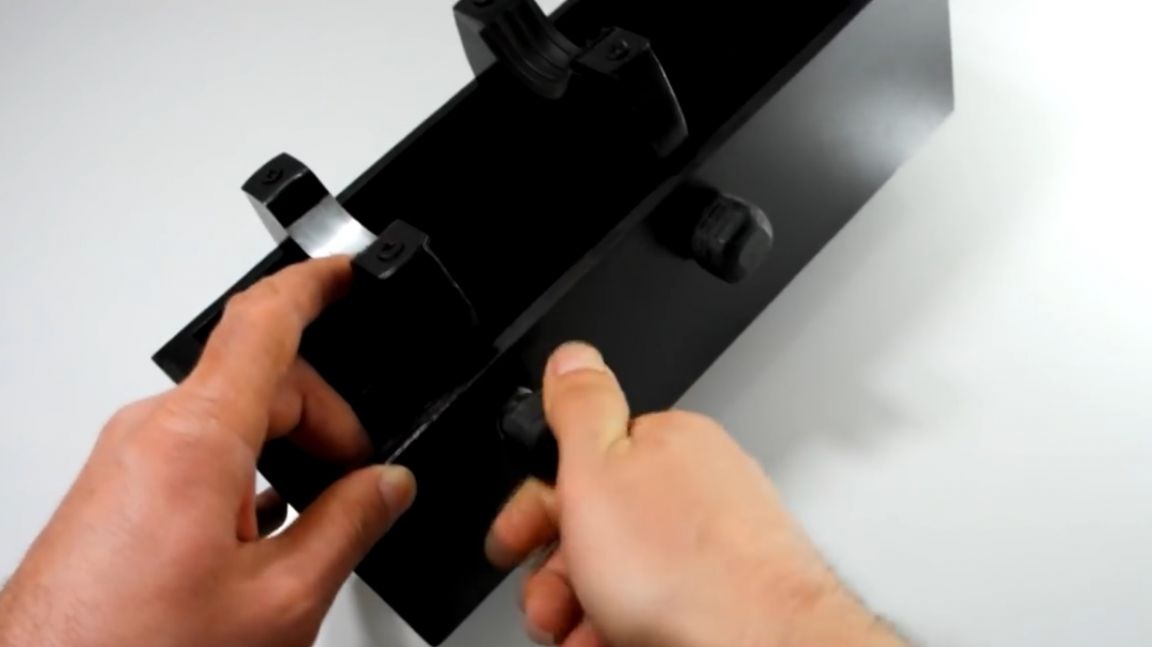
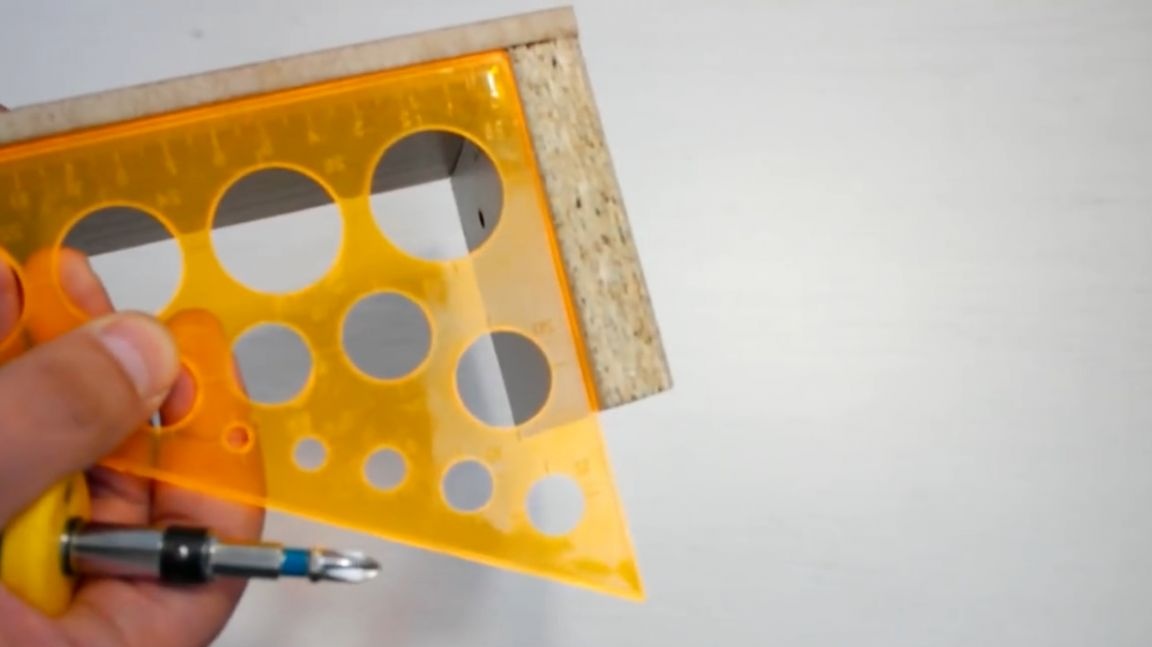
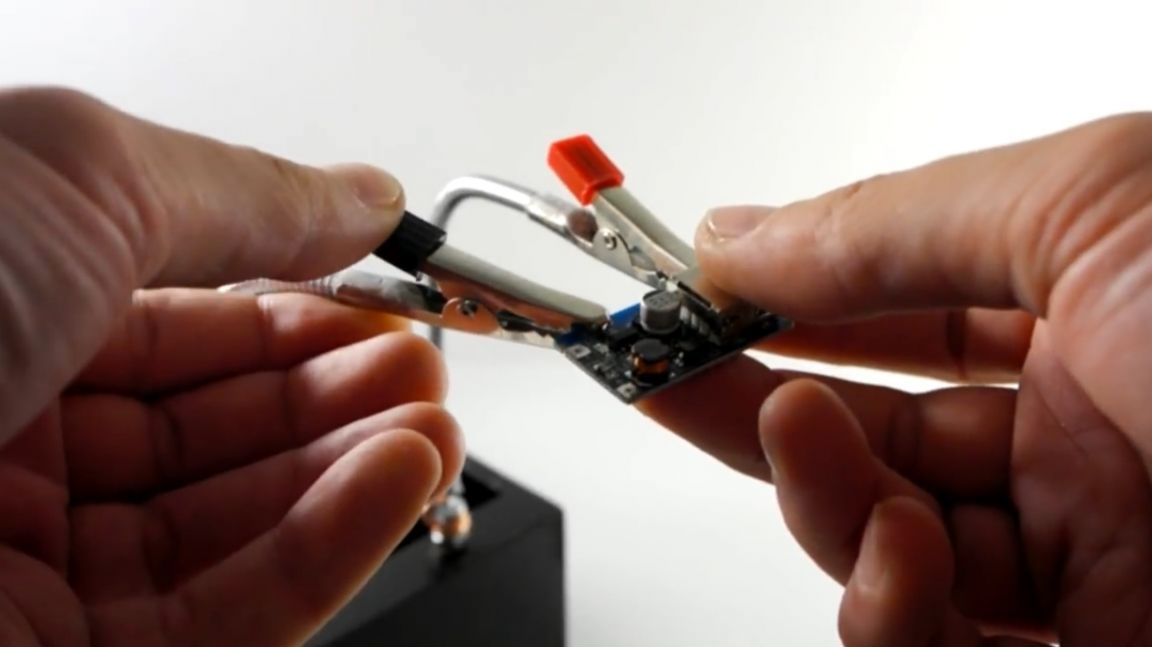
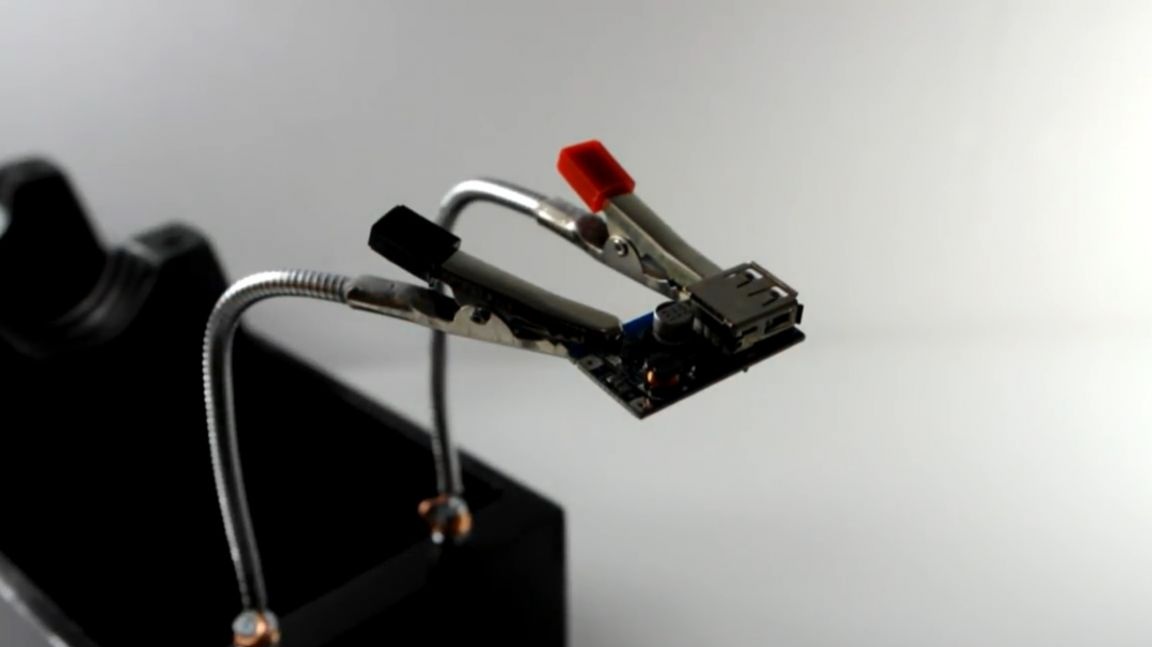
Everything is very simple and practical. If you wish, you can drill a few more of the same holes and, if you have more than one soldering iron, then this design feature will be very useful. It will be possible to rearrange the rack for different sizes of the soldering iron. Now, in the side wall of the box, the author decided to make a couple of clips. They will be used as a third hand for soldering. To make such a design, you need such a miracle of Chinese engineering from the fix-price store.
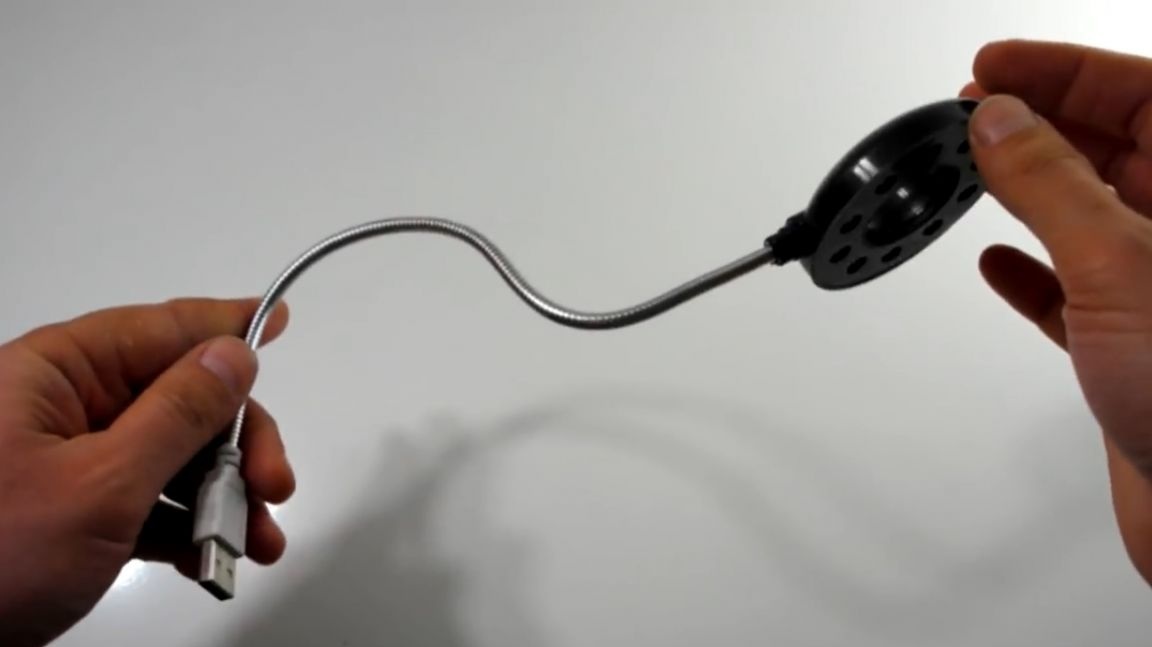
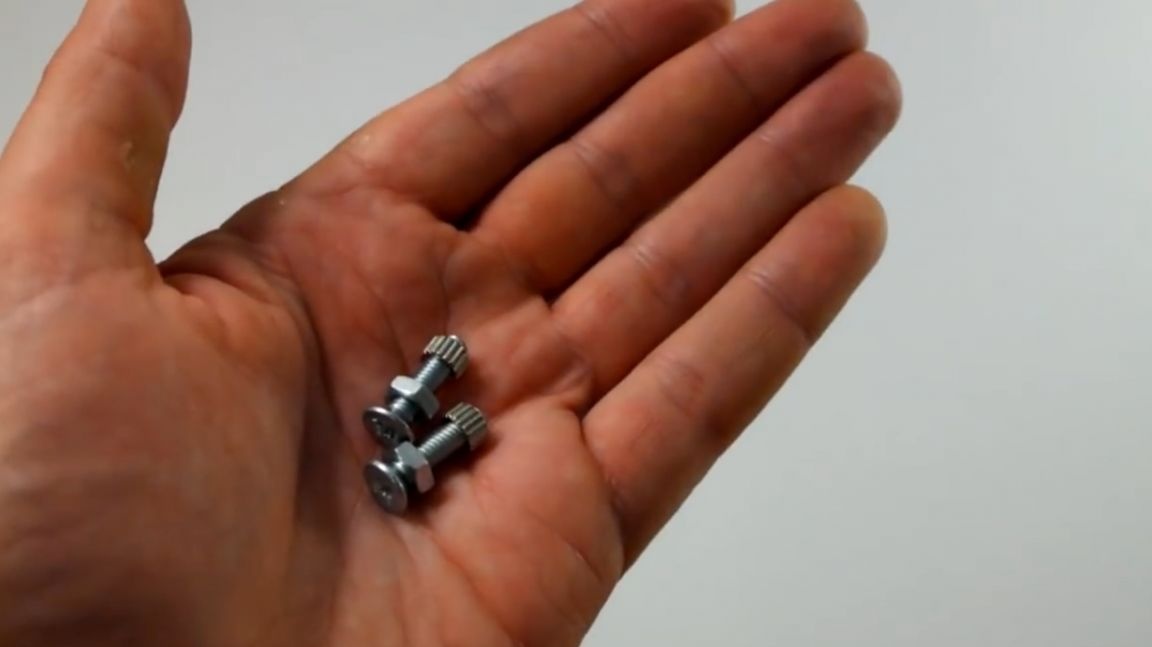
In the store, it is positioned as a usb lamp to illuminate the keyboard of a laptop. It can also be used in conjunction with a paverbank, or as a night lamp.But as the latter, it suits better, since, frankly, it shines so-so, but its flexible leg is useful to us. You will also need a pair of small screws with mortise nuts.
It is necessary to disassemble this miracle lamp. In principle, he does not mind at all, and he falls apart, thereby providing a kind of help in disassembling.
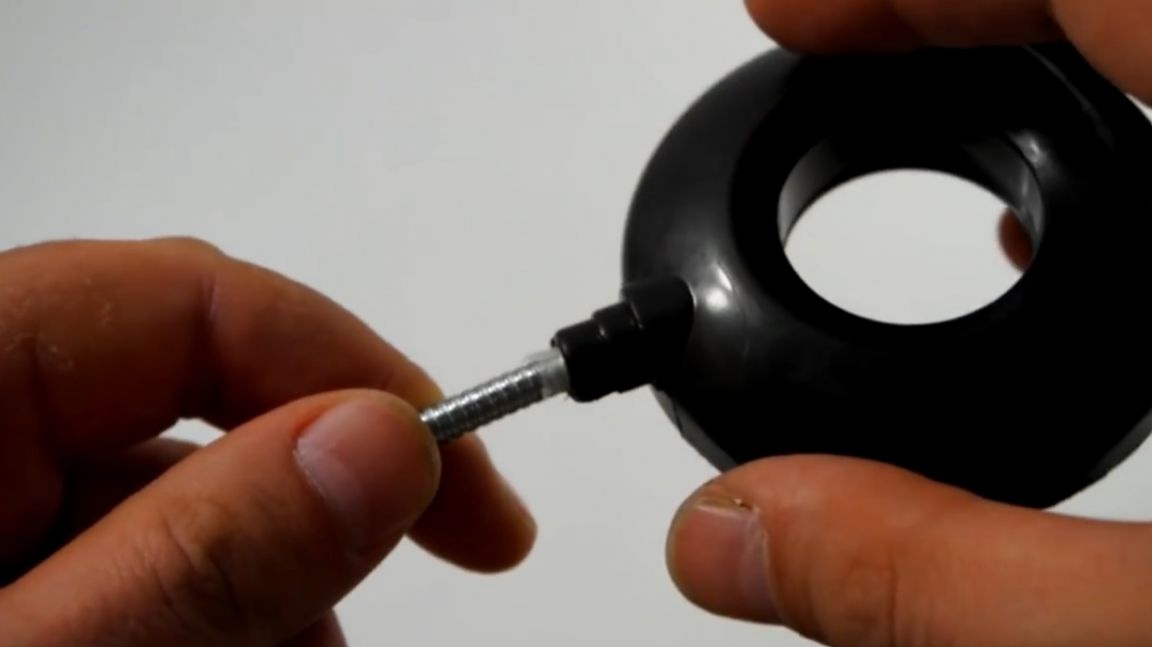
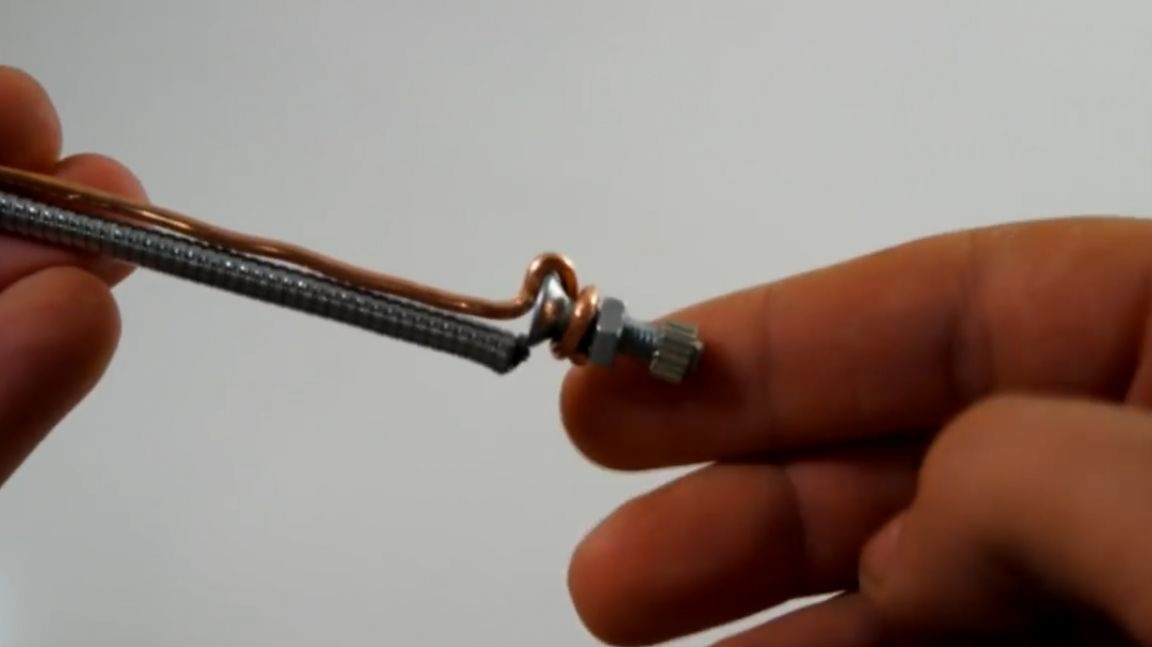
For greater bending strength, you need to add a thick copper wire of suitable diameter. It should fit tightly enough into the flexible tube and practically not slip in it. The thicker the copper core, the more weight such a third-hand construction can support. It must be screwed onto the screw in this way.
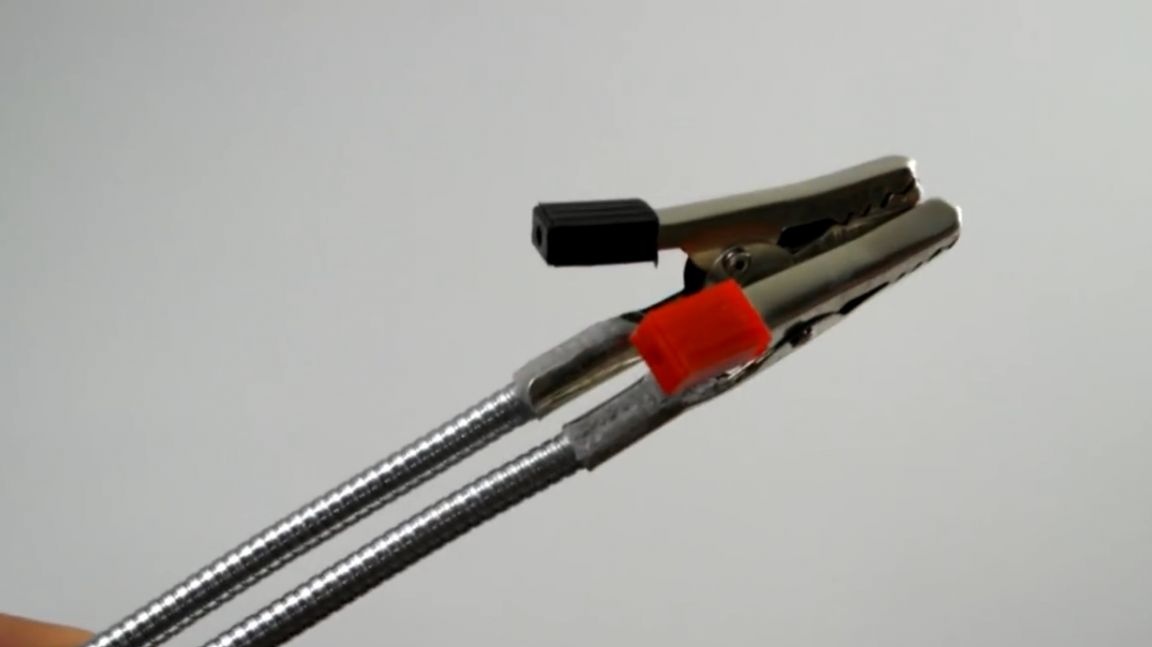
Now it remains only to bring this whole thing together and attach crocodiles. The author clamped the crocodile on the tube and poured everything with superglue with soda. In general, the design turned out to be mega reliable.
Then he made a hole in the side wall of the box and put the nuts on the same superglue. And that’s what happened in the end. Holds up great.
Thank you for attention. See you soon!
Original video of the author of the presented homemade product: