
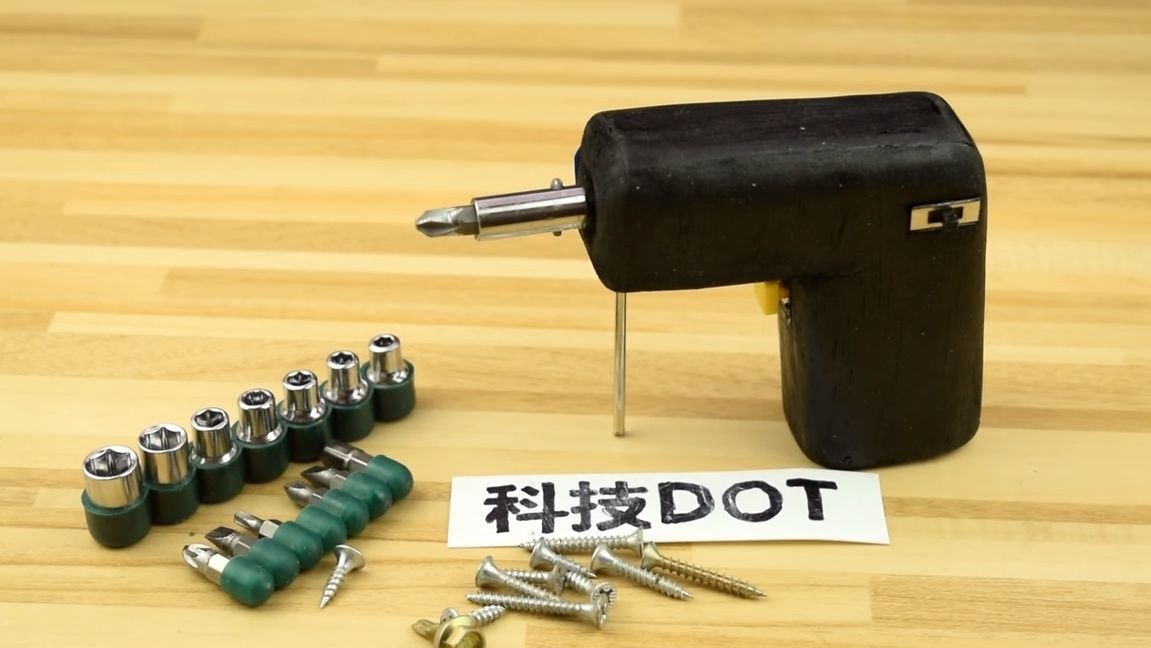
If you often disassemble various equipment, like to make something small, you really need such a thing as an electric screwdriver. With this convenient device, you can unscrew at least a hundred screws, and your hands will not get tired, besides, all this is done much faster than with a manual screwdriver. It is especially convenient if the electric screwdriver will work on battery power, this will make the device mobile, and the power cable will not bother you. Of course, these days you can buy everything, including such a device. But for those who like to do everything themselves and want to save money, I propose this project.
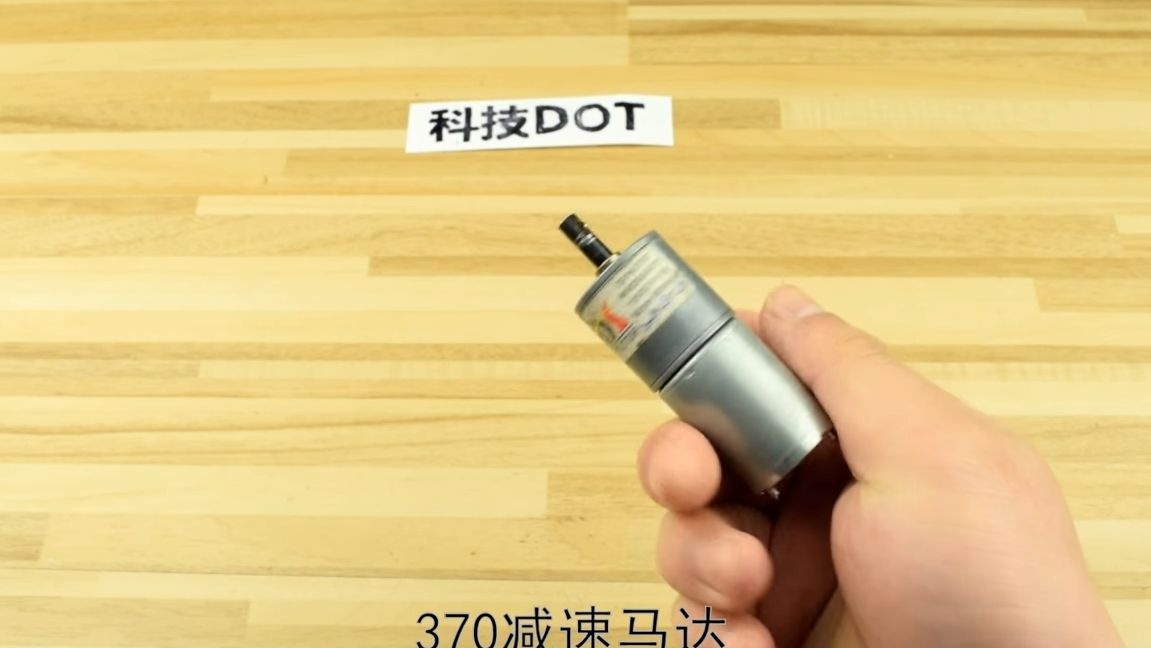
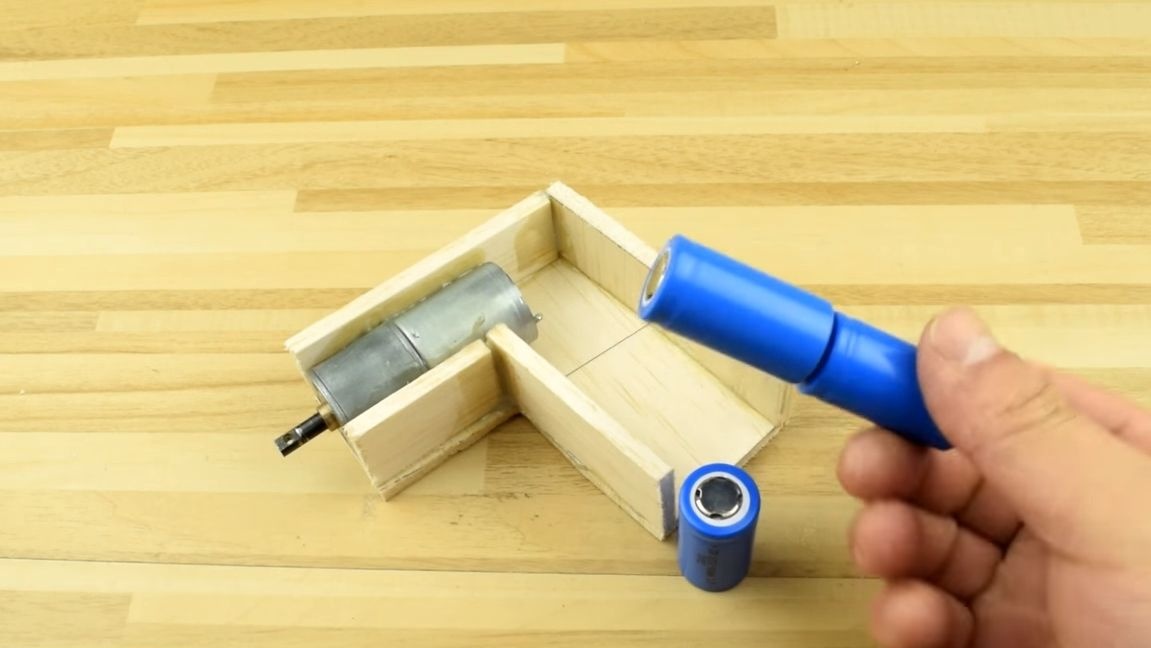
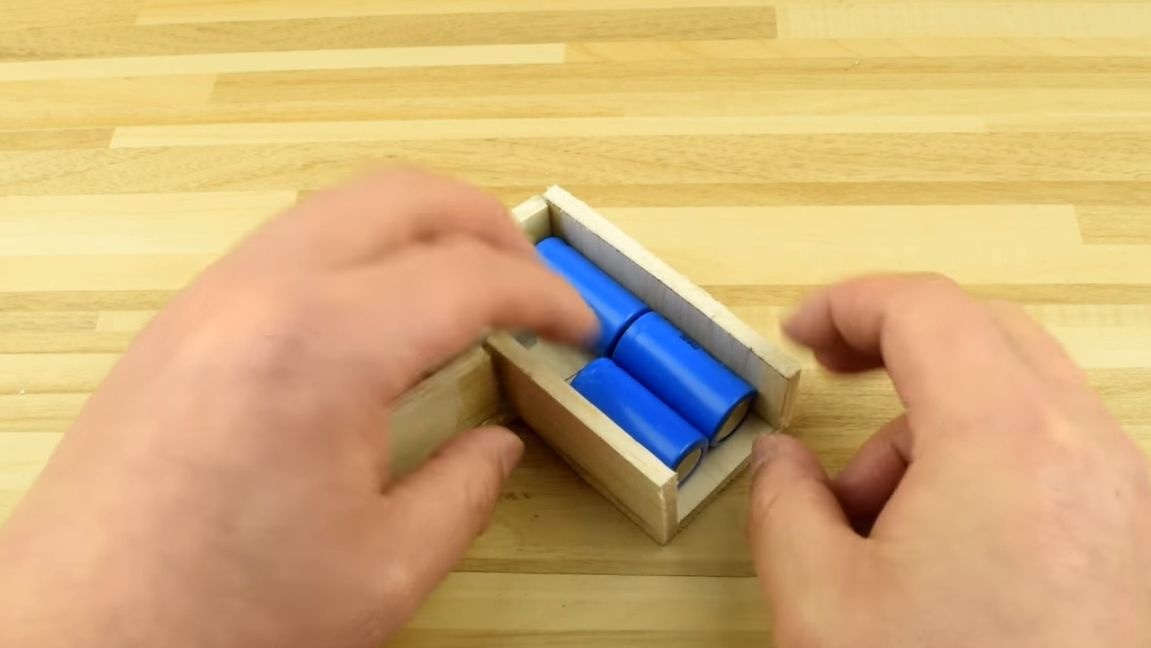
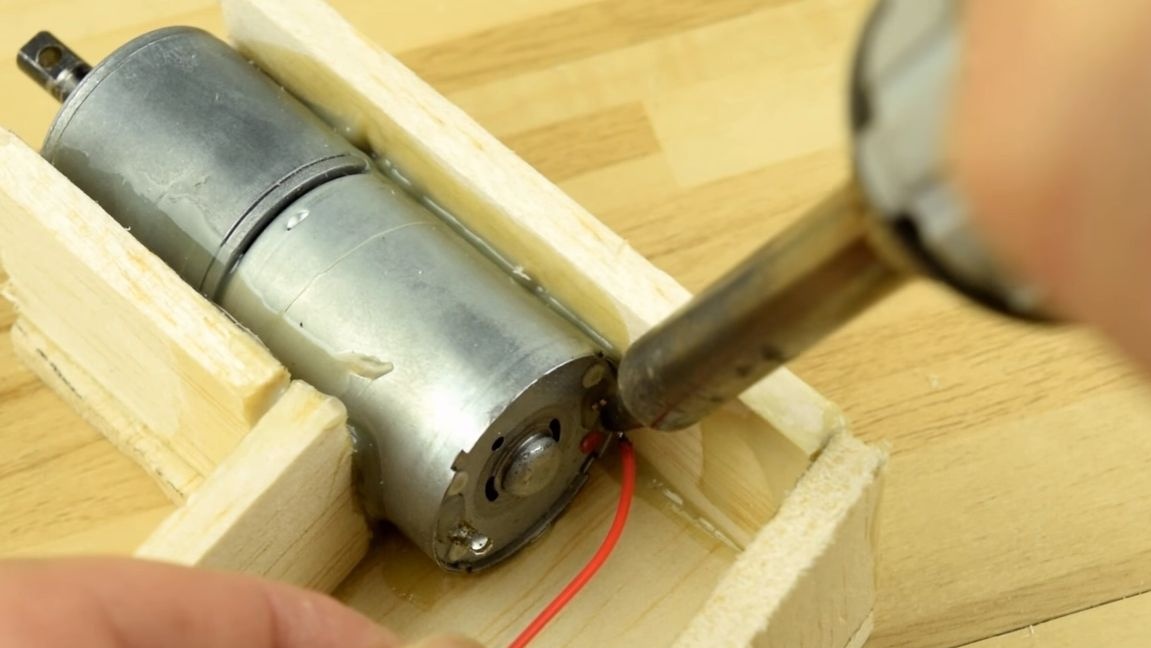
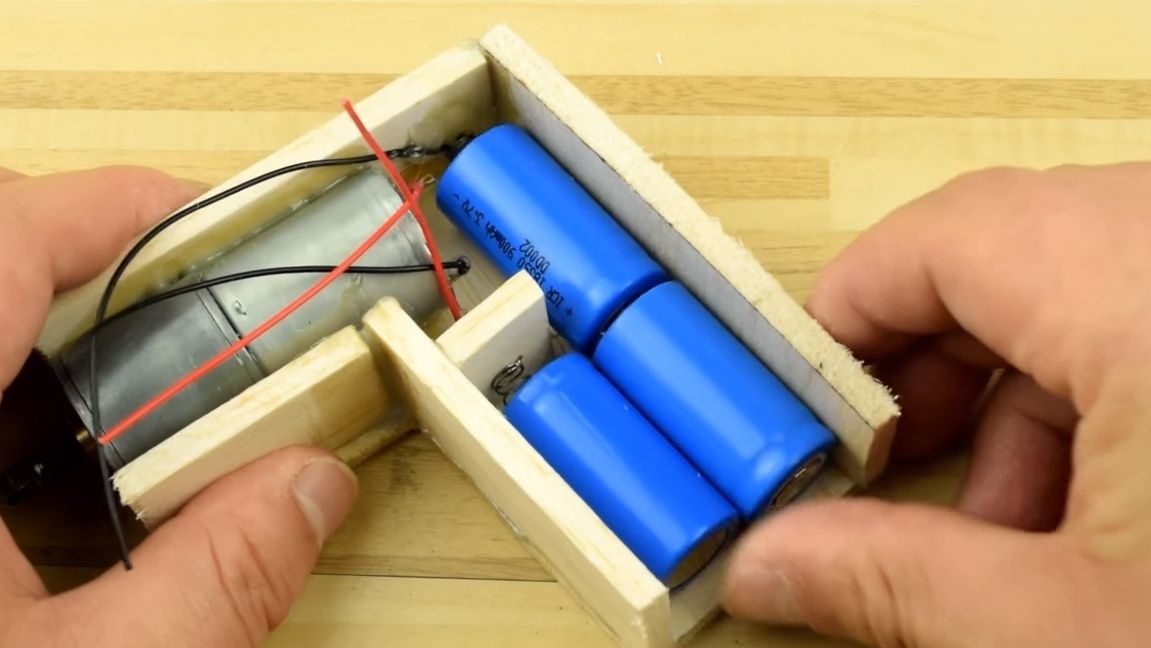
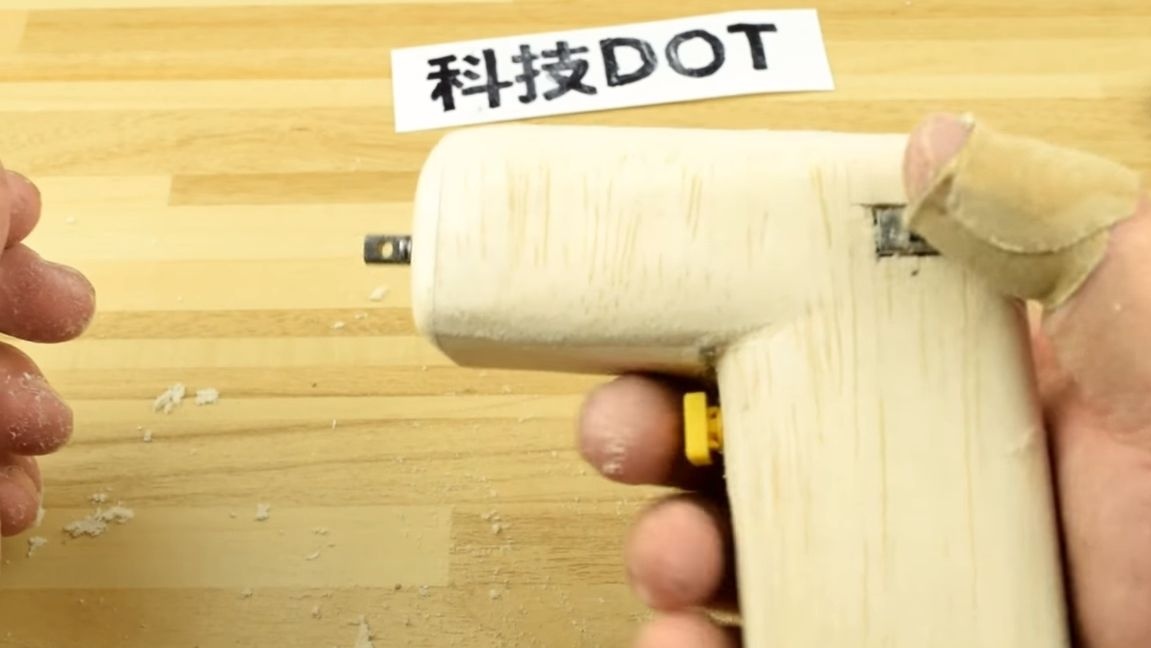
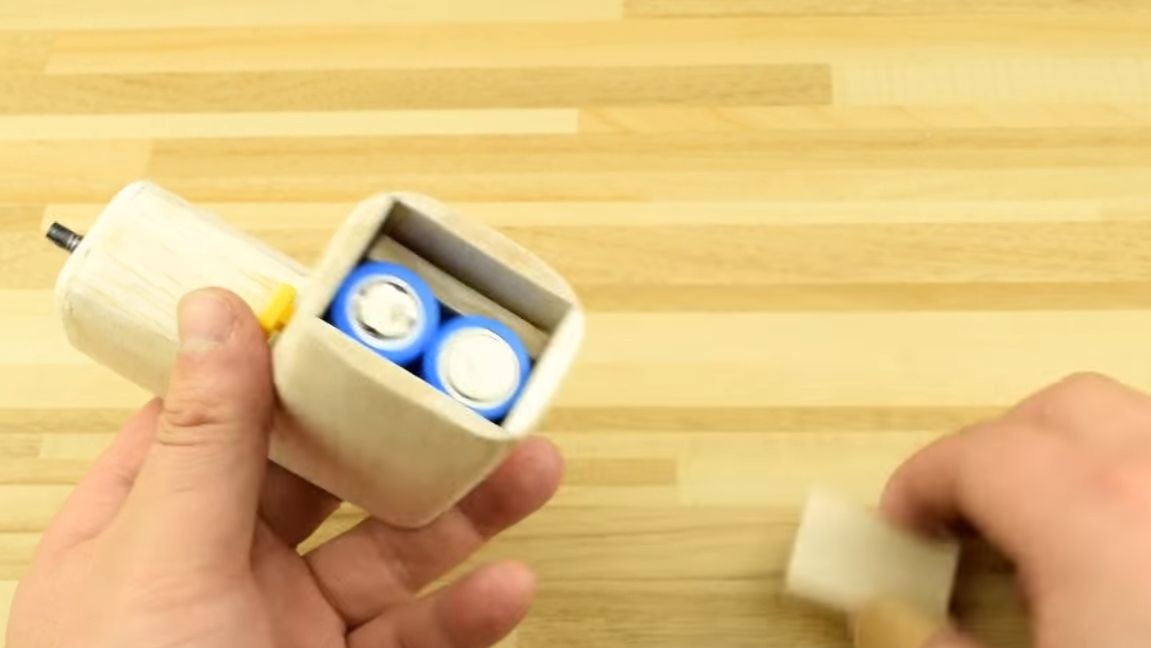
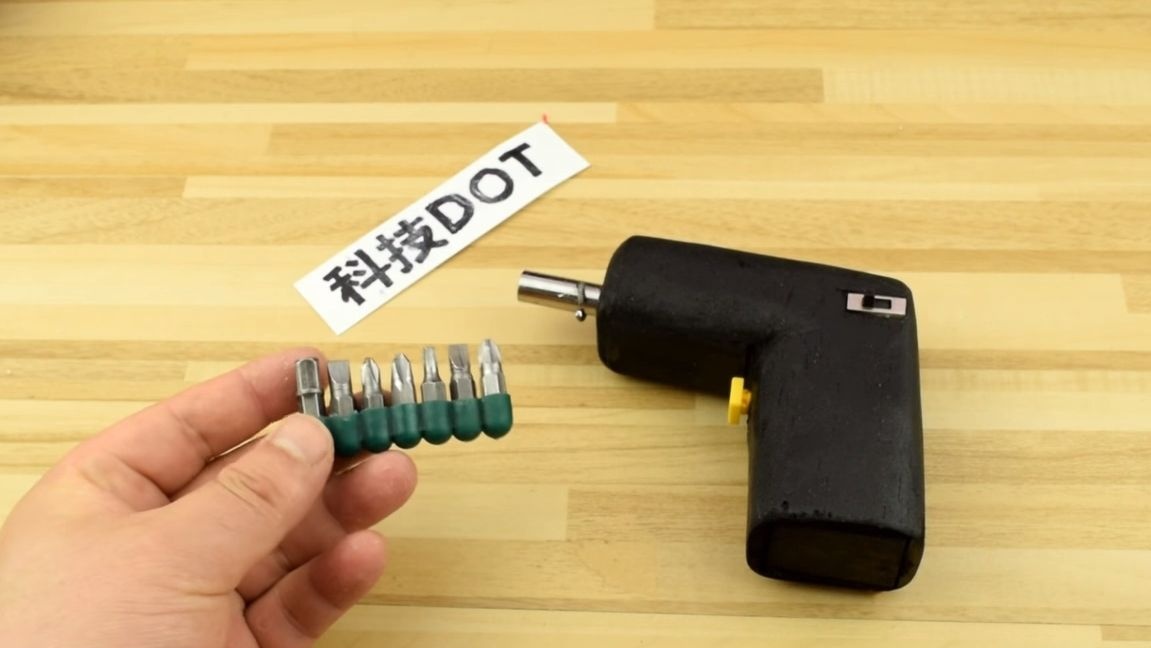
It is very easy to make such a screwdriver as in the photo, but it looks, you see, stylish and convenient. Do not believe it, but the screwdriver case is made of wood! As for the filling, the power element here is the 370 series engine, equipped with a gearbox. Thanks to the gearbox it turns out to get high torque, which is what is needed for our homemade. In general, it is better to choose a gearbox with the highest gear ratio for such a homemade product. The device is powered by three batteries, they are removable and can be recharged at any time or simply replaced with others. So, we will consider in more detail how to make such an electric screwdriver.
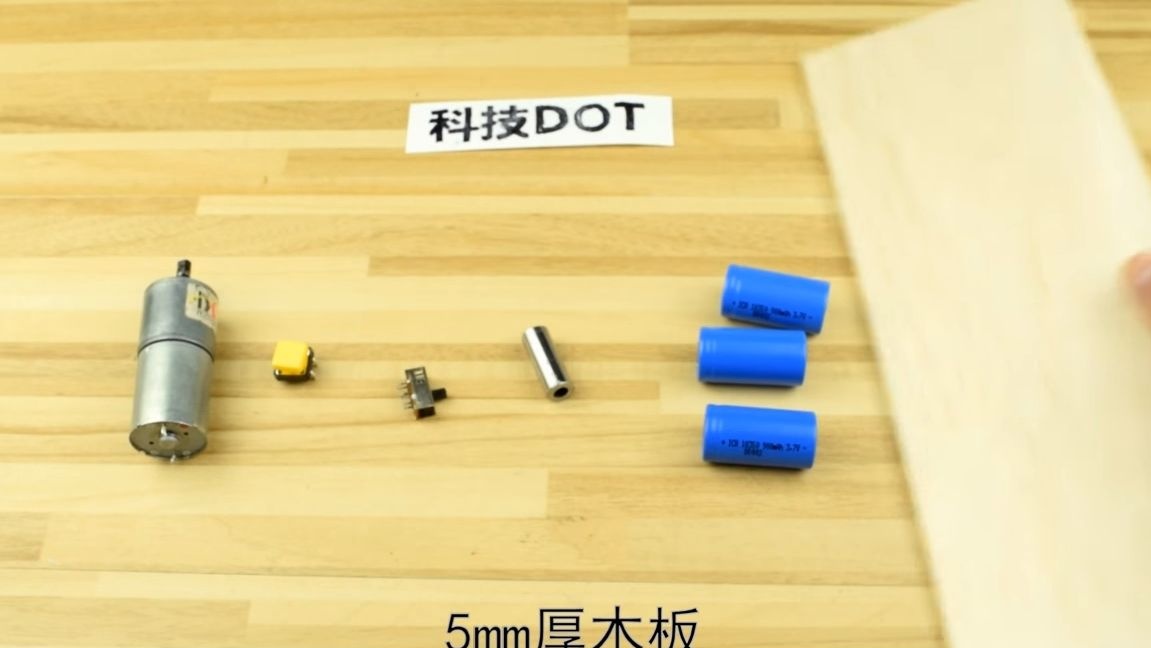
Materials and tools used by the author:
Material List:
-;
- batteries;
- a switch to two or three positions (for reverse);
- button to turn on;
- wires;
- supplies from balsa or plywood;
- bits and adapter from a screwdriver;
- paint;
- two springs (for contacts);
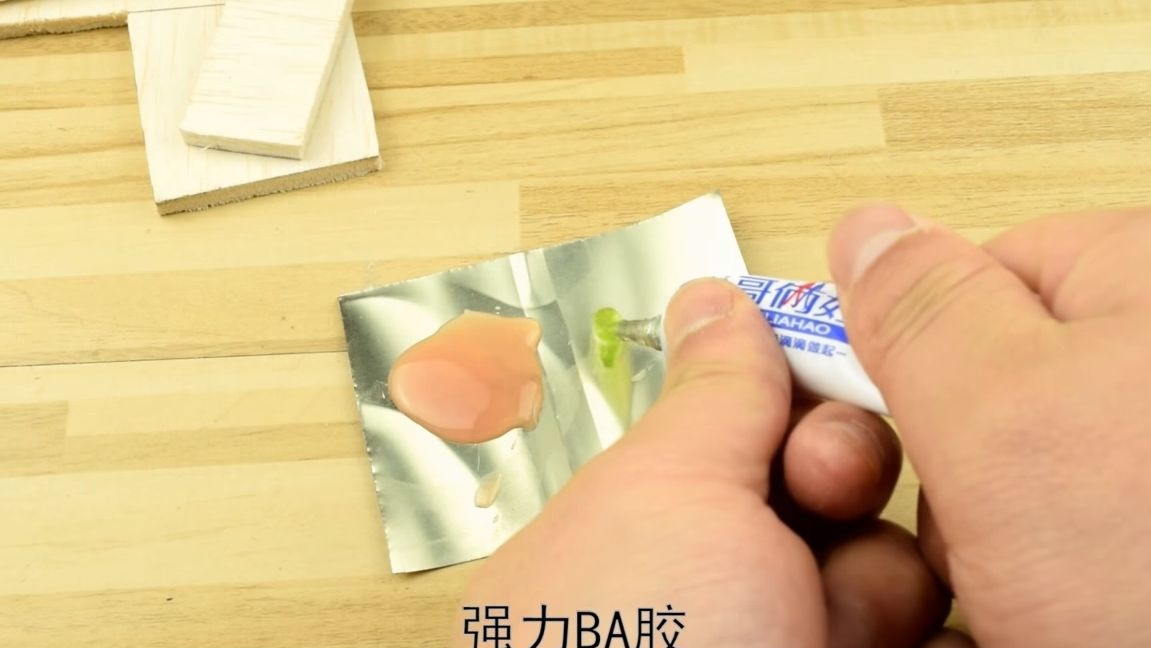
- epoxy adhesive.
Tool List:
- glue gun;
- ruler;
- a pencil;
- soldering iron;
- stationery knife;
- nippers;
- pliers.
The process of making an electric screwdriver:
Step one. Assembling the base and installing the engine
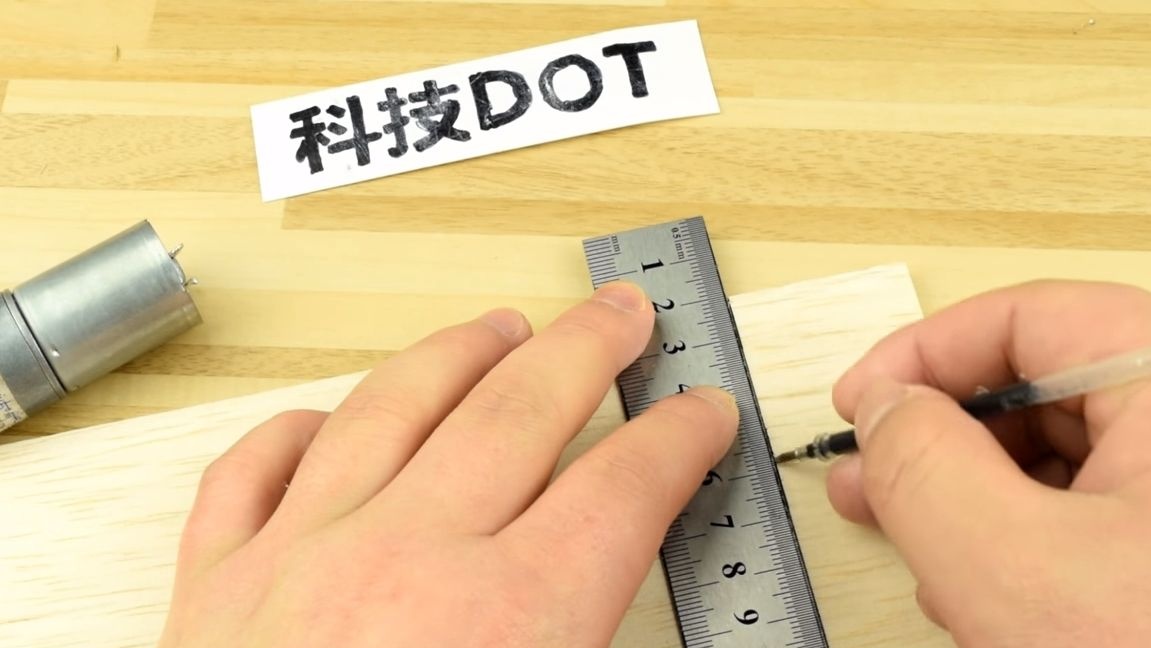
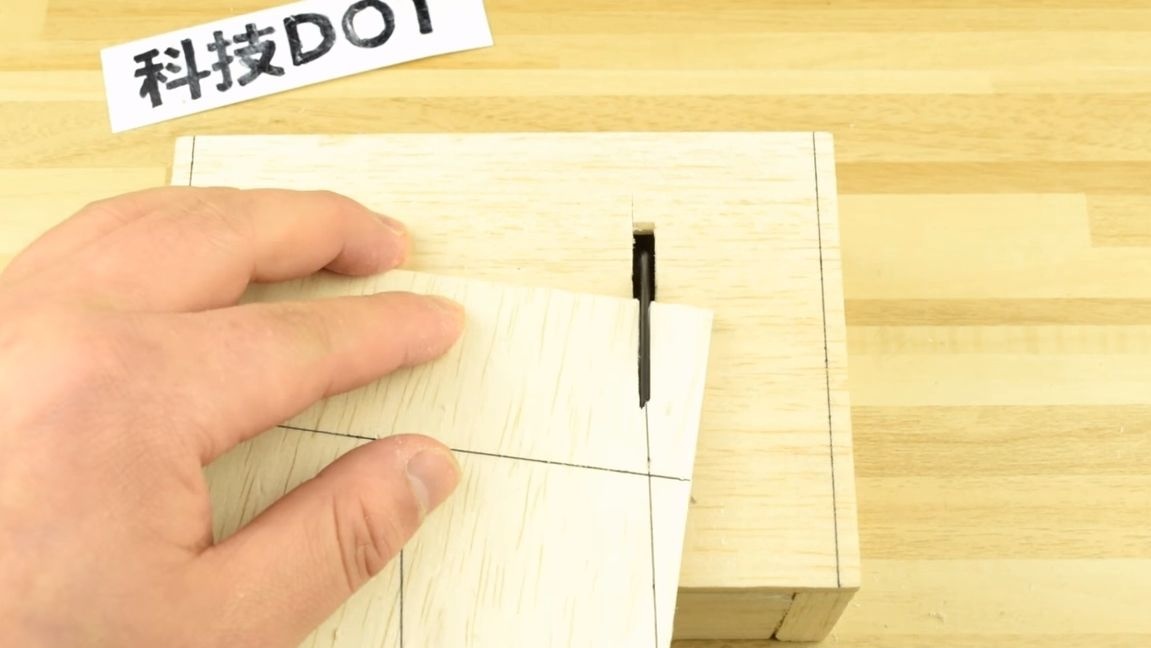
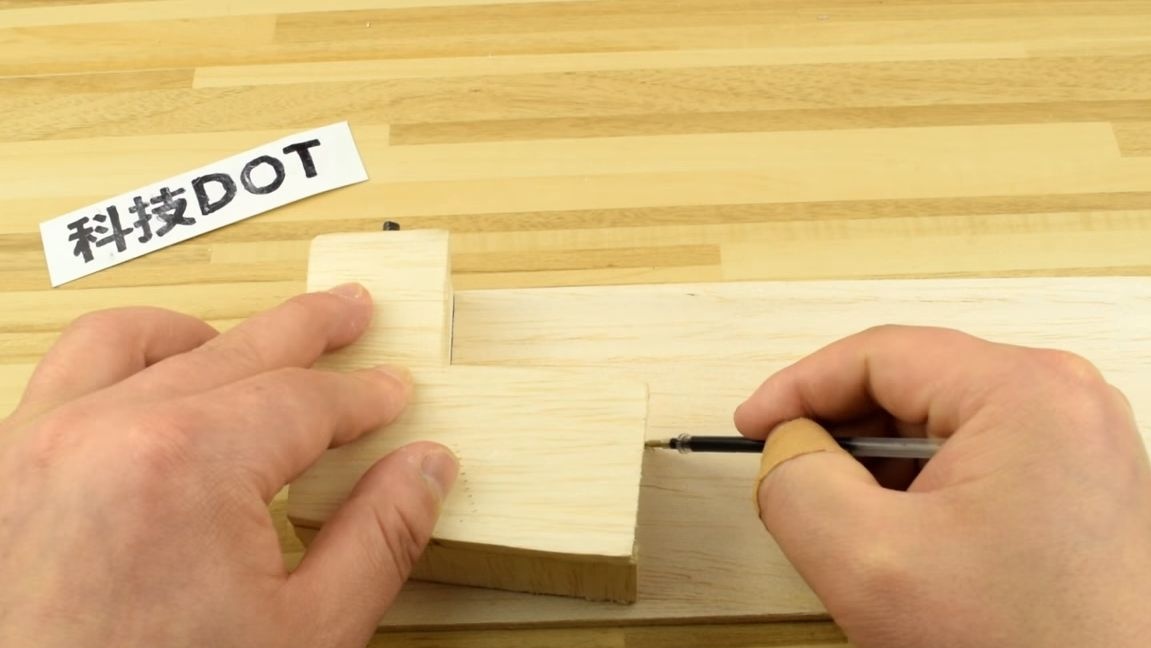
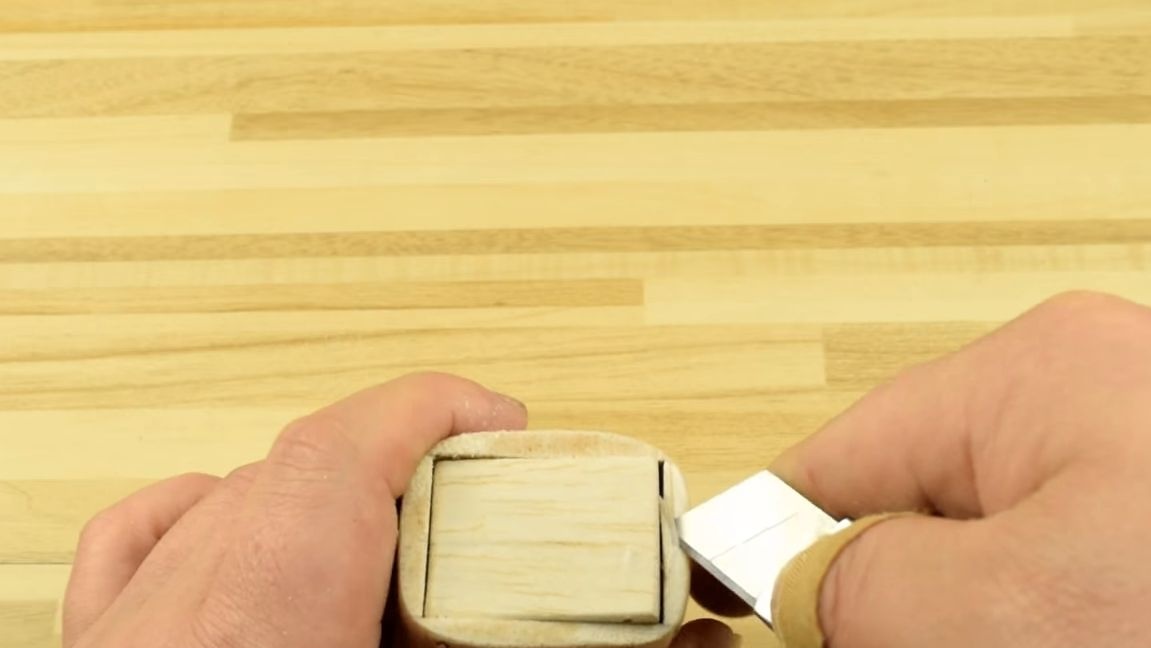
As a material for the manufacture of the case, the author used balsa boards. This material is good in that it is very light, easy to cut, relatively durable and inexpensive. The case is assembled on epoxy glue, all the main nodes are similarly fastened.
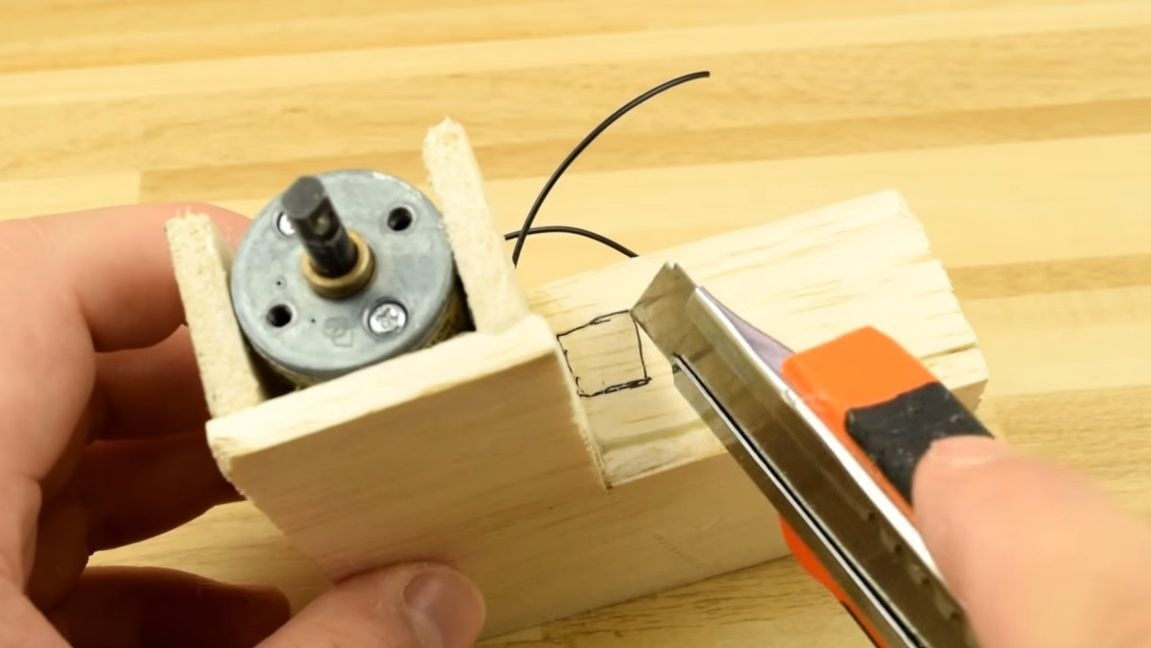
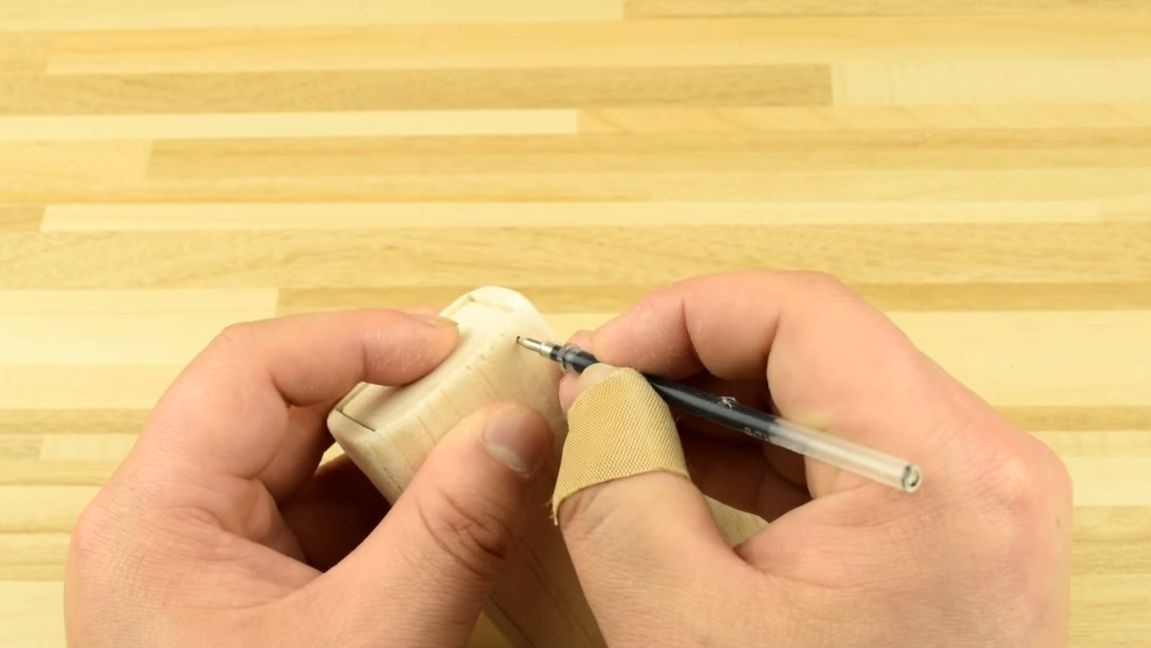
We take a ruler, a pencil and mark out the details for the manufacture of the case. You can cut them with a clerical knife. If you use plywood, we work with a hacksaw or a jigsaw. The author uses his miniature home-made circular saw for such purposes.
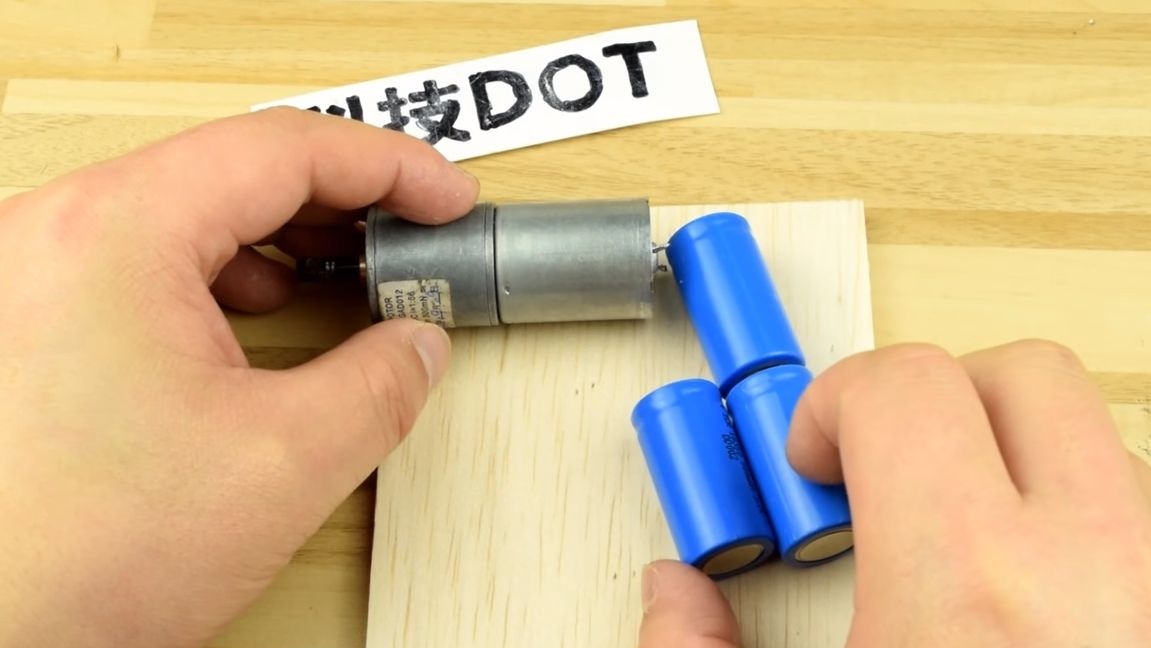
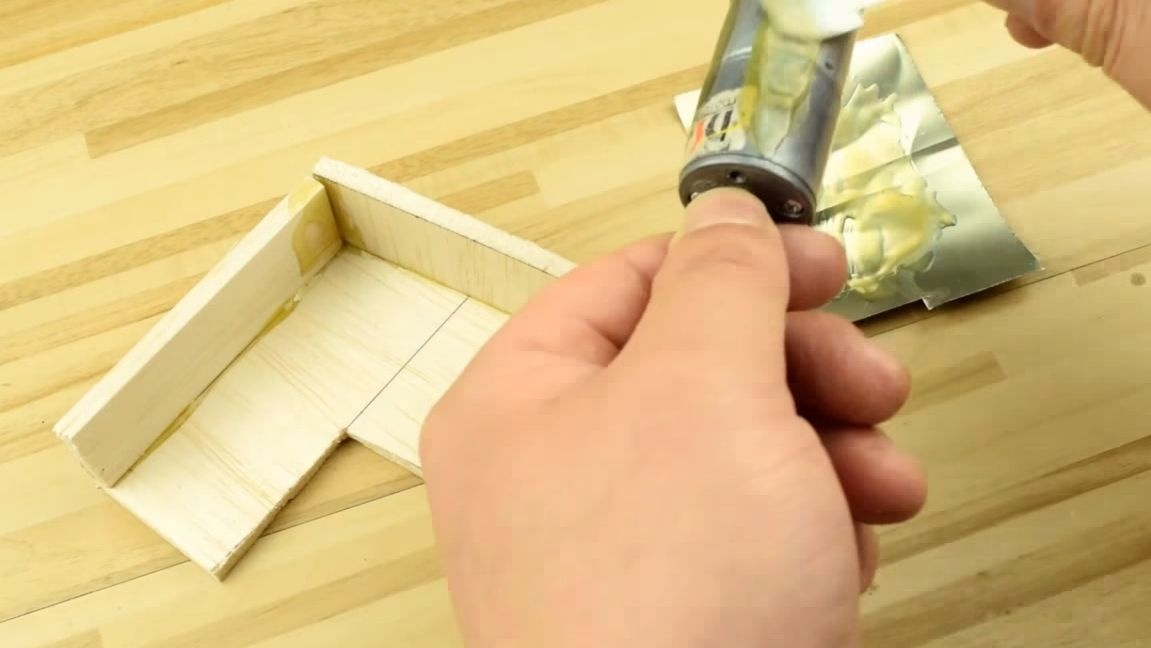
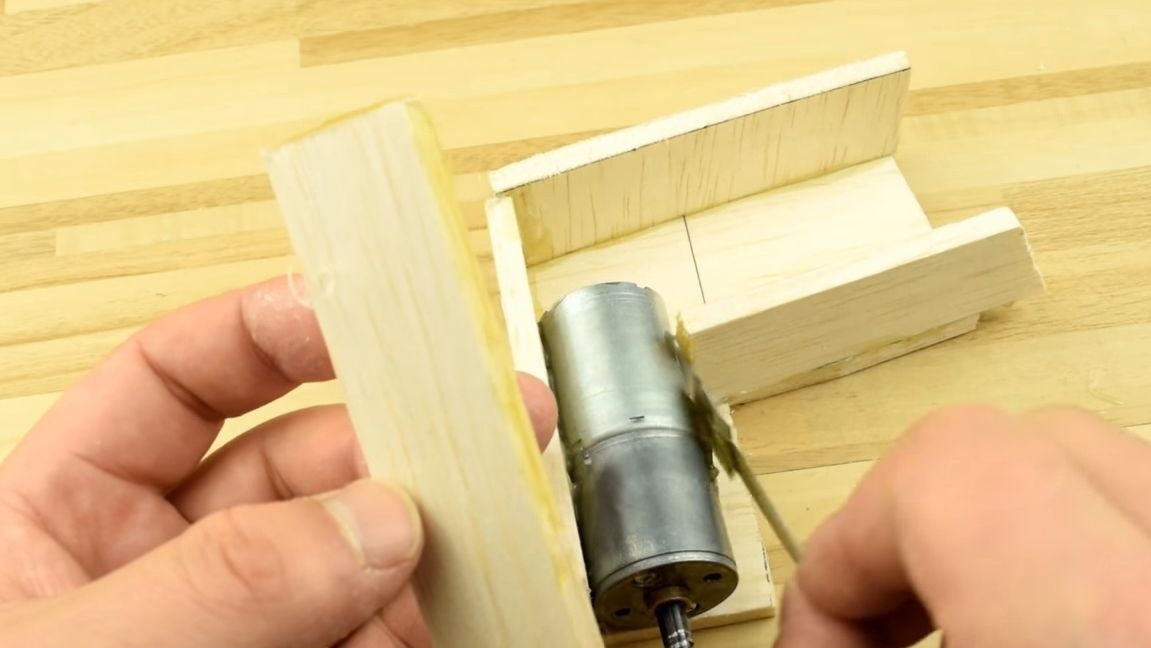
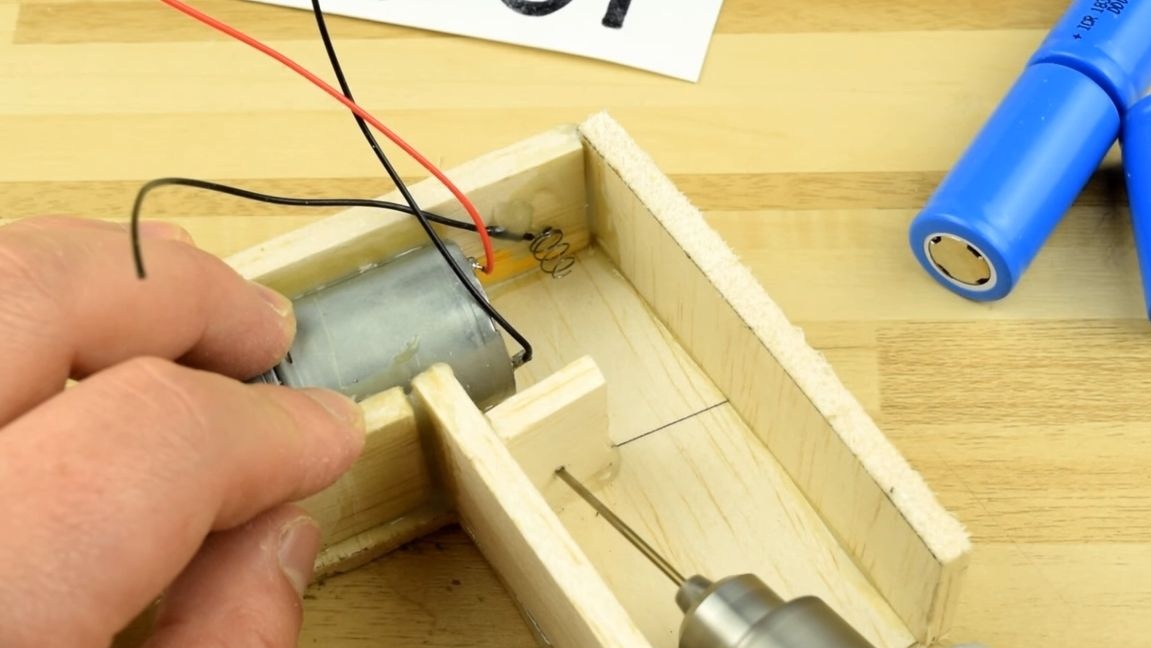
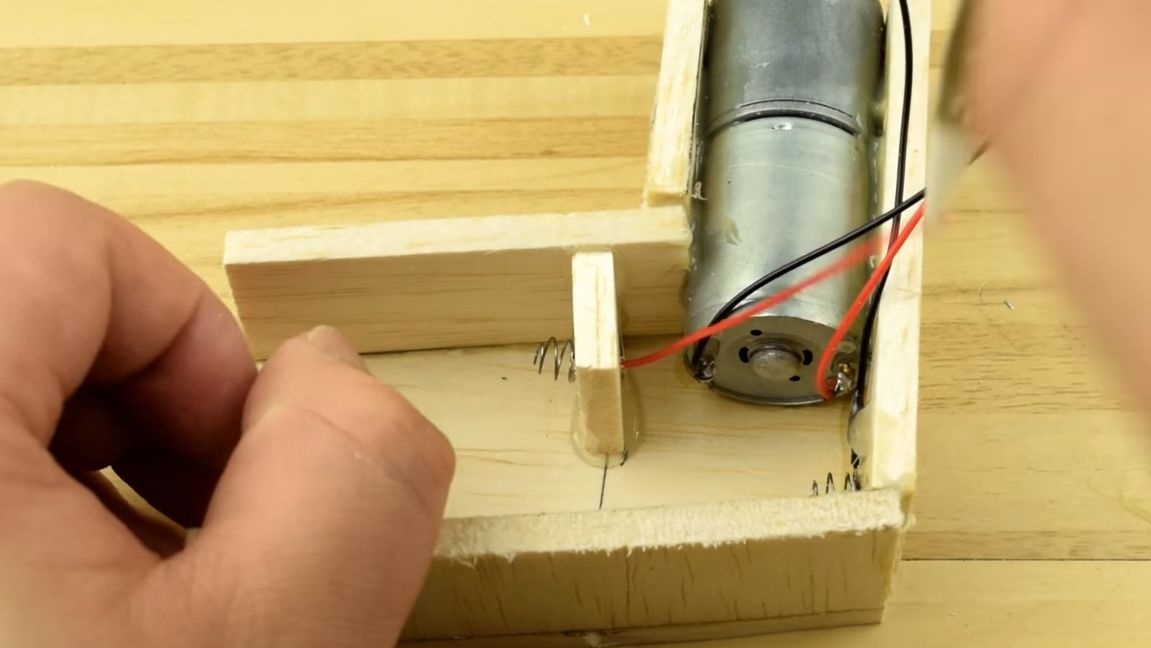
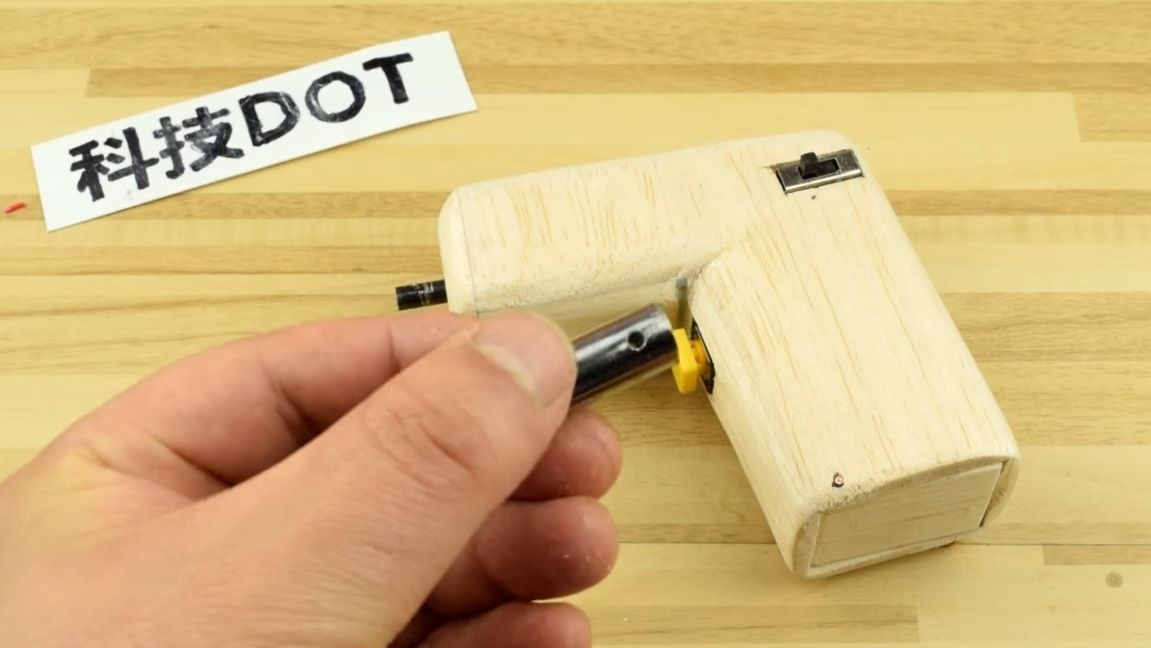
Well, then we install the engine on the base, it is mounted on epoxy glue. The shape of the case resembles a gun, a motor is installed in the “muzzle”, and batteries are in the “handle”. As an engine, the author used motor 370, equipped with a gearbox. Such engines are used for the manufacture of radio-controlled models of cars and so on. Engine power is enough for homemade work, but there are more powerful engines with gearboxes that give more torque.
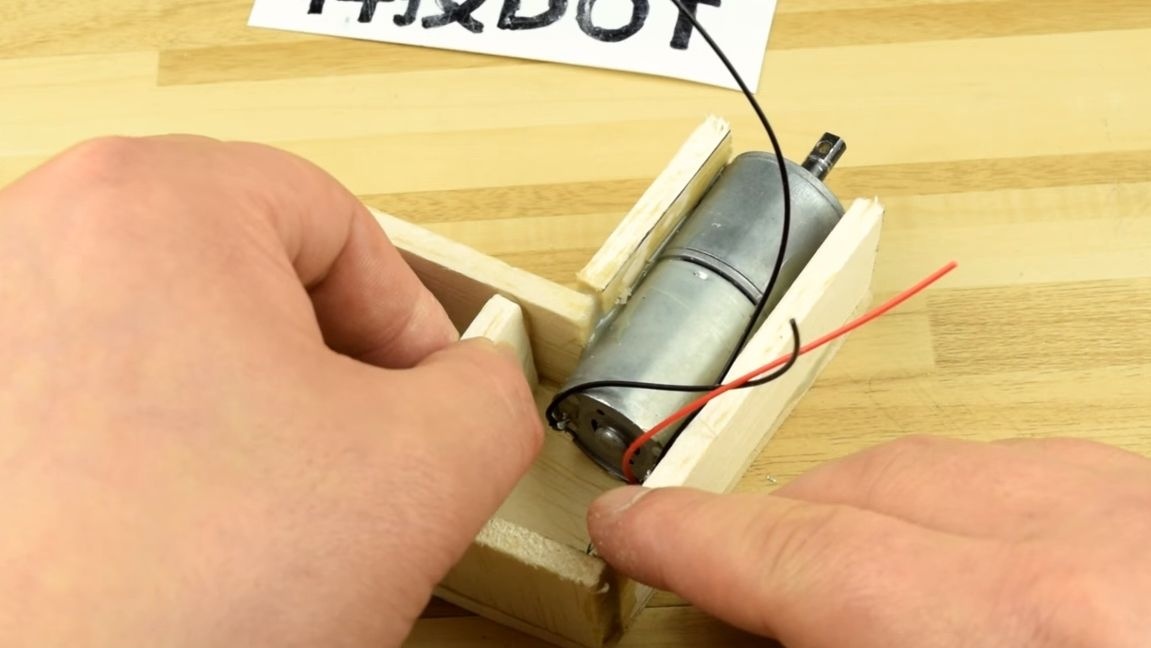
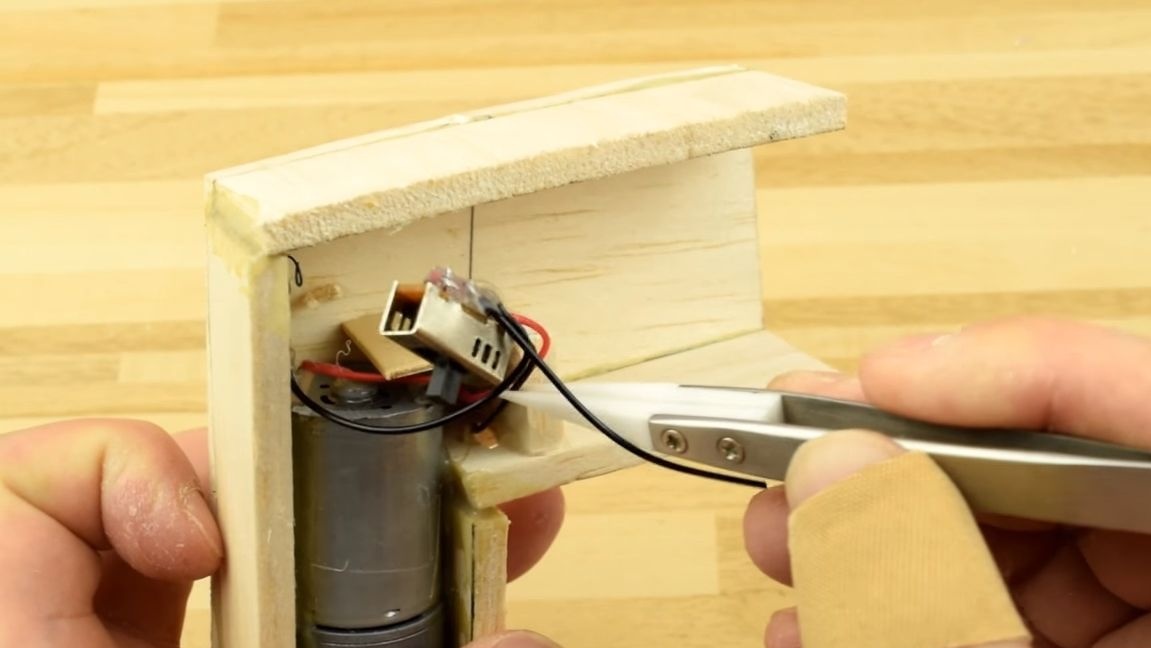
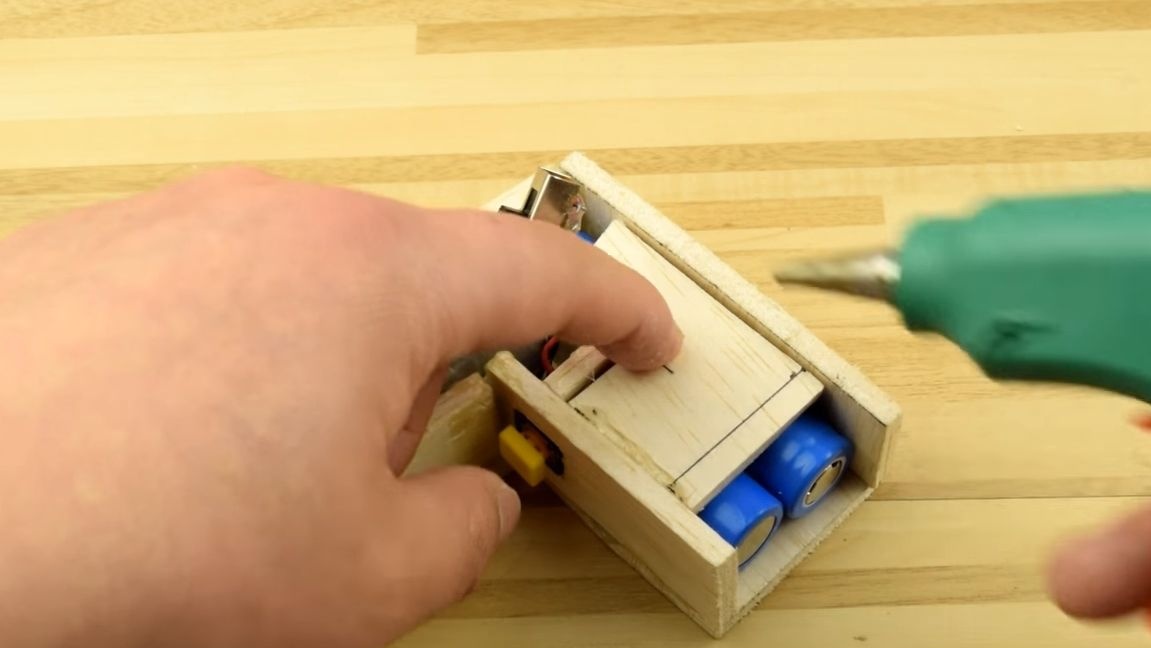
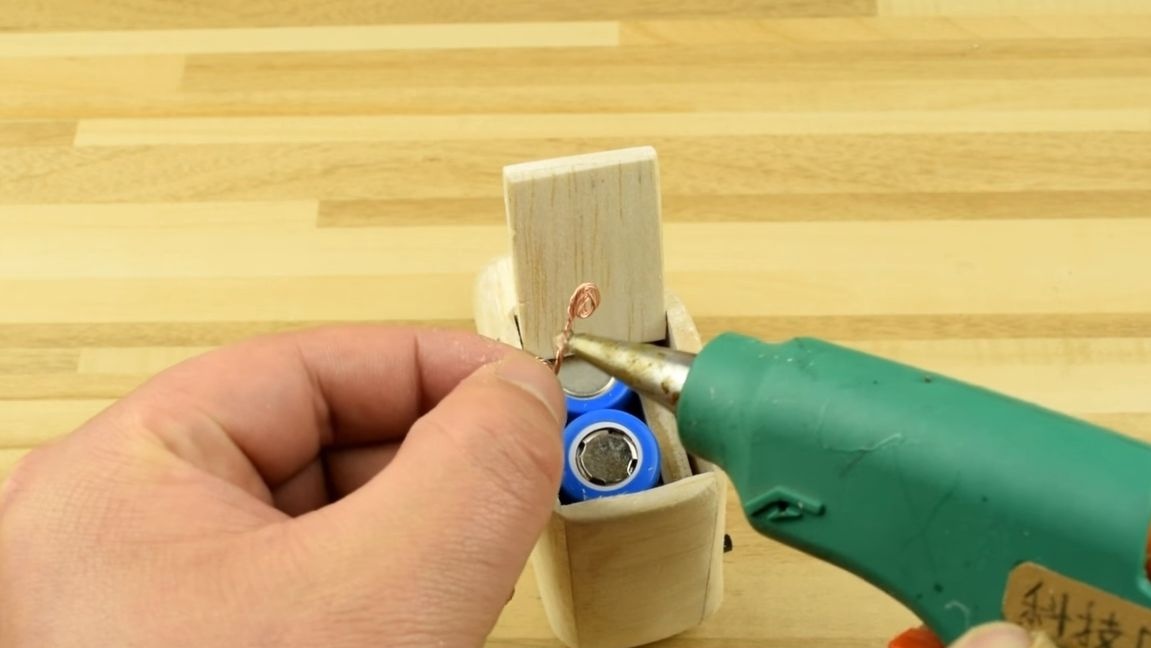
Step Two Setting contacts
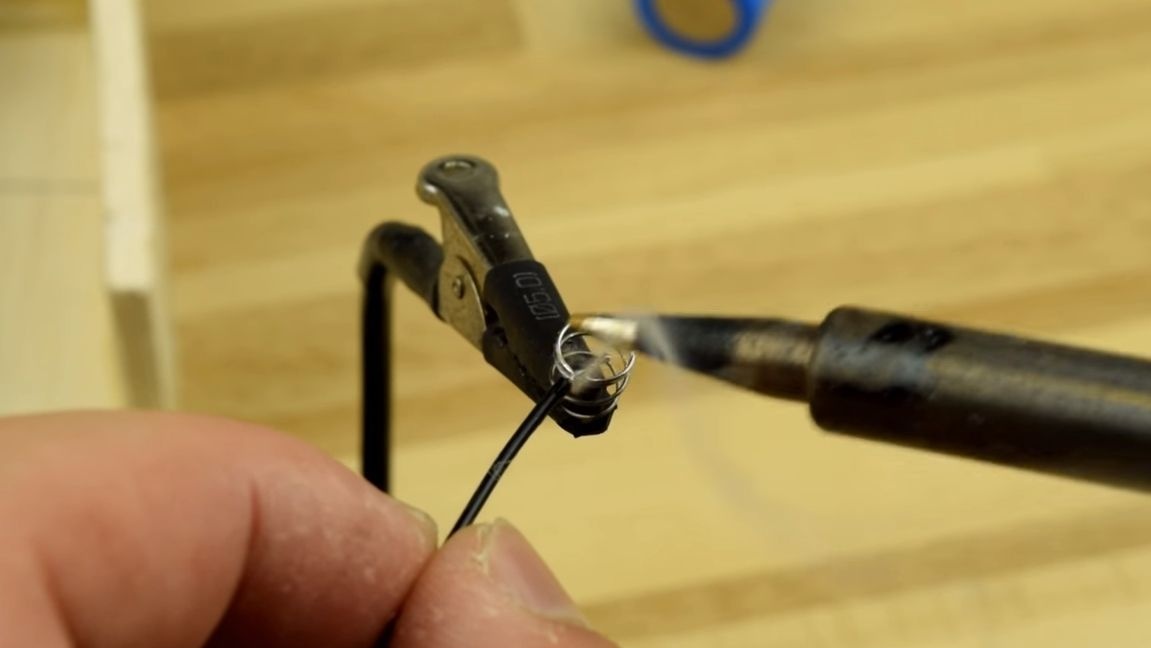
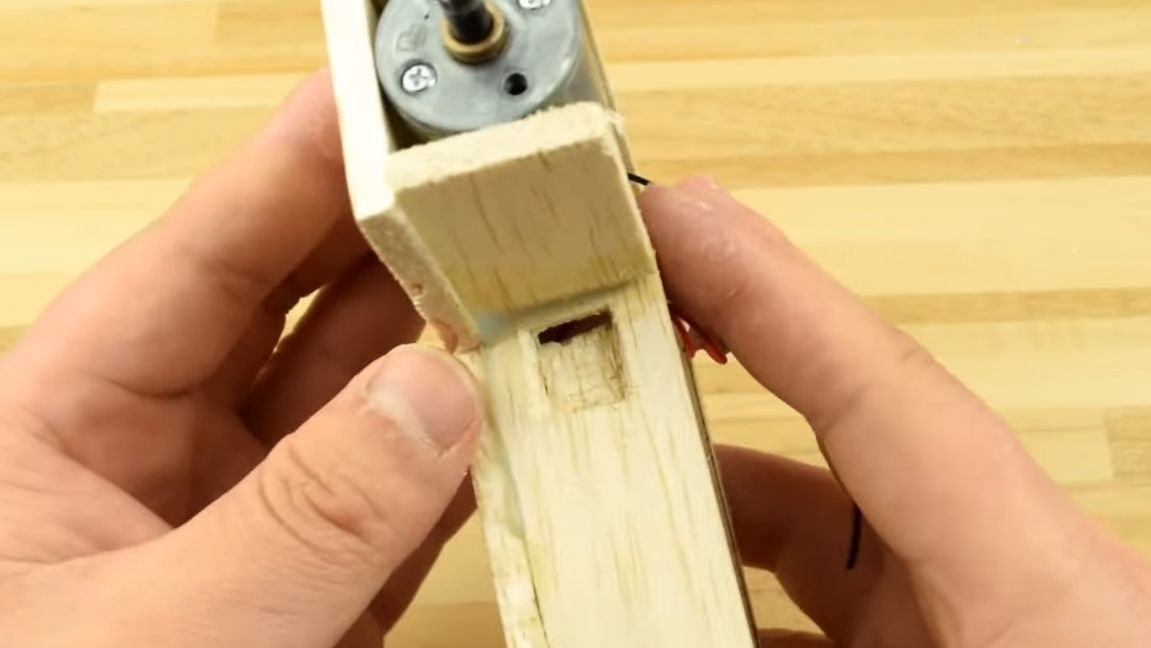
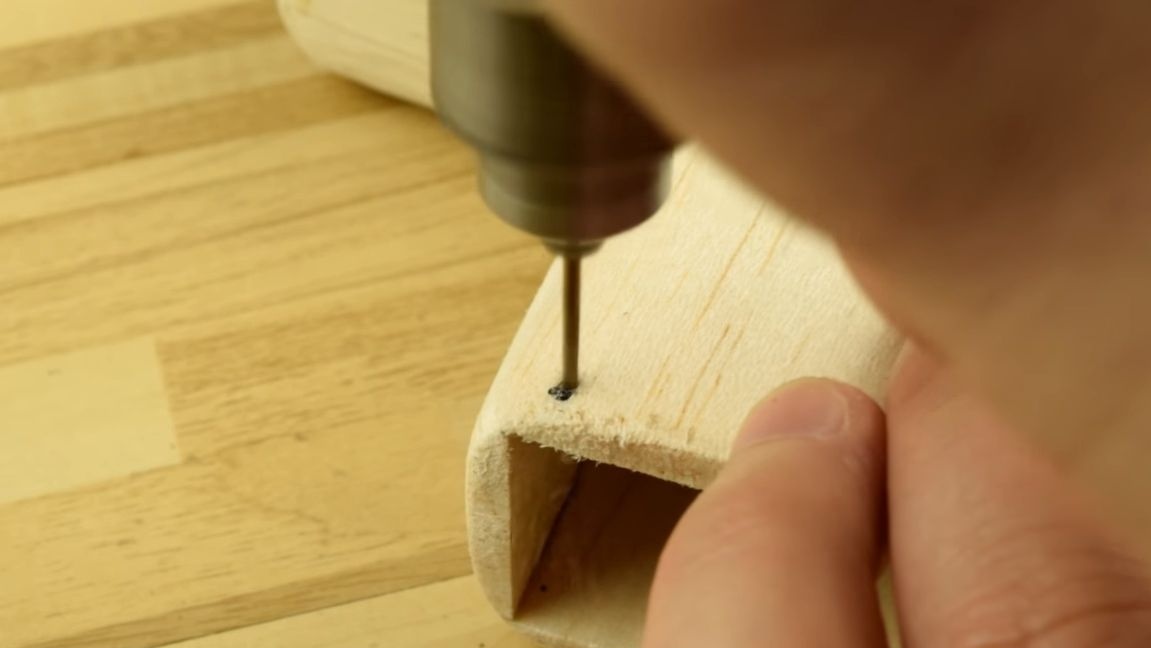
To connect the batteries, you need to install two contacts, for this purpose the author uses small springs. Thanks to them, the batteries are well pressed to the contacts. Solder the wires to the motor, and then solder the springs to the other ends. One spring is attached using hot glue to the body of the device. And for the second author pasted another piece of dostochka. We drill a hole for the wire and in the same way fix the spring with hot glue.
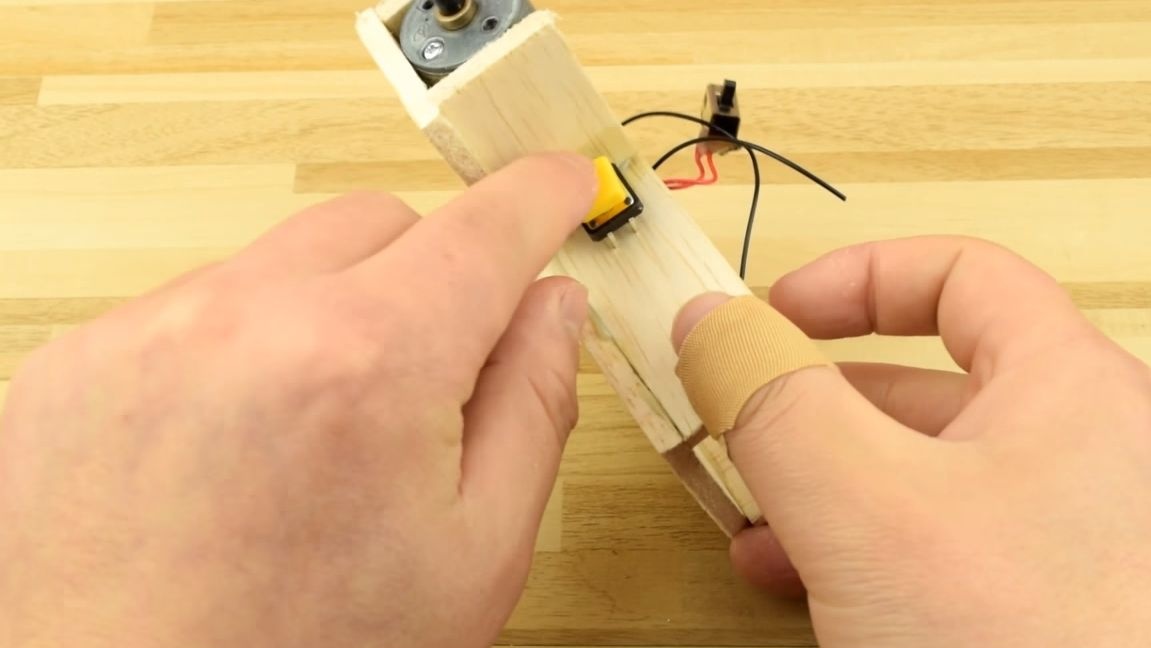
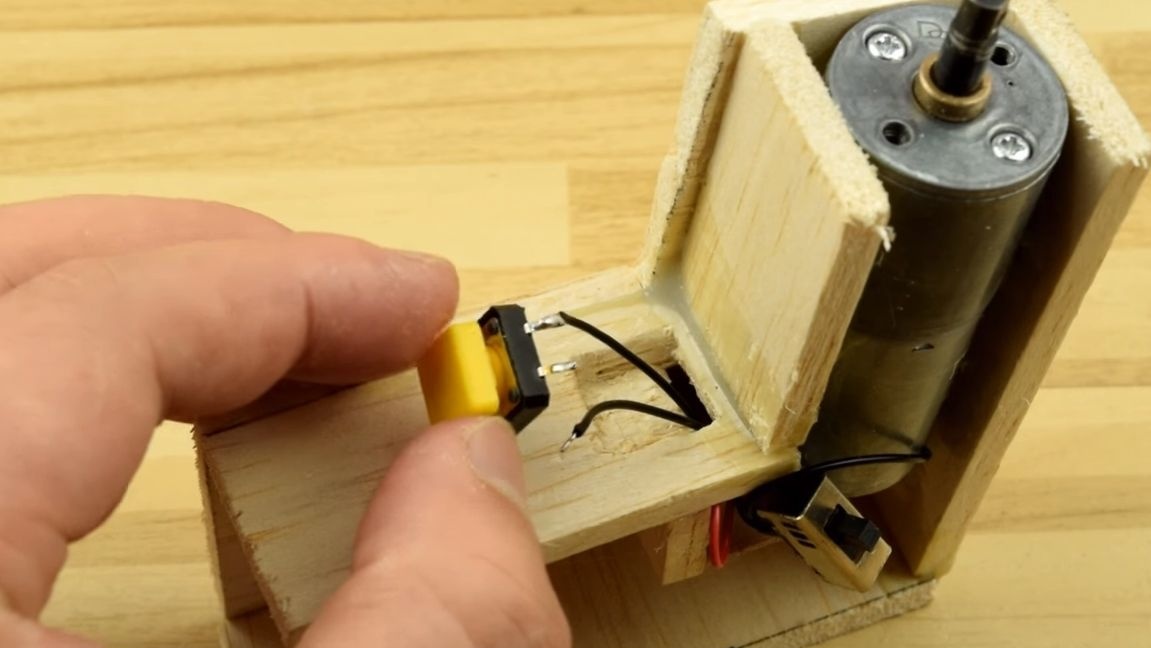
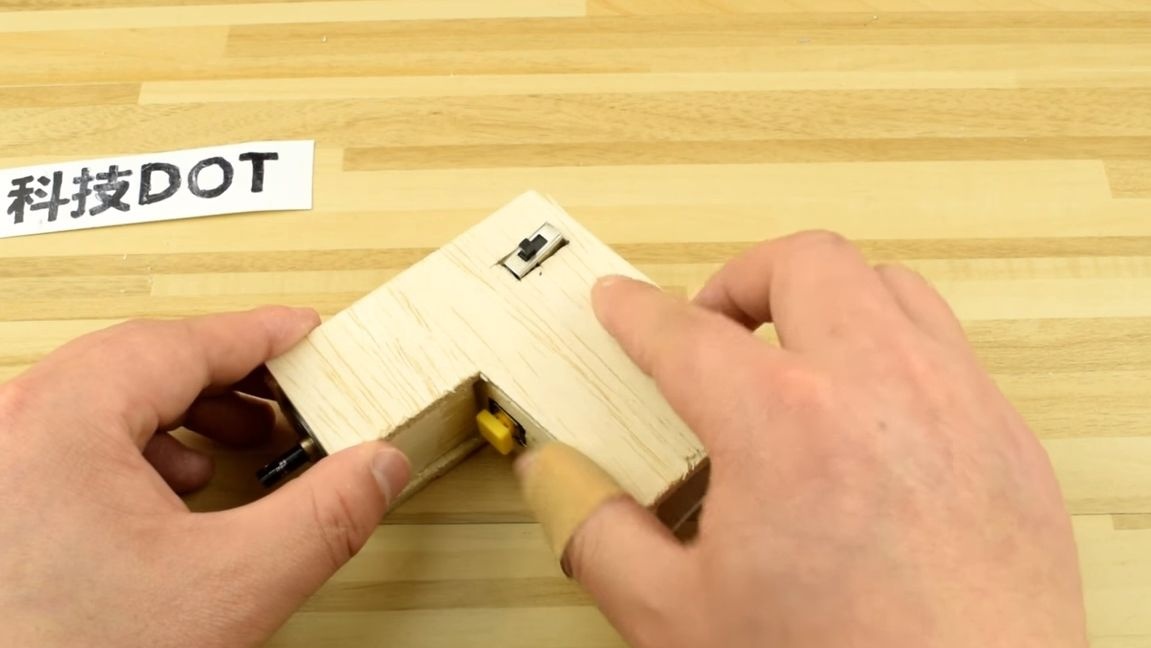
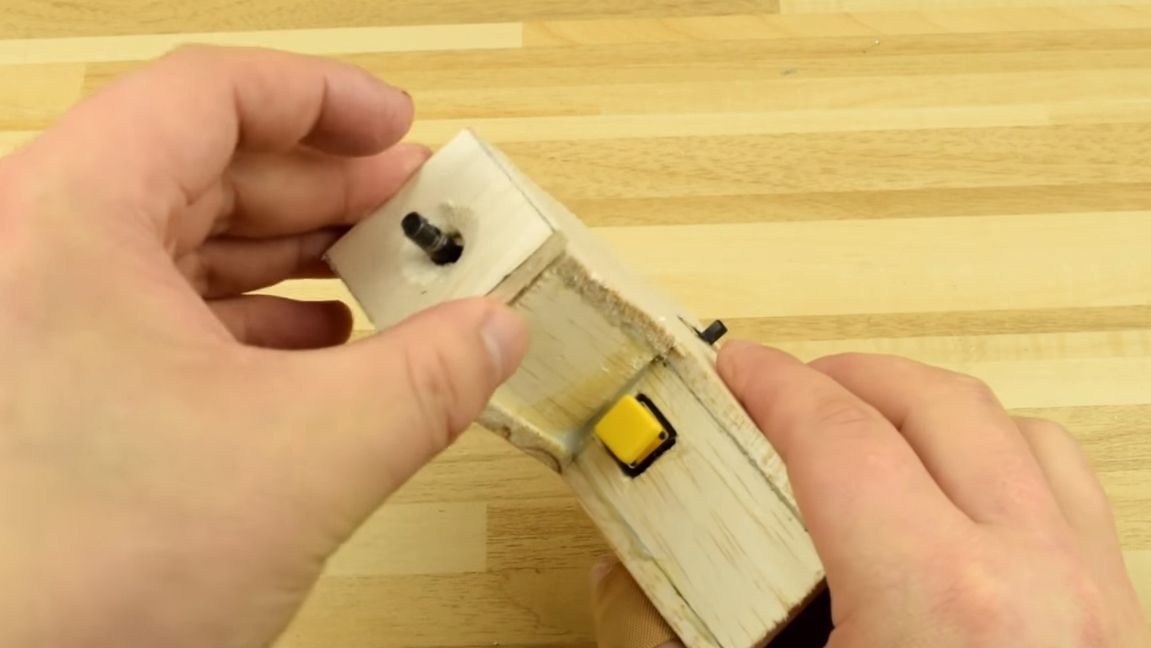
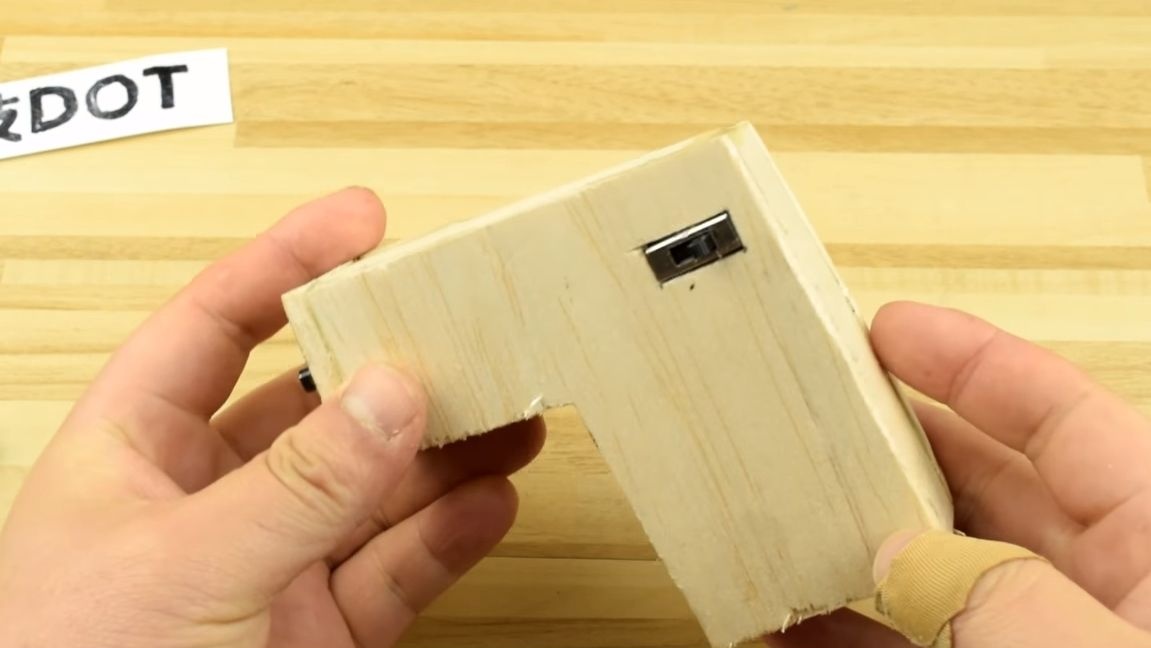
Step Three Setting the switch and start button
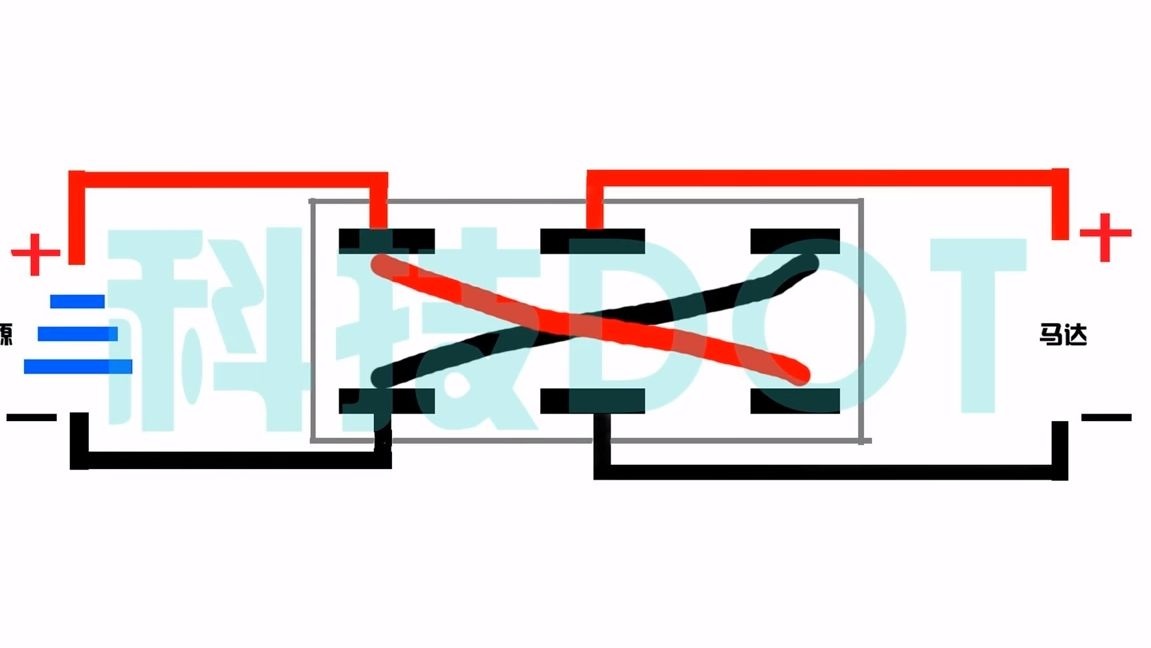
Since the screwdriver should not only twist, but also unscrew, we need to install a switch that will change the polarity. We connect wires to it as the author in the diagram.
We also need to connect the start button, it will be a kind of trigger, with which you can conveniently turn on the screwdriver. Under the button, make a recess and paste it on the hot glue. And under the switch you will need to cut out the window, we also paste it with hot glue.
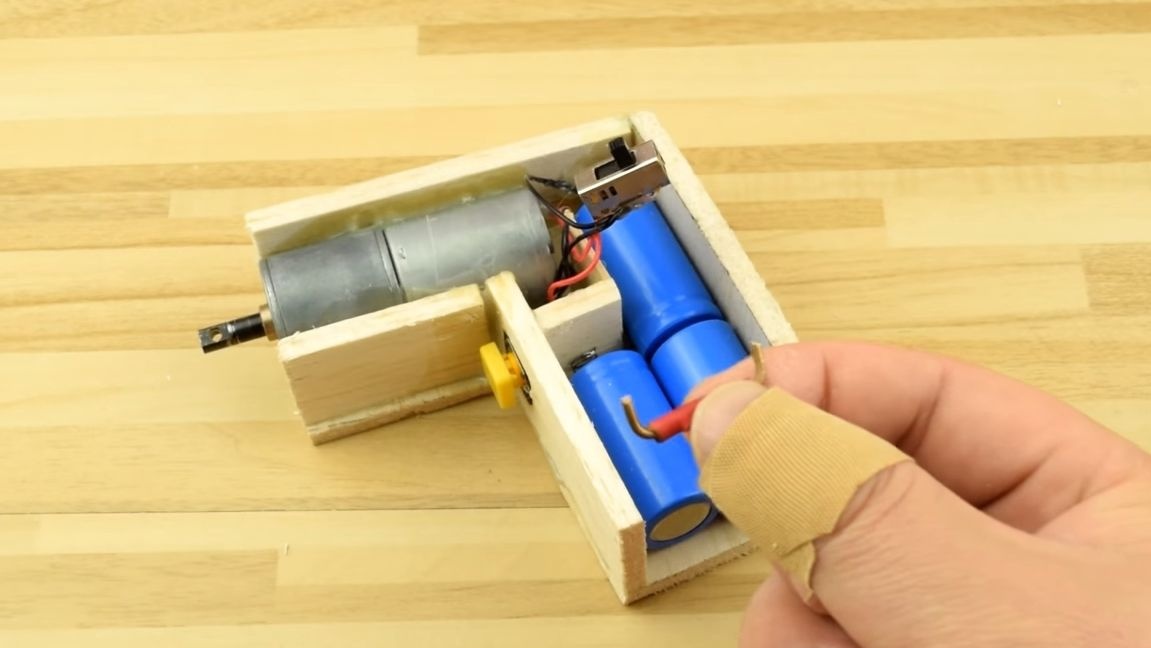
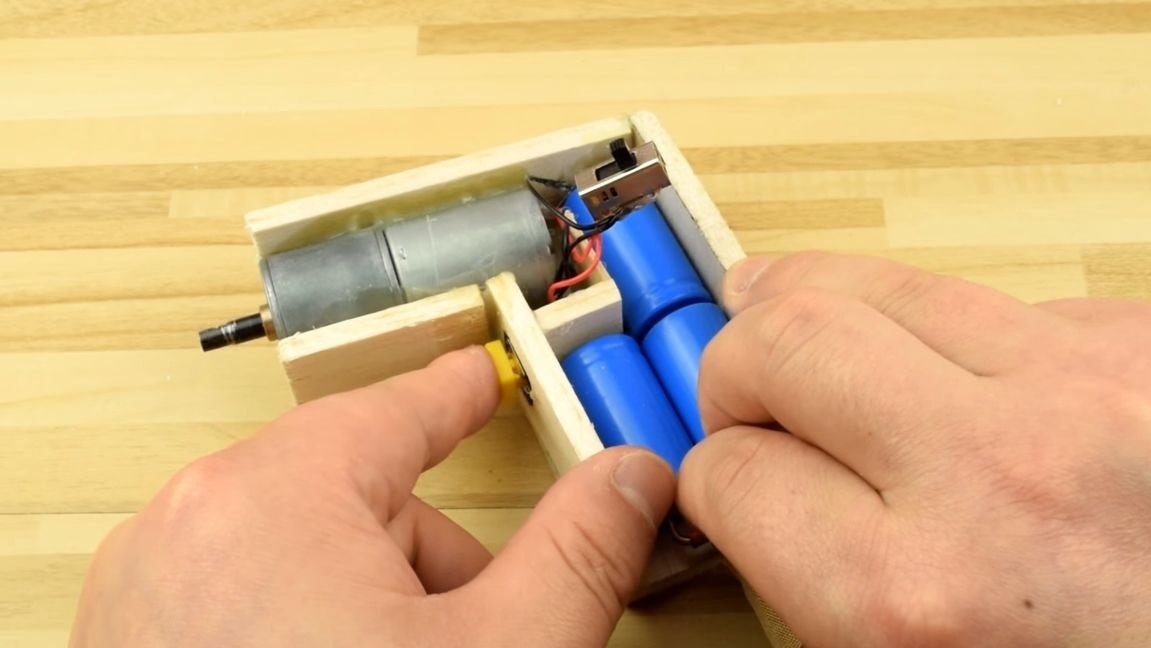
When the whole circuit is assembled, you need to check whether everything is connected correctly. Install the batteries in series. In order for two batteries to contact each other well, the author installs a miniature neodymium magnet between their contacts. To close the circuit, use the jumper and press the power button. If everything works fine, be sure to check to see if reverse works. Move on.
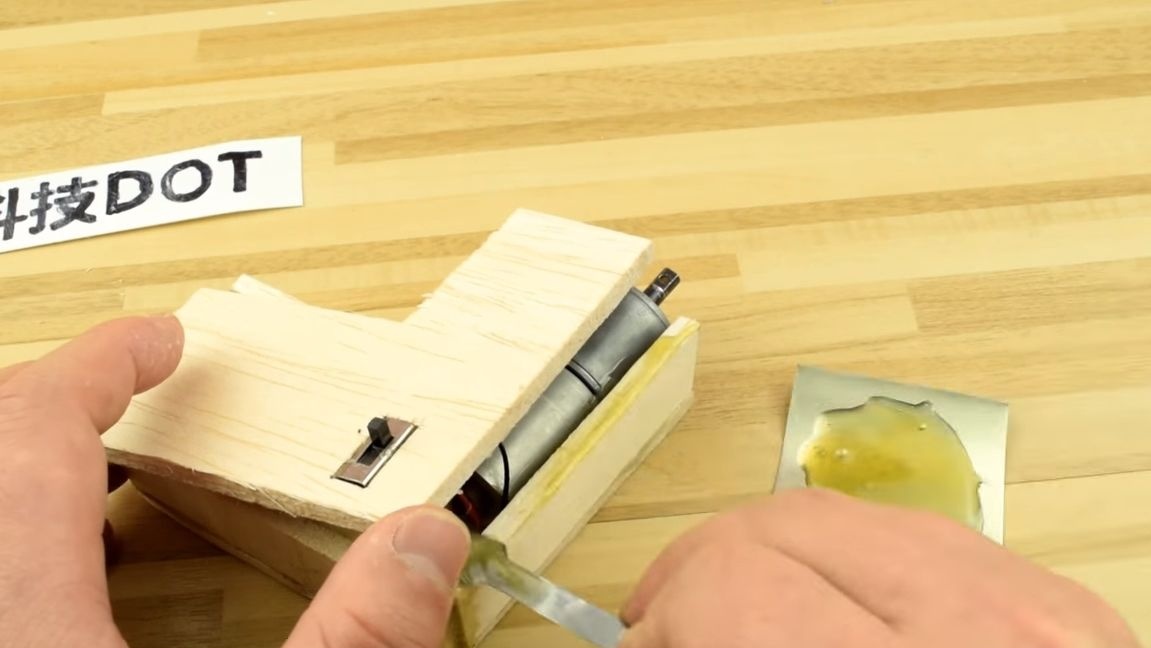
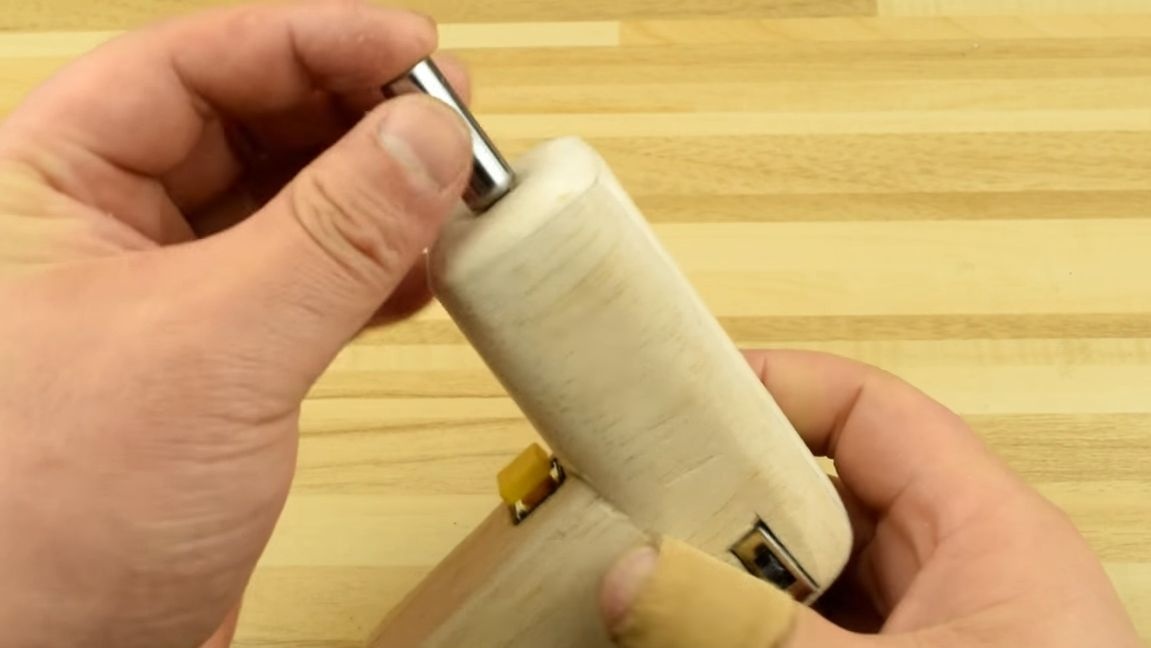
Step Four Install the cover
Now the screwdriver case can be finally assembled. Cut the cap in the shape of a gun. We glue it with epoxy glue, so the body will turn out to be as strong as possible. From the side of the gearbox axis, we also need to make a cover, drill a hole for the shaft and glue it on the epoxy. Do not forget that the full hardening time of epoxy glue is 24 hours, it is advisable not to touch the product before the expiration of these periods.
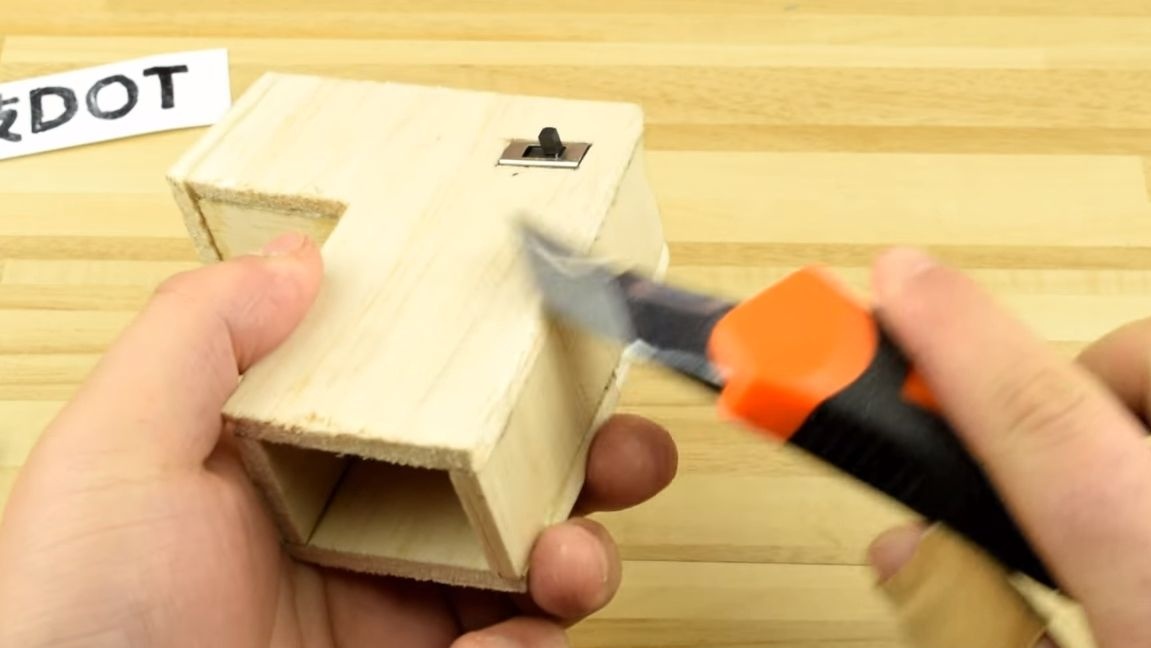
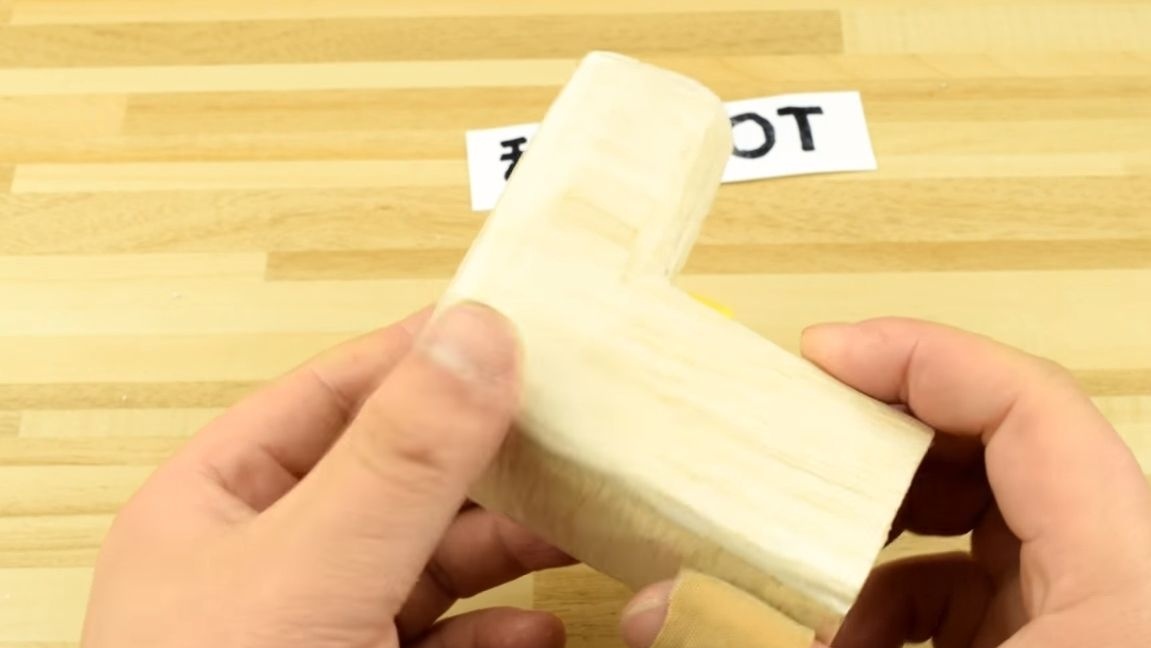
Step Five We form the shape of a screwdriver
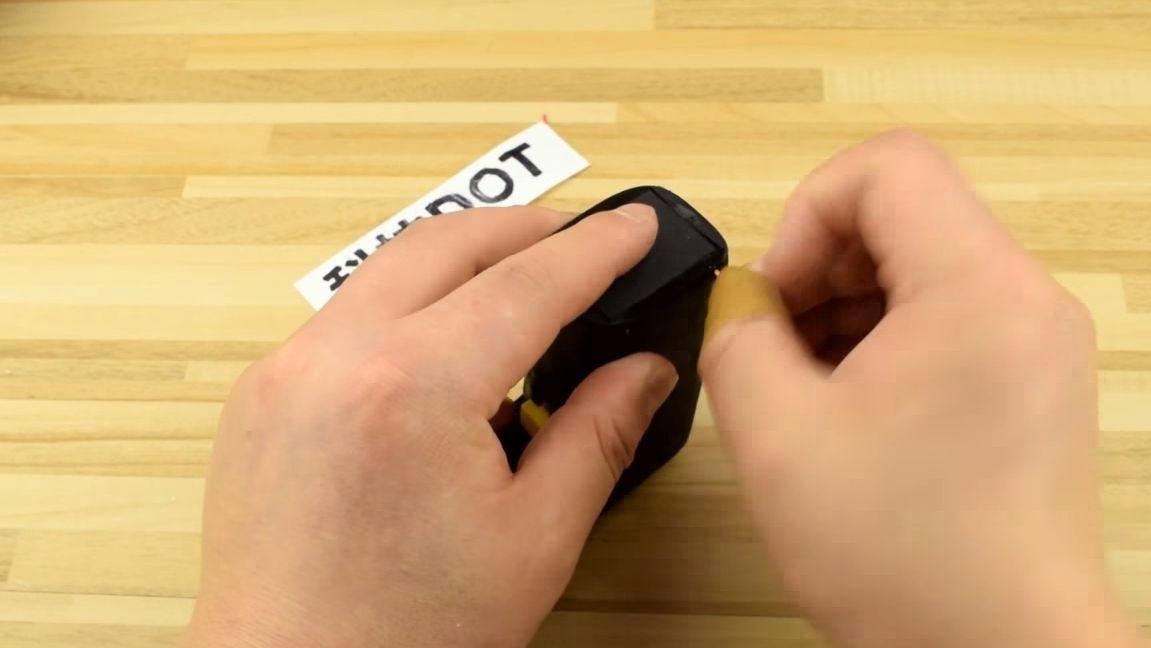
Due to the fact that we used wood, you can now set a convenient profile for the device. We take a clerical knife and cut off the corners to make the pen as oval and smooth as possible. After processing with a knife, we use files and grind rough edges. At the end, we process everything with sandpaper. The case will turn out smooth, will take on rounded shapes, as a result it can be painted.
Step Six Making a cover for the battery compartment
It remains for us to install the battery cover so that the batteries are fixed in the handle. To do this, cut out and customize a piece of dostochka. We drill a hole in the case and the board, hang it articulated using a piece of copper wire, a paper clip and so on. We fix the axis with superglue.
You also need to make a latch for the cover, it works in a similar way, only this axis should be pulled out from us. To conveniently tuck the lid with your fingernail or finger, cut a recess in front of it.
Finally, we install a jumper on the cover to close the battery contacts. We take a copper wire, twist it and glue it to the lid opposite the contacts.
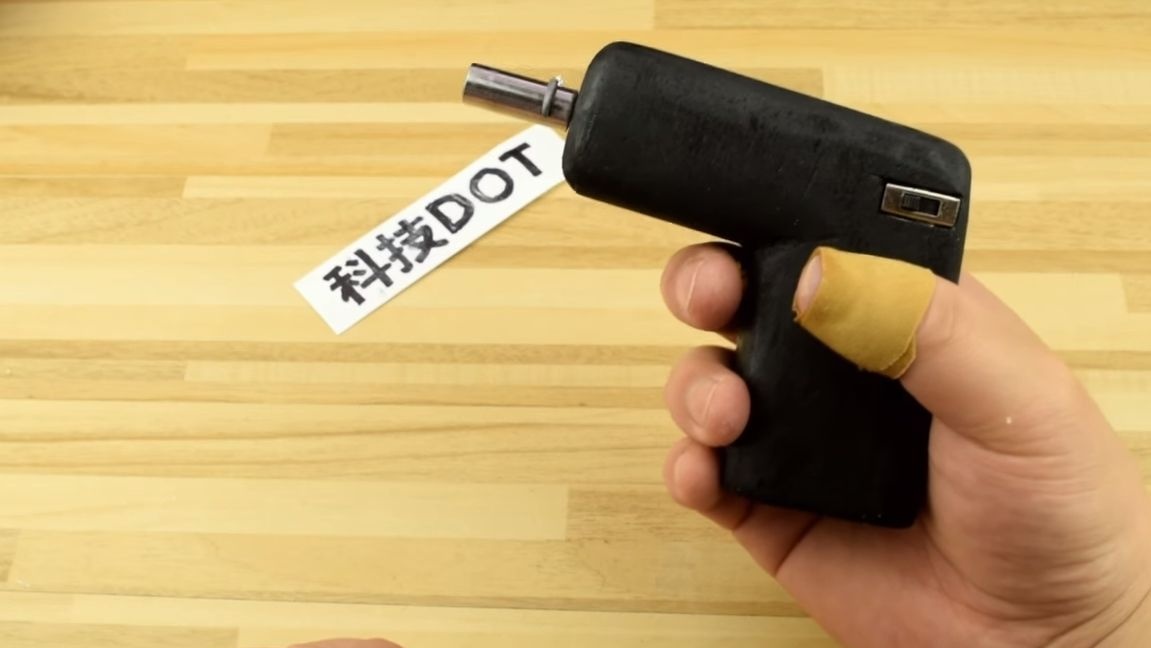
That's all, now the main part of the screwdriver is assembled!
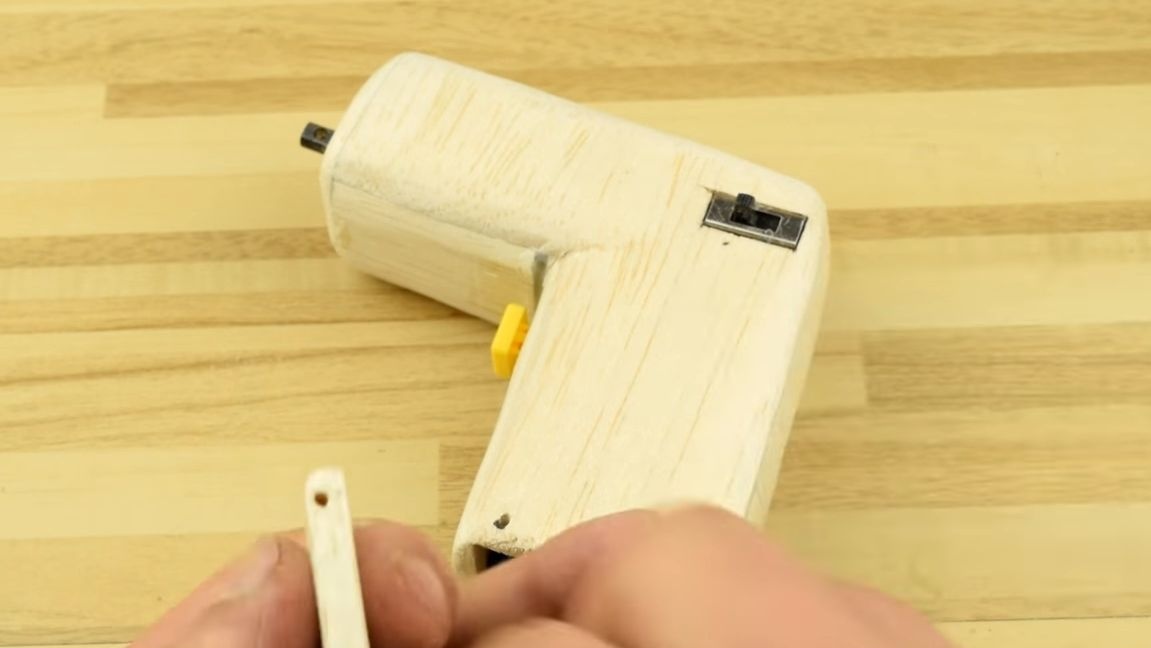
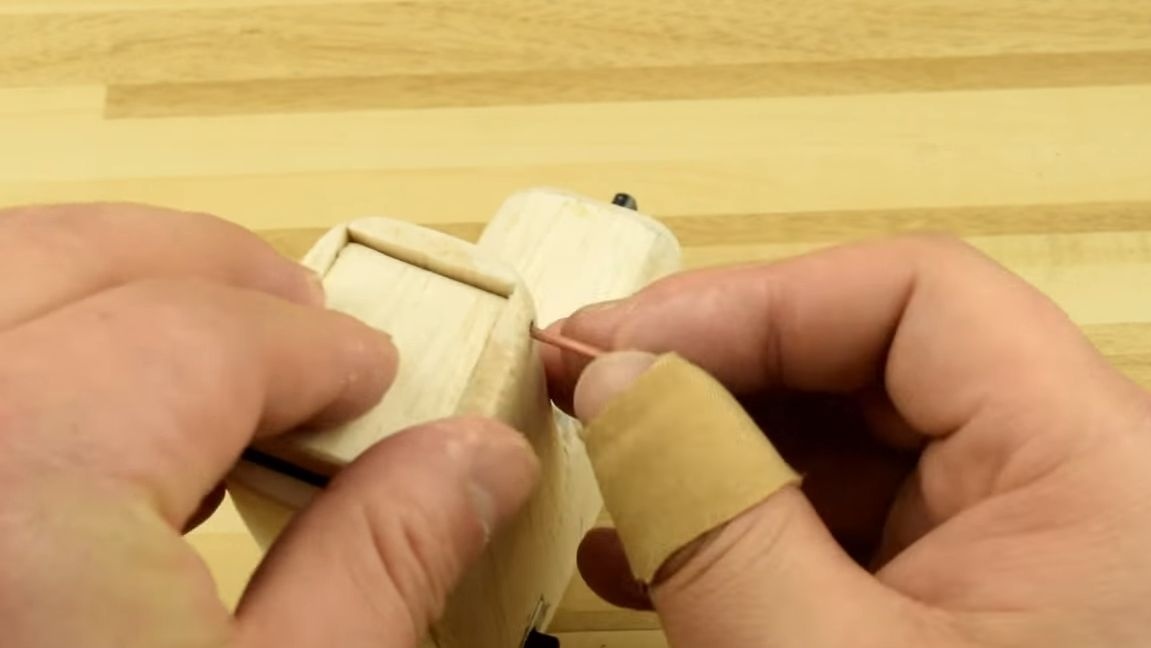
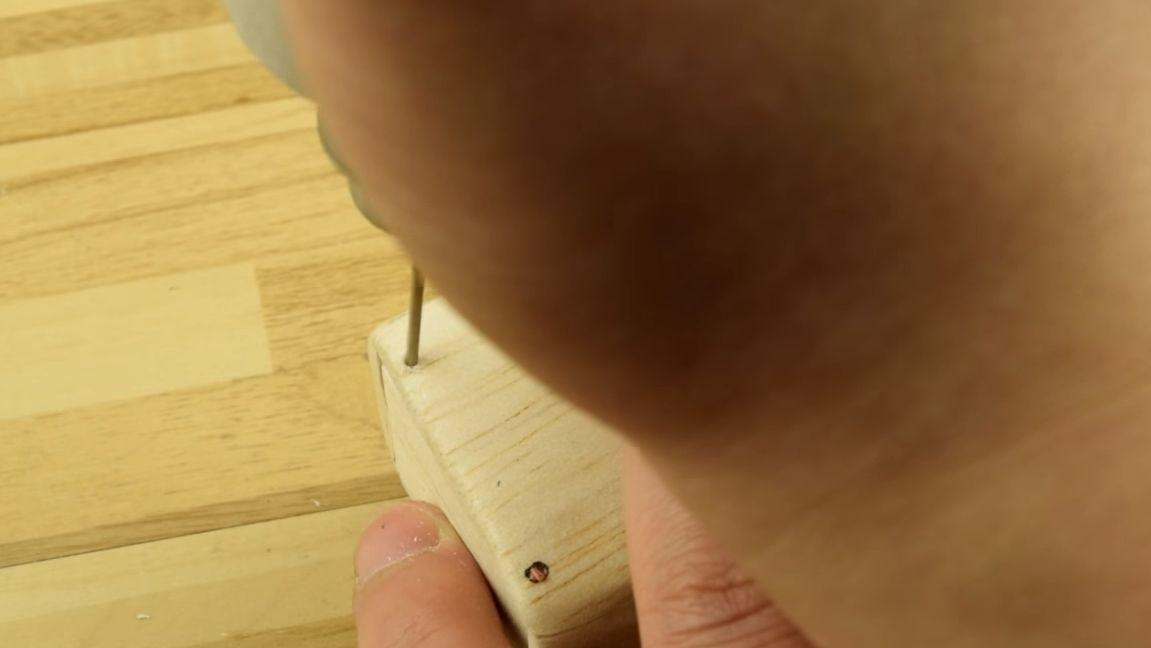
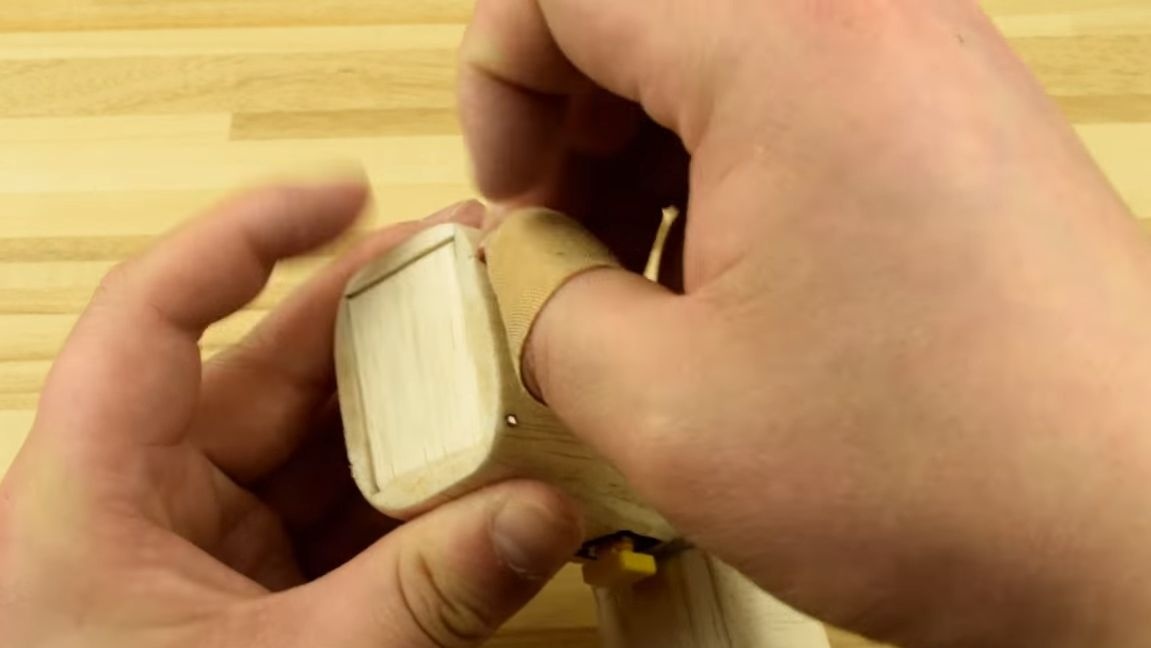
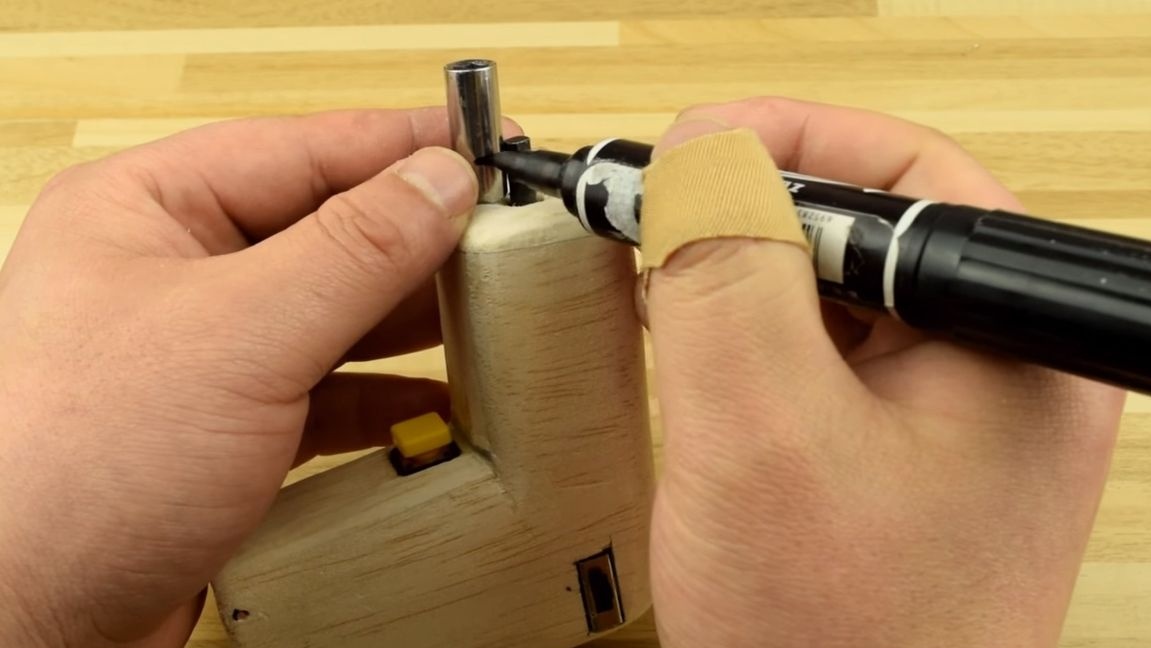
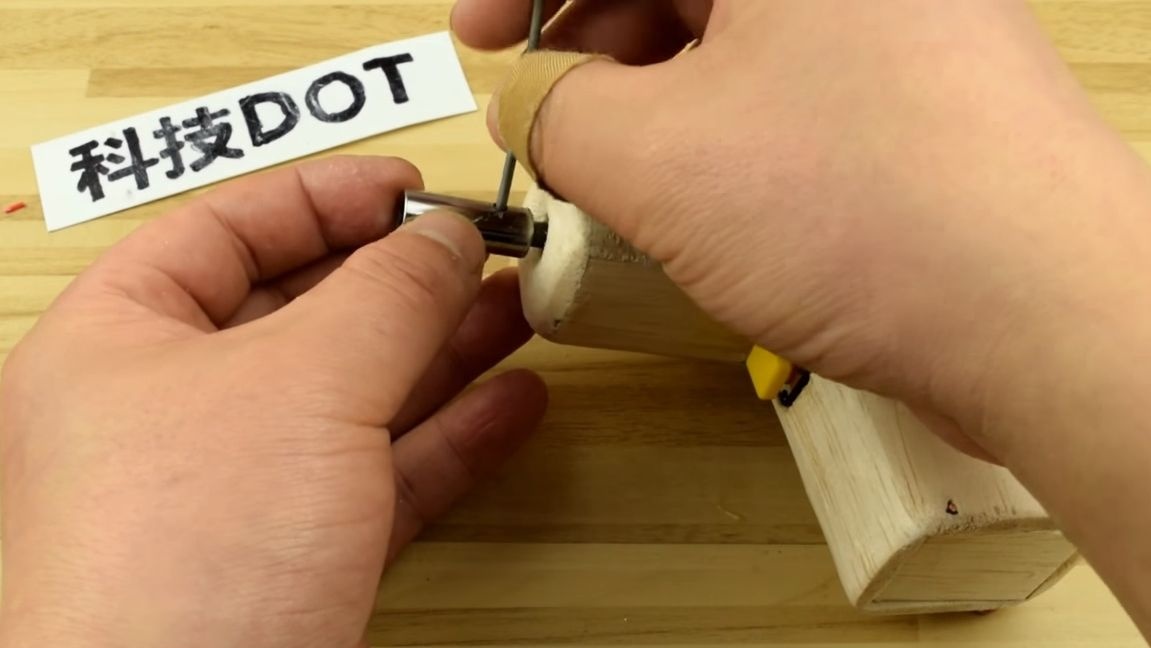
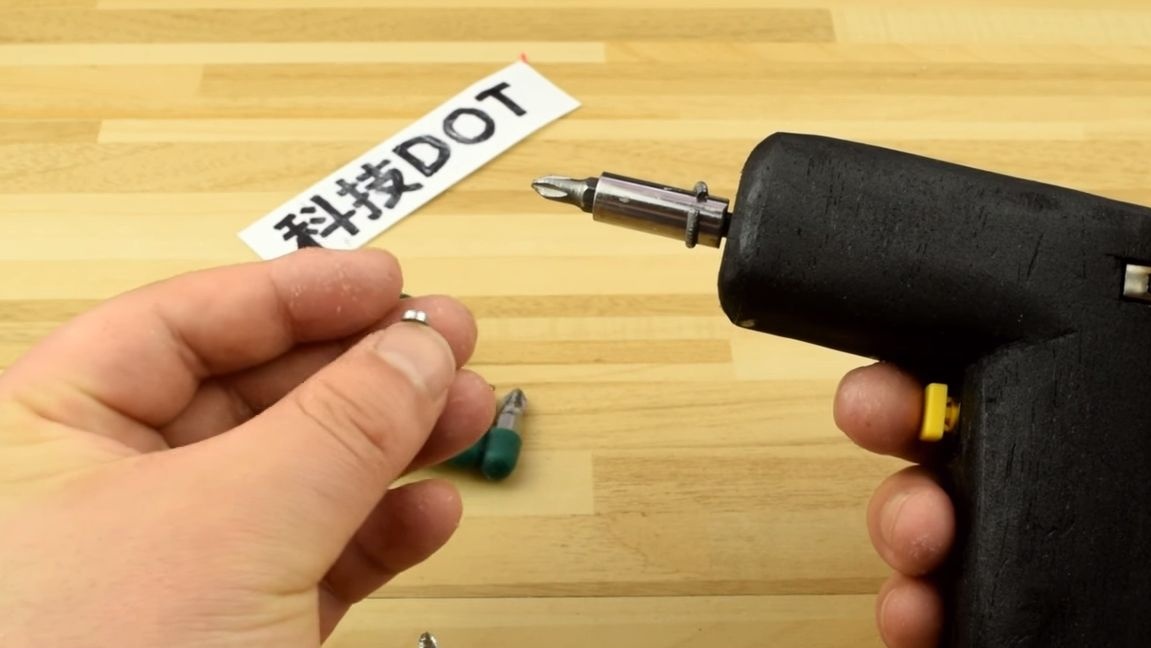
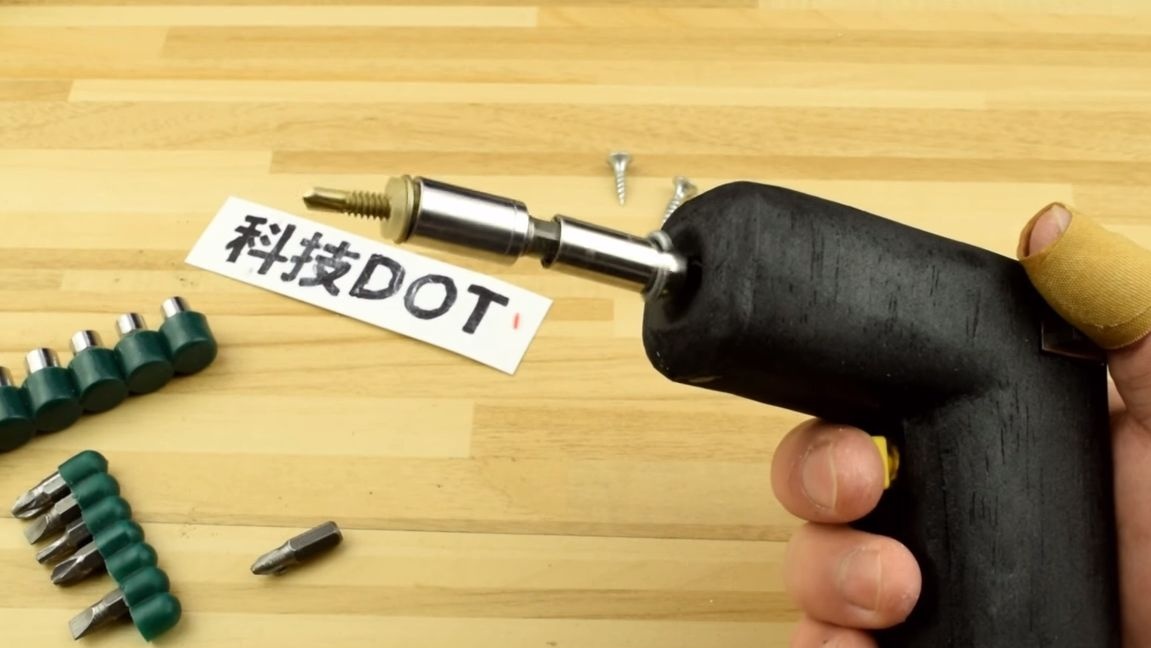
Seventh step. Set the adapter for bits
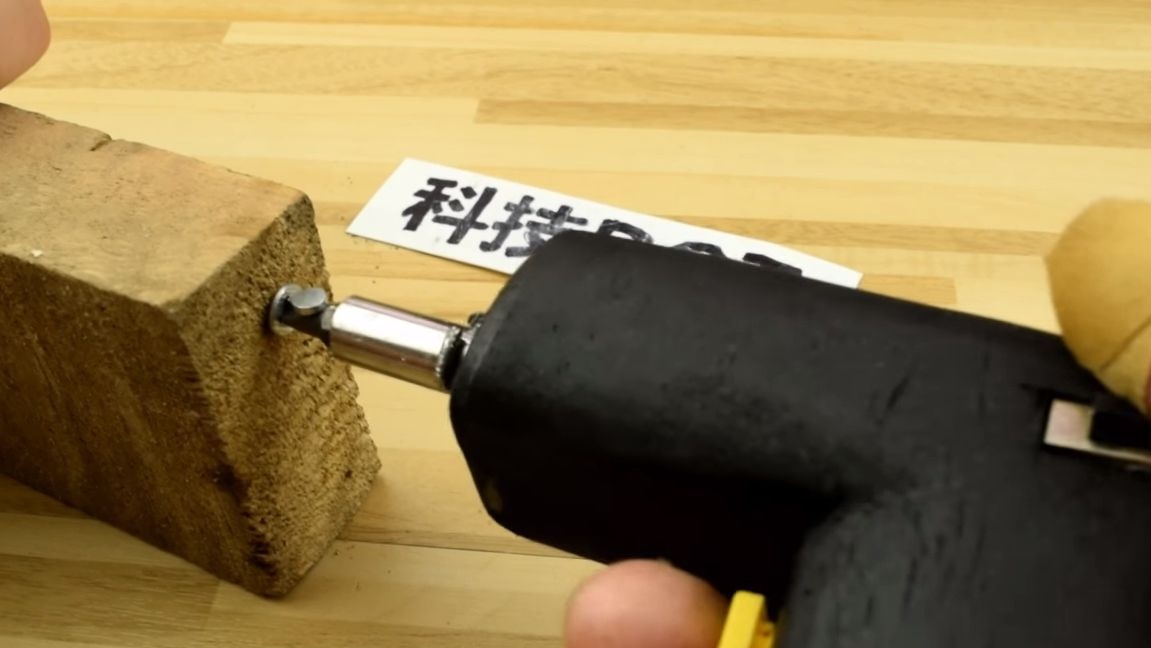
On the motor shaft we need to fix the adapter with splines, thanks to which it will be possible to install bits and various heads on a screwdriver.To fix this part, the author simply drilled a through hole through an adapter and a shaft, and then installed a pin made of steel wire. We bend the edges of the wire carefully so that it does not fall out. That's all, our wonderful tool is ready, go to the test!
Step Eight. Testing an electric screwdriver
We install a bit on a screwdriver and try to unscrew something, or twist it. The author had a problem, the bits fell, if you lower the screwdriver nose down. To solve this problem, simply install a small neodymium magnet on the adapter. So that it does not move, it can be fixed with superglue, or rather a drop of epoxy.
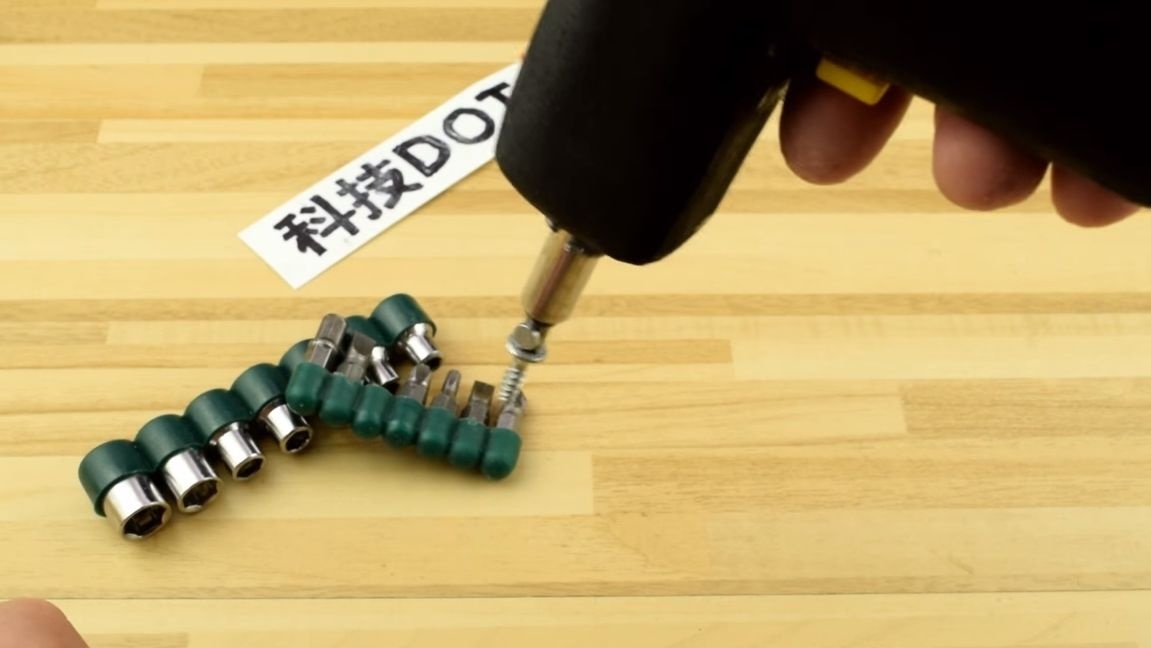
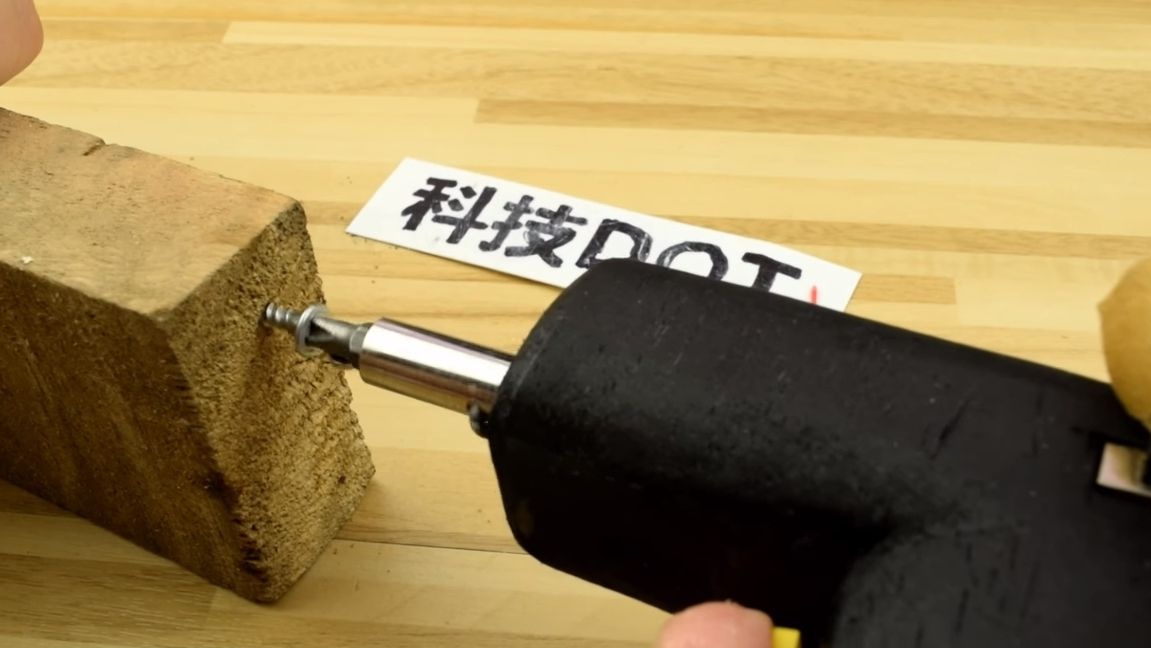
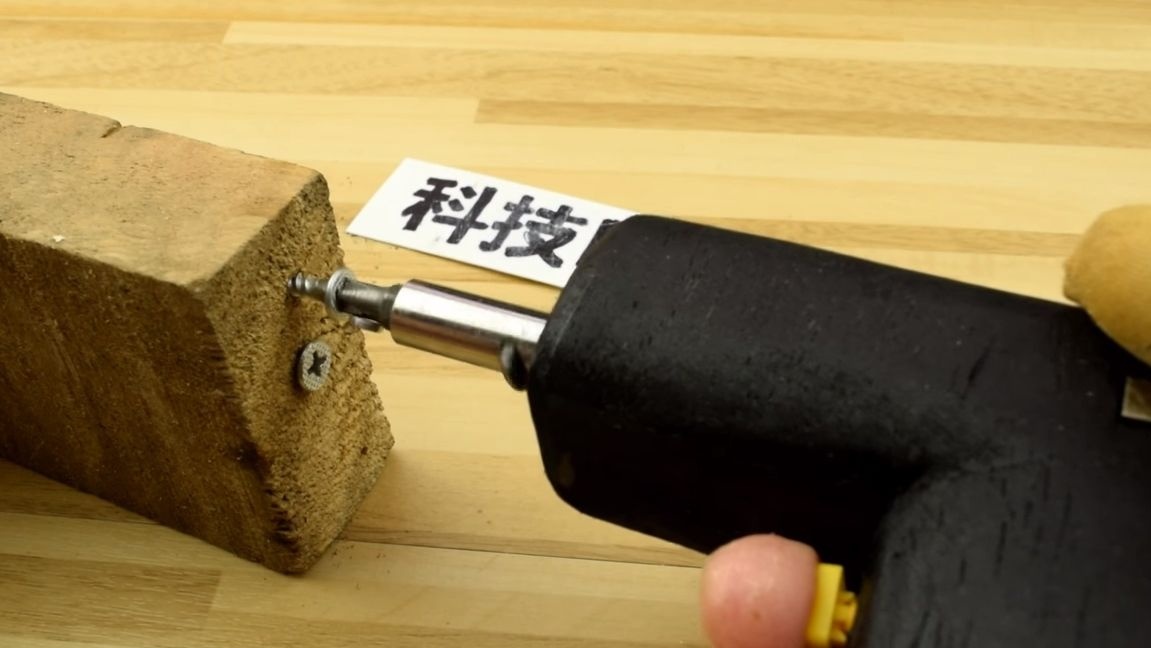
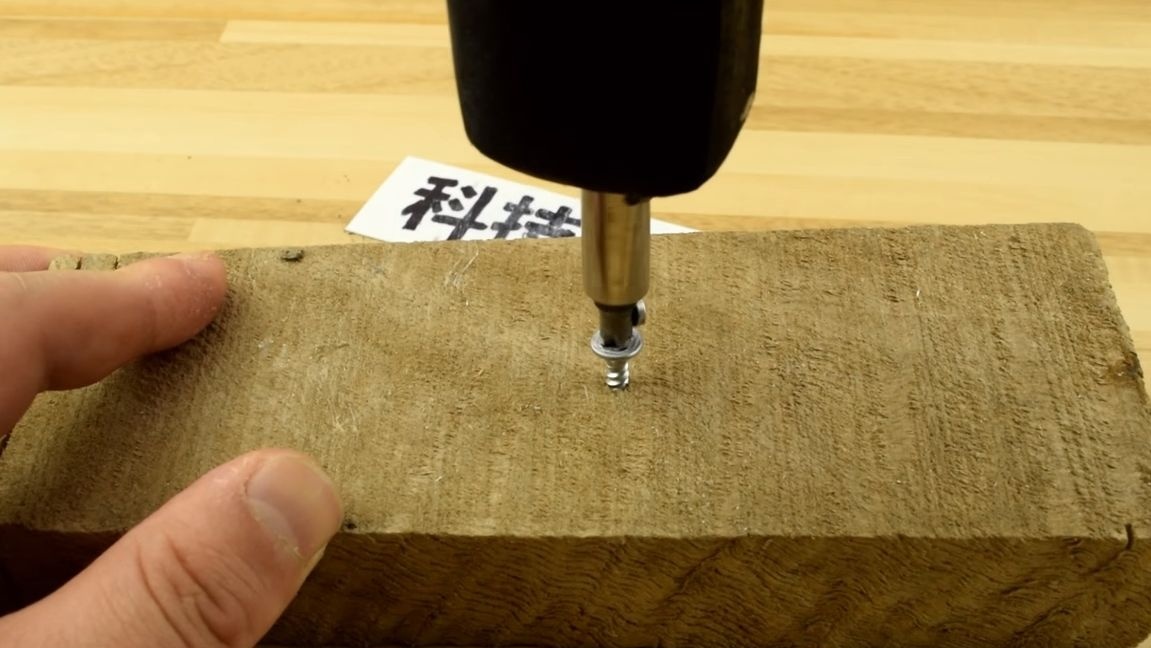
In the process of testing, the author easily unscrews and tightens the screws. The power of the device was enough to wrap the screws in the board, and then turn it out with the same ease. But the device does not end with this functionality. Using the adapter, you can install the heads on a screwdriver and work with nuts and bolts!
That's all, I hope you liked the project, and you found something new for yourself. Good luck and inspiration in making your own homemade products! Do not forget to share your best practices with us!