
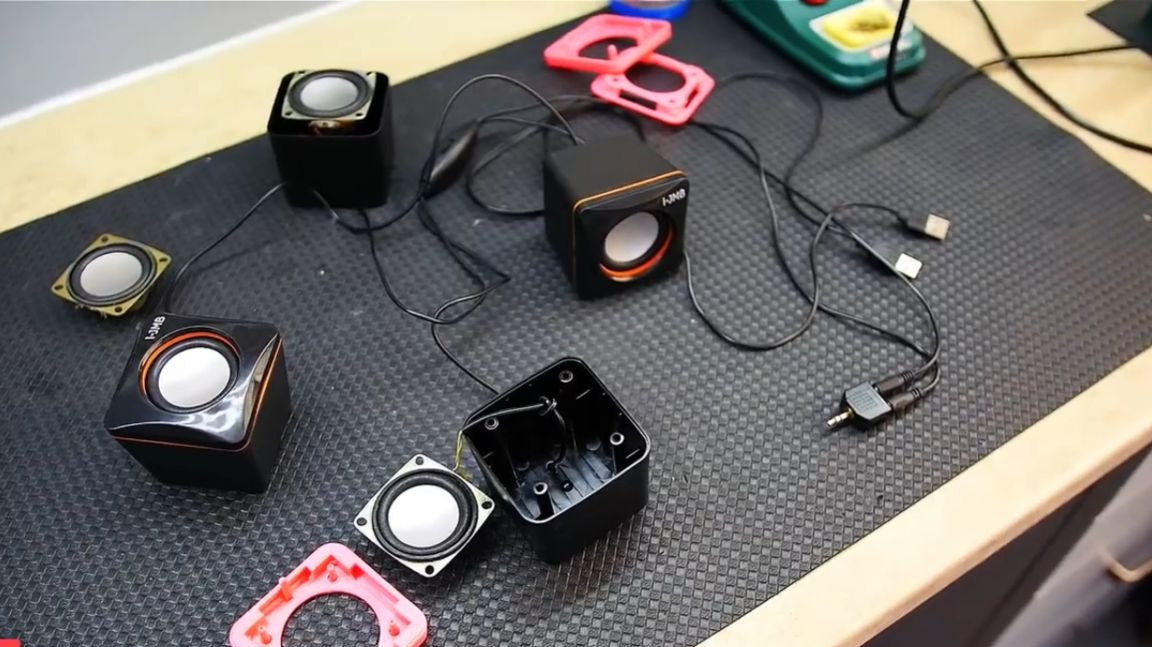
It all started with bullshit speakers for a computer powered by usb.
And once, looking at pictures from the exhibition of car audio, the author of the video came up with one idea.

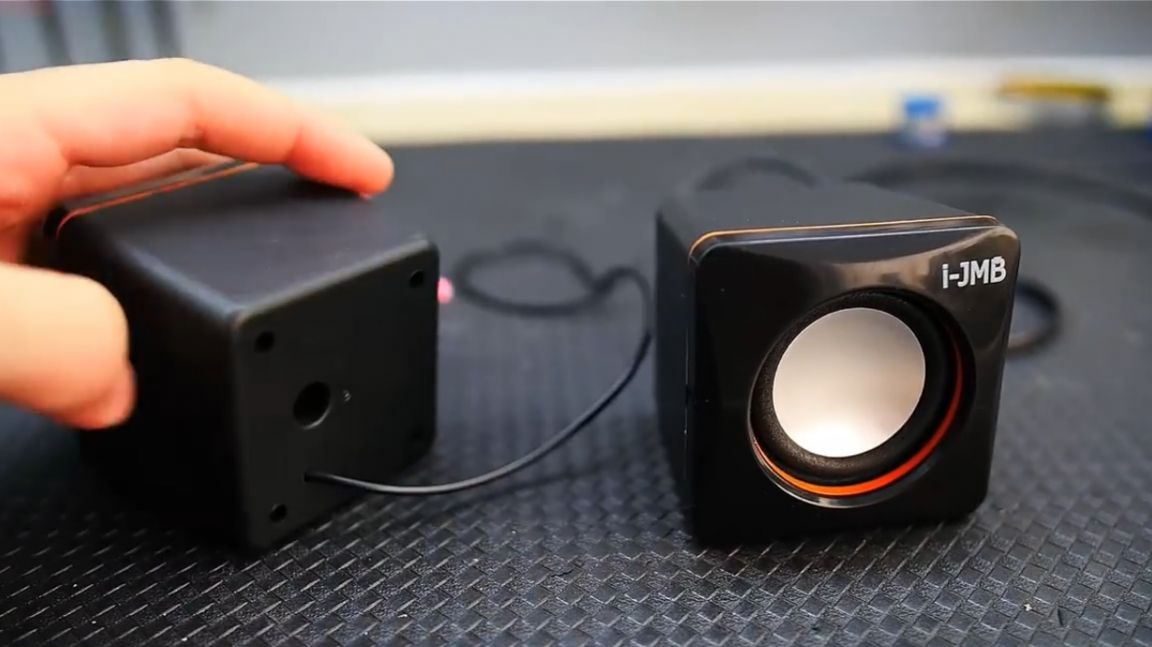
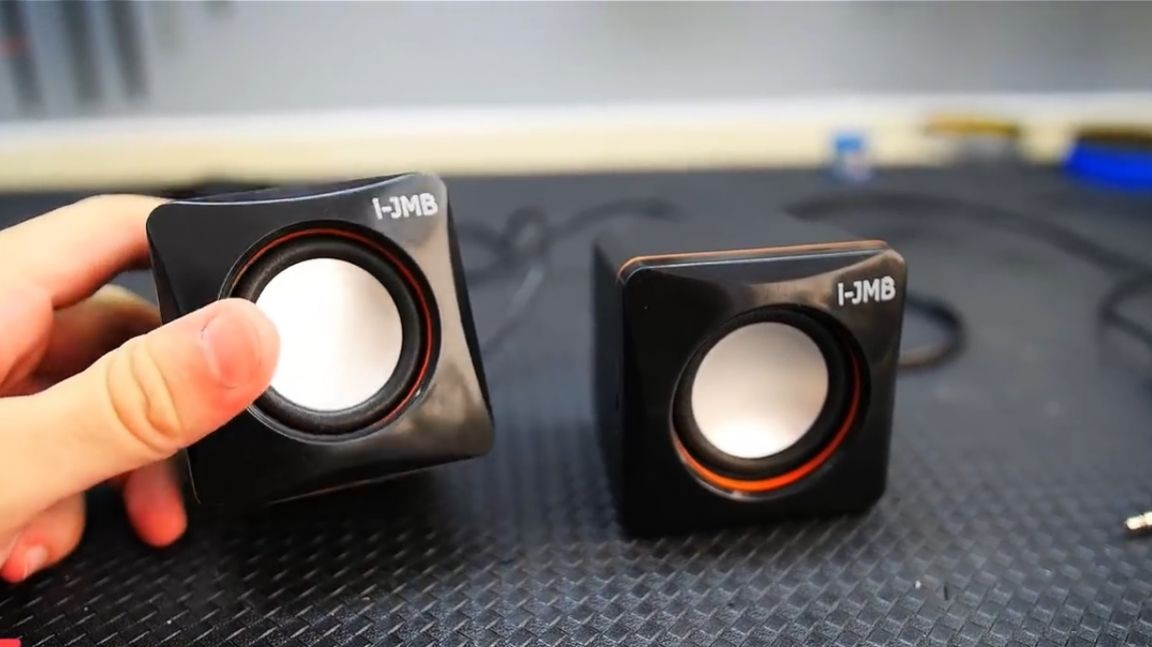
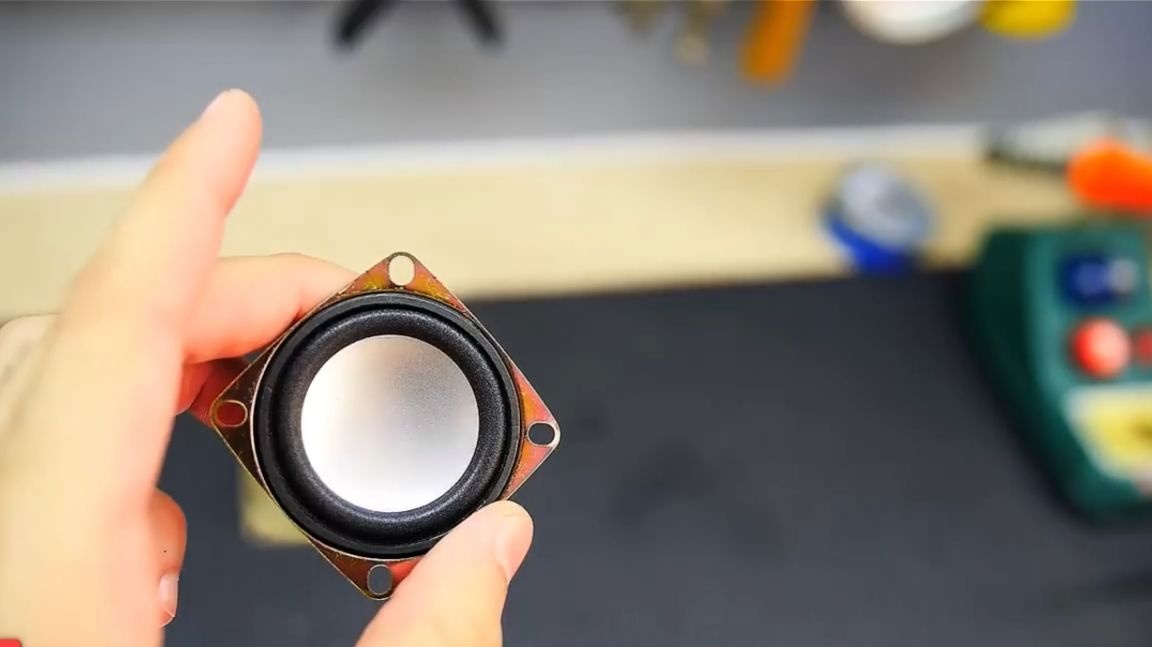
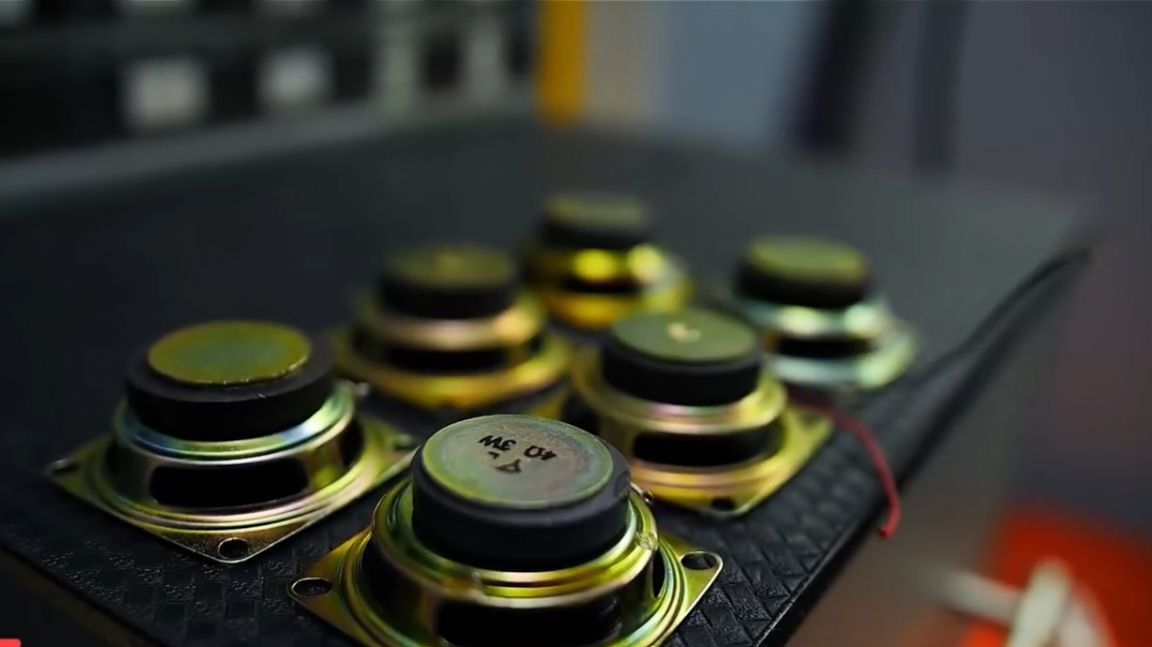
Here are the very speakers with a good sound that the author mentioned. They got him almost for nothing. I had to pay about 3 euros. For this price we have 2 pairs of such speakers. In terms of Russian rubles, it turns out something in the region of 100 rubles per pair.
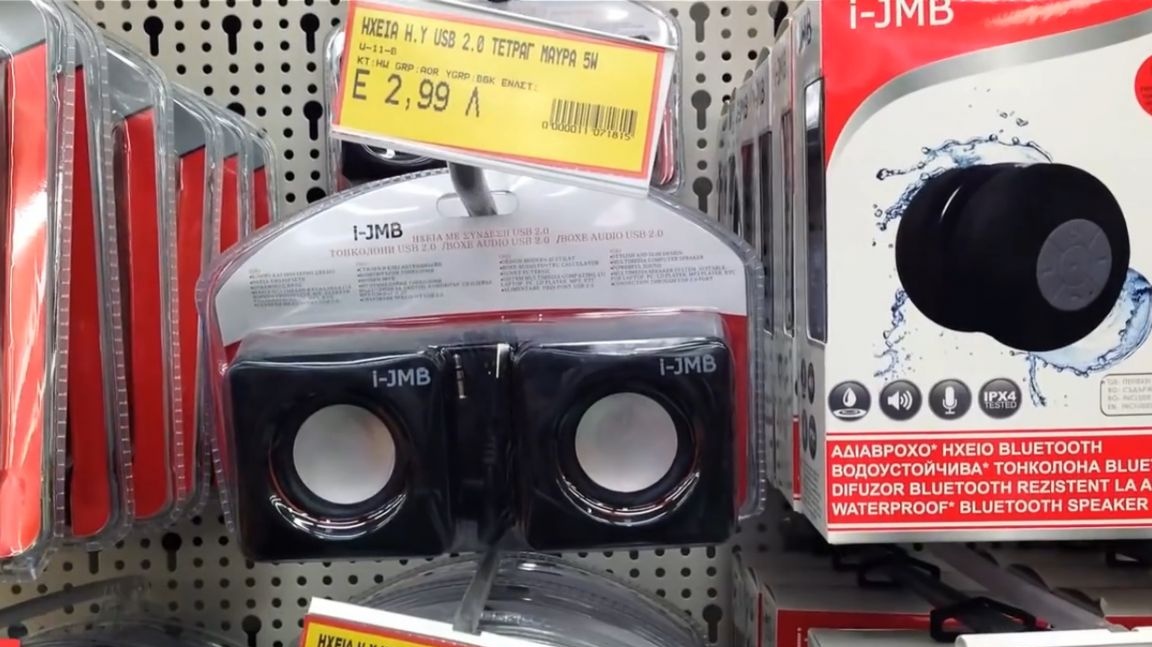
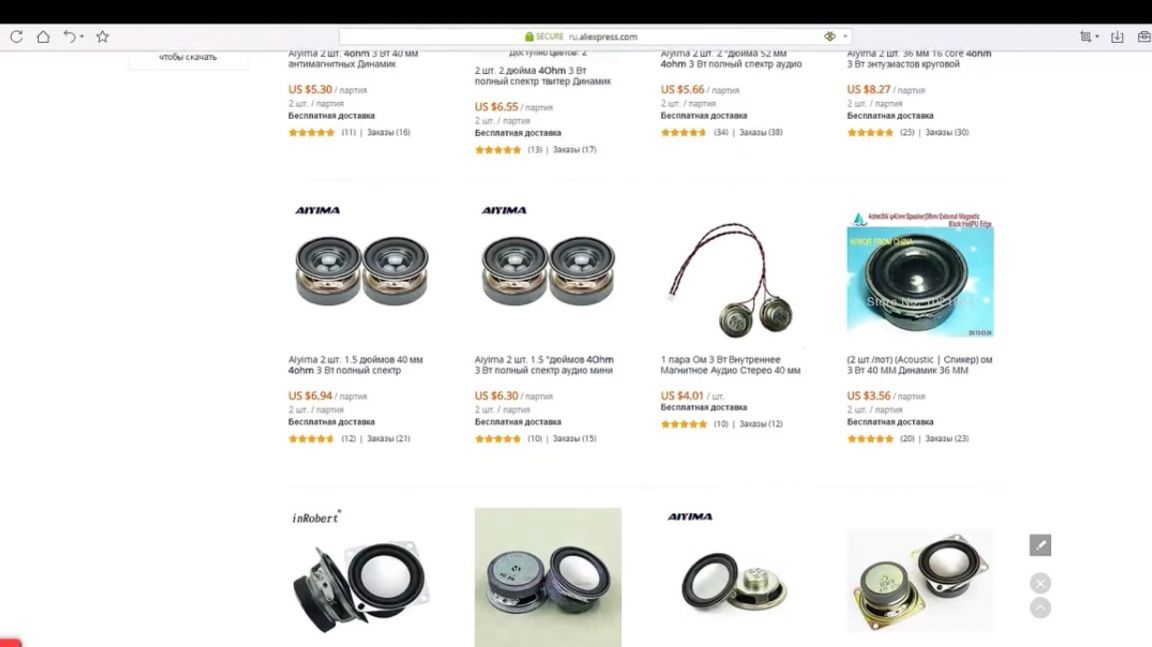
Yes, the sound they have, frankly, is disgusting. The body is plastic, flimsy, it is cracking. But for this homemade product it is not needed. You only need the speakers themselves, plastic in the trash. Exactly such speakers can also be bought on the website of the store of Chinese goods on aliexpress. Plus, you don’t have to pick them with a screwdriver.
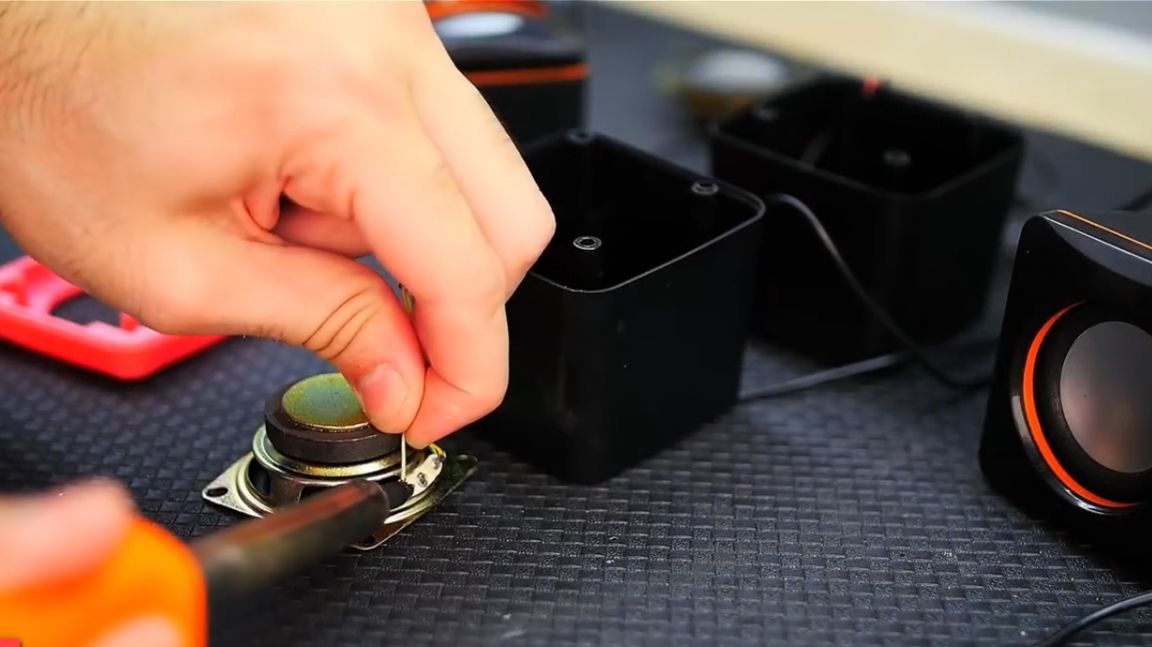
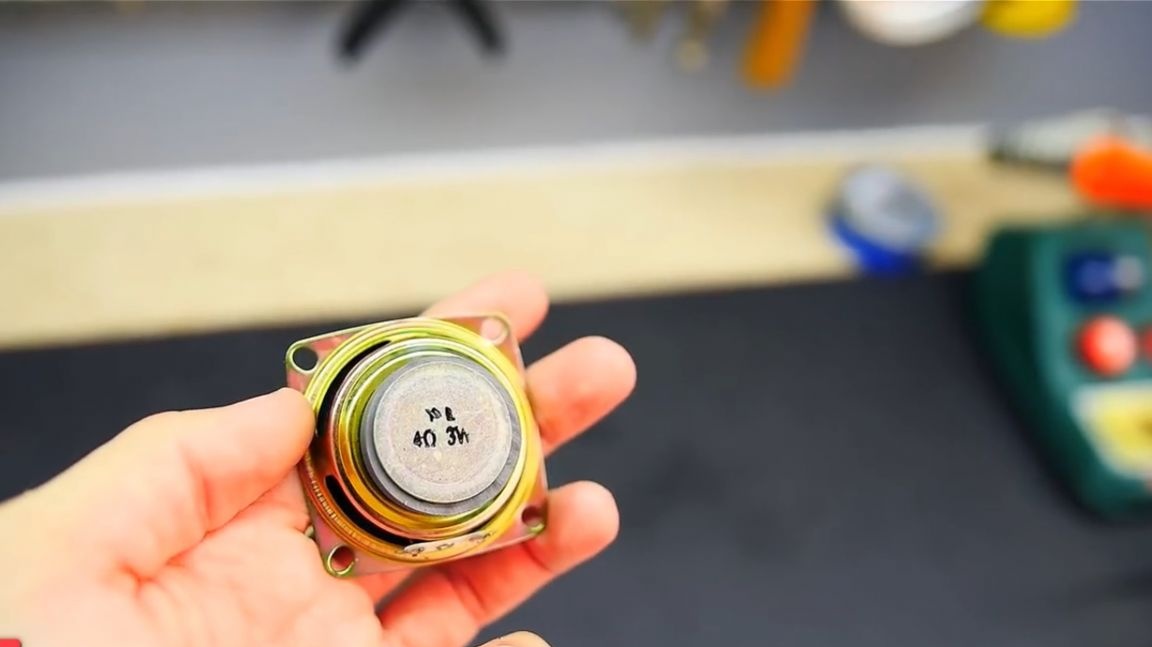
We take the speakers out of these creepy rattling plastic boxes. Need a soldering iron. Solder both contacts and see the inscription on the back. These are the specifications of the speakers.
They turned out to be 4 ohms, and 3 watts each.
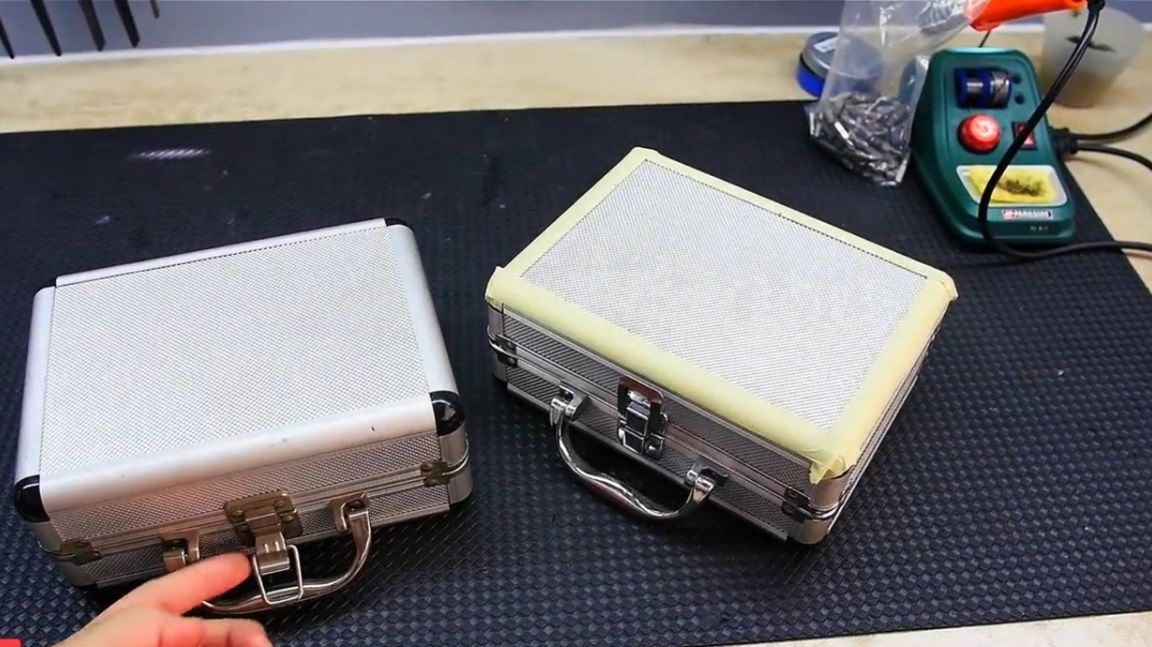
The speakers will move into a new case. It will no longer be made of plastic, but, attention, aluminum-wood. This is a kind of case. But let's not rush, let's all in order.
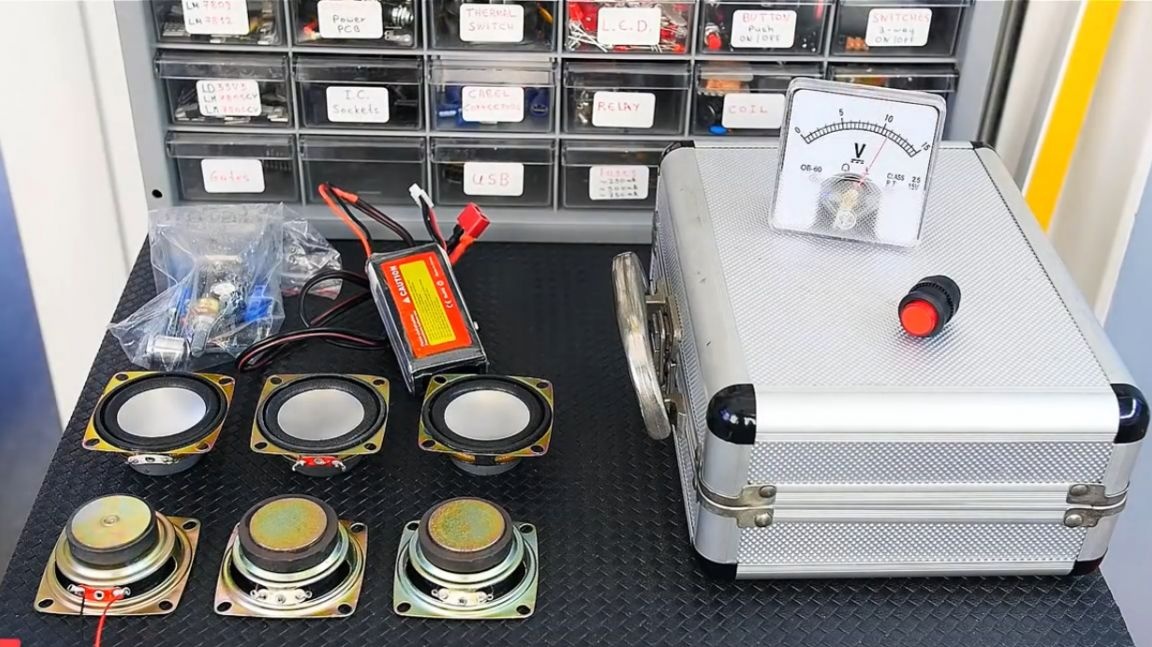
For today's project we will need:
1. Actually, speakers in the amount of 6 pieces
2. A small aluminum case
3. Powerful sound amplifier
4. Li-pol rechargeable battery
5. The switch
6. Battery indicator
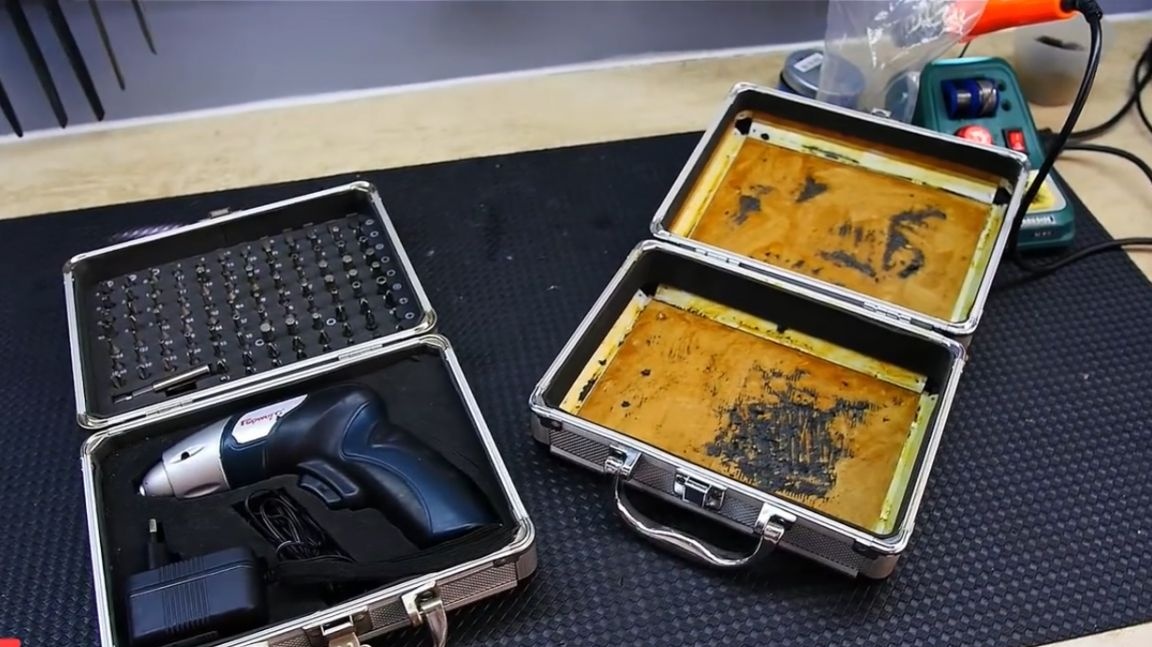
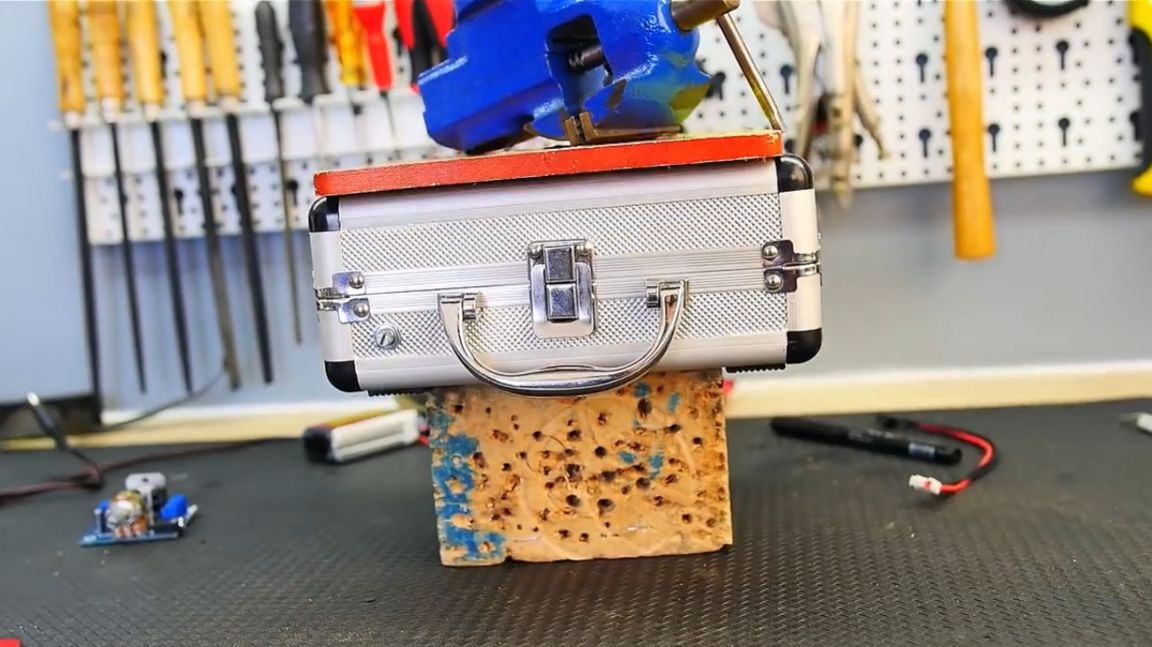
An aluminum-wooden case was previously used as a case for storing and carrying an electric screwdriver with a set of bits. The author has such a set, and for several years now the aforementioned tool has taken its place inside it. But it’s not he who will serve as the body for the boombox, but another box of exactly the same type.
Its author dug in a flea market for a nominal fee. For almost 2 years he has been lying around idle. Well, finally, his hands reached him, it was time to put him (a suitcase) into action.
Let's get started.
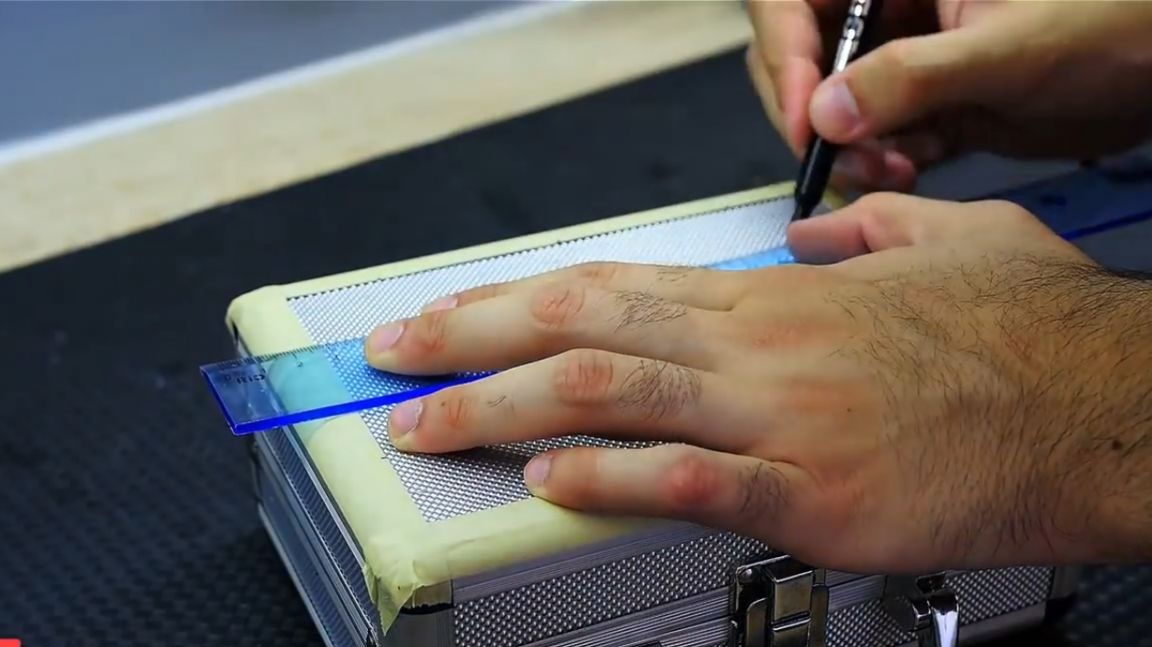
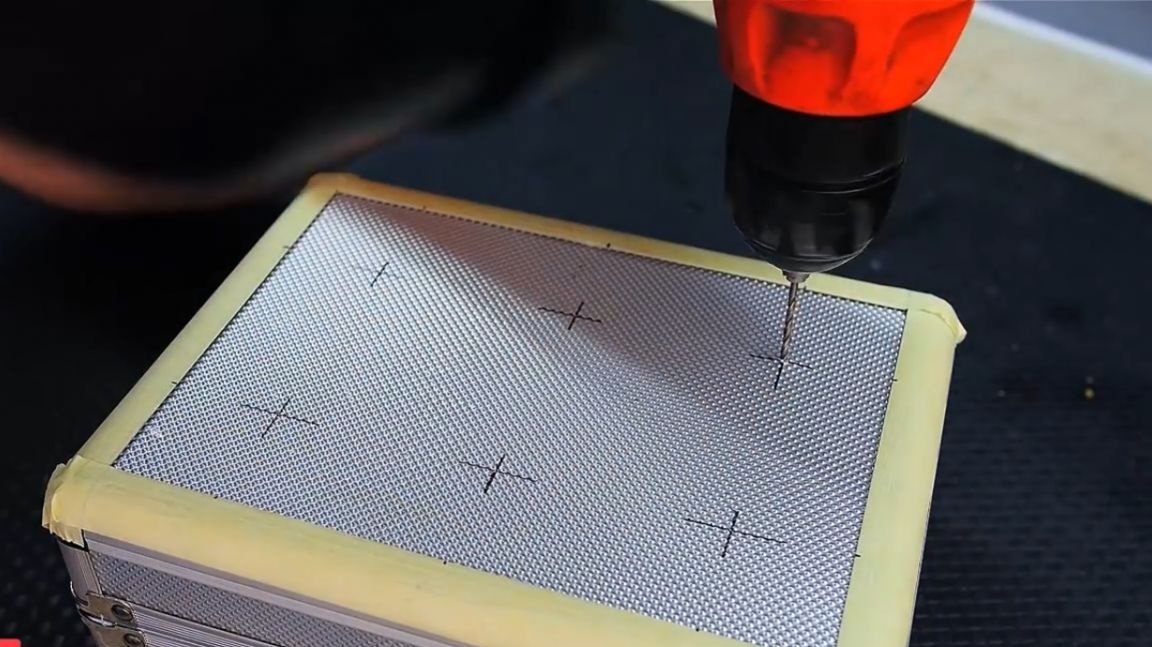
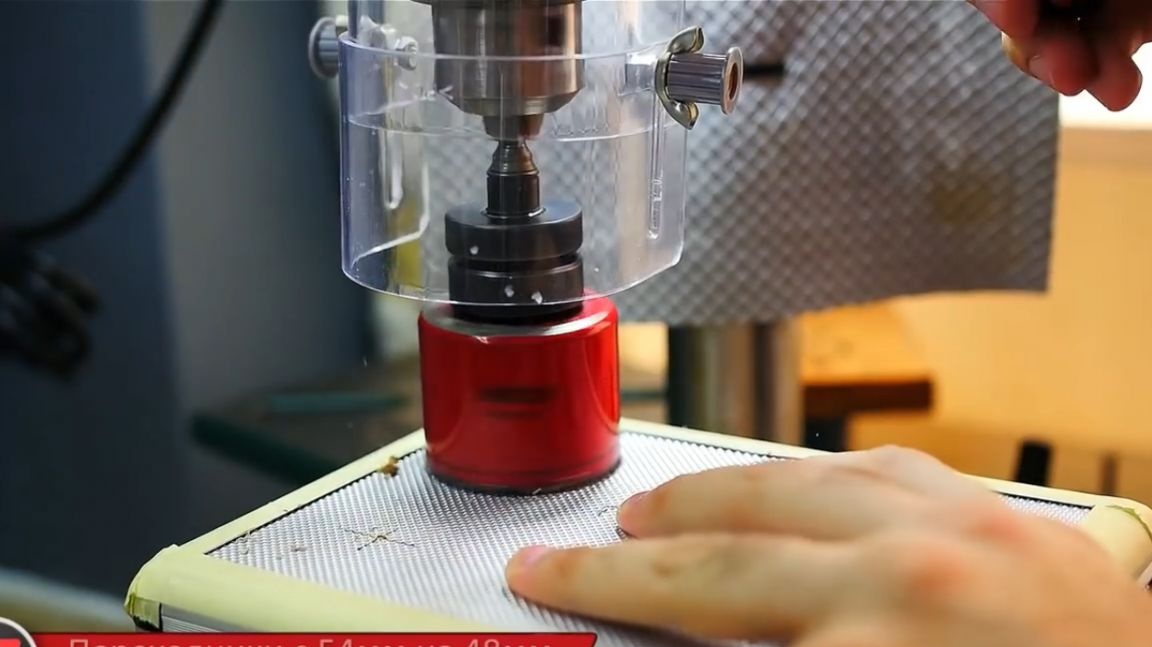
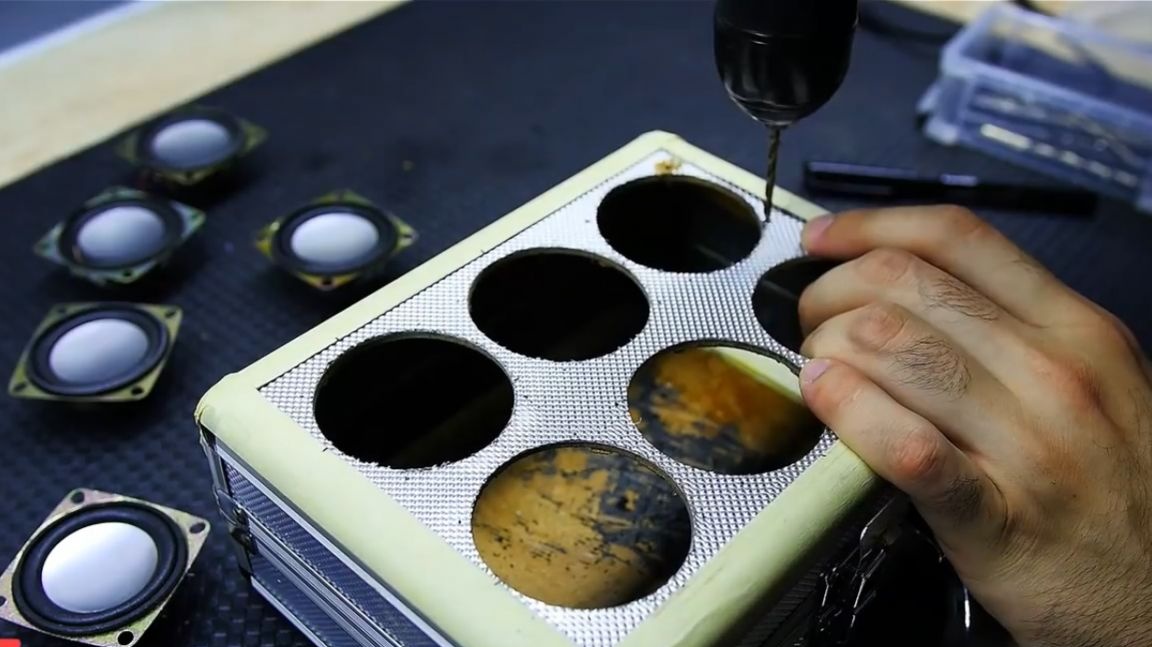
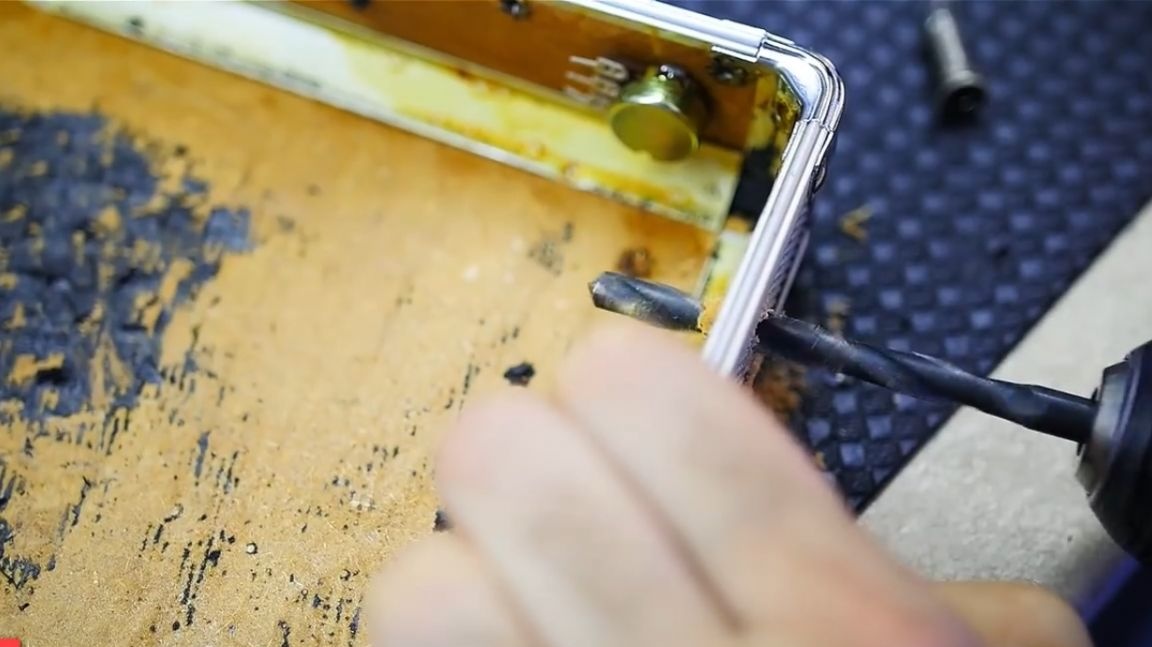
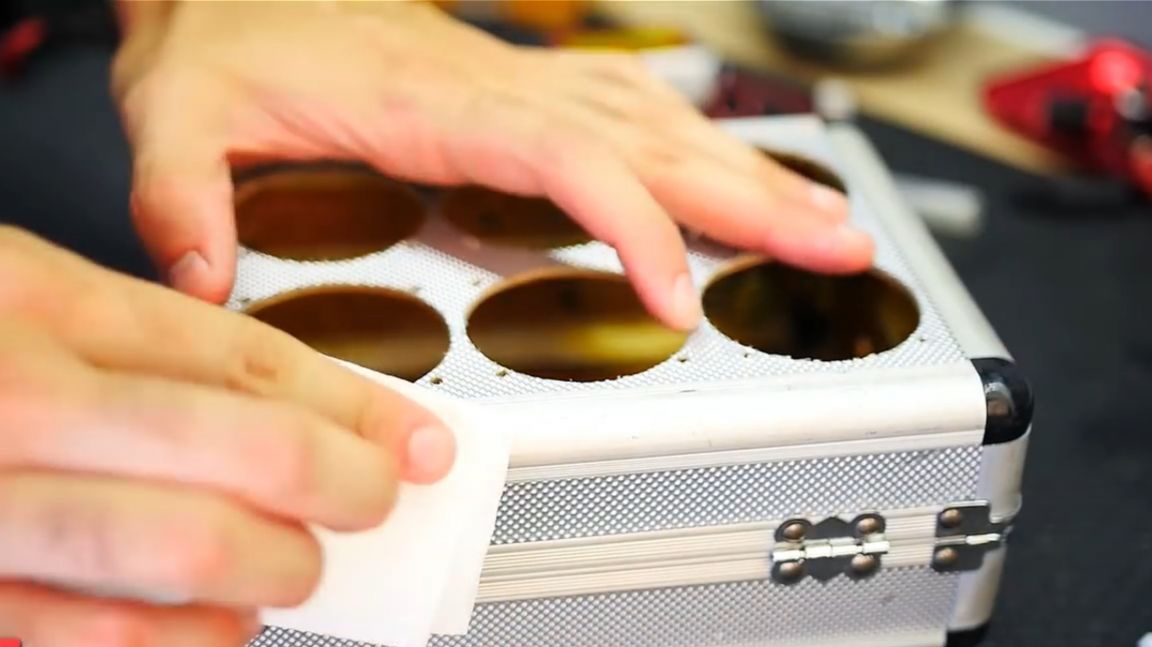
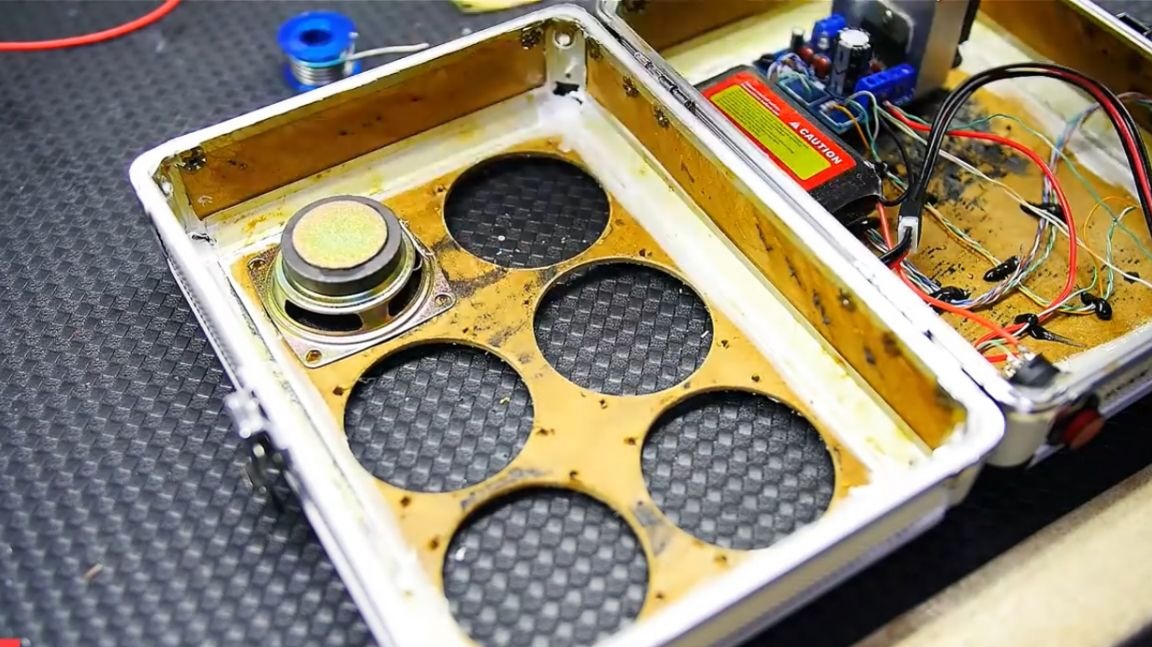
To start, mark 6 points for 6 speakers. With a thin drill we make a guide hole for the crown.

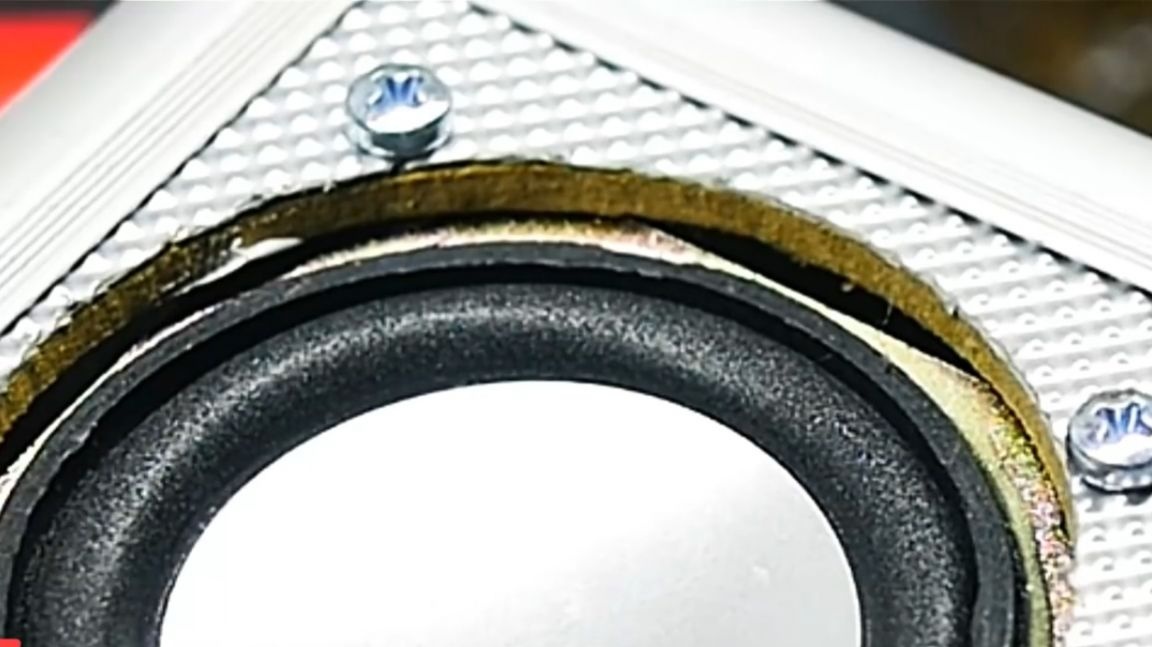
In order not to be mistaken with the choice of a crown, it is necessary to measure the dynamics themselves. Using a vernier caliper, we get 50 mm.
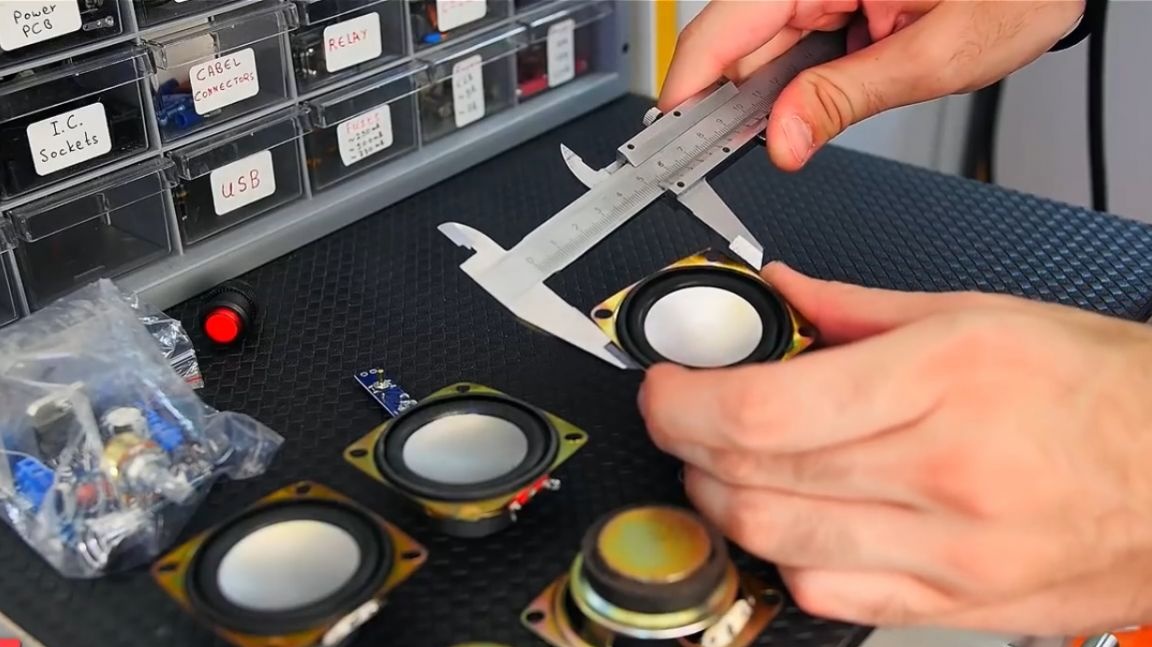
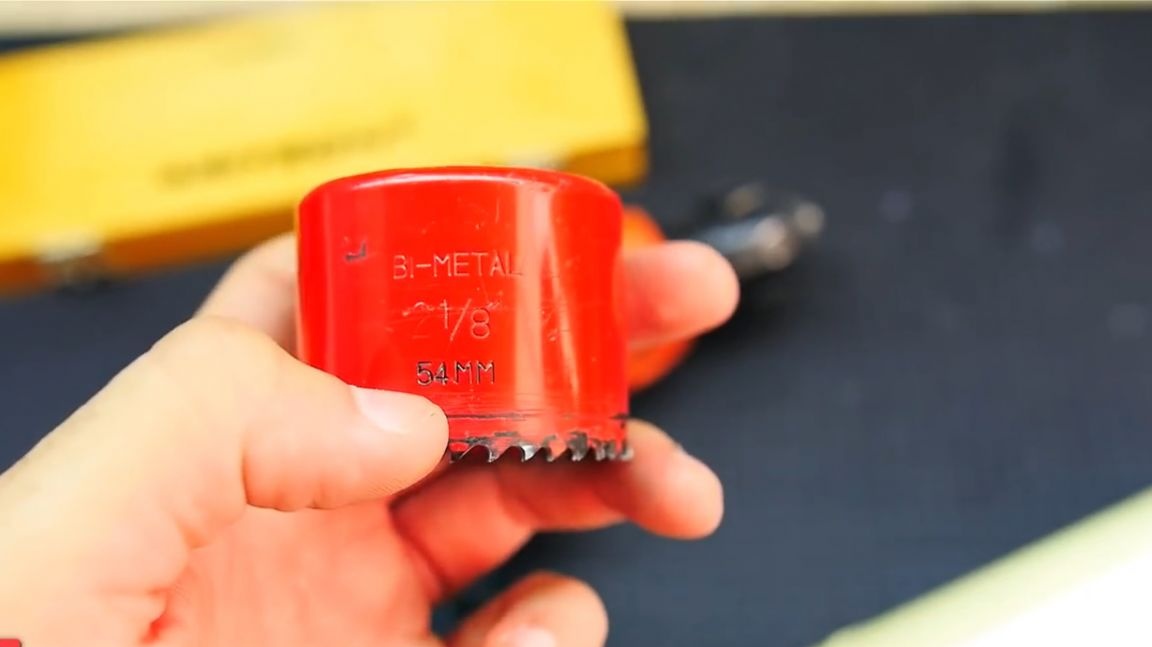
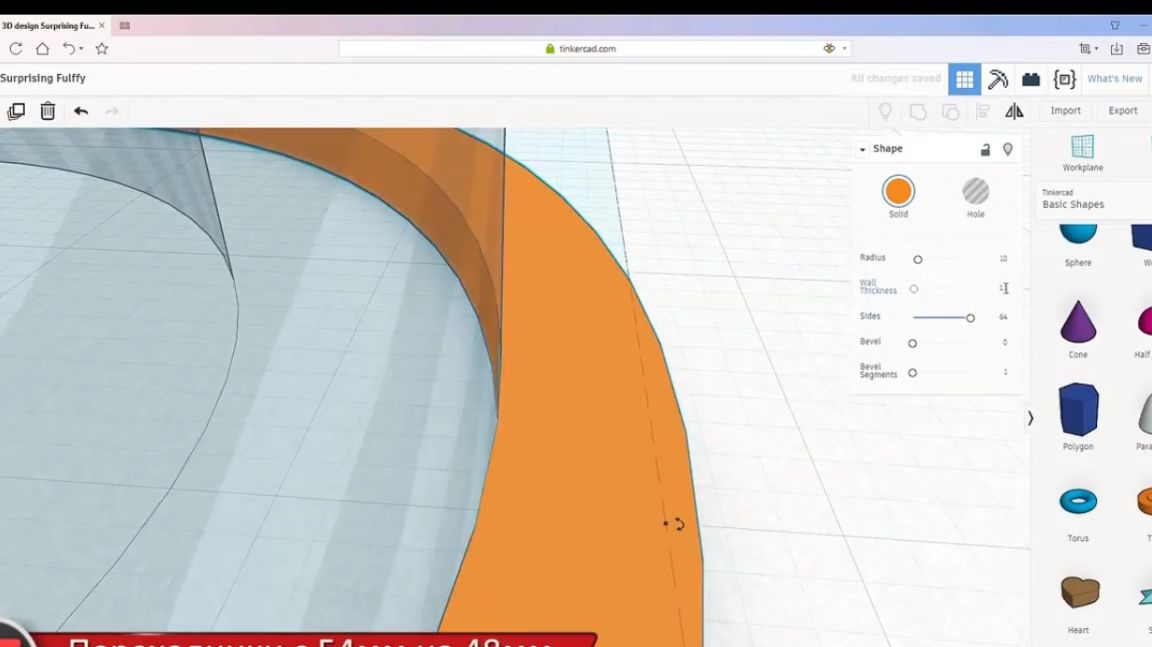
The first problem immediately arises. The closest crown size available to the author of the project is 54 mm.
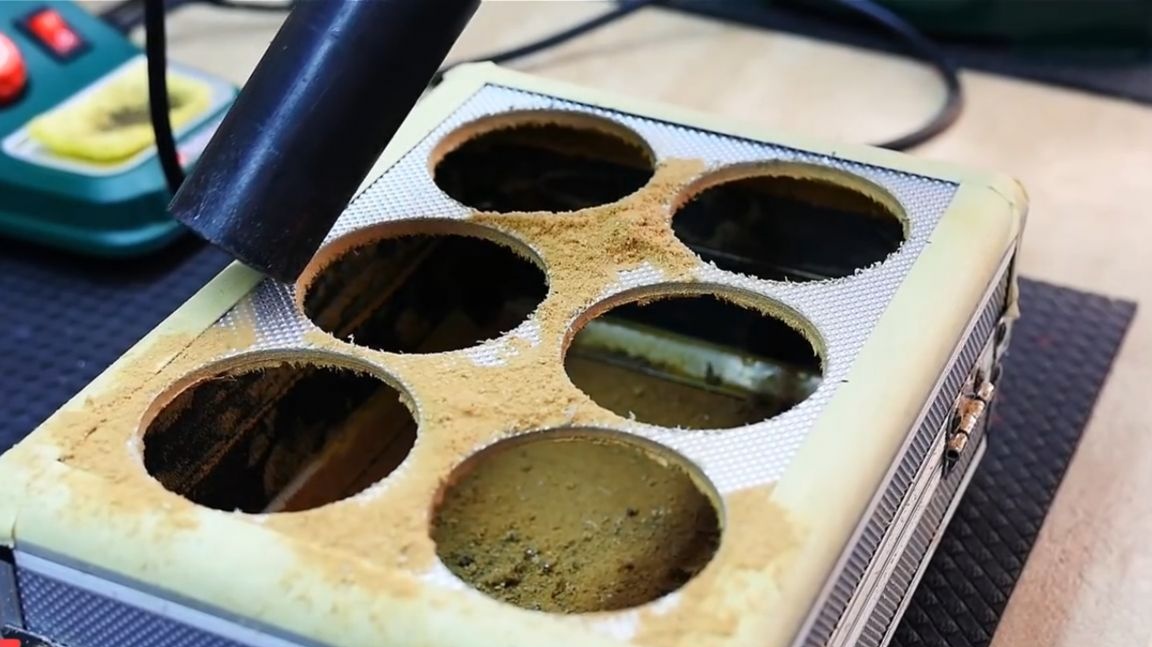
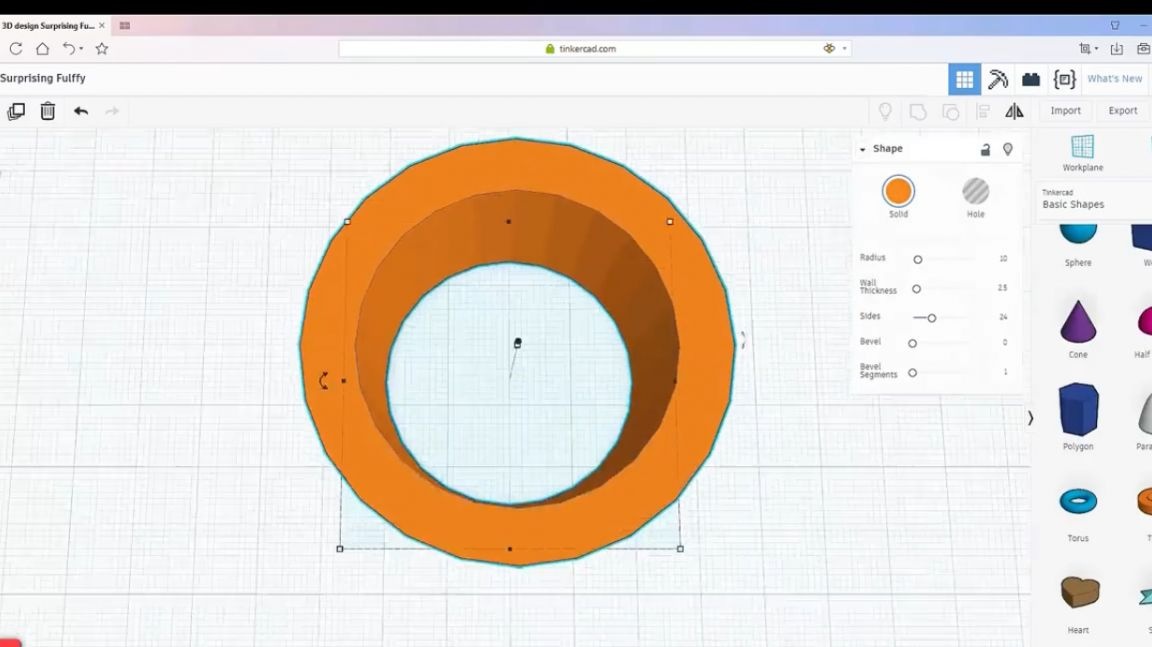
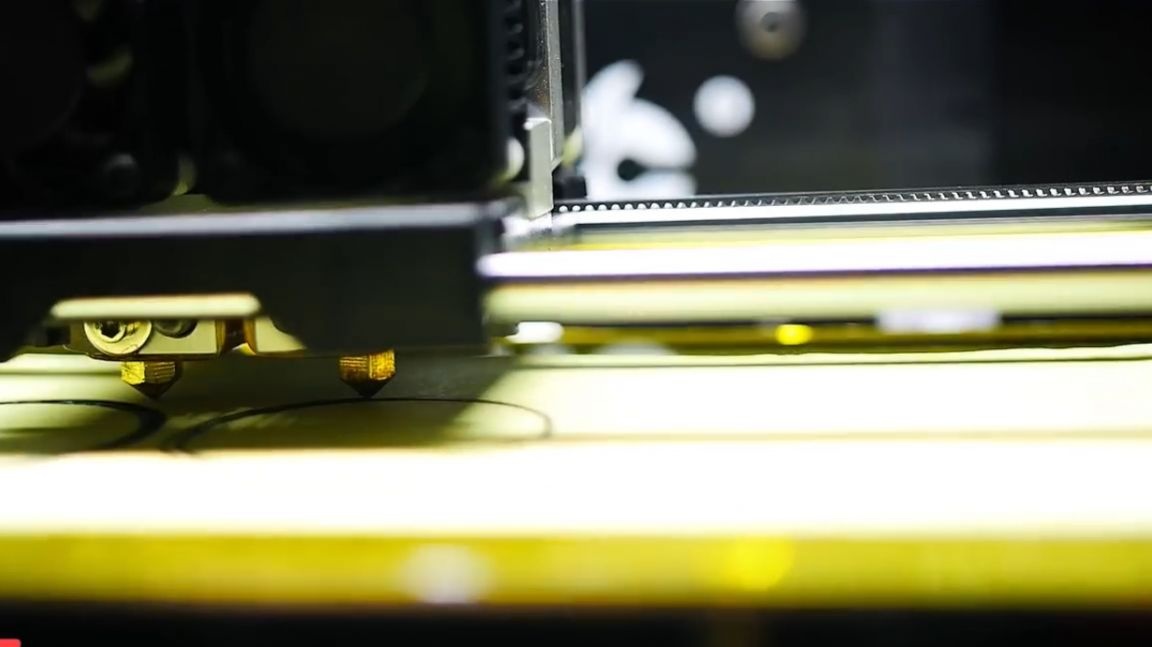
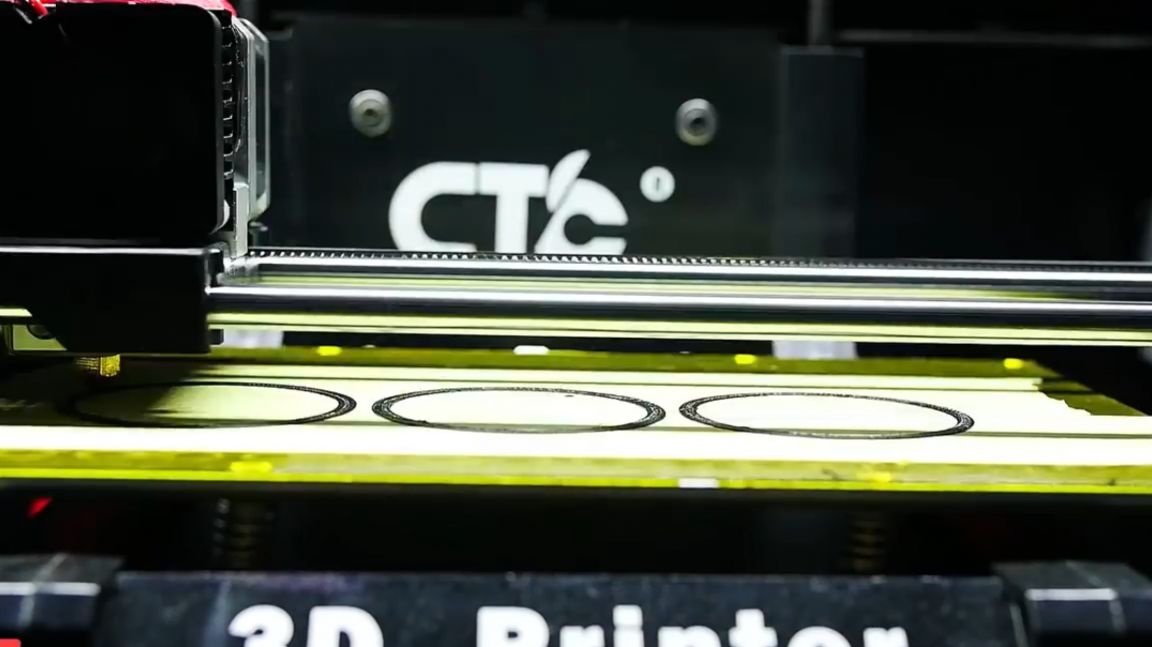
Okay. This is not such a problem. Using a 3d printer, you can make small rings, they will fill in the excess part of the hole.In the meantime, we drill 6 holes, a little not the size that is required to install the speakers.
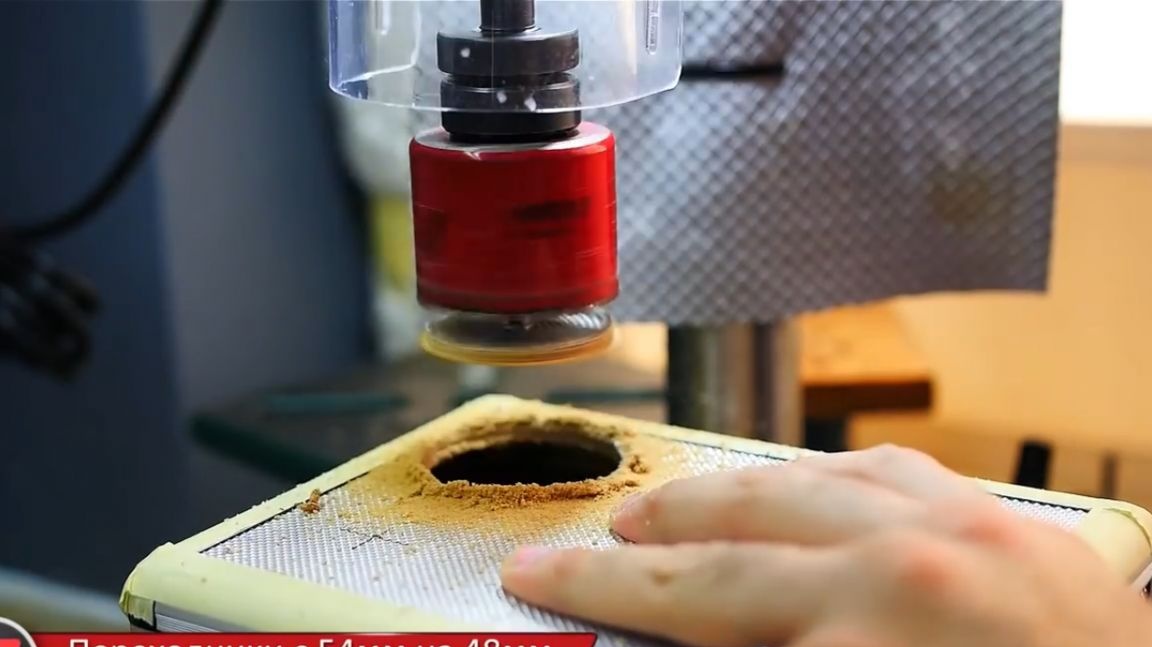
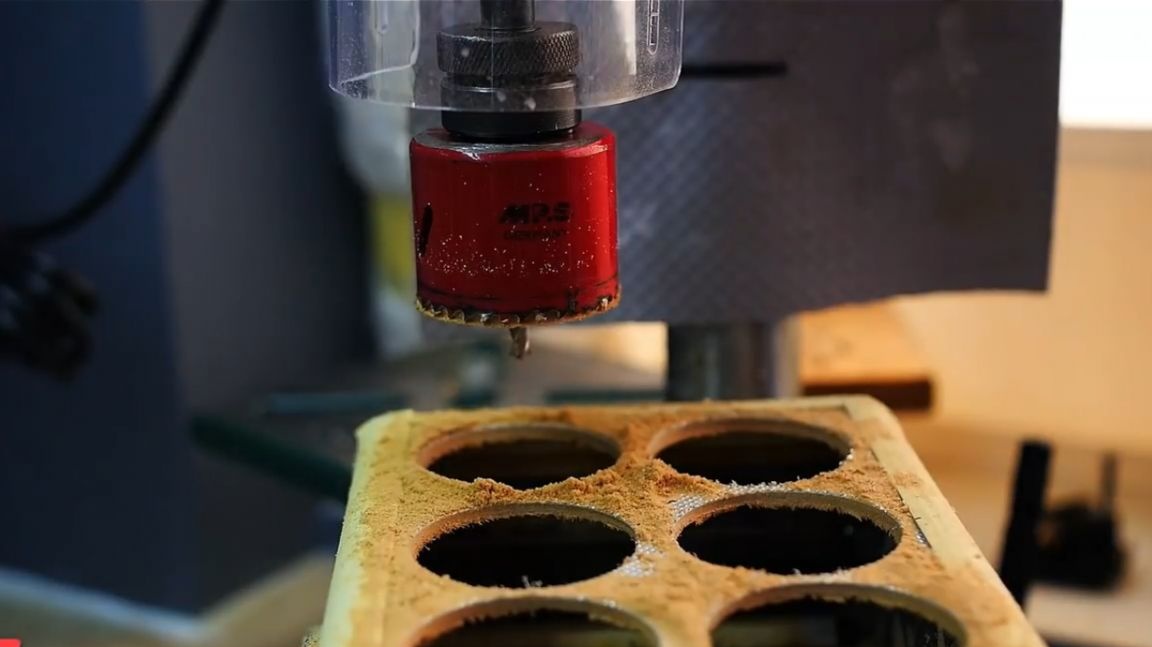
Litter a little. Nothing wrong. Vacuum cleaner gets rid of dust and dirt formed during the operation of the drill.
Next stage.
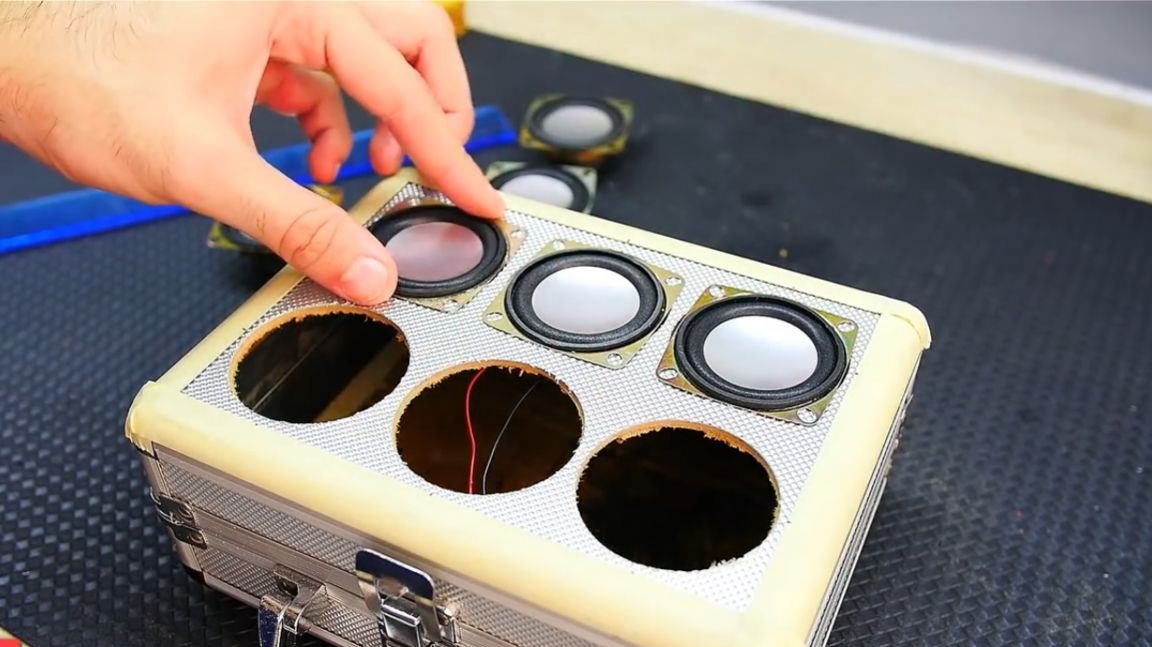
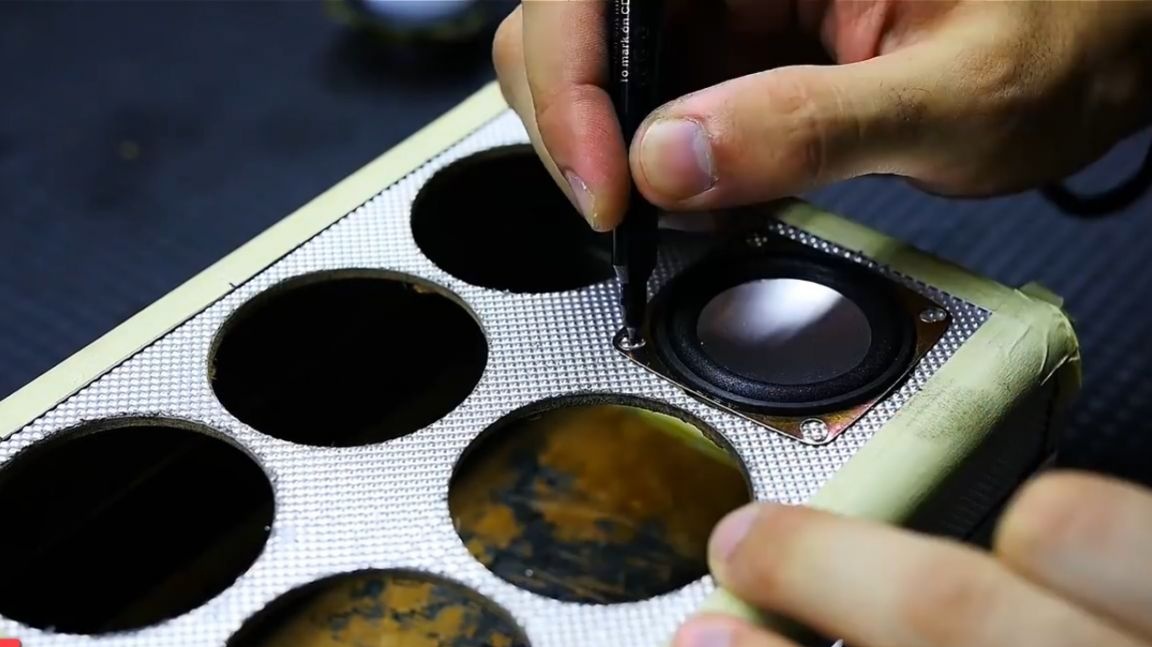
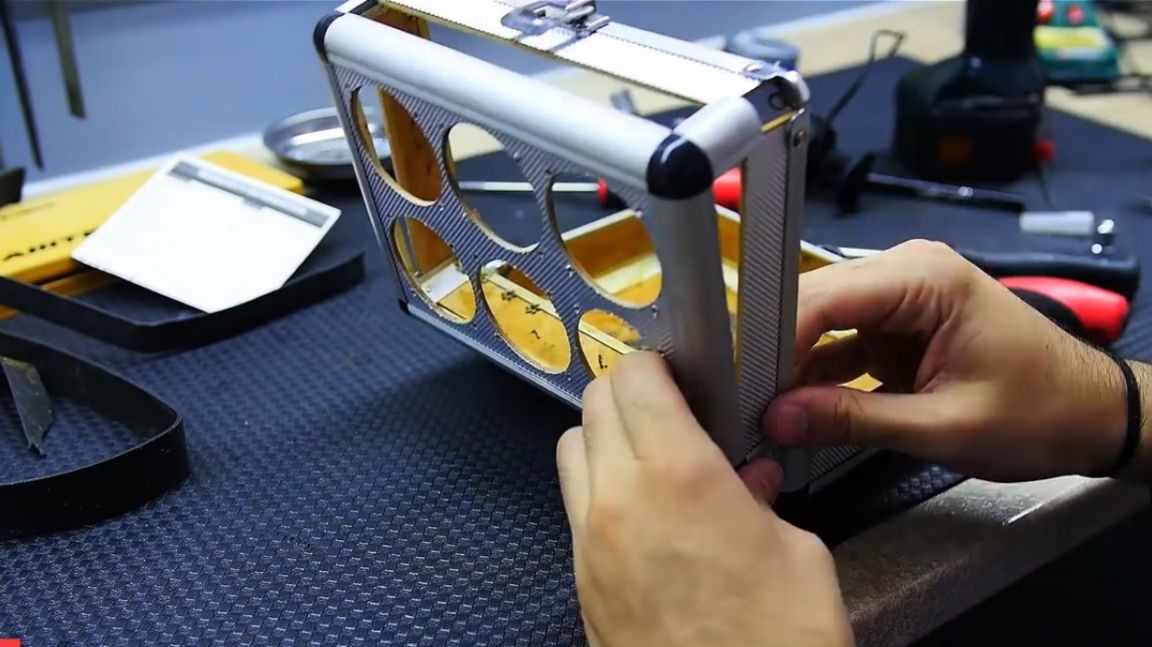
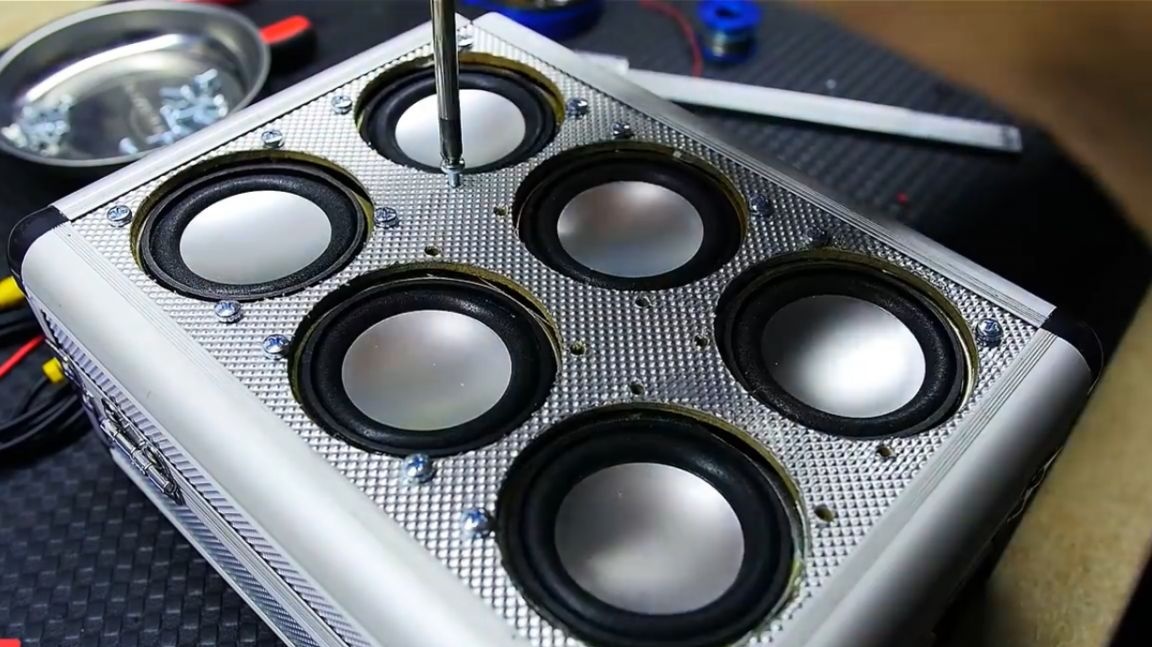
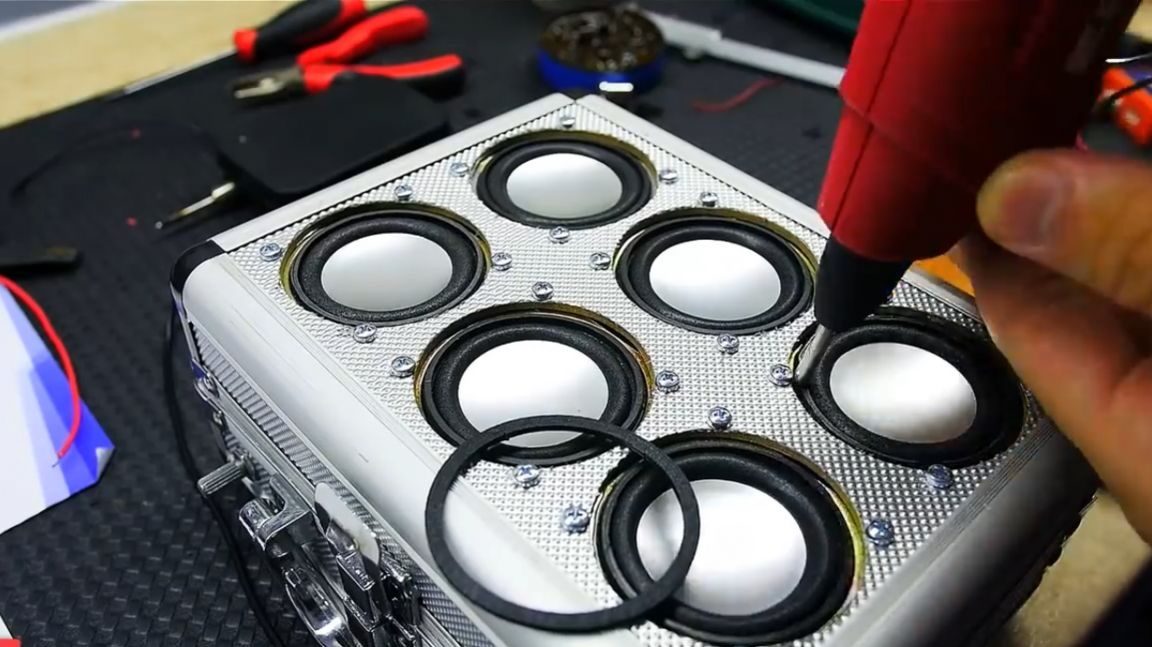
We need to consider installing drivers. Outside, putting is not an option - it will be ugly. It was decided to fix them from the inside. But first, the speakers. We lean the speakers against the case body and mark with a marker 4 points in the places of their future fastening.
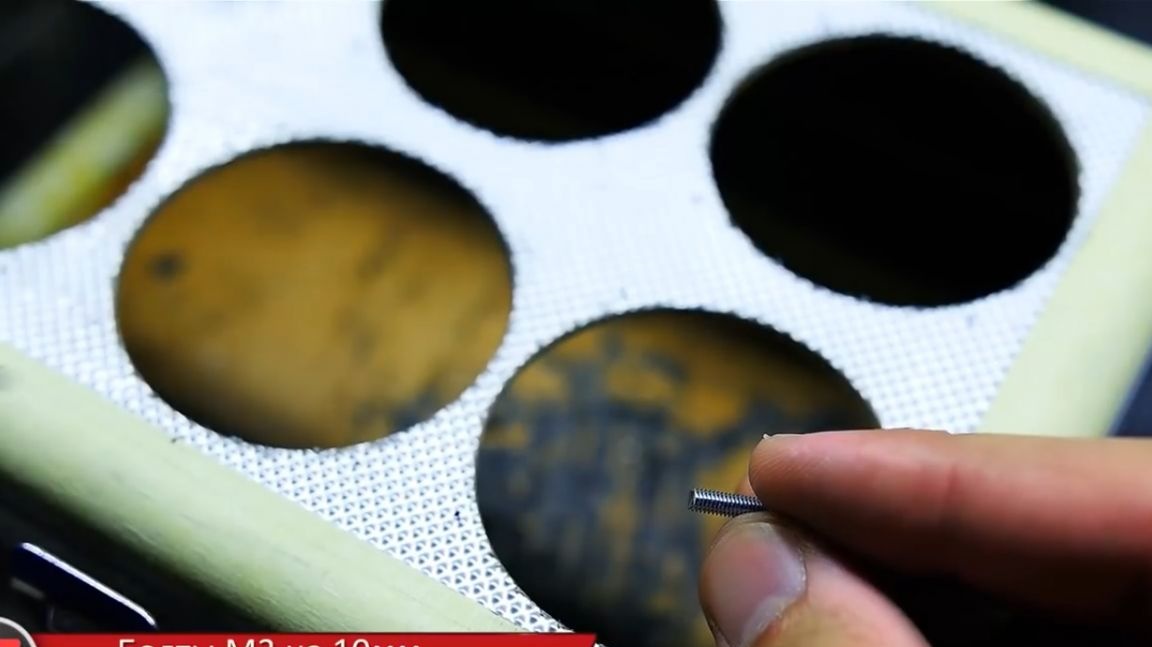
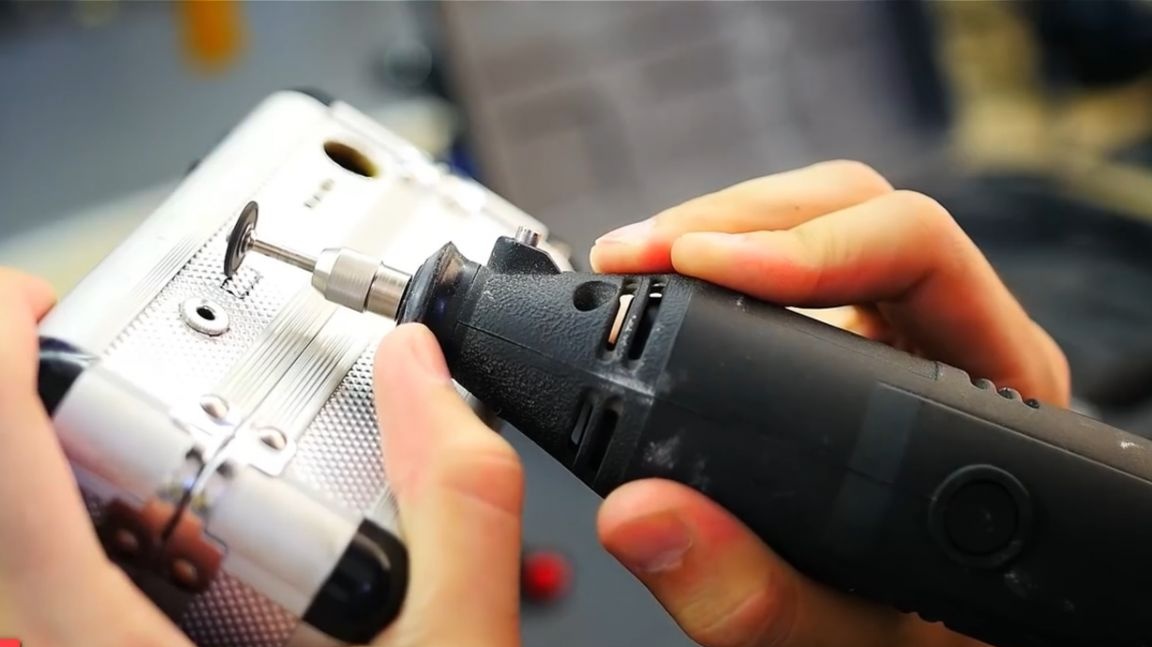
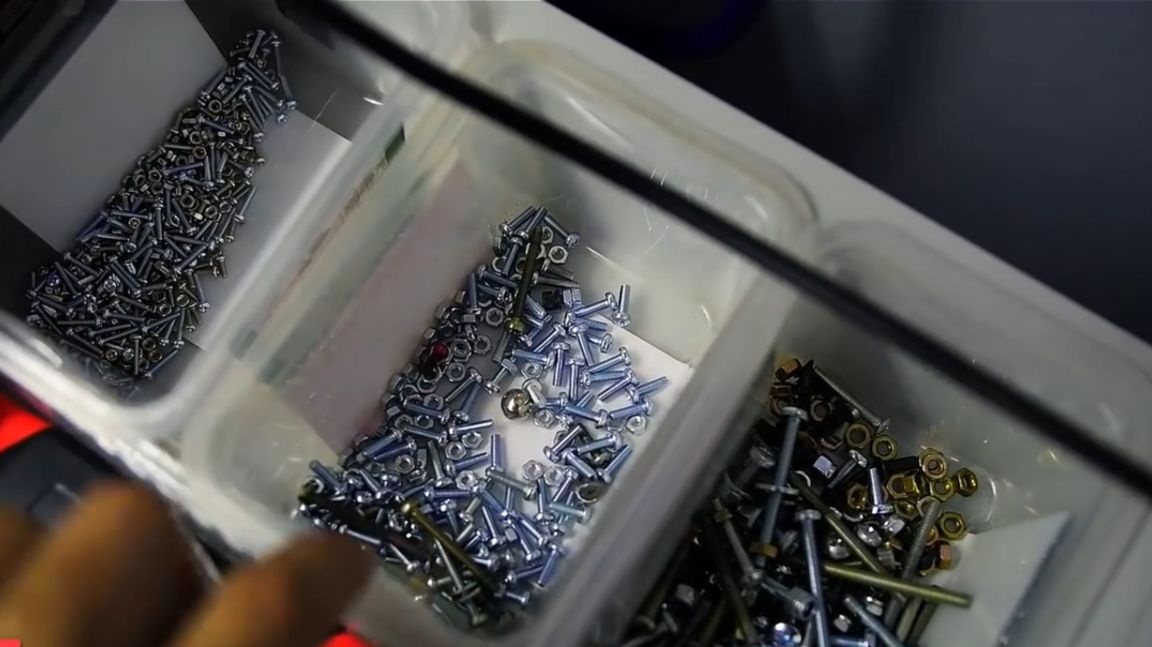
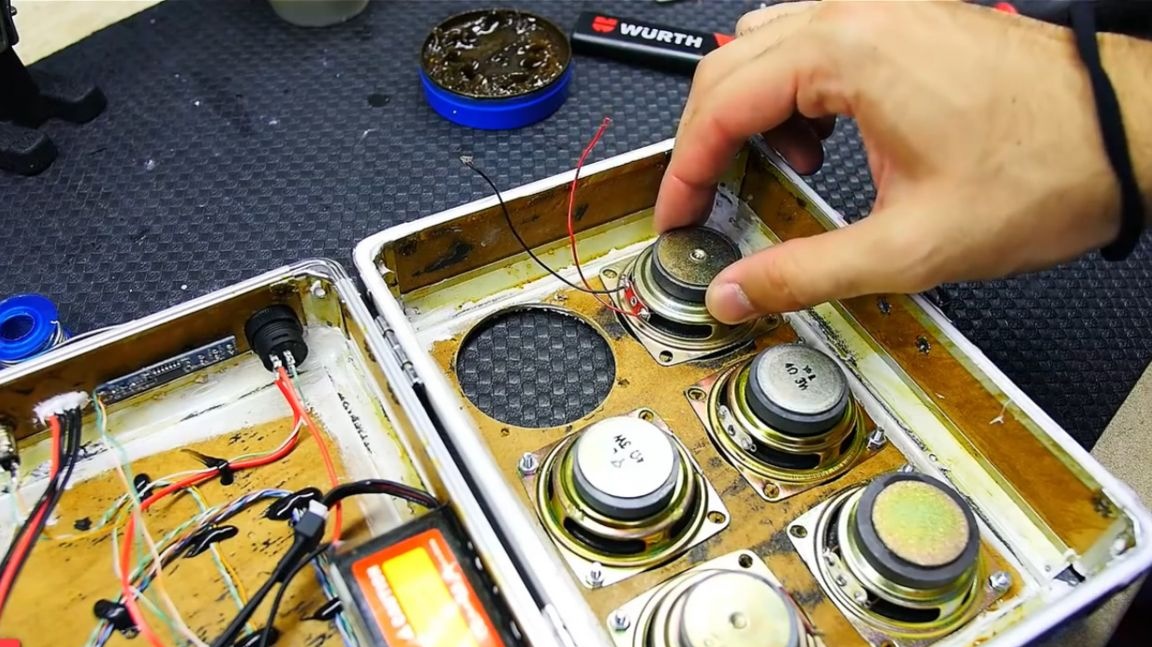
We fix the speakers on the m3 bolts. To do this, take a C grade drill and drill all the necessary holes.
At some point, the box falls into the hands of the author into several parts. Well, now definitely have to somehow refine it and glue it.
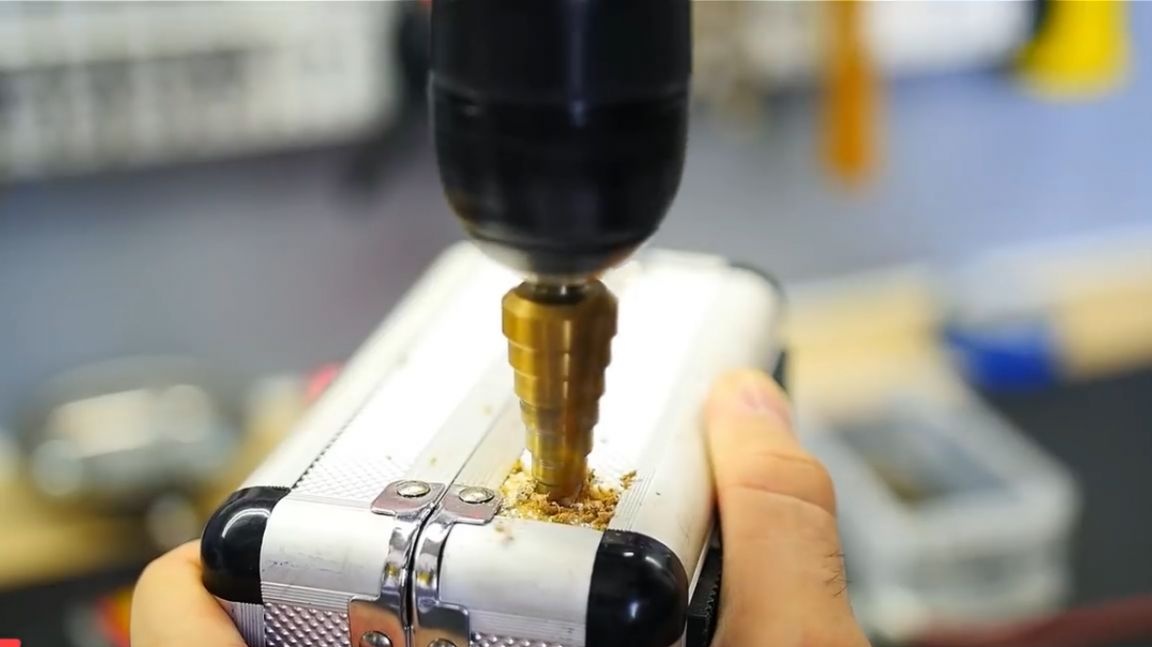
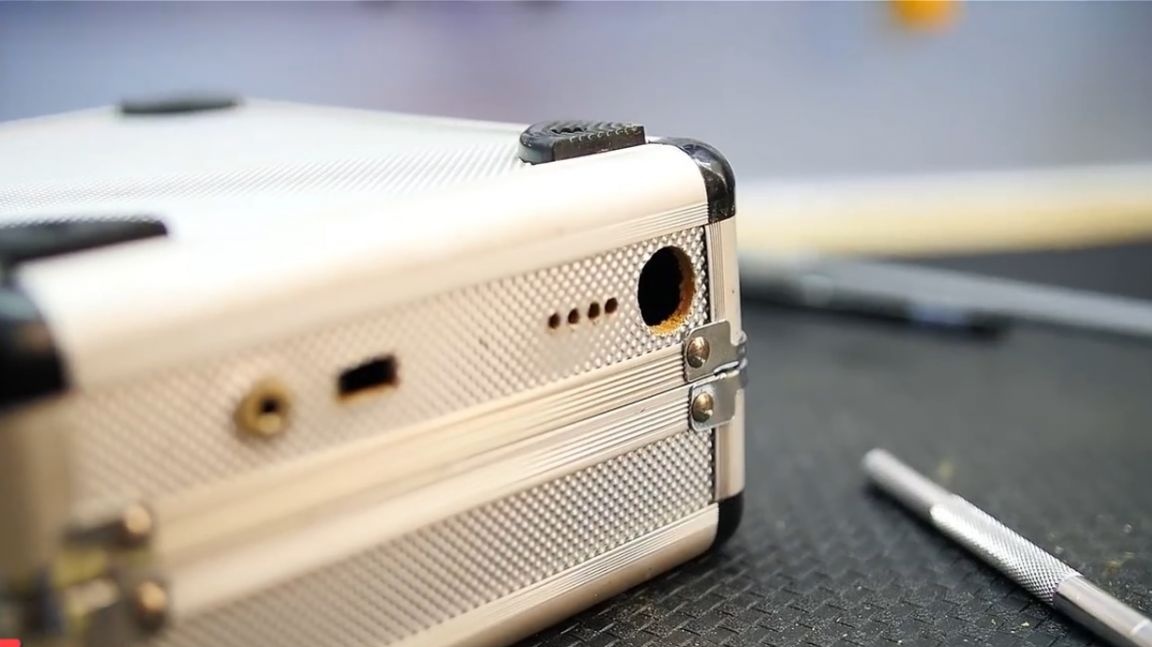
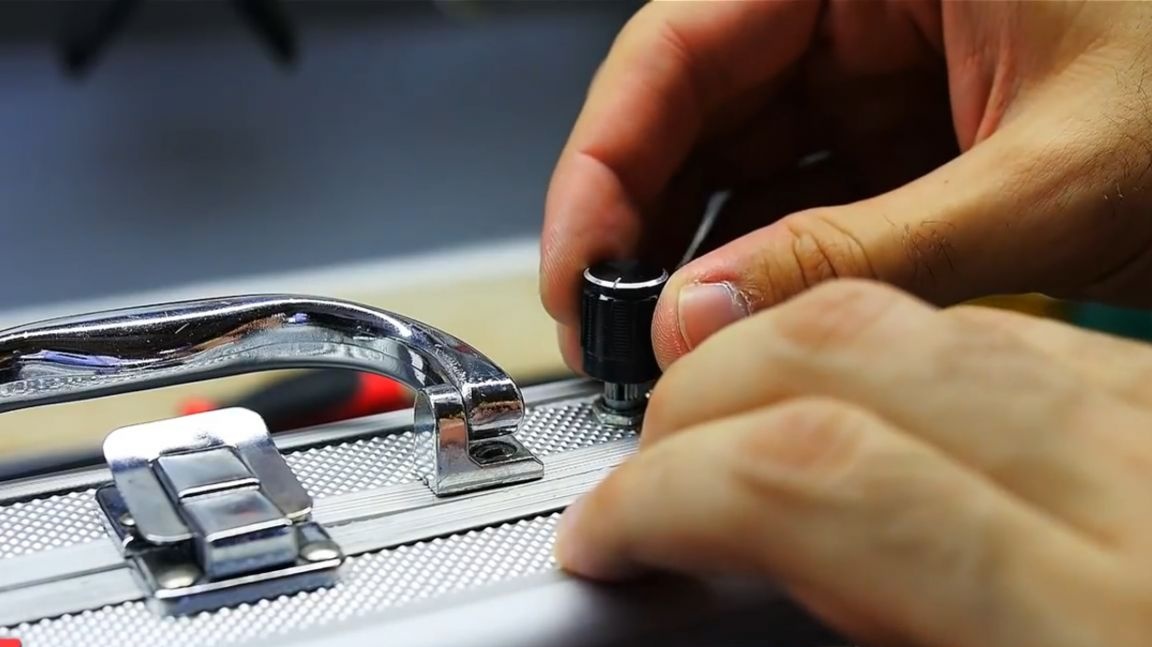
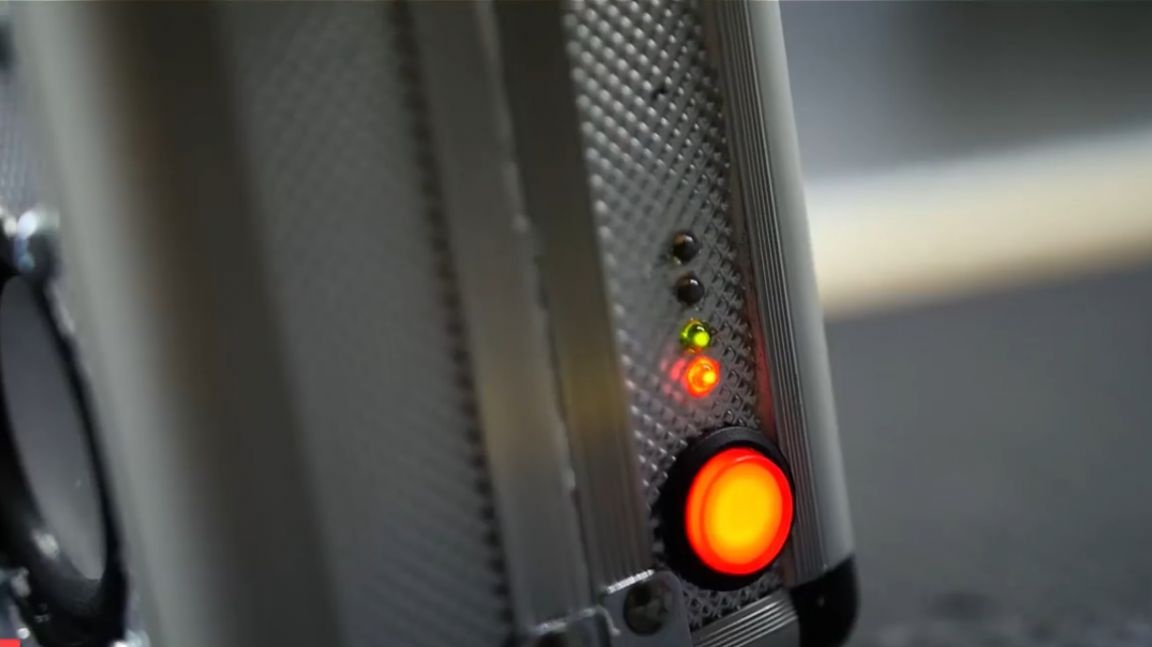
But this is after, and now we continue to drill it. We mark and drill (cut) holes in the body for installing the power button, battery indicator, sound power regulator, and also don’t forget about the music jack for supplying an audio signal and a 4-pin connector, the purpose of which is to balance and control the lithium charging process -polymer battery.
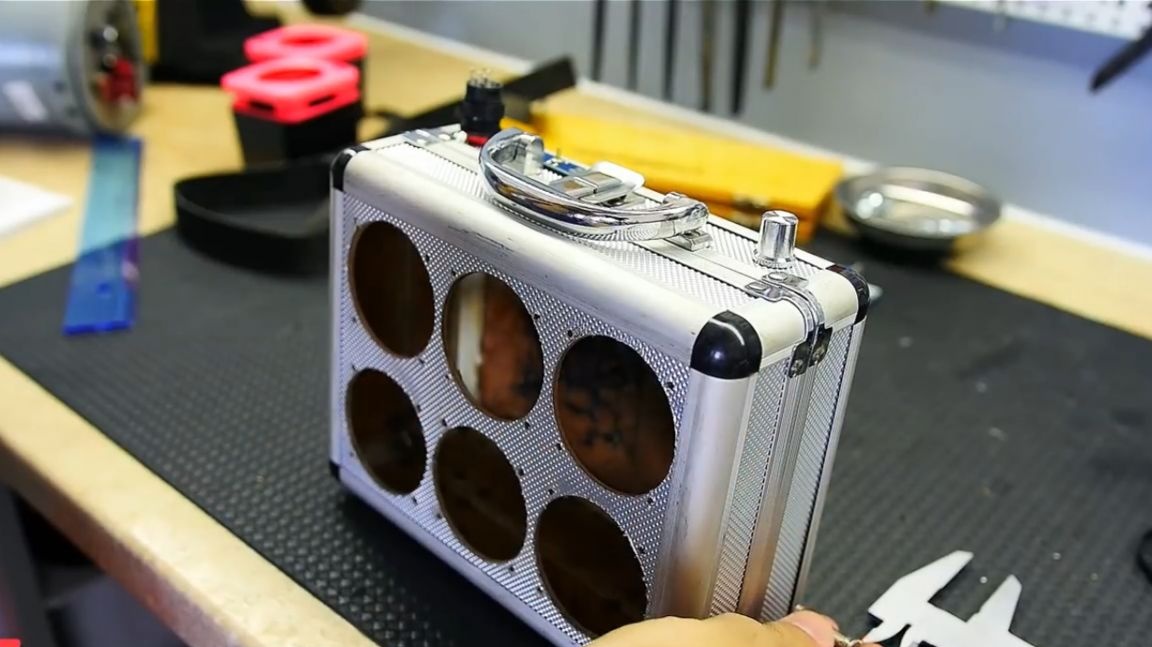
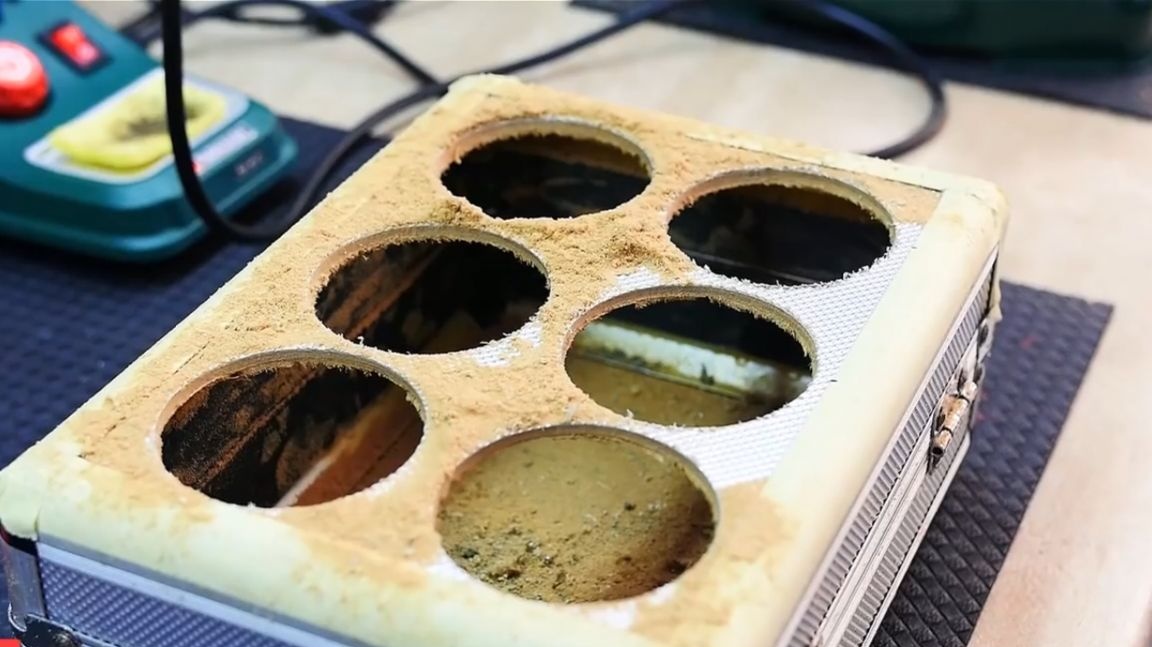
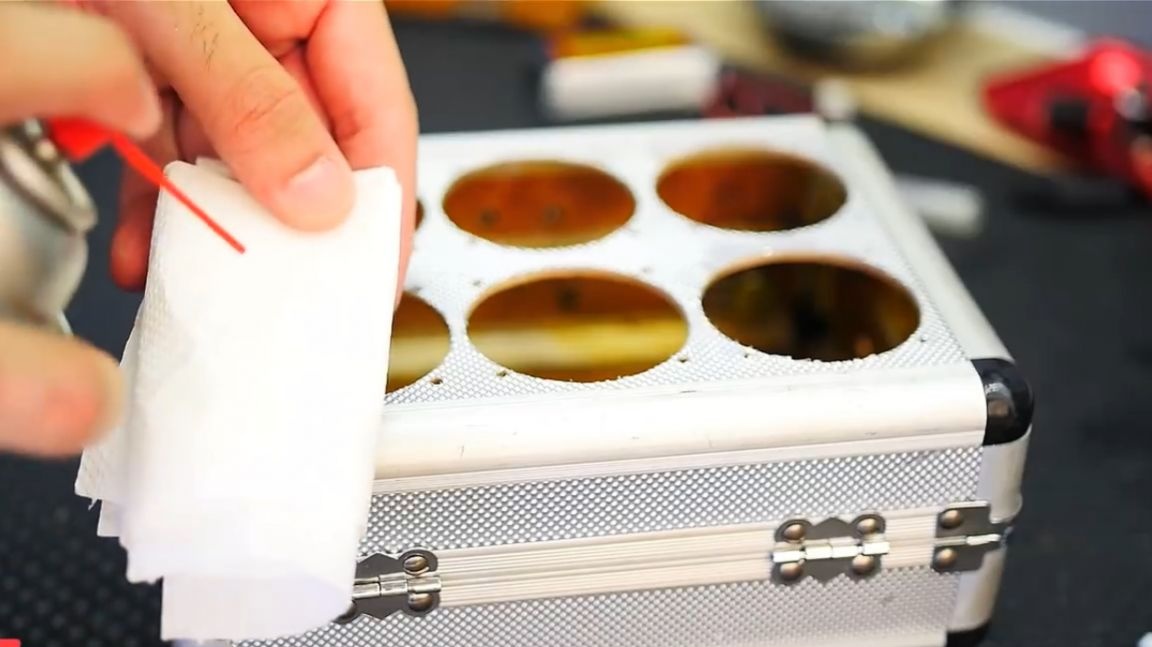
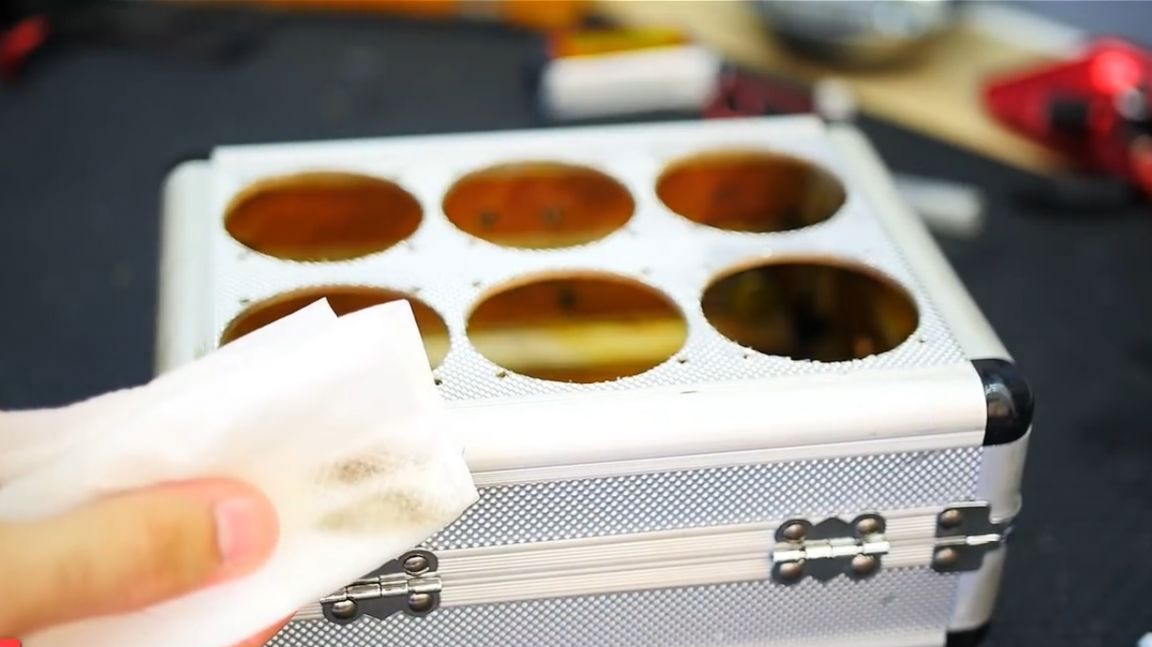
It looks like the dirty work is done. Blow and clean the box.
Over the several years that the corps spent awaiting its release, it got pretty so dirty. But this is not so important. It is cleaned quite simply with an ordinary napkin.
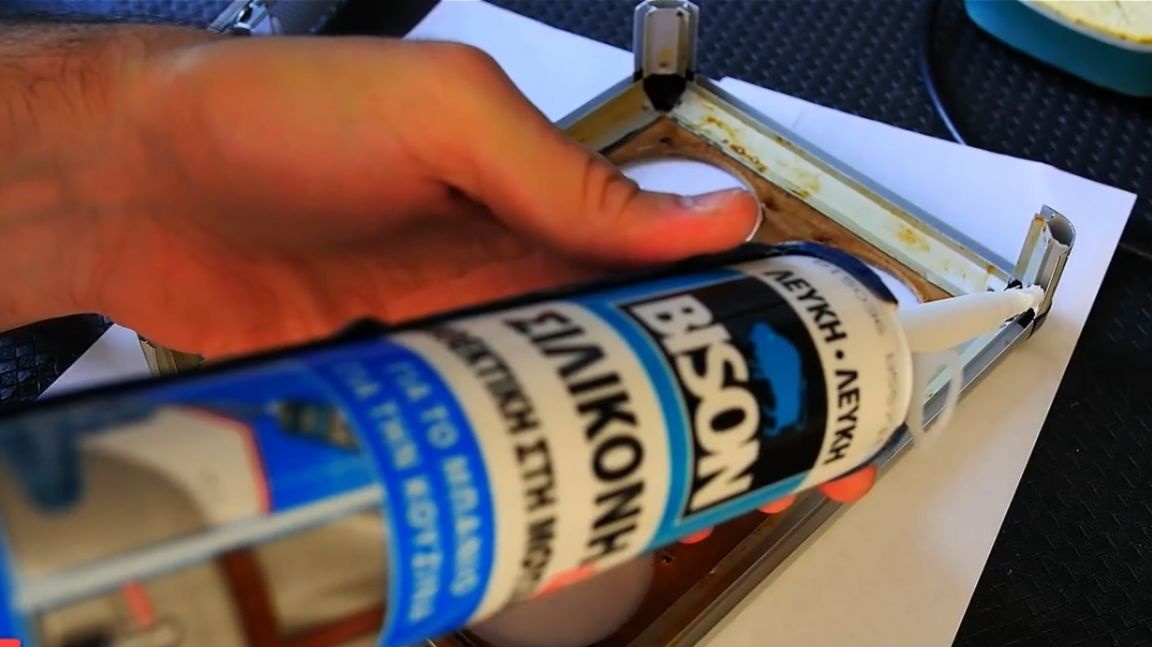
It’s really important to get it tight. It is necessary to glue all the cracks and remove all the so-called rattles.
For this purpose, such a silicone is perfect.
They need to go through all the cracks and all the joints of the hull. When the silicone is completely dry, it will make the case almost airtight. He also glues together parts of the box. And while the silicone dries, it's time to tackle e component.

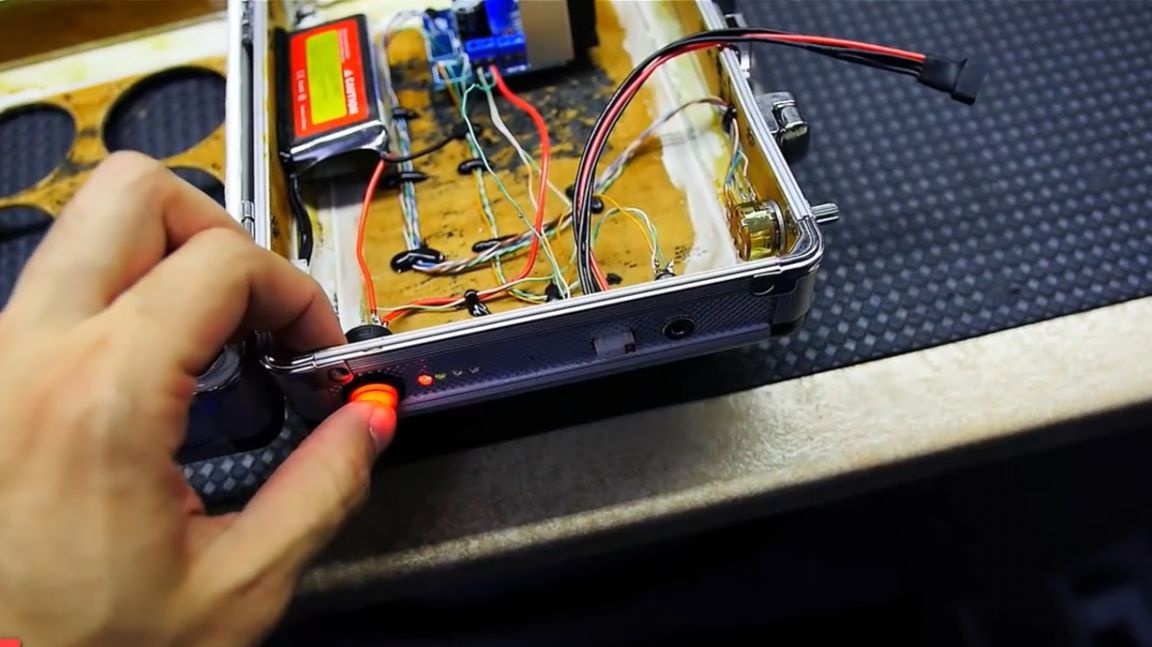
On the battery tester, solder and close the button. Let it glow constantly when the boombox is on.
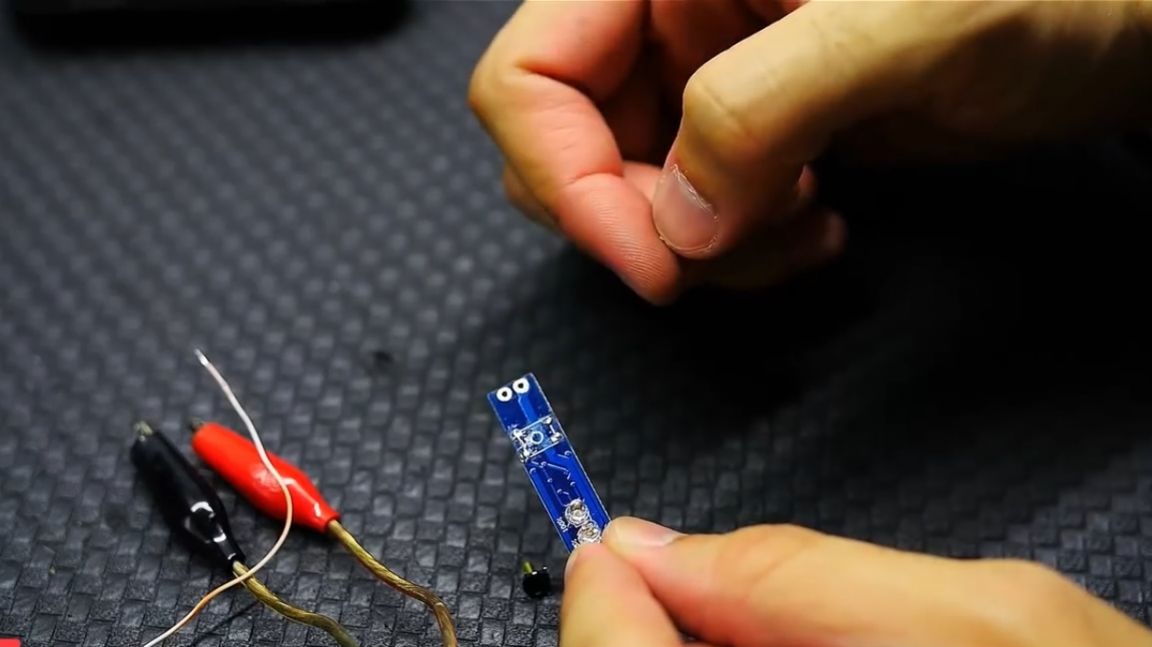
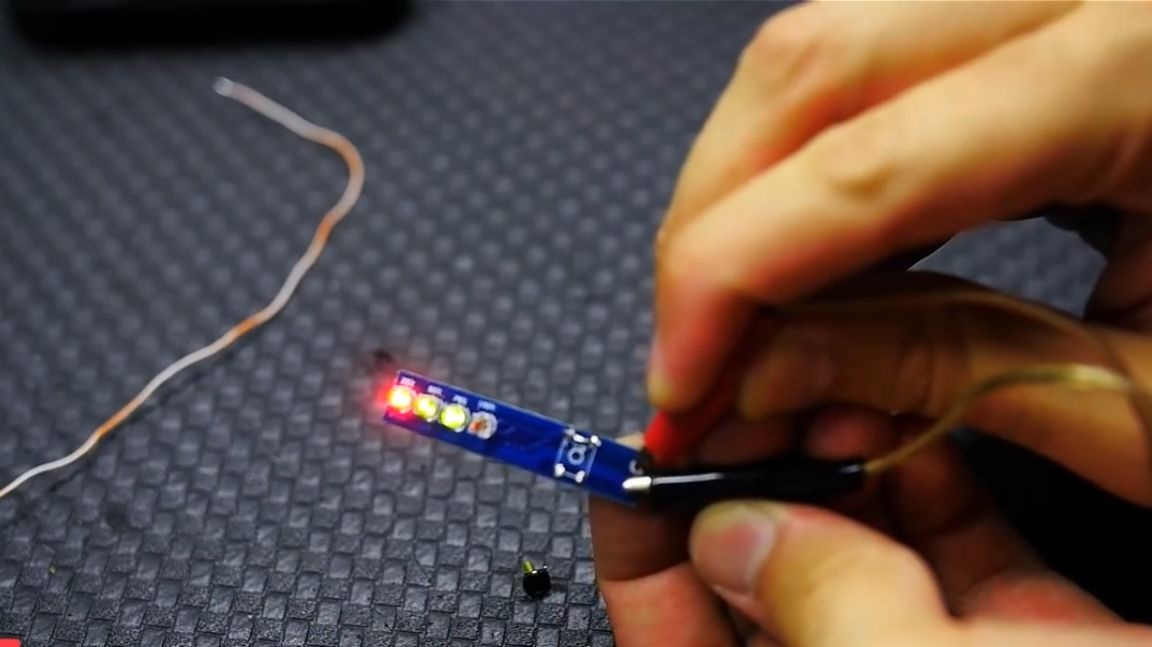
An additional 1 kOhm resistor must be installed on the switch so that the backlight works.
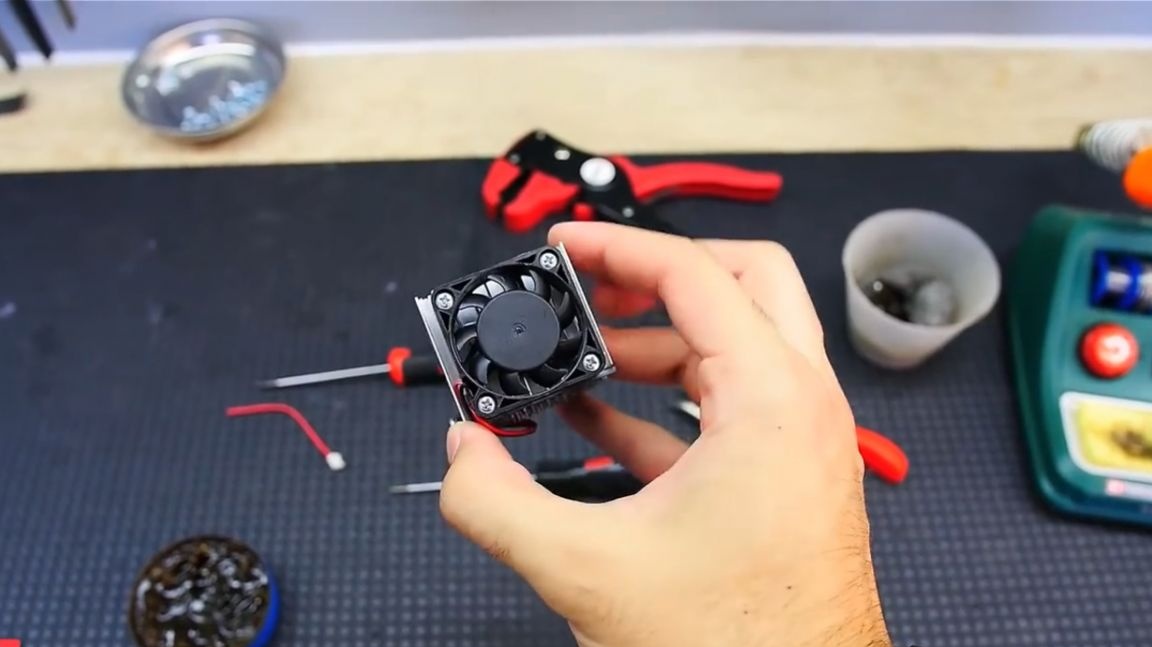
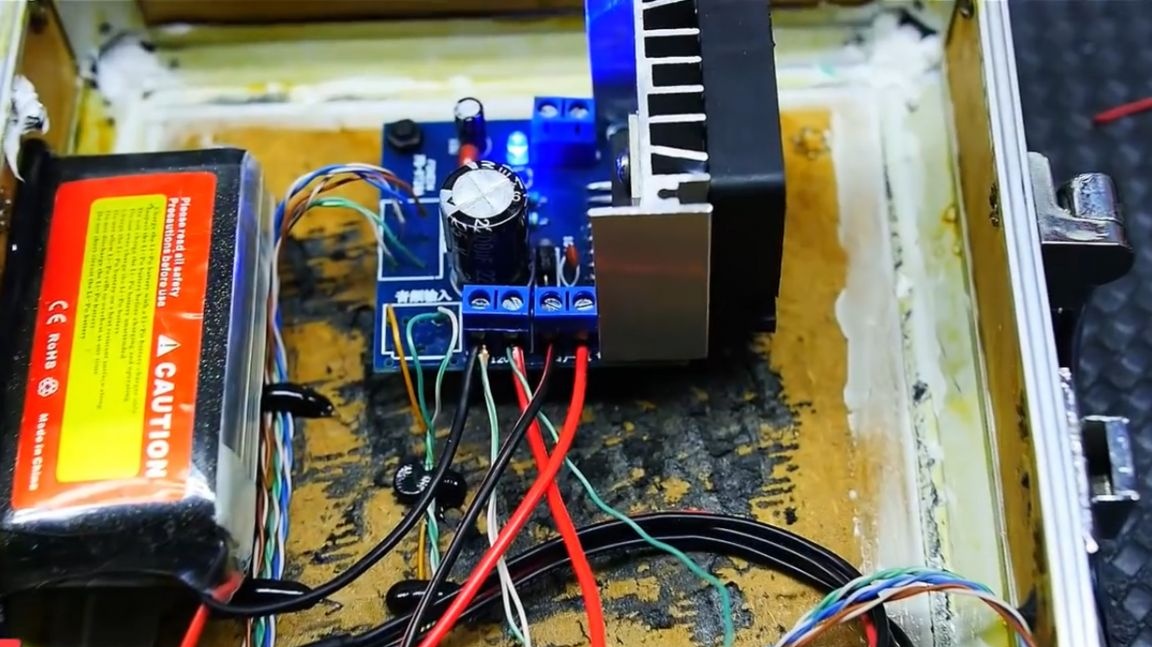
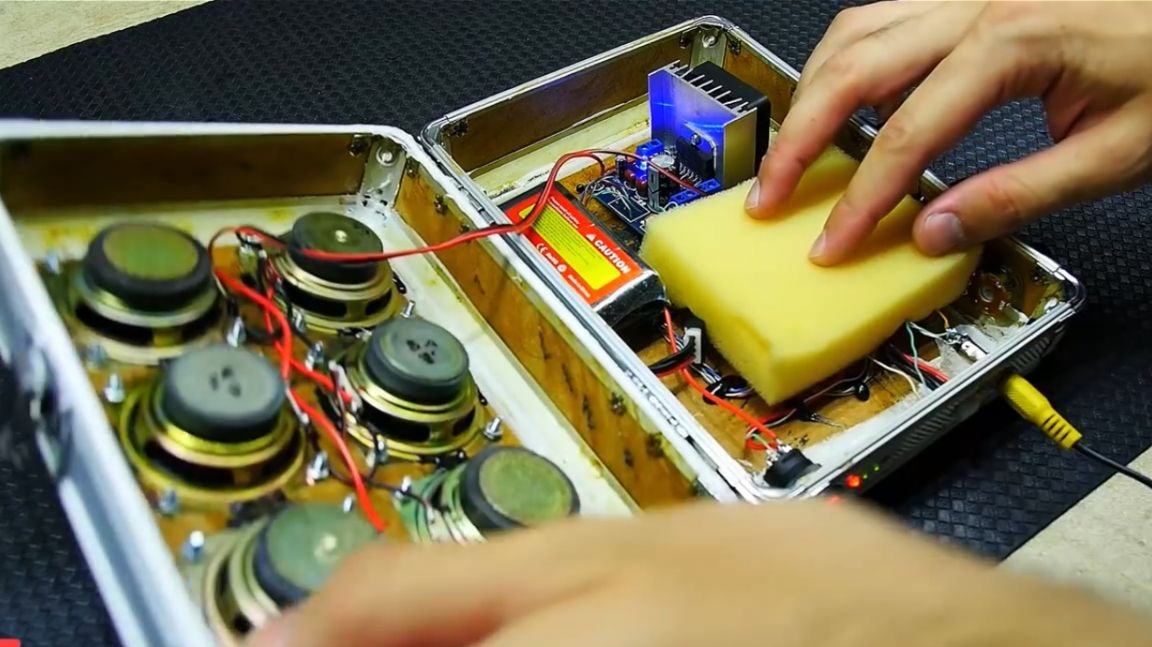
The amplifier board will also be slightly upgraded. Solder the jack for the 3.5 jack. We are throwing wires from him to our jack. We also add active cooling to it.
The amplifier is powered by a 12 V battery. Therefore, the fan can be soldered directly to the power connector of the amplifier.

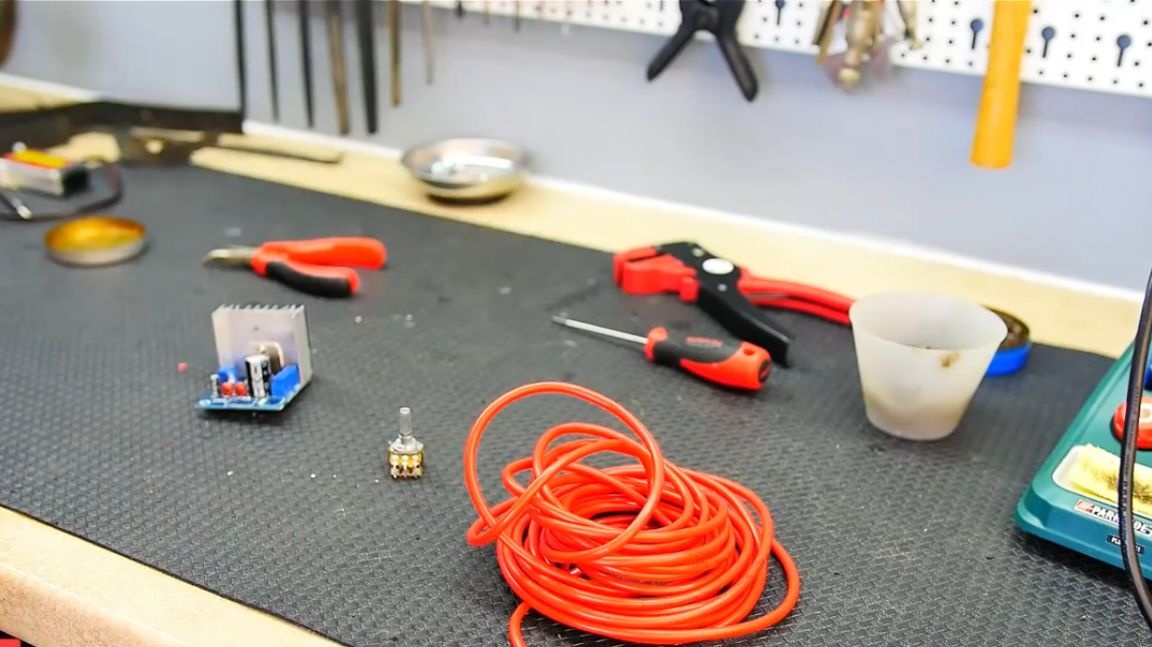
The potentiometer is also soldered and lengthened with a cable.
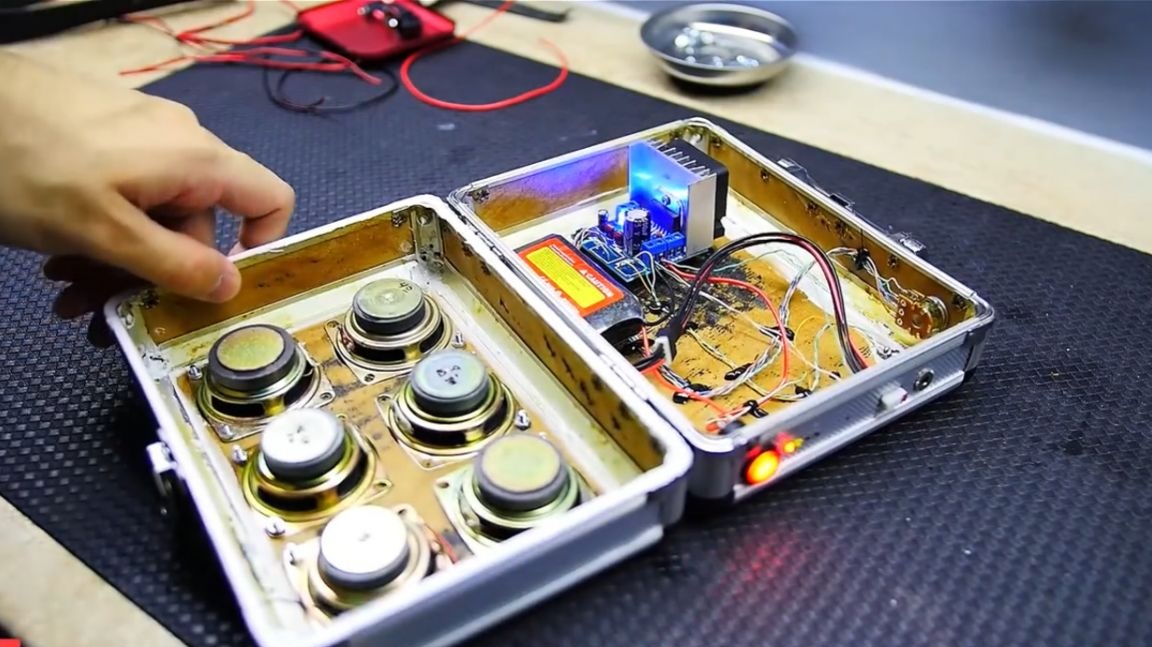
We place all the accessories inside the case. We fasten something with hot glue, something on double-sided tape.

Now you can move on to the speakers.
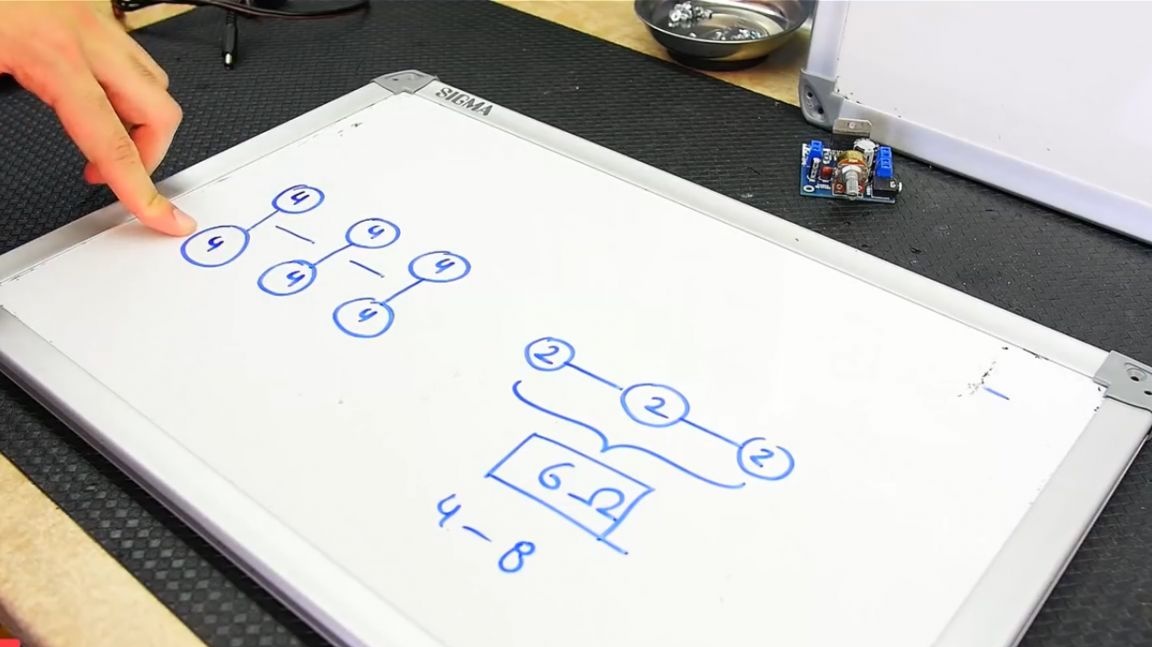
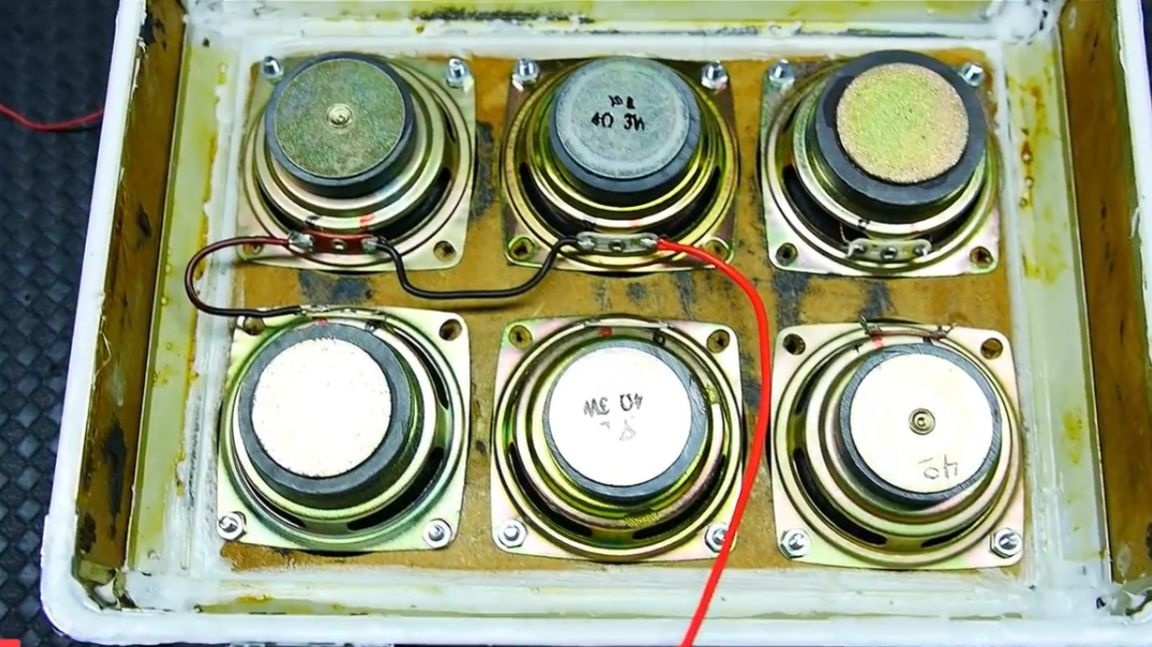
The most important thing is the connection. Task: We have 6 speakers on the 4th each. Question: How to connect all speakers to one amplifier? The amplifier is two-channel. But suppose the amplifier has only one channel. If you connect the speakers in series, that is, minus the first speaker we connect with the plus of the second, then minus the second with the plus of the third and so on. That in the end we get 4 + 4 + 4, etc. = 24 ohms. This is quite a lot. If you connect in parallel, it is already clear that the resistor will be very small. So what do we do? Combine. We connect like this:
Below are the technical specifications of the sound amplifier used in this homemade product. Marking TDA7297.
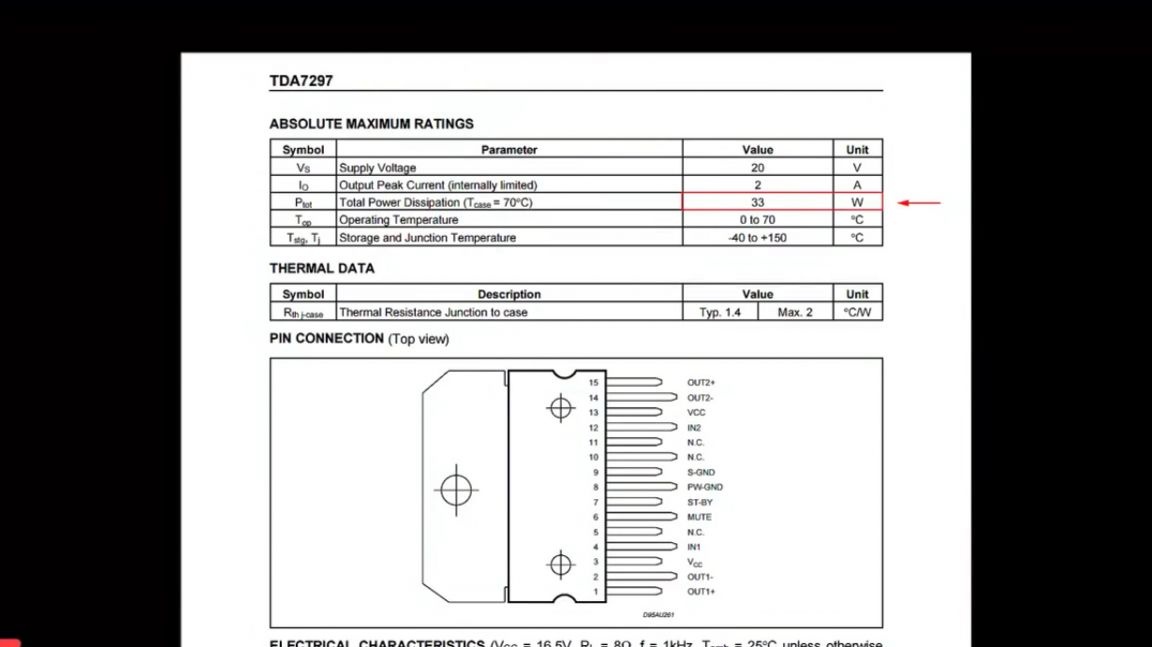
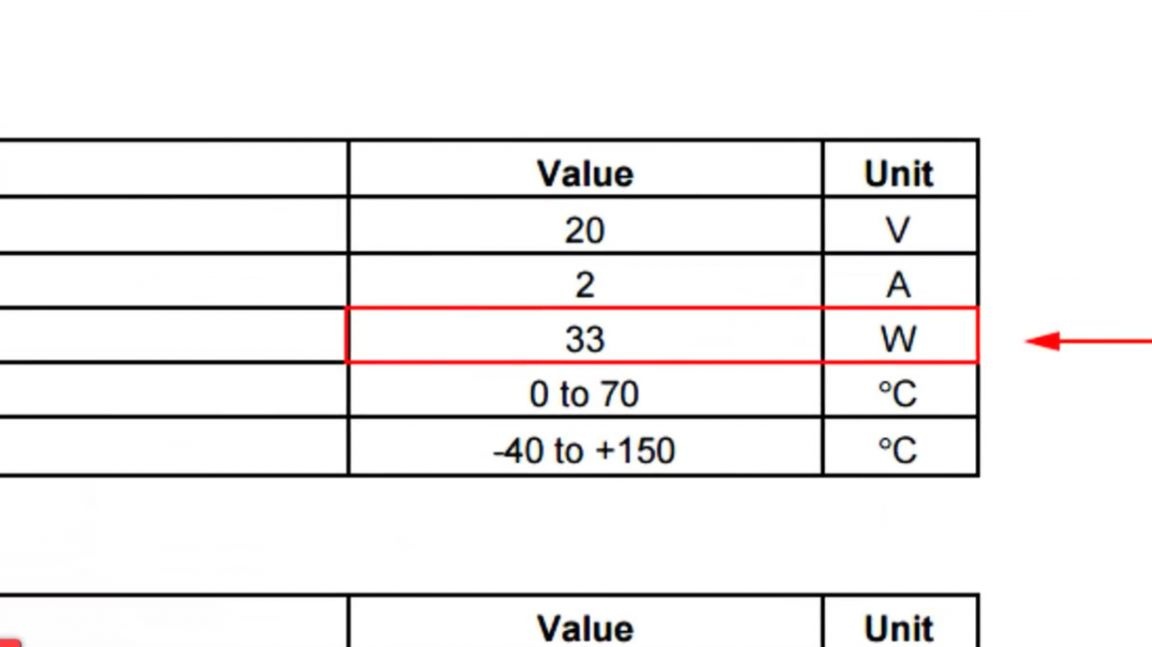
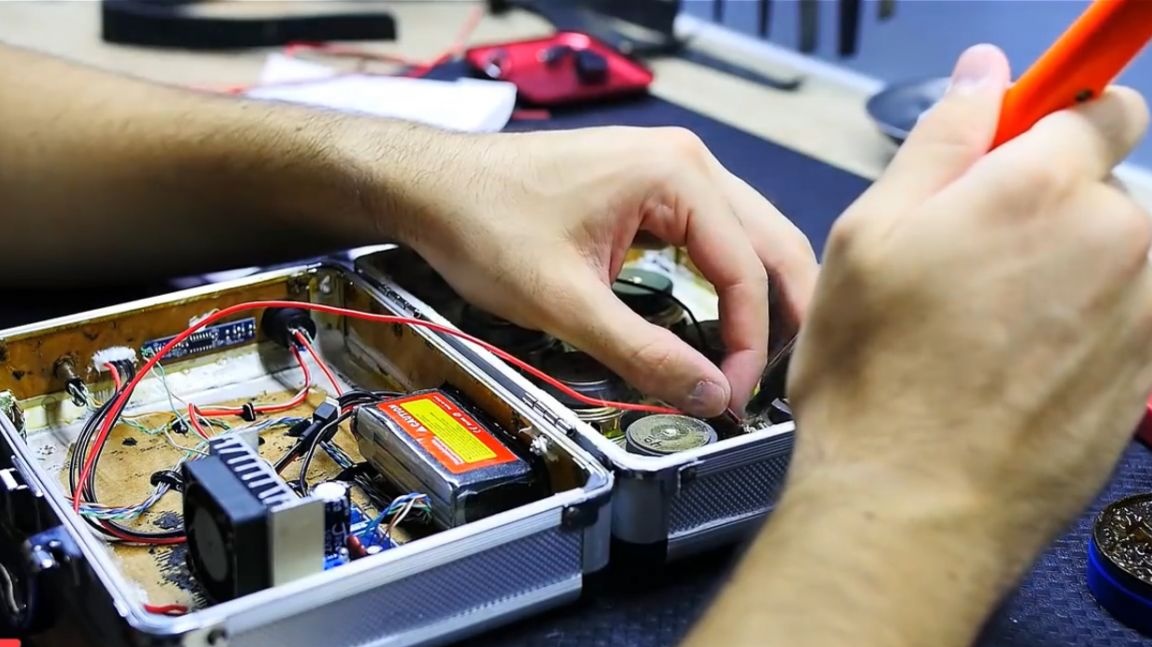
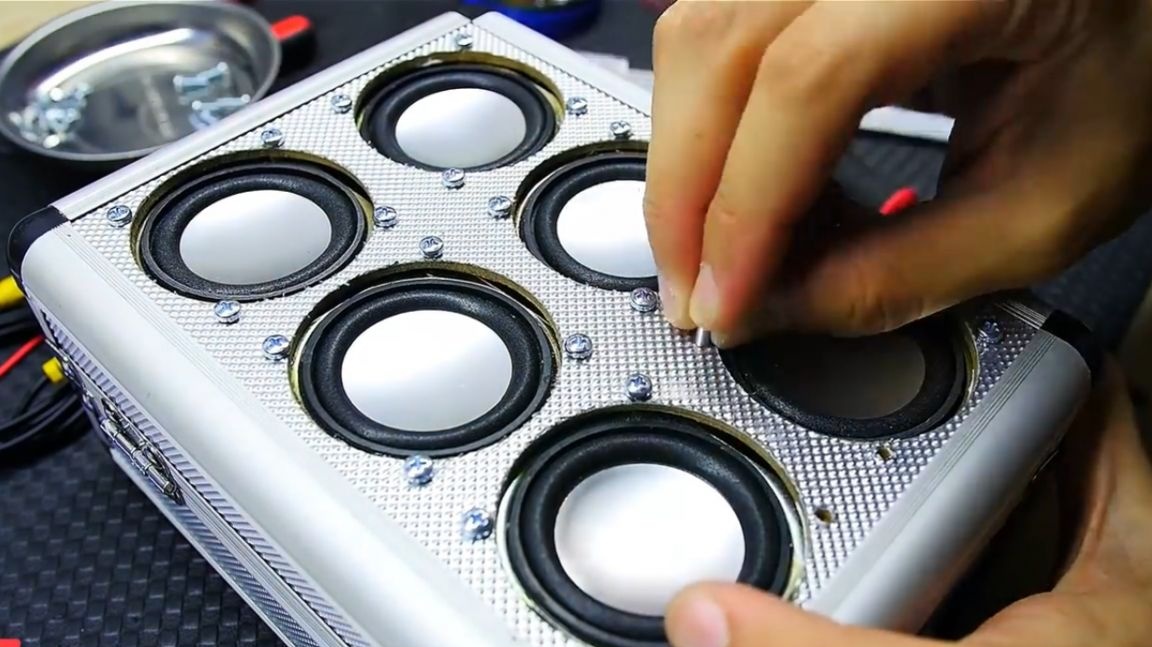
Among other things, it has a power of about 33 watts when powered by 20 V. The power of our boombox will apparently be about 20 watts. The author specifically connected 2 channels of the amplifier in parallel, thereby increasing the power of the product. Stereo sound is basically not needed here. As mentioned earlier, the whole thing will be attached to the m3 bolts. Actually, slowly, we begin to install the speakers in the boombox.
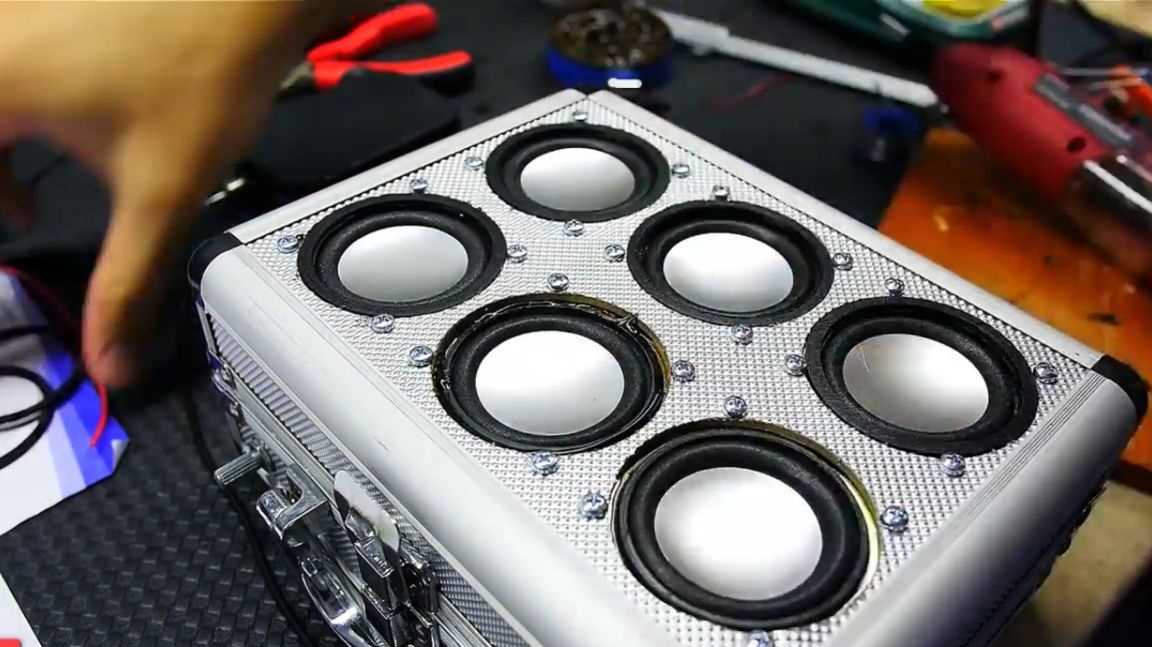
Here everything seems to be on the ground.
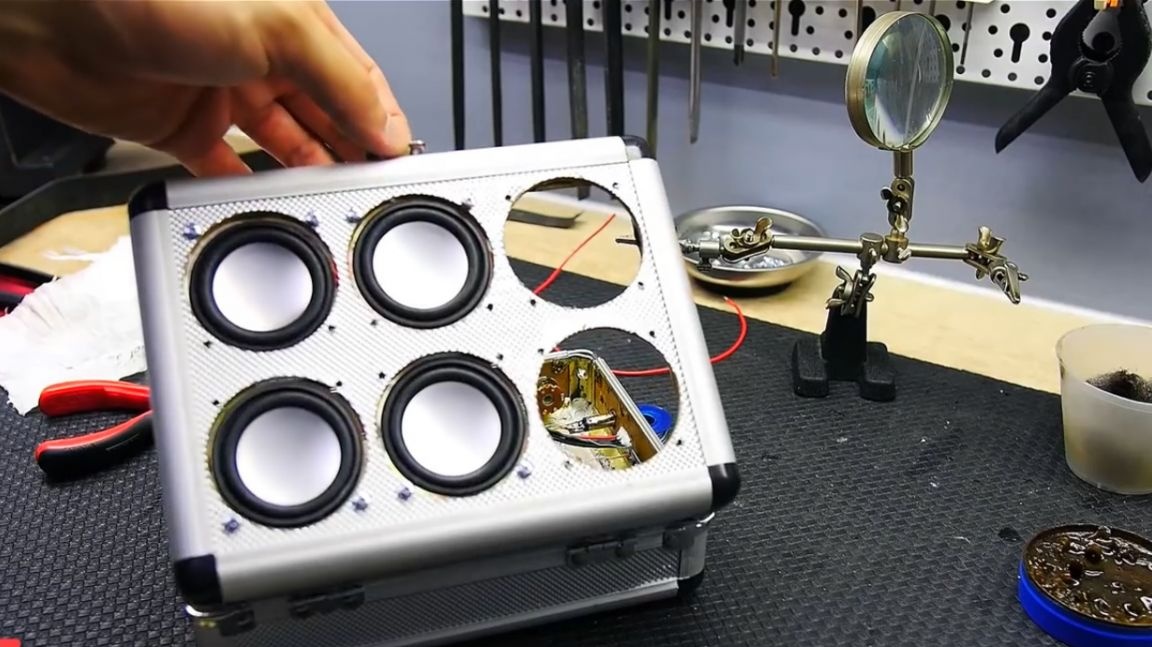
Now it’s worth talking about no less important. Namely, the gaps between the speakers and the body. They urgently need to be addressed. To do this, you need a 3d printer.
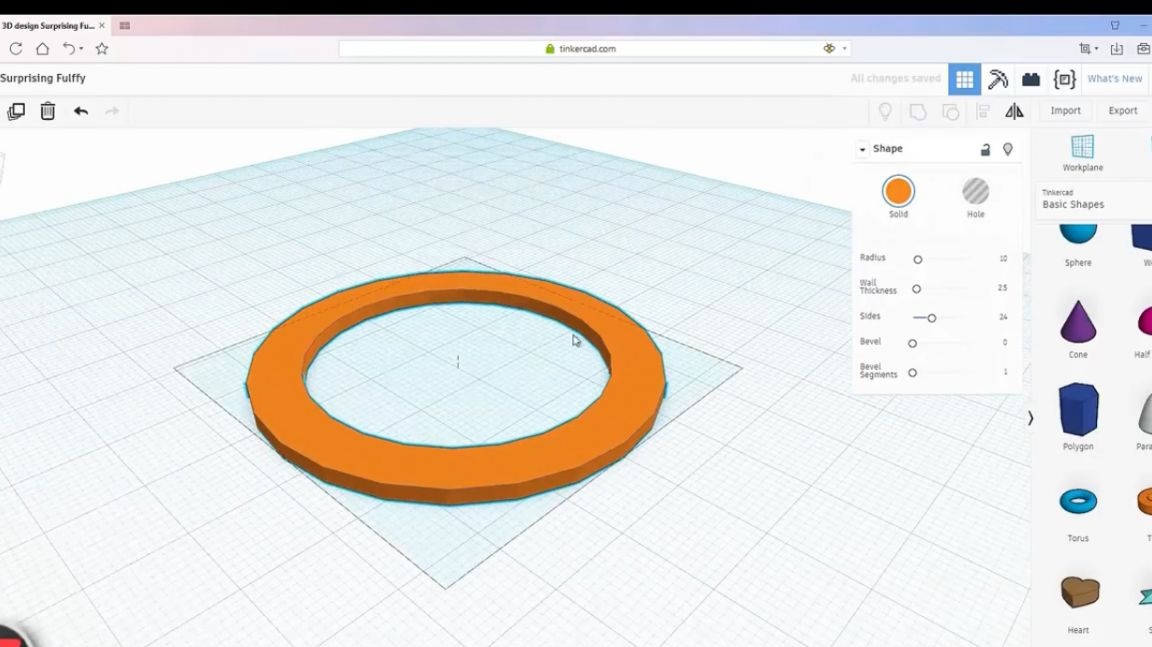
In a quick way in a special program (Tinkercad), the author made rings of the required size. As you remember, you need to print 6 pieces.
Well, for now, the rings are printed, the author could not stand it and turned on the music box on the boombox that was just collected, but not quite yet.
He then continued to compile a column for music.
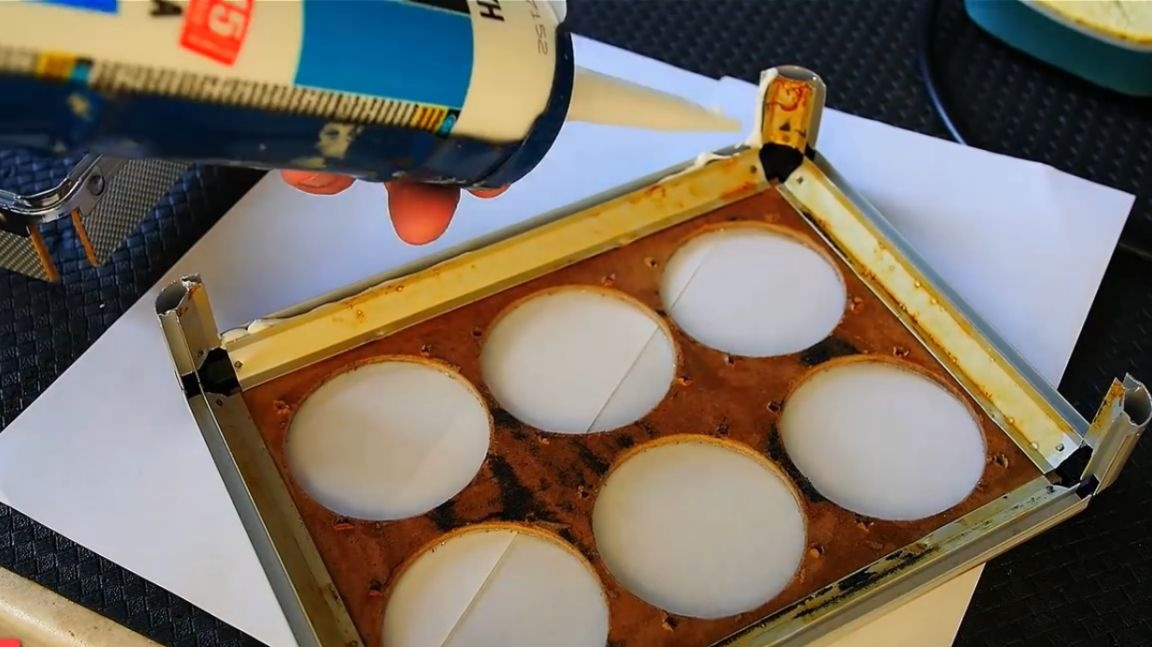
When the rings are printed, the author glues them with thermo-glue, always filling all the cracks.
A couple more nuances:
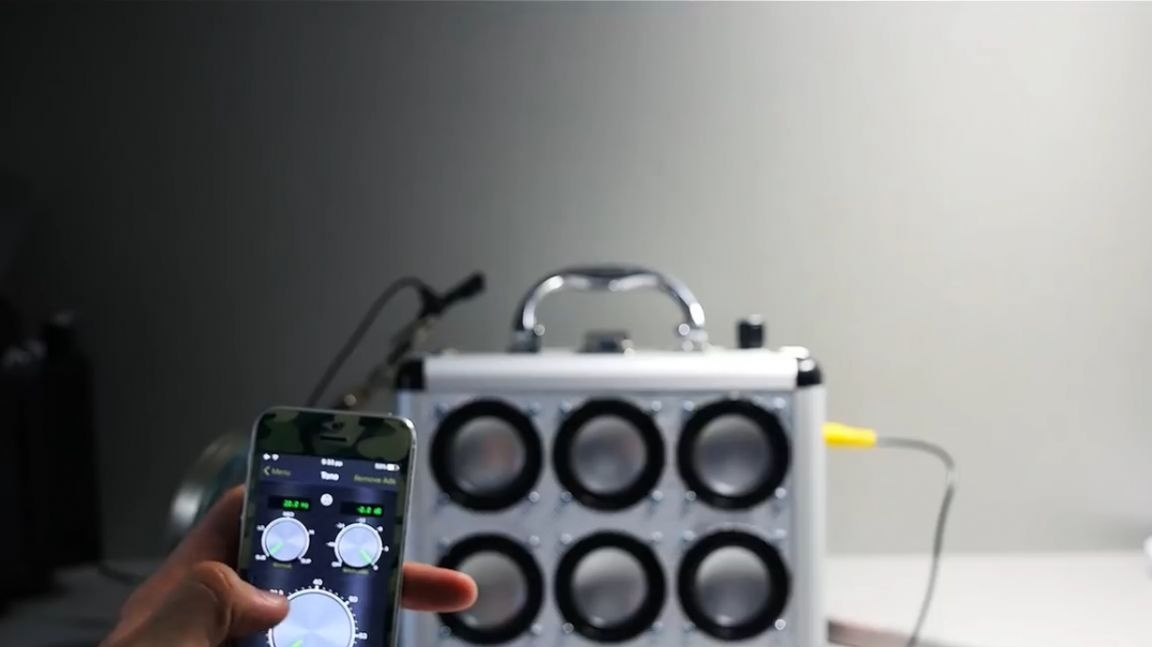
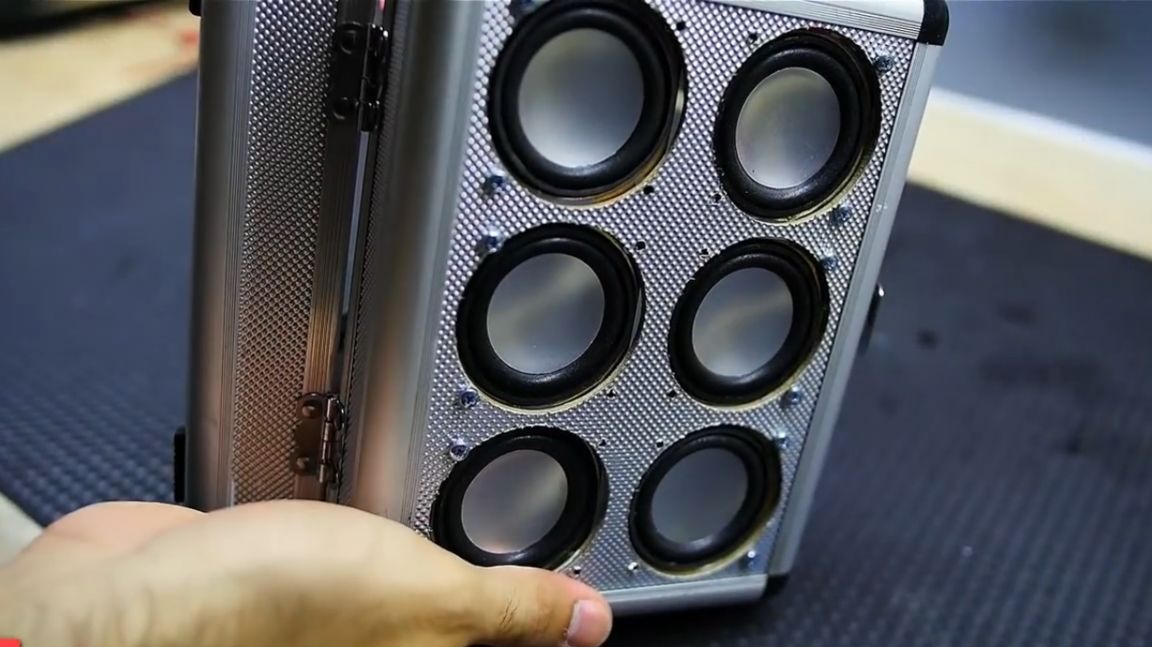
In principle, the boombox looked impressive.
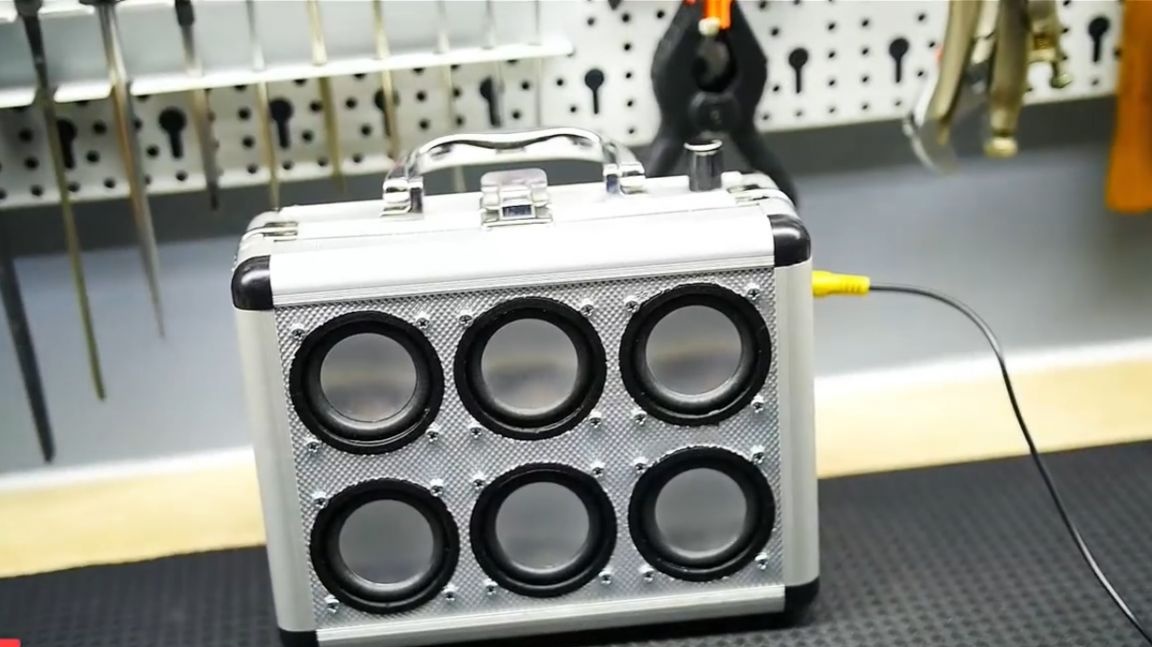
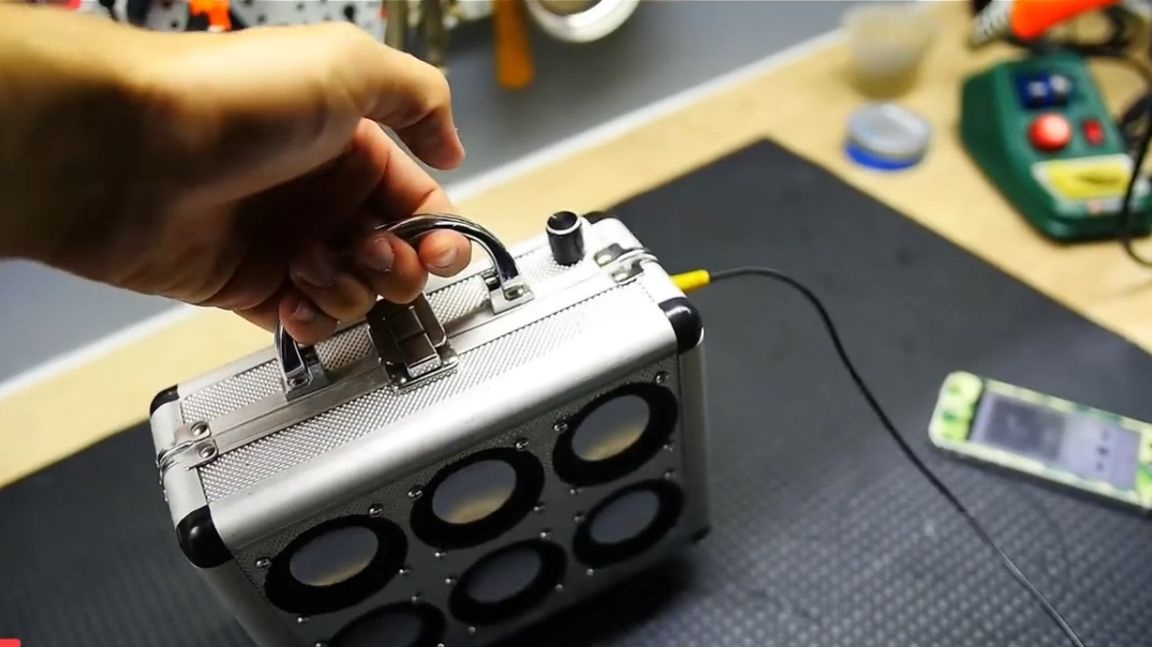
The sound quality is completely satisfied with the author. In fact, he did not expect that from such ultra-budget speakers, it is possible to get a pretty decent boombox. The sound is good, strong and surround.
Thank you for attention. See you soon!
Video: