

Hi the inhabitants of our site! Progress does not stand still and every day more and more accessories for animals appear on the market. Particularly noteworthy is the feeder. In this article I will try to describe and show the assembly of an automatic feeder.
The car feeder is a unique find for the owners, since with it you can not worry that your pet will remain hungry. It is useful in such cases: you need to leave for a few days; you can forget to feed the pet. And also such a feeder will save you from food scattered around a bowl.
So in this article we will consider the simplest purely mechanical feeder for a dog or cat. Your pet should be taught to use this feeder. Absolutely everyone can repeat this home-made, since completely improvised means will be used, which probably were lying around in your apartment, at home or in the garage.
To make a feeder, it’s useful:
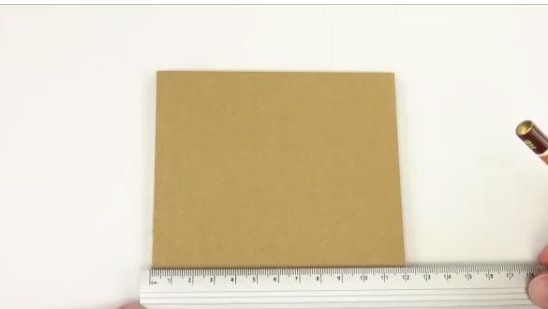
1- A sheet of thick cardboard.
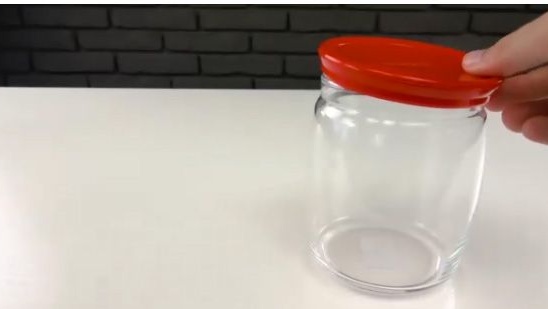
2- Plastic jar with a lid.
3- Bowl.
4- Terma glue.
5- Stationery knife.
6- Ruler.
7- Pencil.
8- Ice cream sticks.
9- Super glue.
10- A sheet of plain paper.
11- Eraser.
Assembly of the "Automatic" feeder:
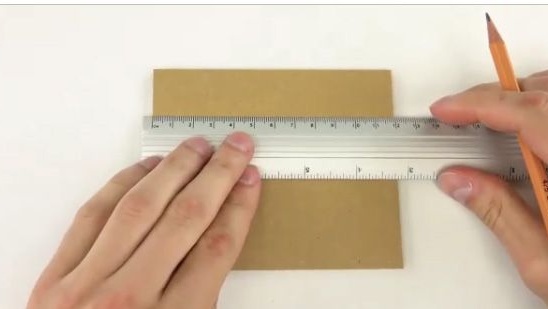
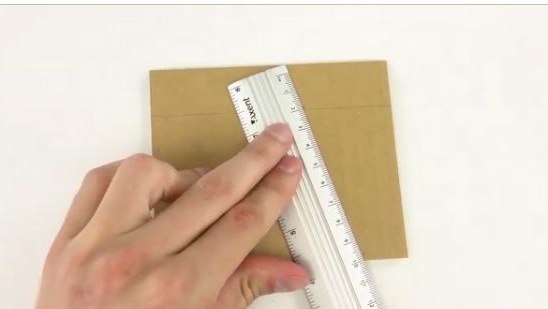
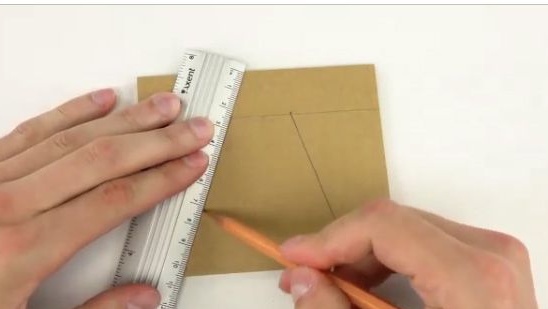
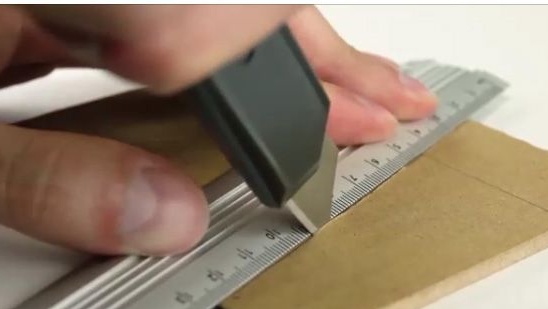
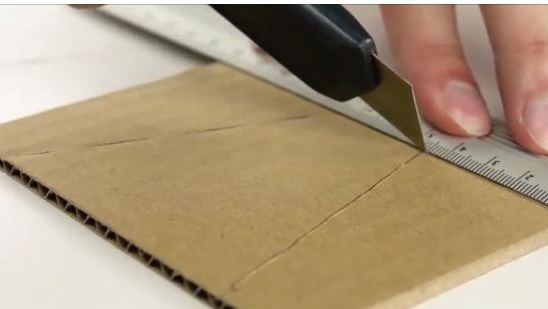
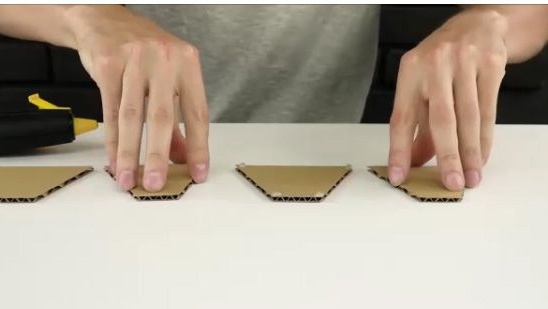
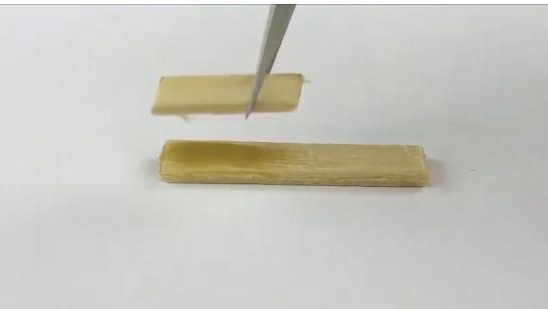
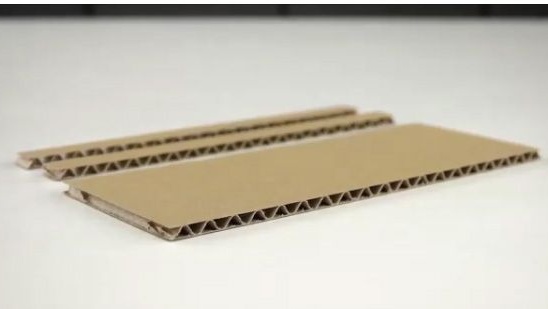
1- First, four blanks should be made from cardboard. To do this, on a sheet of cardboard with a pencil and a ruler, transfer the marks as in the photo below.
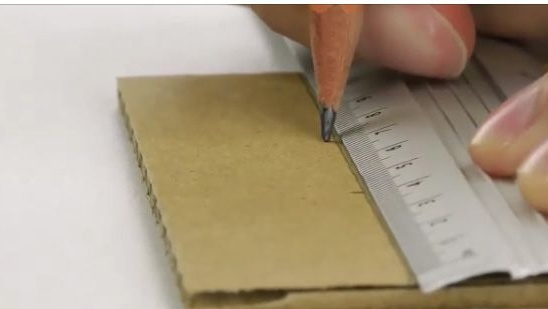
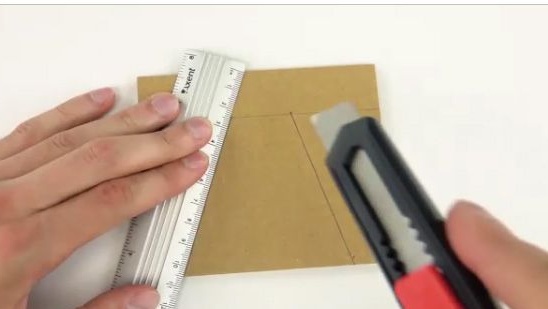
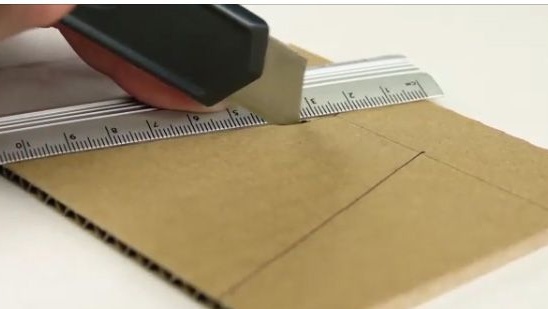
2- After a similar blank is depicted on a sheet of cardboard as in the photo above, we cut it out with a stationery knife and a ruler. I also advise you not to spoil your table with a stationery knife, you should cut it on a cutting board.
[center]
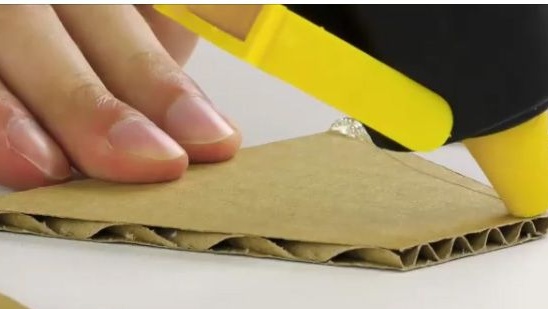
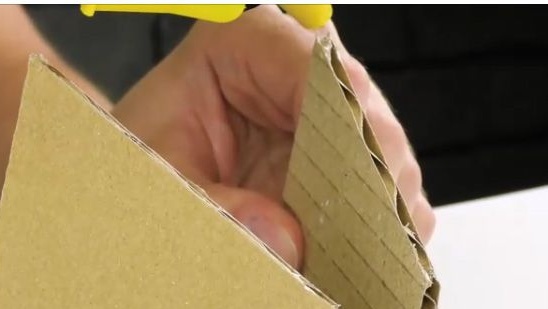
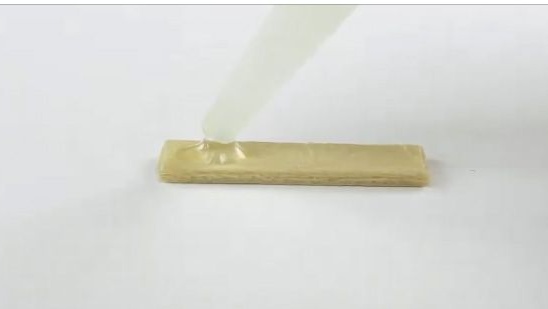
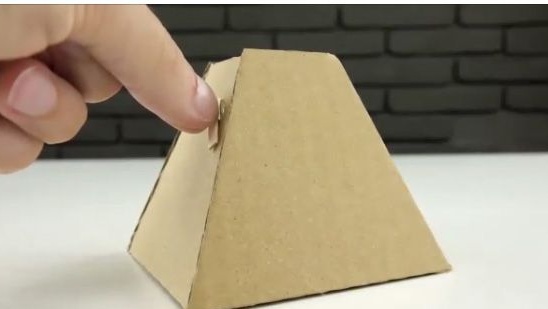
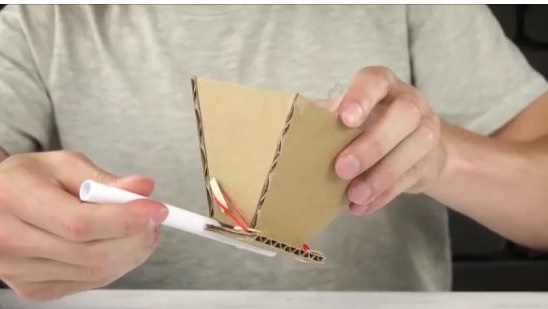
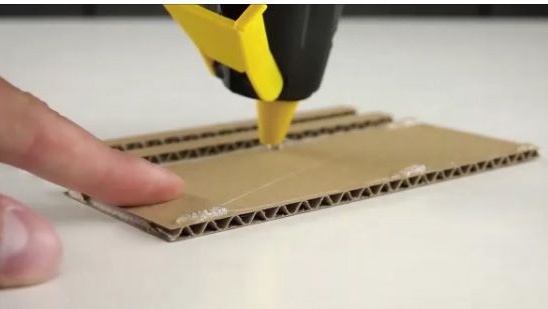
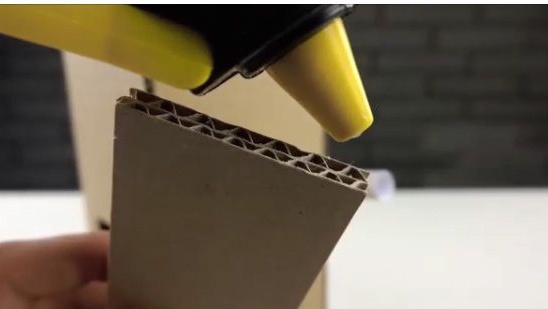
3- Then we apply a well-heated terma glue to the corner of the newly cut cardboard blank, as it is shown in the photo below.
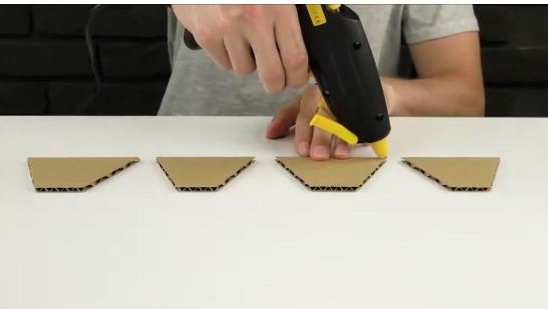
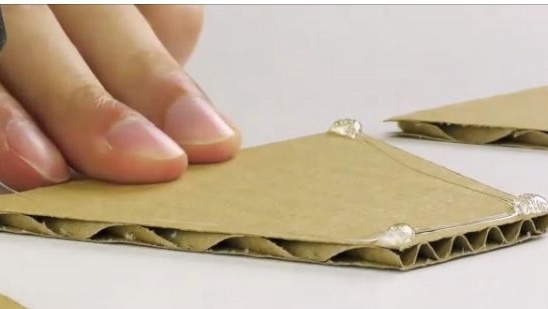
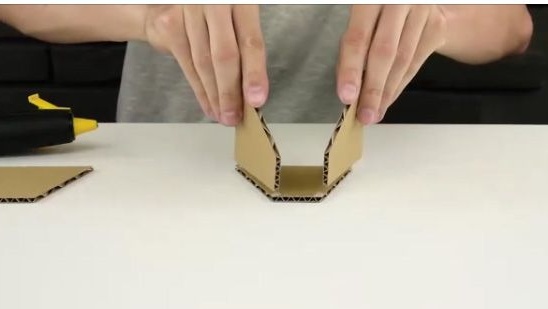
4- Immediately after the adhesive has been applied to the cardboard blank, the other two same cardboard blanks should be glued to it in a similar way (see photo below).
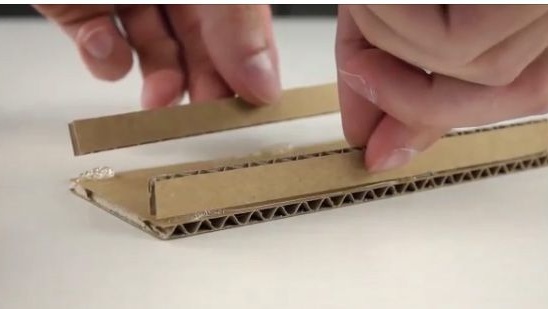
5- Again, in the indicated places we apply a well-heated terma glue (see photo below).
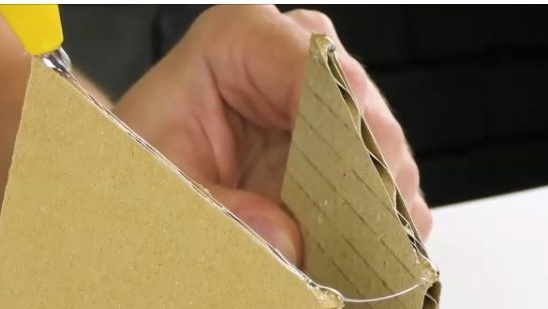
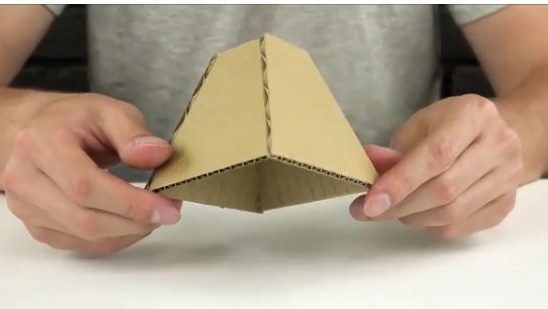
6- And glue the last cardboard blank.
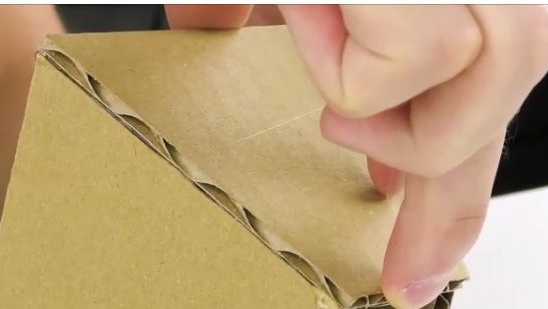
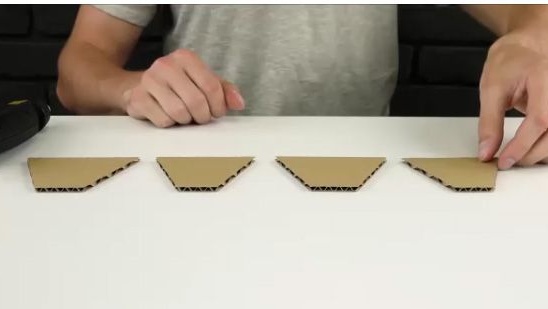
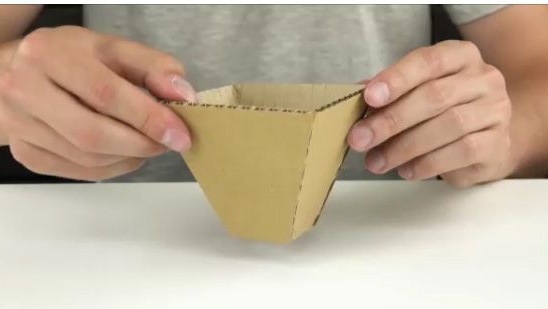
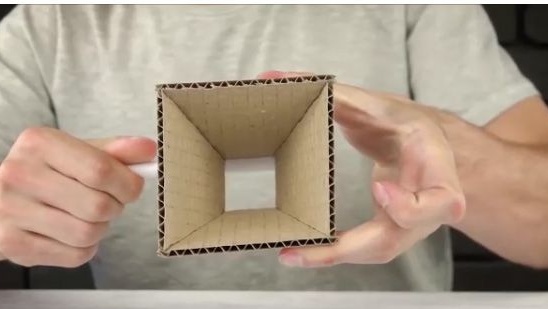
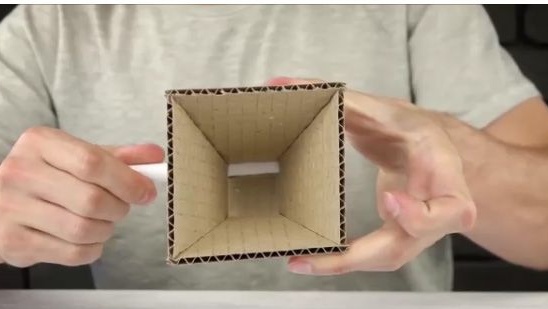
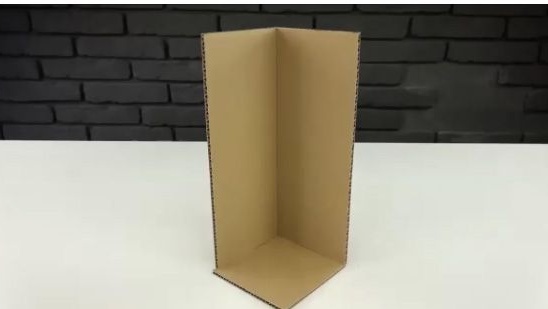
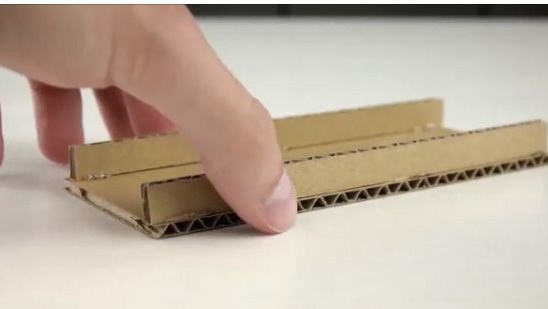
7- As a result, from four cardboard blanks, we should get one blank, which in turn should resemble a pyramid.
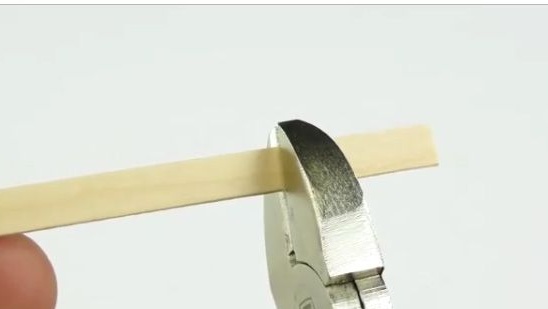
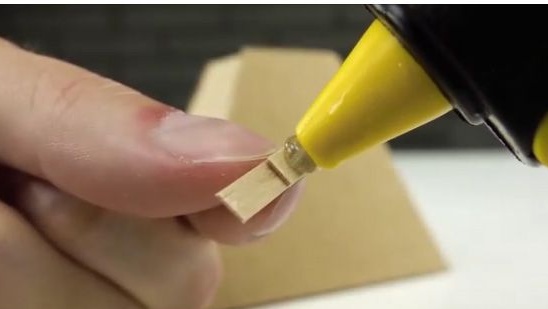
8- For the next step, you will need a wooden stick of ice cream, from which we bite or cut off three small segments and one smaller one.
9- We do the following with one of the segments. We apply super glue to the indicated place (see photo below).
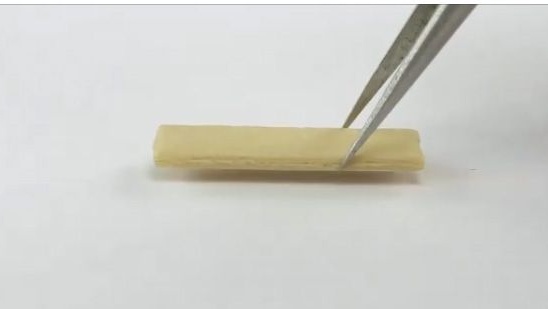
10- And glue a smaller piece.
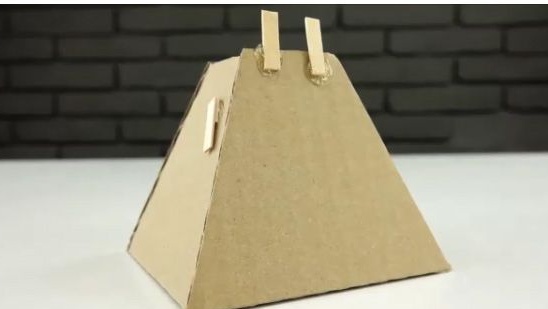
11- After which we glue all the wooden pieces to the indicated places (see photo below).
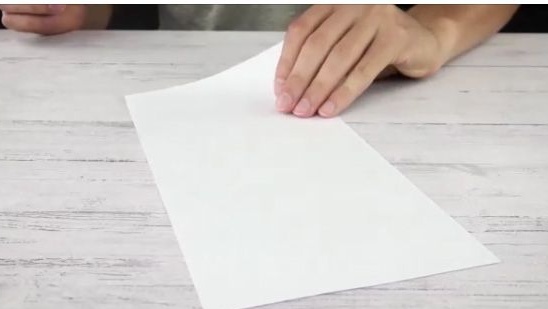
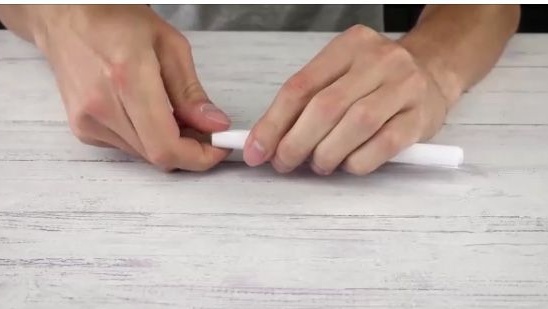
12- Next, you need a rectangular sheet of plain white paper.
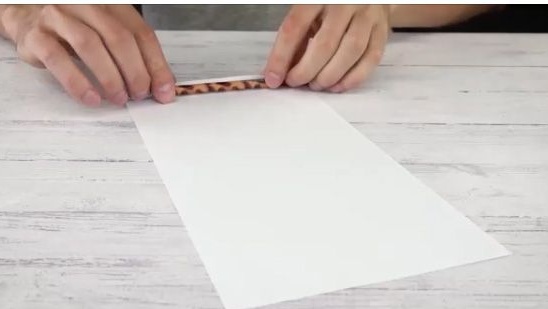
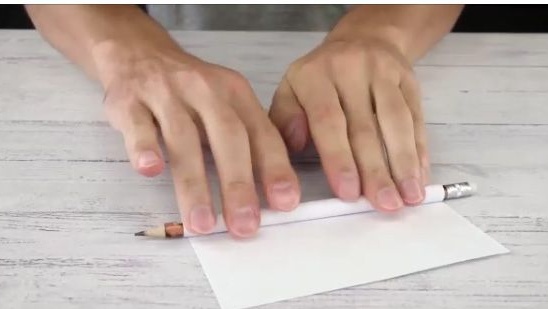
13- Using a round pencil, fold a sheet of paper into a tube.
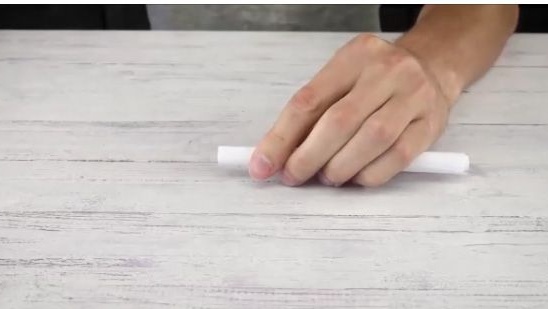
14- And in order for our tube not to turn around, fix it with a small piece of adhesive tape or a drop of glue.
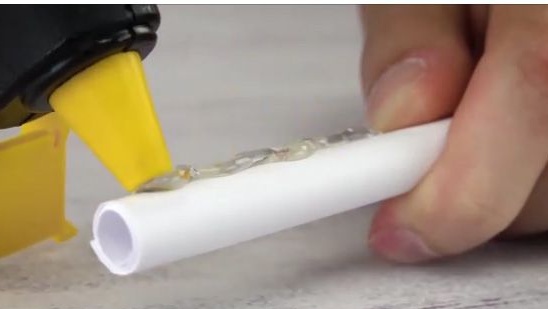
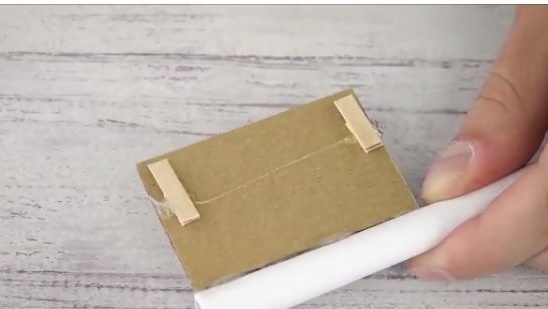
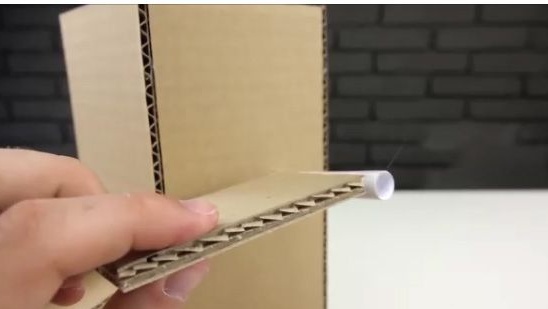
15- Apply a well-heated terma glue to the specified location (see photo below).
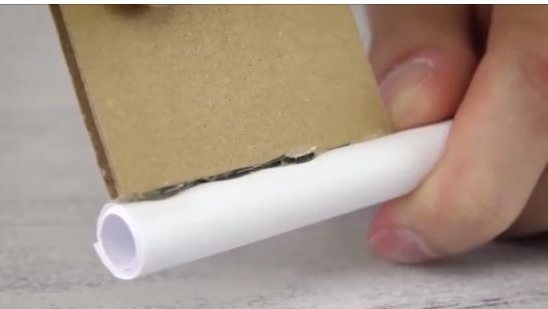
16- And to the tube we glue a square piece of thick cardboard, which should be cut in advance.
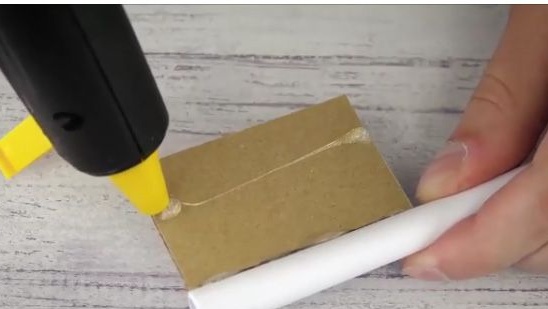
17- Two squares of small wooden pieces from an ice cream stick should be glued to the square that was recently glued to the paper tube.
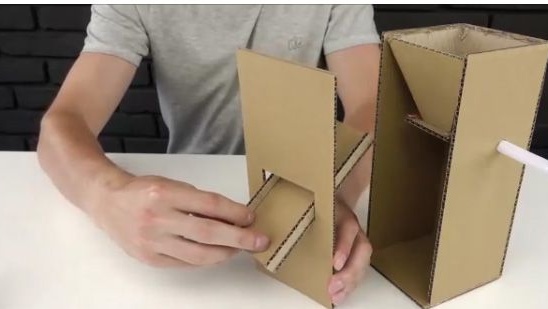
18- Join two cardboard blanks in a similar way.
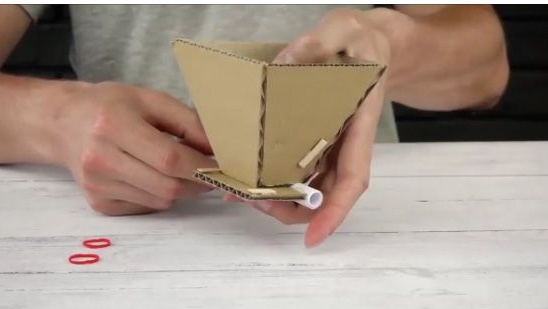
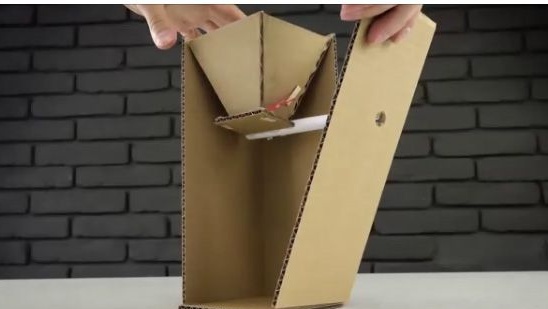
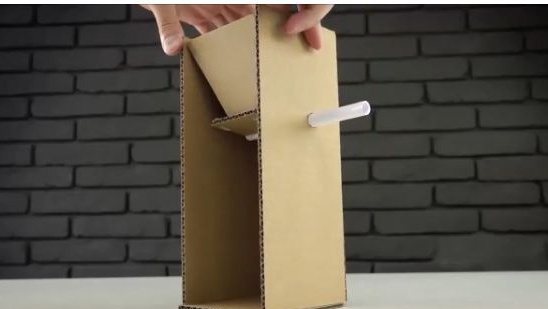
19- And we put on elastic bands, as it is shown in the photo below.
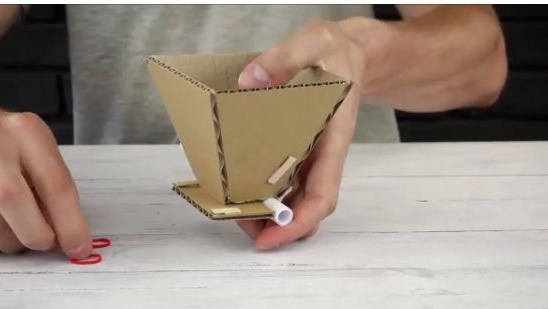
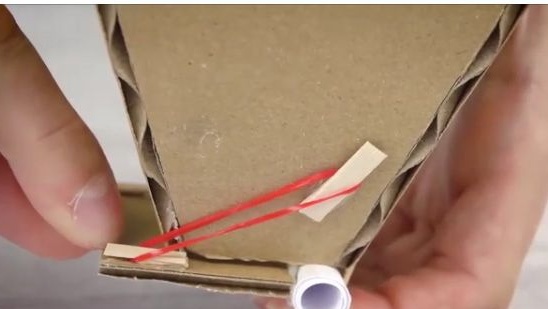
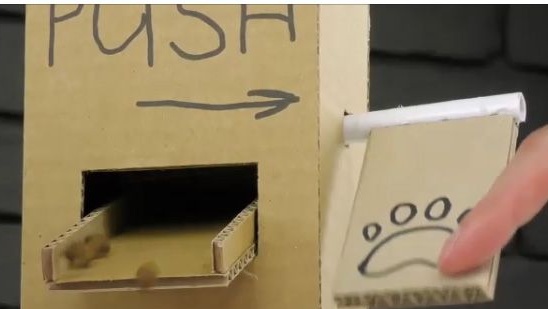
20- In the end, we should get a design that could open and close itself.
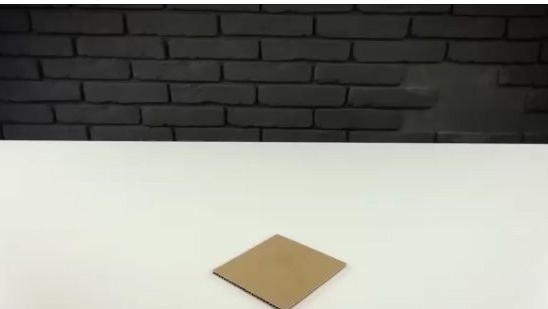
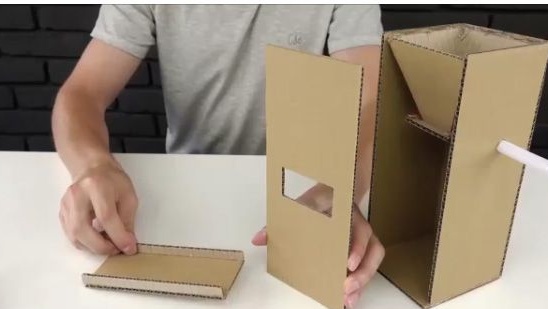
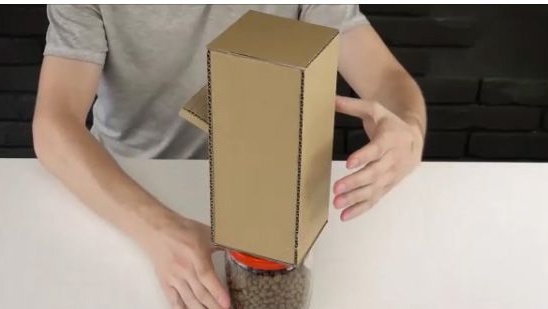
21- After which a square should be cut out of thick cardboard, which will serve as the base of the feeder.
22- You should also cut two identical rectangles, which will serve as two walls of the feeder.
23- And one cardboard rectangle with a round hole for a paper tube.
24- Then you should cut one cardboard rectangle, which will be a "screw" and two cardboard
side.
25- Using a well-heated term of glue we glue the newly made workpieces together.
26- Also cut another wall with a hole for the "auger".
27- We connect the two freshly made workpieces and glue them using a well-heated term of glue.

28- And install the last wall.

29- Cut a rectangle from thick cardboard and glue it to the end of the paper tube.
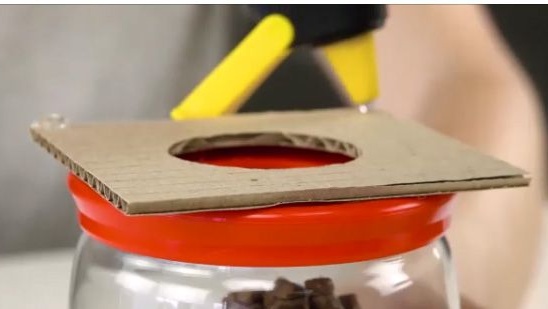
30- After which you will need a jar with a lid. But first, cut a square equal to thick cardboard
squared at the base. And cut a hole in this square. The exact same hole should be cut in the cover
from the can.
31- Using a well-heated term of glue, glue the lid with a cardboard square.

32- And glue the cardboard square to the top with the lid up.
33- Done!
Results and conclusions:
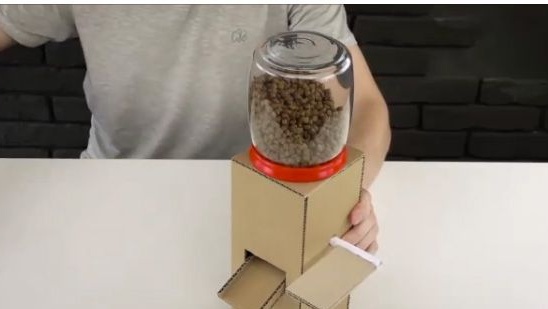
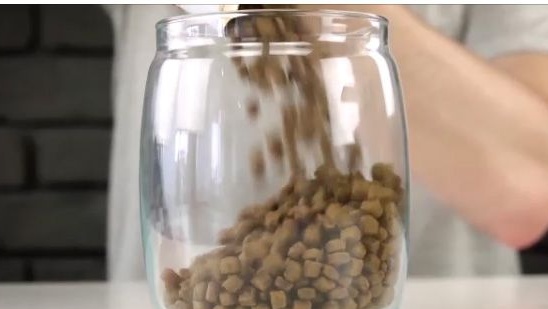
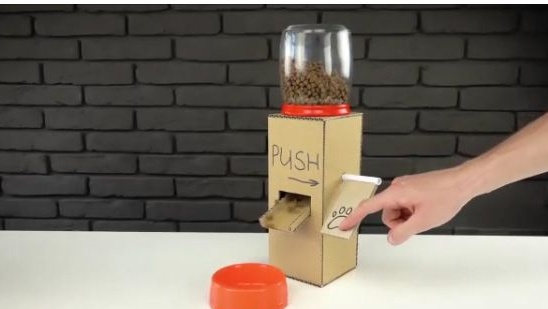
Pour the feed and put the feeder in its place. We call our pet and try to teach him how to use this homemade product.
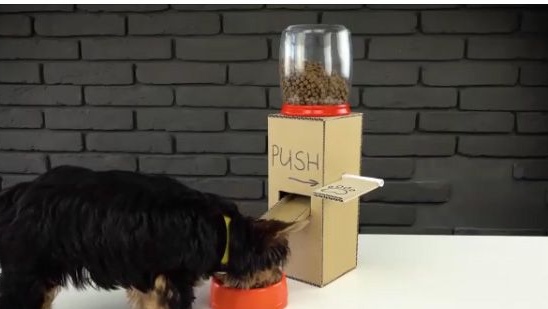
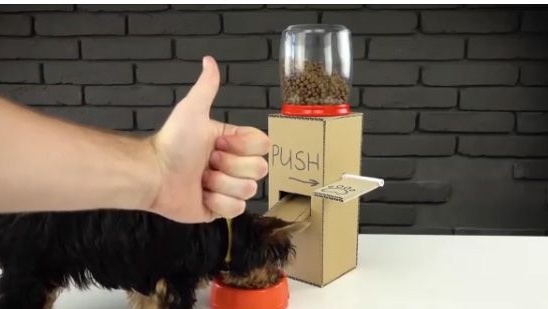
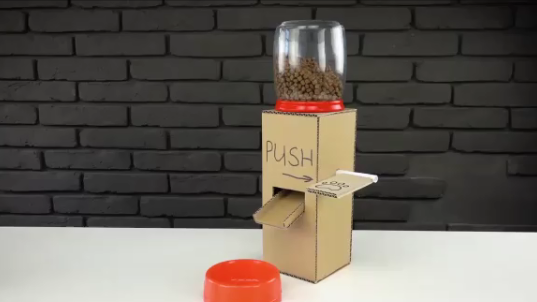
As a result, we got a very interesting feeding trough, which your pet will surely like.
Well, that’s all, thank you for your attention. I hope this article was useful to you and will probably come in handy for you, and you also have a great opportunity to see a video assembly of this homemade product.