
In order not to freeze in the workshop or the garage let's try to assemble a heater do it yourself.
And the heater is not simple, but such that it’s direct almost free, with a minimum of investment. To date, the most affordable and effective source of heat is a conventional incandescent lamp.
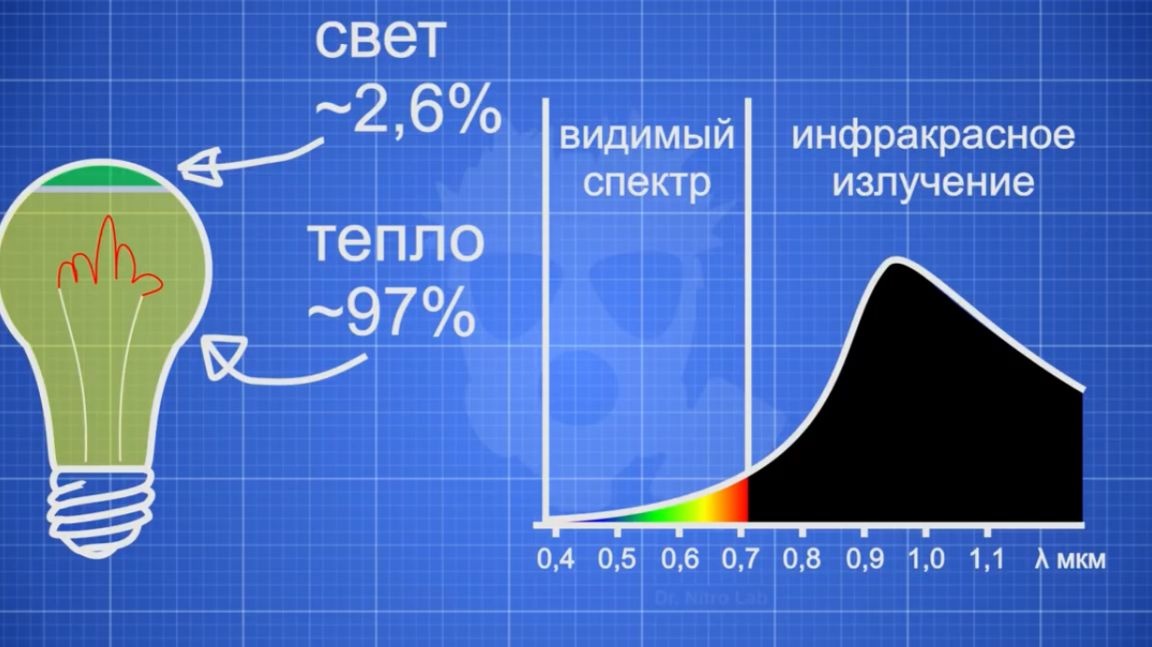
The bulb translates all energy consumed into light and heat. This is what the emission spectrum of an incandescent lamp looks like.
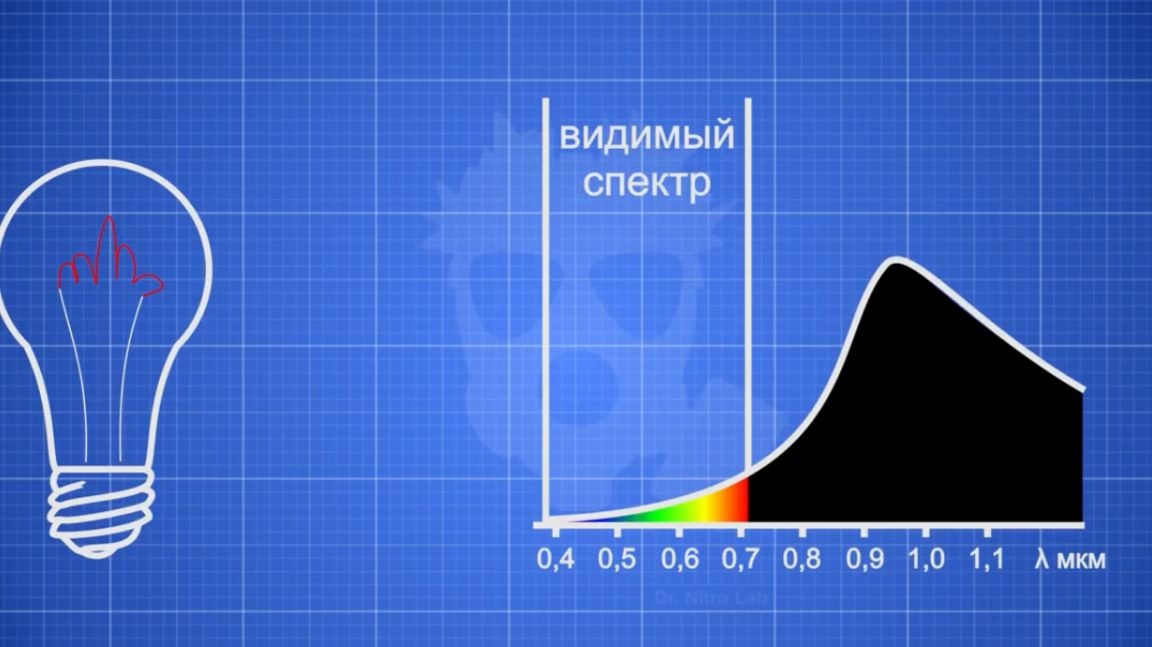
The figure shows the part of the spectrum that the human eye can see.
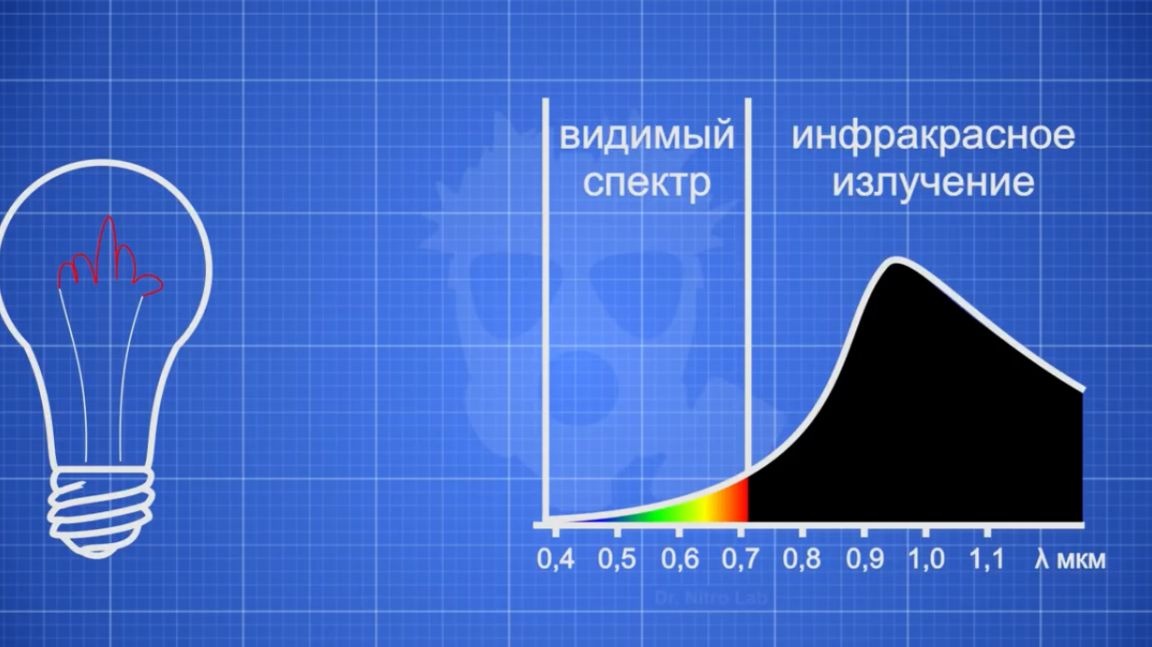
As you can see, the main radiation power lies in another spectrum - in the infrared.
If we consider a bulb as a light source, then its efficiency is extremely small and amounts to no more than 2-3%. But if you look at the light bulb as a heat source, then the efficiency will be as much as 97%, because we perceive infrared radiation as heat.
If you increase the voltage supplied to the bulb, then you can get the efficiency of light output up to 15%, but at the same time the bulb will live no more than a couple of hours. And if you reduce the voltage by half, then the light output will drop by 5 times, and almost all the energy consumed will go to the infrared spectrum. At the same time, the life of the bulb will increase from 1000 hours to almost 1,000,000 hours, that is, the bulb will become almost eternal, when compared with human life.
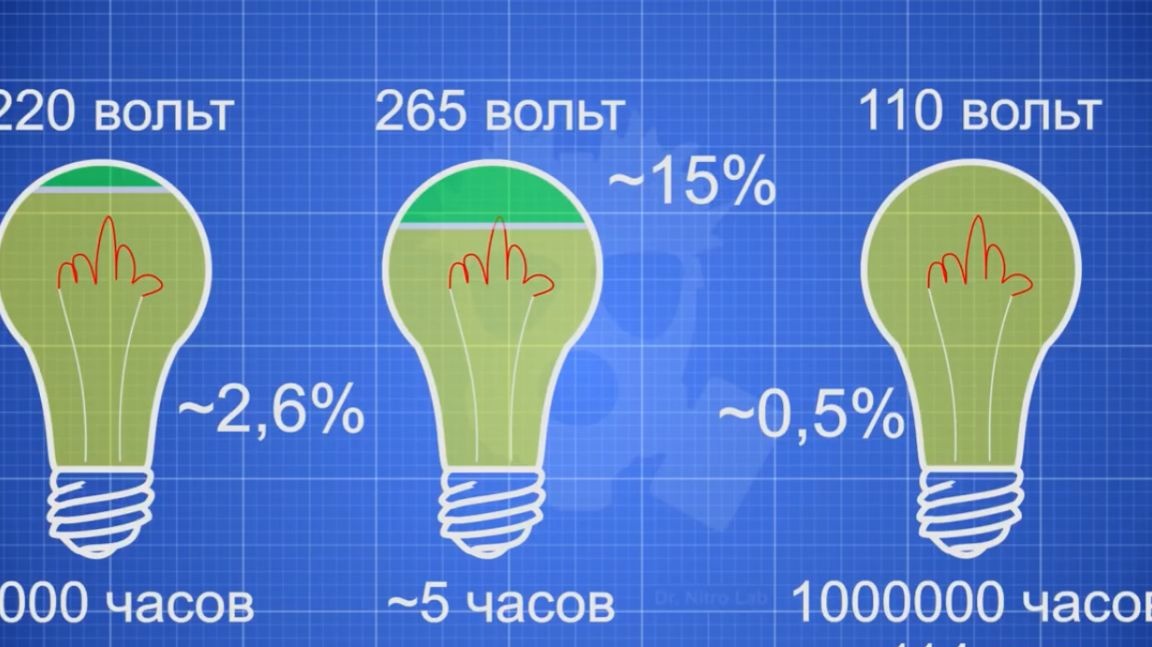
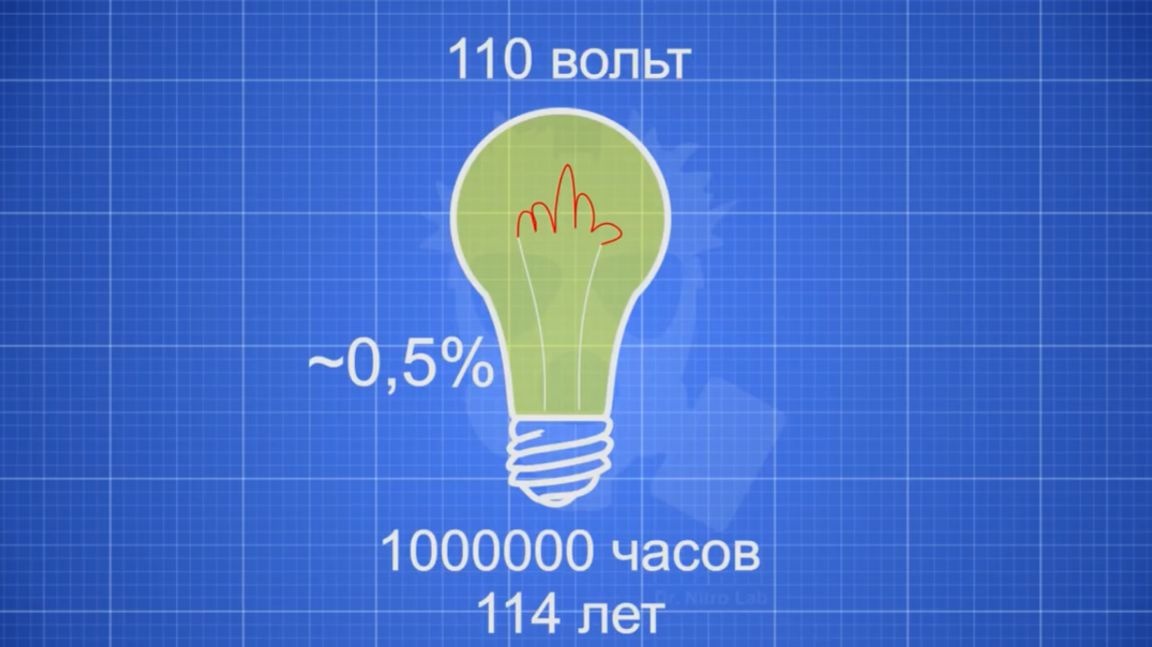
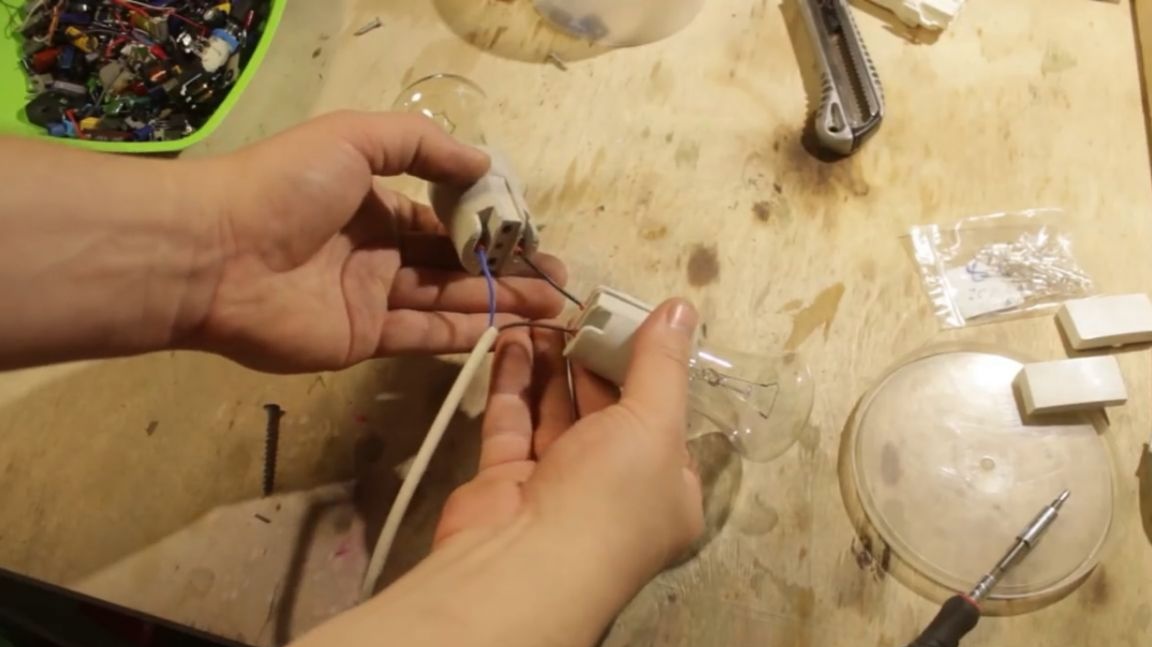
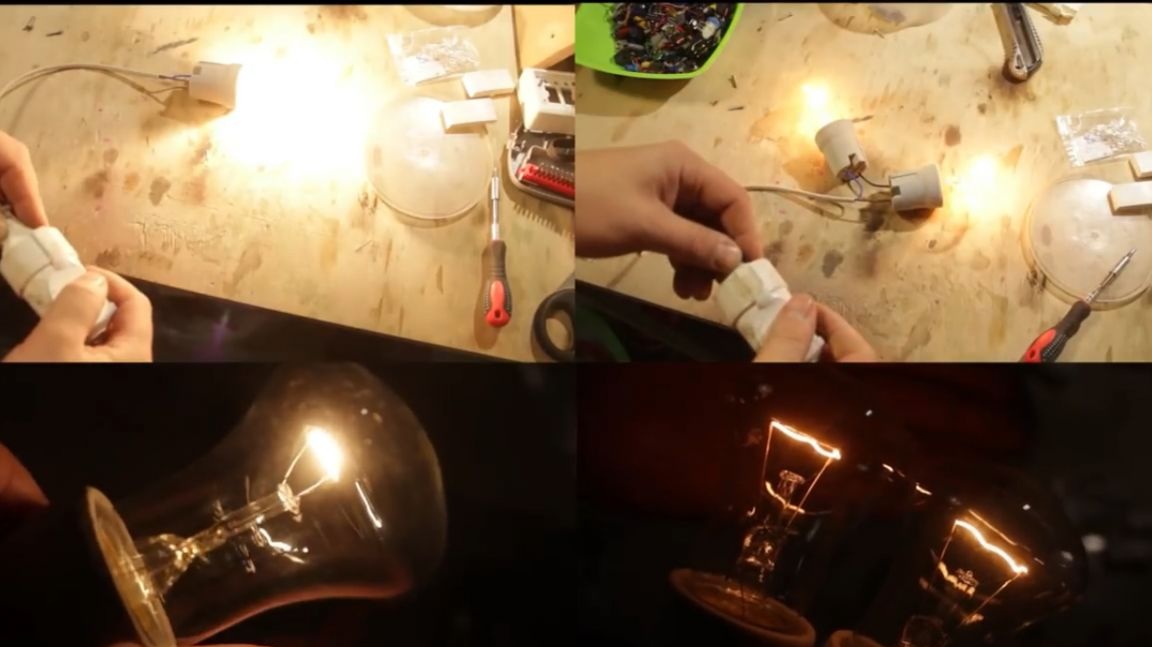
But more precisely, she will be able to work continuously for more than 100 years. If you connect two bulbs in series, the voltage on each of the lamps will drop by half.
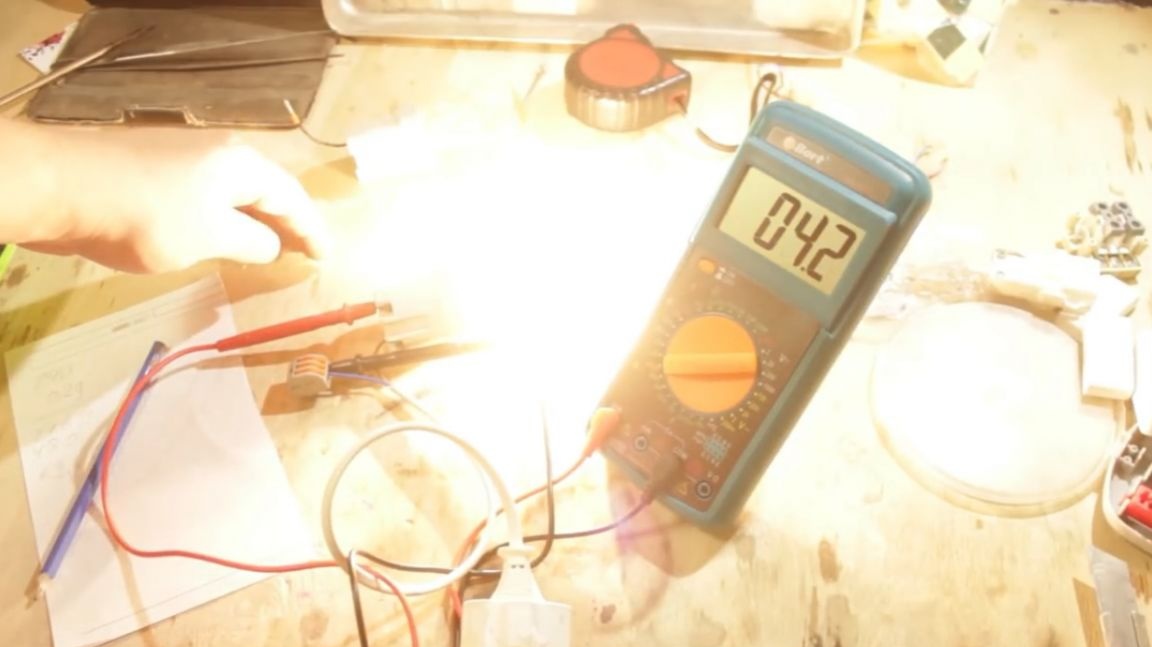
You can see how light output has fallen significantly with this connection. Let's measure how much such a bunch of bulbs consumes. The current is approximately 290 mA.
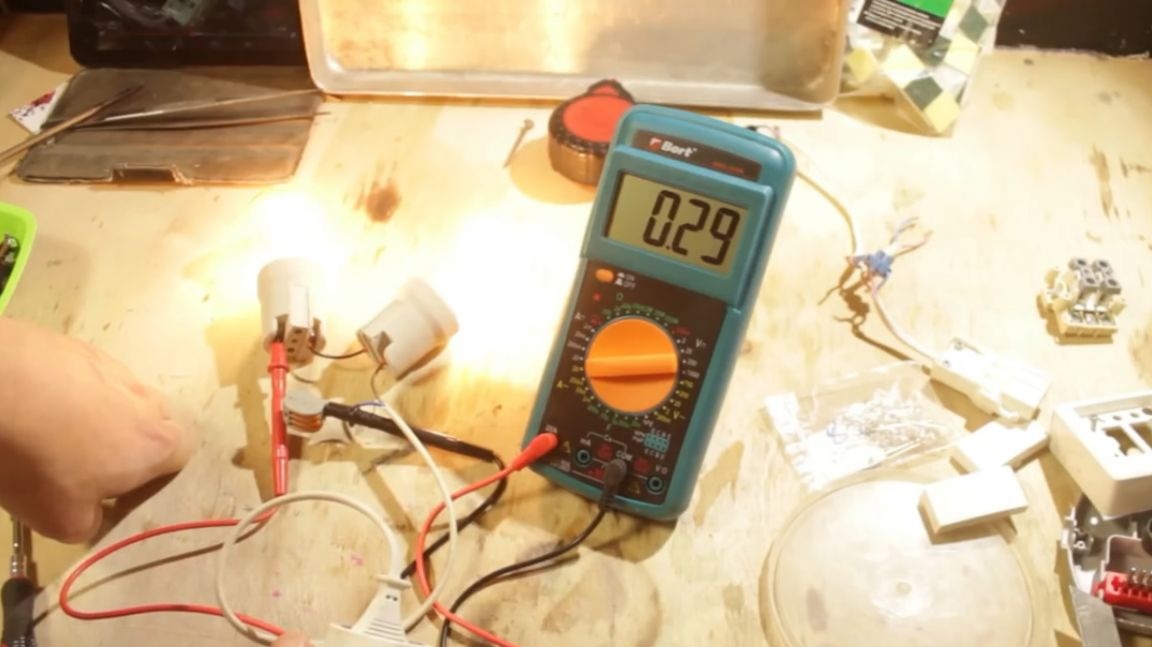
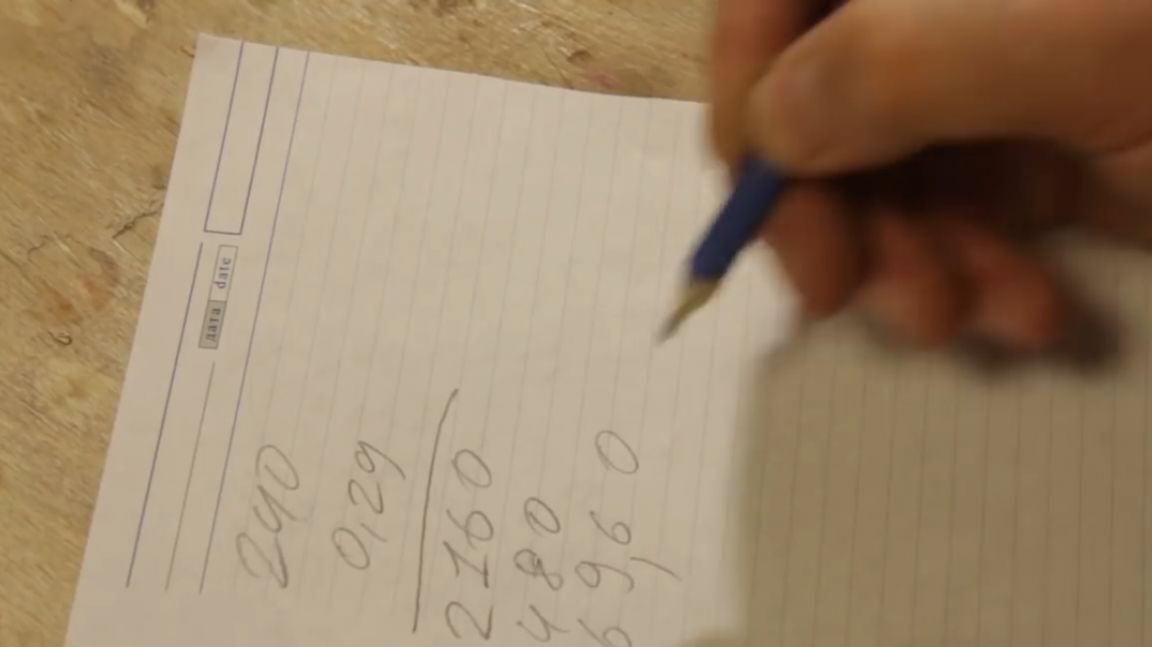
The voltage in the outlet of the author is stable and equals 240 volts. This is because there is a substation nearby.
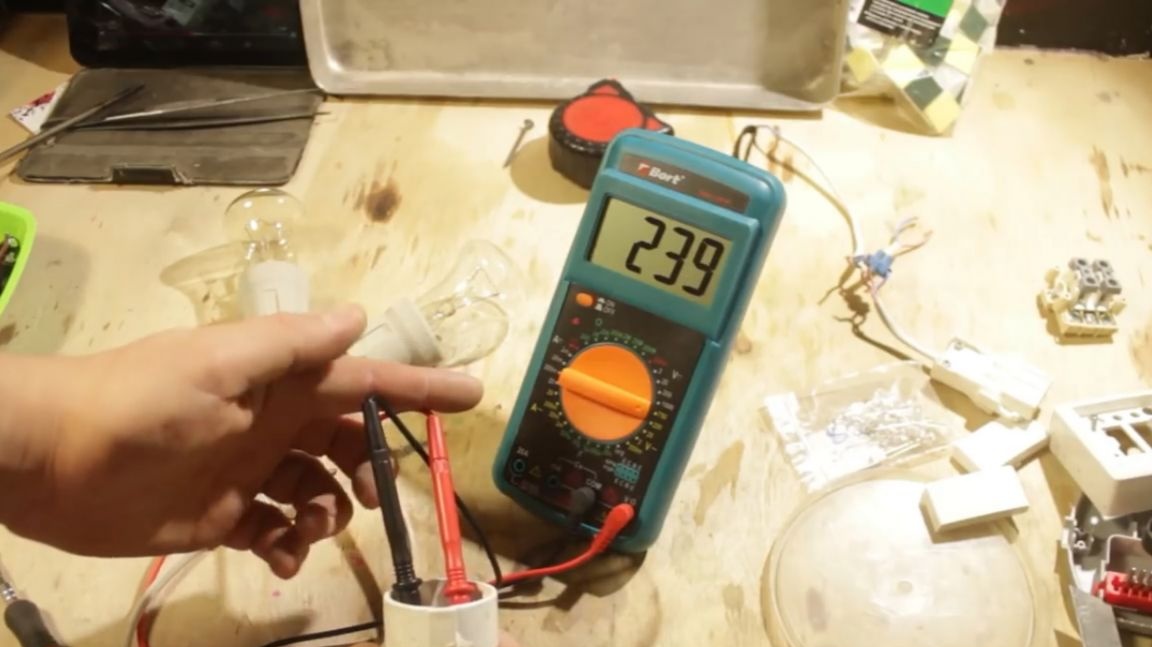
So the consumption of two bulbs, about 70 watts. Due to the increase in resistance, consumption decreased, but the ratio of heat per 1 W of power consumption increased.
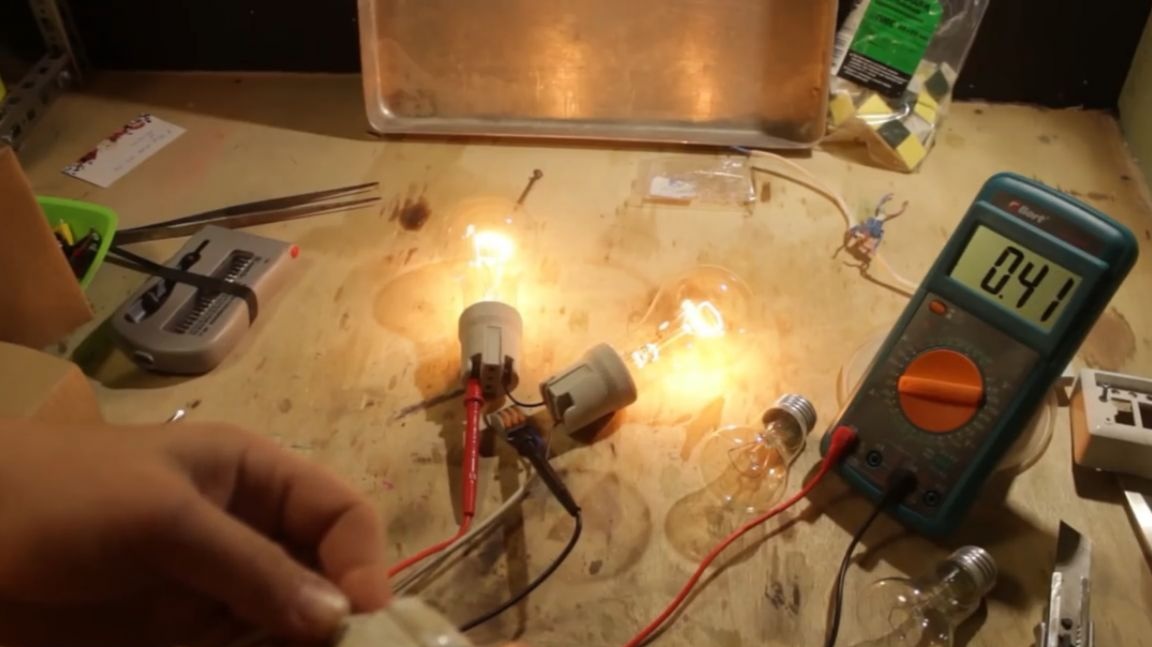
For comparison, we measure the current flowing in one bulb. It is equal to 420 mA. That is, the consumption is fair 100 watts.
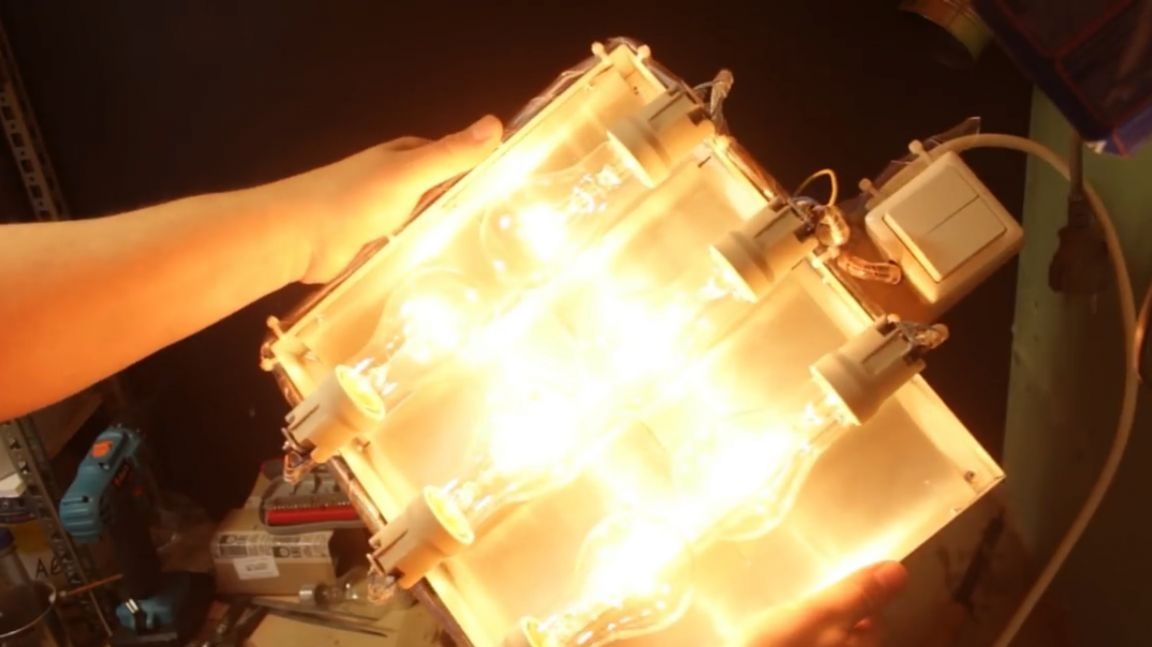
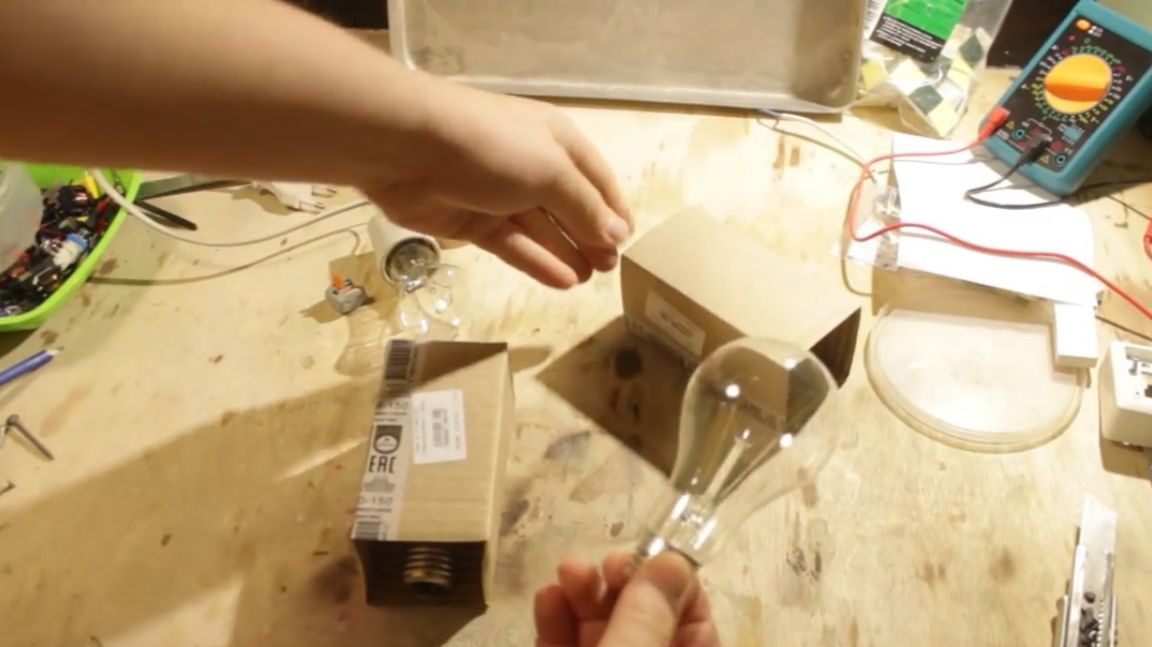
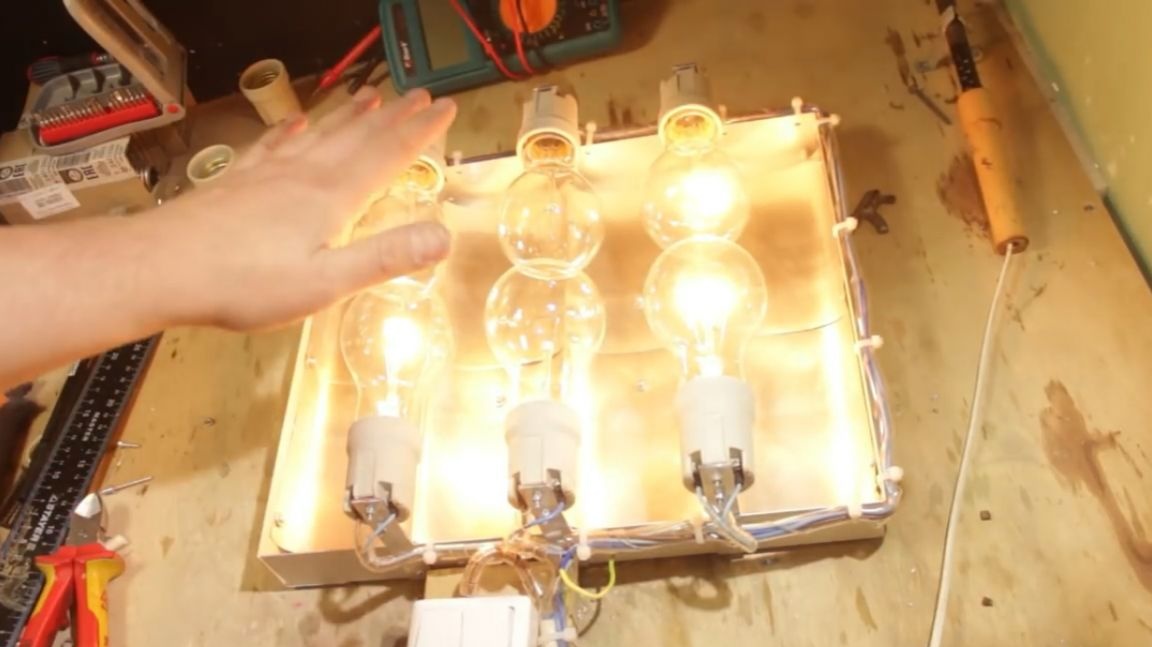
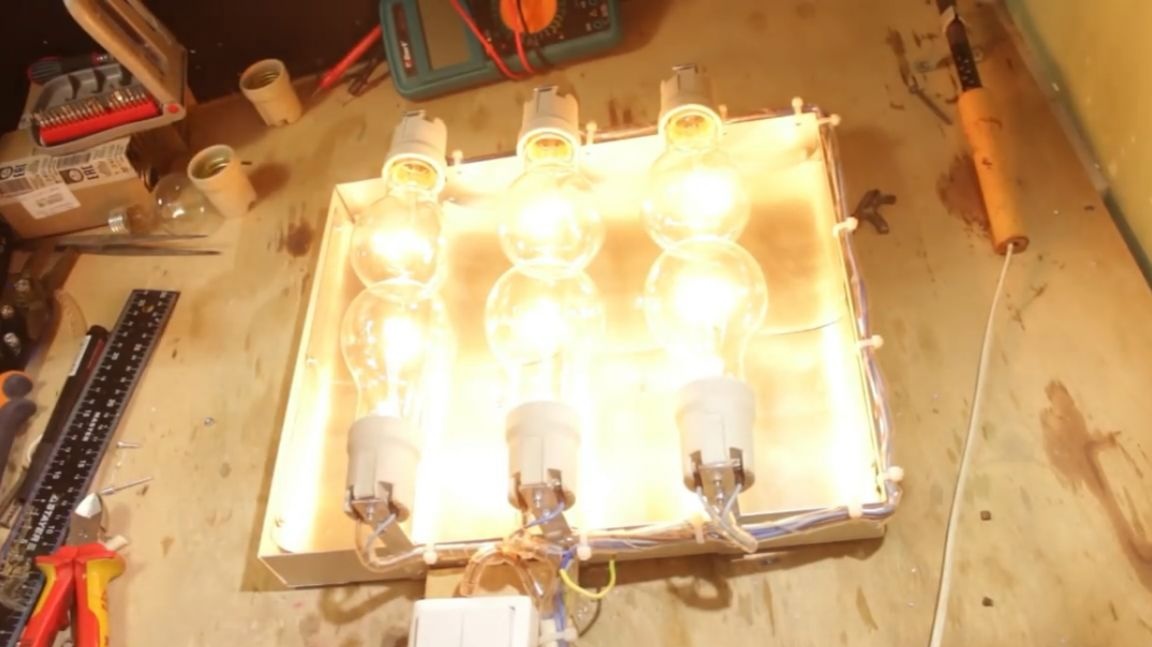
For a home-made heater, the author bought 150-watt bulbs, which, by the way, after the epic law banning the production of bulbs with a power of more than 100 watts, are now produced under the guise of heat emitters. Tricky, isn't it?
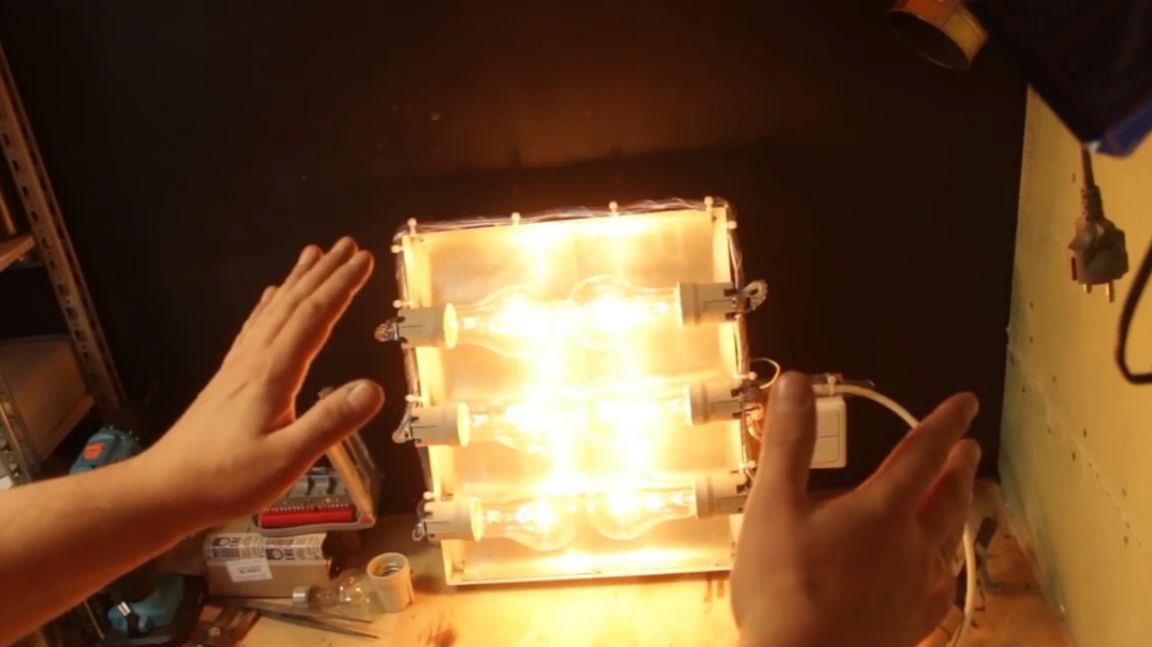
When connecting such lamps in series, the radiated heat is immediately felt.And at the same time, you can calmly look at them without squinting from the bright light. The current in this circuit is 410 mA. This means that the consumption of such a bunch of bulbs is about 100 watts, which are almost completely used for heating.
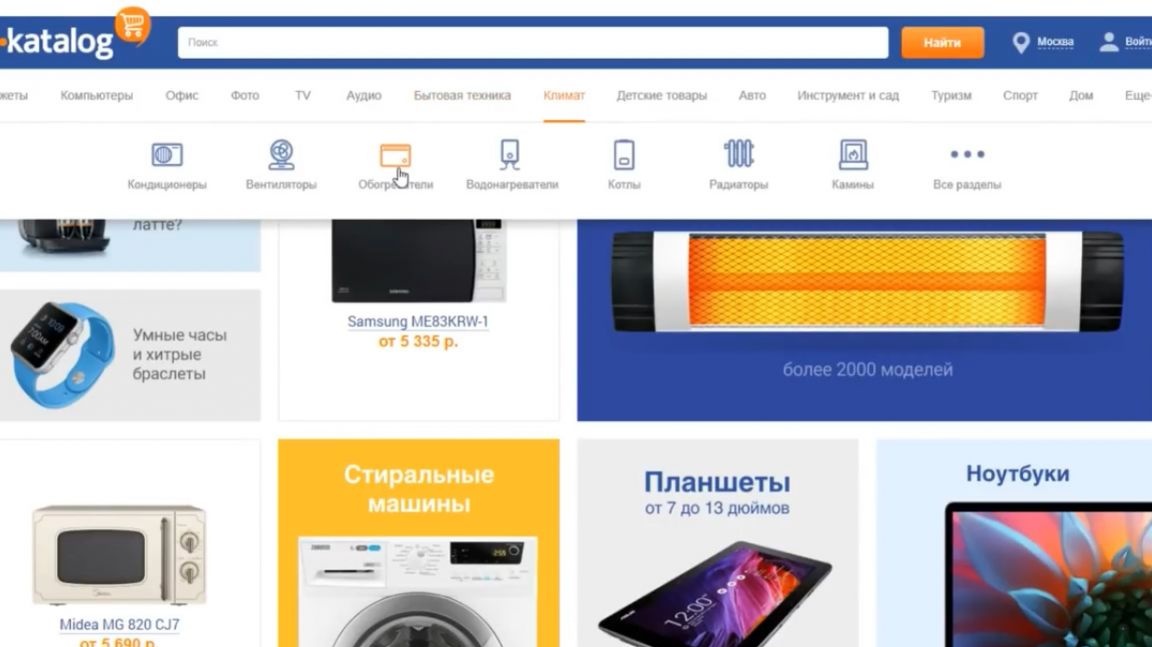
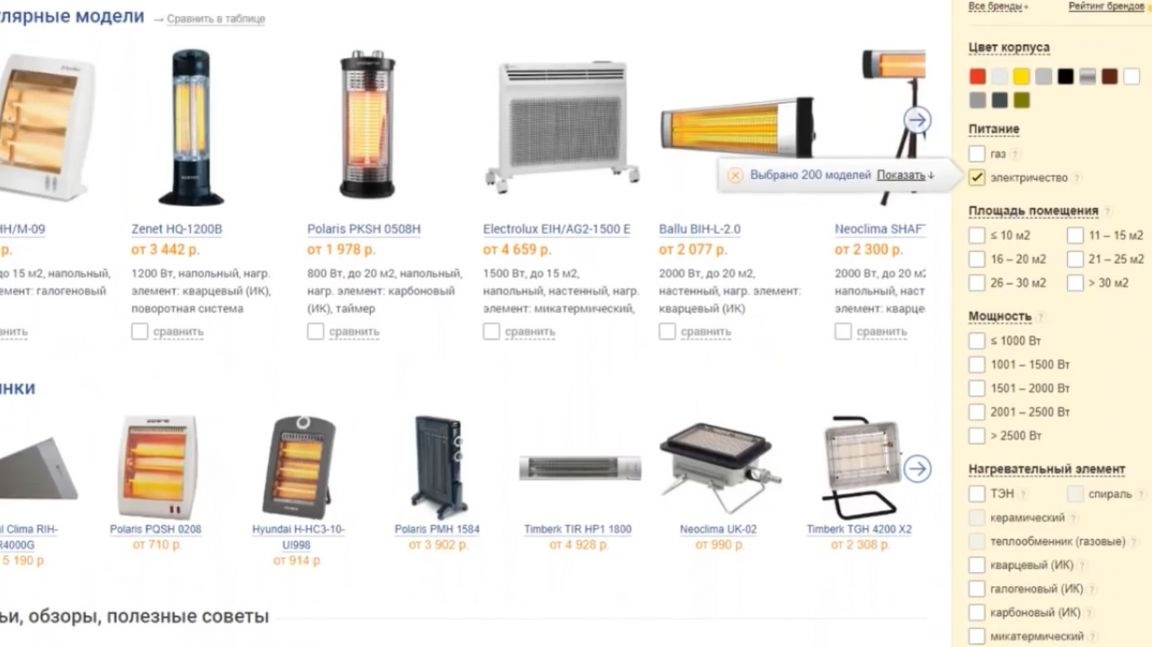
Let's see how powerful infrared heaters are and what area they are designed for. On the Internet it is very easy to compare different models.
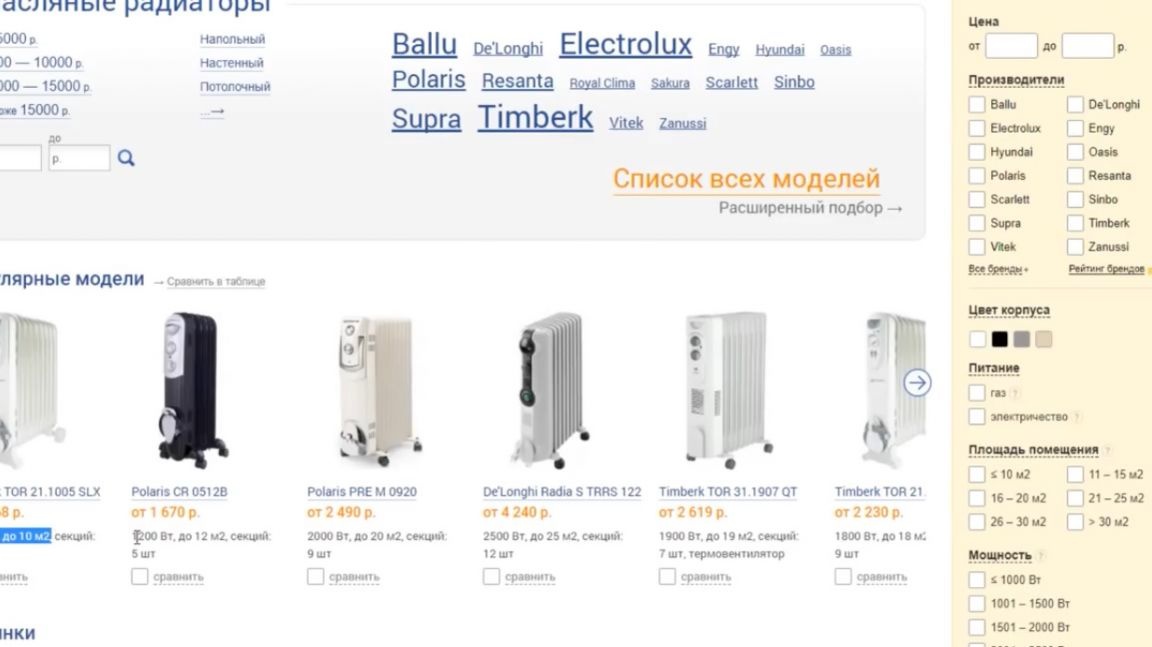
As you can see, most heaters spend 100 watts of electricity on heating one square meter. Purely for comparison, take a look at what's going on with oil coolers. The ratio is the same, the same 100 watts per 1 m2 of area.
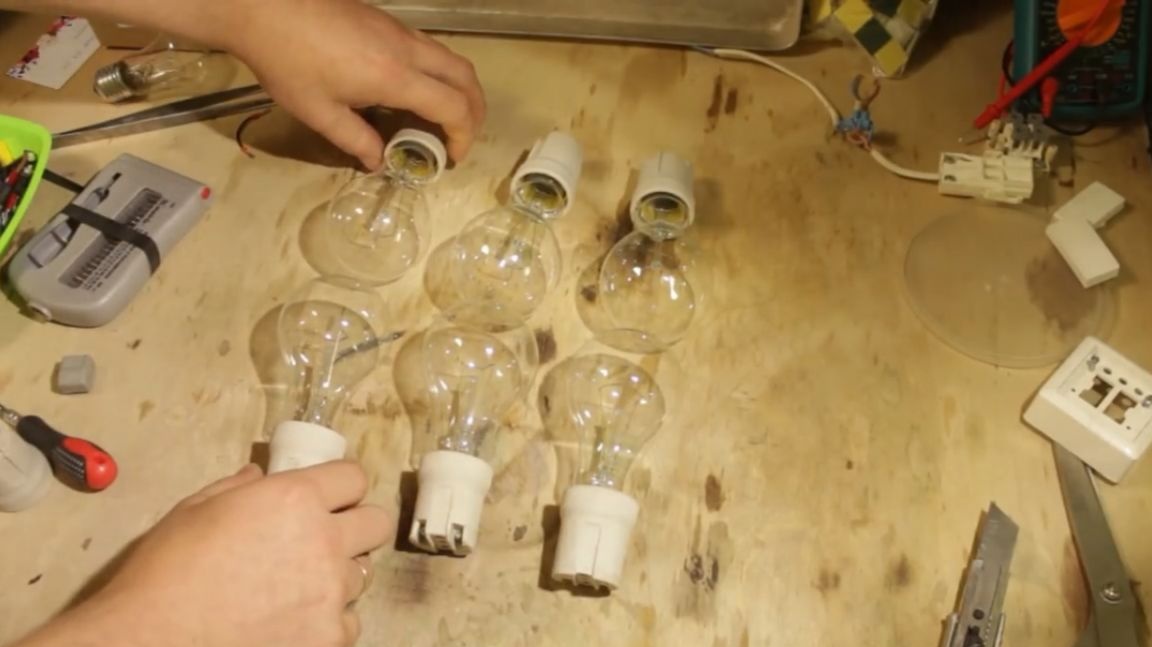
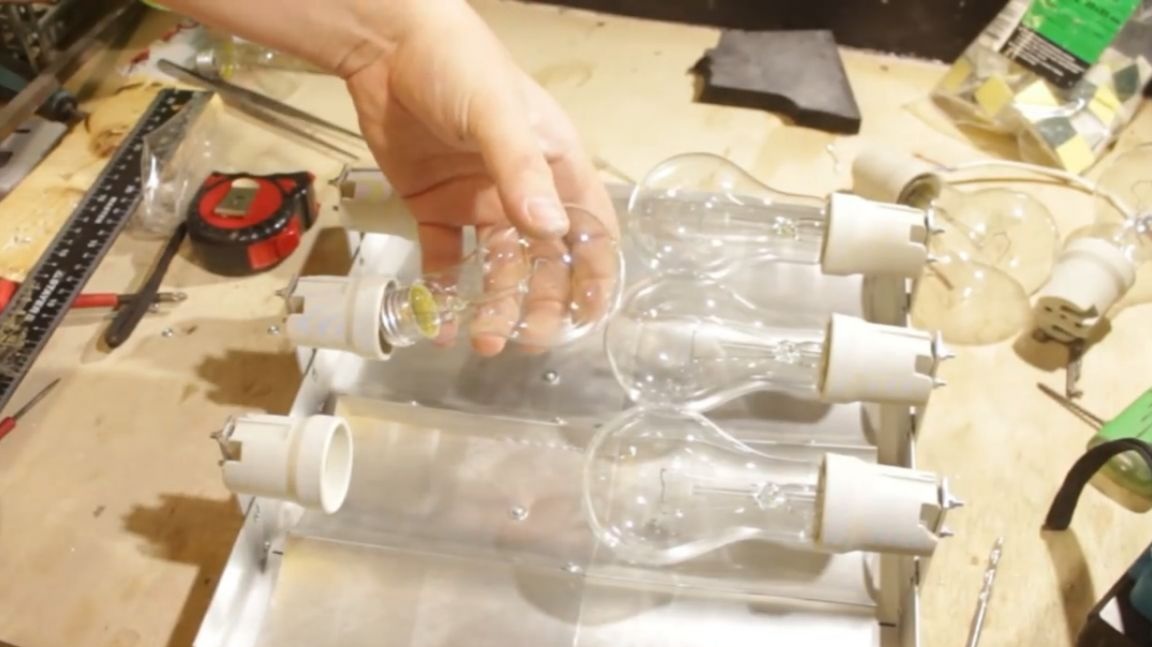
The author needs to heat a small working area of about 3-4 m². Therefore, he decided to assemble a 300 W infrared heater. To do this, you need 3 pairs of bulbs.
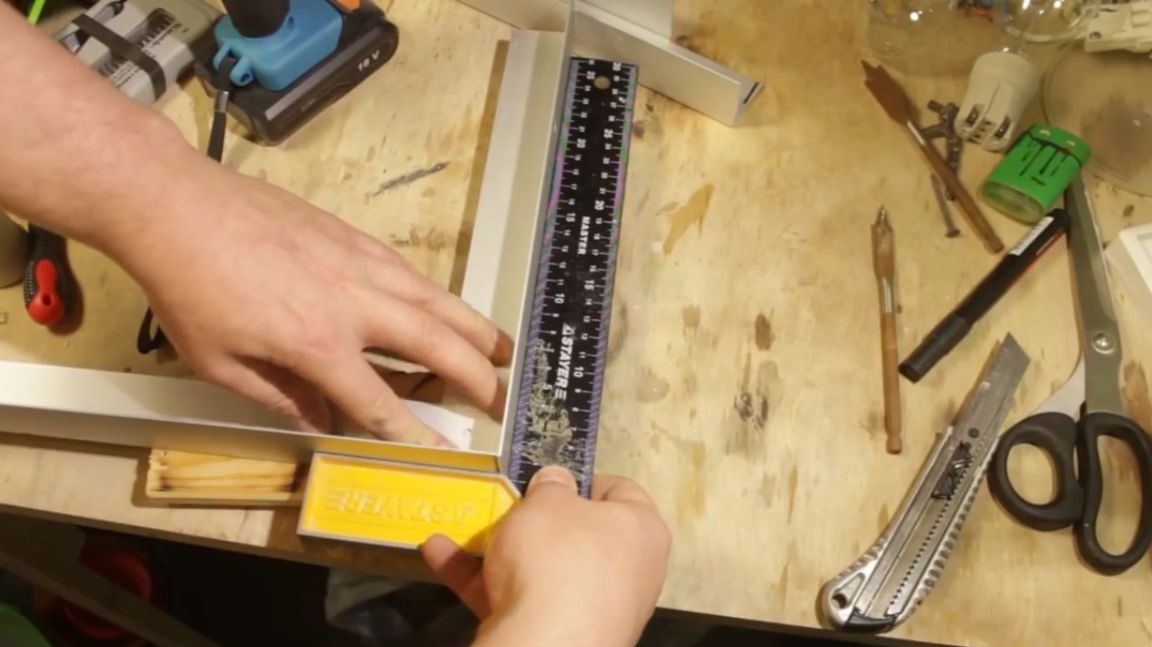
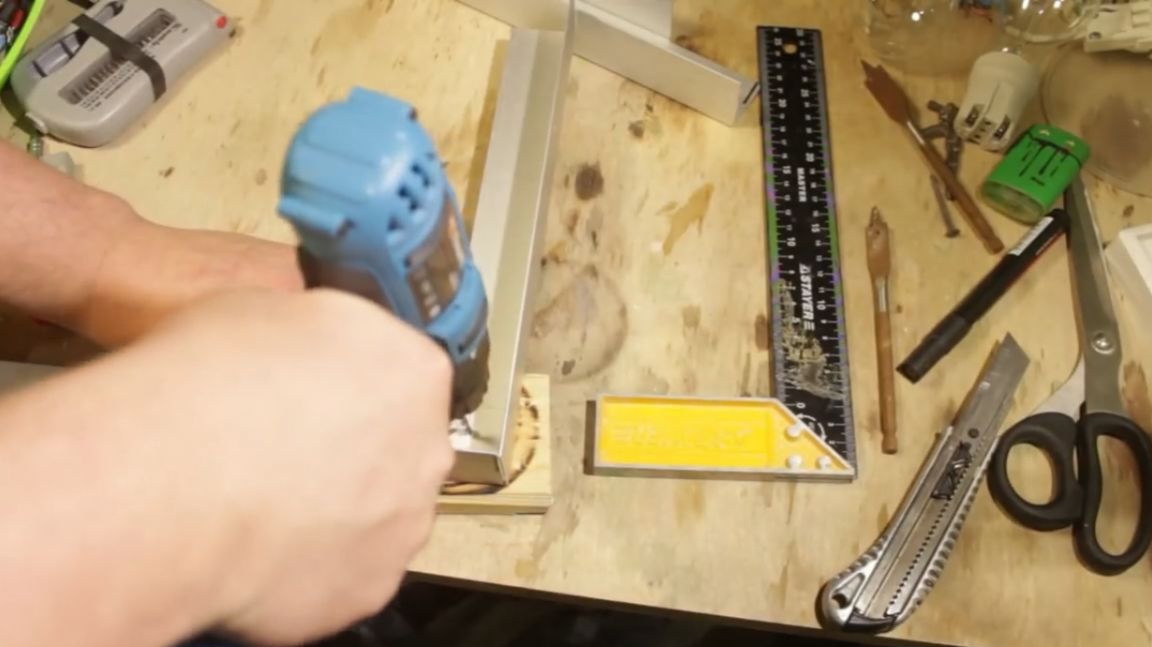
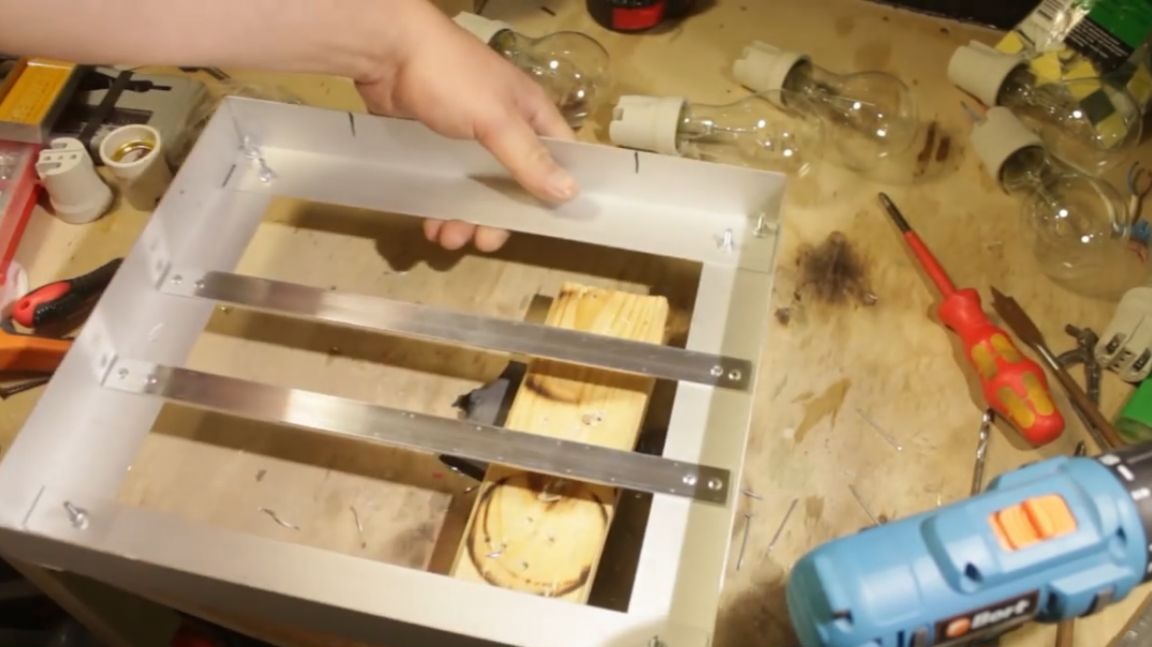
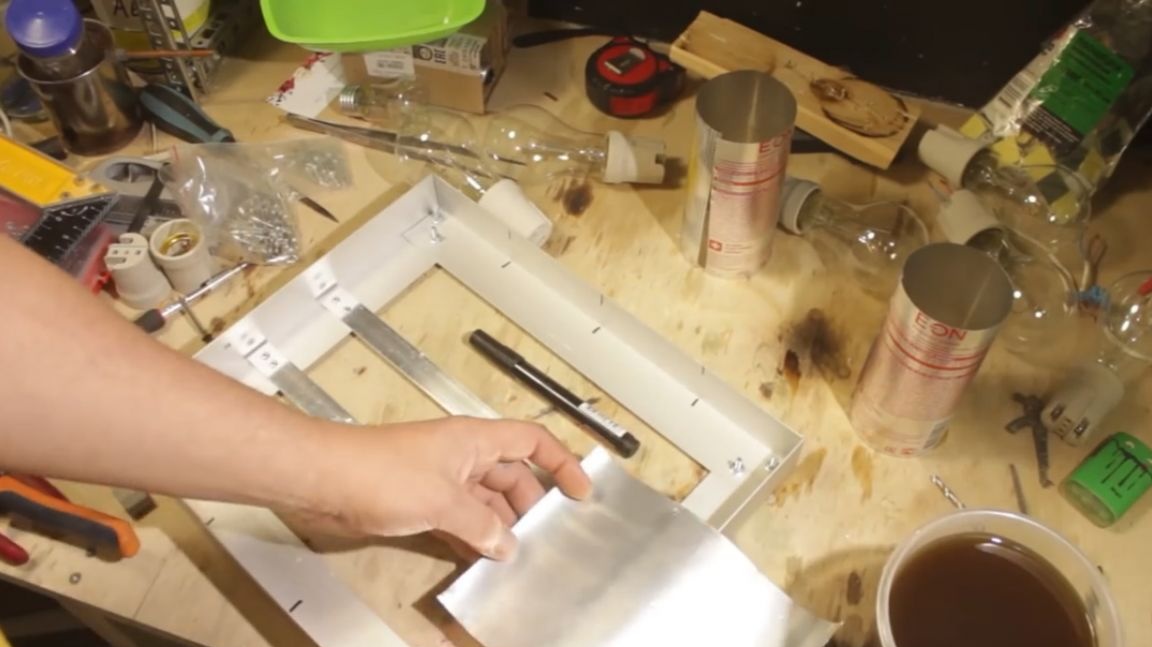
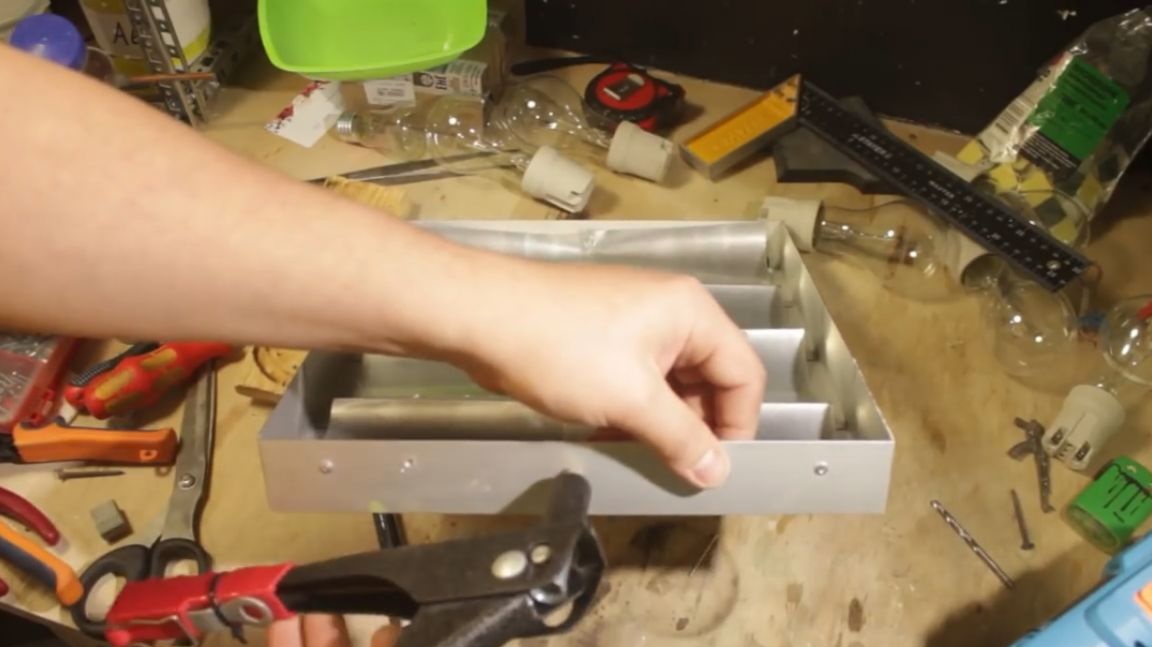
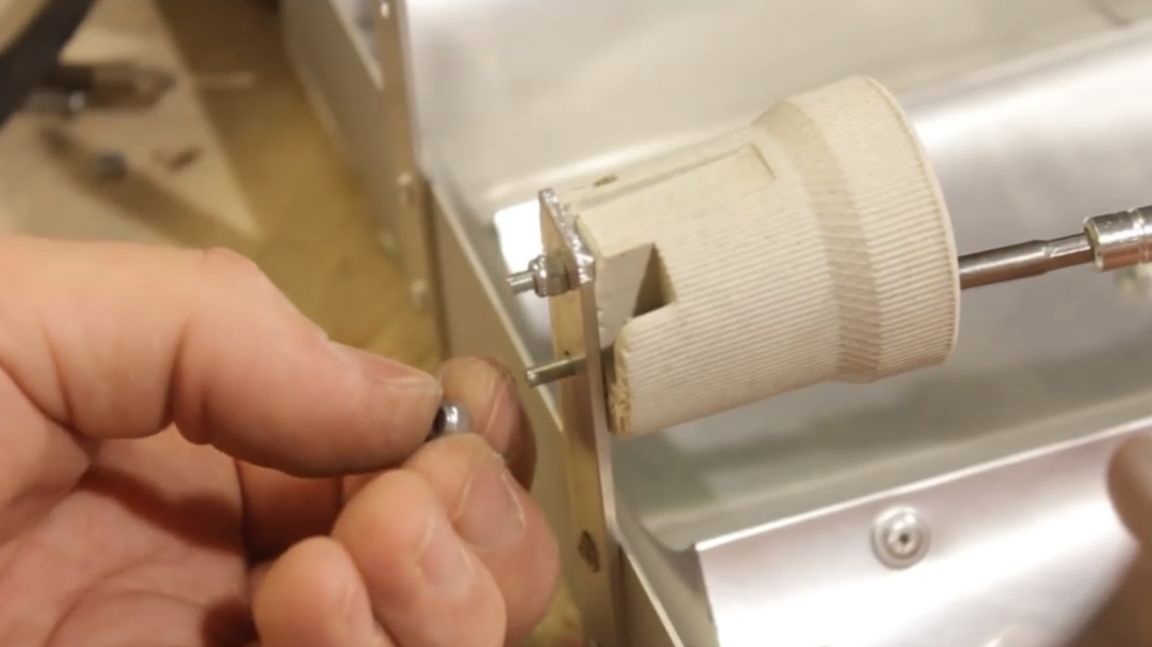
To make the heater more or less durable, we will make a frame from an aluminum corner. The author has a couple of unnecessary scraps.
The bulbs inside the frame must be positioned so that the distance between the axes of the bulbs is equal to the distance from the axis of the extreme bulb to the edge of the frame. It sounds somehow cunning, but in the figure, I think, everything is clear.
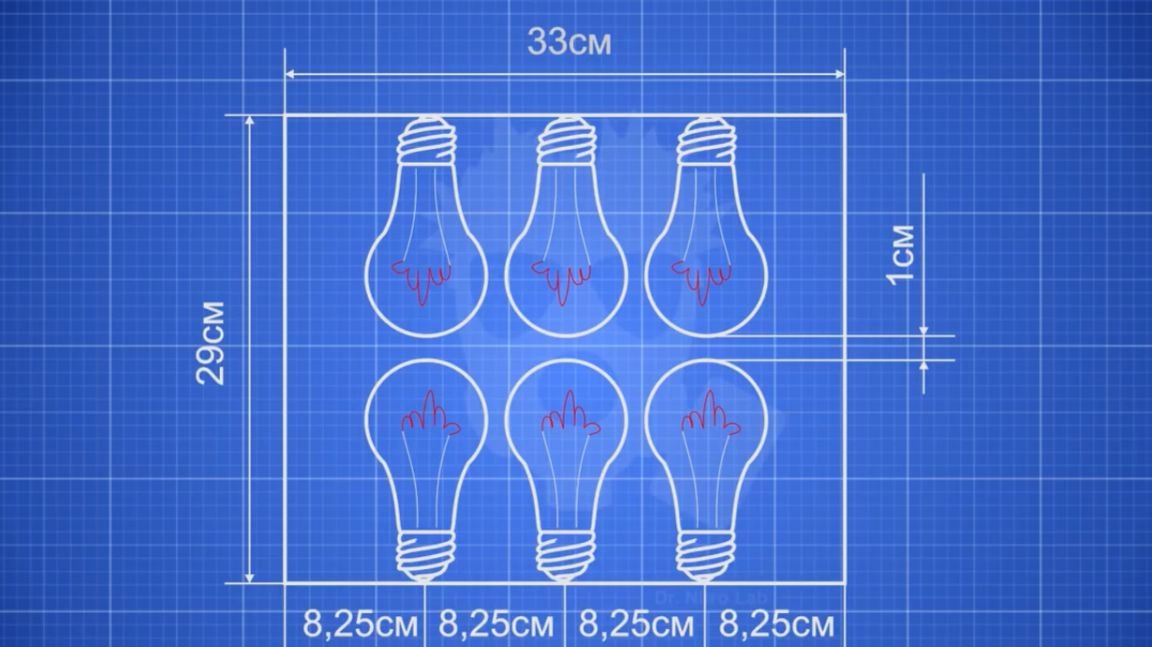
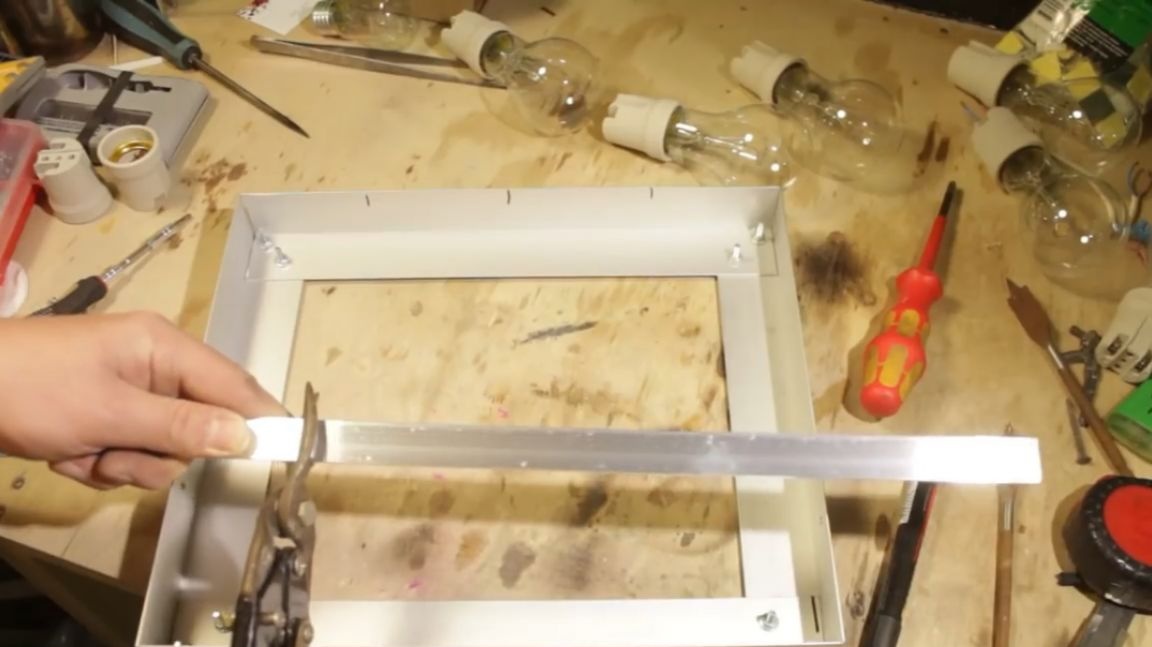
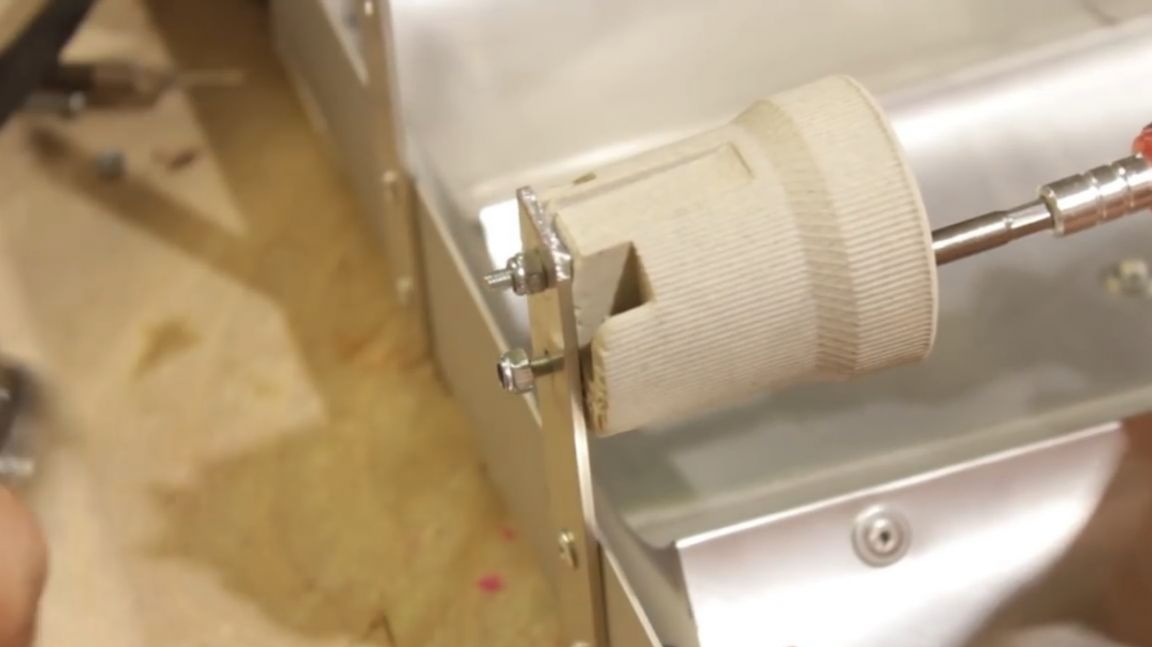
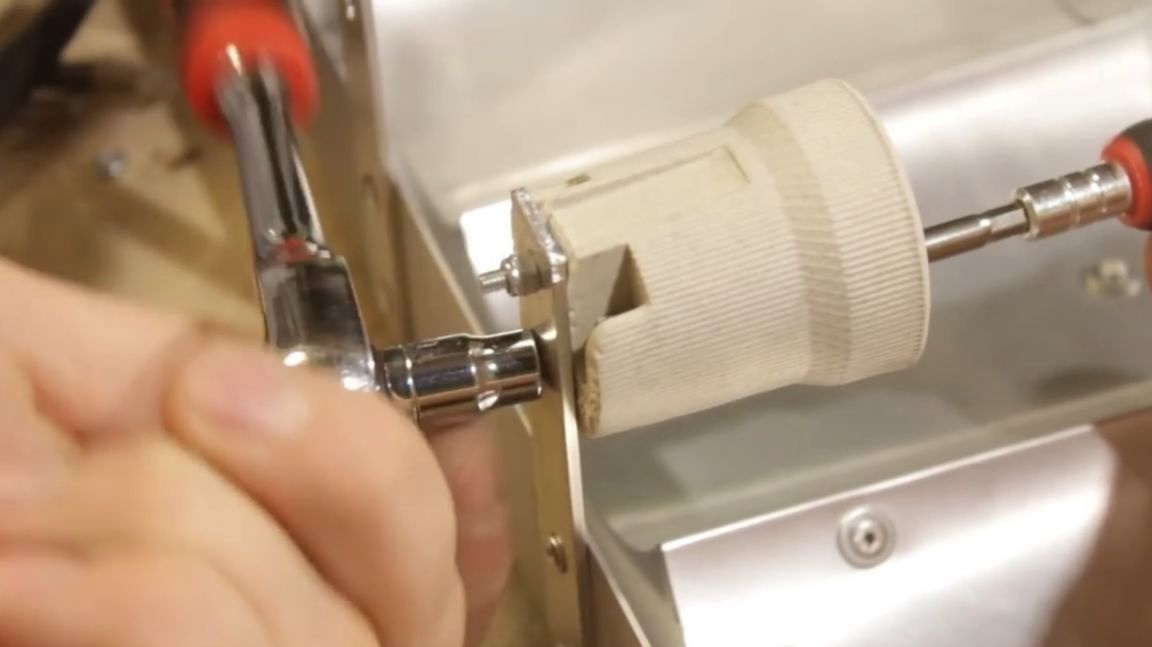
The distance between the rows of bulbs should be such that after 100 years it is possible to replace the bulbs in case of failure. That is, it is necessary to leave a gap between the flasks about a centimeter. The author temporarily connects parts of the frame with bolts. Of course, you need to use a square at the same time, otherwise the devil will turn out that. Now inside the frame you need to fix two bands on which the reflector, that is, the reflector, will be mounted.
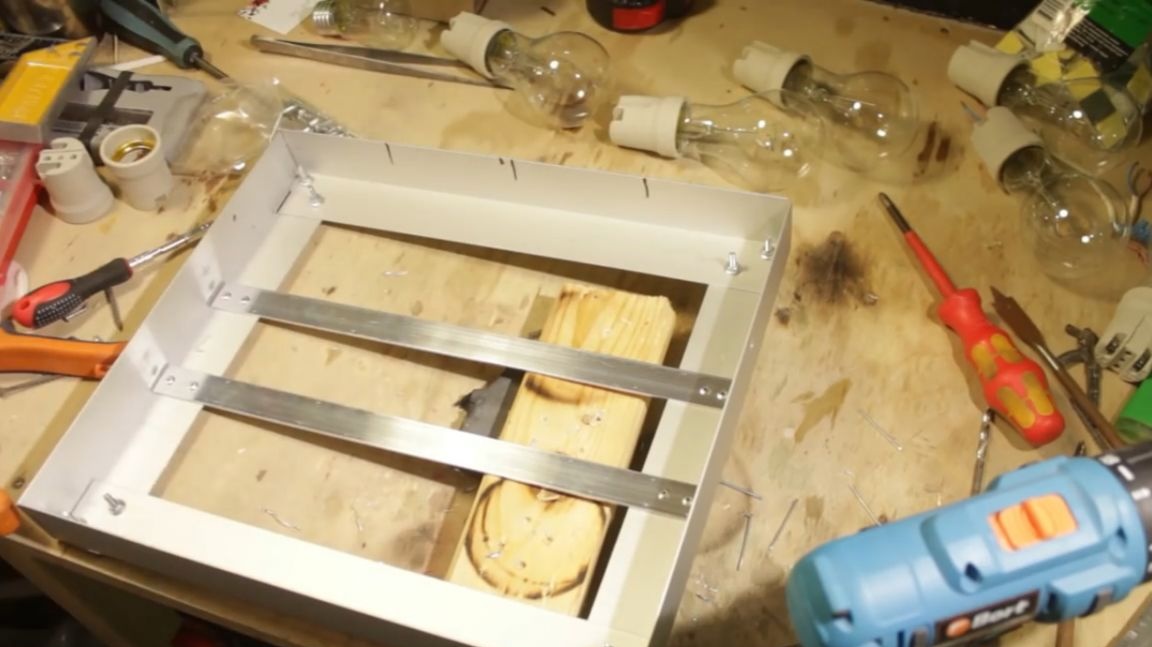
After the author had fixed aluminum strips with rivets, the frame became rigid. The corners are sustained and it is possible to replace the bolts in the frame with rivets. In addition to the bolts of one corner, we leave the opportunity to unscrew it, in case it does not work to screw in the bulbs.

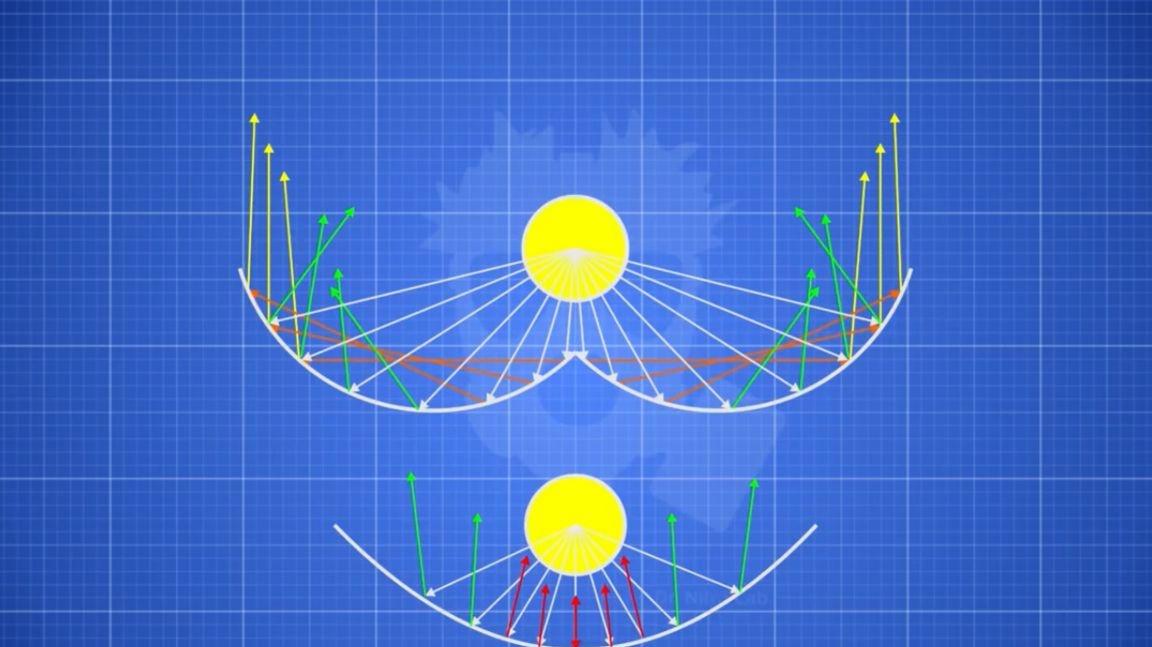
And now for the fun part. We make a reflector. A conventional parabola reflector is not very effective. A reflector in the form of a biparabola is much more effective. A conventional reflector reflects part of the light back into the lamp, but a biparabol does not.
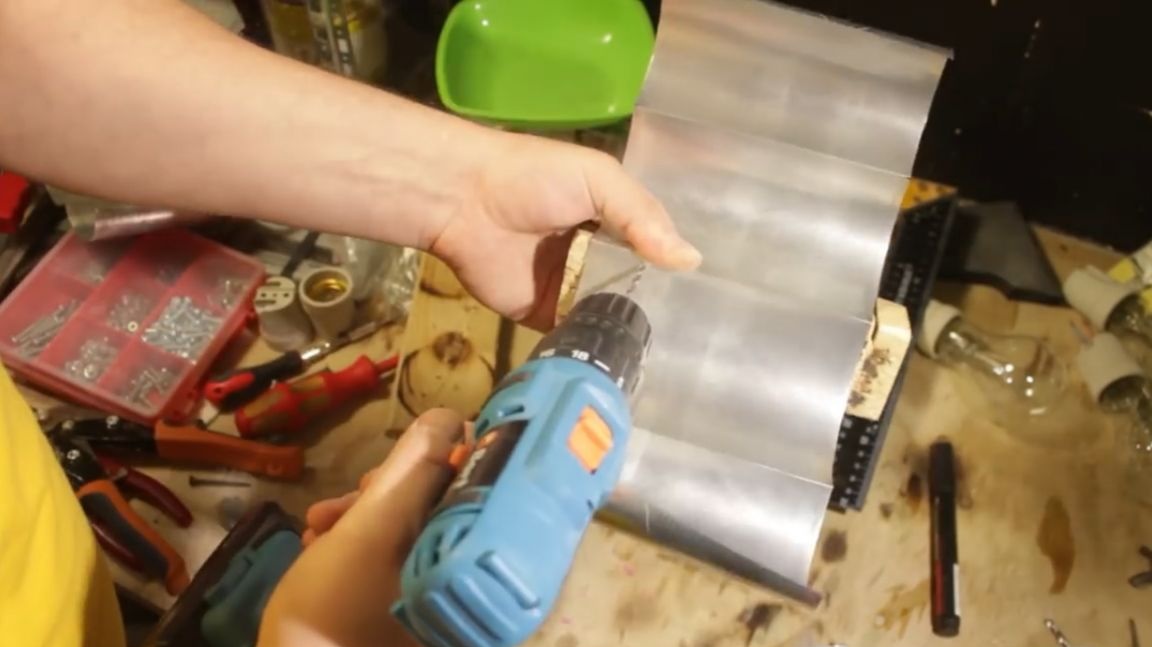
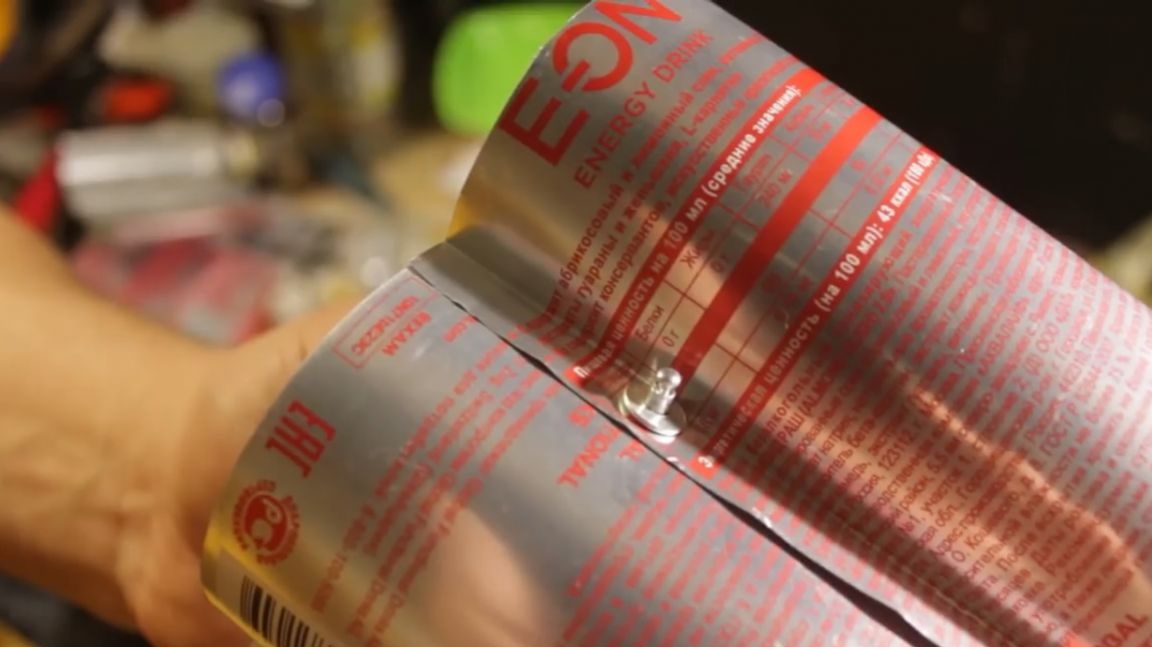
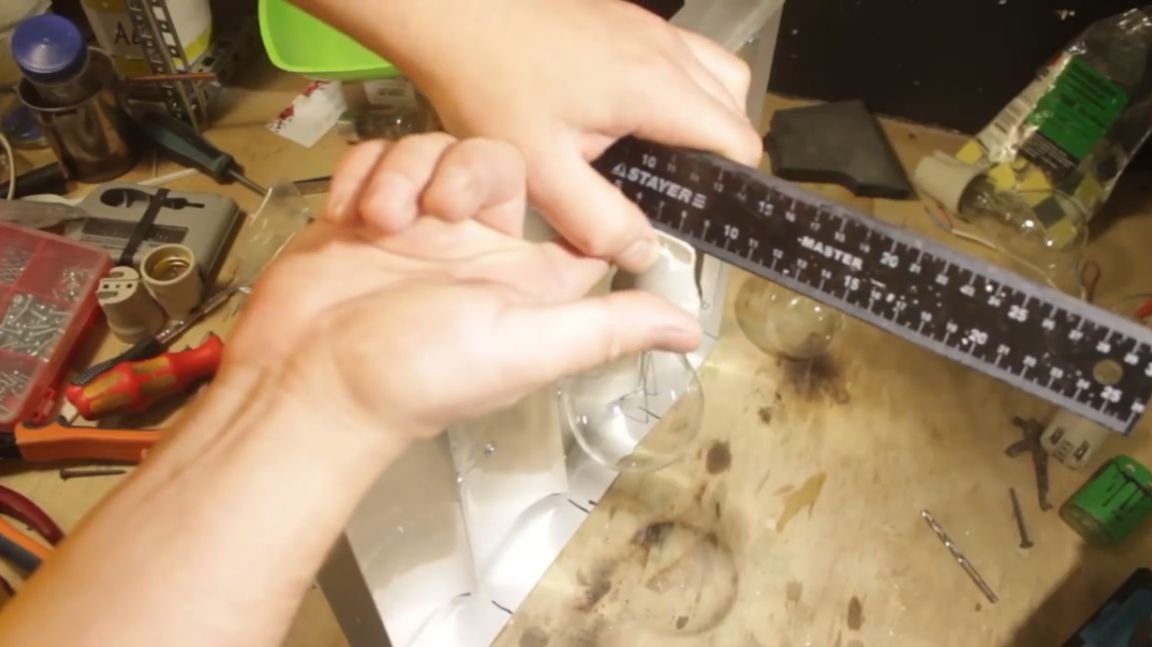
For the manufacture of the reflector you will need aluminum from aluminum cans, because it is easily processed and has the desired bend.
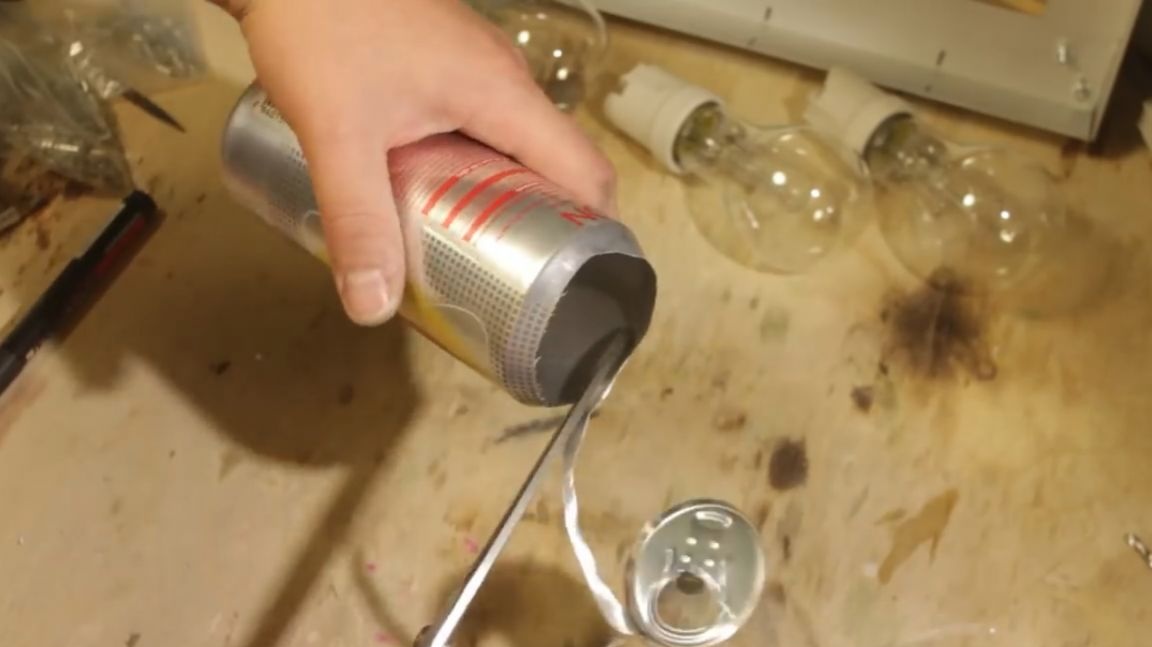
Trying on for a long time, the author came to the conclusion that it is better to make a bend approximately in the middle, so that a centimeter is left. And one more bend, with the help of which two segments will cling to each other.
Rivets will help to connect two pieces together. But the can aluminum is very thin and easily torn, so on two sides we put a washer on the rivet. Such a design will be much more reliable.
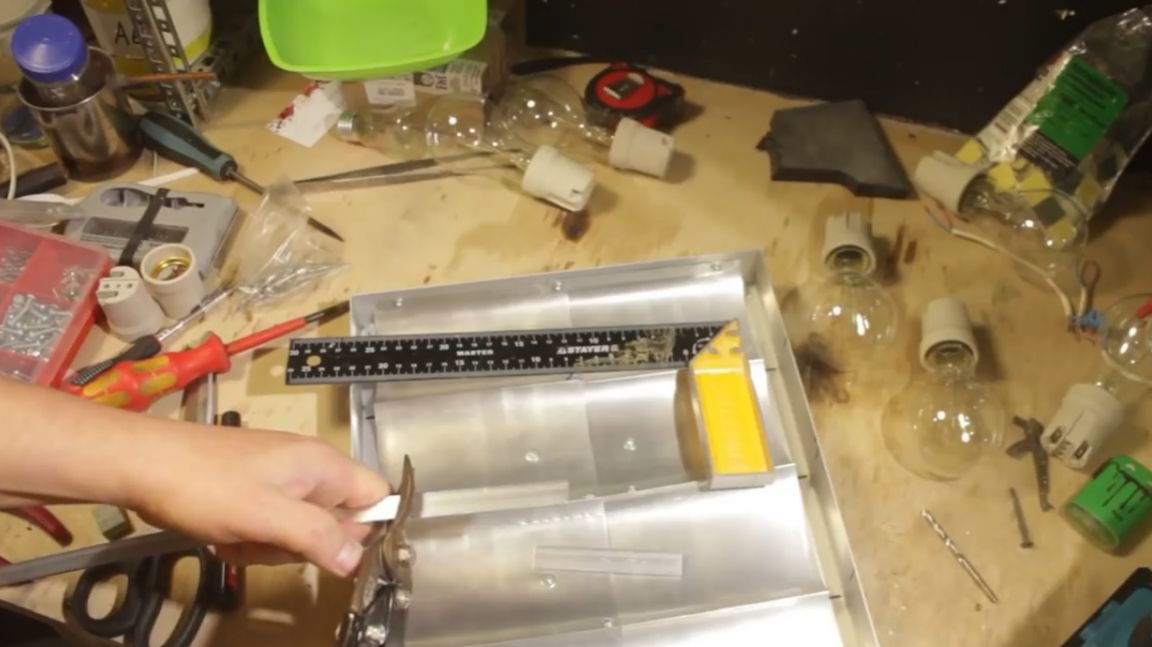
Now you need to fasten the missing pieces in the same way. We put the reflector in the frame.
We mount the reflector with rivets. First, the central ones, which do not reach the end, and then the extreme ones. This is done because the sheets fidget and constantly want to fold a little. And if you clamp the central rivets, then the sheets may not be in the position in which you need.

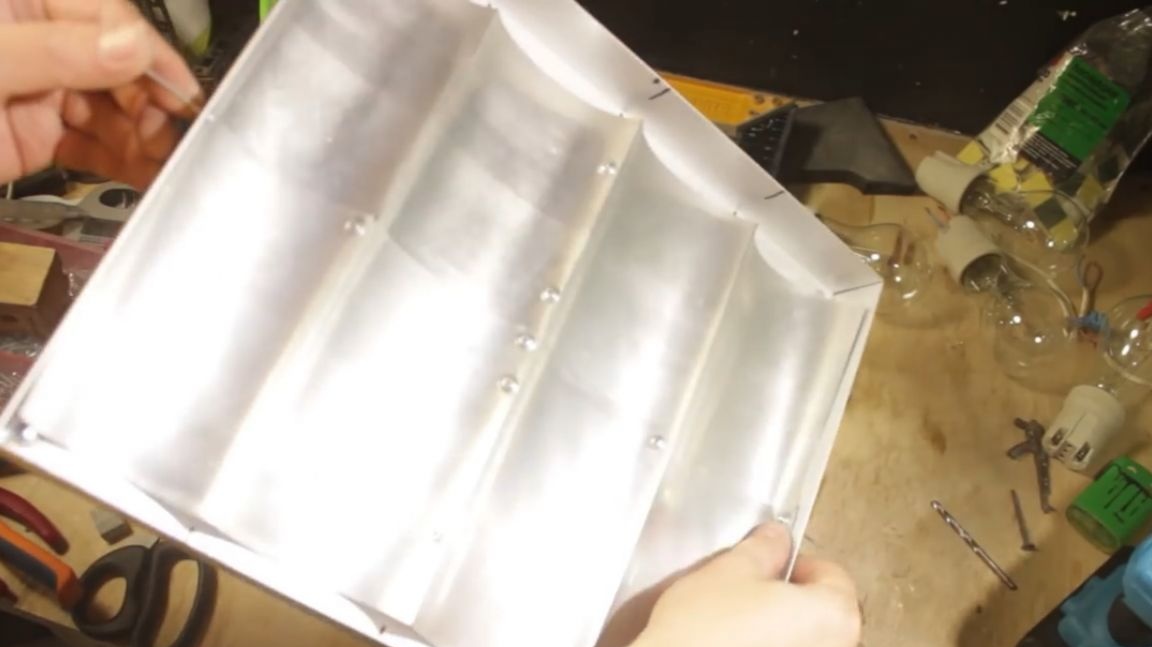
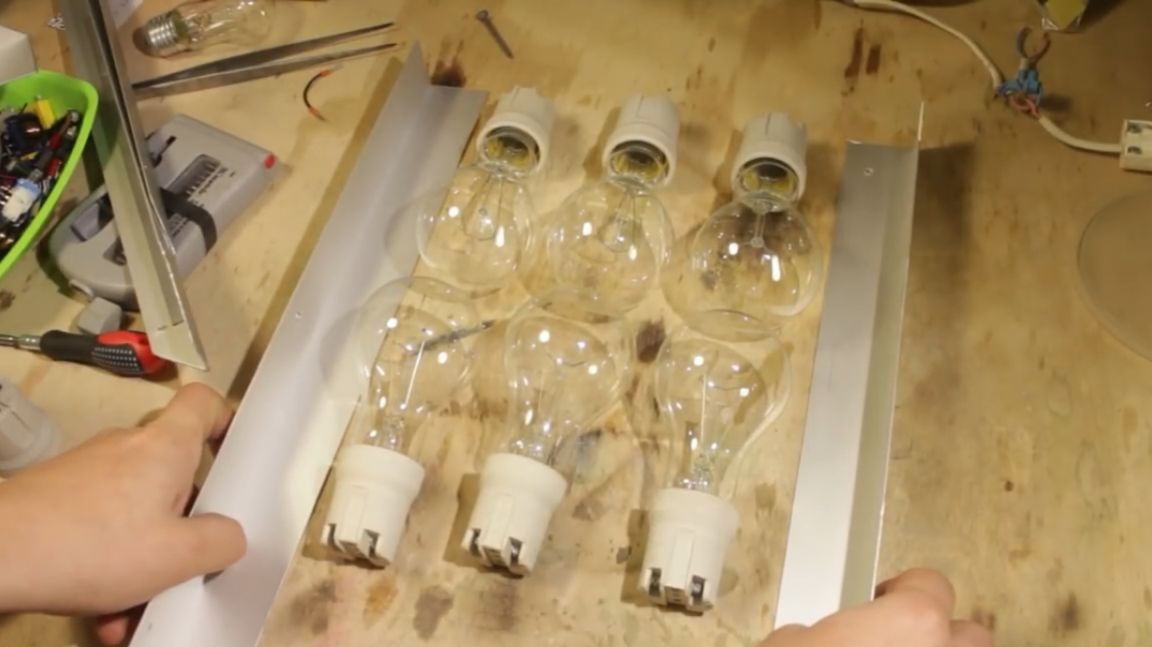
The reflector is fixed. Now you need to fix the lamps, so that they do not touch the reflector, but are separated from it at a certain distance, about a finger. Yes, let there be a finger.
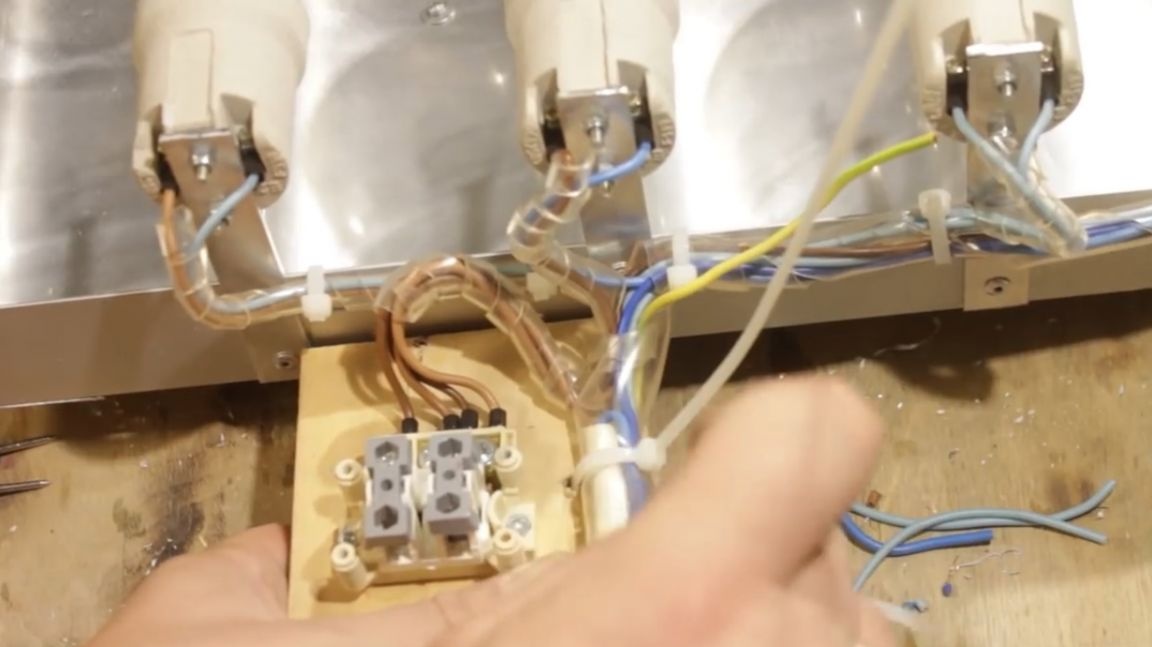
Strips of aluminum 9 cm long will be required. The attachment points of the cartridge to the strips must be very precisely marked. Because if it is crooked, it will not work to get a wire. The strip is straight end to end in width.
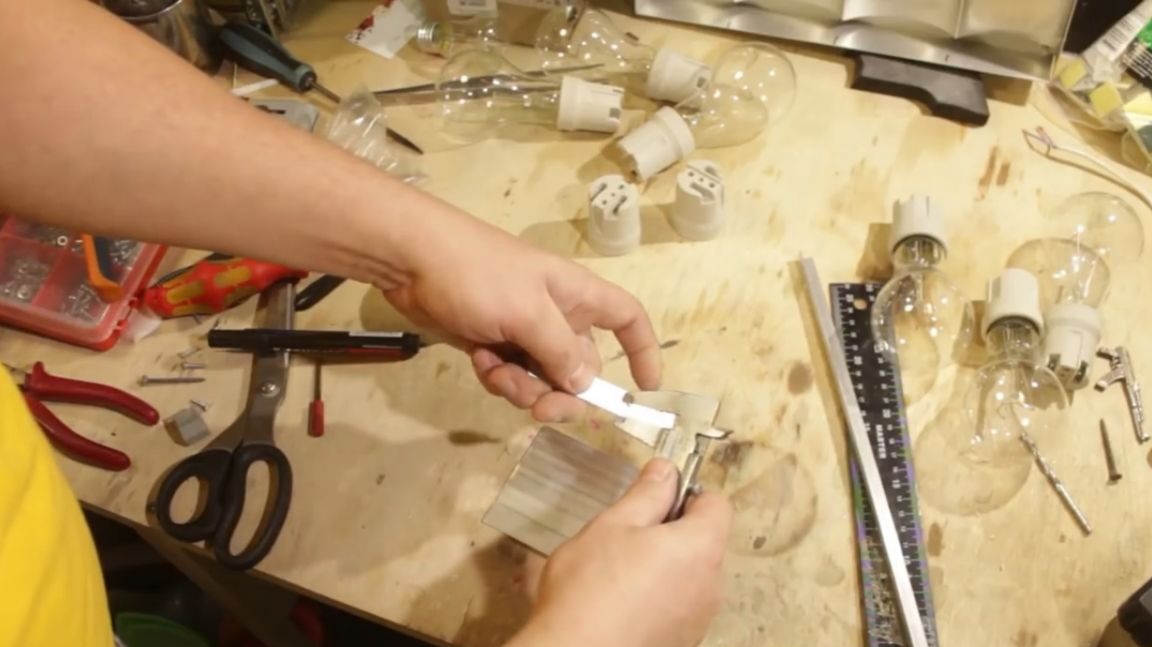
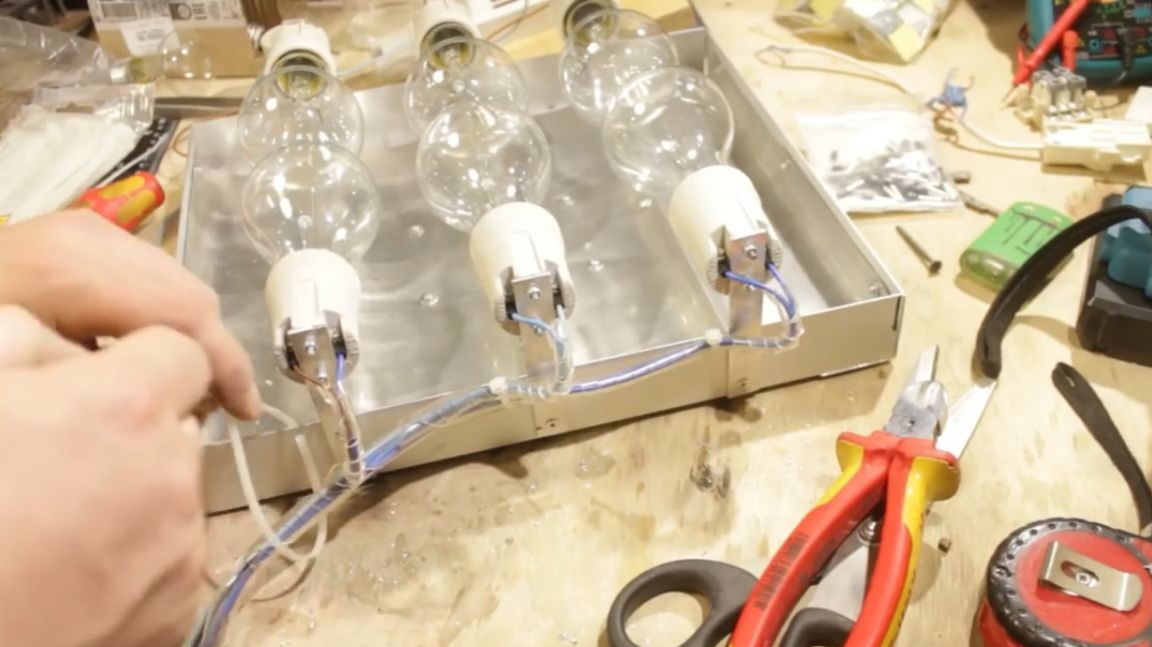
Fasten the strips to the frame using a square. We fix the cartridges using nuts with a nylon ring. They do not unwind from vibration and do not need to be countered. It is impossible to tighten the nut tightly, since then it will expand due to heating and may crack.
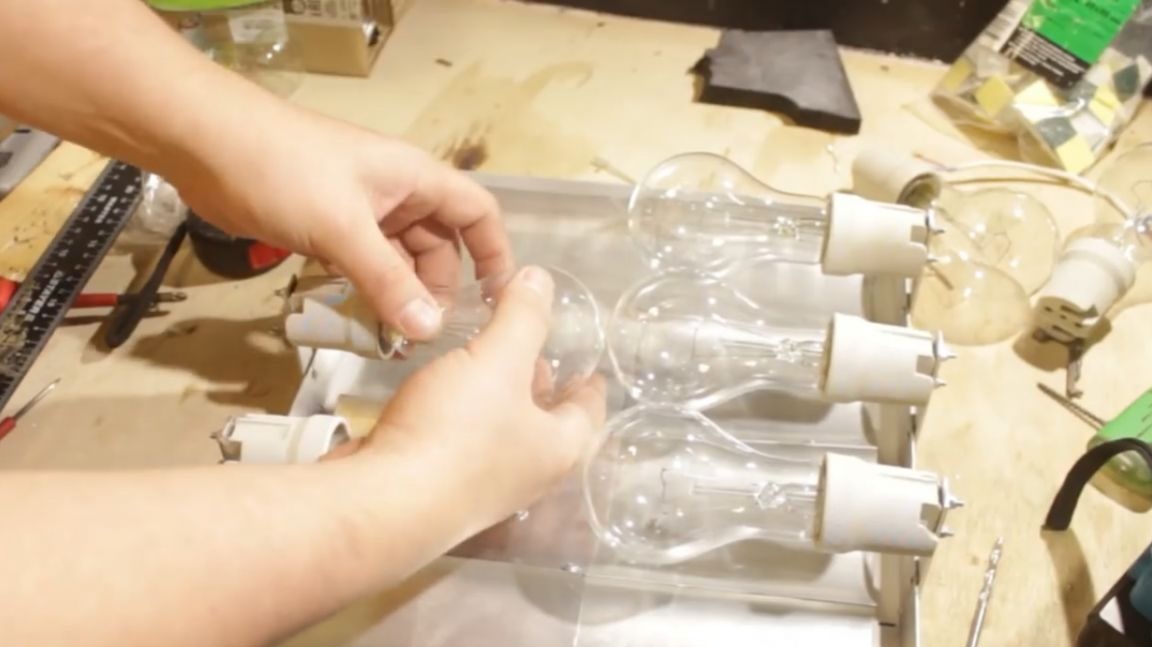
Now the most important point - we screw in the bulbs. End-to-end, but you can twist.

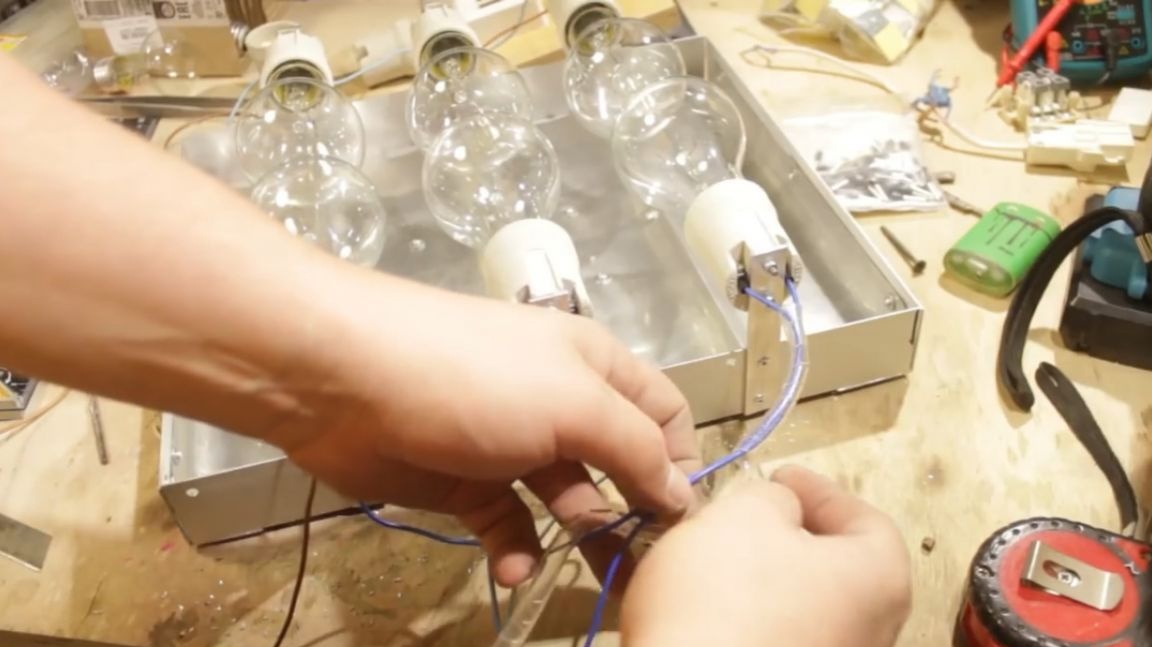
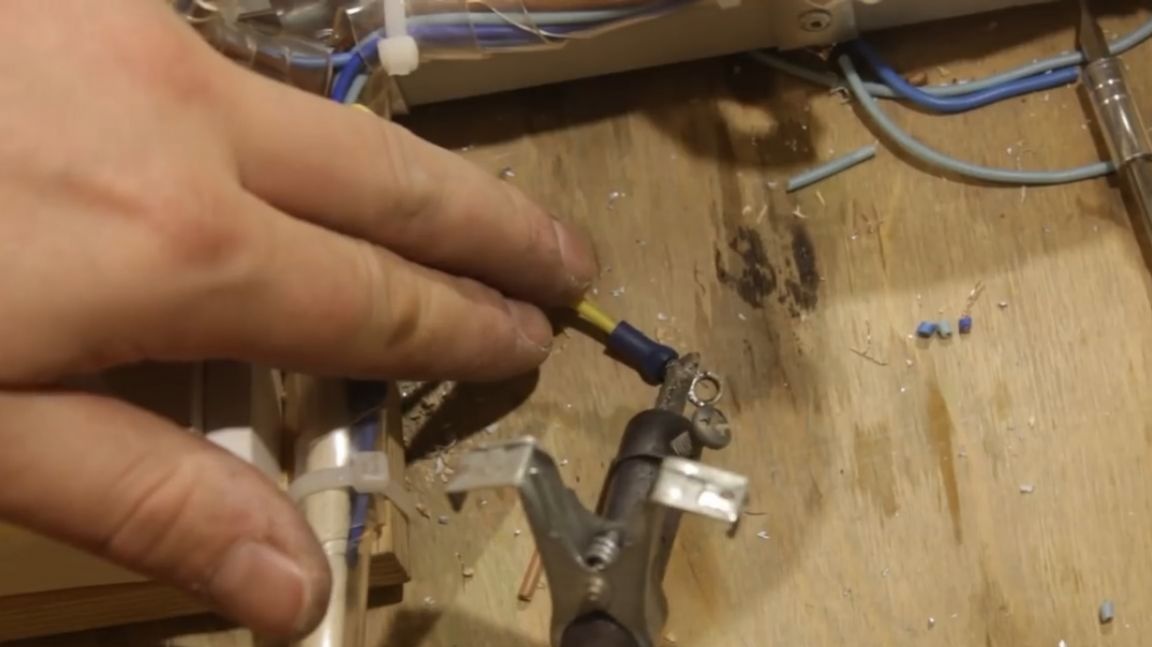
Now wiring. The author made wires which he found. Necessarily put on tips, and now isolation. The wire must have a minimum of 2 insulation. Especially when it comes to metal.

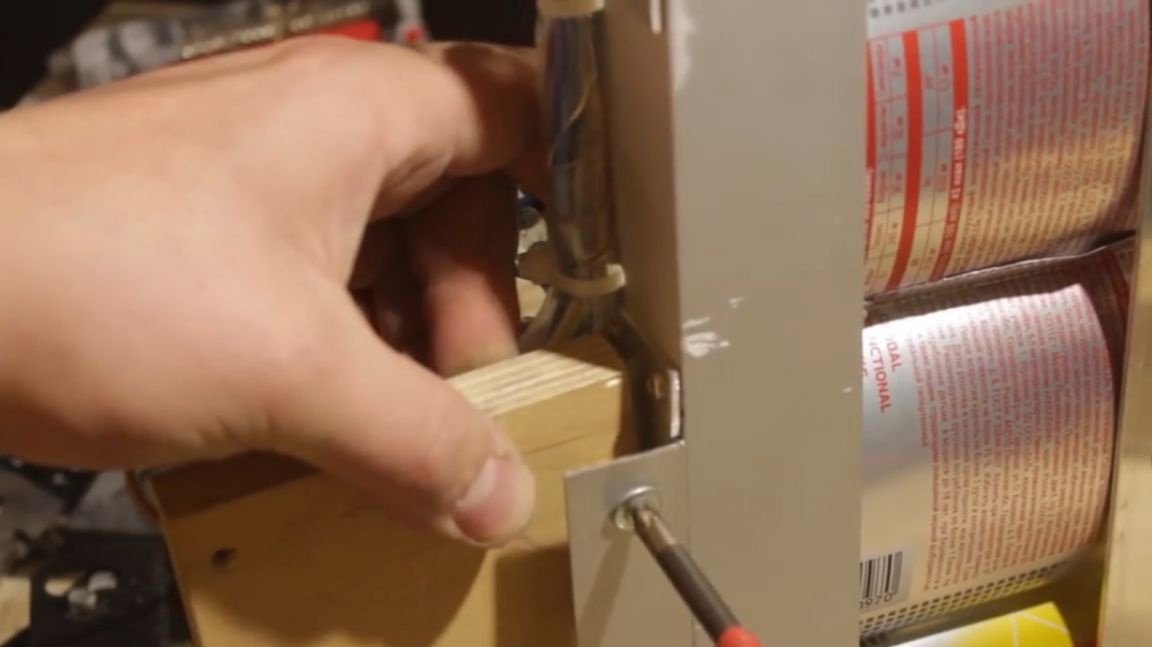
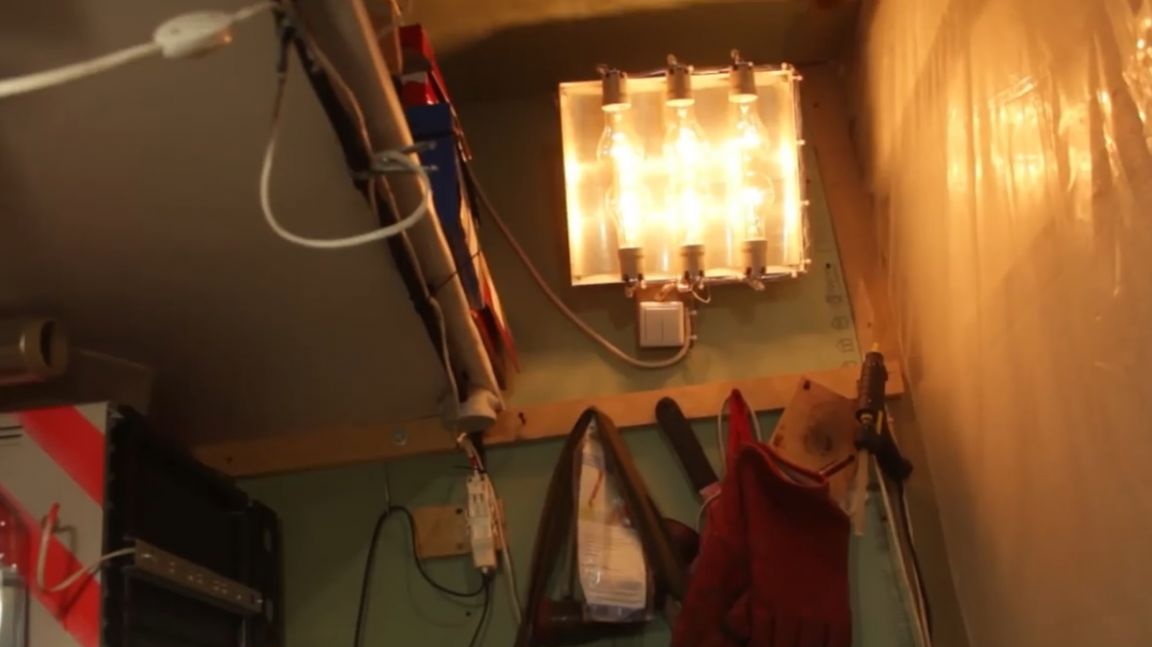
We put a two-gang switch to divide the heaters into two lines. To do this, we attach a piece of plywood, on which we then put the switch. We will use a three-core cable to power the heater.
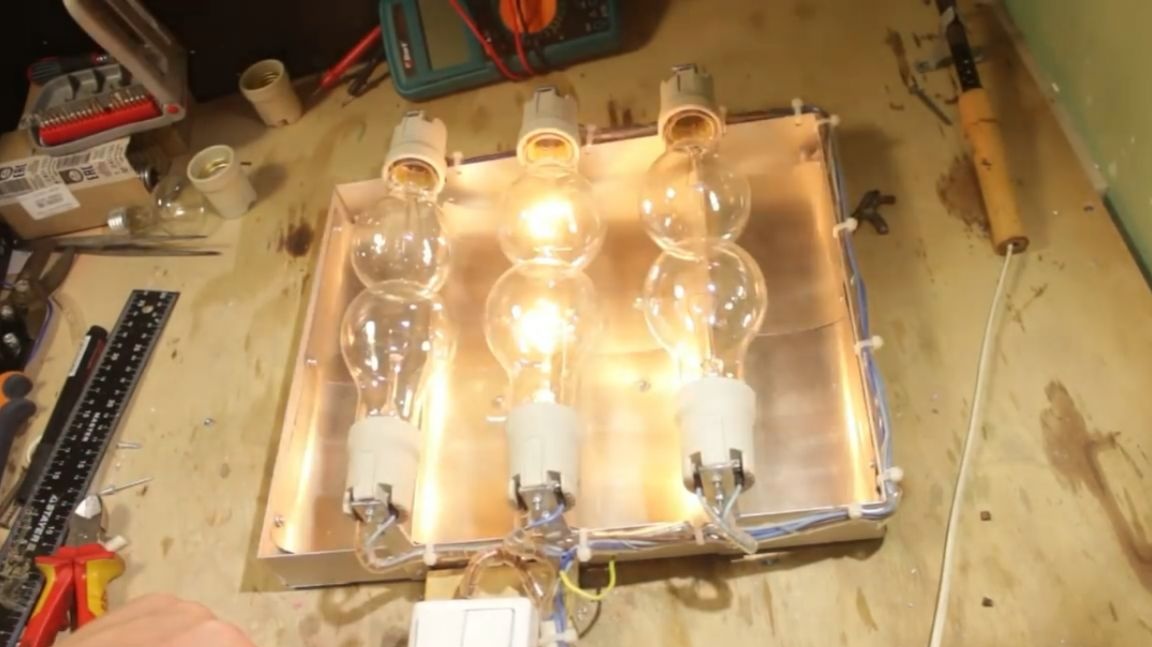
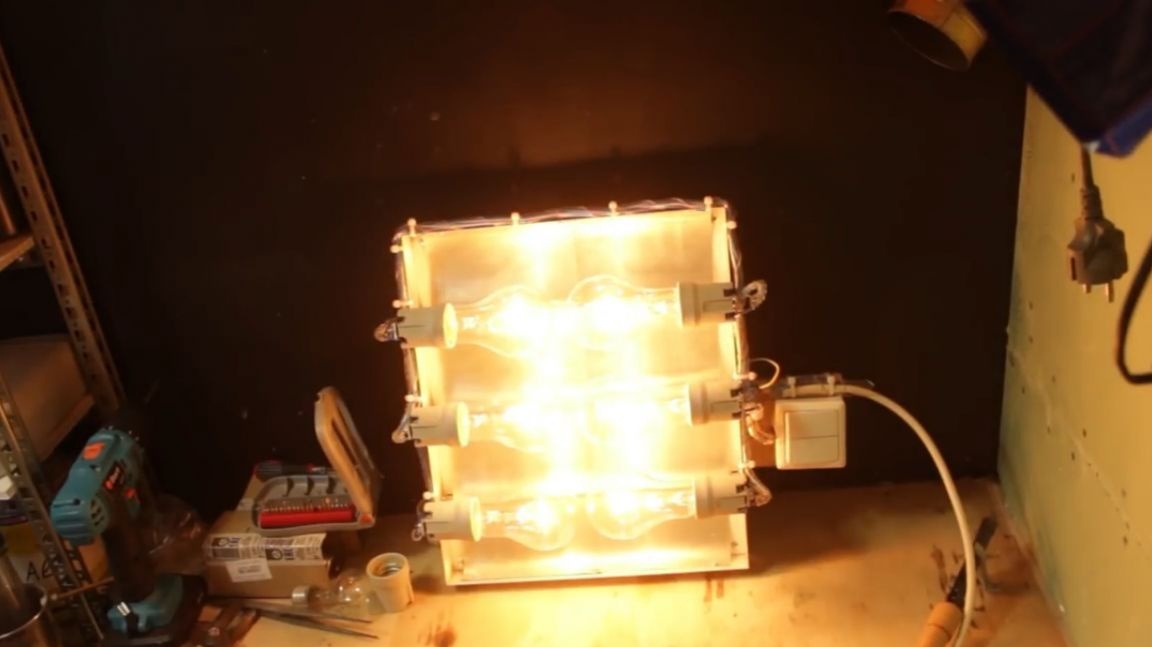
Now you can turn it on. When you press the first key, the middle lamps light up. Power dissipation is 100 watts. When you press the second key, the remaining four lamps turn on, and the dissipated power is already 200 watts.
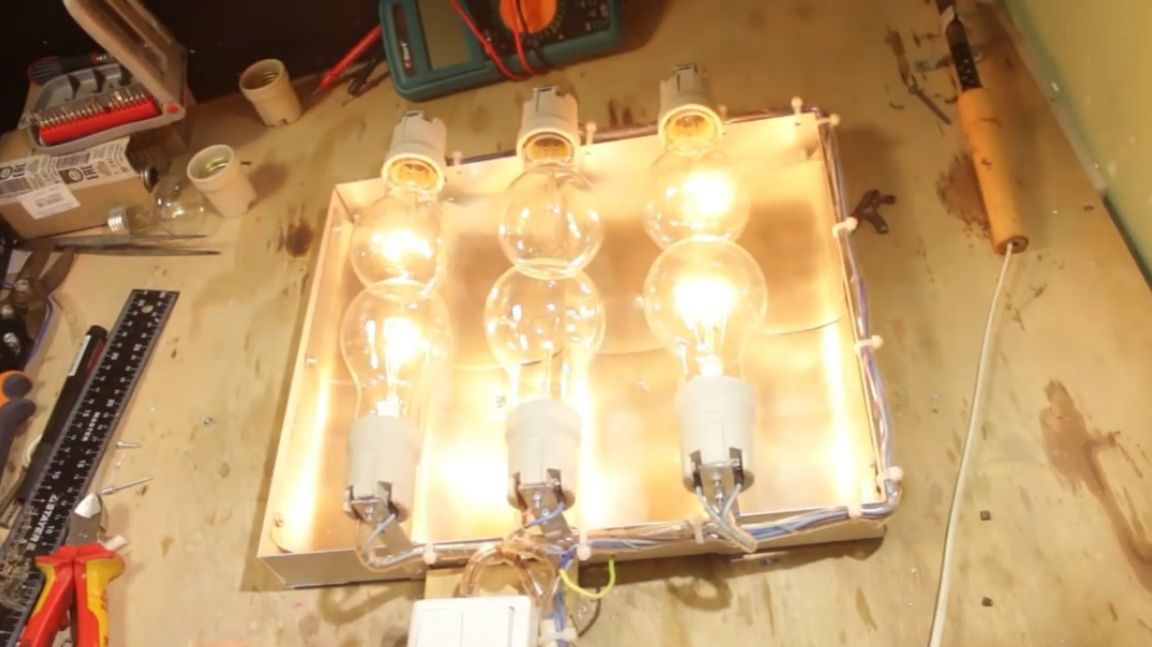
And now two keys together.
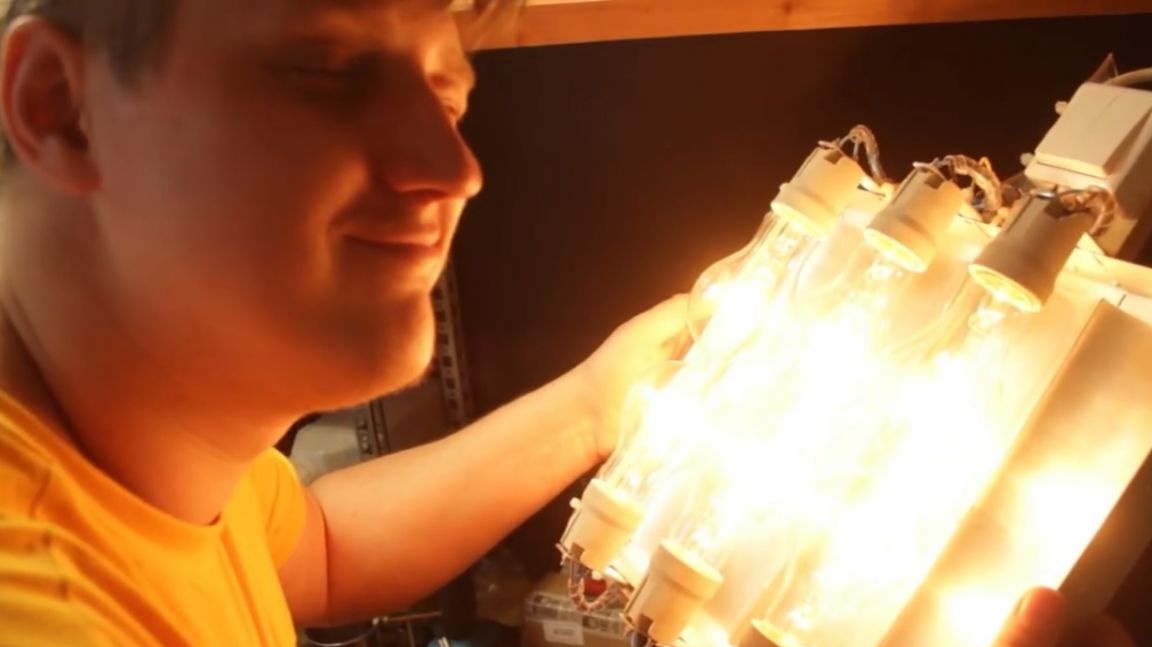
This thing really warms. Directly when turned on, it feels warm as from the sun. Like sitting in front of a fireplace. At the same time, the light from the bulbs does not go bright and does not hit the eyes. Even through the shirt the heat immediately breaks through. A huge plus of such a heater is that it immediately warms not only the area in which it is directed. If you hang such 500 watts heaters in the four corners of the garage, you can not be afraid to freeze in the winter. Yes, it will come out a little expensive, 10 rubles per hour, but you can turn them on only when necessary, and do not heat the room in advance. And do not have to wait until it warms up.
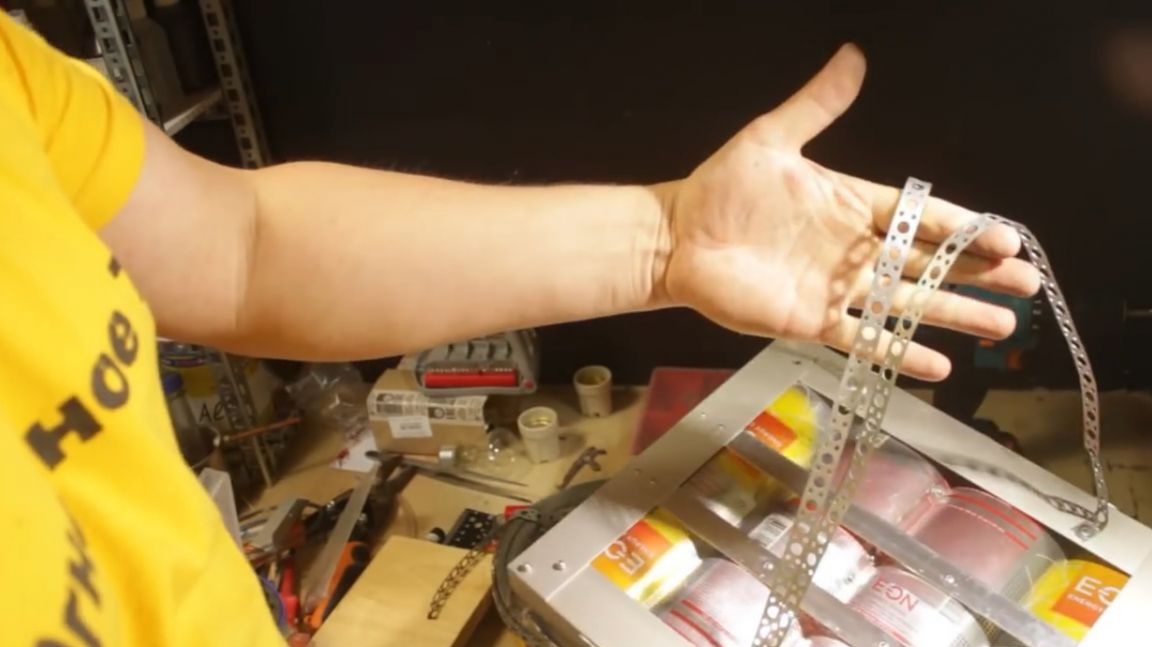
To hang the lamp, the author used punched tape. With it, you can easily adjust the angle of the lamp.
From two meters, the heat from the heater is felt distinctly, so everything works.
Thank you for attention. See you soon!
Video: