
Hello to all electronics lovers. Dice are a very interesting thing, with its help you can choose the one who will wash the dishes, as well as play, for example, backgammon. But in this article we will talk about difficult dice, the only difference is that the probability of events is not set by you, but by the microcircuit. The well-known aliexpress website will help us with this for a long time, on whose open spaces this kit kit was found, a link to it will be at the bottom of the article.
Before reading a detailed description of the assembly process, I suggest watching a video where everything is clear and understandable, as well as the test of the finished device itself.
To make electronic dice do it yourself, you will need:
* Kit
* Soldering iron, solder, flux
* Soldering hair dryer
* Side cutters
* Device for soldering "third hand"
* Power Supply
* Solder paste
* Tweezers
That's all it takes to build a kit.

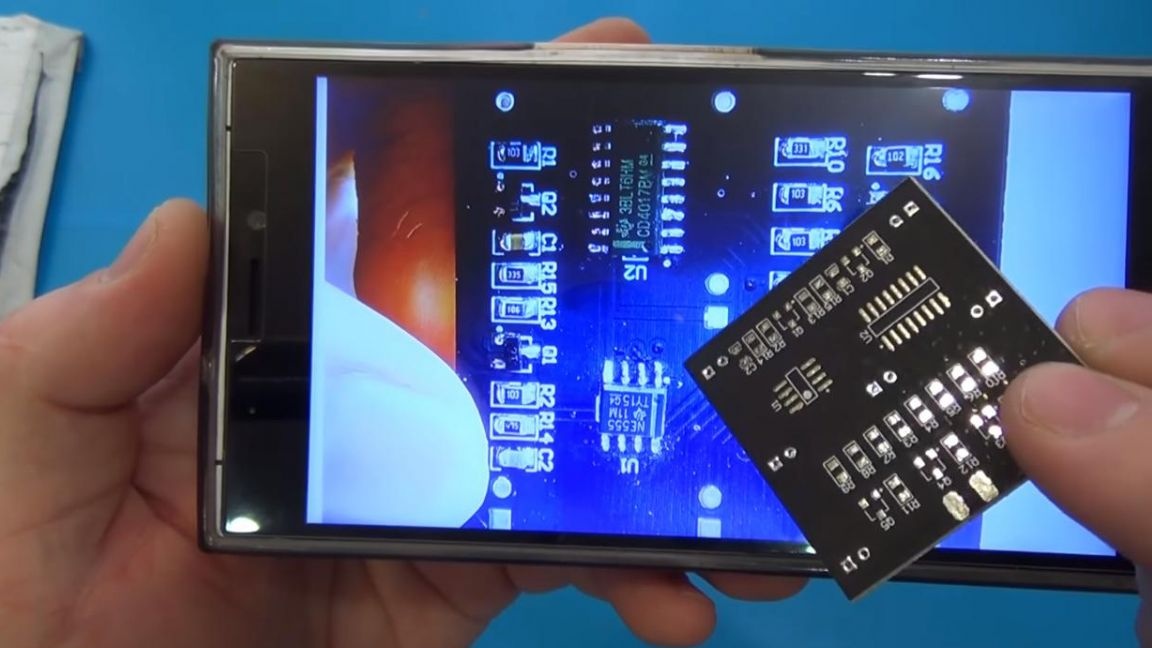
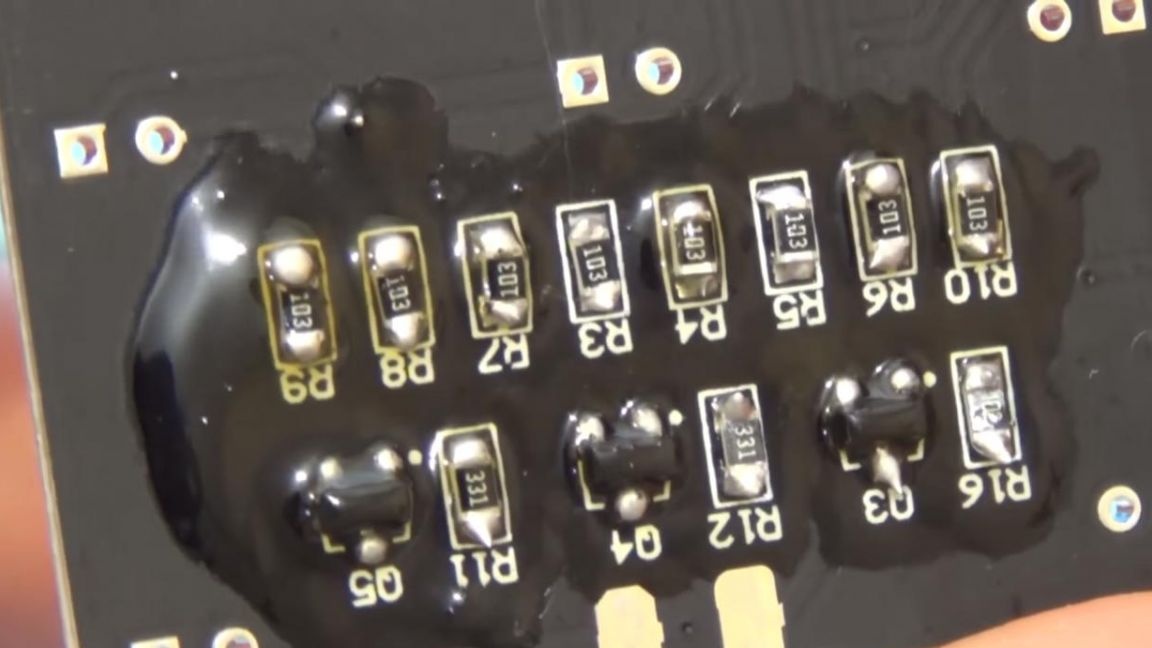
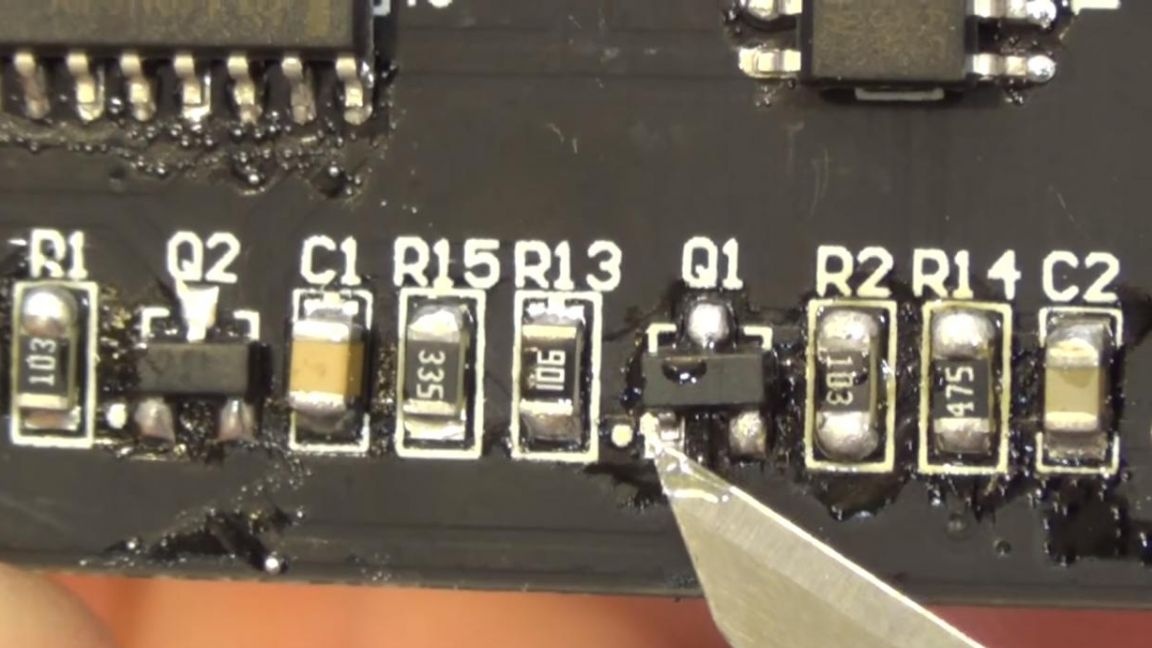
Also useful is the picture that the seller placed in the description of the product, since it is not possible to assemble this kit in a different way, because the component values are not indicated on the board.
Step one.
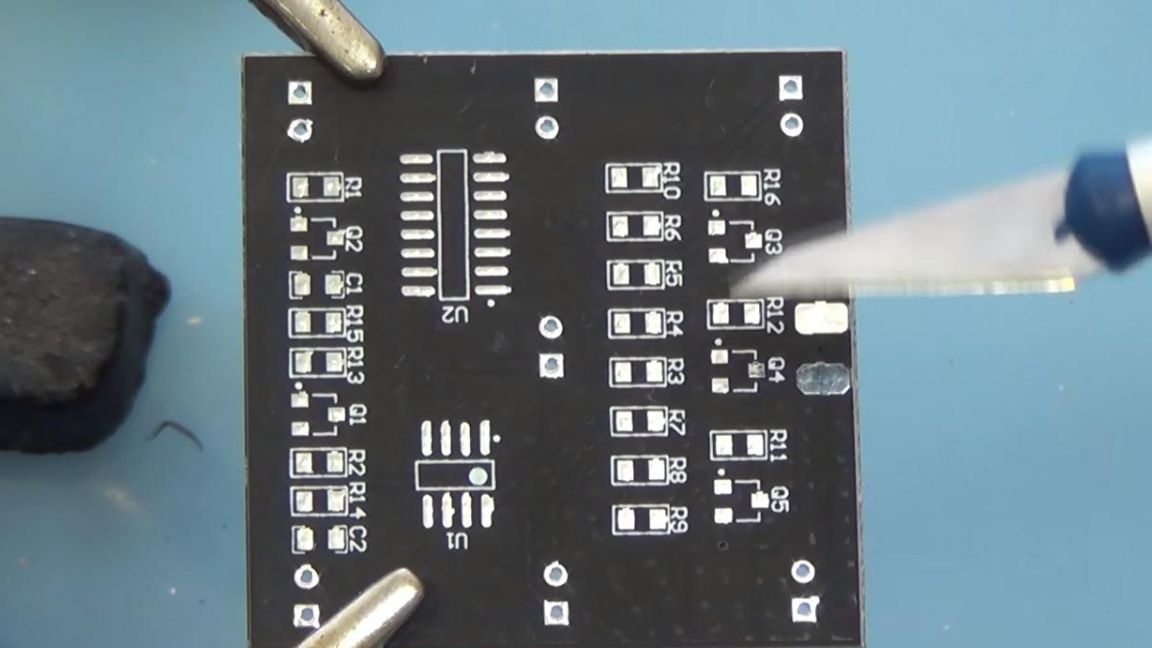
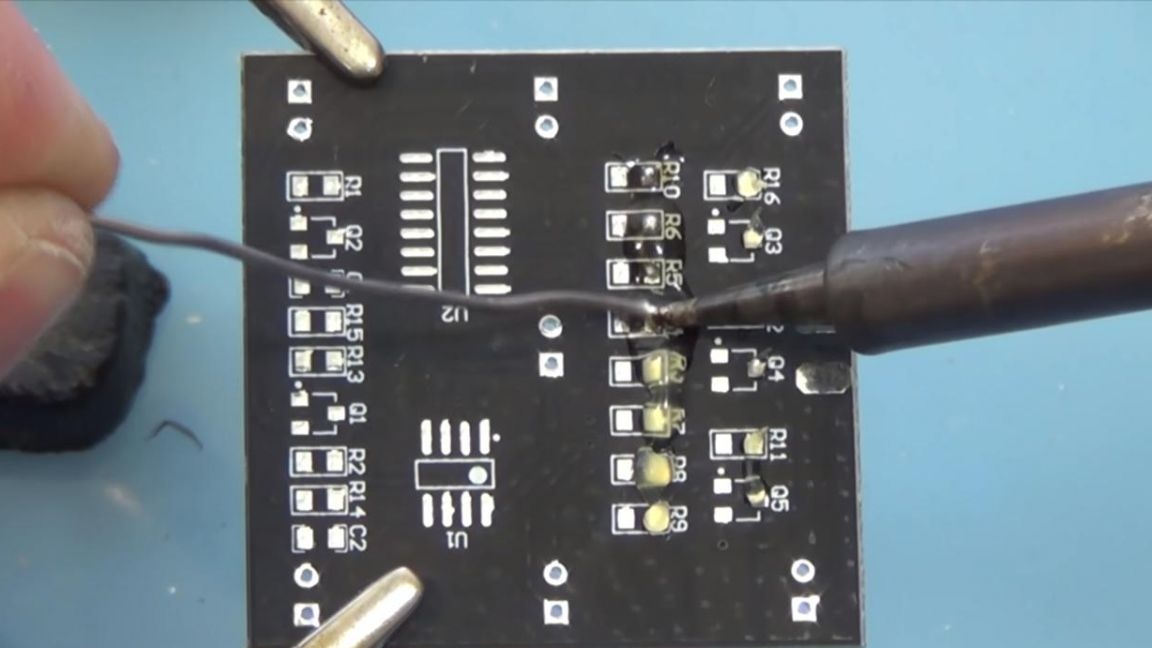
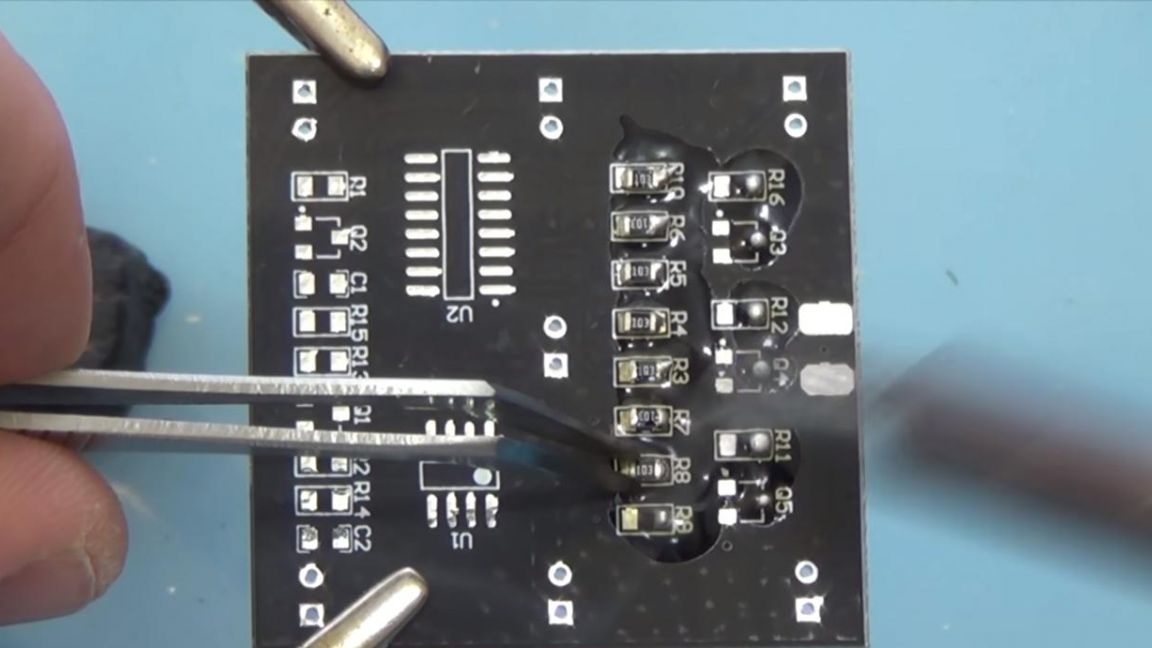
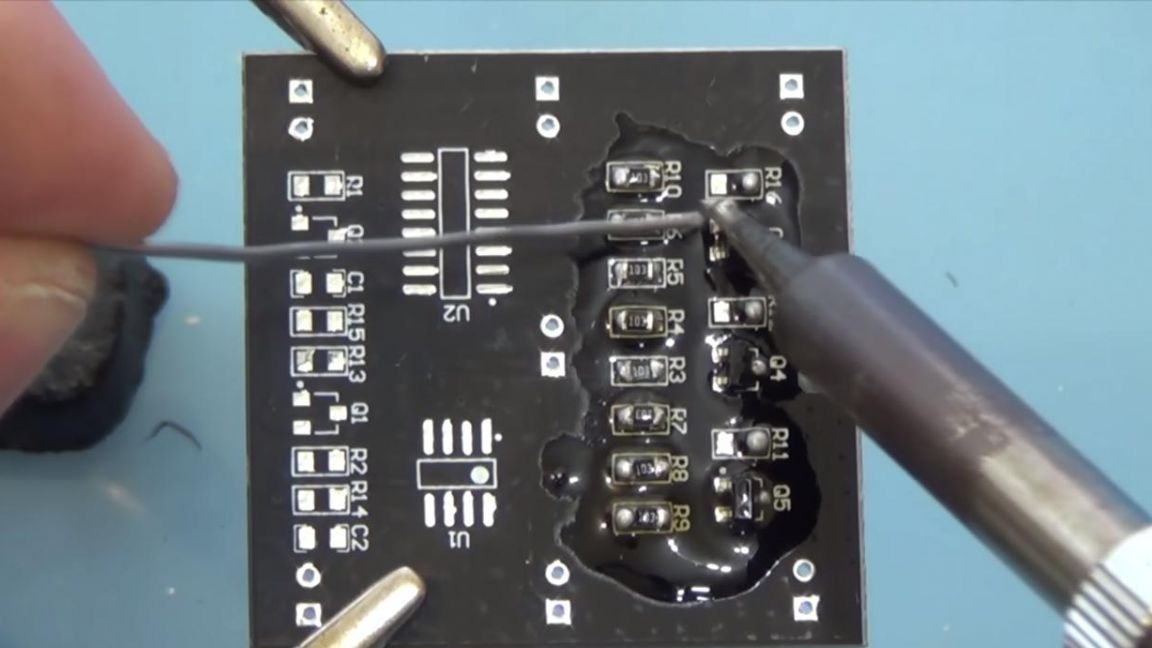
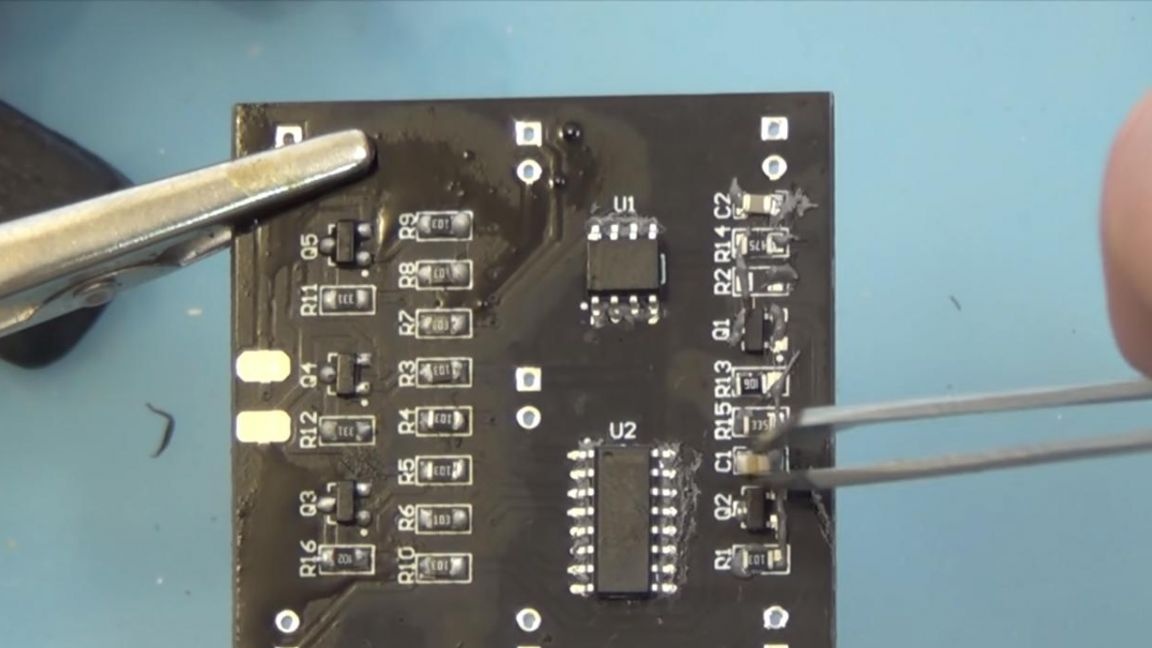
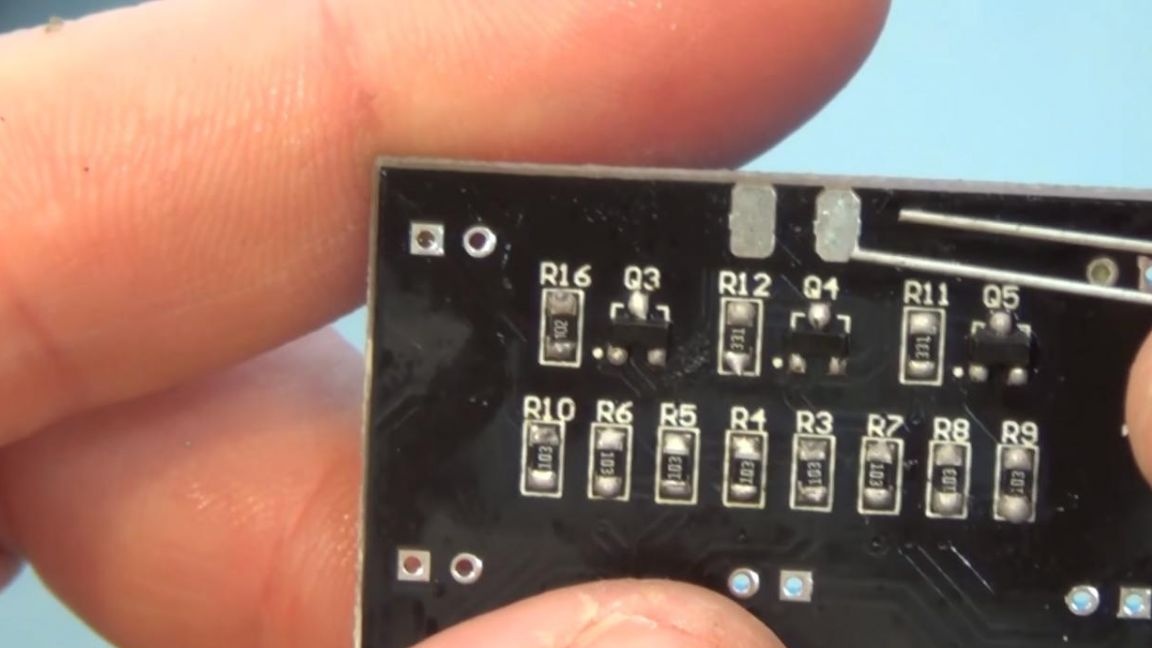
First of all, we fix the board into the "third hand" fixture for soldering, and first we apply a little flux to the contacts under the SMD resistors and capacitors.

We will solder them with a soldering iron, and the remaining components, namely, two microcircuits and transistors, will be soldered with a soldering iron, using a solder paste. In order to accurately and accurately solder SMD resistors, capacitors and transistors, first we tin the contacts on one side, on which the flux was applied in advance.
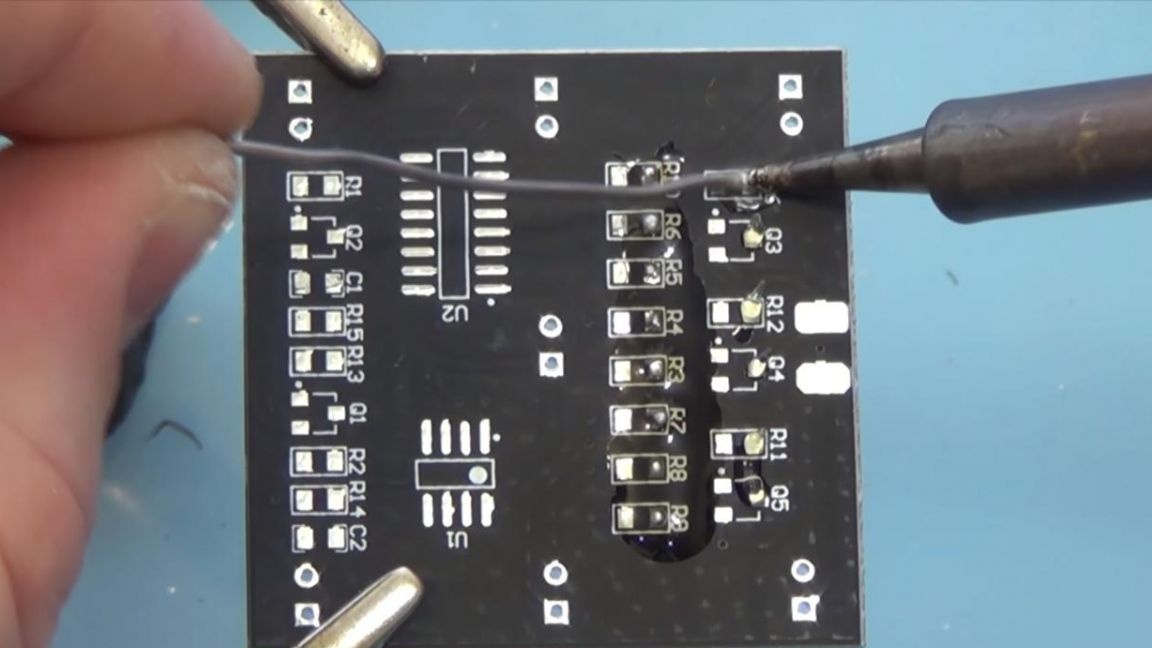
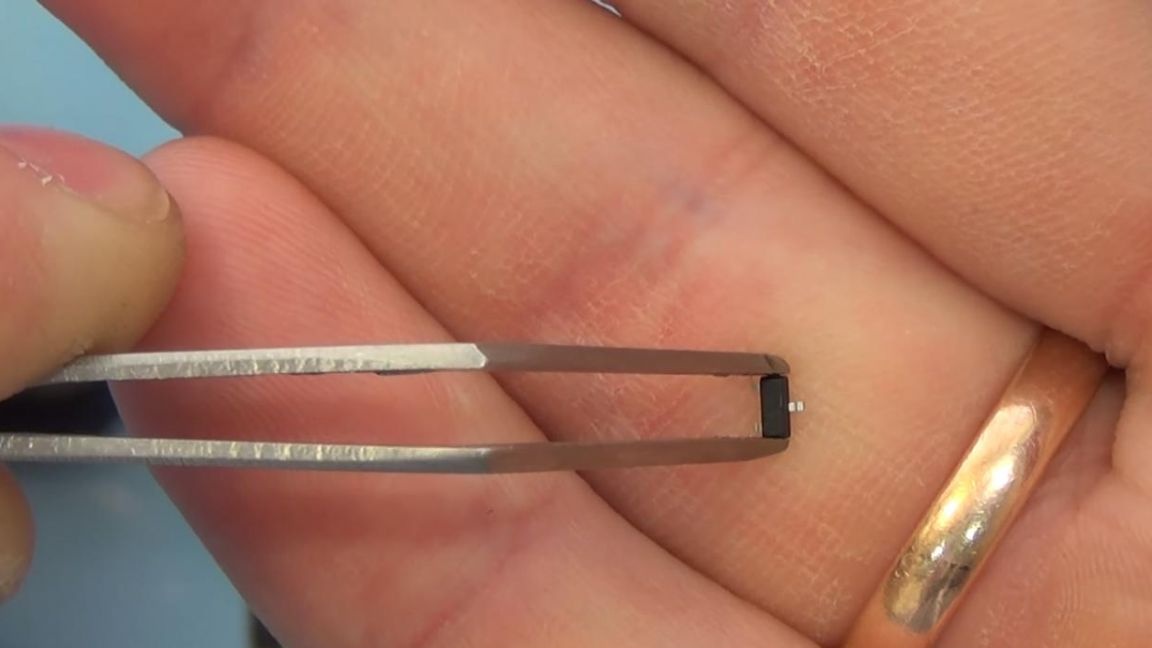
After that, with the help of tweezers, we set the components and solder to the tinned contact, we mark the marking of these components according to the picture, which I recommend saving in advance on your gadget. Then we solder the second row of contacts and so on with all the other details.
It is better to solder transistors first from the middle output, so installing them will be much easier and more even.
Step Two
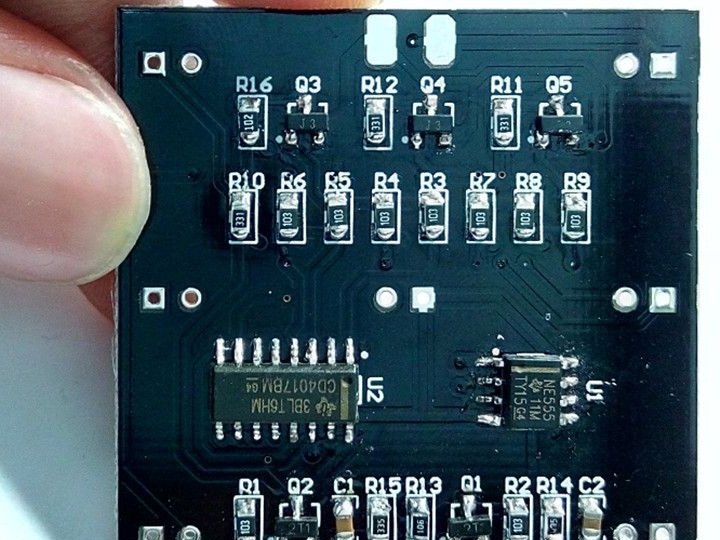
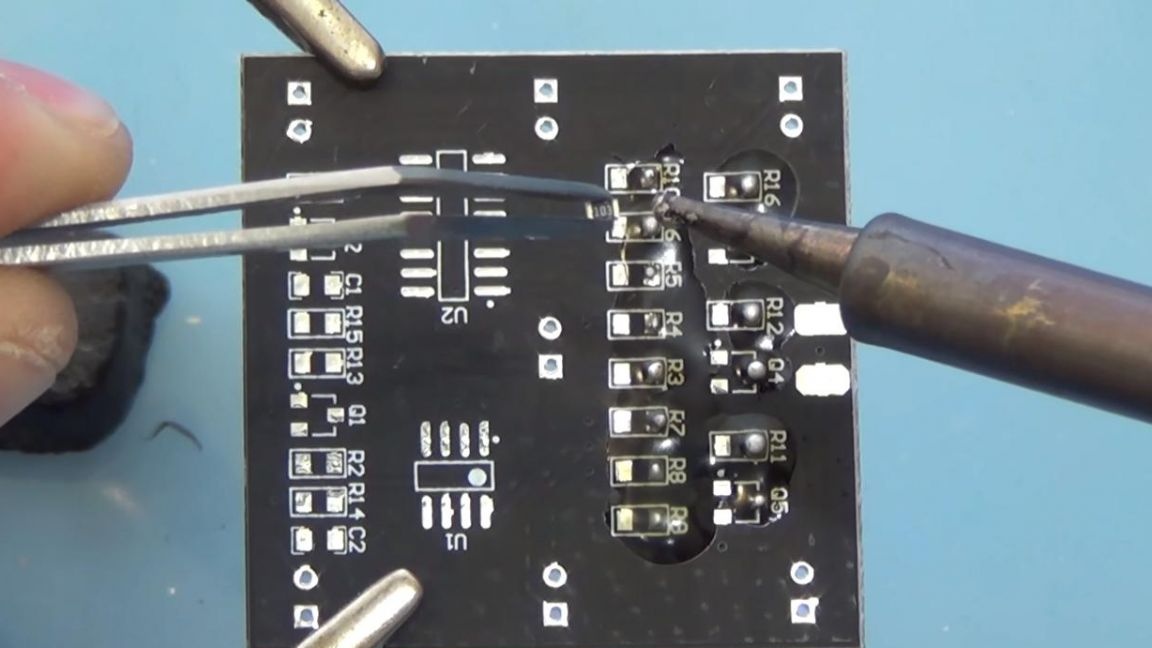
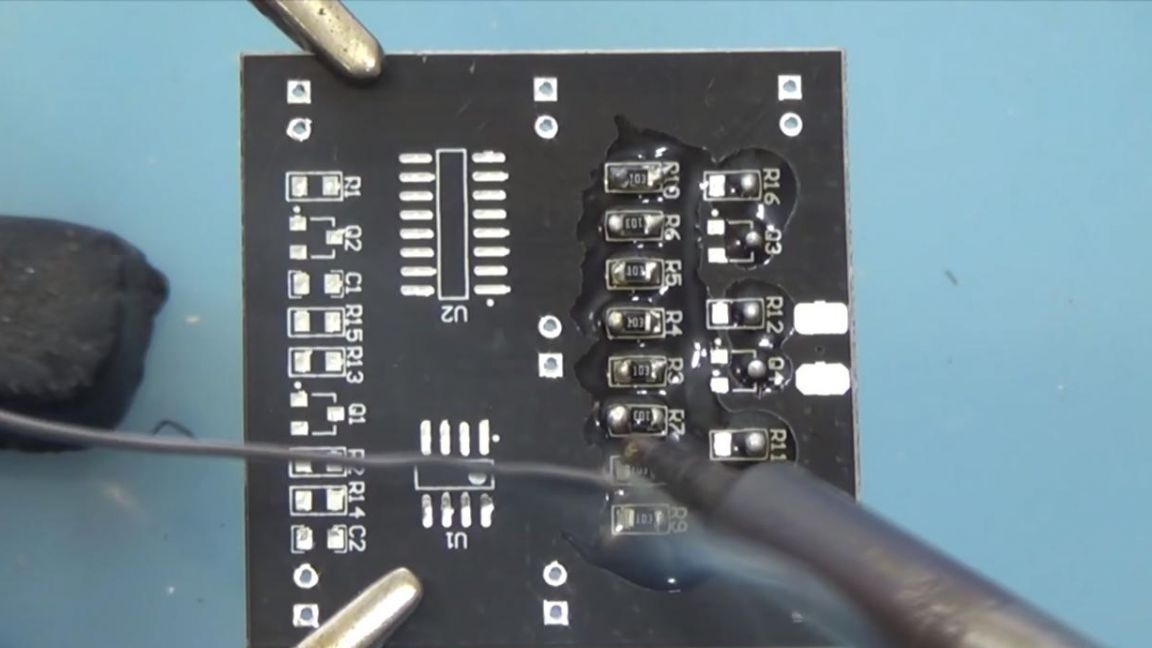
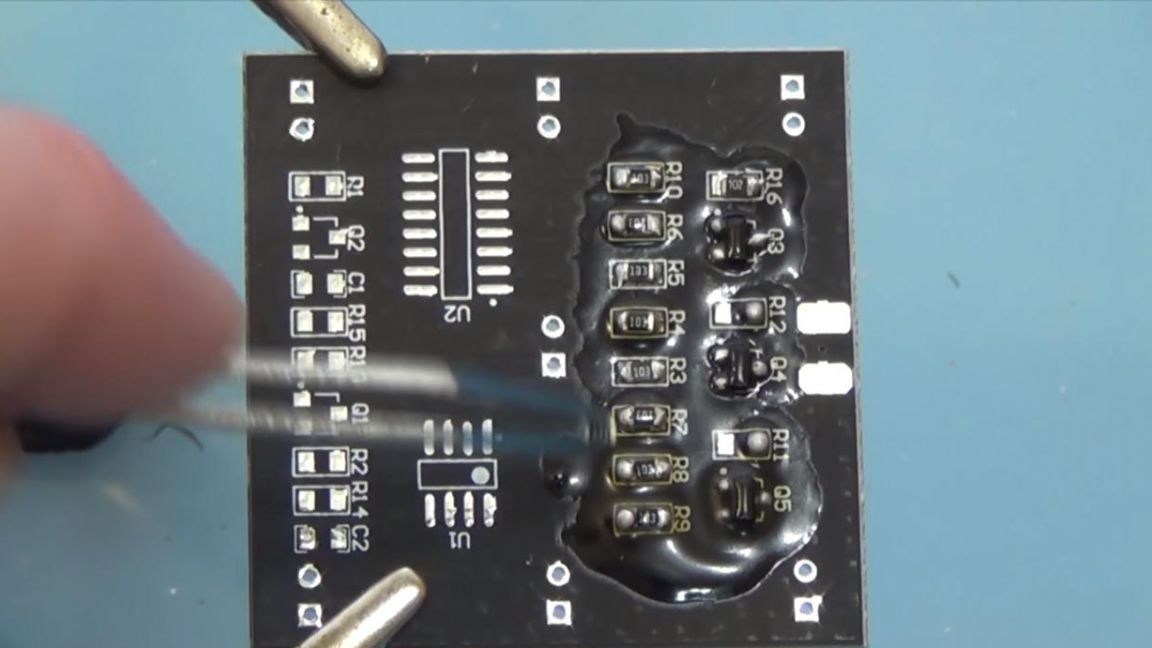
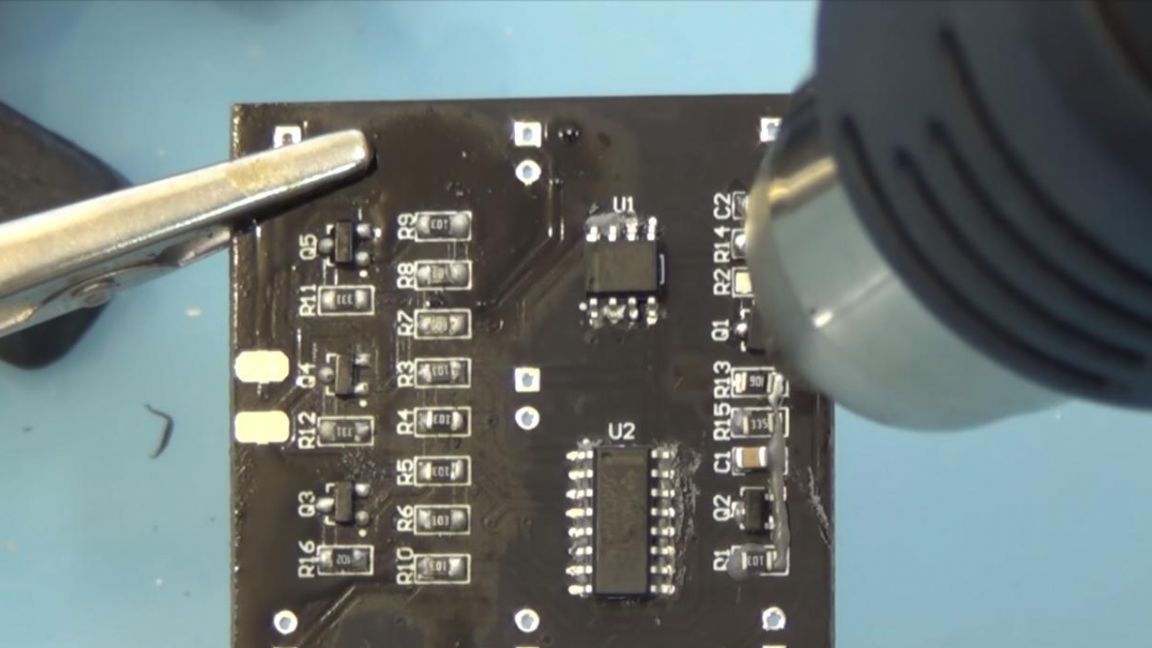
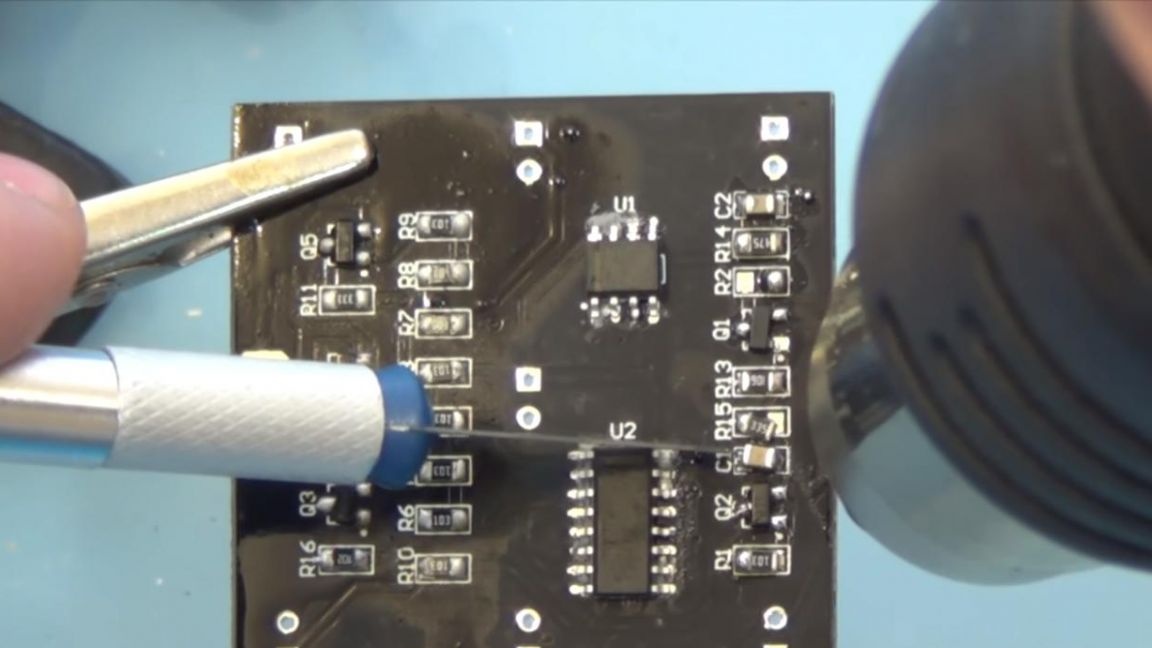
Now you need to solder the two microcircuits and the missing components, namely capacitors and a couple of transistors.I advise you to solder such parts using a soldering hair dryer, so soldering with a soldering iron will be difficult, and with a hairdryer it will be much more even, and the microcircuit will not be overheated, as is the case with a soldering iron. Before you bring the hair dryer and begin to solder it, apply solder paste, it is best done with a toothpick.
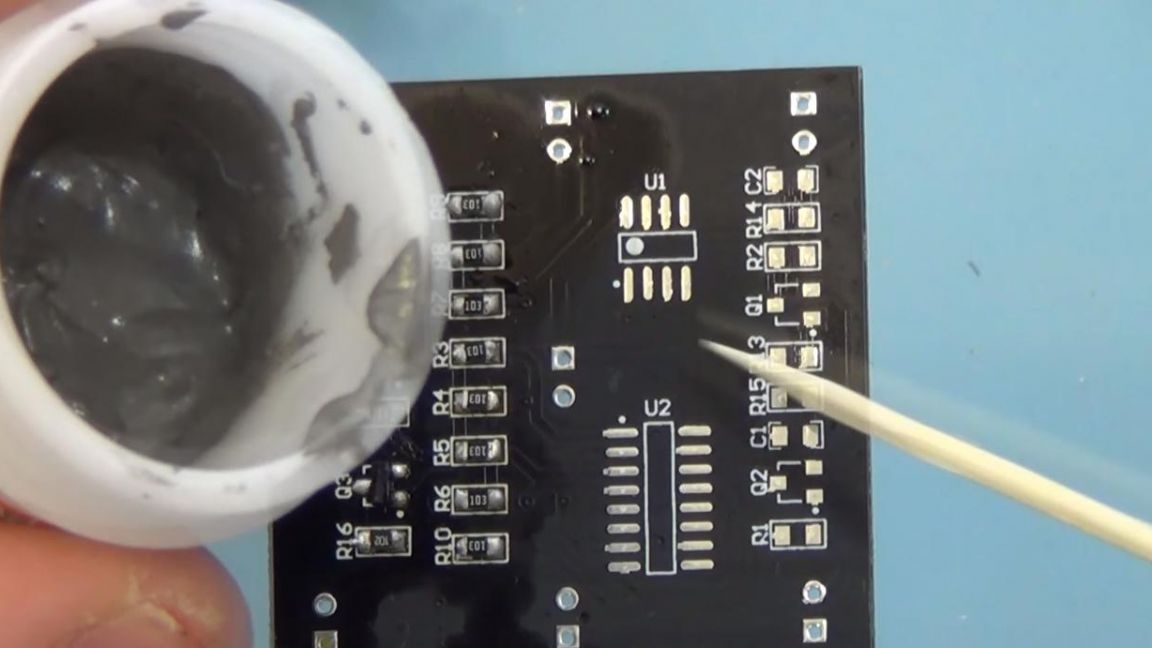
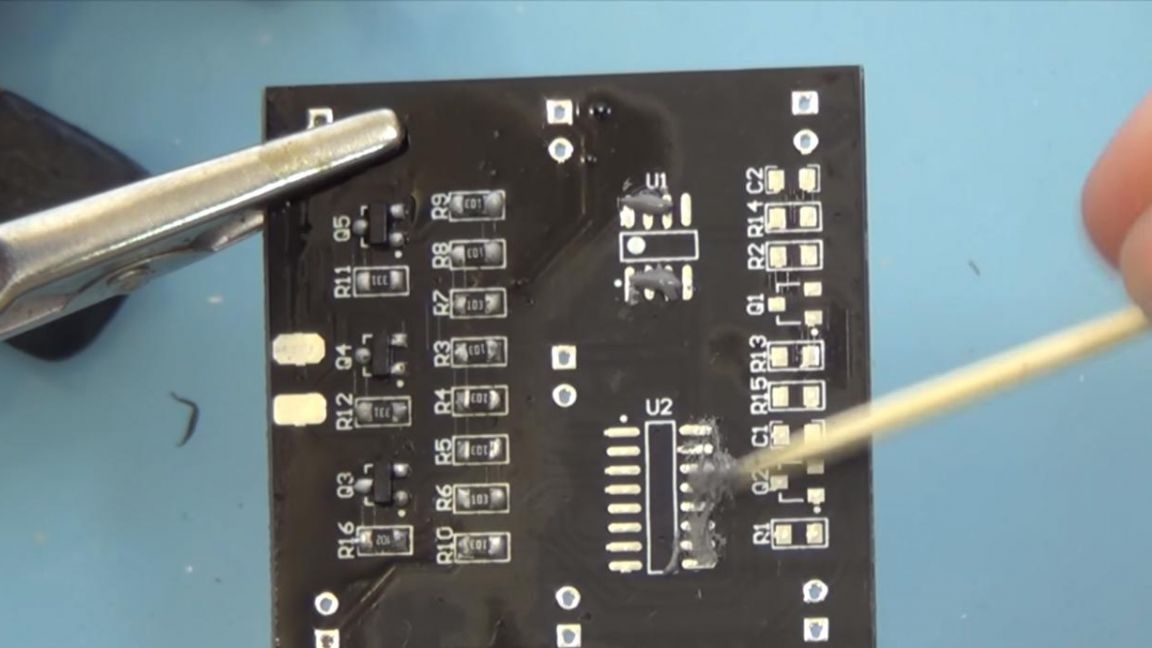

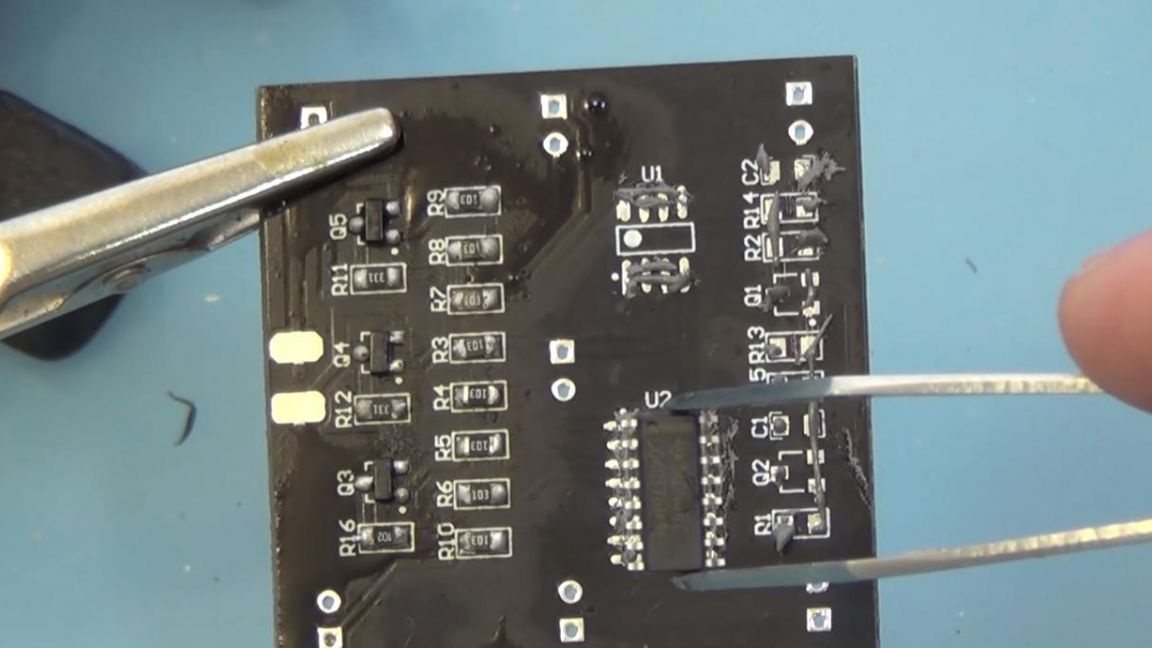
A lot of solder paste will not lead to good, otherwise you will have to redo it, so we will not overdo it and try to make at least one point of the paste on each contact. Next, we arrange the chips, according to the picture. On the board there is a so-called key, which is presented in the form of a dot, on the chips themselves there is a similar pointer, we compare them with each other and replace the remaining components, capacitors, transistors and resistors.
Step Three
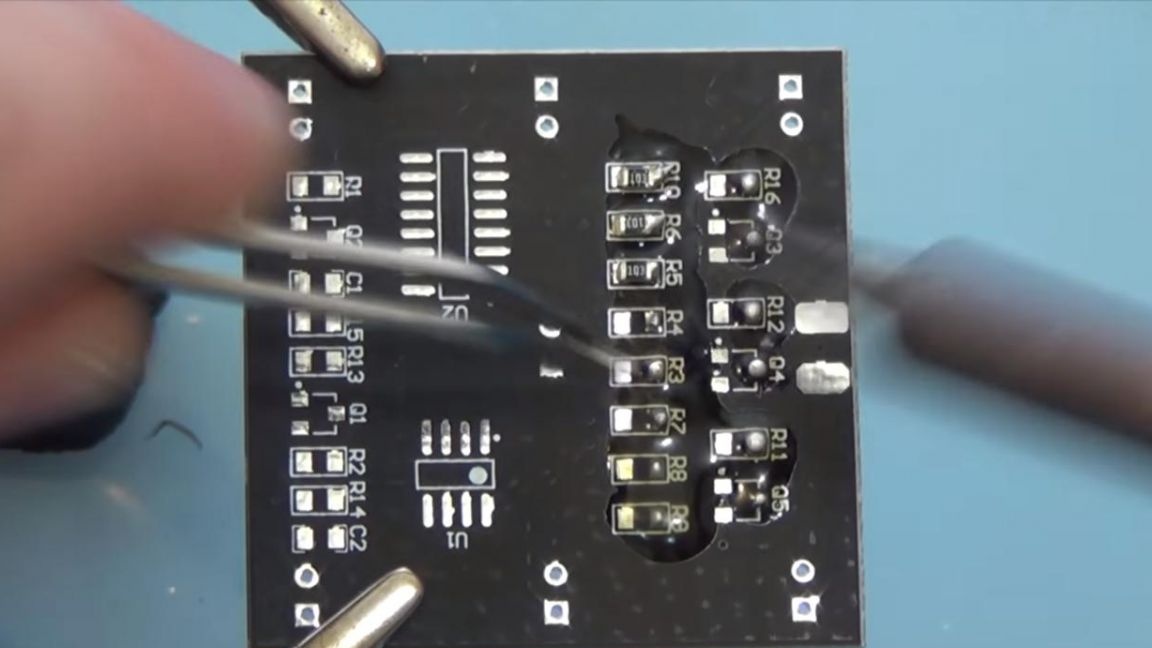
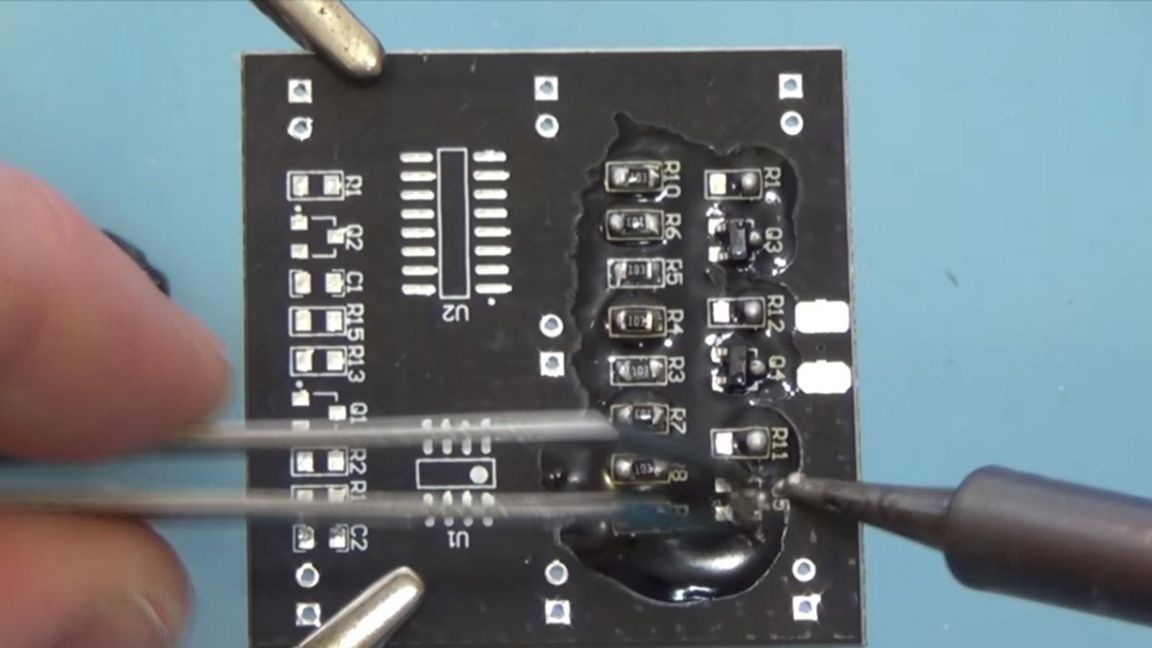
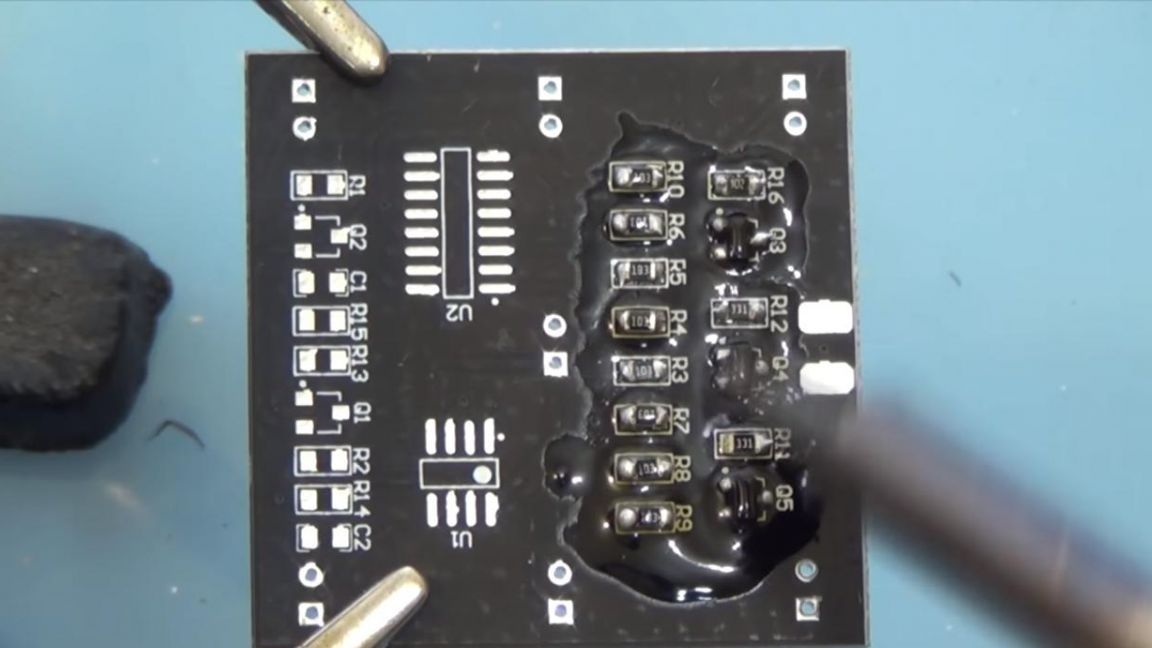
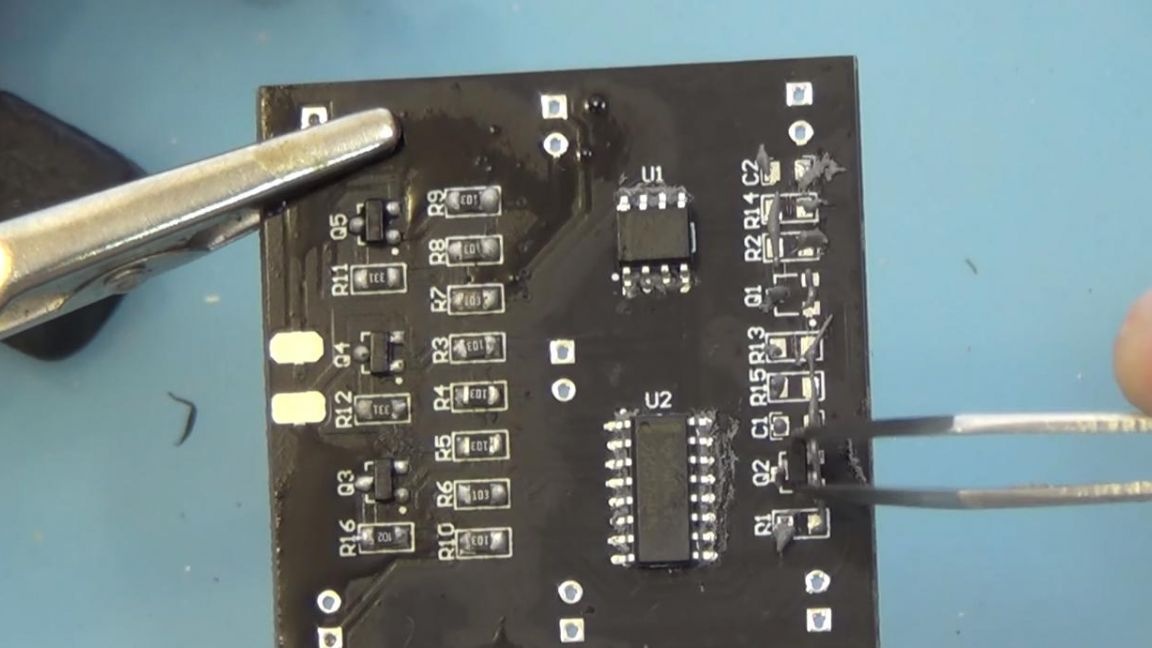
Now we turn on the soldering hair dryer and solder the parts, the paste melts and the solder gently "sits" in the place of contacts, it looks pretty pretty, you can say factory soldering.
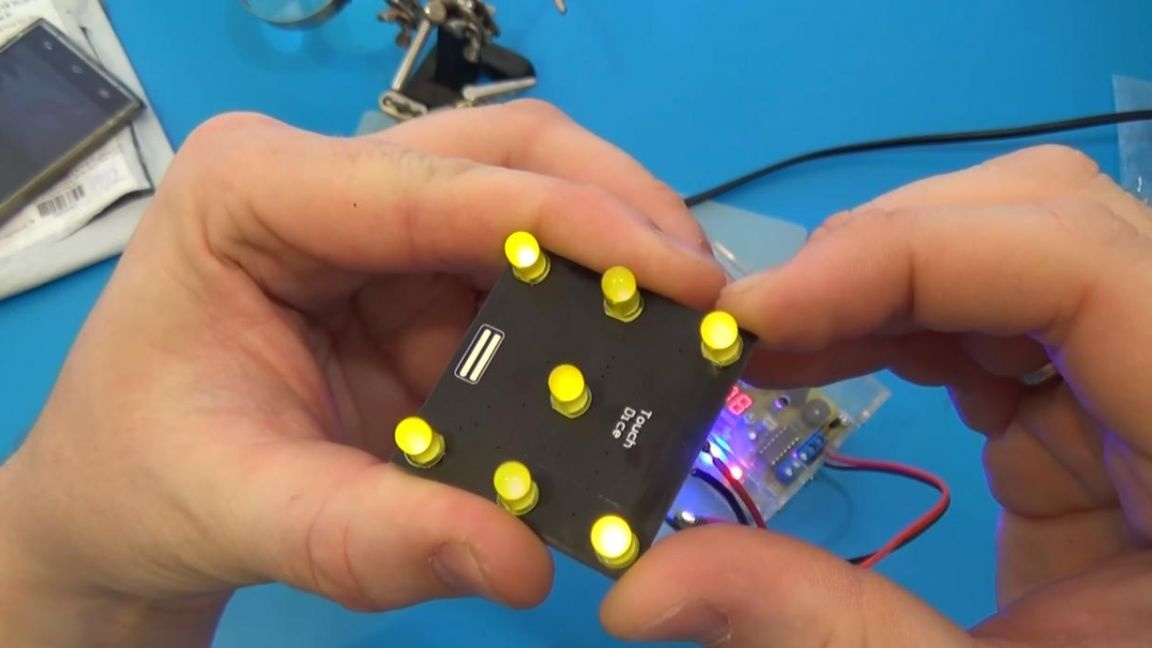
If there are nepropas, then add a little more pasta in these places. We install LEDs on the seats, the long leg is a plus, short-minus. Also, the board shows a slice, which is also on the LED, I think you will not be mistaken. We solder the leads of the LEDs on the back side and remove the excess with the help of side cutters.
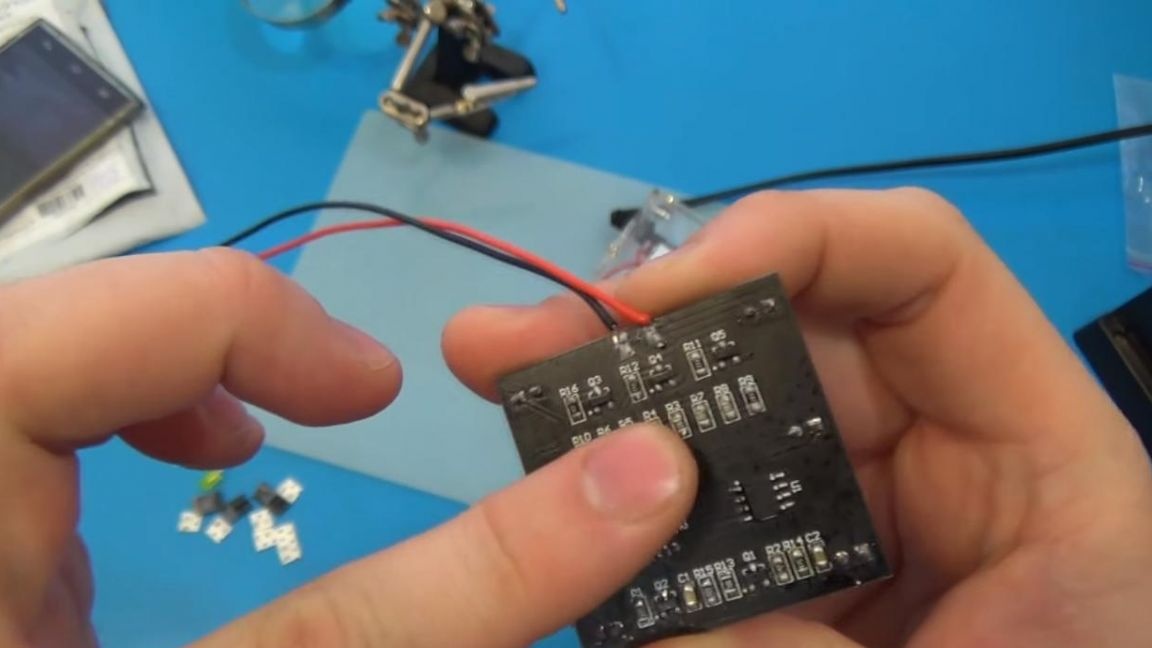
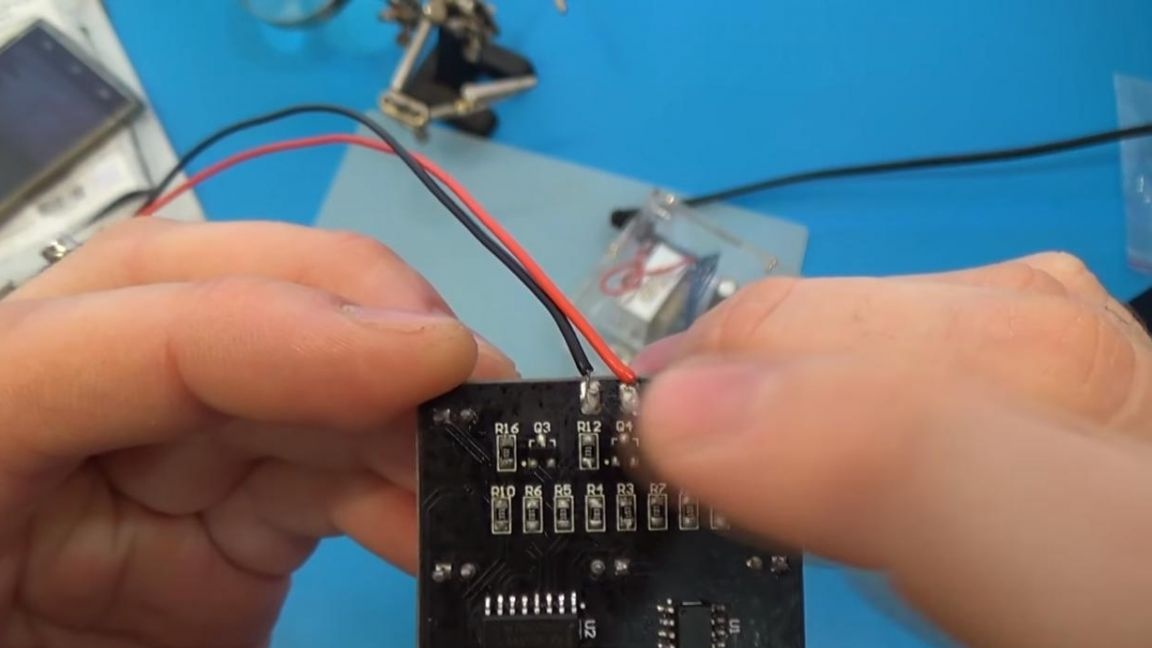
It remains to solder the power wires and dice ready, solder the positive wire to the right terminal on the board, and the negative wire to the left, you can feed the board from any power source, we will check this assembly with a laboratory unit.
After soldering, we thoroughly clean the board from flux and other contaminants, for this, galosh gasoline is perfect.
Step Four
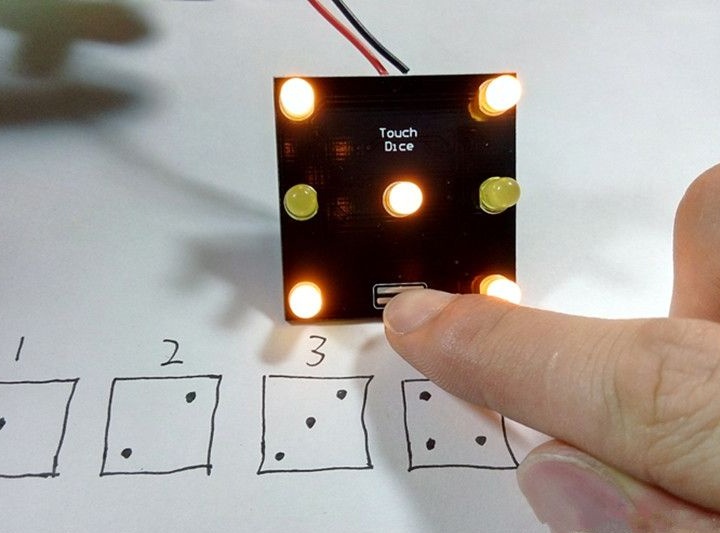
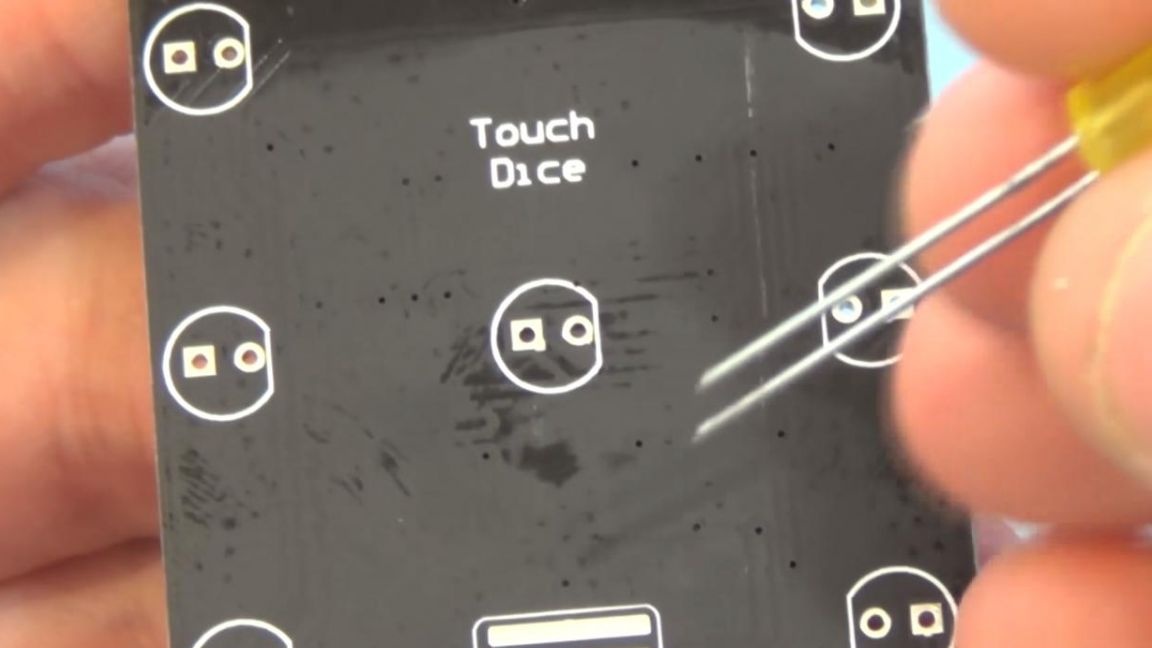
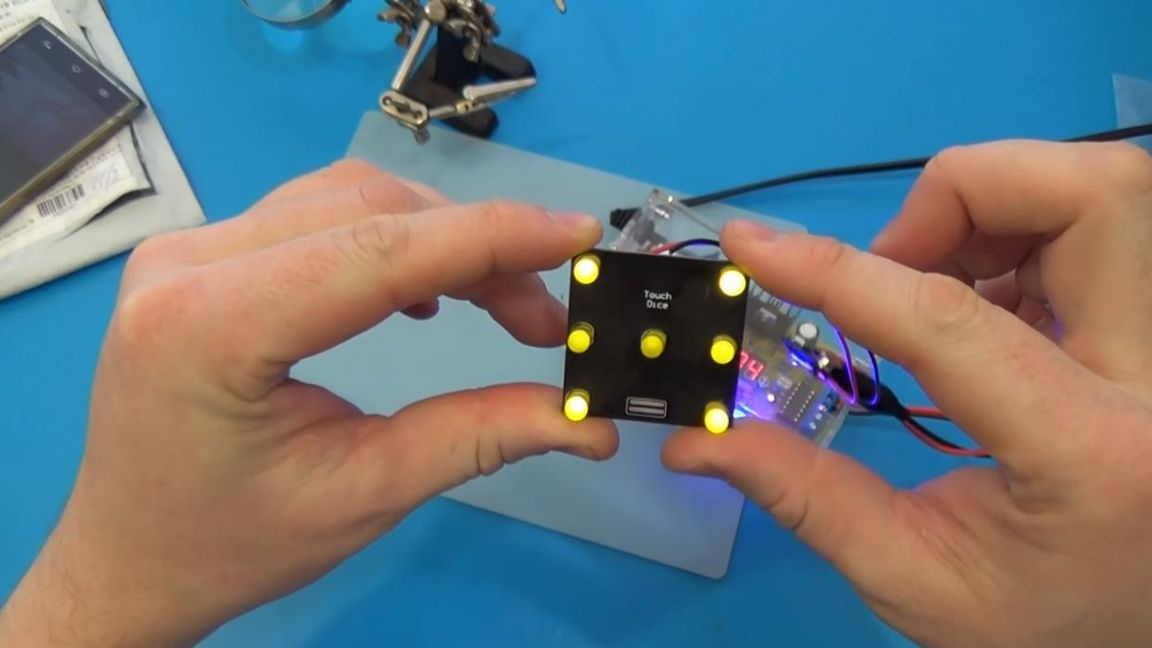
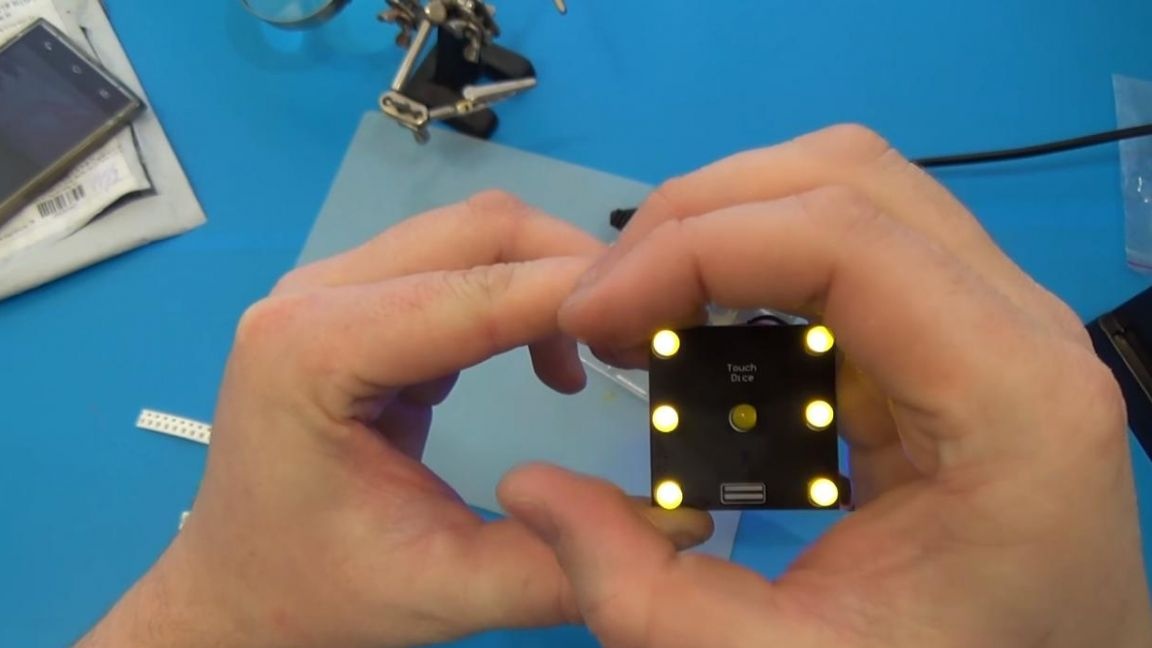
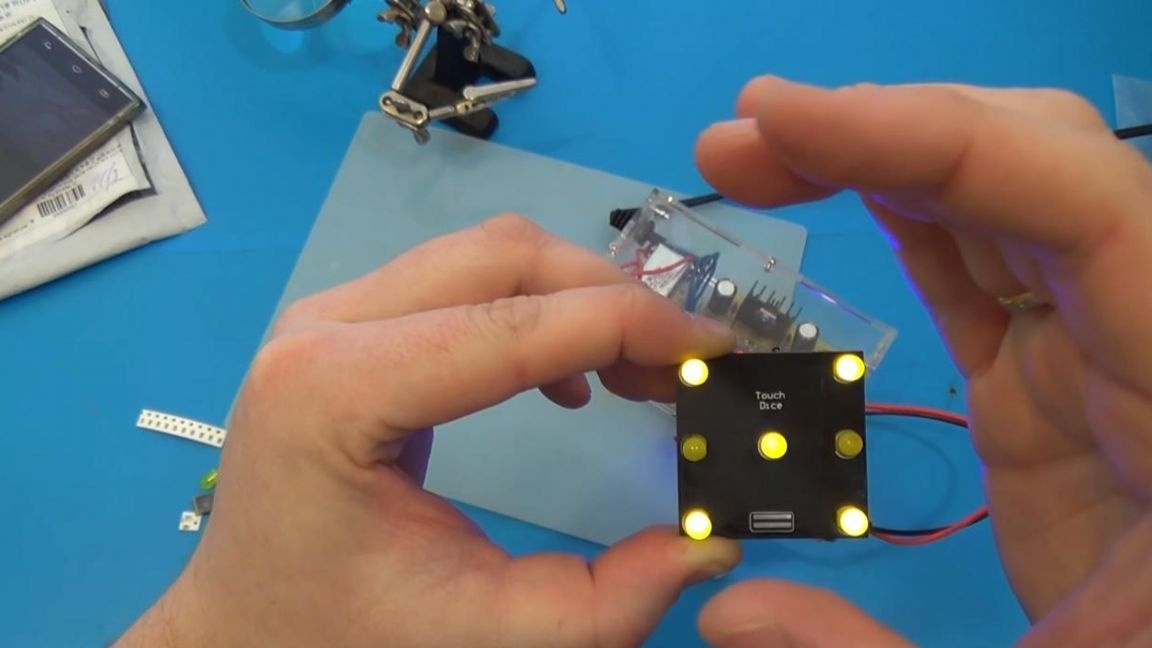
We test the finished device by connecting a voltage of about 9 volts to the power wires. Dice begin to "hang out" when you press the touch button, made on the board in the form of two tinned tracks. The longer you hold your finger on this button, the more a certain number will fall out from 1 to 6.
That's all for me, thank you all for your attention and creative success.