
Today we will assemble a very bright LED lamp for car headlights do it yourself.

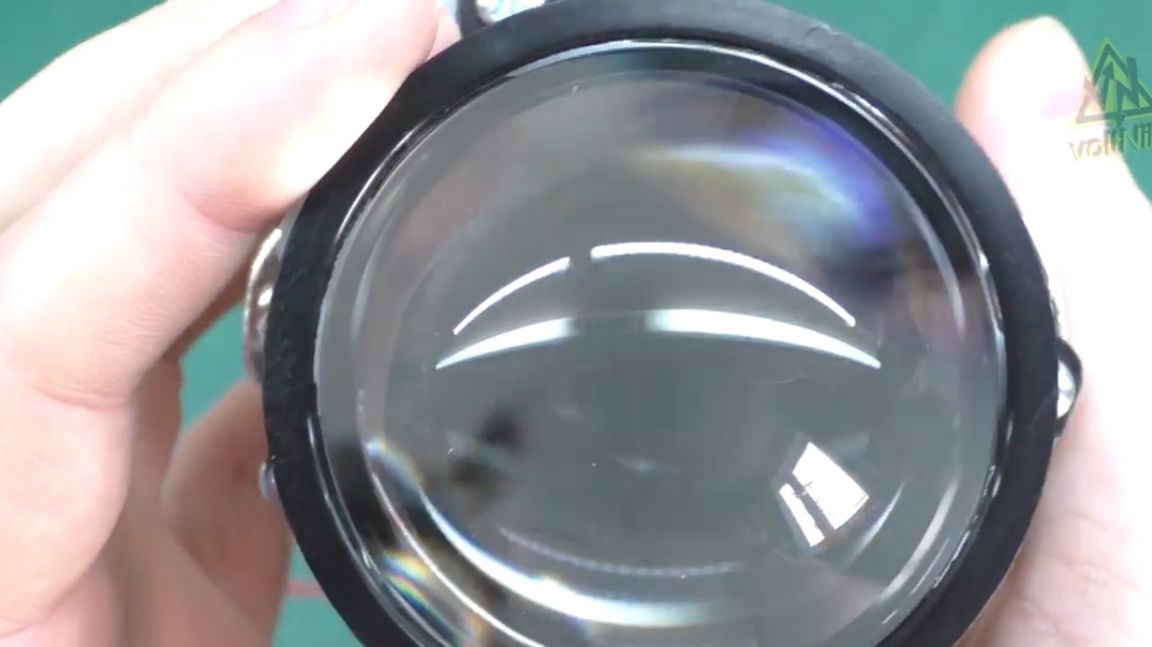
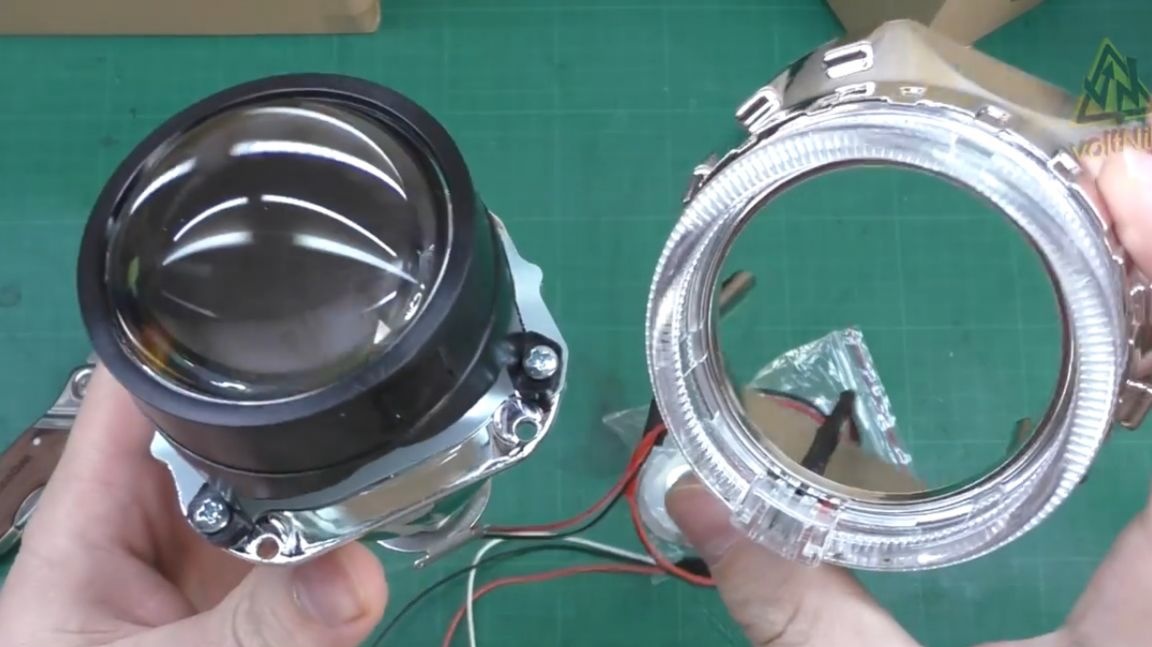
Since we will install automotive LED lamps, it means you need to use automotive optics. Fortunately, they sell it for aliexpress for quite sane money. The author immediately ordered a aliexpress lens for xenon with "angel eyes" in white.
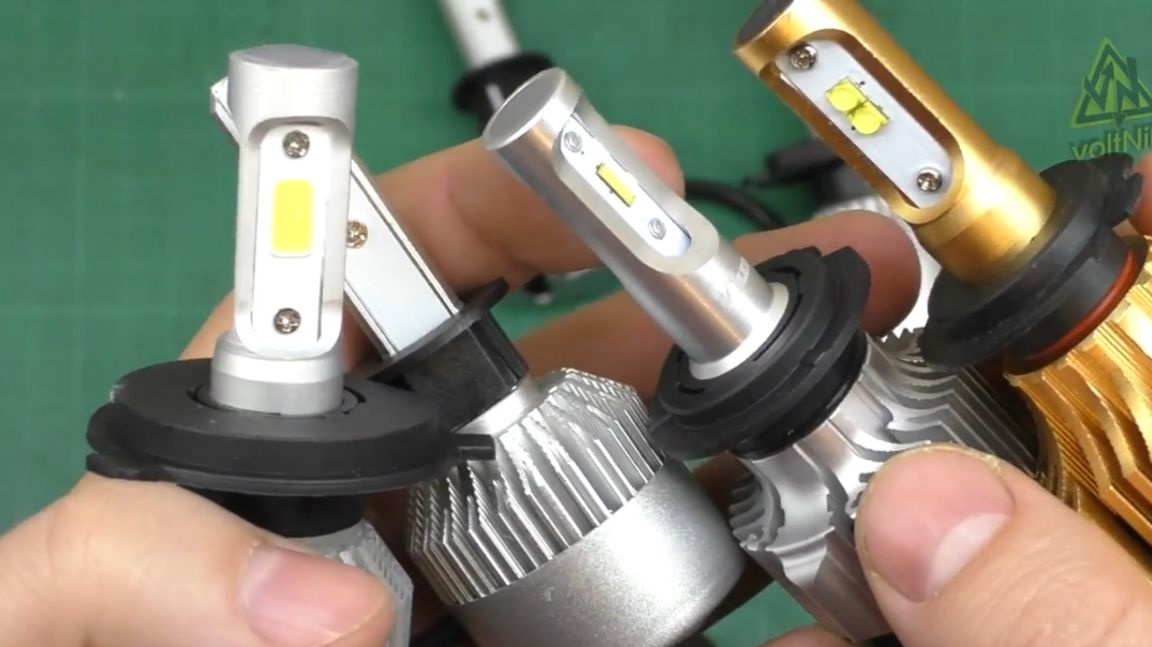
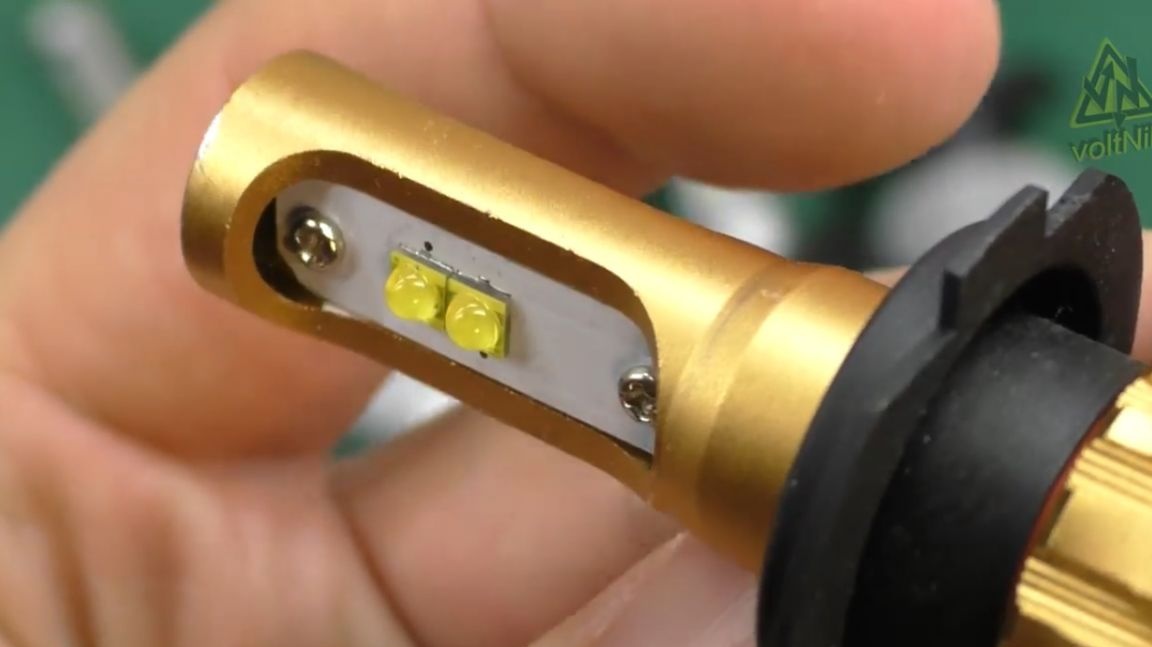
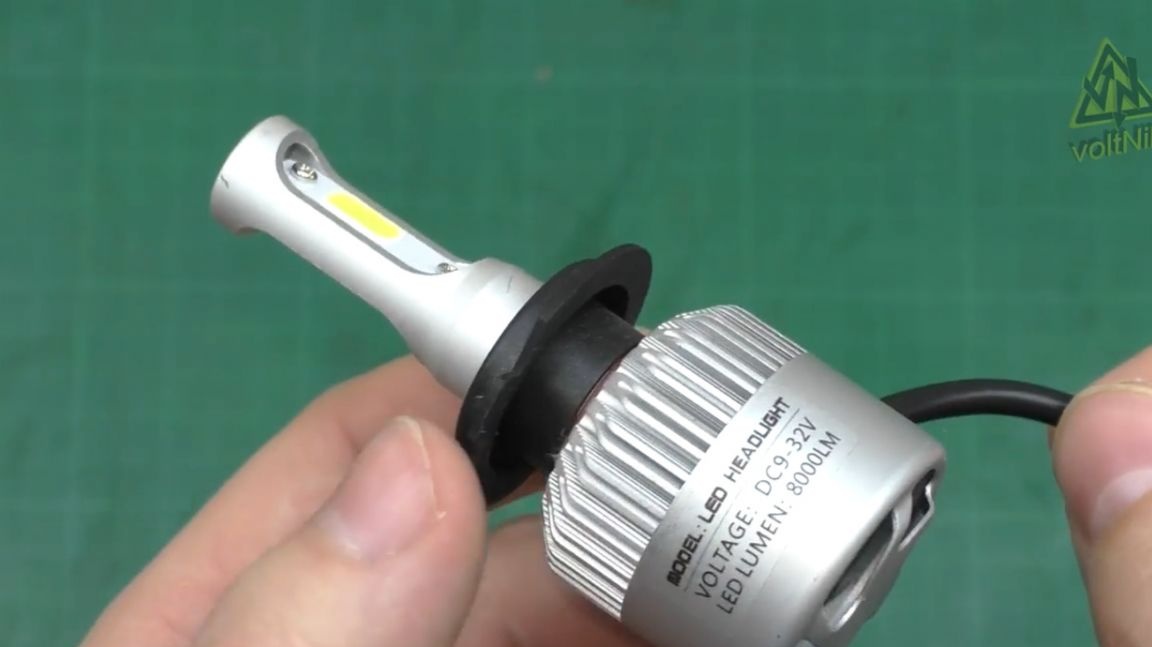
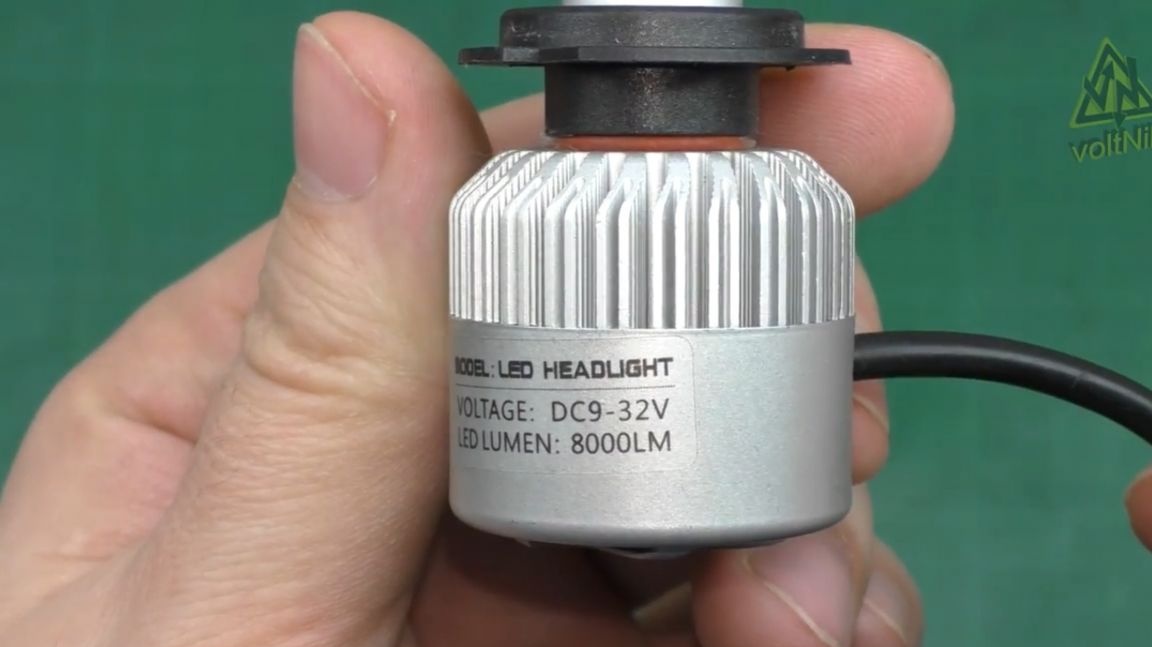
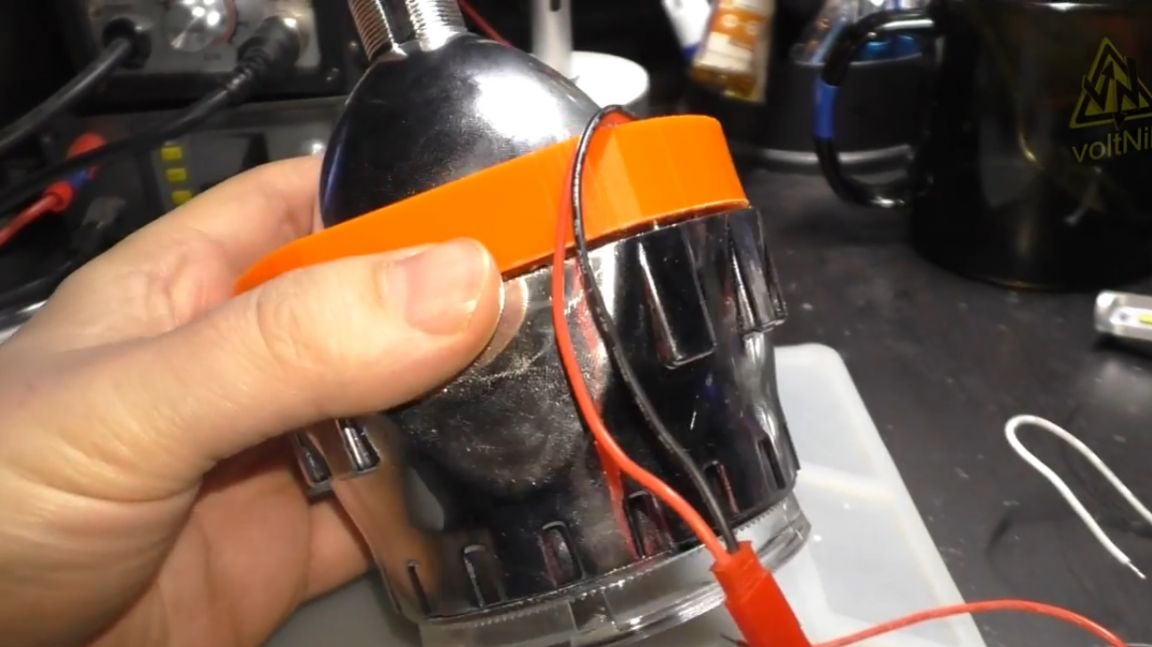
In the lamp we will use a 30-watt automotive LED lamp. Such lamps are now much cheaper and cost about 700 rubles per set. Their advantage is that a driver is already installed inside, which allows the lamp to be powered from a wide voltage range (from 9 to 30 V), there is a radiator and a fan for cooling. It turns out that the bulb can be immediately connected to the battery, and you do not have to worry about limiting the current or cooling.
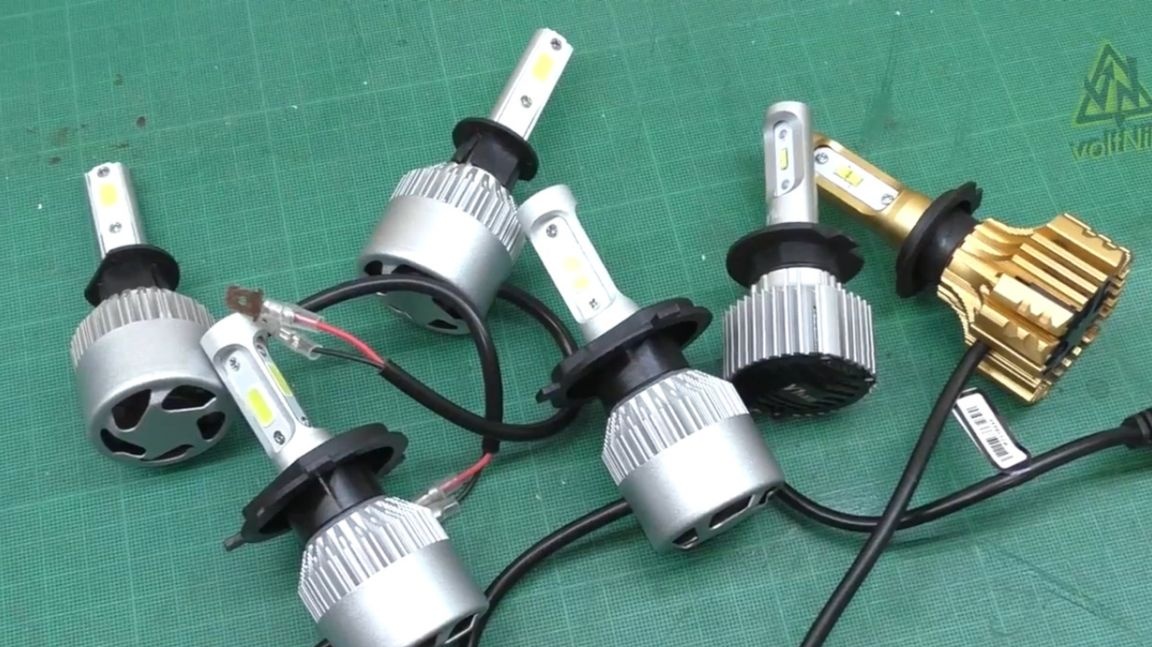
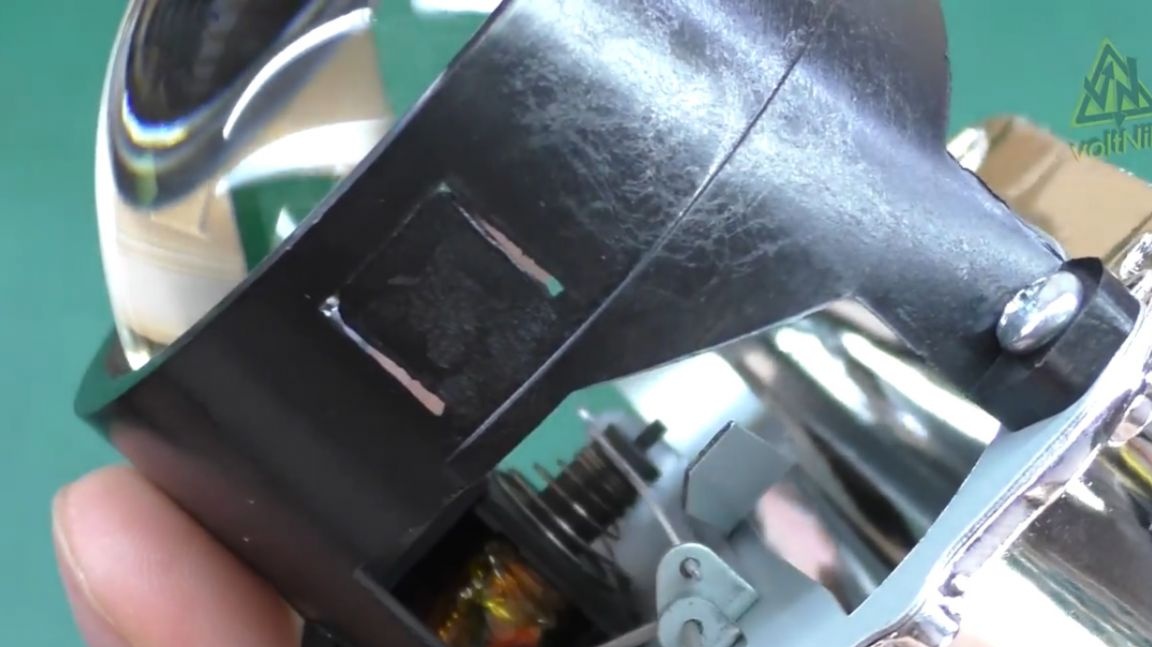
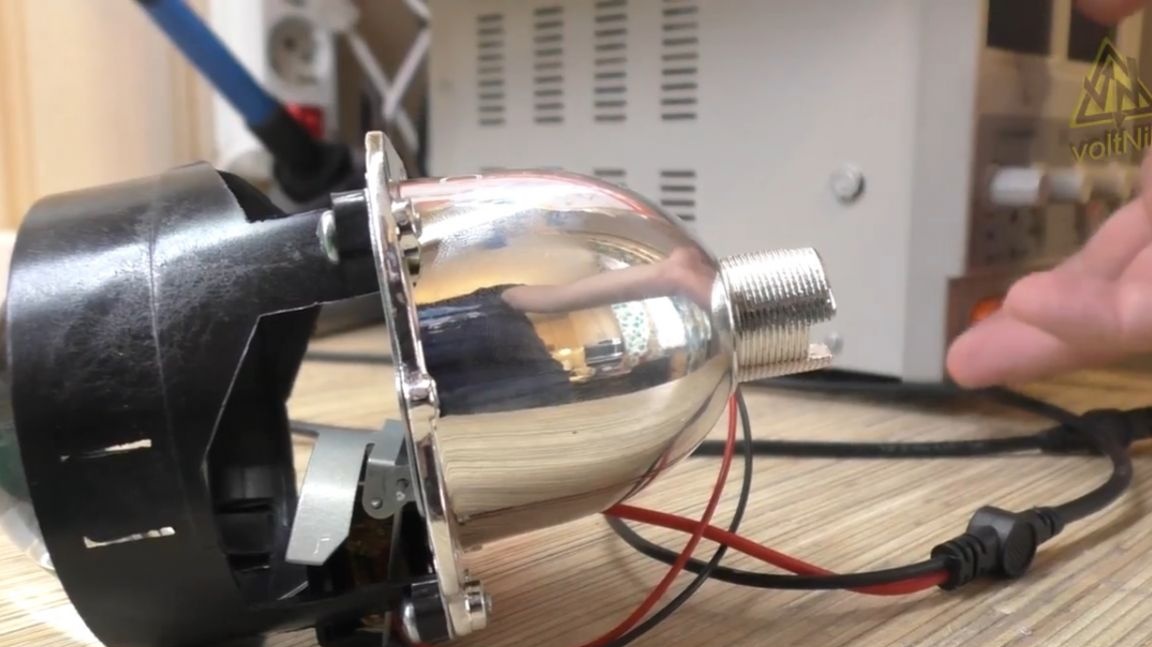
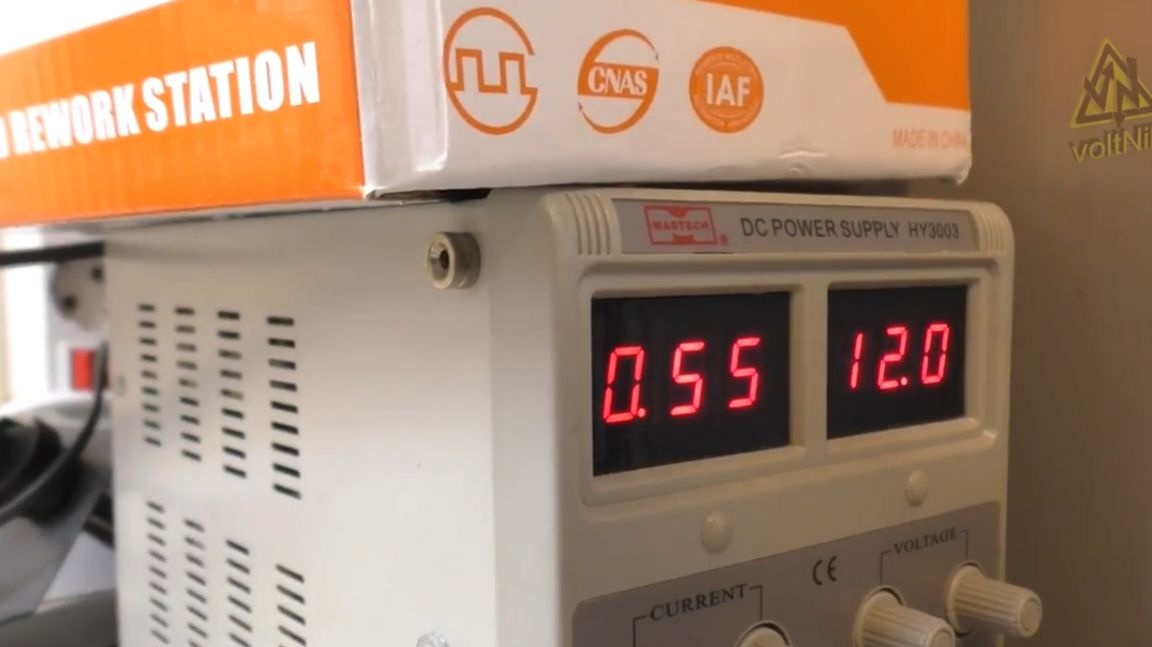
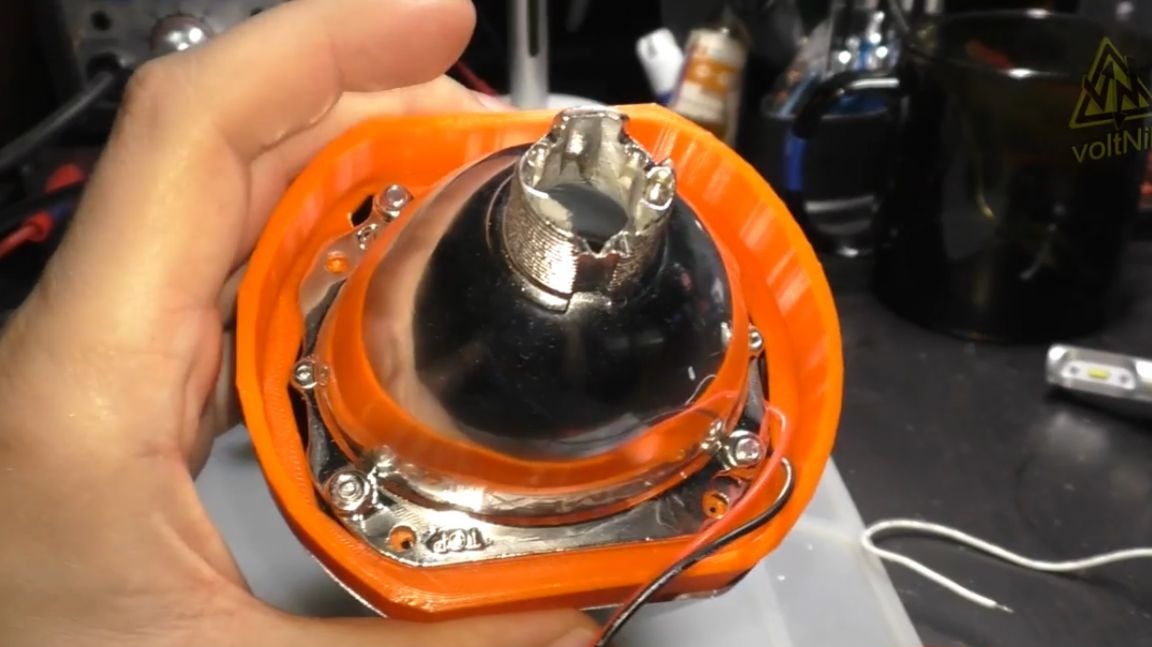
The lenses inside already have a controlled shutter for the low and high beam modes. The shutter is powered by an electromagnet, so it eats a lot, more than half an ampere at 12 V.
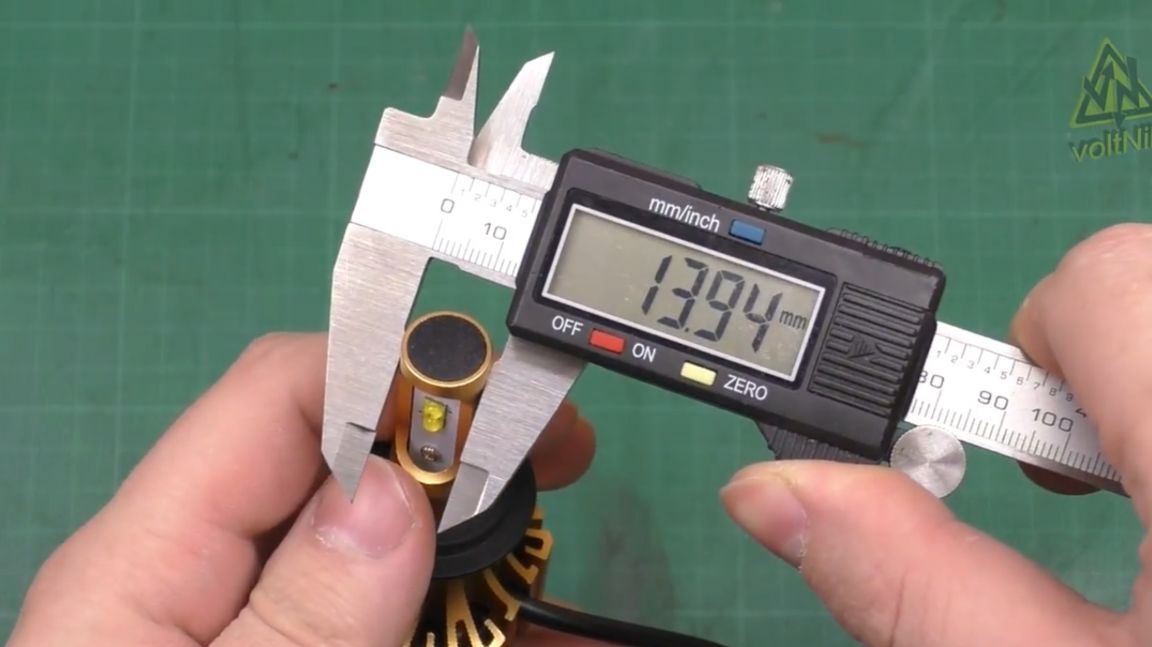
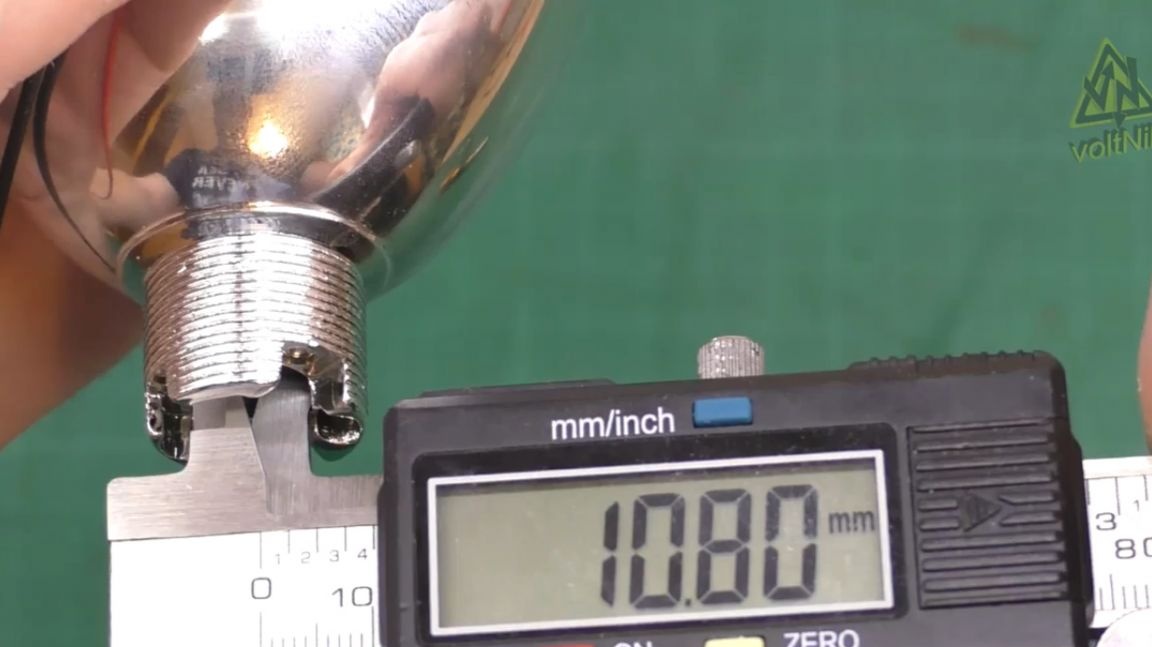
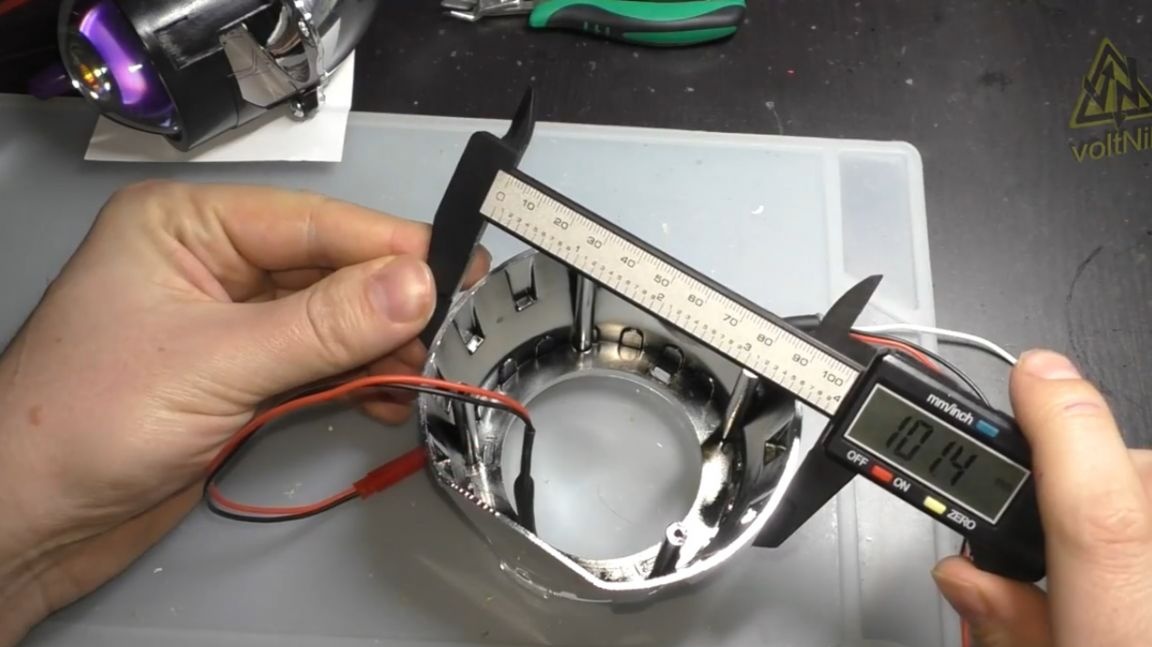
The main problem of installing LED lamps in the reflector is that the diameter of the lamp is 14 mm, and the hole for installation is only 11 mm. Therefore, using a drilling machine, you need to drill a hole. This reflector is made entirely of cast aluminum, so you can not be afraid that it will burst somewhere.
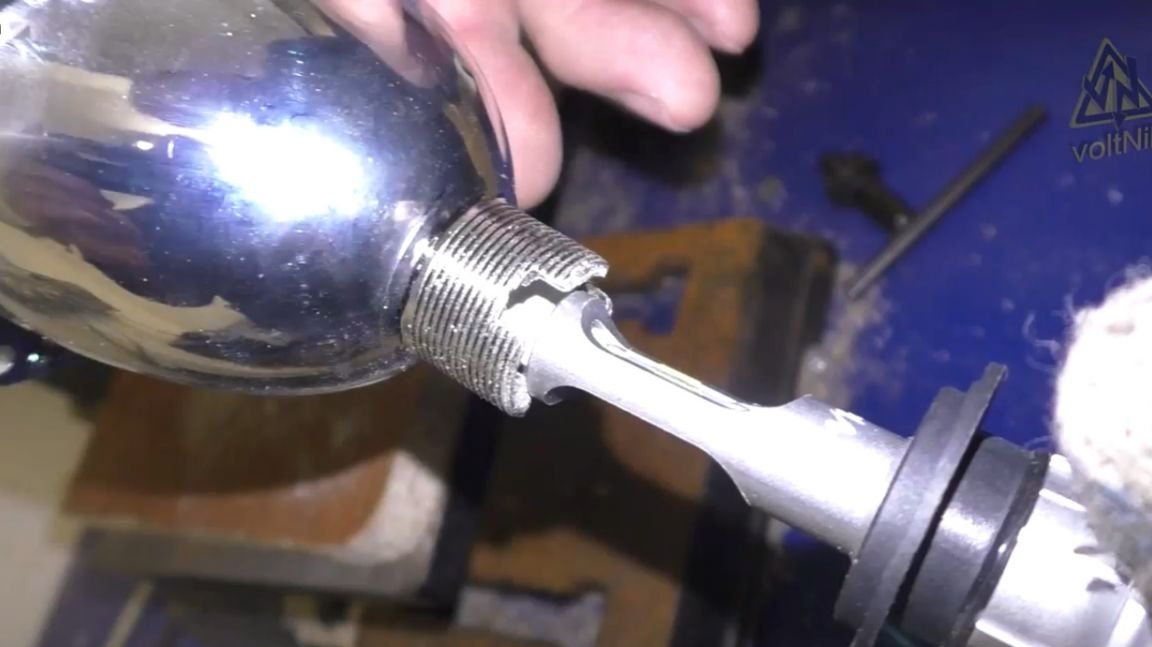

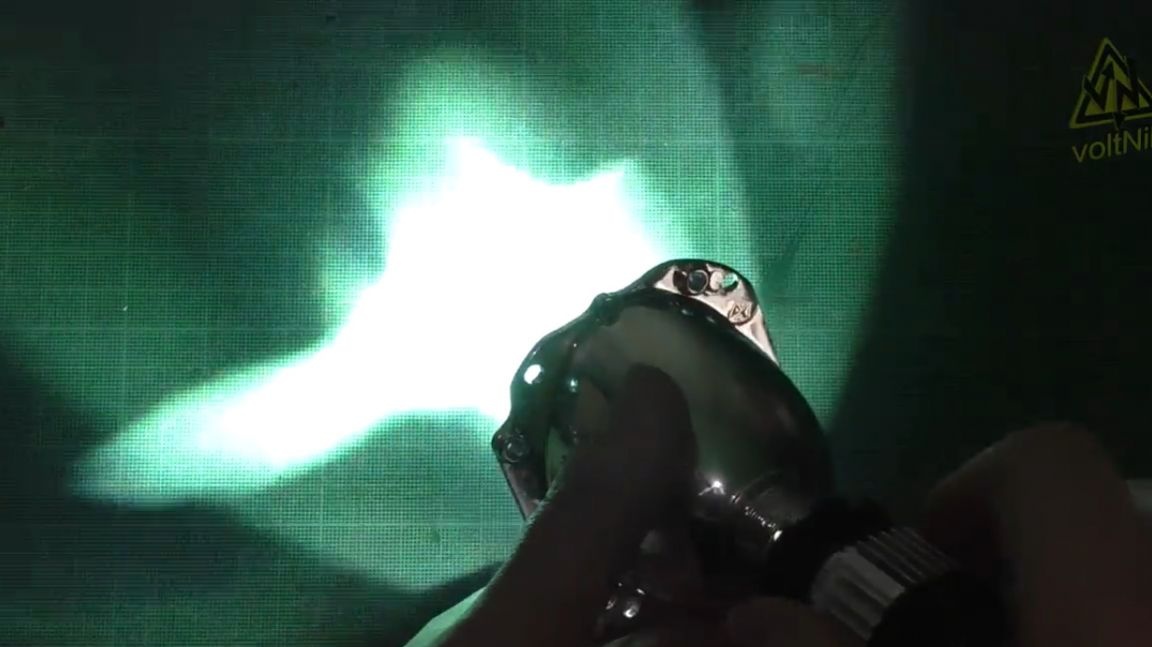
Now the bulb is easily installed in the reflector. Well, the light turned out to be directed and just falls into the focus of the reflector. If you install a lens, then such a thing will already be normal.
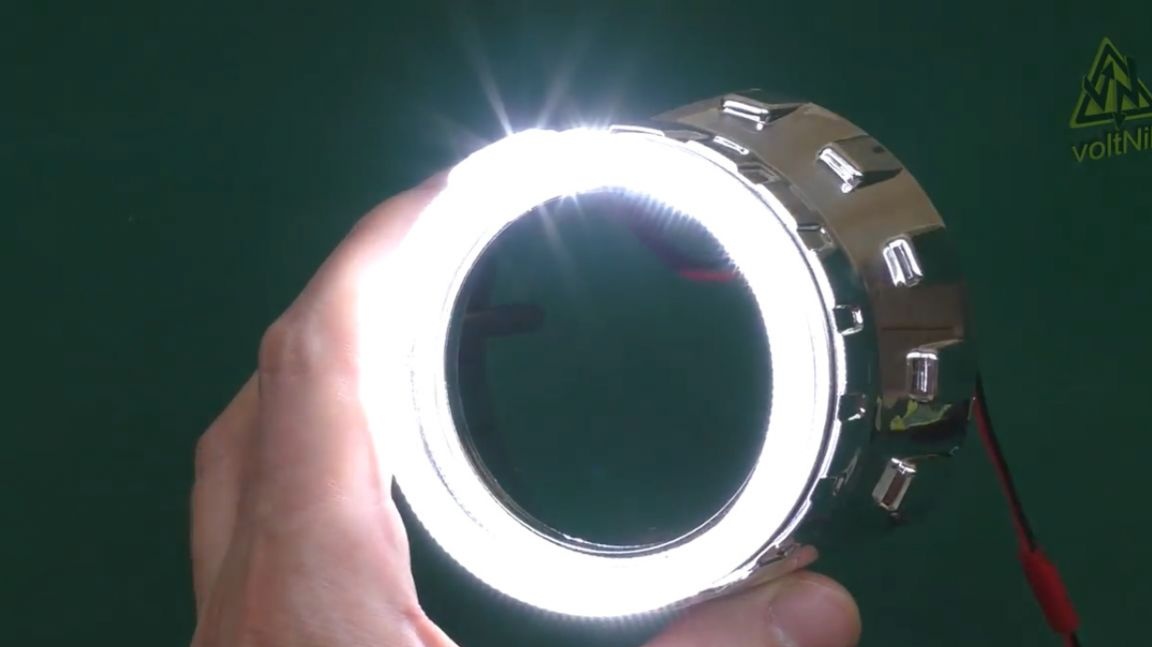
The illumination of angel eyes is realized through the LED driver, so it can also work from a wide voltage range. Consumption is about 200 mA.
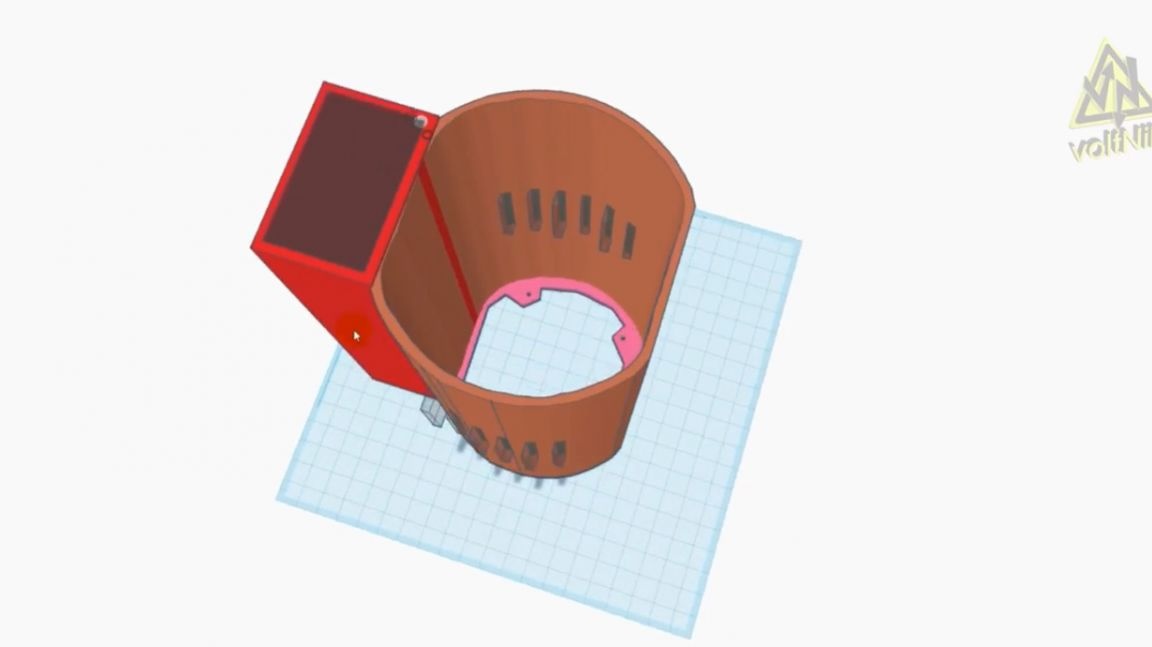
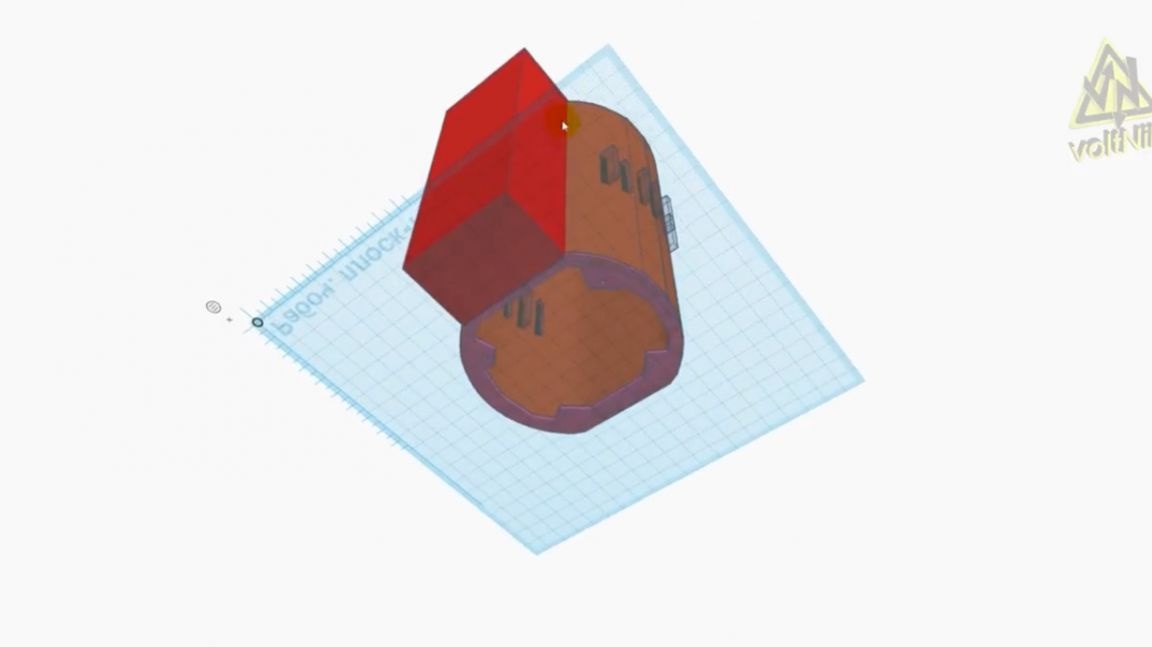
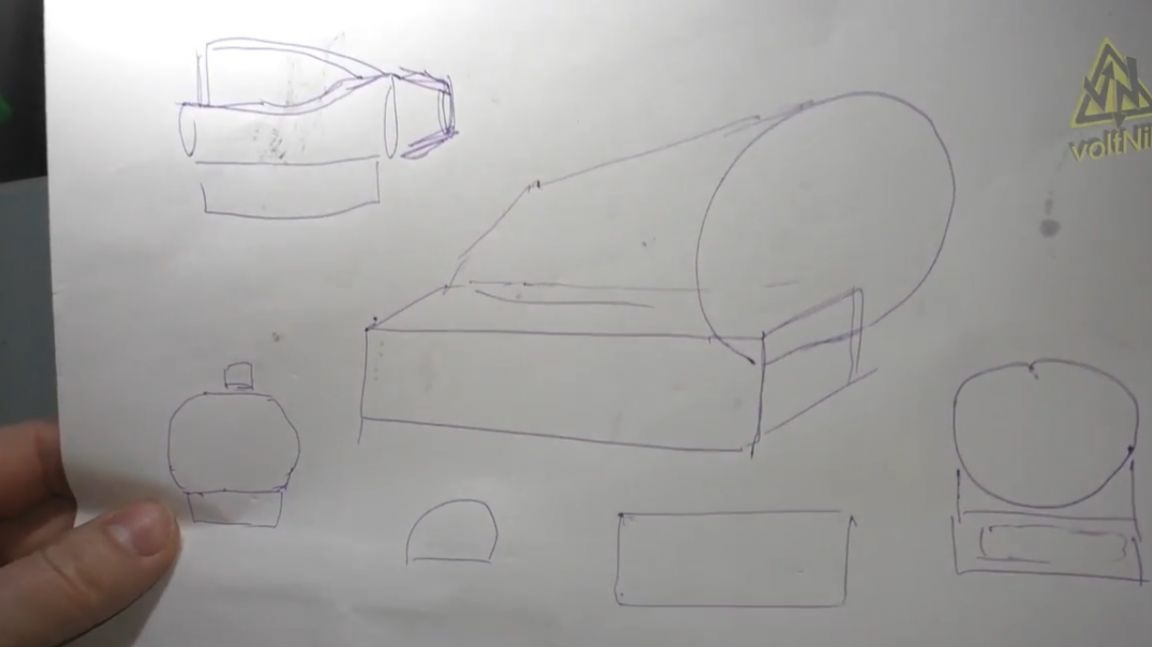
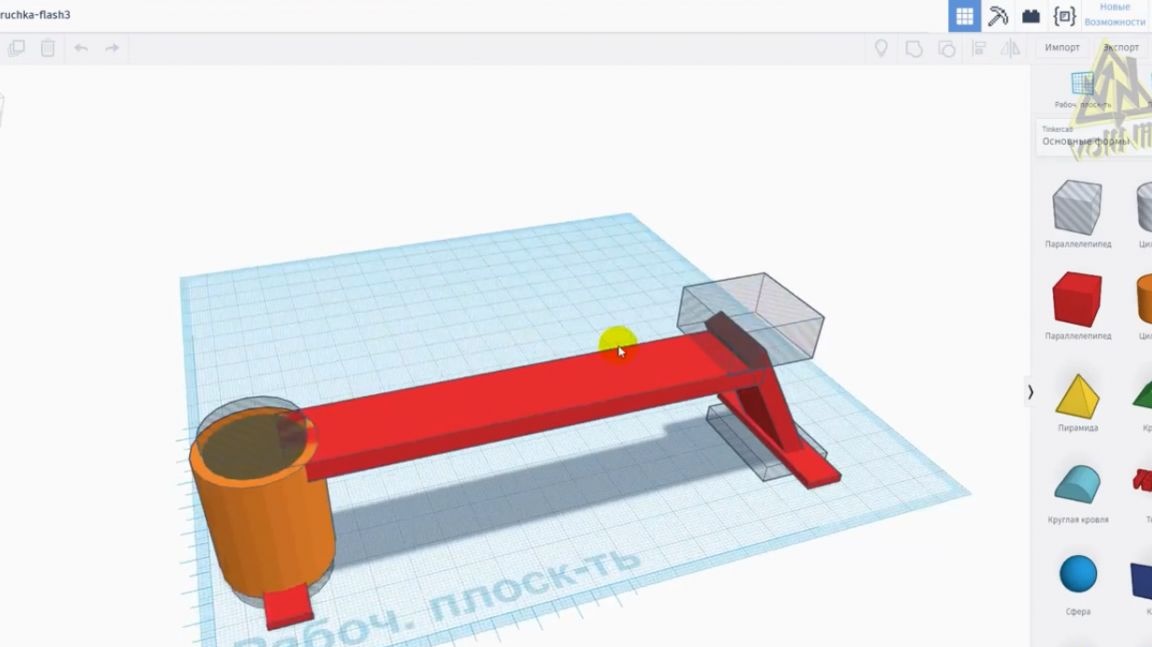
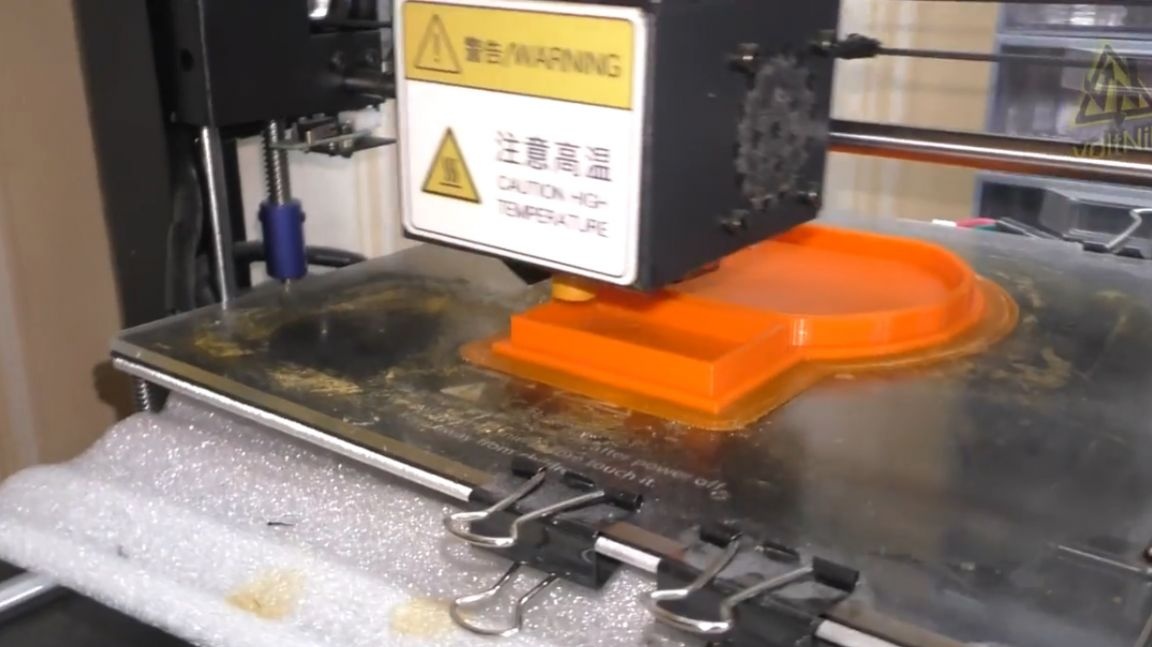
After that, you need to find a suitable case. The author decided to print the case on a 3d printer. To do this, I just photographed the lens cap and outlined it on my computer.

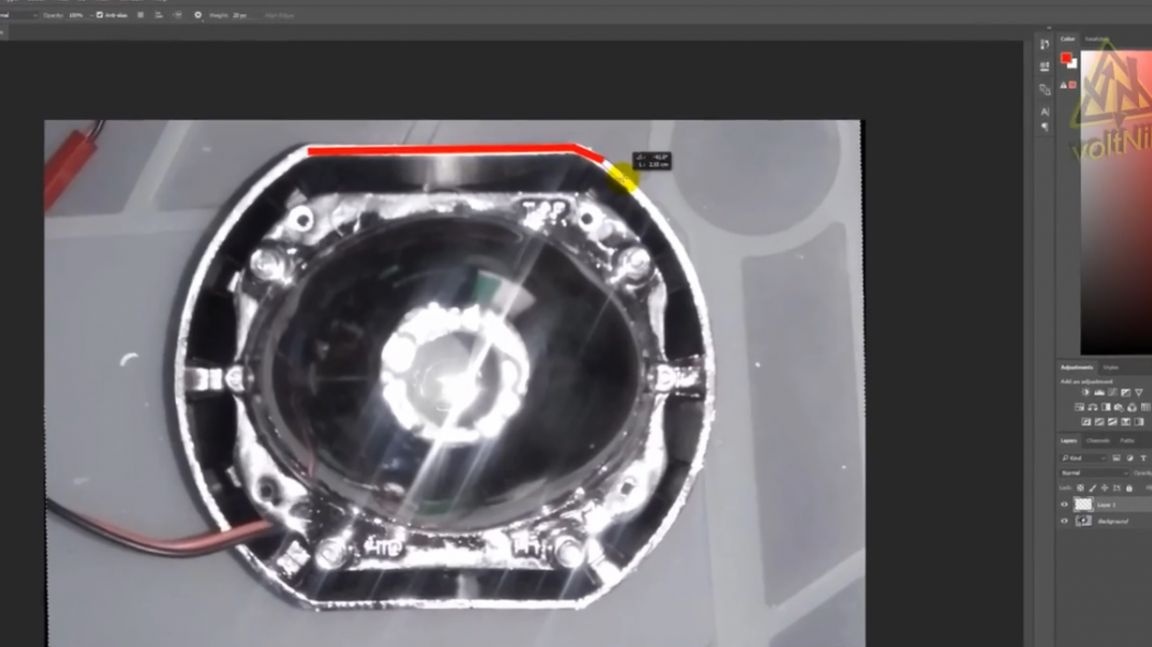
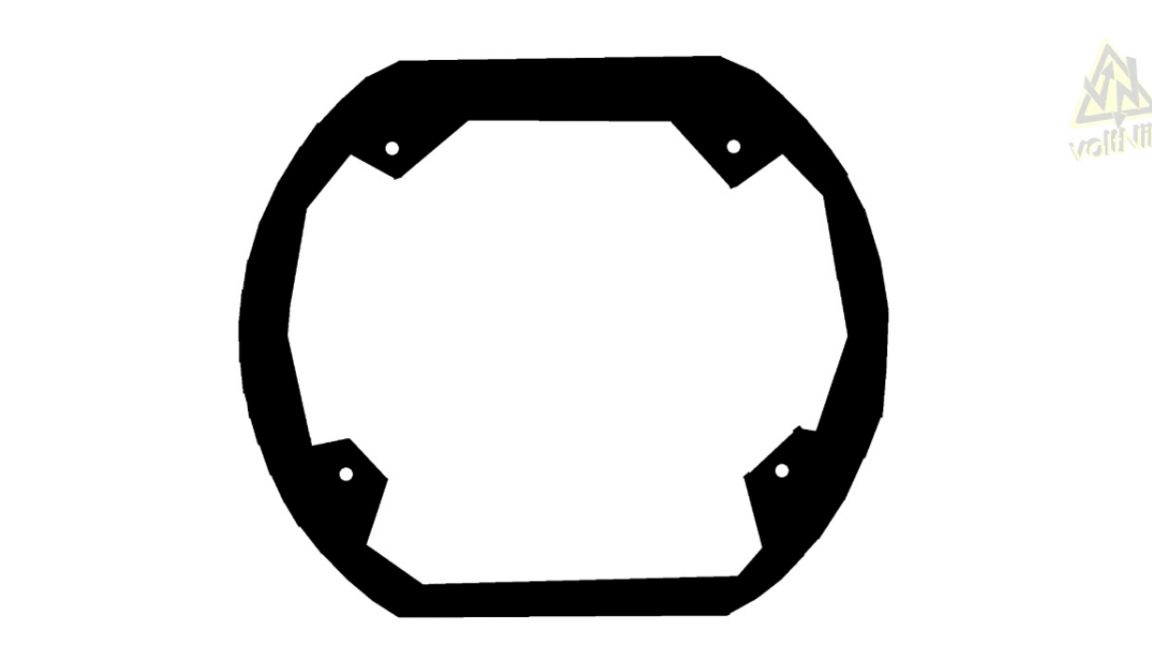
It turns out a workpiece with holes for mounting the lens, well, and the contour for the future lamp.
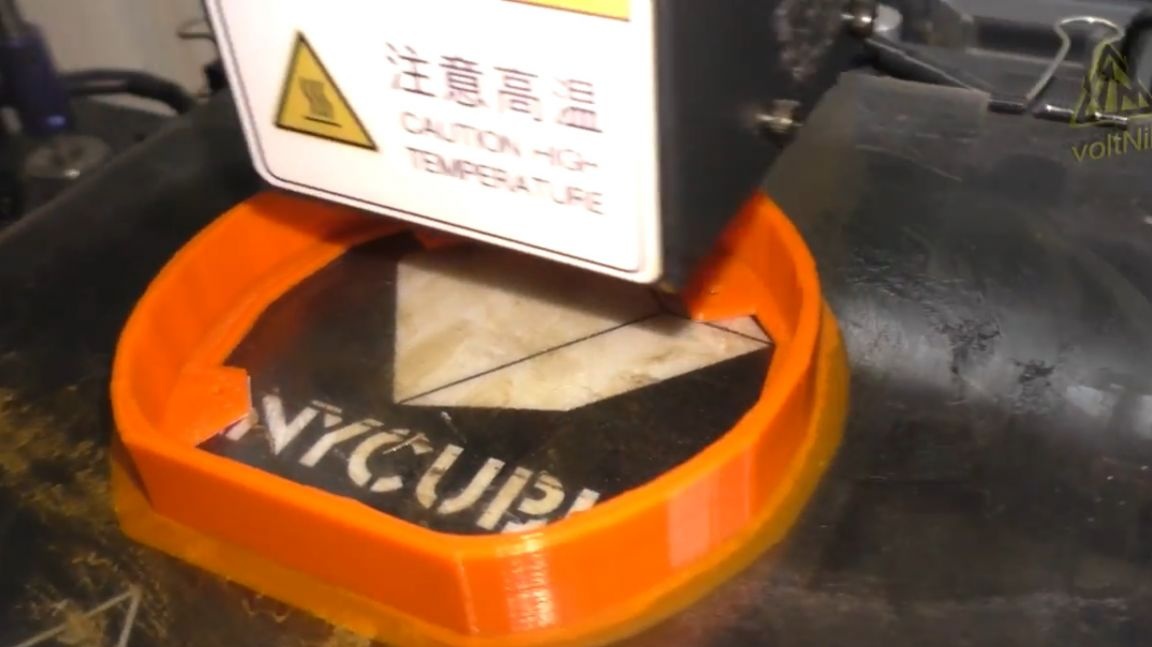
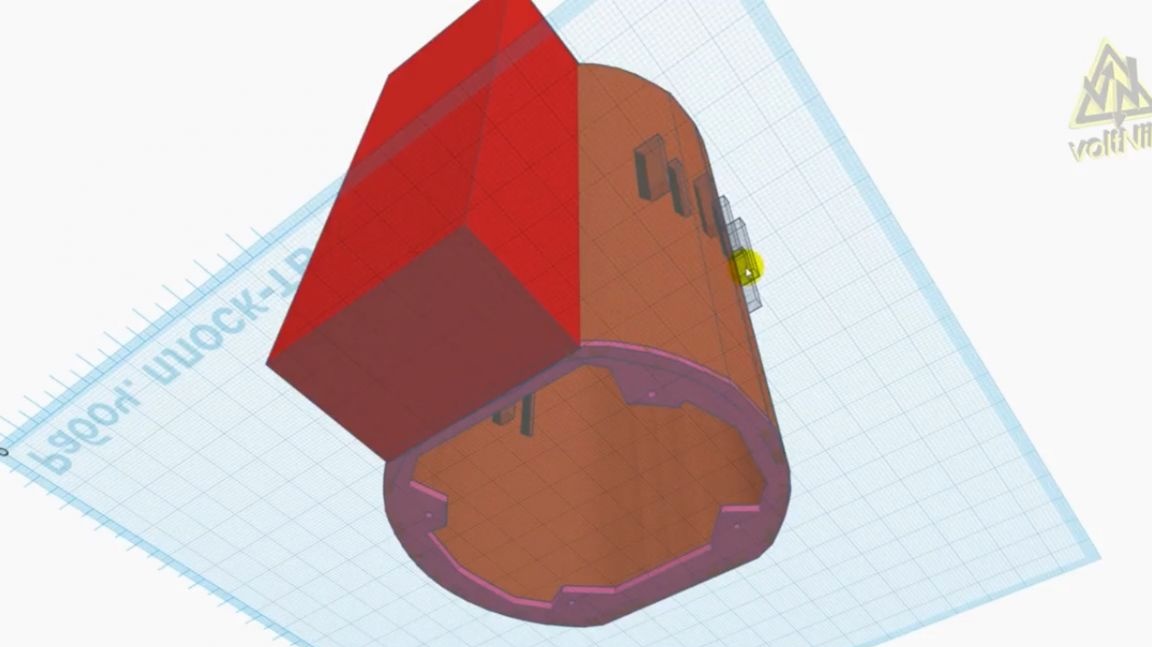
Next, the author prints the first piece for fitting holes. The printed part went perfectly to the lens, and the flashlight began to take on its form.
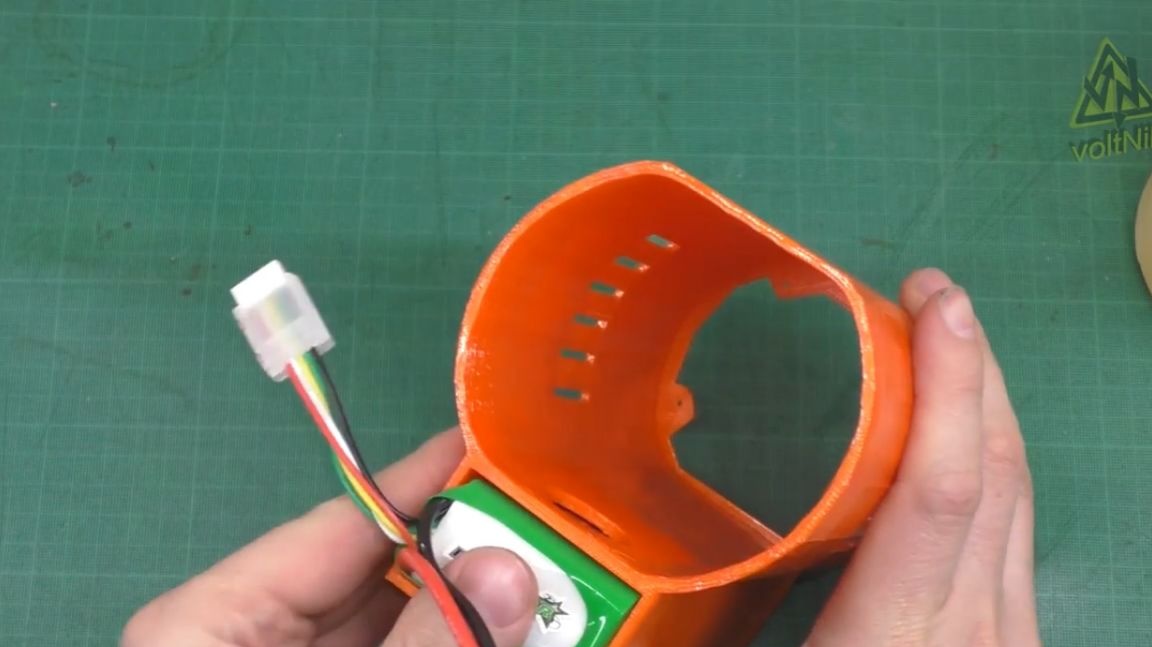
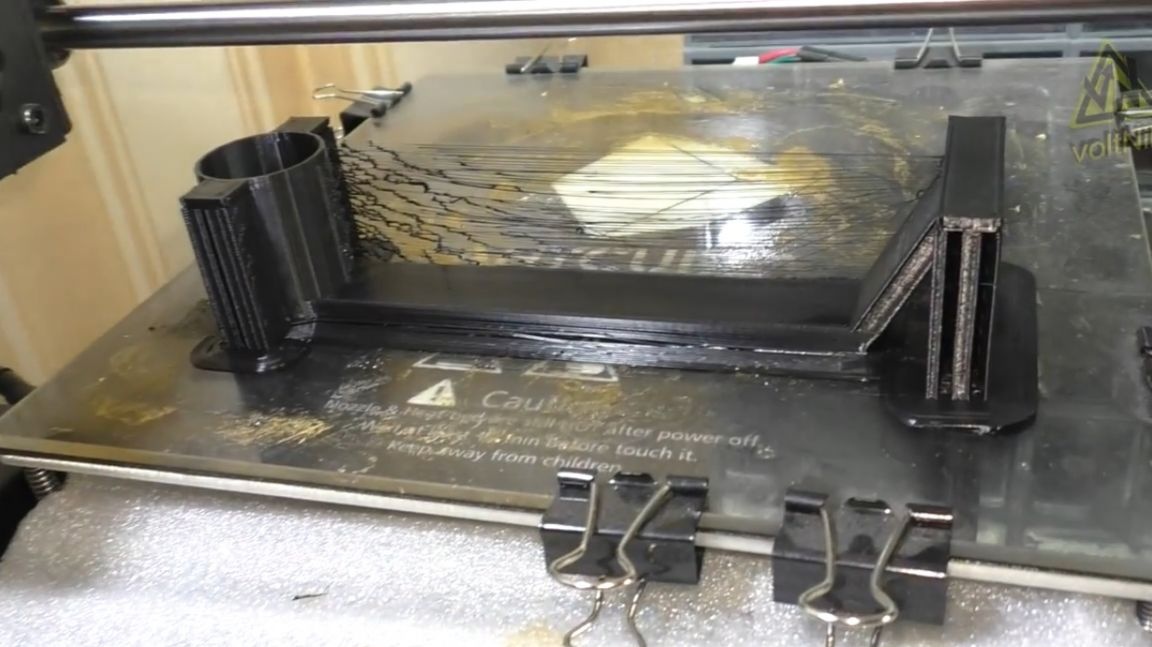
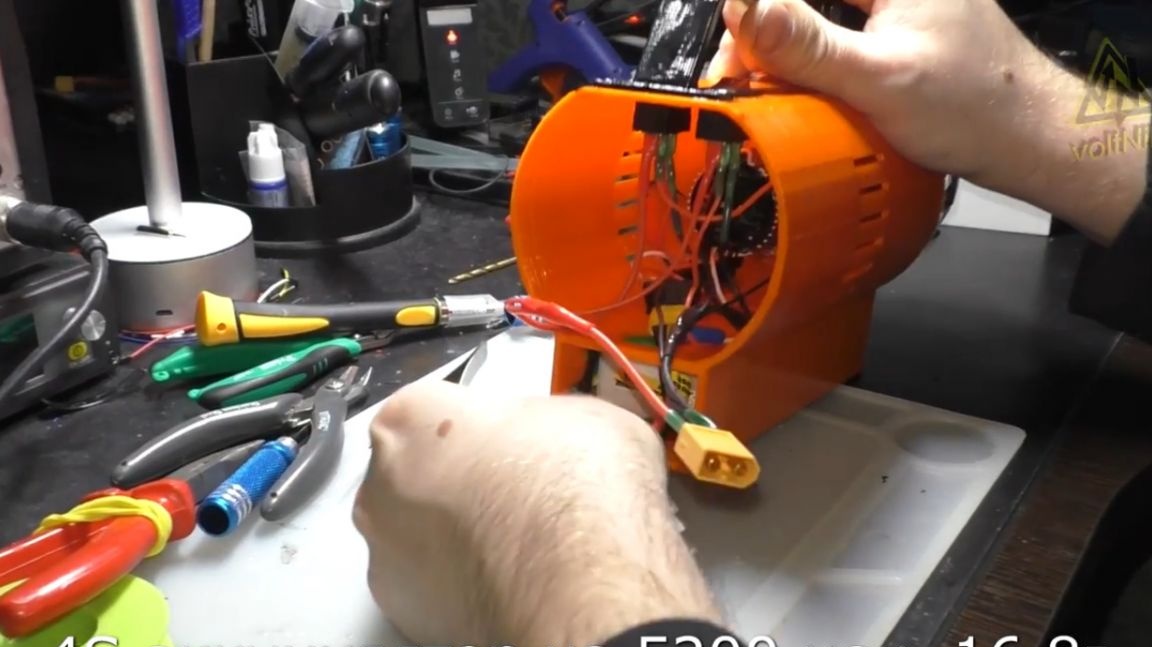
But the battery will be located somewhere below. Therefore, the author is preparing a complete draft of the case for printing. It will immediately provide ventilation holes on the sides of the case, opposite the fan. And from below there will be a large compartment for the battery. A transition is made from it to the main compartment so that the wires do not stick out.The printing time for such a case is 12 hours. Plastic consumption of 200 g, that is, about 150 rubles.
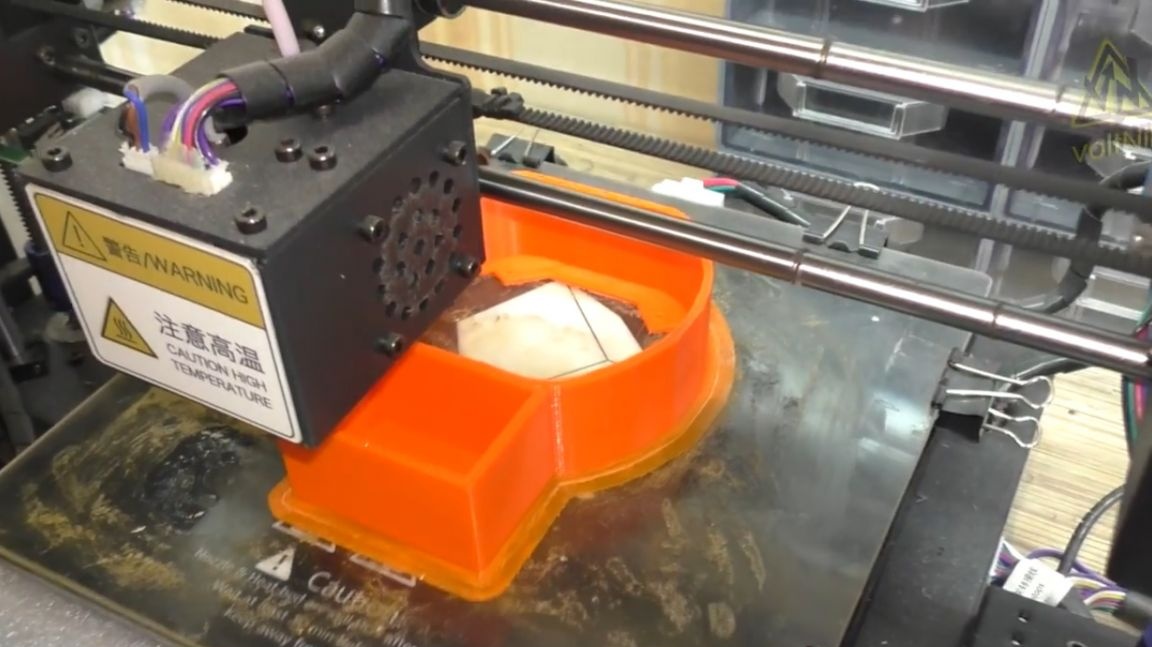
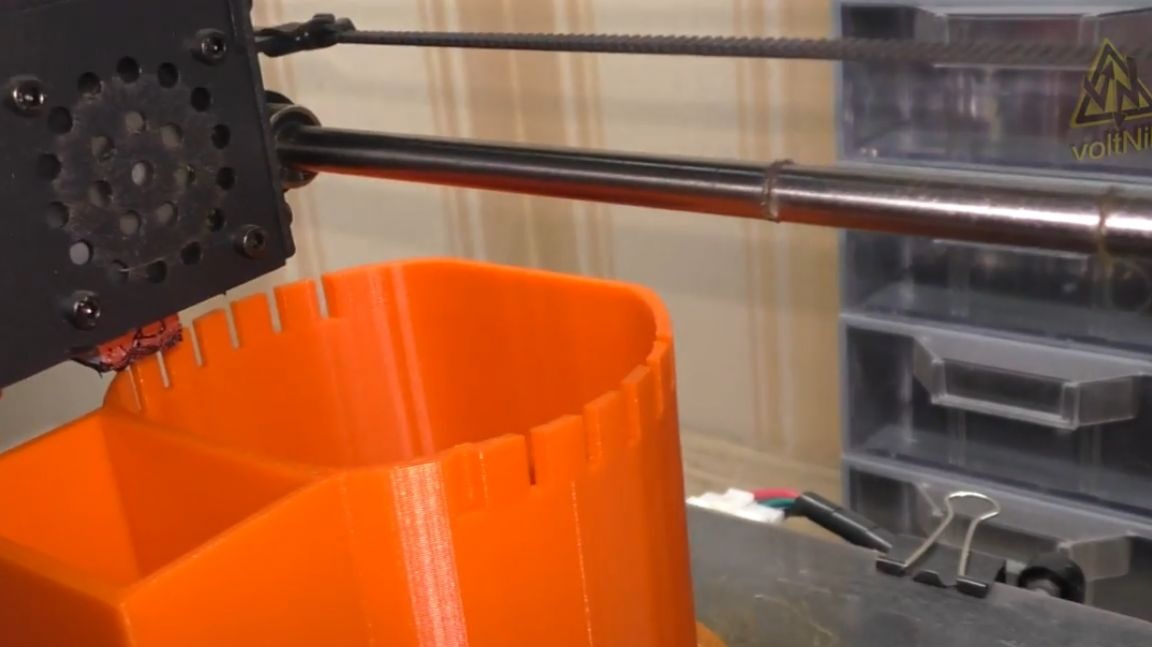
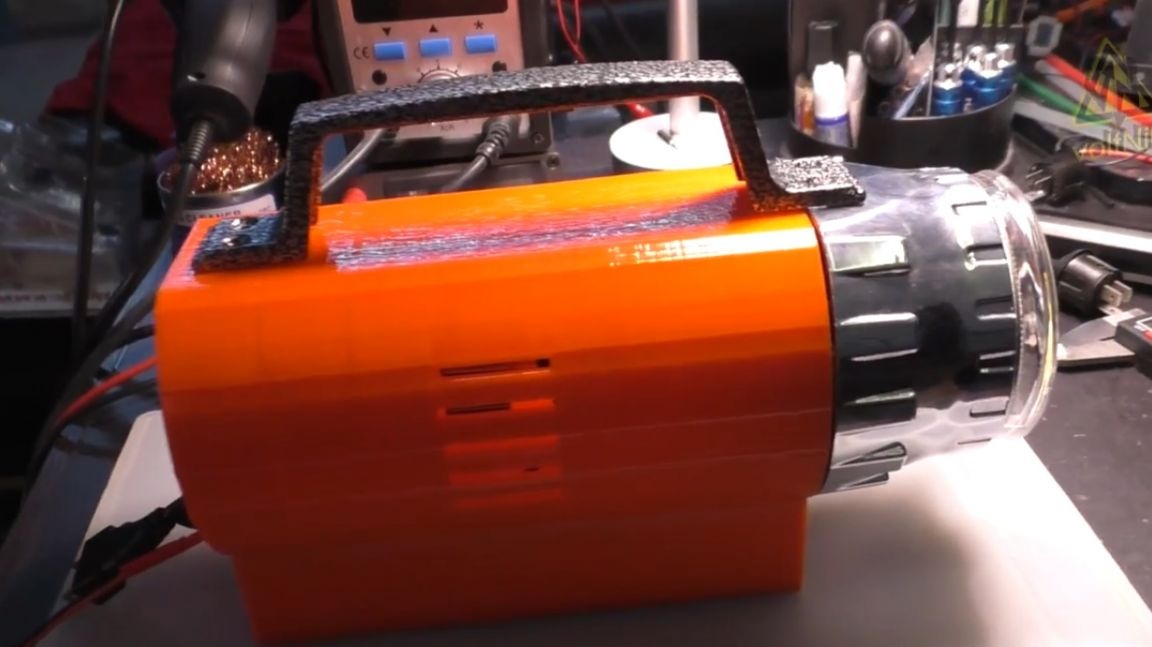
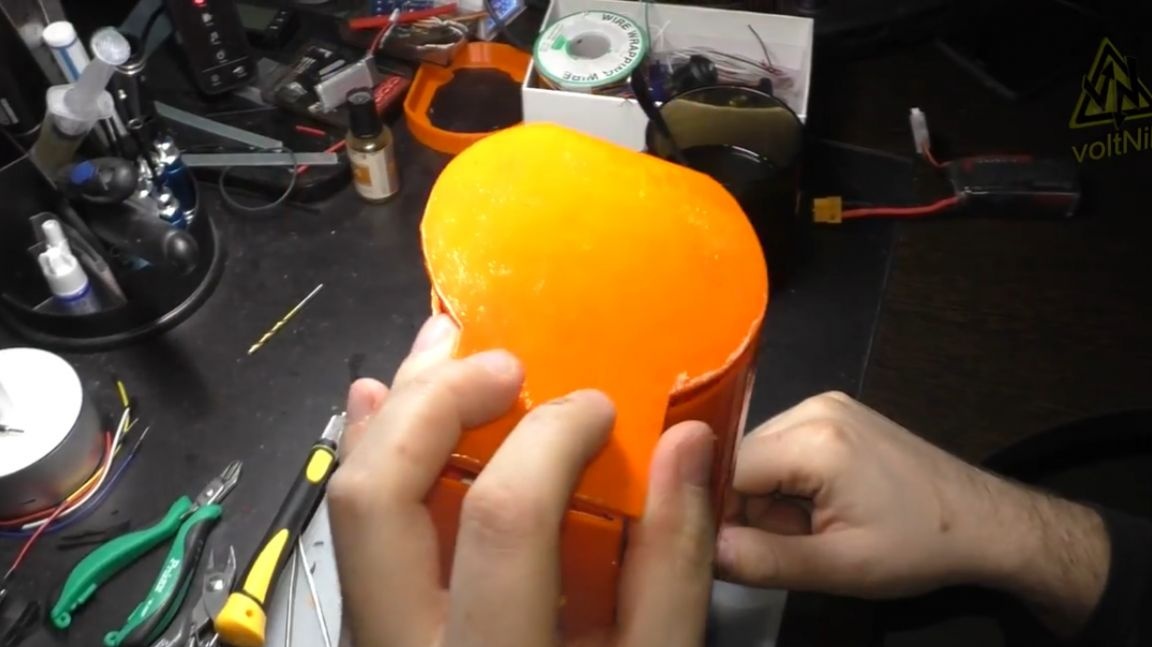
As a result, the author received a ready-made housing for the lantern. In some places, it cracked due to thermal shrinkage of the plastic, but this is easily fixed by gluing the case with acetone. And after processing we get a glossy case.
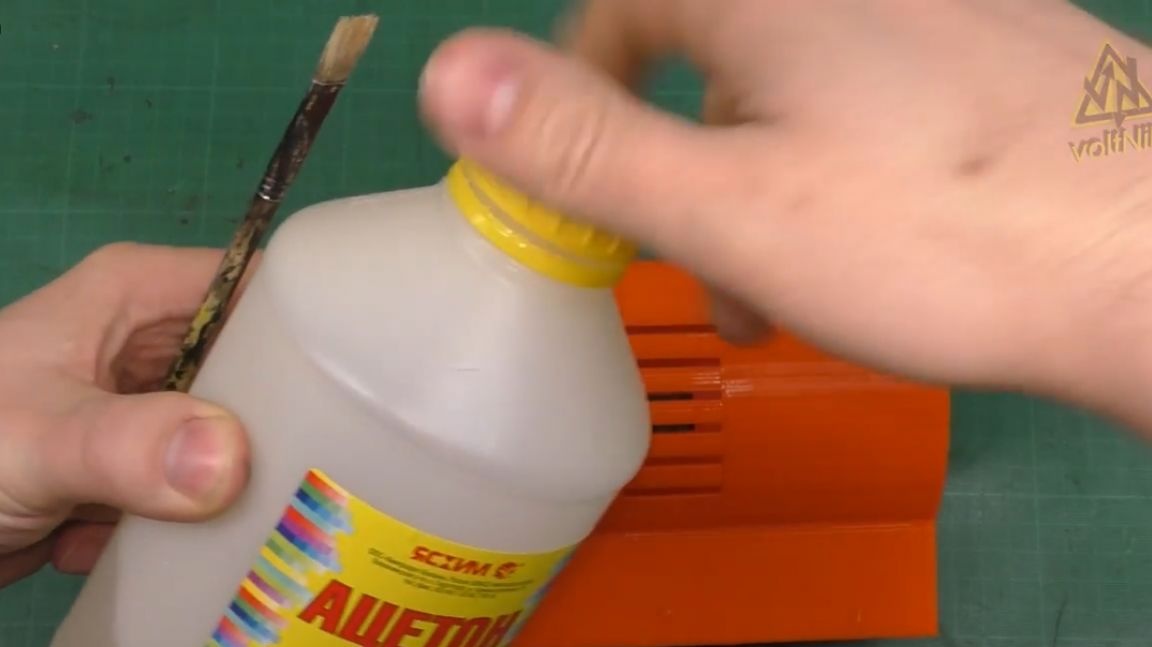
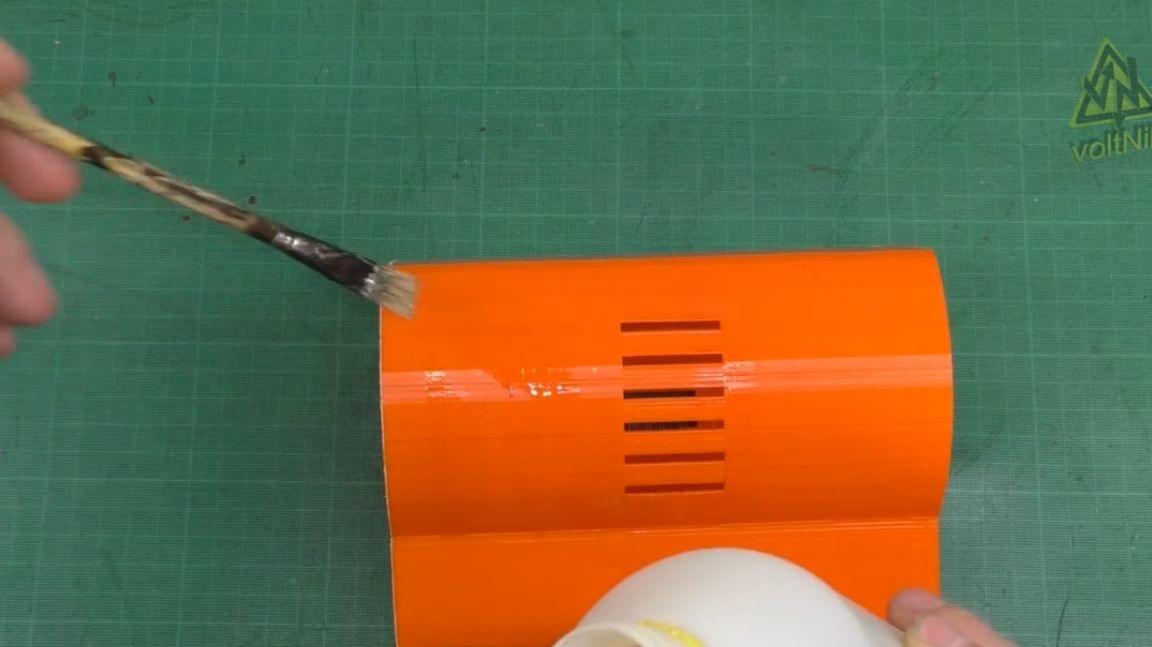
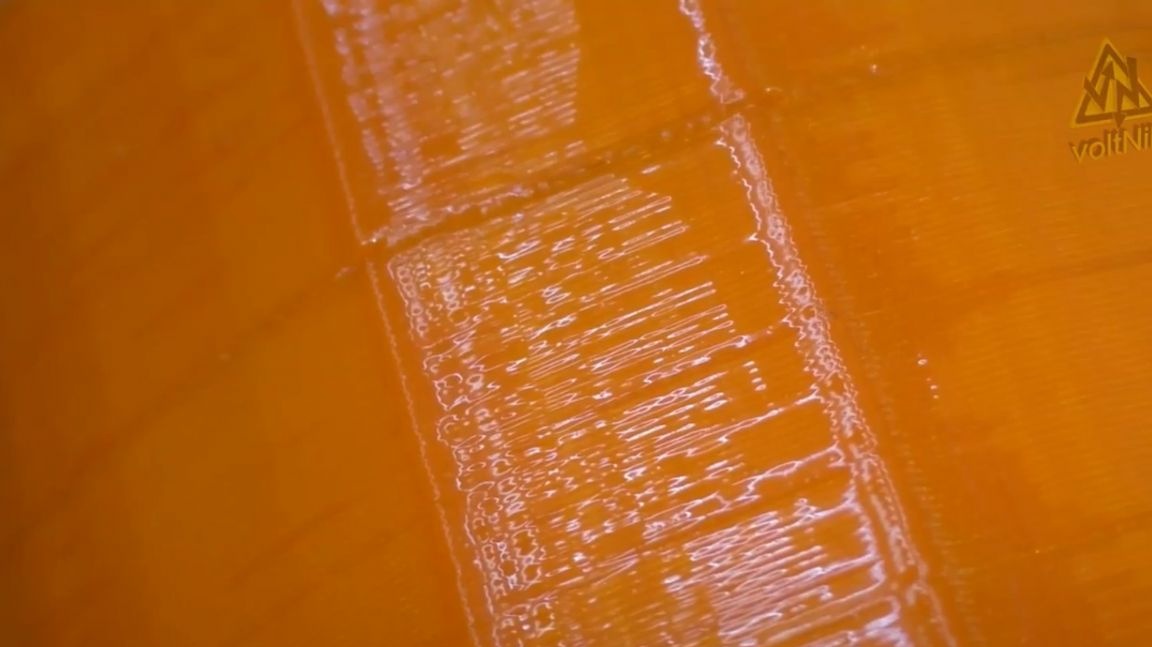
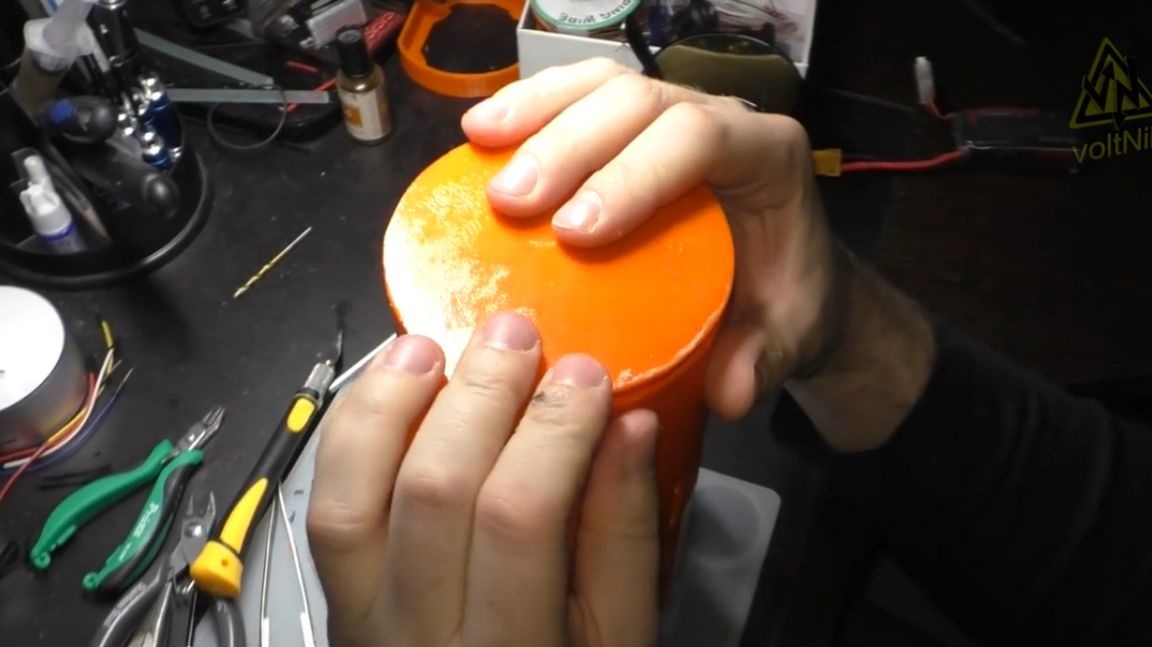
Dark stripes, these are the very places of poor layering. Acetone got there and glued the layers together. The case has become one-piece. The battery fit perfectly in its place. Well, still, it was being prepared for him.
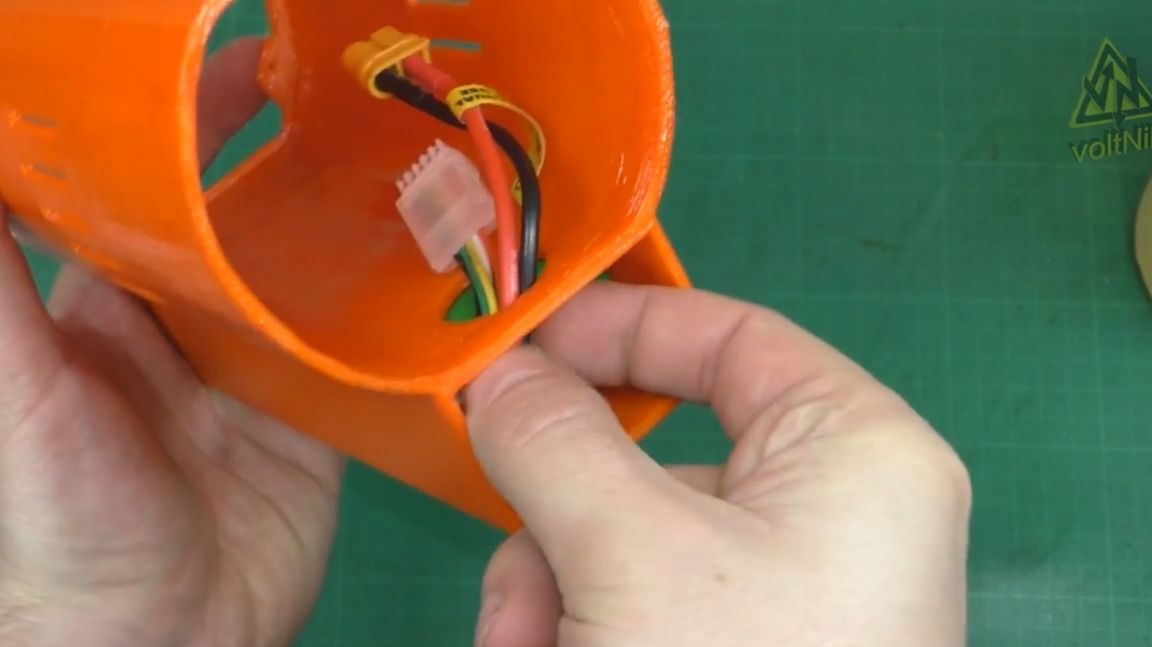
The wires will immediately go inside the case. The initial sketch seems like an idiotic children's drawing, compared to what happened in the end.

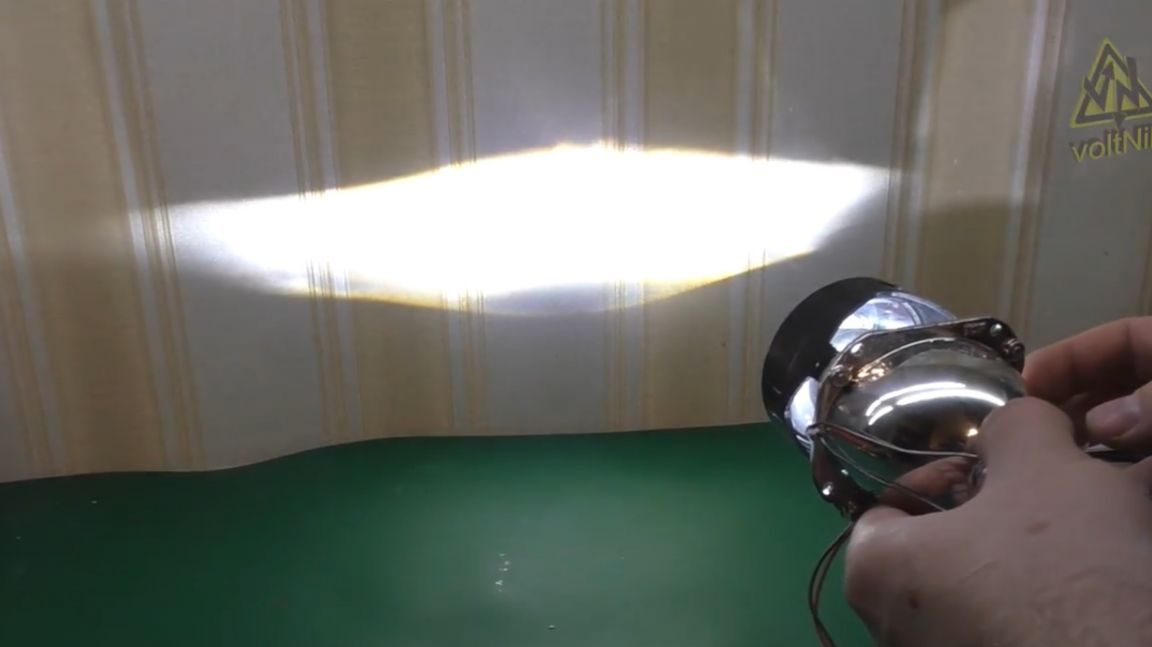
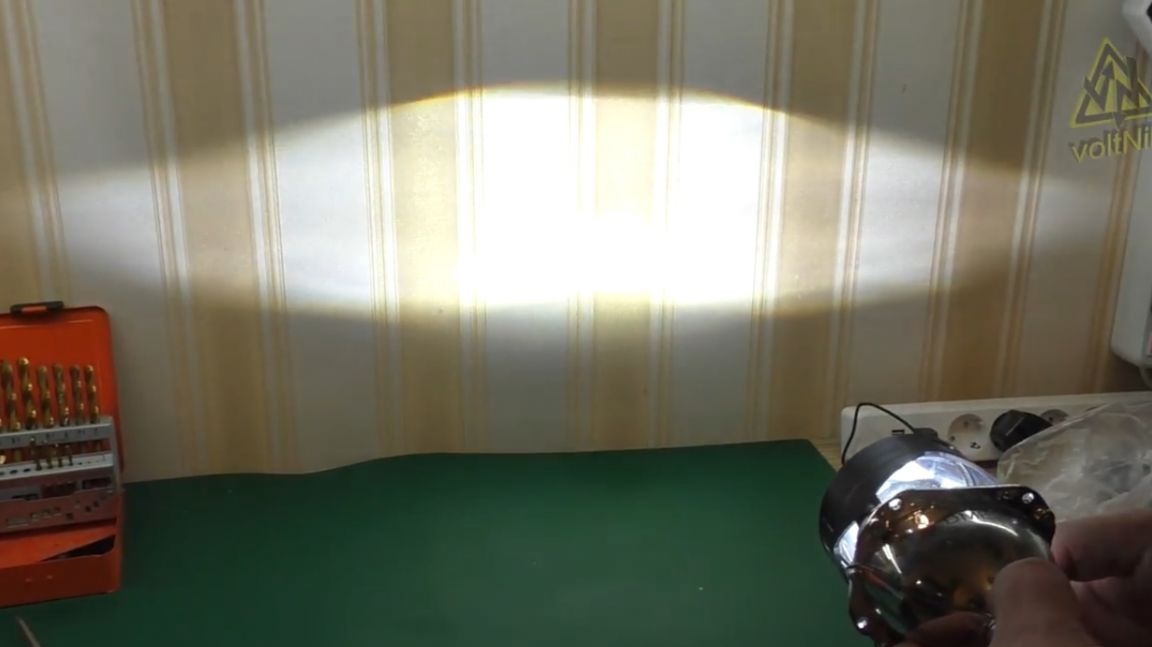
Further, the author fixed the lamp, she herself stood exactly in the grooves and was in the focus of the reflector. At a short distance from the wall, it seems that the beam is oblique and irregular. But it is worth a little to move away the lens, as the shadow line begins to straighten and becomes flat.
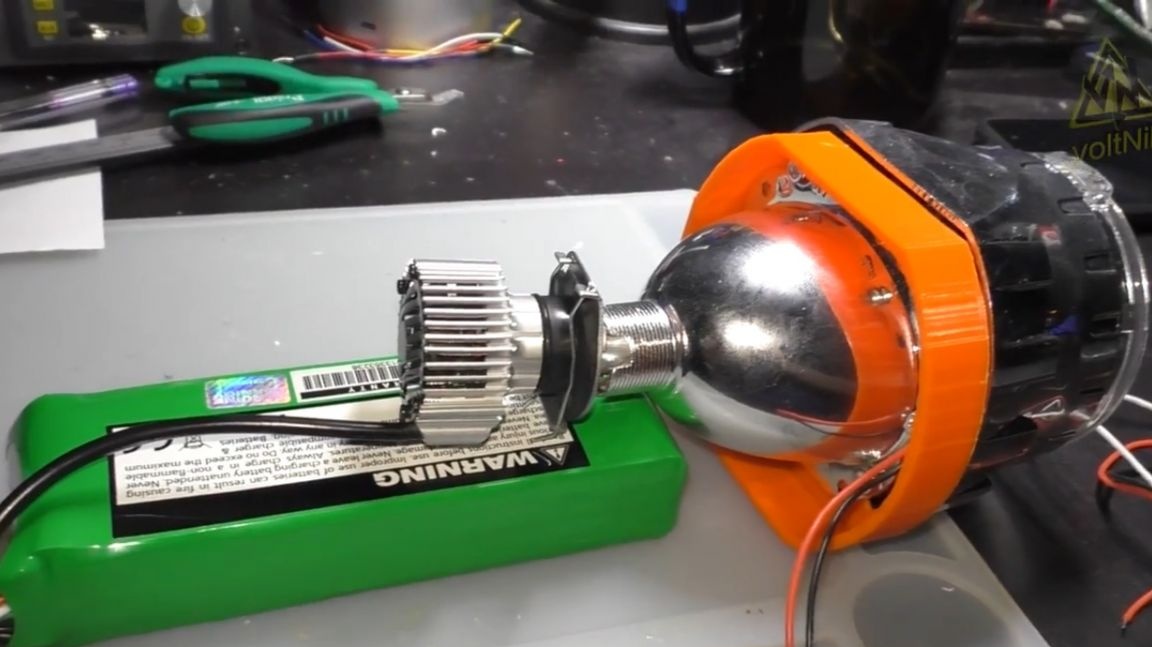
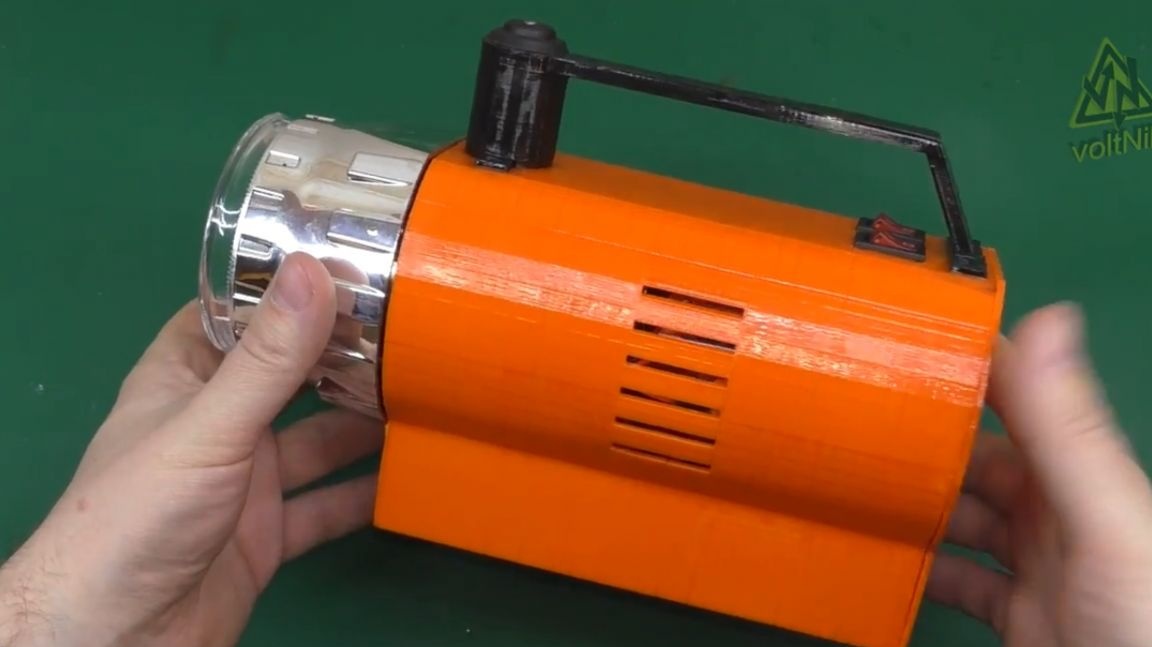
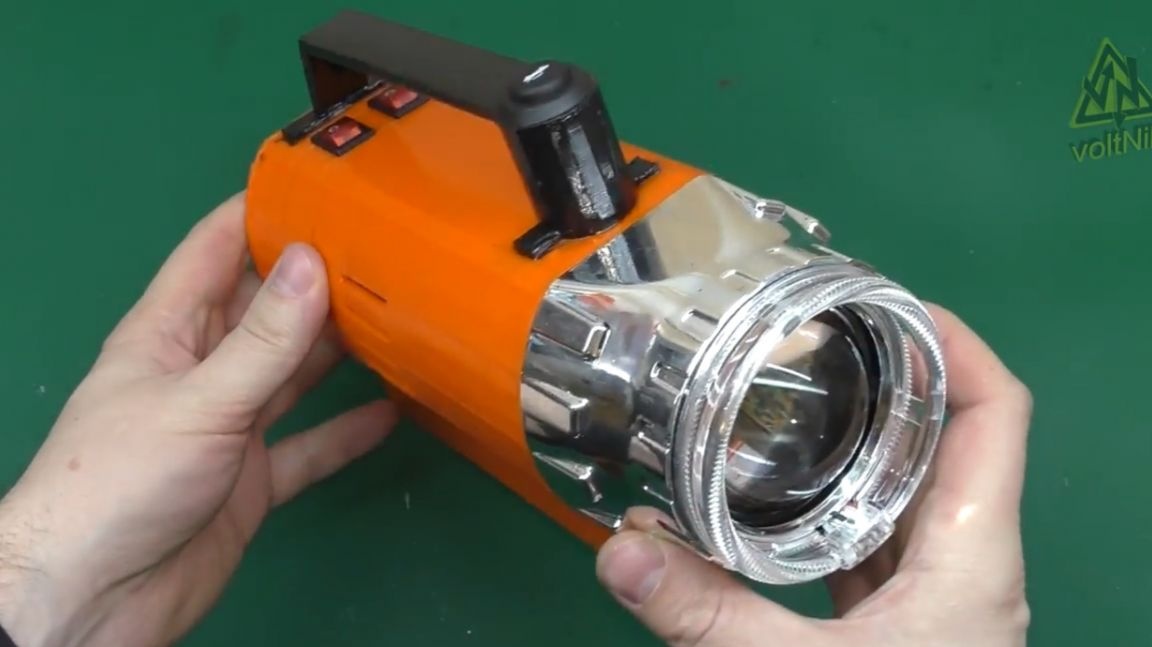
It remains only to put it all together: the lens cap, housing, the lens itself with a reflector, a battery and install a switch. We twist everything together using the screws from the kit with a lens.
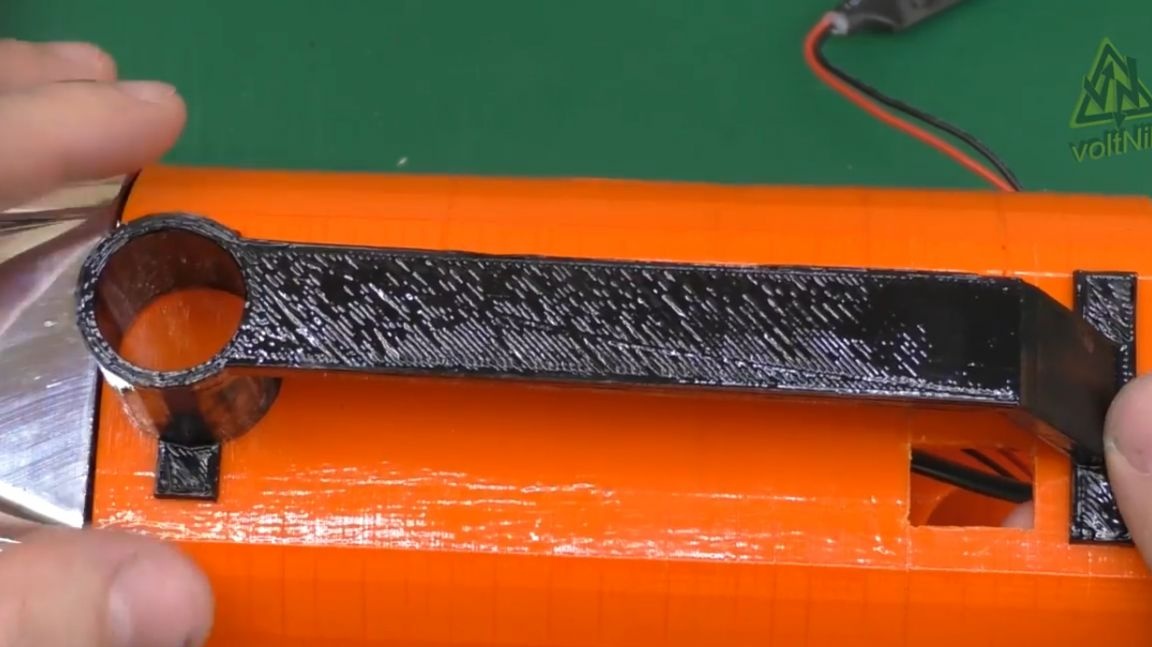
The handle bought at a hardware store turned out to be large.
Therefore, the author is again preparing a project for 3d printing.
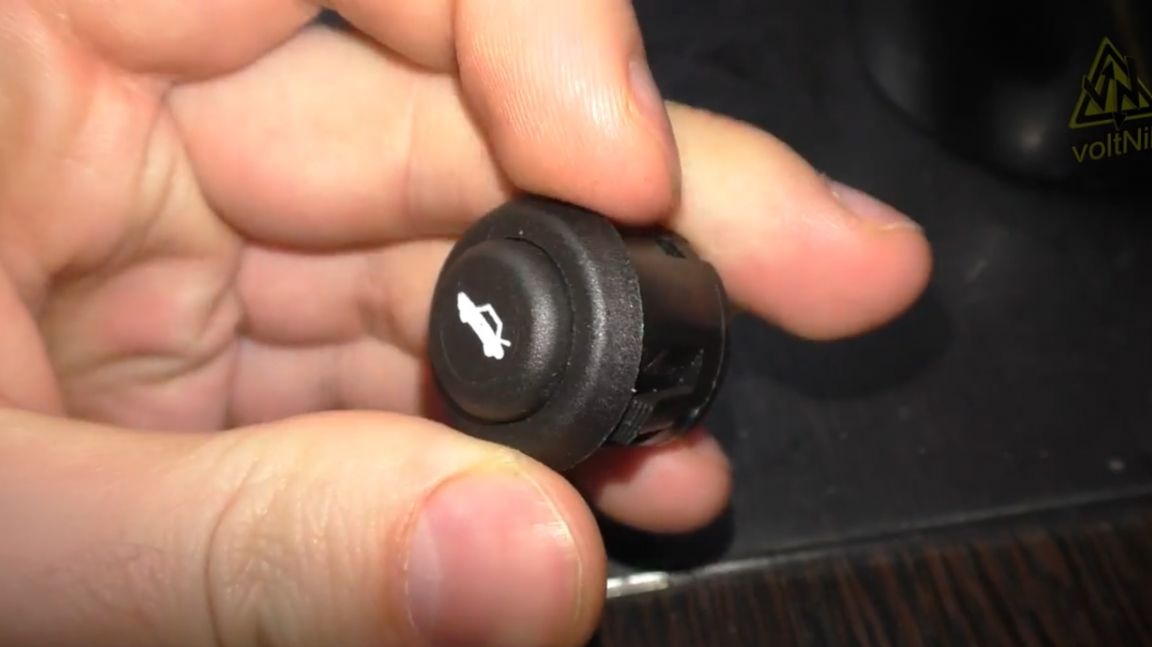
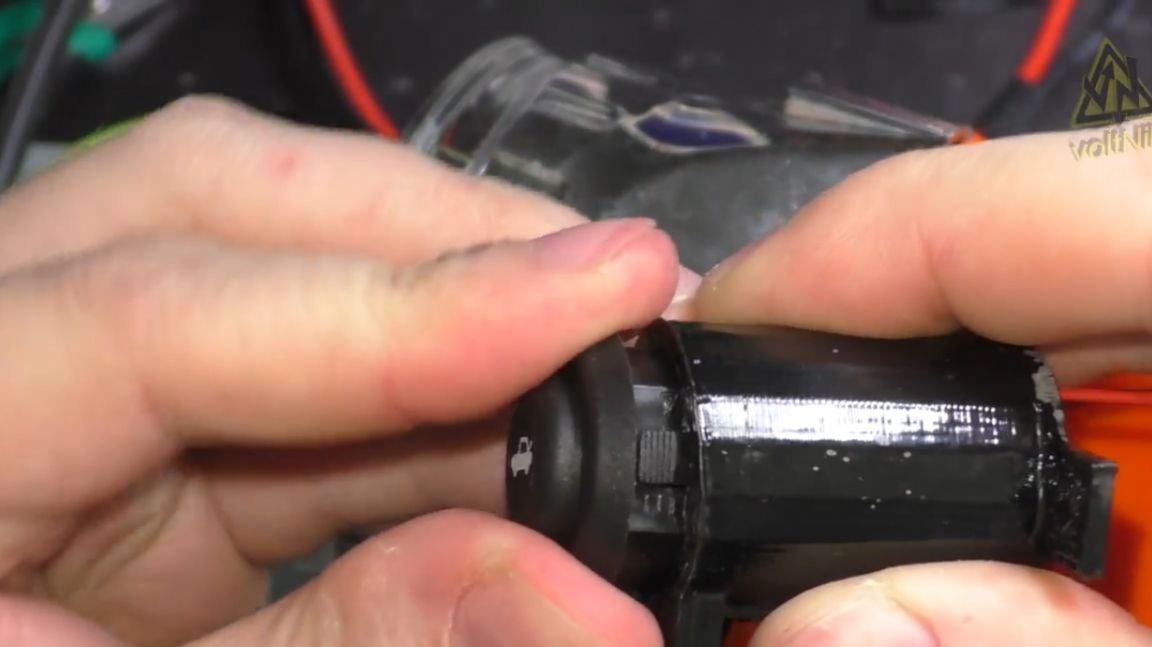
In the handle, he decided to immediately build a button to switch the low and high beam modes. The button was bought in the car shop for about 50 rubles.
While the pen was printing, the author cut two switches into the lamp housing. Of course, it was necessary to foresee a place for their installation in the building. But this was not taken into account, so I had to chop plastic.
Illumination of angel eyes turned out to be dual-mode. In principle, you can make a separate mode switch for it. And you can leave the maximum brightness.
After almost 2 hours, the handle was ready. It will be located on top, and under the thumb there will be a convenient button for switching the low and high beam modes.
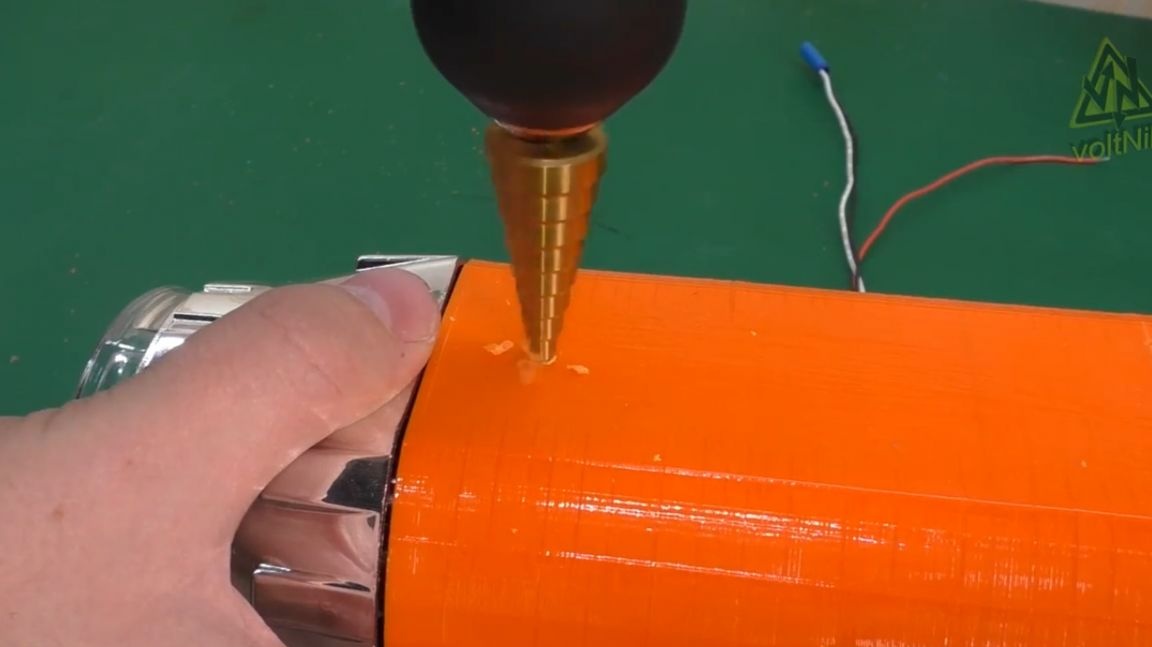
We drill a hole in the housing for the wires for it. Solder the wires to the switch and isolate them with heat shrink.

Set the button in its place in the handle. The author herself glued the handle to the case on acetone. At first he wanted to strengthen this connection with screws or screws, but the plastic was very firmly glued, so he did not even have to strengthen it.
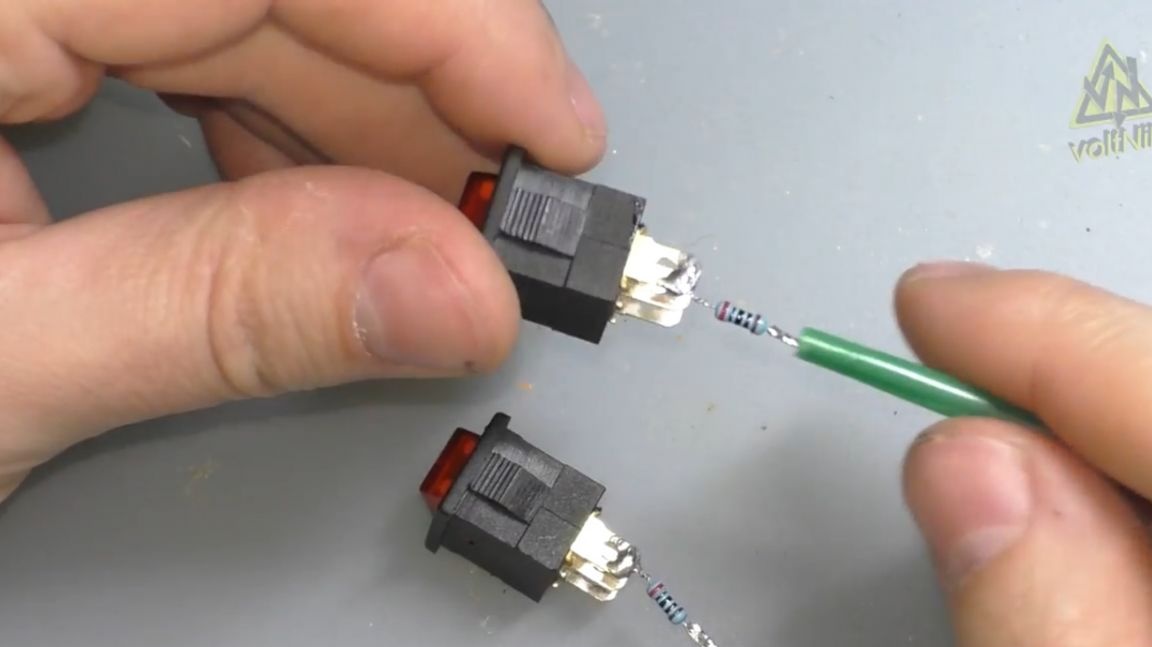
There is a backlight on the switches, but it is designed to operate at 12 V. Therefore, it is necessary to add a 300 Ohm resistor to reduce the backlight brightness when the LEDs operate at higher voltages.
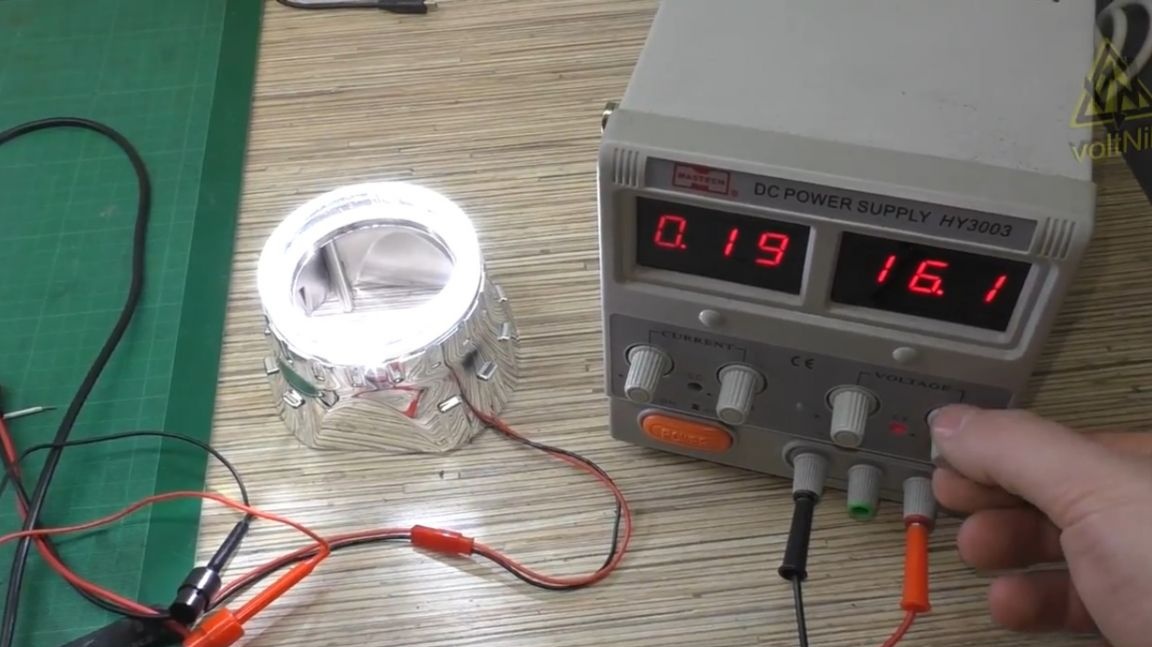
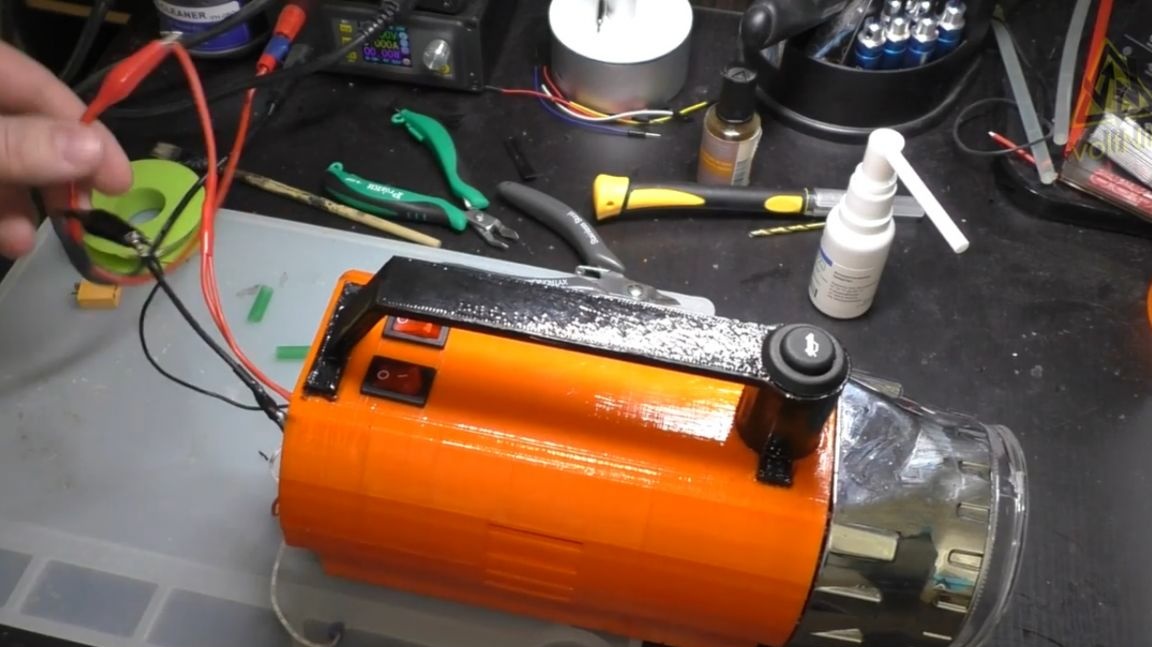
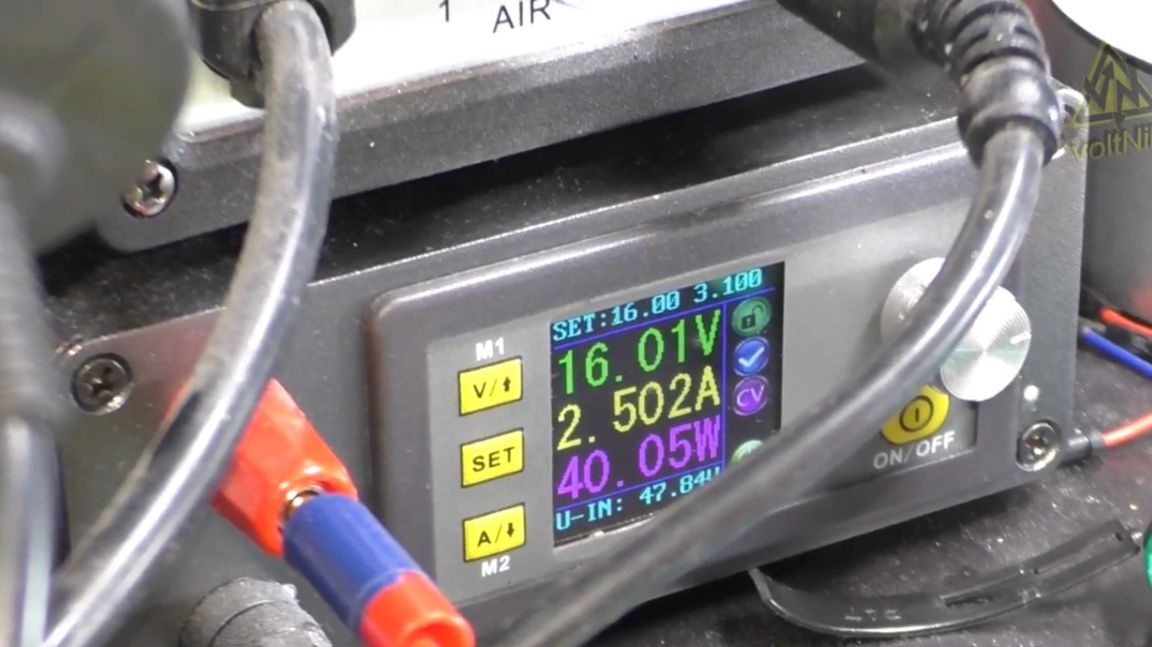
Set the switches in their place. After soldering all the wires together, we get a practically ready lamp. We check by connecting it to the laboratory power supply.
Everything is fine. But then it turned out that the flashlight does not respond to pressing a button low and high beam. The reason for this was quickly identified. The author soldered the wire to the wrong pin on the switch.
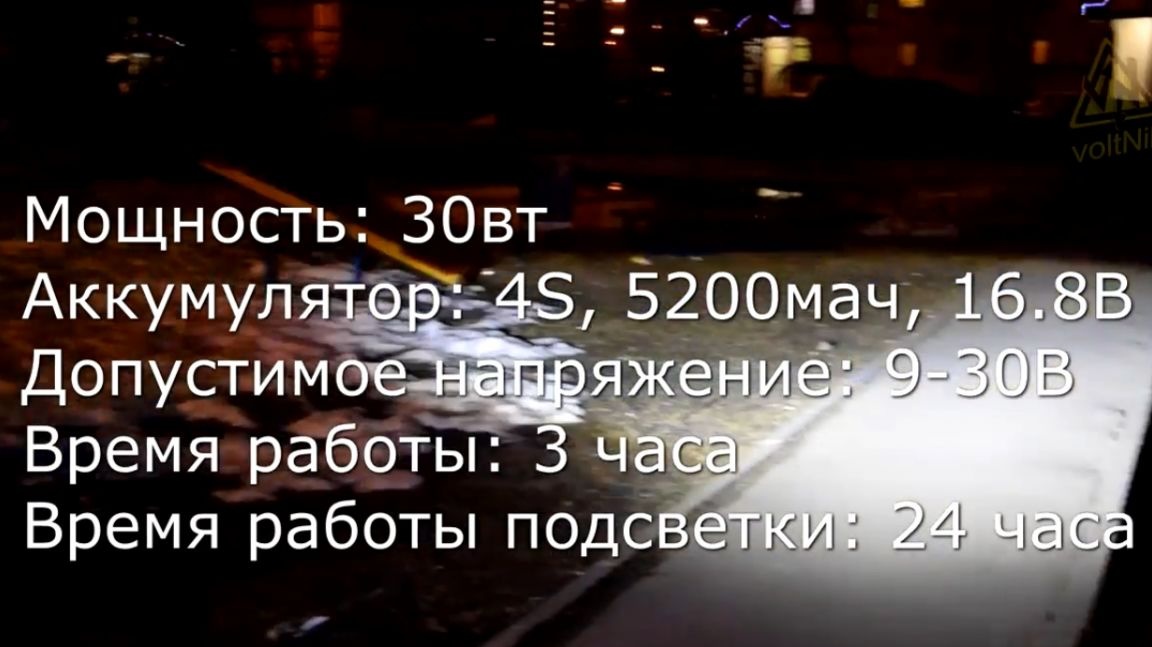
In the dipped beam, when operating from 16 V, the lamp eats 1.8 A. That is, it turns out almost 30 watts. And at the far one already 2.5 A. Thus, a four-can battery of 5200 mAh is enough for 3 hours of low beam and a couple of hours of high beam.
The curtain, of course, can be removed and not installed at all. Then you get 1.8 A in the high beam. But if you use only the illumination of angel eyes, then the lamp will last about 24 hours.
To control the discharge of the battery, we will use an aircraft model tweeter.
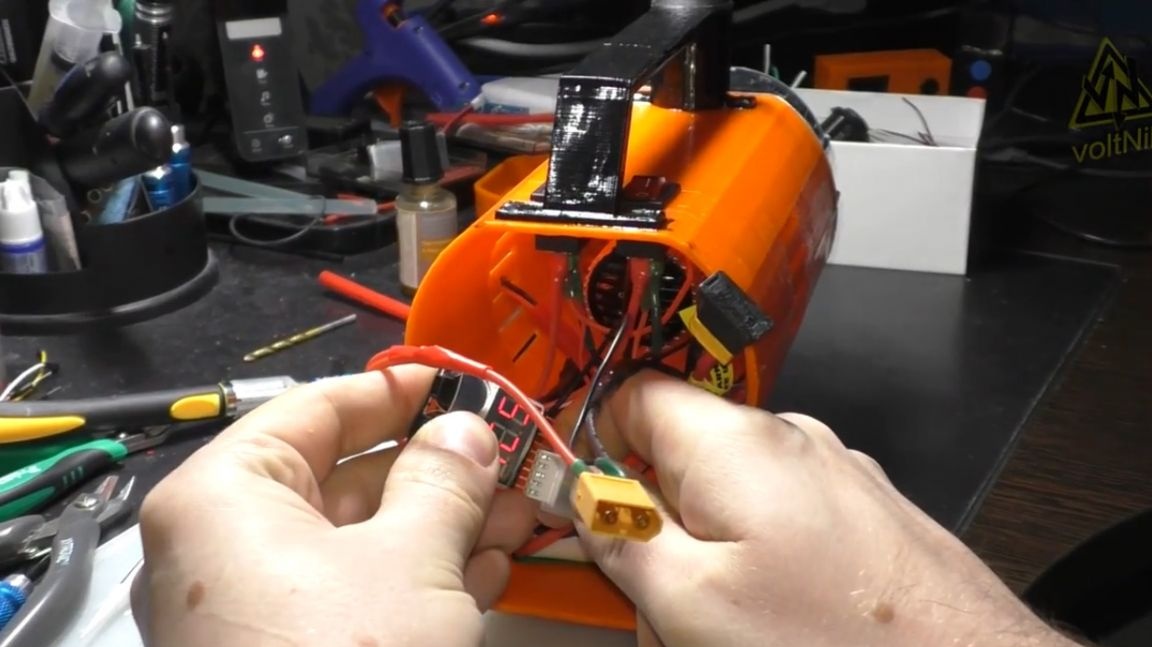
It allows you to control any lithium batteries from 1 to 8 cans by one-by-one, and will warn you with a hellish squeak if one of the cans has slipped by voltage below the minimum threshold. The squeak is such that it’s laying ears, don’t miss it.
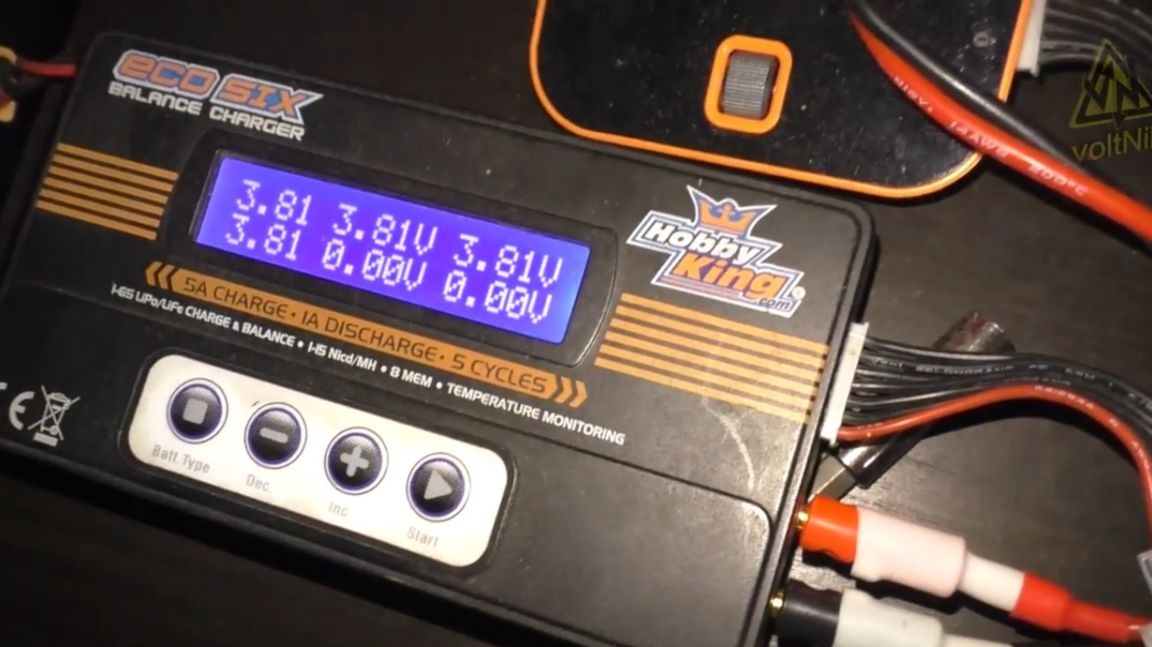
To charge the battery, we will use a specialized charger such as imax b6. It allows you to balance the banks during charging, and you can select the desired currents.
The battery is easily taken out of the case and simply put on charging. In addition, it can be quickly replaced by another.
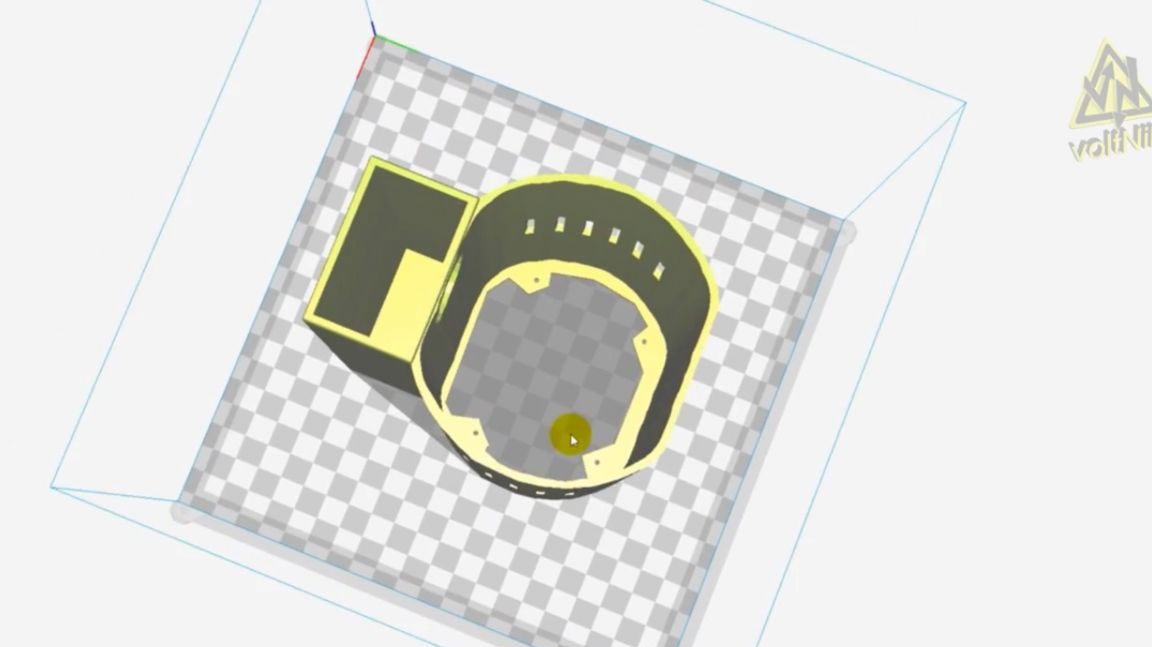
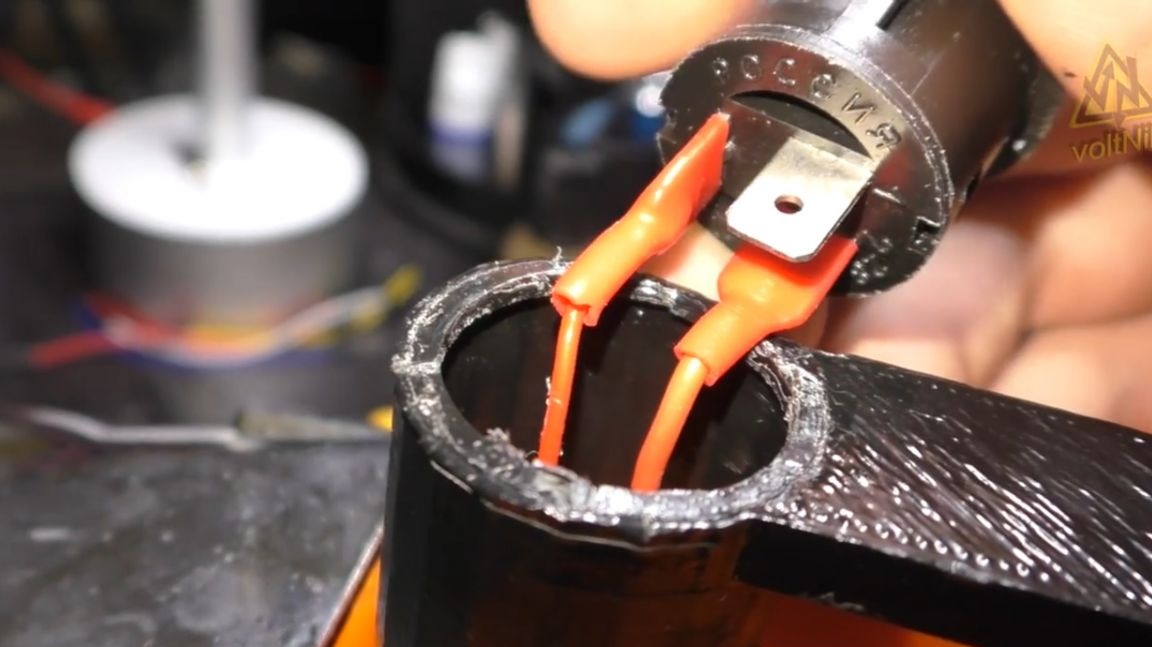
Then print the back cover of the flashlight.
After a little refinement with a scalpel and file adjustment, she sits down tightly in her place. Locks and locks were not needed.
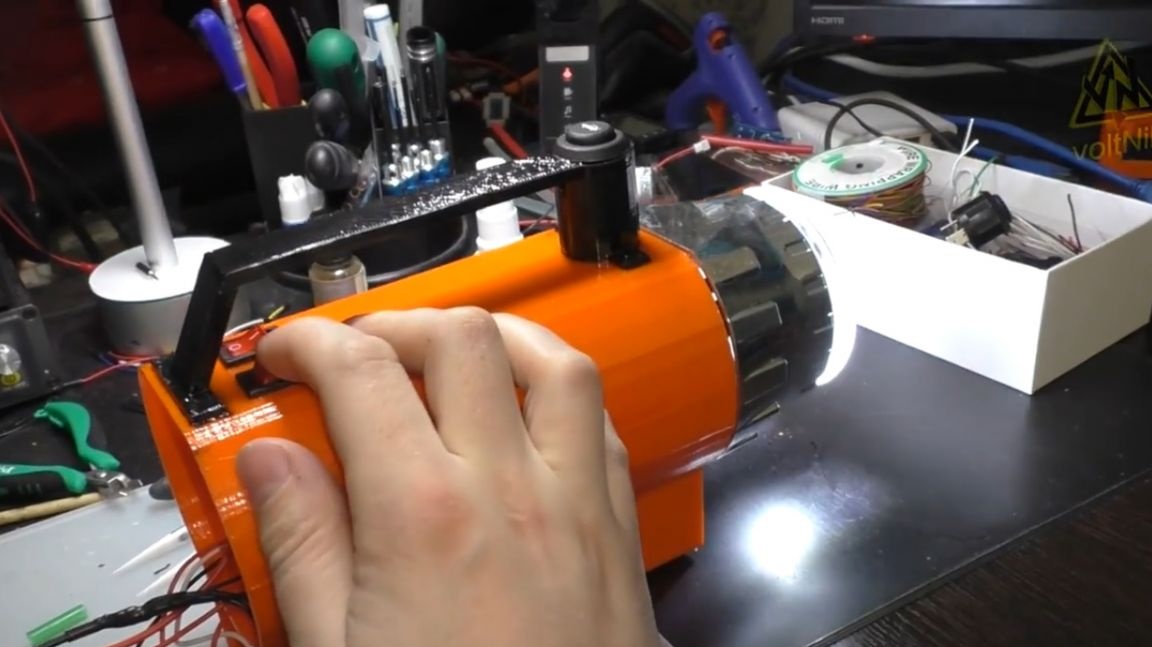
Well, the flashlight is ready, it's time to go test it.
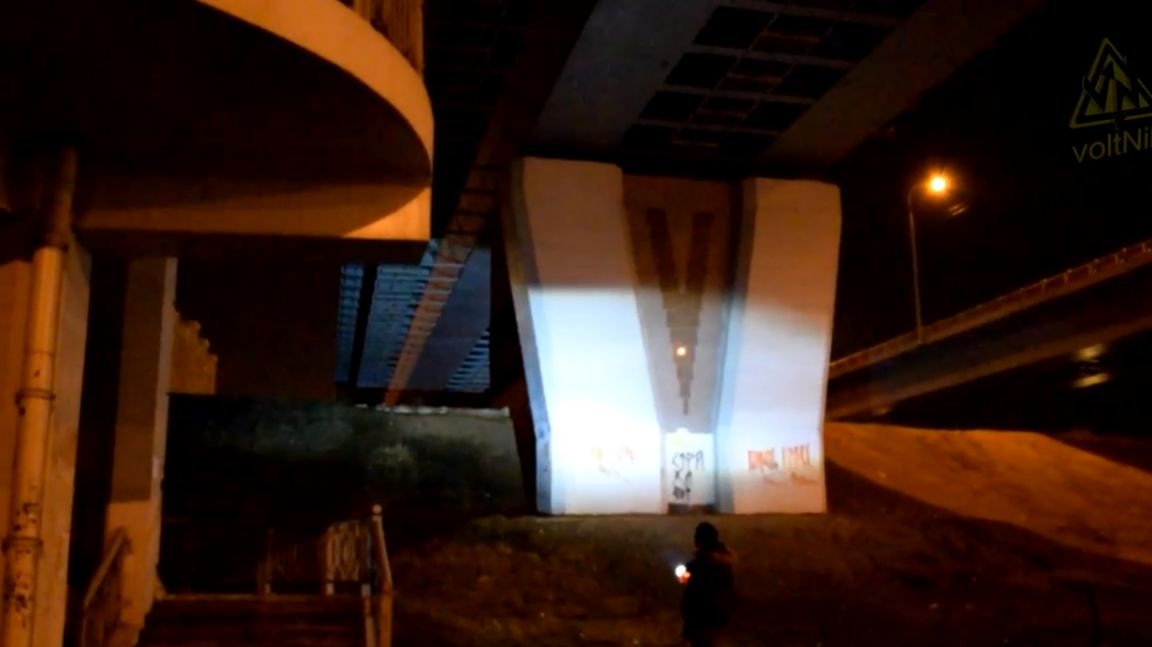
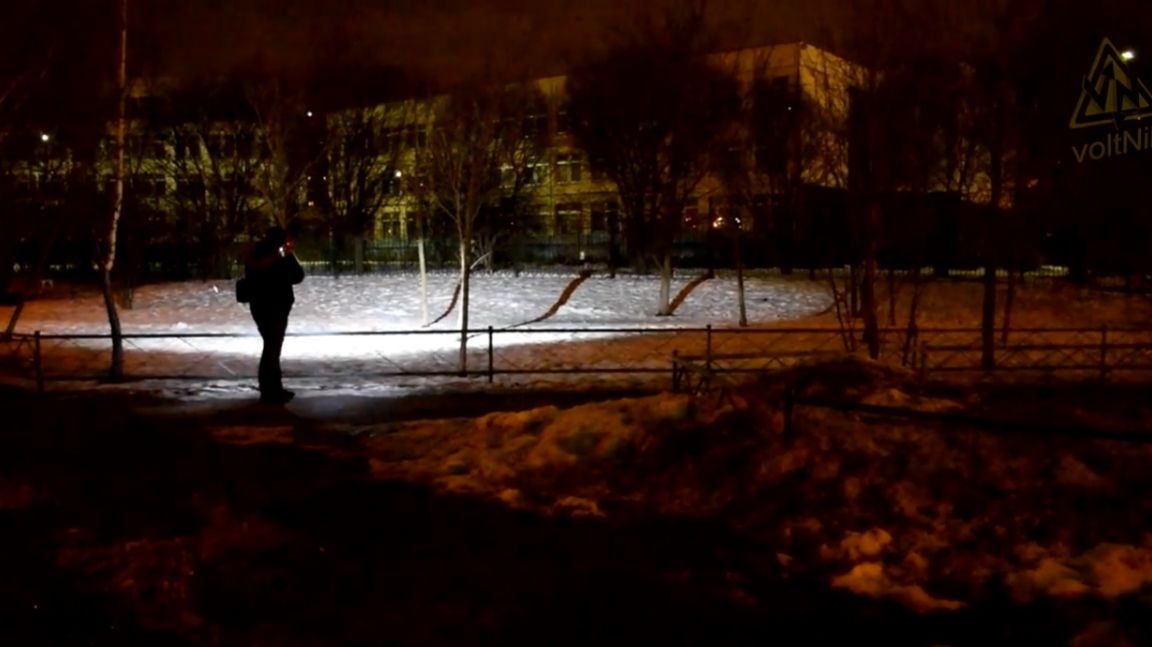

The result was a mobile car headlight. The flashlight can work continuously for a long time. The battery lasts for 3 hours of main light and 24 hours of illumination of angel eyes. But the flashlight works exactly like a headlight. A reflector with a lens distributes light on the sides and sides, restricting its beam from above and below. It turns out an oval flattened from above and below, just to illuminate the surface of the earth into the distance, well, like with car headlights. The curtain also provides a clear cut-off line. Such a flashlight does not blind, even if you direct it directly at the person.
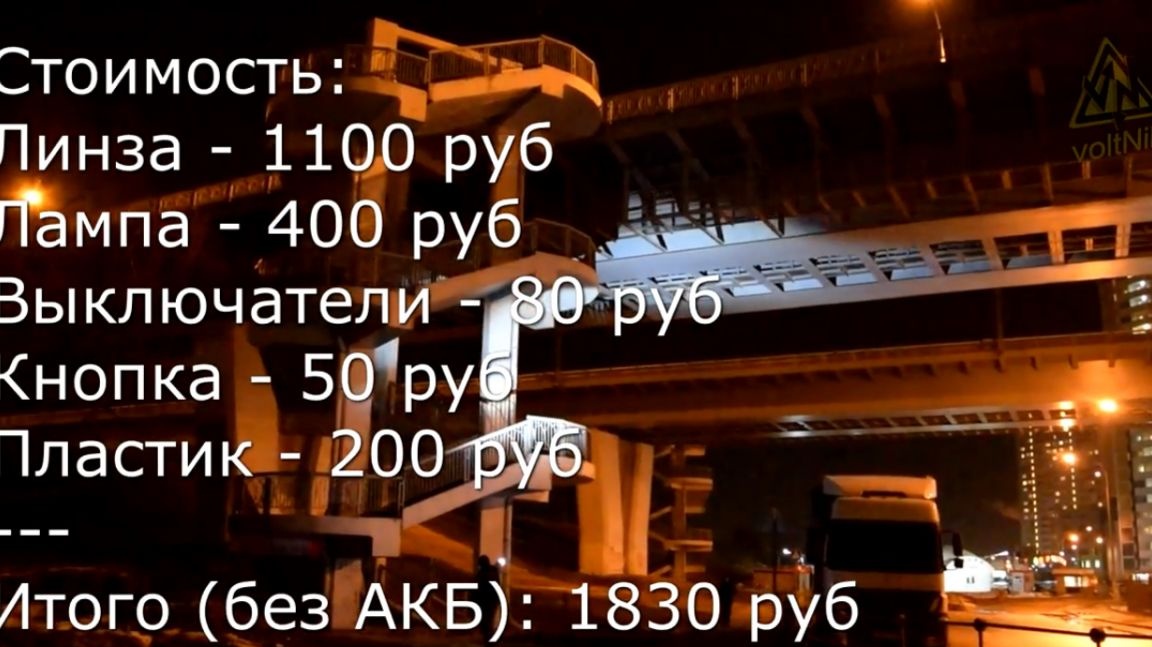
Below are the characteristics of the resulting flashlight, as well as the approximate cost of the components that were used during its assembly.
In general, the flashlight turned out to be good. It does not blind, but illuminates exactly what is needed - the surface of the earth into the distance.
Thank you for attention. See you soon!
Video: