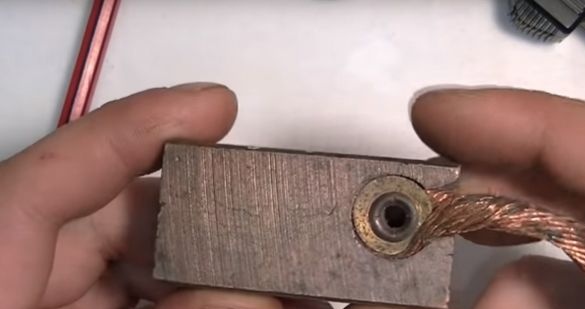
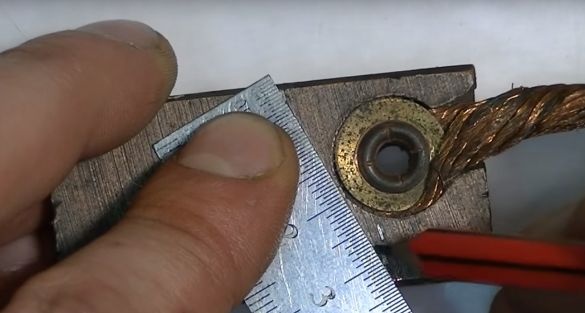
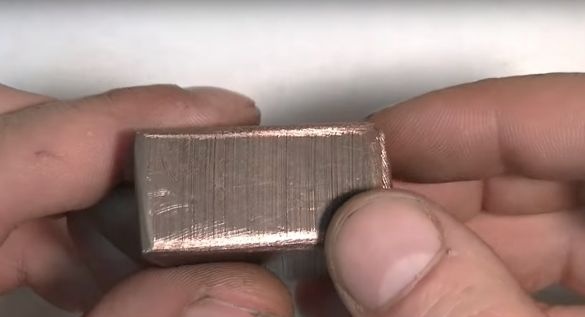
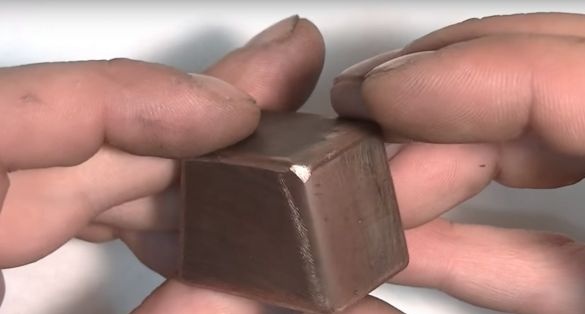
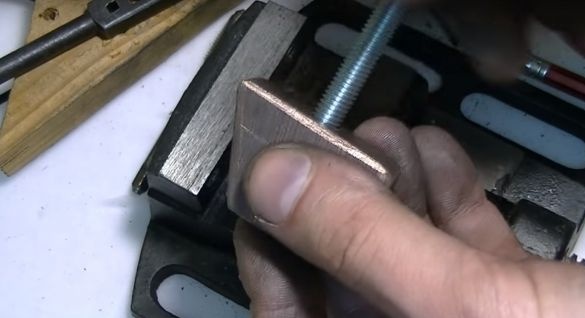
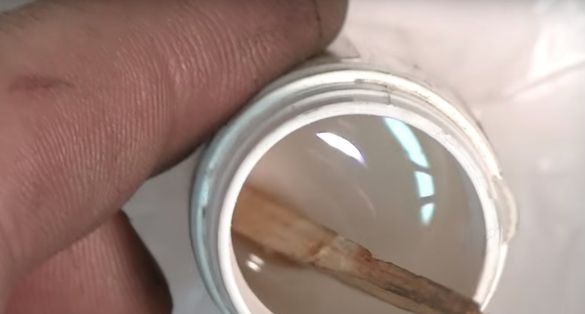
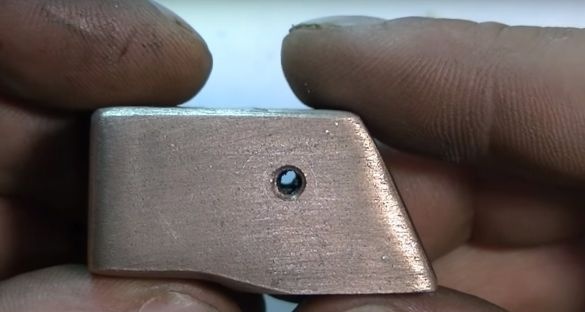
The author got just such a copper-graphite brush.
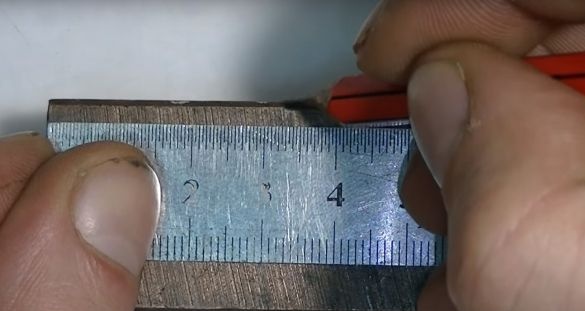
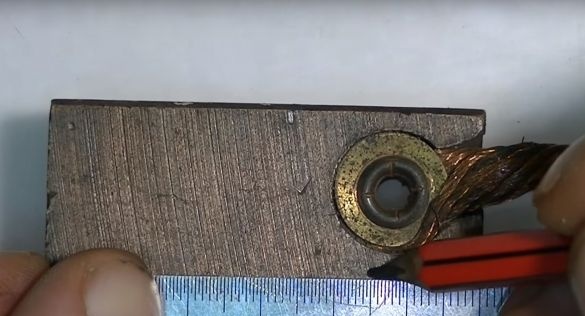
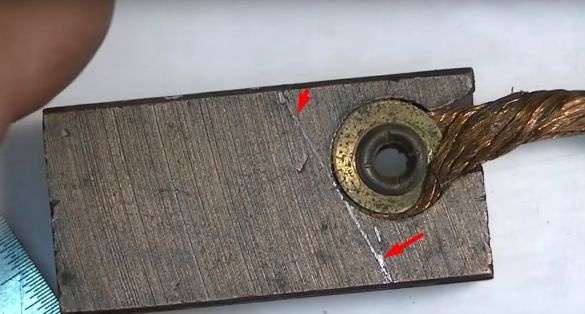
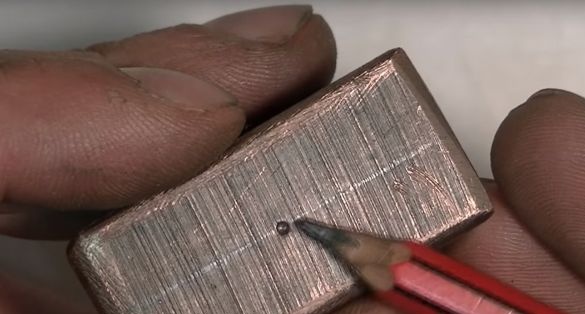
He made marks on the brush, retreating 33 mm from the top and 45 mm from the bottom.
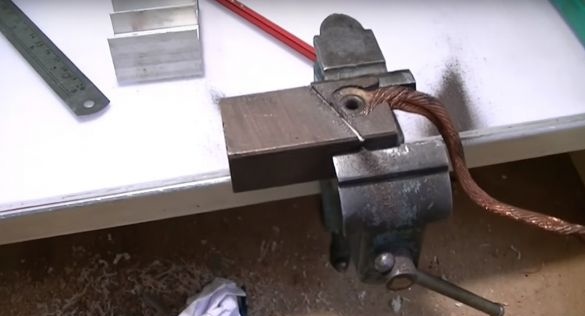
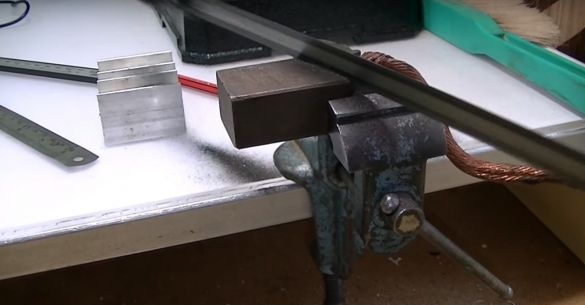
Having connected the marks with a straight line, with a hacksaw for metal, he cut off everything unnecessary.
And processed sharp edges.
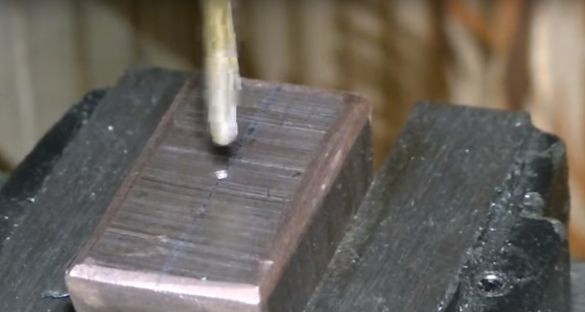
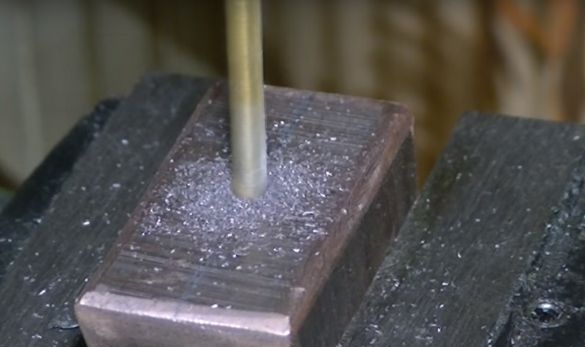
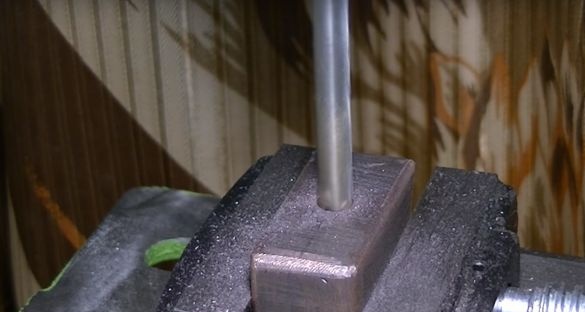
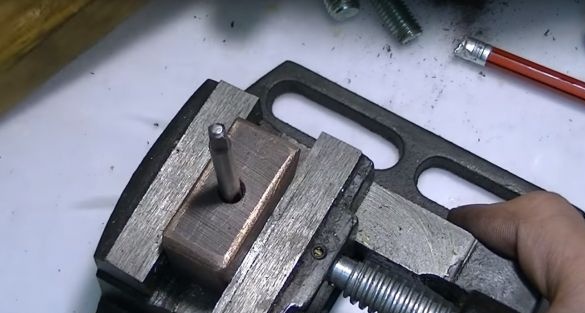
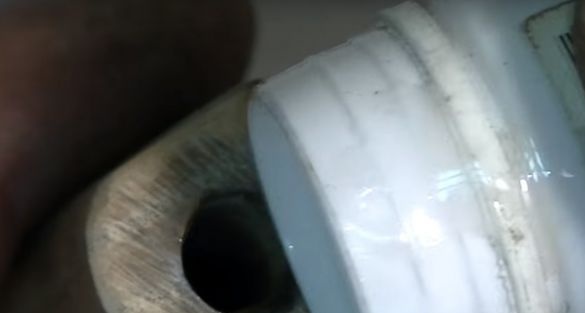
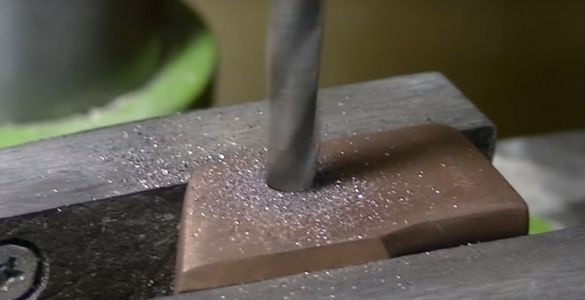
Further in the center of this workpiece, will make a hole. First with a drill 3 mm, and then 6.5 mm.
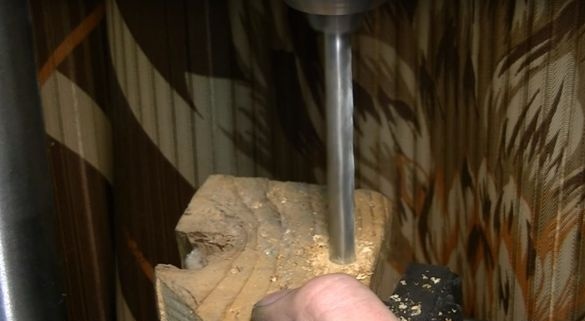
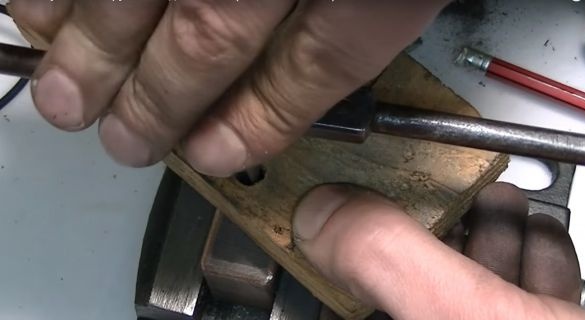
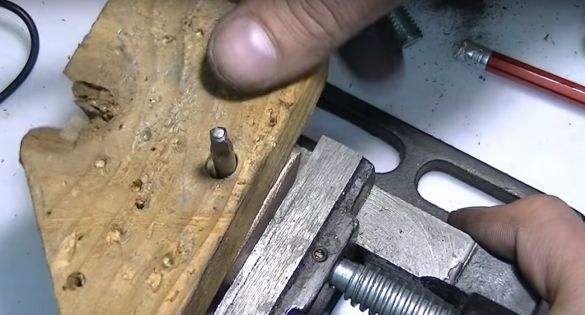
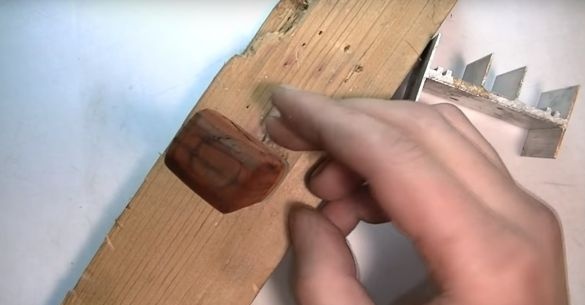
He will also make a hole, and in a small piece of a wooden board with an 8 mm drill.
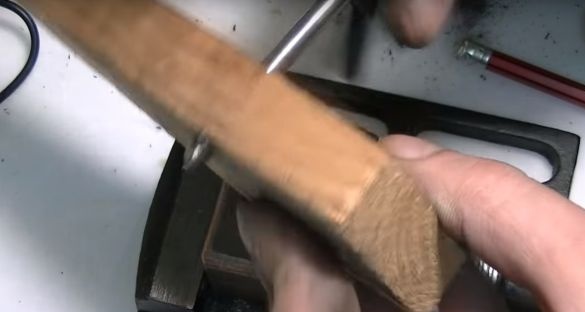
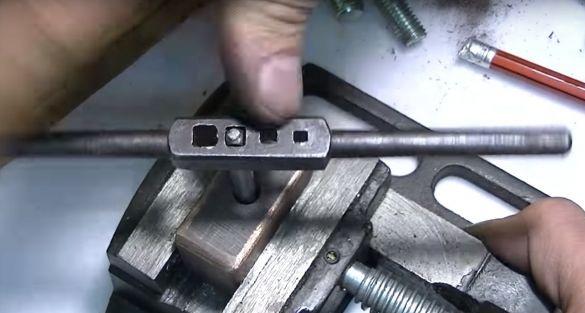
This piece of wood will be used as a guide for the tap.
Having cut a couple of turns of thread in the striker of the future hammer, he removed the guide and continued to thread without it.
Having checked the thread with the M 8 pin.
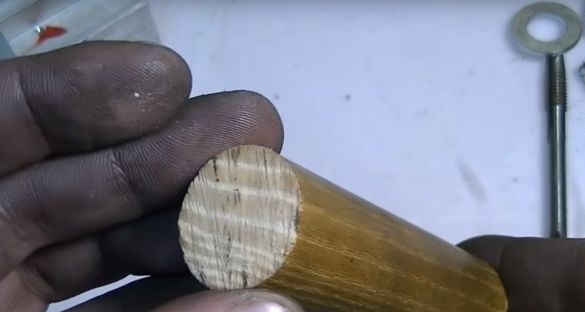
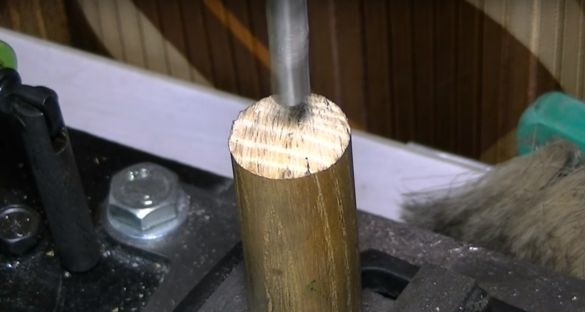
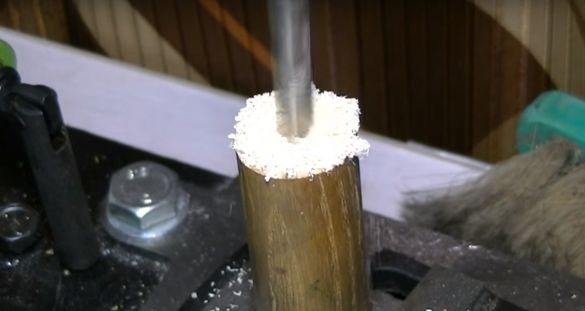
The author began to manufacture pens for the future hammer. To do this, he took a piece of a wooden leg from an old chair. And in the center made a hole of 8 mm, a little not drilled to the end.
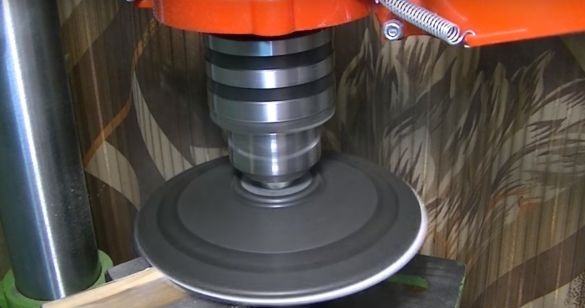
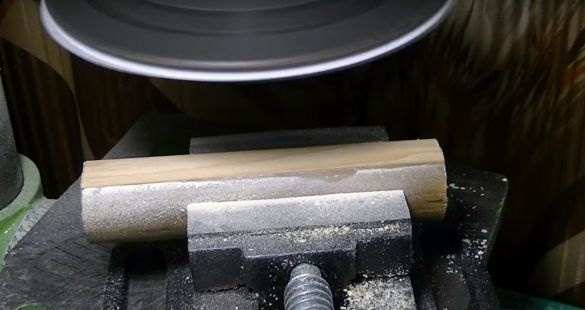
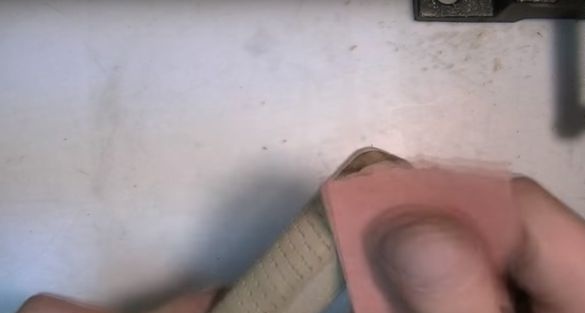
Then he changed the drill bit to a nozzle with sandpaper and proceeded to grinding.
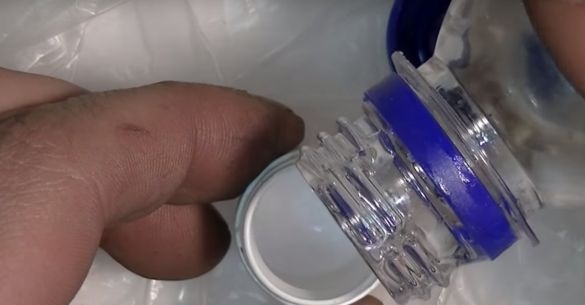
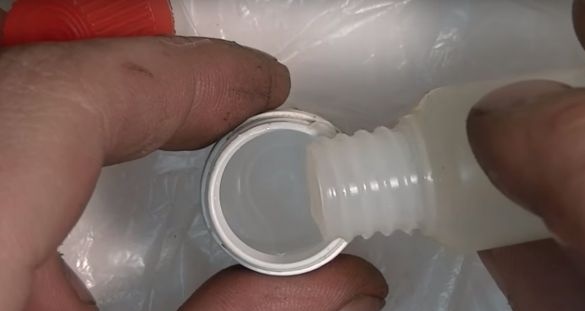
Then he diluted the epoxy.
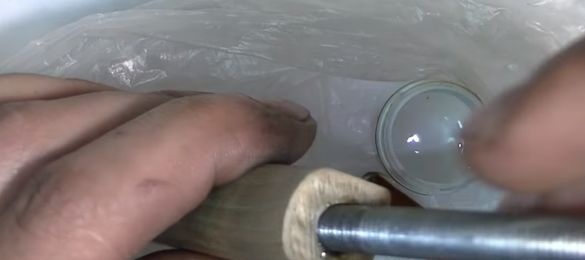
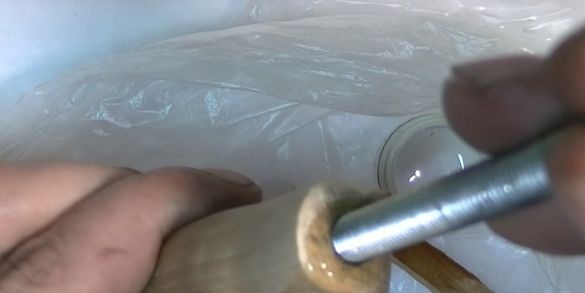
And he poured the resin into the hole in the handle, set the hairpin and left the resin to solidify.
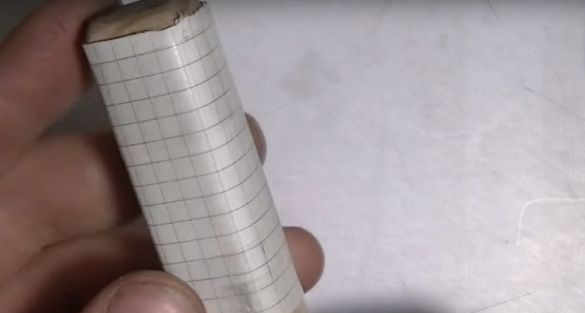
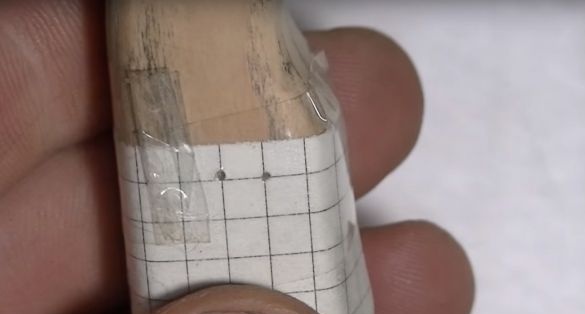
After the resin froze, wrapped part of the handle with a sheet in a cage and fixed it with tape.
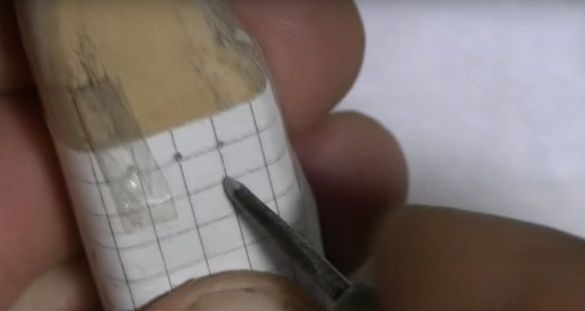
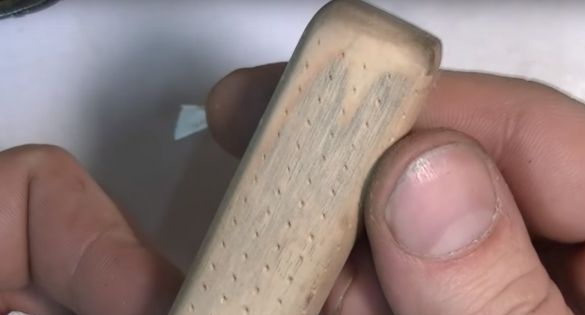
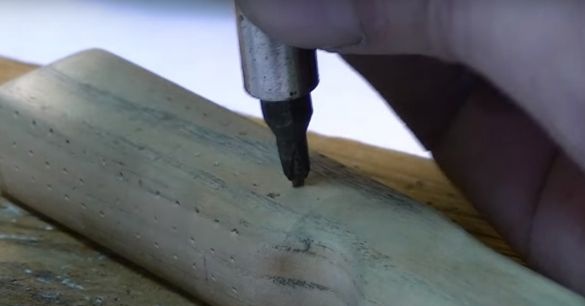
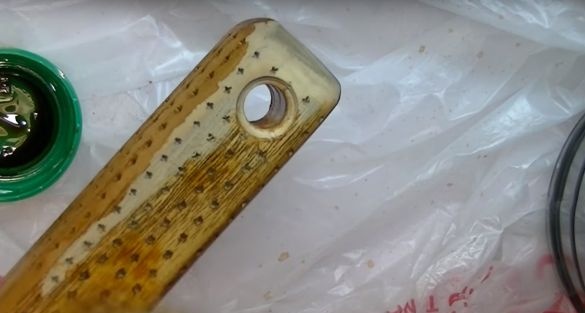
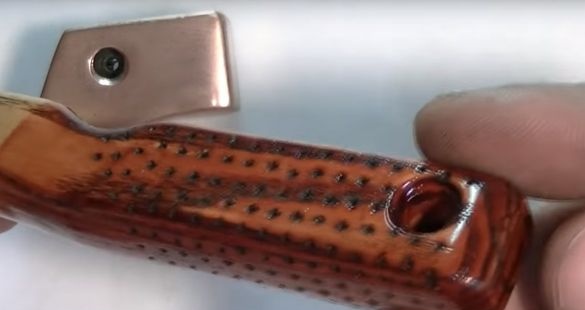
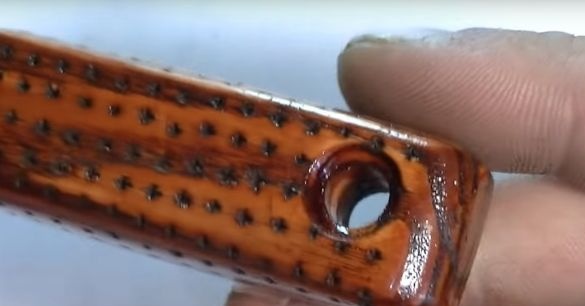
Then with the help of an awl, he transferred the marking of the cells to a wooden handle.
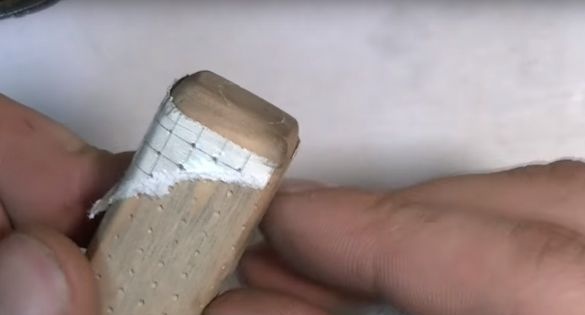
After he took off the paper.
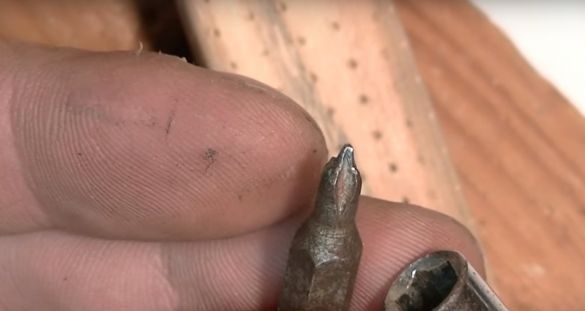
Then taking the old worn figured bat.
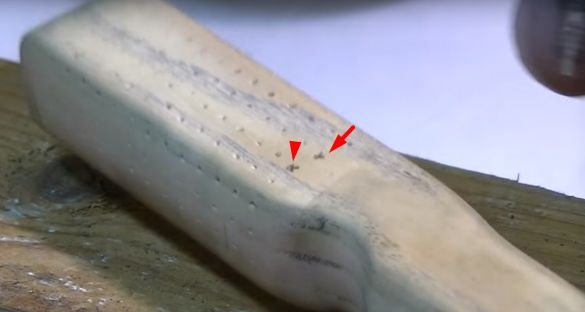
And with the help of not strong blows of the hammer on the bit, I walked along the previously made markup.
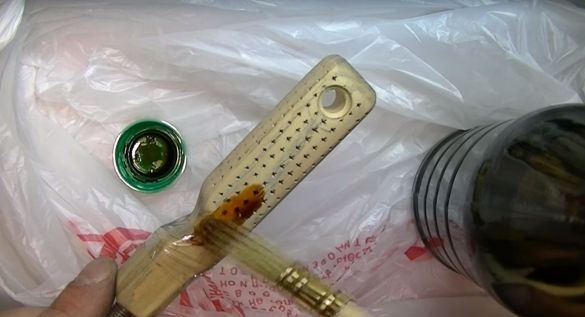
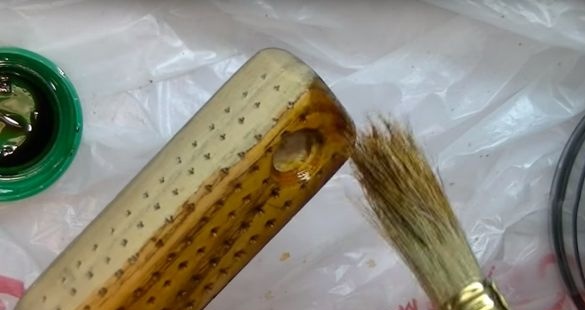
Then he went with sandpaper and applied several layers of stain.
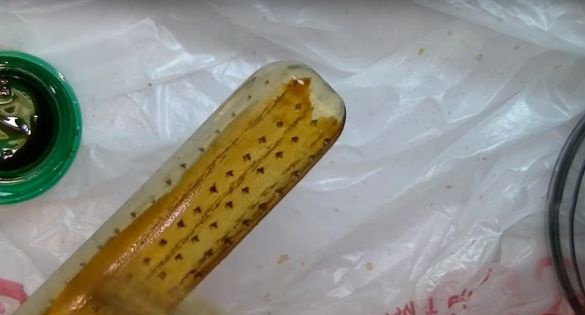
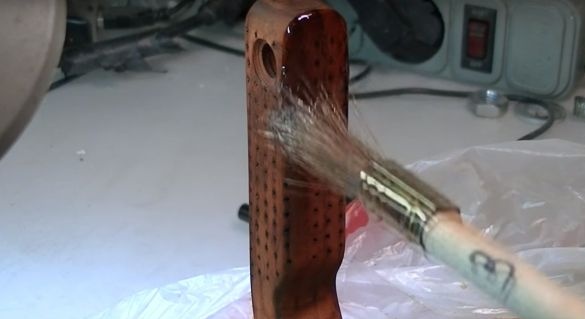
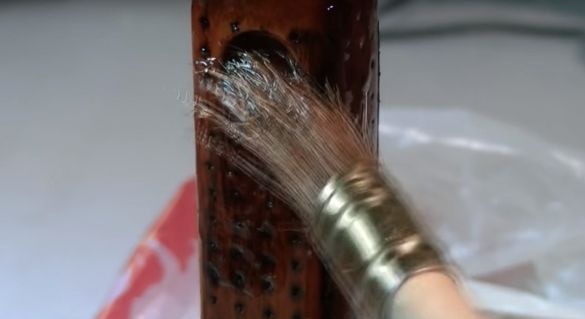
Next, I installed the handle in an upright position, and covered it with alkyd varnish in two layers.
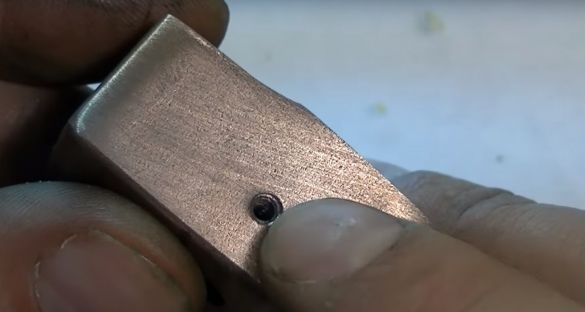
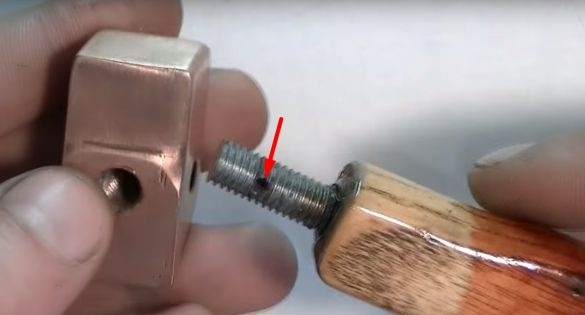
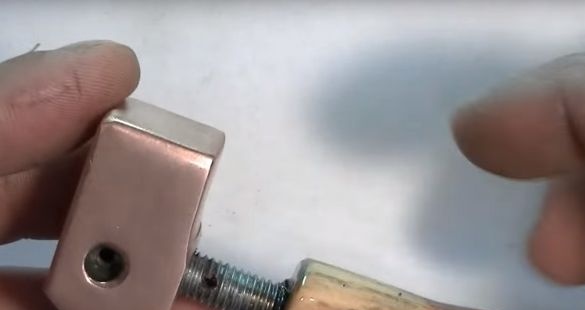
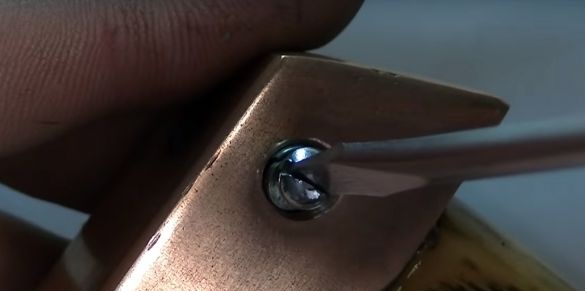
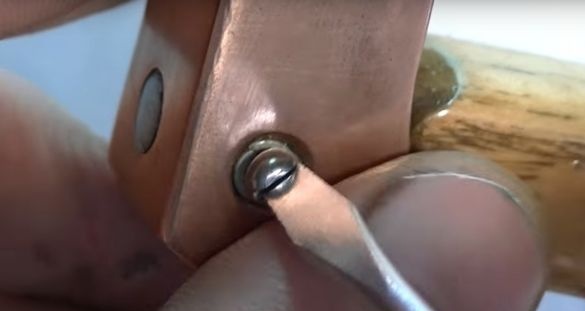
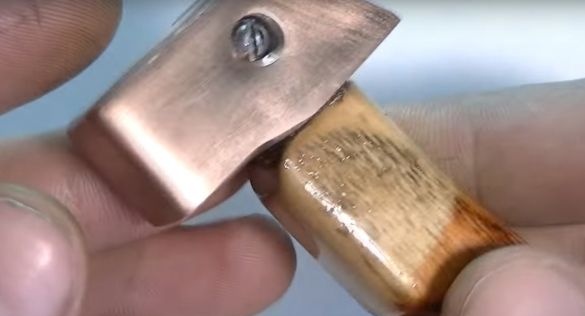
While the varnish is drying, I decided to modify the hammer head a little, or rather to make an additional fixation of the wooden handle on it. To do this, he made a through hole on the side and cut the thread for the M 3 screws.
With a larger drill he chamfered.
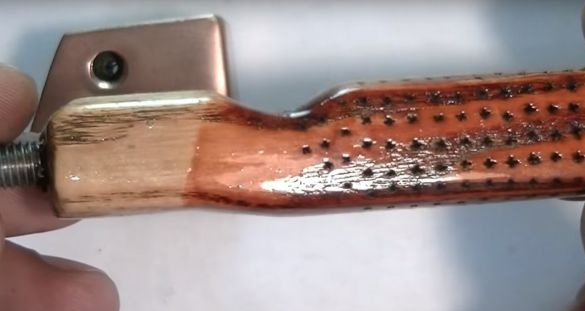
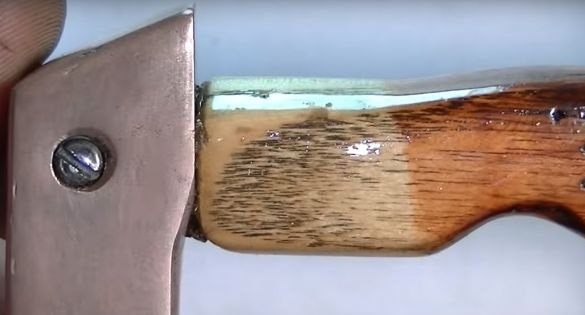
When the varnish dried, screwed the handle into the hammer.
He also made a hole in the hairpin in advance.
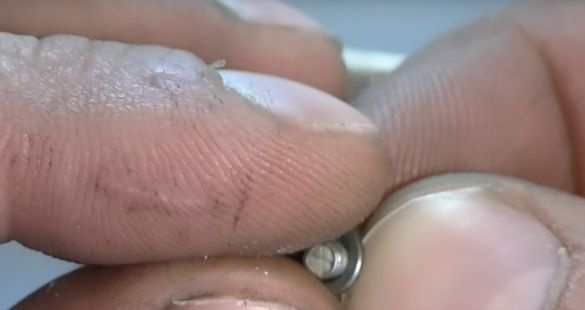
Locked the handle with screws. Putting on the Grover washers to avoid loosening the screws.
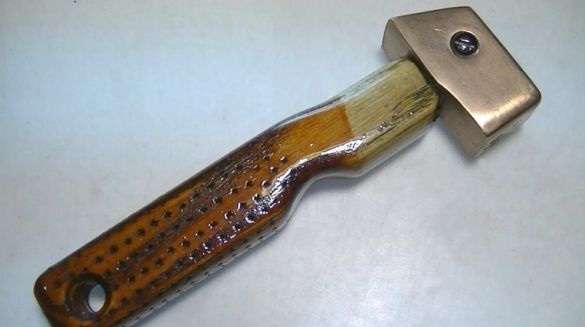
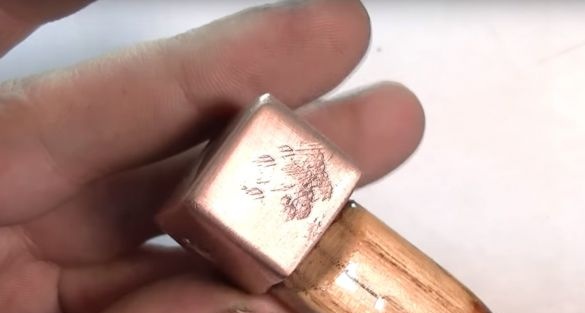
Such a tool turned out at.
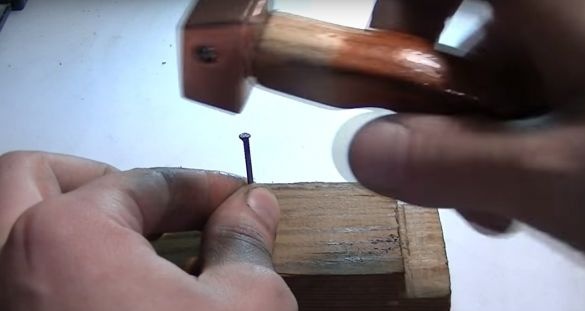
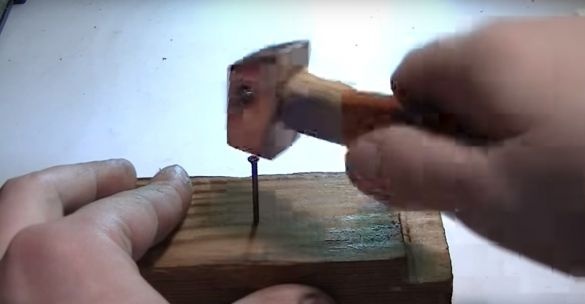
And now the test from the author.
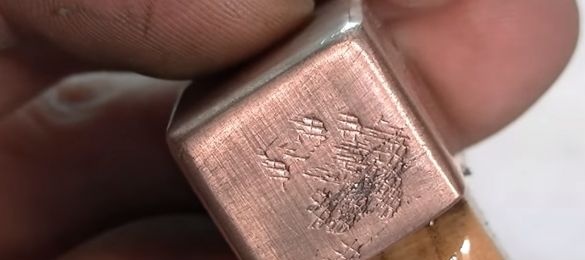
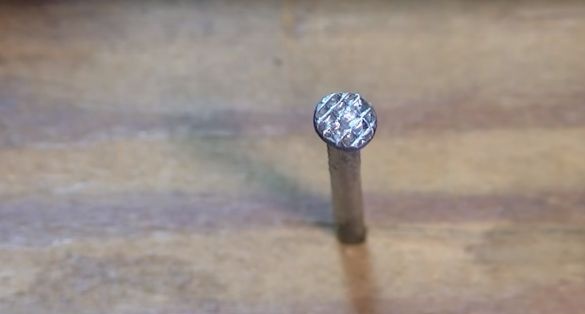
As you can see in the photo, there is not much damage to the hammer.
But there aren’t even scratches on the nail head. So, made by the author, a soft hammer copes with its task perfectly.
Thank you all and a new meeting.
Video:

