
In anticipation of the start of the summer season, I want to offer you a cool idea of homemade work, which is useful in the village, in the country, in the garage or somewhere else.
To make this homemade product we need:
1.5 angles at 90 ° to 32 of polypropylene
2. 4 stubs (at first the author thought that 2 stubs would be needed, but in the end they needed 3 and one wasn’t enough)
3. 2 tees (also polypropylene)
4. 110th sewer clutch
5. The most common electric plug
6. Socket for 4 sockets (author used beige)
7. Several pieces of polypropylene pipes 32
8. 30 m of PVC cable 2x2.5 (you can use a cable of a different type, with any other cross-section and number of cores, suitable specifically for your tasks)
9. Two round plywood cutting boards, which the author bought in household goods for 50 rubles, so as not to buy a whole piece of plywood.
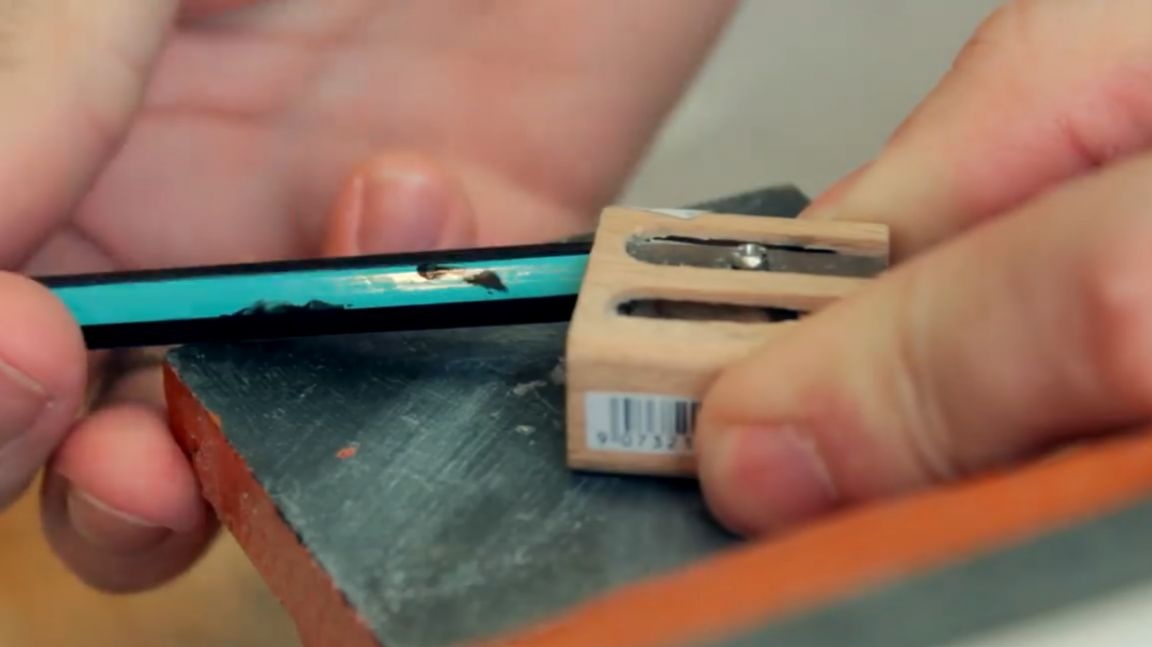
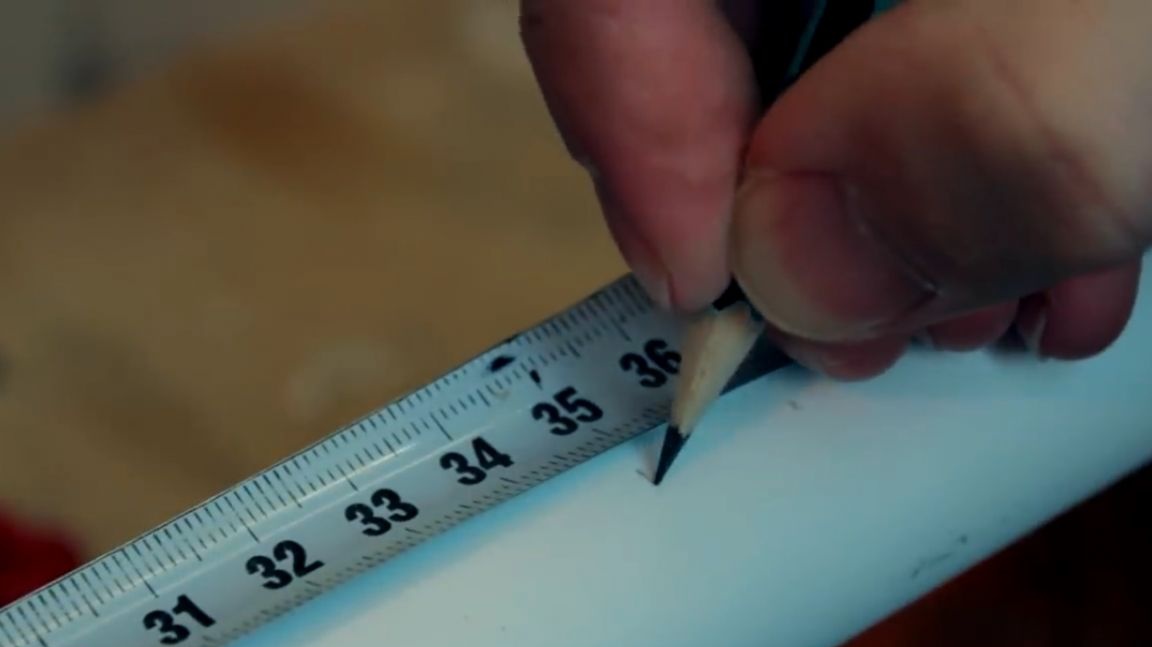
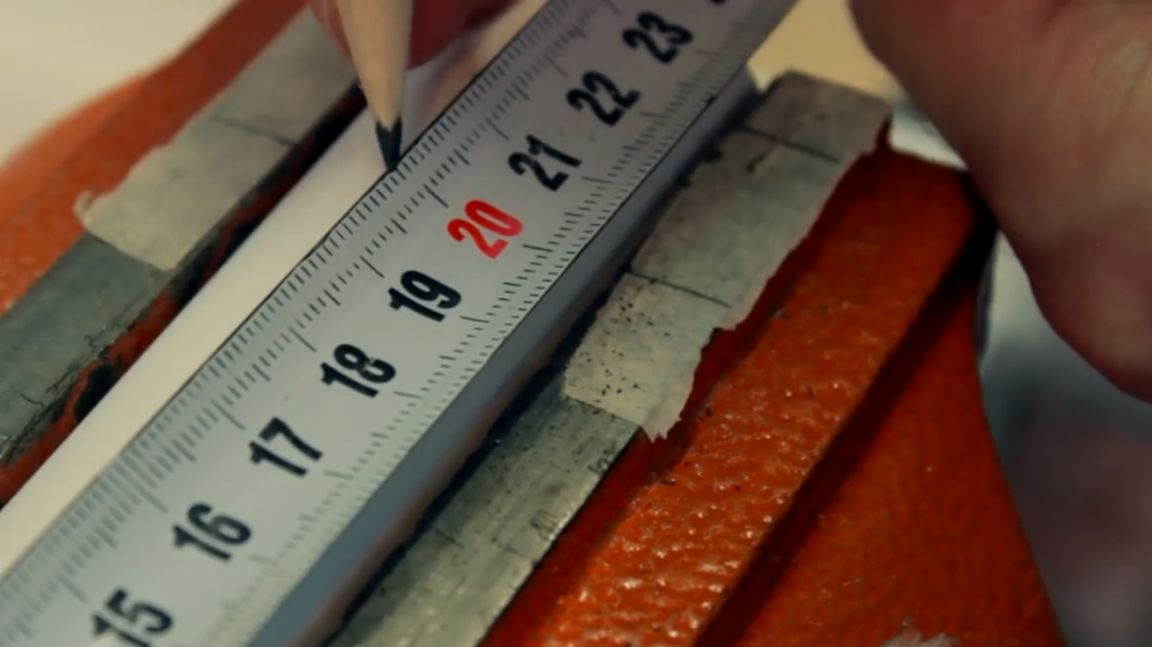
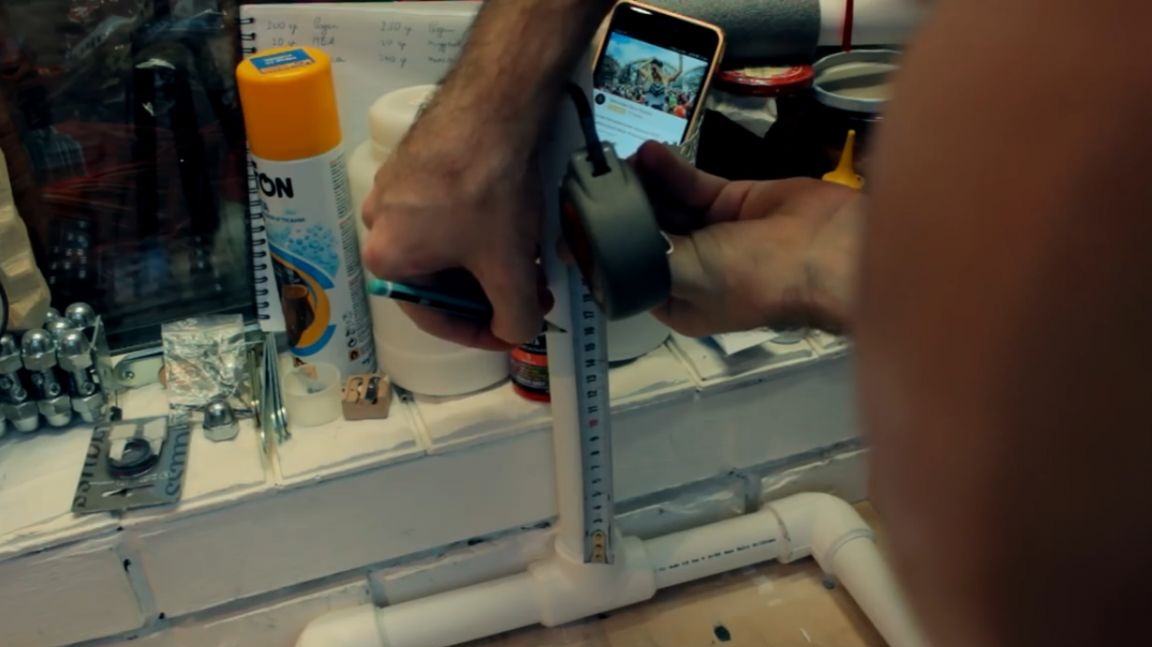
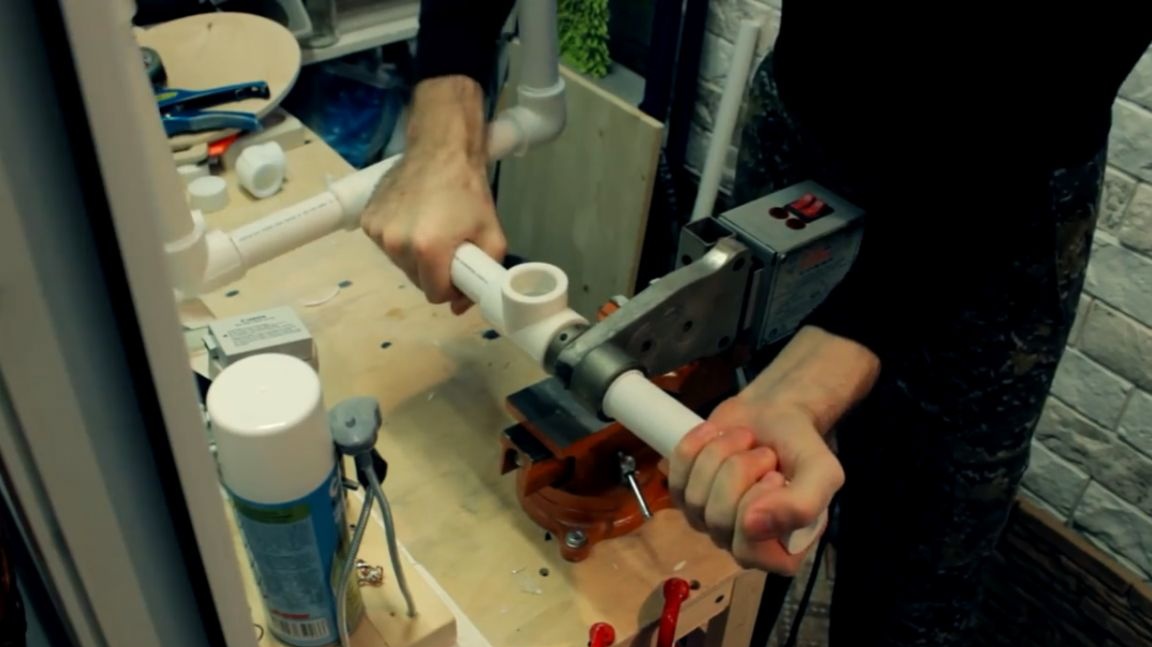
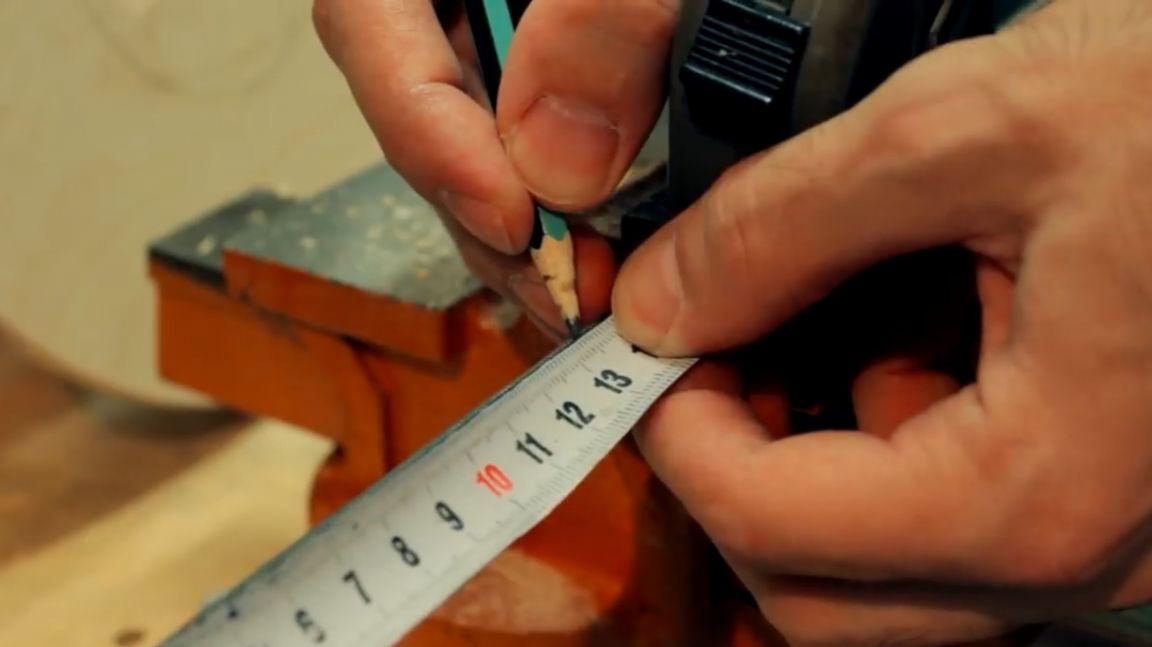
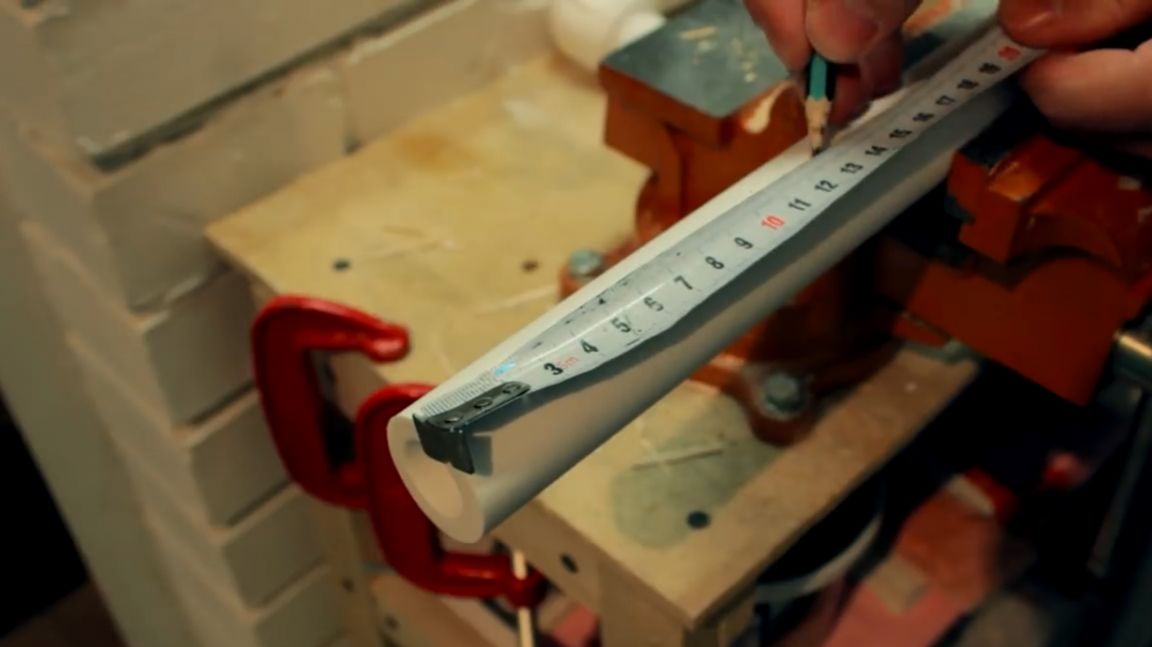
First of all, we clamp the pipe in a vice, and before applying the markup, the author already made it a rule to always sharpen a pencil.
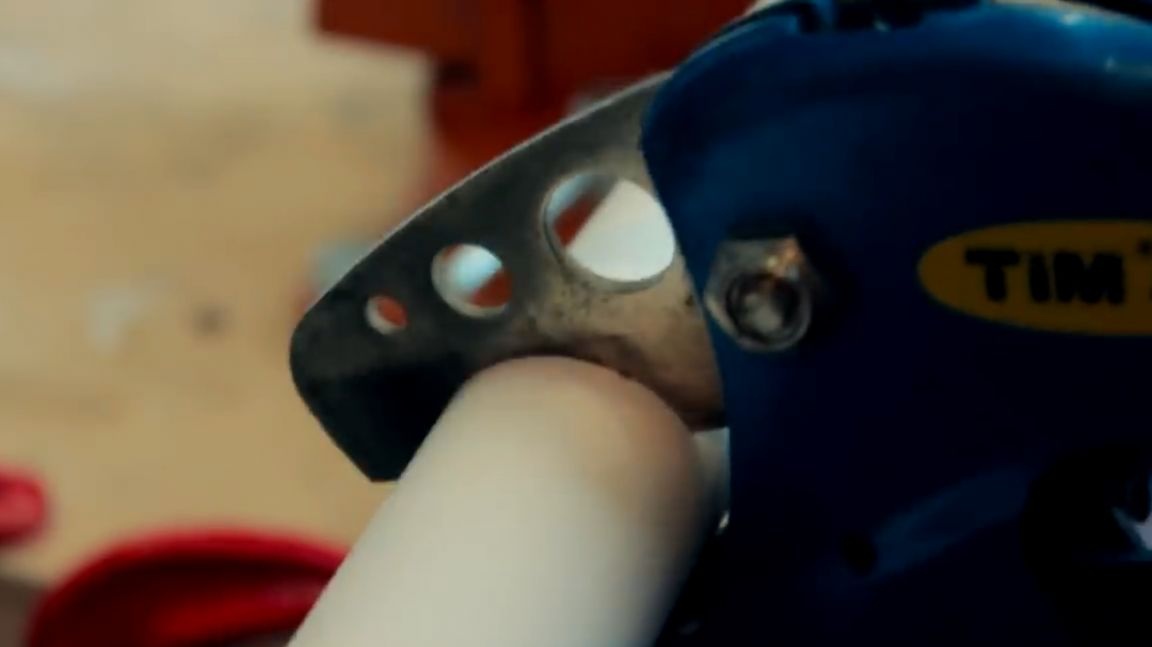
Then measure out 2 segments of 30 cm and cut with scissors.
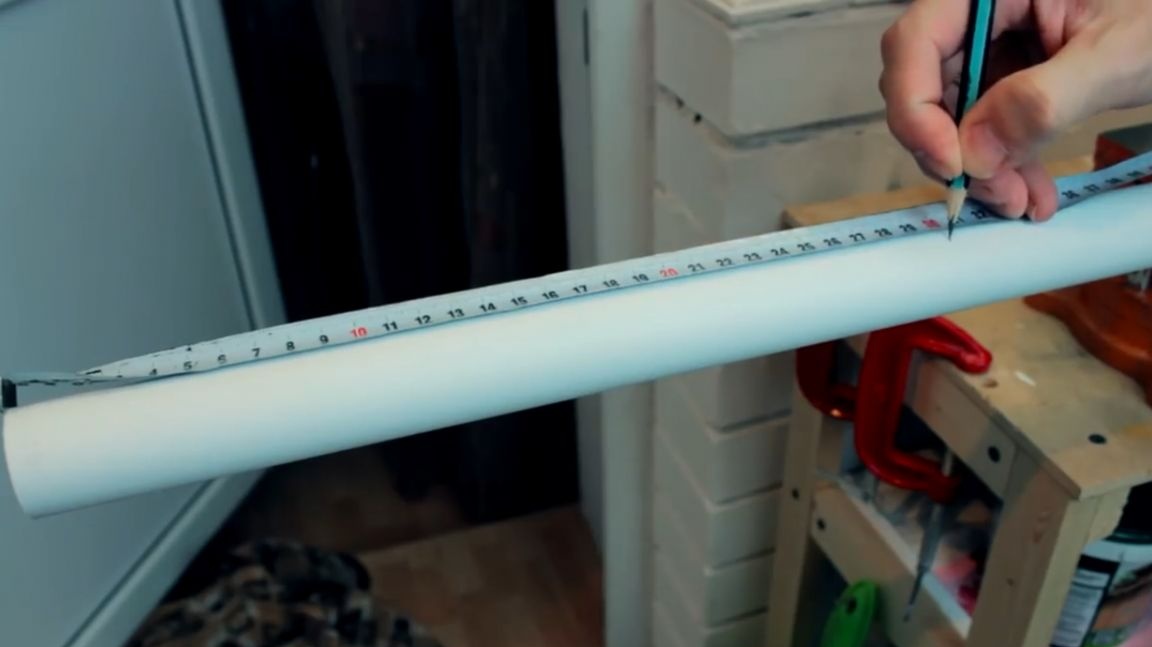
In the same way we measure and cut a segment of 35 cm. Then we also measure 2 segments of 20 cm and also cut them.
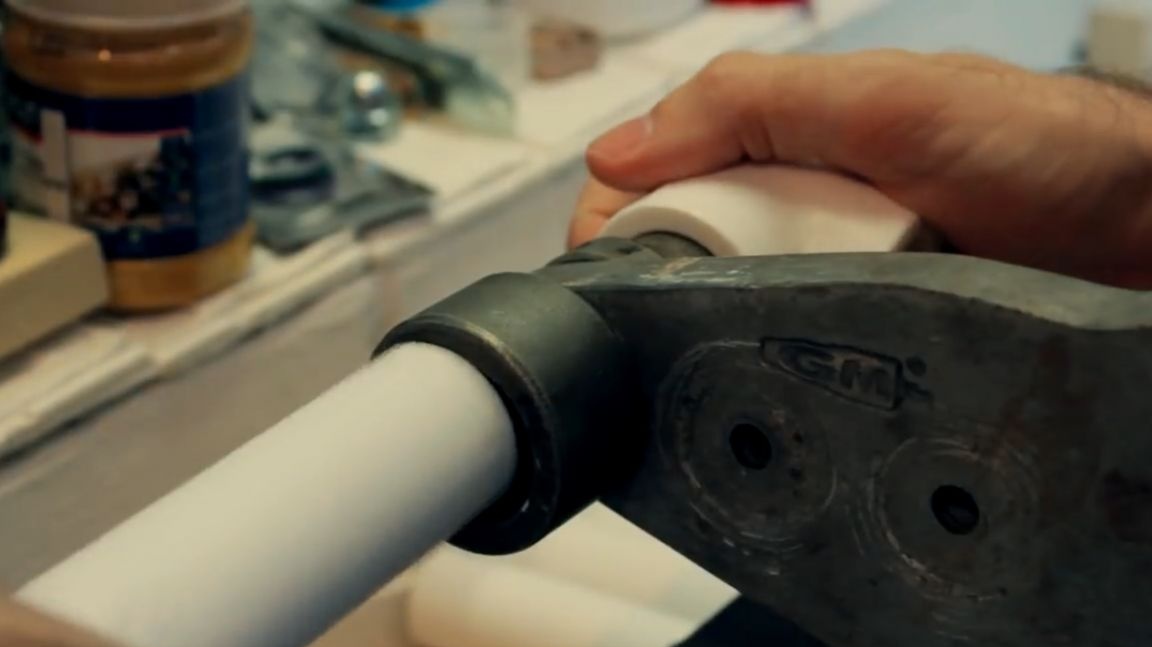
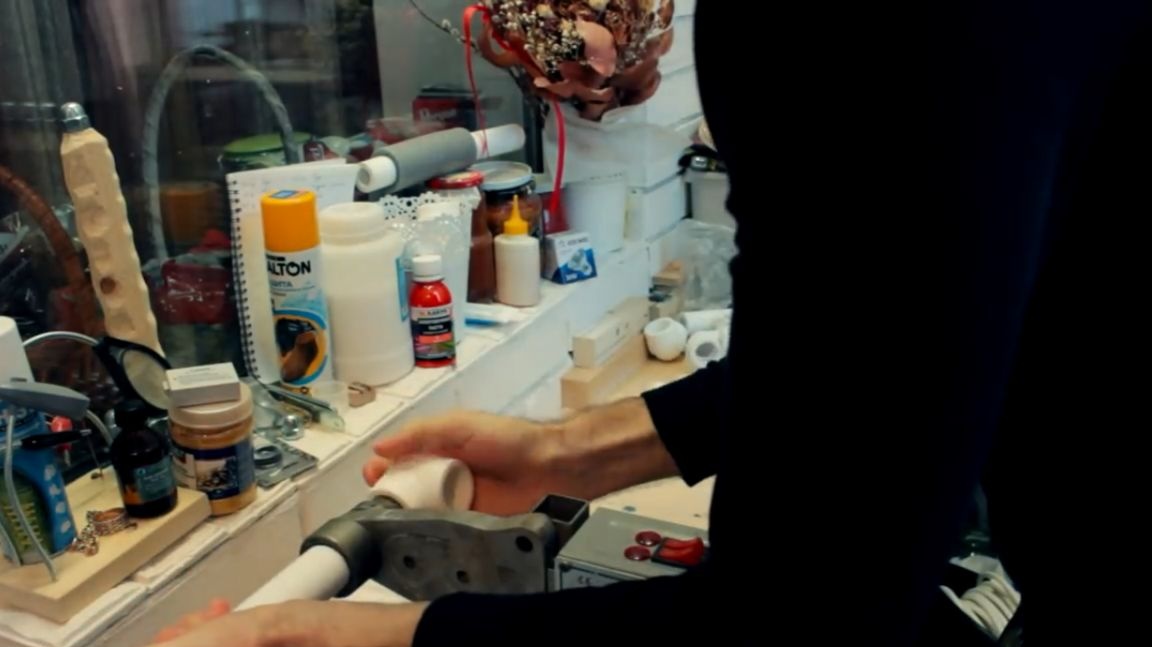
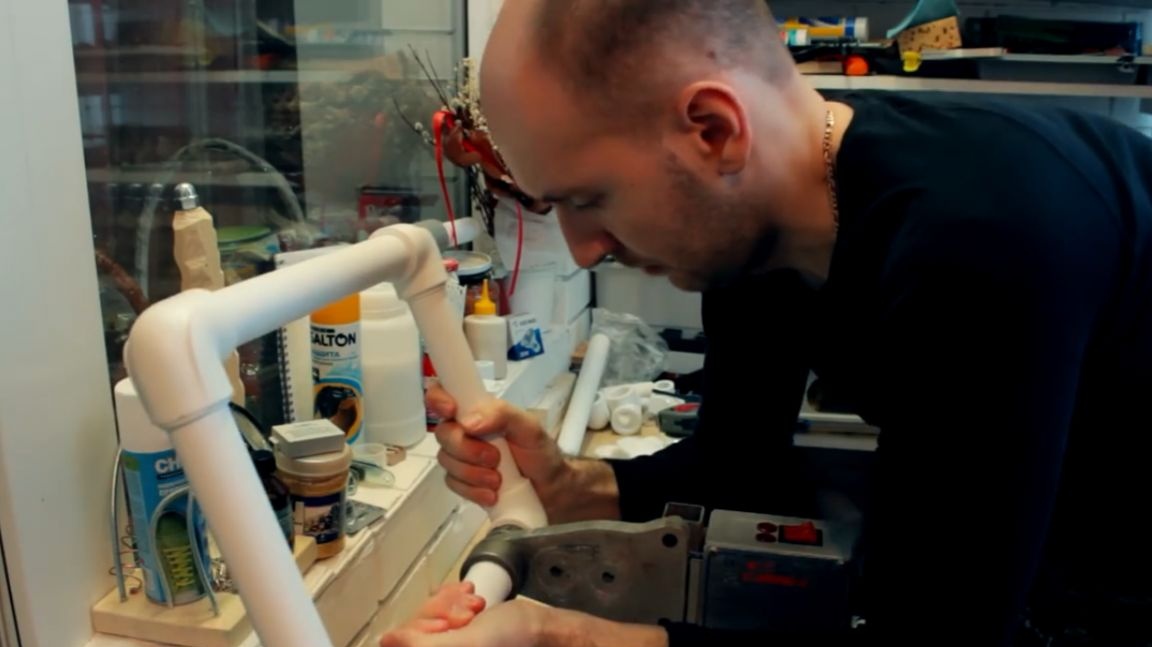
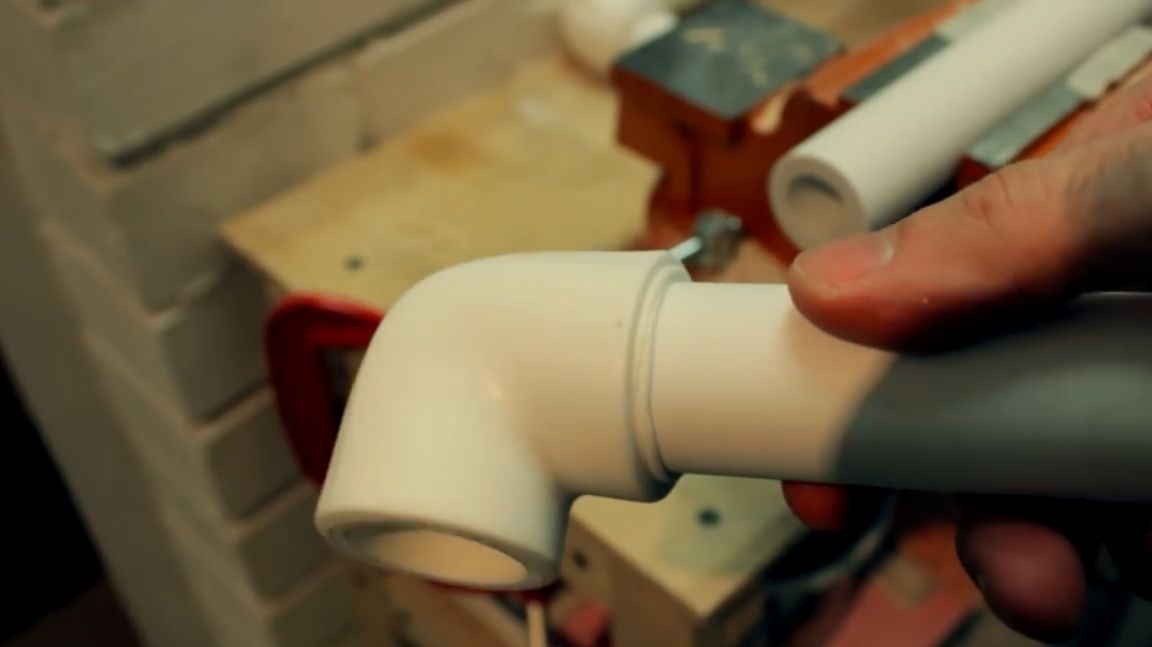
We begin the assembly process of our homemade product by soldering polypropylene pipes. To do this, take 2 segments of 20 cm and 1 segment of 30 cm, as well as 2 corners at 90 °. We solder all this together so that we get a p-shaped figure. The sequence in which you solder all the details does not matter, but always remember to equalize still hot spots with a flat plane.

The remaining 30 cm length must be cut in half. At the same time, bite one and a half centimeters from each segment. Of course, this could and should have been done right away.
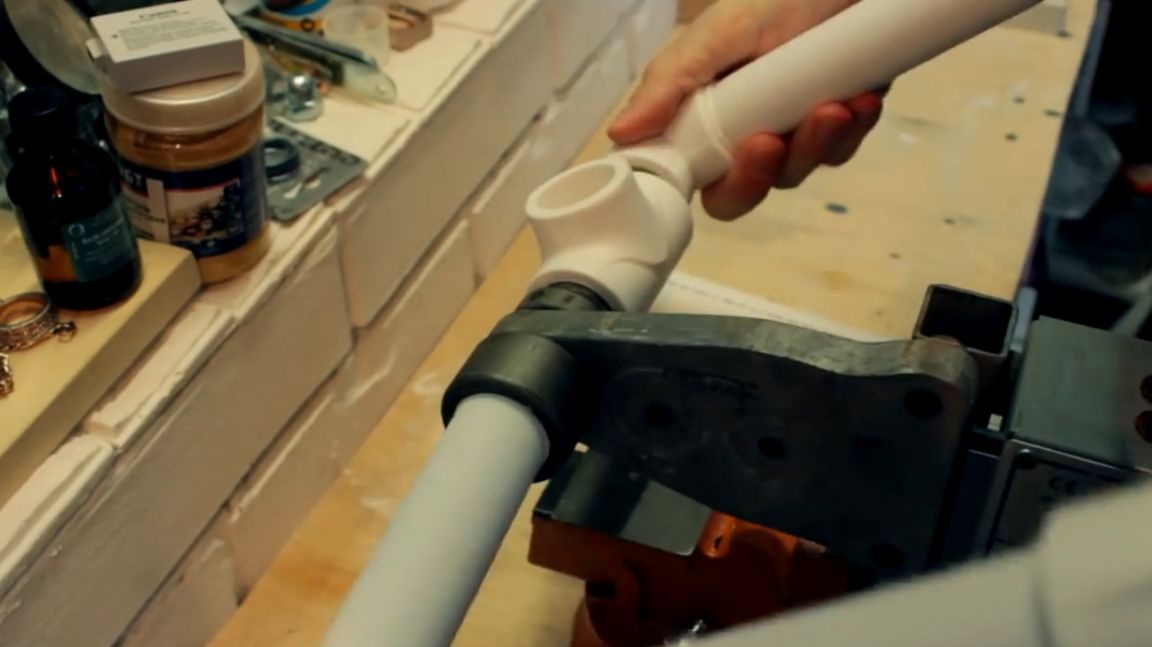
We solder one of the resulting segments into an angle of 90 °. After that, we solder the tee to it. Solder the next segment into the tee.
But then comes the most difficult moment. In order to solder the last connection had to make a lot of effort. Accordingly, the workpiece warmed up crookedly, but in the end it nevertheless soldered evenly. But here are some consequences from the heating curve that still remained and it turned out something like this:
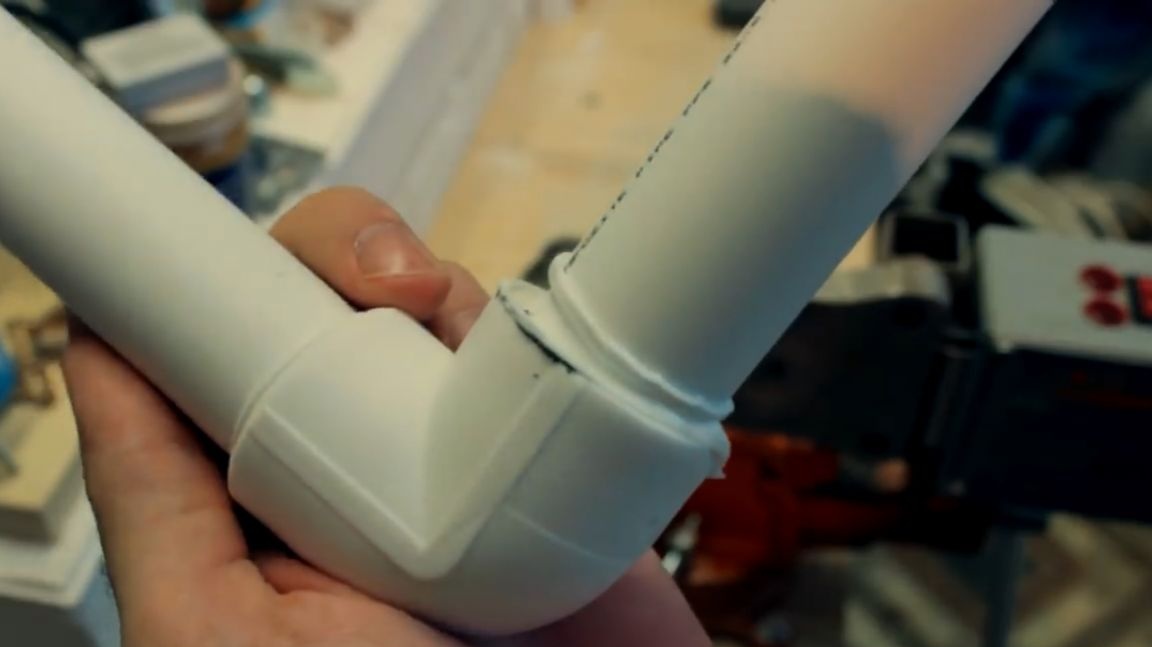
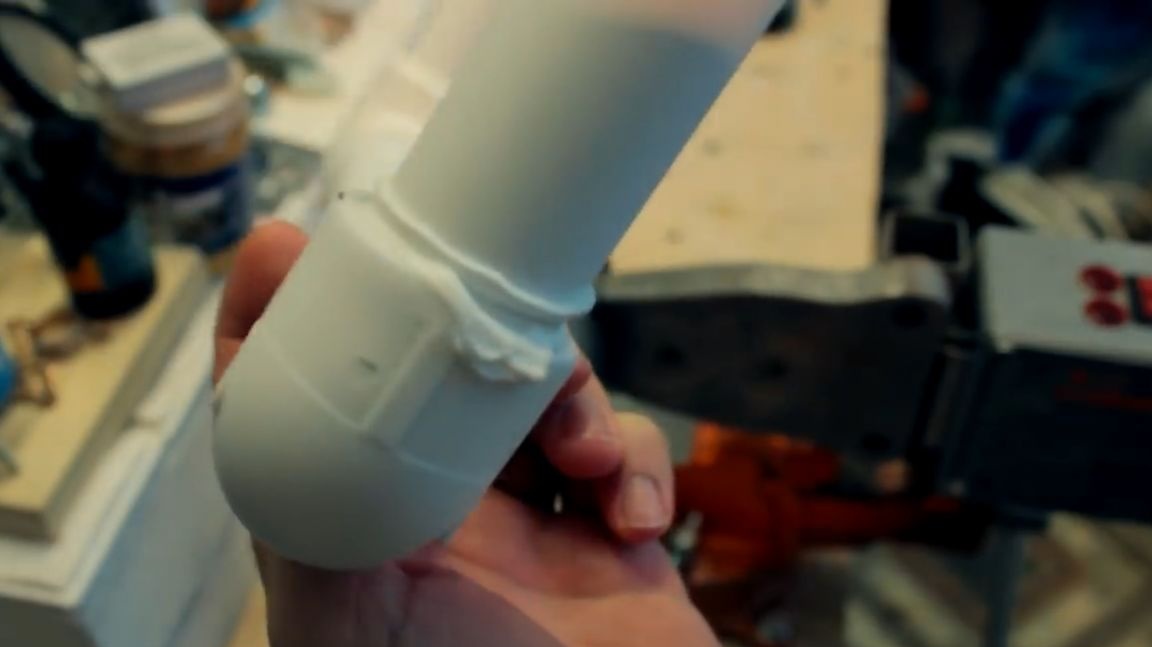
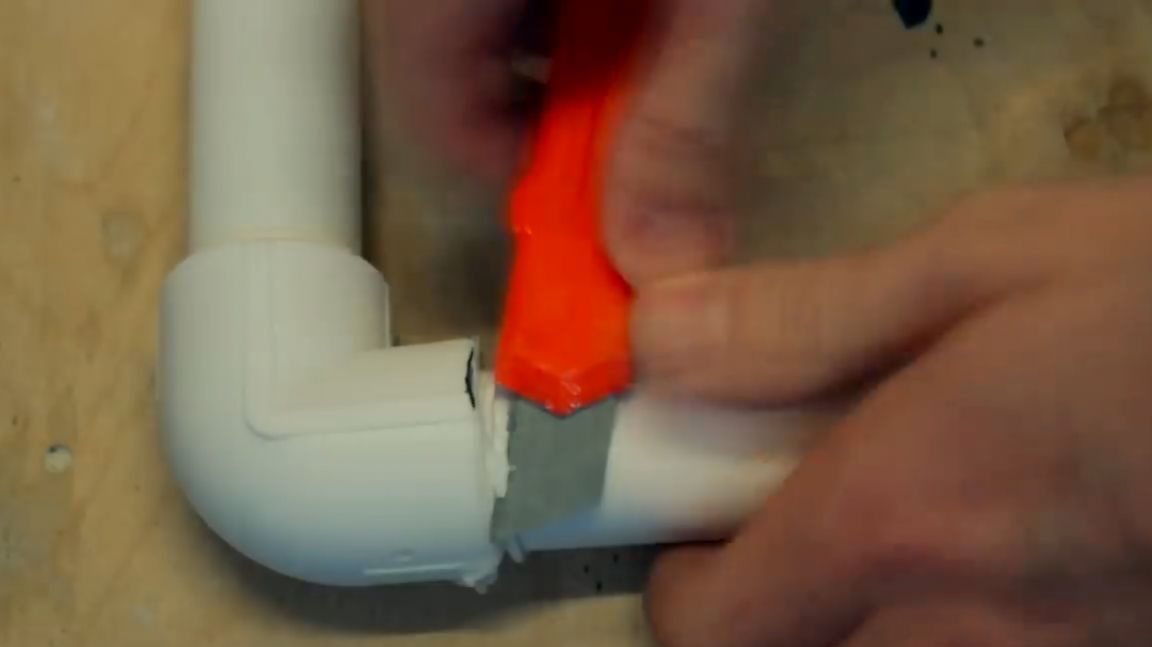
Since recently the author has been striving for a beautiful appearance, so he decided to remove the influx of plastic with a clerical knife.
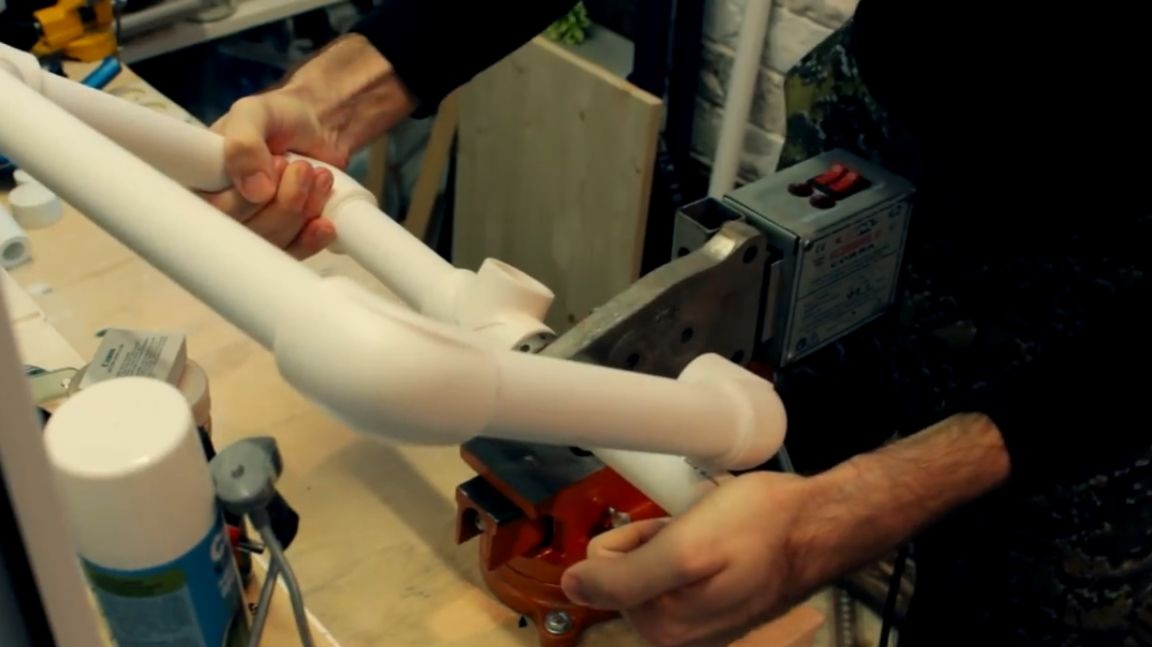
Next, solder the remaining 35 cm length into the tee.
After that, we measure a distance of 16 cm from the corner and cut it off with scissors. We solder the tee into the cut-off place, and solder the remaining segment into this tee.
Another segment of arbitrary length, soldered into the remaining hole of the tee.
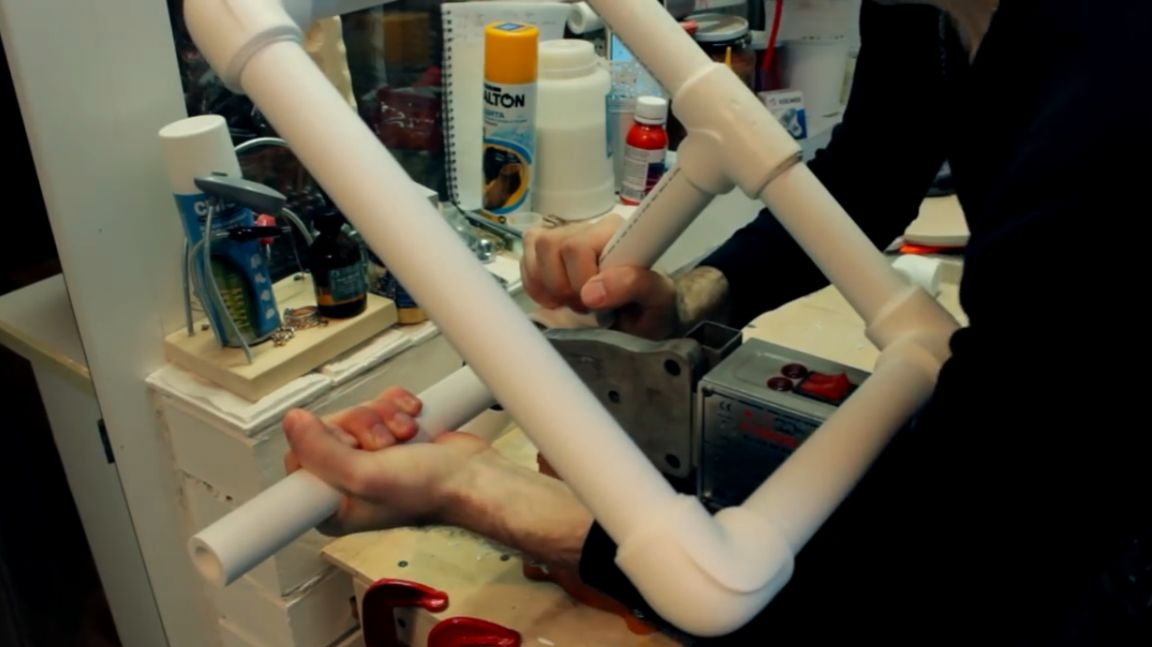
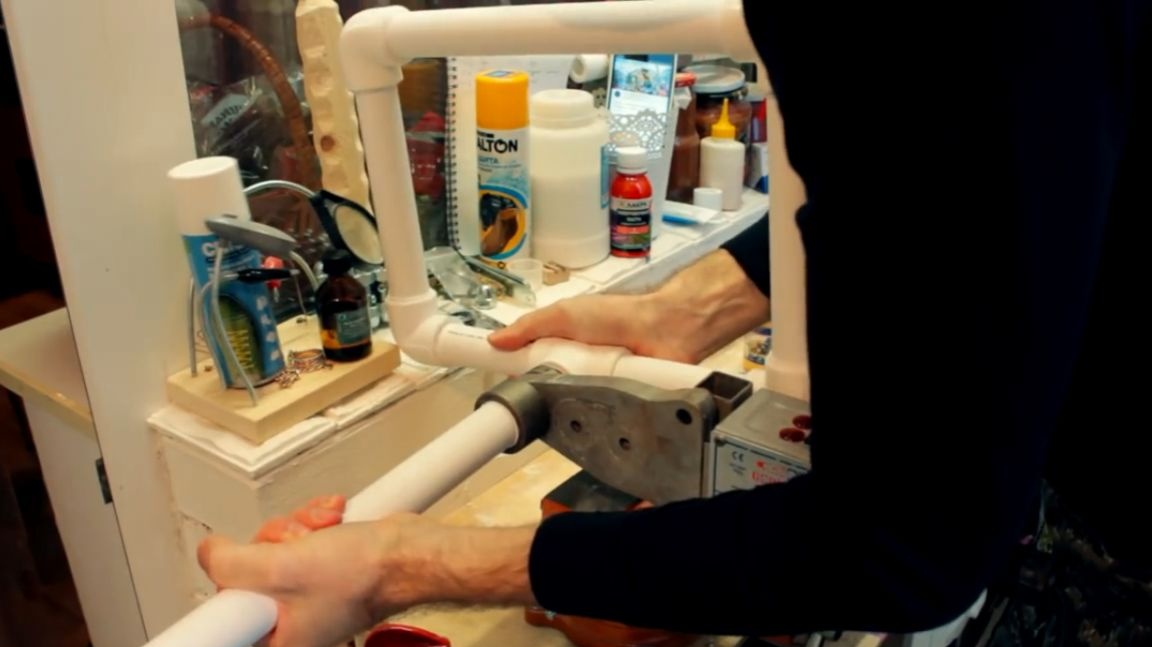
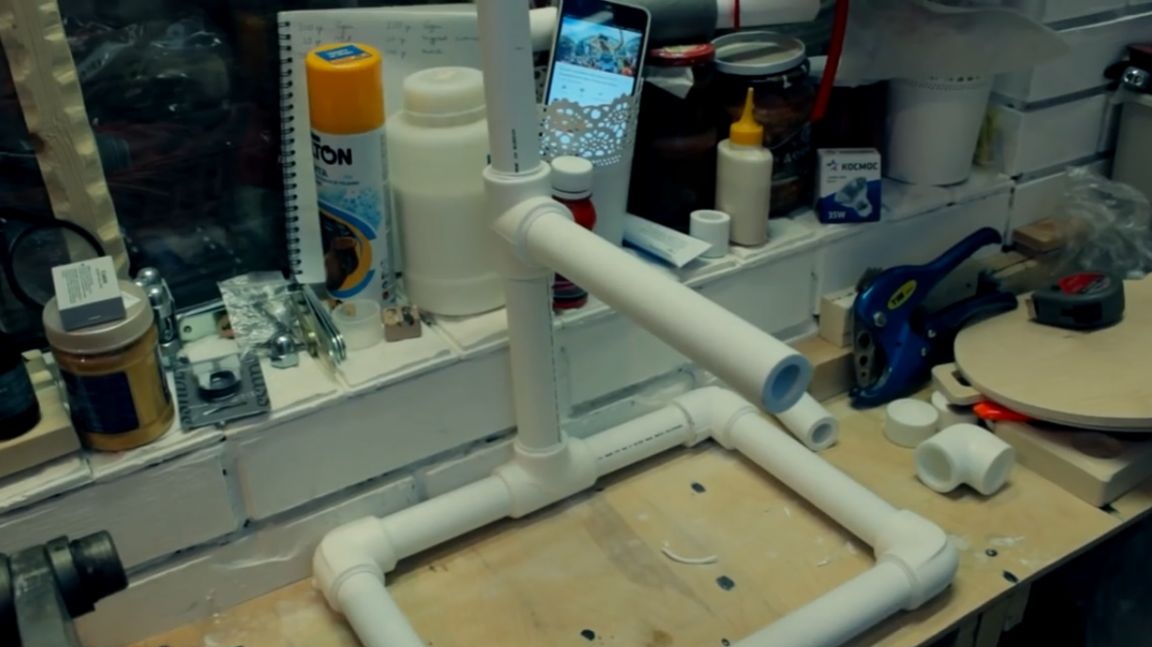
At the output, we get a design that we put aside for now and move on to the next part.
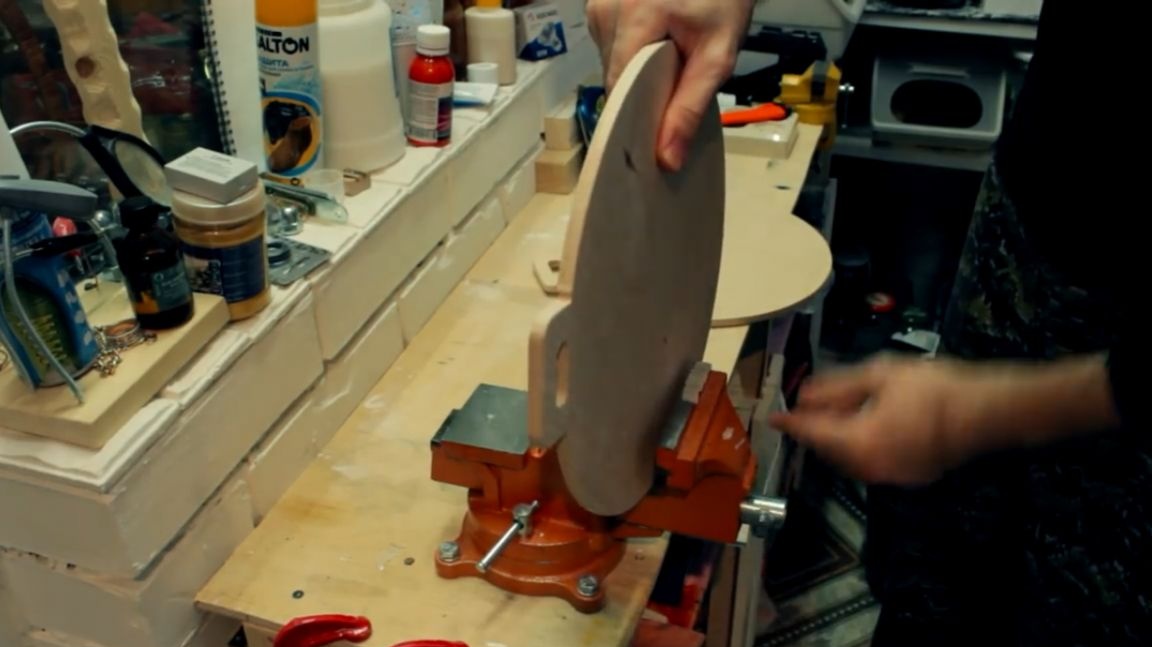
Moving on to plywood cutting boards.
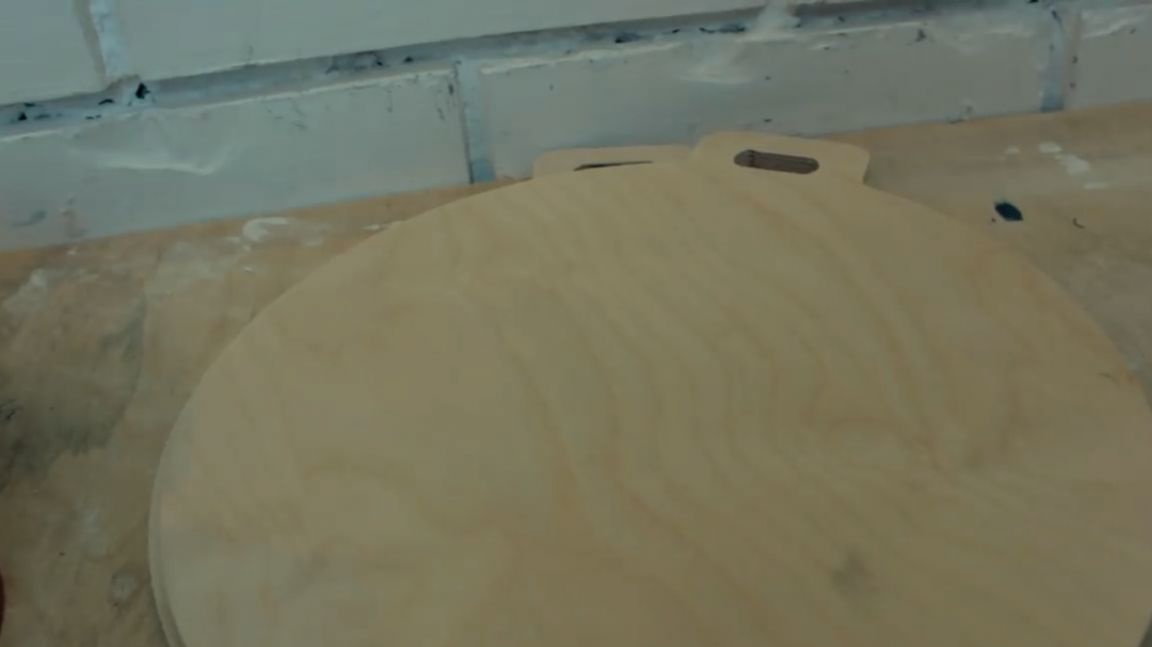
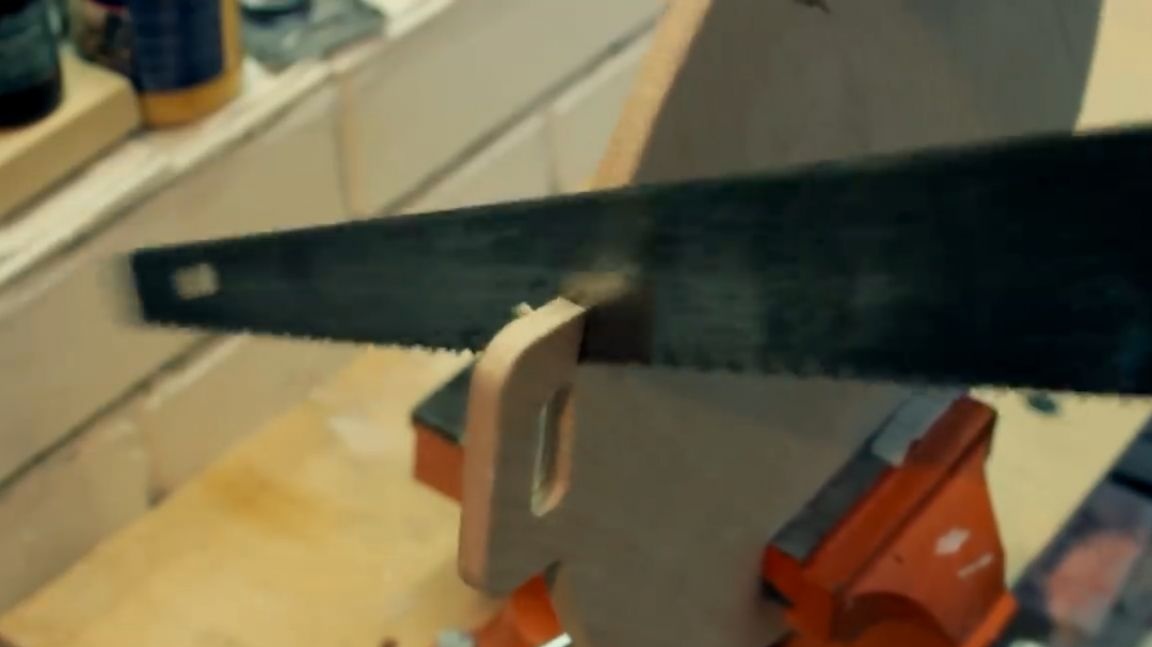
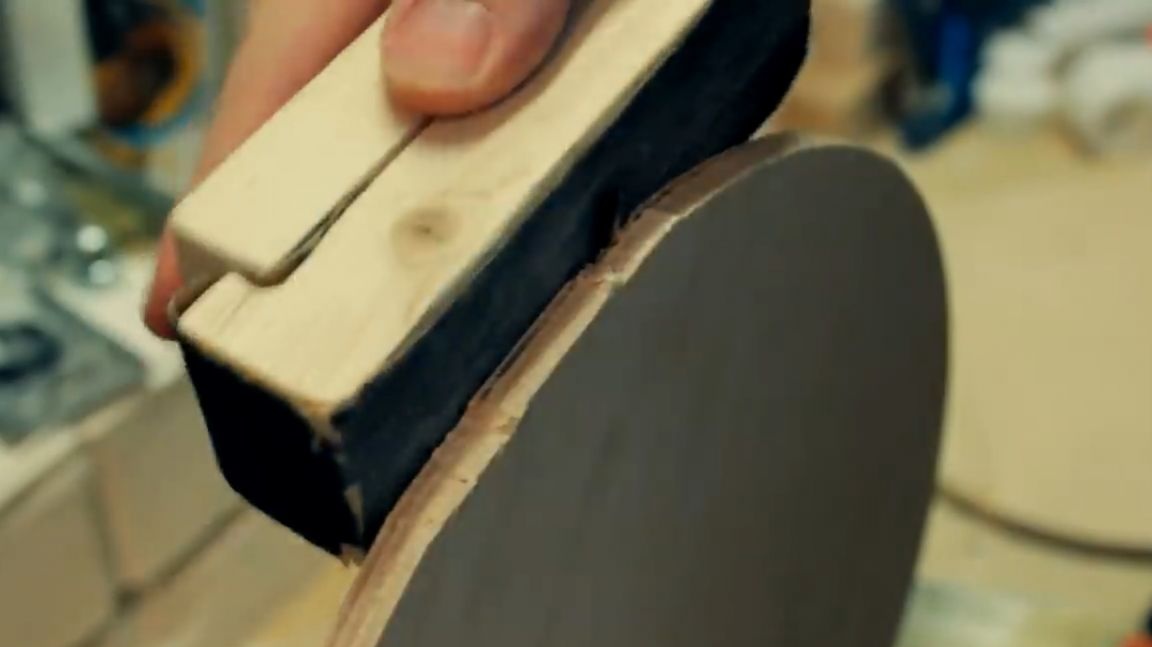
Since they already have a practically finished appearance, and their sizes practically fit the parameters of our homemade products, it remains just to clamp them in a vice and simply saw off the appendix with a hand saw to get a regular circle. We do not forget to process the saw cut place with sandpaper so that everything is smooth and beautiful.
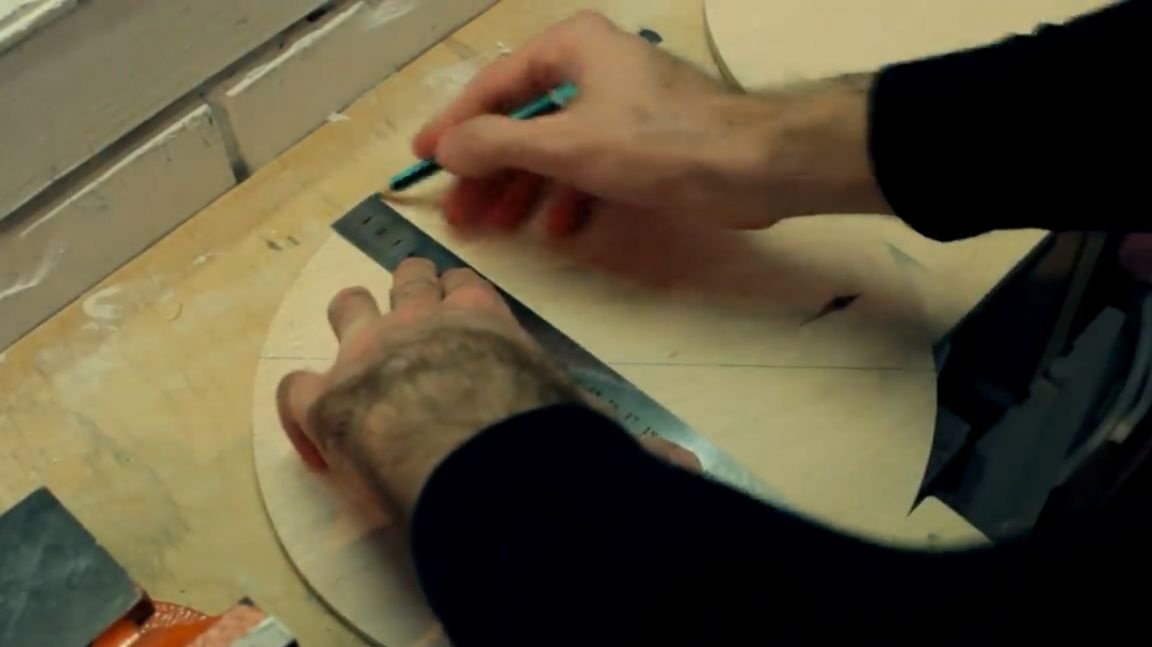
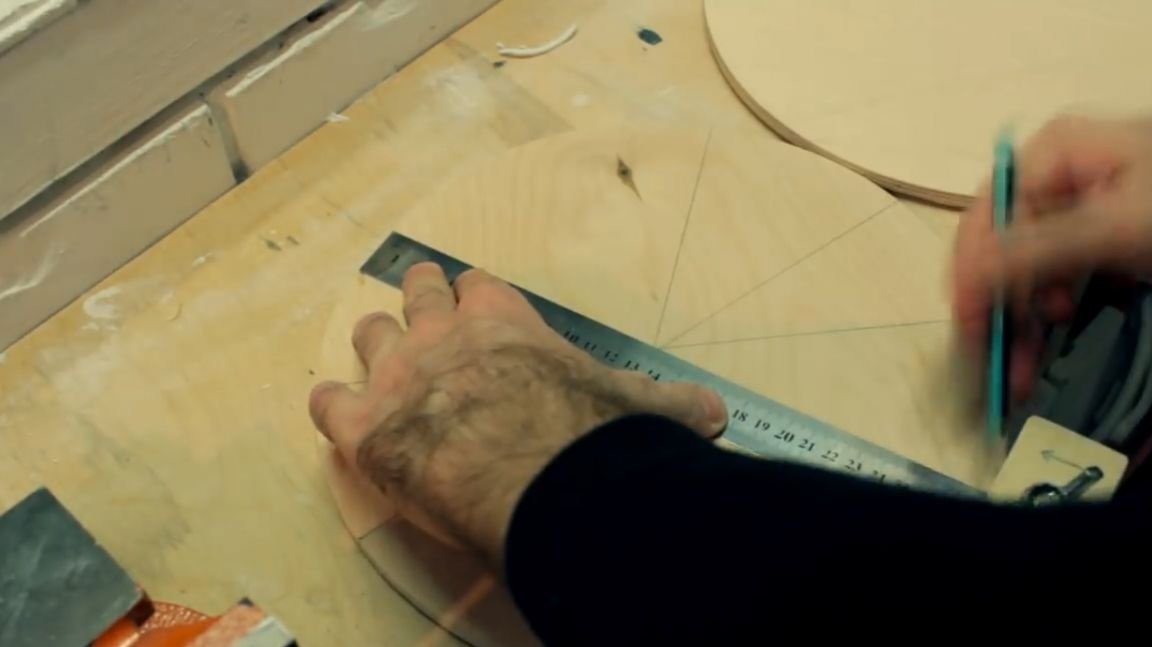
Next, we need to find the center of the circle and drill a hole. For some reason auto decided that using the method that you see in the photo below is correct and using it will not be difficult to find the center of the circle.
But as always, something went wrong and the author got this:
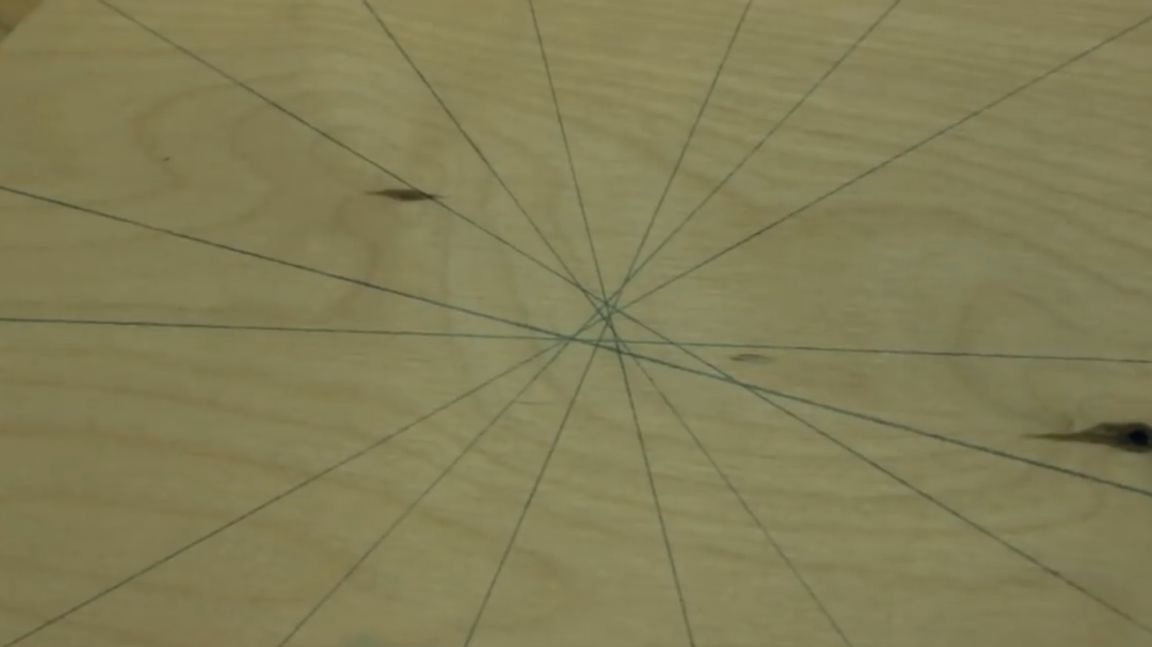
To be honest, this doesn't exactly look like the center of a circle. Therefore, the author, after watching a couple of videos on our favorite YouTube, I found the right solution, which looks like this:
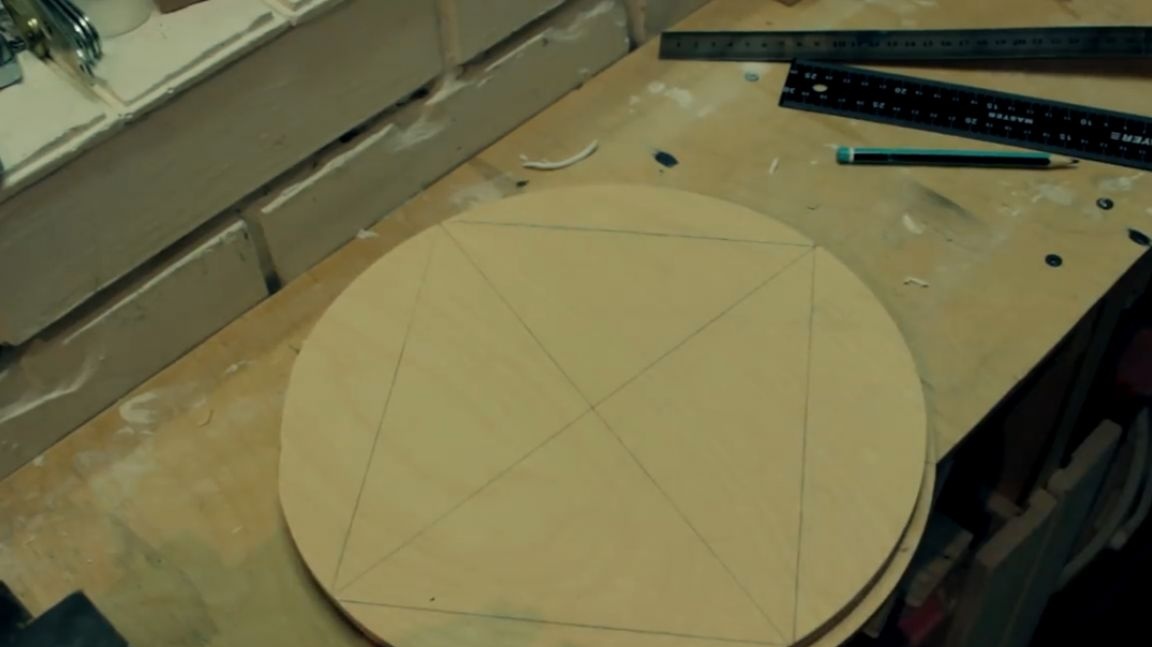
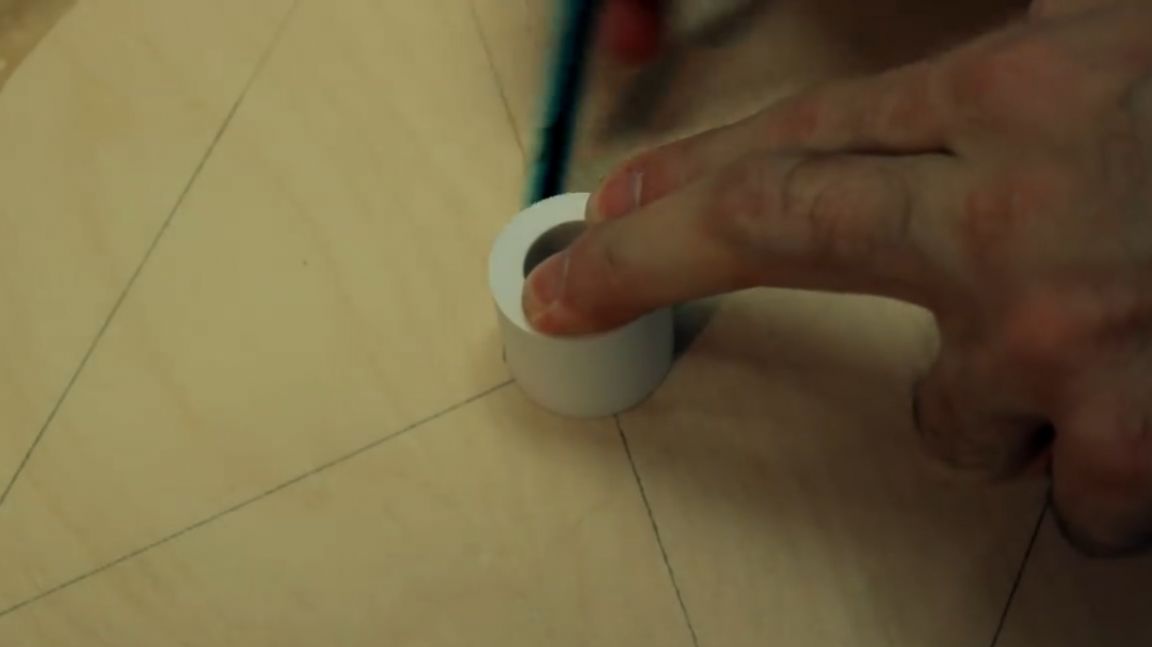
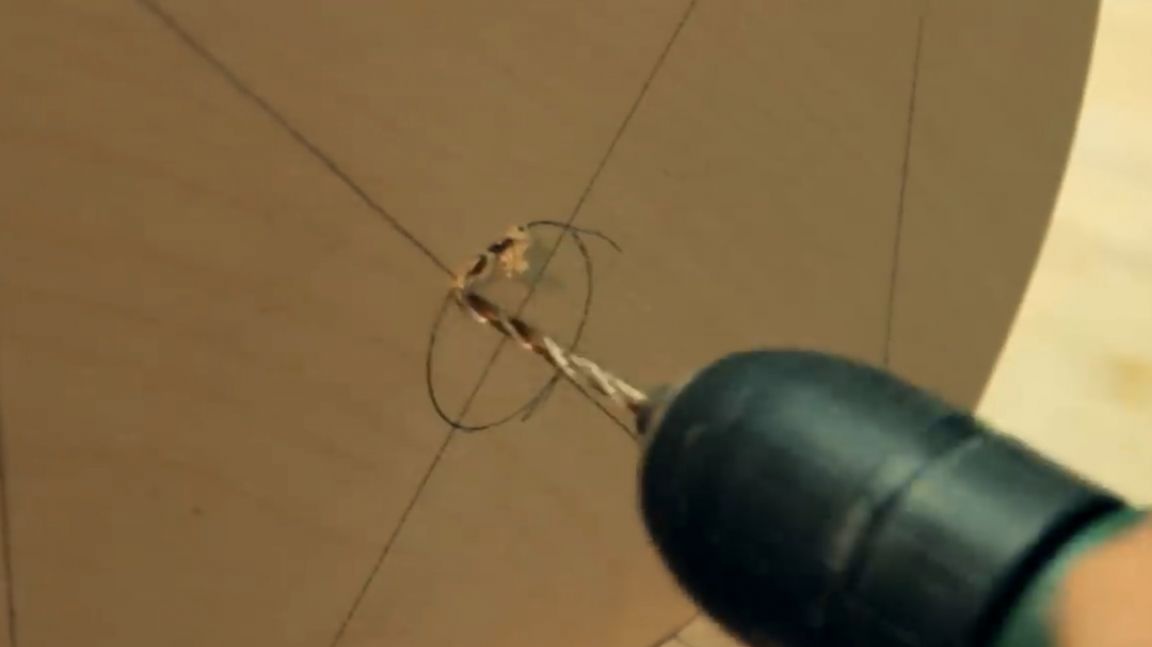
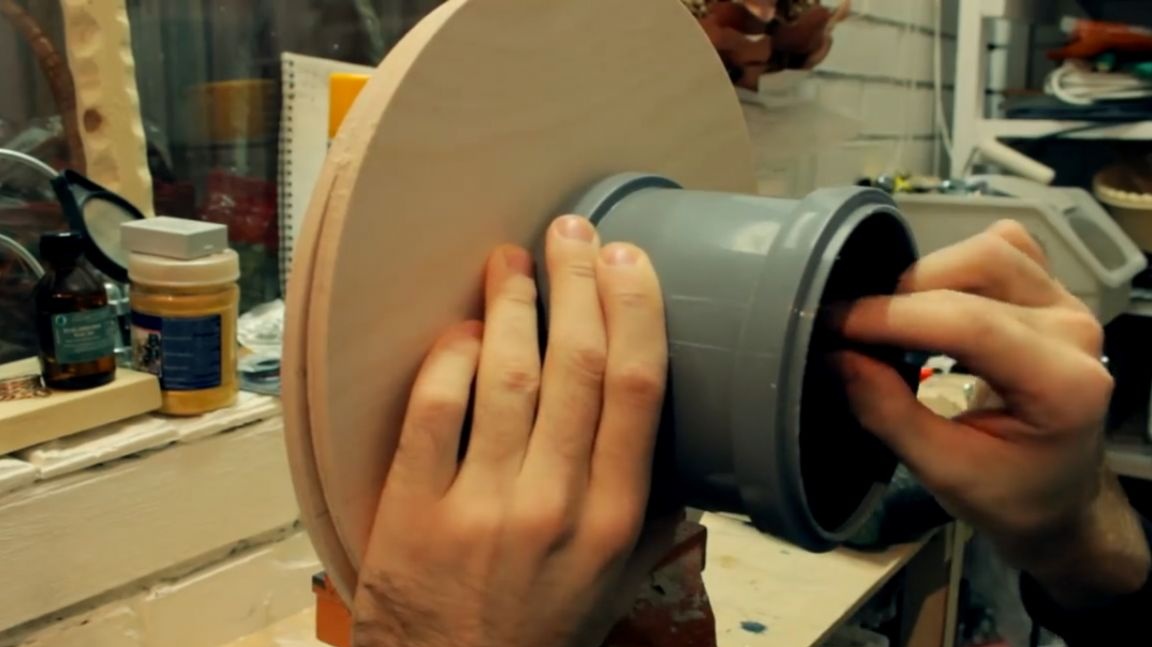
When the location of the center of the circle is precisely defined, we apply a piece of pipe to the intersection of the lines and circle it with a pencil.
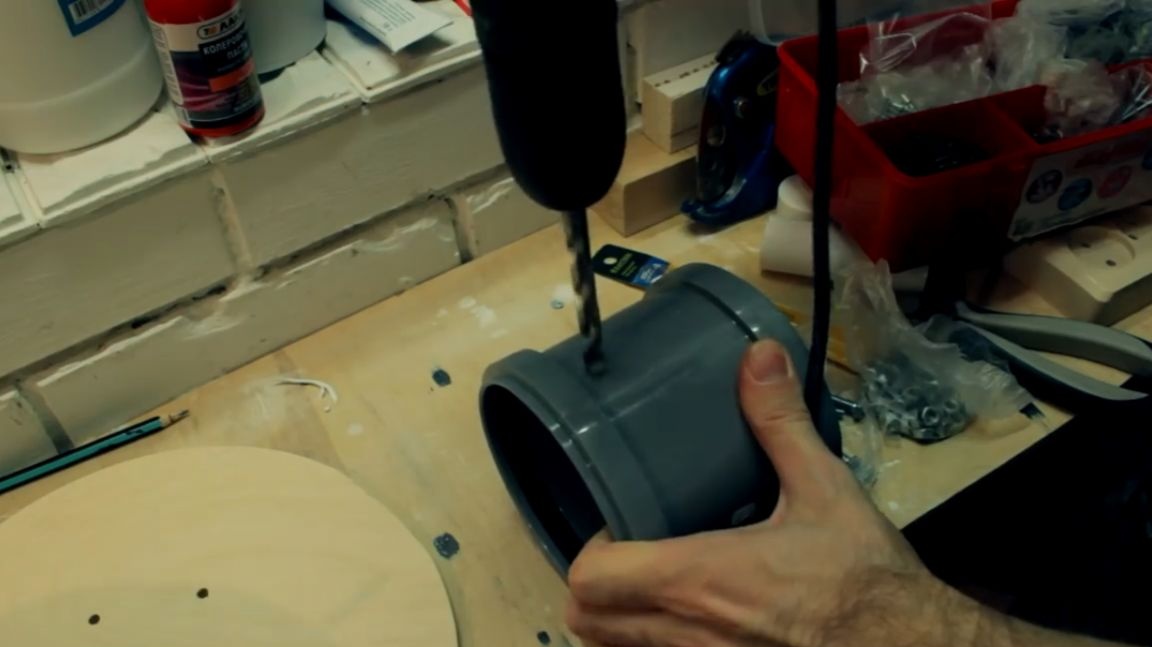
After that, we combine the two blanks together and clamp them in a vice. Since the polypropylene pipe 32 has a diameter of 32.5 mm, and the author did not find a 33 mm feather in his city, I had to drill a hole manually using a small drill.
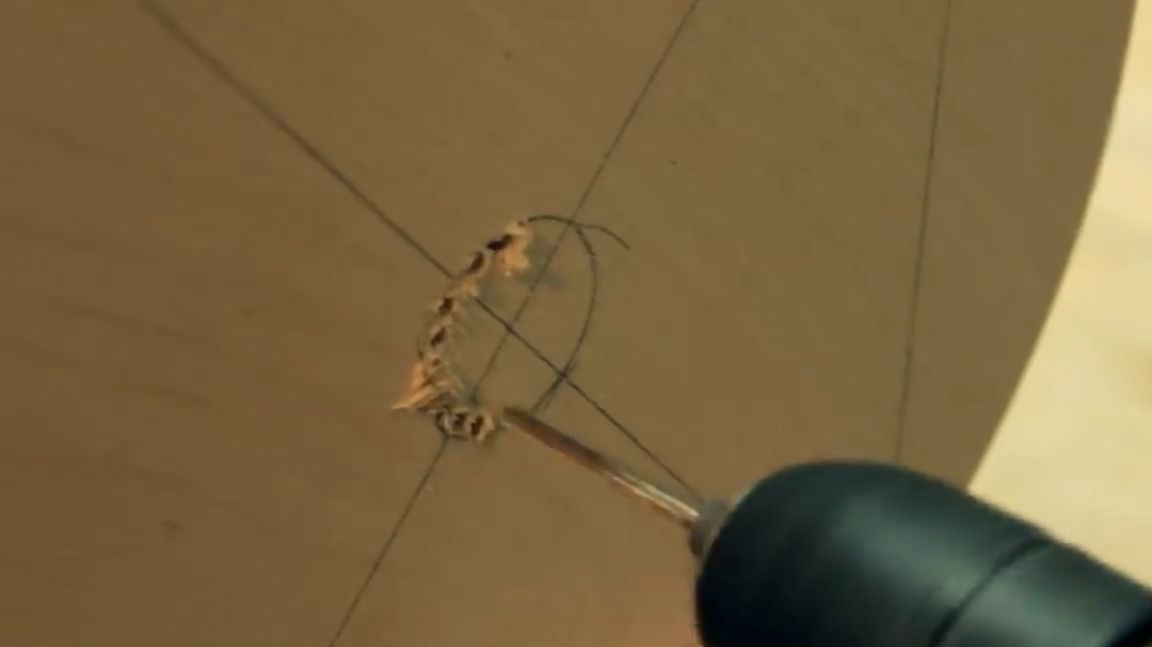
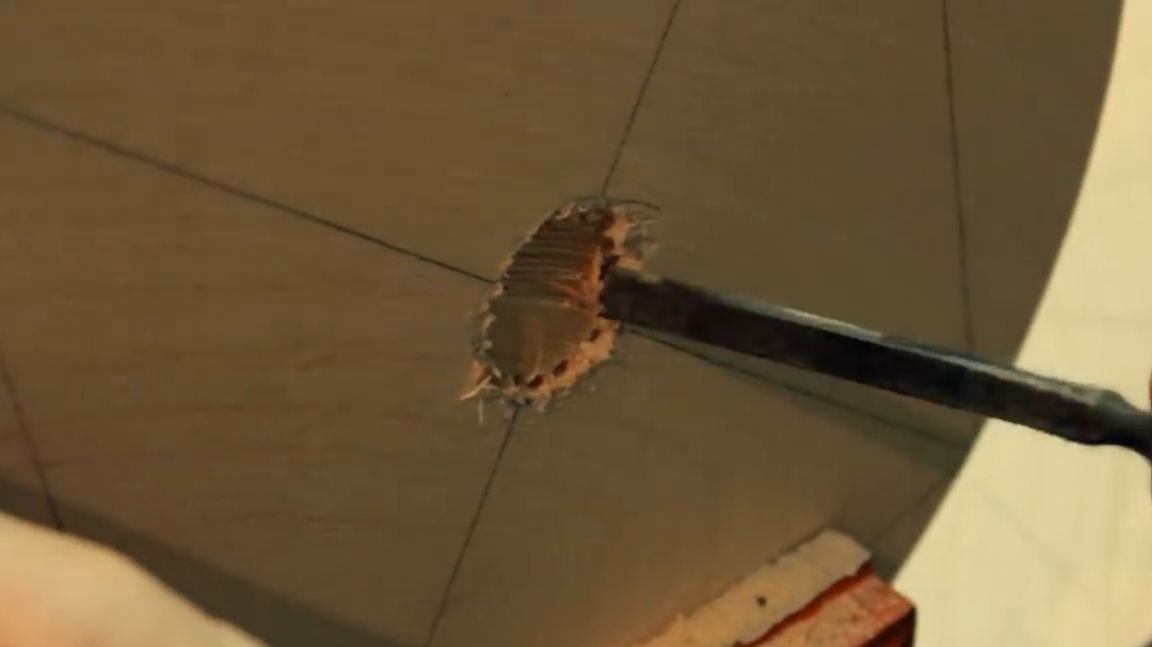
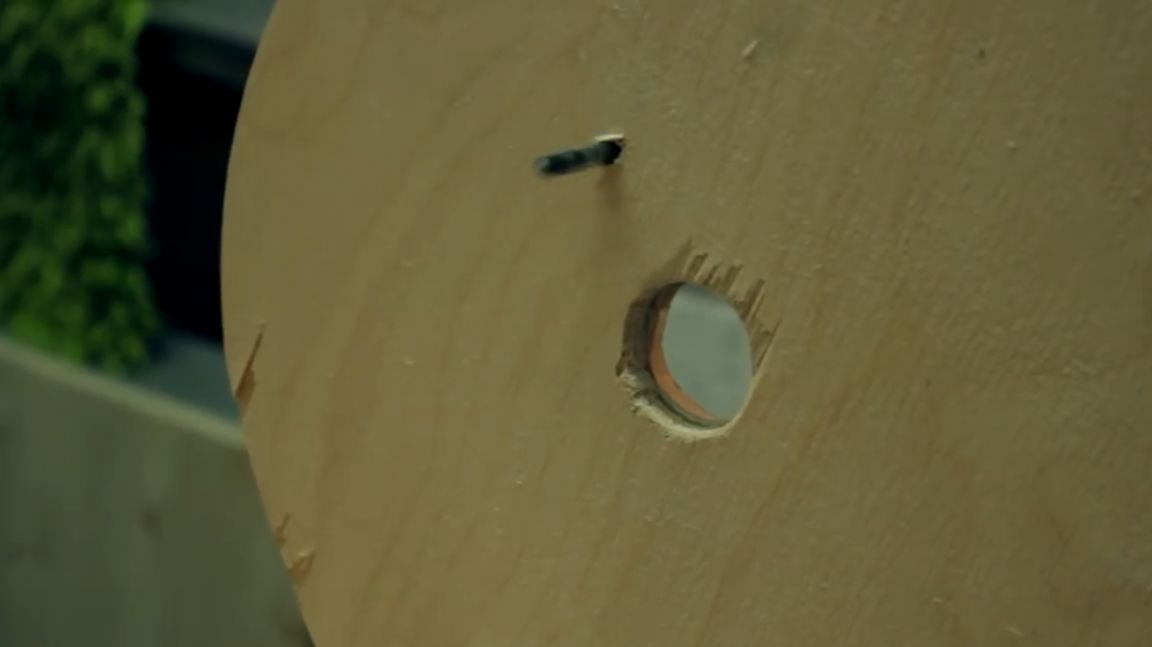
We pick out all the excess with a chisel, and smooth the uneven edges with a semicircular file.
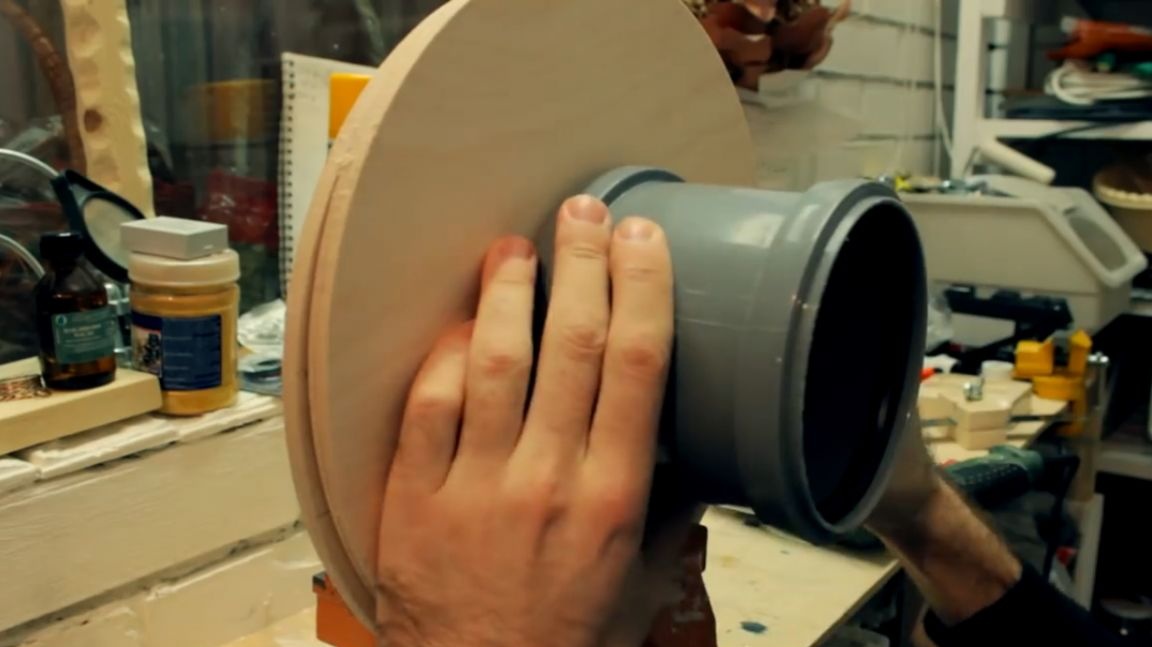
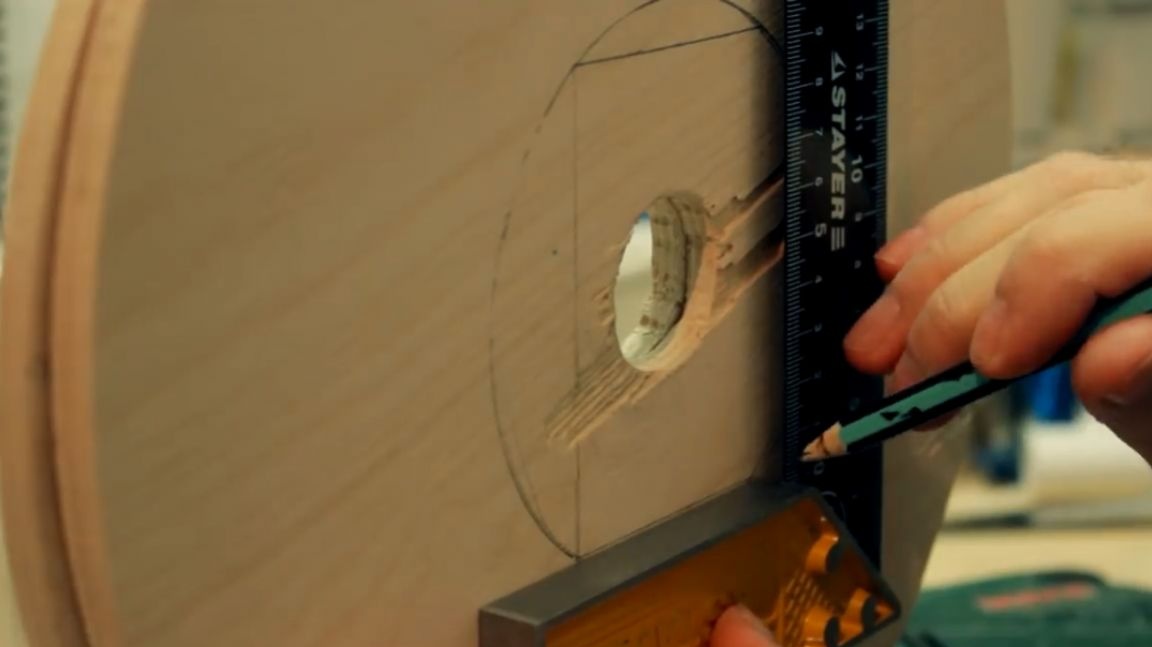
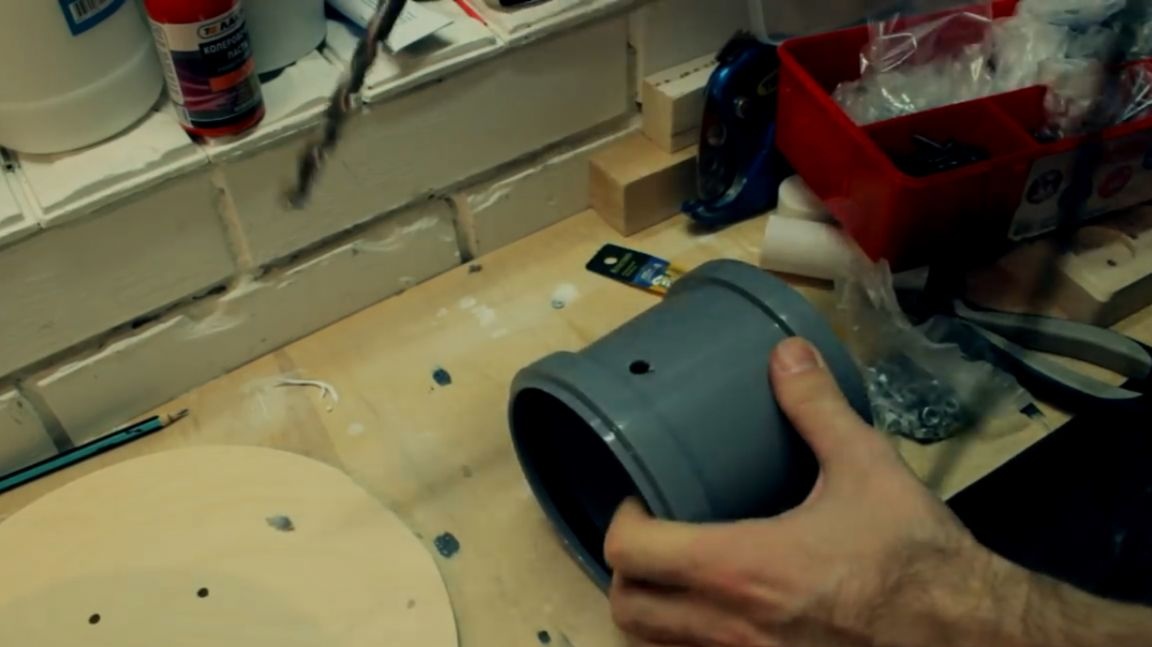
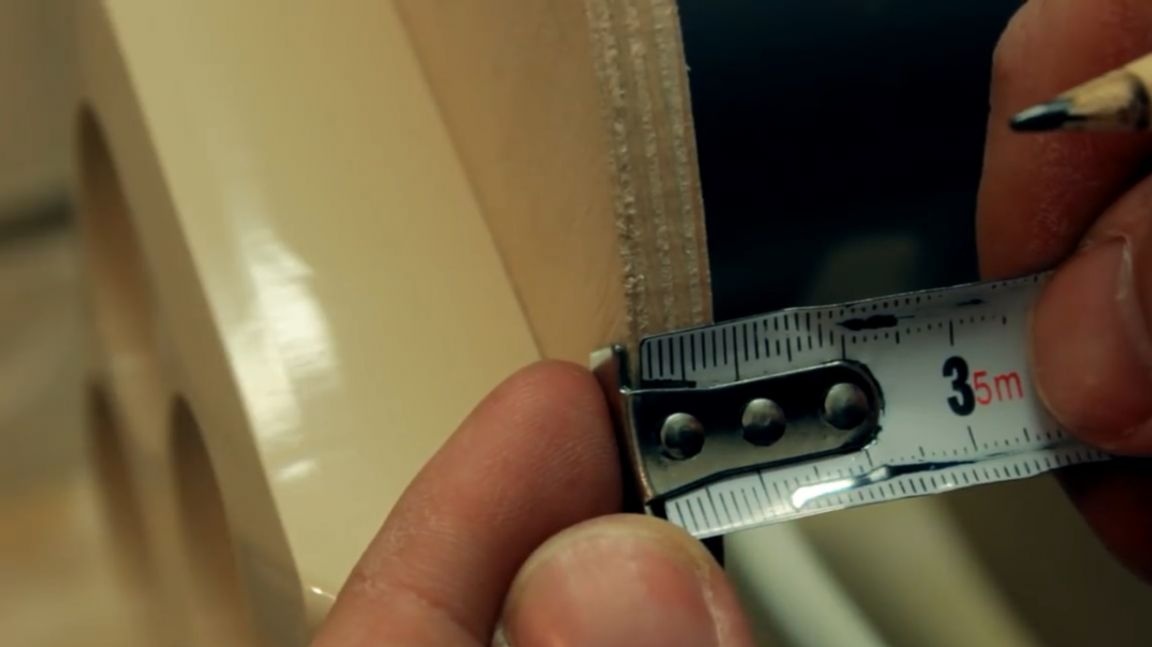
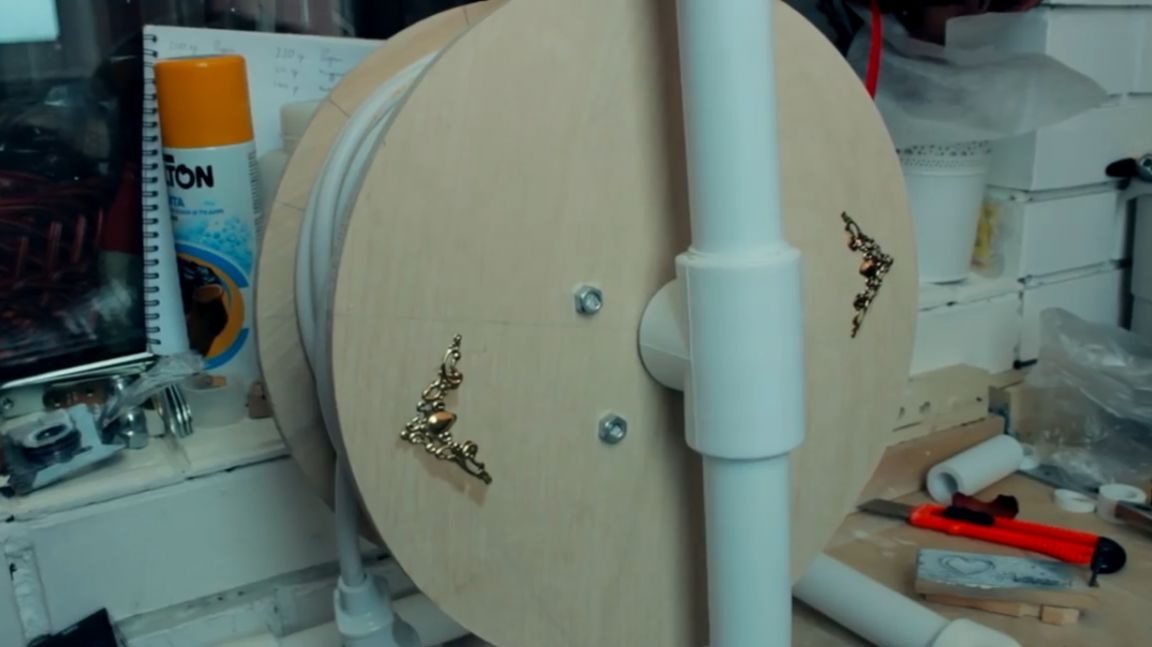
Next, we apply a sewer sleeve to the circle of plywood and draw a pencil around the inner diameter. Using a square, draw an inner rectangle and drill one hole in each corner of the rectangle.

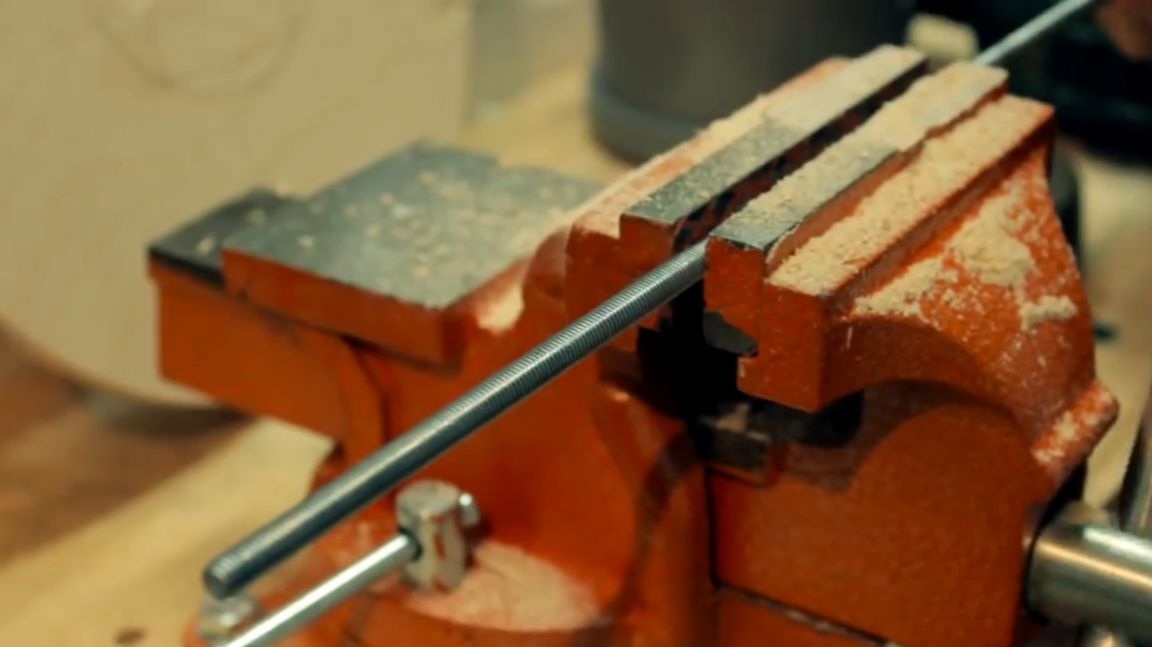
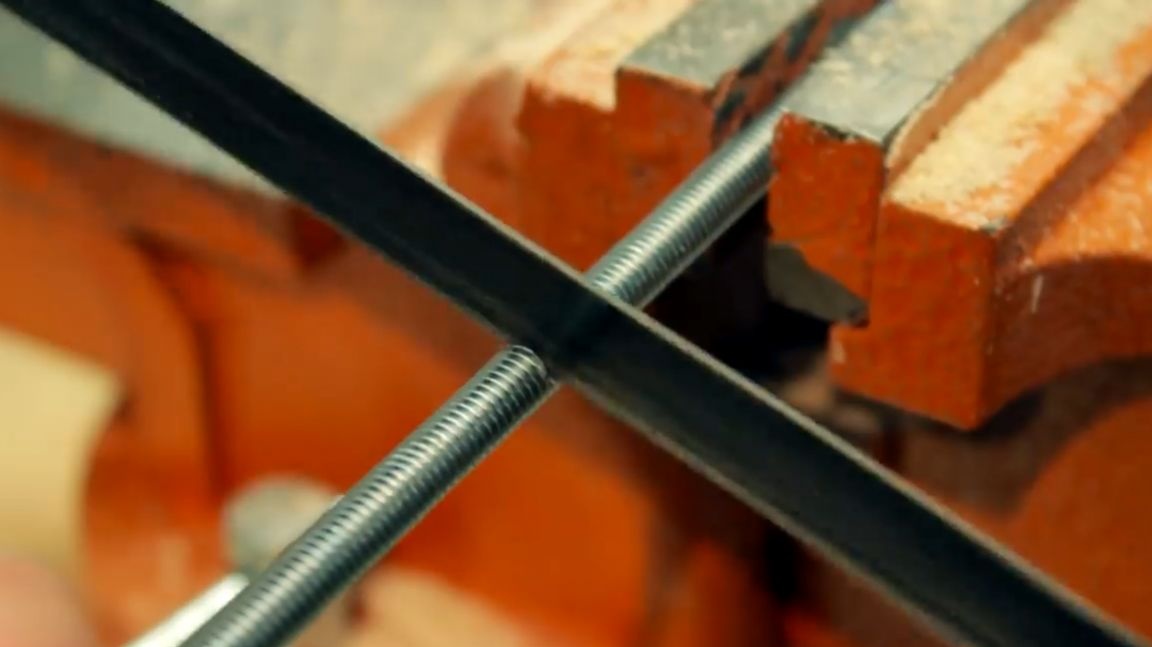
In order to fix the sewer coupling, we use the m8 pin. To do this, we will cut 4 pieces each 13.5 cm long. Since the saw is a bit, and so as not to torment his neighbors once again, the author uses a hand hacksaw.
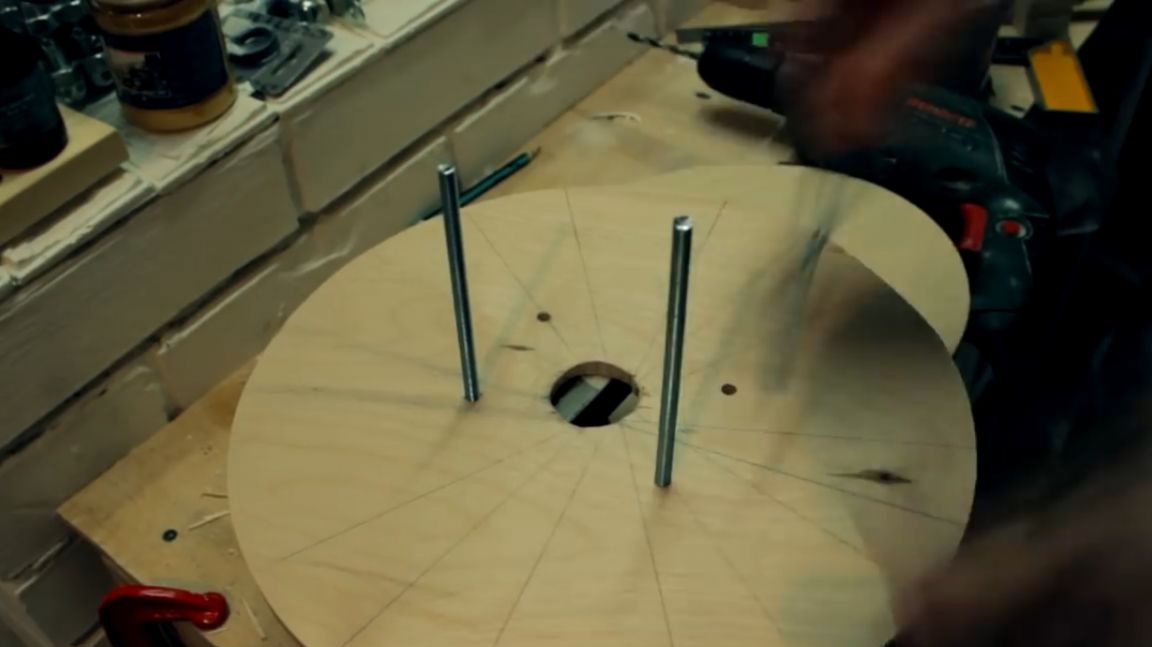
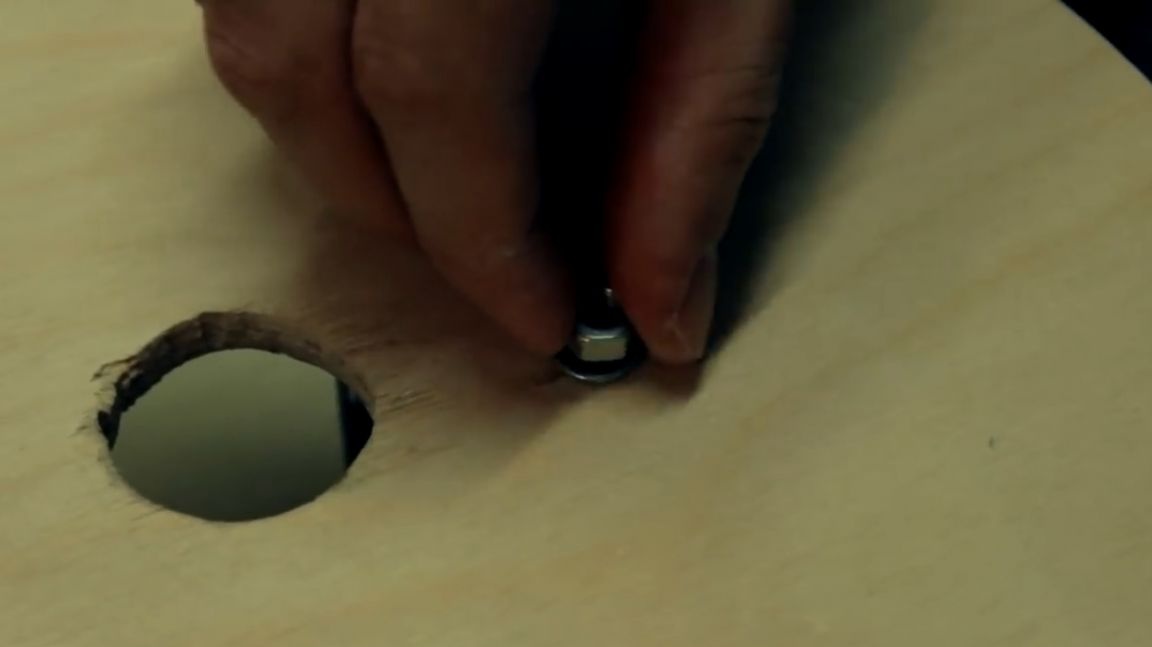
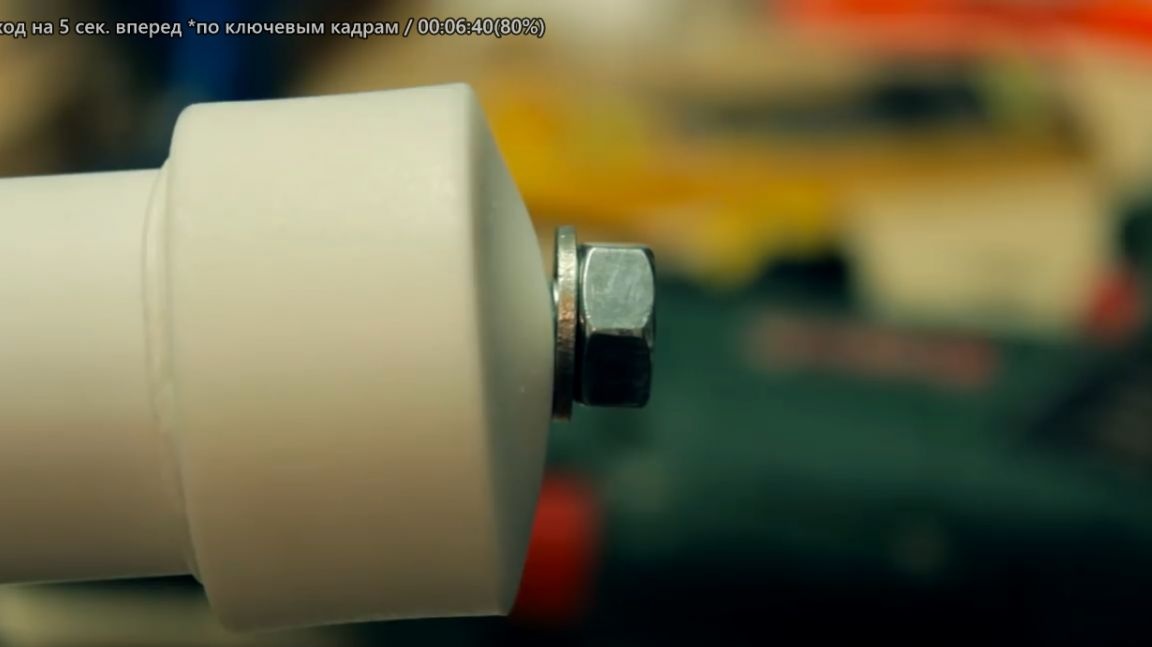
We insert the sawn hairpins into the previously drilled holes and tighten with a nut.
From the reverse side we put on the sleeve. No stop. One more hole is missing. It must be done here:
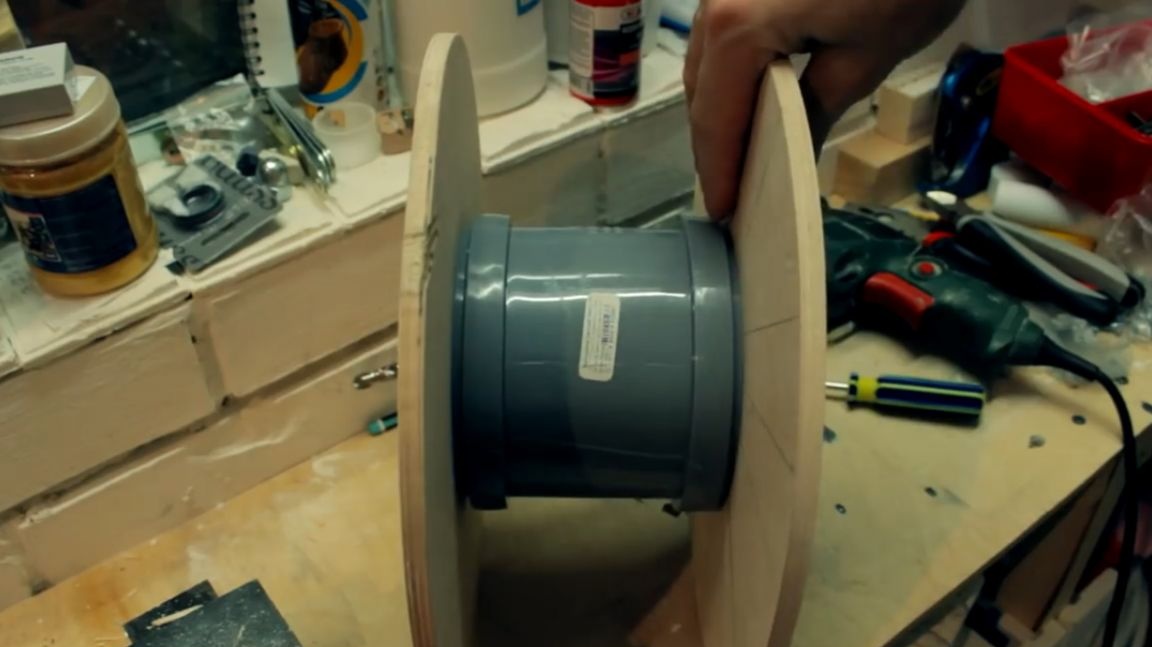
Now dress the clutch. We connect everything together and tighten with nuts. At the output we get just such a coil:
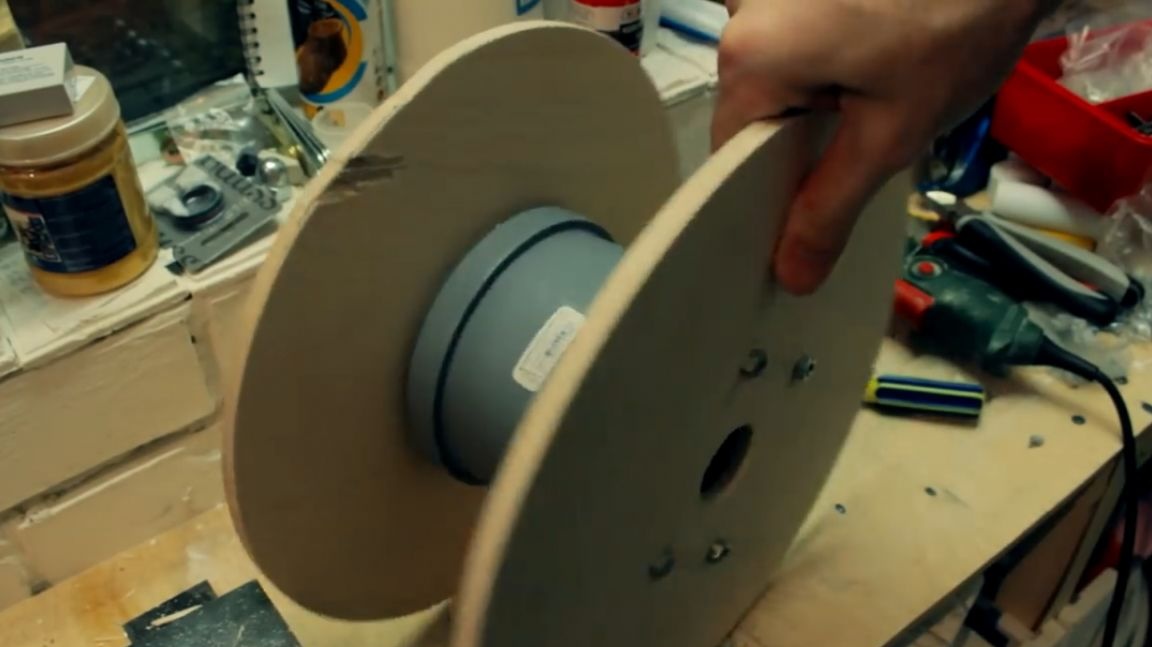
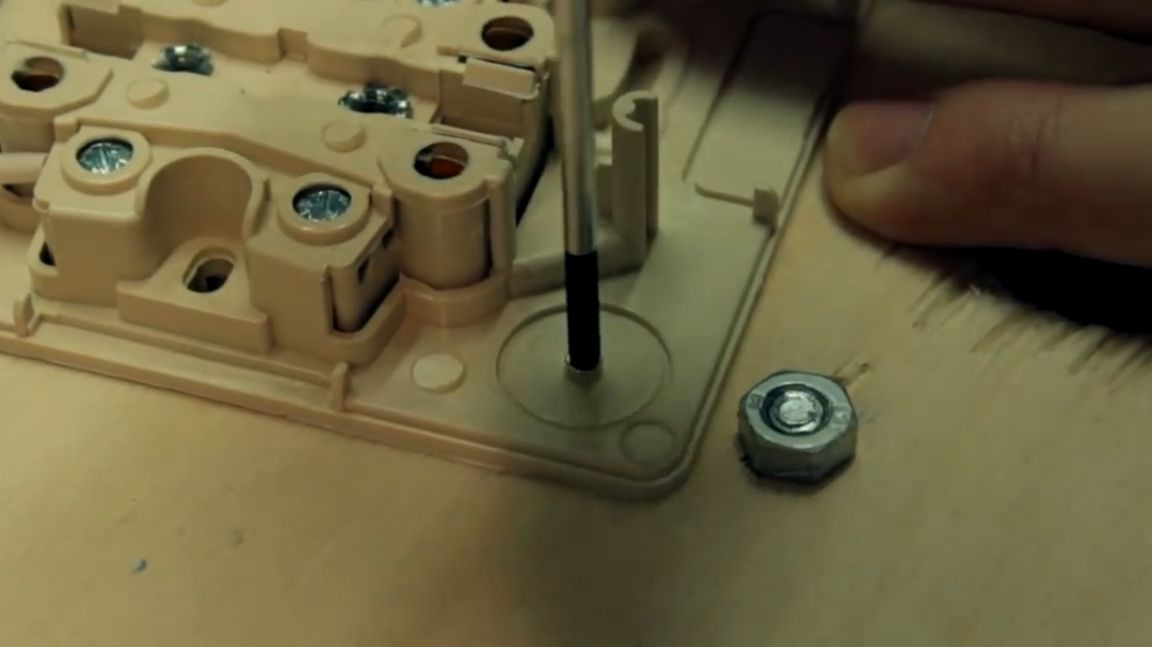
Now it will be necessary to install a socket on this coil. Since we do not need sharp self-tapping screws sticking out on the other side of the plywood (after attaching the outlet), it is therefore advisable to use small self-tapping screws. For them, we drill millimeter holes and twist small self-tapping screws.

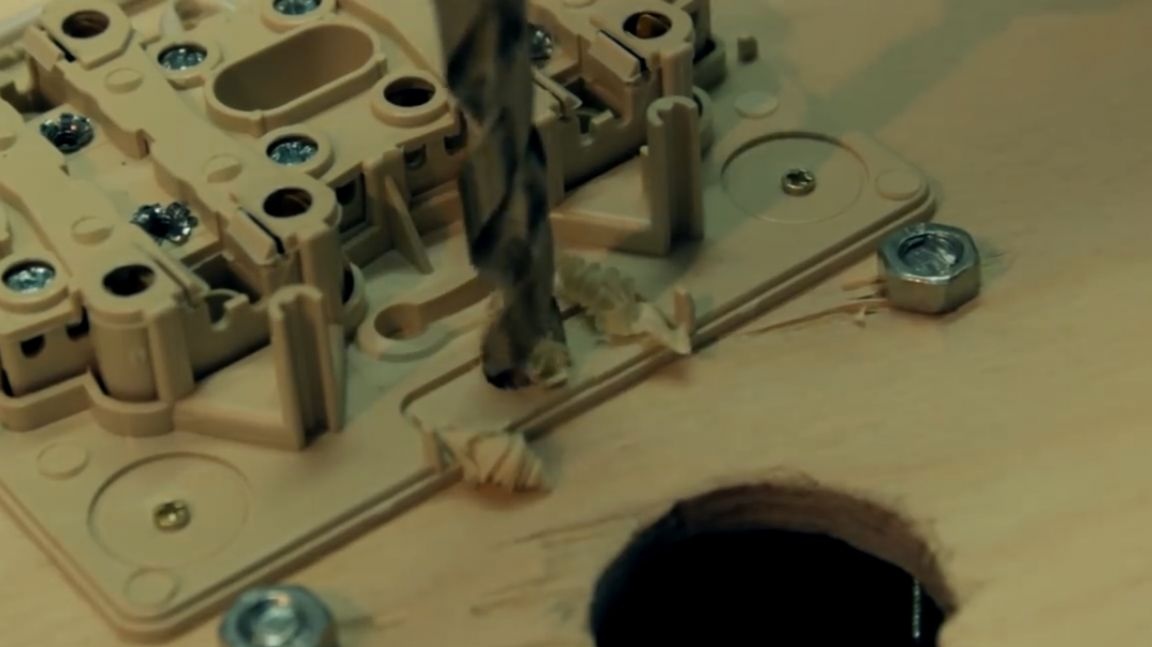
Then you need to drill a hole for the wire.
After a little torment, we nevertheless stretch the wire into the outlet.
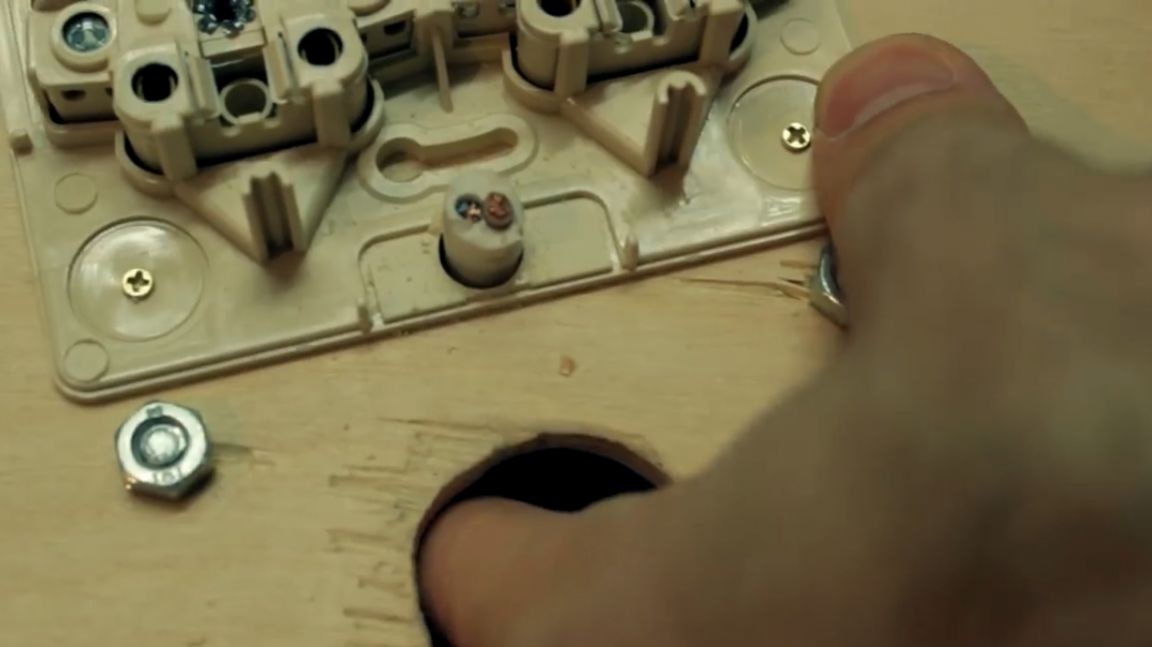
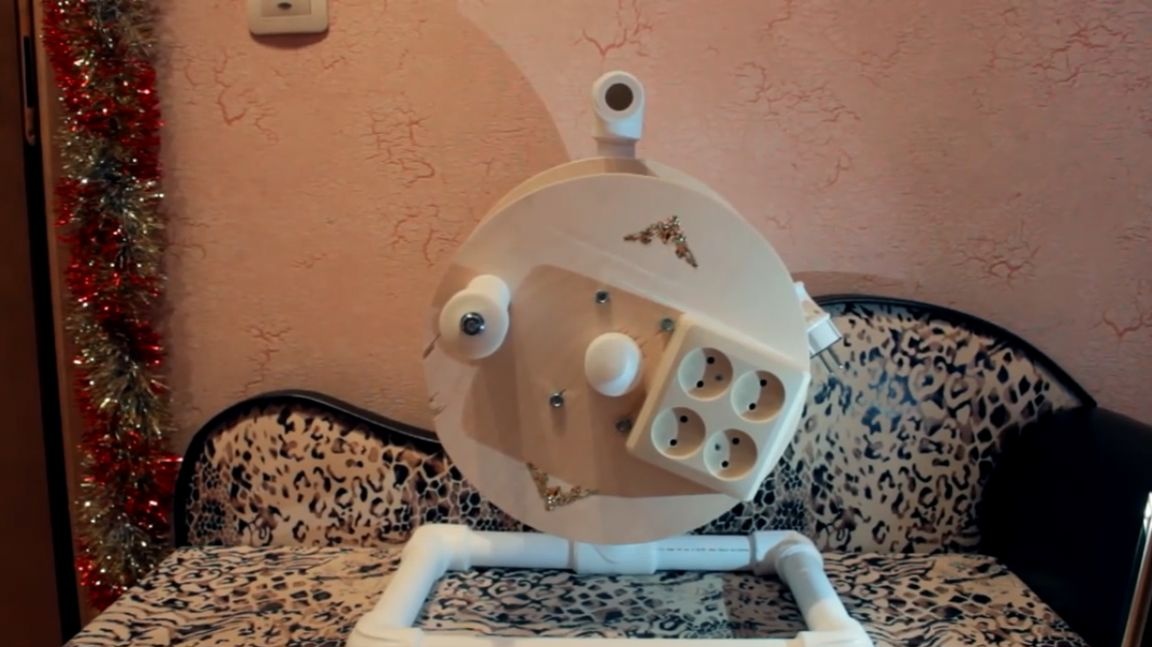
Then we clean the whole thing, connect and fasten it. We screw the lid on top and at this stage the socket is ready.


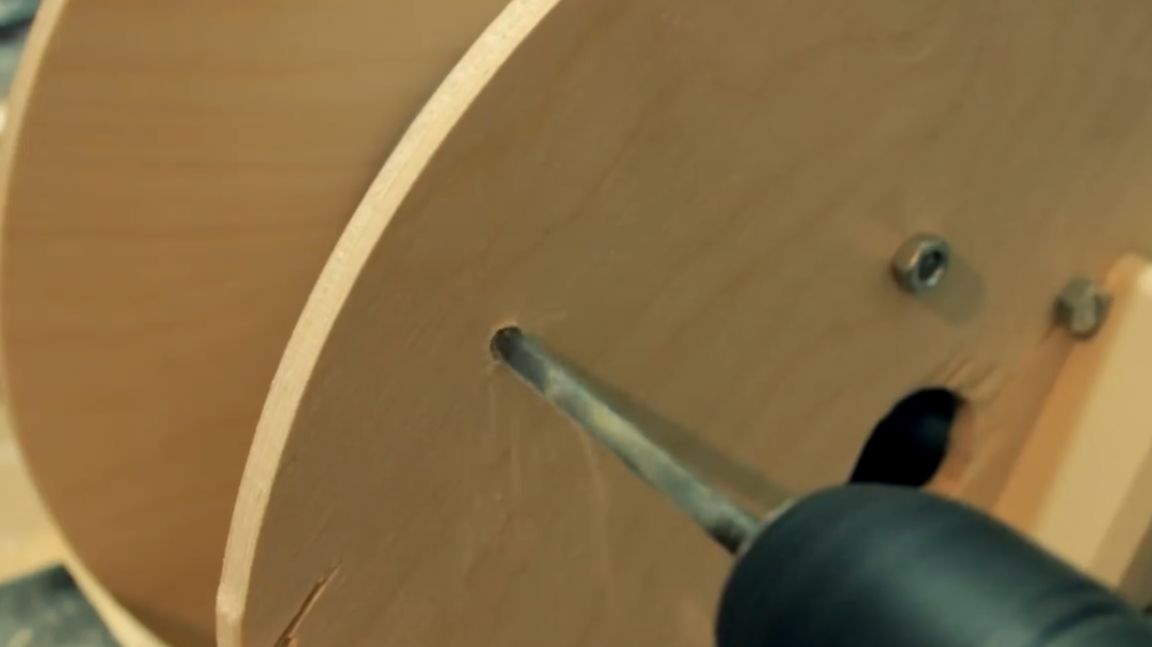
Oops I almost forgot to attach a pen. Therefore, we will drill a hole under the m10 pin.
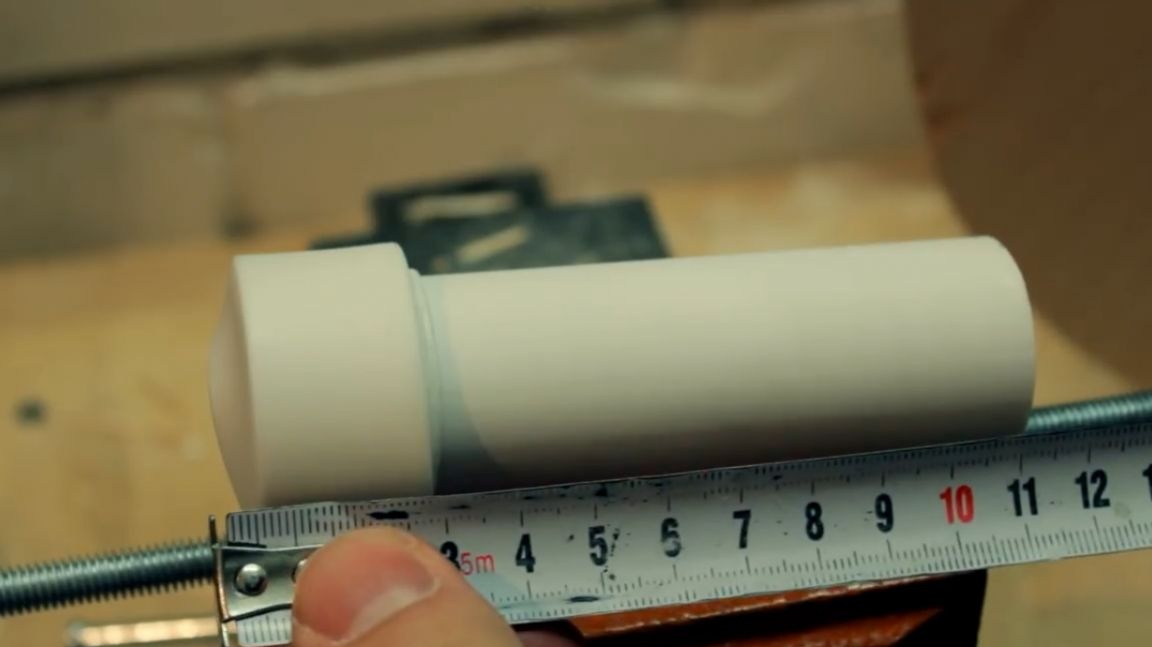
Next, take a small piece of pipe and solder it with a plug. Measuring our pen, we get 11.5 cm. We add to this size the thickness of plywood. The resulting size of 13.5 cm, sawed off with a hacksaw. In the center of the handle, we drill holes for the m10 pin. On both sides we tighten the nut and get the finished handle.
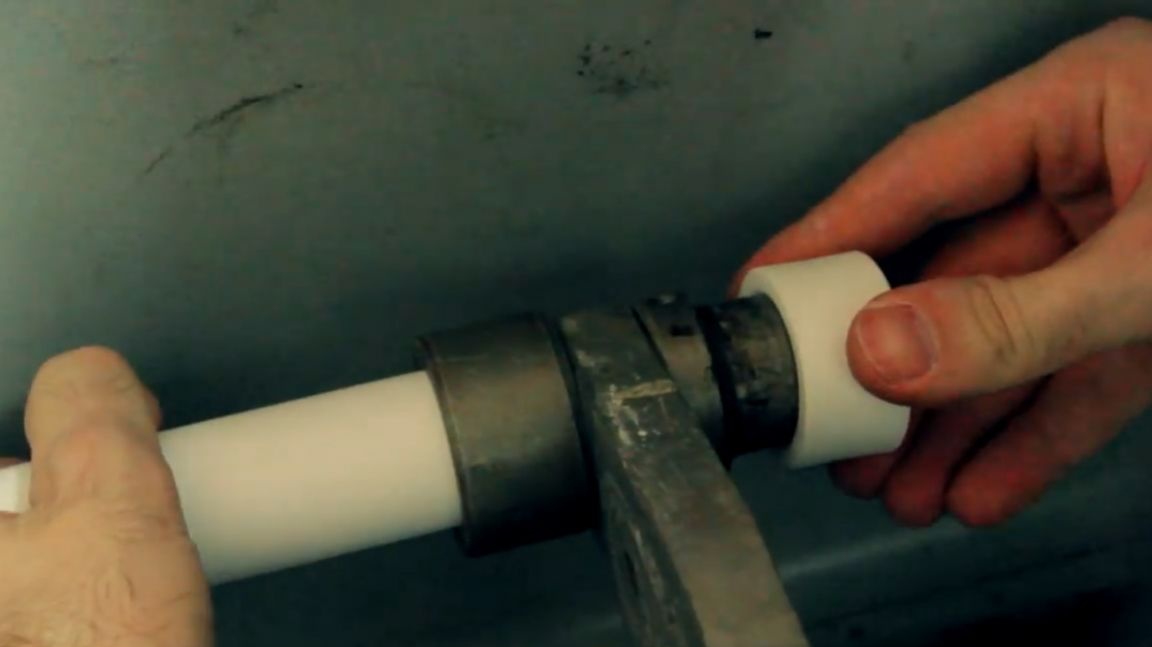
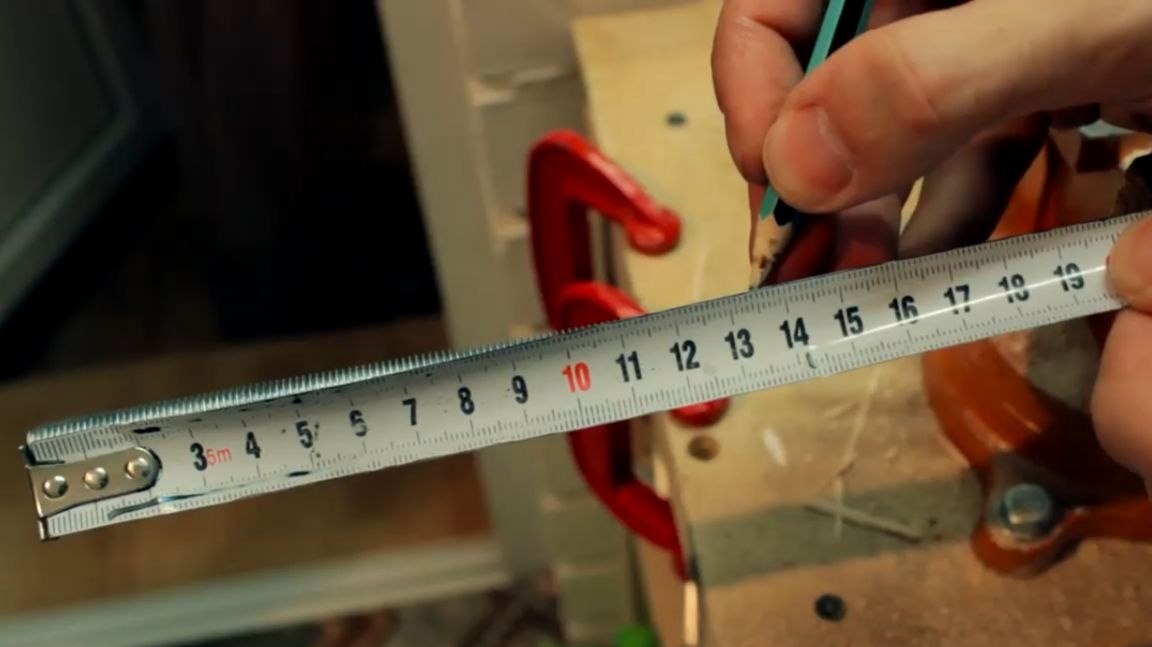
At the next stage, we put our large reel on a polypropylene construction. We cut off the excess protruding end with scissors and solder the plug in place of the cut.
Then we cut another piece of pipe 13 cm long. We solder a 90 ° polypropylene angle into the resulting section.
Then we solder this part into the general design. Without any problems, we wind 30 meters of wire onto a bobbin. And on the remaining end of the wire we fasten the plug.

You probably thought that was all? But no, that’s not all. The author decided to give a special look to his product. In order for the homemade extension cord to look really beautiful, he bought gold plates that he glued to the ends of the coil.
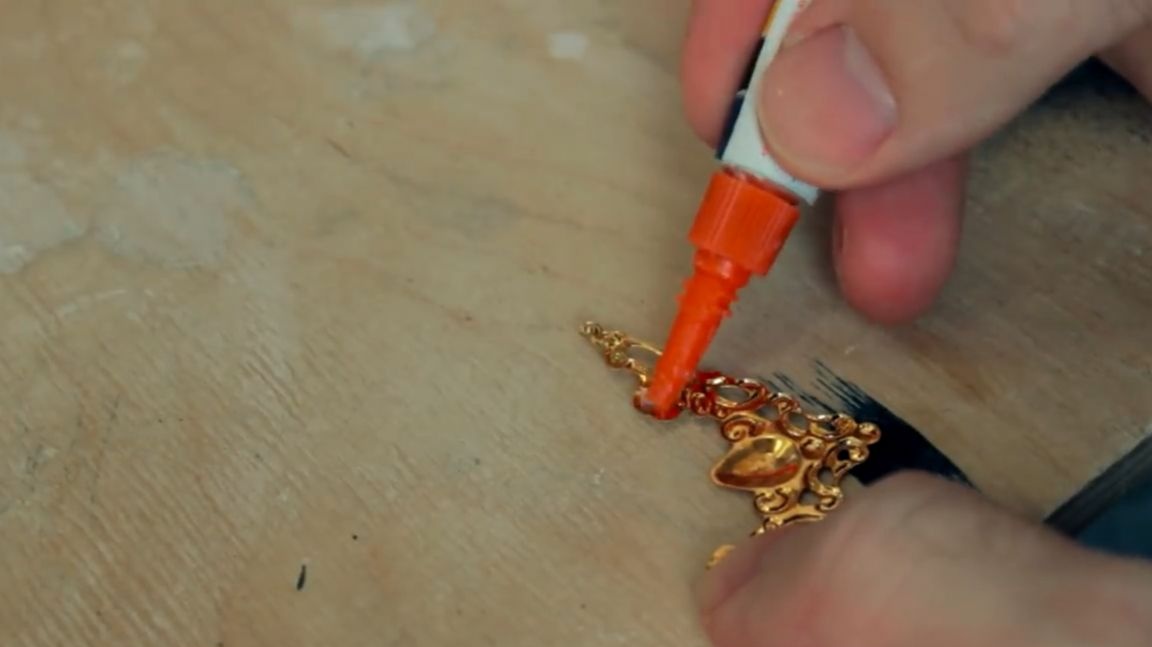
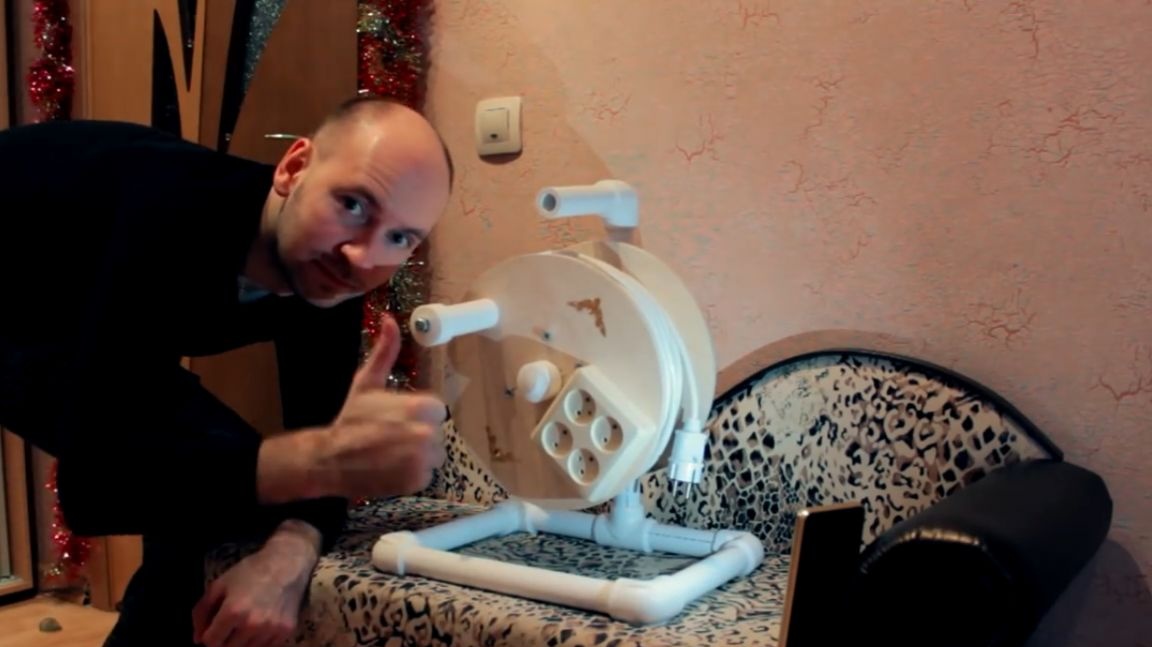
Now, according to the author, the homemade product looks completely finished.

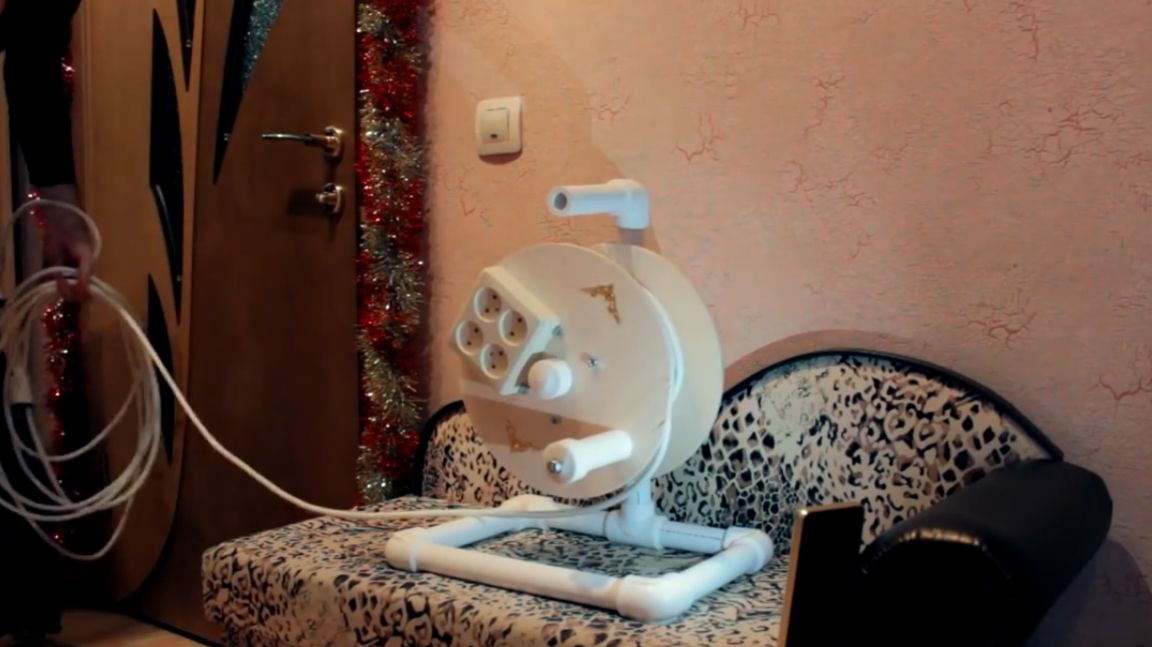
Such a homemade extension cord will cost at least 2 times cheaper than a ready-made store option. In this case, you can choose the number of outlets that you want to attach to it. And also the required length and cross-section of the wire that you will use. According to the author’s calculations, at least another 20 m of wire will fit here without problems. And a 50-meter extension cord, this is not a sickly such device.
The result is a fairly stable, very easy-to-unwind, as well as pretty easy-to-reel home-made extension cord.
Thank you for attention. See you soon!
Video: