

Hi the inhabitants of our site! Surely many of us are very fond of coffee and drink it every day. Many of us drink regular instant coffee, but not everyone likes it or just got tired, and then you want something more than coffee from a bag. Then the purchase of a coffee maker comes to mind, but why buy it, if you can do it yourself.
In this article I will try to describe to you the assembly of a simple and not expensive vacuum coffee maker.
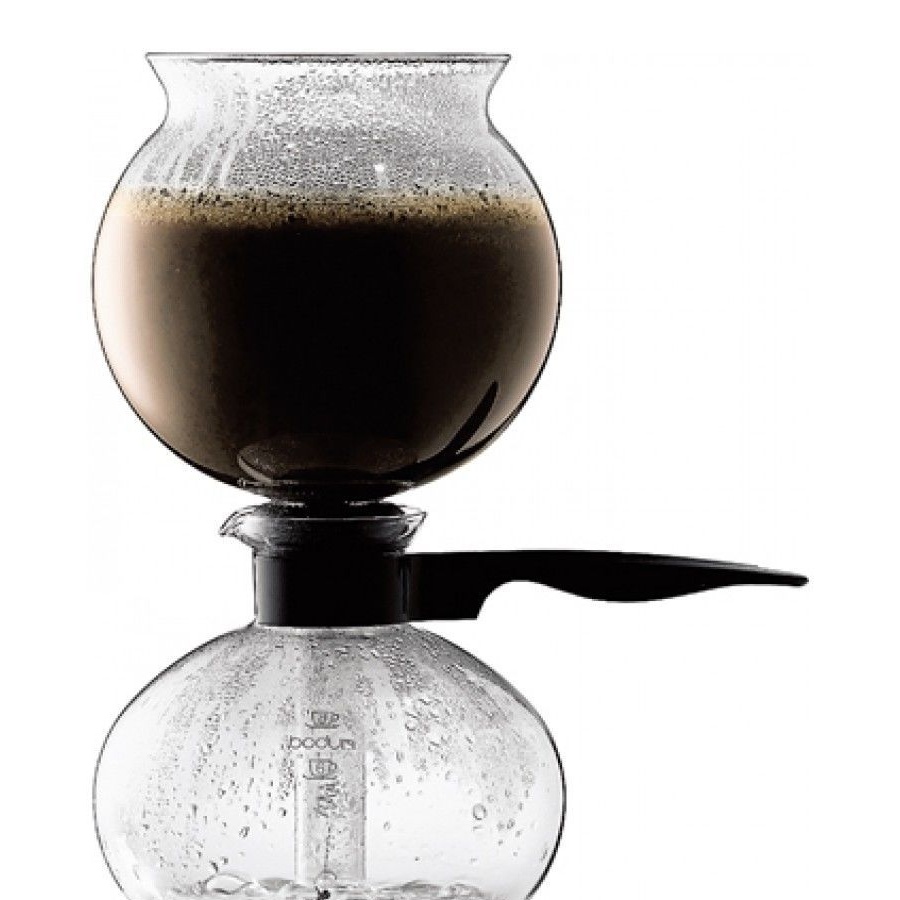
This interesting device is partly reminiscent of a geyser coffee maker and a French press, however, due to the constant heating of the water, the color of the drink is more saturated, and due to filtering there is no precipitate in the cup. A vacuum coffee maker is relatively little known, but has a long history. The principle of operation, known in antiquity, was first used for making coffee in the century before last, and improved only in the middle of the past.
The design of the vacuum coffee maker includes:
• two communicating flasks of a certain shape made of thin borosilicate glass
• gas burner
• nylon filter with the smallest cells
• stand.
To make a vacuum coffee maker you will need:
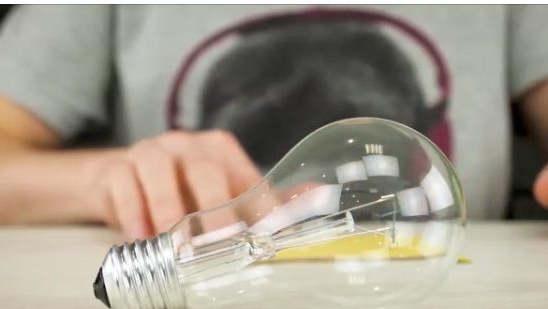
1- Two large and one small glass bulb.
2- Glass tube.
3- Sandpaper.
4- Metal washer.
5- Sealant.
6- Bor machine.
7- Pliers.
8- Ruler.
9- Two socles for light bulbs.
10- Wooden blanks.
11- Mount for pipes.
12- Drill.
13- Screwdriver.
14- Wick.
15- File
Making a vacuum coffee maker.
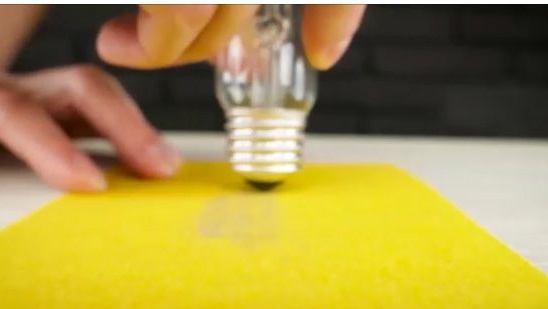
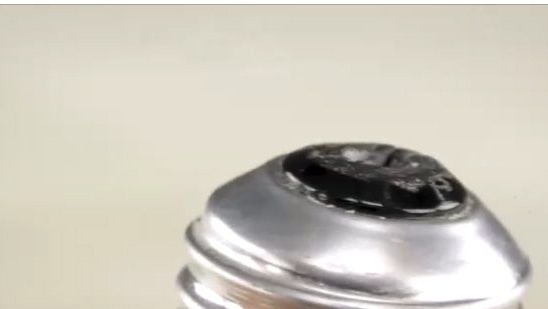
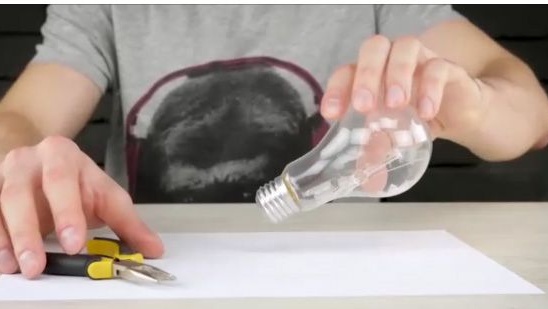
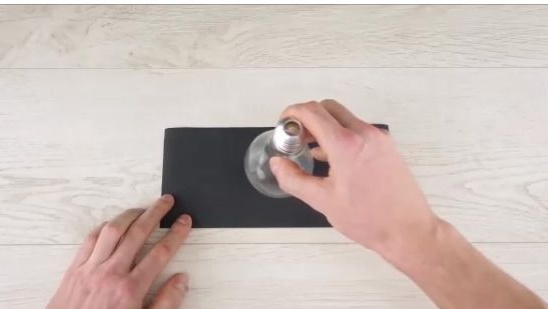
1- First, you need a simple glass bulb. Remove the bottom from the bulb. This should be done with sandpaper and a flat screwdriver. First, grind with sandpaper, and then break out this part with a screwdriver.
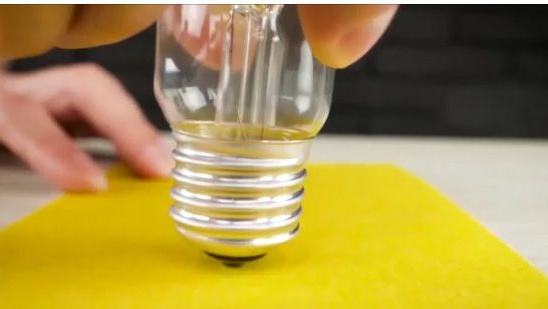
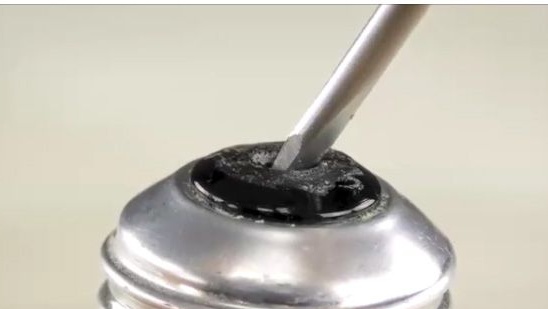
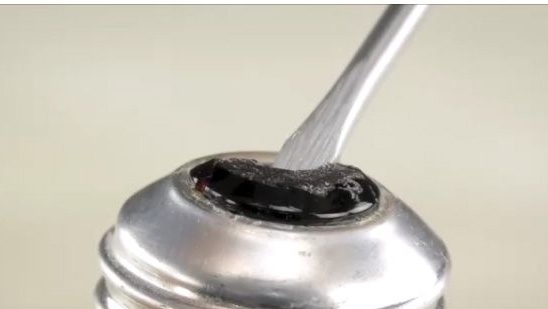
2- After we removed the lower part of the bulb, using the pliers we remove the inner central part.
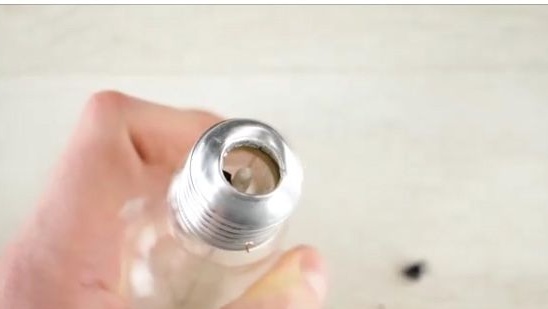
3- But you can’t do it right away, and you have to use a boron machine. We grind the boron with the inner glass part, so that all the extra insides can be pulled out without problems.

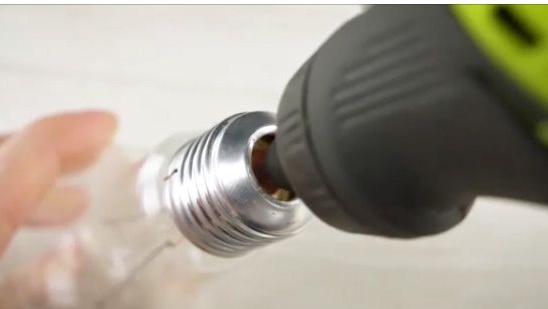
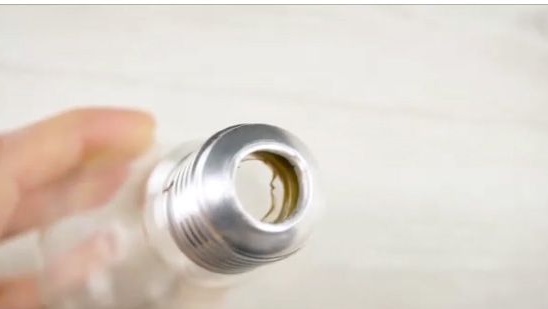
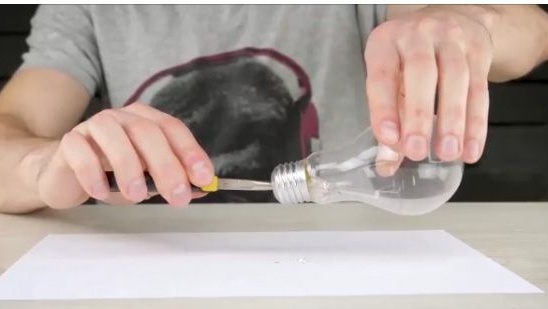
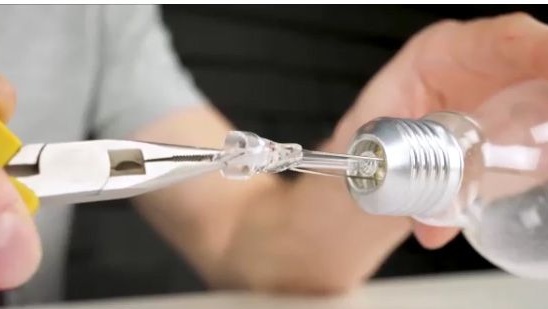
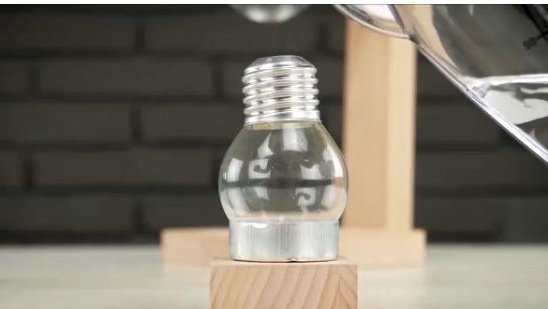
4- In the end, we should get a completely empty light bulb, but it is important to leave the thread in place.
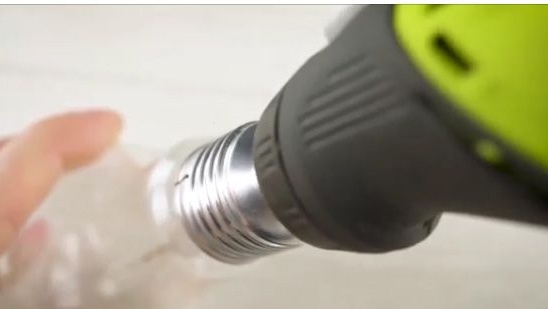
5- Then again you will need sandpaper. Take the blank we just made and grind its upper part a little less than half.

6- As a result, we should get about such a blank as in the photo below.

7- For the next step, you will need to find or purchase a glass tube of small diameter.

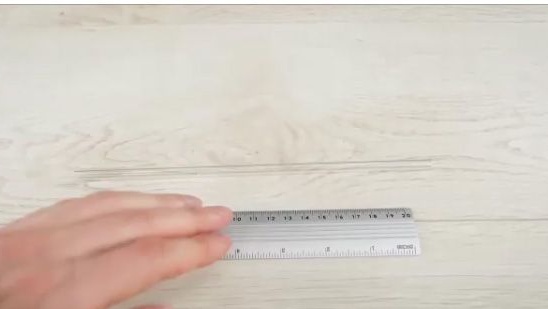
8- Using a ruler on a glass tube, mark about 15 cm.
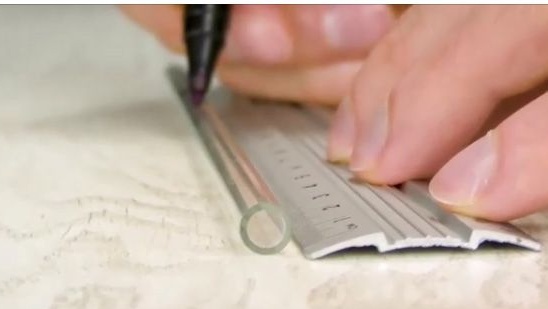
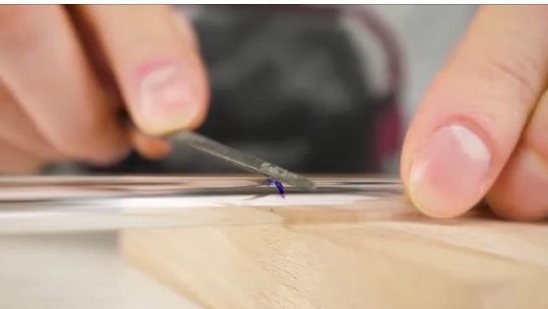
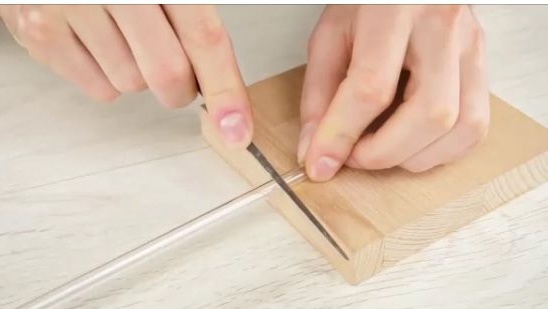
9- Then you need to cut off the excess from the glass tube. But for sure you will not be able to simply cut it off, since it will begin to crumble and crack, so you should not cut it, but grind it. Grind
It should be a thin file not large grit.
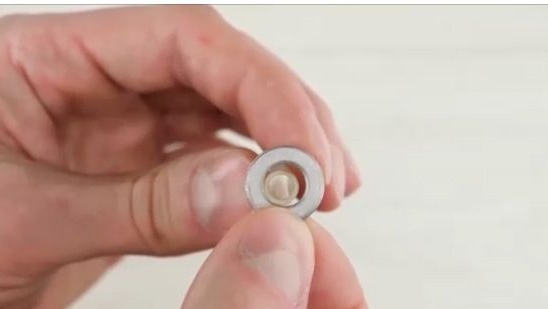
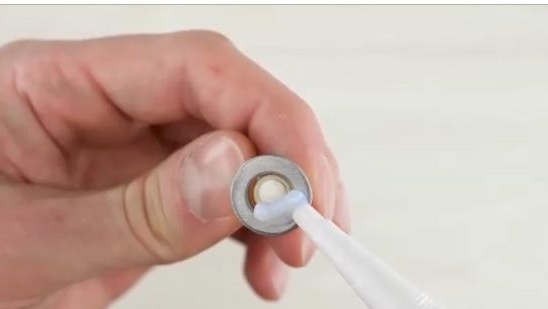
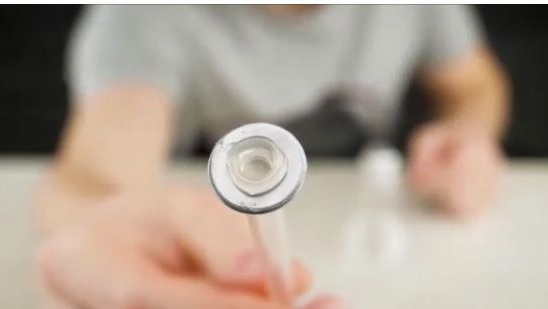
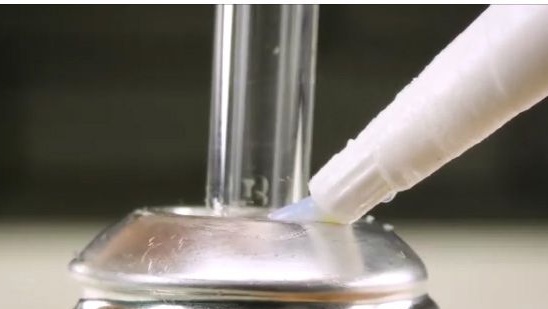
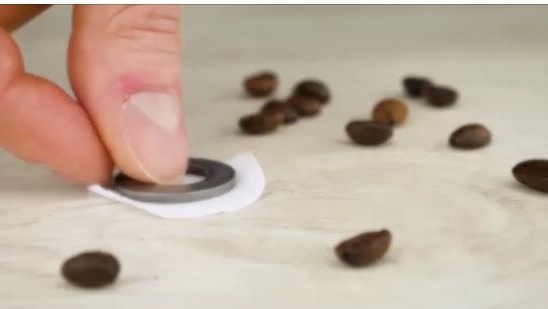
10- Then you need a metal washer with a diameter equal to the diameter of the glass tube. Washer
should be fixed at the end of the glass tube, should be fixed with sealant, but so as not to block the hole.
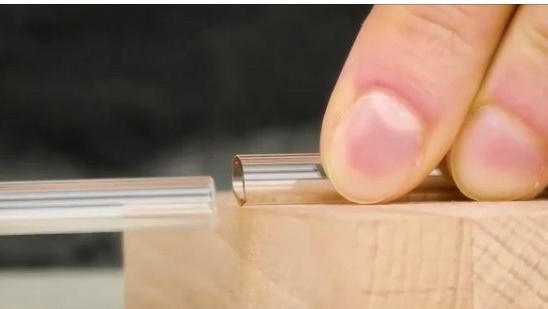
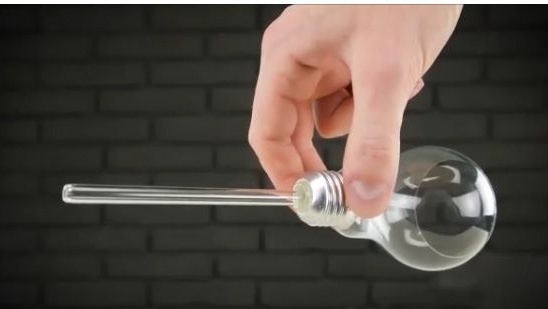
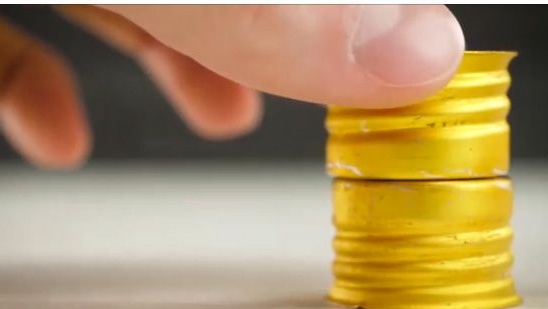
11- Approximately such a workpiece should work out for you (see photo below).
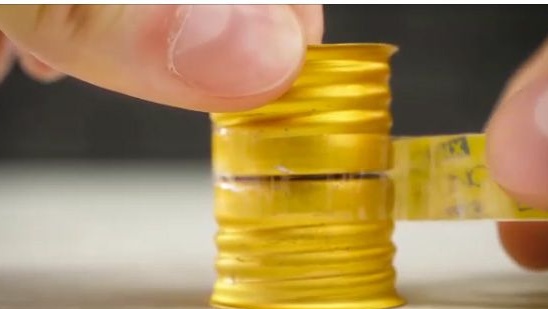
12- Then you should connect the two just made workpieces. Connect should be, as it is shown in the photo below.
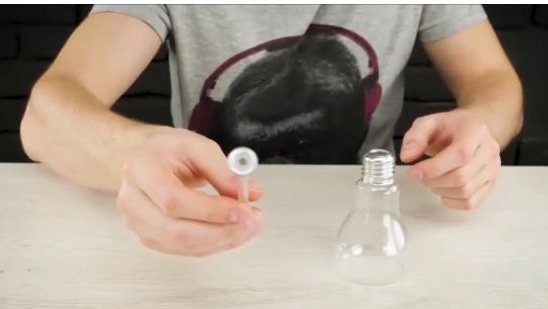
13- And we will fasten the two blanks with sealant.
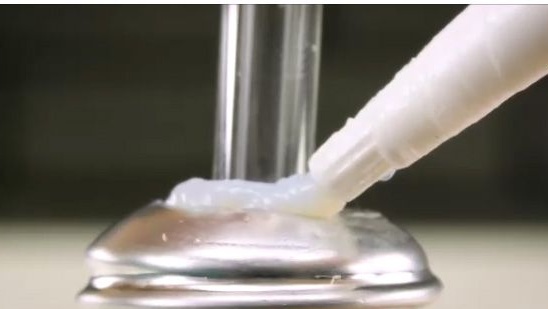
14- Approximately such a workpiece we should get.
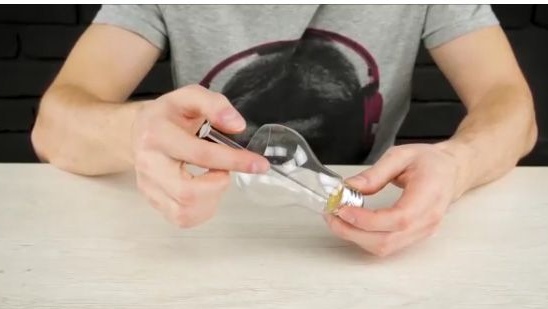
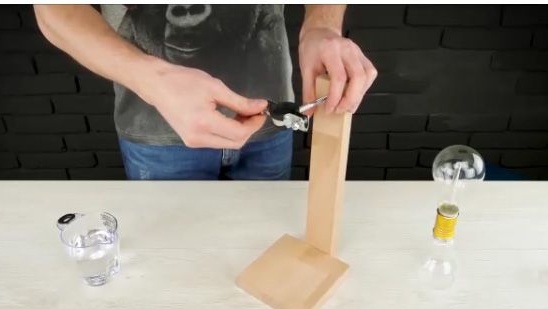
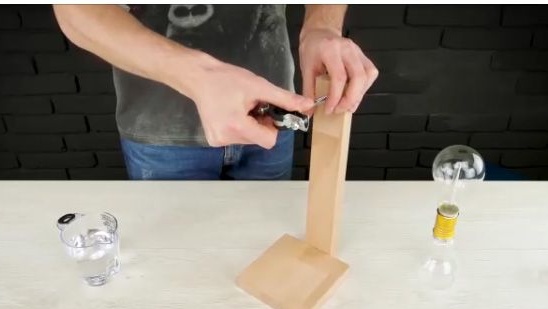
15- For the next step you will need a similar lamp base. It can be purchased at any store. electronics or Sveta stores.
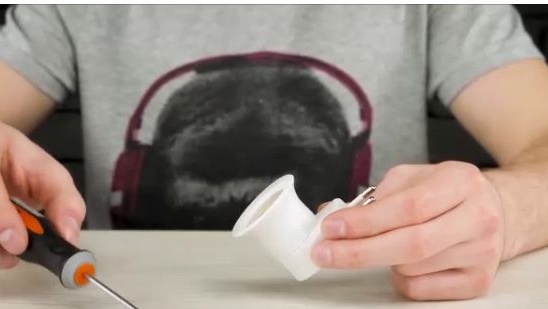
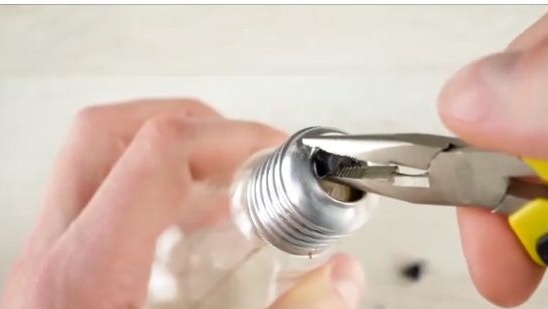
16- The metal part should be removed from this base. To do this, just use a screwdriver to unscrew the two screws.
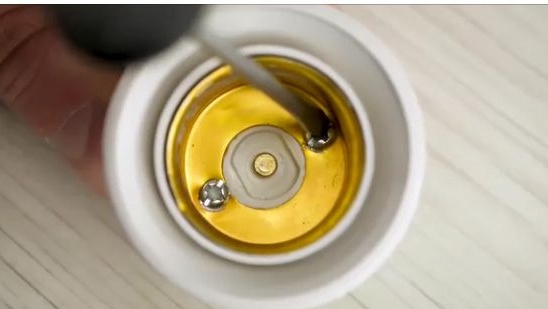
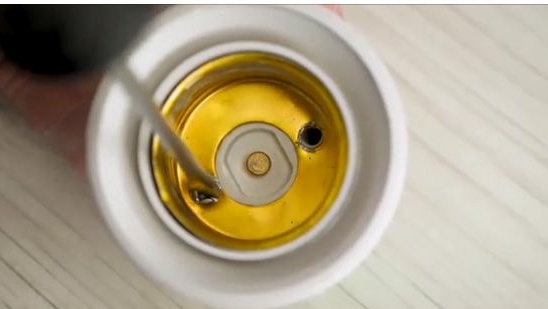
17- Connect these two parts in a similar way.
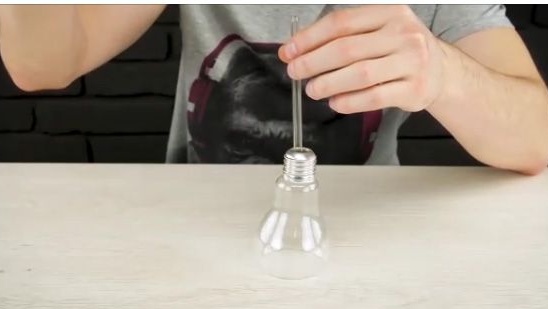
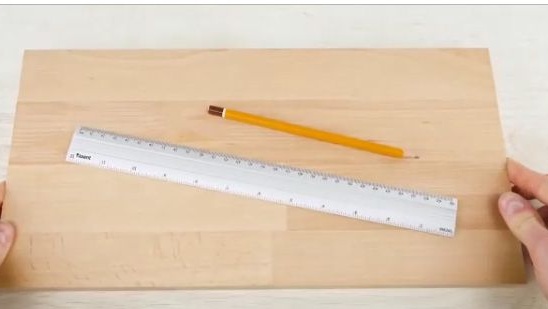
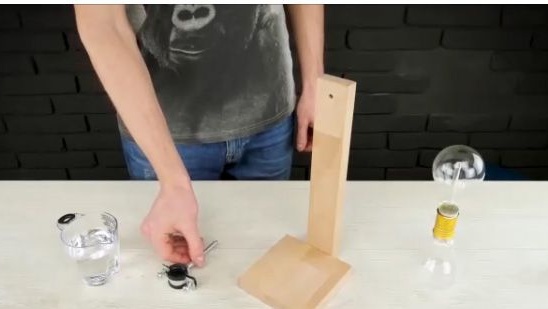
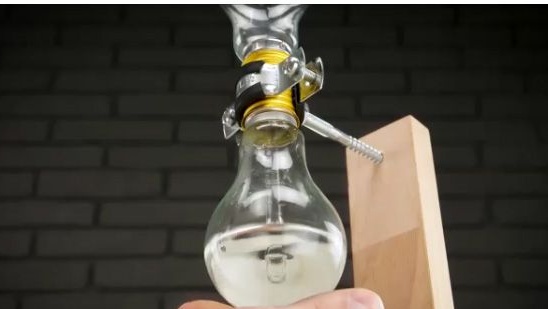
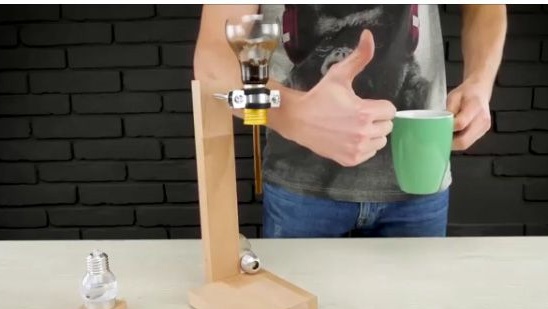
18- Then we will make a stand for our vacuum coffee maker. To do this, you need a wooden block, from which we make a stand.
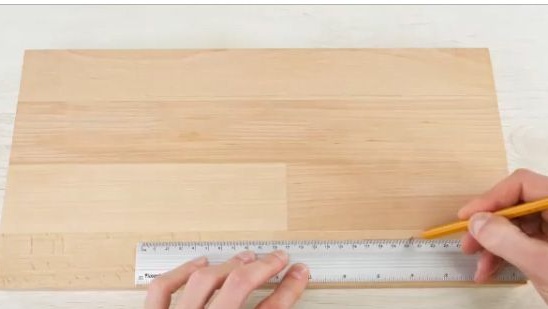

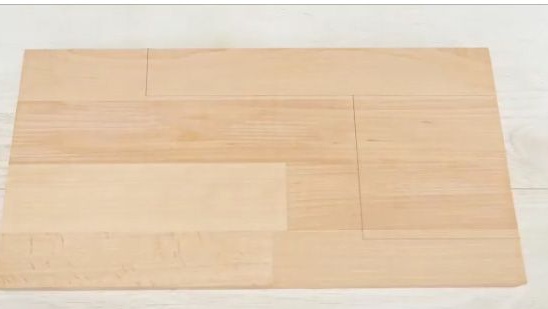
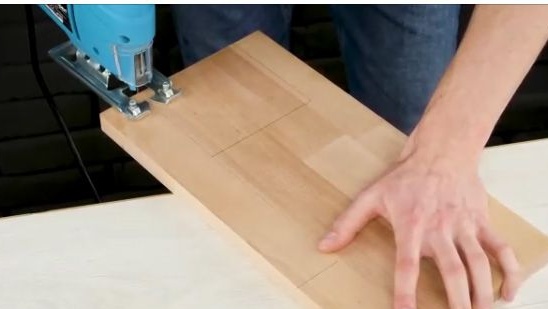
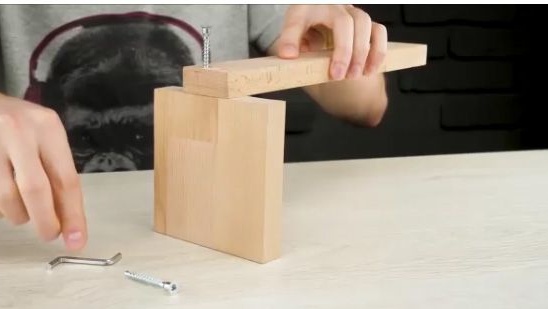
19- In the end, we should get something like this stand as in the photo below.
[center]
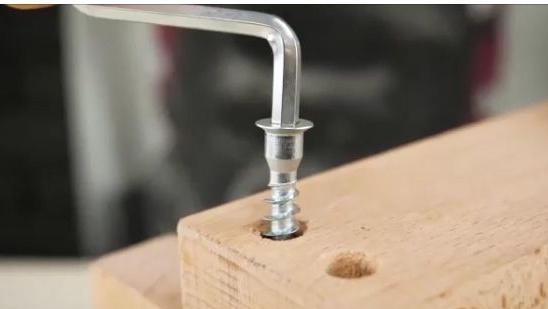
20- Next, you need fasteners for pipes, it should be fixed on the just made stand, so
as pictured below.
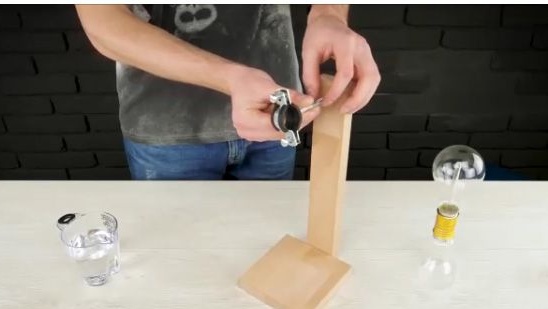
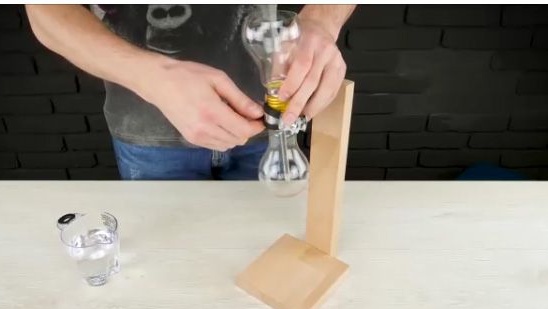
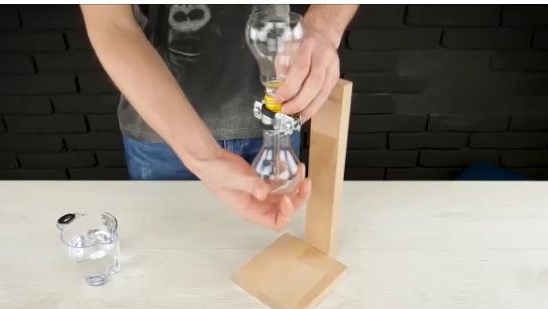
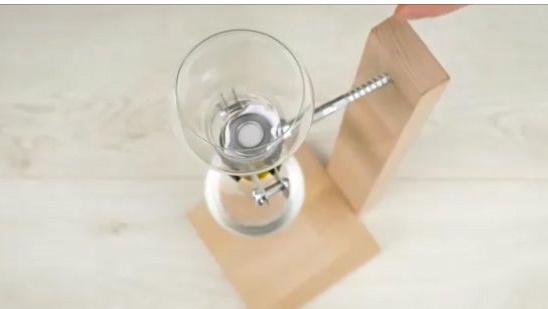
21- On this stand you should fix the design of the bulbs, as it is shown in the photo below.
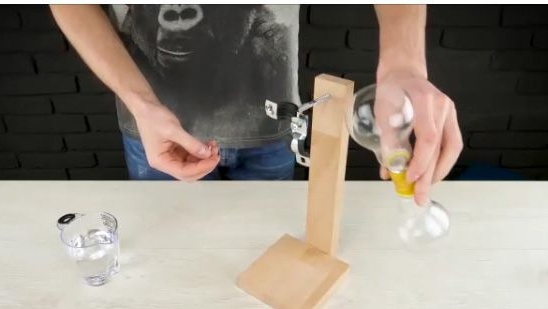
22- We also pull out all the internal parts from the small bulb so that one sphere with a thread remains. And install it in the stand. The author used a candle in metal as a stand for this light bulb.
case.
23- Done!
Making coffee.
All our vacuum coffee makers are ready! Now it remains only to figure out how to use it. IMPORTANT after we are all done, it should be rinsed well.
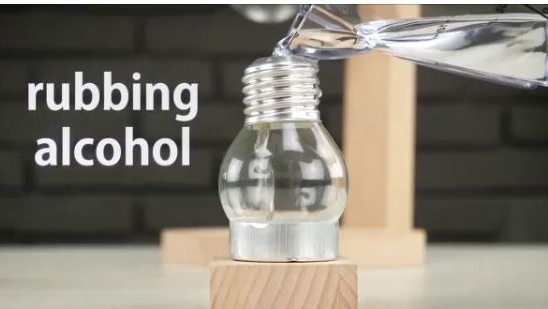
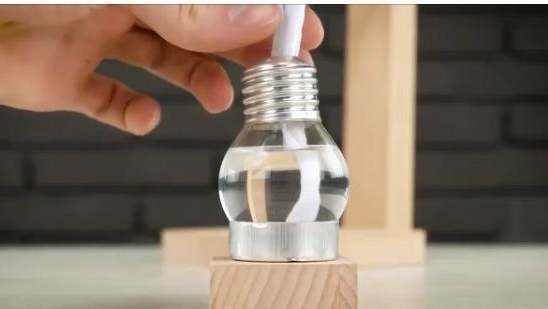
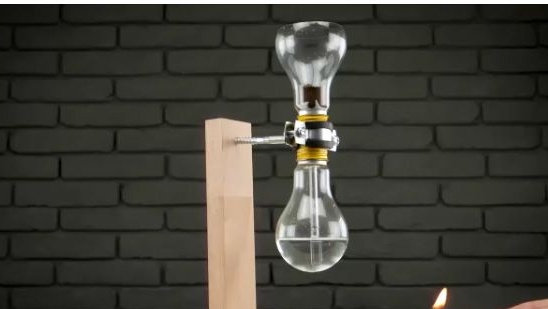
1- Pour alcohol into a small light bulb and insert the wick.
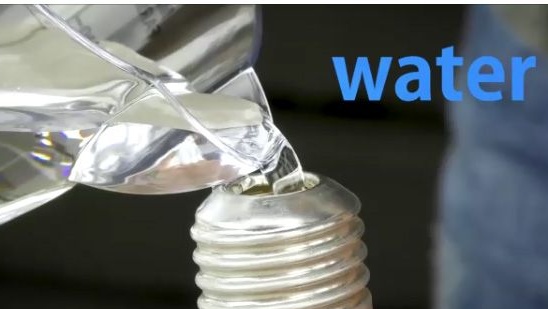
2- Unscrew the lower light bulb and pour clean water into it.
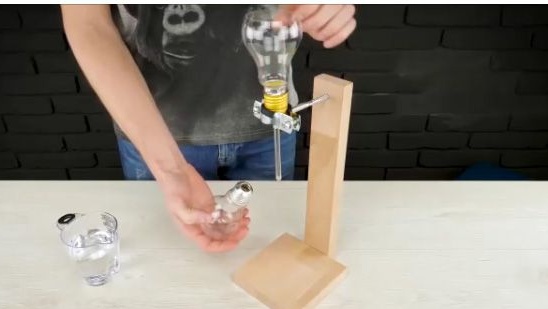
3- Screw the bulb into place
4- After which we take the nylon filter and put it on the bottom of the upper light bulb, pressing it with a metal washer.
5- Pour a spoonful of coffee.

6- And set fire to the wick of our spirit lamp.
7- We wait until all the water from the lower light bulb goes up.
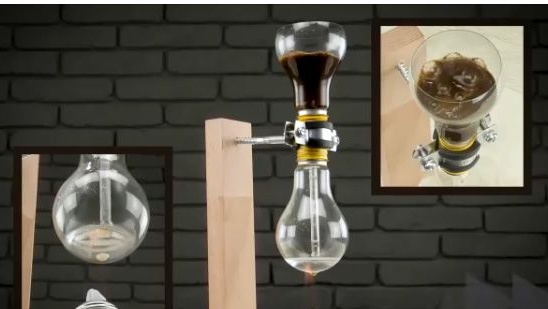
8- After which we remove the spirit lamp and wait for all the coffee to flow down.
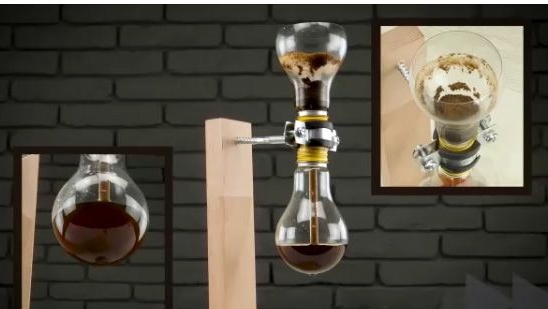
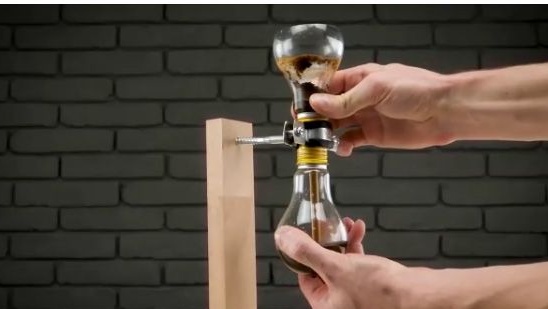
9- Unscrew the lower bulb.
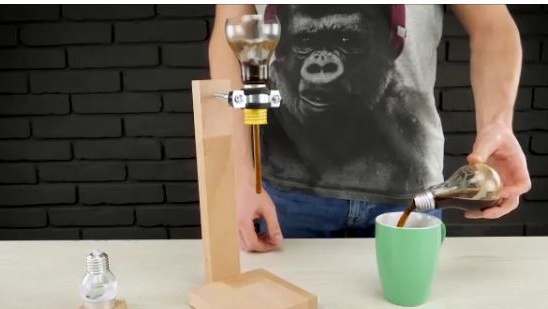
10- And pour into a glass.
Conclusion:
As a result, we got a rather original coffee maker with the help of which you can easily make coffee for yourself. Of course, this is not a coffee machine, but she will do her job, and she is doing it well. Also, this homemade product can serve as a decoration of the kitchen and will look like a stained glass object, which will certainly surprise your guests.
Well, that’s all, thanks for your attention. I hope this article was useful for you and you will definitely come in handy, and also you have a wonderful opportunity to see the video assembly of this homemade product.