
In this article we will talk about an unusual lamp, which, naturally, we will collect do it yourself.
For this homemade product we will need:
1. 20 screws for poty m4 by 50 mm
2. The most common wooden skirting board with a length of 230 cm, a width of 3 cm
3. 14.5 meters of the outer corner by 3 cm
4. Hairpin m8
5. A piece of polypropylene pipe 32
6. Almost 5 kg of marble chips fraction 3-4 mm
7. Worktop 200 mm
8. 8 glasses measuring 120x20 cm.
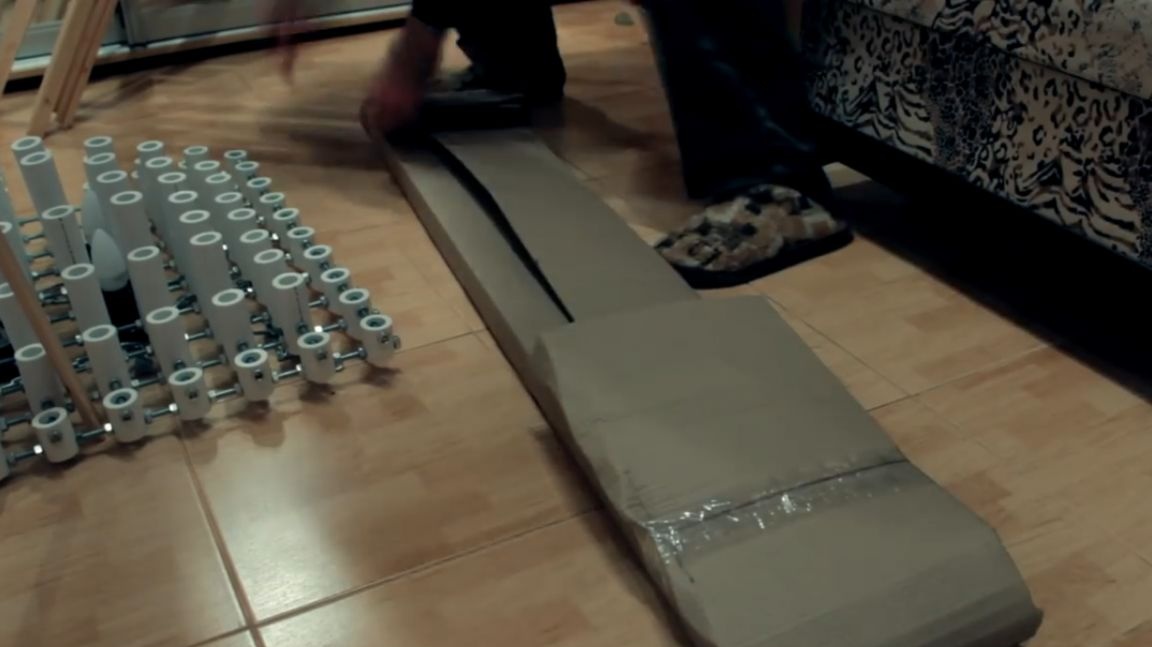
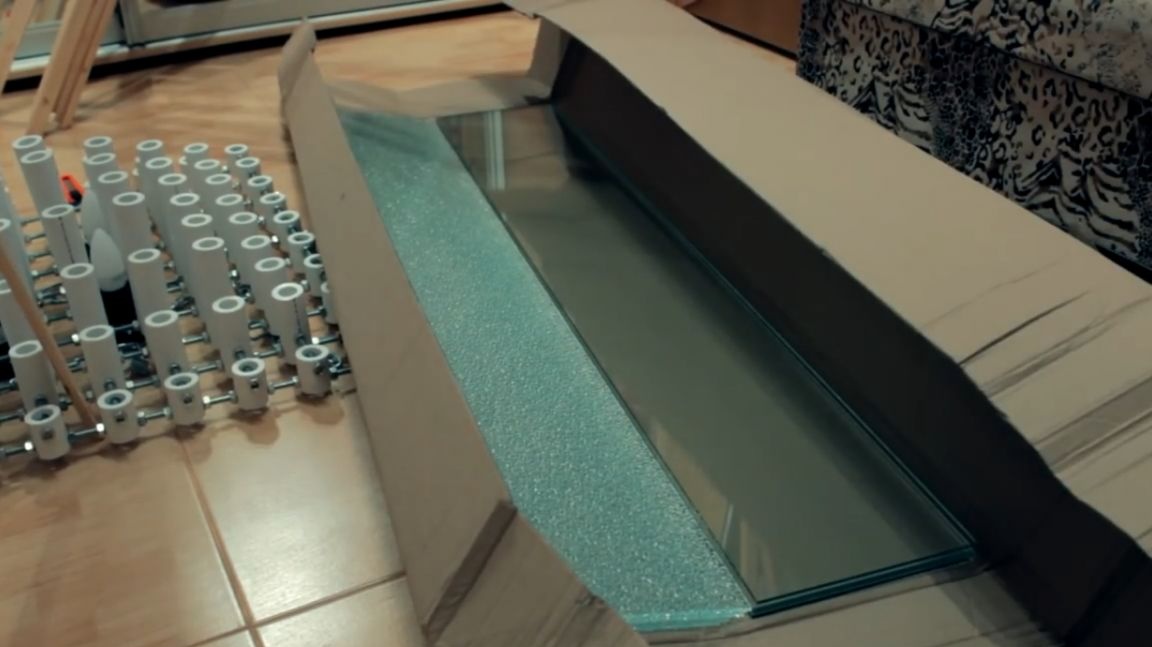
One of the main elements of our design will be what is hidden here in this box weighing as much as 19 kg.
In this box, we have 8 glasses measuring 120x20 cm, 4 of which are transparent and 4 have a relief surface.
So let's get started.
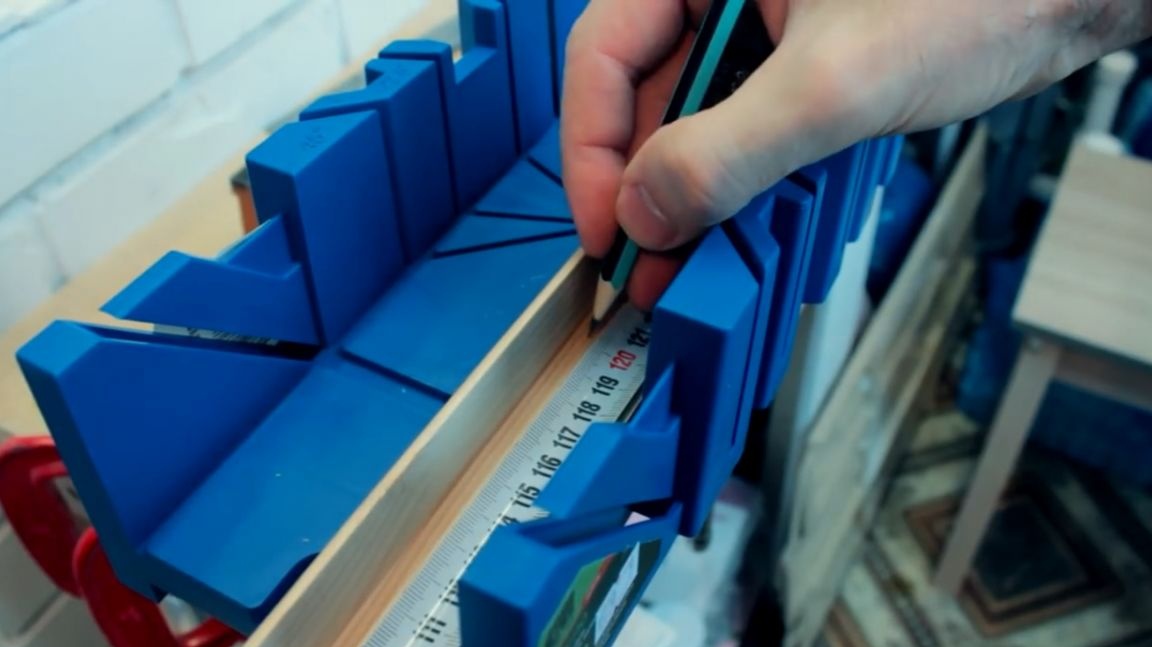
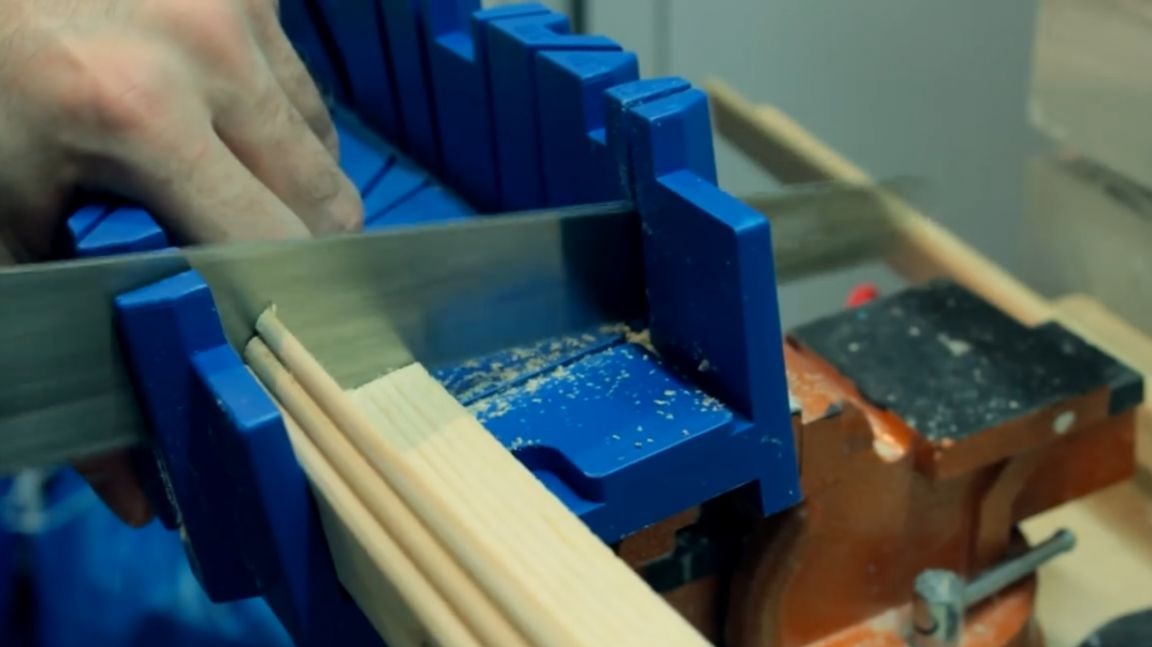
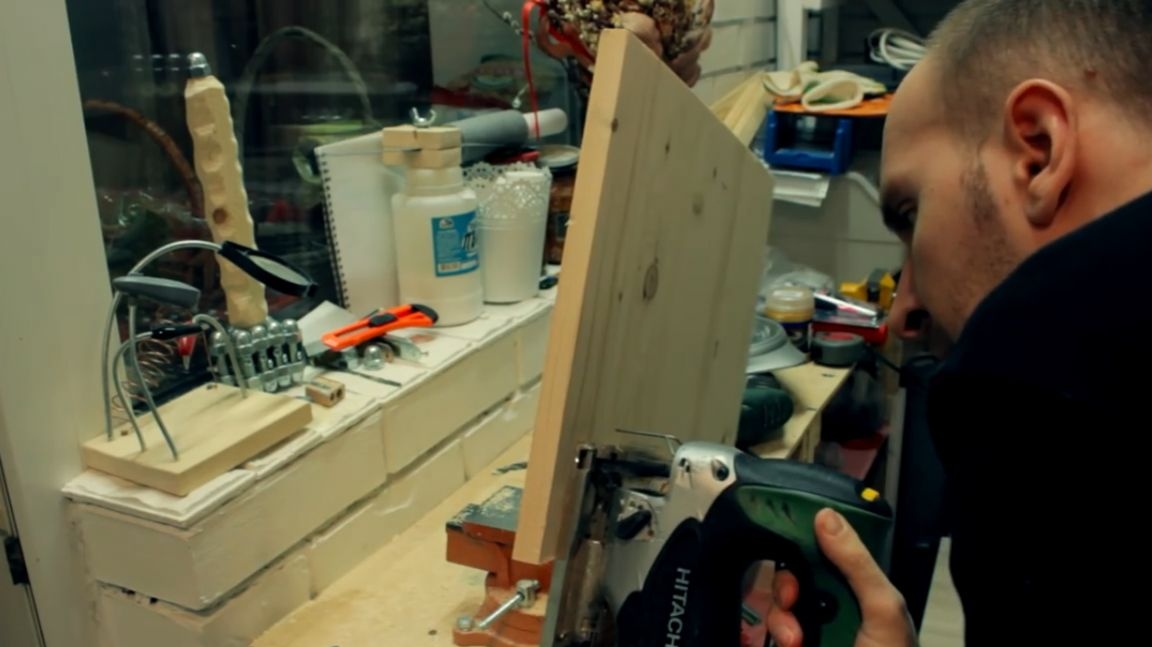
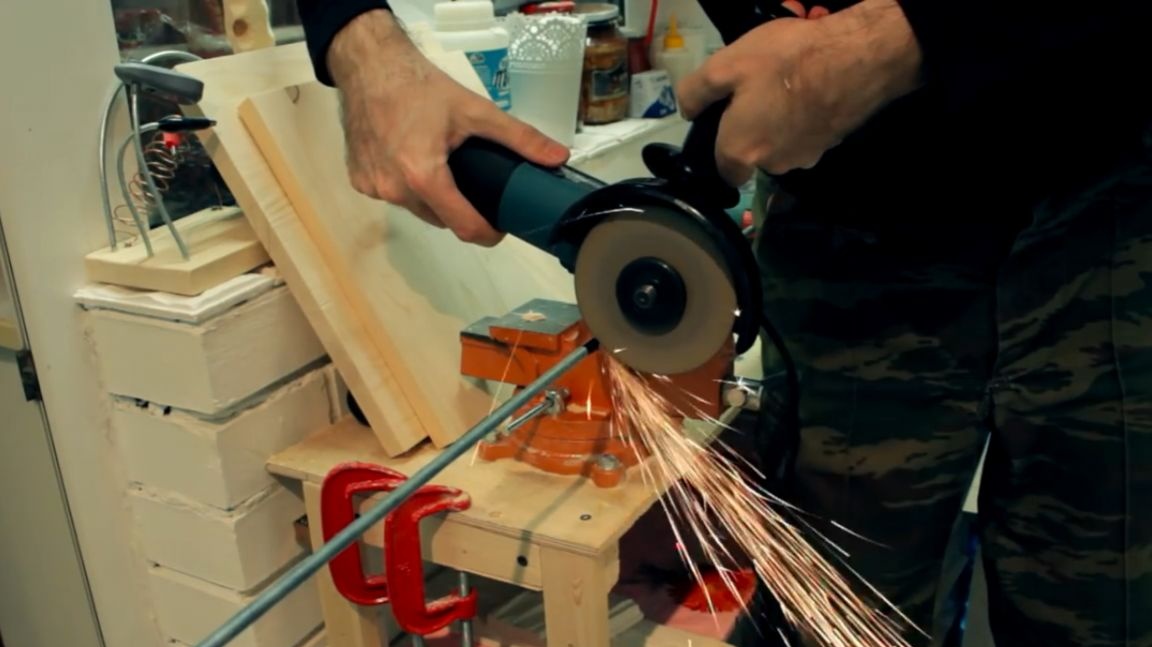
Having fixed the miter box in a vice, measure out 120 cm and saw off the workpiece at an even angle. We need 12 pieces of such blanks 120 cm long. It seemed to the author that it was too long to cut one at a time and therefore he connected 3 pieces together and immediately sawed 3. Basically, this circuit worked.
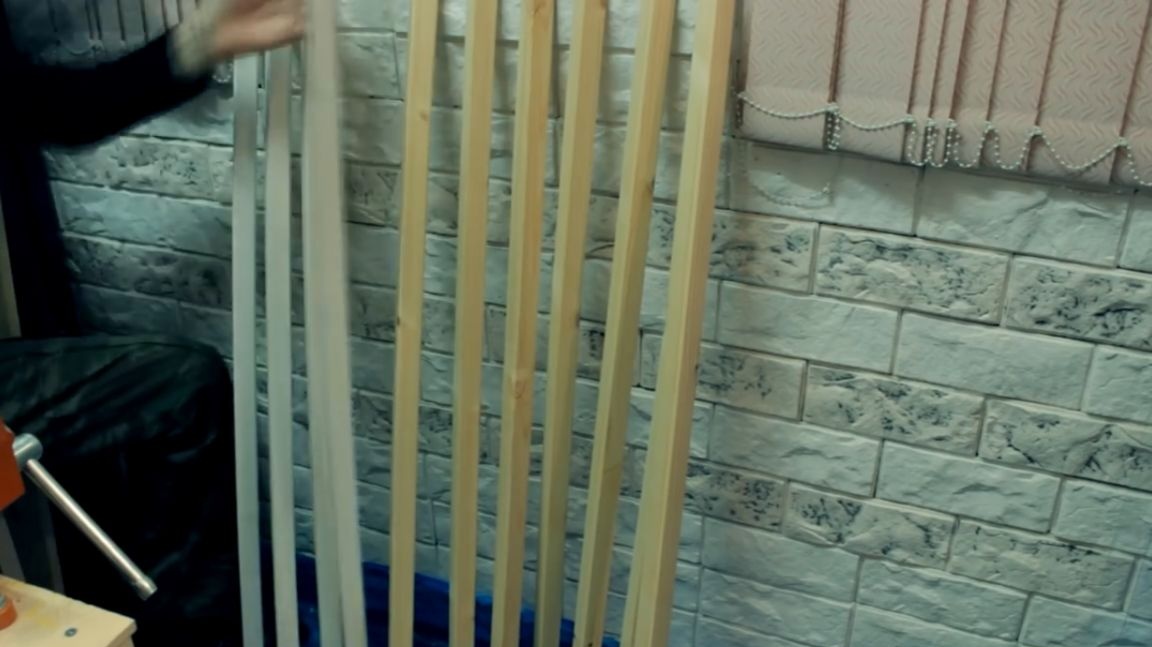
Since the author did not know at what moment it is better to paint the sawn corners, he decided to paint them at the very beginning. For this purpose, he used white acrylic paint. As it turned out, this was not entirely correct. No, don’t you think, there was no mistake, but painting them at that moment was not necessary at all.
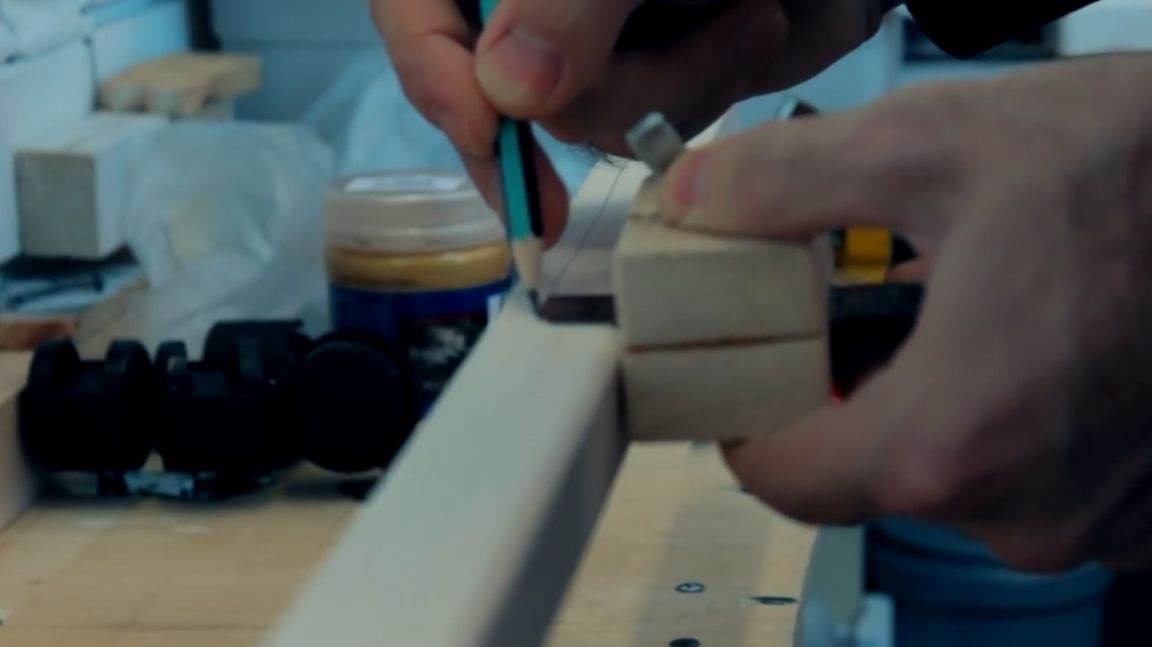
Due to the lack of drawings and diagrams, it is necessary to conduct a small experiment before assembling the main structure. Its purpose is to hide the inner corner at the outer wooden corner. It was impossible to do this without reducing the internal angle. Therefore, the author made an approximate mark, according to which in the future he will saw a corner. Plus, it was impossible to saw off the side of the corner strongly, since it is on it that the internal windows will be held. Having selected the optimal distance, the author makes the final mark.
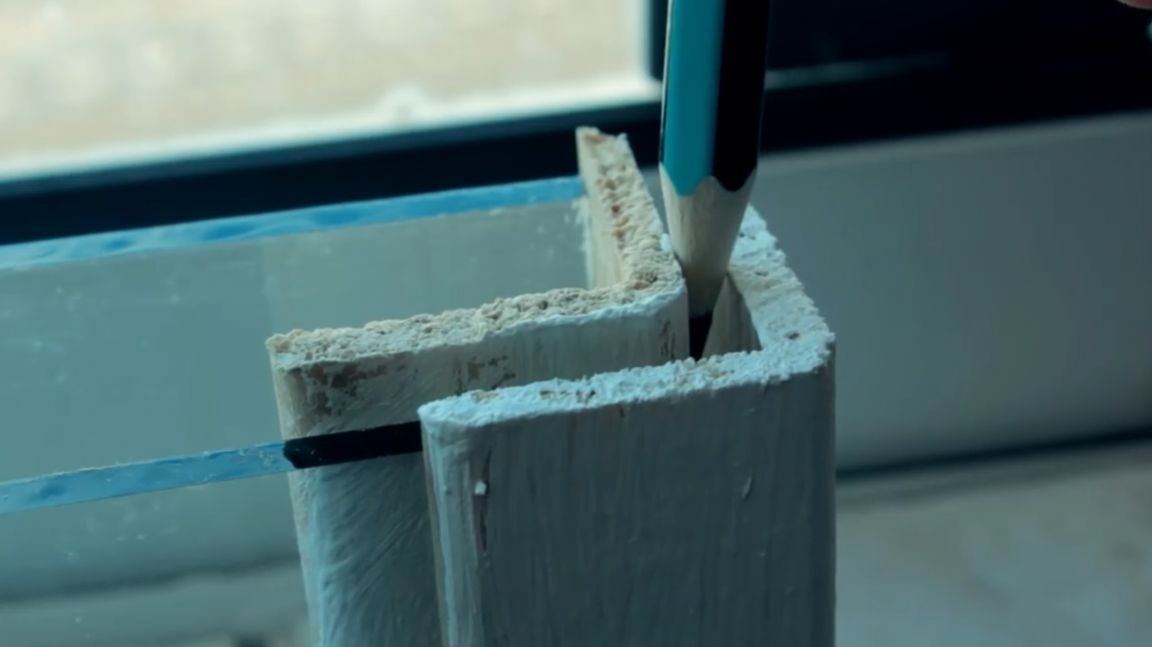
To draw a straight and long line, he uses a home-made thicknesser, which, according to him, has never failed.
Then he clamps the corner into a vice and saws it off with a jigsaw. We need 4 pieces of such shortened corners. Many of you will think: why was it impossible to immediately buy short corners? It would be possible if they were available. But only such were available.
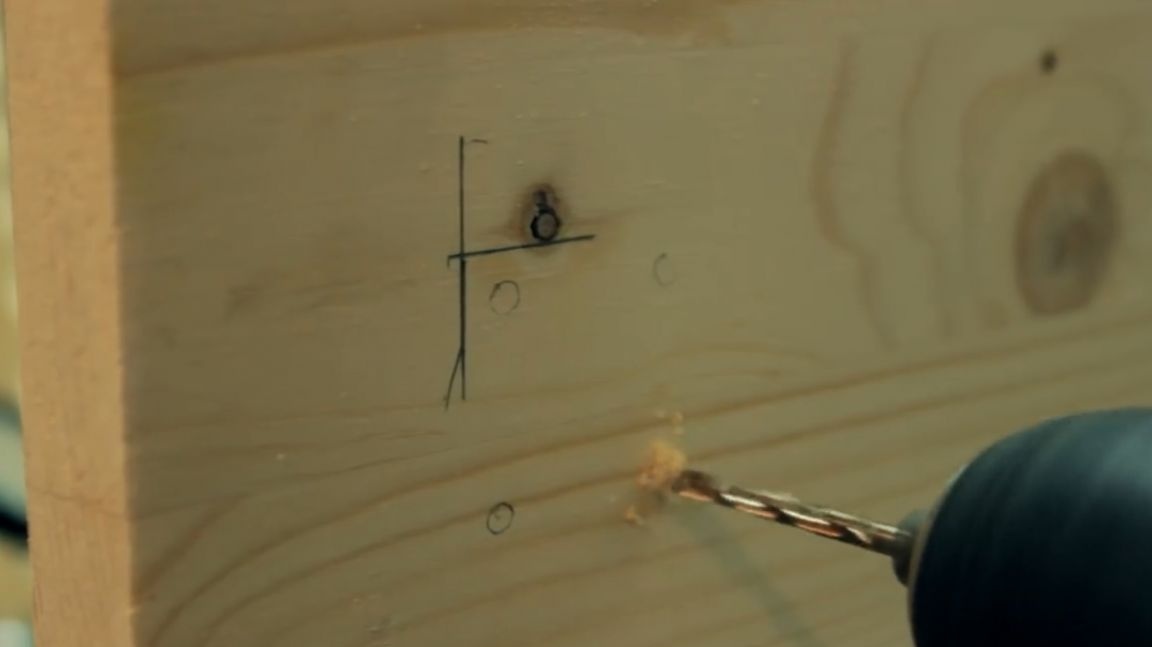
In the next step, we mark up for 5 future holes. Each of the 5 holes should be located at the same distance from each other. Having marked all twelve corners, we drill them with a 5 mm drill.
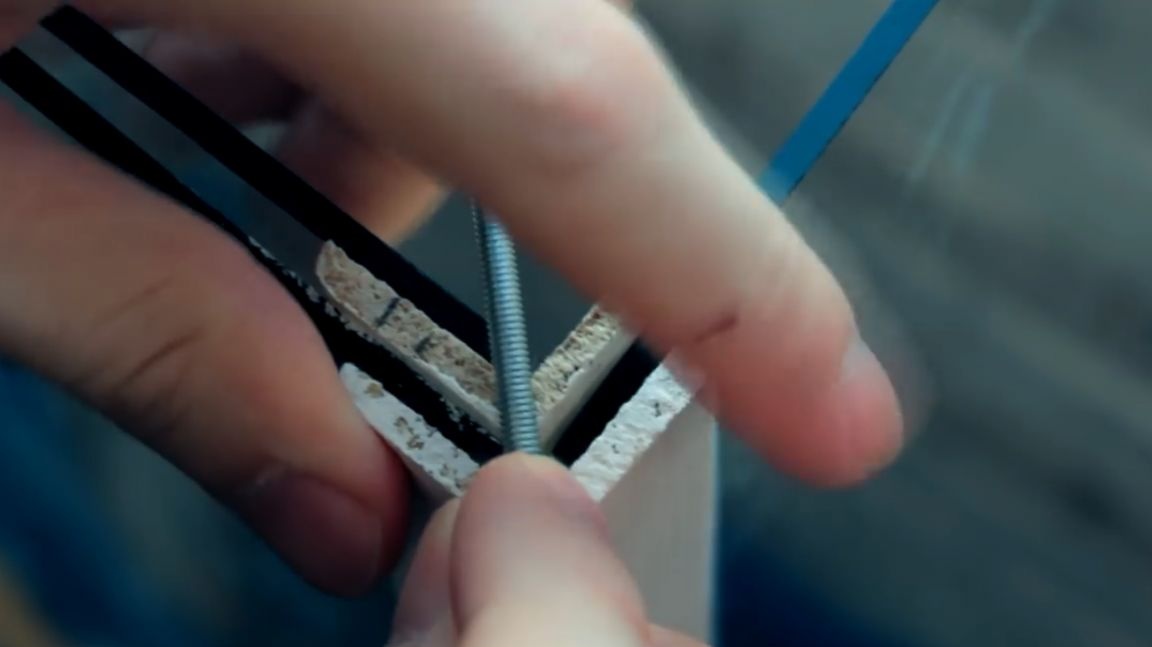
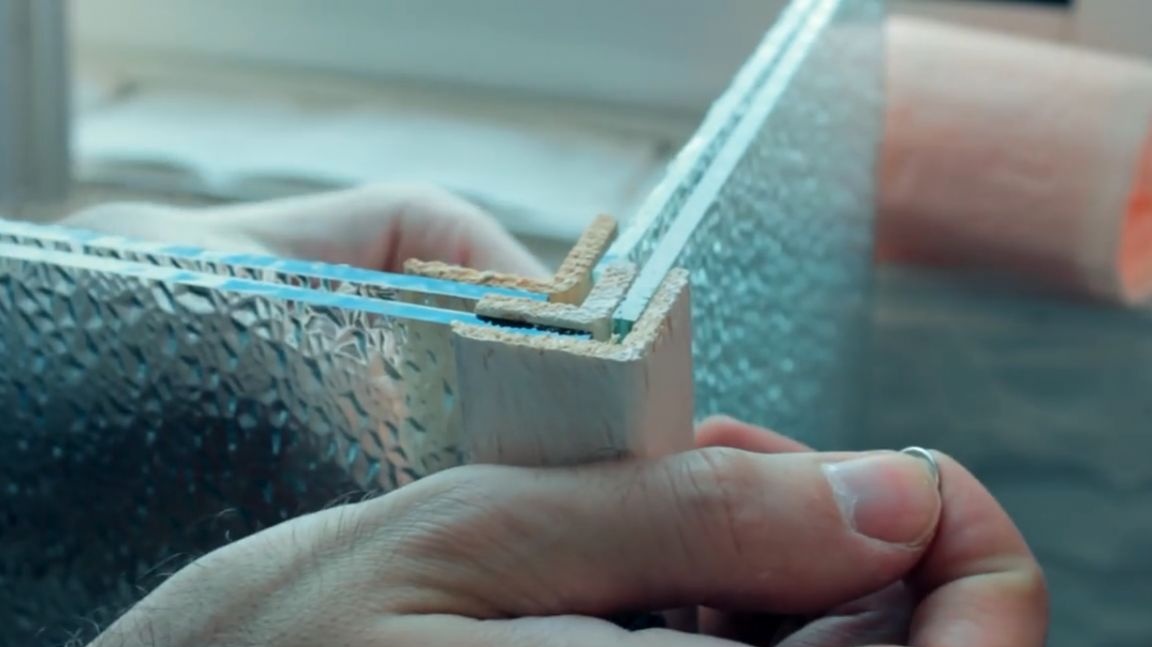
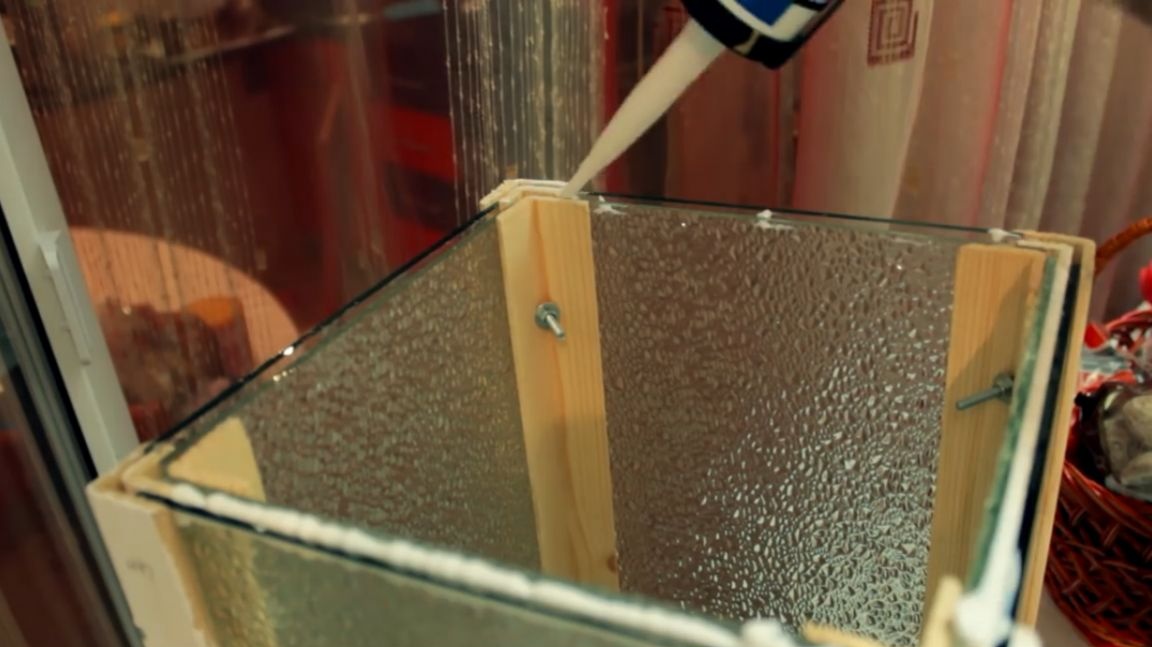
After preparing all the corners, the author tried to assemble the structure. It will consist of an external corner, followed immediately by 2 transparent glasses. A small corner is superimposed on the transparent glass, and corrugated glass is already superimposed on the small corner. And all this construction is completed by one big corner. The inner corner is needed in order to maintain a clear distance of 4 mm between the glasses. We will fasten this whole thing with five screws using a large press washer.
Further, the author laid this design on its side.
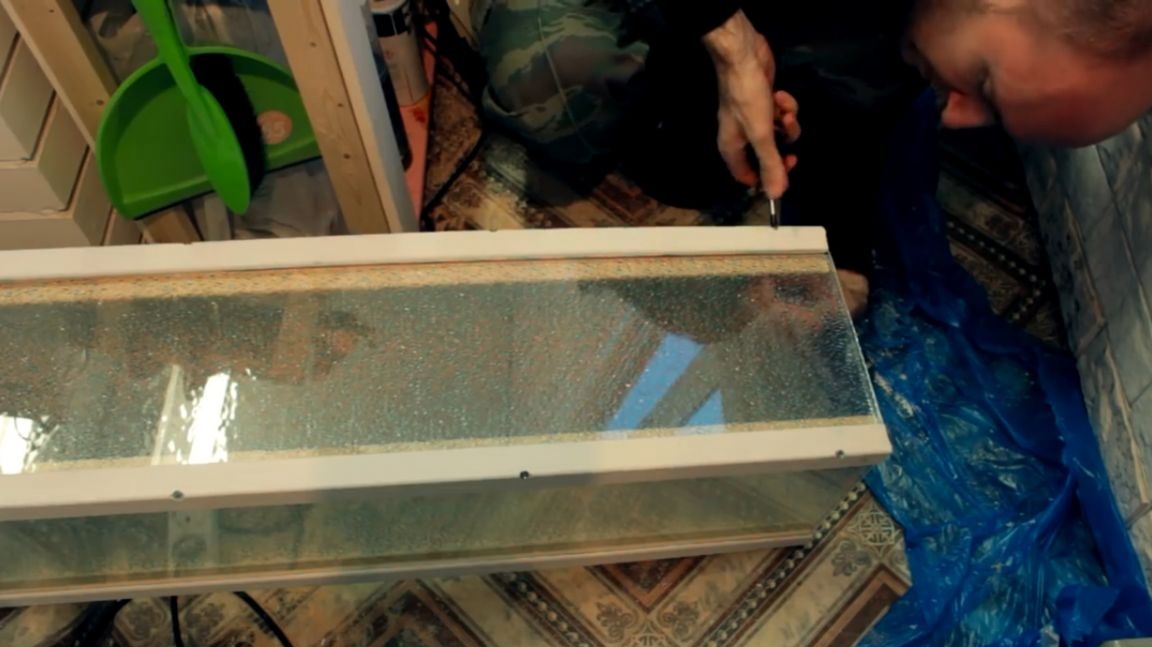
At the same time, the glass cracked a lot. It seemed like it was about to fall apart, but there was simply no other way to tighten the bottom screws. Plus, an additional jamb appeared. The fact is that during the upheaval of this design, the author saw that some glasses go into the corners just a little bit and that’s what they’re about to fall out. But in principle, he managed to solve this problem. He simply squeezed all the corners and handed it over again with a screwdriver.
In the inverted state, we pass the seams between the two glasses with sealant from all four sides, and for now put this structure aside.
Next is the countertop. It will need to be marked out 34 by 34 cm. As always, a homemade planer comes to the rescue. And even with such a length, he manages just fine.
We start the jigsaw entrance and saw off a small part from the big one. Next, in such a proprietary way, we fasten our countertop in a vise and saw off the remaining piece.
Then we will cut a square with a side of 31 cm in the countertop.
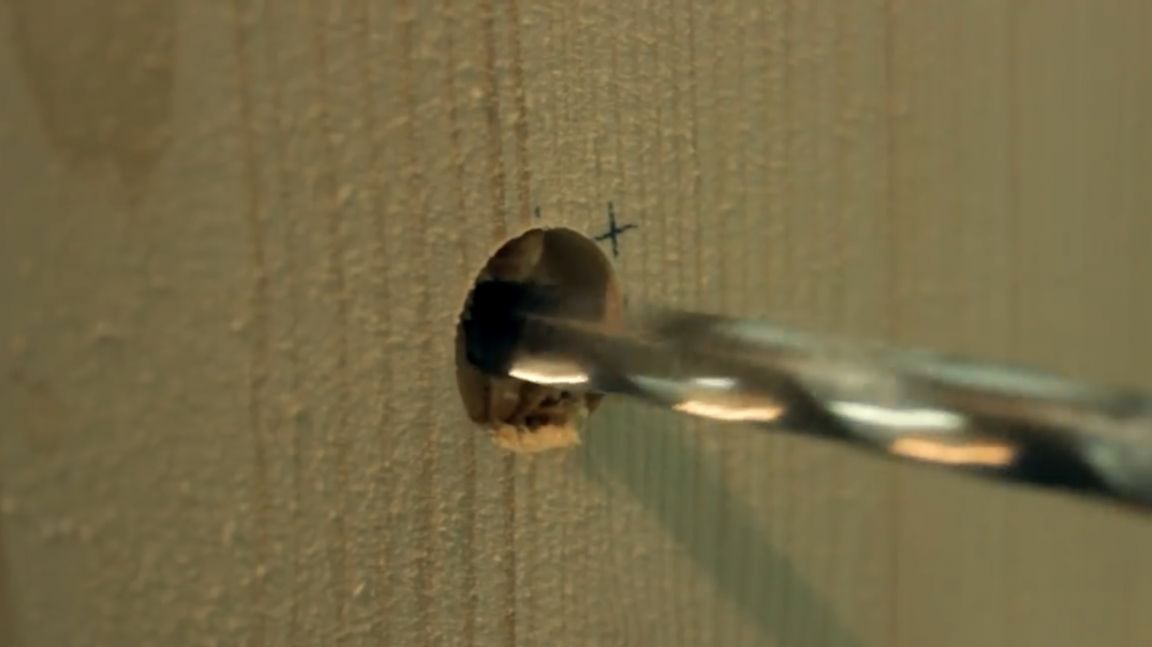
Next, take the first countertop, which is with a side of 34 cm, and stepping back 4 cm on each side, mark 4 right angles. In these places, we fix 4 wheels with self-tapping screws. A 9 mm drill hole is drilled in the center. Next to this hole at a distance of 10-15 mm, drill a hole using a 20 mm feather drill.

Now take a square with a side of 31 cm and use the tape measure to find the center. In the center we drill a hole through a hole with a depth of 5 mm and a diameter of 20 mm. Continue drilling with a 9 mm drill.
At the next stage, hold the pin in a vise and measure out 126 cm. Cut off the piece we need.
Clamp the polypropylene pipe in a vice and measure out 119 cm. Cut off with scissors. After that, we install our tower on a square with wheels.
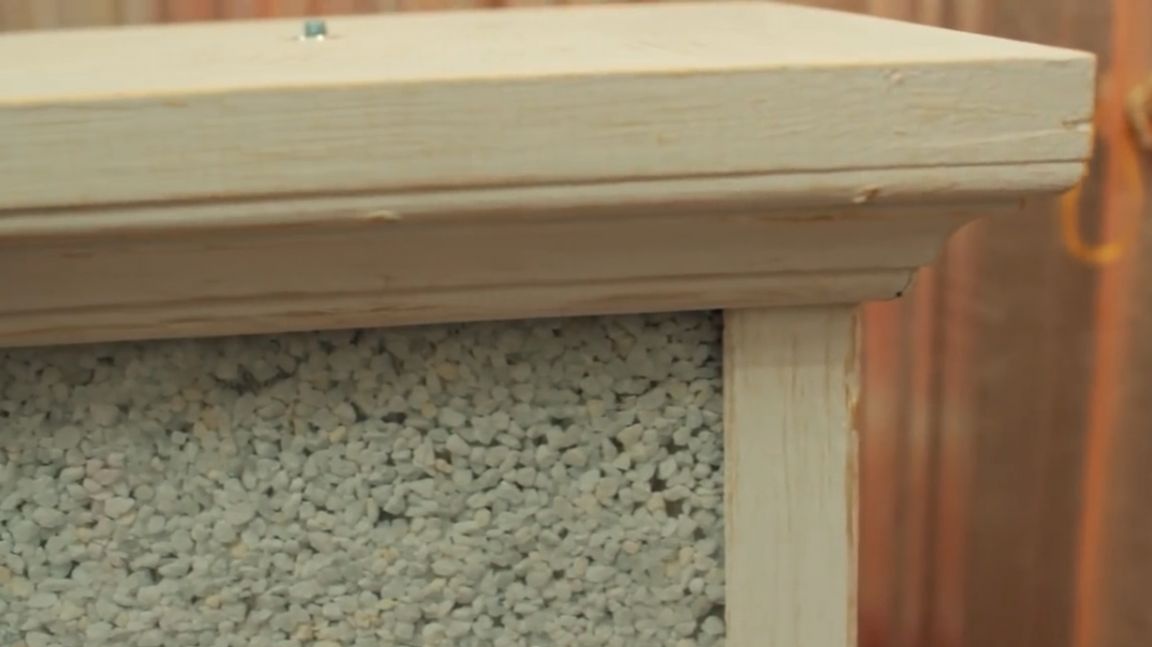
Next, take care of beauty. We take a wooden baseboard and measuring each side of our tower, saw it off at an angle of 45 °. We center our workpiece exactly in the middle. On each side we fix on the baseboard.
Further, the author sawed 4 more blanks that will go to the top cover.
Having partially assembled the tower, the author thought that the foundation looked somehow incomplete. Therefore, he decided to use a curly platband with a width of 56 mm. To do this, cut the platband into equal segments of 34 cm at an angle of 90 °. We fix the platband.
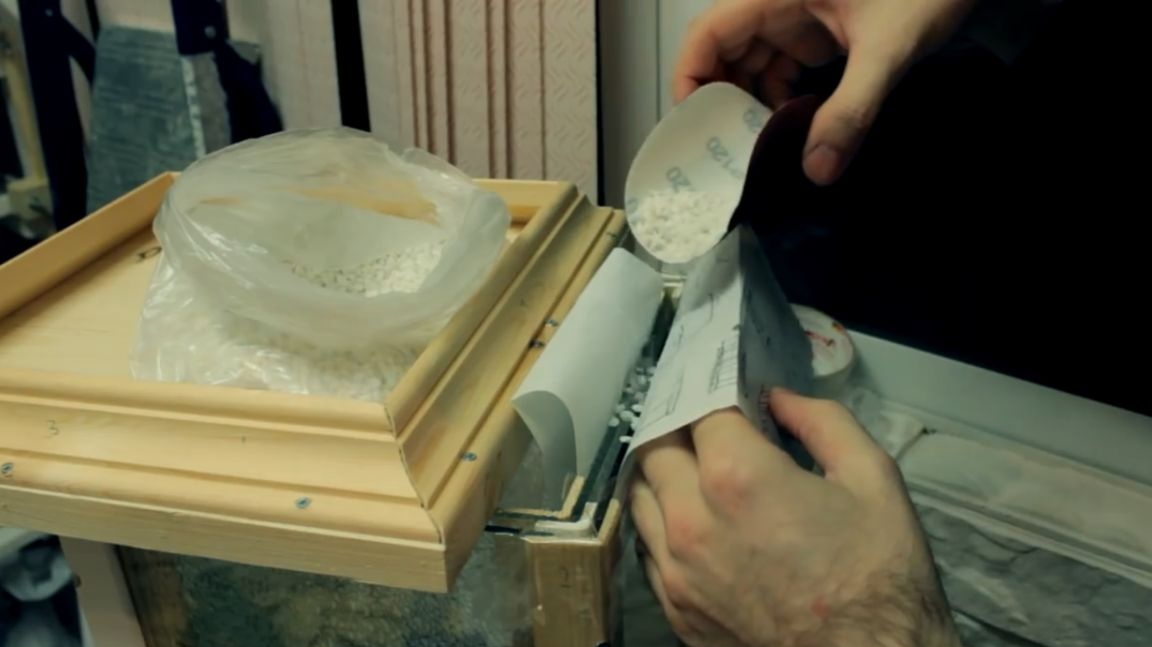
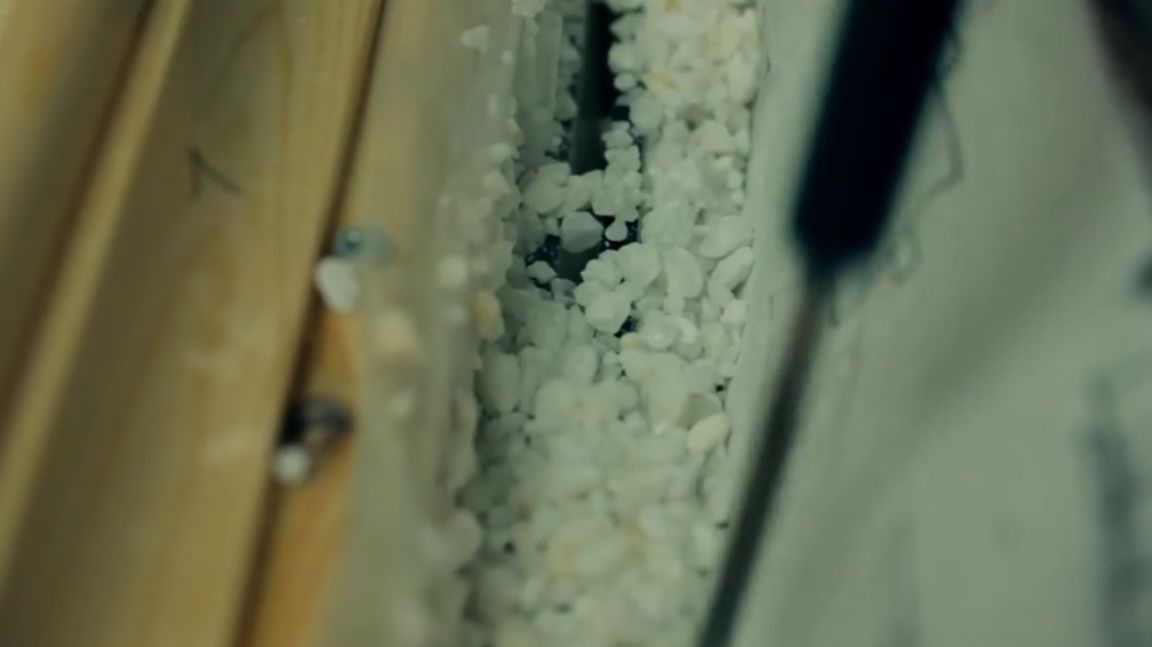
Well, here we come to one of the most interesting moments - falling asleep marble chips in the gap between two glasses. Some grains of marble chips stand upright and do not crawl to the end, but a light tapping and a small screwdriver correct this situation.

Having fallen asleep to the upper border of the corner, we glue the glass with masking tape. After that, we apply the first layer of acrylic paint, simultaneously coating the holes for the screws with the same acrylic paint.
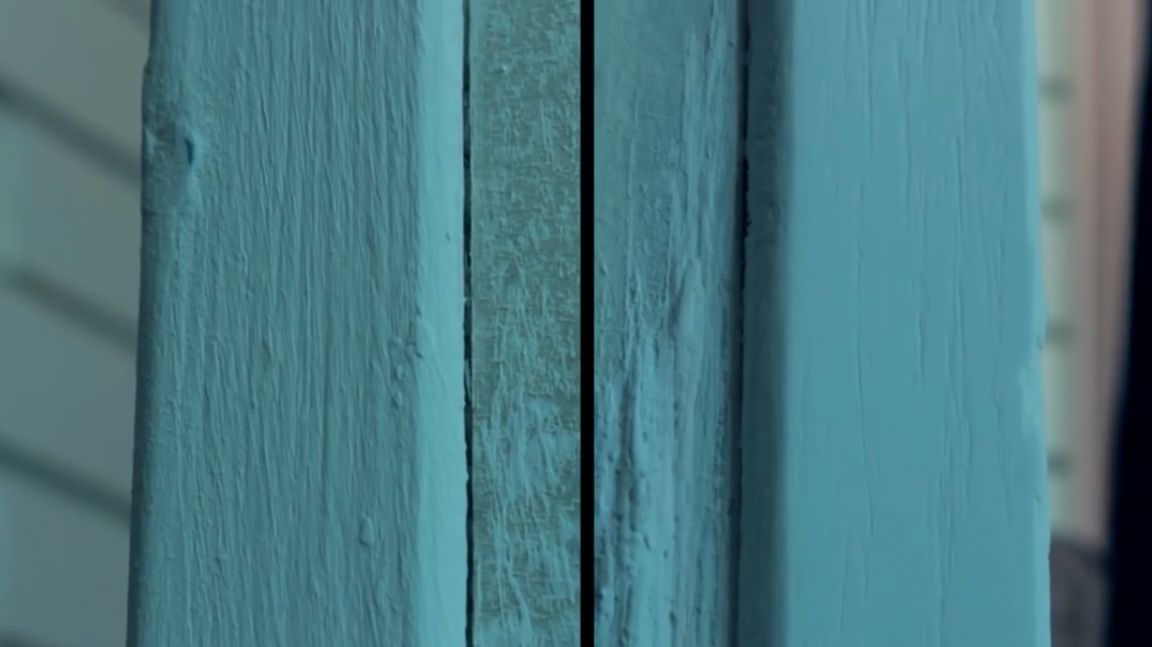
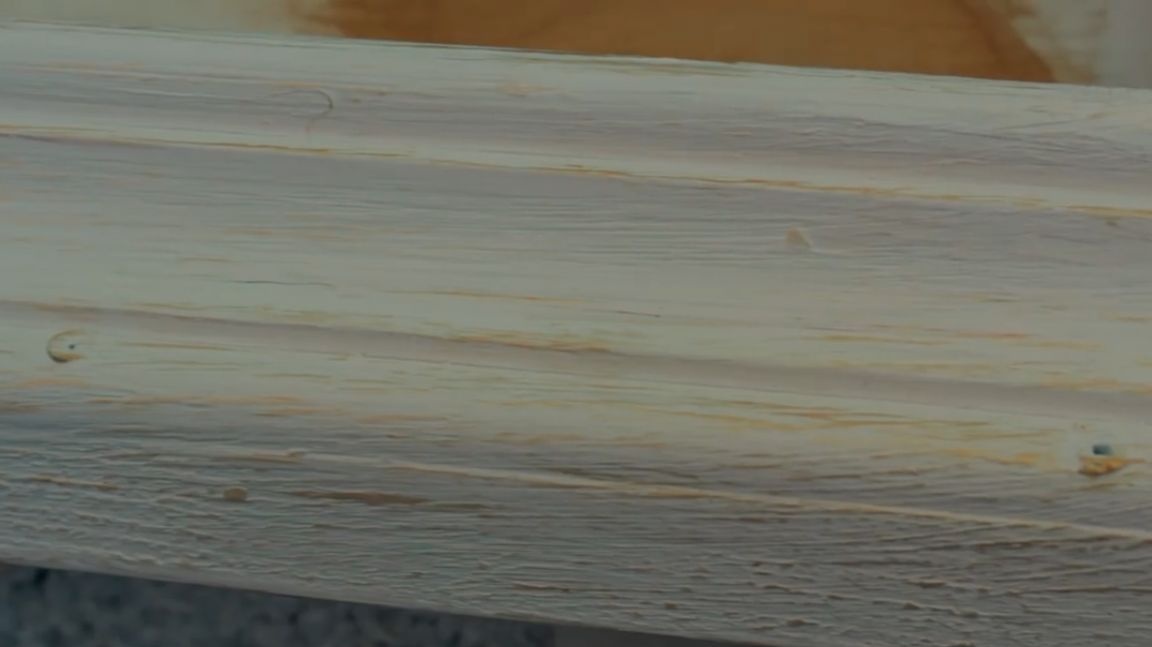
Apply a second coat of acrylic paint and wait until everything dries. We grind large flows of paint in the place where the screws are fastened with 120 grit sandpaper. After that we take 600 grit sandpaper and make the final cleaning. For comparison, the processed corner and not processed, the result as we see on the face.
We also grind the base of the tower with the 120th emery paper, but we do it with a more intense pressure to get a more textured surface.
After all the procedures, be sure to wipe the surface with a damp cloth to remove the remaining acrylic paint that has not fallen off and dust from it.
One of the final stages will be the gilding of our tower with pearl enamel on an acrylic basis. On the inside of the lid, the author tried to use different application techniques. I tried it with an ordinary brush, and along, across, and even with a sponge. As a result, he settled on the technique of applying a semi-dry brush.This is the result.
He exceeded the expectations of the author. It turned out very beautifully.
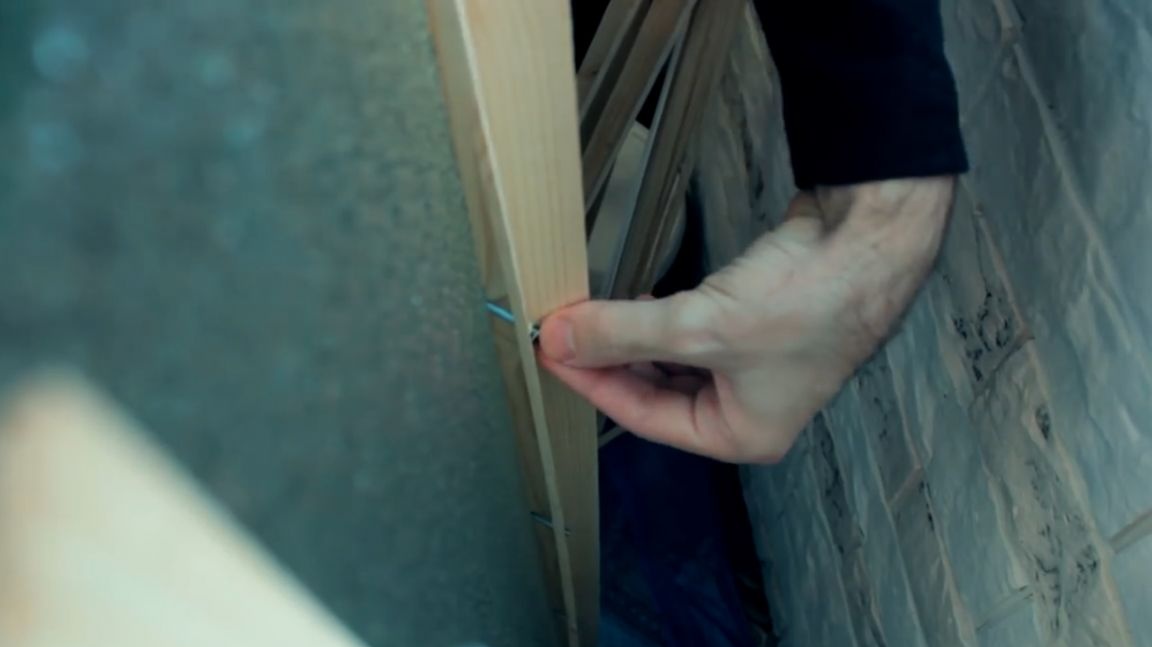
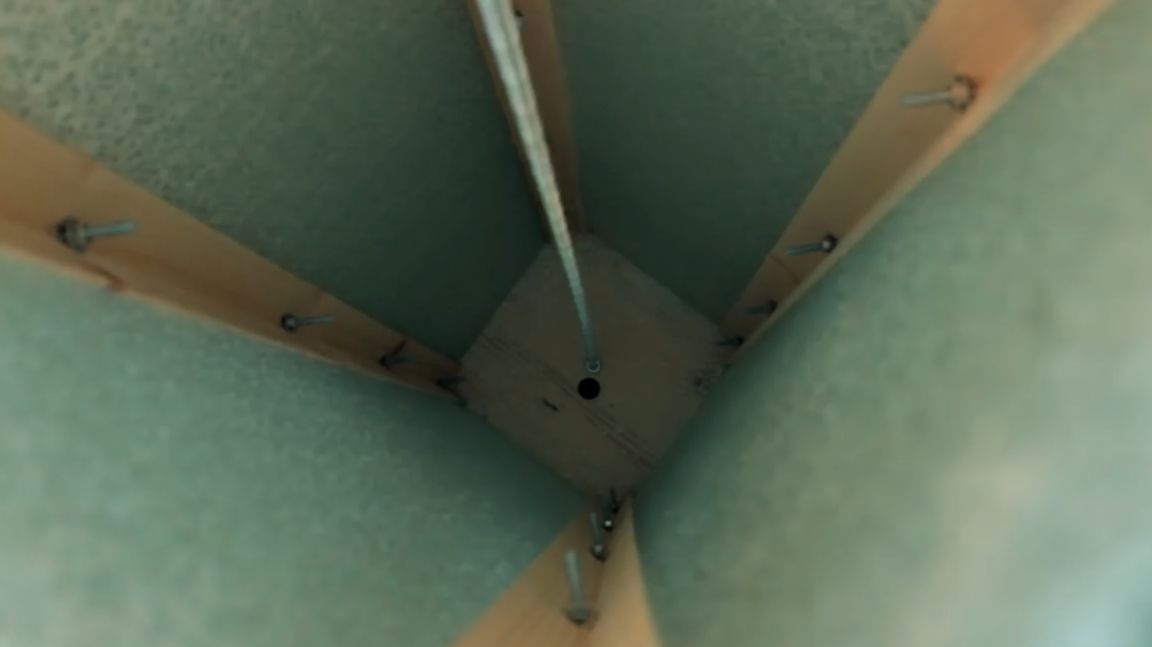
We remove the masking tape, since the painting is finished on this and move on to the sweetest. For dessert, take the m8th hairpin and screw the nut at a distance of 4 cm. We place the hairpin in a small hole previously drilled, and on the reverse side we install a reinforced washer and tighten it with a nut. At the output we get a fixed pin in an upright position.
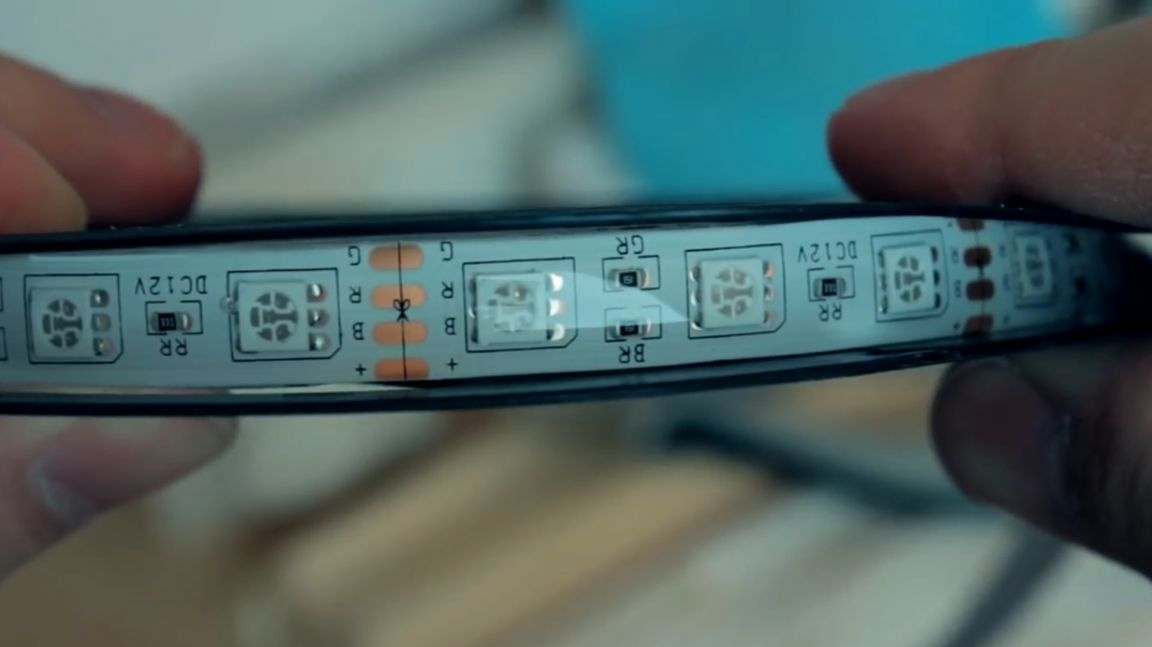
After that, fill the remaining voids inside the glass with a sealant so that the marble chips do not spill out. Well, with a cherry on the cake and part-time magic effect, an RGB LED strip with a capacity of 14.5 W / m will create rgb. The author developed the design for mounting the LED strip so that it can be removed at any time and replaced with another if this one suddenly burns out. To do this, fasten one end of the tape using electrical tape to a polypropylene pipe. We wrap the remaining length in the form of a spiral. The other end of the tape is also fastened with electrical tape. As a result, we get just such a design. Some kind of spiral lightsaber, I guess.
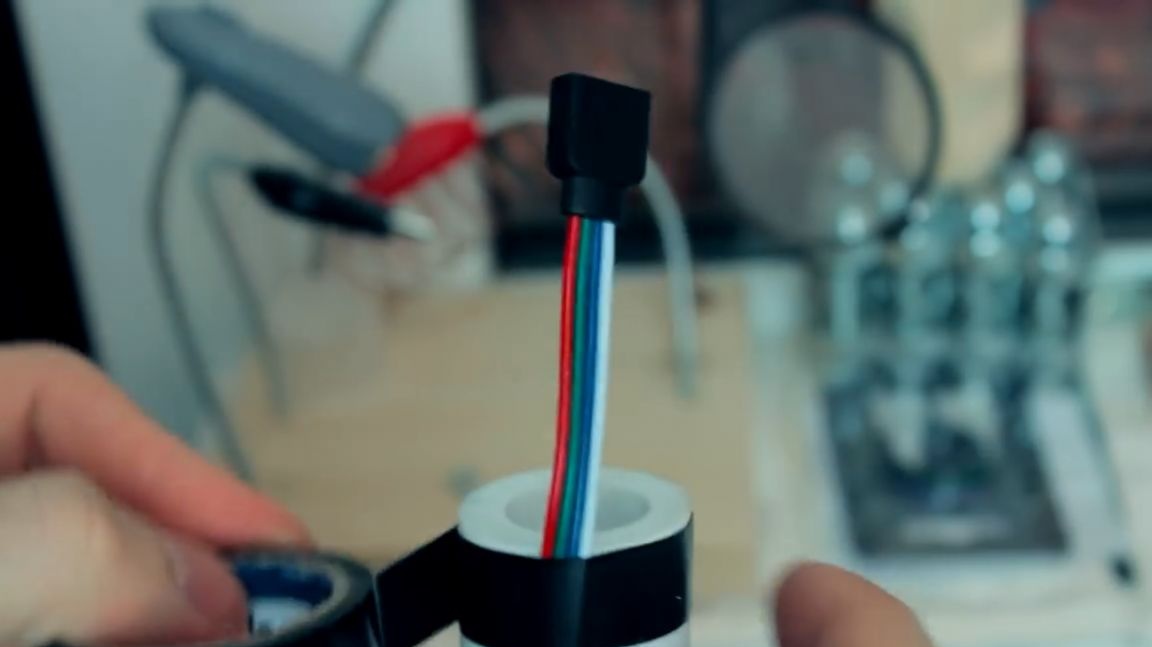
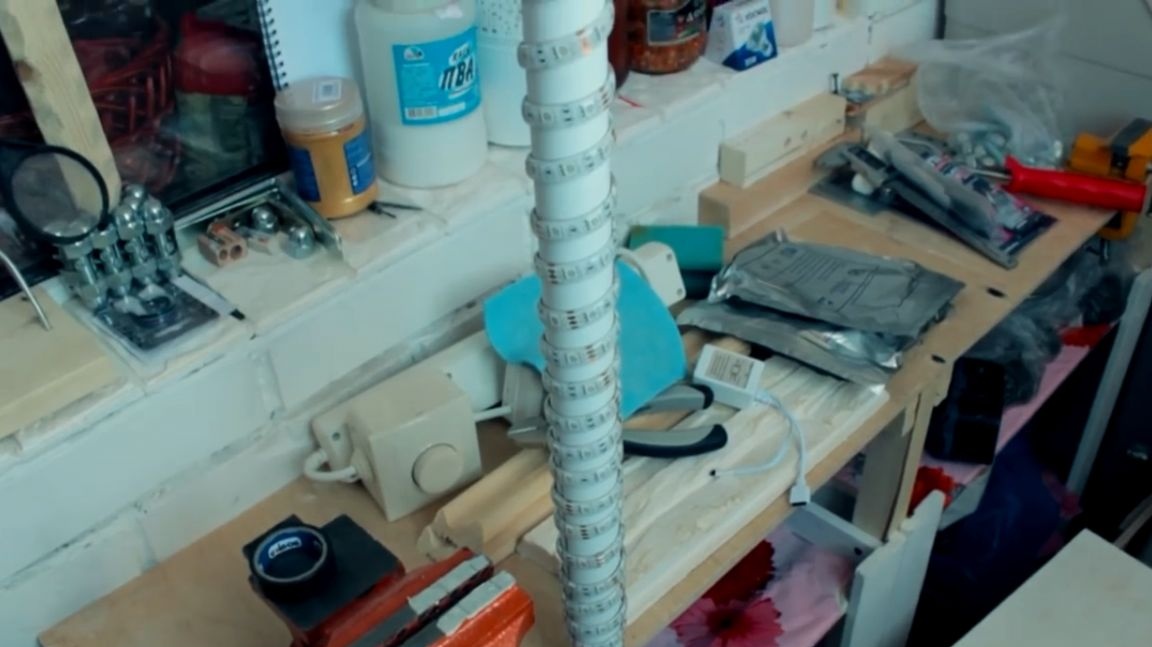
We put the pipe on the hairpin so that the end of the LED strip gets into the large hole and goes out. After that we put on the cover and fix it with a nut.
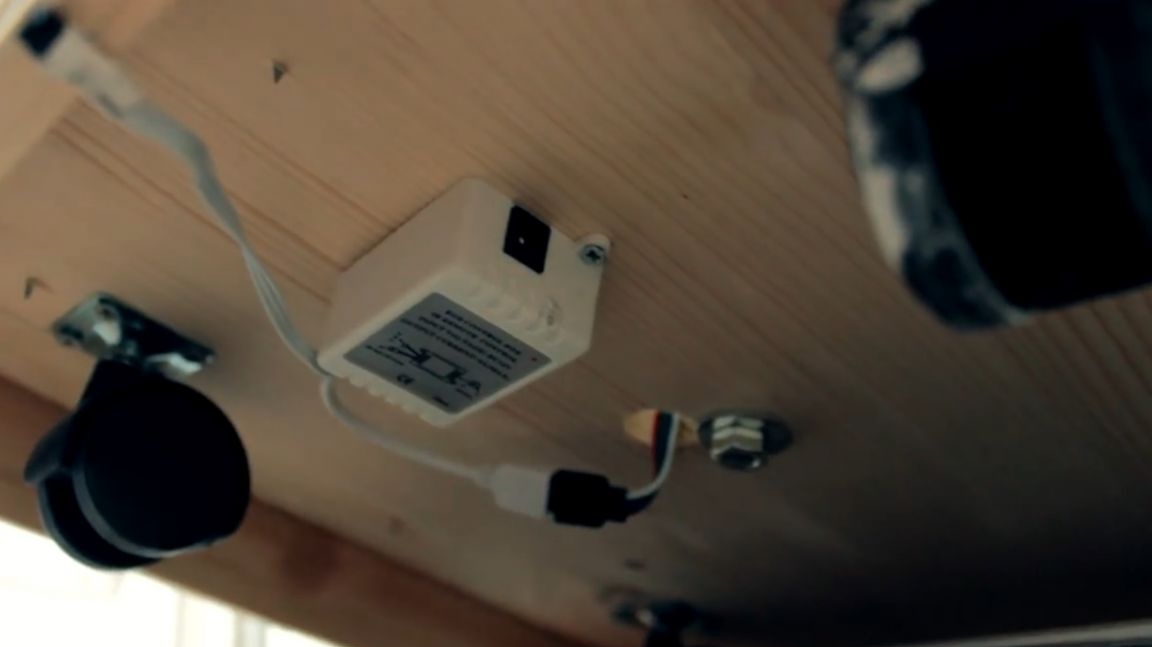
By tilting the tower slightly, we connect the LED strip to the controller. We bring out the IR receiver through which our tower will be controlled.
Well, are you ready?
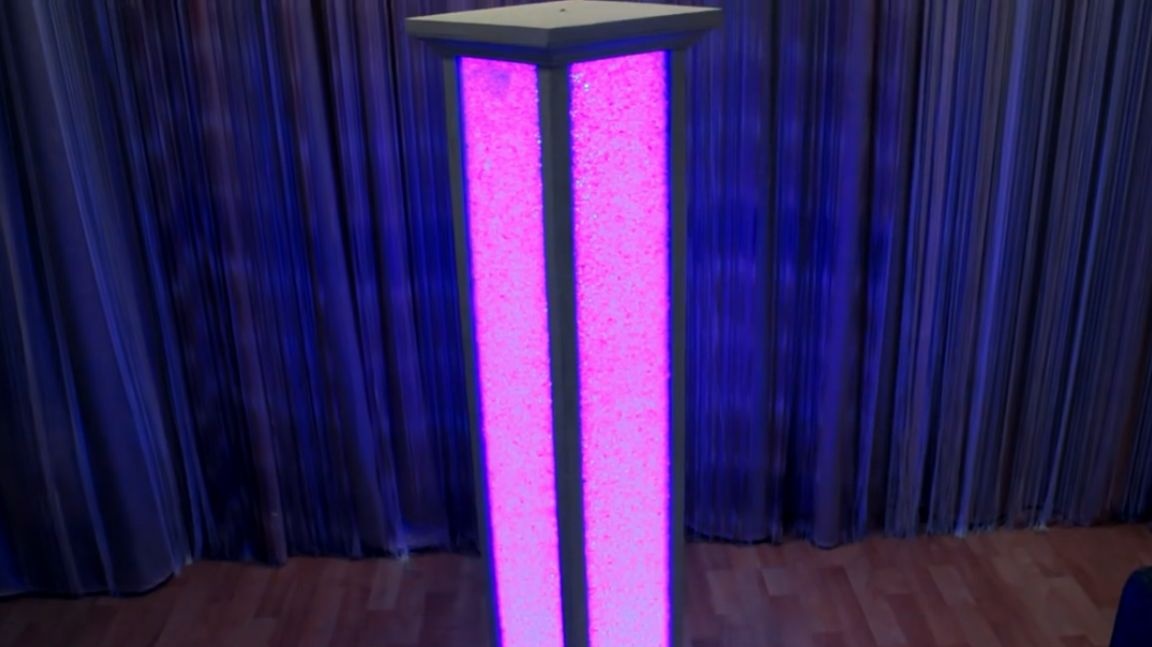
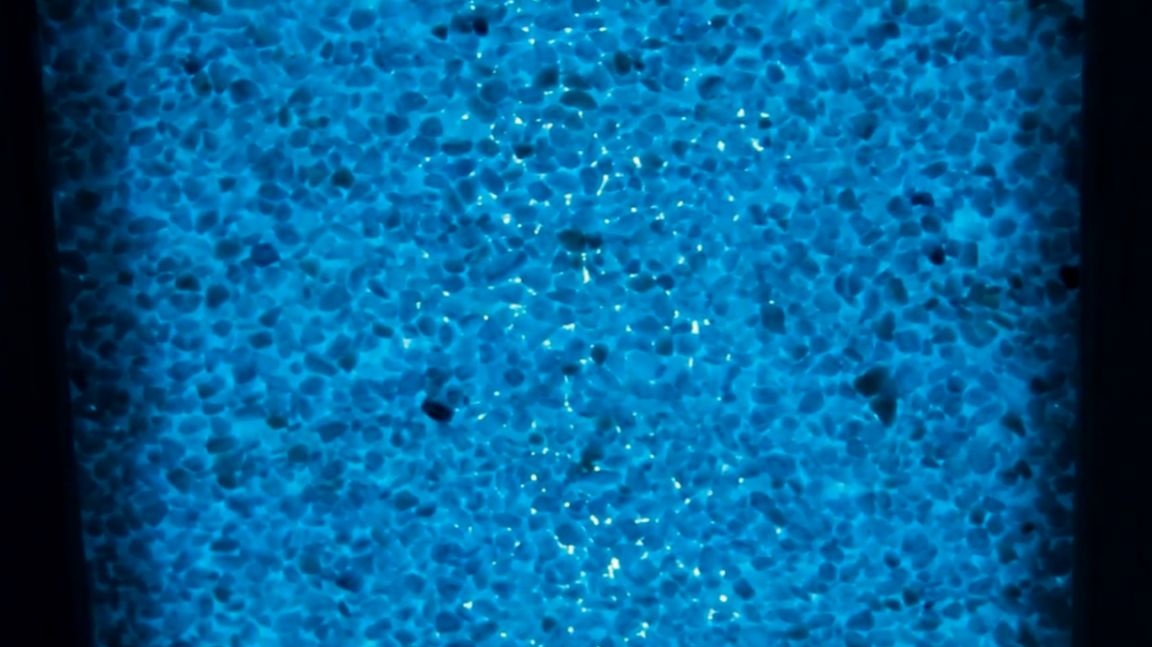

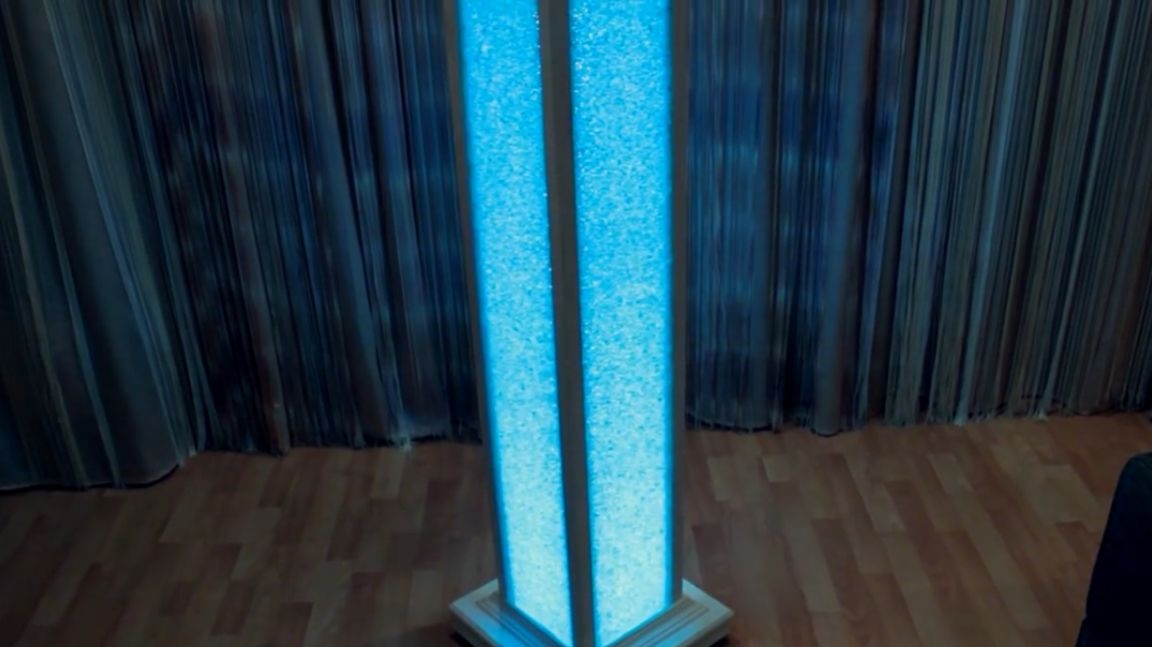
Turning on our tower, we got a piece of the magical world right in our room. The translucent marble chips, combined with the diffused LED light from the internal embossed glass, create a truly stunning effect. It feels like you can look at this tower forever.
As you understand, it turned out to be a difficult lamp for us, and a stand on which you can put, for example, speakers or some decorative sculptures. In the off state, it looks no worse and will immediately attract the attention of your friends and acquaintances.
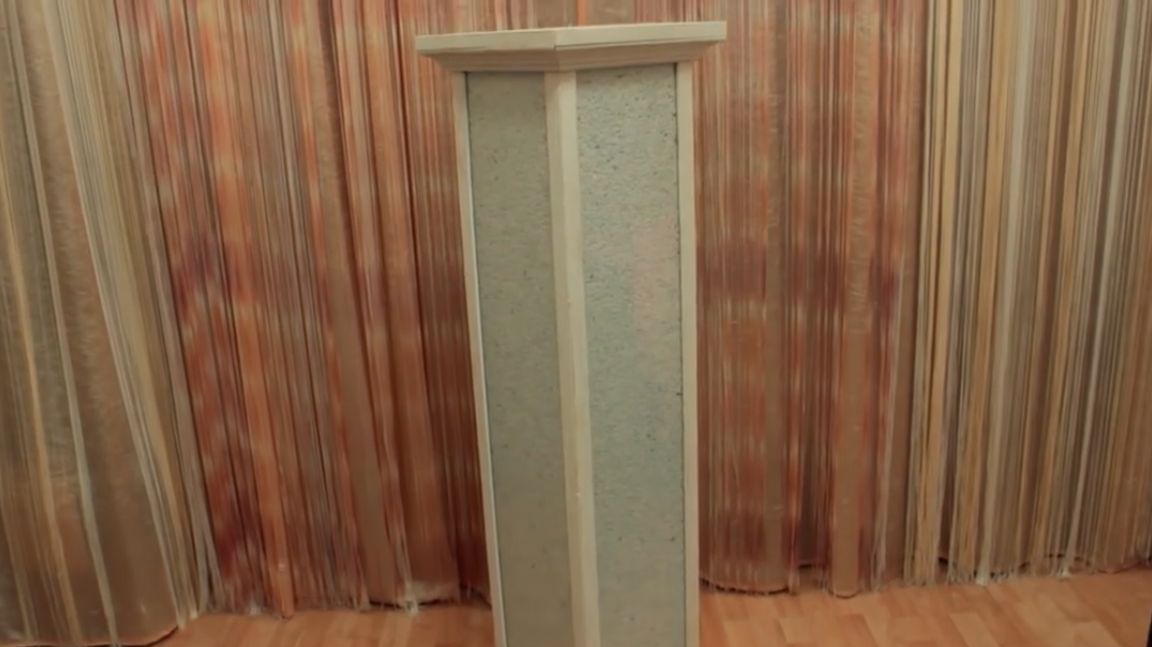
By the way, the weight of this lamp is almost 29 kg.
Thank you for attention. See you soon!
Video: