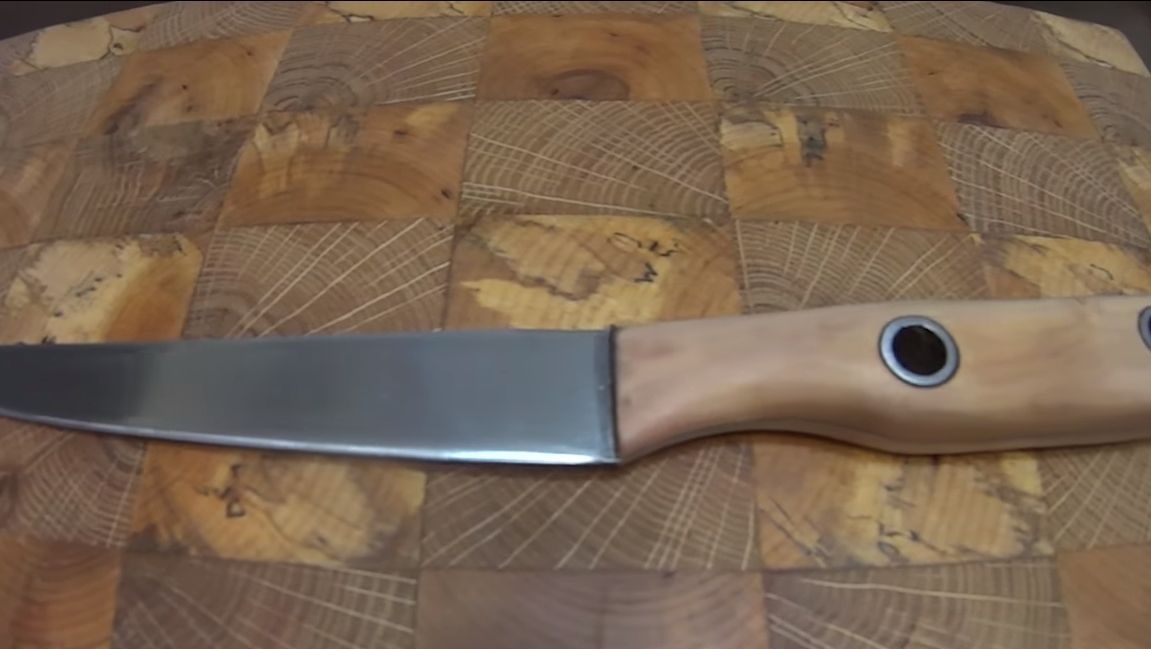
I present to you a very useful knife, it is designed for cutting meat into thin slices. It will be, of course, about the loin knife. With such a knife it is very convenient to cut the fillet from fish, which is very important, as well as poultry and other types of meat. A feature of such a knife is its sharpness, it should be like a blade so that the fillet can be cut quickly and evenly. But that’s not all, the knife blade must be very thin, but at the same time it’s not possible to cut the fillet with a long, otherwise thick blade. Of course, it is highly desirable that the knife be made of their high-quality steel, which will allow you to keep the blade sharp for a long time.
In this instruction we will discuss how to make a loin knife yourself, it is not difficult to do this, and many can find material for the knife in their workshop. In the manufacture of this knife, the furnace was not used, that is, the blade did not pass hardening. The author used an old hacksaw as a source material. This material is springy, it is durable, as it is tool steel. The sheet steel used here is rather thin, which is well suited for making a loin knife. Moreover, this type of steel does not rust very much if the knife is handled properly, of course. So, we will consider in more detail how to make such a knife.
Materials and tools that the author used for homemade:
Material List:
- old hacksaw;
- a piece of board;
- steel tubes (for pins);
- epoxy adhesive.
Tool List:
- grinder;
- clamps;
- vise;
- drilling machine;
- orbital sander;
- belt sander;
- vise;
- device for sharpening knives;
- hammer;
jigsaw;
- planing machine;
- ruler;
- marker.
The process of making a filet knife:
Step one. Cut the main profile
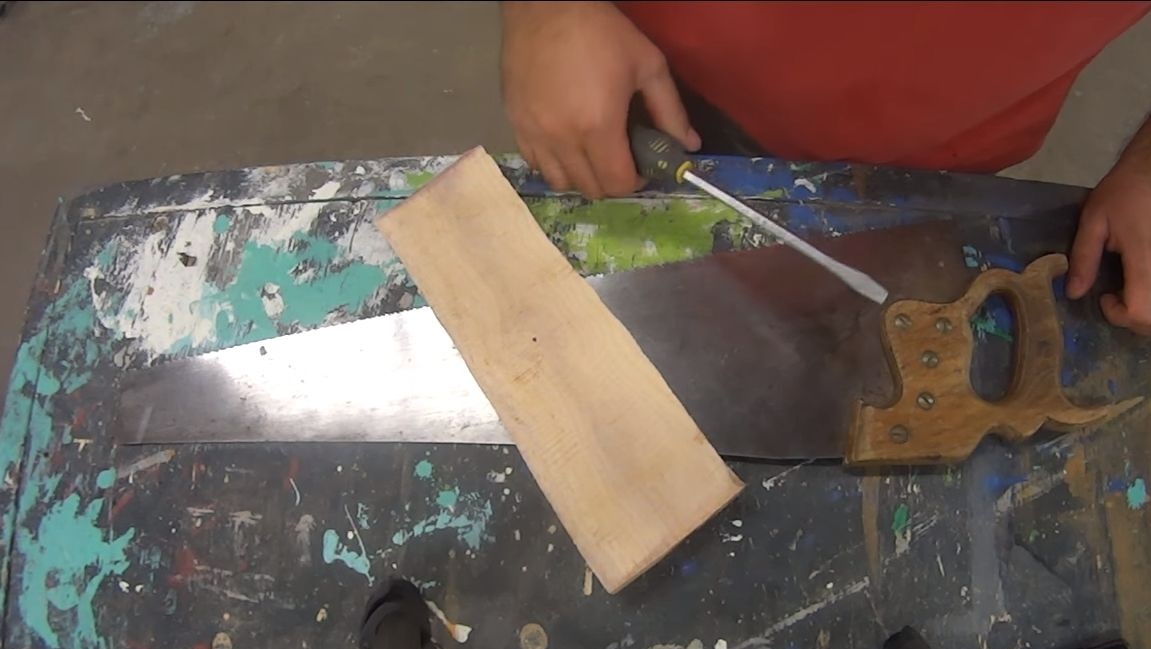
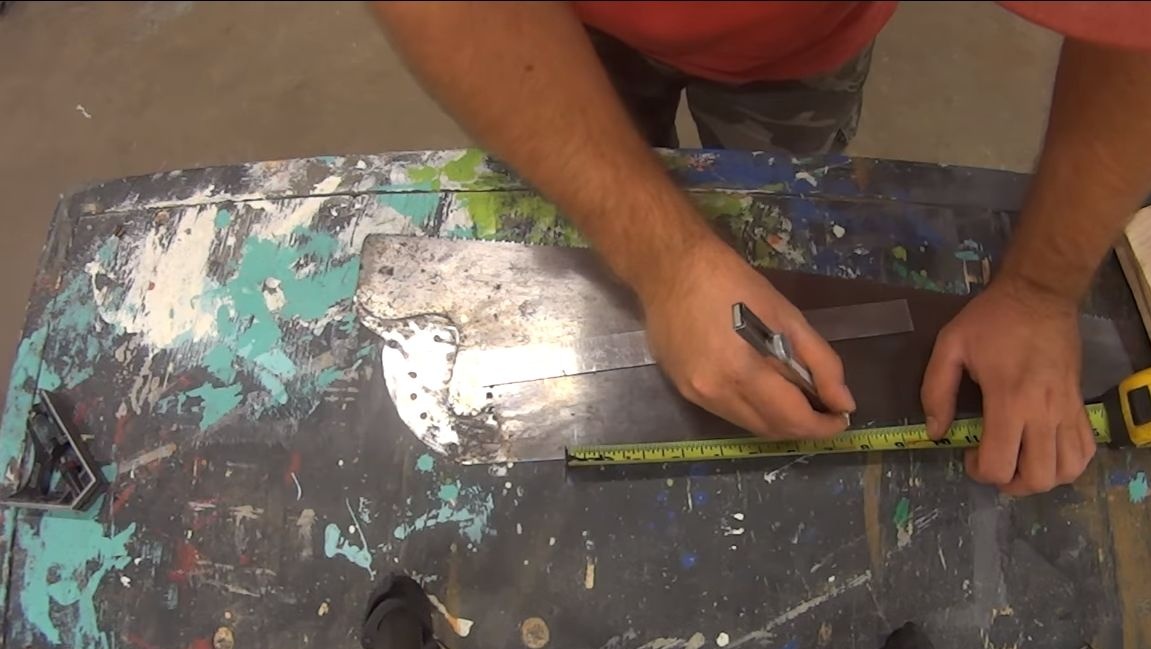
First of all, we will prepare the material, in our case this is a hacksaw blade. We unscrew the handle from it, since it will no longer be needed. Several knives can be made from one blade for different needs, so do not throw away the old tool.
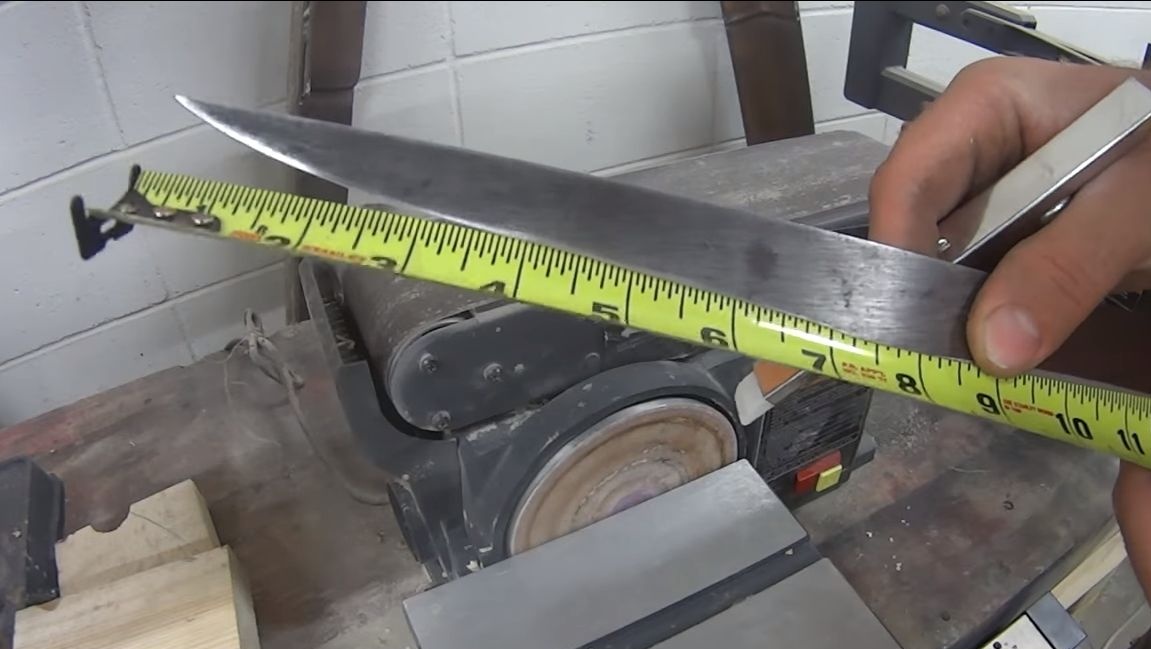
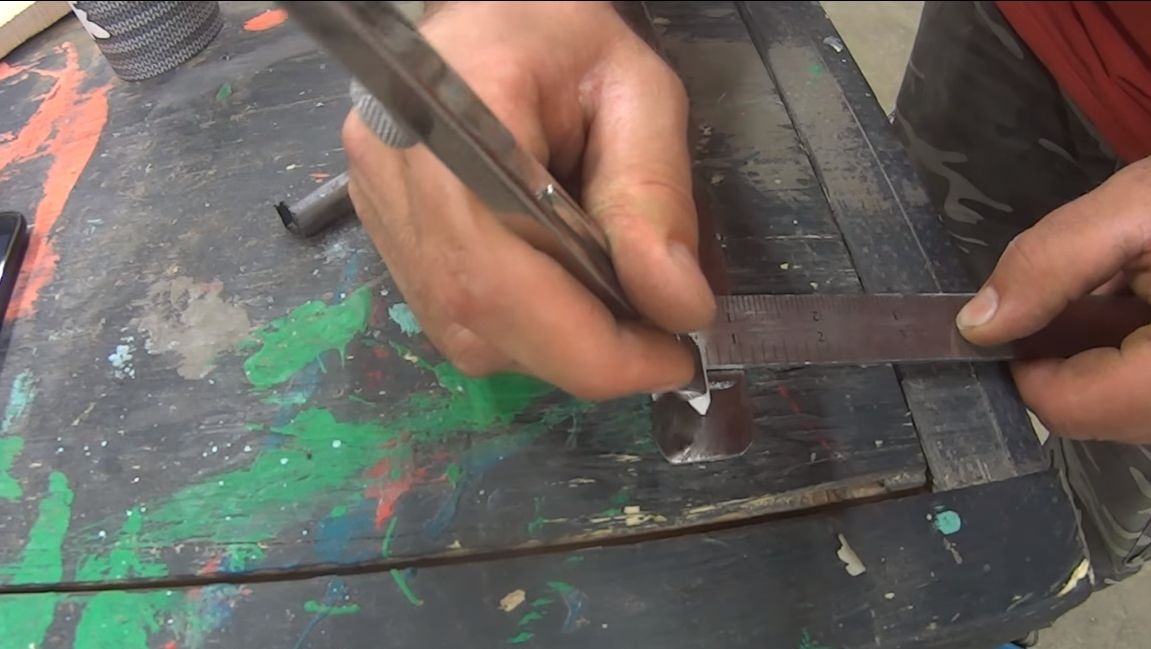
Now we take a marker and a ruler. Decide on the length of the future click, depending on your needs. Also imagine how long the handle should be so that the knife is comfortable to hold. We draw a knife profile on metal with a marker.
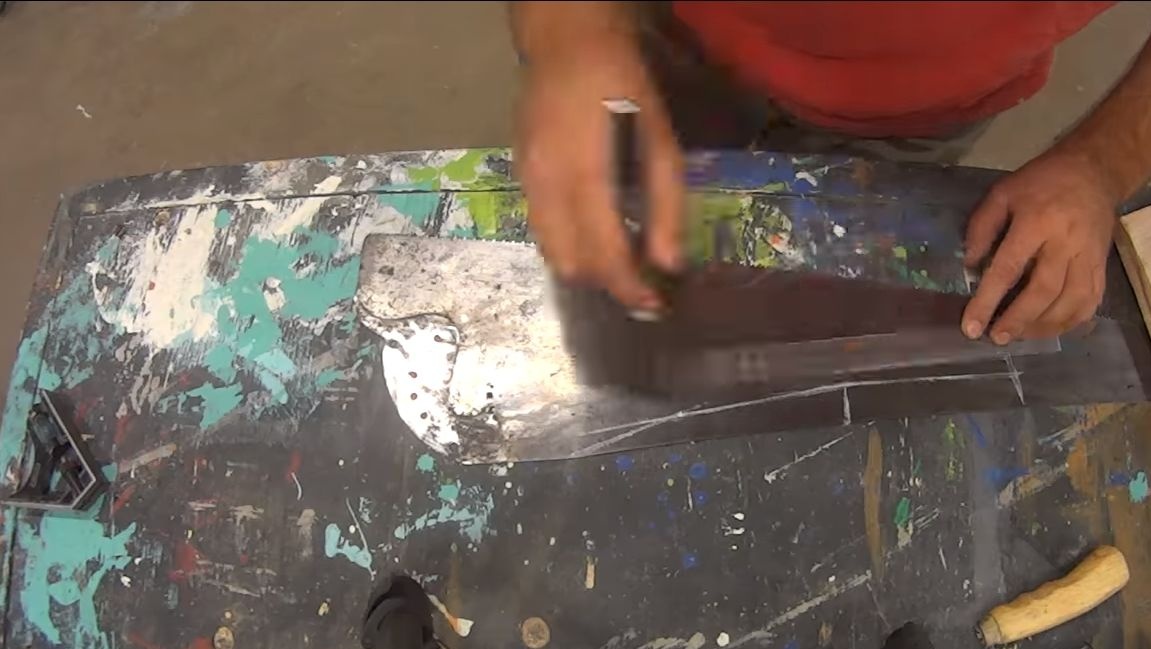

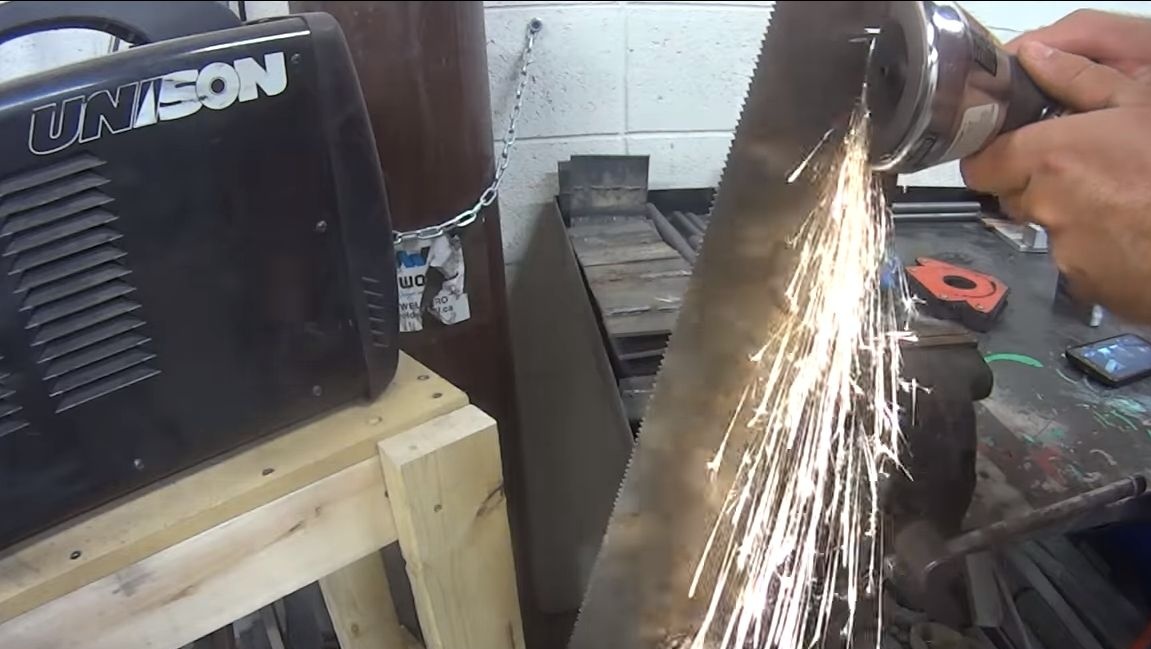
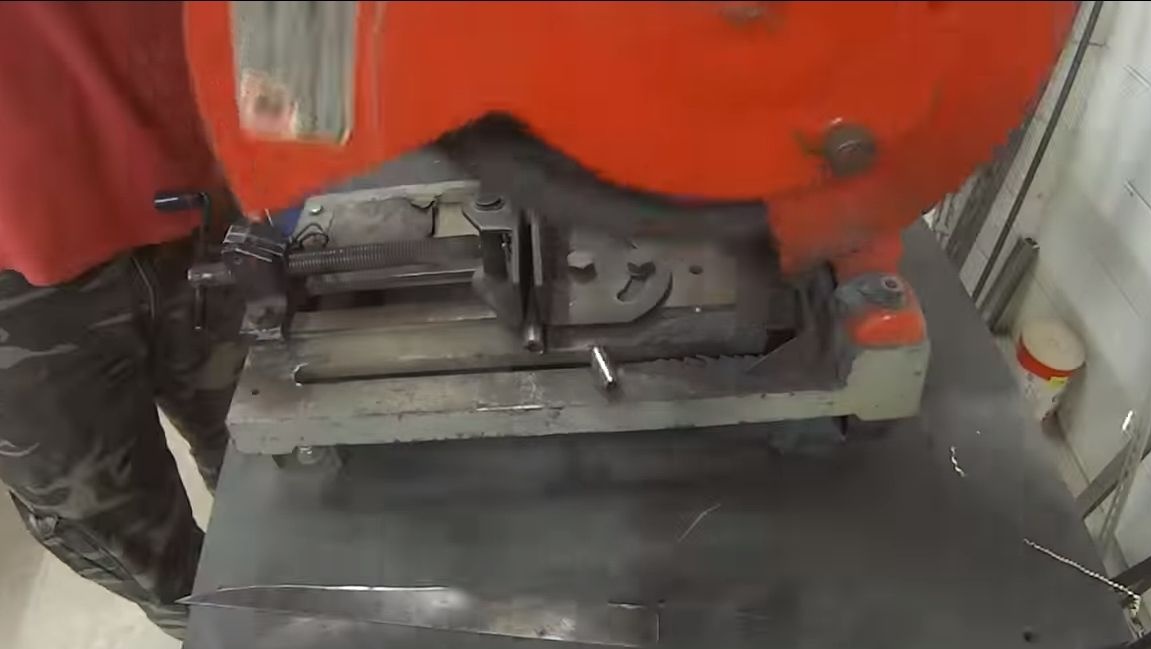
That's all, now the profile of the knife can be cut. To do this, we clamp the workpiece in a vice and work with a grinder.Do not cut too close to the line of the blade, the fact is that when the metal is heated, this is a vacation. This means that the steel will become soft and the knife will blunt quickly if the metal is not hardened. Water the metal from time to time to cool.
Step Two Grinding
It is convenient to carry out grinding work on a belt grinder. It will not work manually to process such steel, since it has been quenched, the file simply will not take it. In extreme cases, if there is no tape machine, you can try to hold the grinder in a vice and try to perform the necessary tasks. At this step, we create the desired profile.
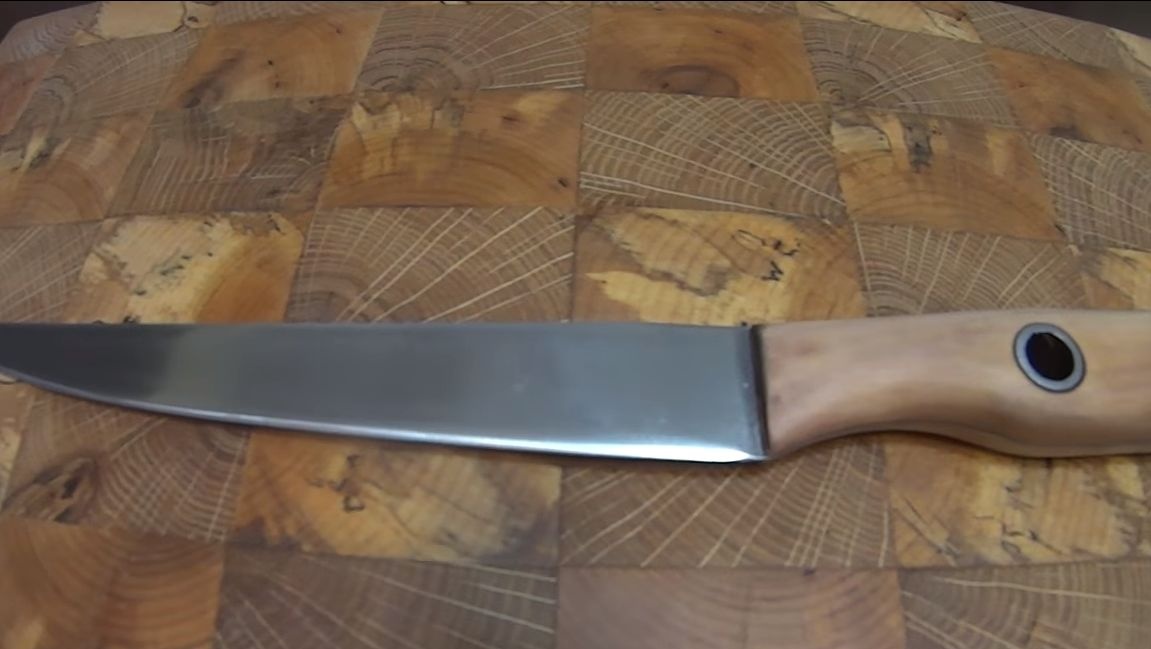
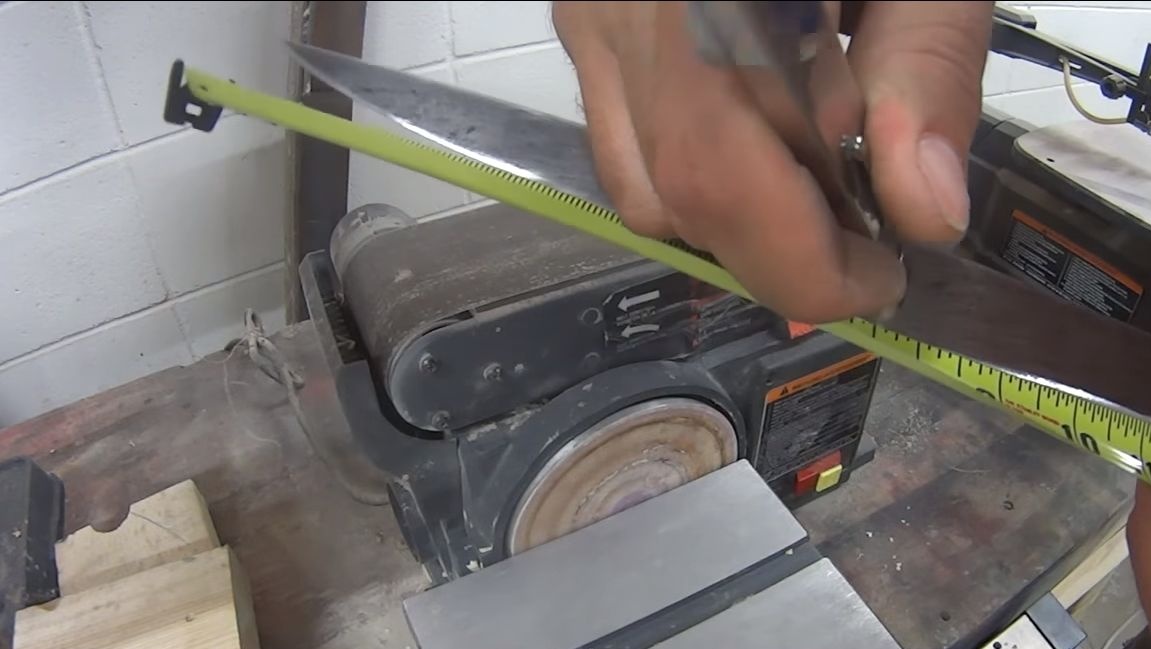
We proceed gradually to the formation of the handle profile, for this we make the necessary measurements and cut off the excess. What kind of knife did the author have, look at the photo.

Step Three Cut the pins
The pins are a very important part of the knife, with the help of which pads are held. And the pins decorate the knife, in some cases they can be used to attach the rope or hanging. In this knife, the author decided to make pins from a steel tube and you only need to choose a stainless steel pipe, since the steel will rust very much. However, it is quite possible to use non-ferrous metals like copper or brass. Cut off the necessary pieces on the machine or gently using a grinder.
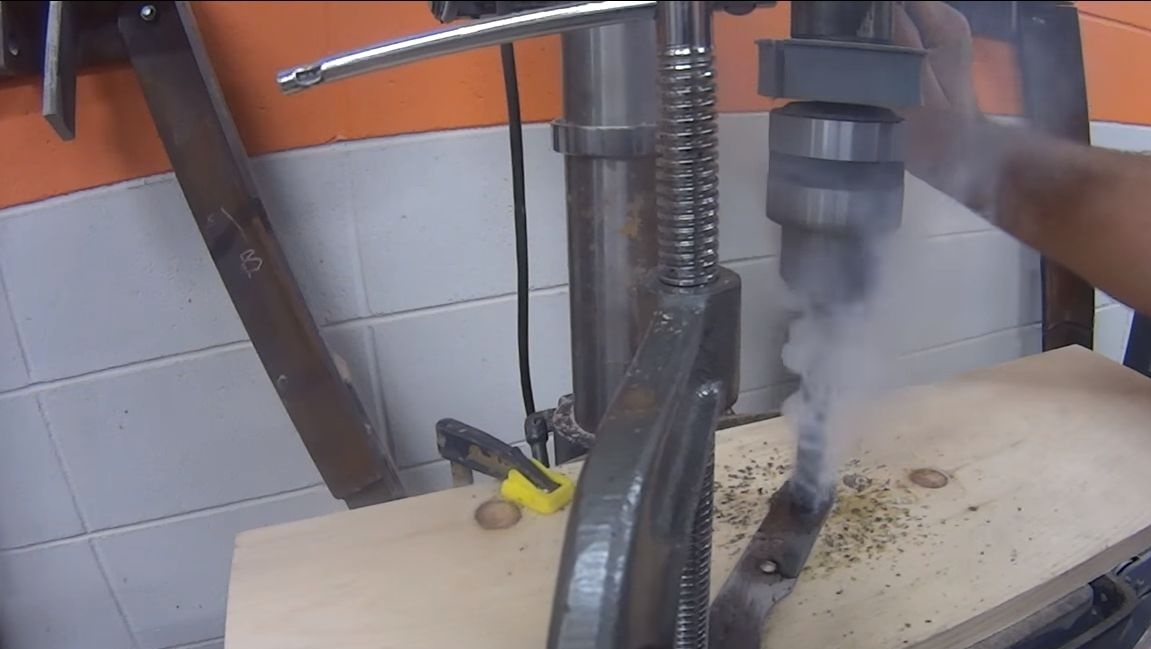
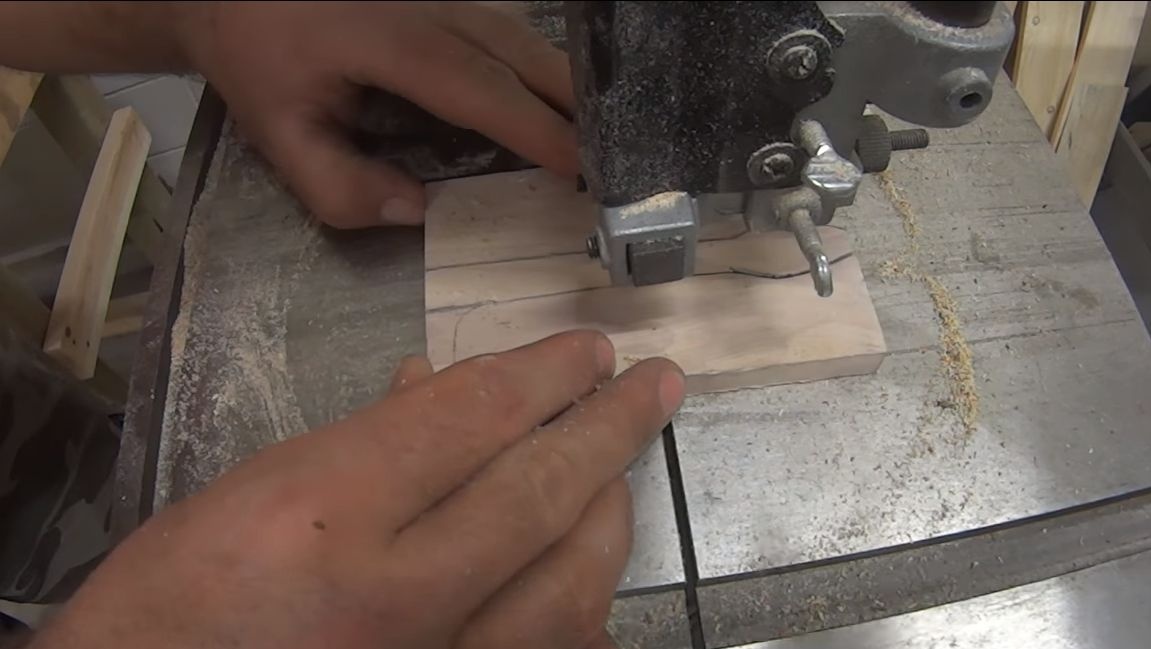
Step Four We drill holes for the pins
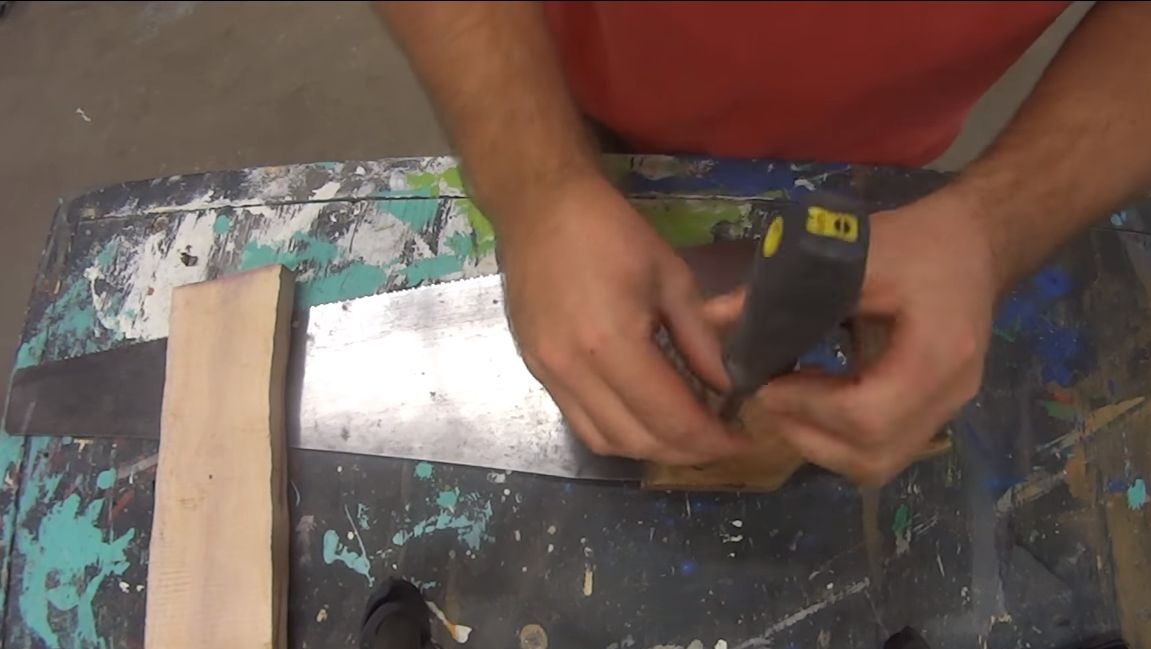
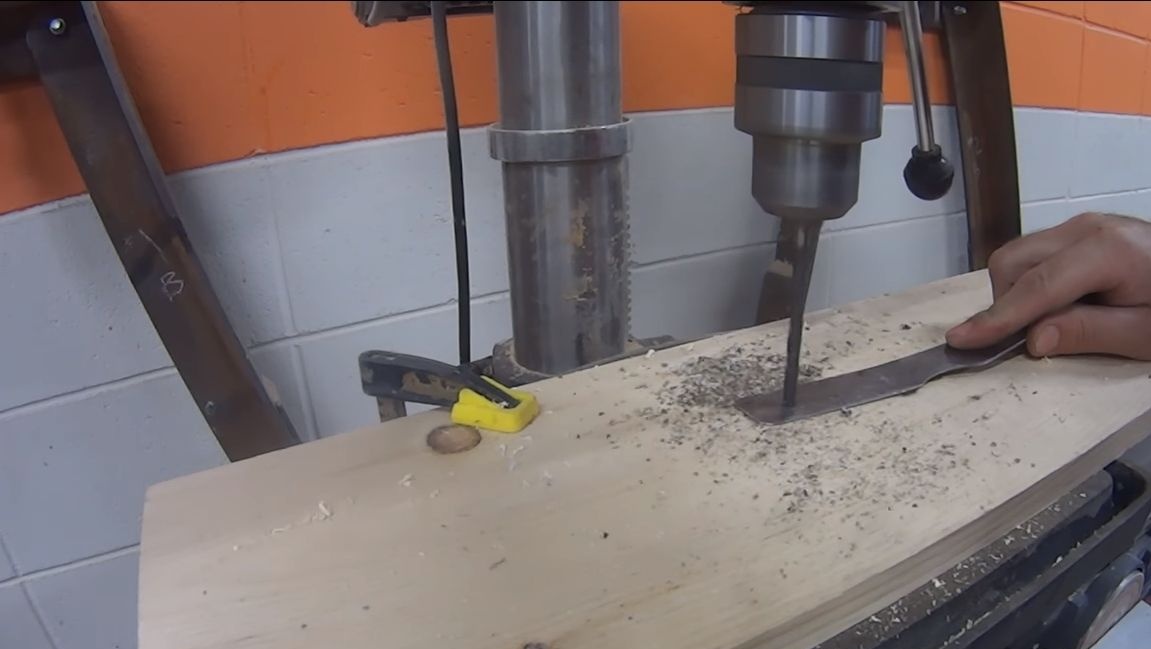
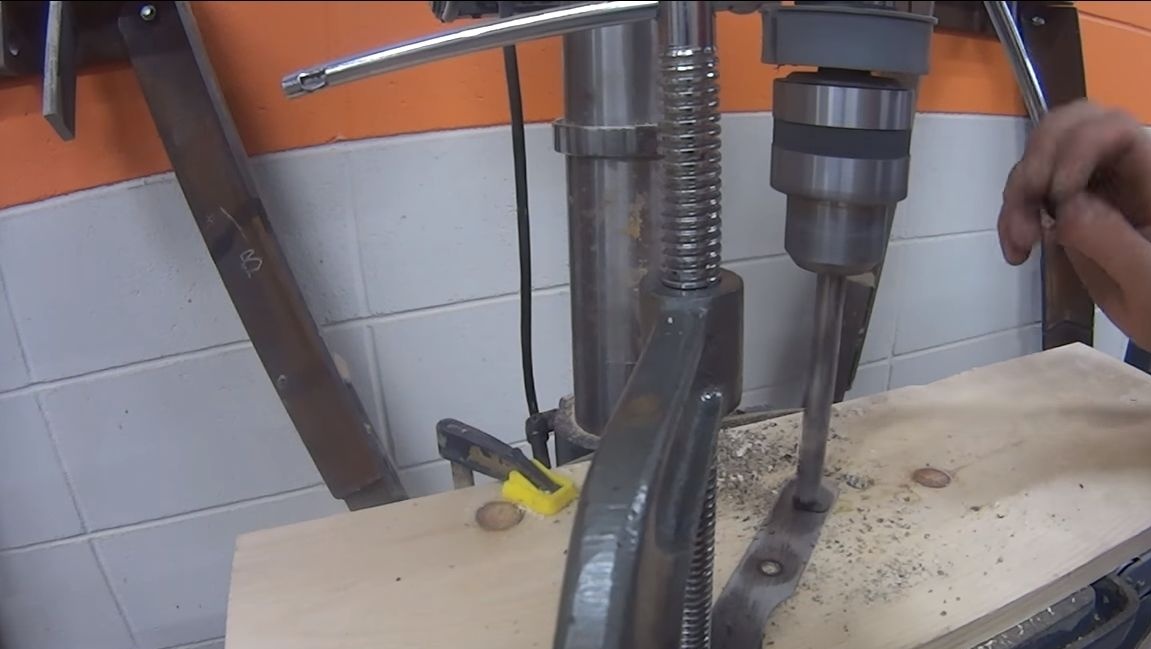
We have reached the most difficult step in the manufacture of this knife. We have to drill holes for the pins. To do this in hardened steel is very difficult, for this you will need very strong drills and preferably with refractory tips. Observe safety when drilling, the author turned the workpiece in the process and he cut his finger, but injuries can be much more serious! Clamp the blade with a clamp, no need to hold it with your hands! First, we drill holes of a small diameter, as this is easier, and then drill them about what is necessary so that the pins come in with a minimum clearance. When drilling, be sure to lubricate the drill, as it overheats and becomes dull. Instead of lubrication, water can be used as cooling.
Grind the ends of the pins on the machine to make them easier to install in the handle.

Step Five Cut out the pads on the handle
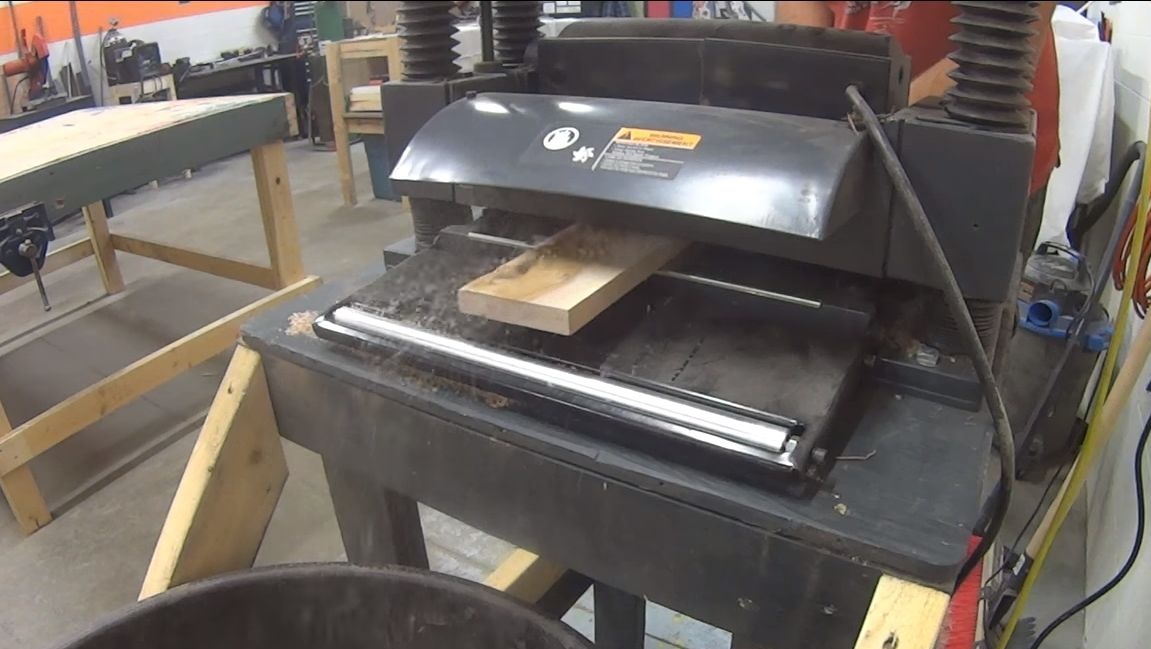
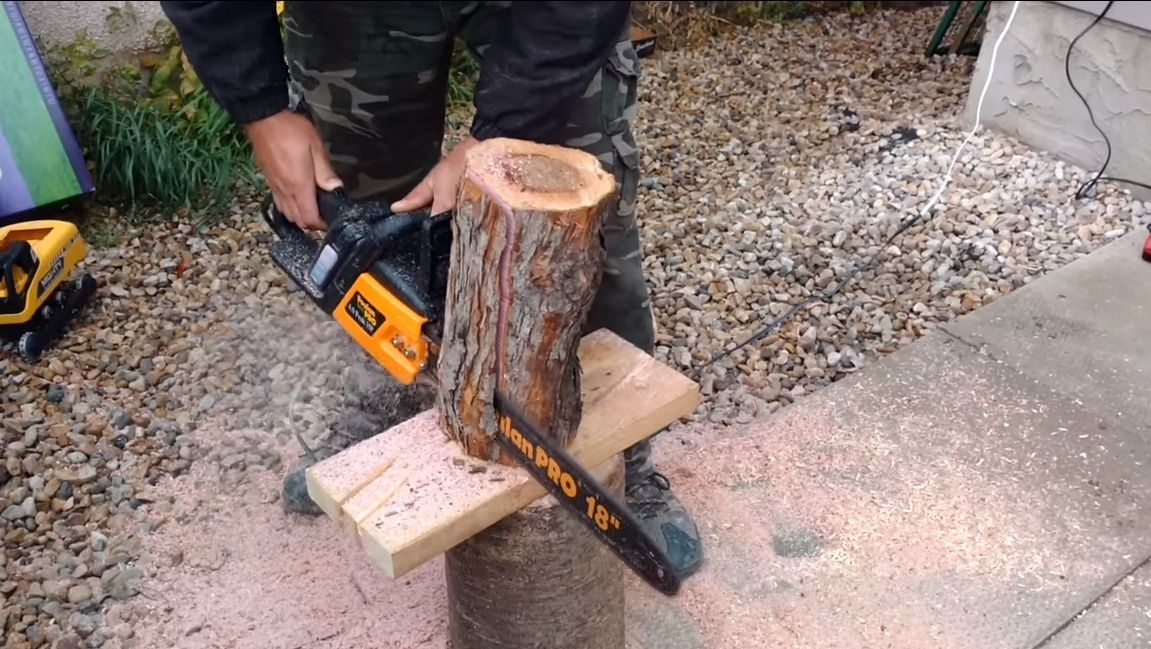
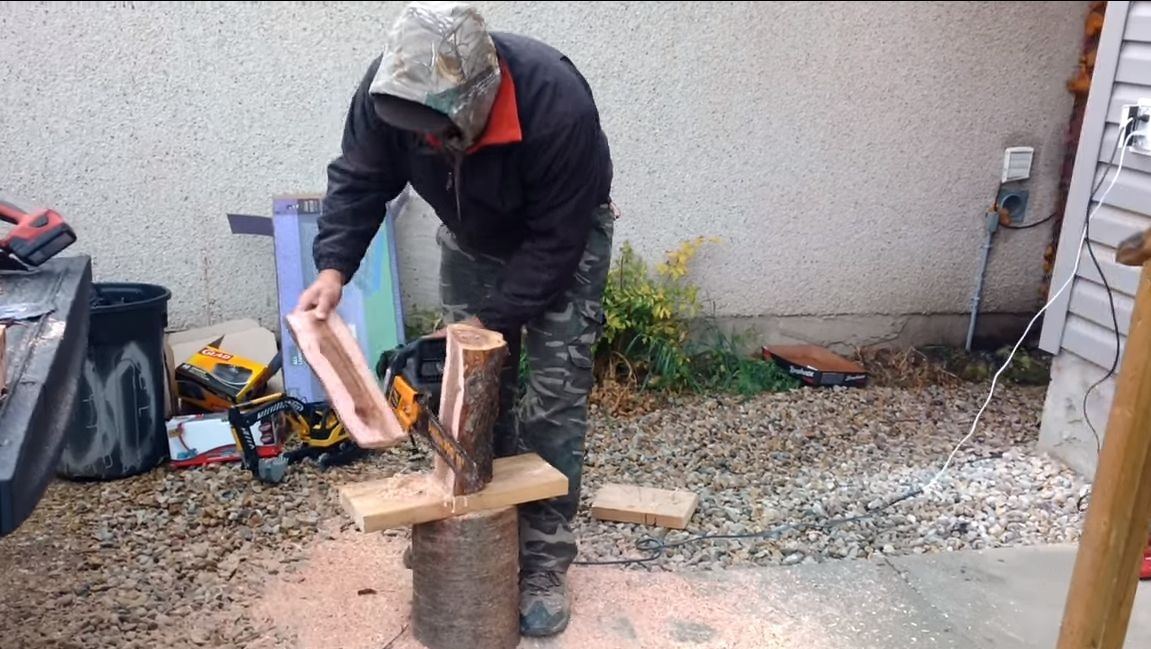
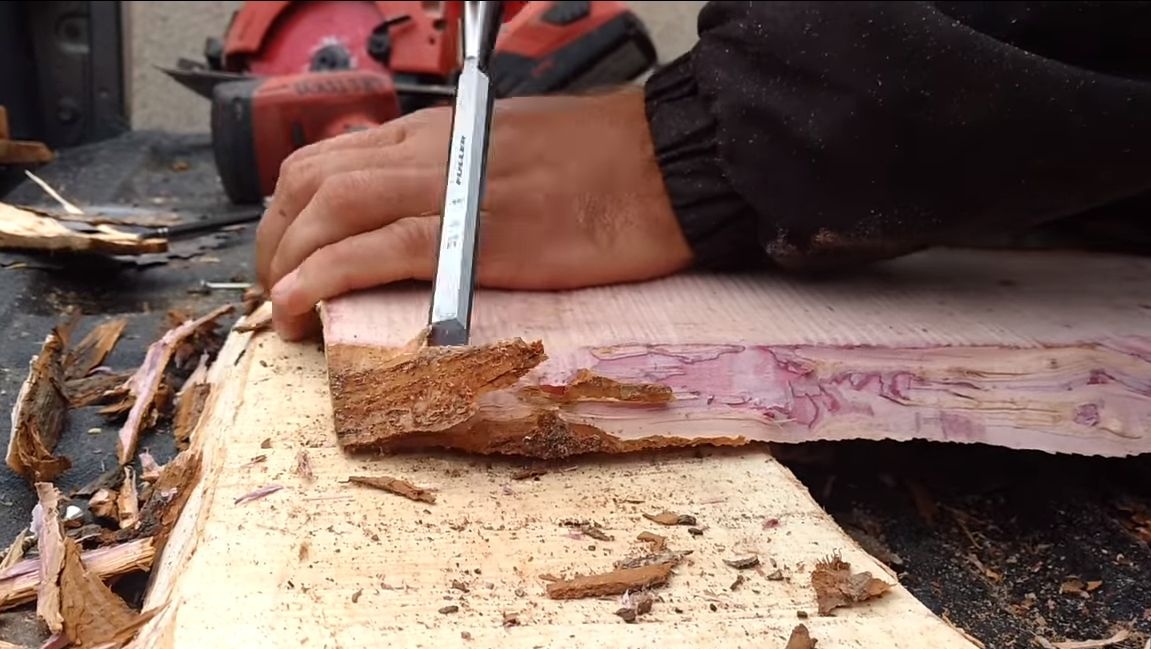
The author decided to make a lining of wood, for this a board of a suitable size will be needed. The author decided to cut the board himself, a chainsaw was used for this. Of course, you cannot cut the board exactly, then you will need to process it on a planer to level the planes. Remove the bark from the shelf with a chisel and hammer.
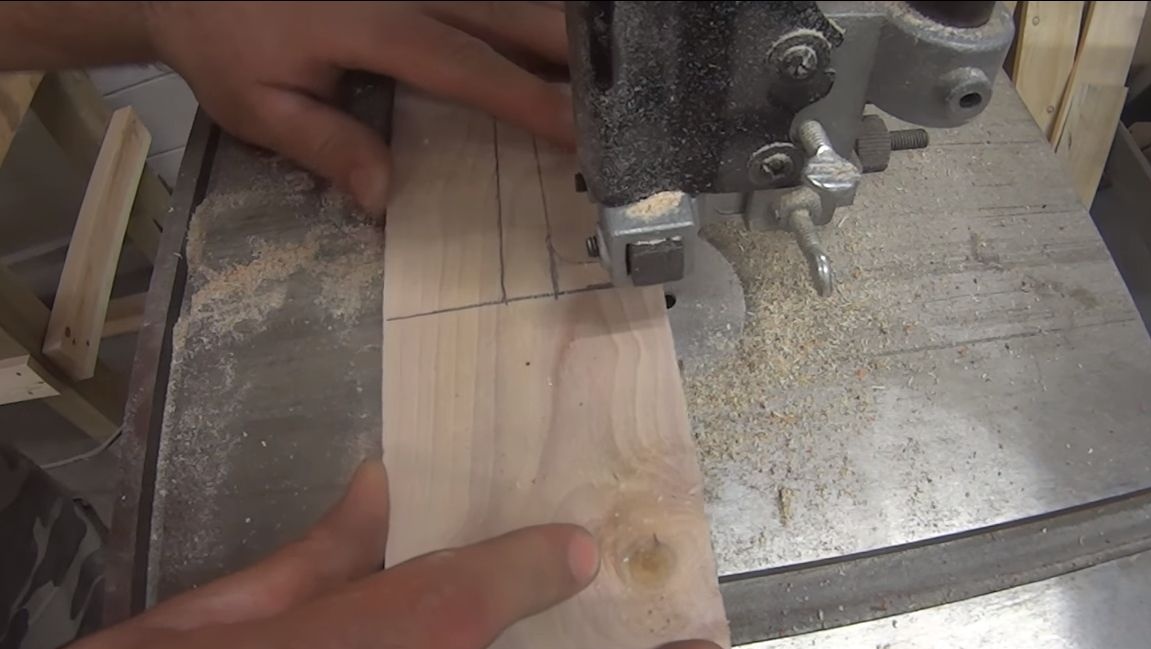
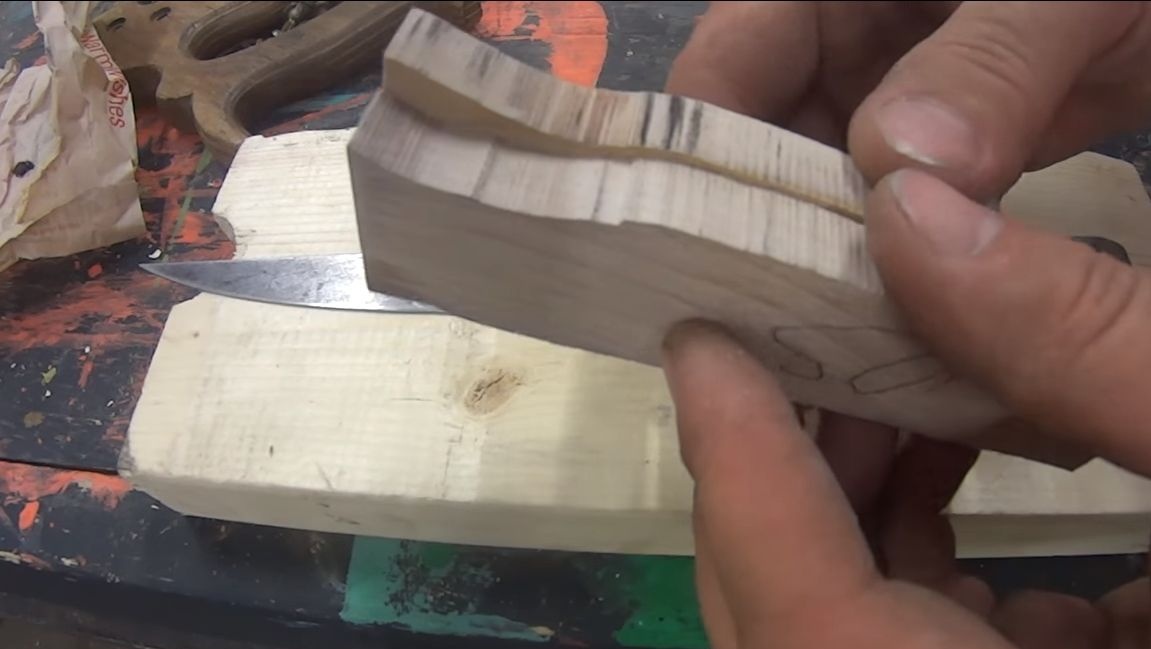
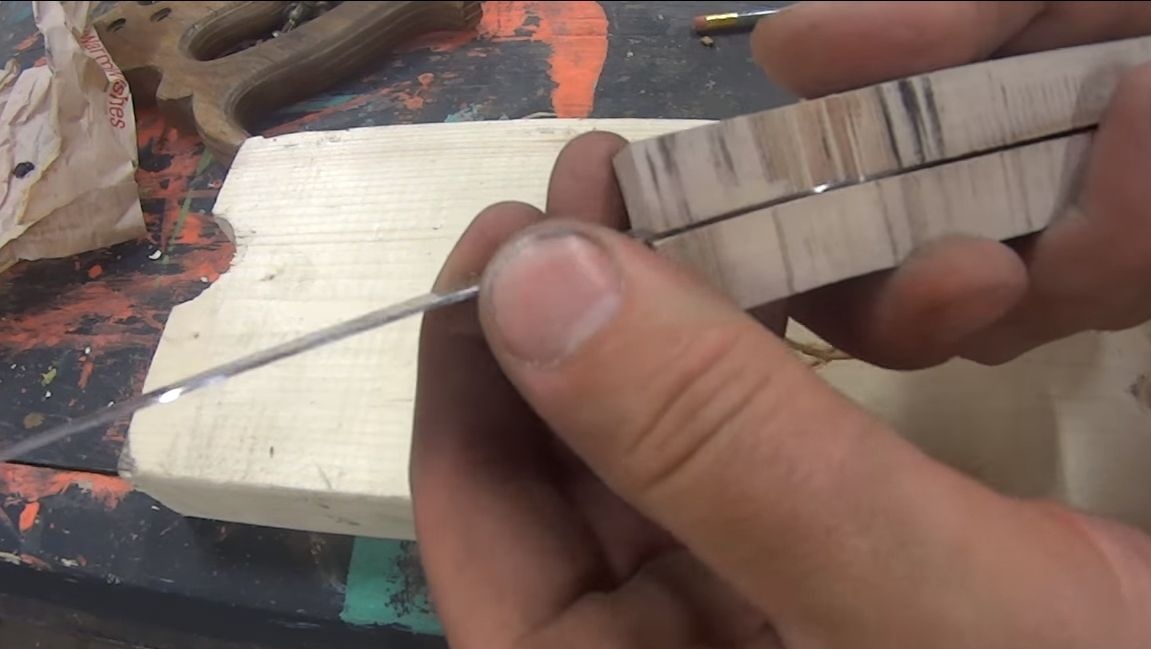
Now we draw a pen profile on the board, just apply the blade with the back and circle with a pencil. There are two ways to make two identical pads. You can use a thick fillet, which is then sawn lengthwise into two parts. And you can cut two pads at once from two boards simultaneously, folding them together. For such work, the electric jigsaw is the best suited.
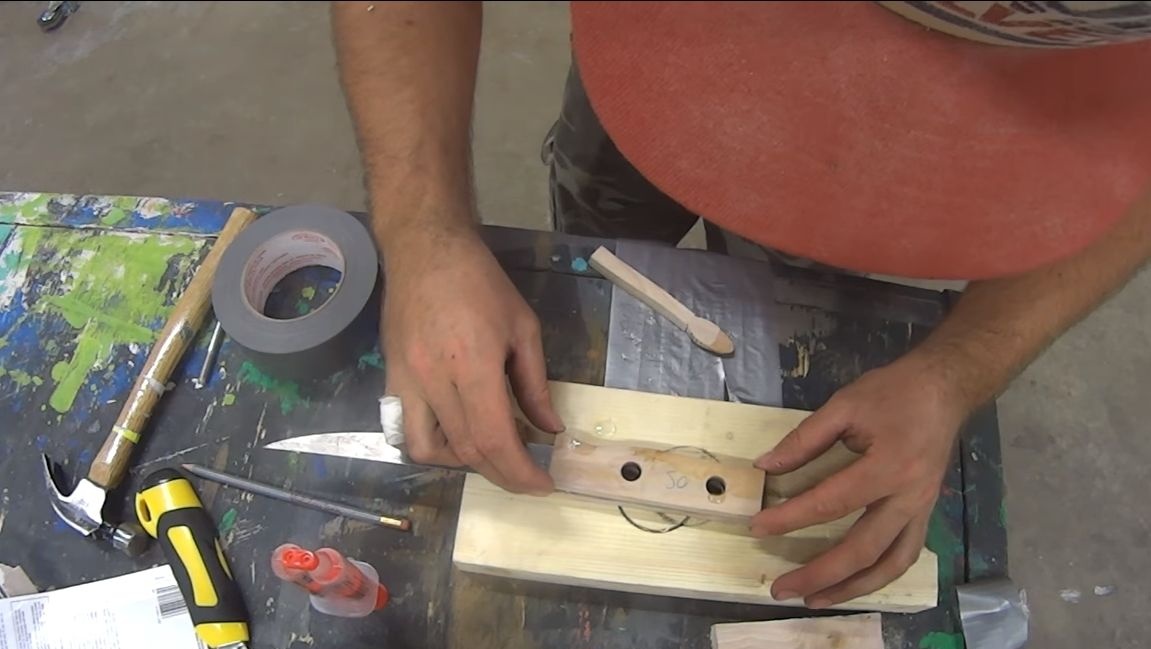
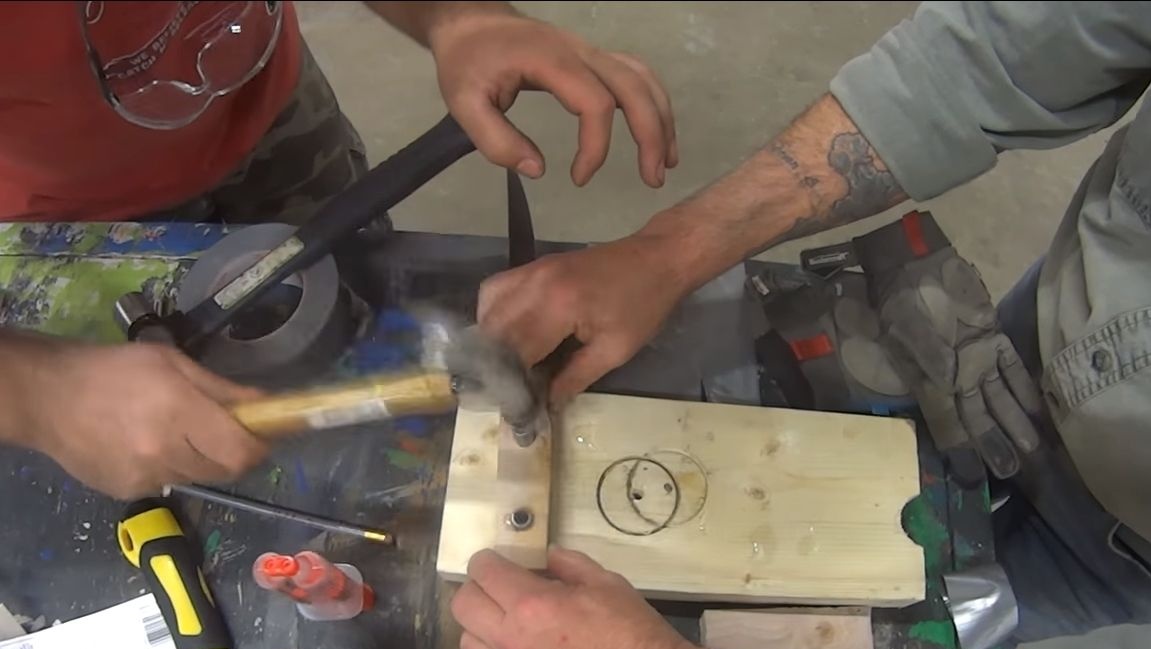
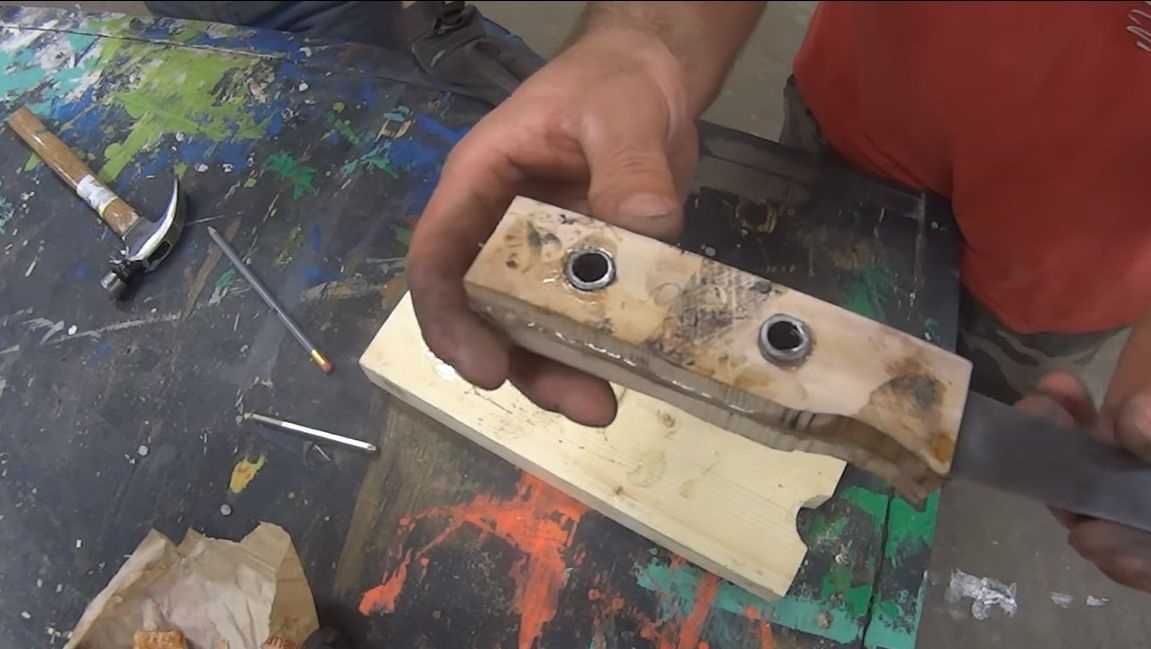
Step Six Pen assembly
To assemble the handle you will need epoxy glue, it will glue the handle securely. Mixes resin with hardener and apply on each pad. Then we install the pads on the blade and carefully, with light hammer blows, hammer the pins, which are pieces of tubes. In the end, it would be nice to tighten the handle with clamps or clamp it in a vice until the glue dries. It usually takes about a day, but it all depends on the temperature.
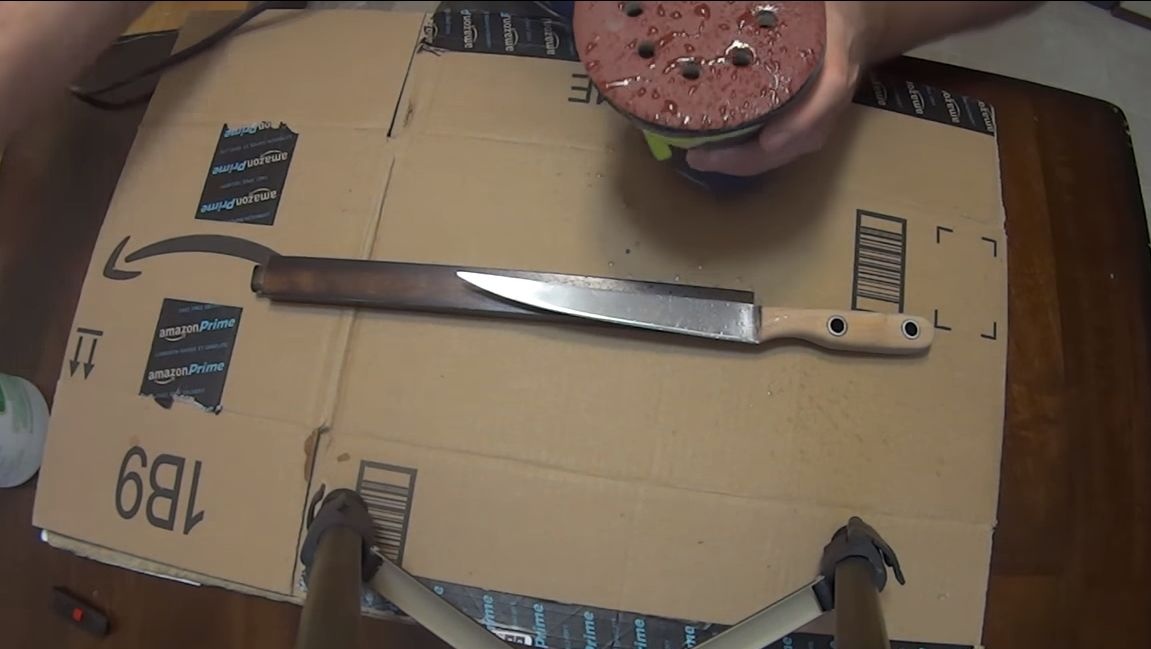
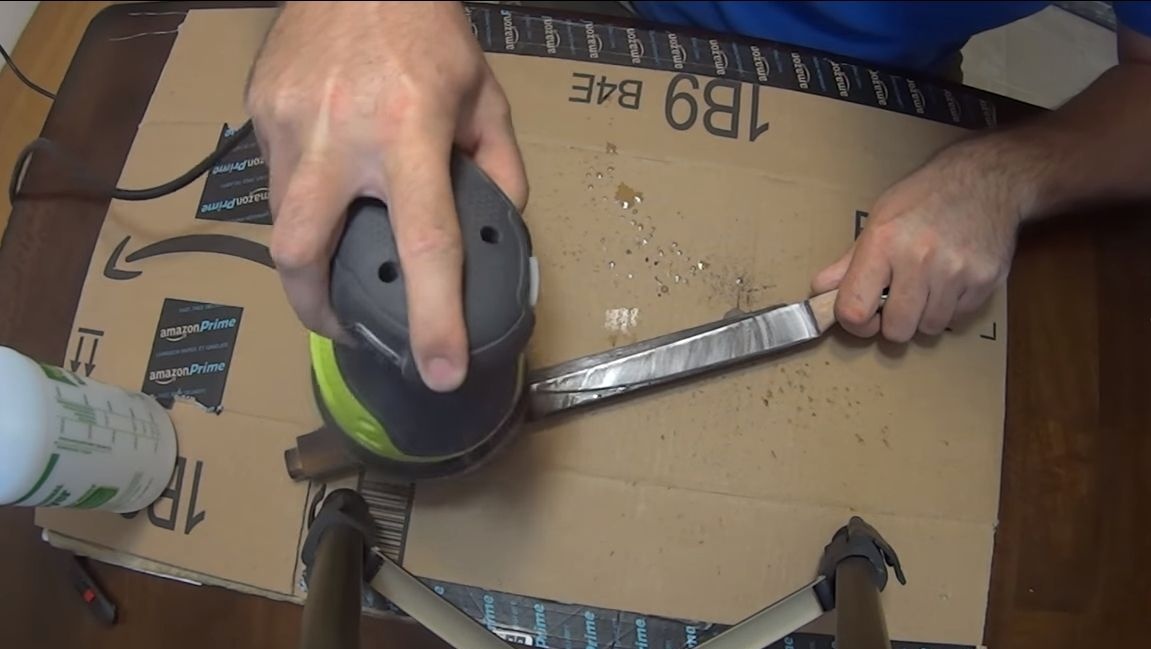
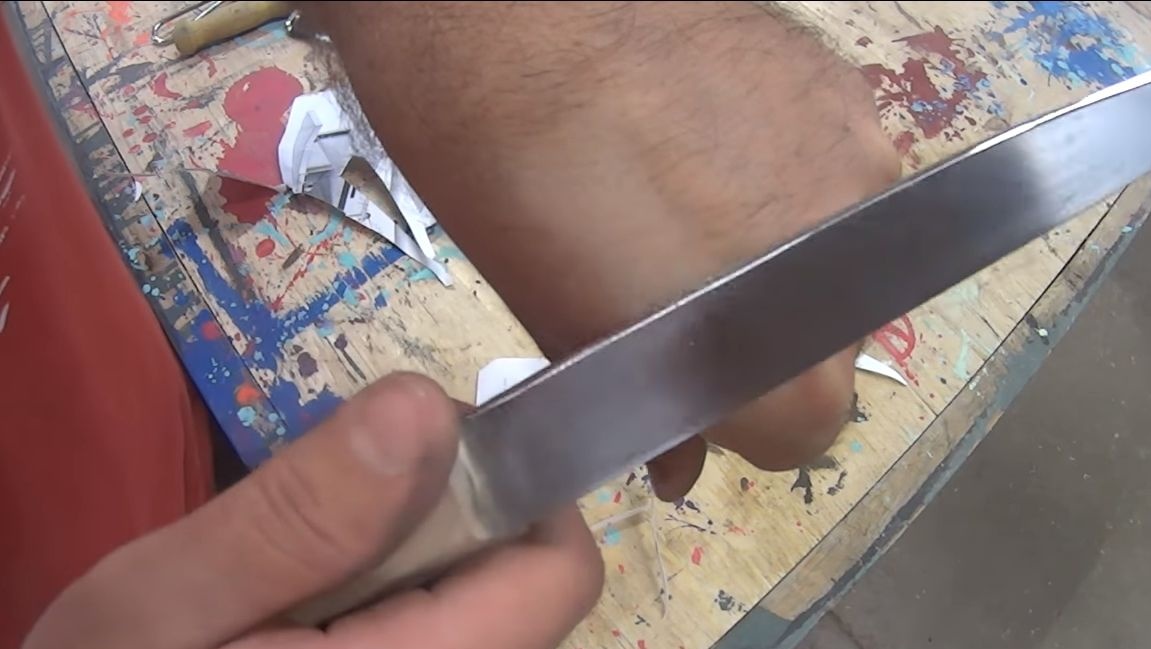
Seventh step. Modifying the blade
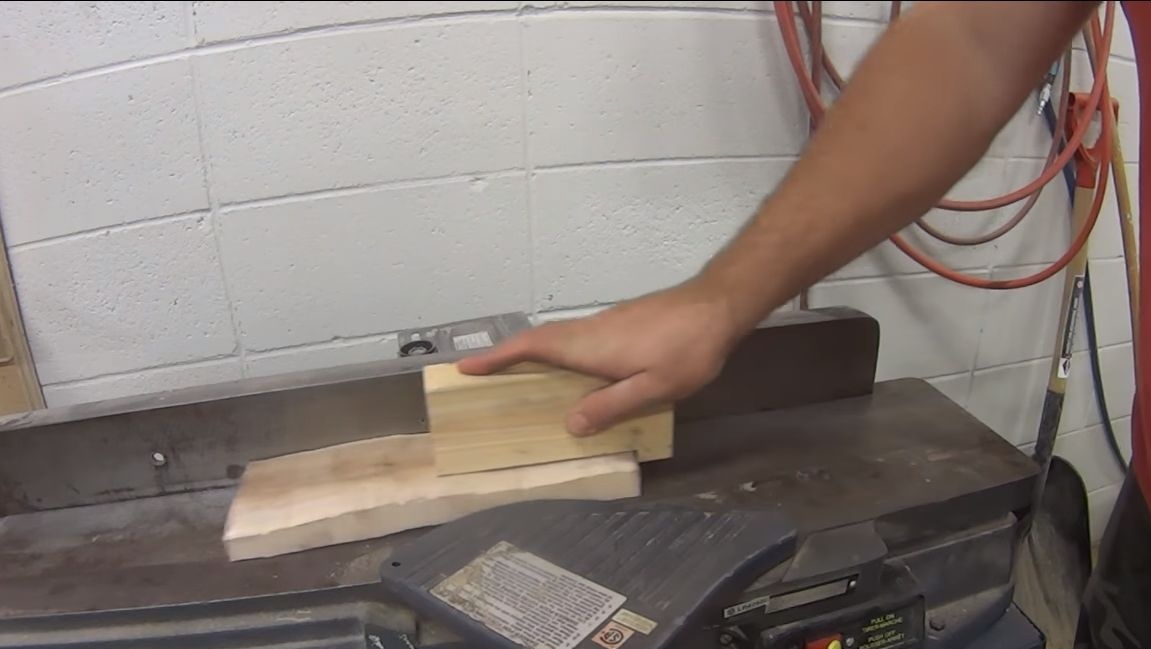
Now we need to finish the blade, the essence of the work is to make it as thin as possible. For these purposes, you will need an orbital sander. You can cope with this task and manually, fixing a large sandpaper on the bar. Try to grind evenly on each side, otherwise the blade can easily skew.
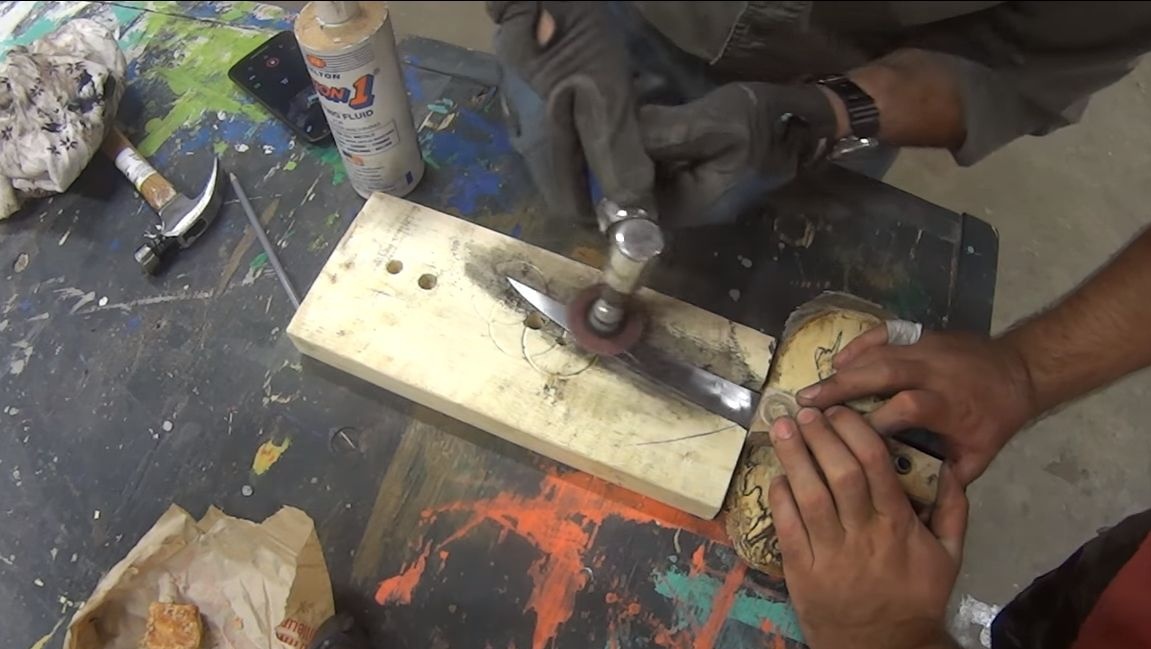
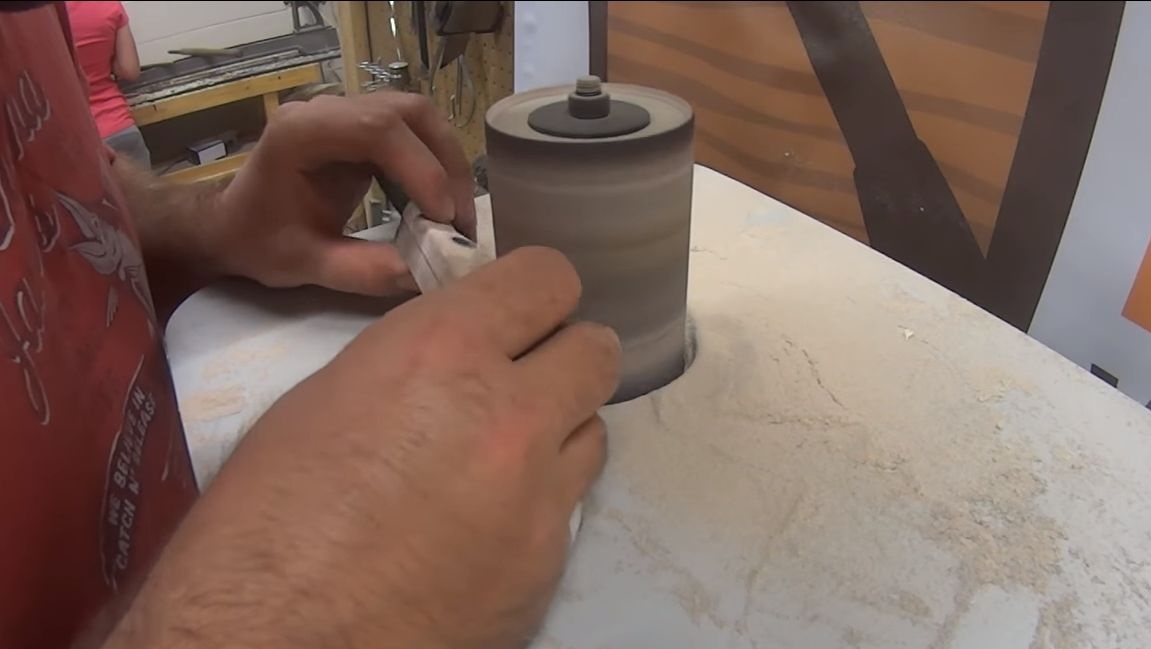
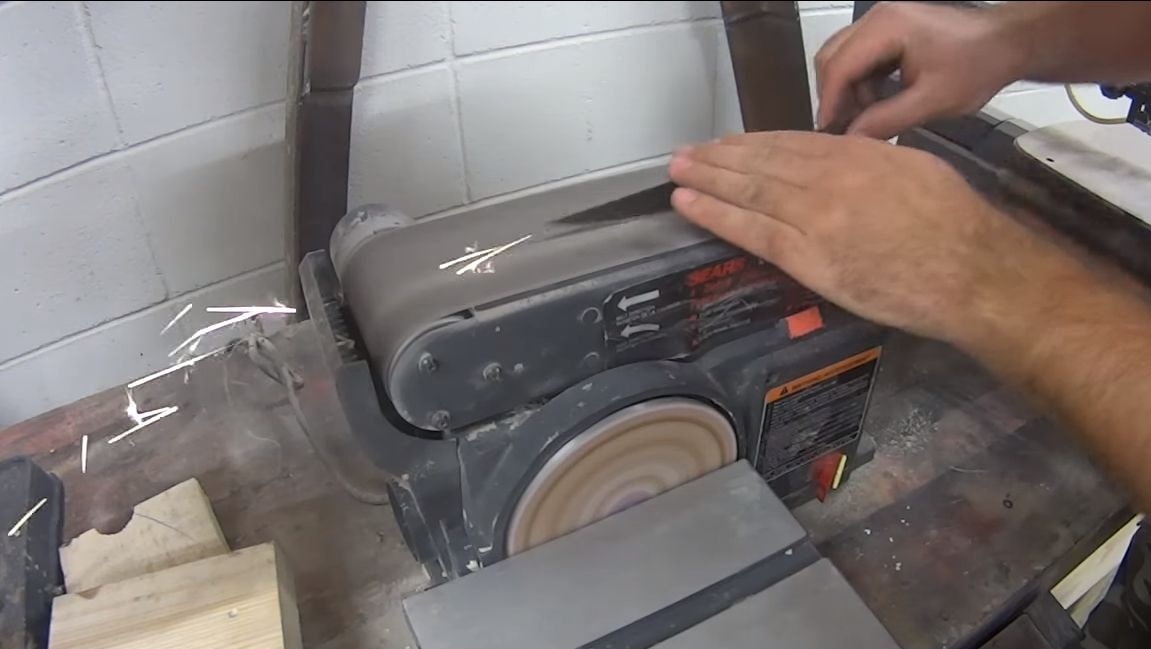
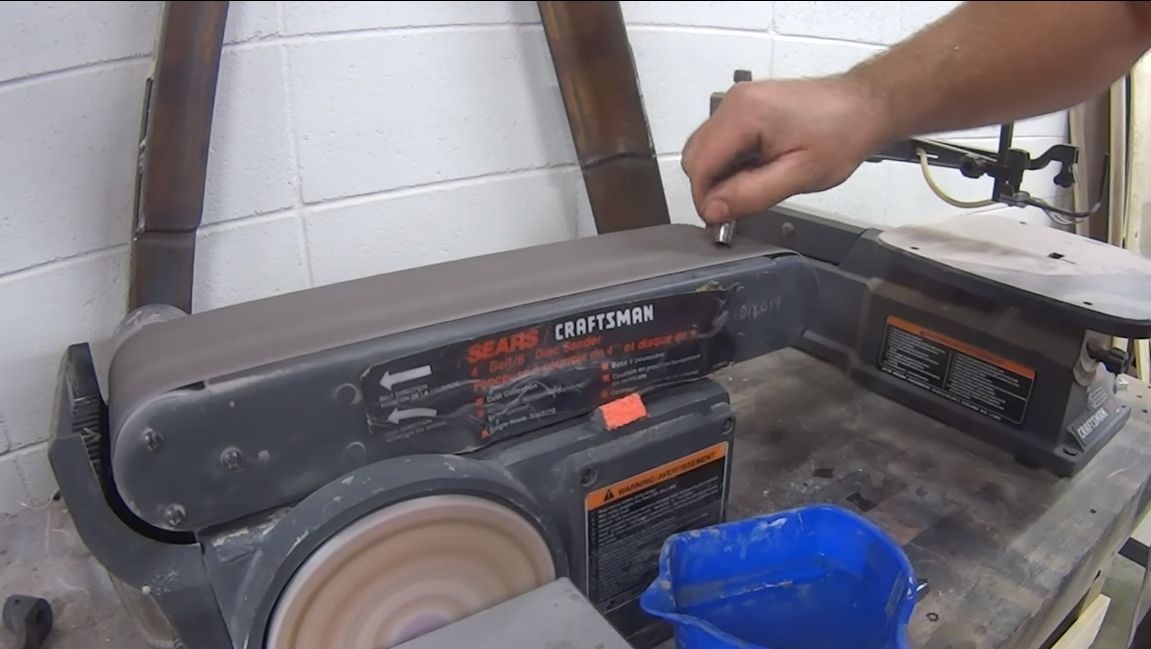
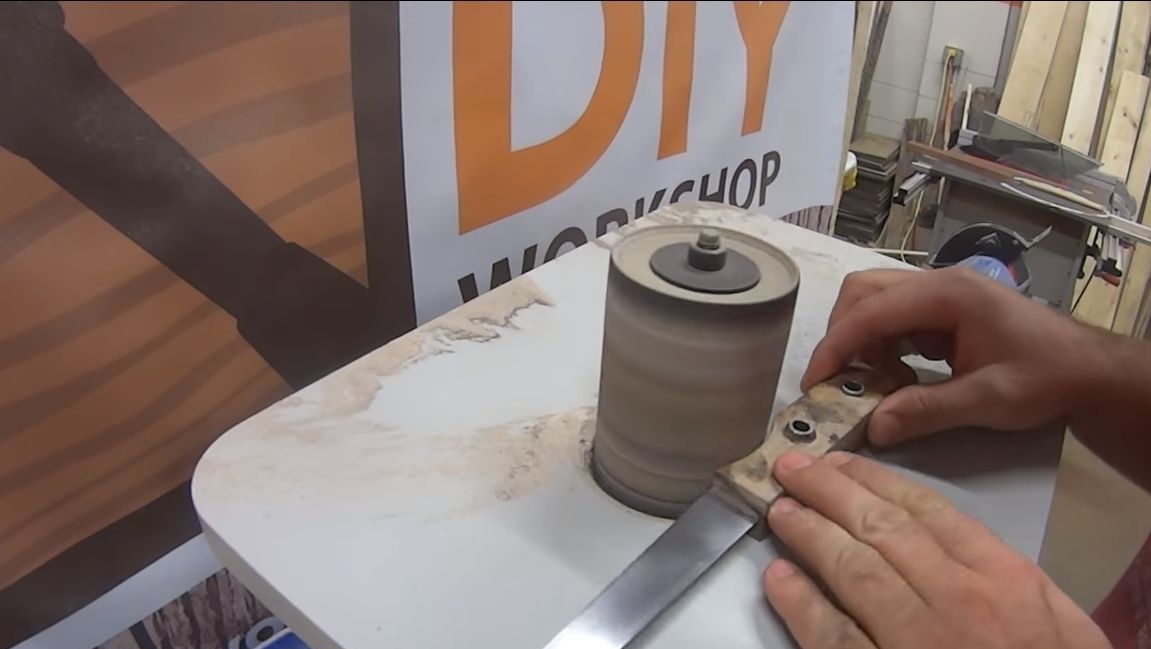
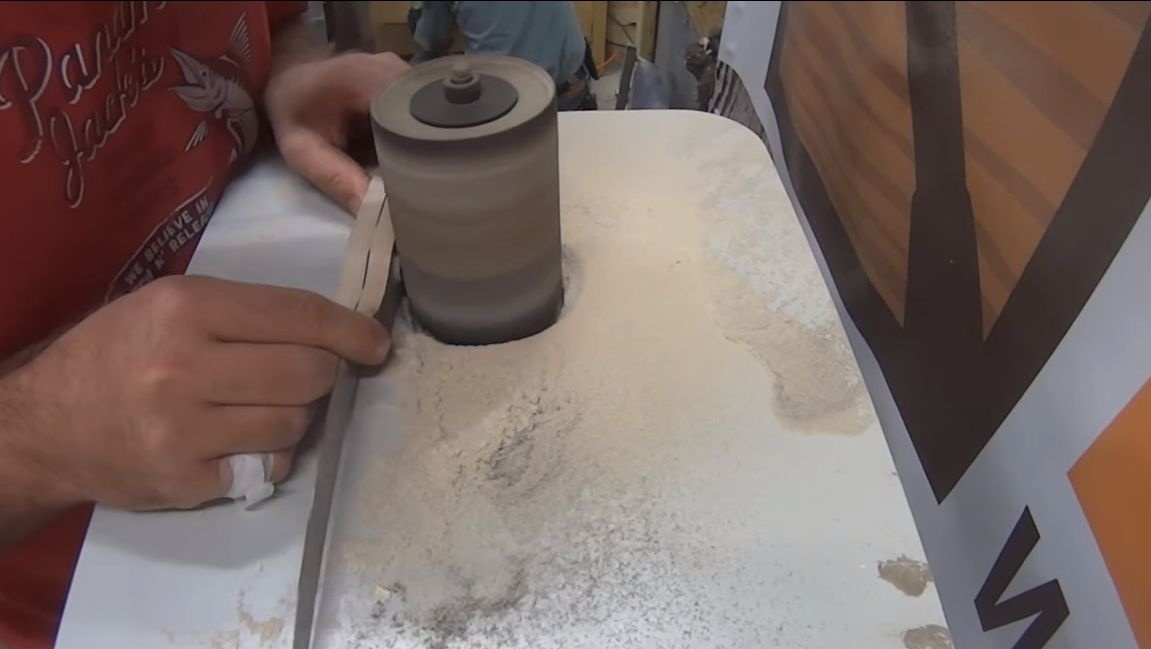
Step Eight.Grinding and sharpening
Then the author decided to use his rotary grinding machine. Using it, the recess on the handle was very conveniently polished.
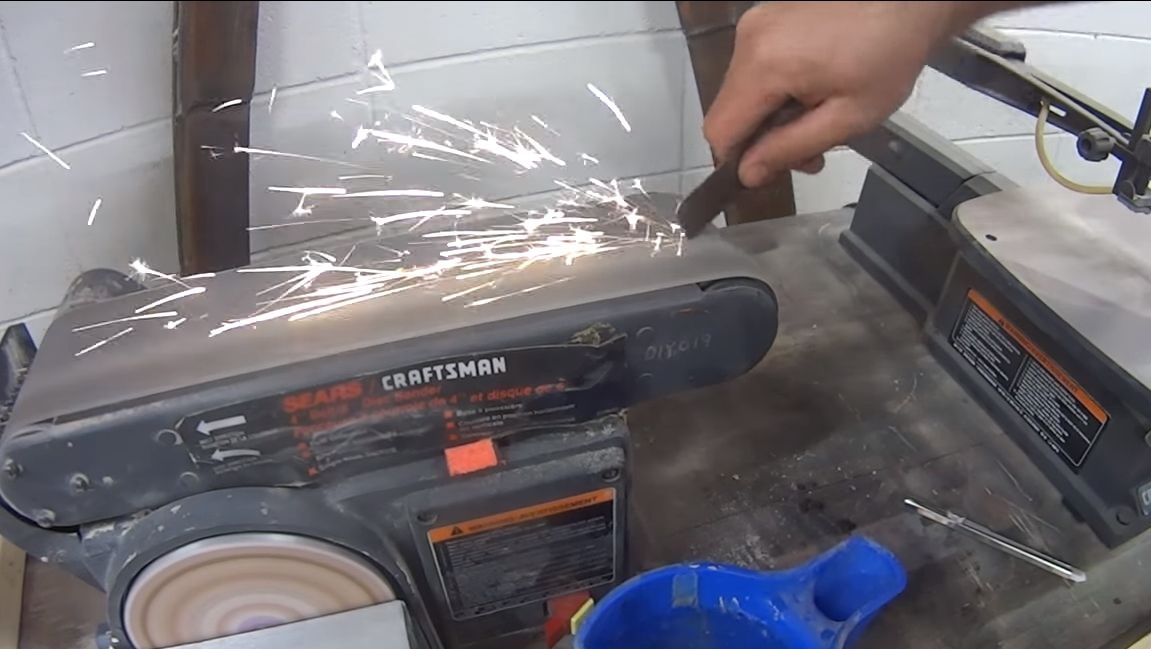
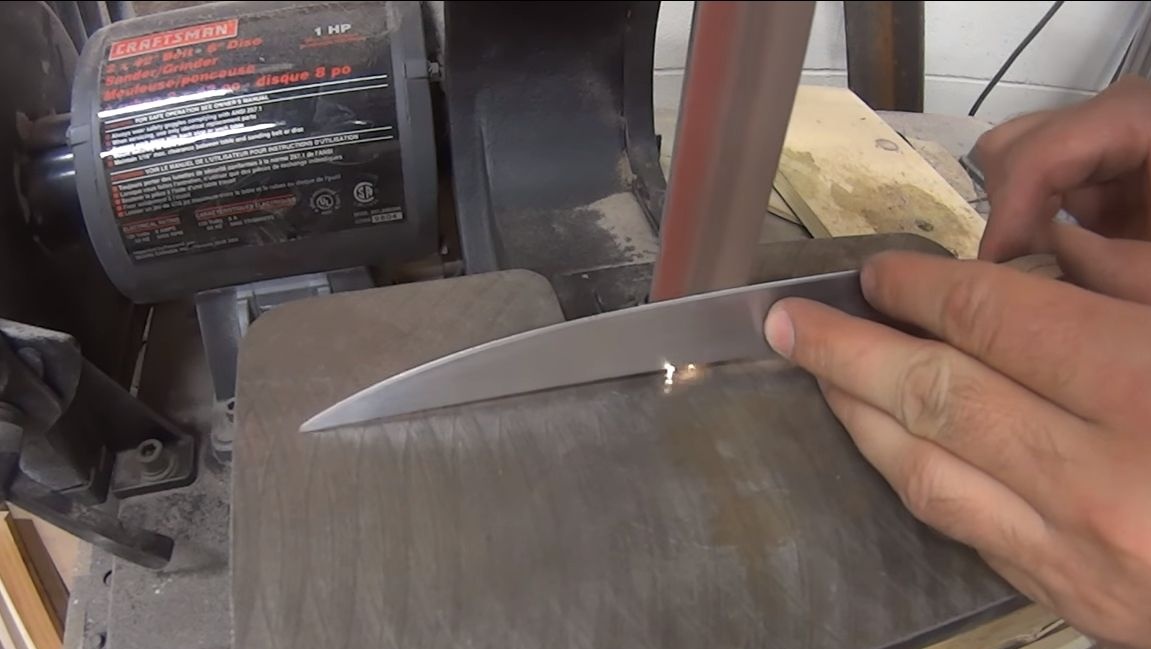
In the end, it remains to form a cutting edge, the tape machine will do just fine with this task. But it’s better to use hand tools for such work. The fact is that such a thin metal can be quickly overheated, and since we will not temper it, the knife will quickly blunt. From hand tools, an emery cloth fixed on a bar is suitable, a file may not take such metal.
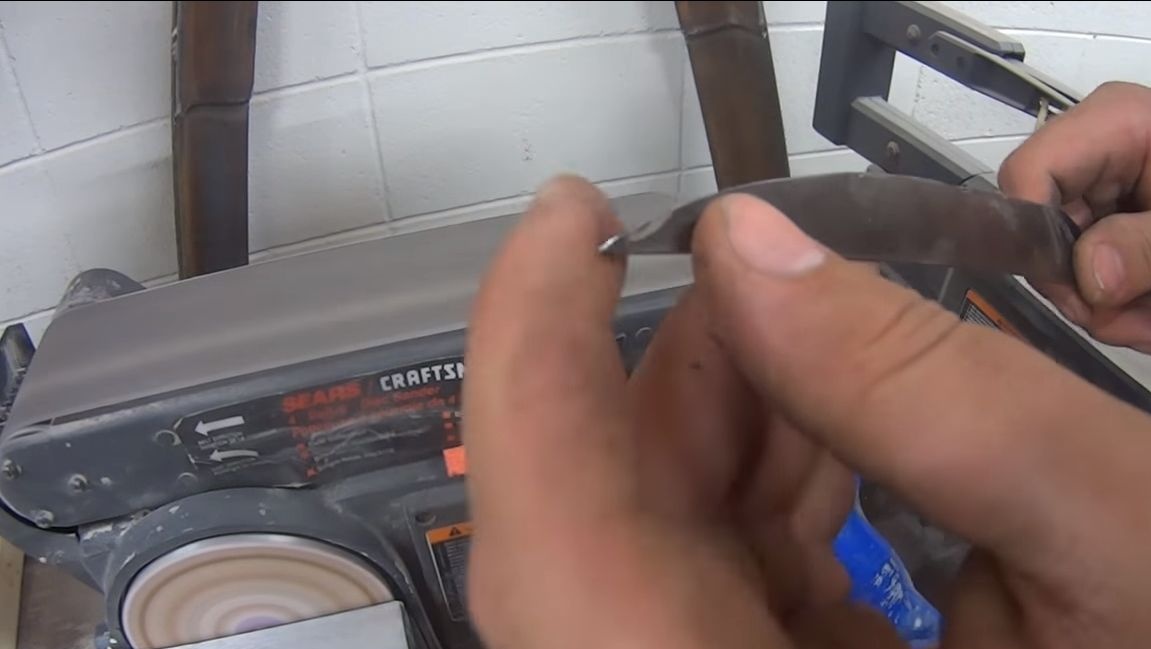
To get the sharpening state like a blade, you need a special sharpening device. After sharpening, the author demonstrates the capabilities of the knife by shaving the hair on his hand. And such a knife will cut the fillet without any problems.
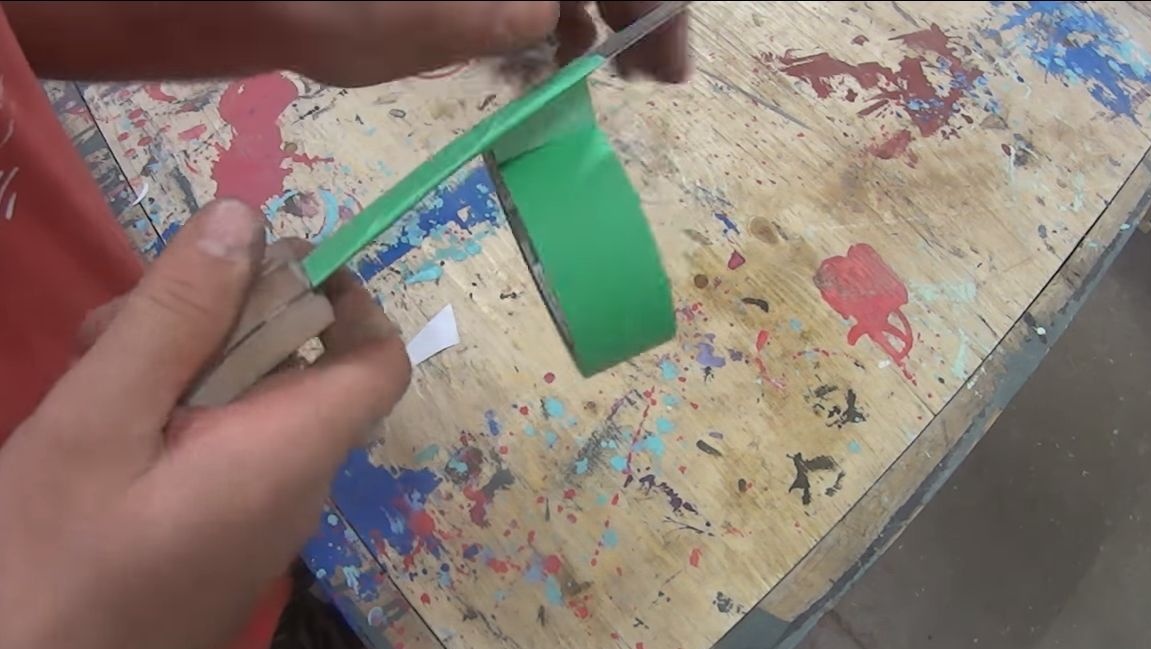
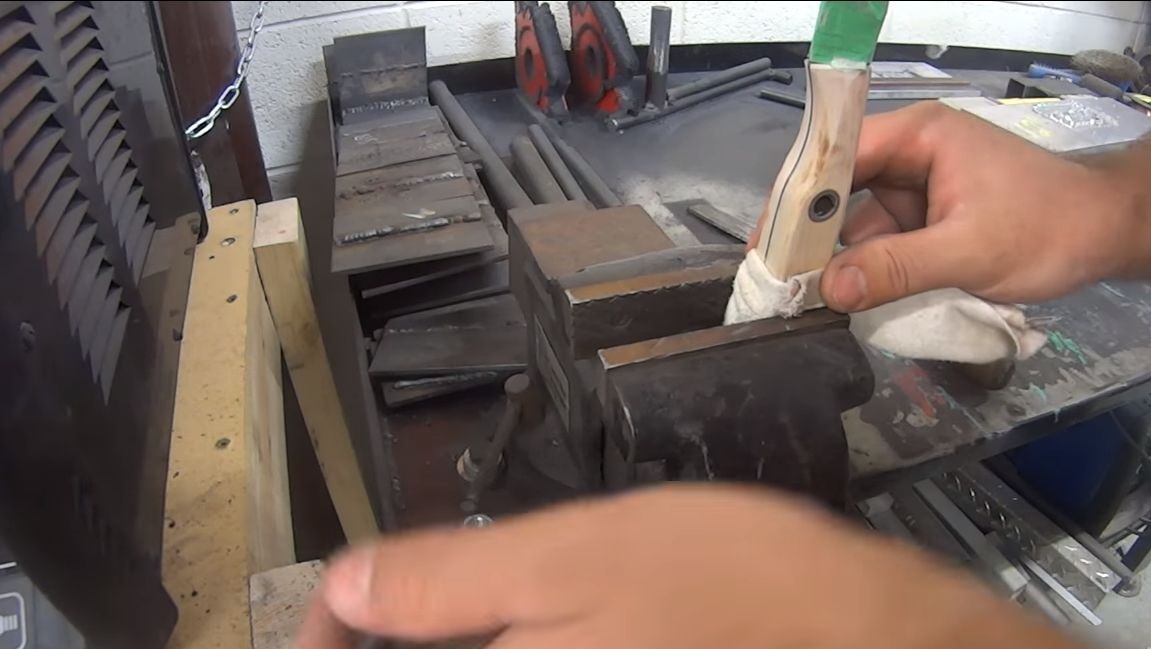
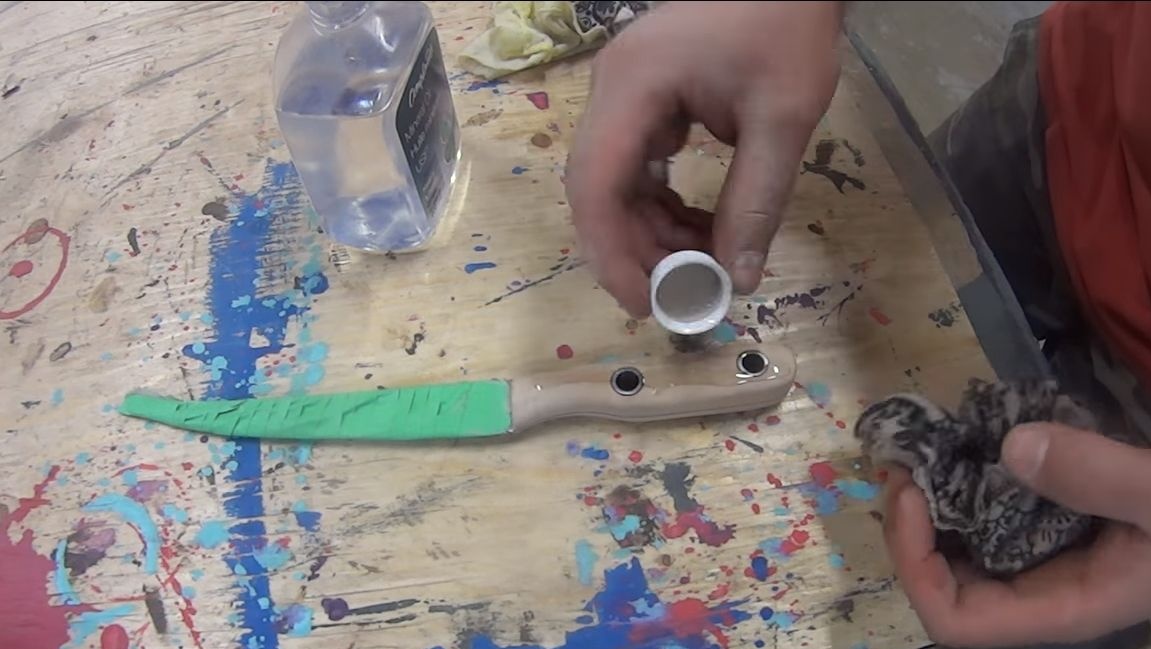
Step nine Finishing the knife
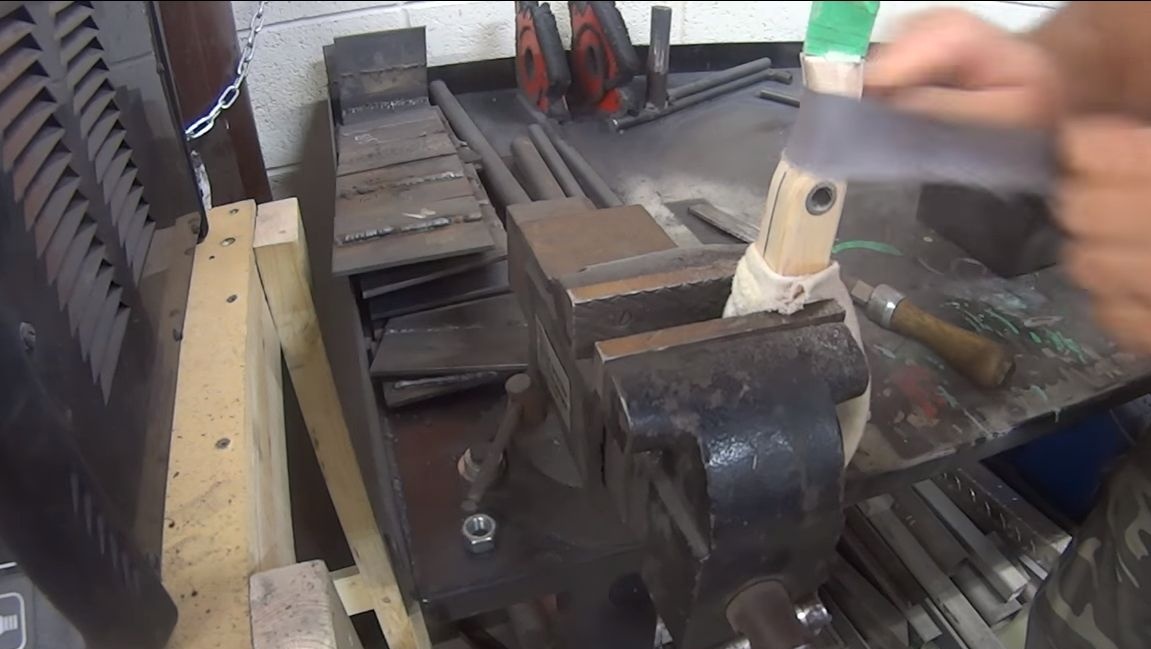
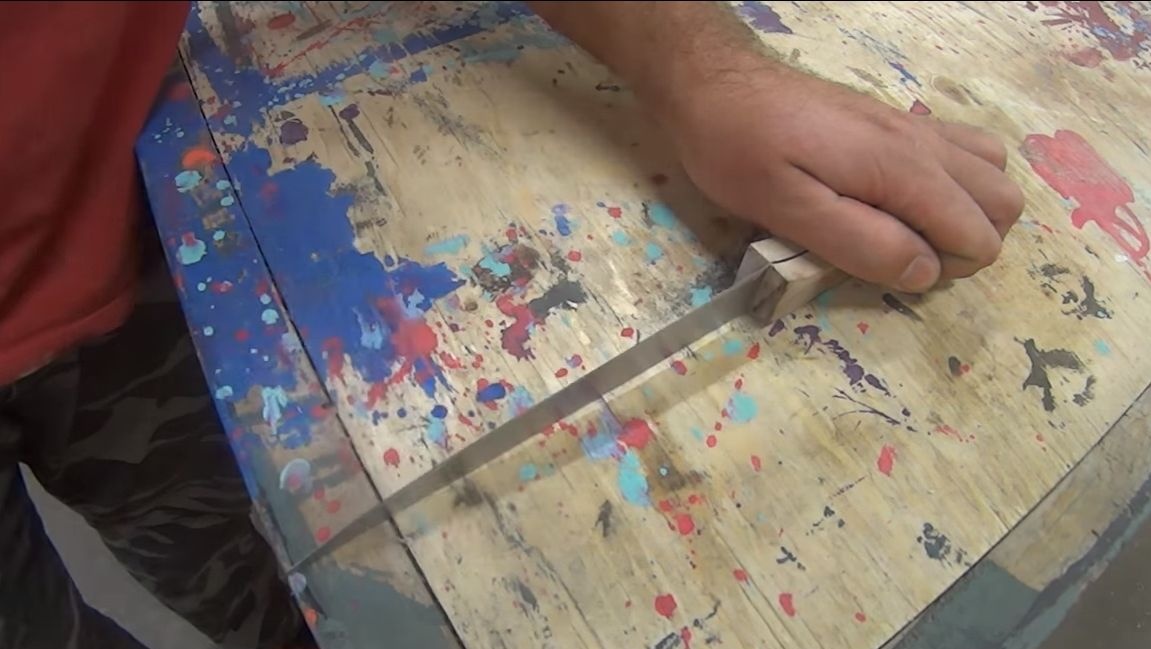
Wrap the blade of the knife with electrical tape or something similar to prevent injury. Now we need to form the final profile of the handle. Coarse pieces can be removed on a belt grinder or with files. As for the finer processing, then we use sandpaper. We start with a large one, then apply smaller and smaller to get perfect smoothness.
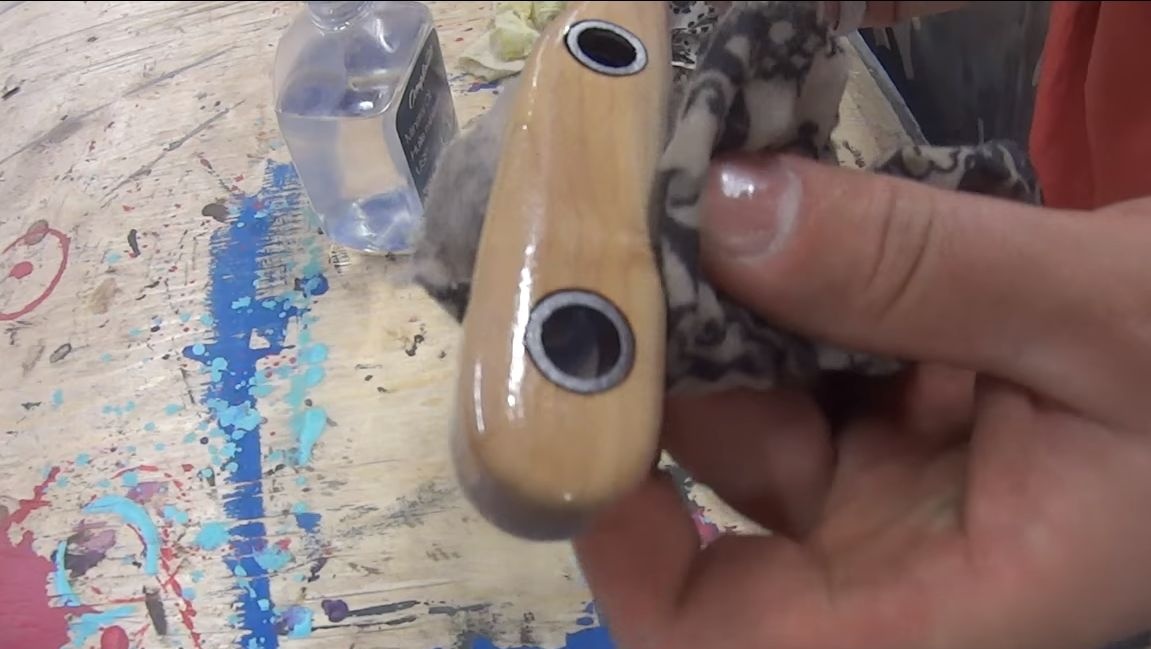
That's all, the knife is ready. To protect the wood, coat the handle with varnish or apply oil for impregnation. Otherwise, water will quickly destroy the handle. On this, the manufacture of the knife can be considered finished. I hope you enjoyed the project, and you found something interesting for yourself. Good luck and inspiration!