
It's no secret that soldering is not entirely healthy. One way or another, we still inhale the pairs of solder and flux. To prevent this effect, the ideal option is of course a full range hood, as well as fresh air ventilation. Organize such a system in home conditions do not always work. Let's admit that nothing is better than a full-fledged exhaust with exhaust air to the street. All smoke absorbers and smoke eliminators work very doubtfully, but, however, they are still quite actively produced and used. At a minimum, they are able to remove smoke from the immediate vicinity of the face and drive it through the filter. A carbon filter is used and everyone knows that activated carbon is capable of absorbing any byak.

This option will be able to work both as an exhaust hood (if you connect an air outlet) and as a smoke absorber for filtering, using a charcoal filter.
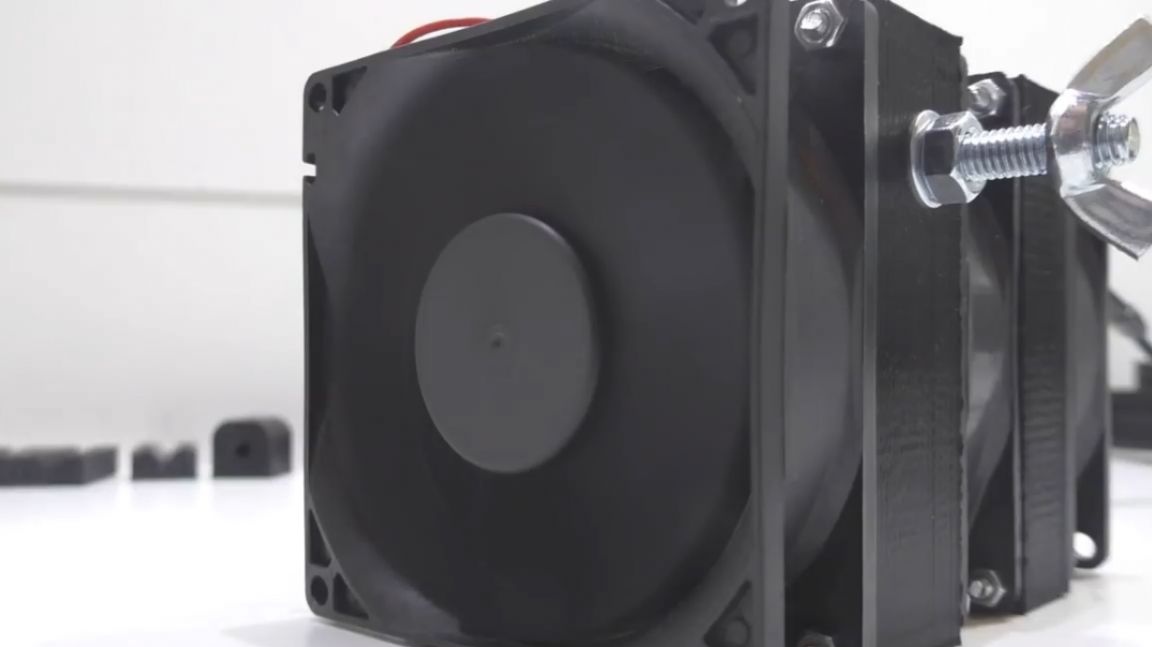
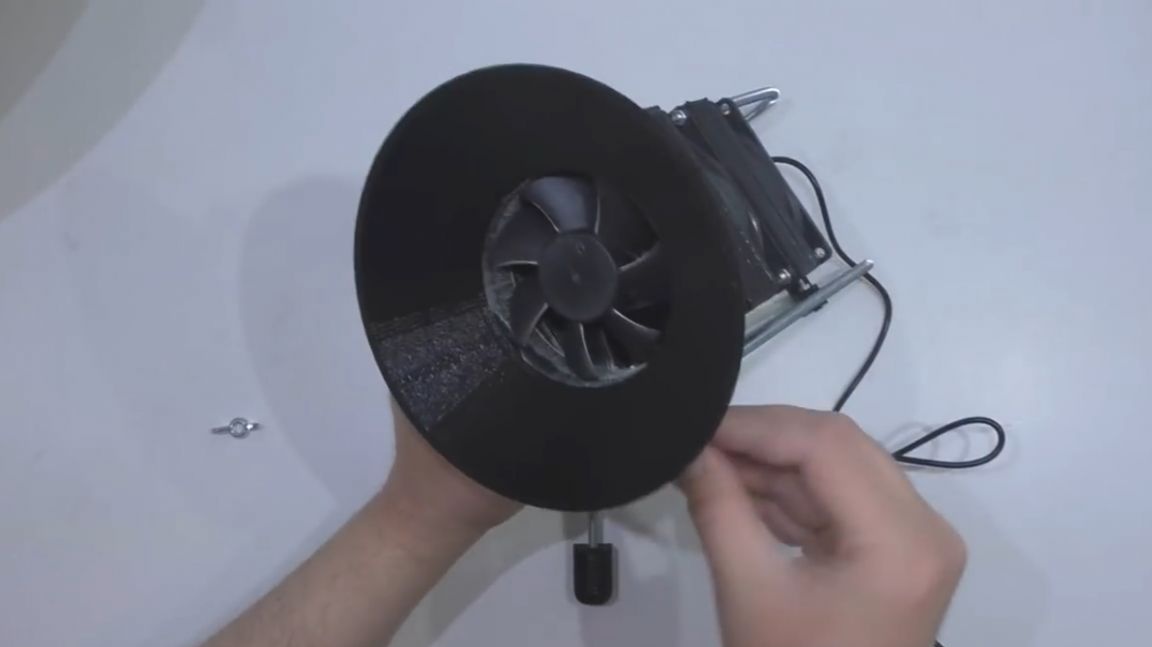
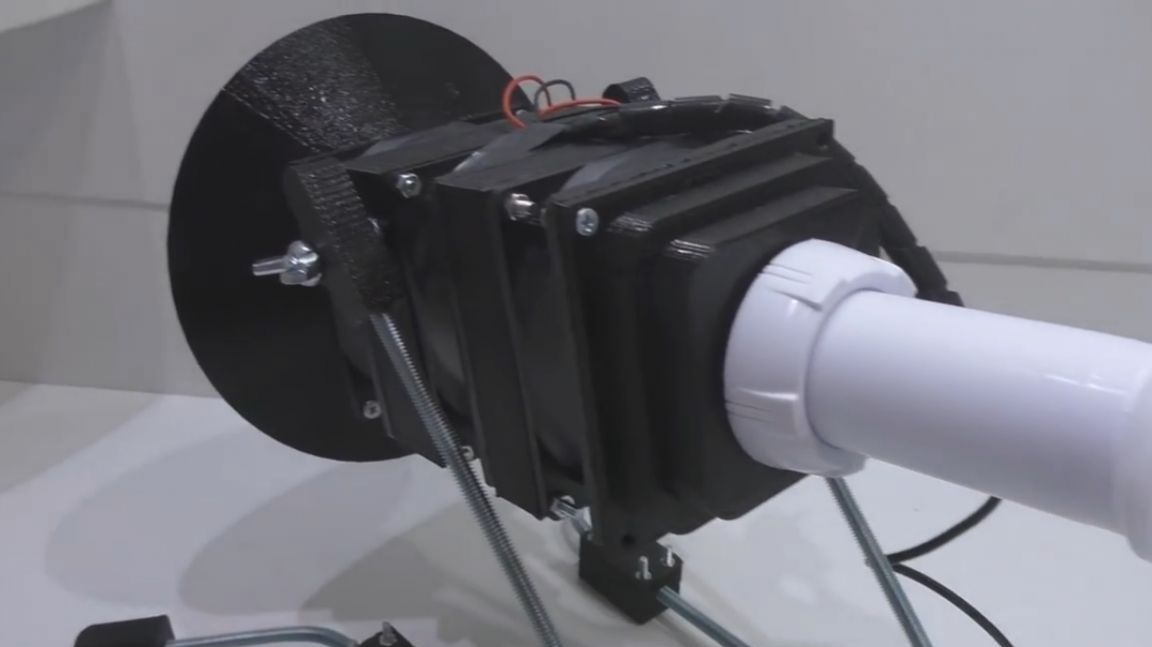
The main elements of the smoke absorber are fans. Surely many have seen that they use simple computer coolers for these purposes. There are a lot of similar videos on YouTube. In fact, such a fan does its job very poorly. Especially with a filter. The retraction power drops at times. There are options using 2 fans, which gave a much better result, but in this homemade product we will use all three.
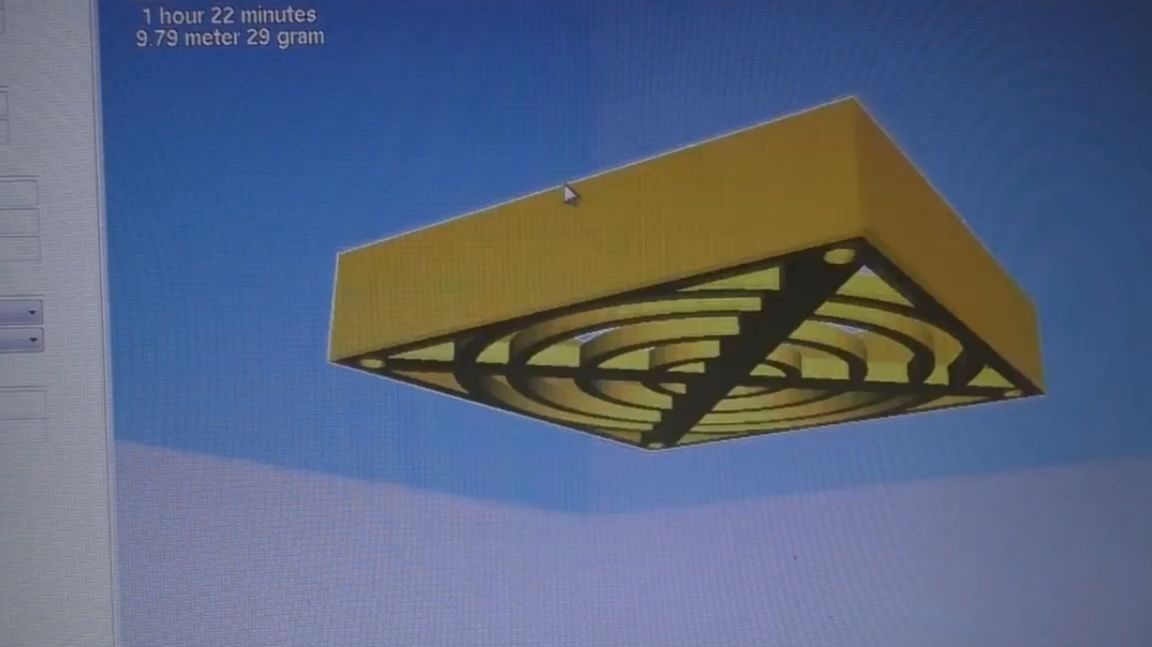
The design will be as follows:
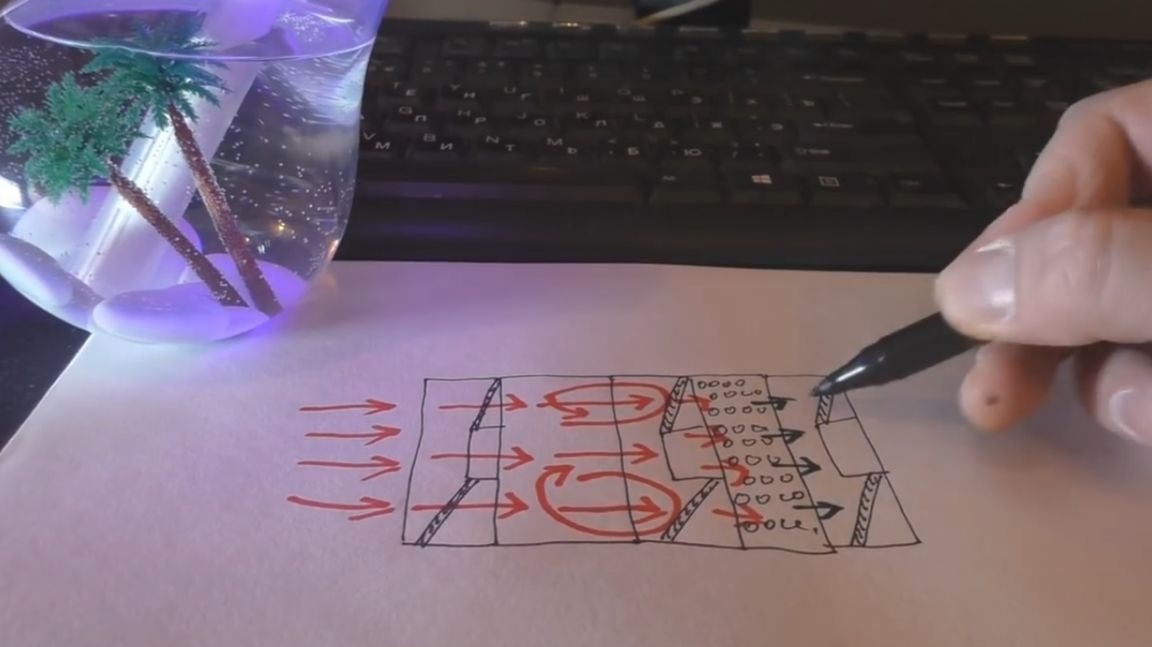
The first fan draws in smoke and without any obstacles brings it to the second fan.
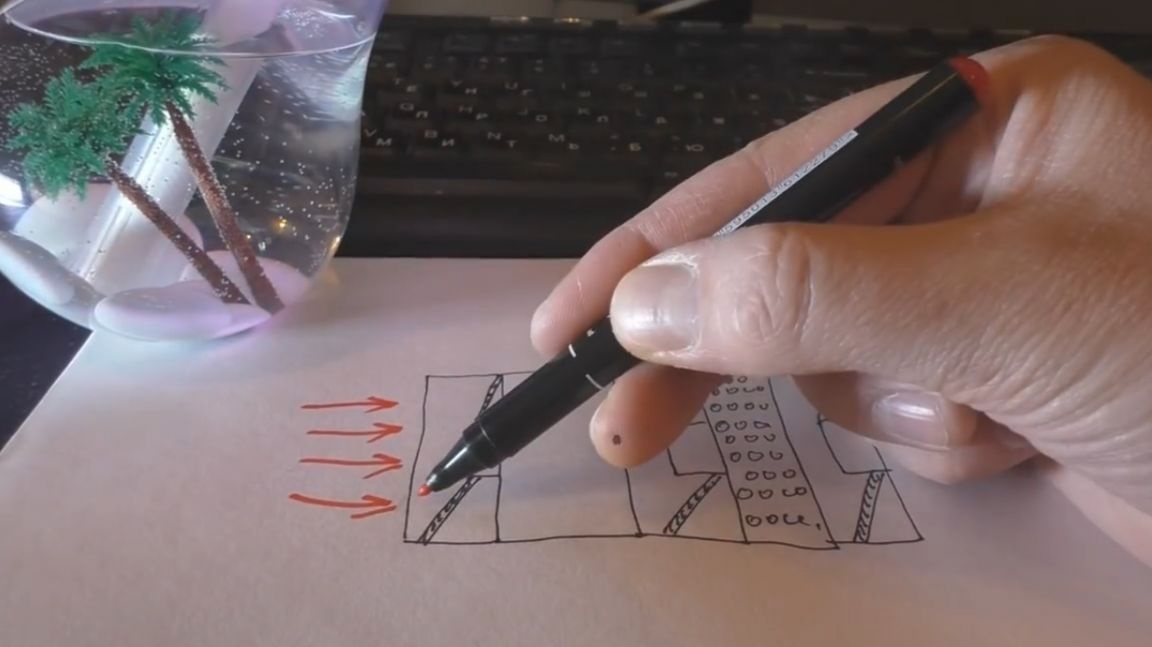
The second, in turn, draws smoke into the charcoal filter. Since the filter gives resistance to air flow, therefore, the efficiency of air intake decreases.
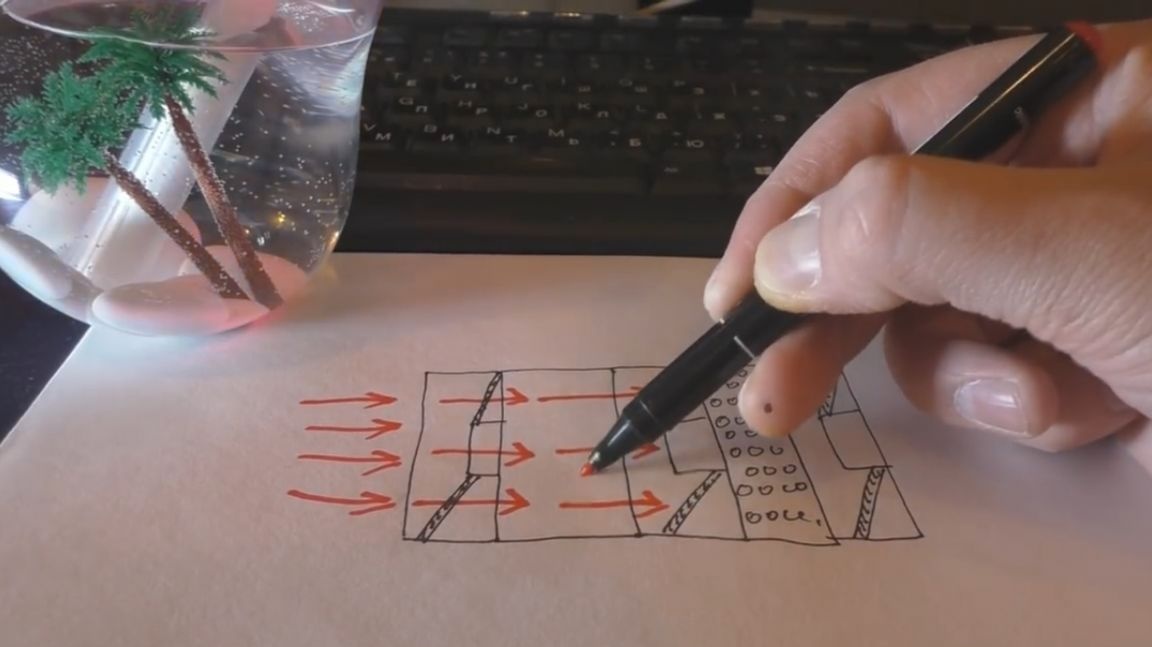
For this, after the charcoal filter, another fan is installed, which already draws the stream from the filter and directs it back to the atmosphere.
Now we roughly imagine what should happen in the end. This smoke absorber will require additional equipment. Such equipment will be: 2 air intakes and a rack.
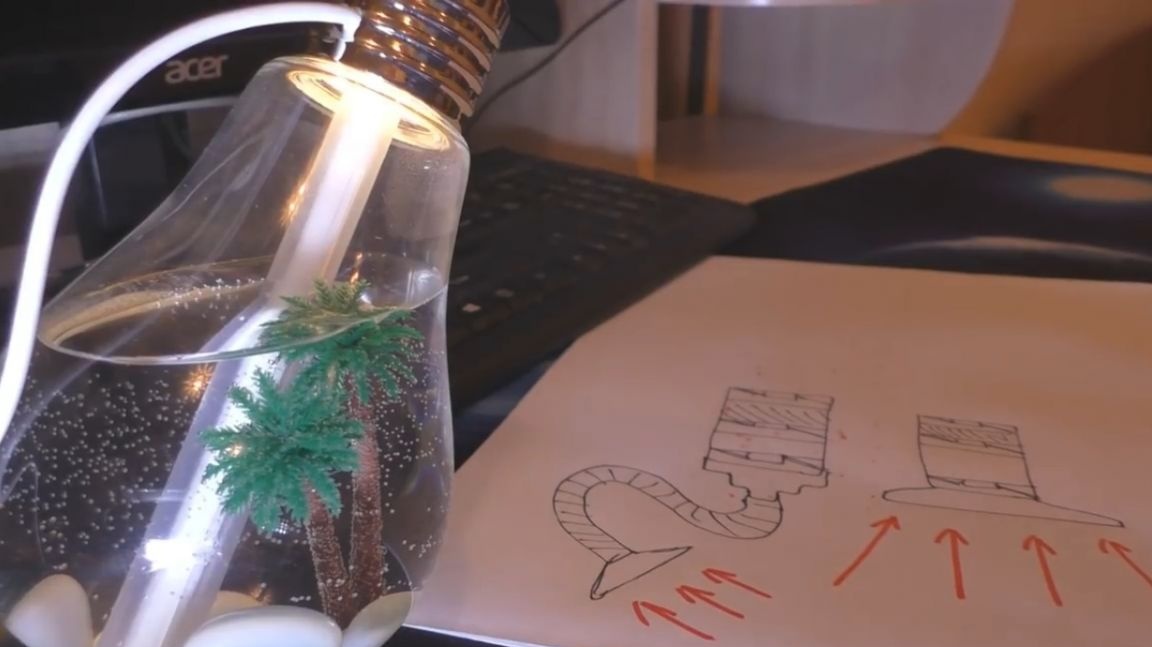
The first air intake is simply a smoke expander. And the second is a flexible corrugated hose, which is fed directly to the soldering point. After we see what turns out to be more convenient.
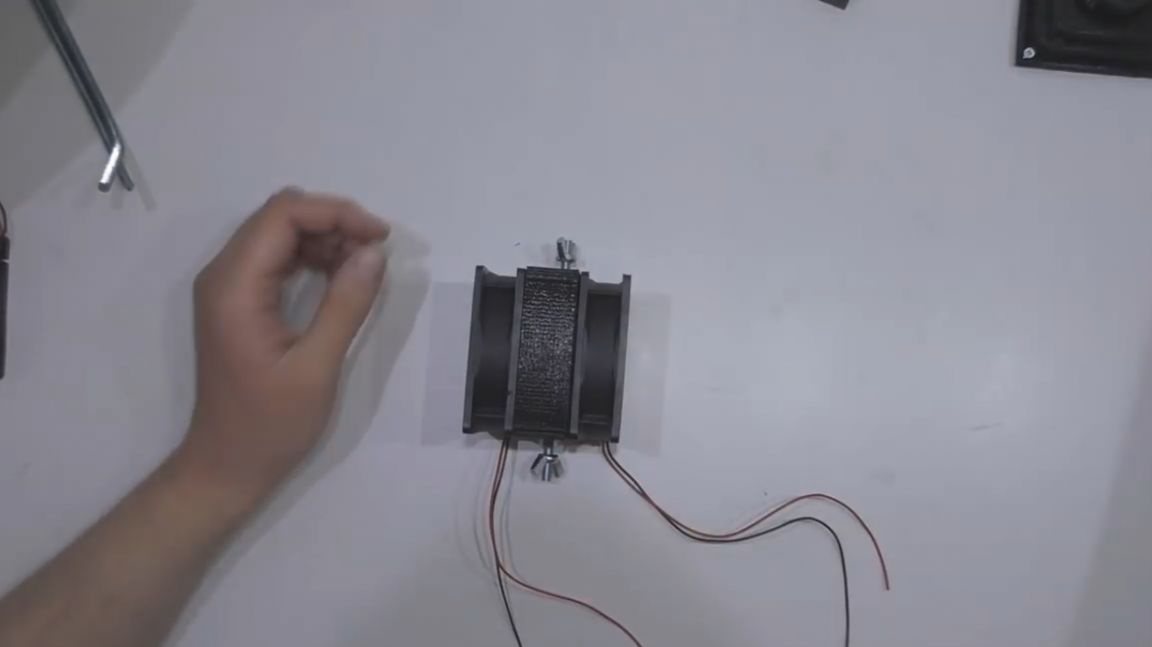
In the case of a hose, the air cleaner housing can be mounted anywhere, for example, on a wall.But in the case of the first air intake, an additional rack is required.
Also, the input nozzle for the corrugation can be used as the output by twisting it onto the street.
Now the author begins to develop parts for subsequent printing them on a 3d printer.
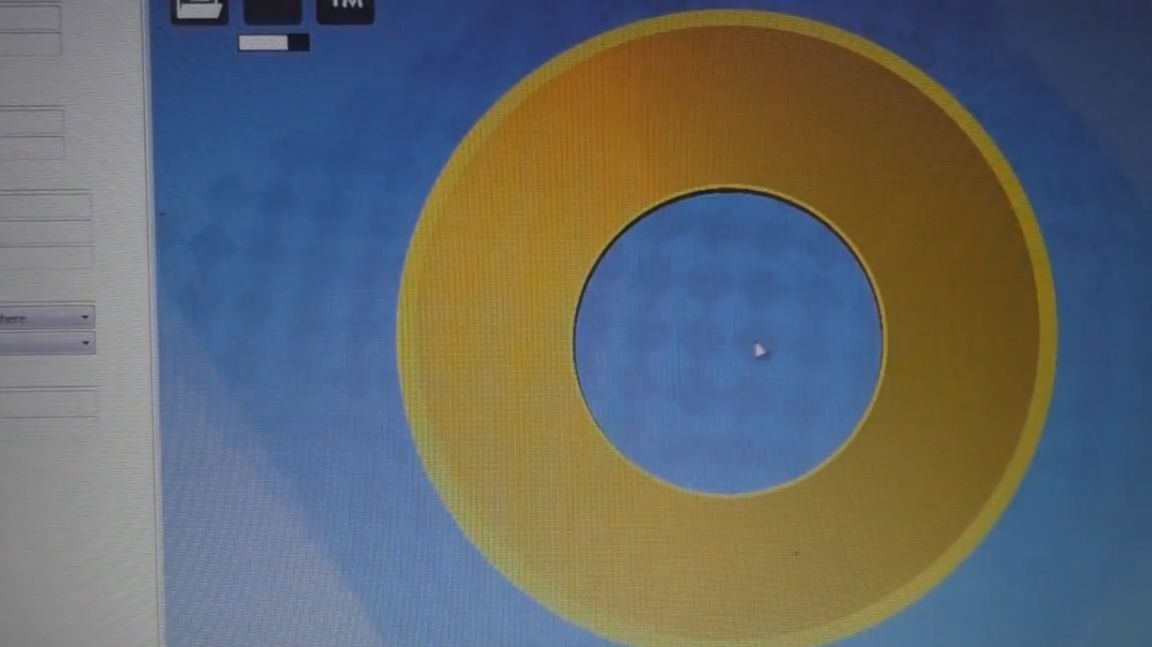
Links to ready-made files for printing can be found in the description under the author’s original video (link to it at the end of the article).
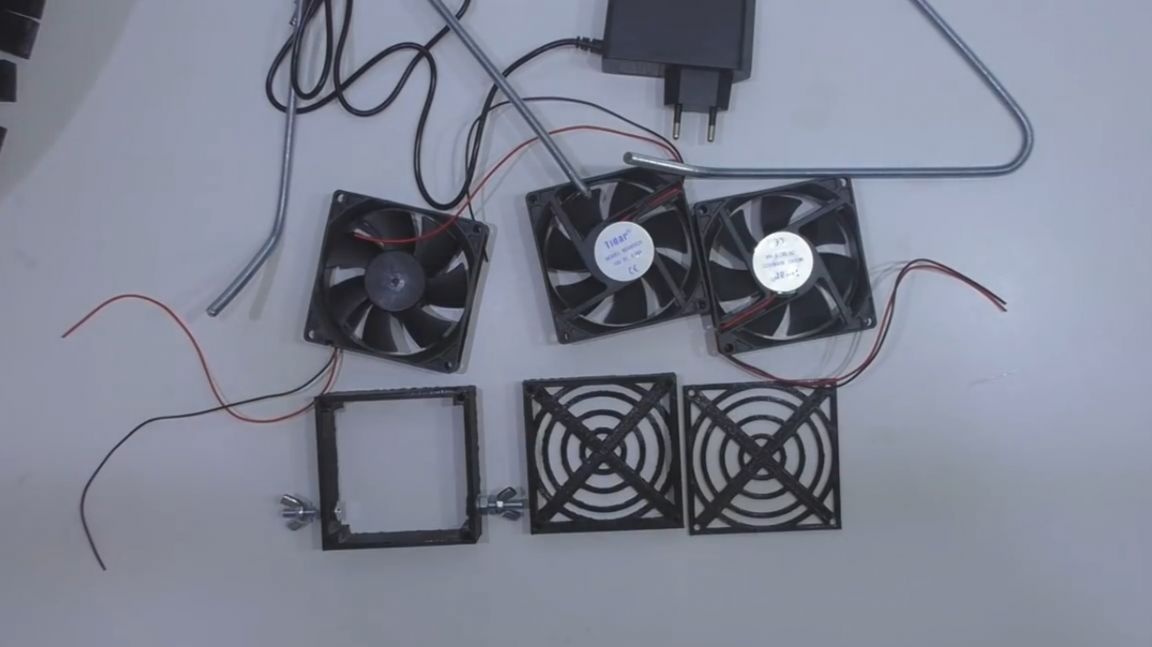
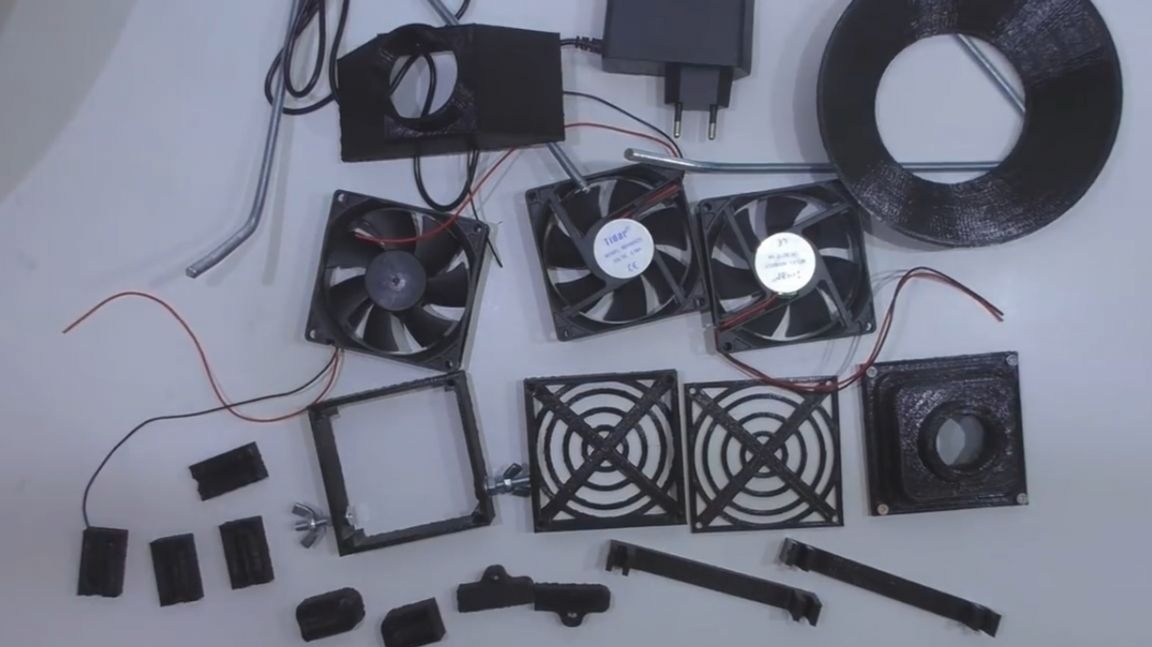
Now let's see what we need.
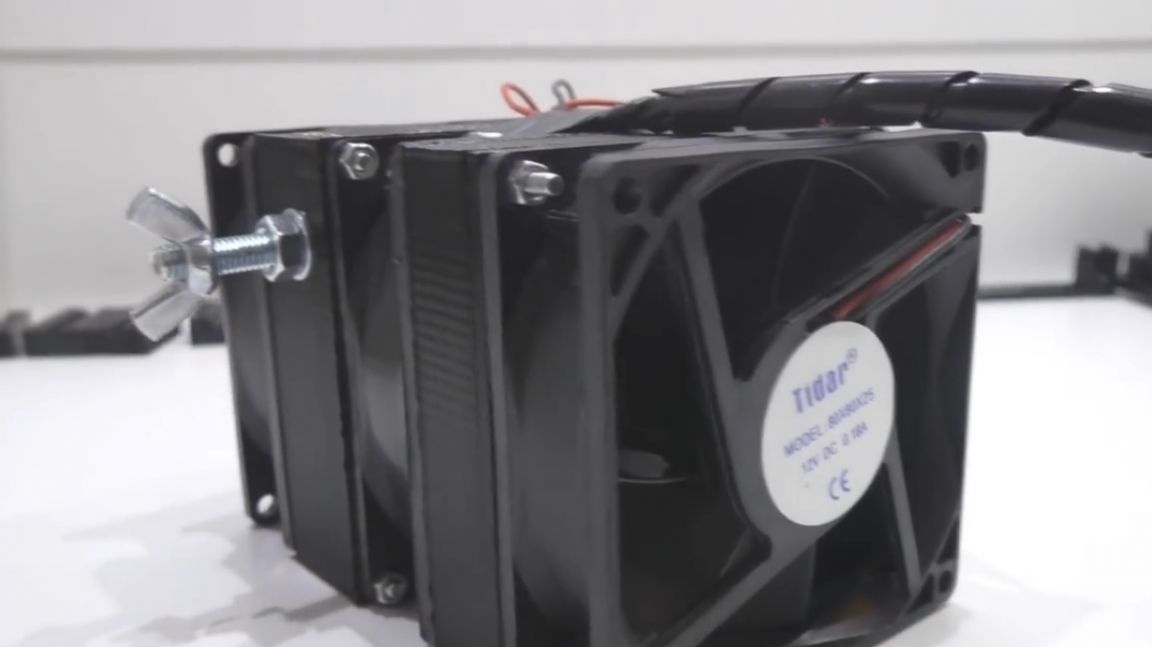
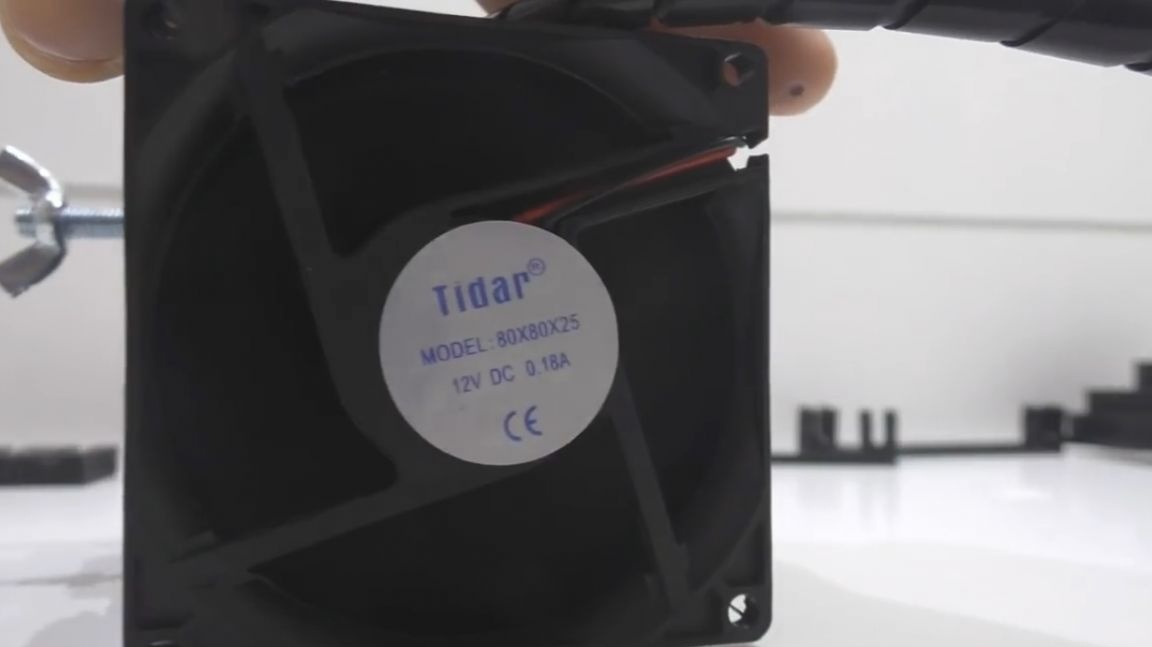
1. 3 fans. (The author uses fans measuring 80 by 80 mm and a thickness of 25 mm.
2. A 12-volt power supply (since the fans consume 180 mA each, so a single-amp power supply is enough with a margin).
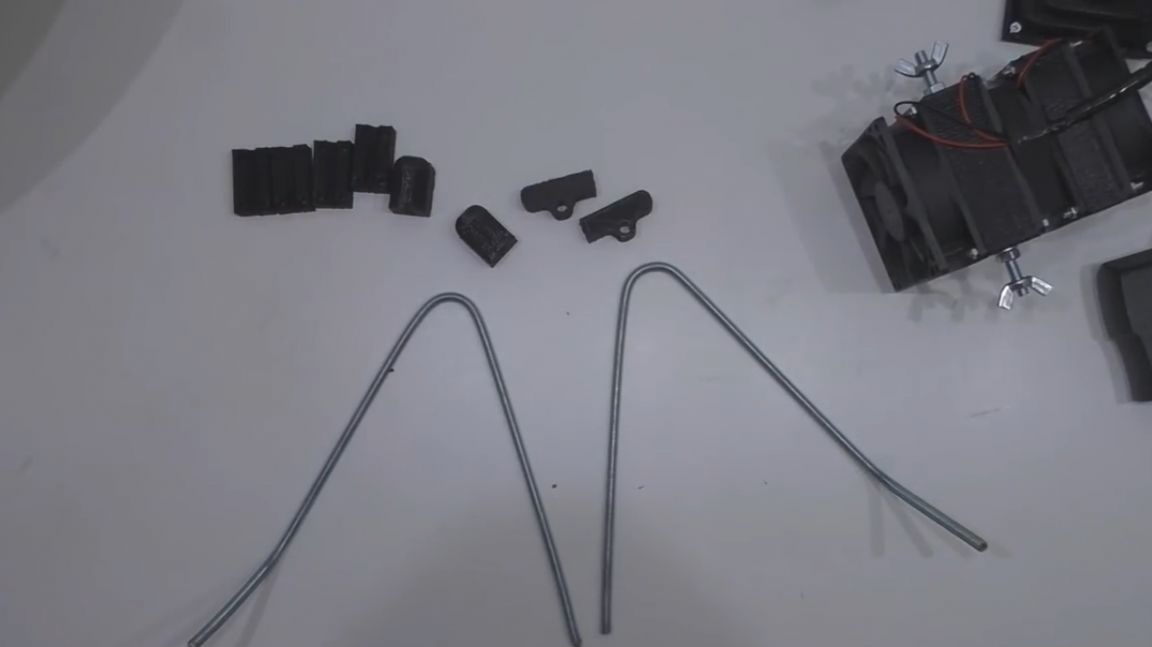
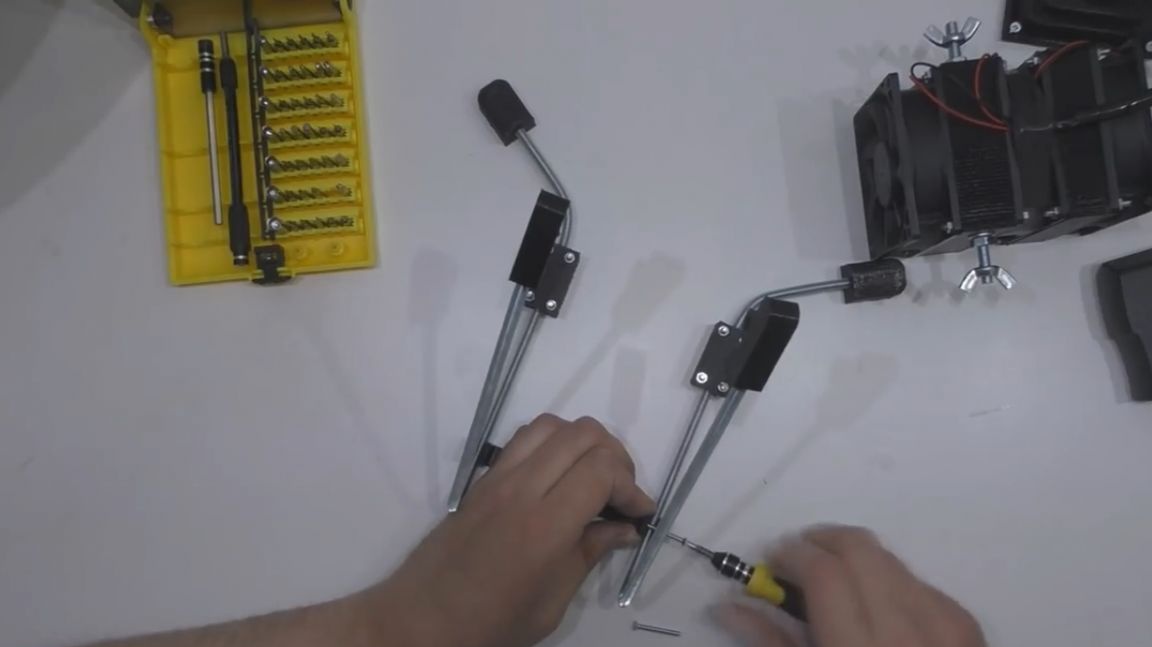
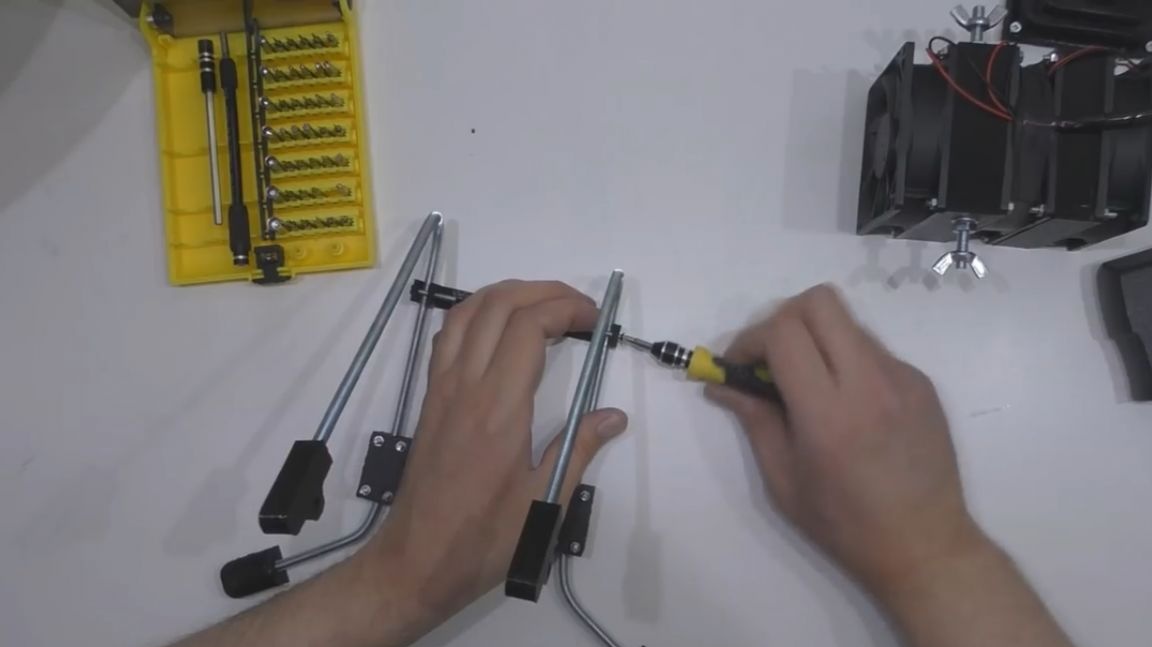
3. For the manufacture of the holder we will use the m5 pin, which will need to be bent in a certain way.
4. 2 types of air intake: the first for the corrugation, and the second expansion.
5. Plumbing corrugation
6. We will use a charcoal filter for cooker hoods as a filter. It is sold on a rather large sheet, but for our purpose a few small pieces will be required.
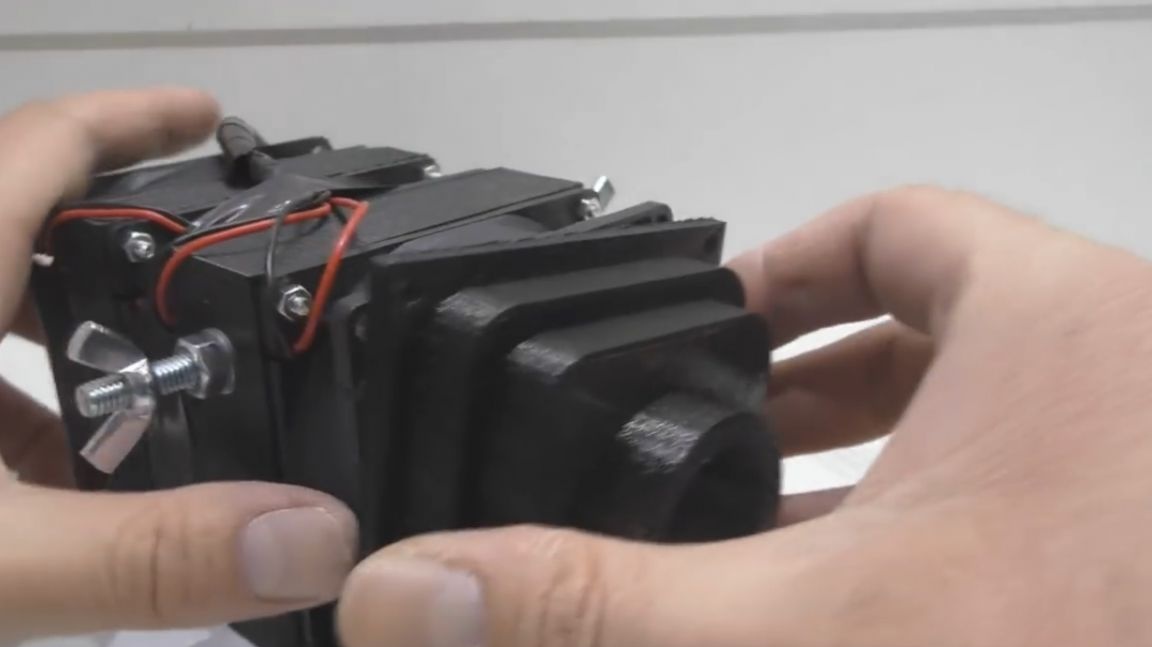
7. And of course the details printed on a 3d printer. Namely, the middle part of the housing with mounting bolts to the rack, the filter housing and many small parts for the holder.
Let's start directly to the process of making homemade products.
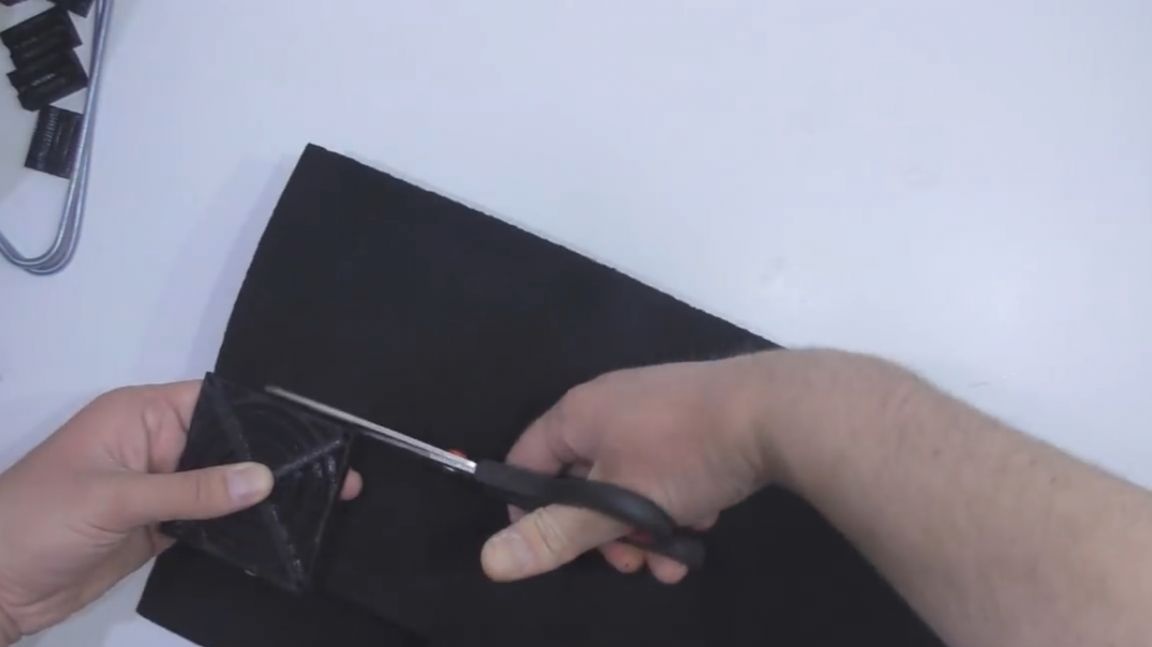
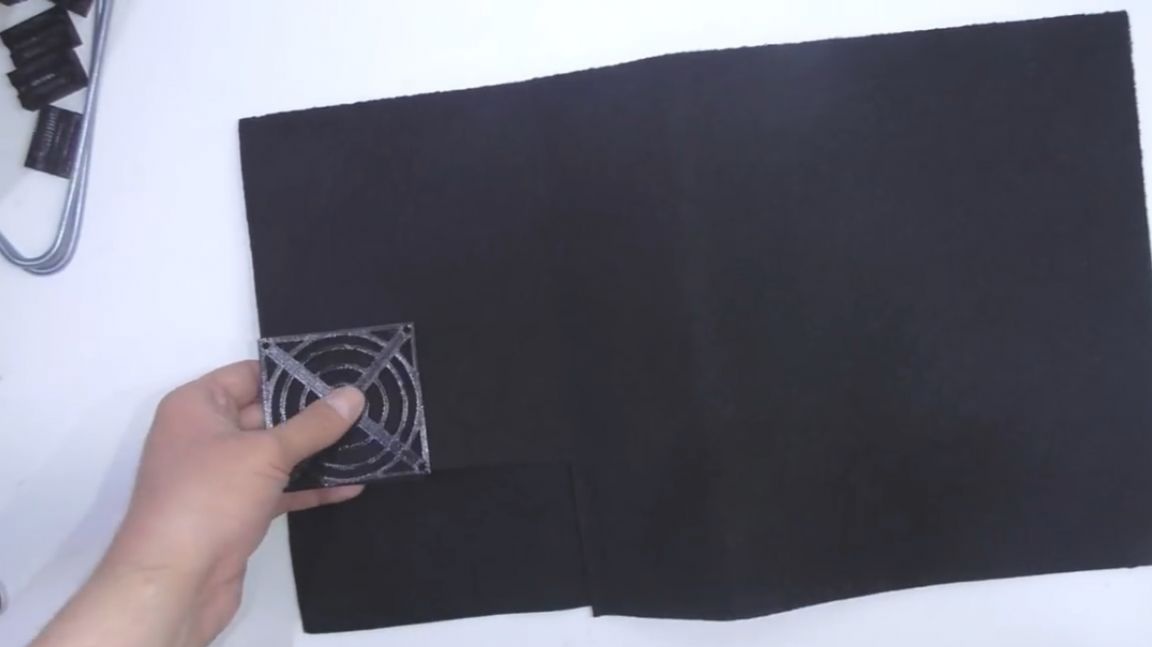
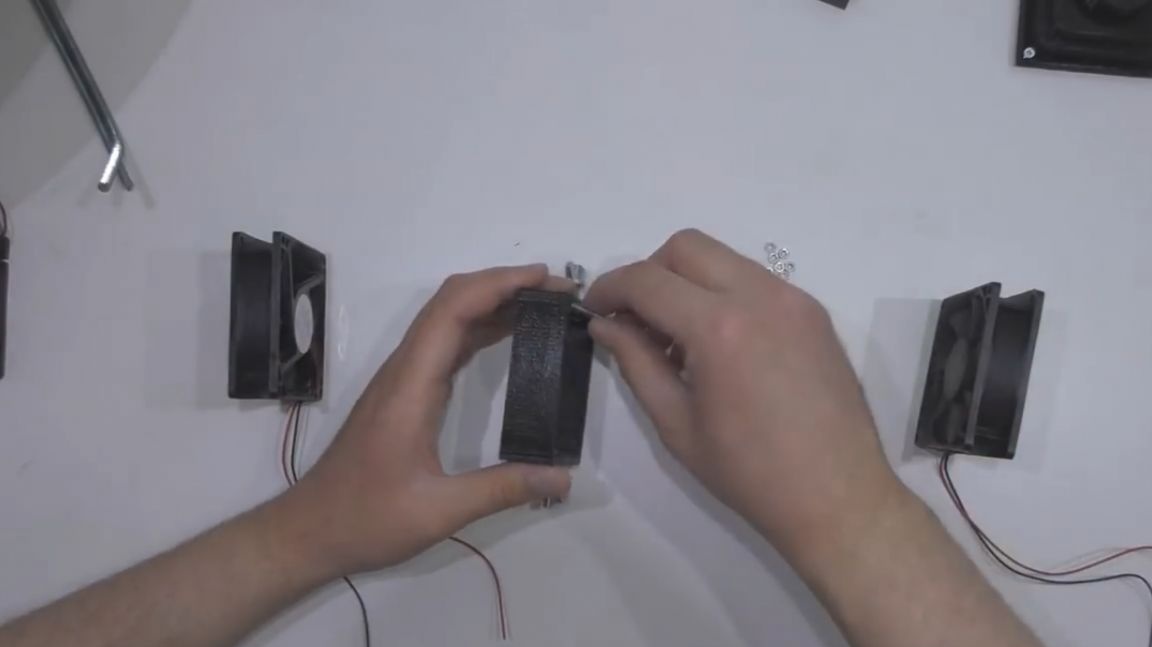
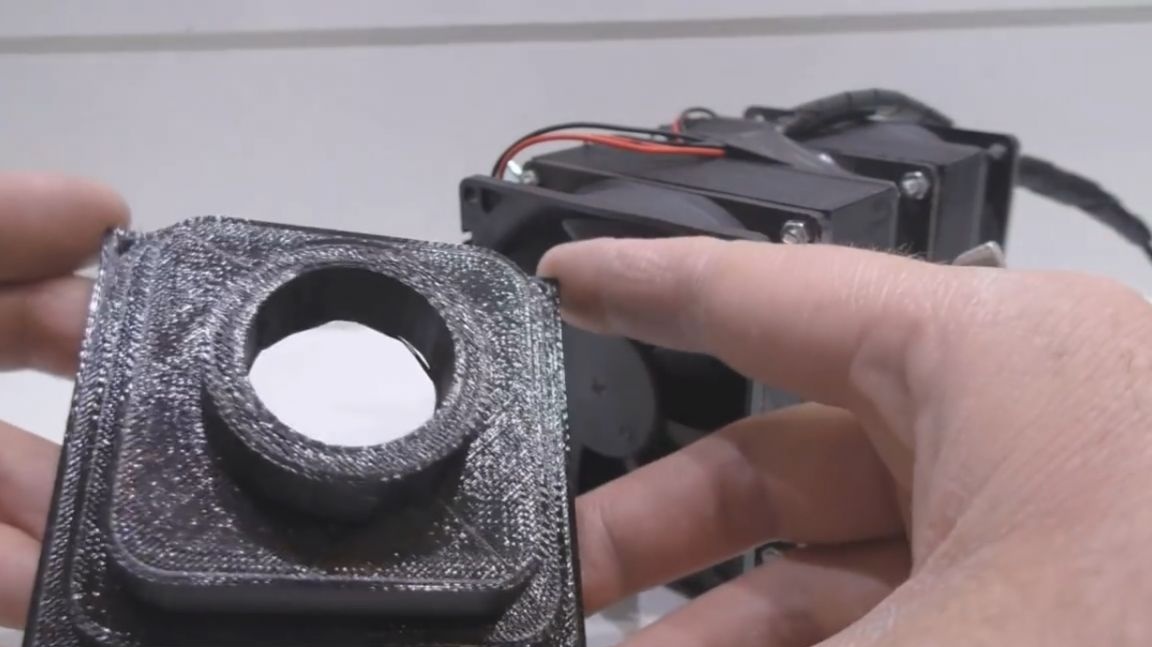
Let's start with the filter. It must be cut. Cut a few squares to fit the case of the fan used. Such a new filter is enough for a long time. Cut pieces of the required size, we will use, folding together in 2 or 3 layers.

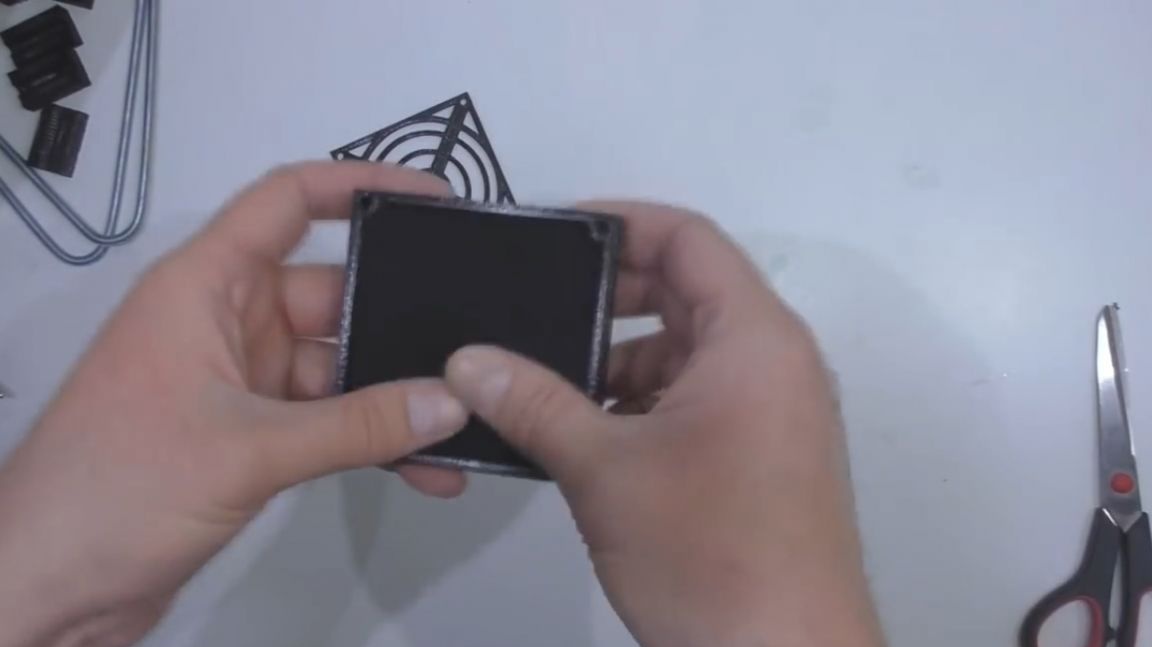
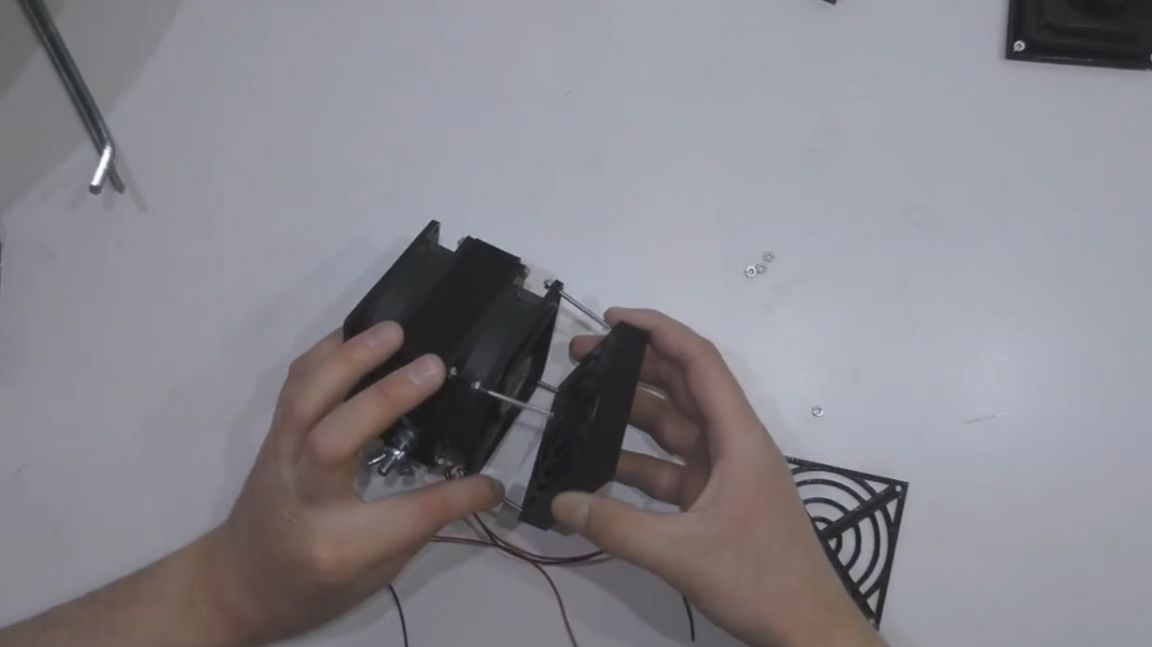
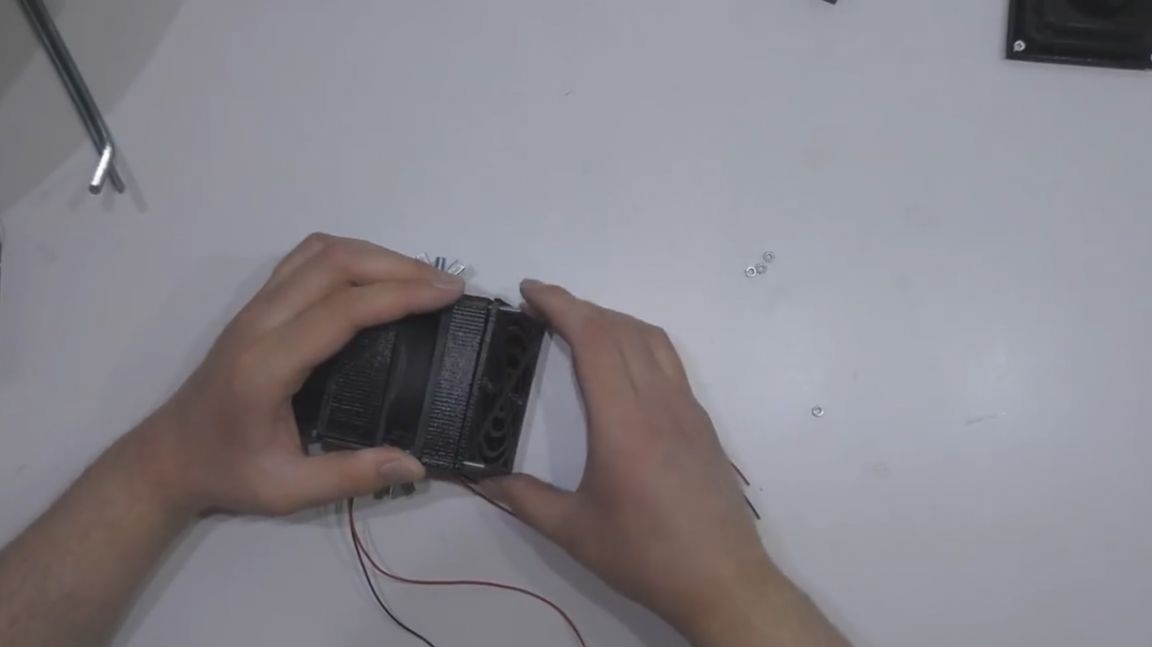
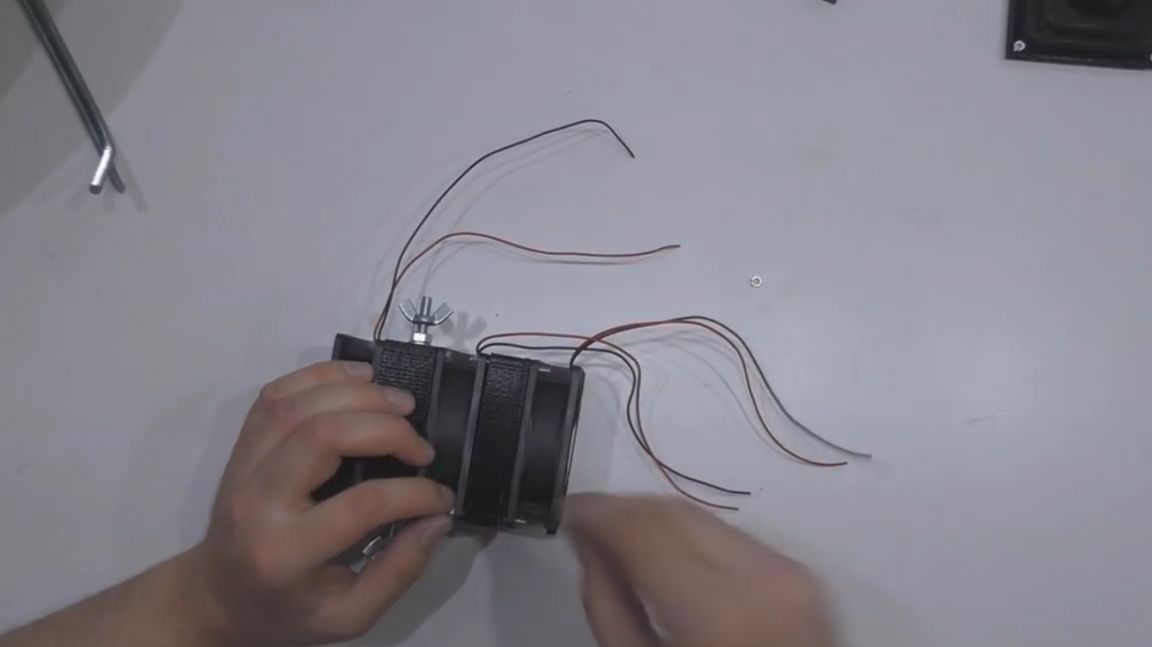
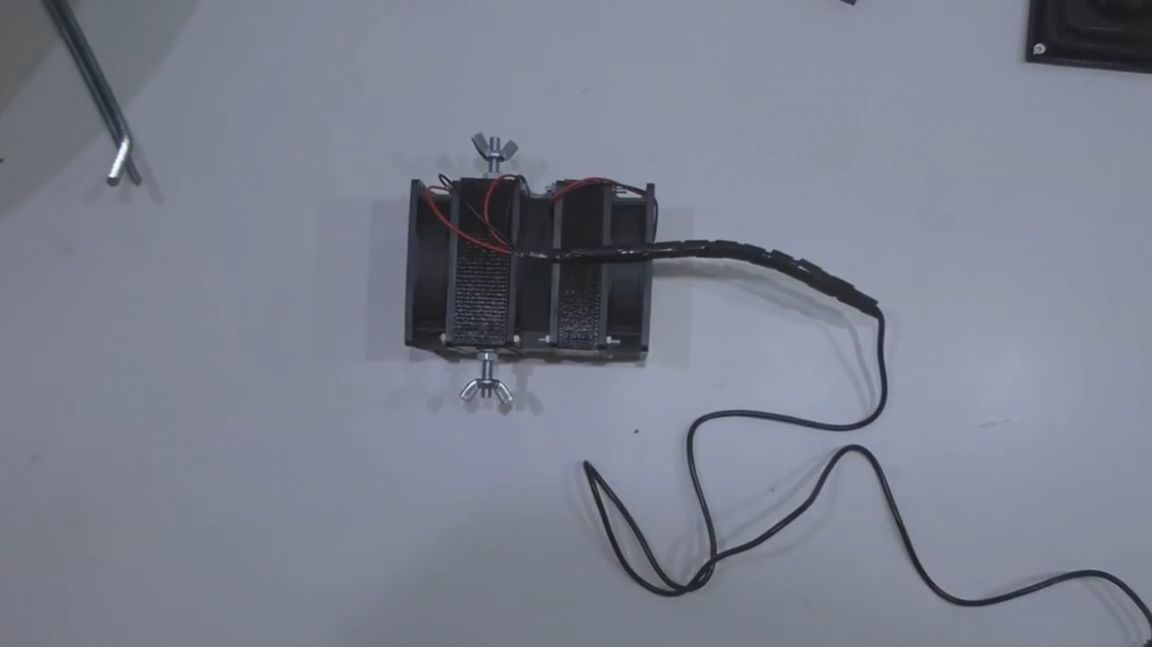
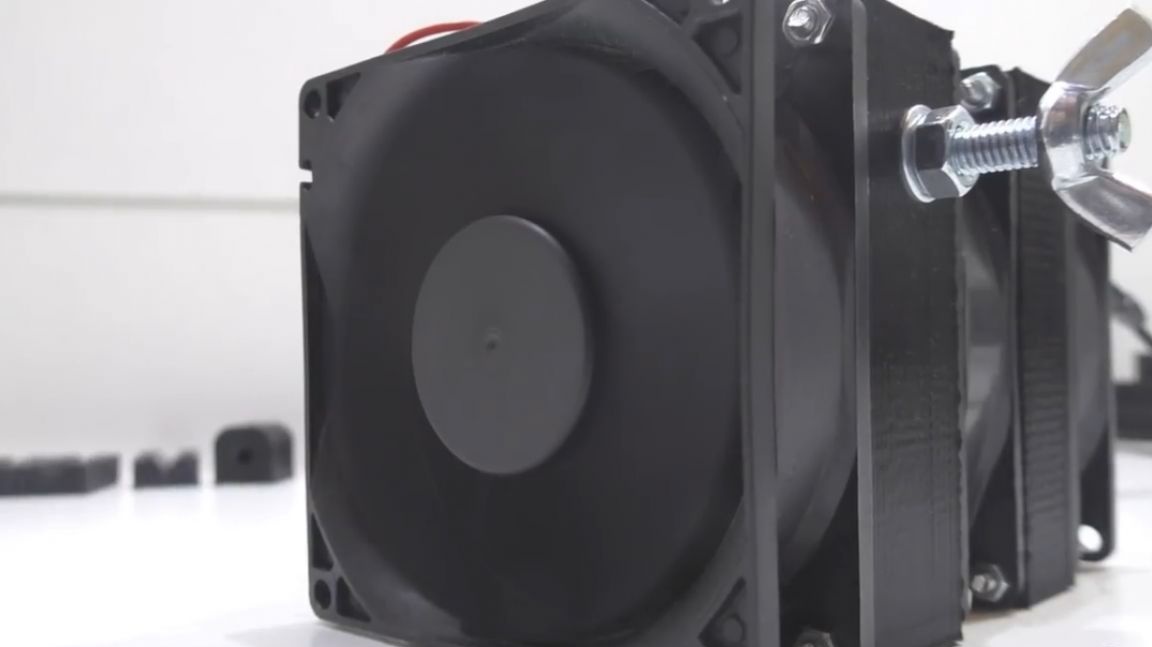
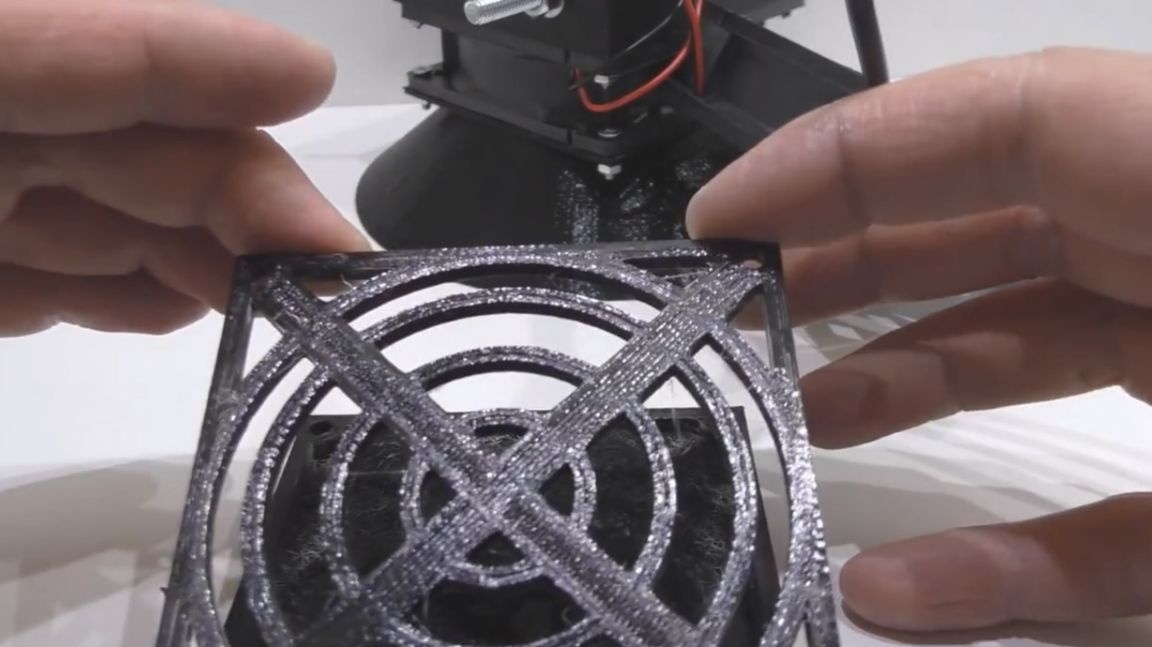
Let's proceed to the assembly. We connect all the parts with the help of bolts and studs m3. First of all, it is necessary to connect the first two fans together. Next, we will assemble the filter unit, which consists of a housing and a cover, which are needed so that the fan blades do not cling to the filter. We install the filter between the second and third fan.
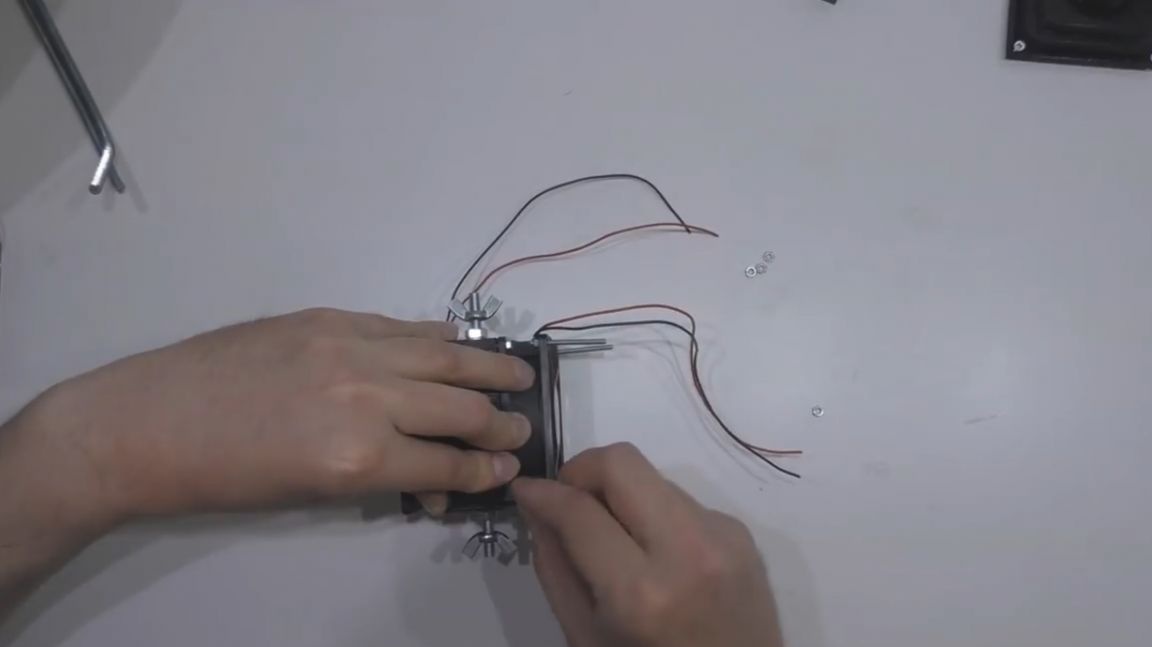
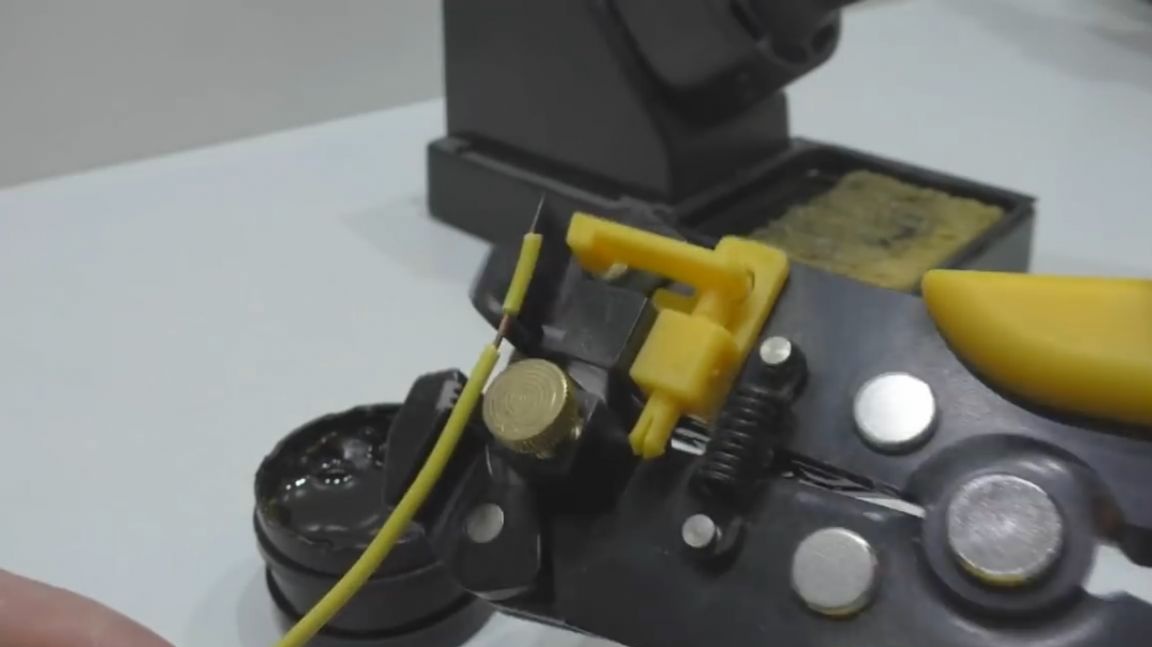
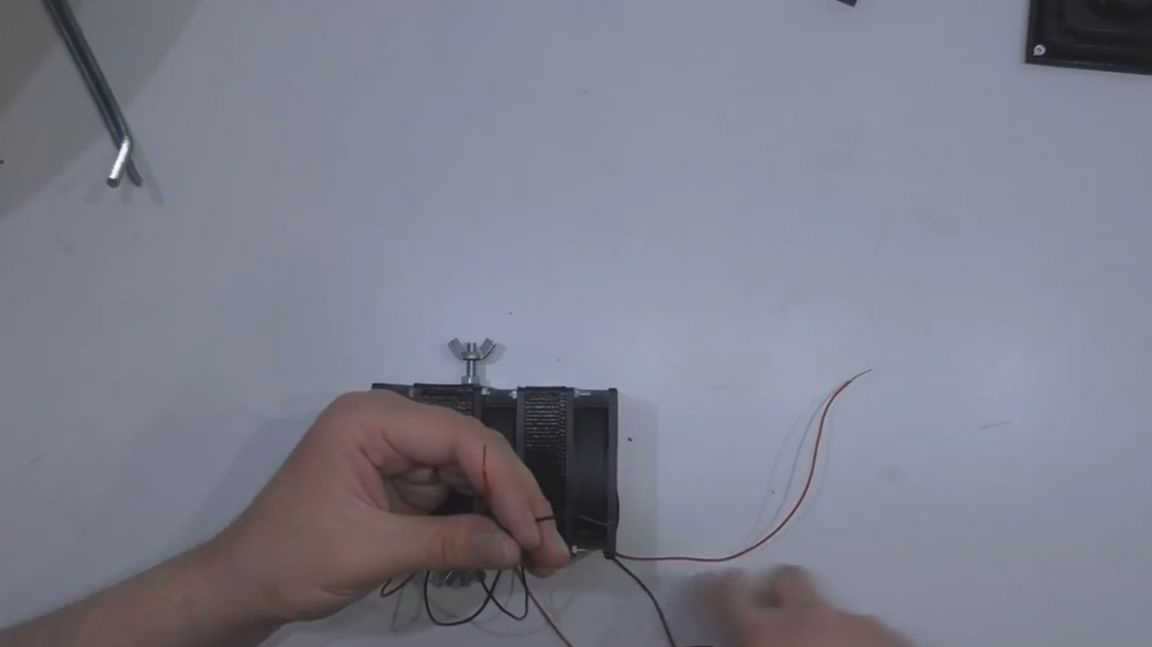
Then you need to strip the wires coming from the fans.
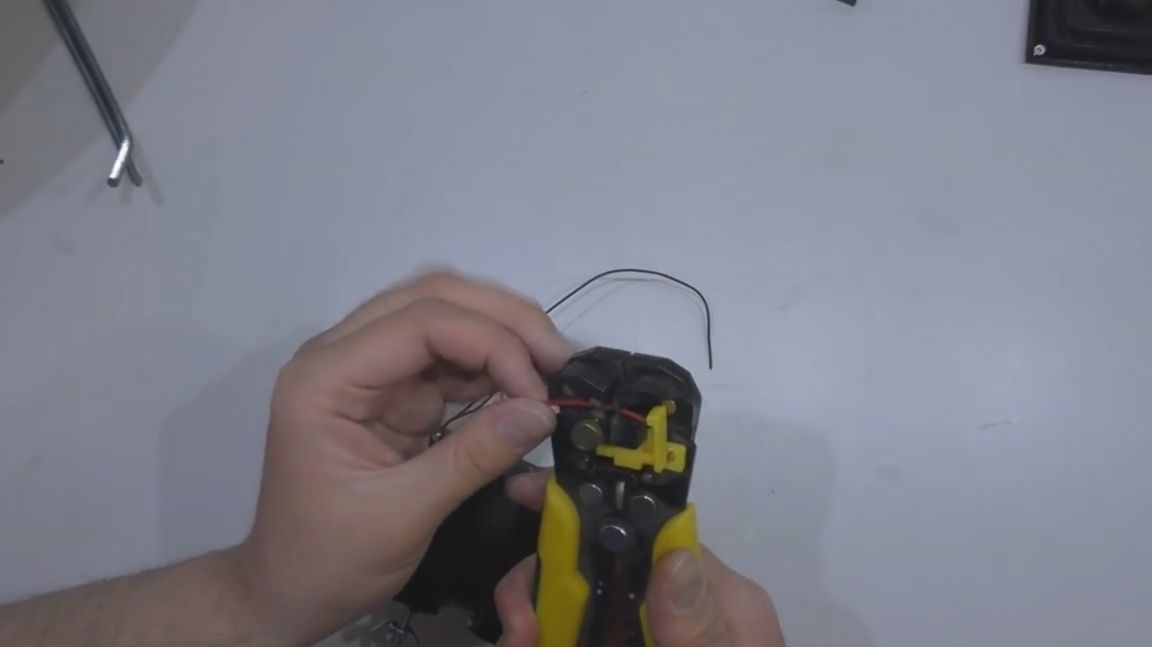
After that, you need to connect them together, observing the polarity. Then we connect the fans to the wire of the power supply unit and isolate the connection point using electrical tape (or heat-shrink tube).
Already at this stage, you can use this device to filter indoor air. If you apply voltage to the fan motors, then all the air in the room will slowly be distilled through the charcoal filter. As a result, it will undoubtedly be cleaned, both of various impurities and of dust particles.
This can be considered the first way to use this device. But we will go further, still we want to get some device for soldering.
So let's continue.
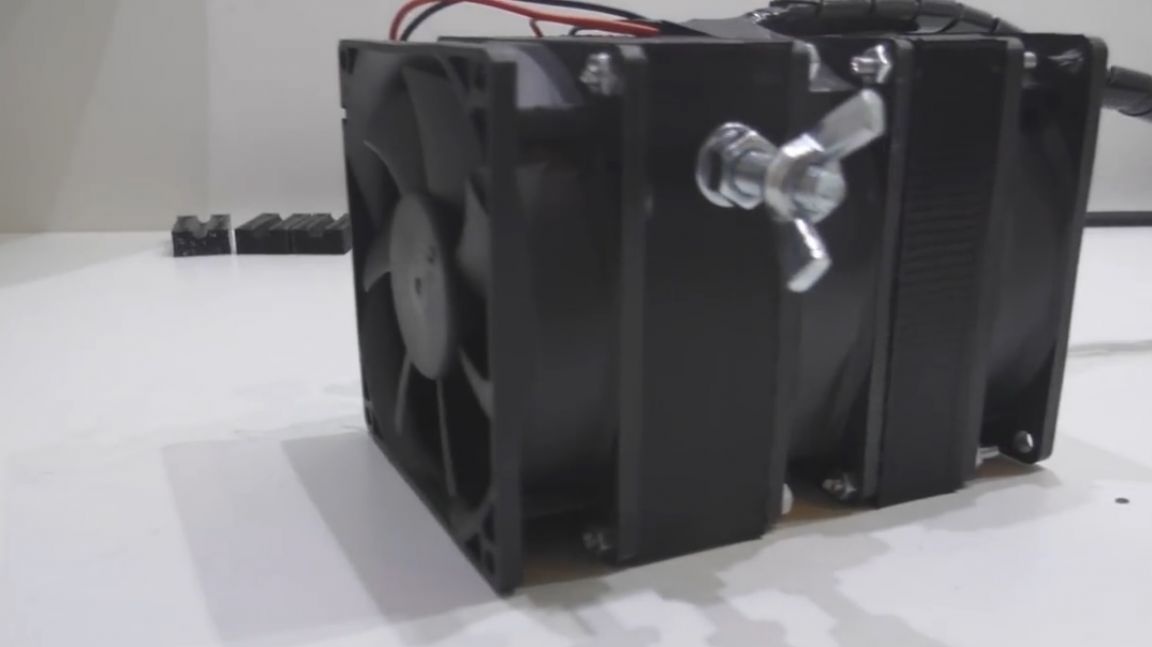
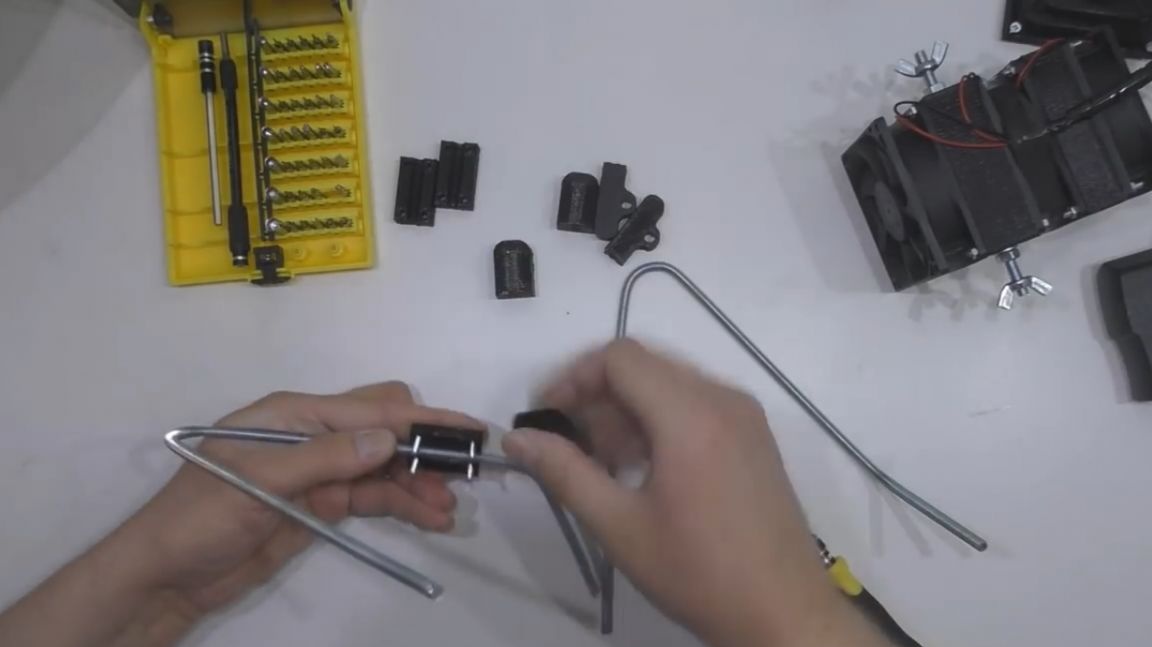
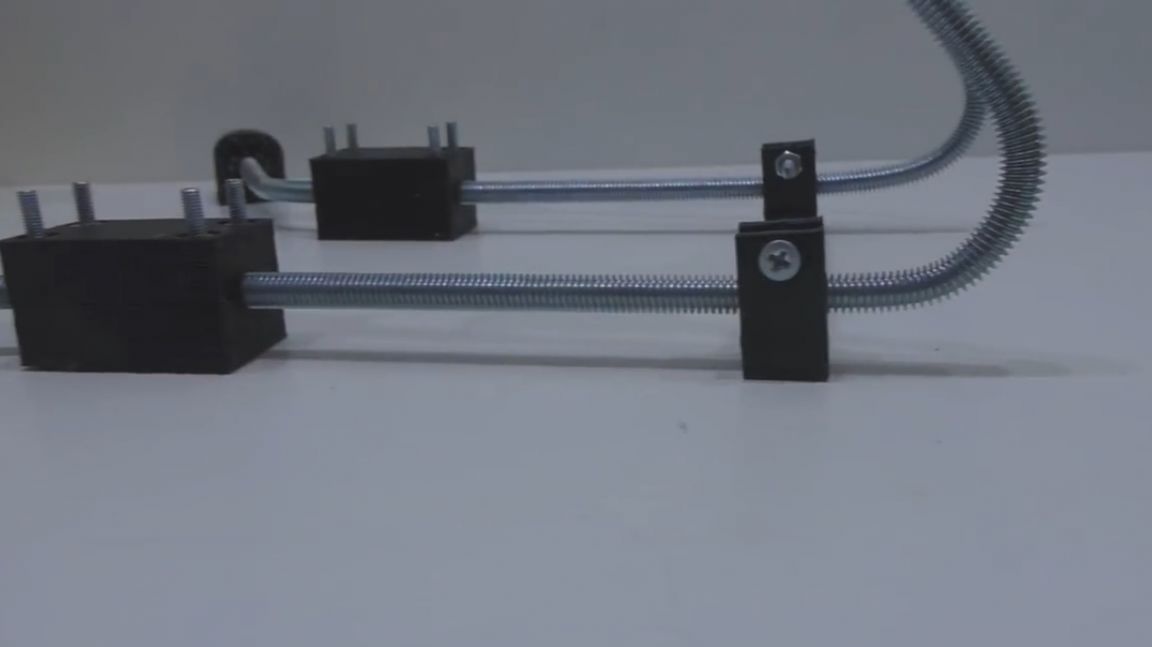
First of all, we will assemble the rack-holder. The author has already bent the hairpins in advance (in principle, the rack may have other forms and shapes, but the author thinks this option is the most convenient).
We put on the tips and install the legs.
Now consider 4 different variations of the application of this device.
The first one. As mentioned earlier, such a device can be used simply to clean indoor air. For this, no additional equipment is required, the device is simply installed in the room and plugged into an outlet. Quietly, it distills through itself all the air in the room.
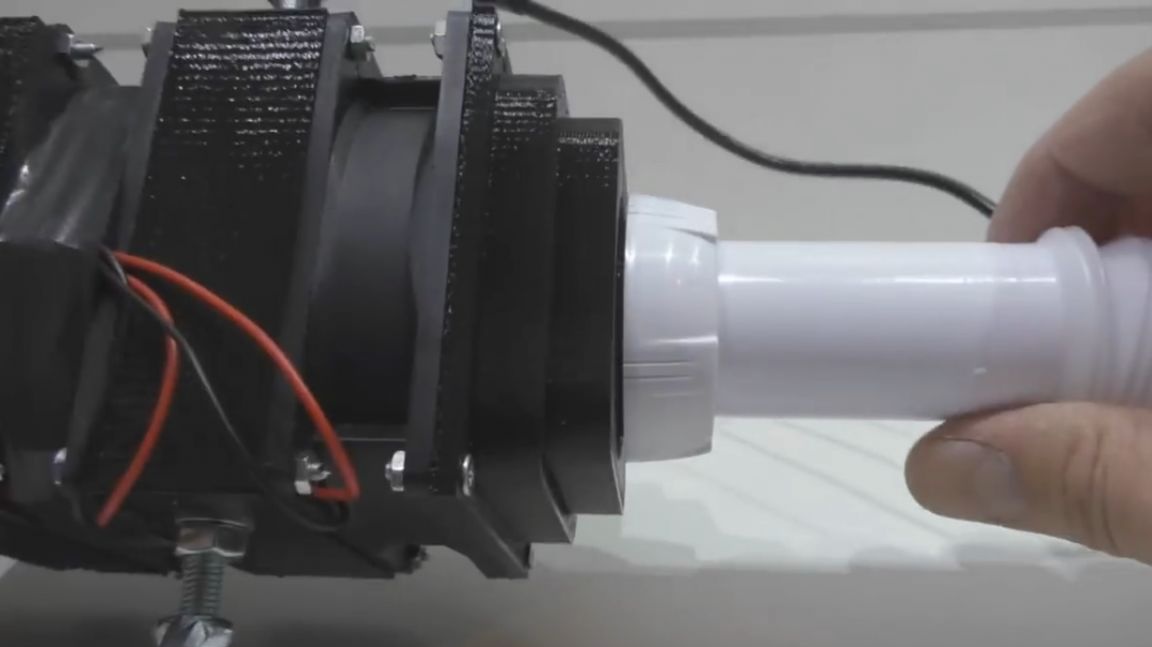
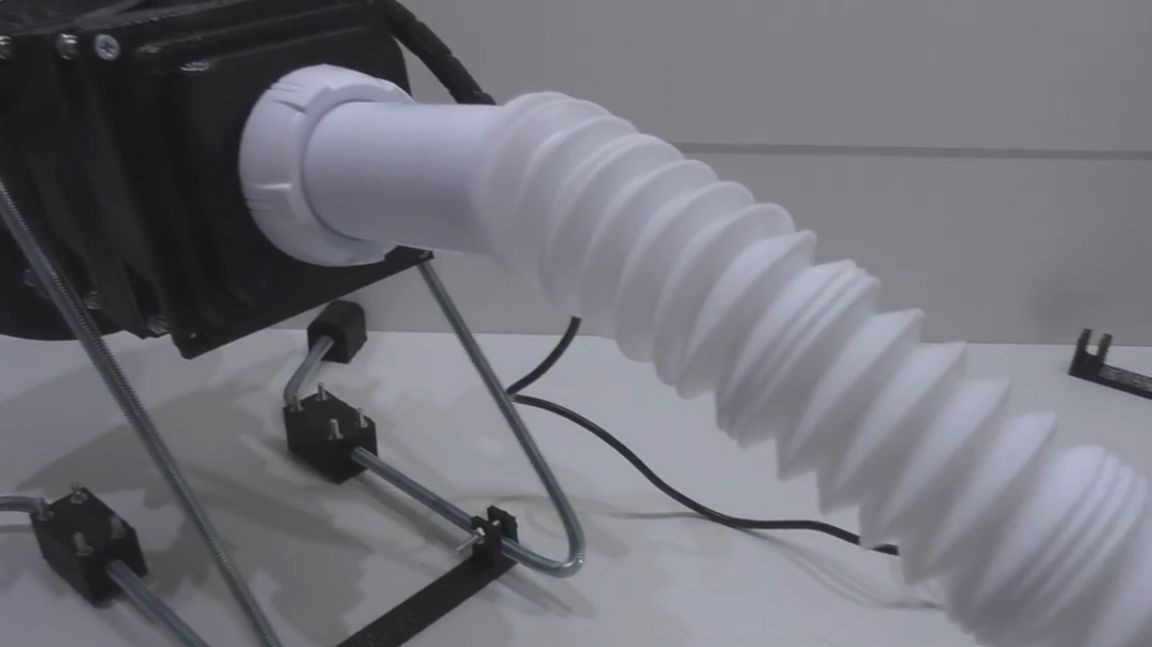
The second option is a smoke absorber. Here in the design of the device another detail appears - corrugation. In order for our homemade product to become a smoke absorber, an adapter nozzle is wound onto the input fan, to which the corrugation is connected. Then the corrugation is brought directly to the place of soldering, from where it actually takes the smoke.
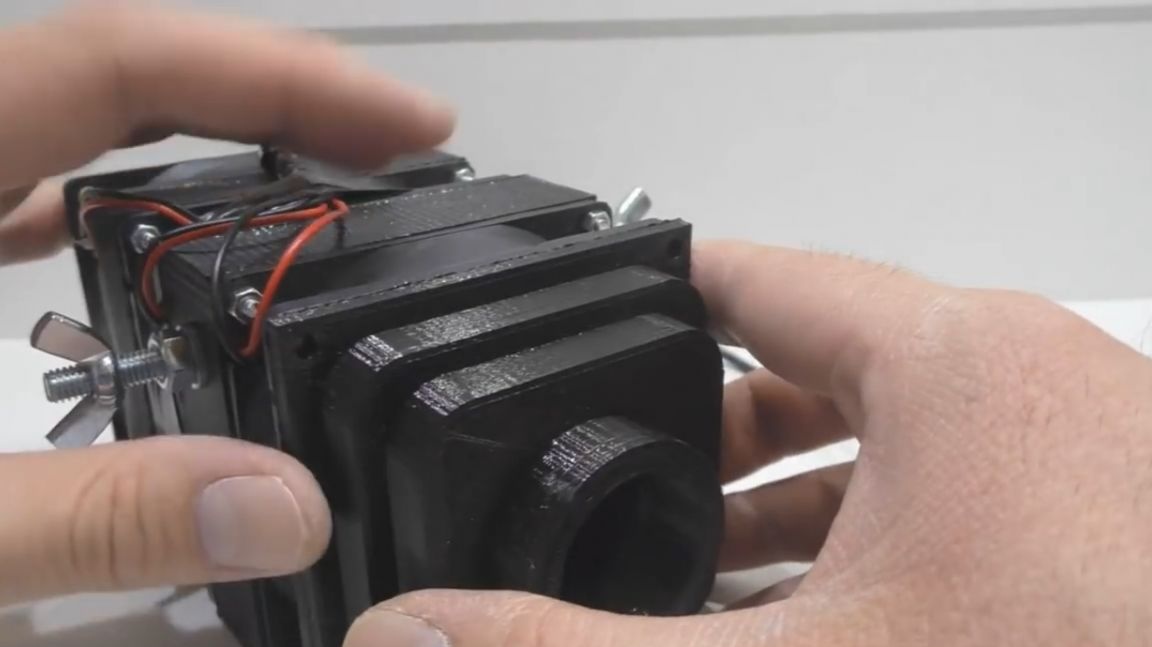
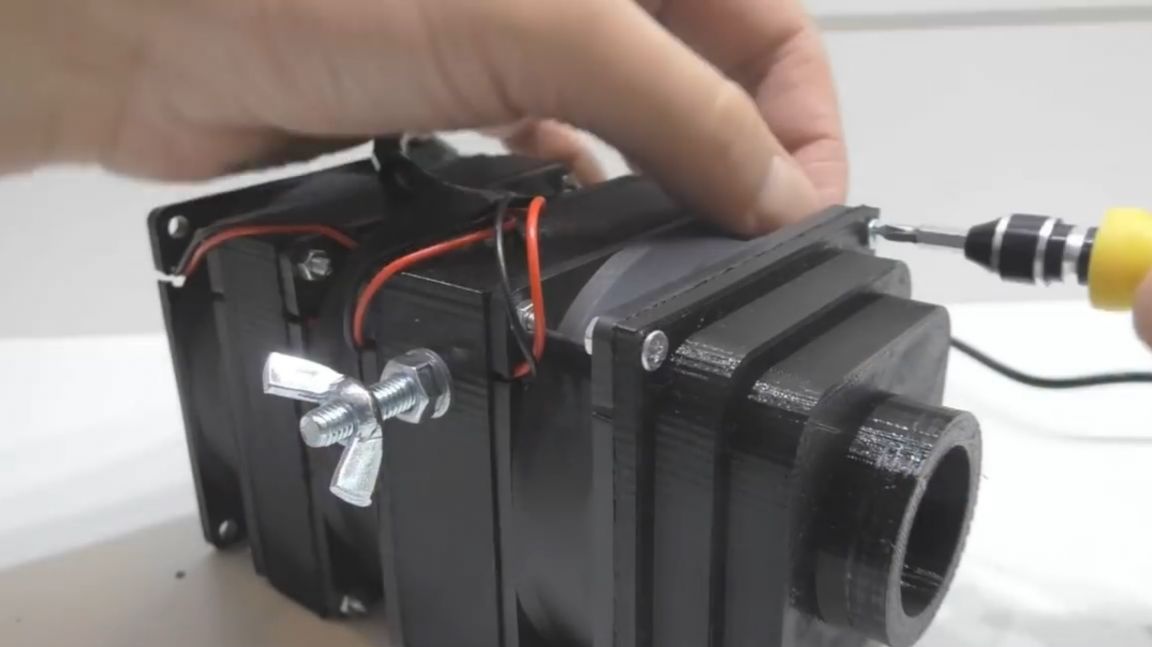
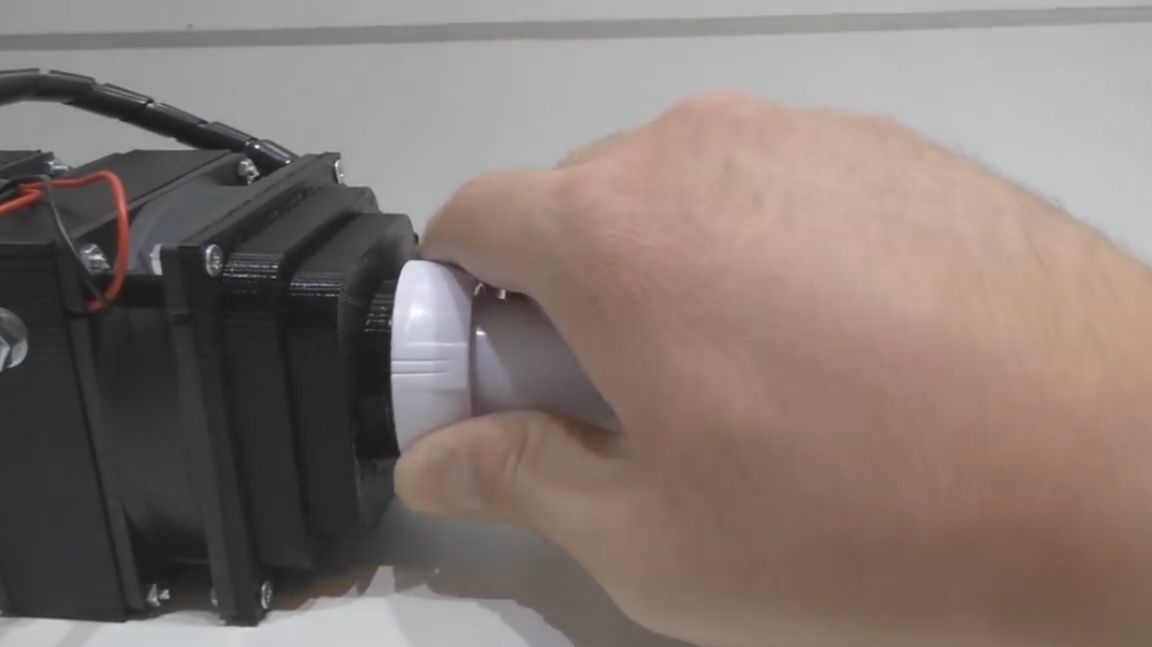
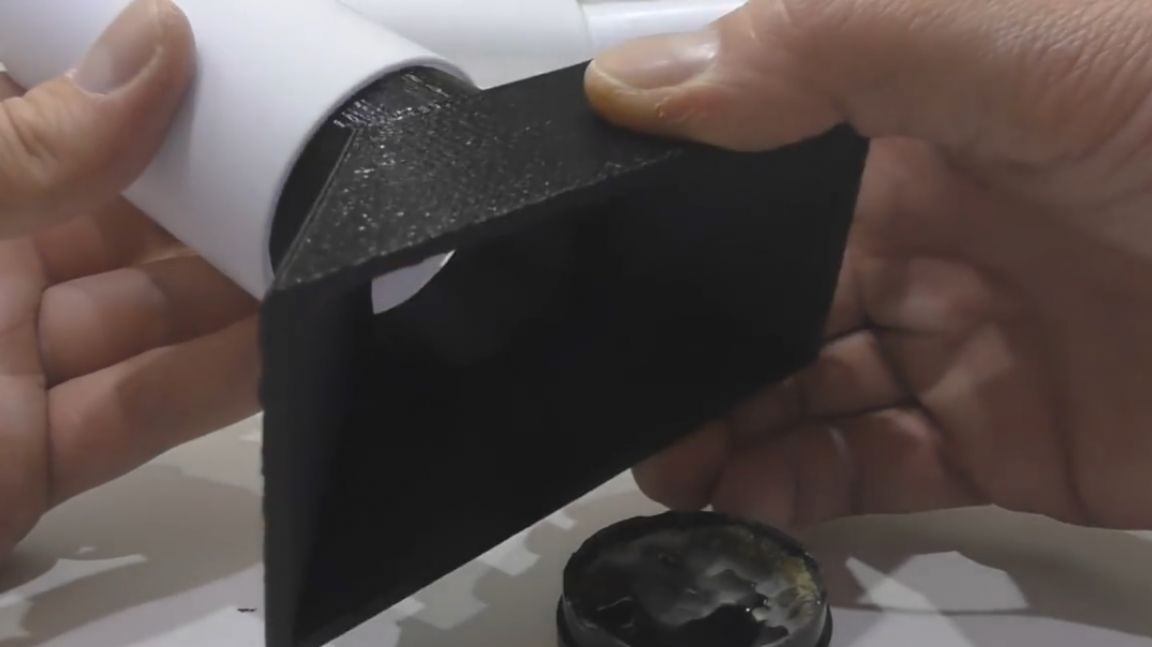
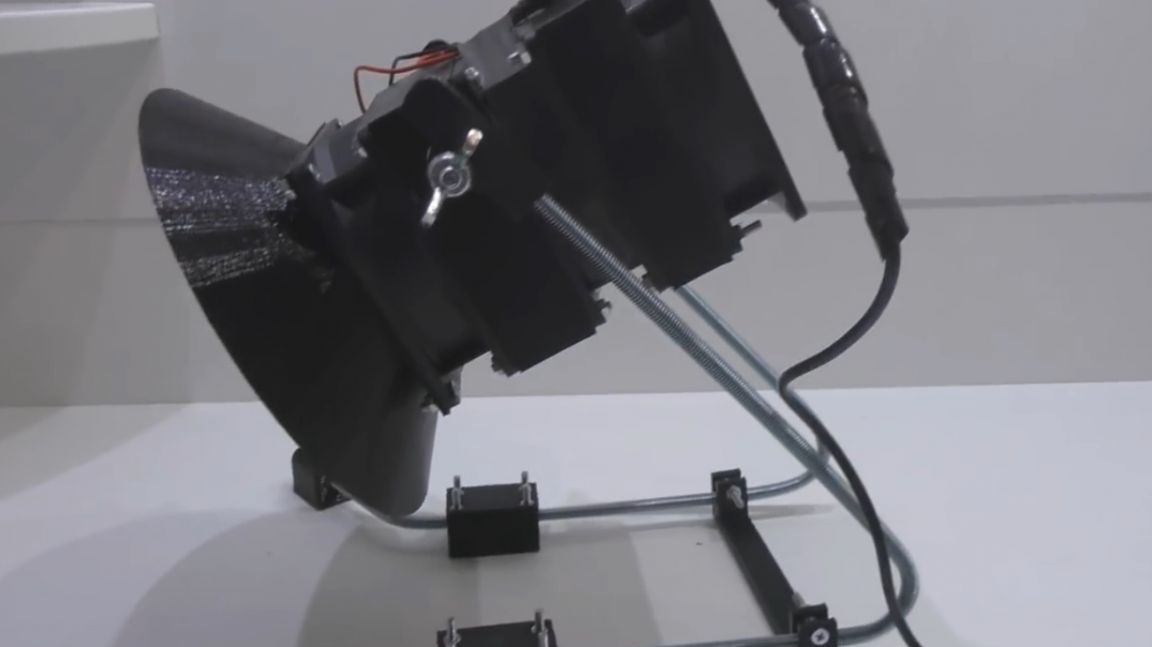
The third option is to use an expanded air intake.It is also mounted on the inlet fan and the complete assembly is mounted on a tripod, which is placed near the soldering point and picks up smoke coming from the work area.
And finally, the fourth option is a full range hood. The nozzle is installed on the output fan and connected to the corrugation going to the street.
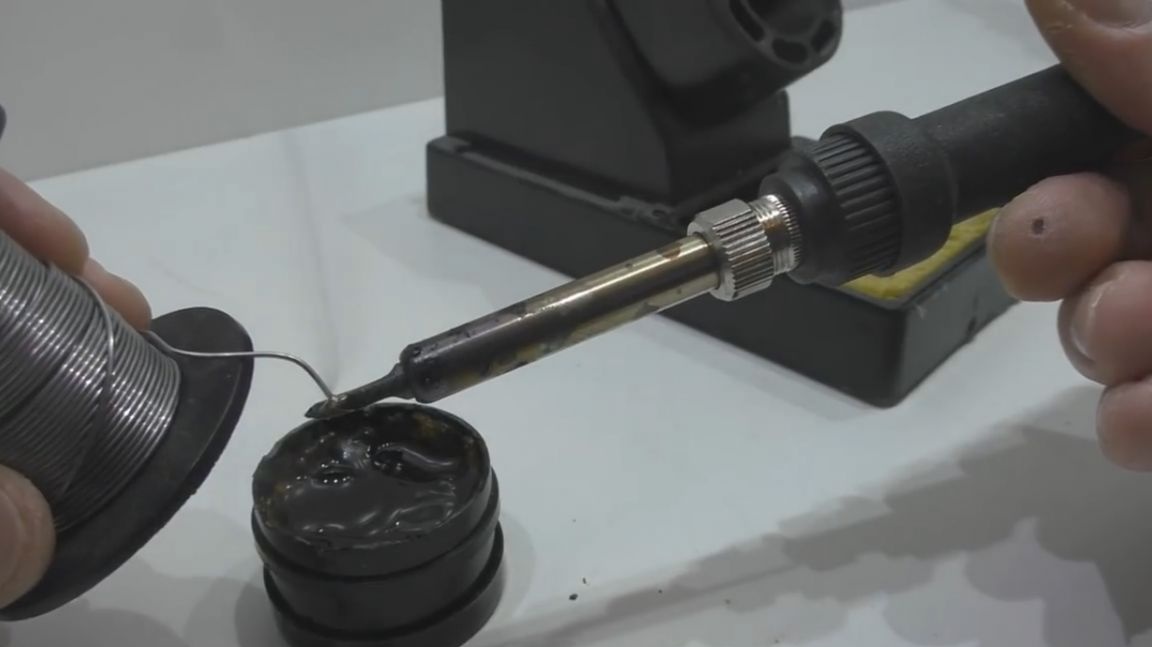
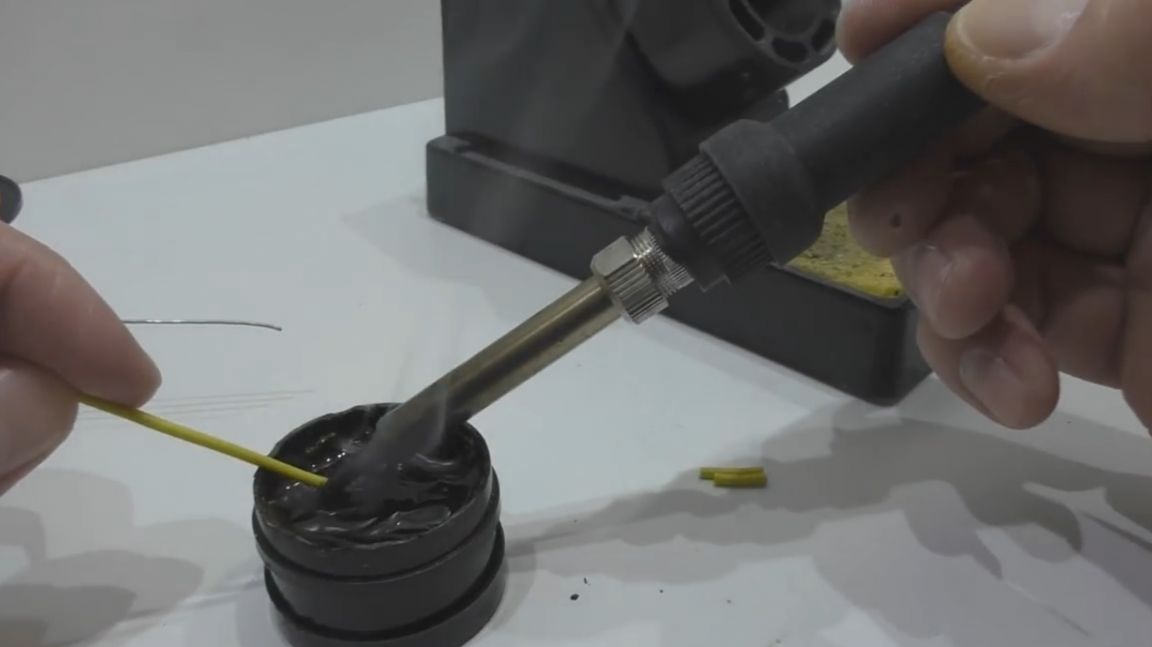
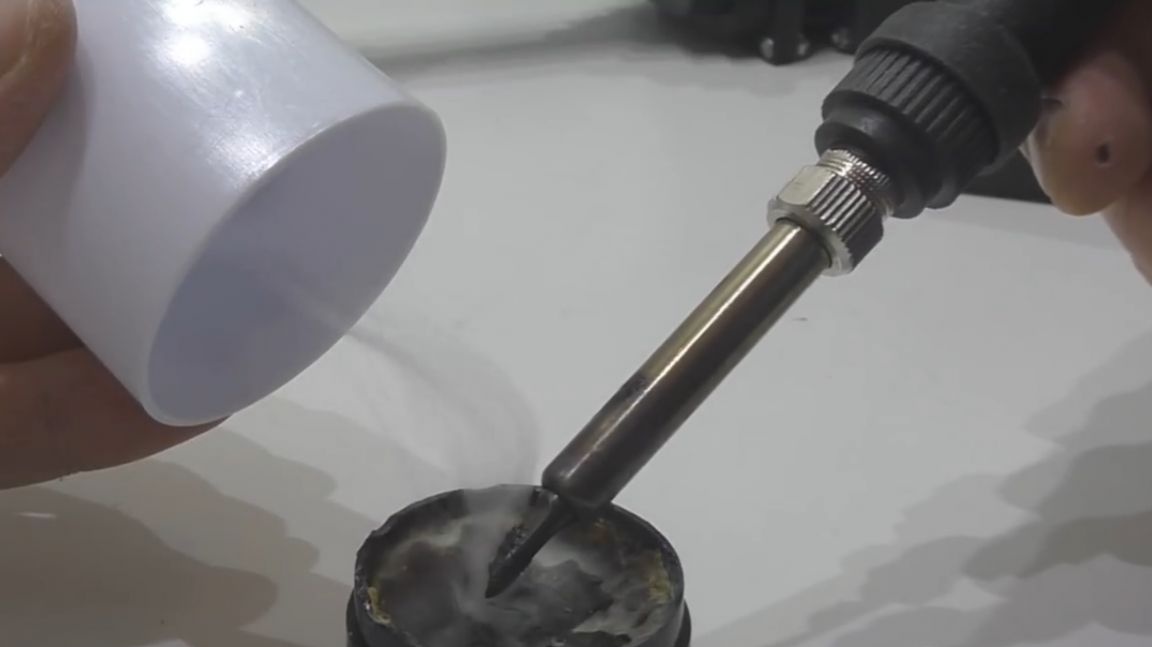
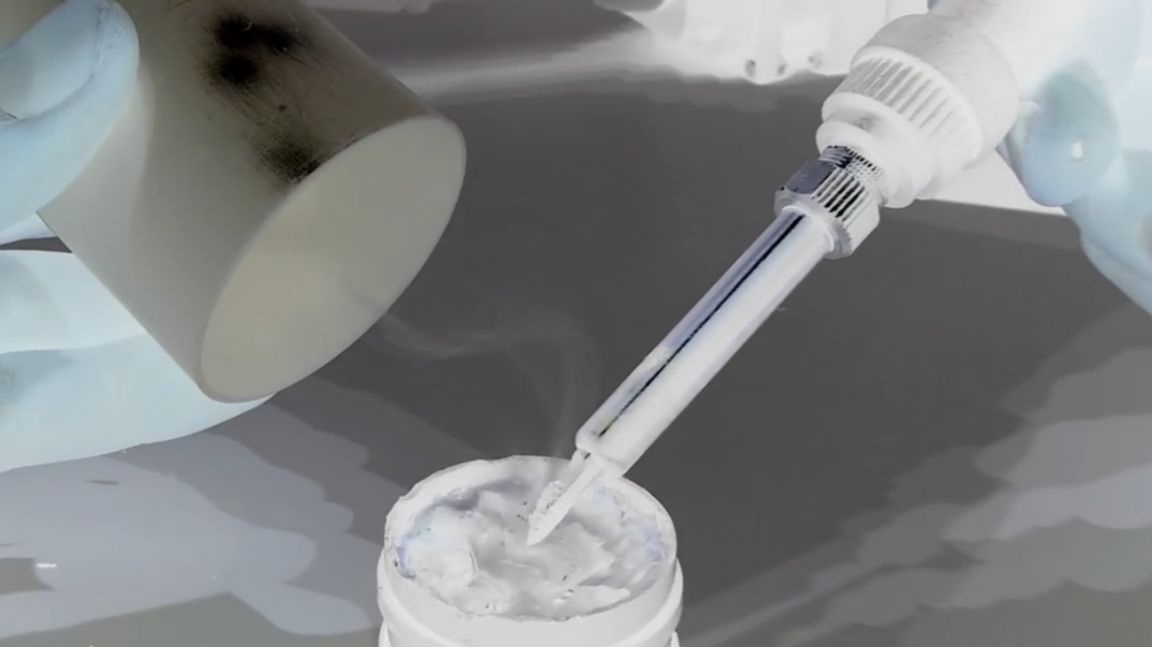
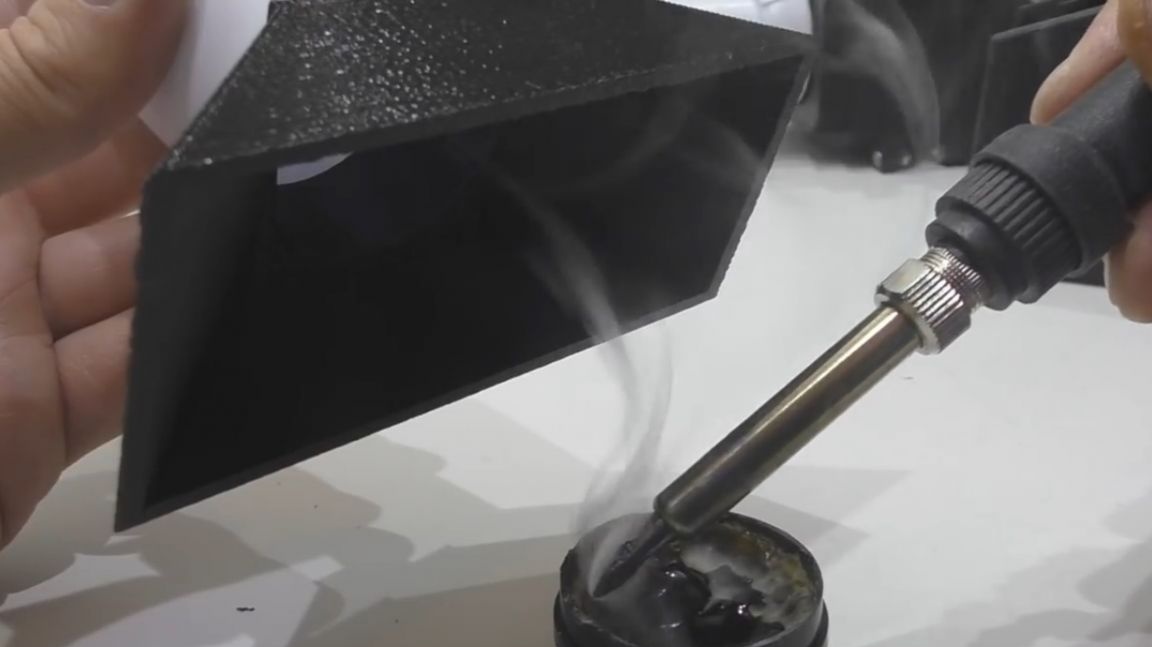
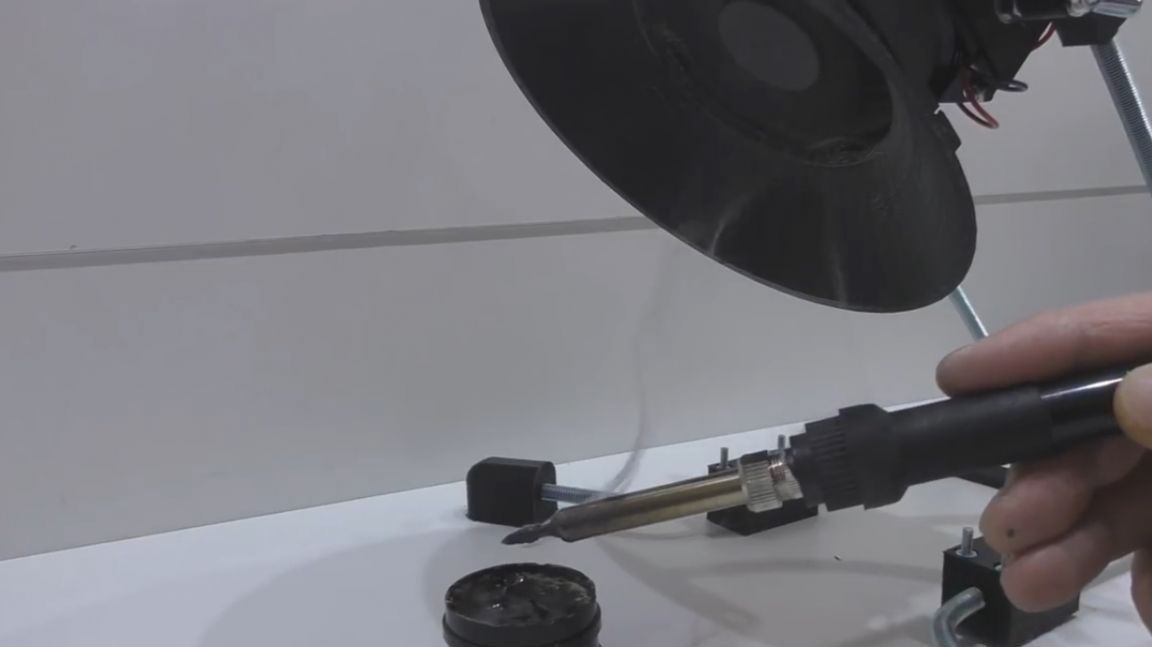
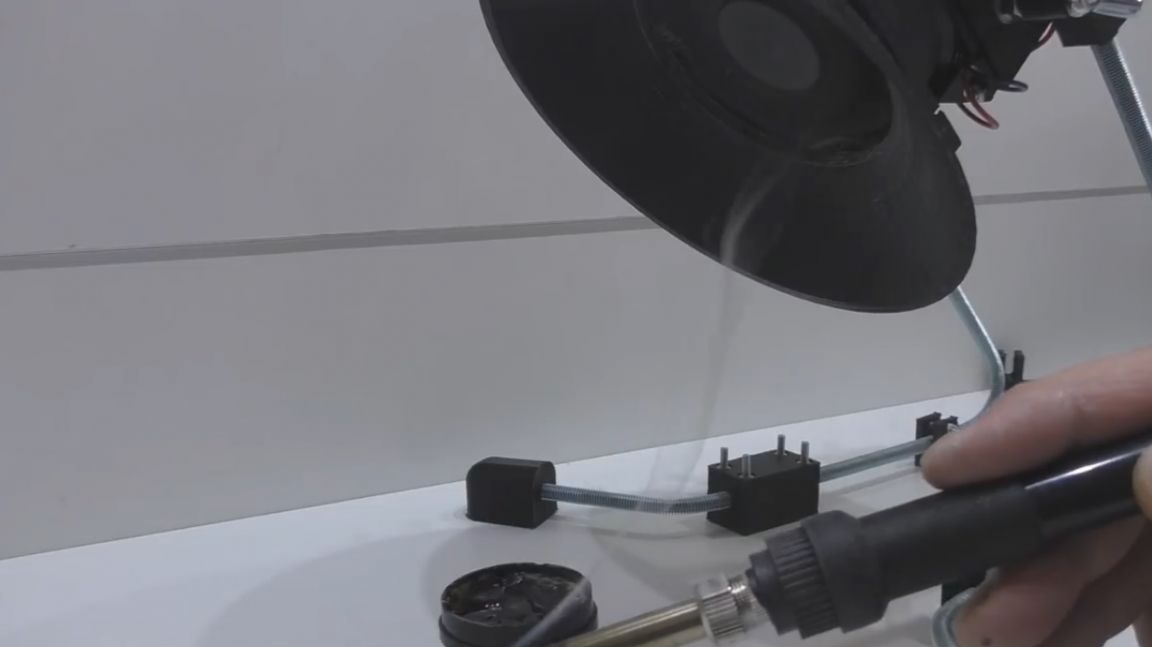
Finally, the author decided to conduct an experiment that indirectly shows the operation of the smoke trap. To do this, for some time, he simply evaporated the rosin with a soldering iron. In real conditions of soldering, such an amount of rosin will evaporate, probably if you solder all day. In general, let's take a look together at the state of the carbon filter.
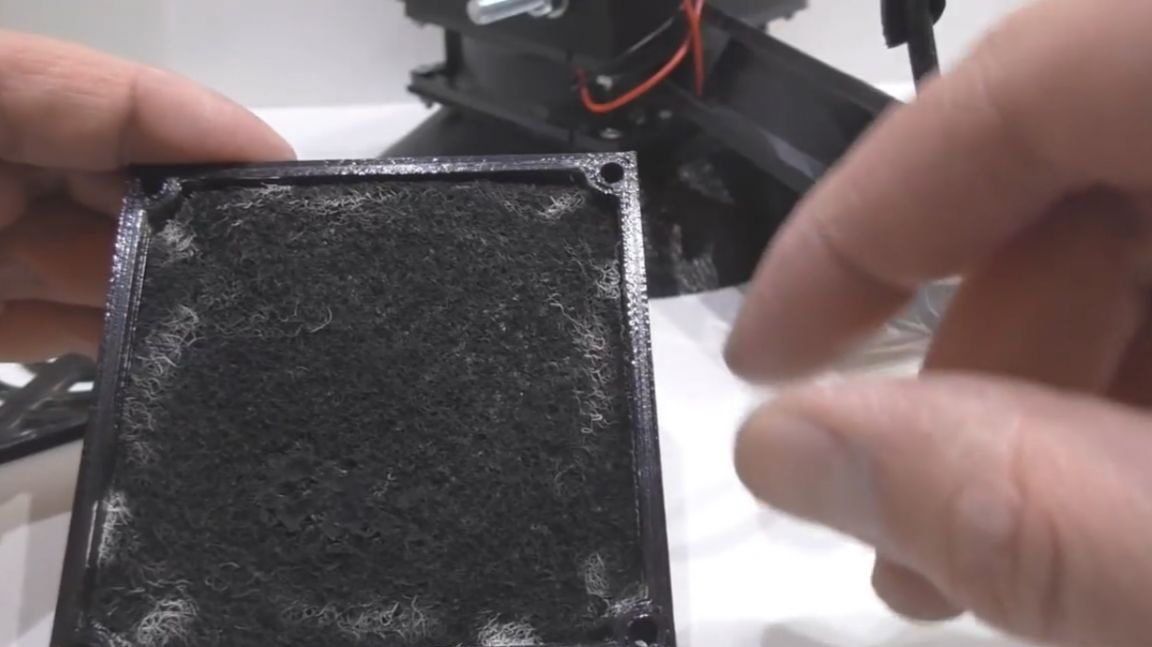
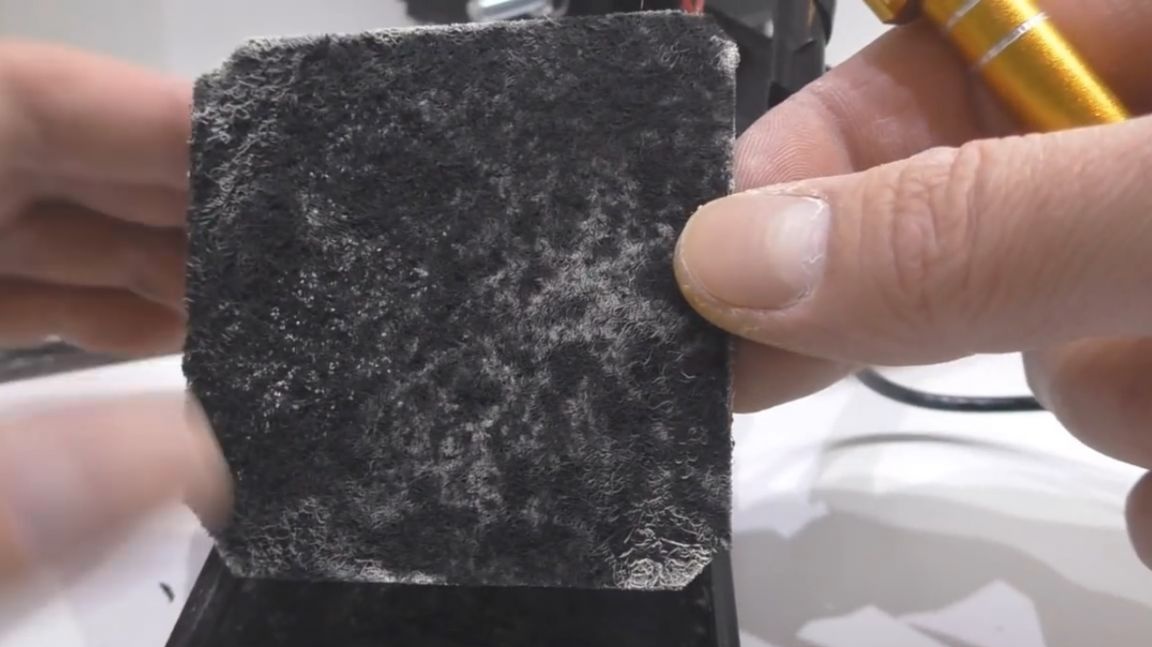
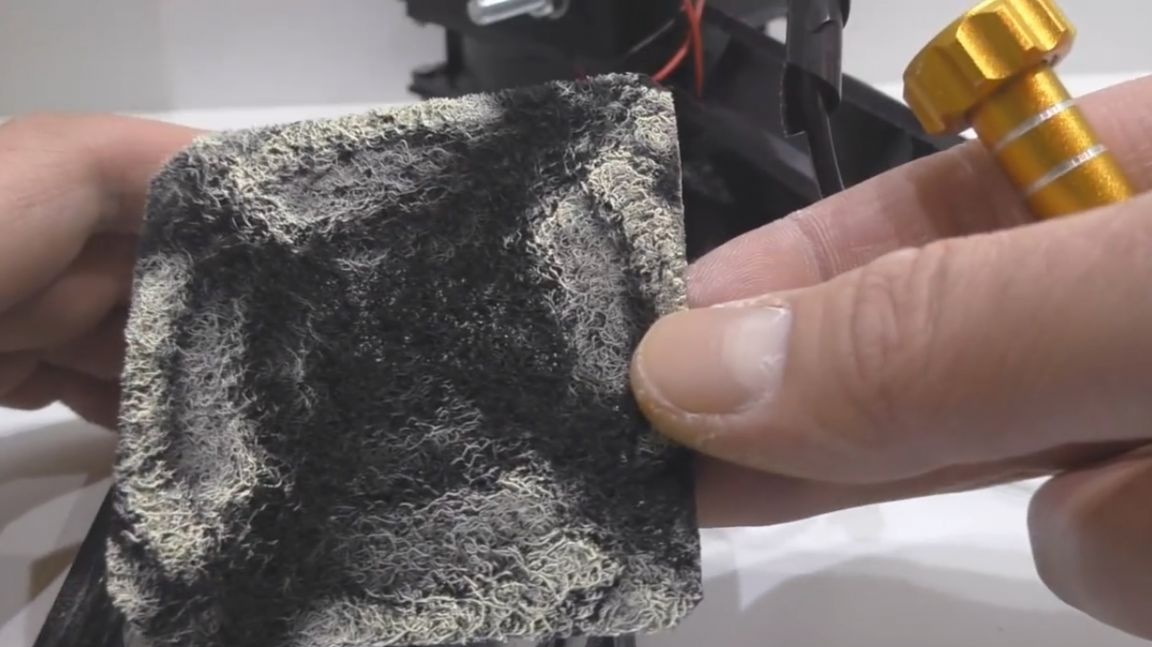
The filter was coated with a layer of evaporated rosin. Without a filter, all this dirt that is on it would settle on both the operator and the surrounding objects.
Well, it seems to have turned out to be a rather interesting and universal device, unlike other similar devices. The user himself can choose the option of using homemade products suitable for him, for example, as a full-fledged exhaust hood or a regular smoke absorber.
Thank you for attention. See you soon!
Video: