
In this article you will learn how to make a real stun gun.
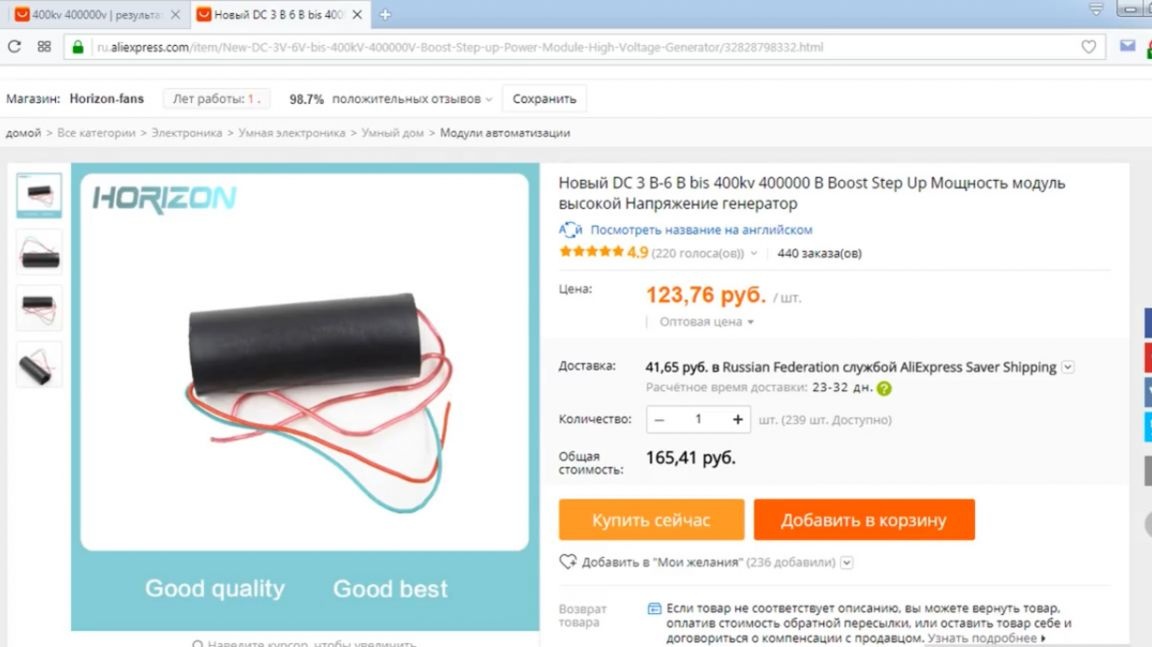
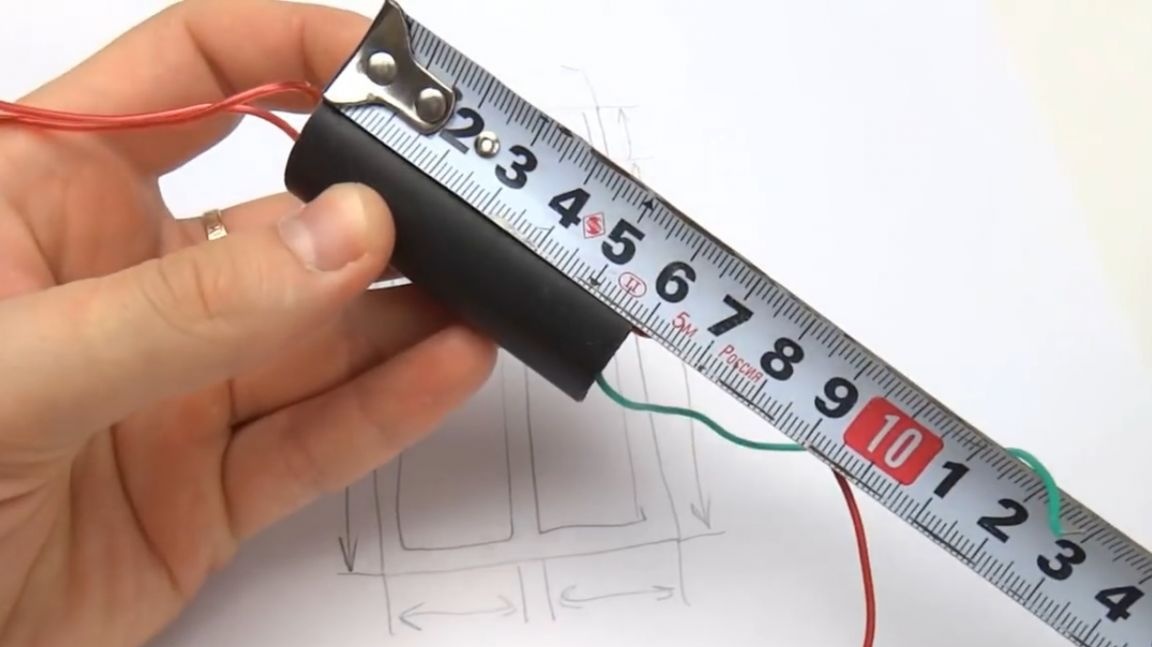
For the manufacture of a stun gun do it yourself we will need a Chinese high voltage converter.
It will serve as the basis for our stun gun. With an input voltage of 3 to 6 volts, the high-voltage module is capable of delivering voltages of up to 400 kV. For aliexpress, the cost of such a module is about 200 rubles, even a little less.
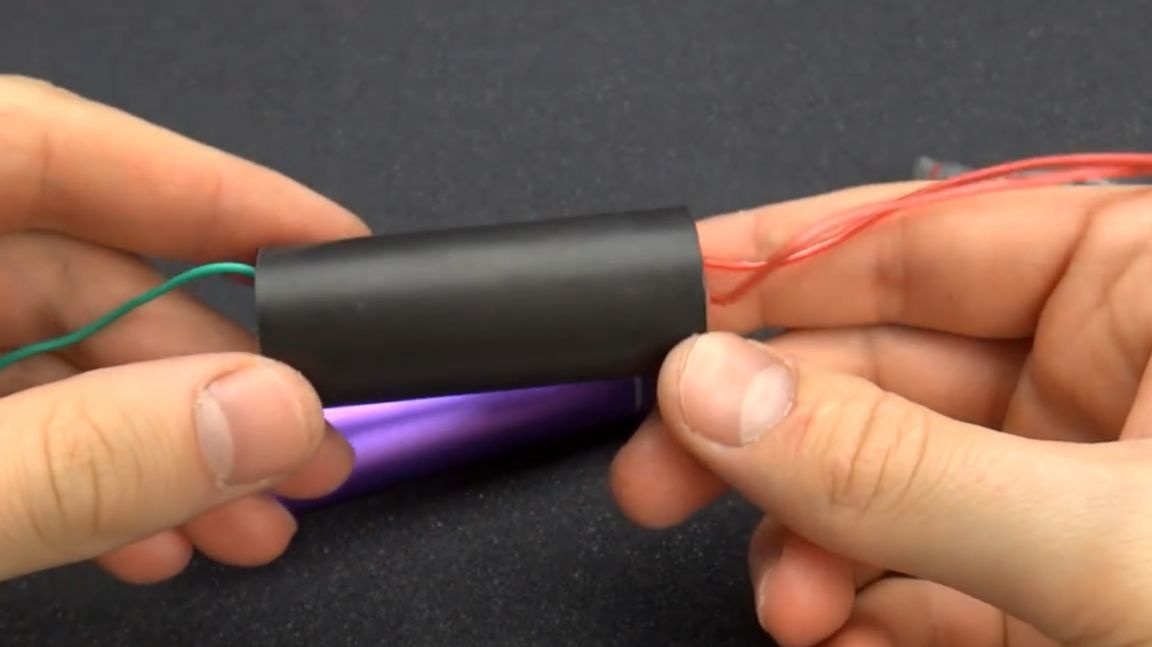
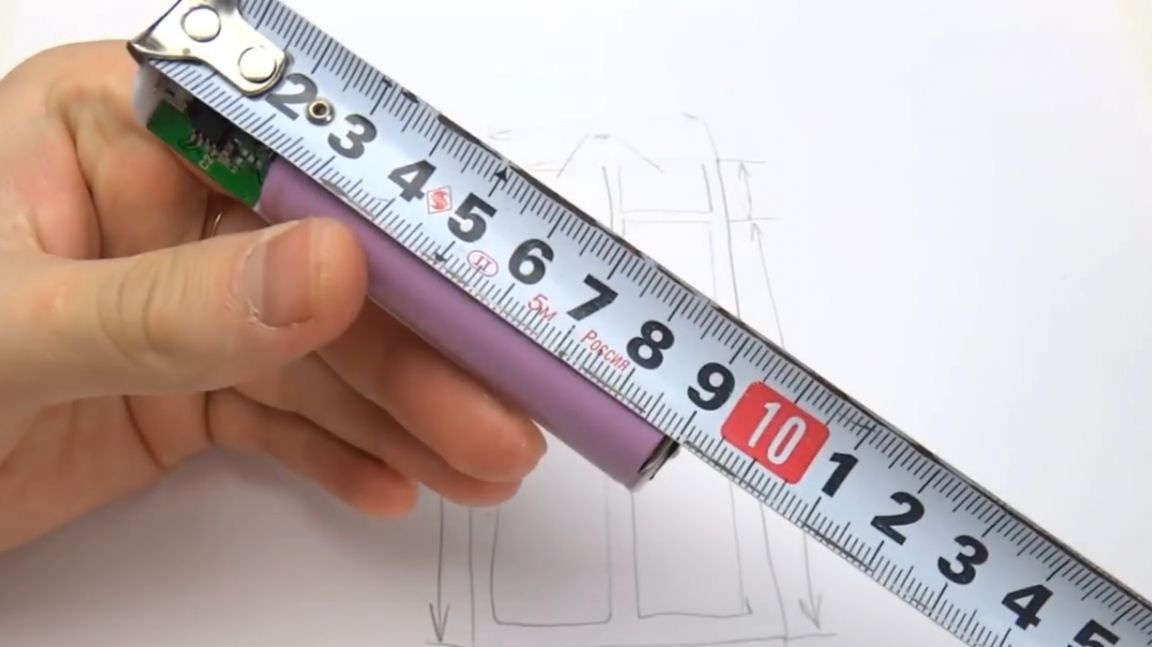
We will also need the cheapest one, which the author only managed to find on aliexpress, a power bank.
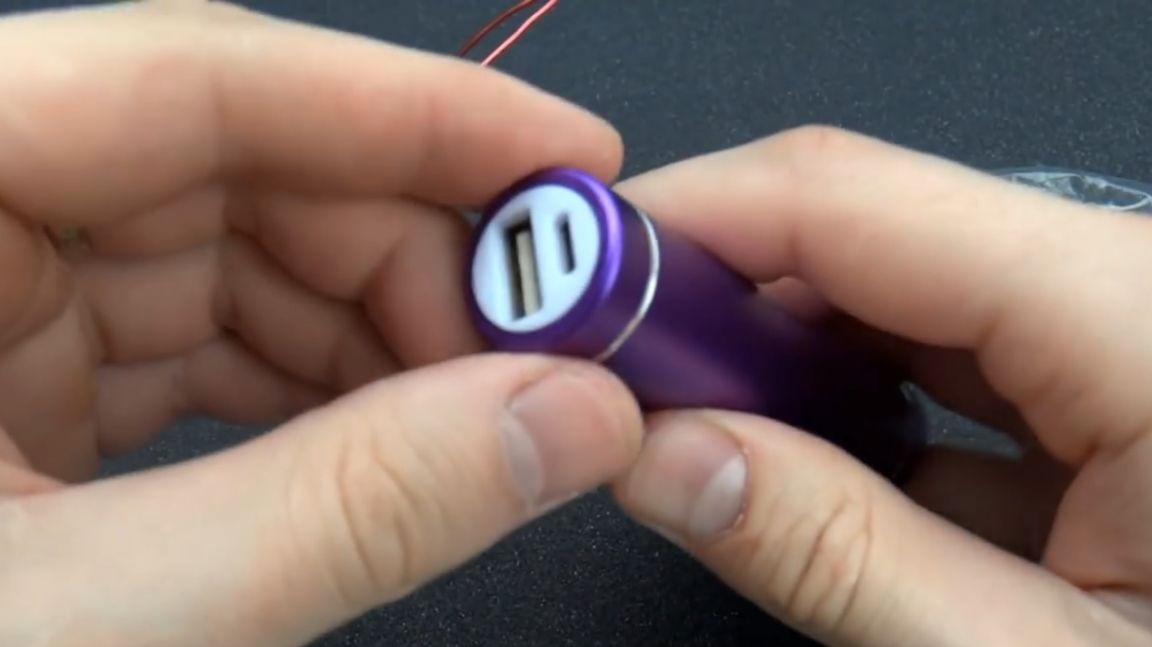

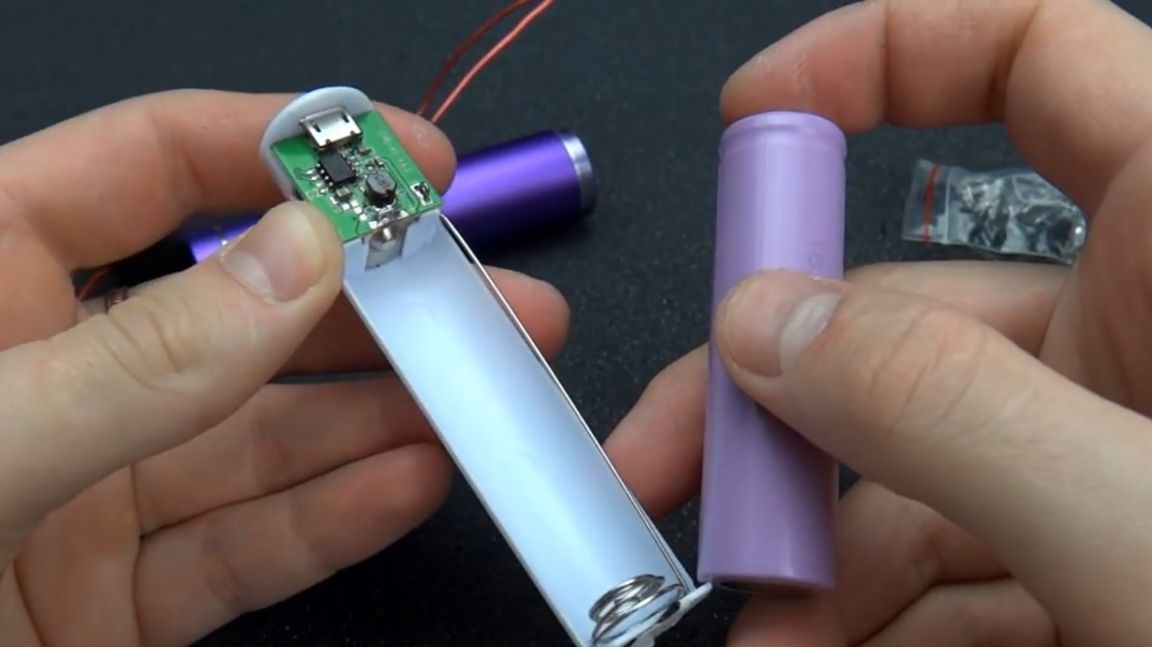

With its help, our stun gun can be periodically recharged, but we will only use its insides. The metal case itself is not needed. The author could not leave a link to such a paverbank, since the seller from whom he purchased it removed this paverbank from sale. The author was not able to find him anymore, so he gave a link only to his body (without battery). All links to all components left by the author can be found in the description under the original video of the process of making a homemade stun gun (a link to the source is at the end of the article).
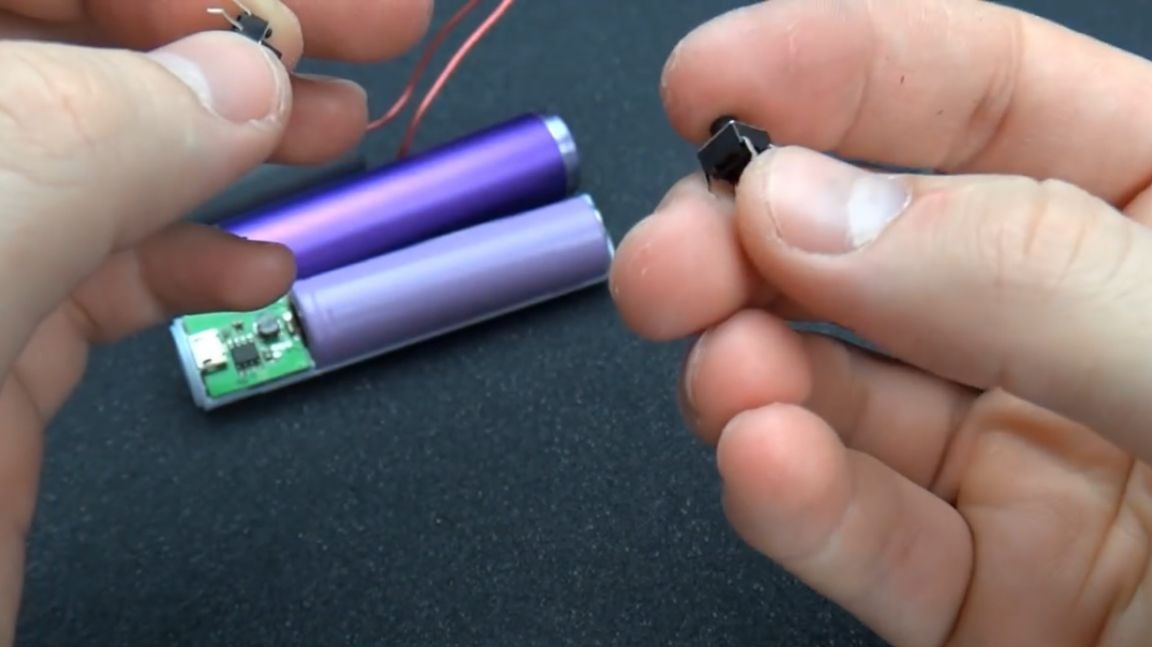
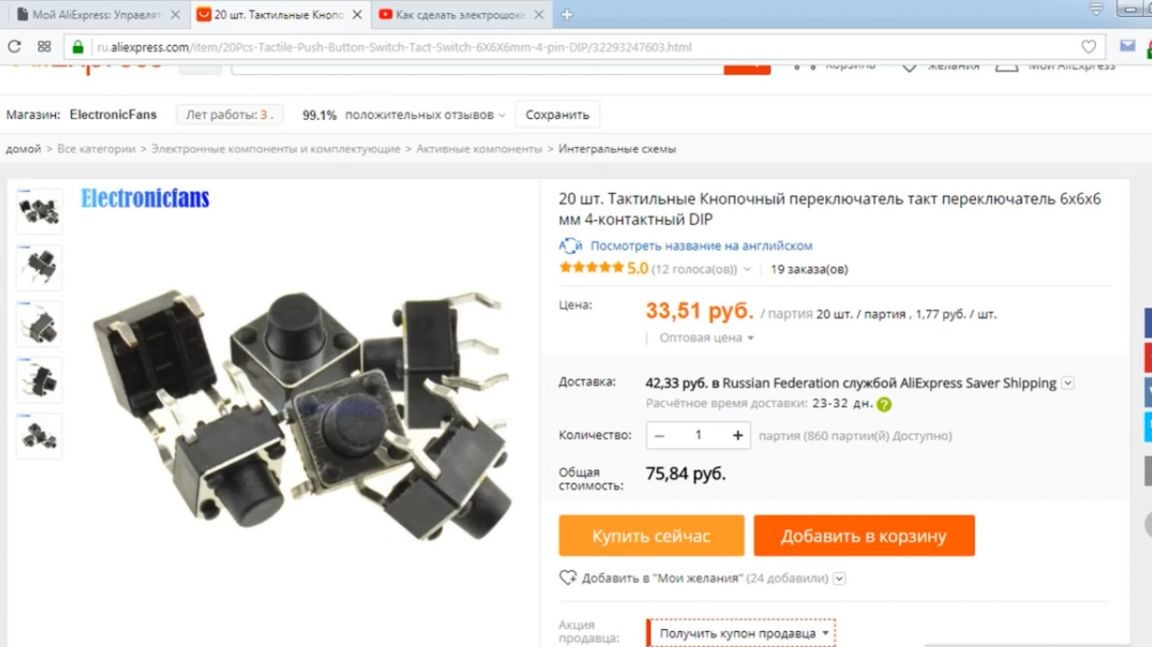
The shocker will turn on by simultaneously pressing two clock buttons. A set of 20 such buttons, together with delivery to Russia, will cost you about 75 rubles.
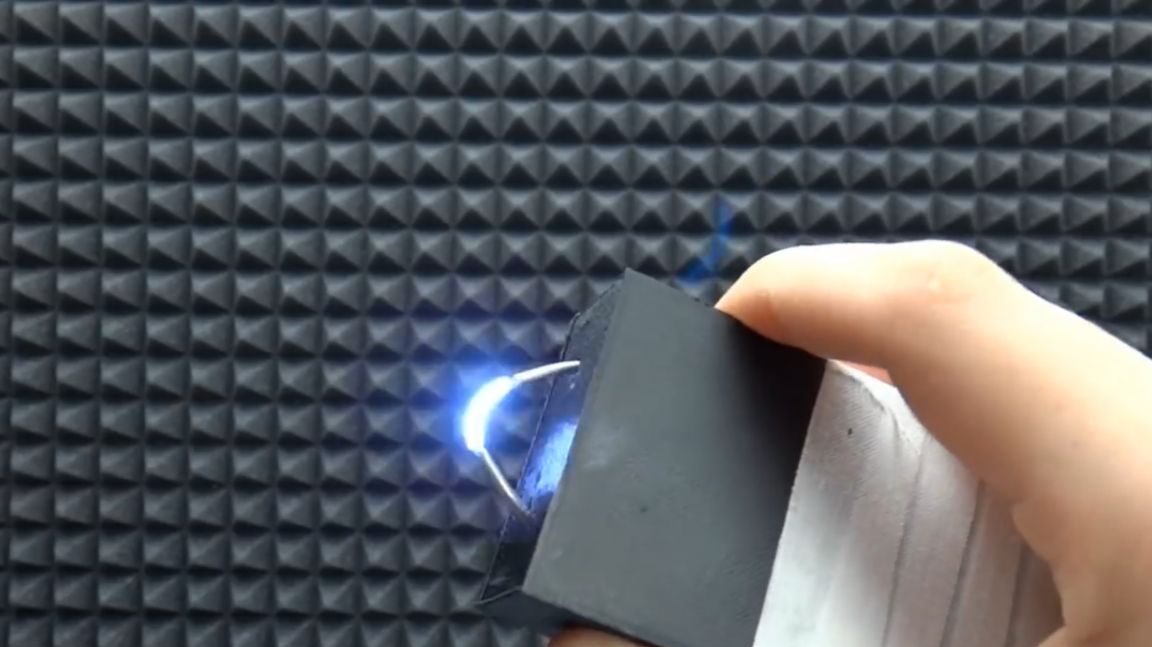
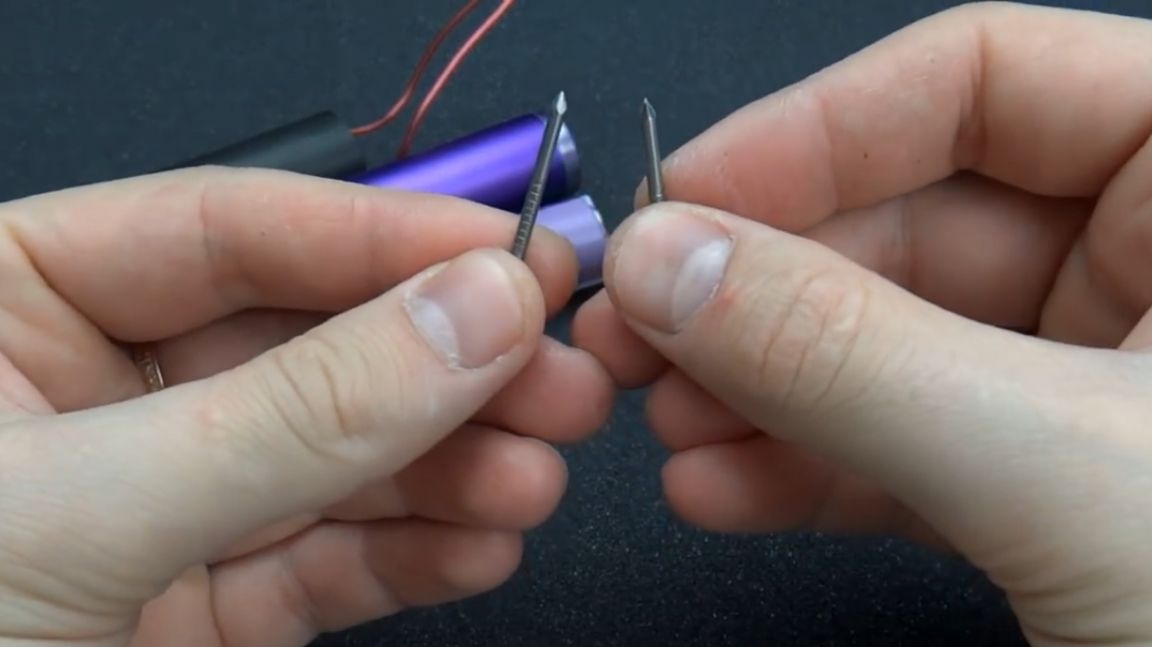
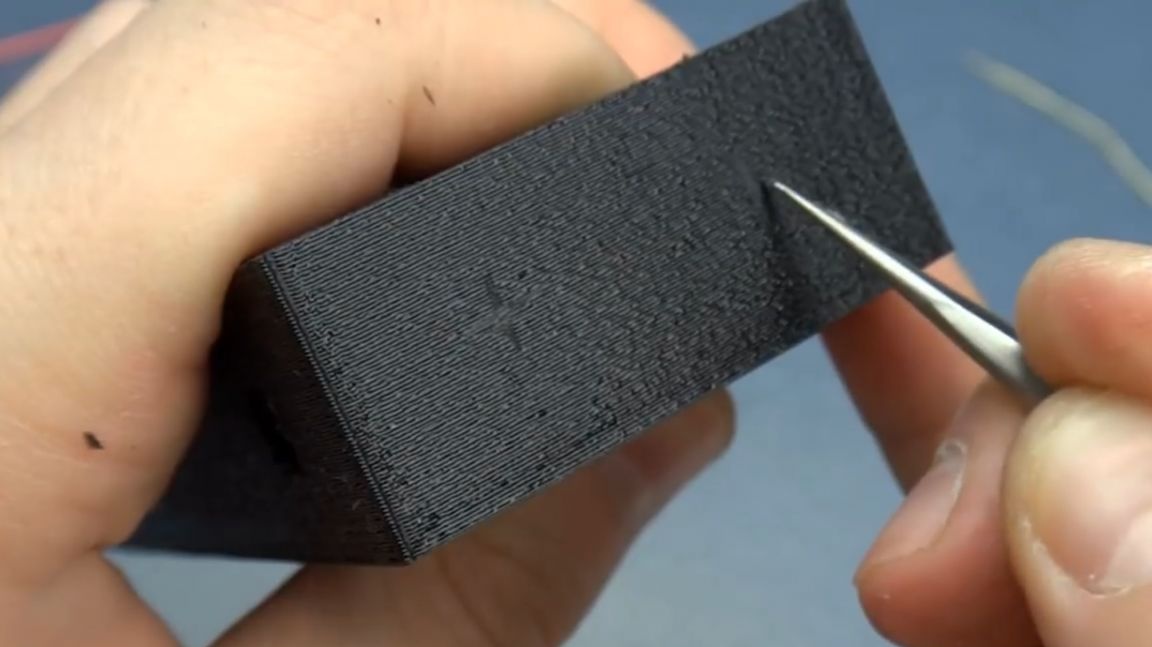
You will also need 2 small cloves, between which a high-voltage arc will form with the corresponding sound (crack).
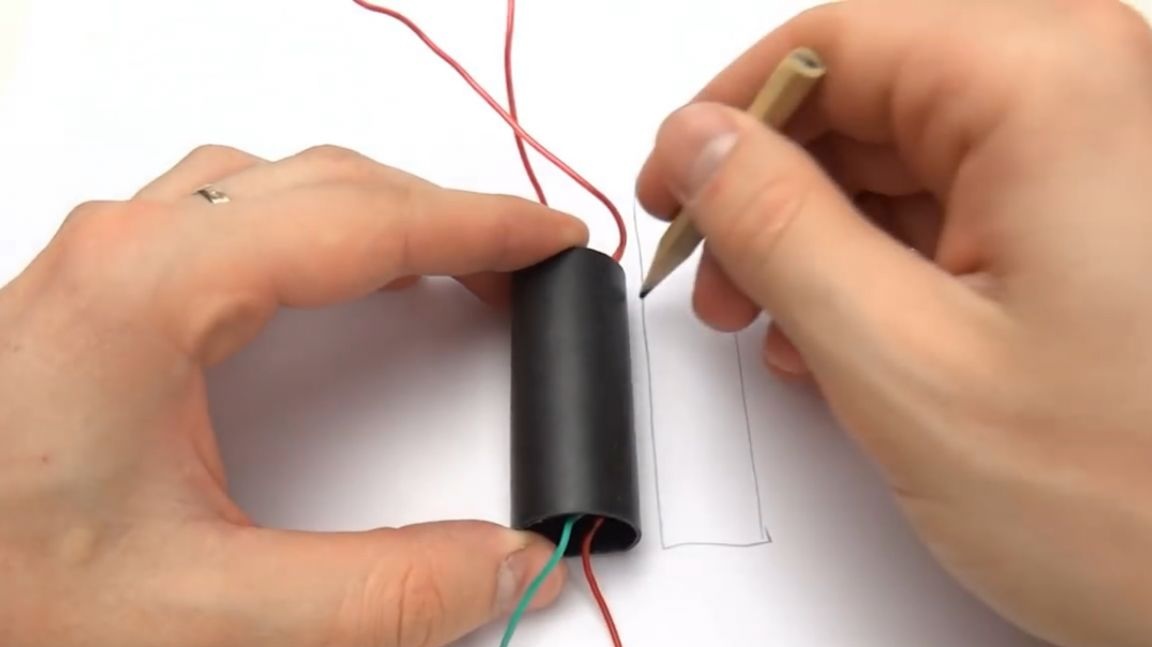
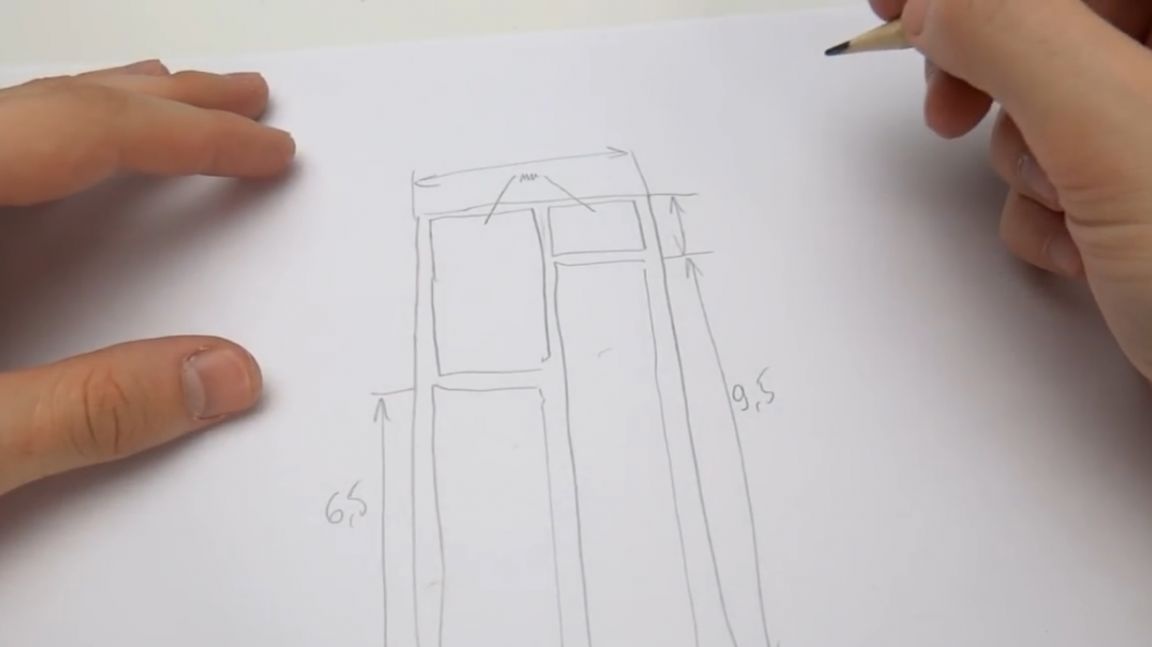
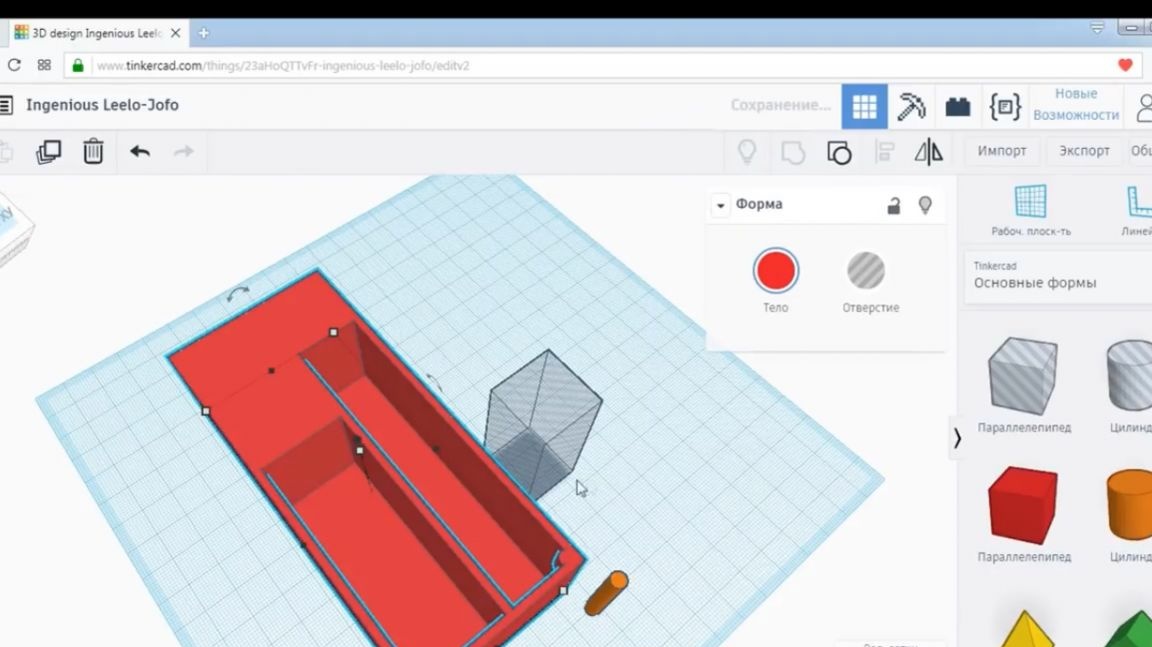
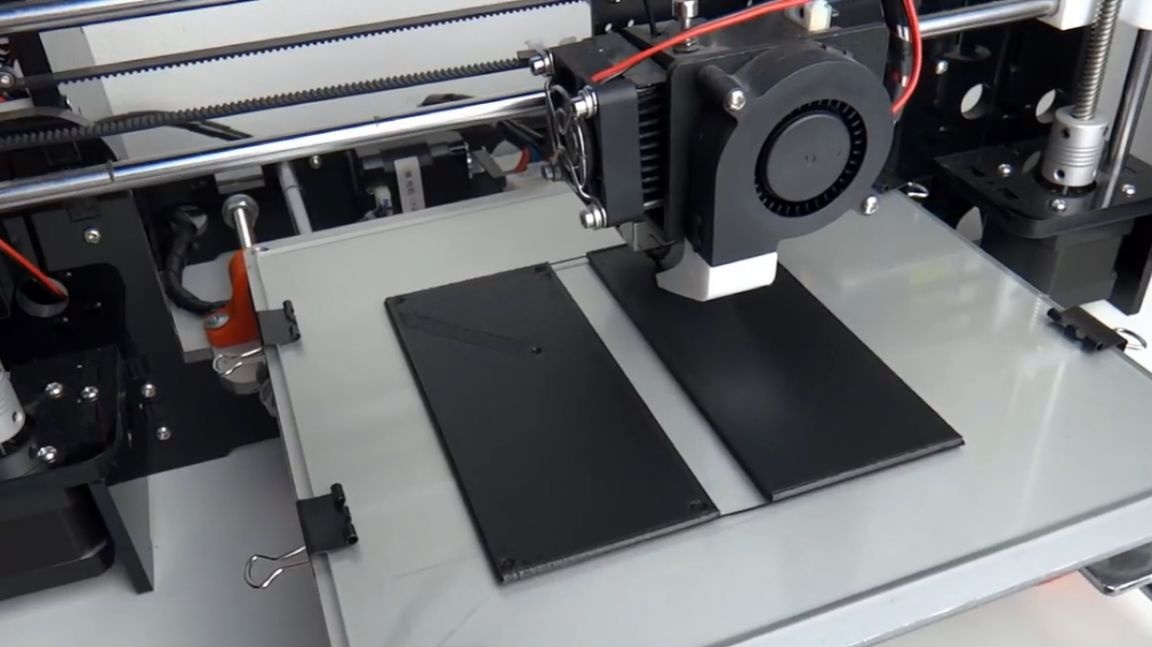
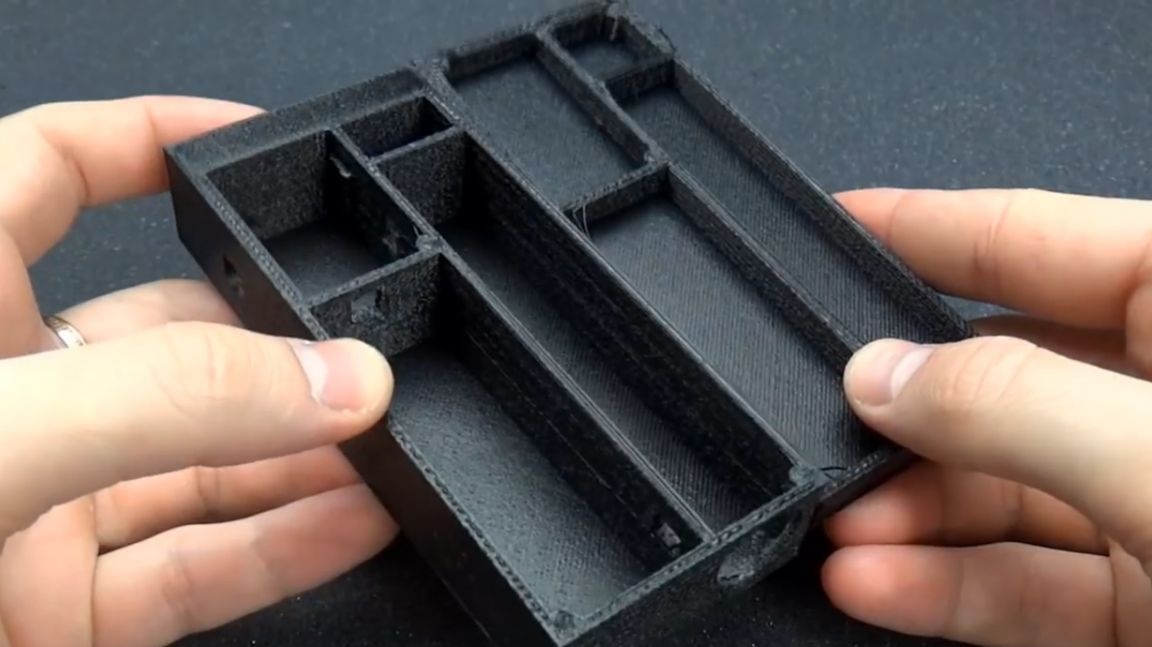
The case for this shocker, the author decided to model on his own and subsequently print it on a 3d printer. When calculating the dimensions of the future shocker, it was based on the dimensions of the high-voltage voltage converter and the filling of the paverbank. Taking into account all the measurements taken, the author draws a sketch.
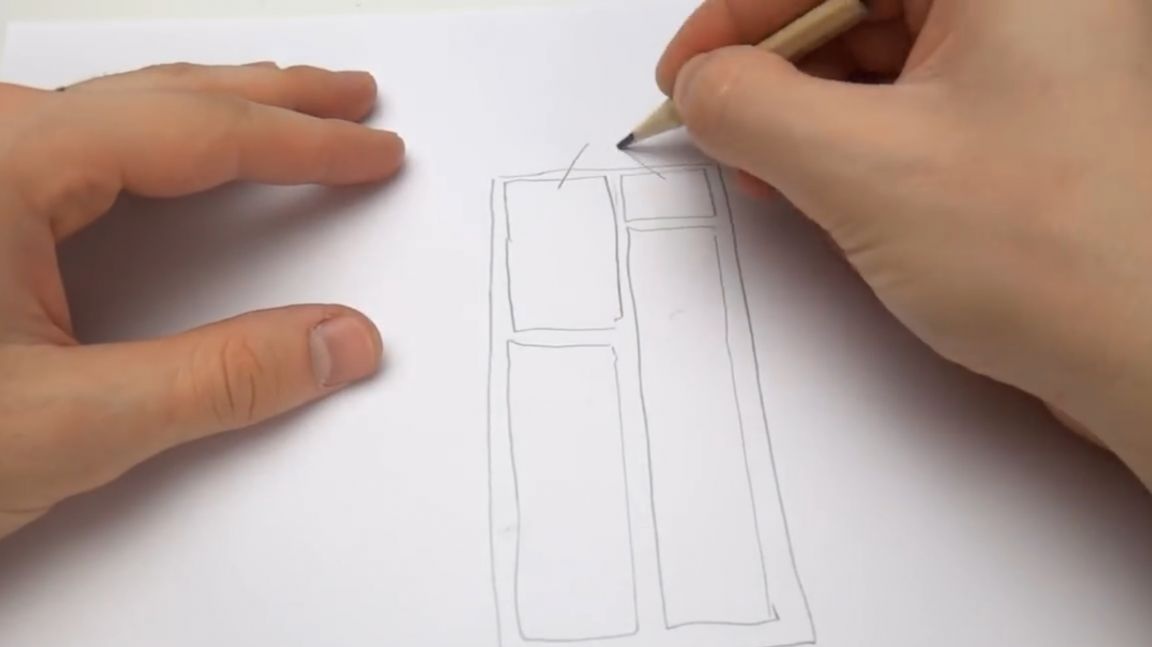

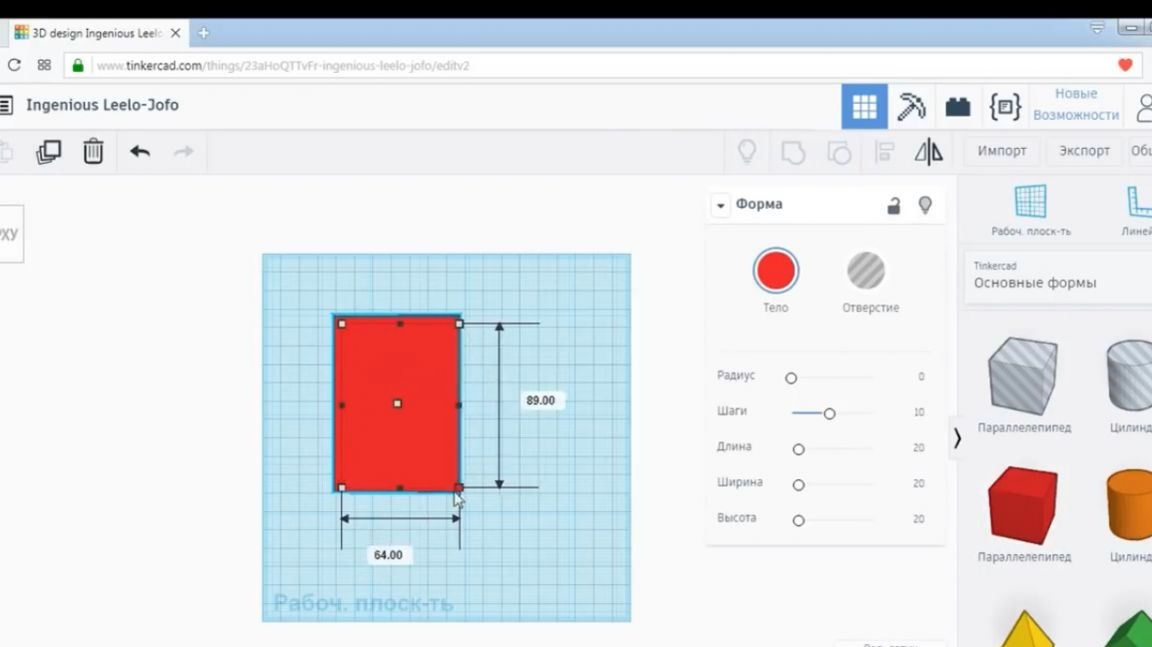
Well, that’s it, the sketch is ready. Now you need to transfer it to 3d model. We will work on the tinkercad online modeling site.
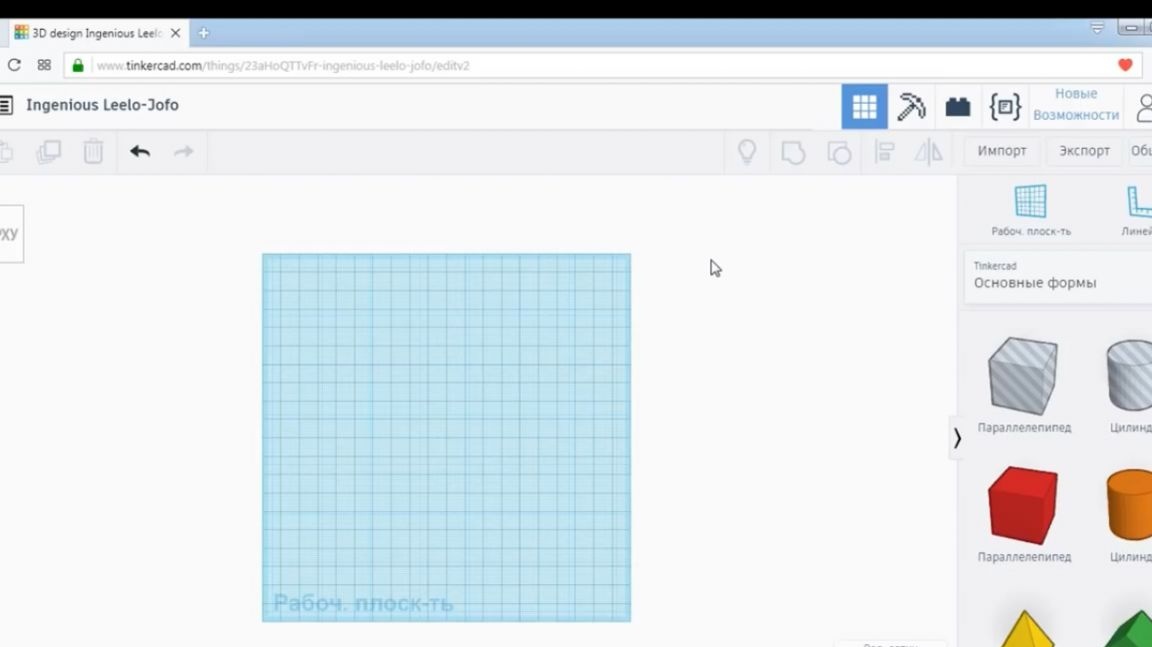
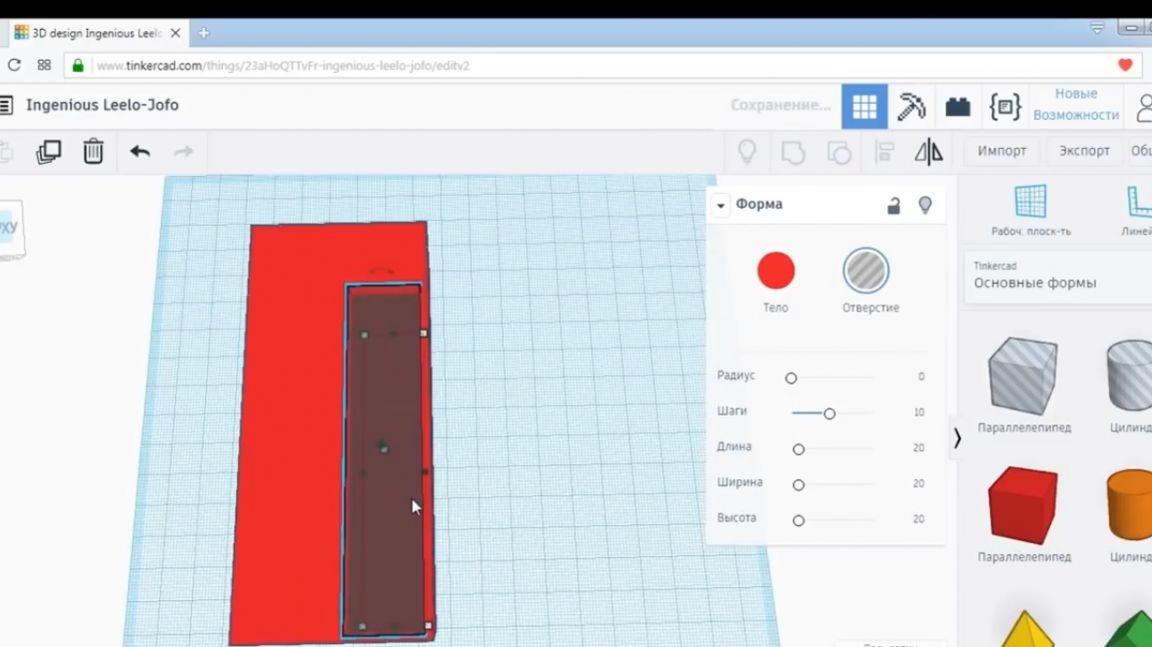
Who cares, the author also left a link in the description under the video. The modeling process on this site is ugly simple by itself. For example, we take the parallelepiped as a basis, and set its dimensions along the length, width and height. Inside the resulting figure, we embed an empty parallelepiped of slightly smaller sizes, group and get the body completely under the powerbank.
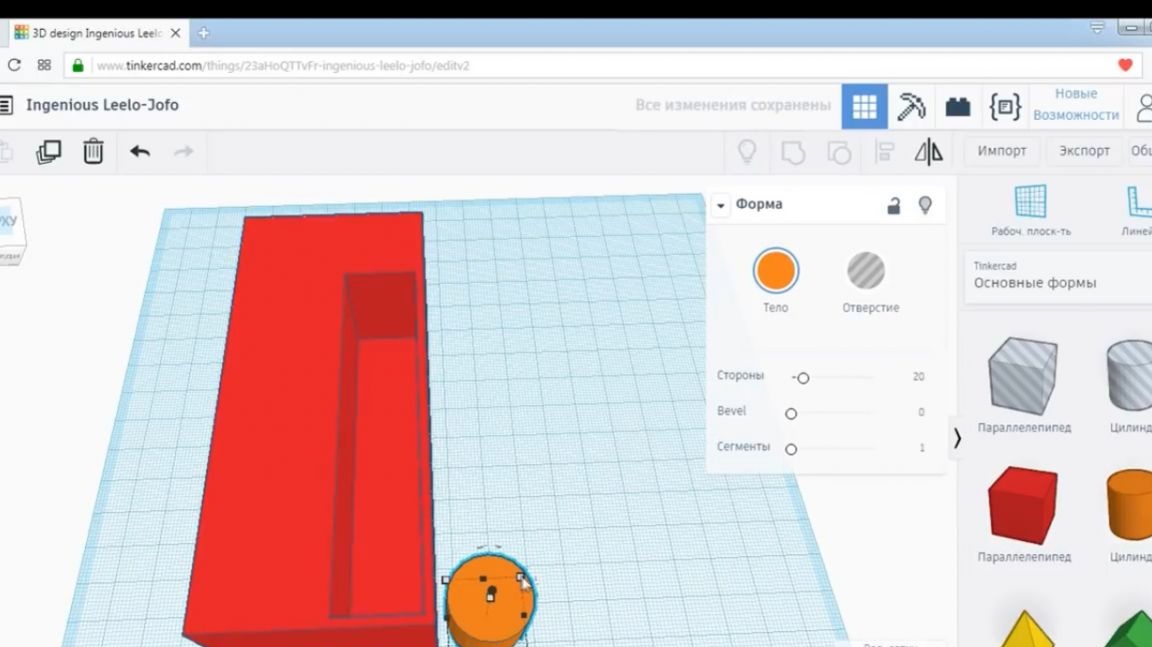
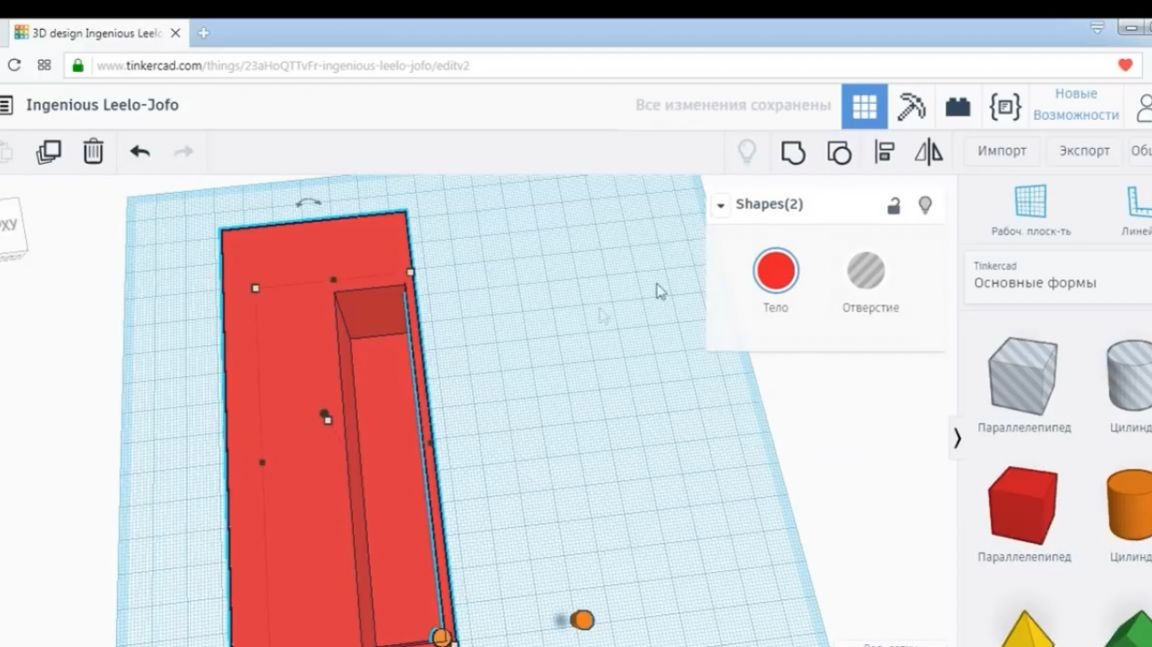
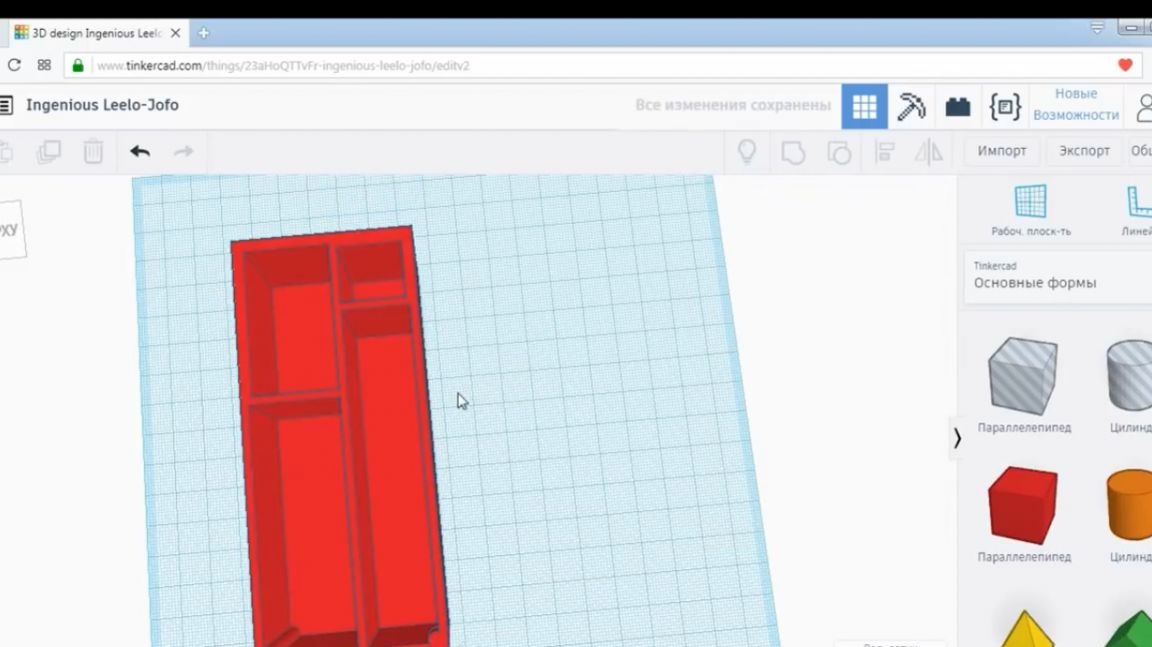
Then create a round column in the corner of the case. A screw for fixing the cover will be screwed into it in the future.
Next, we create the remaining cavities, according to the drawing, and also do not forget to install the posts for the screws on the corners with which we will fix the lid. We simulate the cover itself by adding a parallelepiped and then pulling it in width and length to the dimensions of the base of the future stun gun body. We make the thickness of the lid 2 mm, there is no longer any need. To insulate the hats of the screws in the cover, we make conical recesses in it at the places of fastening with screws.
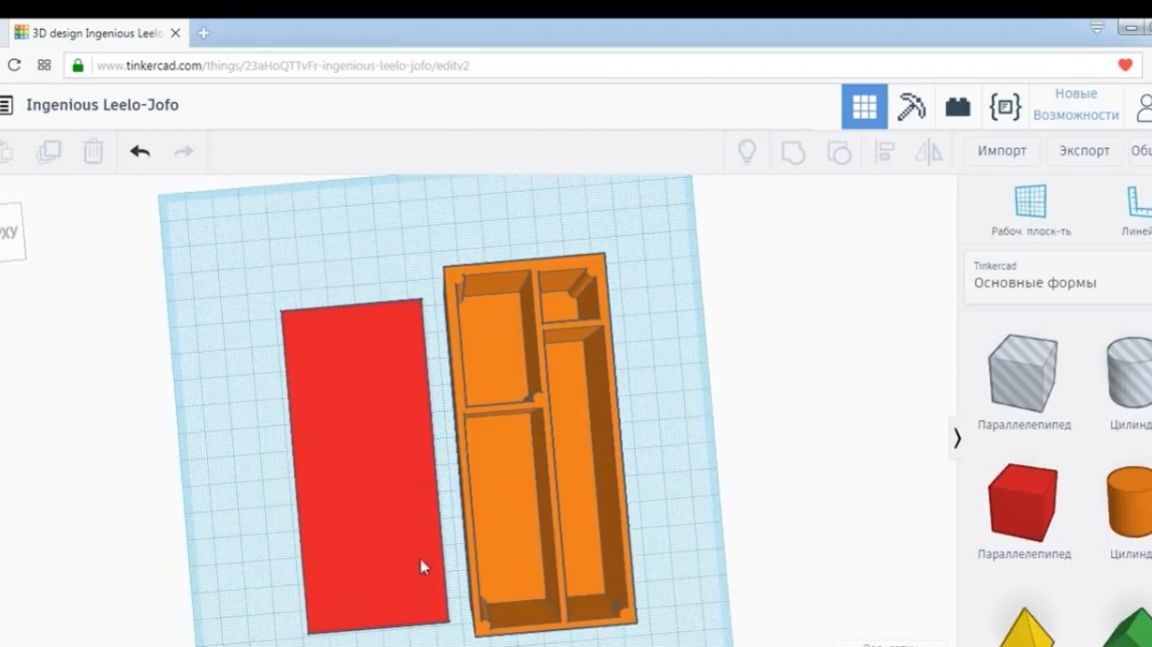
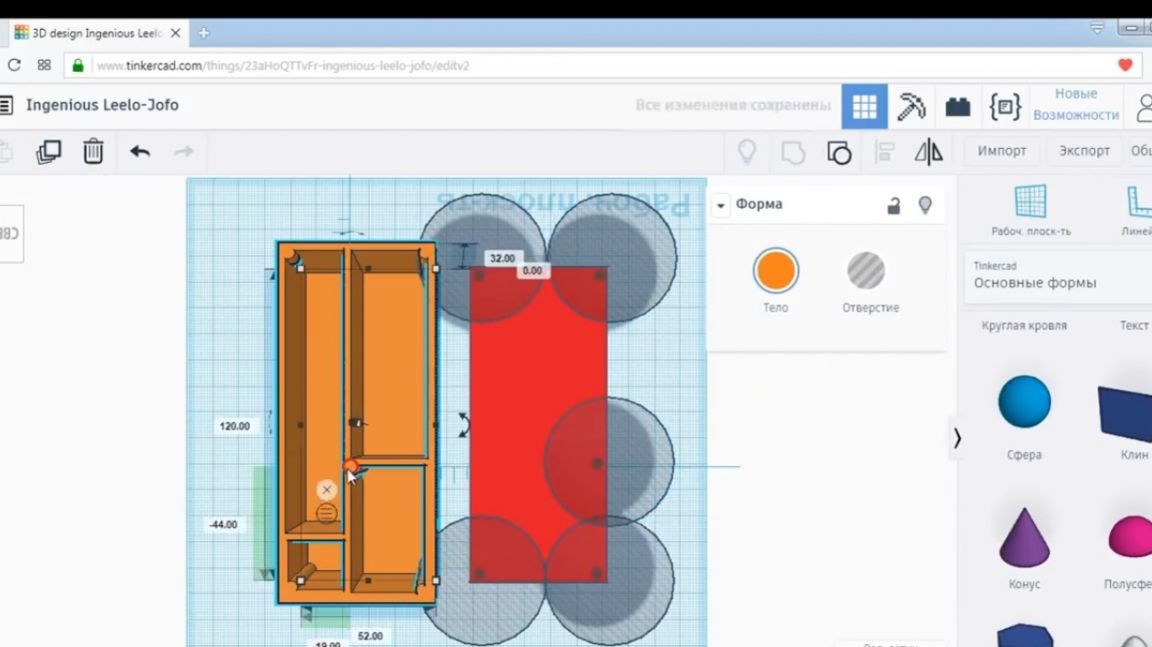
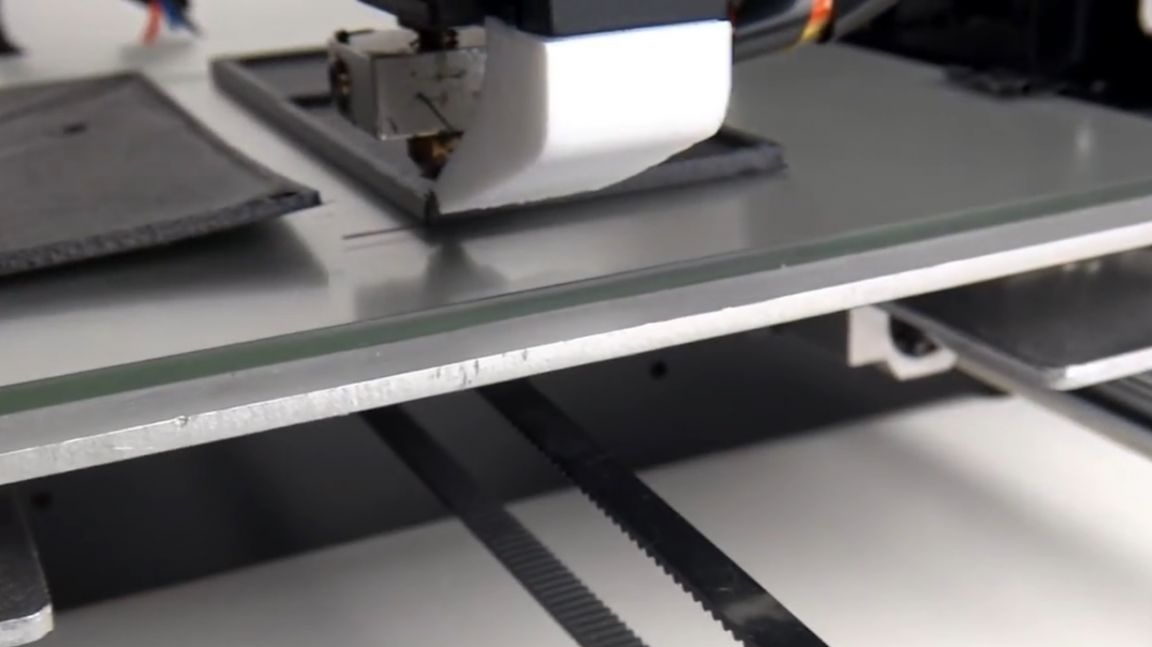
The entire process of modeling the hull took about 30 minutes. And this, taking into account further improvements, about which a little later. We save the model and run it for printing.
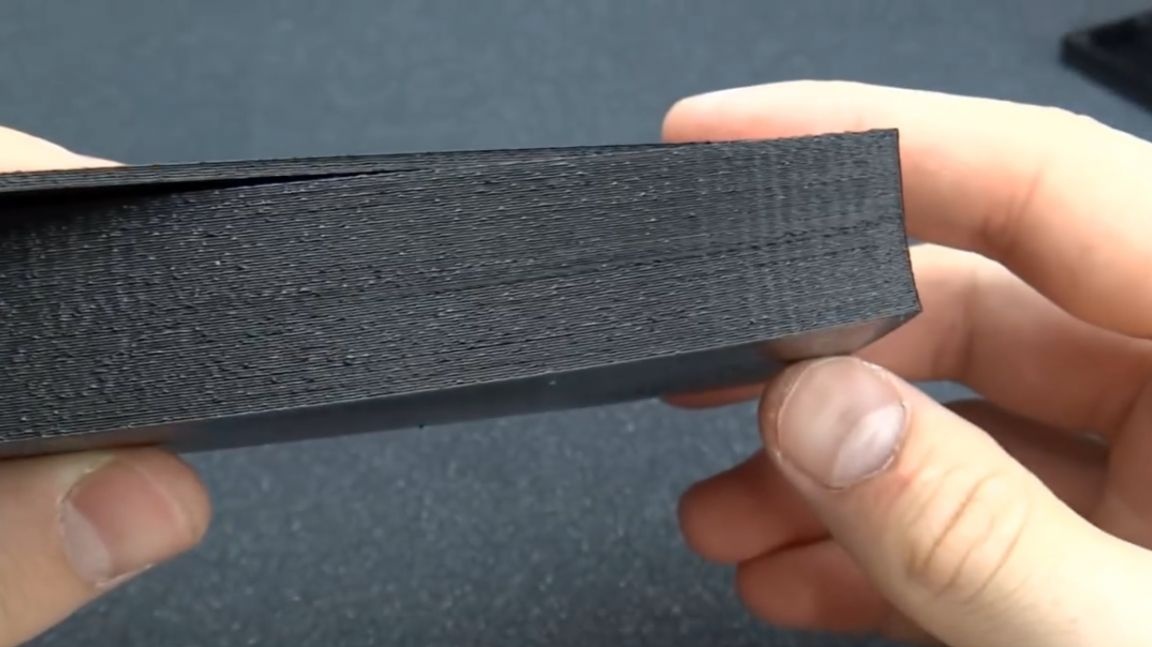
It would have taken more than 5 hours to print the case. For the time being, everything went well, but after some time the case cover peeled off from the table. Fortunately, she managed to completely complete her tests.
The case itself was holding well, but after a while he gave up. I had to forcibly stop printing. But this is even good, because, having twisted and turned off what had already been printed, the author realized that he had forgotten to model holes in the body for the base of the power bank for connecting usb wires to it.
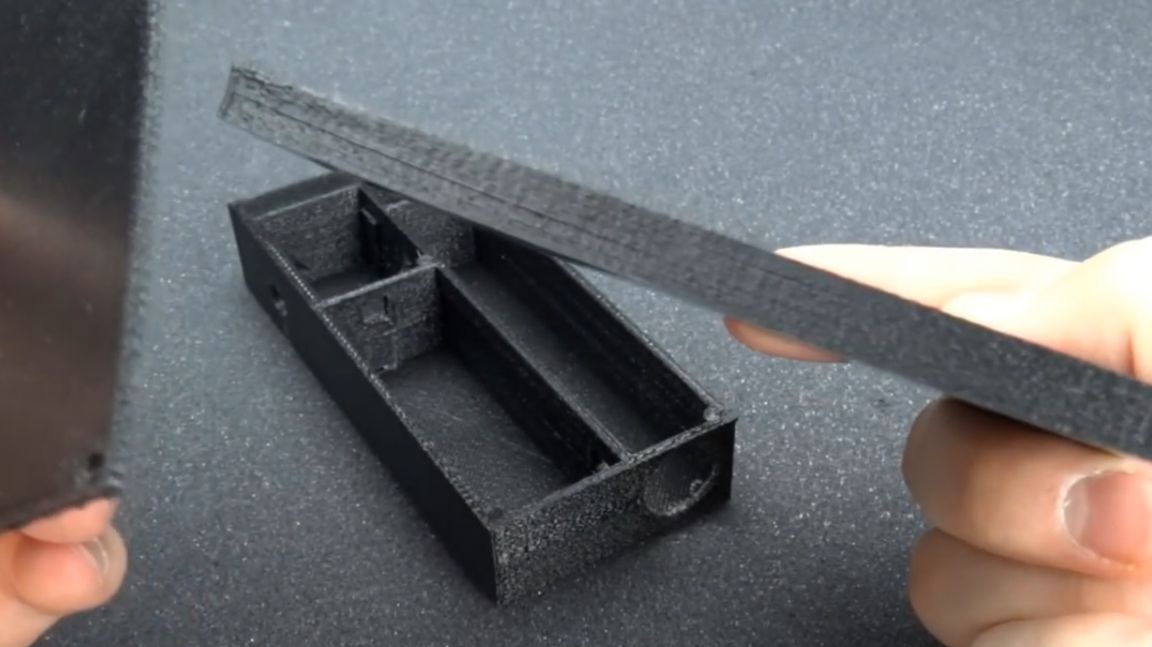
Also, at the same time, he changed the thickness of some walls of the case in the project, and made holes for them in the wires.
Unfortunately, the second attempt came out with a marriage. During printing, one of the corners also moved away from the table. As a result, the case turned out to be with a slight defect, but the author did not retype it anymore.
In this version of the case, the author significantly thickened the wall from which the nails would stick out, since he came to the conclusion that the wall thickness that was in the initial version was not enough for reliable fixation.
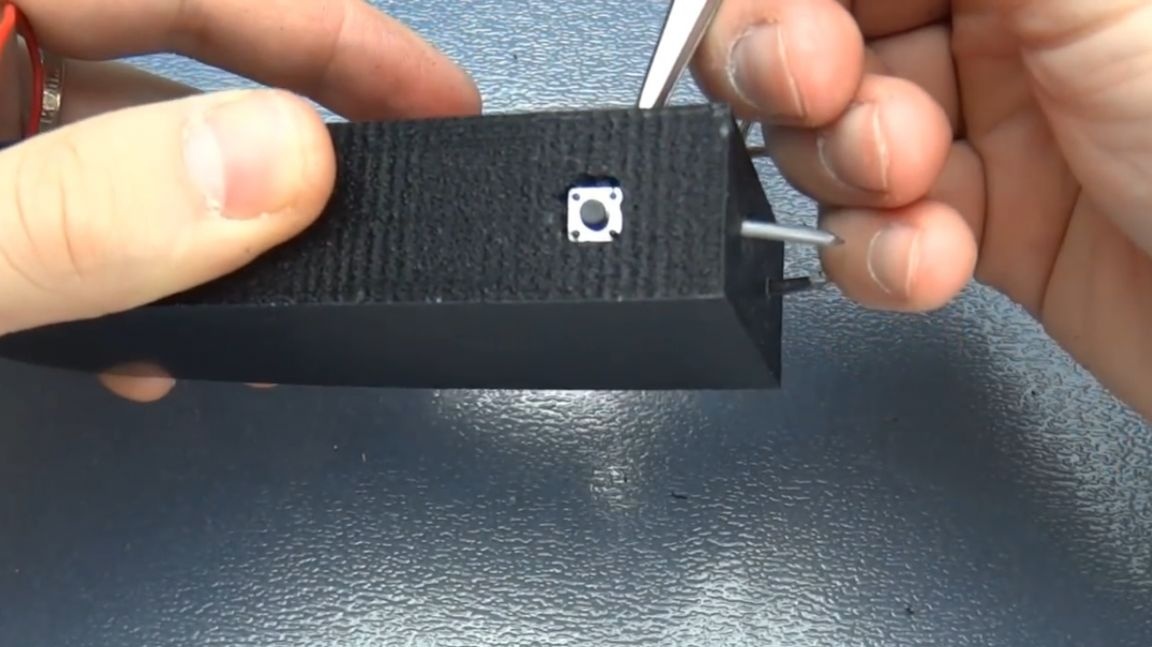
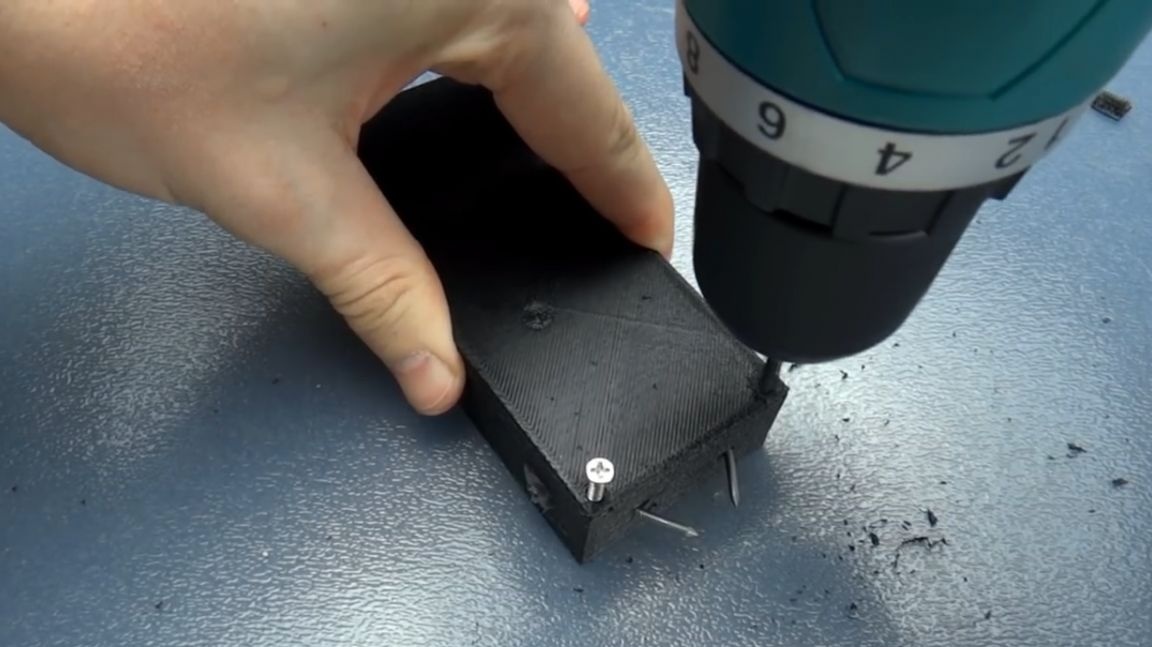
So, mark the future arrangement of nails.
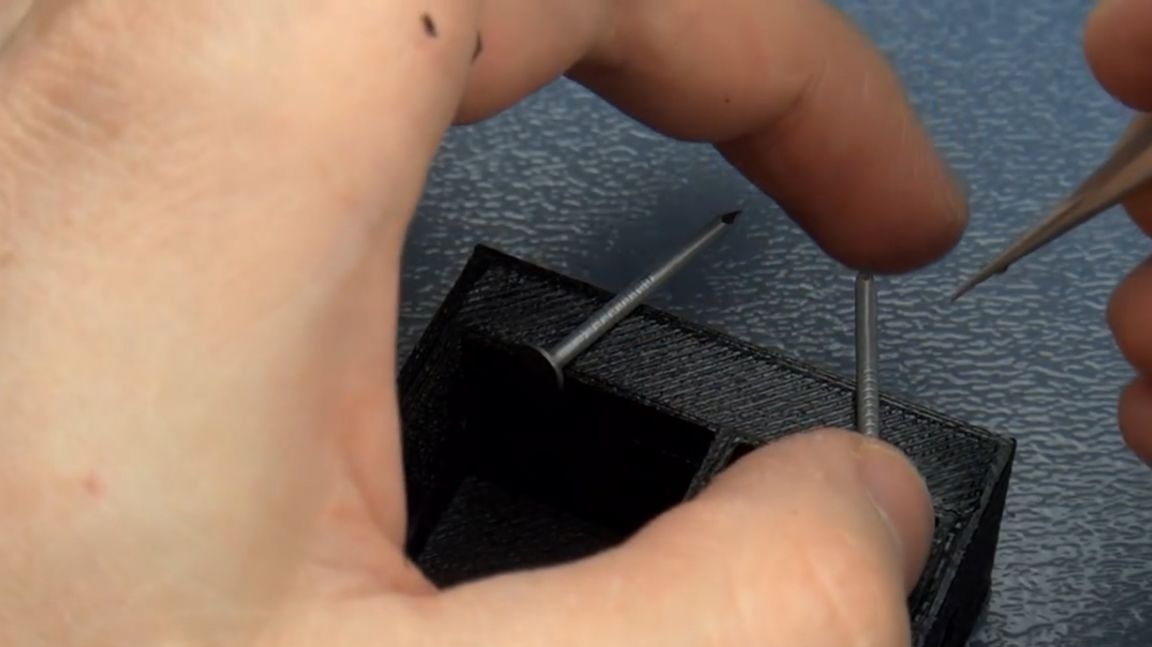

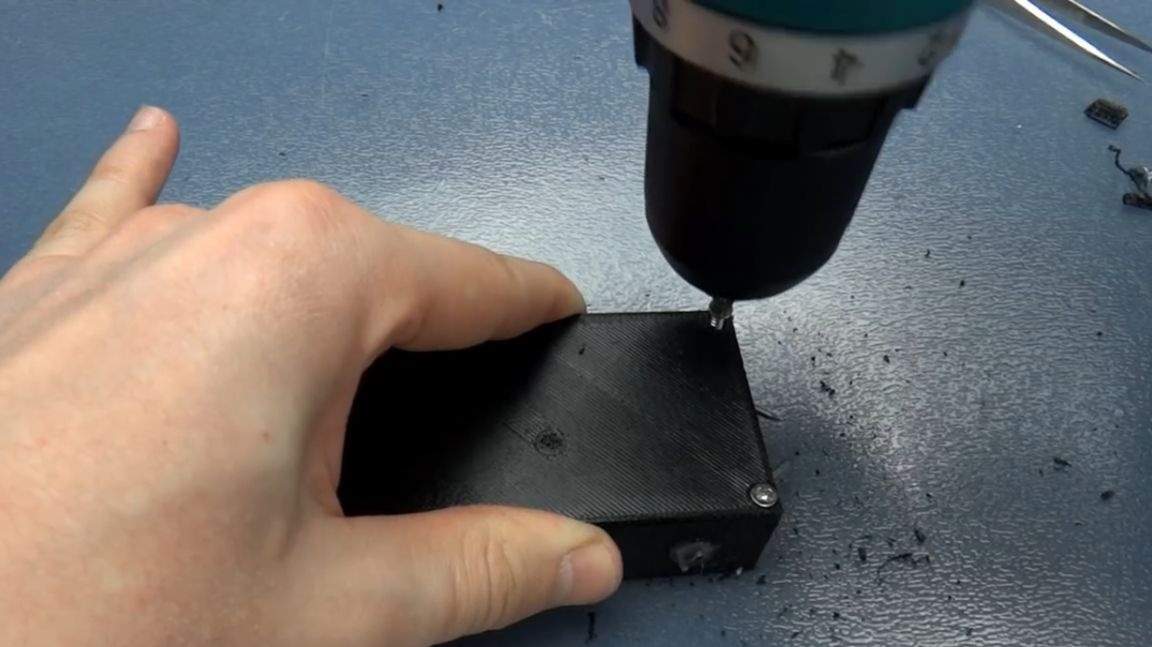
Then, we drill 2 holes in the body.
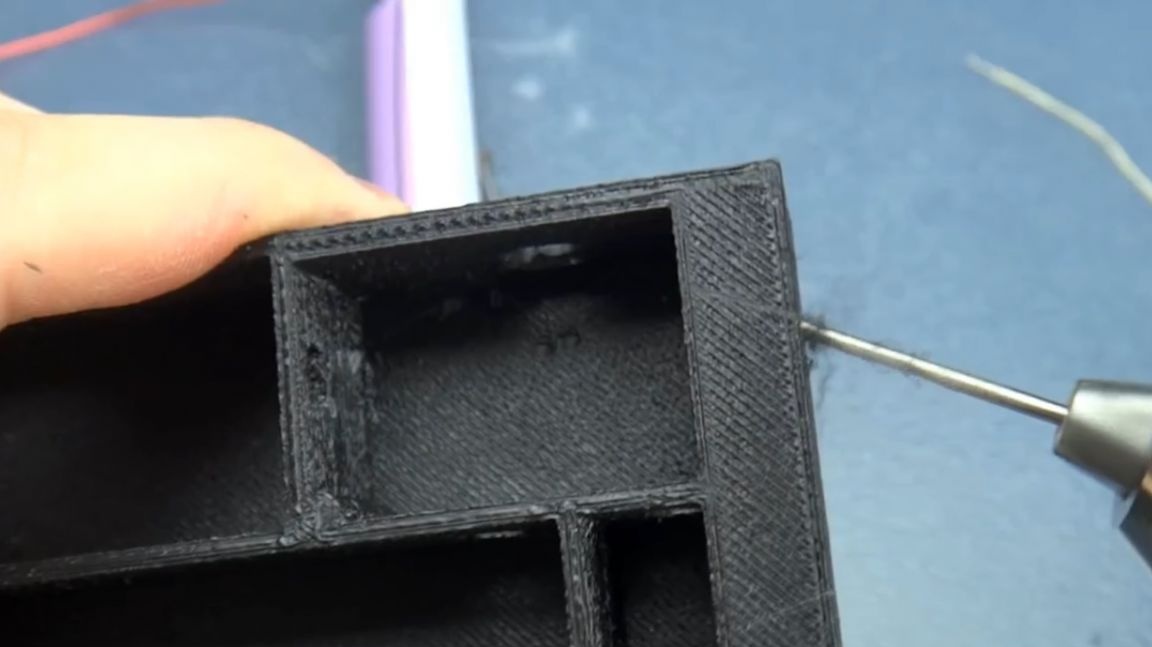
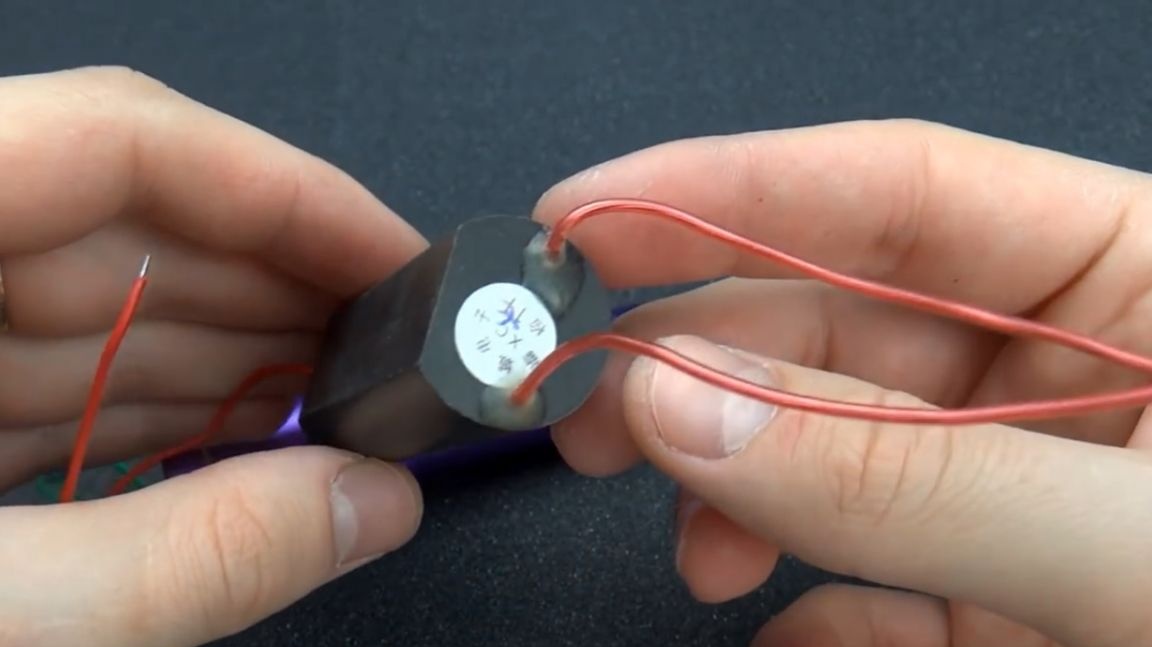
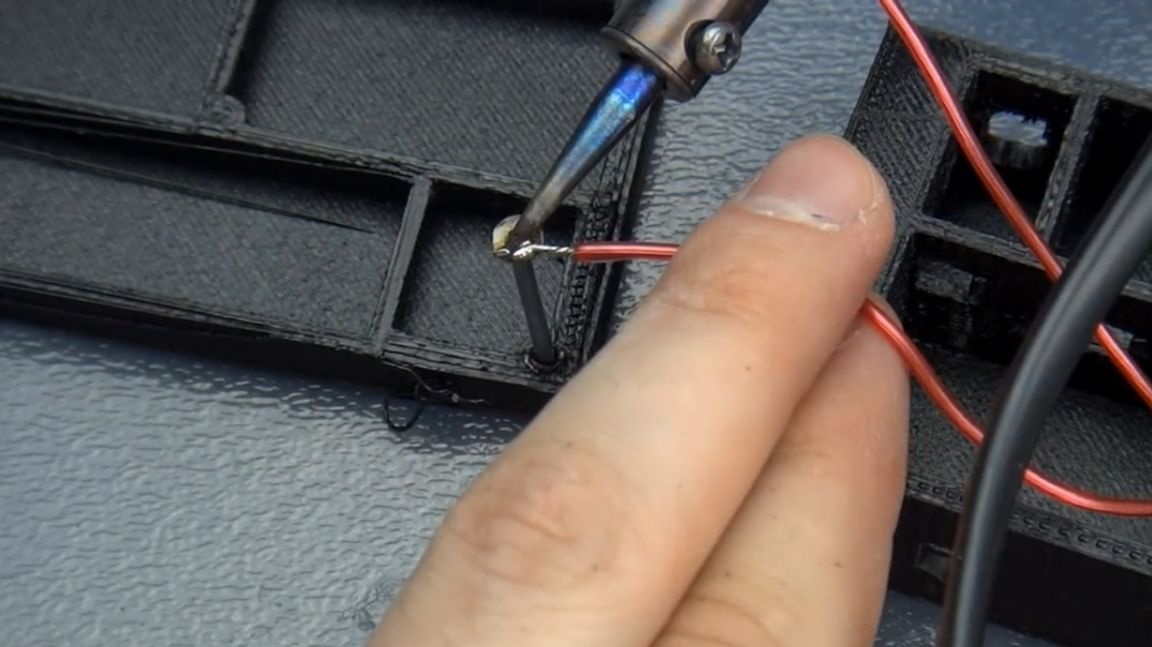
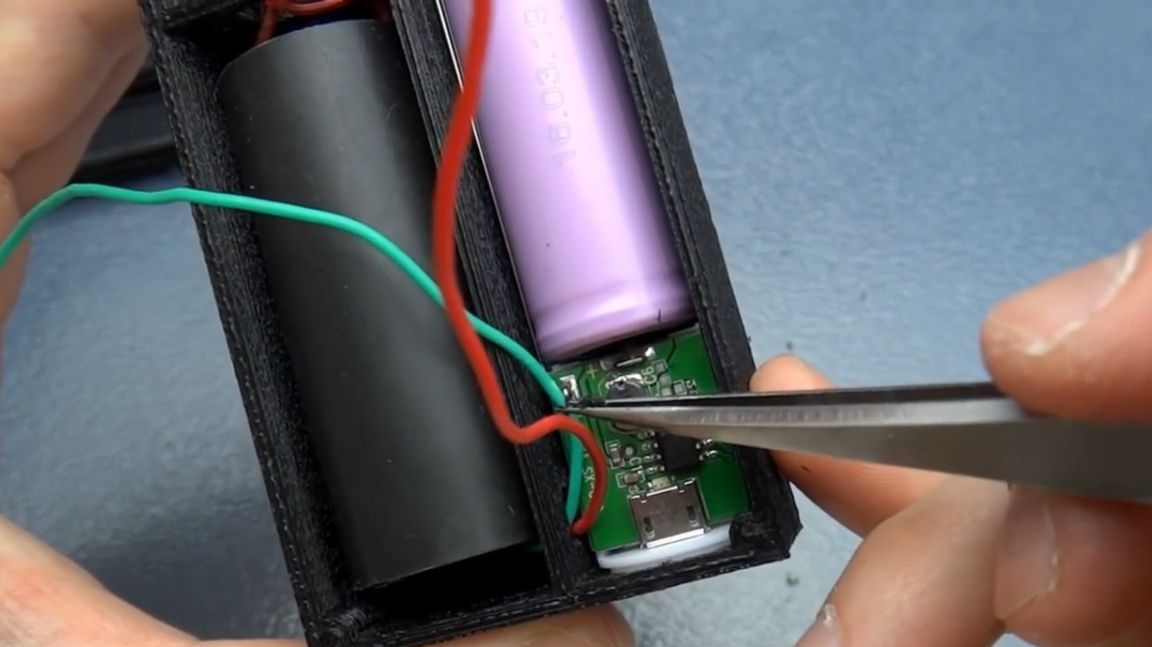
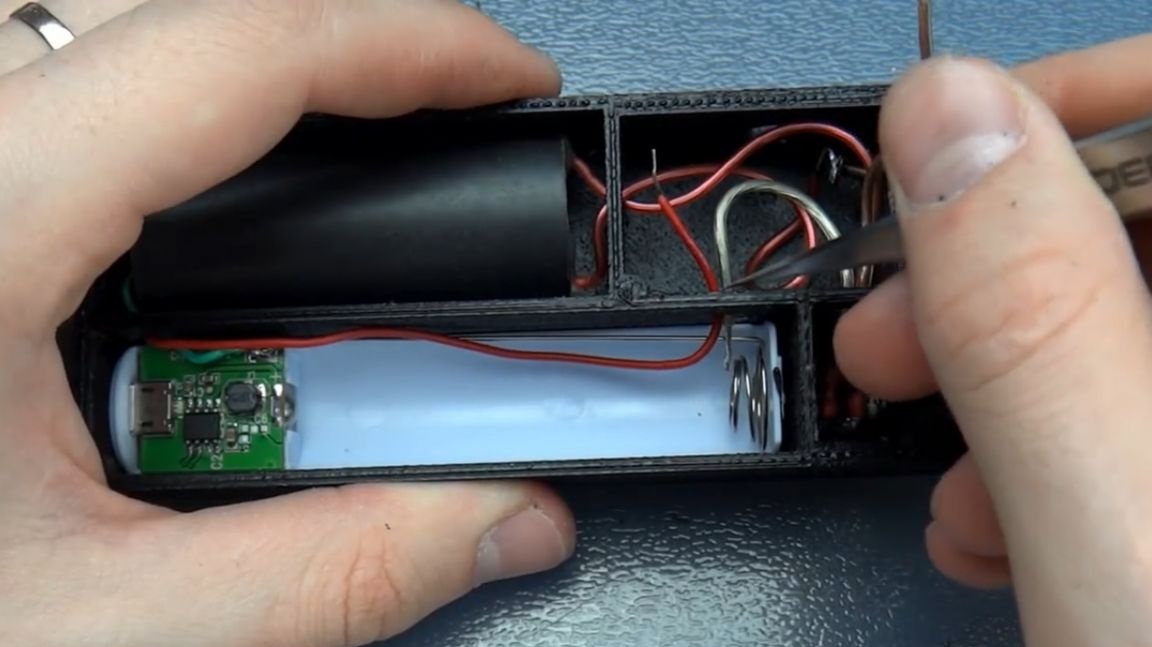
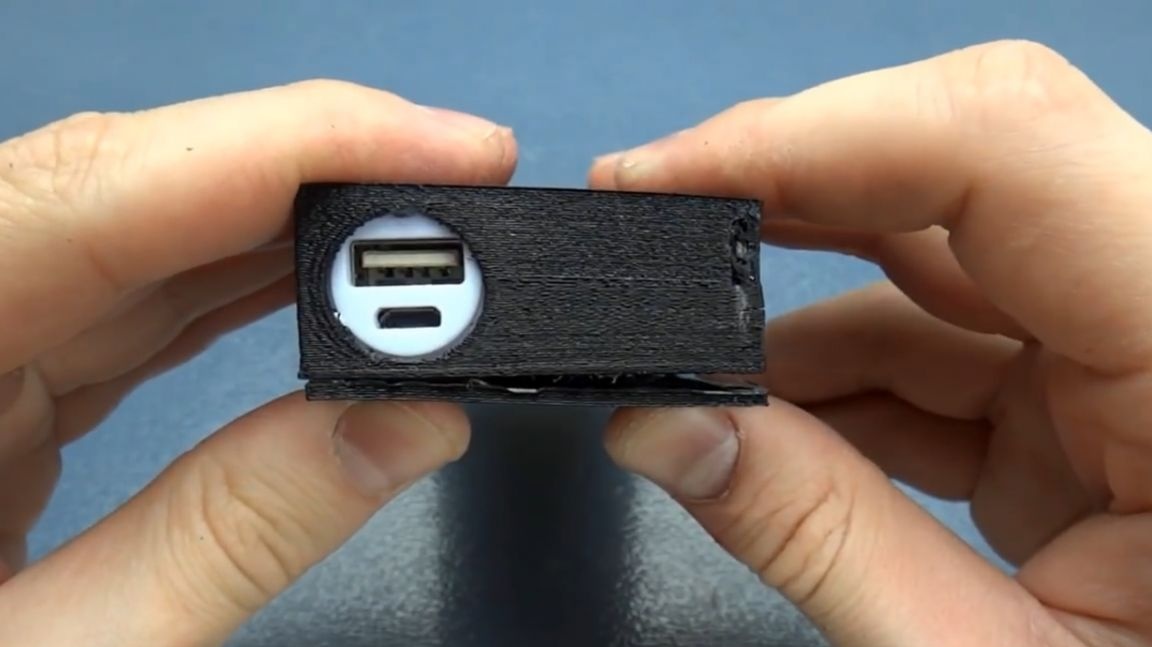
After such refinement of the case, we begin to place all the components of the stun gun in it. Let's start with a high voltage voltage converter. When installing it, the module wires are pushed into pre-prepared holes. Two red wires are thrown at nails, while red and green are fed.
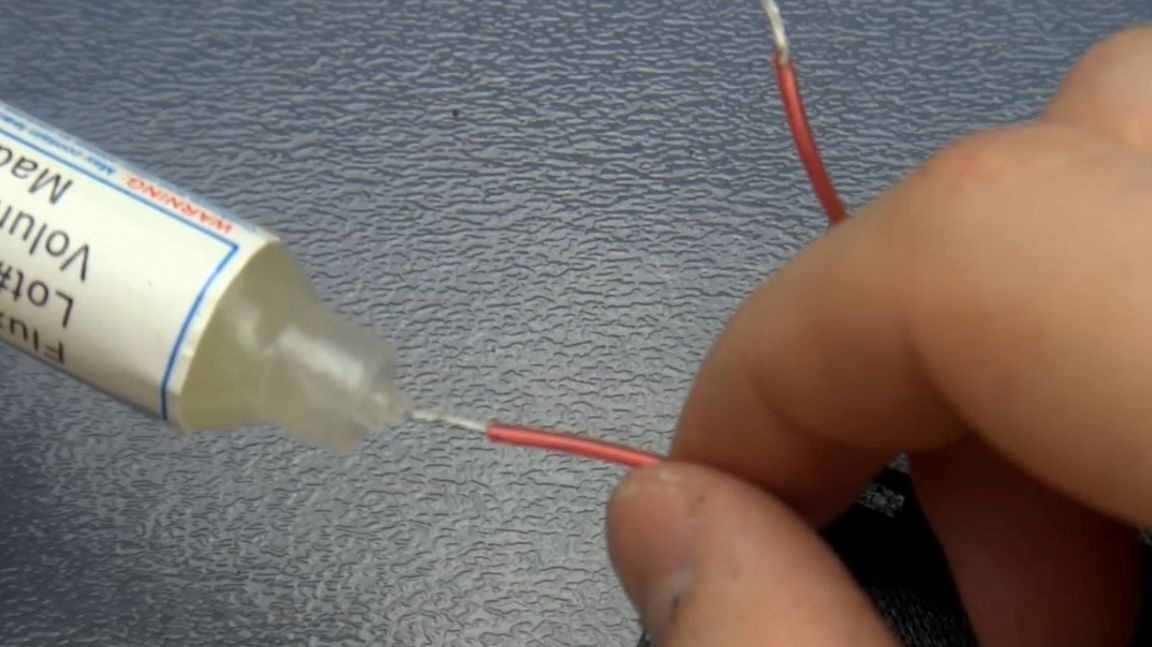
After placing the transducer inside the stun gun case, solder the red wires to the nail heads, along the wire to the nail. But first, you need to prepare the wire and nail for soldering, thoroughly irradiating them. After which it is already soldered.
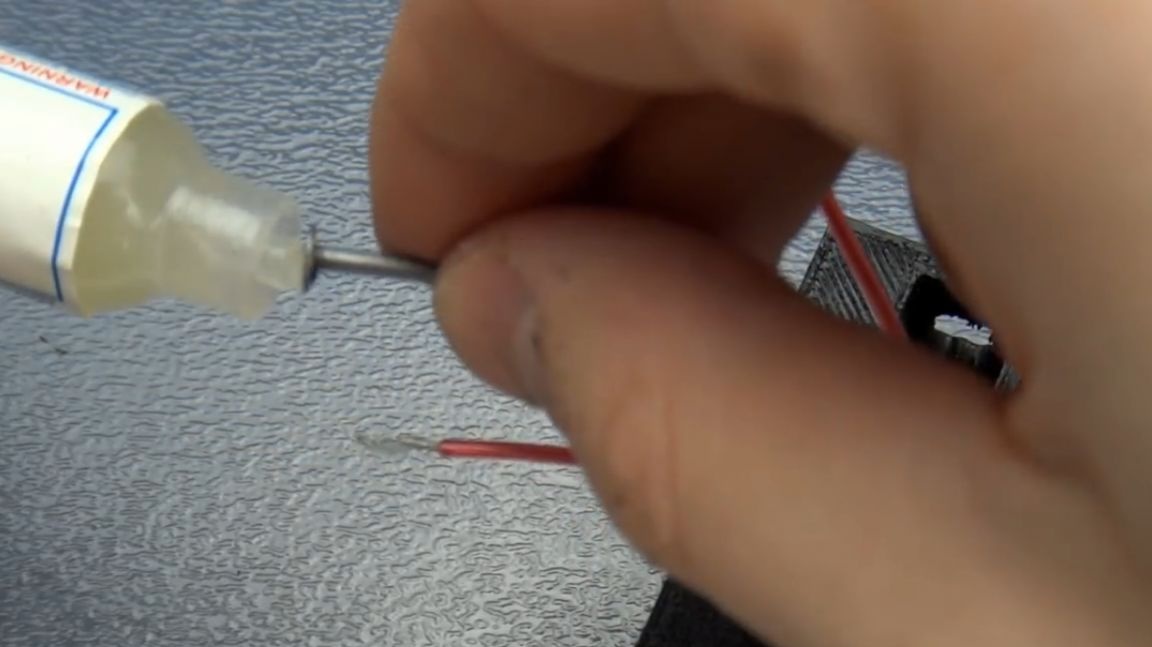
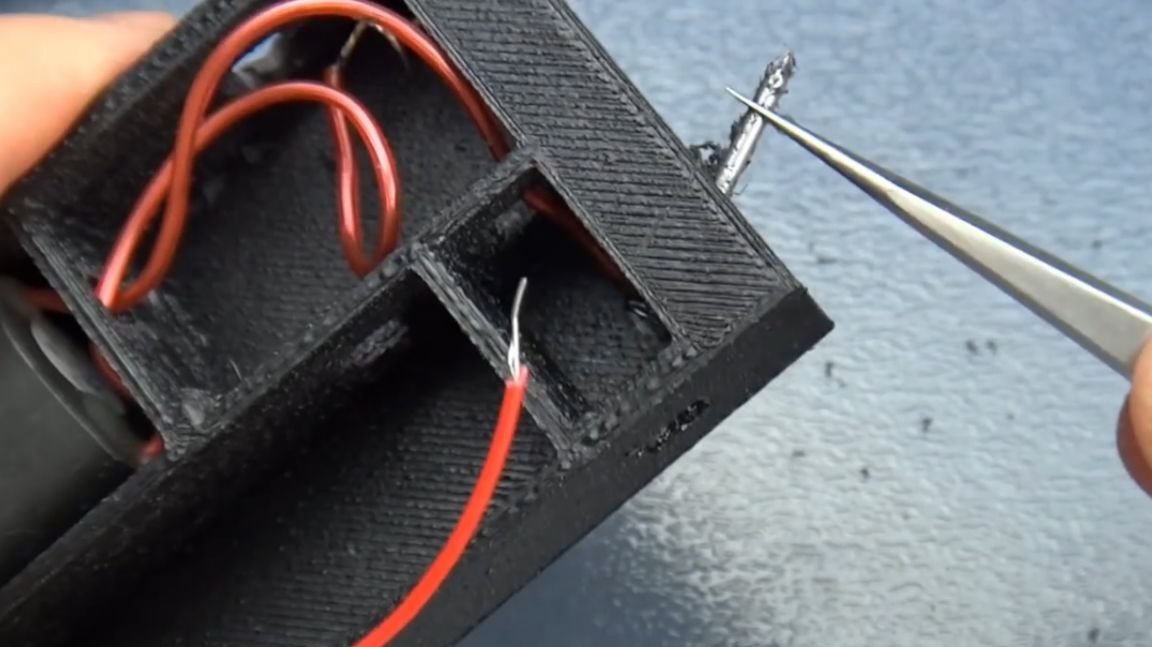
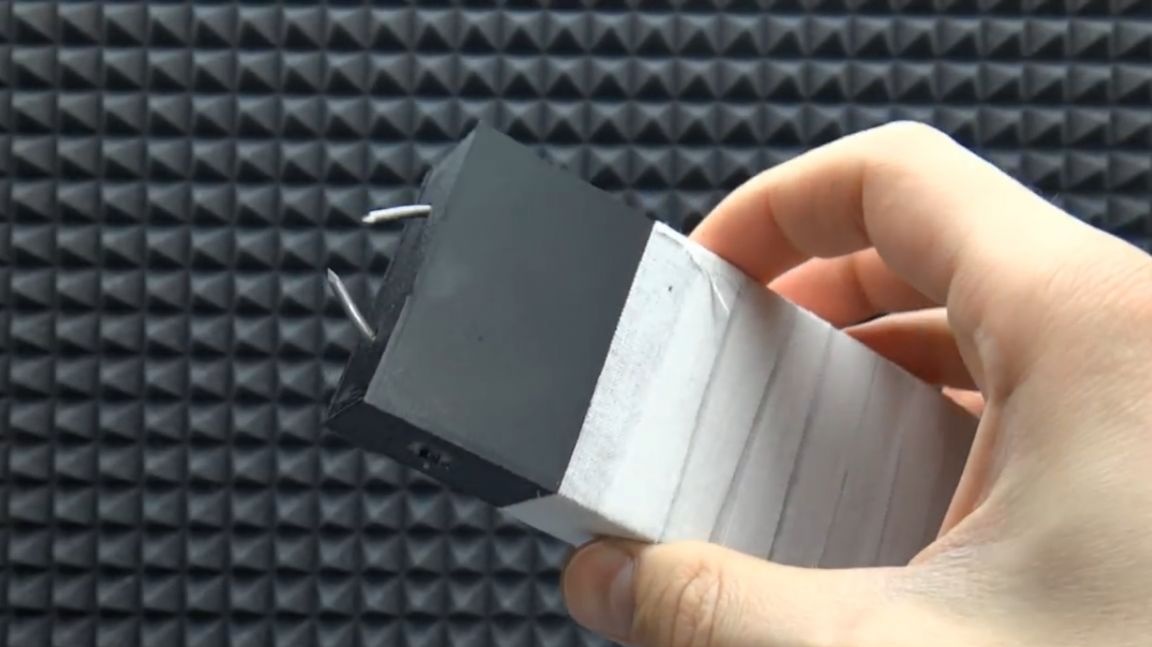
At the end, install the nails into the holes previously prepared for them in the body.
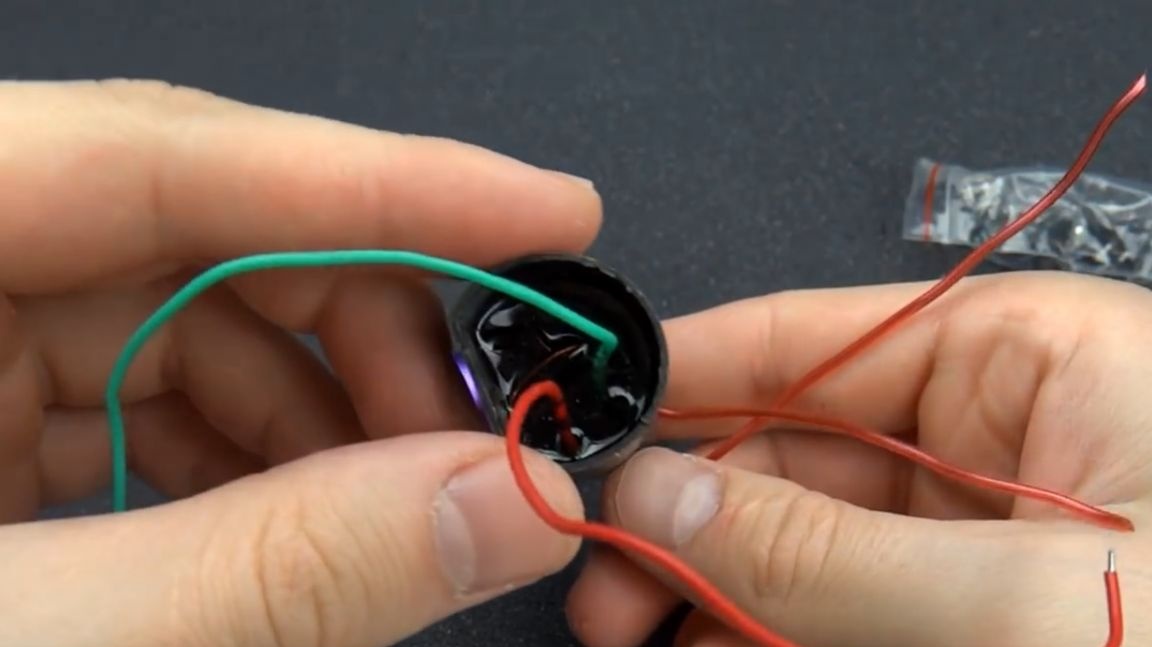
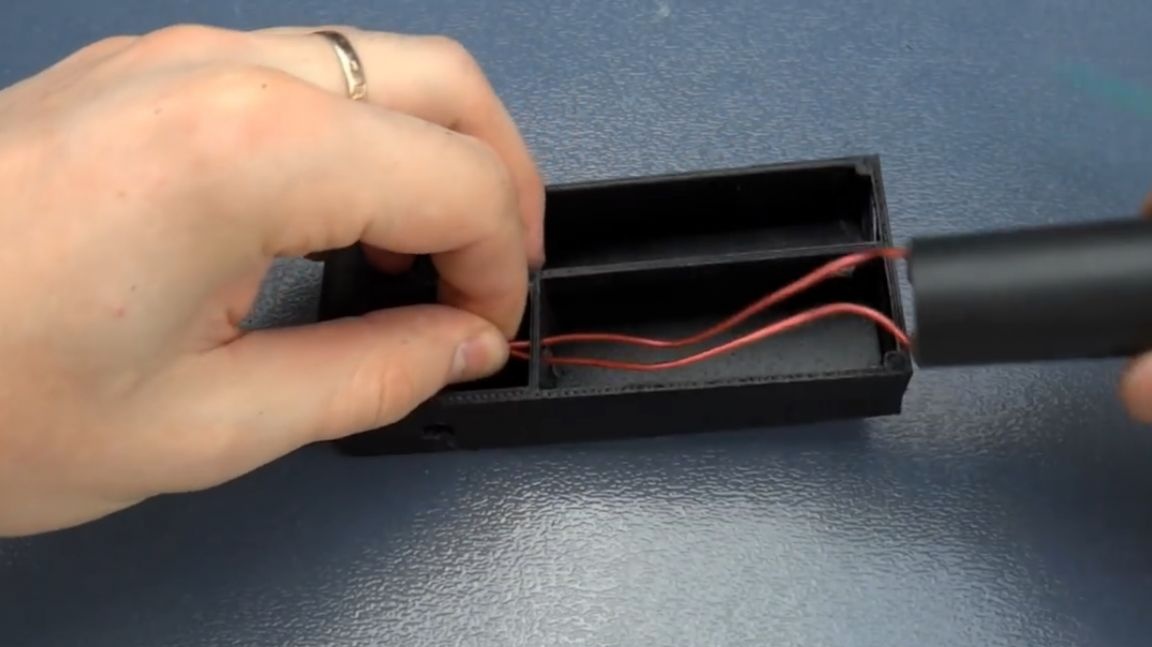
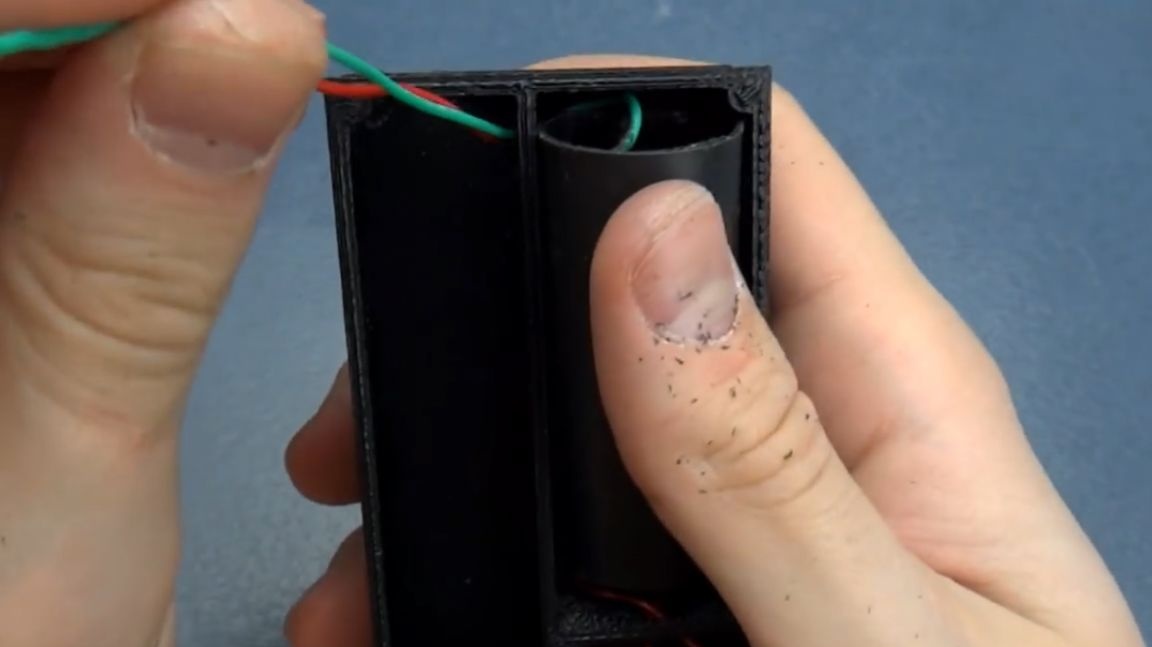
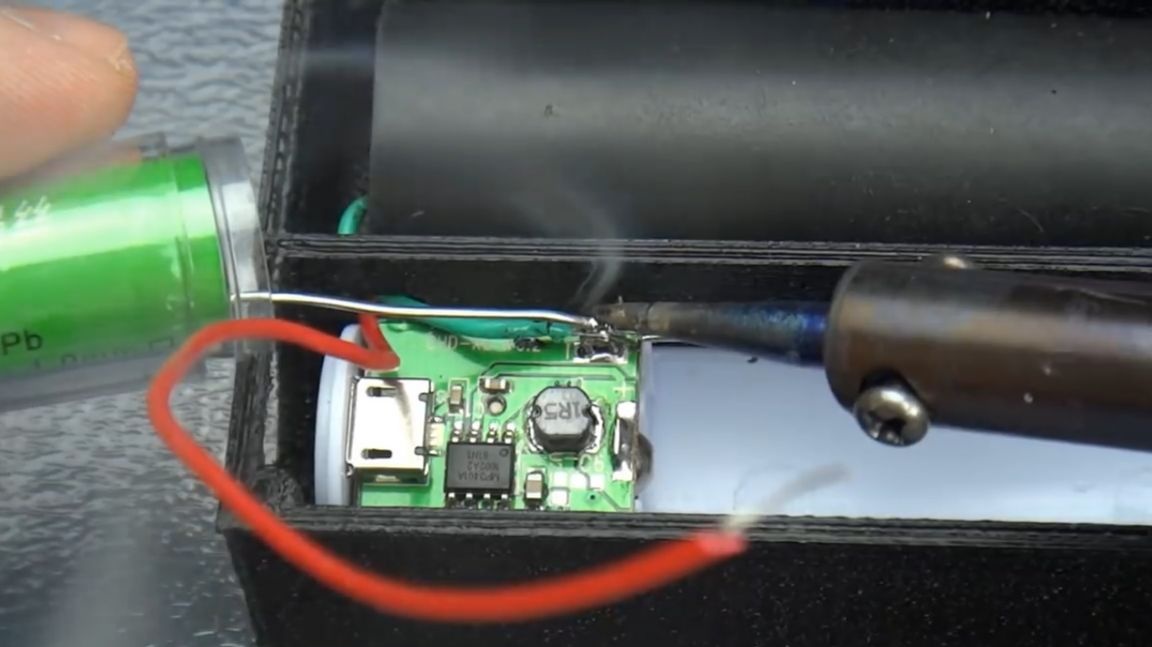
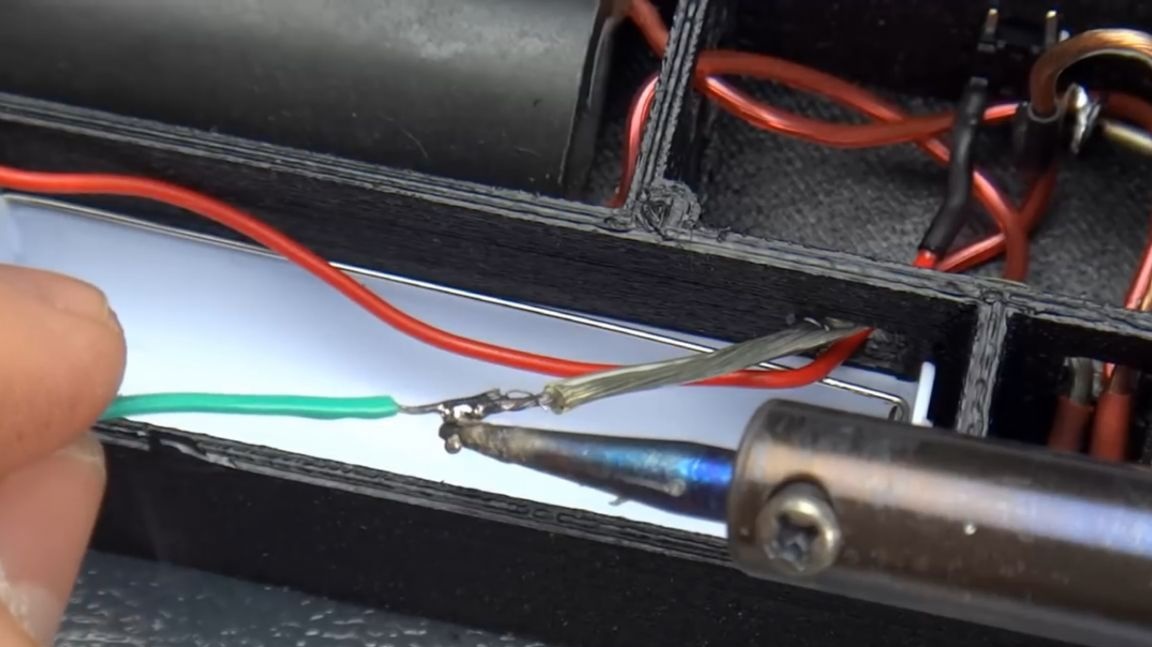
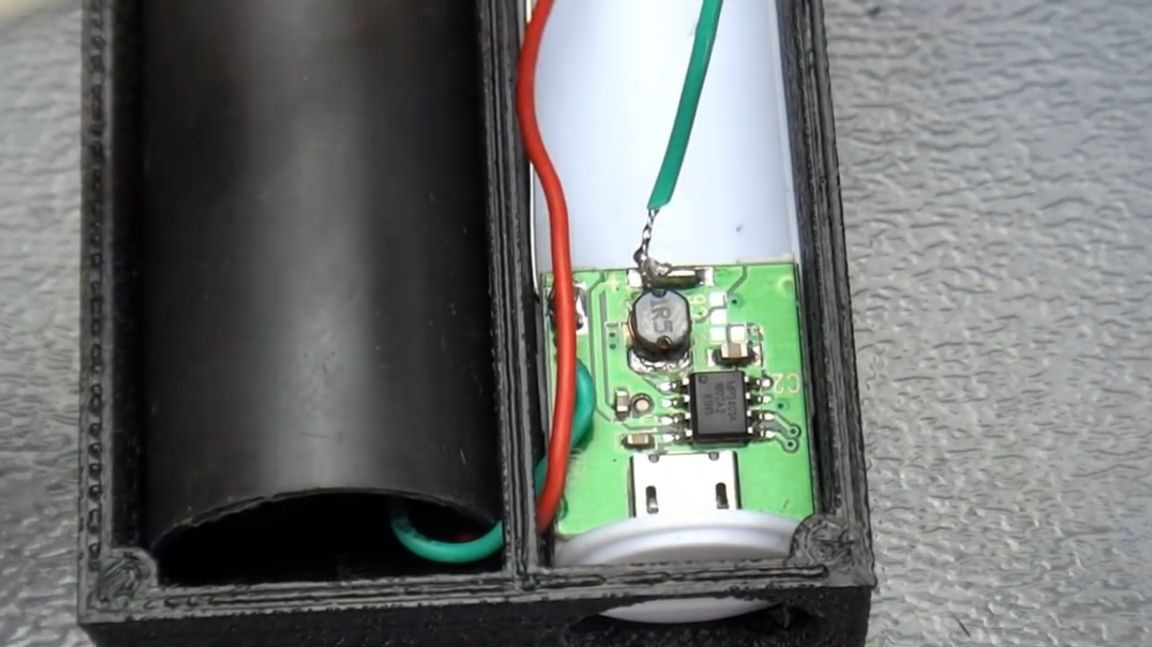
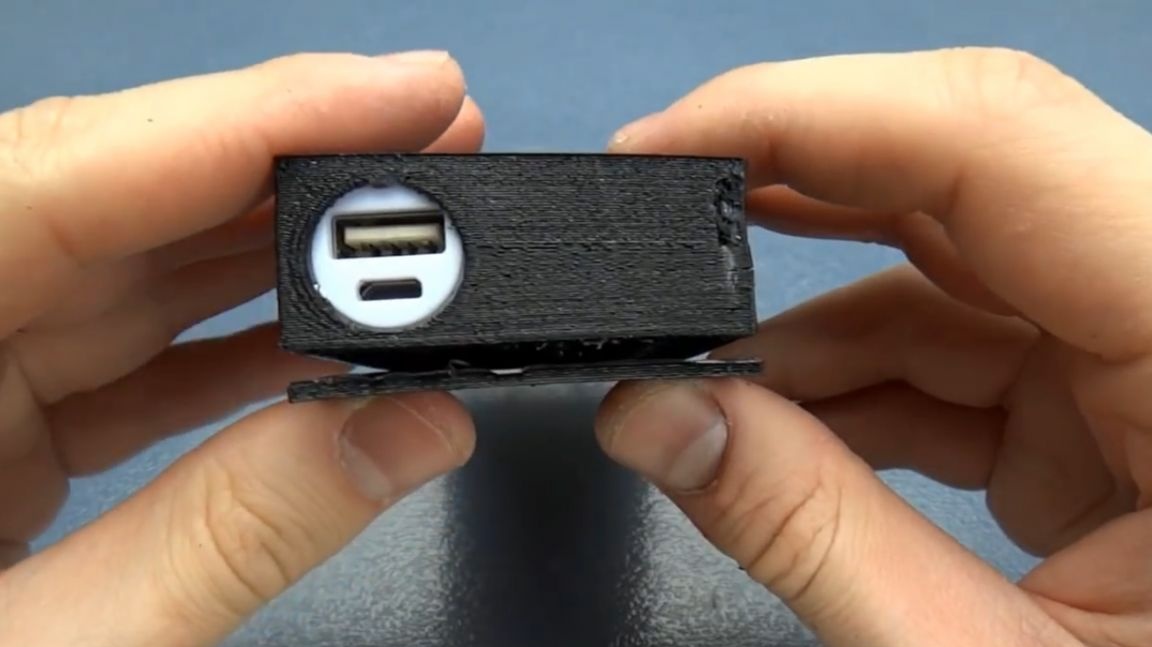
Now it's time for the power bank. Having placed the insides of the power bank in its new housing, it is necessary to measure the required length of the wire from the converter. Since the green wire goes straight to minus, we shorten it and solder it to the minus of the power bank board.

The red wire will go for a plus, initially going through two clock buttons. Therefore, we preliminarily prepare two buttons for their connection to the stun gun circuit.
These buttons turned out to be 4-pin, but we will use only two contacts from each button. If you turn the button horizontally across the delimiting strip, then the upper row of contacts will close with the lower row of contacts. We only need one, so we bend from each row to the extra contact.


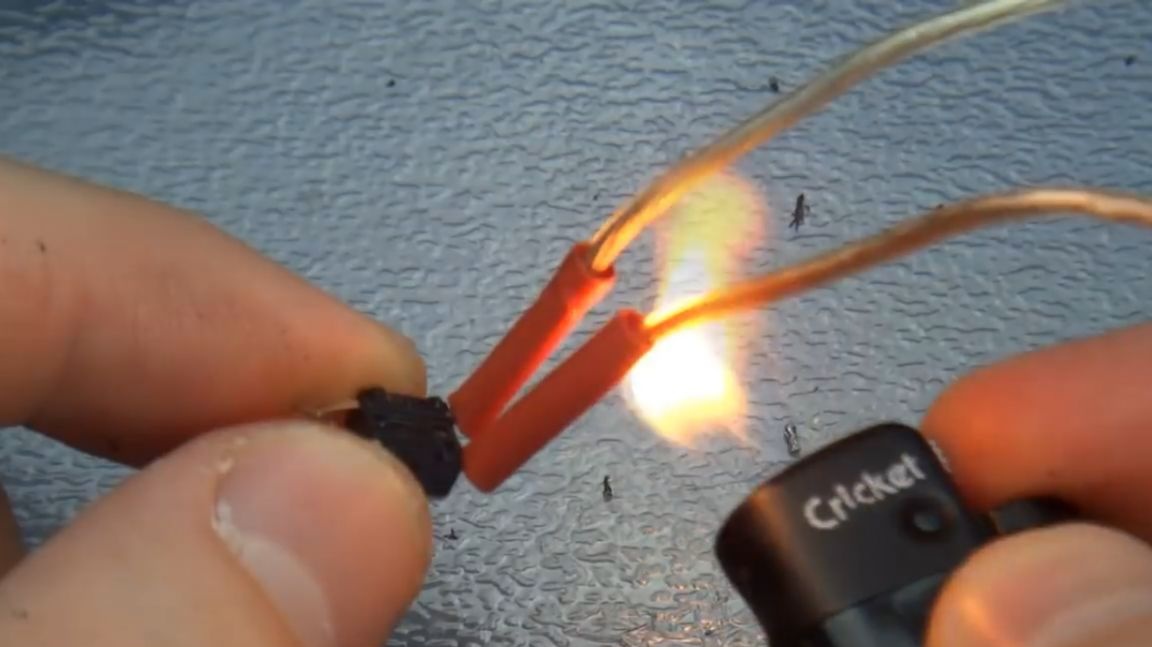
We solder prepared pieces of wires to the rest and isolate everything with heat shrink.
Then set the button in place in the case.
Next, one wire from this button, we throw on the second button, and the second wire, towards the power bank board.
On the second button, the excess contacts are also unbent, and to the remaining solder the wire coming from the first button and the wire from the high-voltage voltage converter. We isolate the places of adhesion by heat shrink.
Unfortunately, the author did not calculate the required wire length a little. And he did not have enough wire from the first button, which was supposed to be soldered to the plus of the power bank board. No problem.He decided to build it with a piece of wire from the converter. Then solder it to the plus on the board.
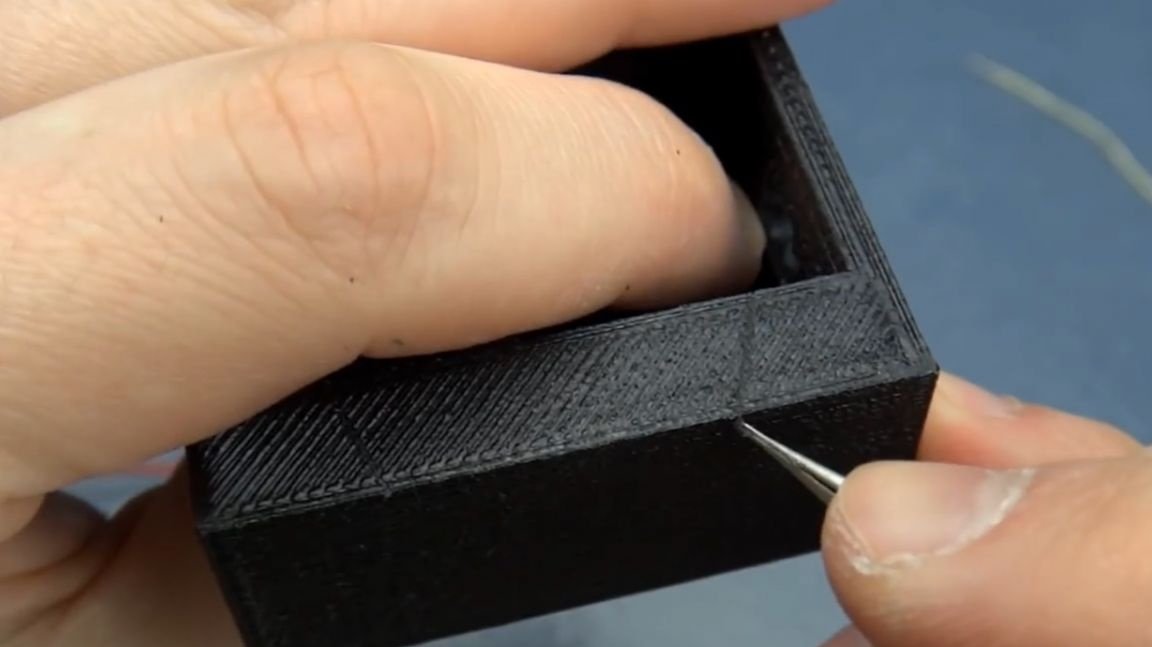
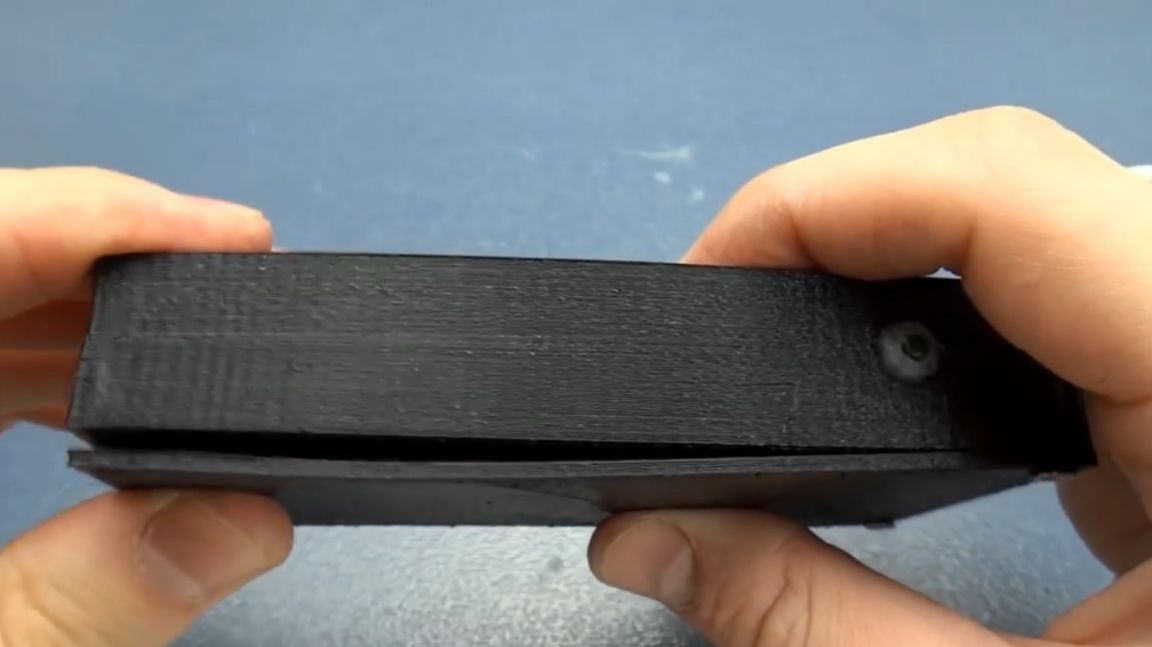
Upon completion of all installation of the stun gun components, we fix all the elements with hot glue and assemble the case.
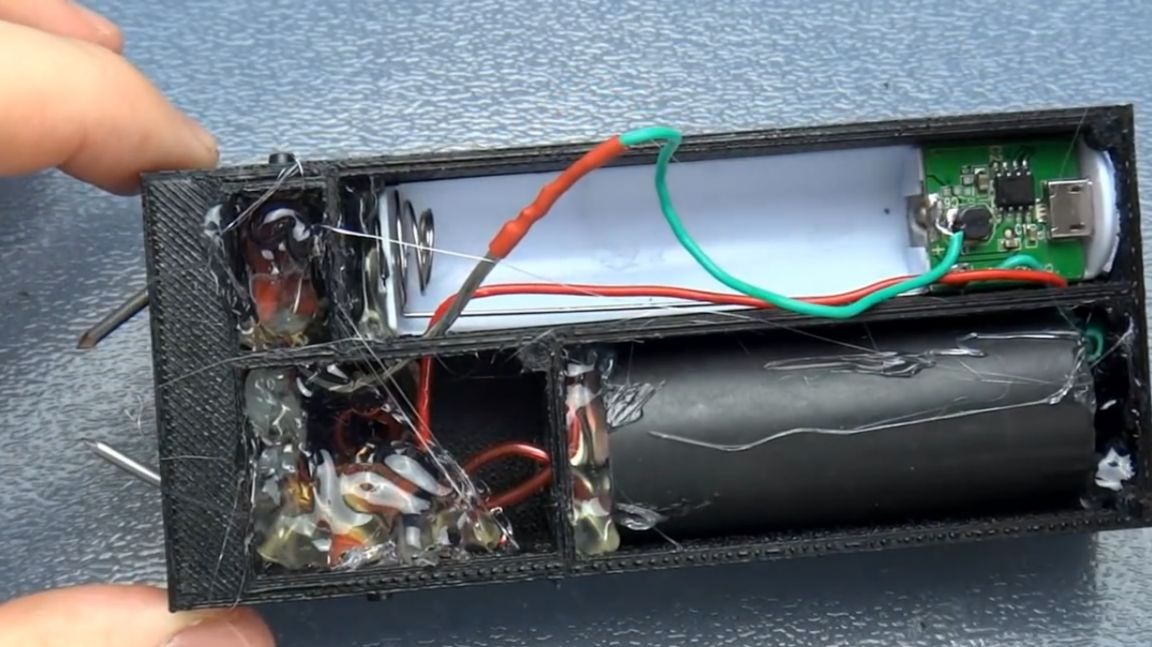
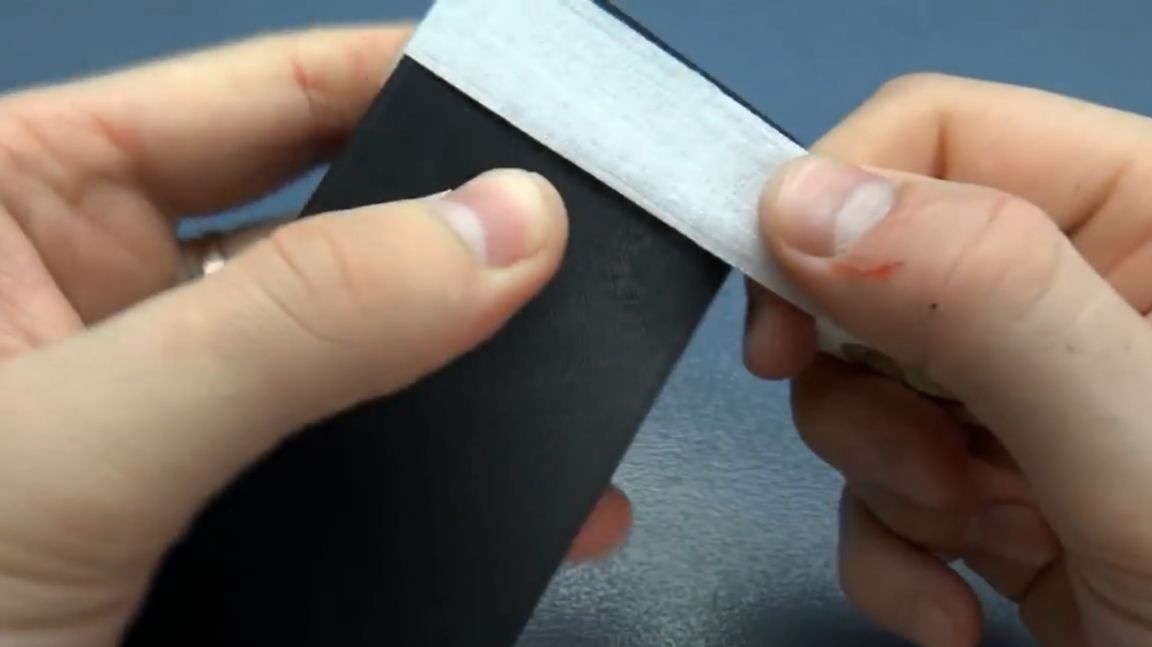
Since the casing was deformed during the printing process, it deforms together; the cover does not fit well with it.
Therefore, to give the stun gun a more aesthetic appearance, it was decided to wrap the plastic case with a white medical plaster.
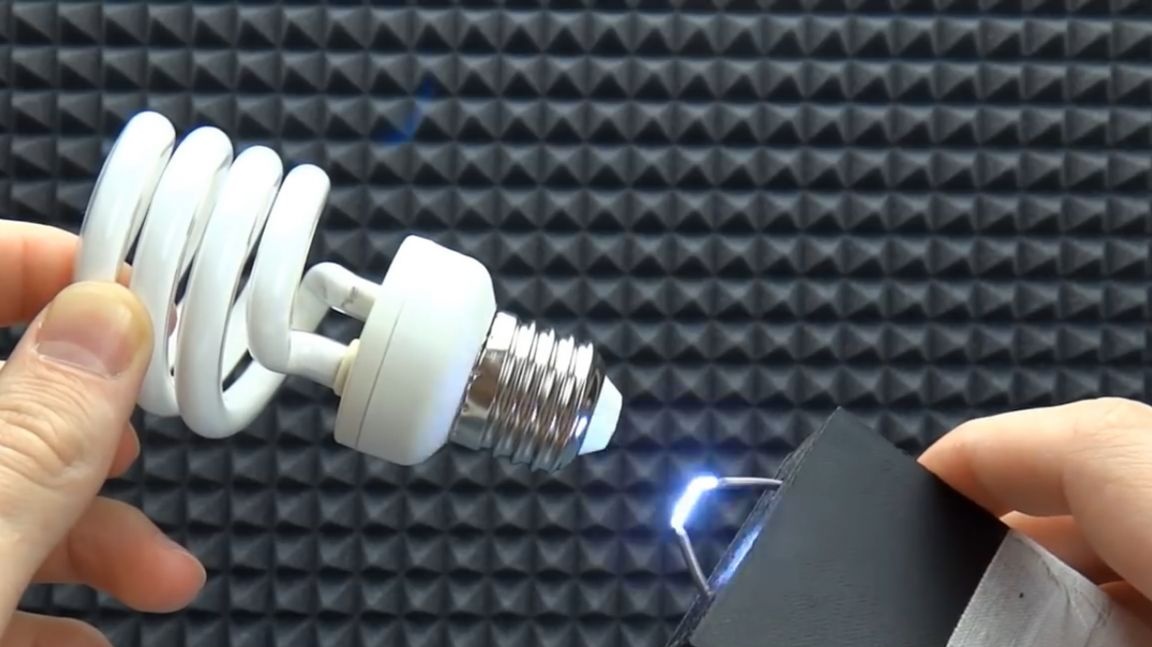
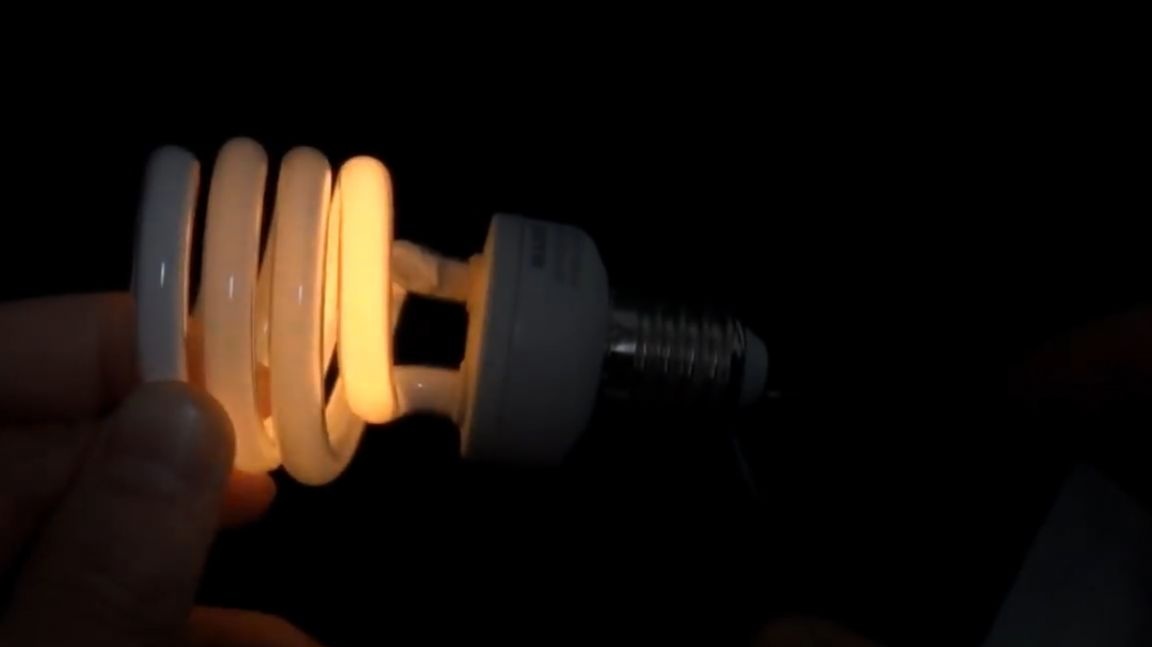
Quite a different matter. The stun gun is ready for battle. Of course, we will not check it on anyone. But here you can conduct a small experiment. Do you think that the power of this homemade stun gun is enough to light an energy-saving fluorescent light bulb? The correct answer is in the photo below.
Thank you for attention. See you soon!
Video:
[media = https: //www.youtube.com/watch? v = gAqqdiH2tUQ]