
Hello to all electronics lovers. In this article I will tell you how to make a cartridge with an E27 cap, which will include a light bulb, whether it is a creaking door or a cotton, this will help us with a kit kit, which you can buy at the link at the end of the article. I think where to apply such a light bulb there is a place, it can be like garage, barn, and any other place.
Let's proceed to the assembly of the kit.
Before reading the article, I propose to watch a video with a detailed assembly processor for this kit kit, as well as its performance checks.
In order to make an E27 cartridge with auto sound on, you will need:
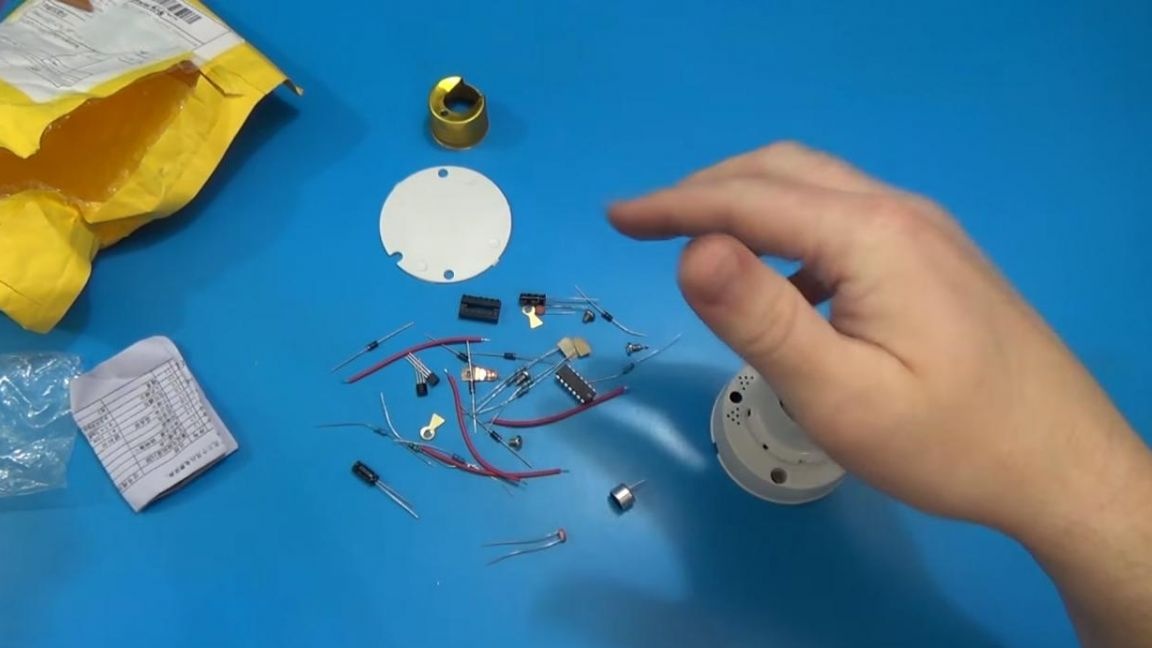
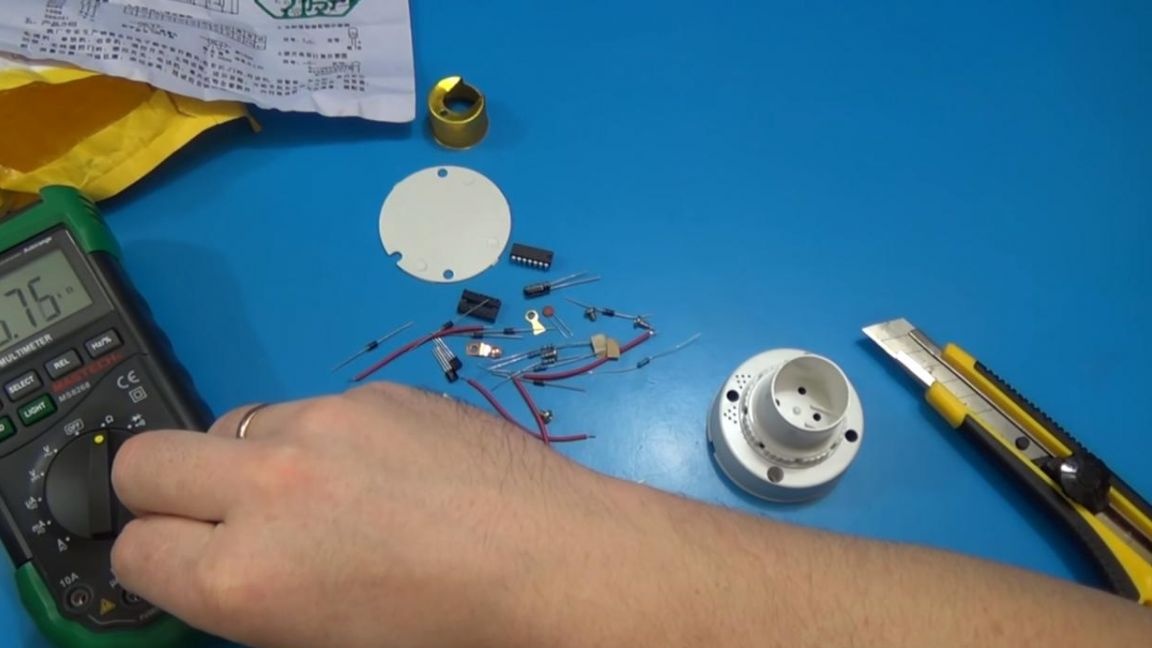
* Kit
* Soldering iron, solder, flux
* Side cutters
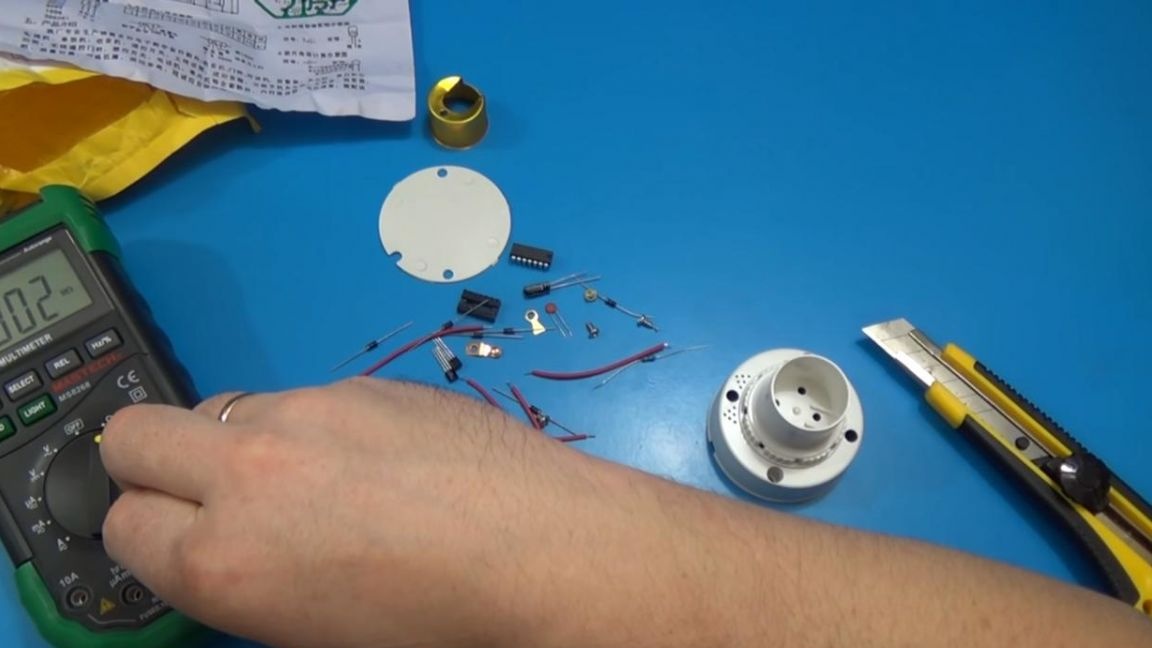
* Multimeter
* Device for soldering "third hand"
* Phillips screwdriver
* Light bulb with E27 base for checking the device
Step one.
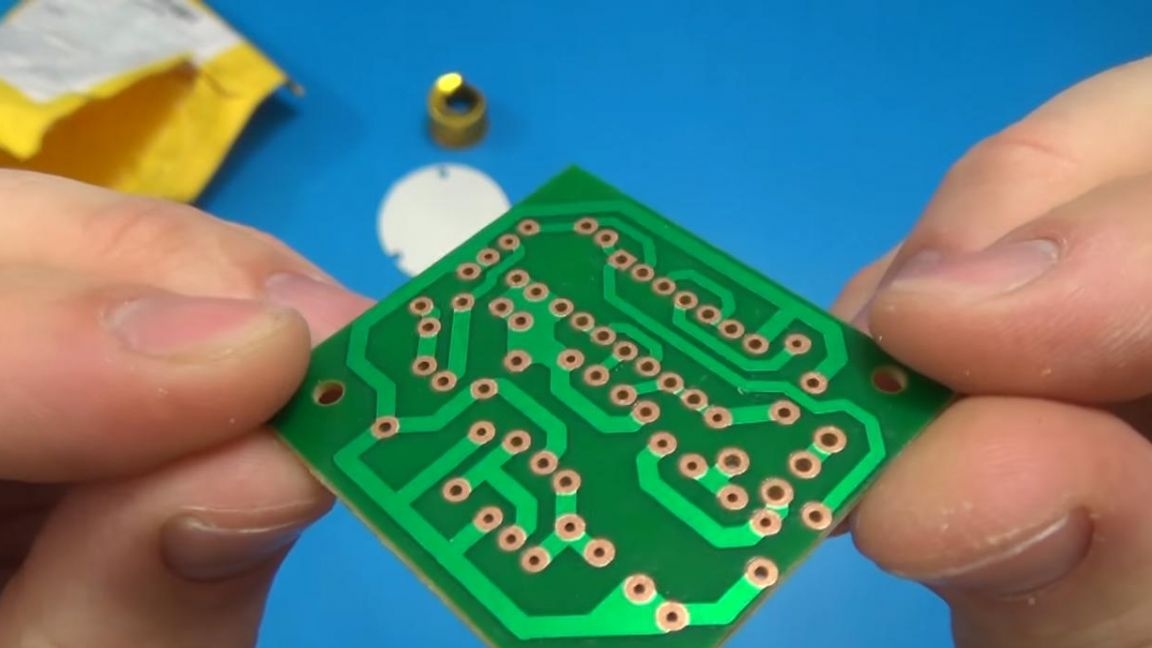
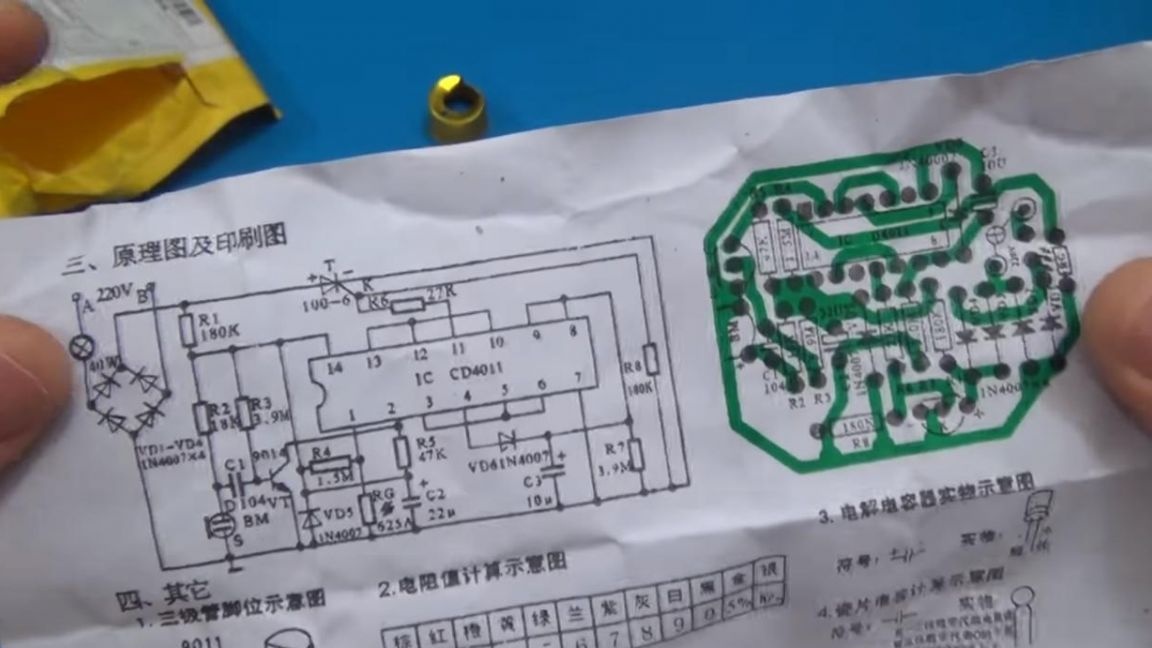
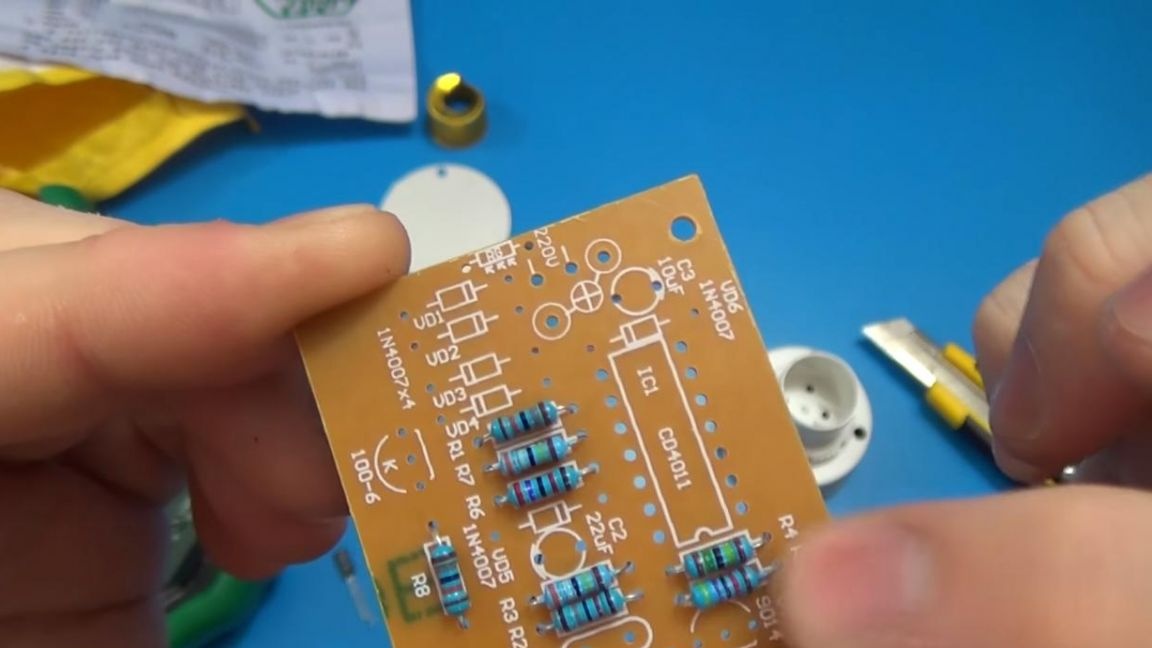
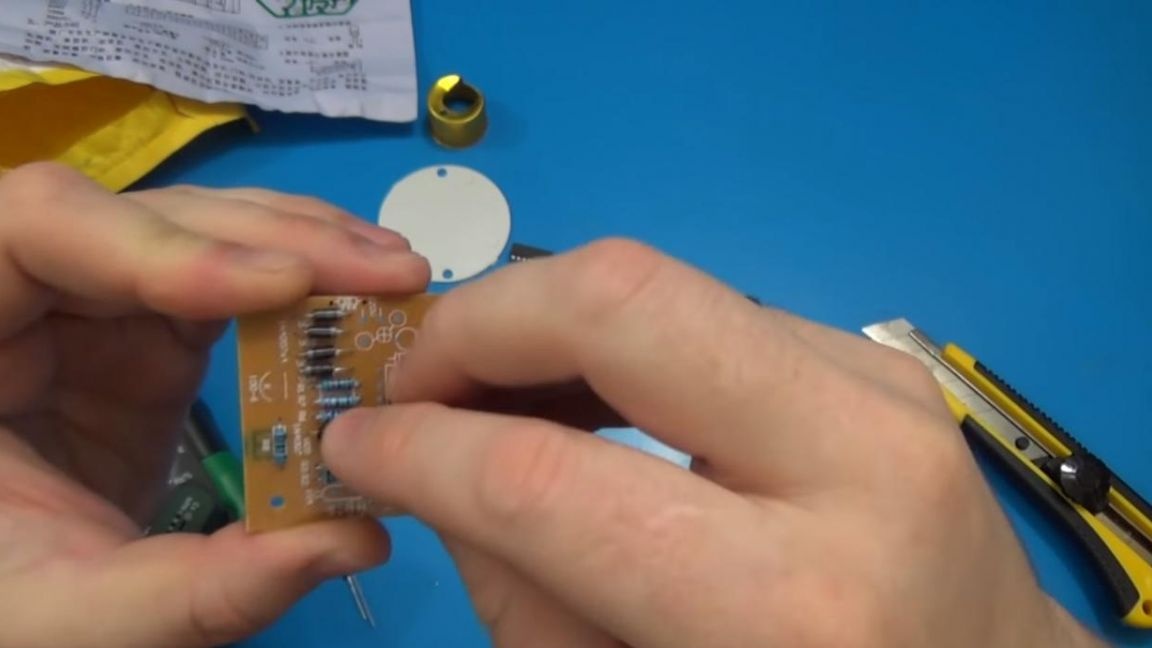
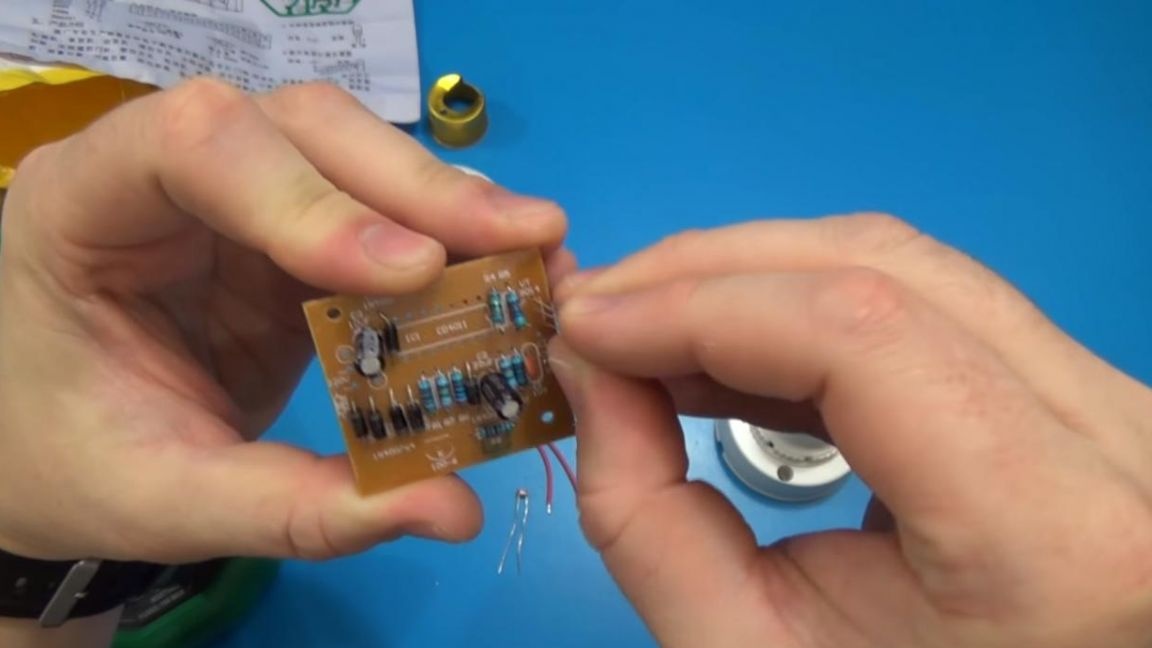
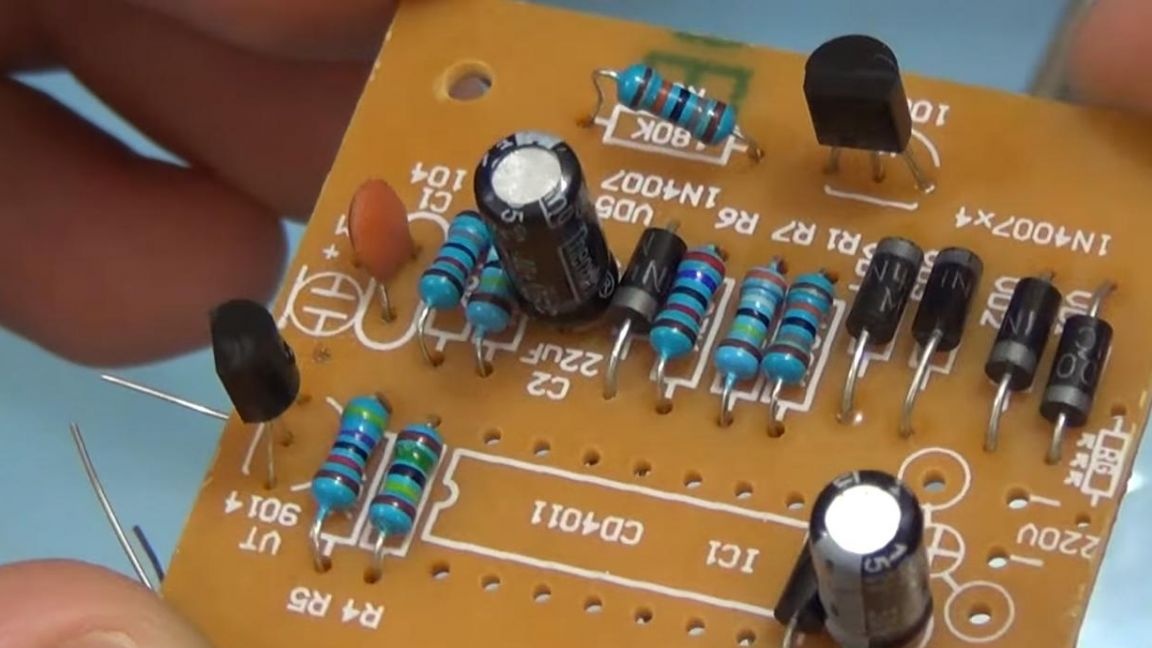
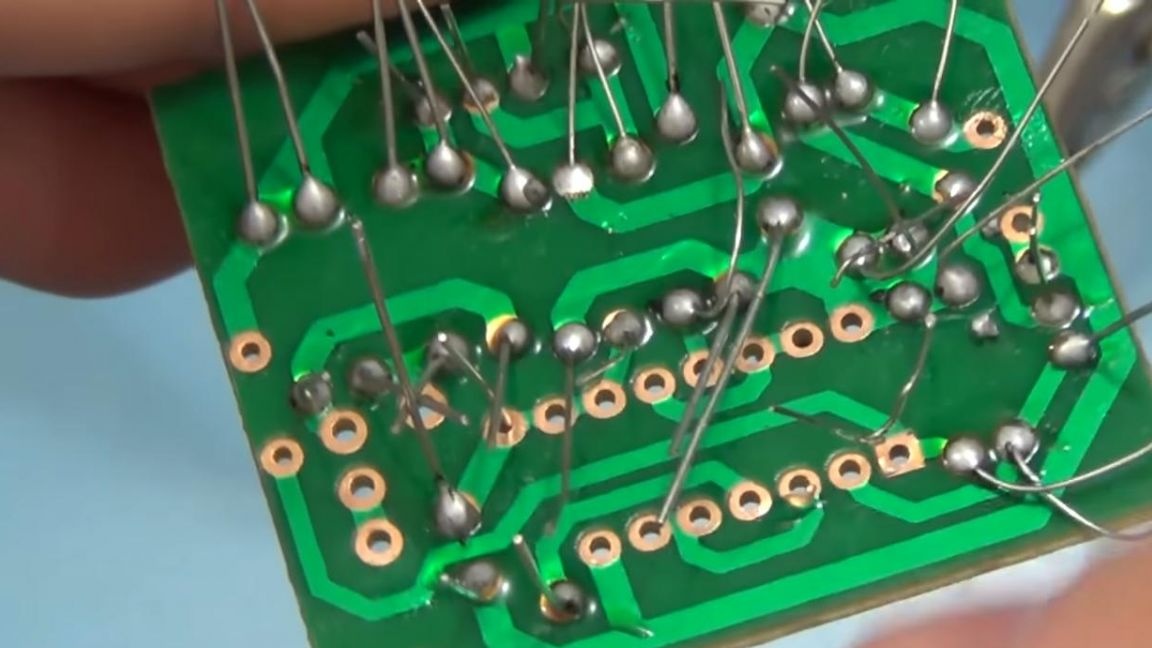
To begin with, as in all kit kits, you need to place the components on the board, there are enough of them, so first we start with resistors. The kit also put instructions, though in Chinese.
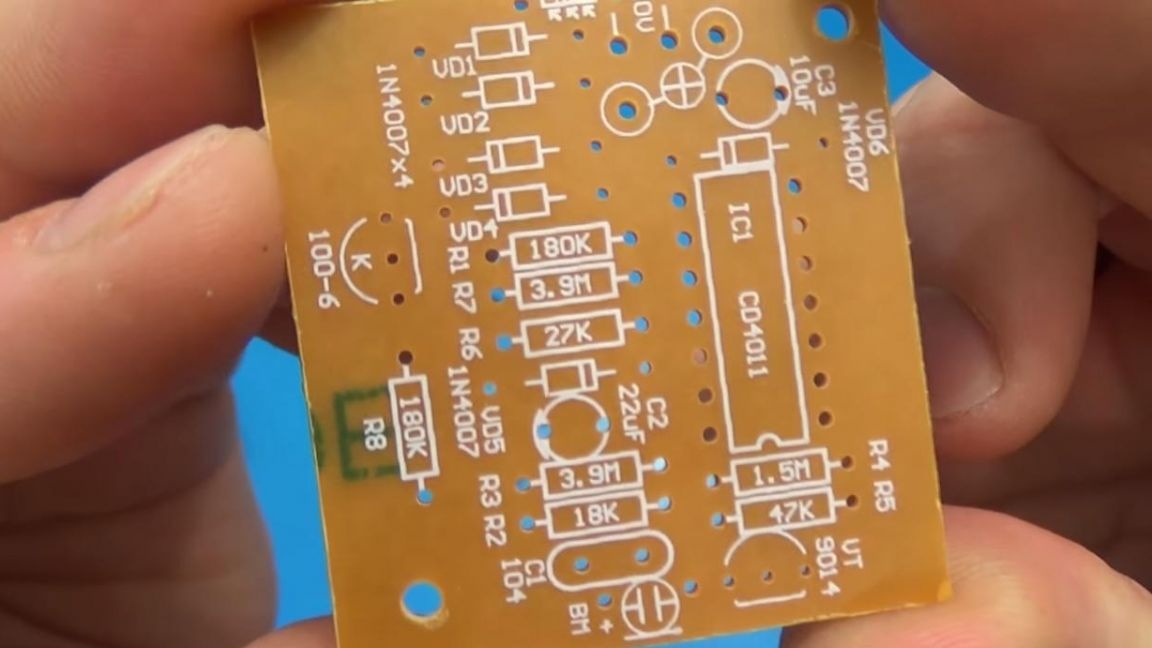
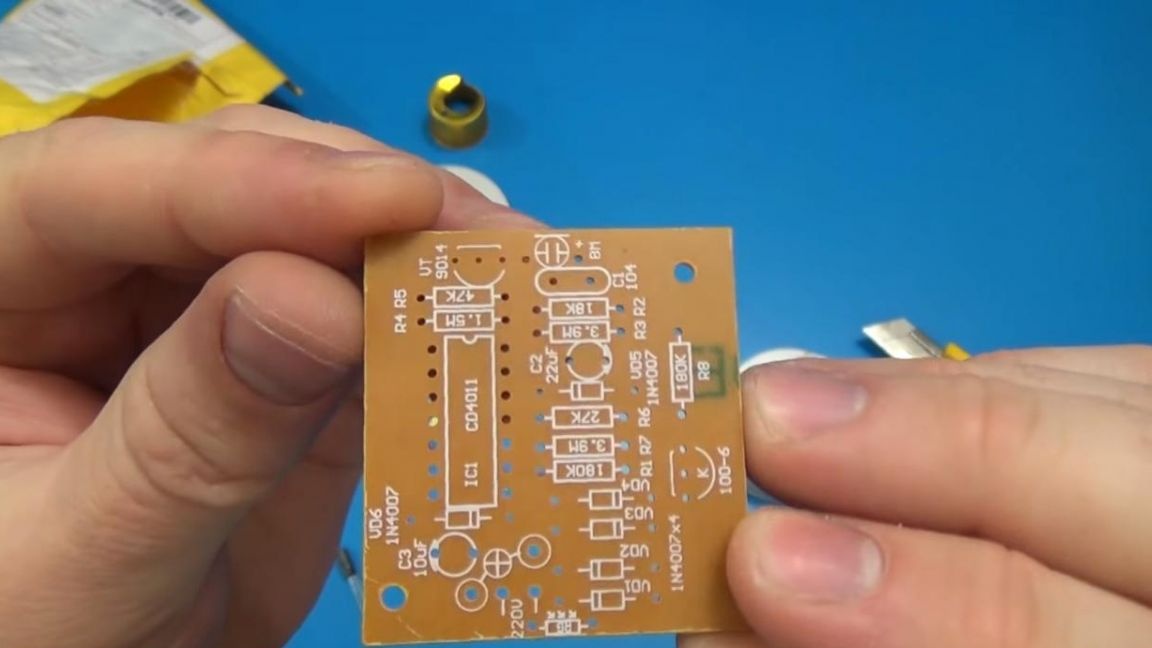
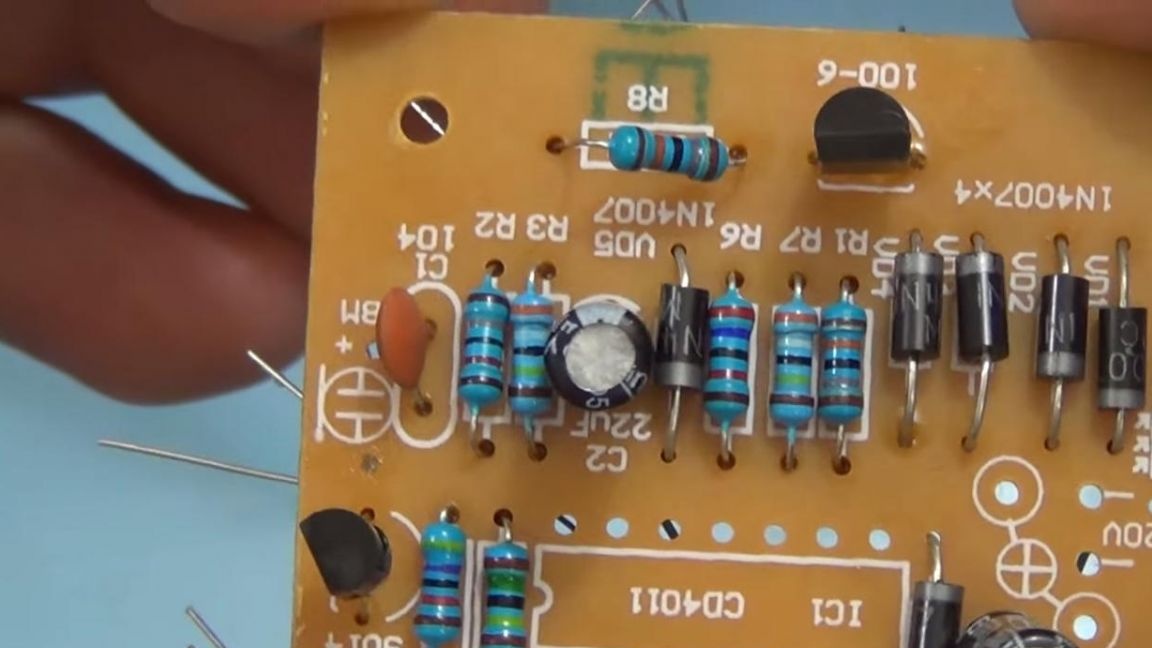
Marking on resistors in the form of colored stripes allows you to determine their resistance, a table for these purposes is on the Internet, well, whoever has a multimeter, you can measure the resistance with it, it will be faster and more convenient. Next to the resistor we have a ceramic capacitor marked 103.
We measure the value of the resistors and place on the board, the legs on the back can be slightly bent so that when soldering the components do not fall back. As a result, the board should have 8 resistors.
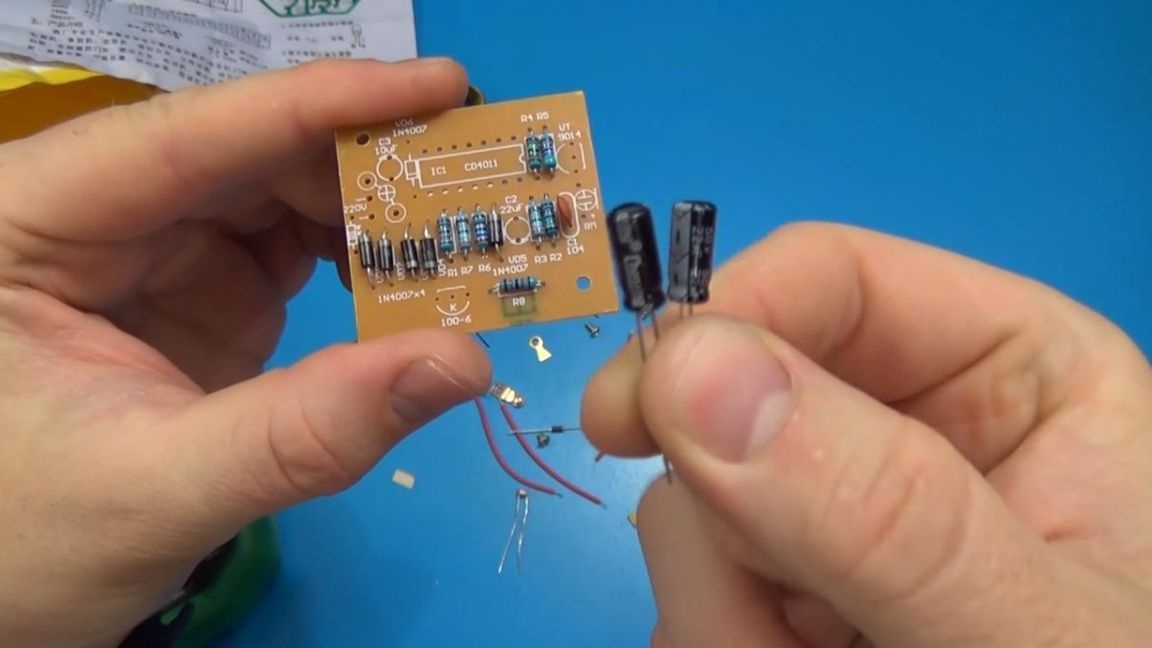
Now we set the diodes, they are all the same, you will not confuse each other. They are installed by a strip located on the case with a strip on the board, we do this with all diodes.
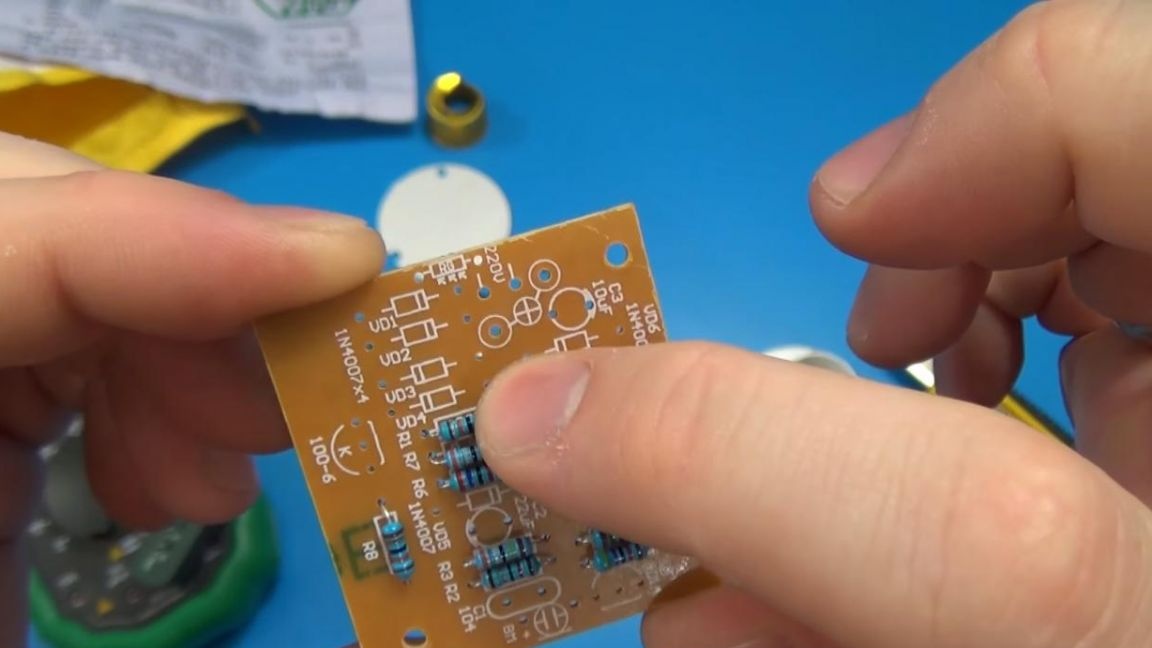
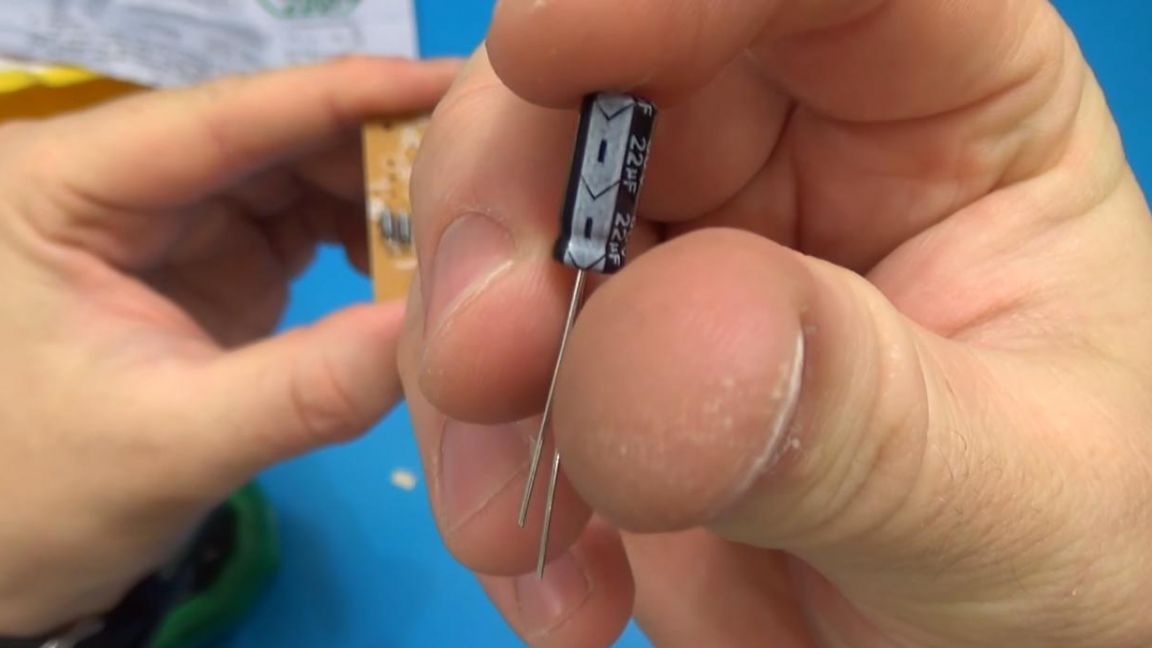
Then we turn to the capacitors, they have polarity and the minus is indicated on the case by a gray strip, we combine it with a shaded white semicircle, in this case just a bold white strip depicted on the board. We also observe the capacity, since their sizes are the same, but the denominations are different.
Step Two
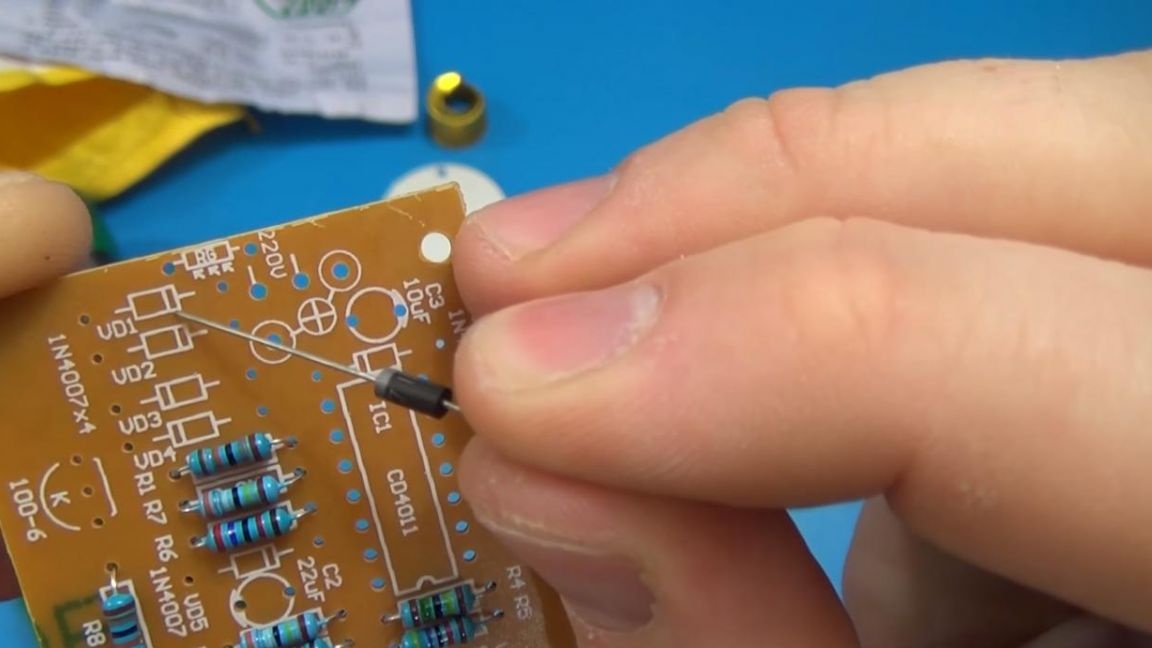
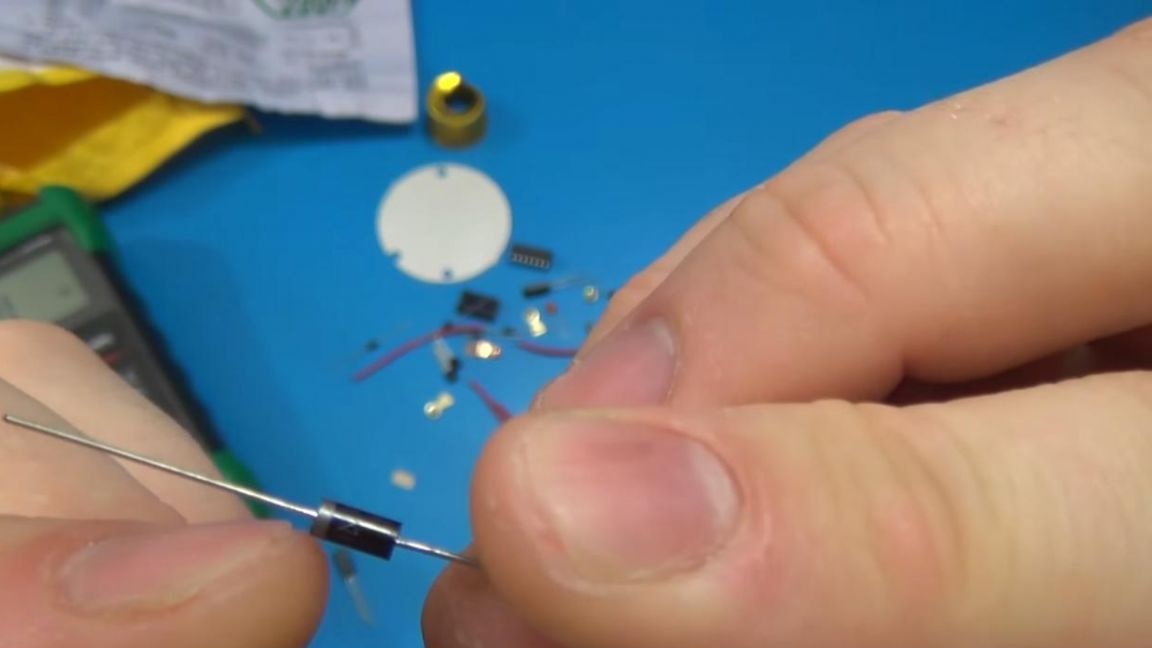
We arrange the remaining components, the remaining diode and two transistors.
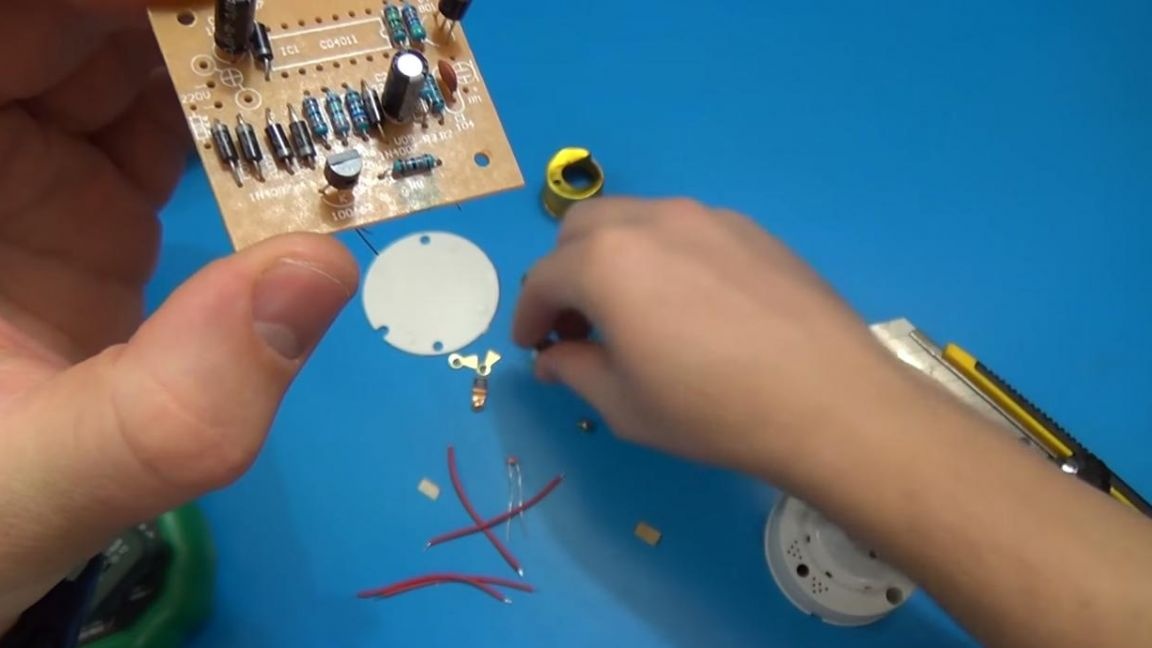
The transistors are installed according to the image on the board, we combine the bevel on the board with the flat part on the transistor. Now we solder everything to the contacts of the board, clamp it into the fixture "third hand" and apply the flux.
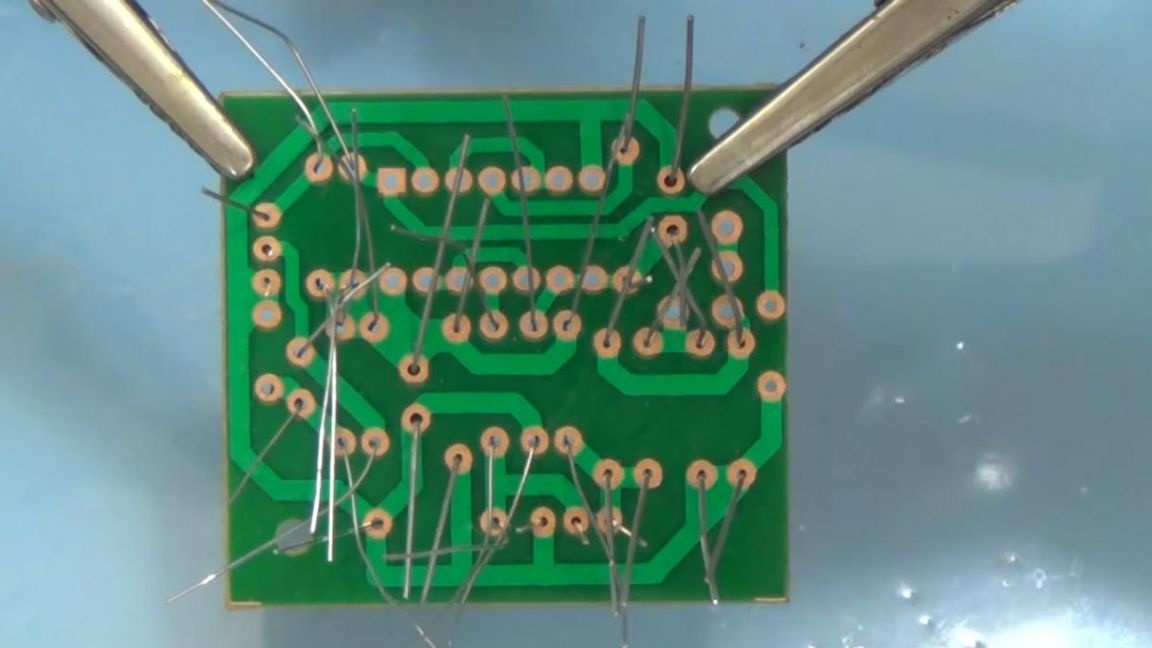
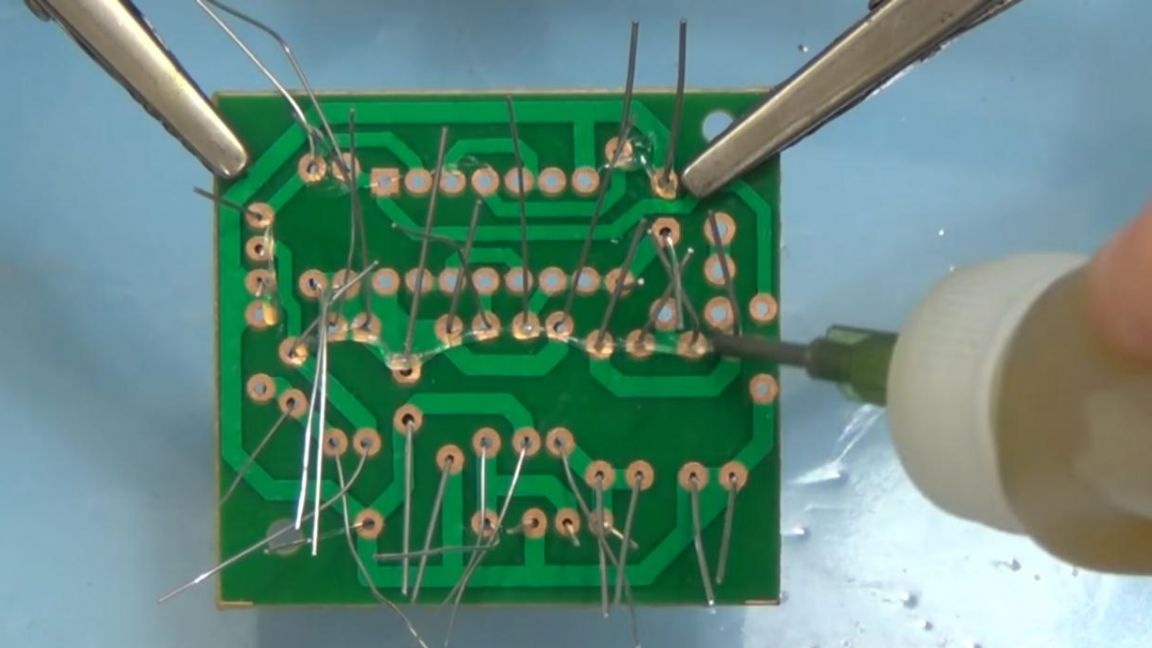
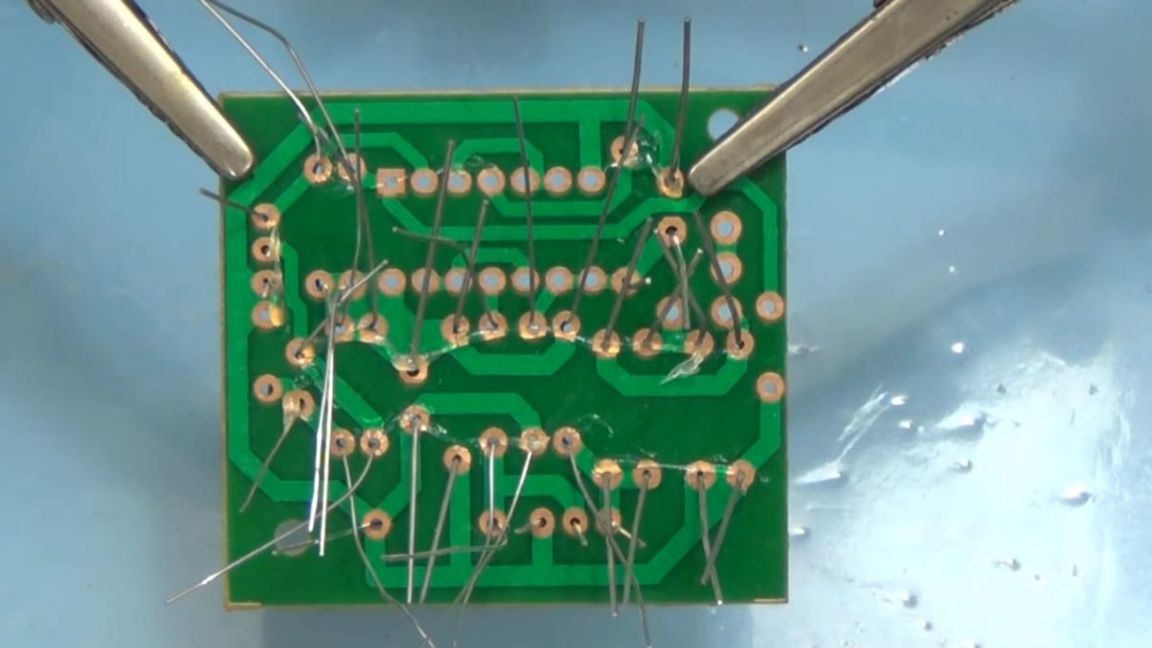
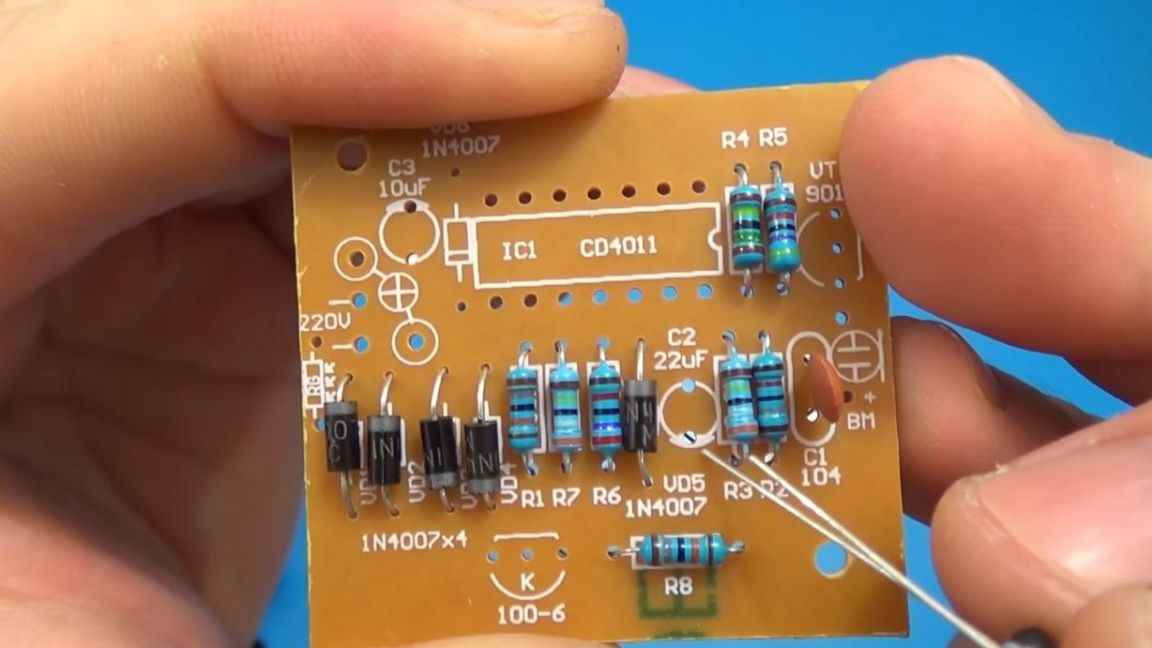
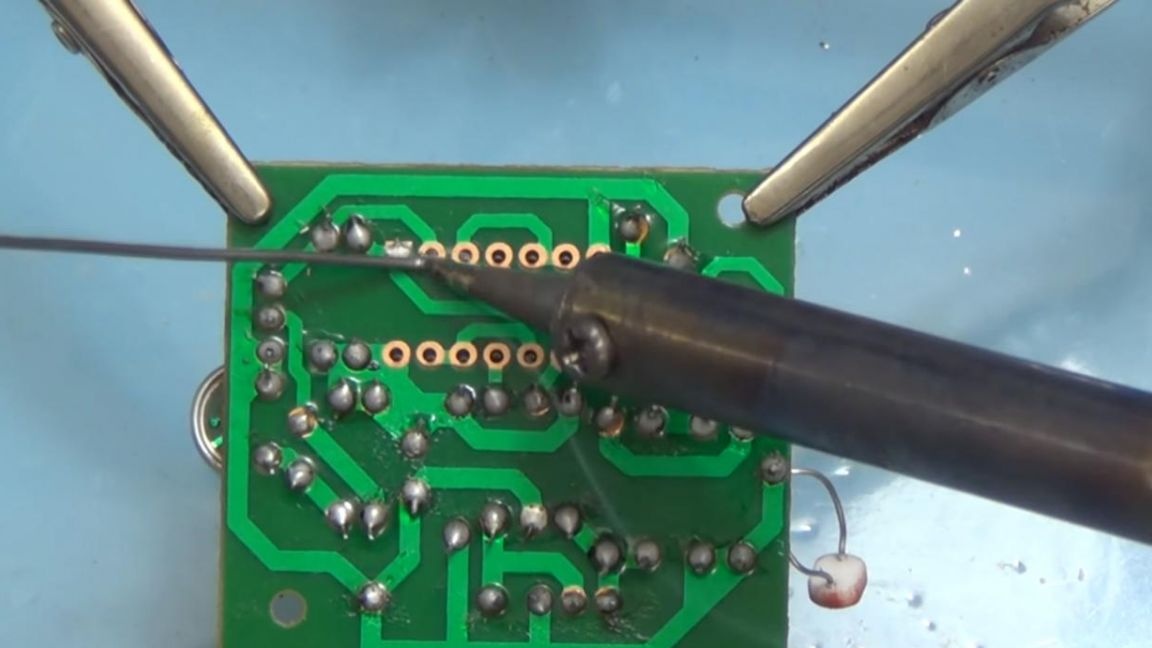
We serve solder and gradually solder each output of the component.
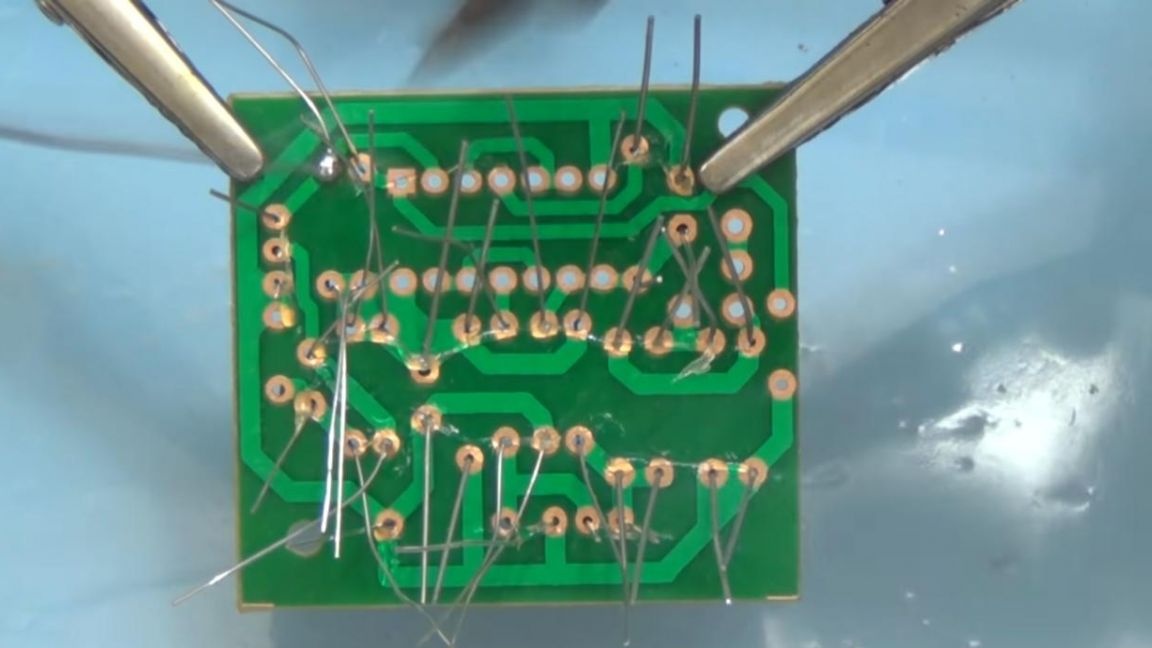

Here, most of the elements are already soldered to the board, we remove the remnants of the conclusions with the help of side cutters, we do this carefully so as not to damage the board tracks.
Step Three
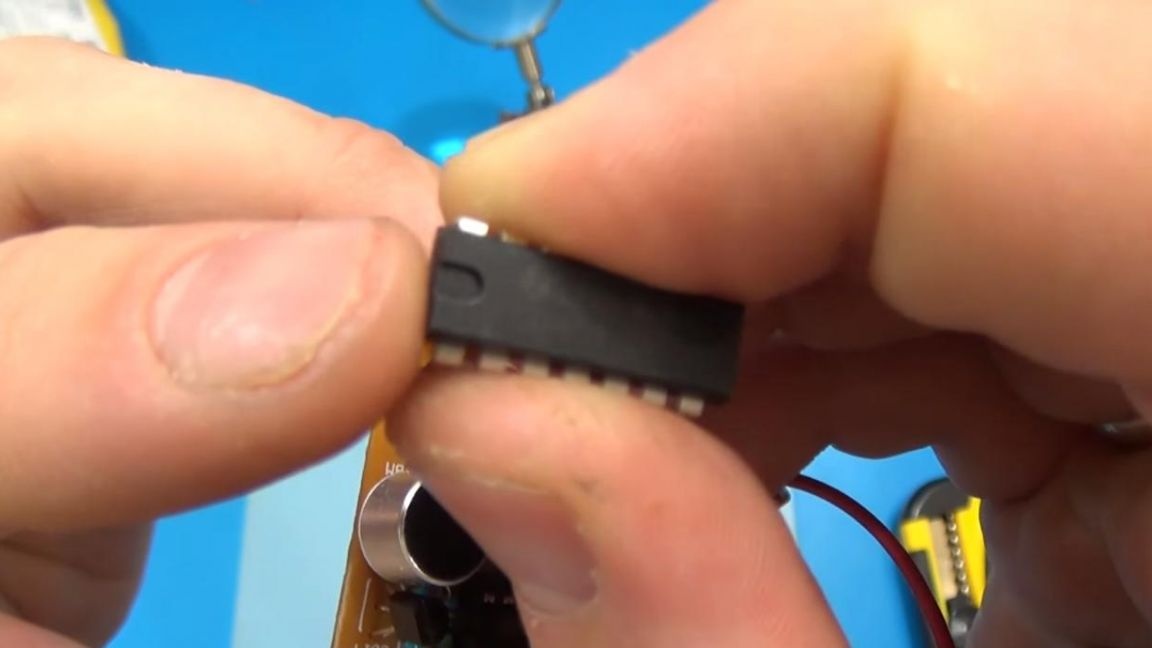
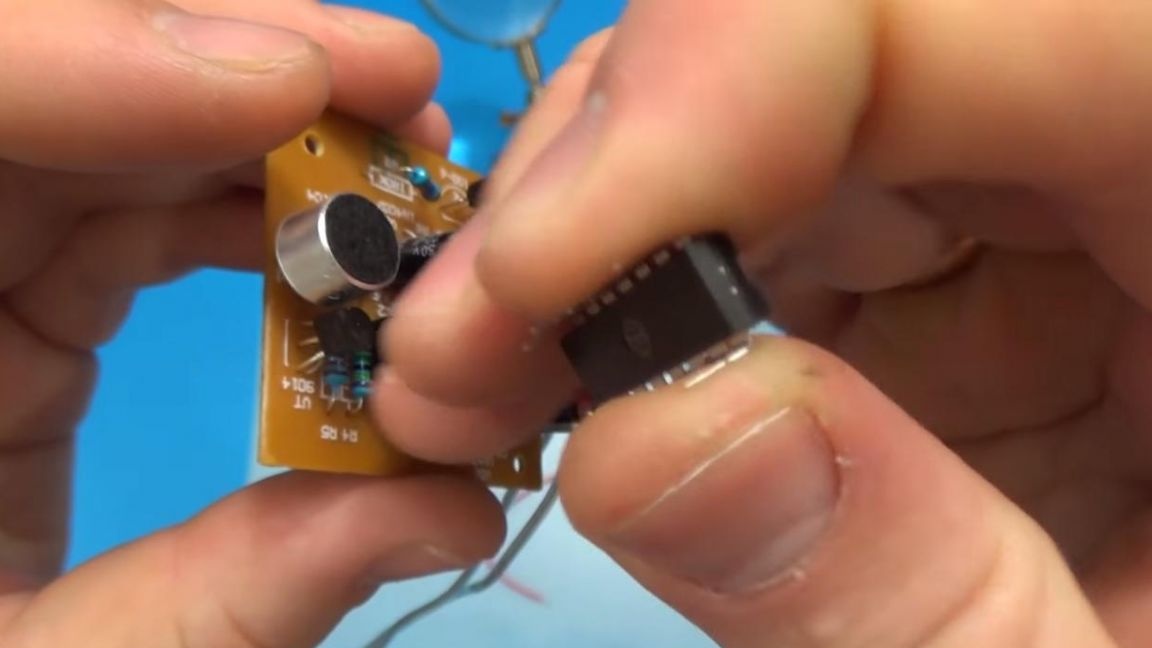
After that, solder the photoresistor, microcircuit and microphone.
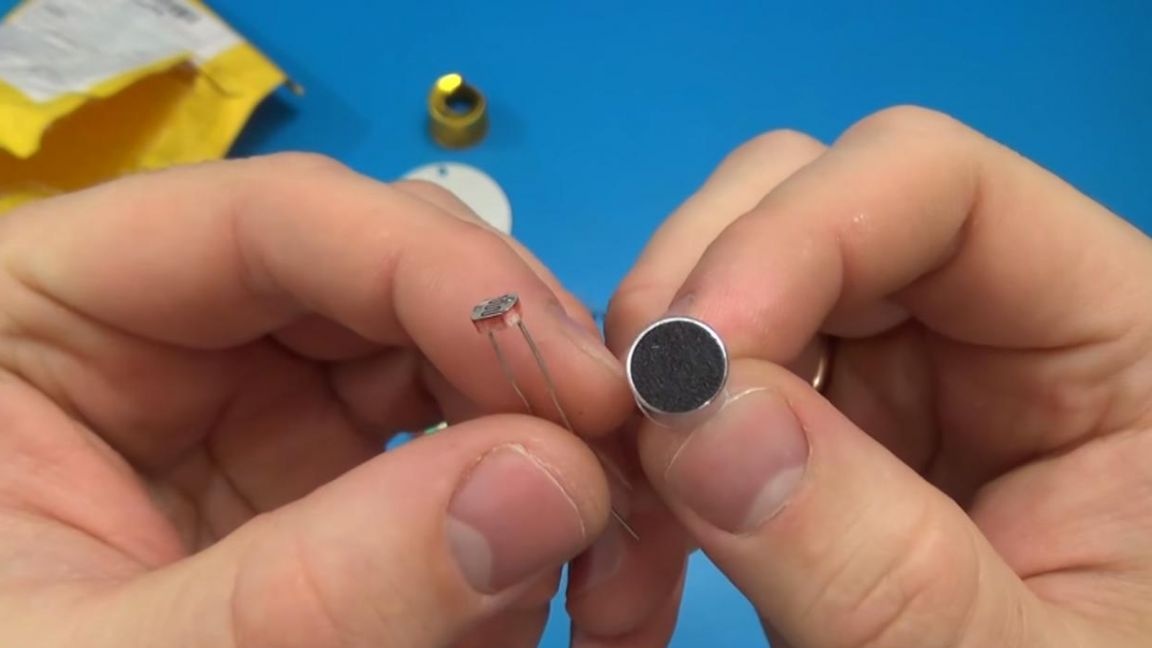
The microcircuit on its case has a key, which is made in the form of a cut out semicircle, we combine it with a similar key on the board.
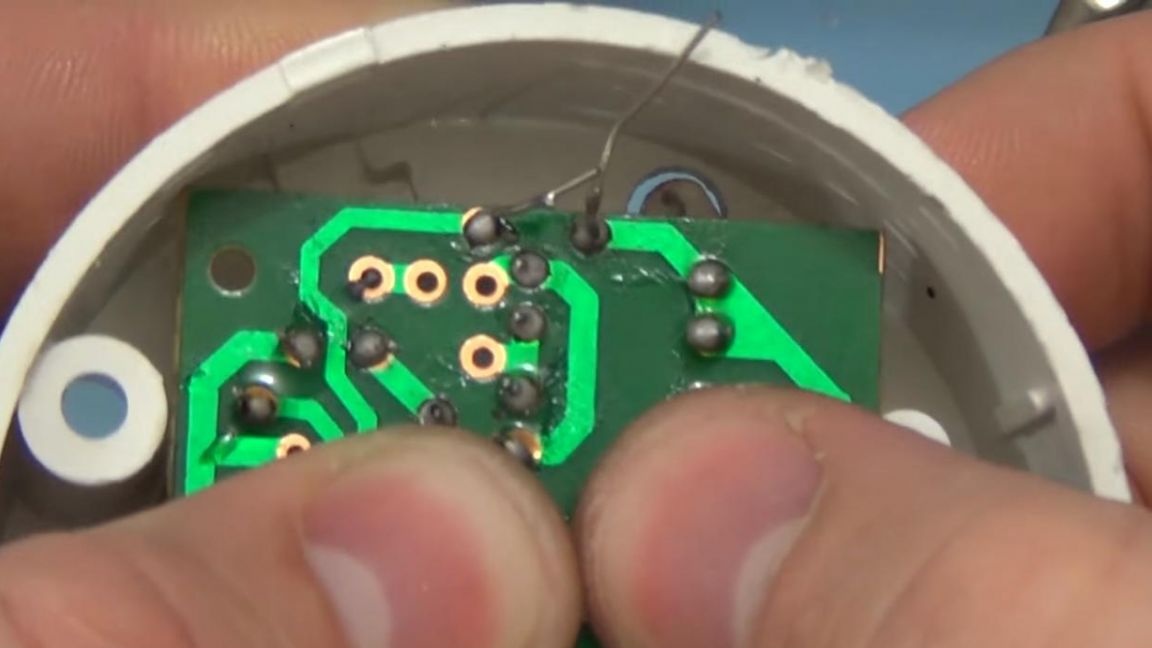
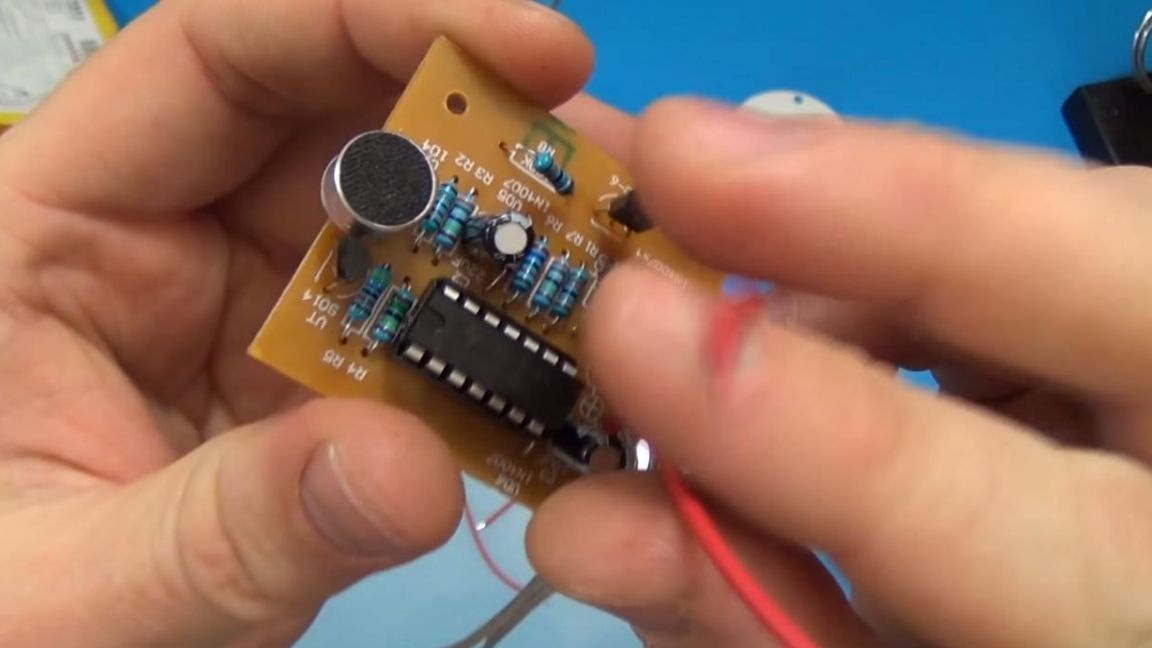
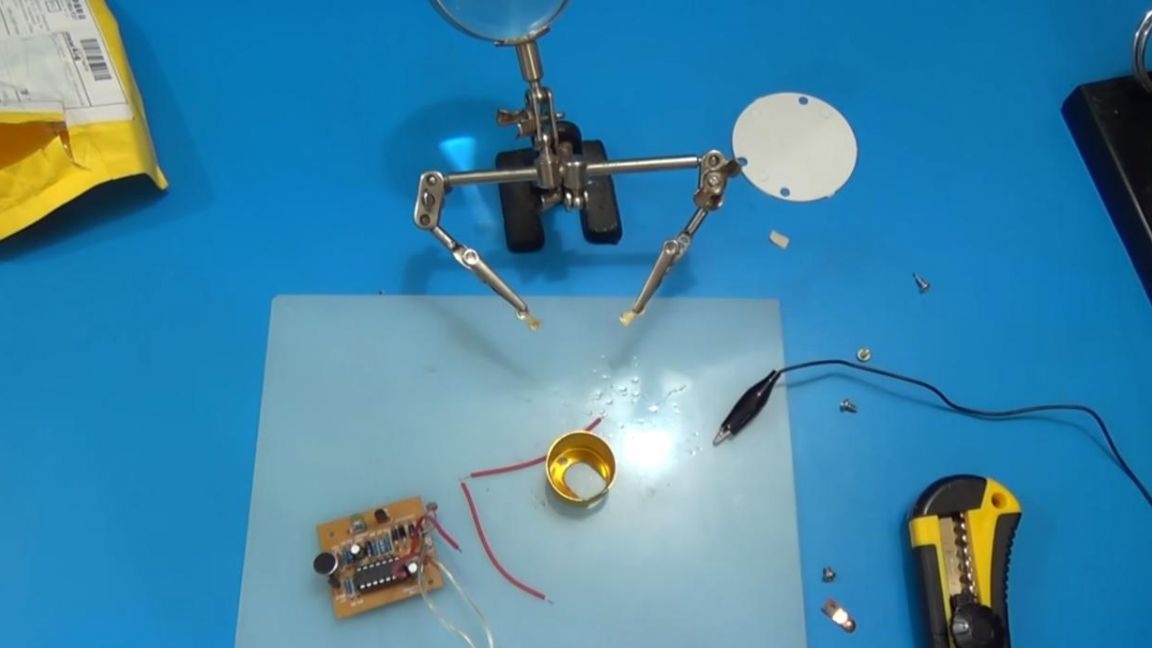
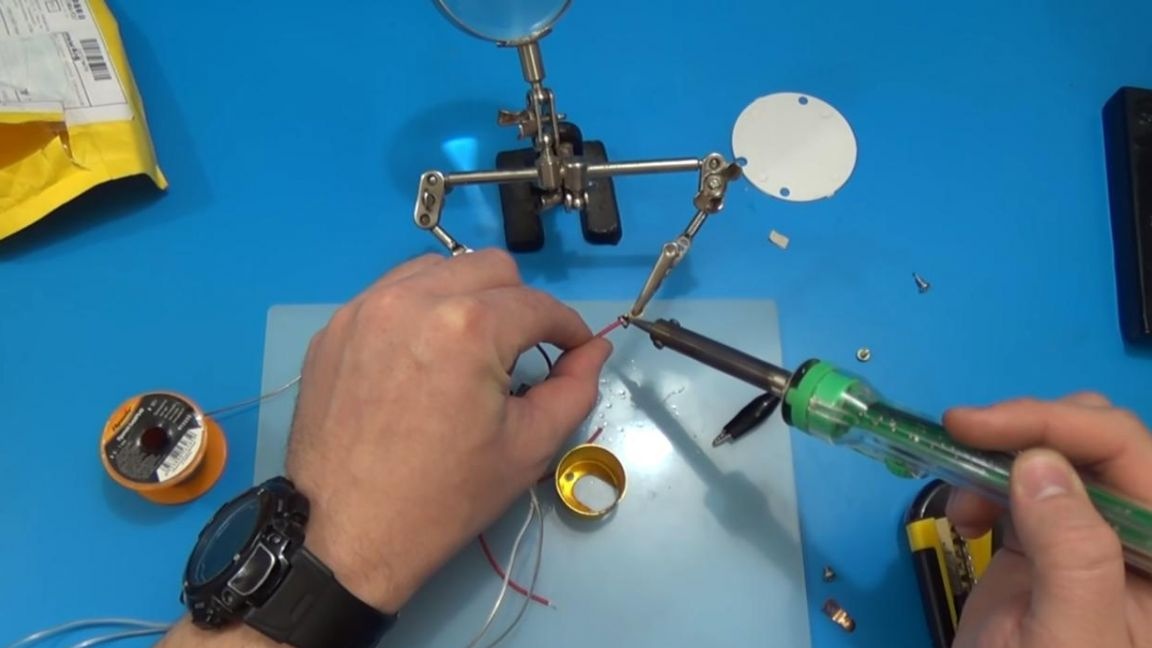
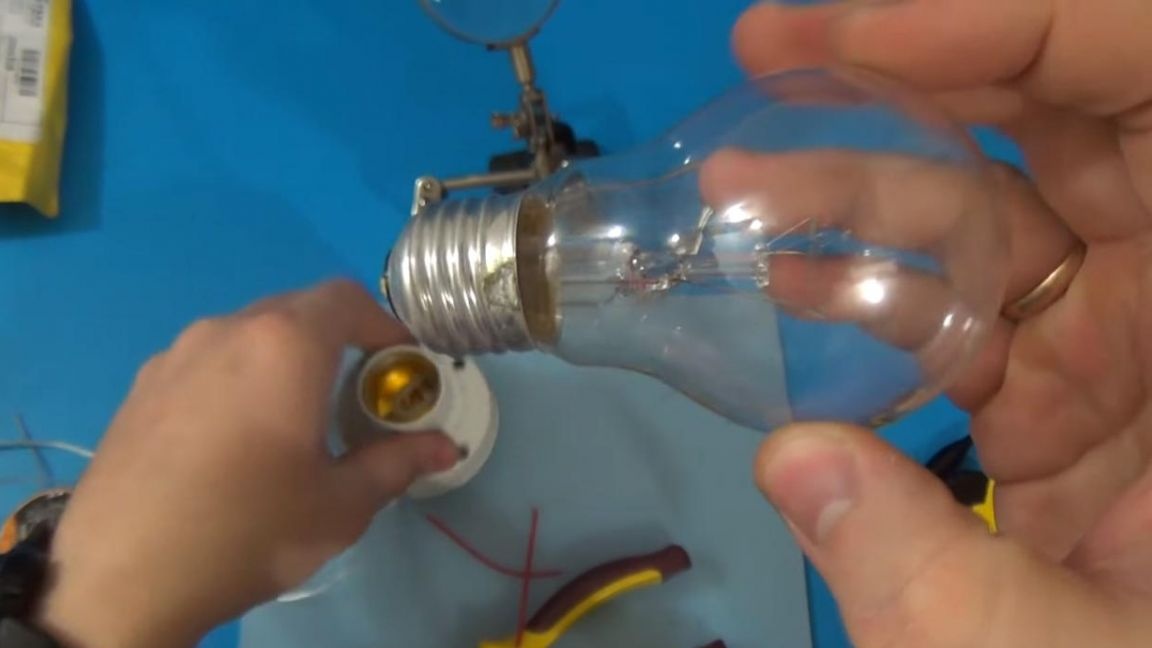
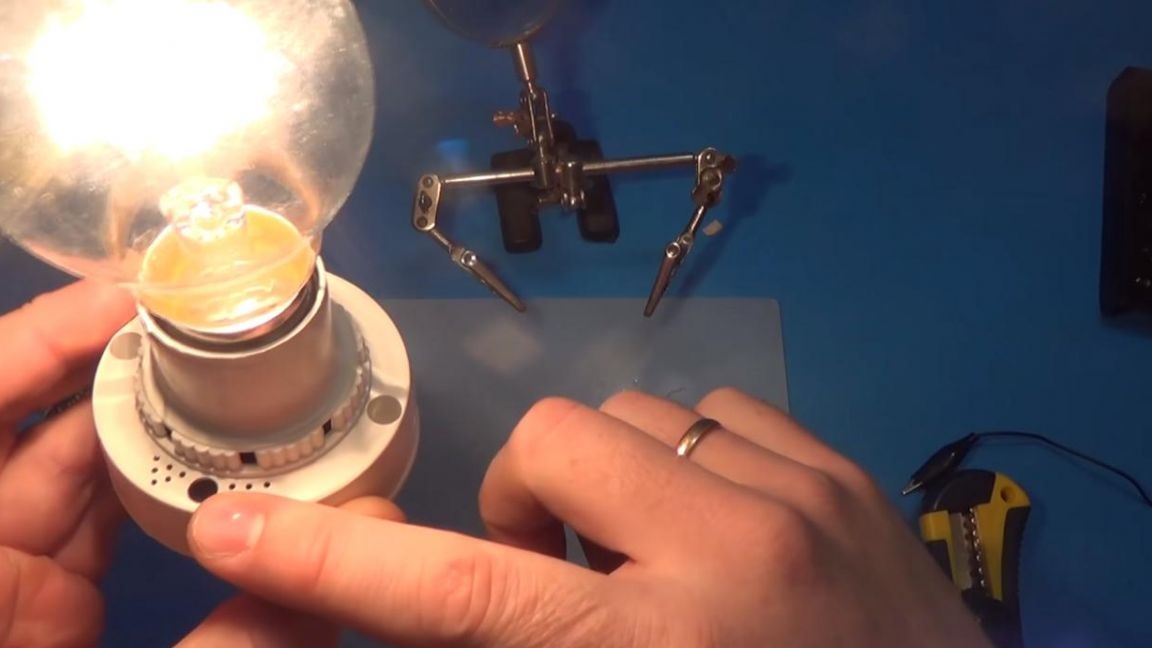
It remains to solder the wires to power the light bulb, as well as to connect a 220 volt network.
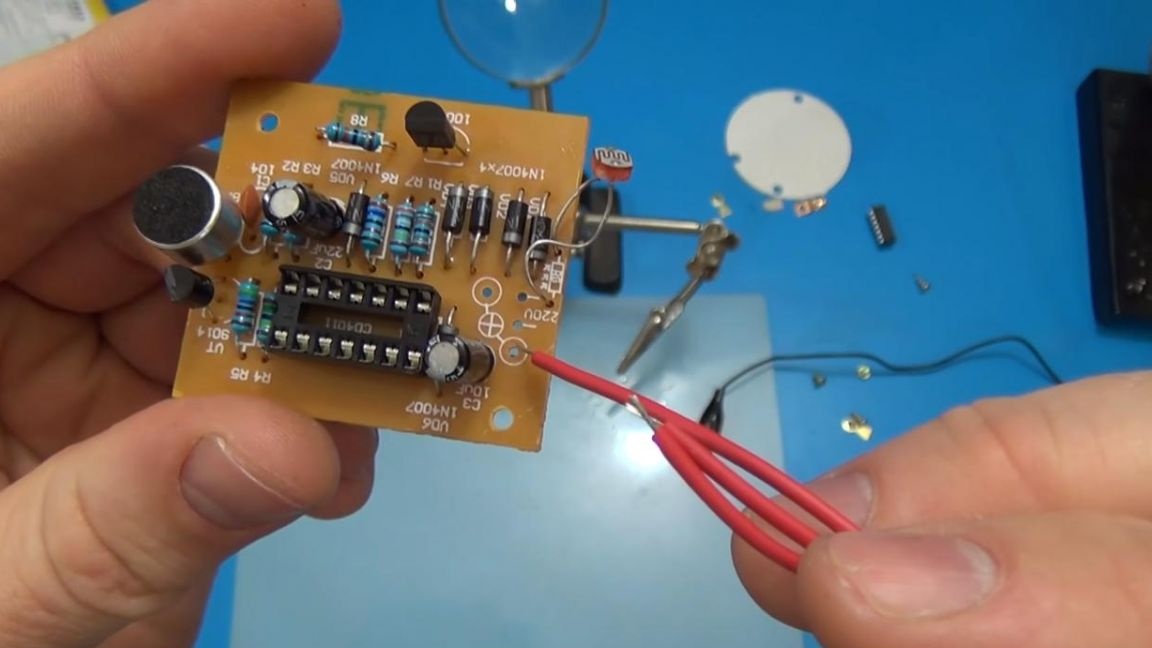
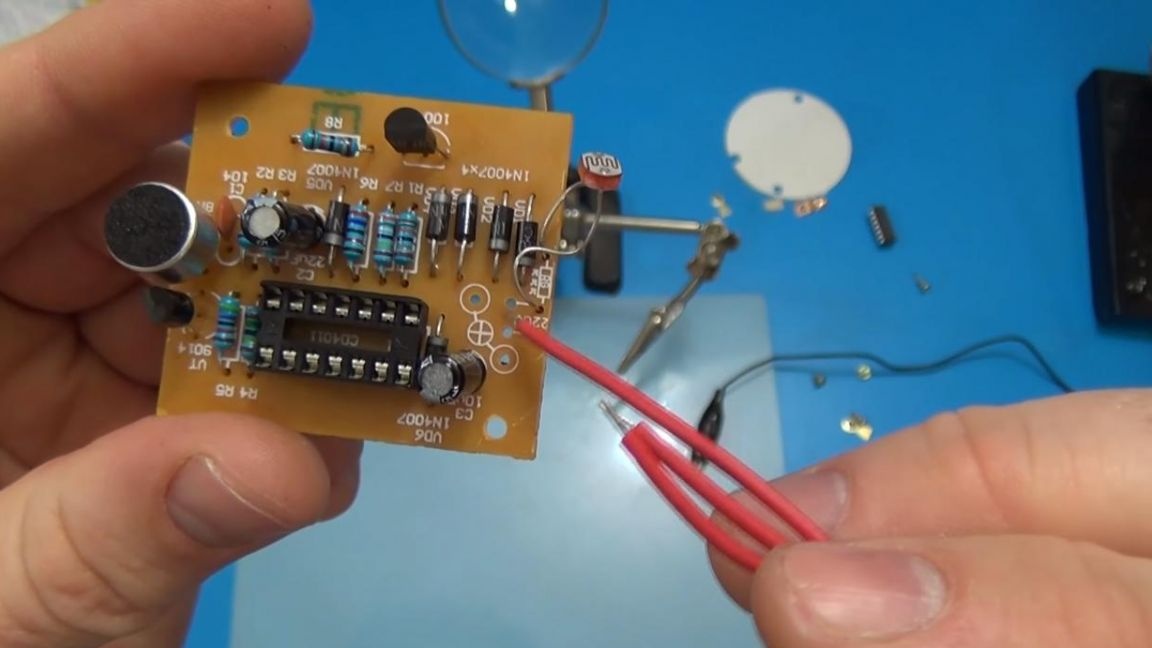
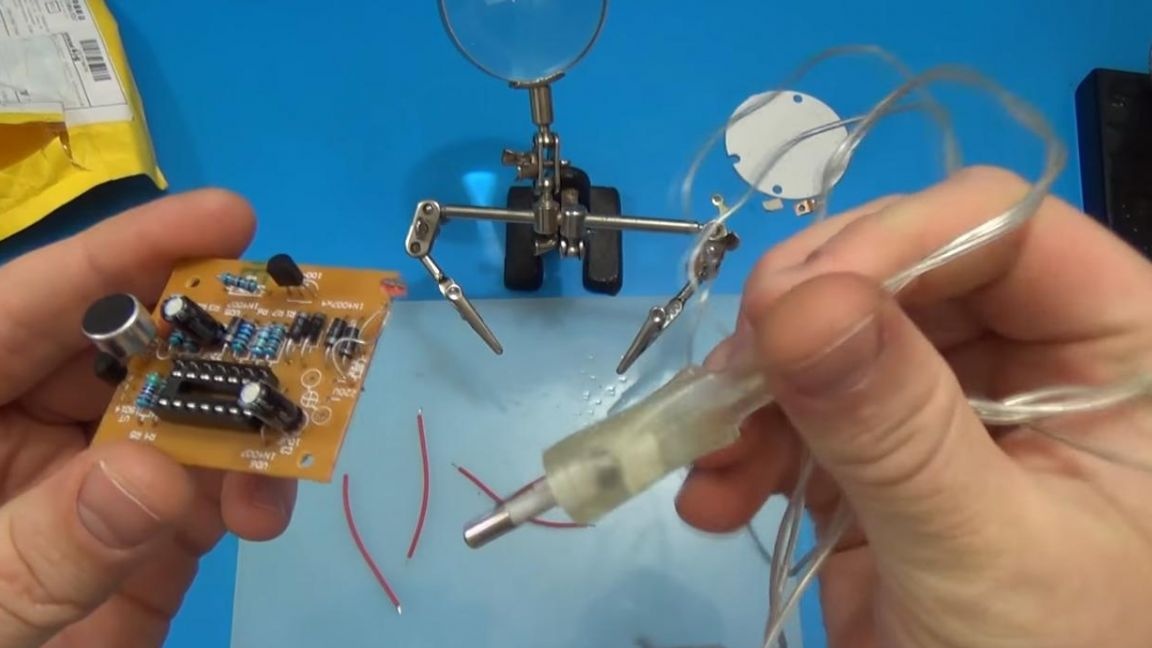
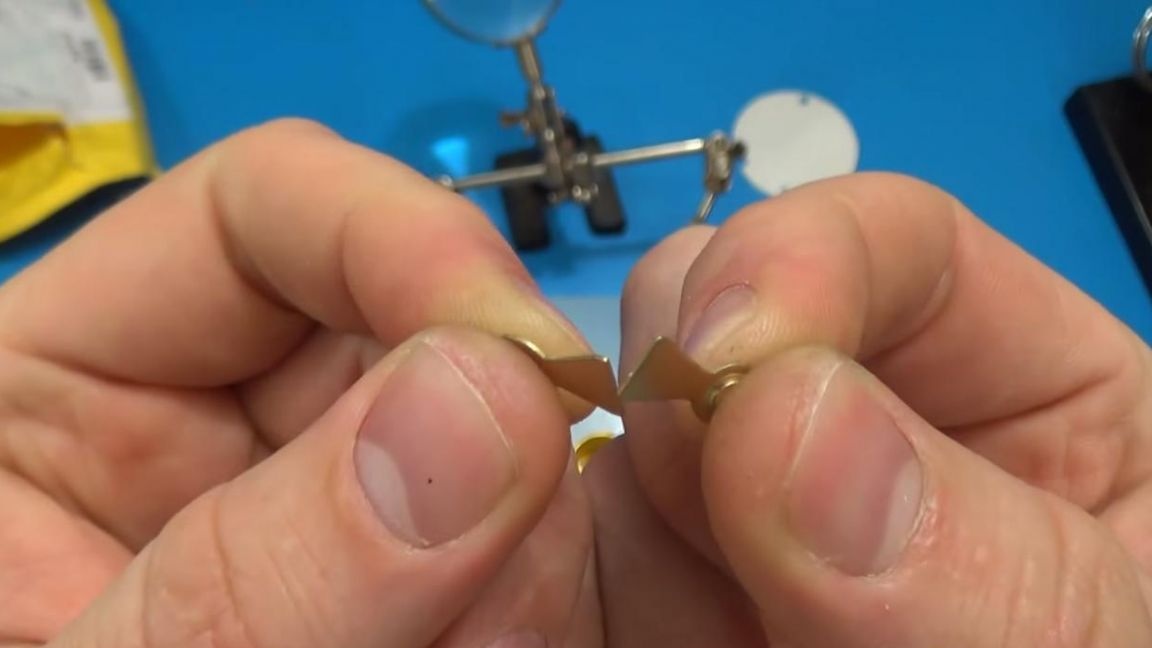
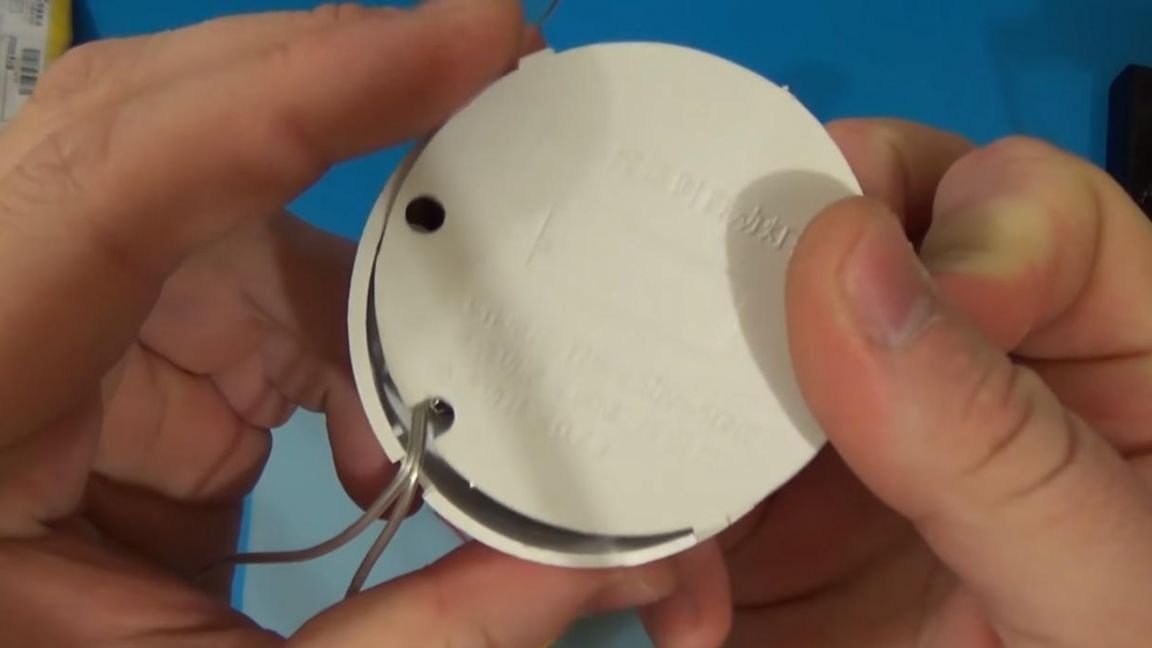
Two metal caps are installed in the base, to which we solder the power wires of the light bulb, then we screw them to the contacts.

Step Four
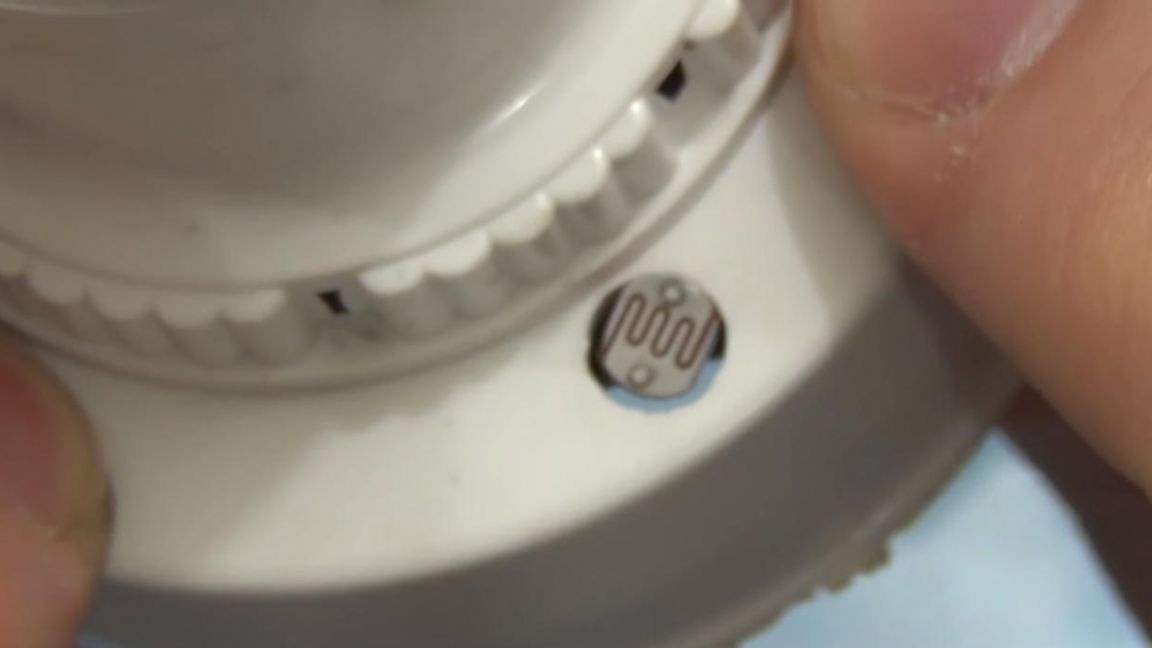
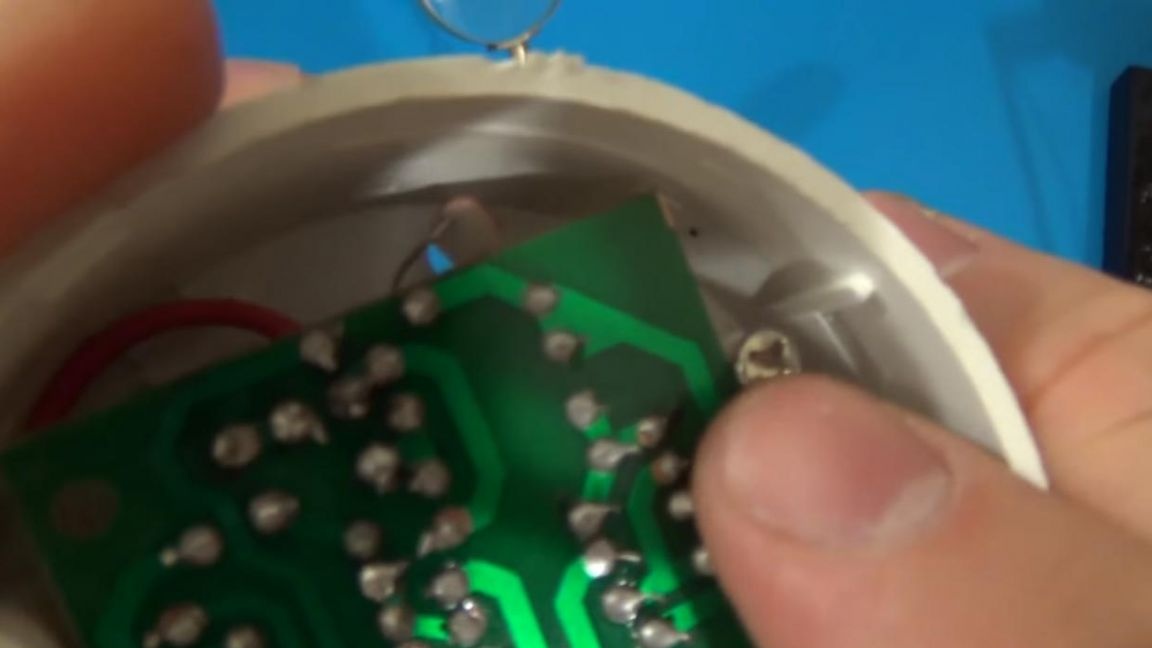
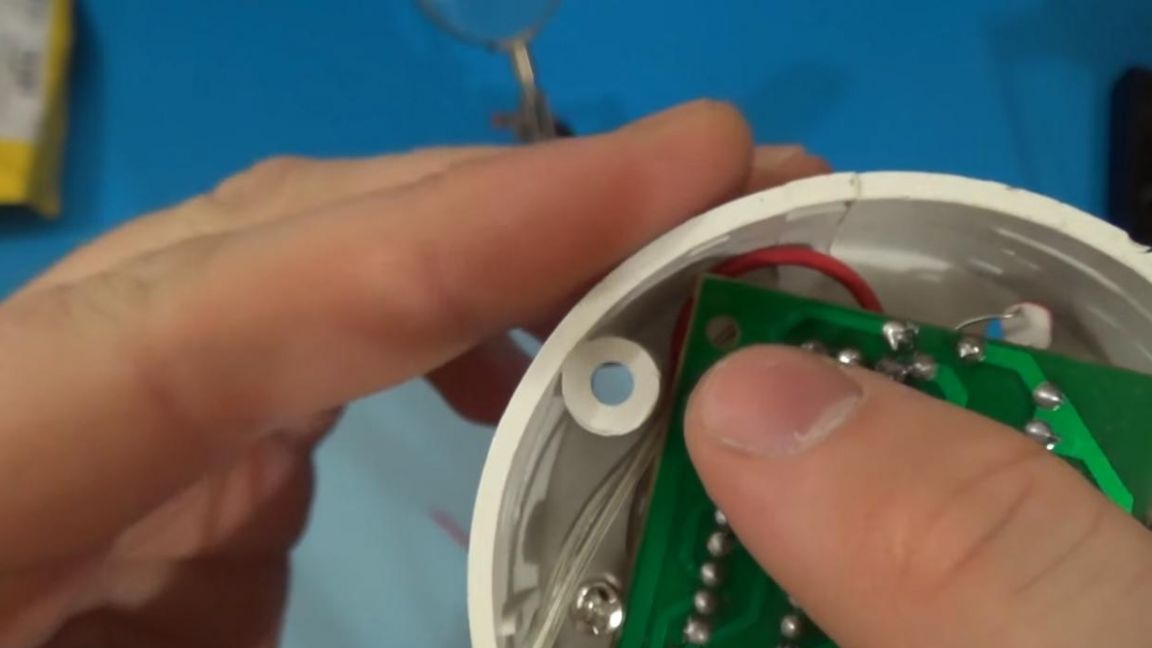
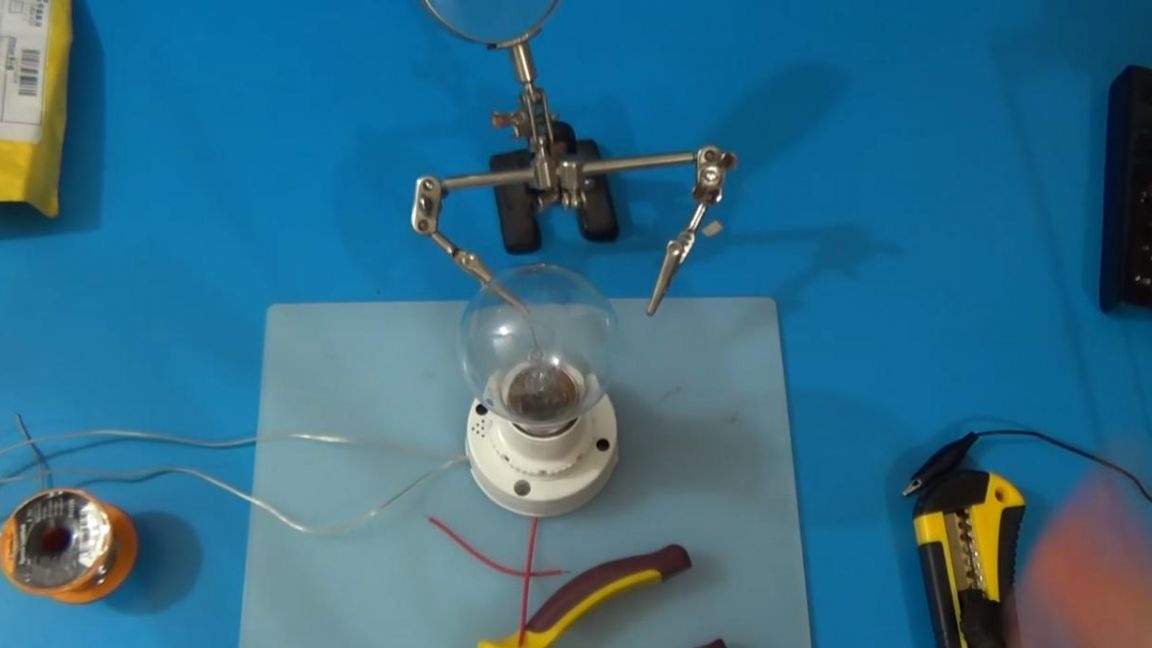
After soldering, we place the board in the case that came in the kit and fasten it with a pair of bolts, make sure that the holes for the microphone and the photoresistor match.
Close the lid and screw in the bulb, it is advisable to use bulbs up to 60 watts of power.
Step Five
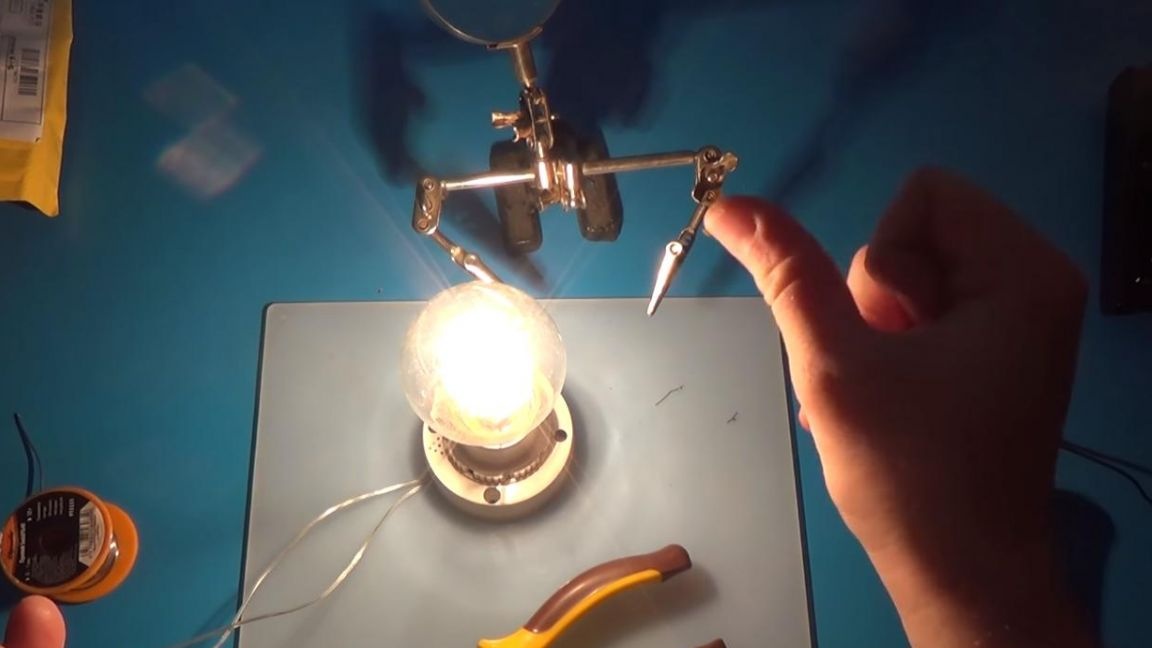
So it's time to check the kit. We connect our device with a light bulb to a wall outlet and test it.
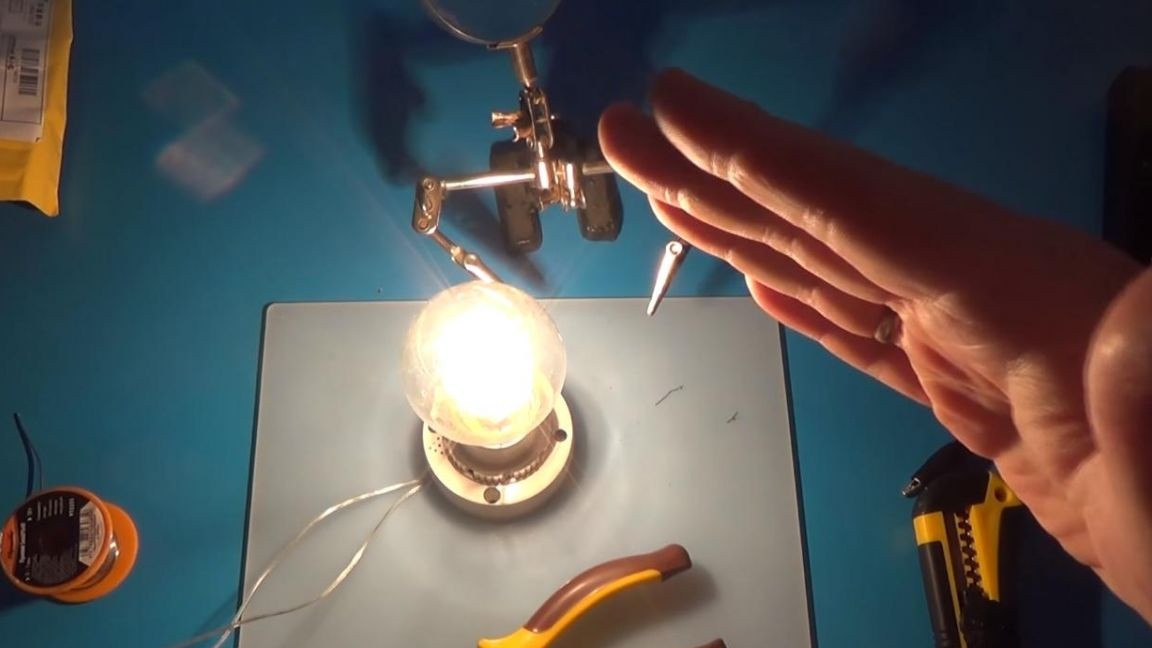

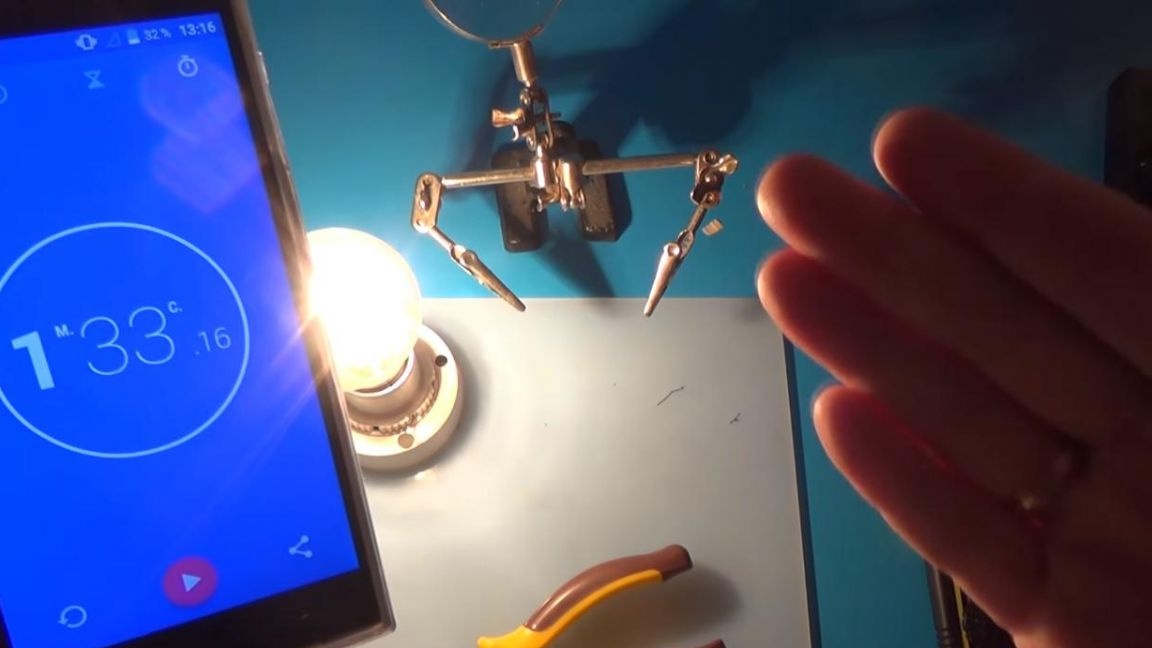
This microphone in the circuit is used to turn on the light bulb, it responds to the slightest sounds, and the photoresistor serves to activate a timer that turns on the lamp for exactly one and a half minutes, then turns off until a noise, whistle, click, or some other sound that turns on this device and the lamp will light up again. That's all for me, thank you all for your attention, collect this kit and share it with your friends.