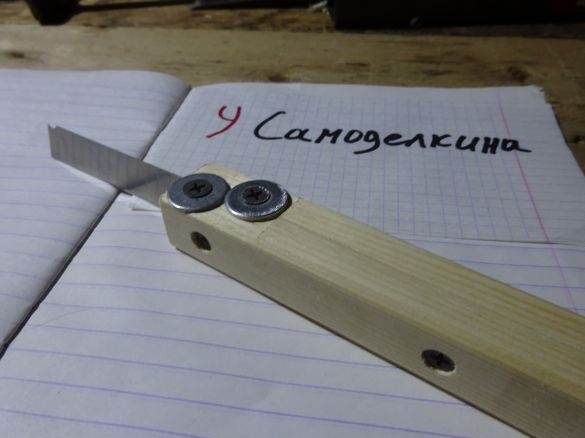
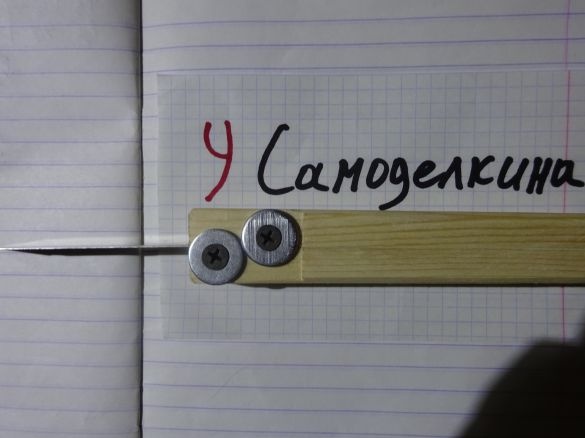
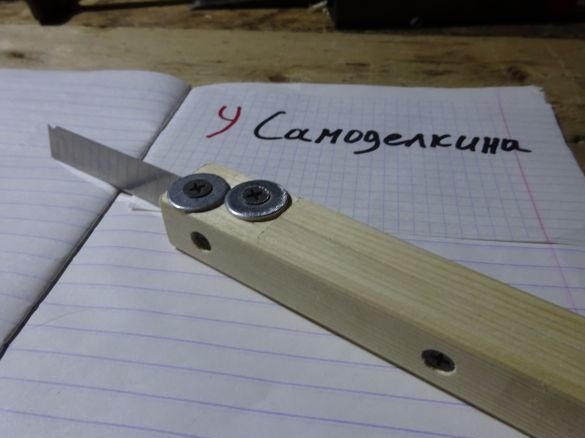
"The unknown about the known." This principle underlies one intellectual game. It applies to almost any process and invention of a completely new and simple manufacturing. homemade, with a modified second part: "... from the famous." The need to create the presented knife arose when working with polystyrene foam: the standard clerical knife was lost at that time (but was soon found), and the blades remained for it. In extreme conditions of acute failure of the right tool, an idea came up.
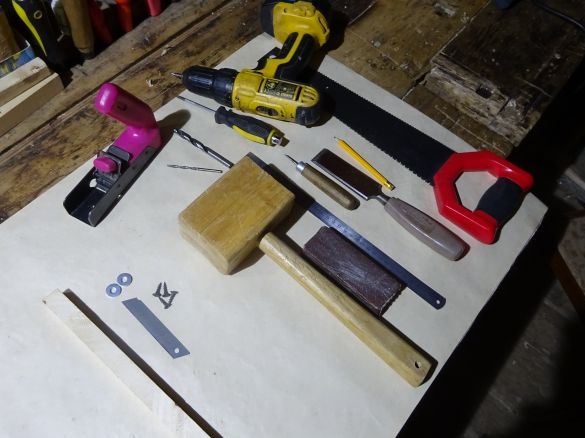
Were involved:
- hacksaw for wood;
- a planer;
- a chisel;
- screwdriver;
- sandpaper;
- a pencil;
- mallet;
- ruler;
- shoe needle;
- drills (2pcs).
Production came from the following:
- bar;
- four self-tapping screws 2 cm long;
- blade for stationery knife 18 mm wide;
- two washers (with a diameter of not more than 1.5 cm).
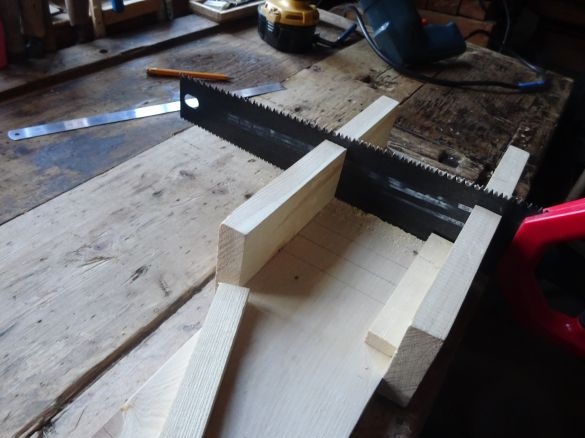
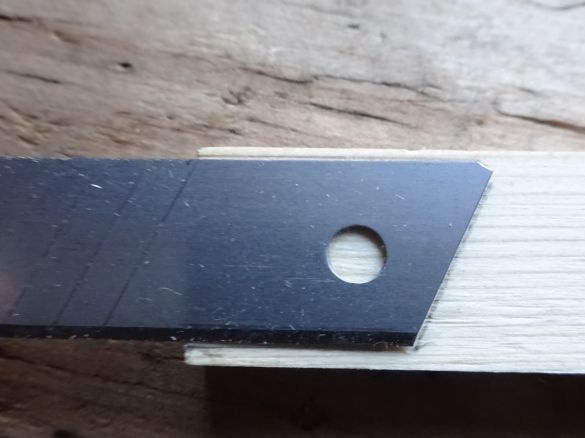
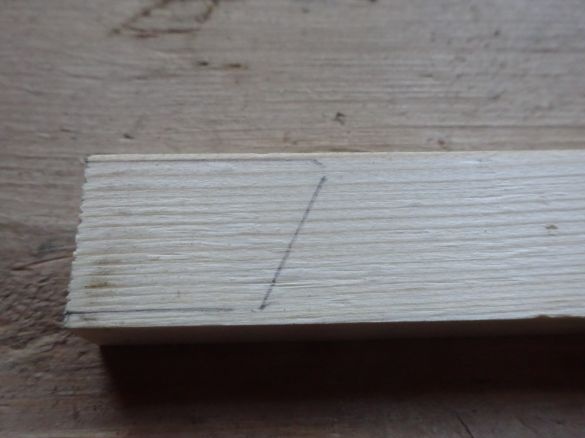
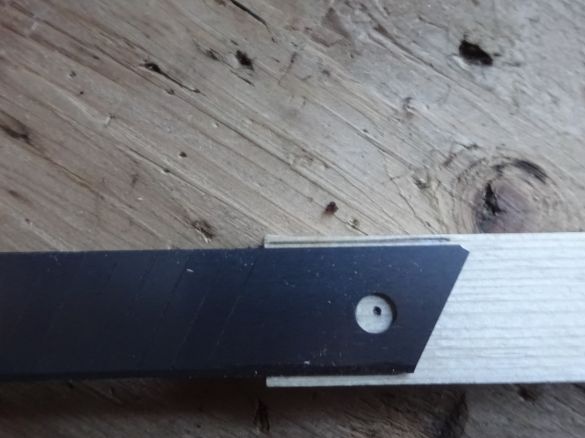
Step 1. Production begins with marking and sawing in the miter box into two parts measuring 13 x 1.2 x 2.2 (cm). Next, we attach the blade to the first bar so that the upper obtuse angle of the last potential fault coincides with the end of the bar (for a larger working cutting part; but not too long - otherwise the blade will have a smaller area of support under the washers), and the lower edge of the blade was slightly higher than the lower the edges of the bar (for additional fixation between the wooden parts). Circle with a pencil. You can also raise the blade - in this case, the washers, leaning on it, will lie simultaneously on the handle of the future knife. This fundamentally does not change anything. The minus, it seems to me, would be the inconvenience of grabbing the handle and further work, but you would not have to take the chisel in your hands again. Then we apply the blade to the second bar at the same boundaries, but we only circle the top edge and mark the center of the hole.
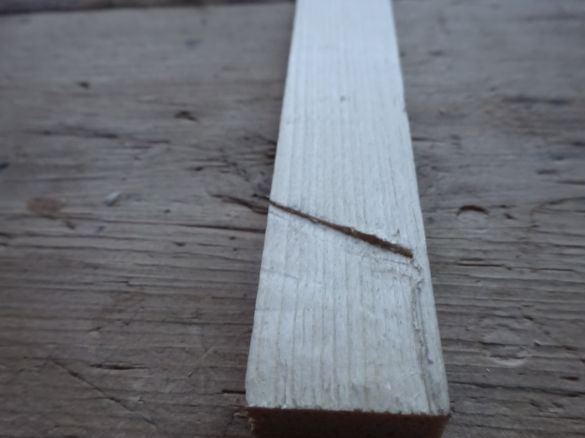
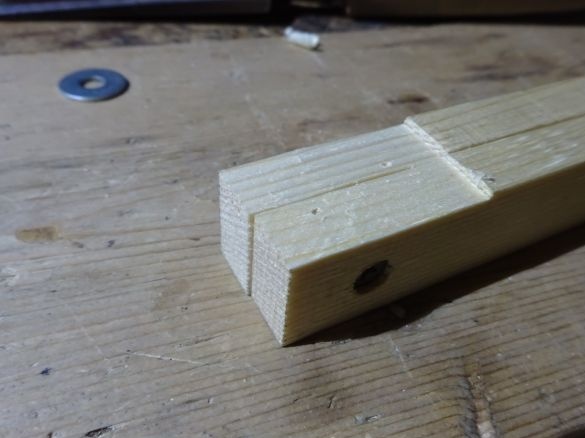
Step 2. Using a chisel and a mallet, we remove the outlined area with a thickness less than the thickness of the blade.
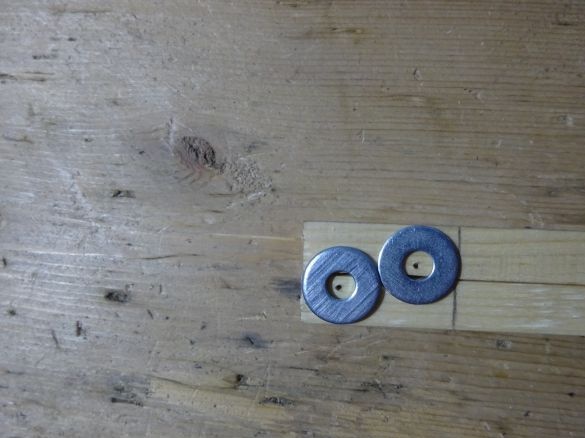
Step 3. Apply the washers as shown in the photo. Draw a pencil parallel to the ends of the bars next to the washer. We mark the centers of the washers with a boot needle.
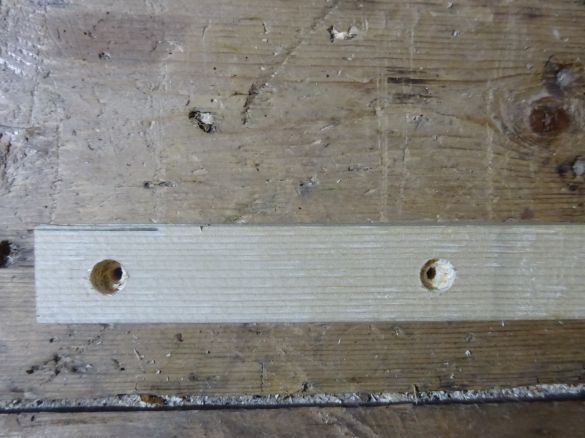
Action 4.We drill large and small holes in the previously indicated location, as well as closer to the second end of the handle. And small ones - in the upper part (where the washers will be).
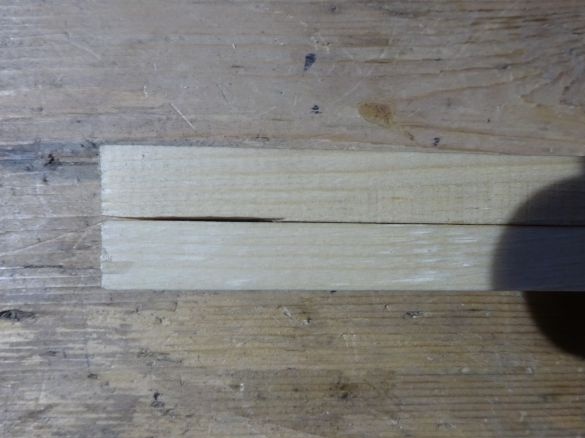
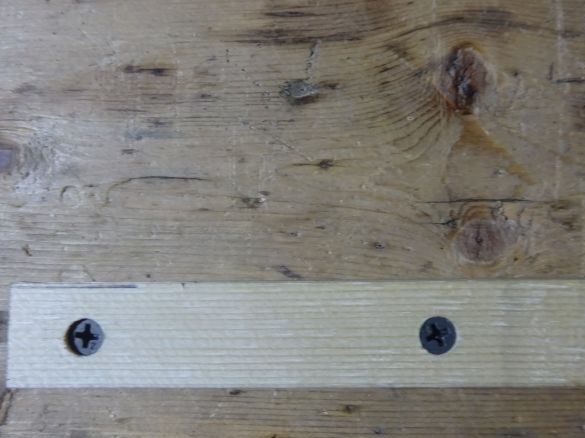
Step 5. We place the bars one to the other and screw the screws, but not until they are firmly fixed.
Step 6. Remove the upper part of the handle with a chisel and a plane - a chamfer along sharp edges. We process sandpaper.
Action 7 (and the last). Unscrew the screws, insert the blade, twist back.
Fasten the remaining washers to the handle with the remaining screws. Using a screwdriver (or a screwdriver) we bring to the most tight fit. The fixed blade knife is ready.
Afterword: But you should handle it carefully so as not to break the latter and, moreover, not to get hurt. You can make some elementary case, case or stand. Keep away from children and animals. As the segments become dull, this knife will more and more resemble a shoe. Of course, instead of the washers, you can put a metal plate, but, again, it is still necessary to bring it into shape and drill it.


