

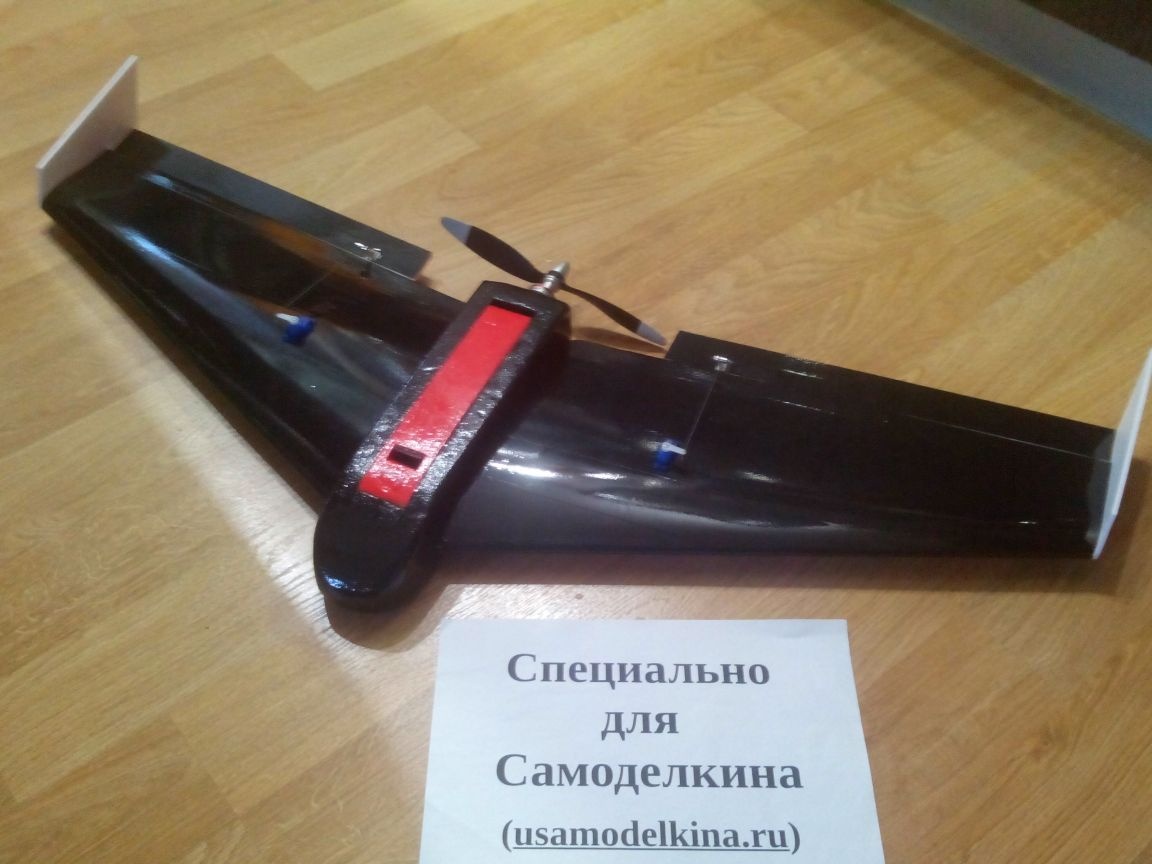
This article will tell you how to build a simple flying wing from a ceiling tile. Penoplex in this case was used as an experiment in the manufacture of the fuselage, but it can easily be replaced with ceiling tiles.
Materials:
- Penoplex
- Ceiling tile
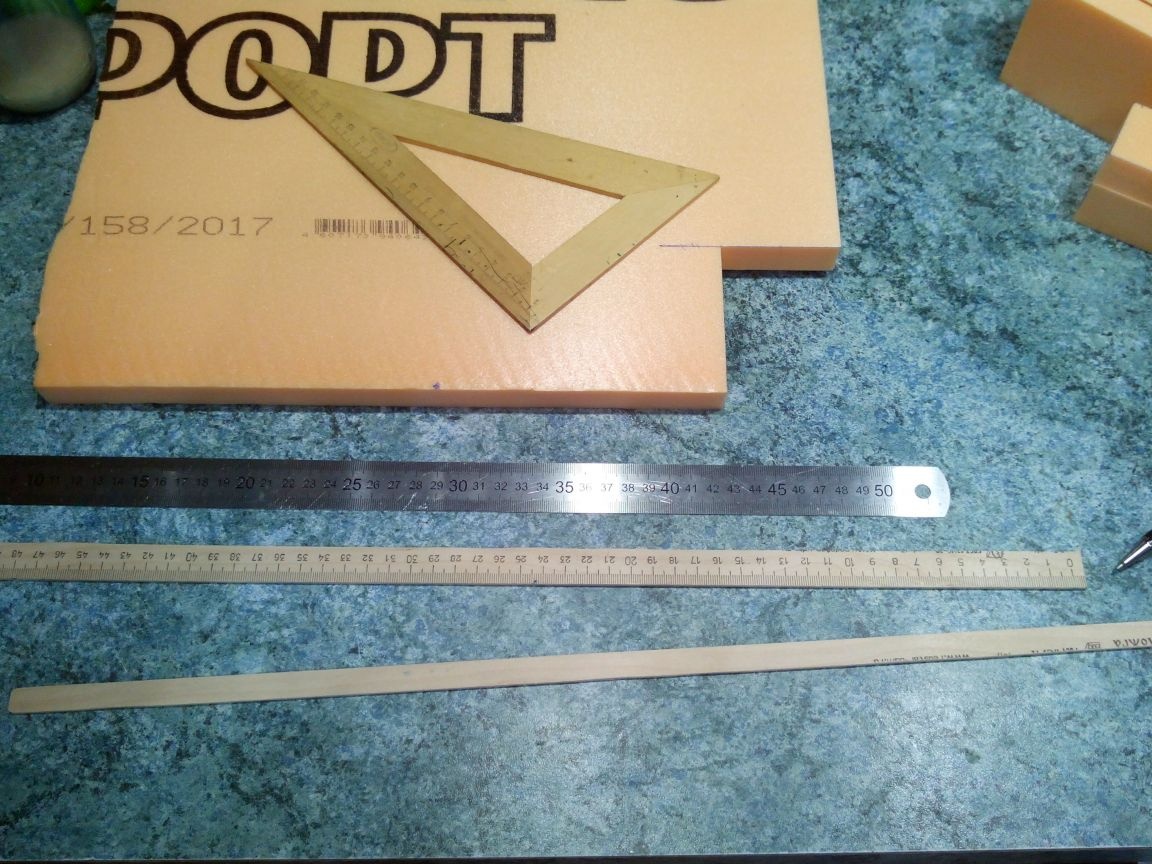
- Wooden ruler
- Plywood
- steel wire
- Glues (PVA, epoxy and ceiling)
- Scotch multi-colored
- Bolts and nuts
- steel wire
- Bamboo sticks
- Plastic cards
- Magnets from a badge
- Acrylic paints
Instruments:
- Cutter
- Jigsaw
- Sandpaper
- Square
- Ruler
- scissors
- Thermogun
- Iron
- awl
- Needle files
- screwdrivers
- brush
- Thermogun
Electronics (links were relevant at the time of writing):
Motor -
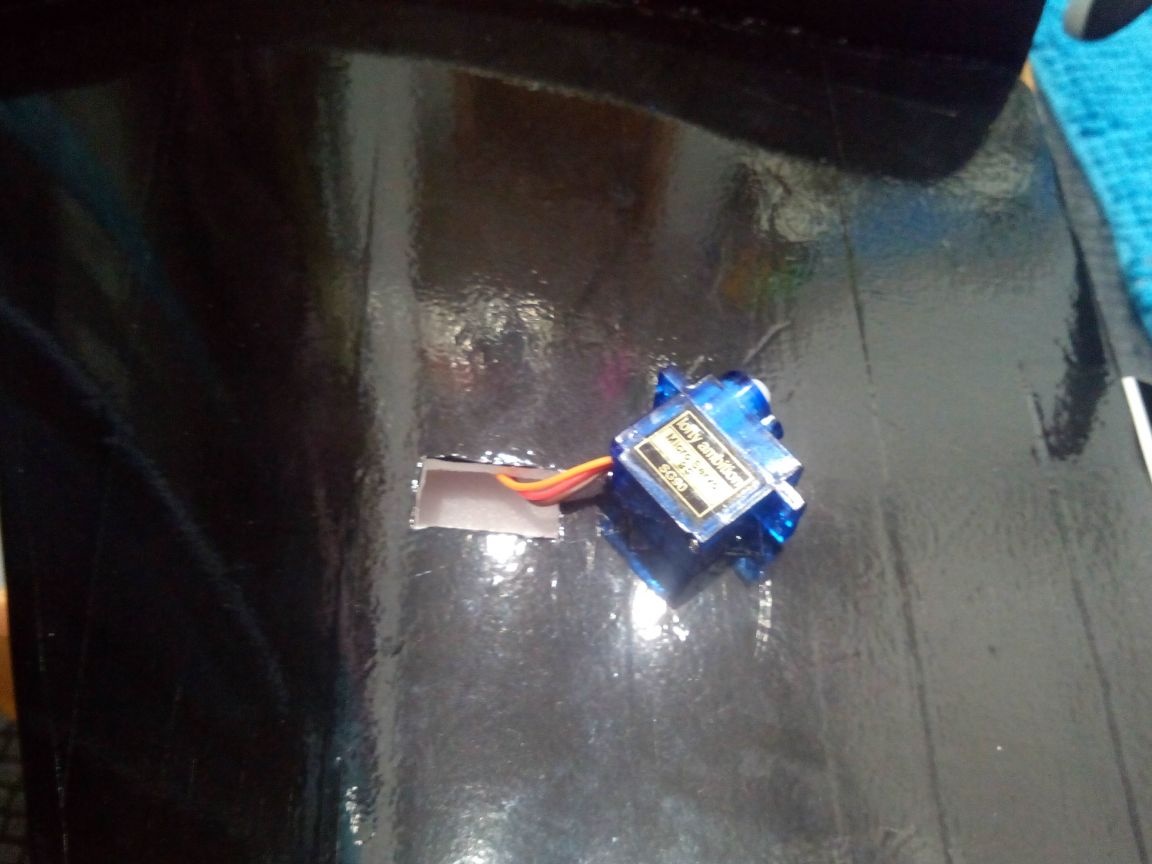
Servos -
Drawbar clamps -
Wild boars -
Speed control -
Propeller -
Batteries are suitable, for example, such - Turnigy 1000mAh 3S 25C
Equipment - FlySky FS-i6, Turnigy TGY-i6 or other.
Drawings, if you can call them that, in PDF format. I tried to draw so that it was clear the location of the individual parts on the sheets of the ceiling. It is assumed that all the details will be drawn directly on the ceiling at the indicated sizes.
View online file:
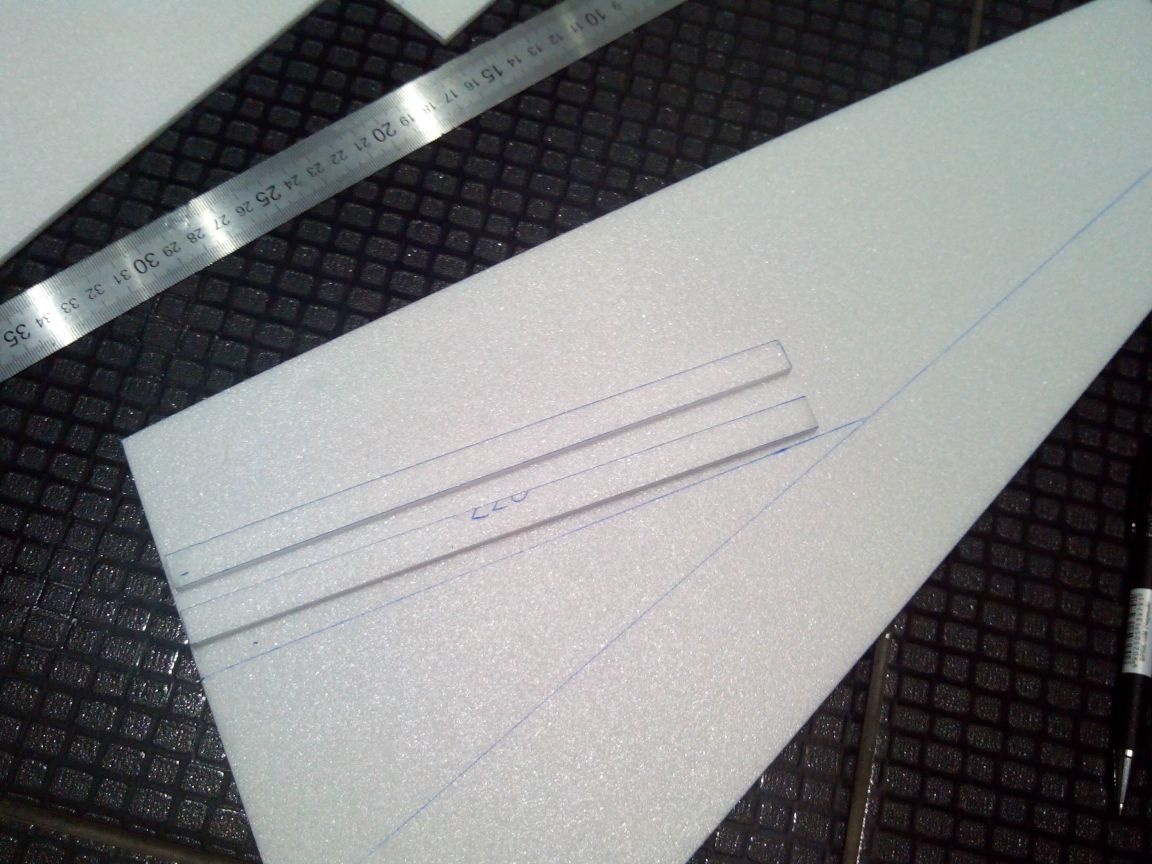
Step 1. Making wing consoles.
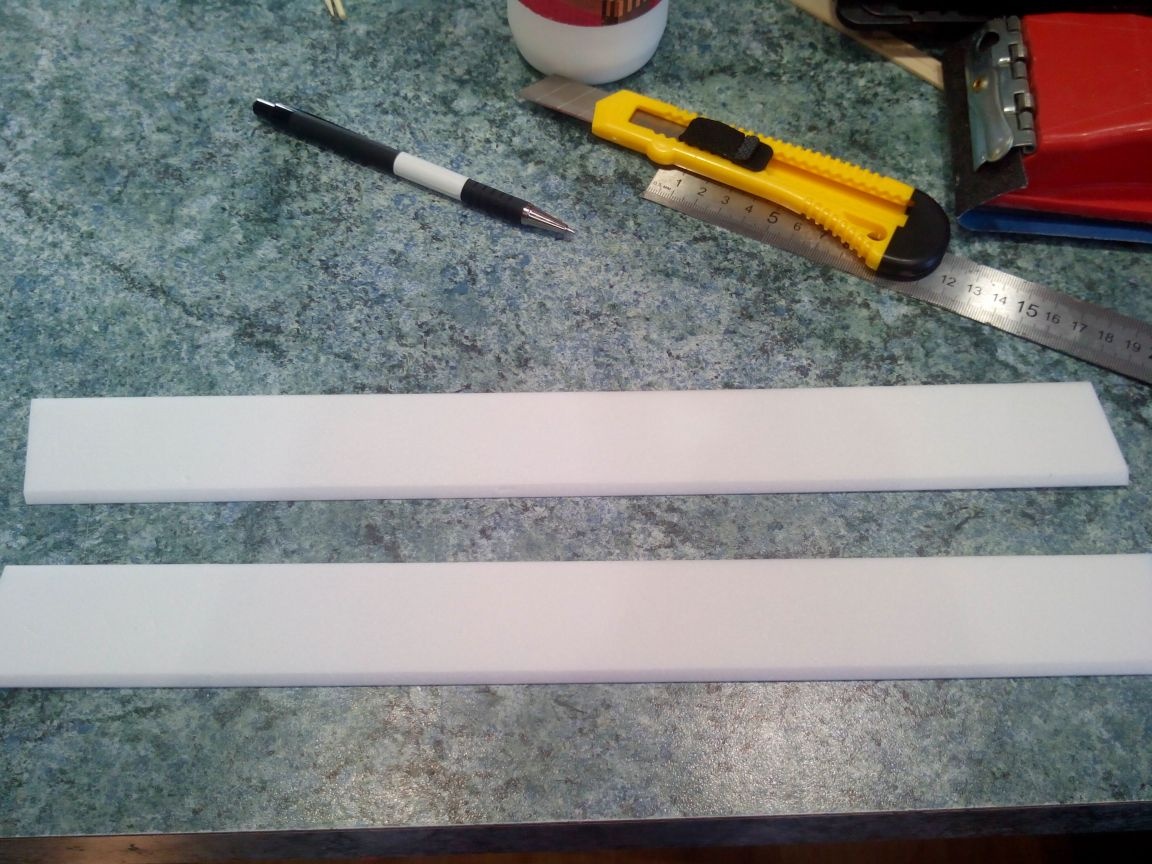
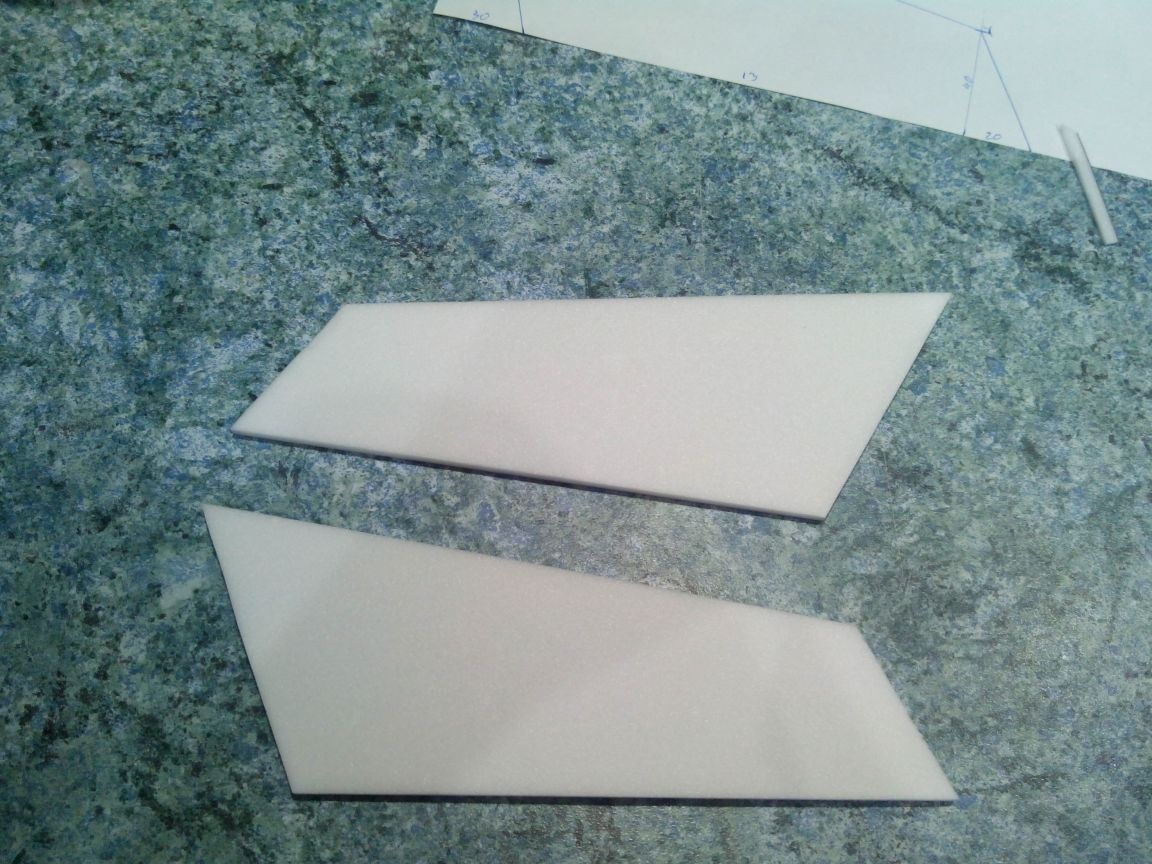
We draw wing parts with the help of a square and a ruler on the sheets of the ceiling.
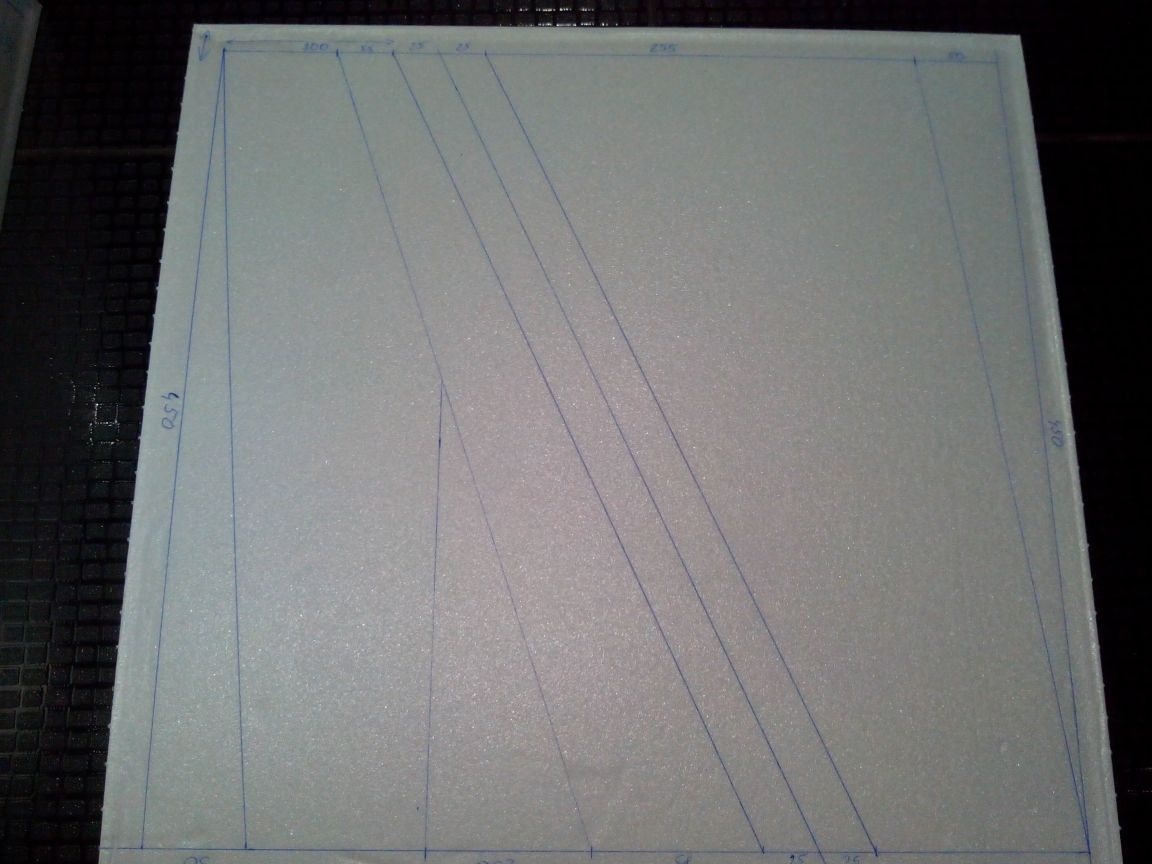
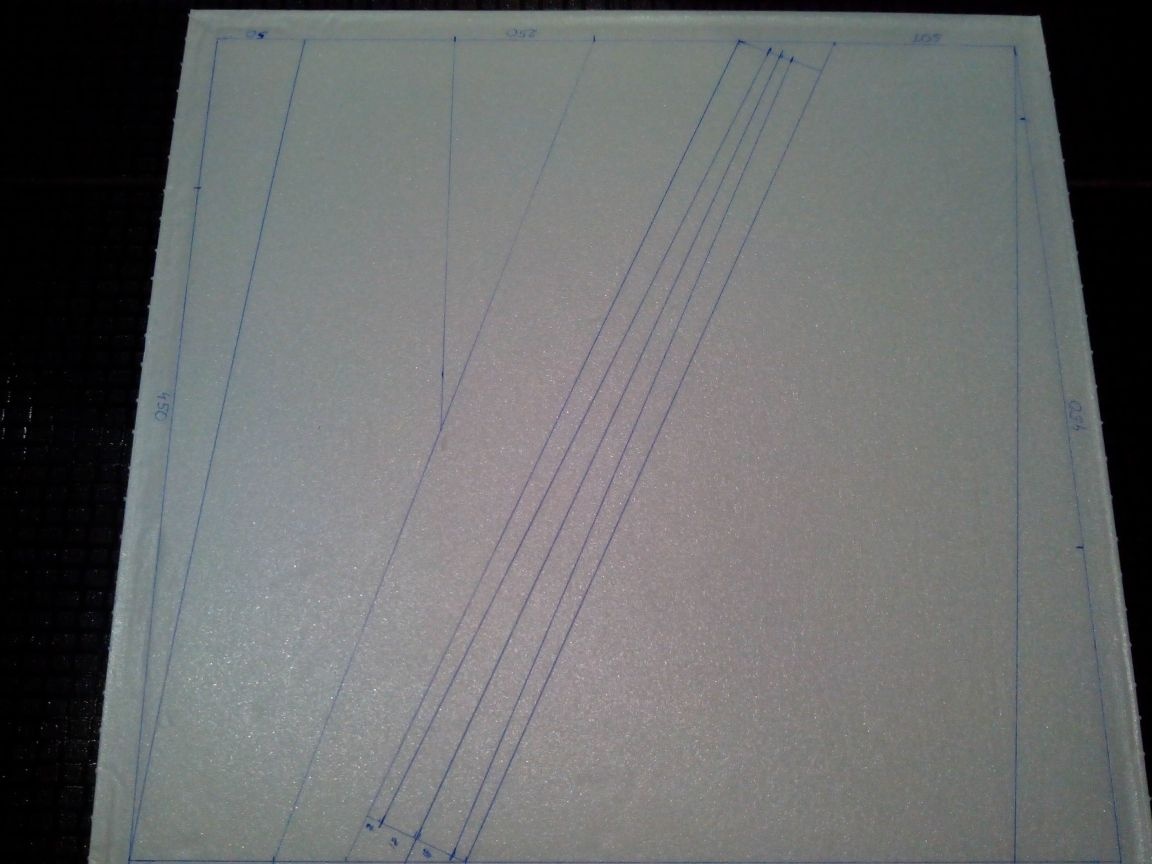
On the first sheet is the bottom of one console and the top of the other console (to save material). On the second sheet - vice versa. Between these parts are the parts of the spar and the leading edge.
Cut these parts with a cutter.
Cut out the parts of the pencil case under the connecting rail.
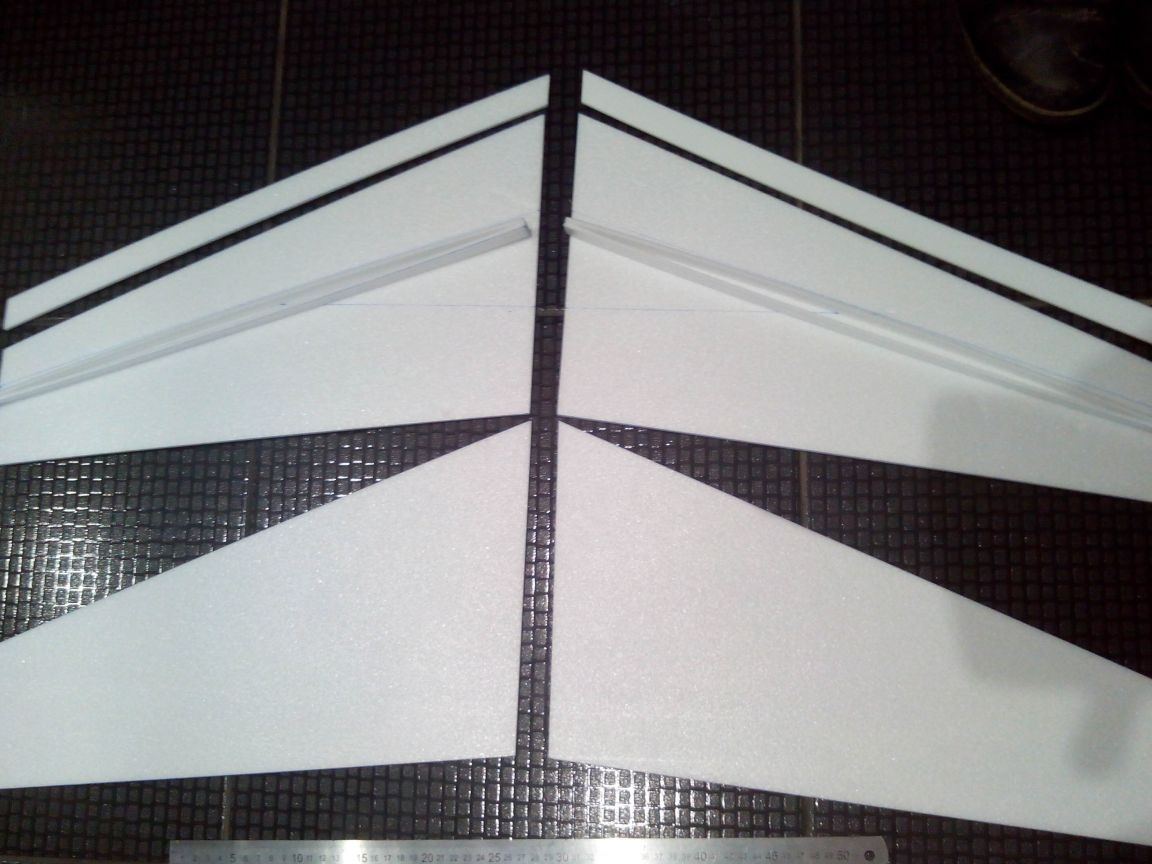
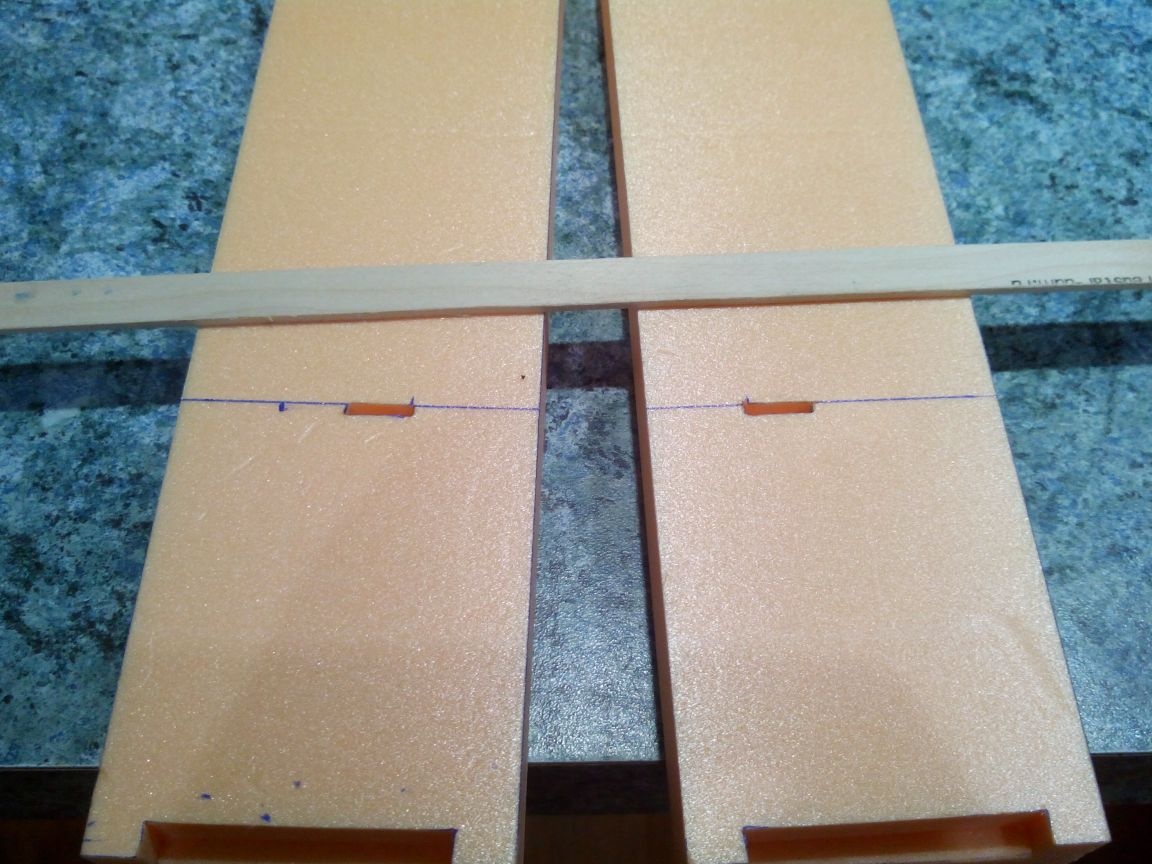
We glue the spars and glue to the lower parts of the front edge reinforcement consoles.

We glue the side members and one part of the pencil case.
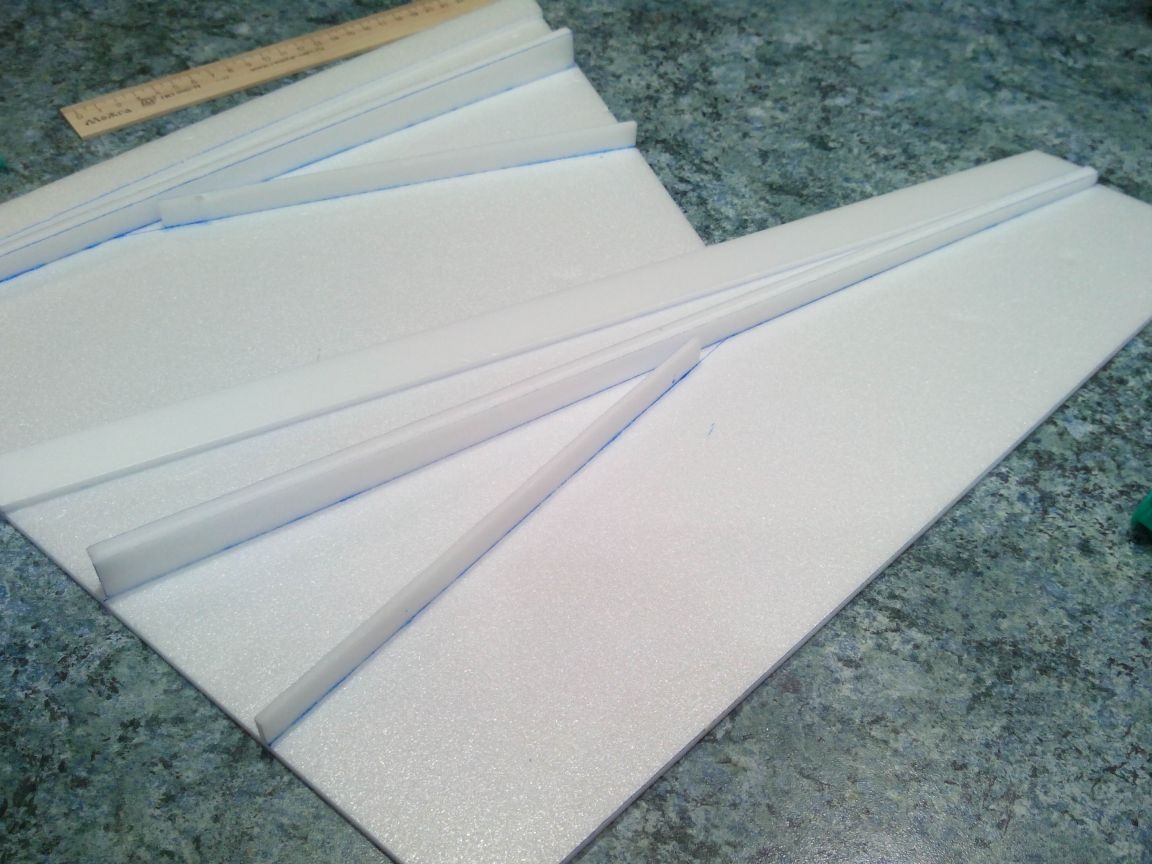
Since the connecting rail we will have from a wooden ruler, we use it as a guide and glue the second parts of the pencil case.
Grind or crop the front edge at an angle.
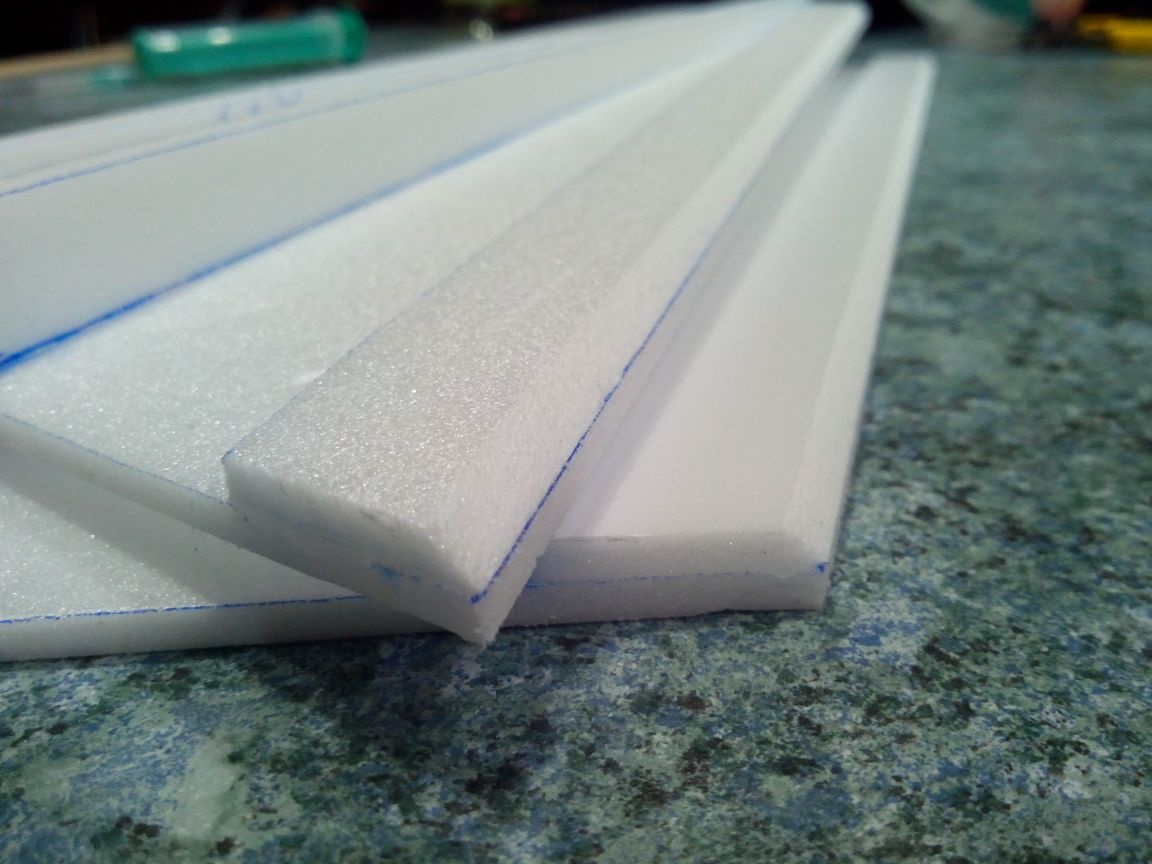
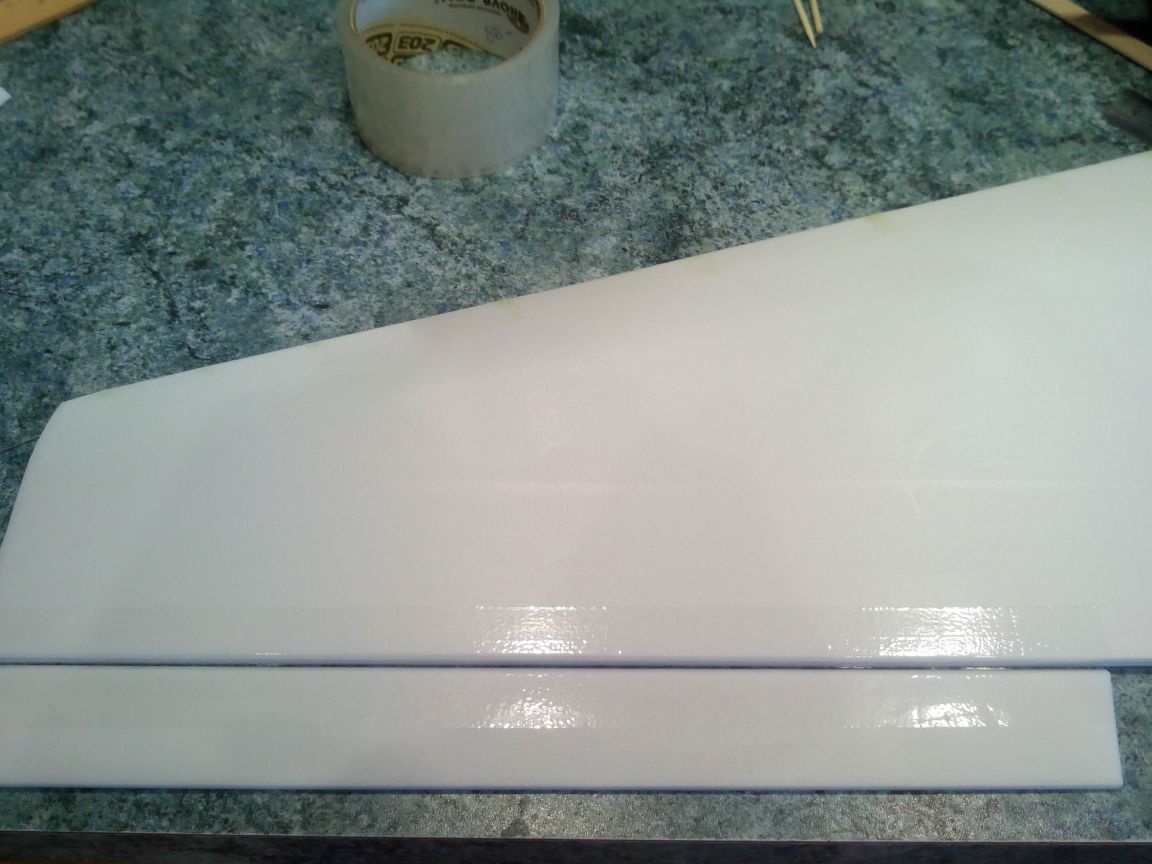
Glue the upper parts of the consoles to the front edge and leave until the glue completely dries.
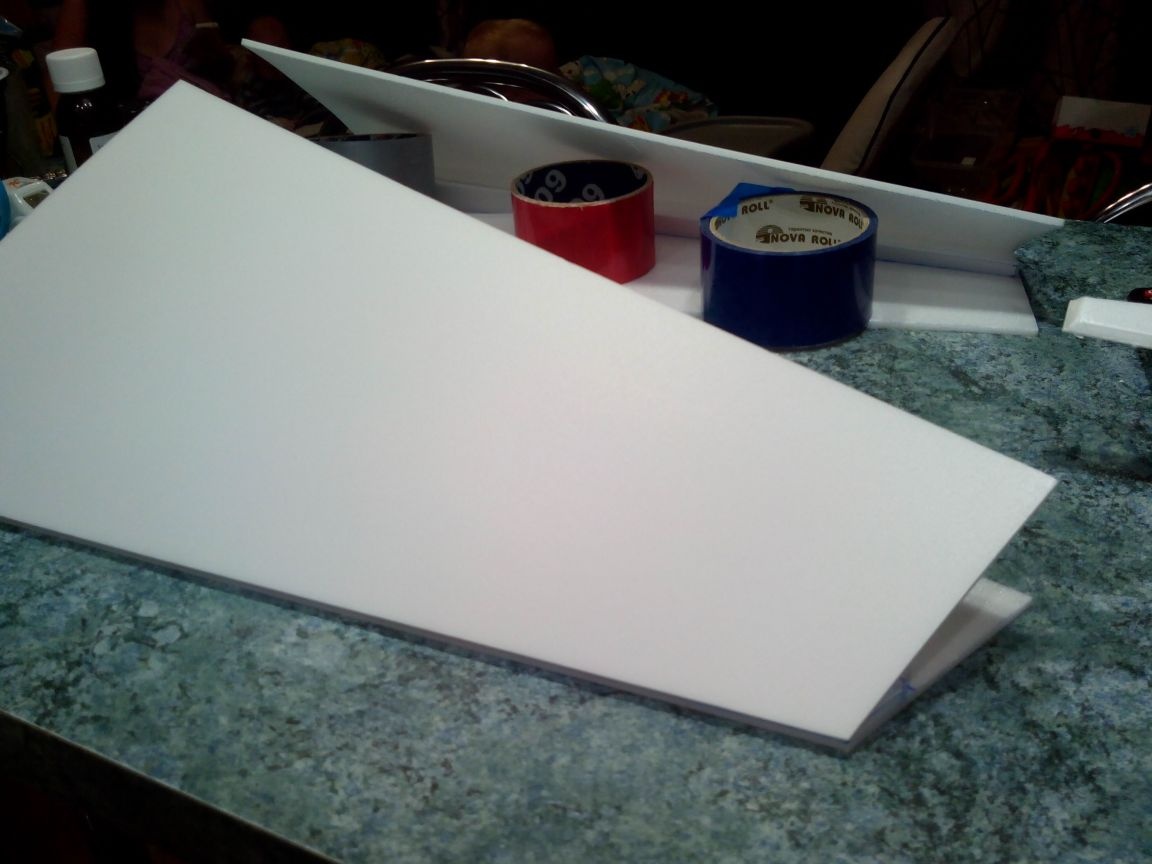
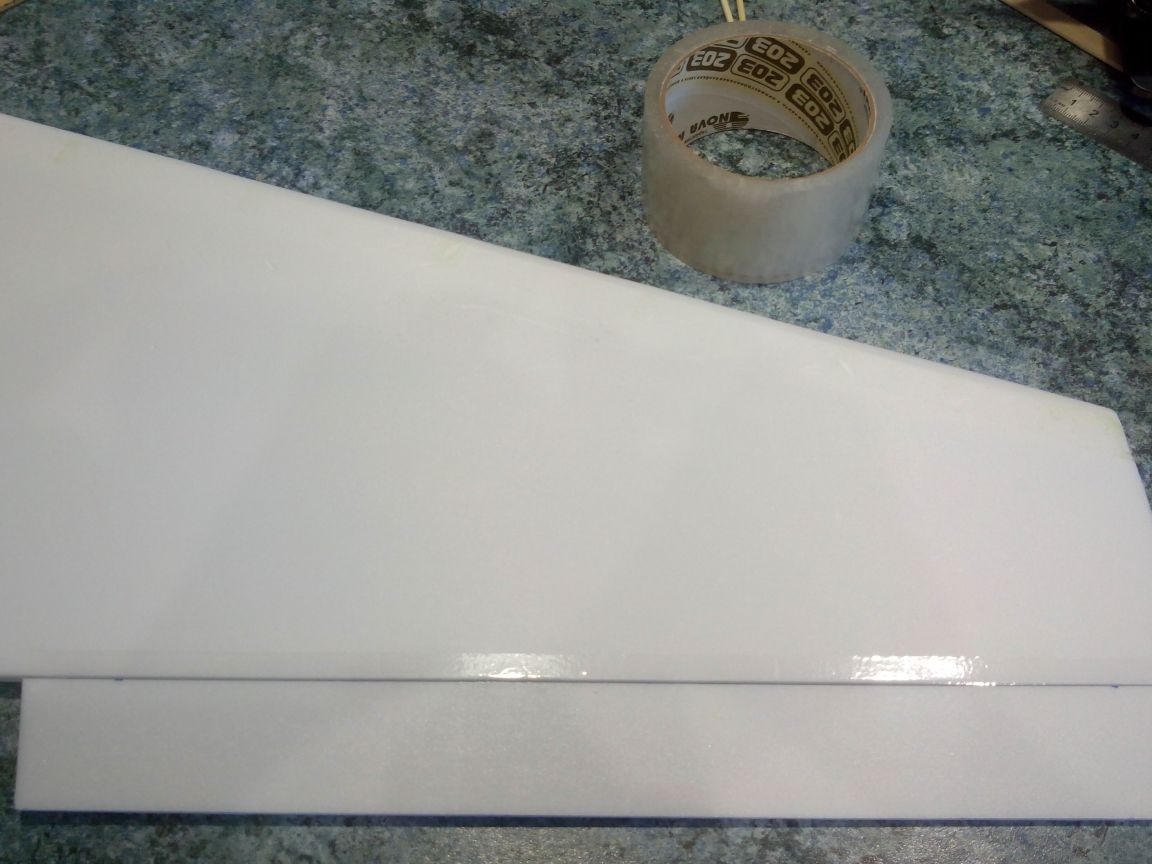
If you don’t feel like waiting, you can fix the place of gluing with adhesive tape along the entire length.
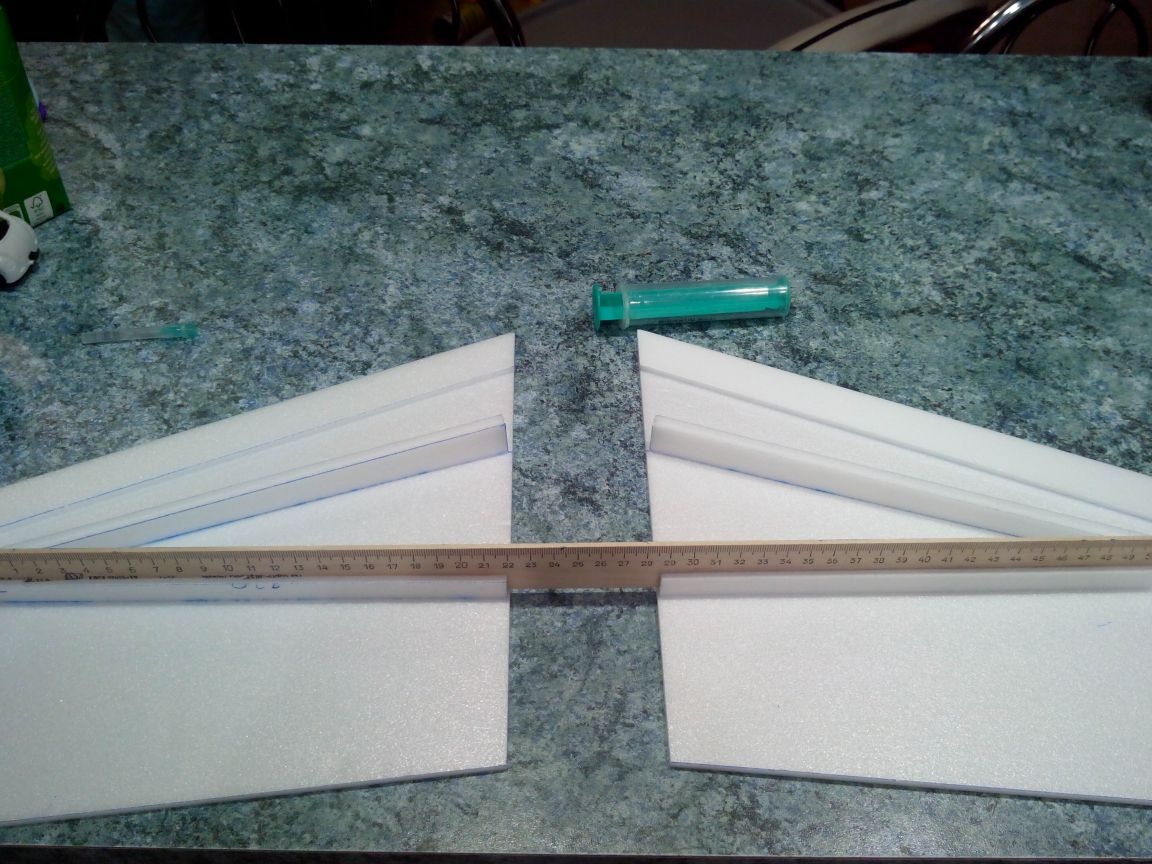
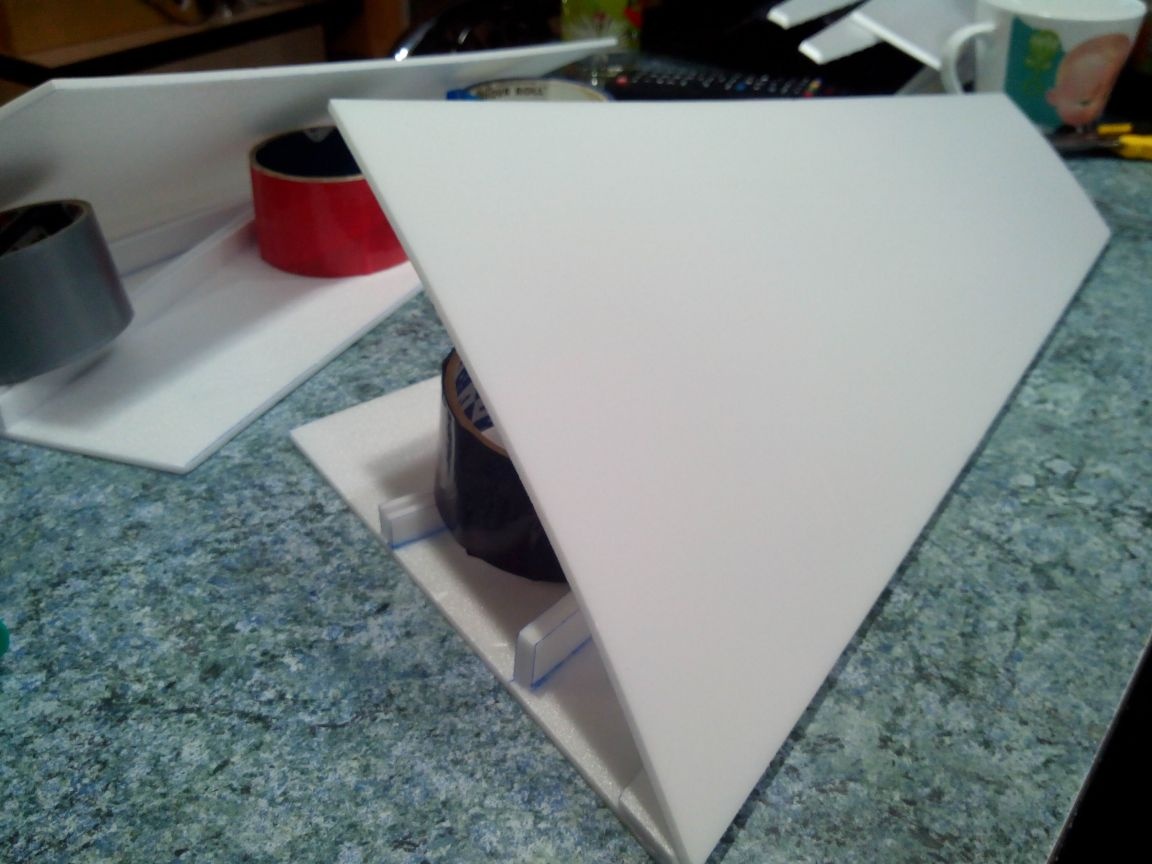
Then we glue the spar, pencil case and trailing edge with glue and place the wing under the load.
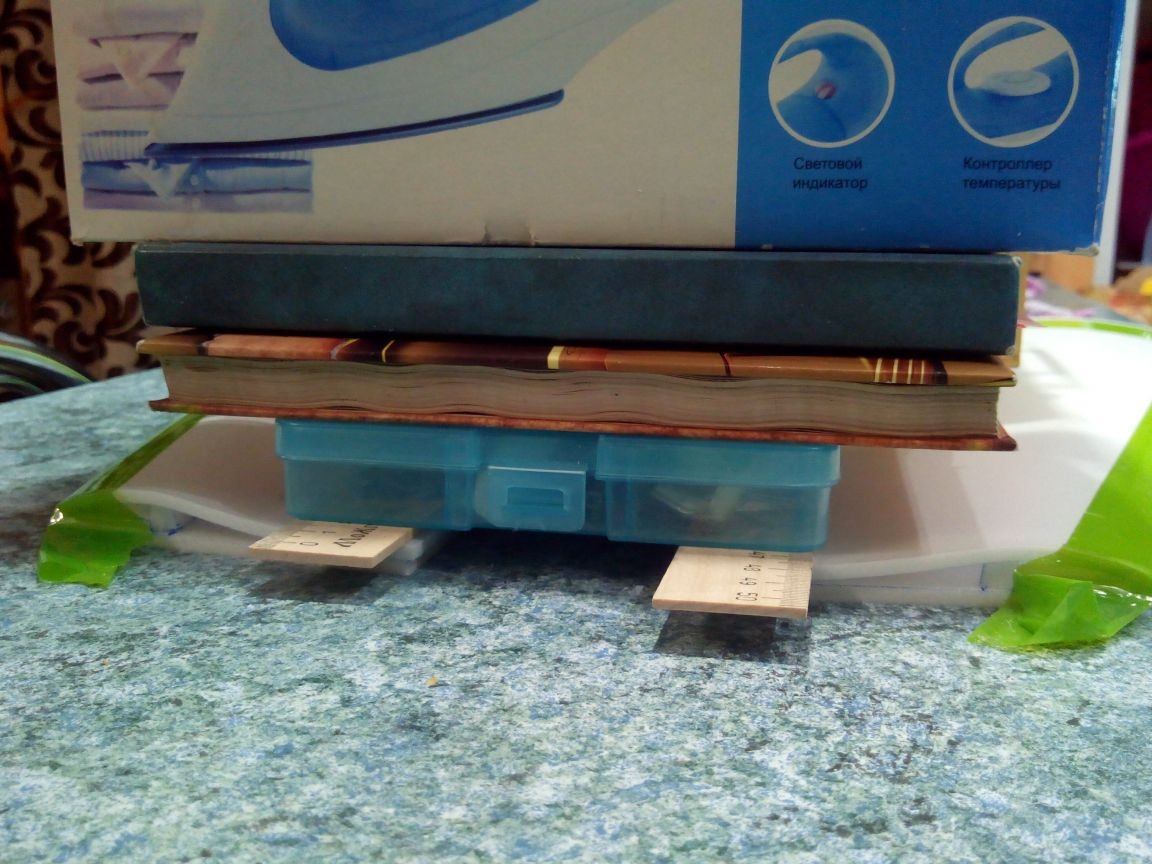
To maintain the profile, we pull the leading edge to the table with tape.
After the glue dries, we round the front edge with sandpaper.
We cut out a connecting rail from a ruler (width 12 mm).
We cut the elevons from one layer of the ceiling tile and grind one edge at an angle of 45 degrees with sandpaper.
We hang the elevons on the tape, first from the bottom.
Then from above.
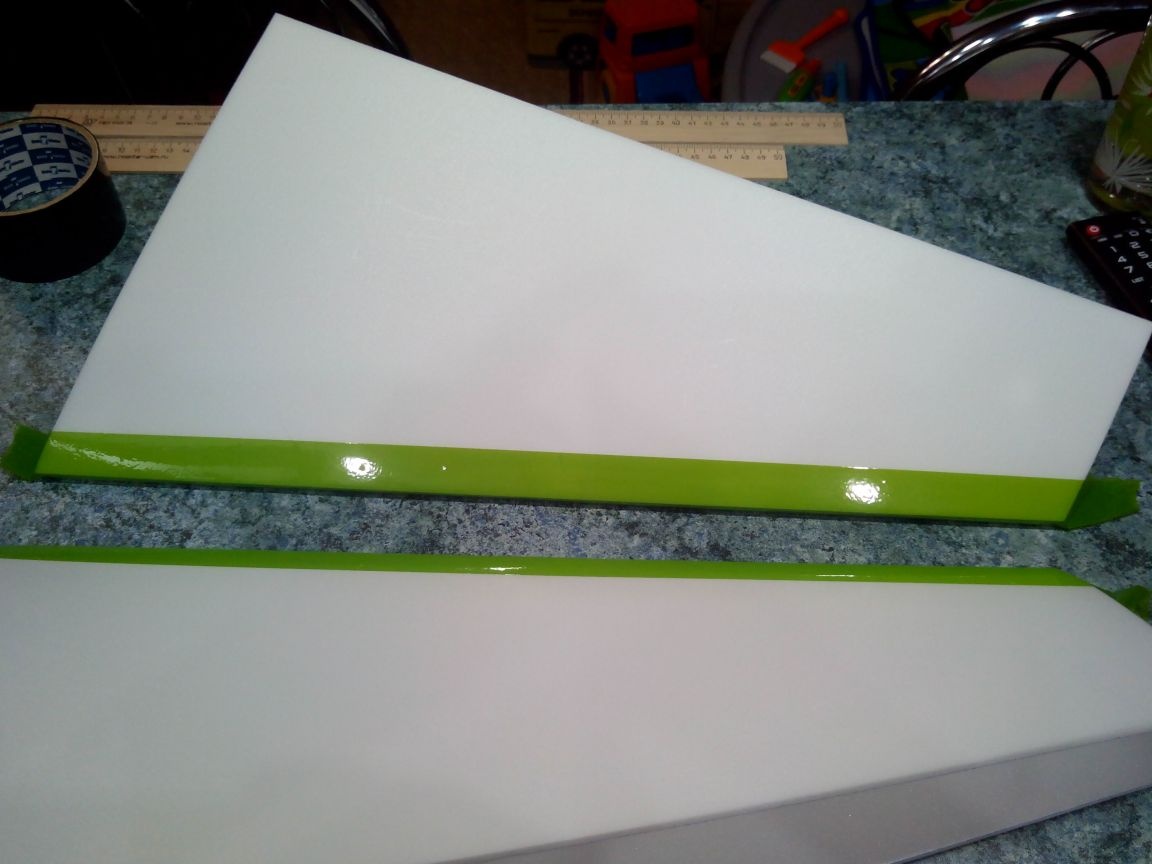
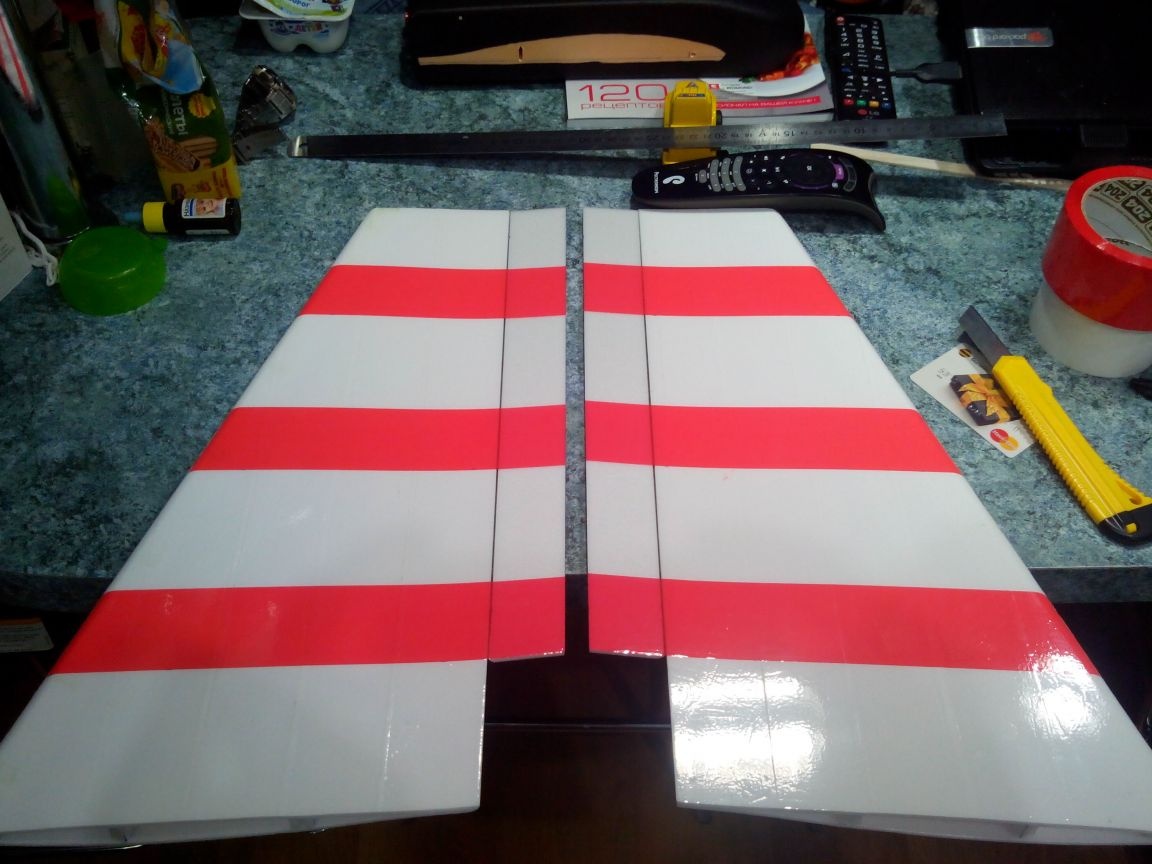
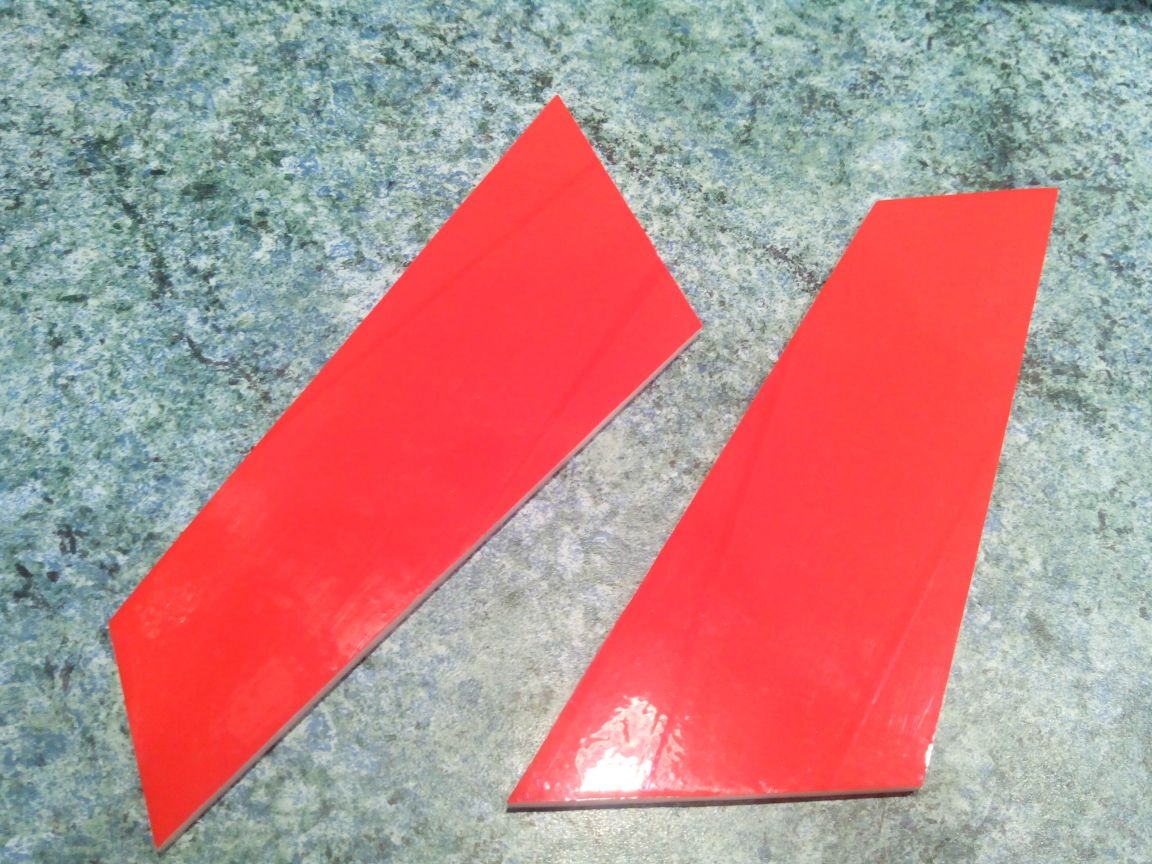
We glue the wing with colored tape.
From above.
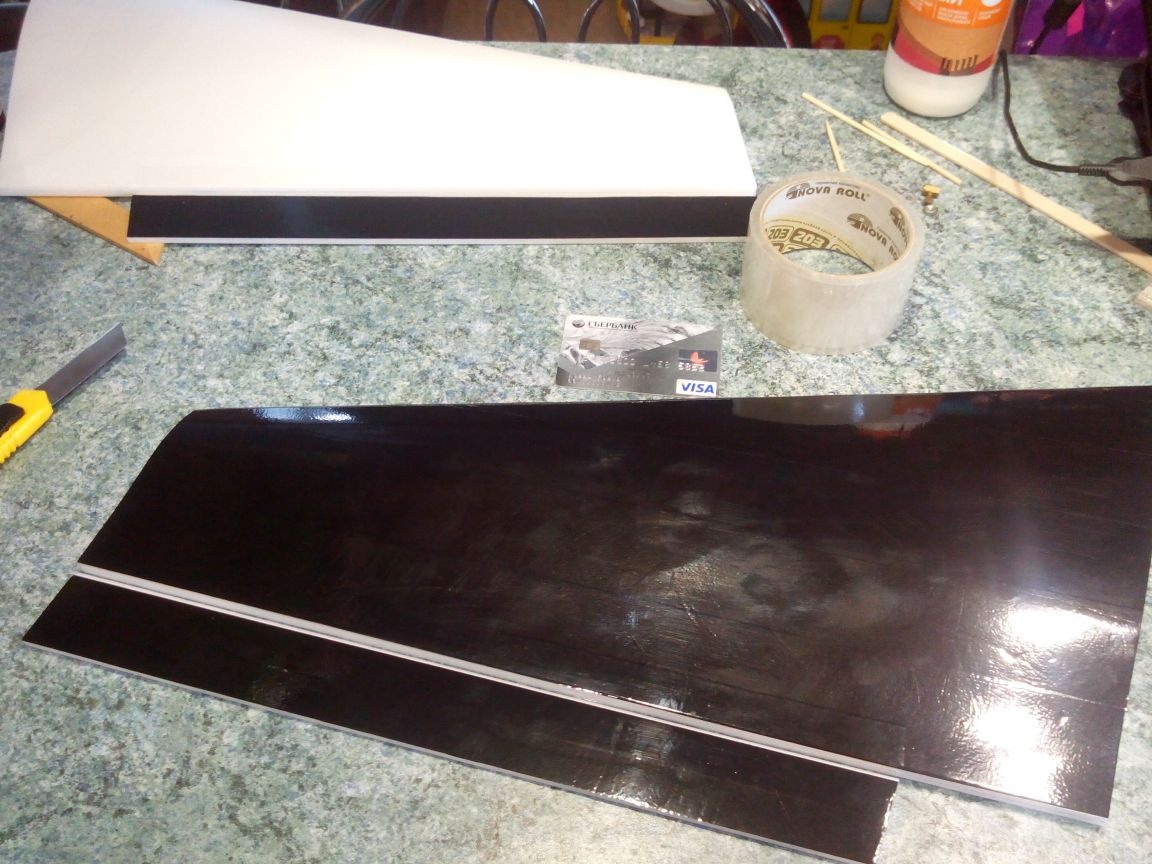
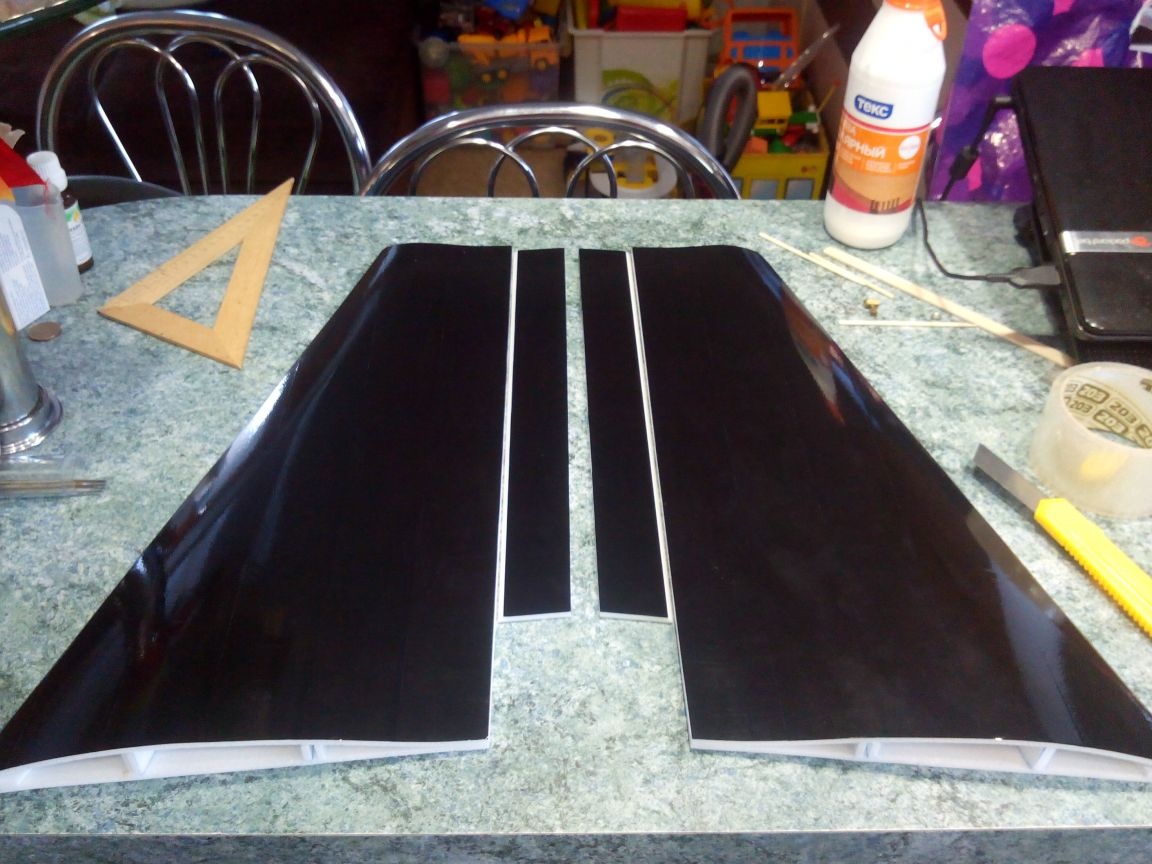
From below.
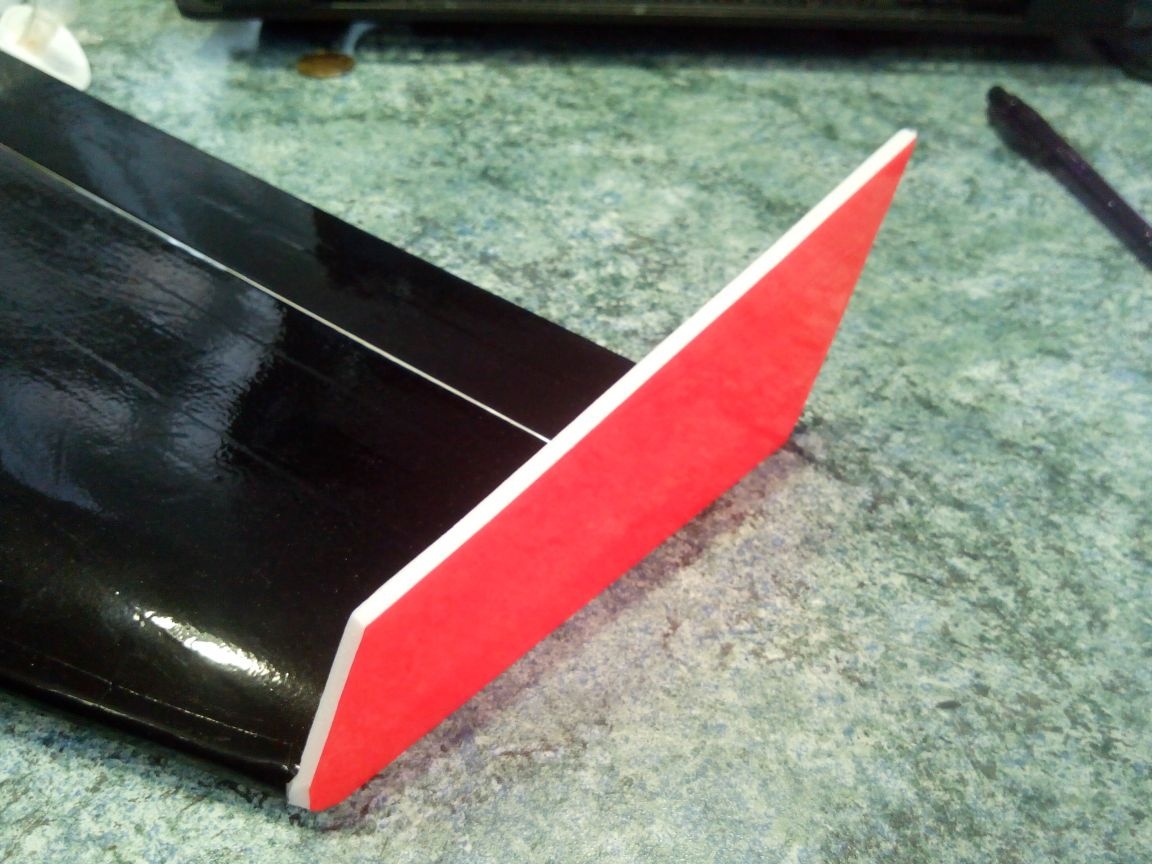
We cut winglets from one layer of the ceiling.
And glue them with tape on the outside.
Glue the winglets
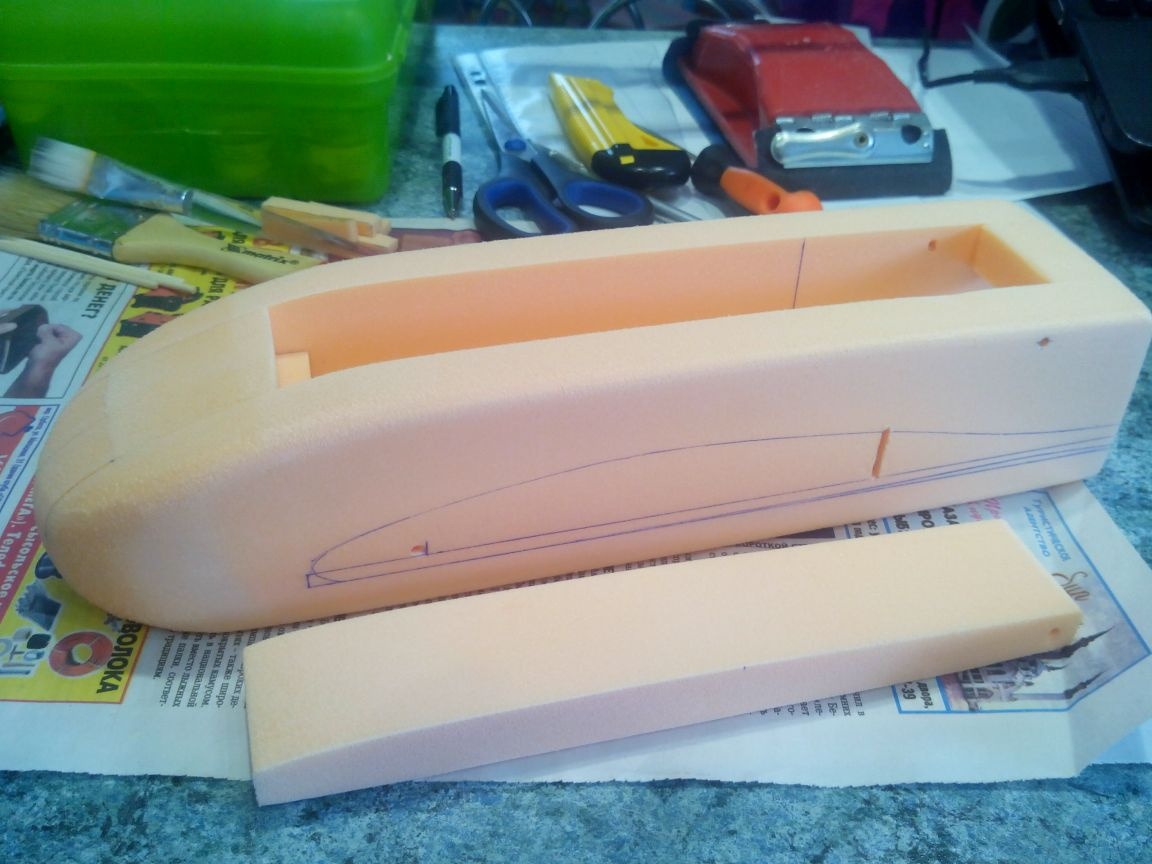
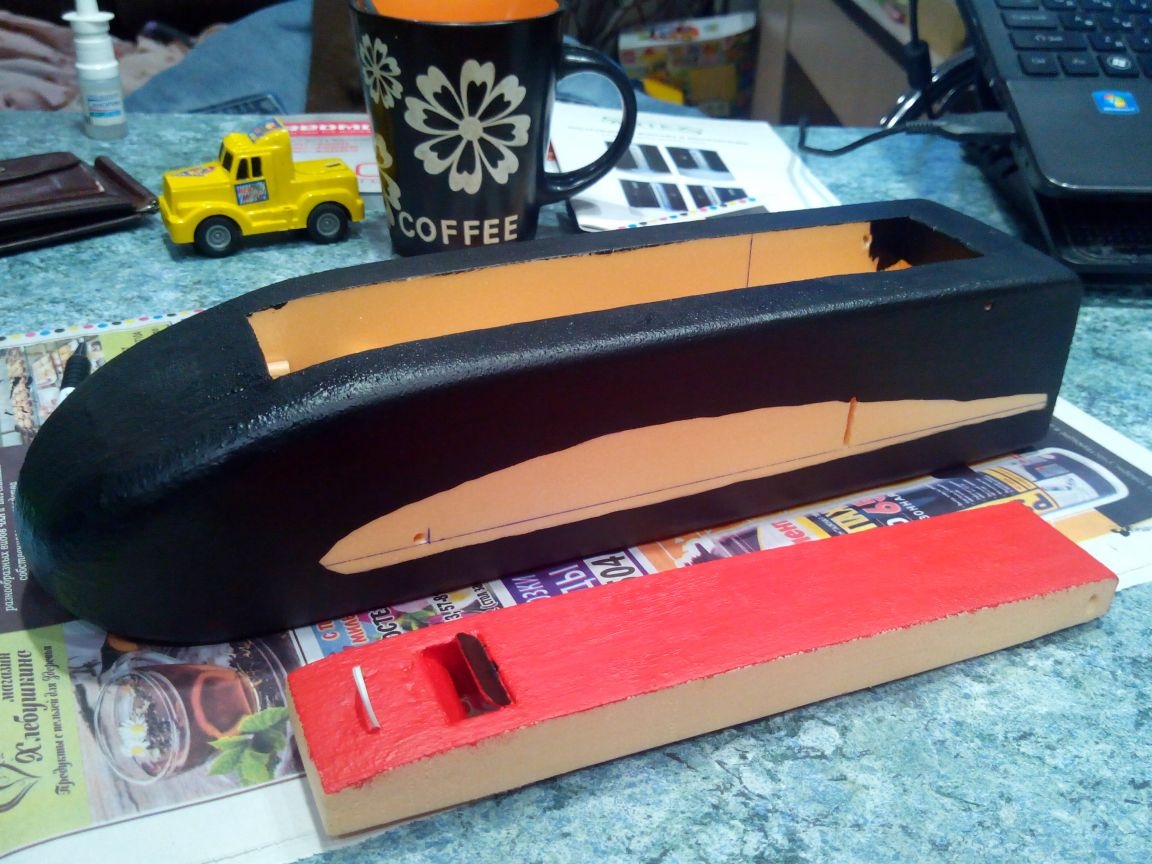
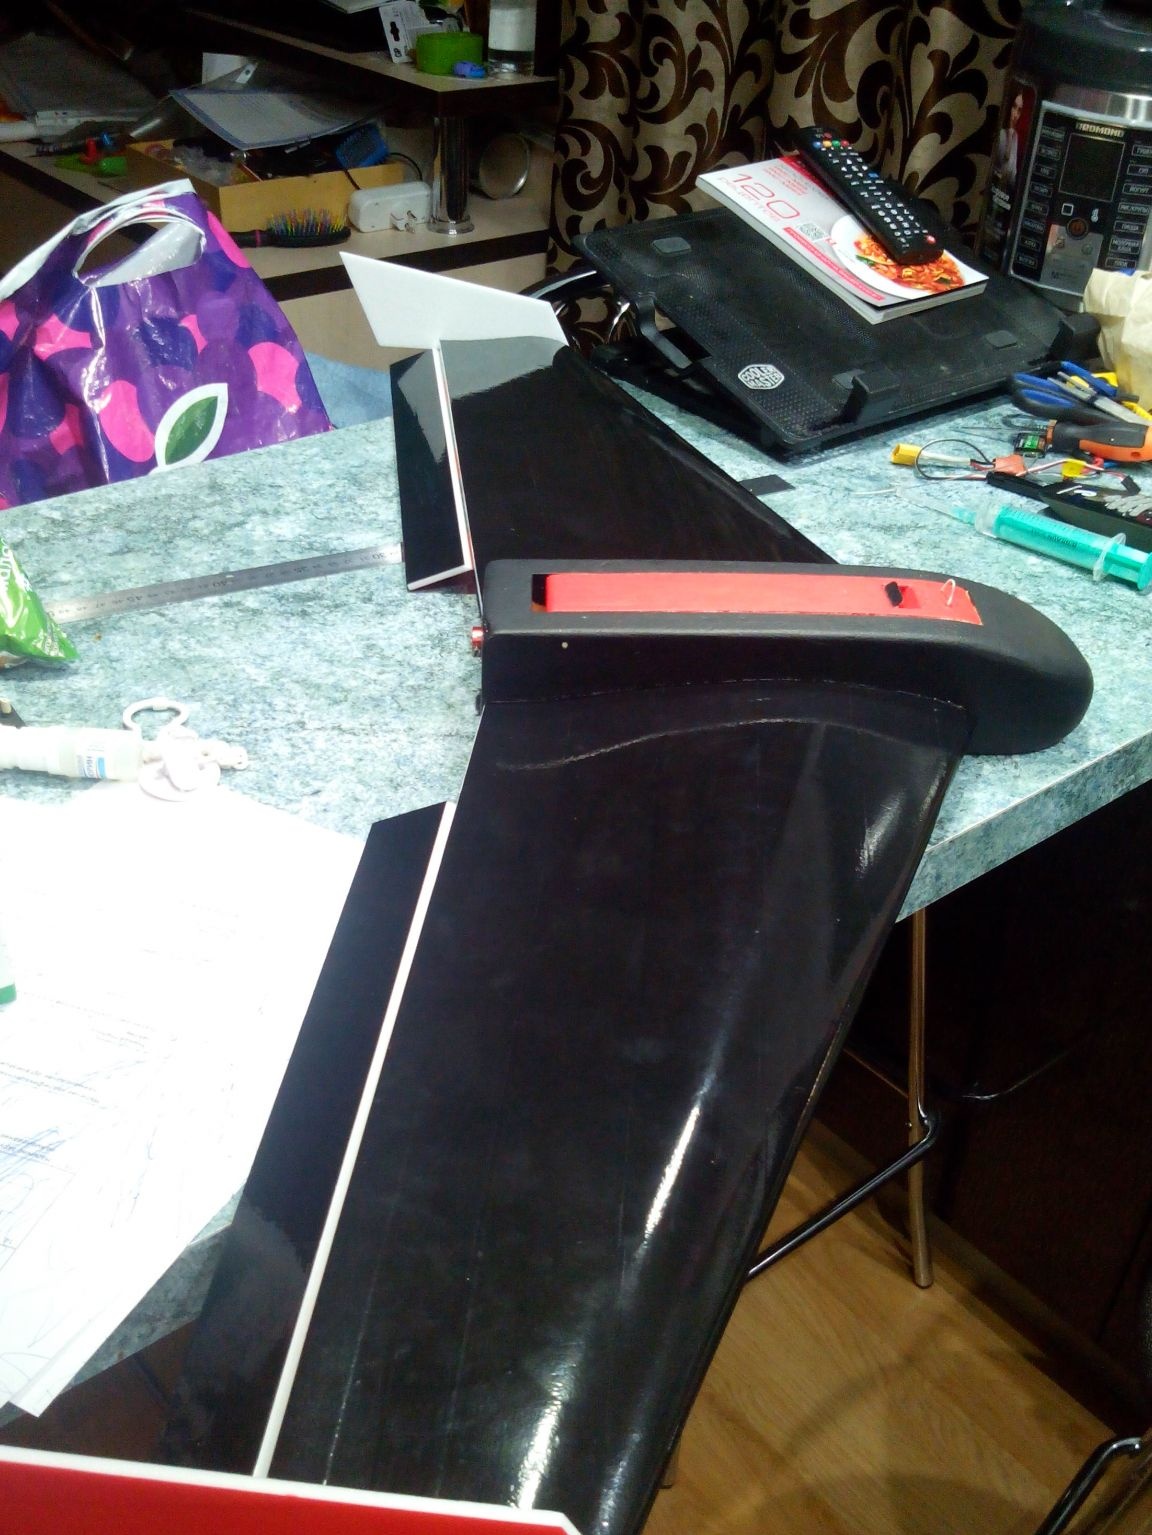
Step 2. Making the fuselage.
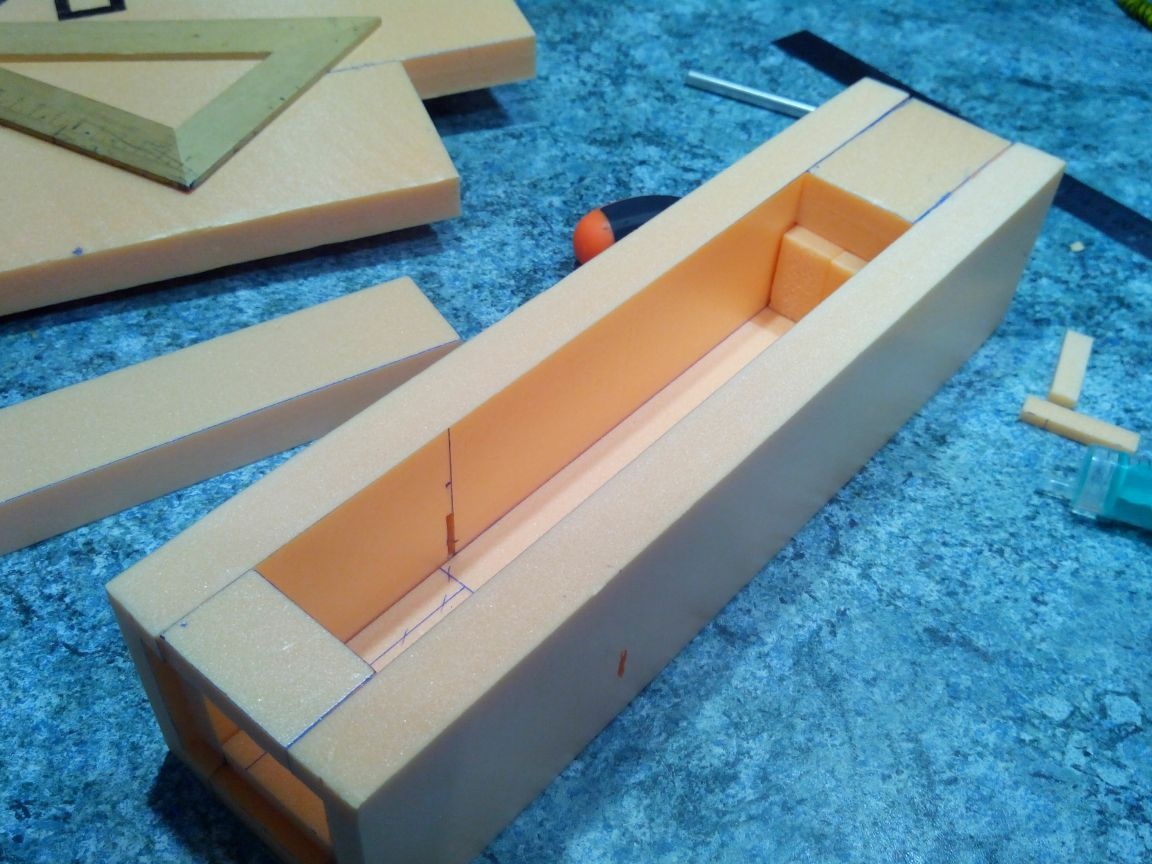
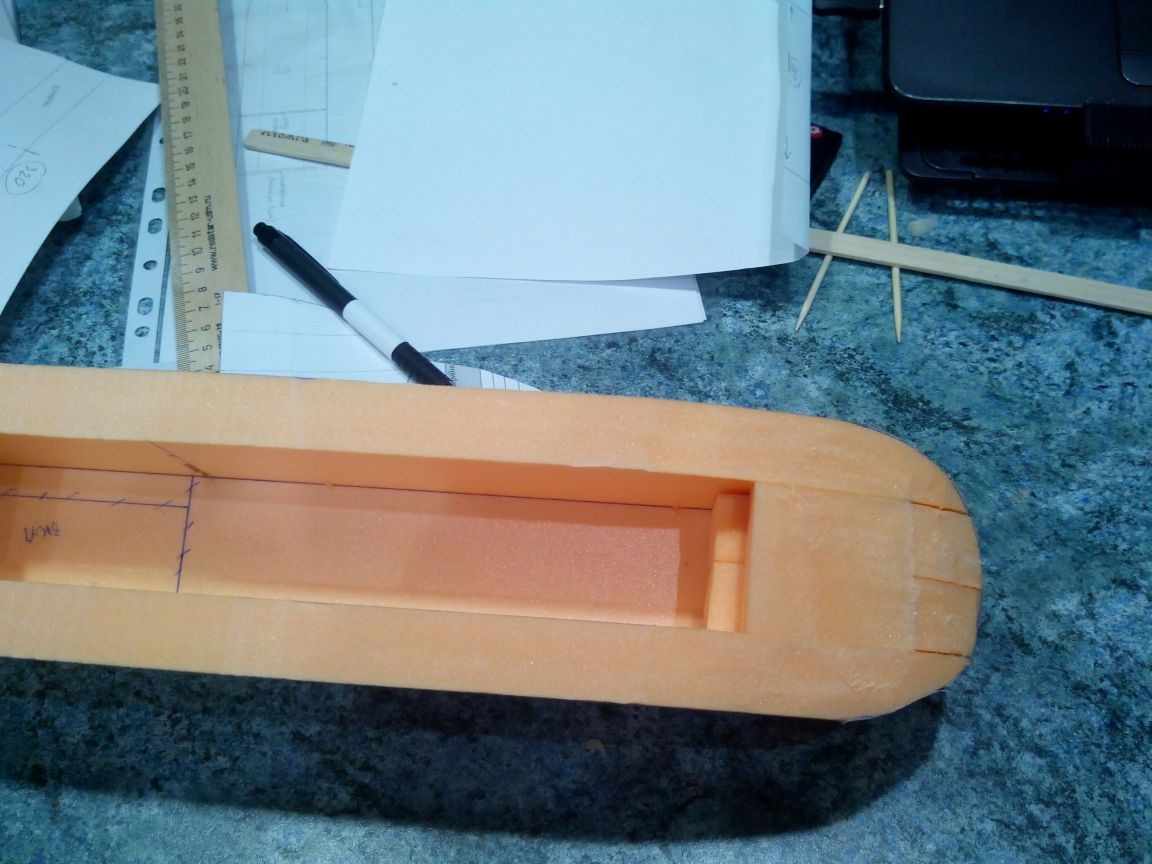
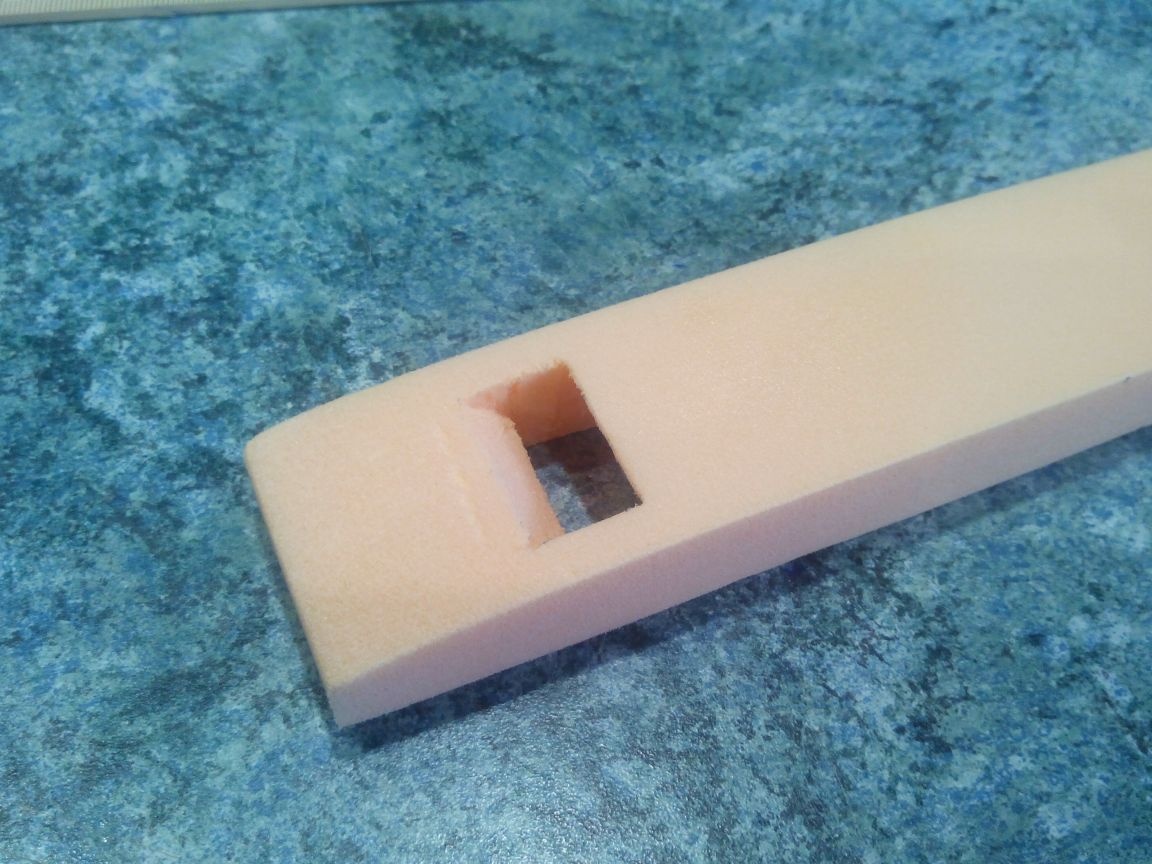
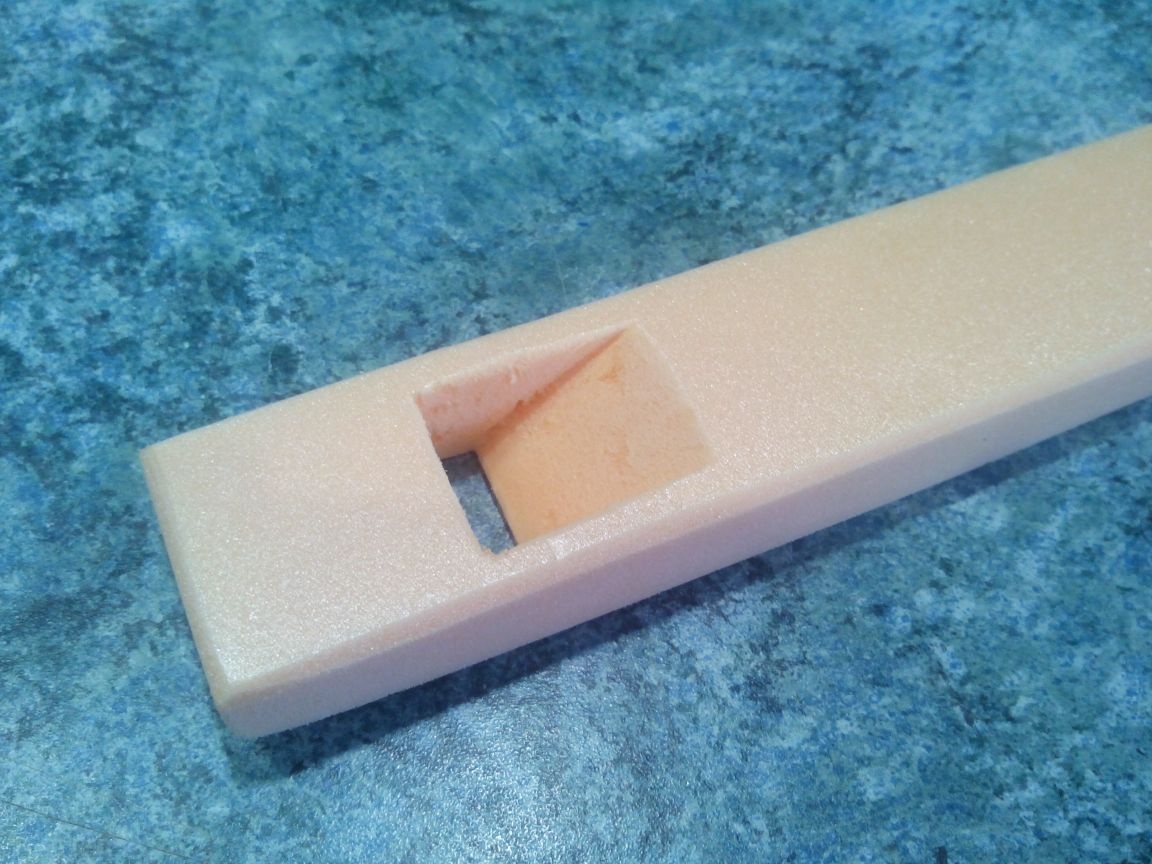
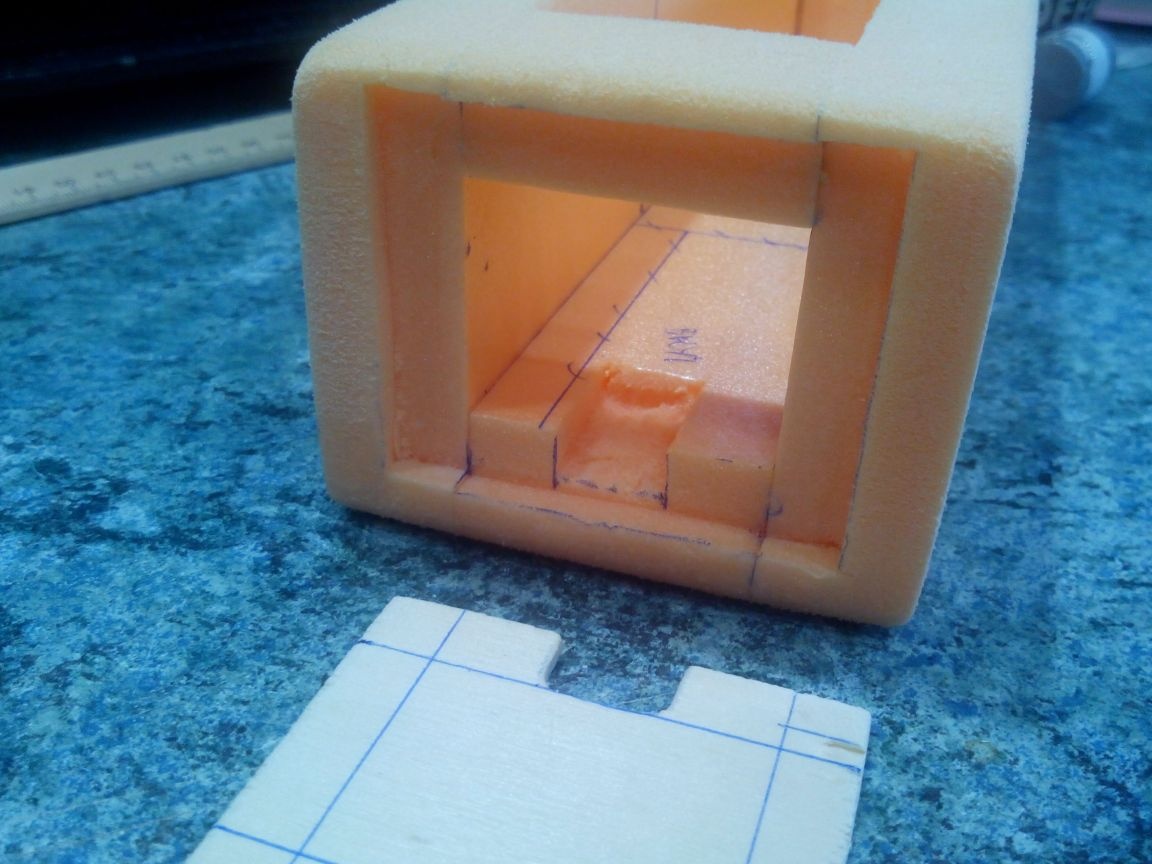
We cut out the details of the fuselage from the foam. Immediately make cutouts in the back under the engine mount.
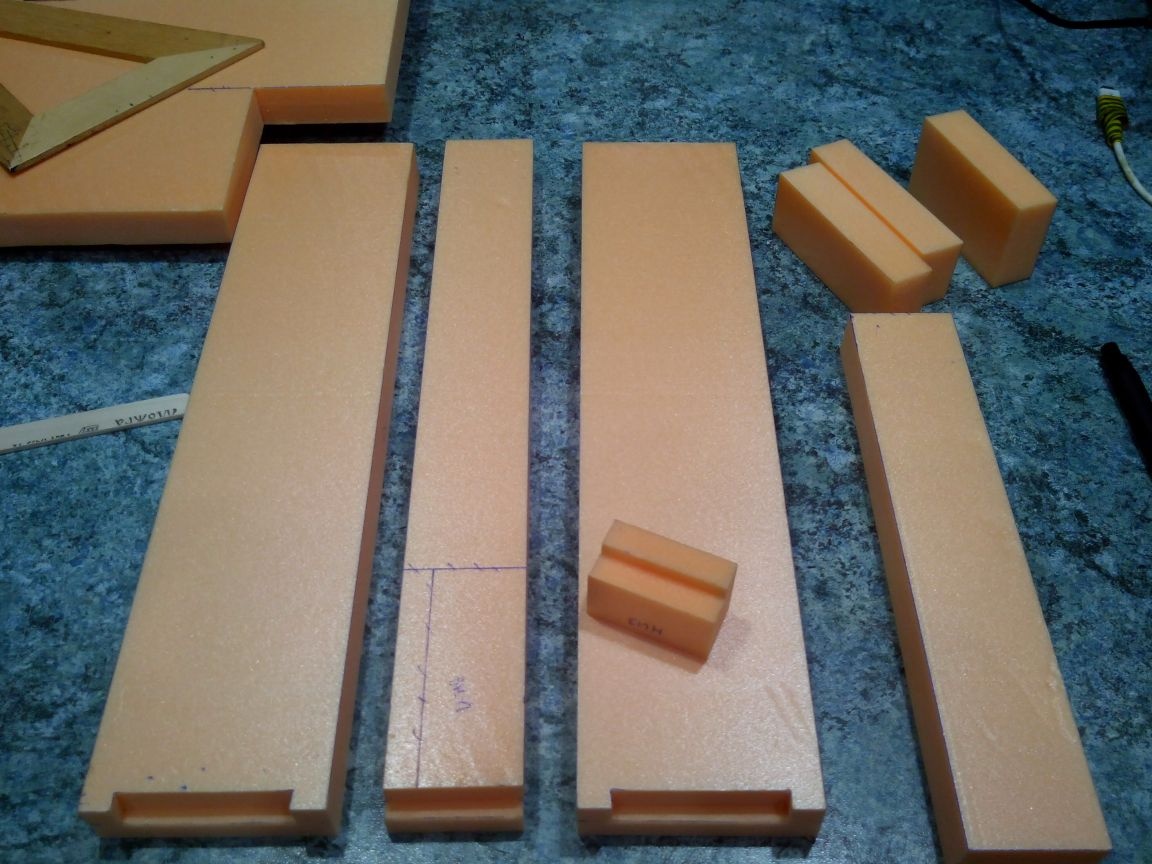
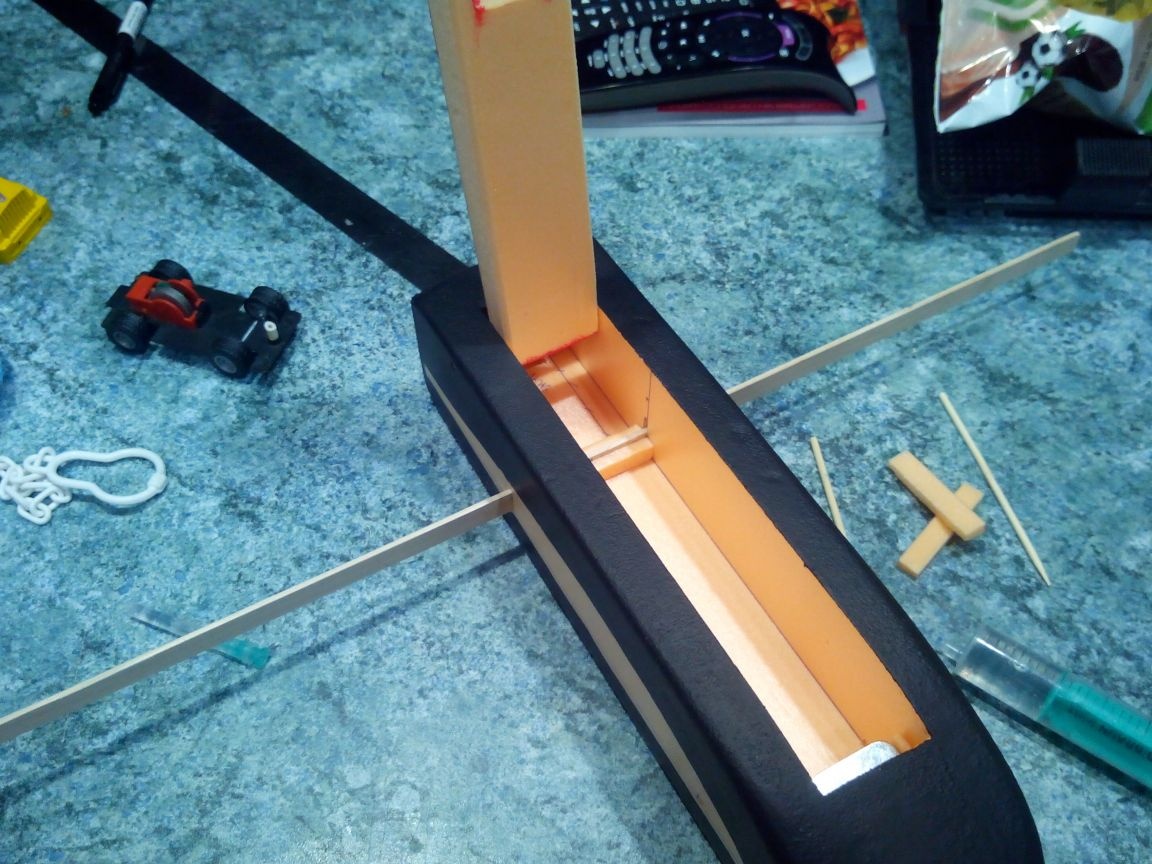
In the blanks of the sidewalls, we make holes for the connecting rail.
We glue the parts.
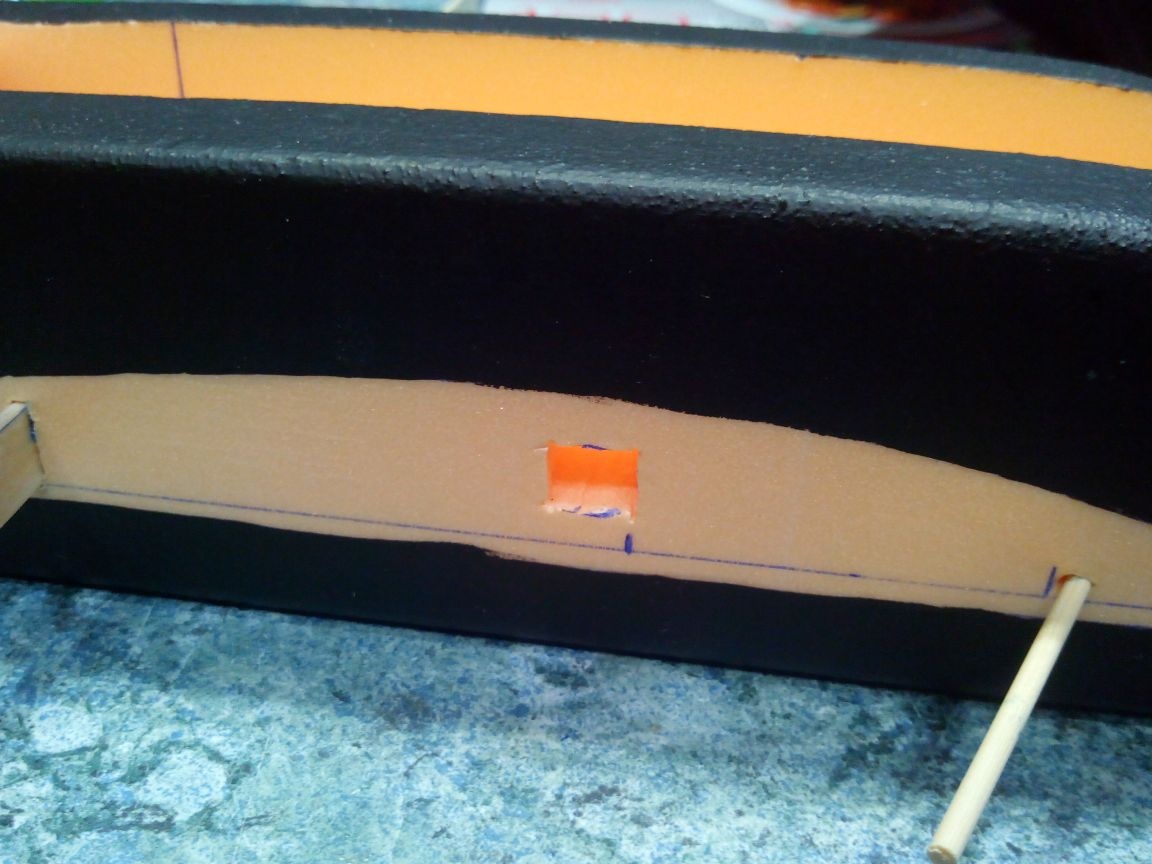
According to the pattern on the sides, we draw the contours of the bow and the tail bevel.
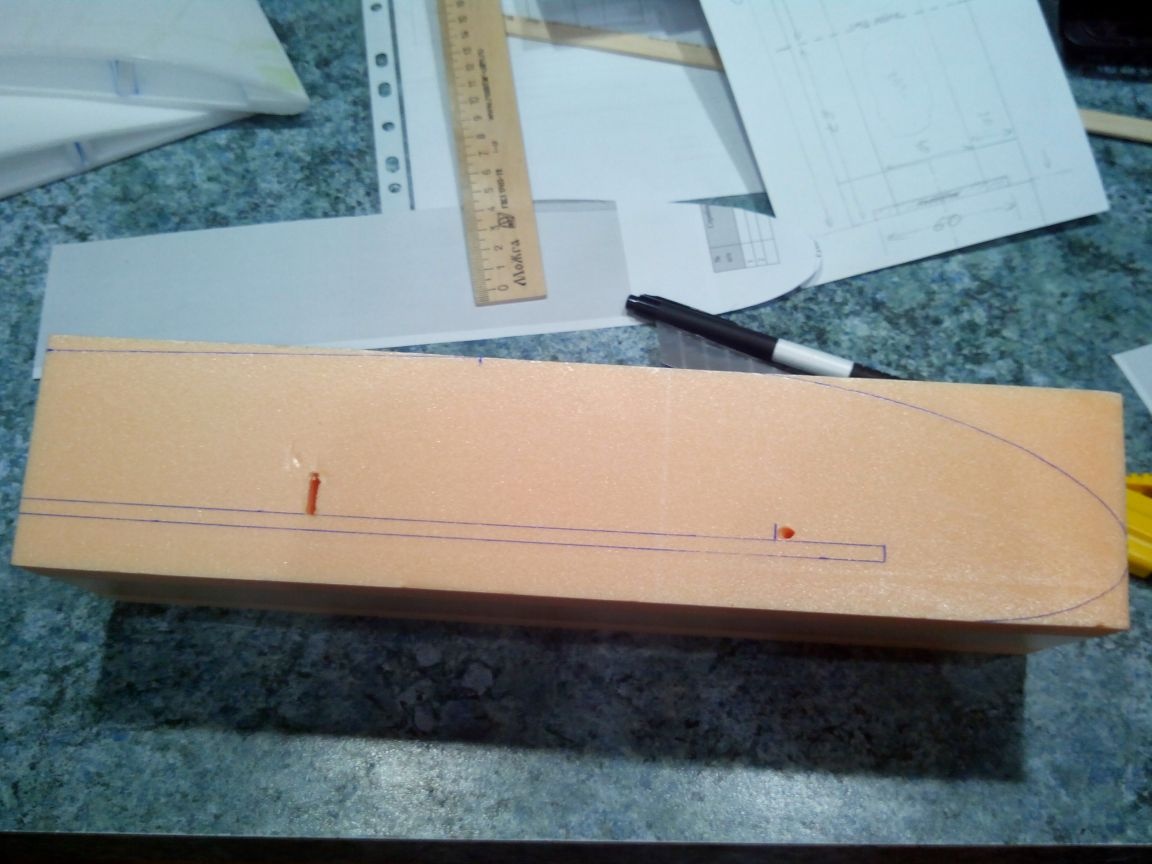
Cut the excess along the lines with a cutter.
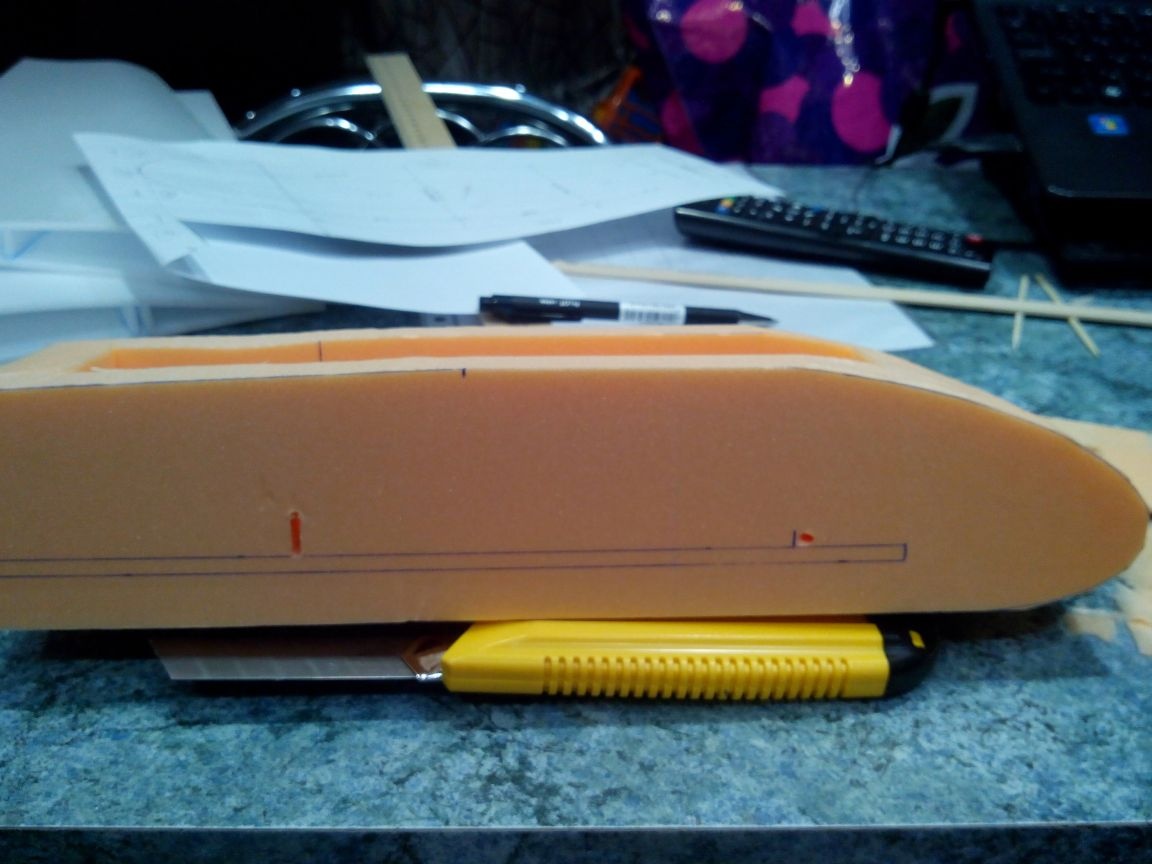
We mark the contours of the bow on the top and bottom according to the template.
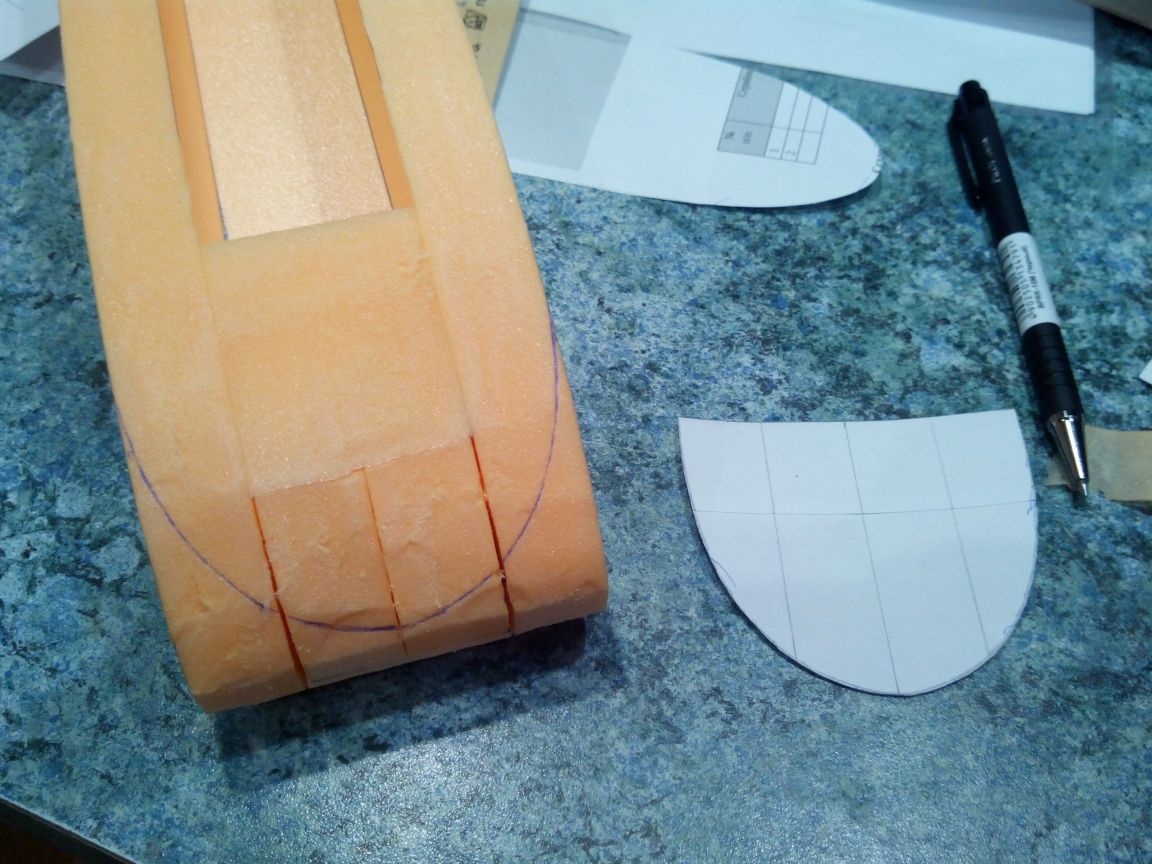
Cut the excess with a cutter.
We install the lid pivotally on a bamboo stick, close it and adjust the shape of the lid under the fuselage with a cutter.
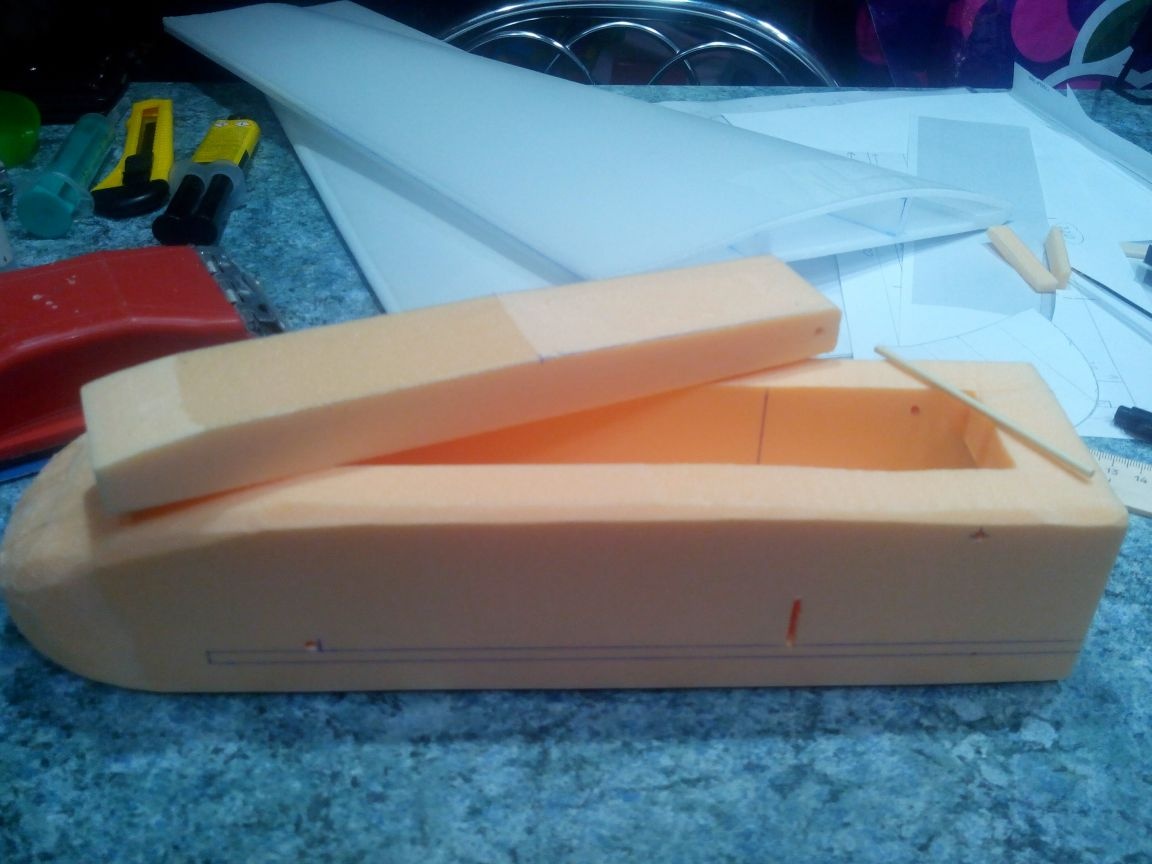
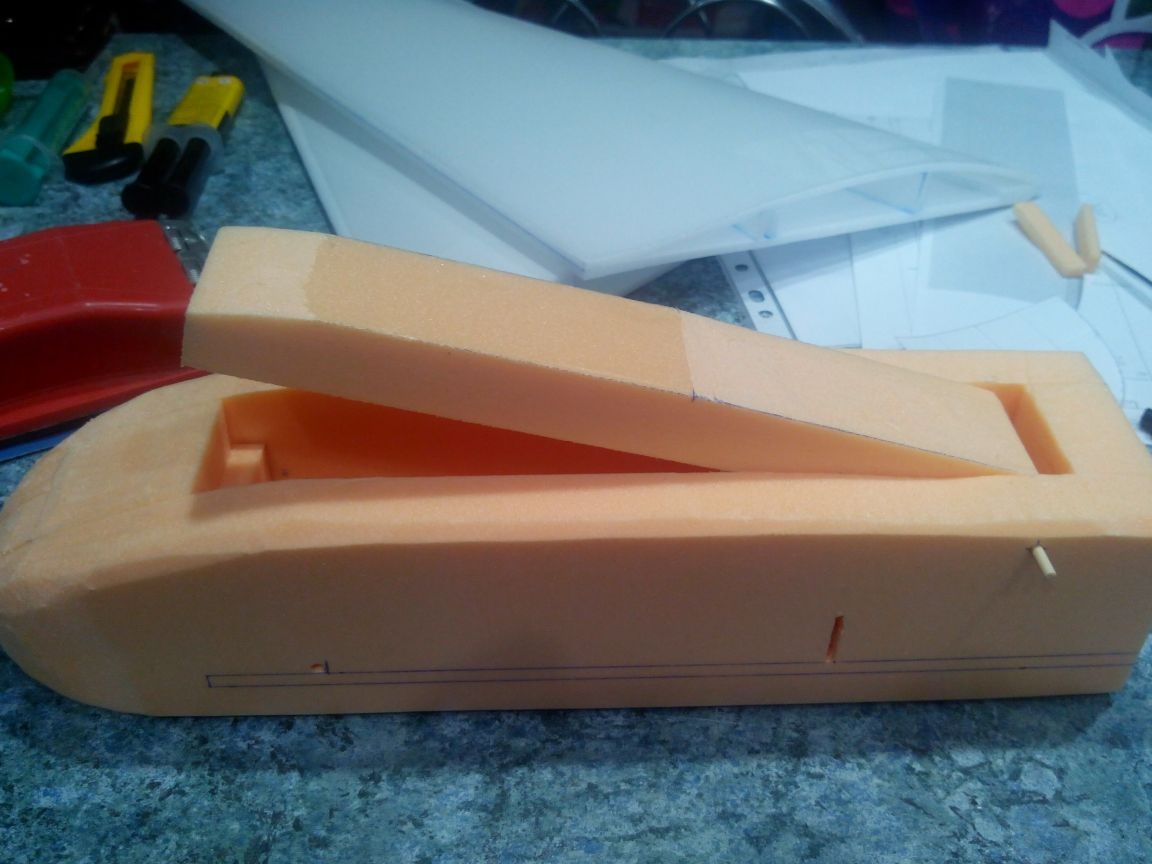
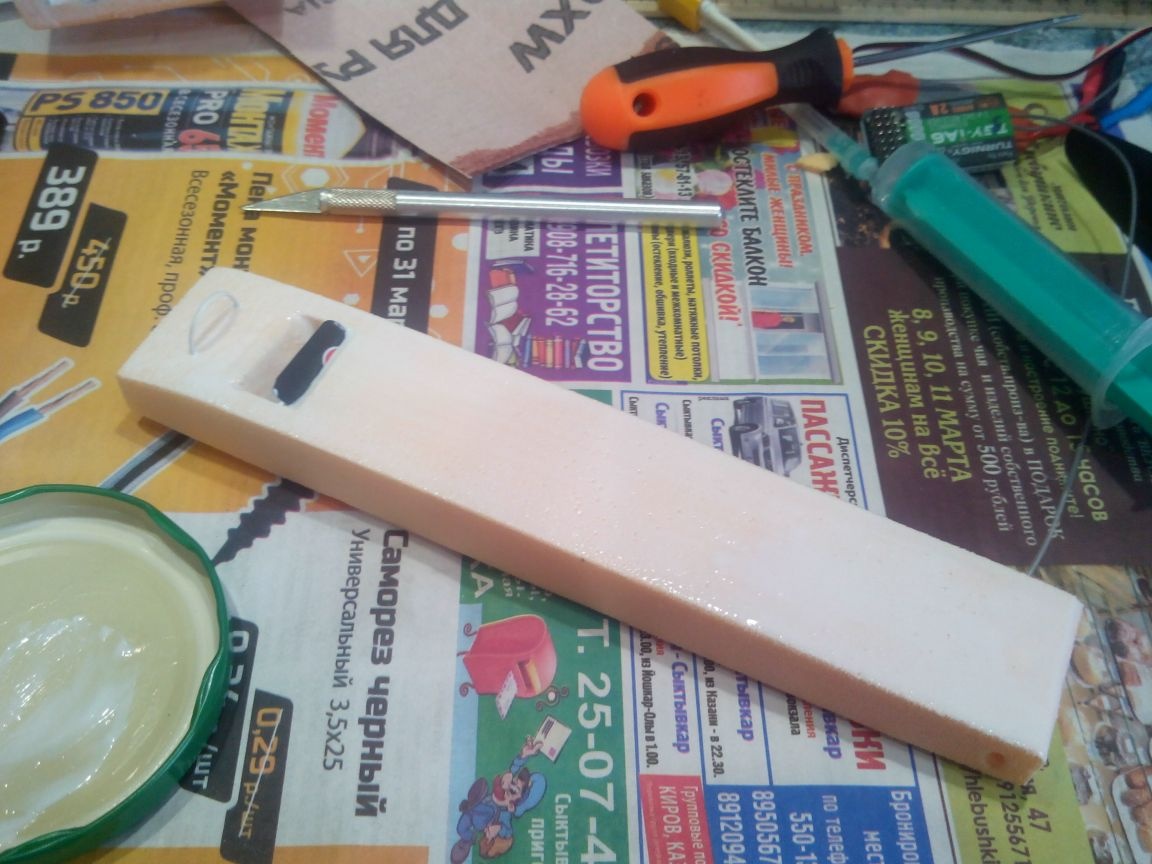
We bring the shape of the fuselage with a cutter and sandpaper and prime it with PVA glue in 2-3 layers.

In the front of the lid we make a cutout for ventilation.
From the plastic card, cut out the air intake.
And glue it into the lid. The projection is 5-6 mm.
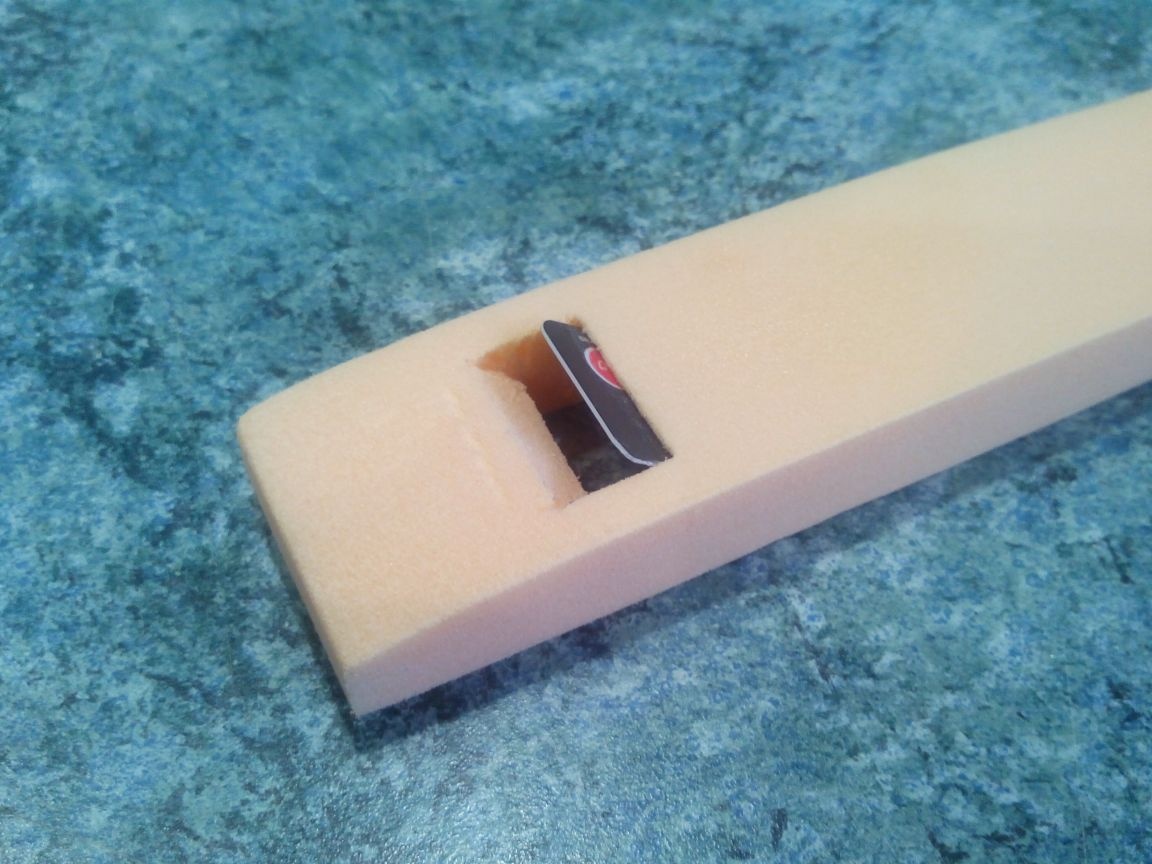
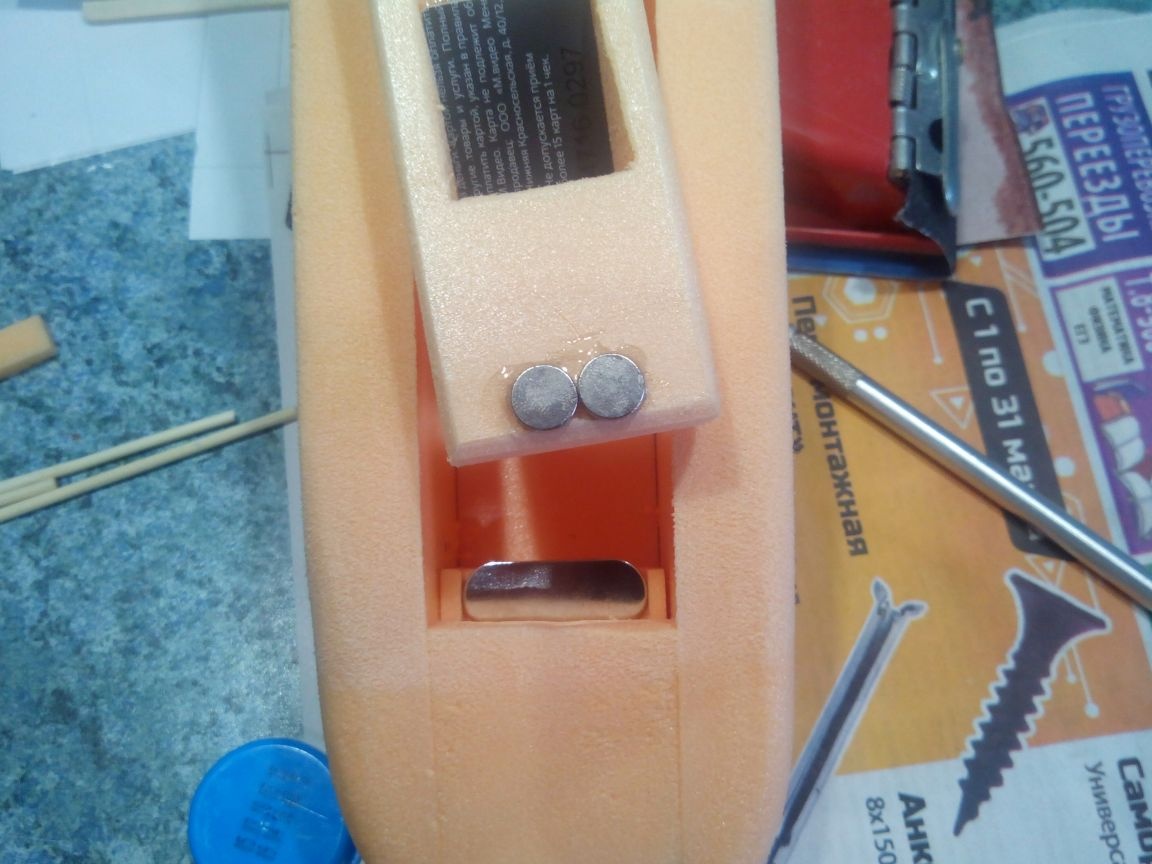
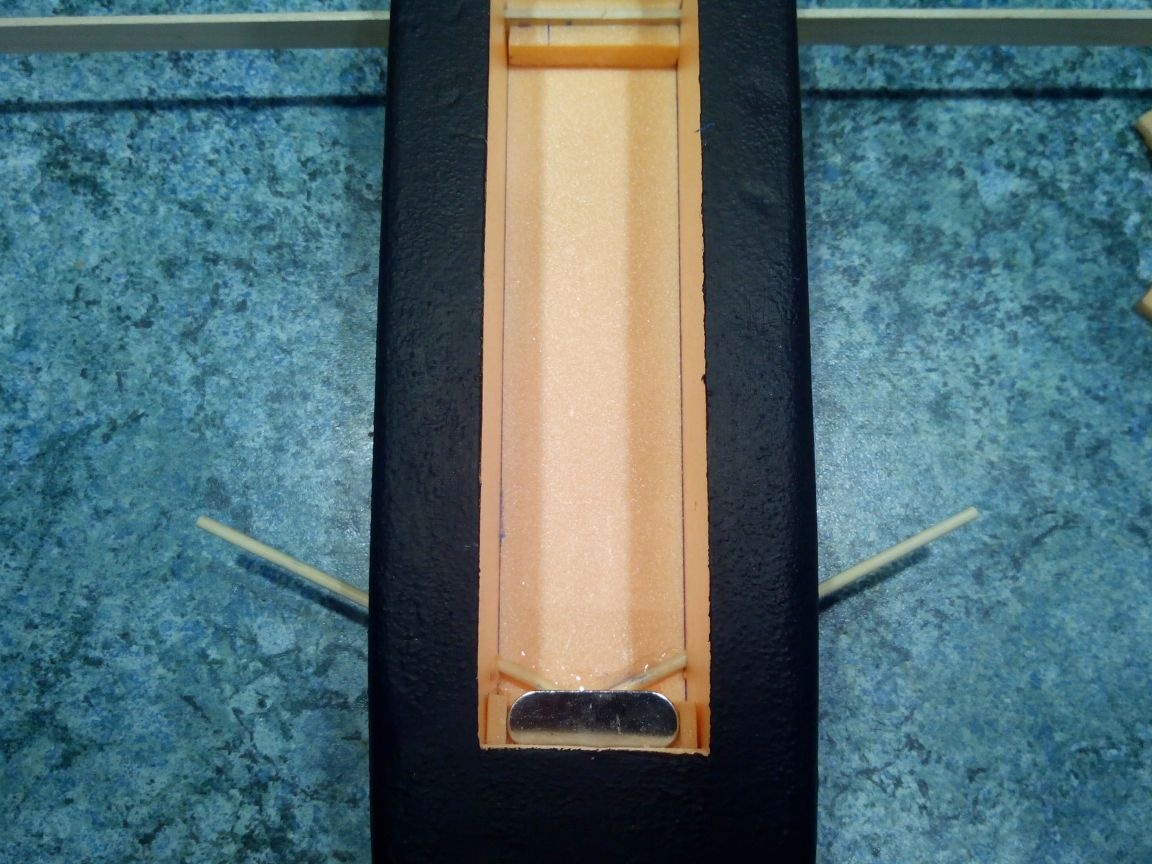
Glue epoxy glue to the lid inside the magnet, and in the fuselage - a metal plate (from the same badge).
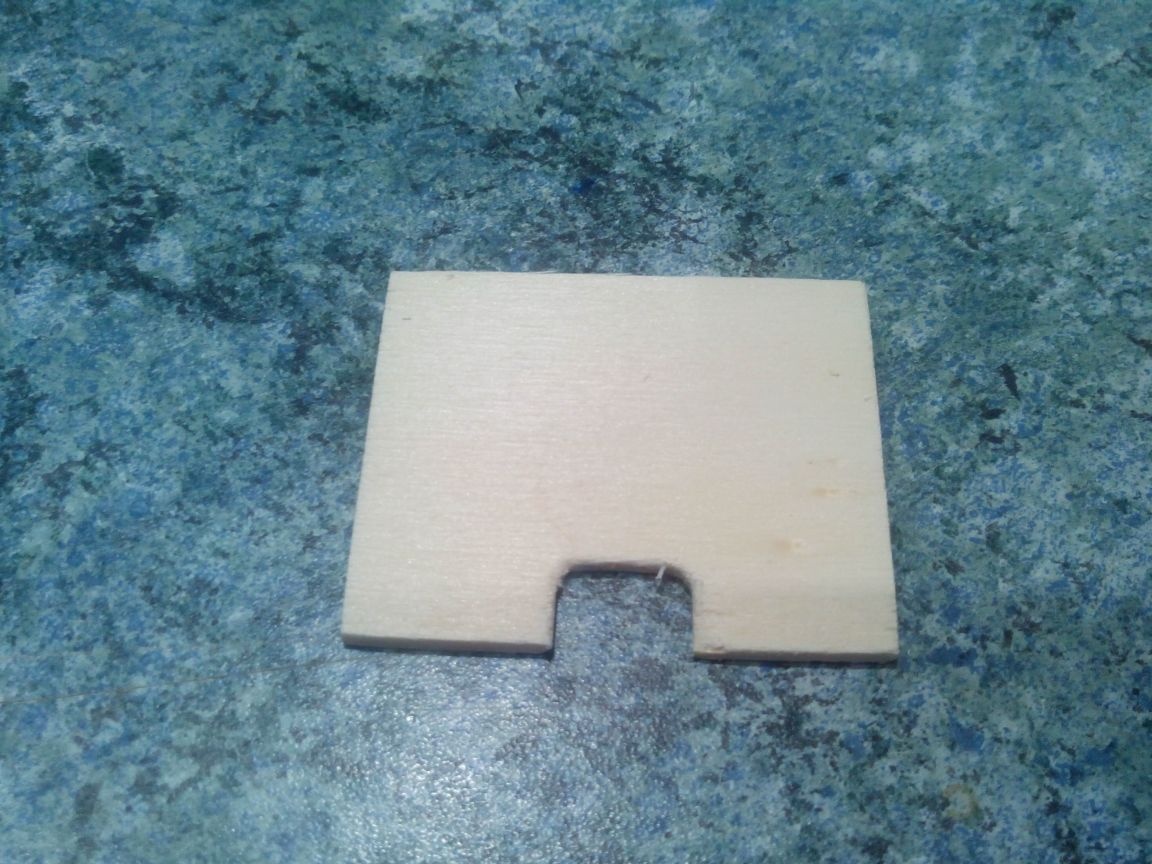
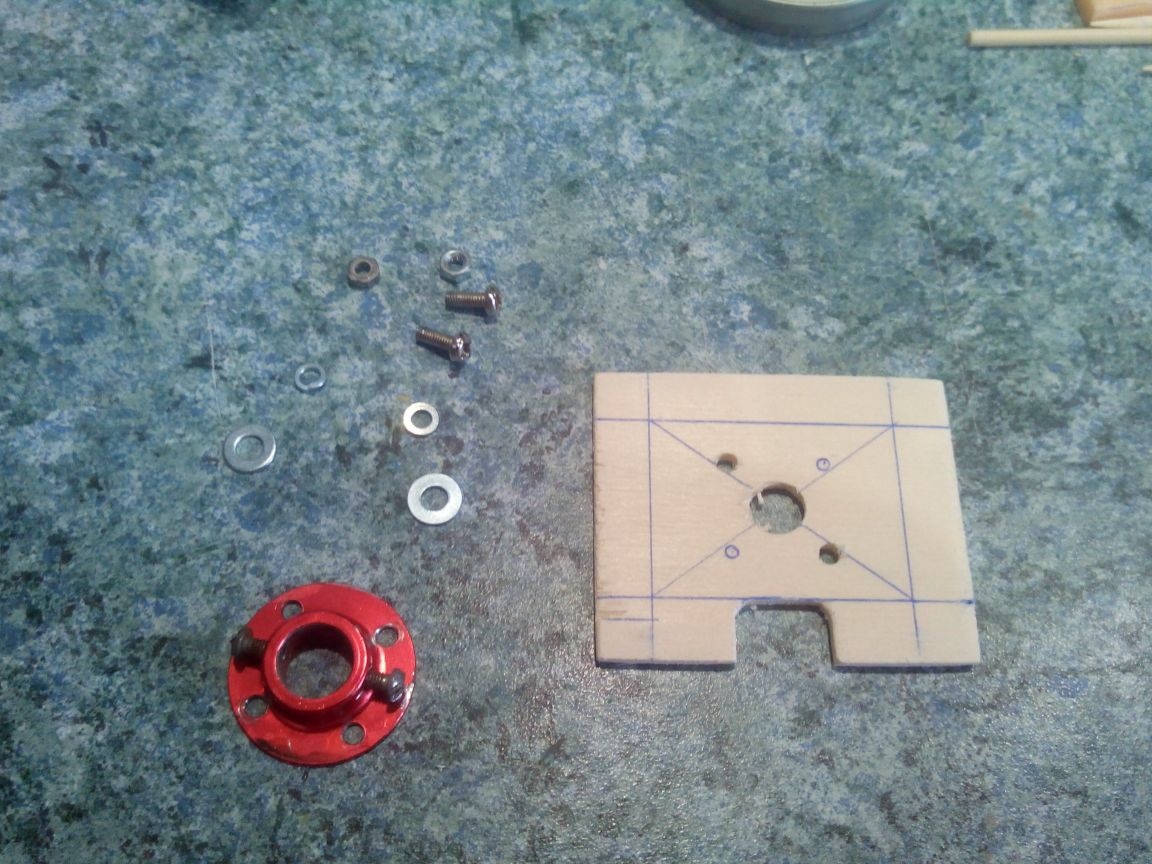
We cut the motor mount out of thin plywood (4 mm).
In the back of the fuselage we make a small cutout for the motor wires.
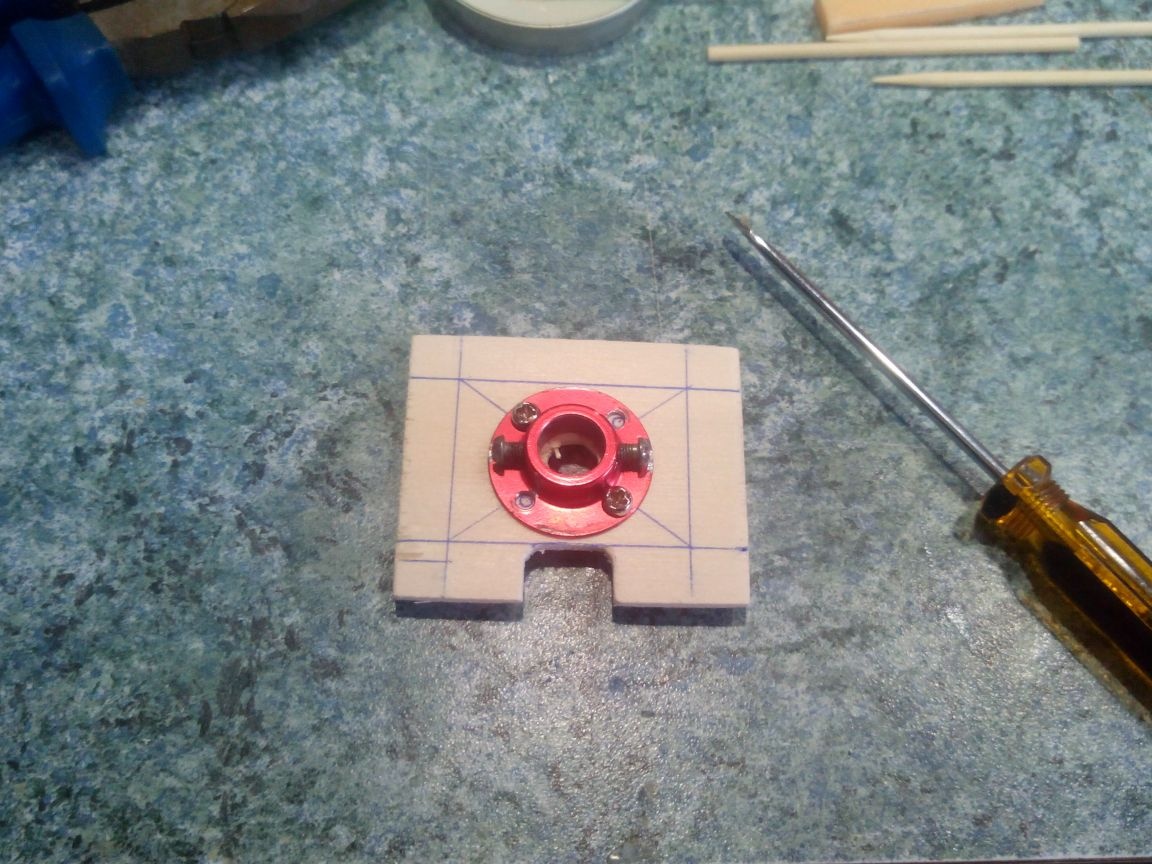
We fasten the base of the engine to the engine mount with bolts.
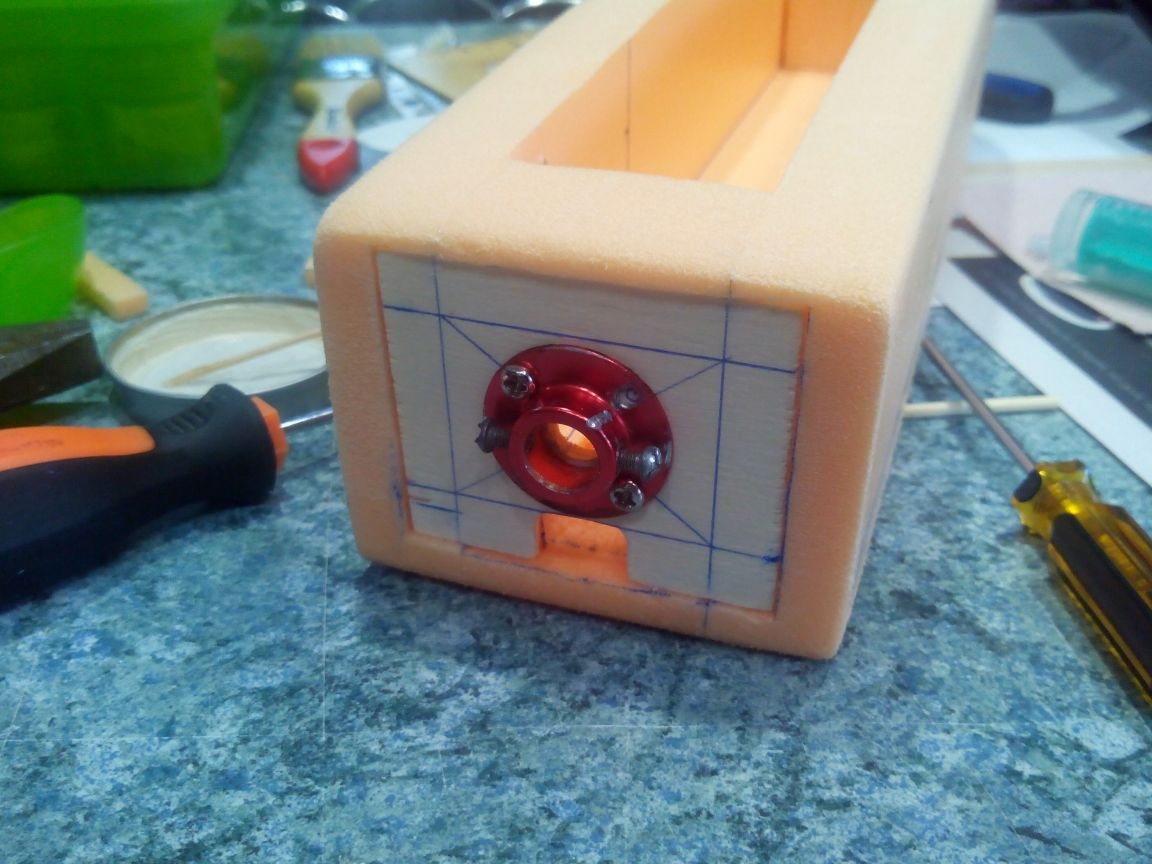
We paste the engine mount into the fuselage.
We make a small wire handle in the front of the lid and prime the lid with PVA glue.
We paint the fuselage and the lid with acrylic paints, leaving the place for gluing the wing consoles to be unpainted.

After the paint dries, you can cover the fuselage with colorless varnish, the main thing is that it does not corrode the foam.
Step 3. Assembly of the model and installation of electronics.
We glue the connecting rail into the fuselage, securing the inside with a piece of ceiling or foam, and glue the bamboo skewers in the region of the leading edge.
We make holes for the wires of the servos of the elevons with a cutter.
Glue the console to the fuselage and install the cover.
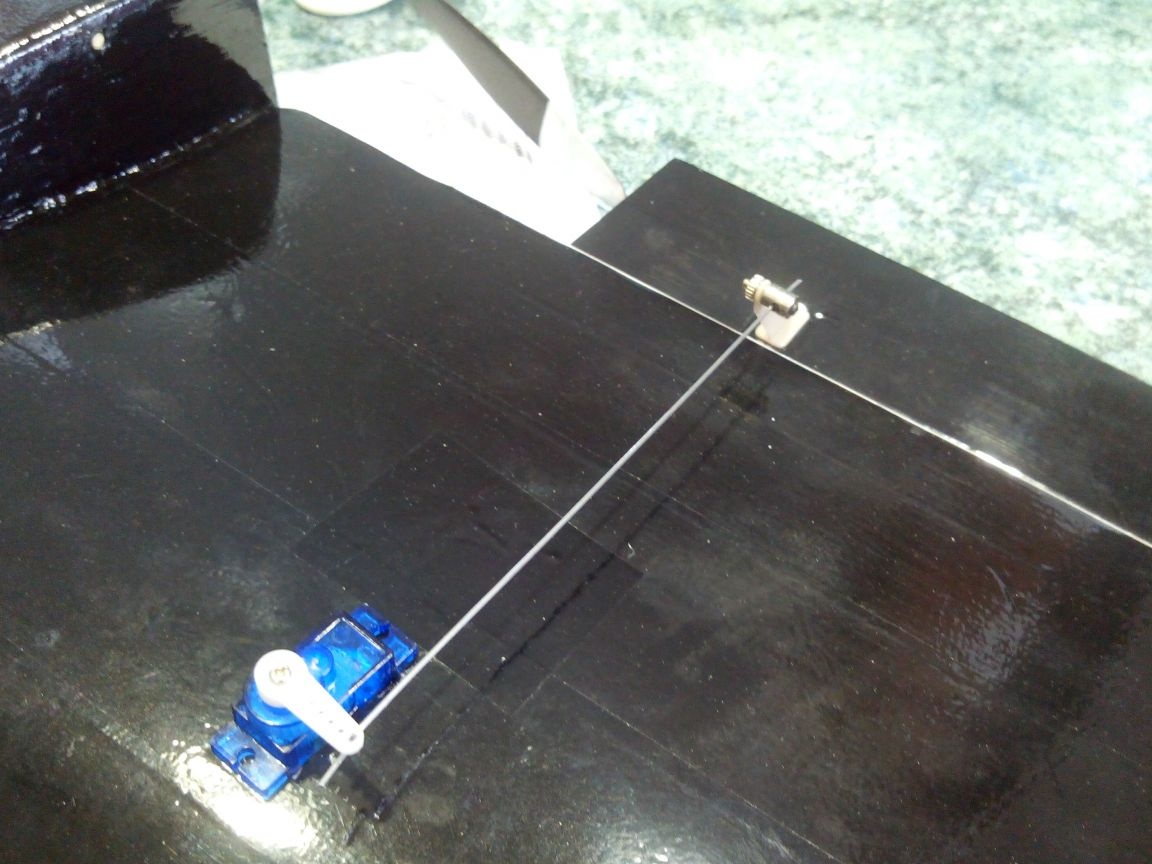
In the consoles, we cut out the seats for the servos, stretch the wires of the servos through the holes inside the fuselage, and put the servos themselves on hot-melt adhesive.
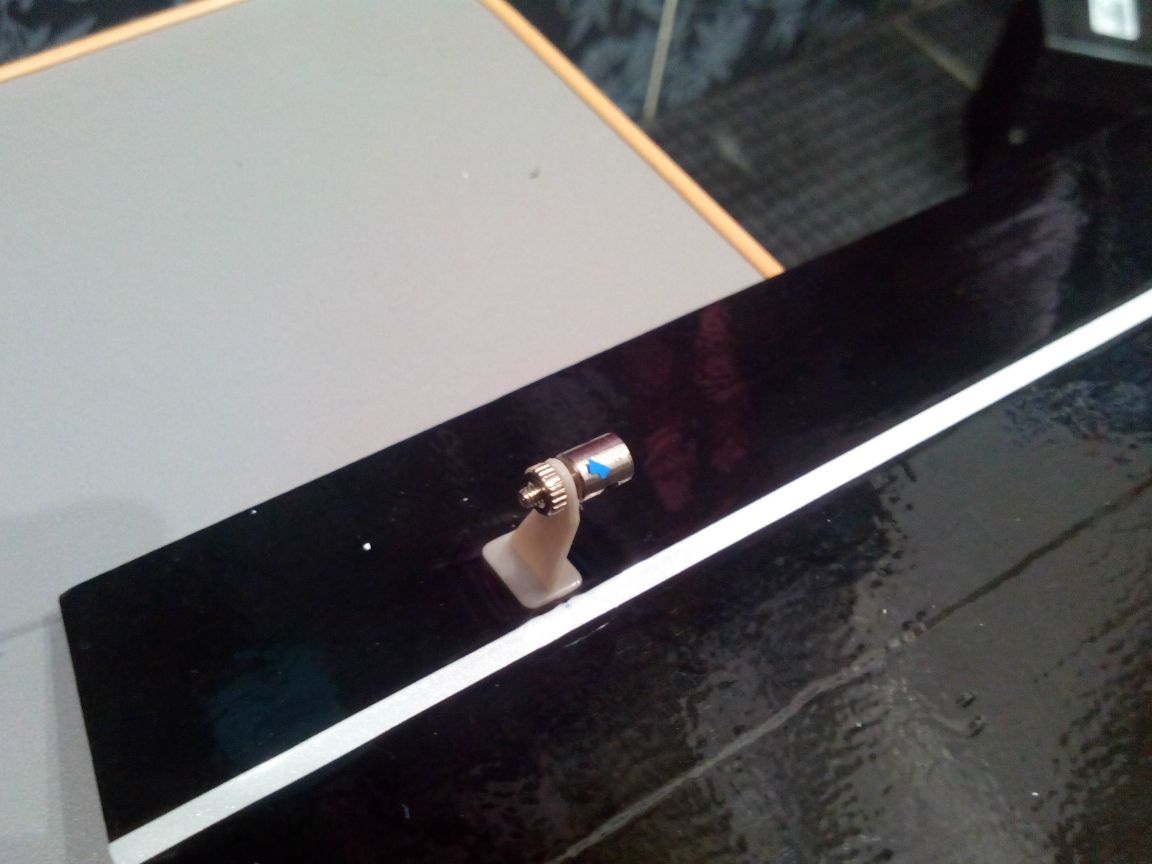
Boars can be installed without glue, traction - from steel wire.
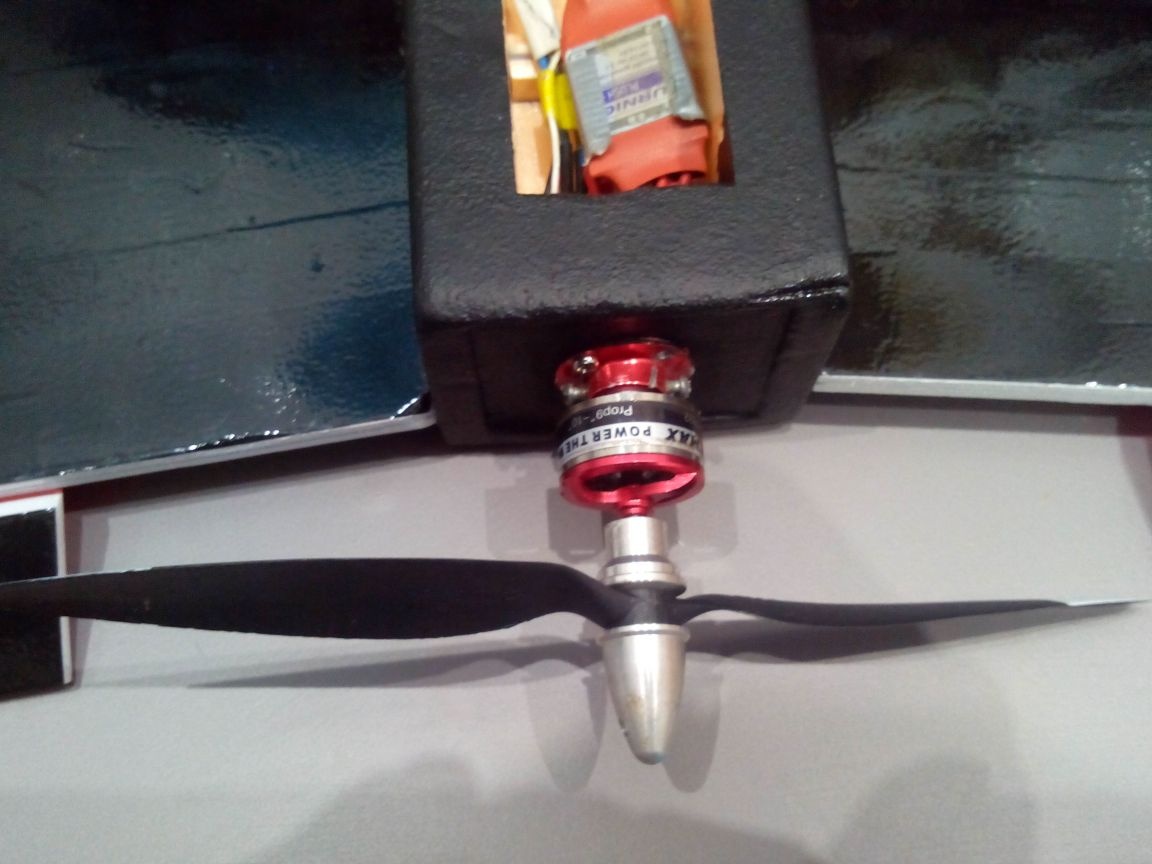
We fasten the engine with a propeller.
We stack the receiver, regulator and battery inside.
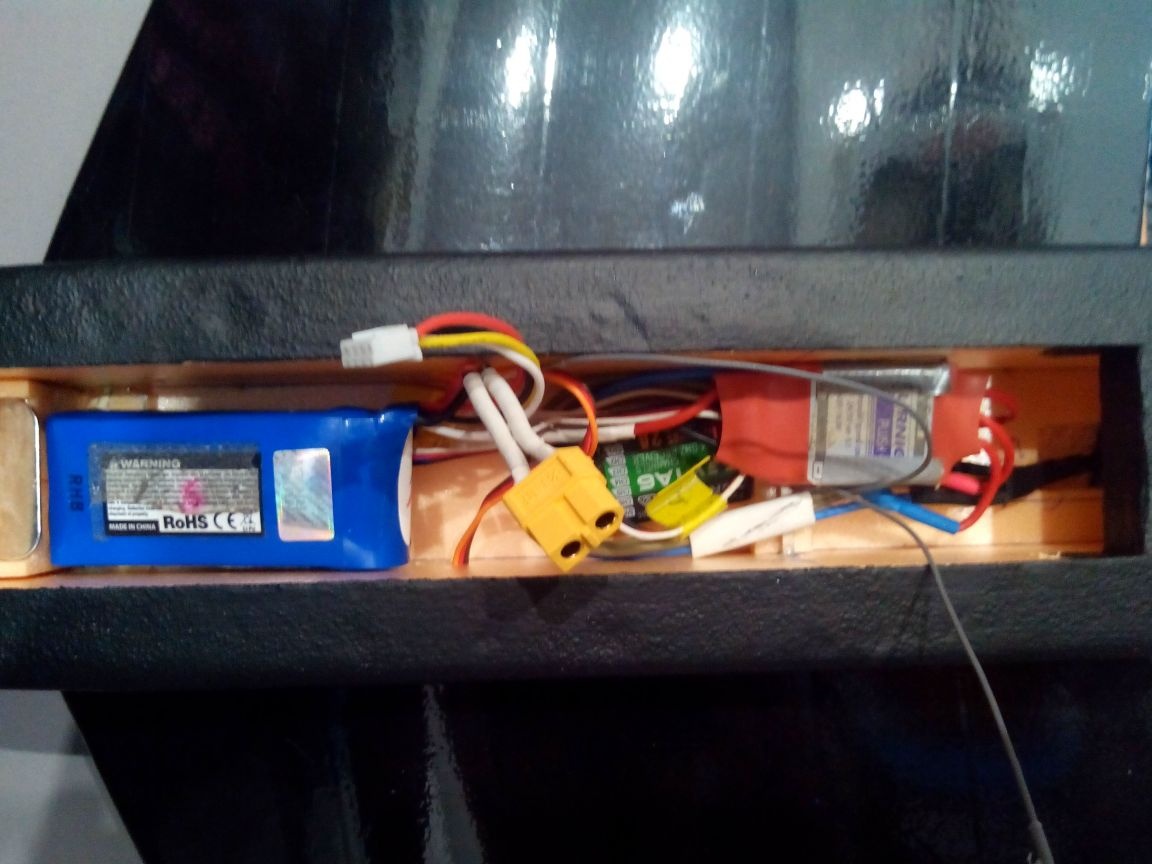
The center of gravity of the model should be located in the region of 75-100 mm from the leading edge of the wing. If necessary, you can move the battery back by placing foam foam in the front of the bars or make the nose heavier with shots.
Step 4. Hardware setup.
There is enough information about setting up elevons on a flying wing on the Internet, for example, a video about setting up equipment (this is its clone, because the settings will be identical):
In short, it is necessary to connect the elevon servos to channels 1 and 2, the engine, as always, to channel 3, then switch on the elevon mode in the equipment settings and, if necessary, reverse the channels so that the elevons deviate in the right direction.
The flight video was not very long, because I cut myself a screw on the finger, not much, but it became inconvenient to operate ...