
Today we are going to make a screwdriver do it yourself.
Cordless screwdriver in our time is quite popular in various workshops, as well as in home farms. The main advantage of this tool is its autonomy and the absence of binding to an electric network of 220 V.
Plus, such a tool is very small, that is, it is compact and does not take up much space when stored at home, in the garageworkshop or somewhere else. Also, a modern screwdriver is quite capable of replacing a drill in relatively simple tasks that sometimes arise in the economy.
Nowadays, this device can be easily found in specialized stores and construction markets. Moreover, the variety of models and various modifications of this tool is simply amazing. This equipment can be found in a fairly wide range. But here the cost of some copies sometimes makes a potential buyer think, and sometimes even discourages the desire to acquire a new tool. And if you want to save money and avoid unnecessary expenses, then you can try to make a screwdriver with your own hands.
I reinforced this quite reasonable idea with my master class. He assembled a screwdriver with his own hands, using improvised parts and tools.
So, let's get started on the do-it-yourself homemade screwdriver.
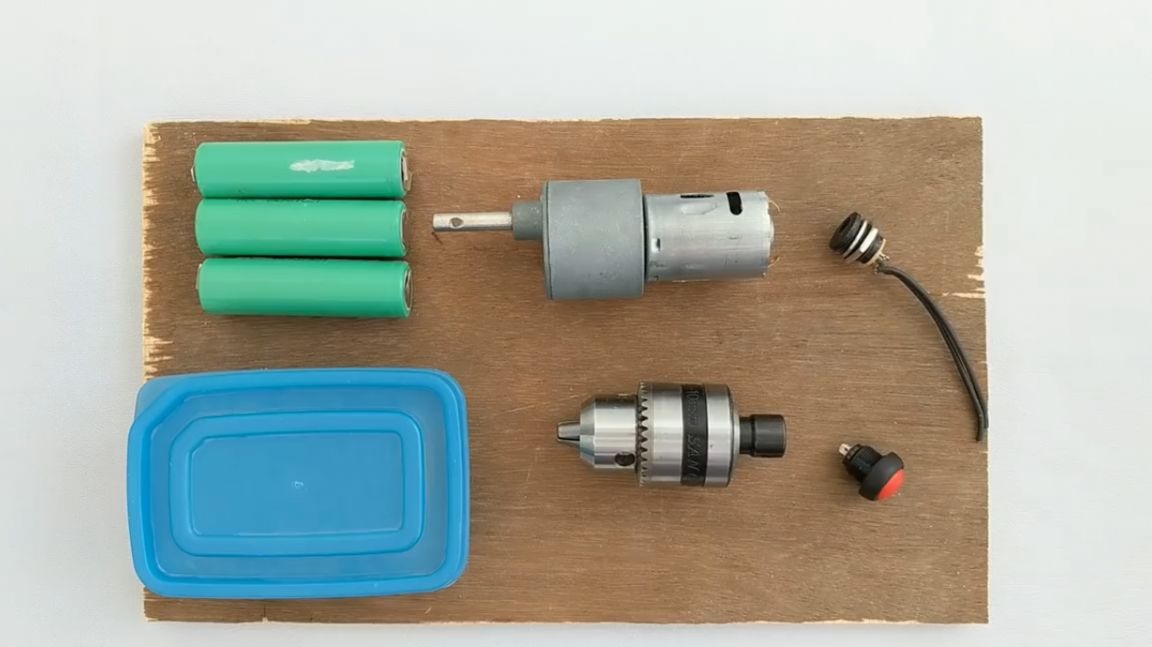
To do this, we need the following tools and materials:
1. 12-volt DC motor with step-up gear;
2. Lithium-ion battery (3 cans of li-ion 18650 from an old laptop on 3.7 - 4.2V);
3. Drill chuck with clamp adapter for gearbox shaft;
4. Socket connector for the charger connector;
5. Start button without fixing;
6. Metal plate made of thin galvanized steel, width - 20-25 mm;
7. A small segment of plywood, 10 mm thick;
8. PVA glue;
9. Sandpaper;
10. The screw with two nuts 3x30-35 mm;
11. An empty deodorant bottle;
12. Paint;
13. Brush;
14. Copper wires;
15. Electrical tape;
16. Several screws with washers;
17. Double-sided tape;
18. Food container made of polypropylene;
19. Electric fretsaw;
20. Drill and drill for it at 3, 8-10 mm;
21. A soldering iron and, accordingly, solder with a flux for soldering;
22. Scissors;
23. Stationery knife;
24. Pliers;
25. Scissors for cutting metal;
26. Hacksaw for metal;
27. Marker for marking.
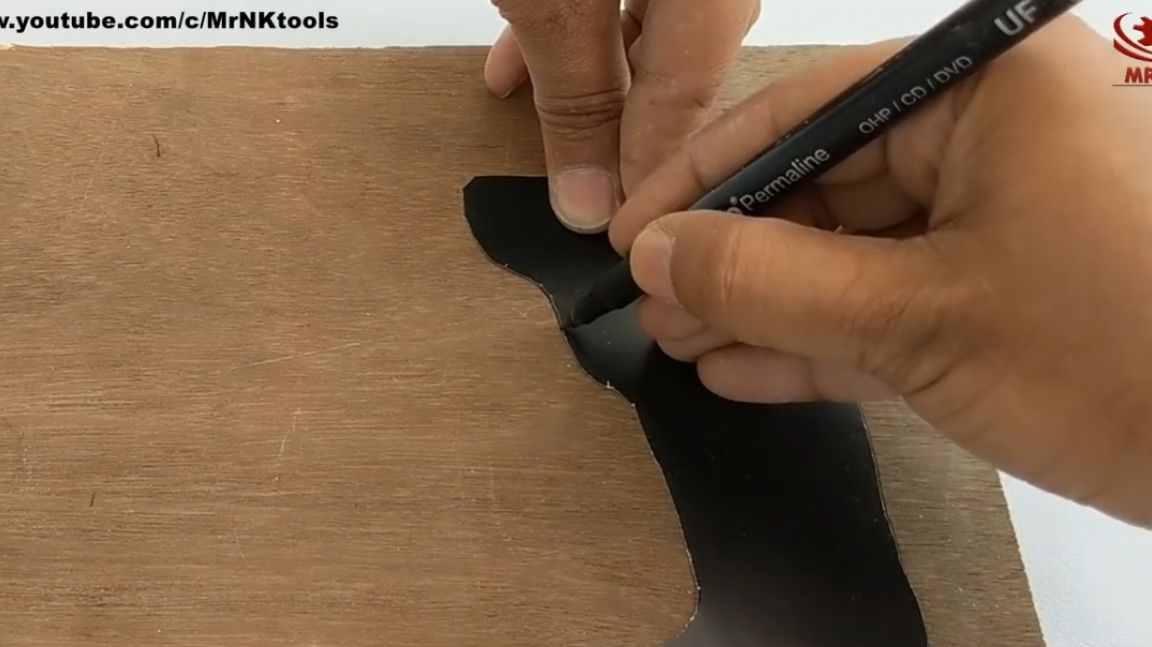
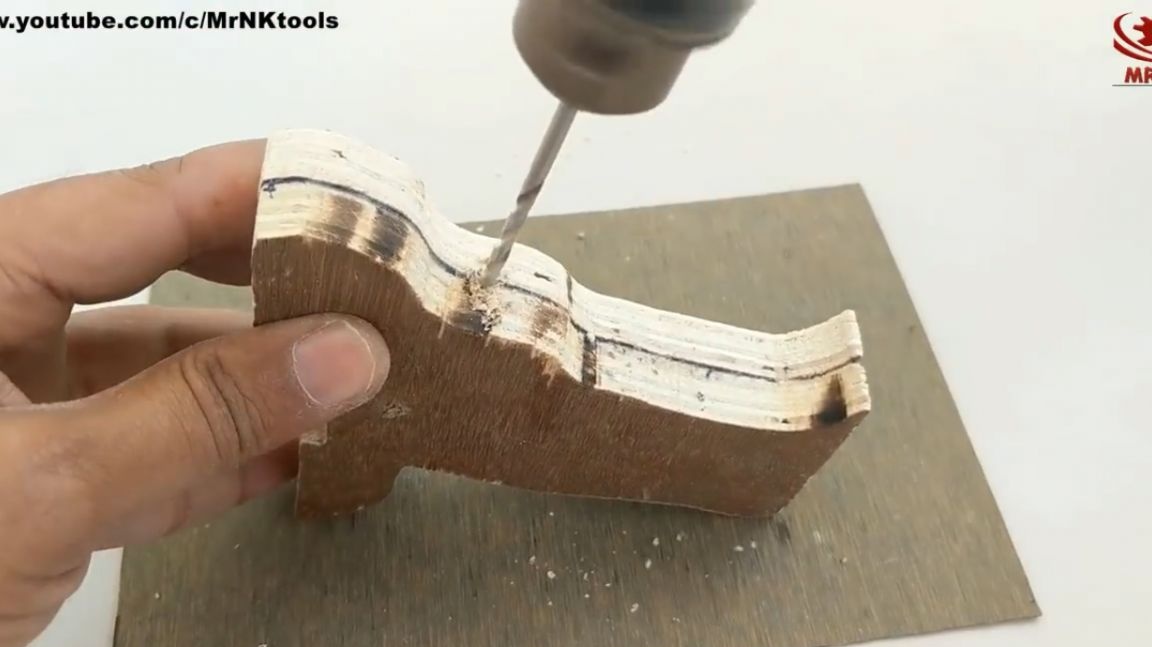
The first step is to produce a handle for the future screwdriver. It is worth noting that you will have to work on the shape of the handle, as it should not only be comfortable for the hand, but also functional, to accommodate the entire e component of the screwdriver, including the engine itself.
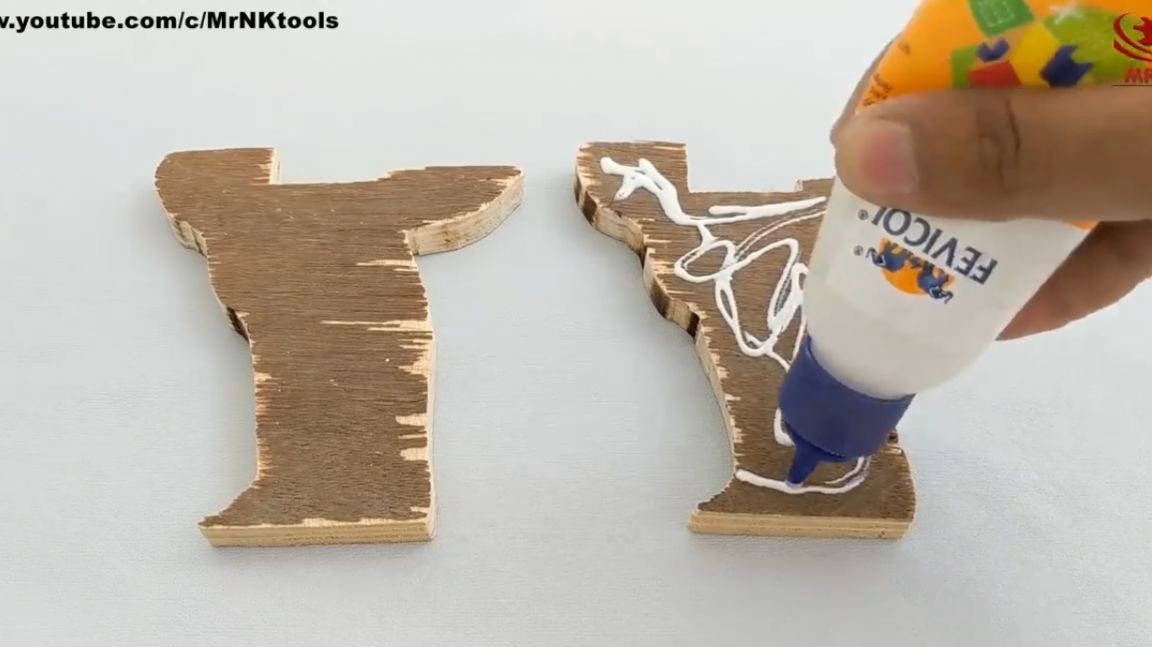
The handle will be made of two pieces of plywood 10 mm thick. For this, the author uses a template that cuts from a sheet of cardboard.
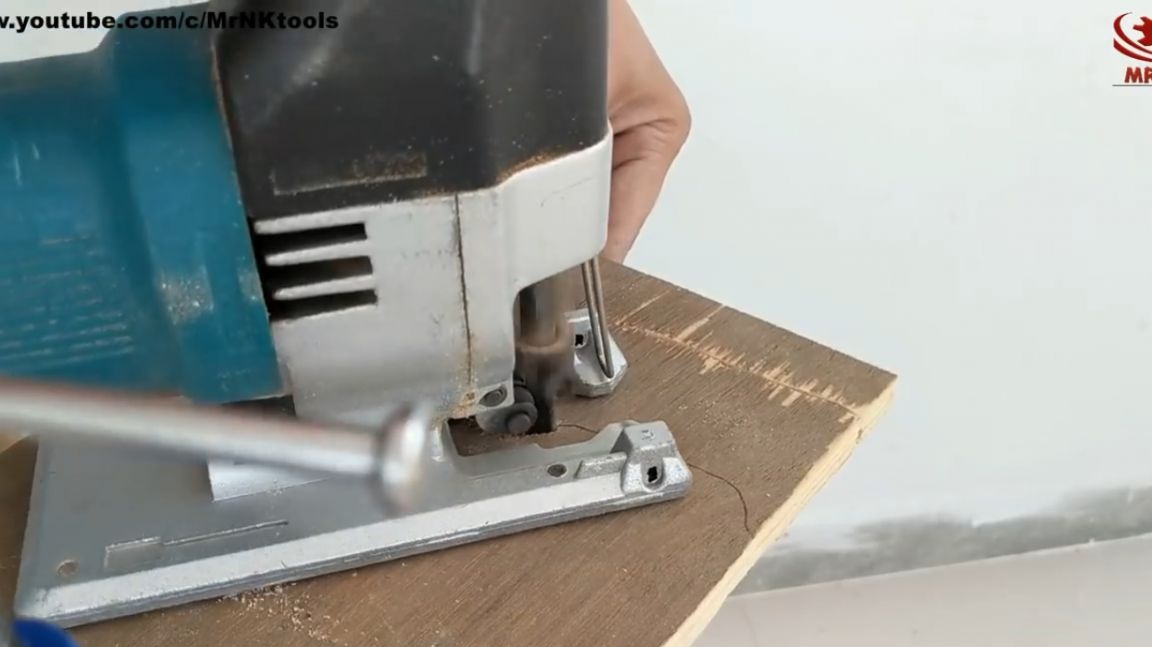
Then it is necessary to transfer the contour of the handle to the plywood sheet using a marker. Next, we cut the resulting parts using a jigsaw.


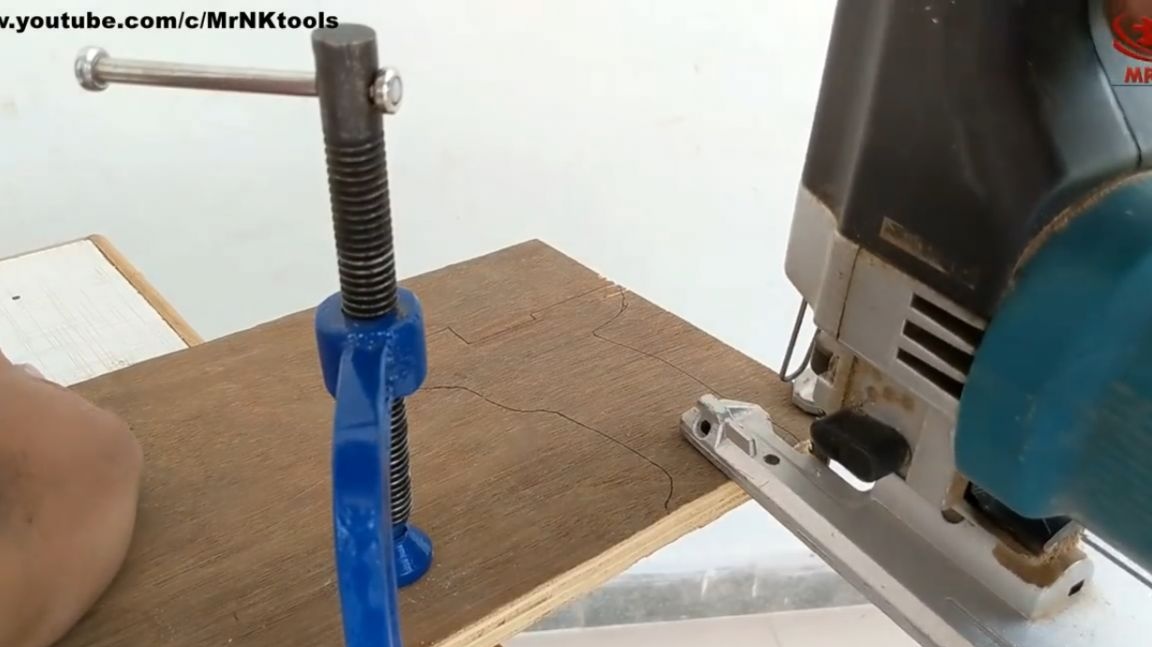
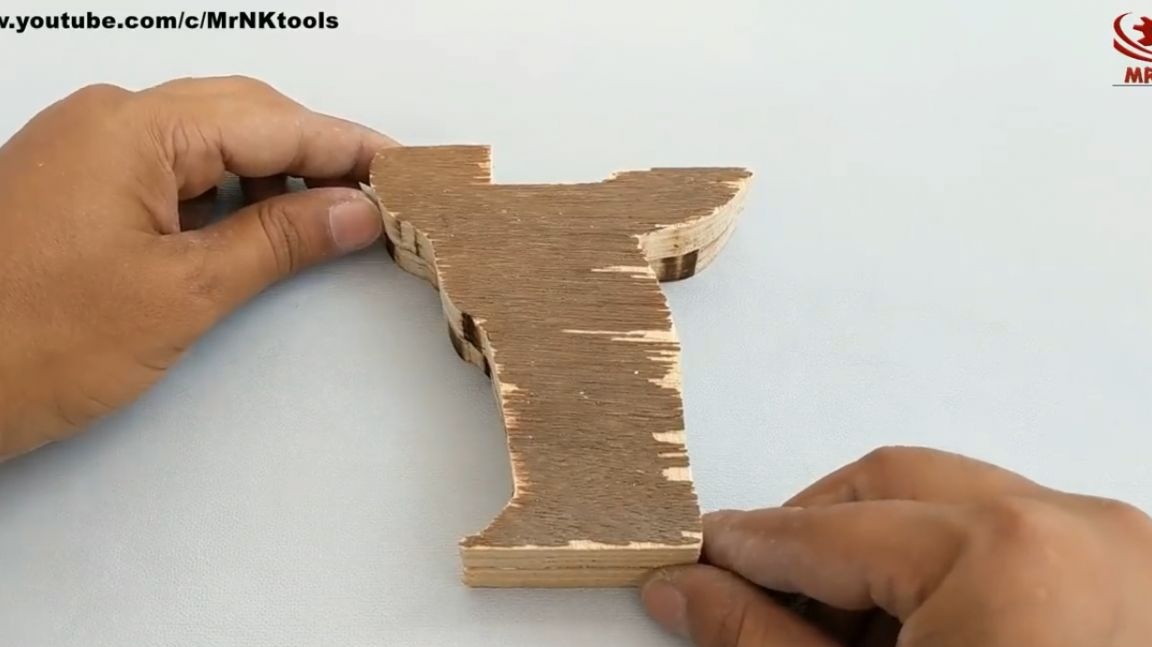
Both parts of the handle must be glued together. The author uses PVA glue for this purpose. The handle parts will stick much better if you put the workpiece under the press or tightly clamp it in clamps or a vice.
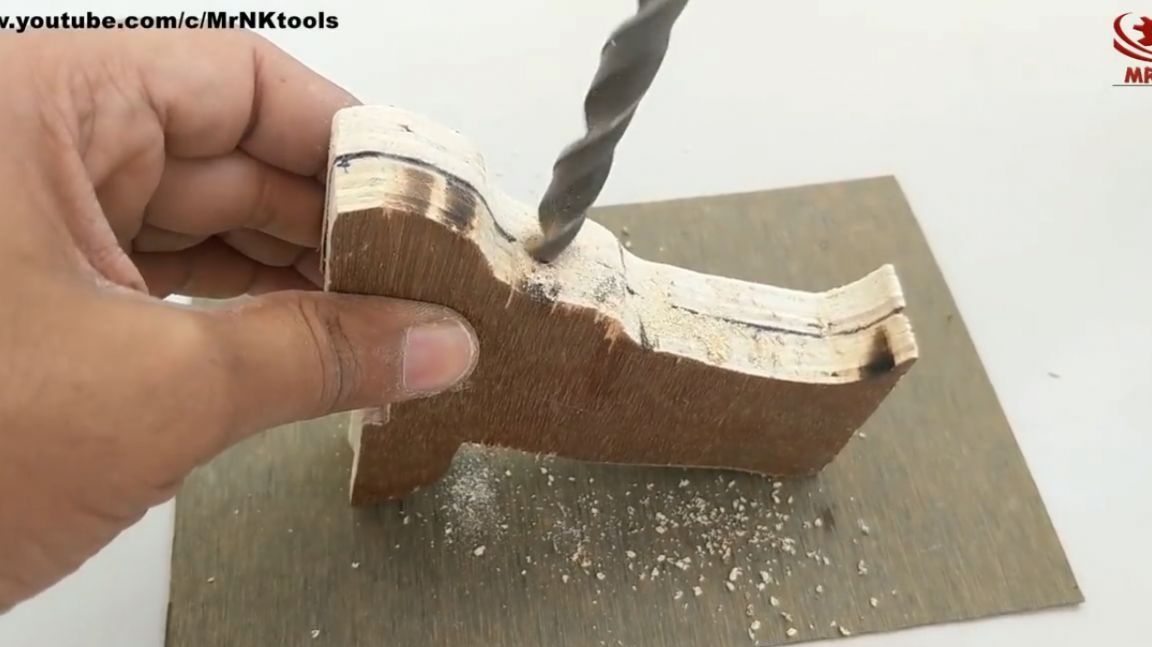
Drill a hole in the middle of the screwdriver handle. It must be cross-cutting. We will drill with a 3 mm drill.
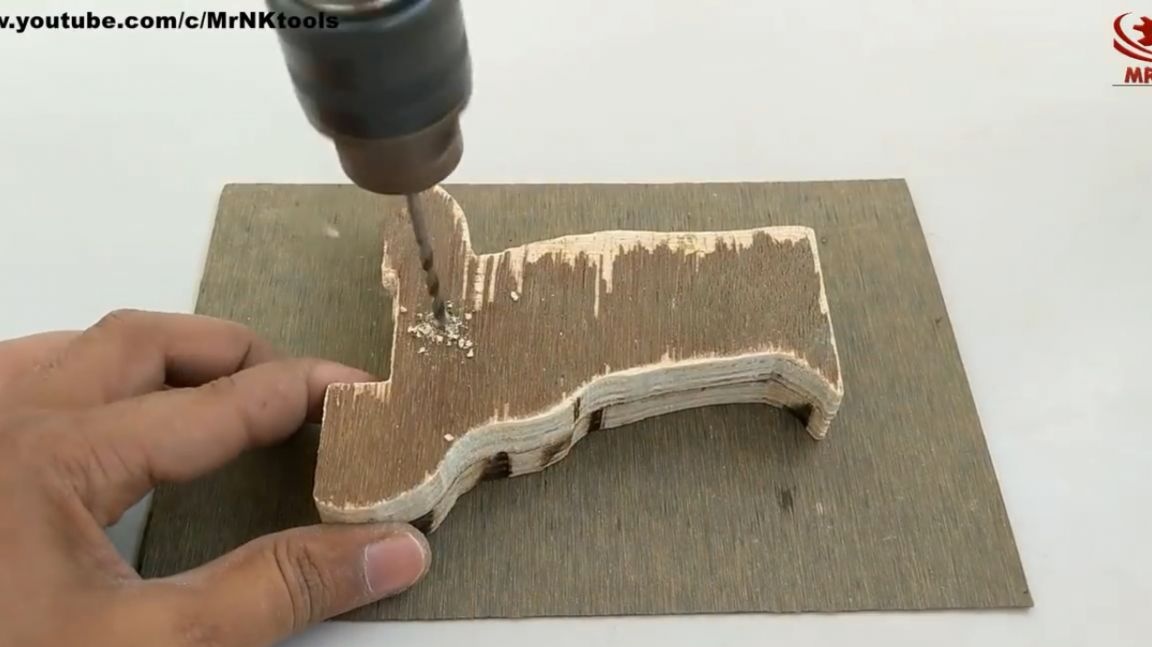
This hole is necessary for the mounting plate of the electric motor of the future screwdriver.
We will drill the next hole for the button. We will do it from the side edge of the handle. First, we drill it with a 3 mm drill, and then expand it using a drill of a larger diameter (8-10 mm). The expansion depth is approximately 15 mm.
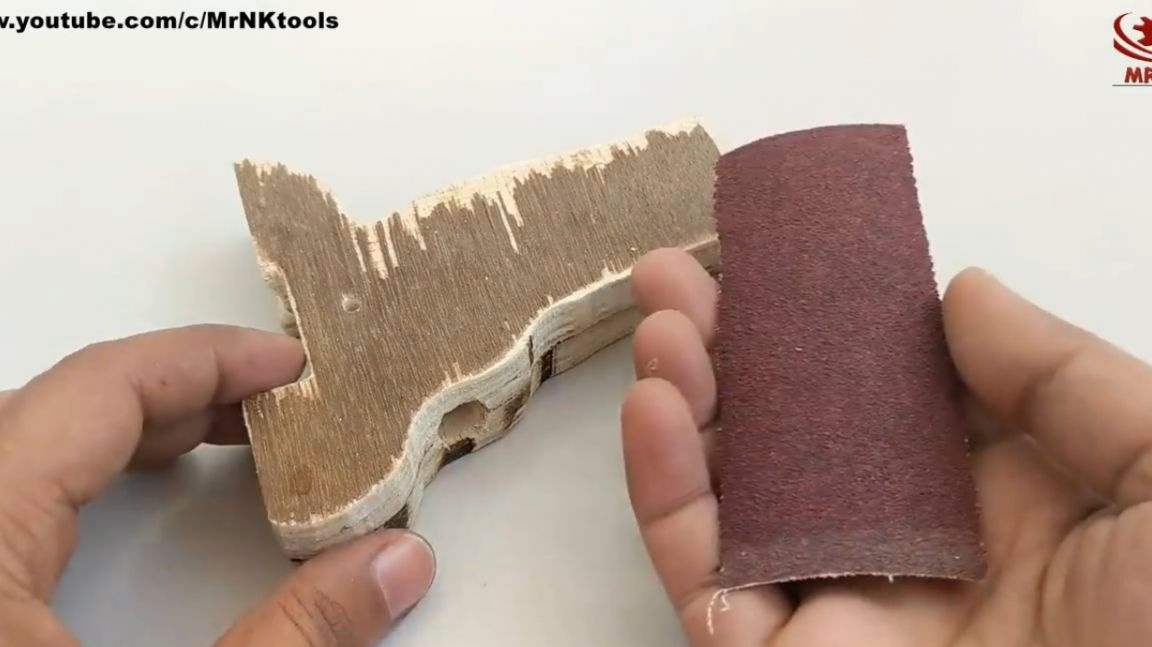
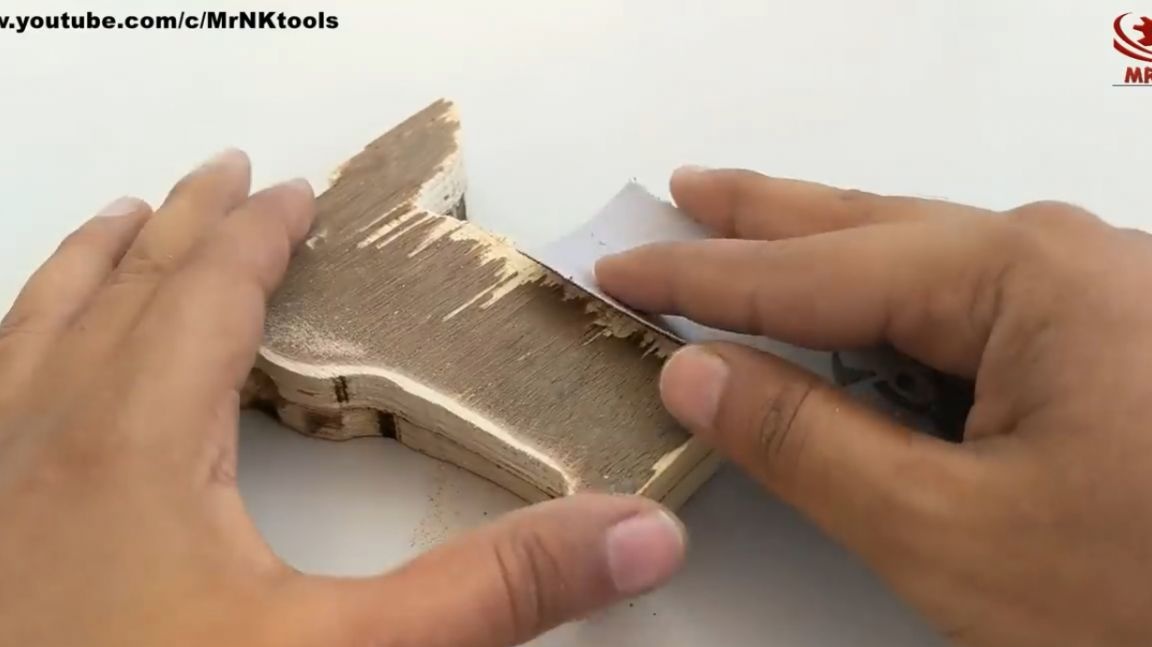
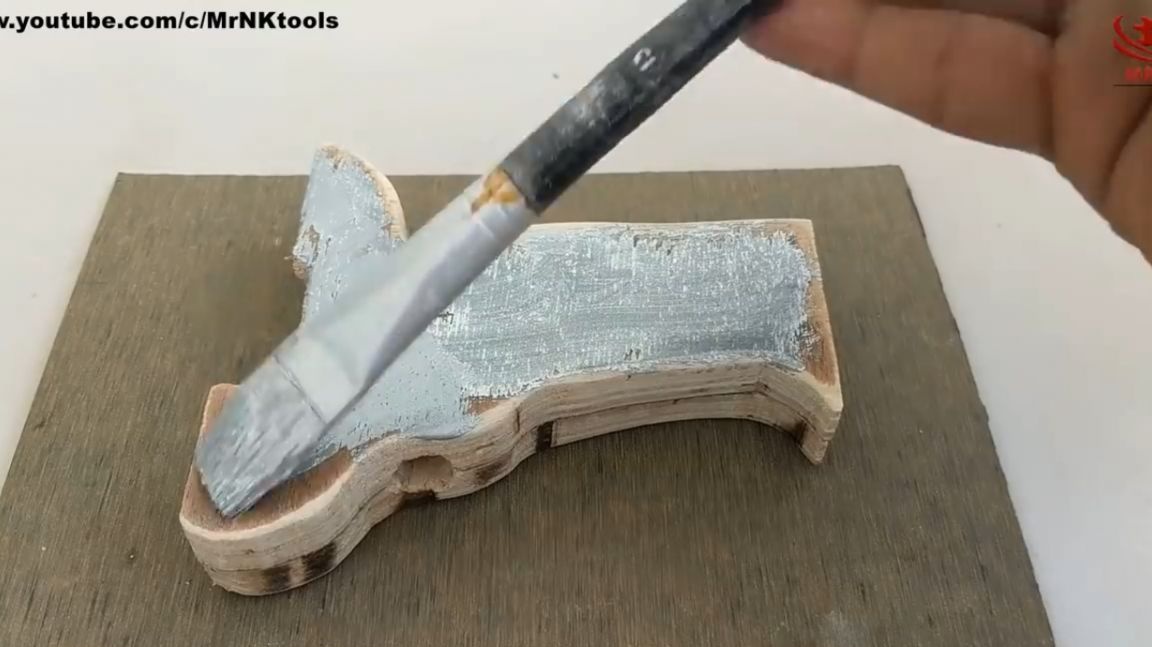
Then it is necessary to clean the edges of the plywood with sandpaper.
Next, cover the part with paint, which should protect the plywood handle of the screwdriver from moisture.
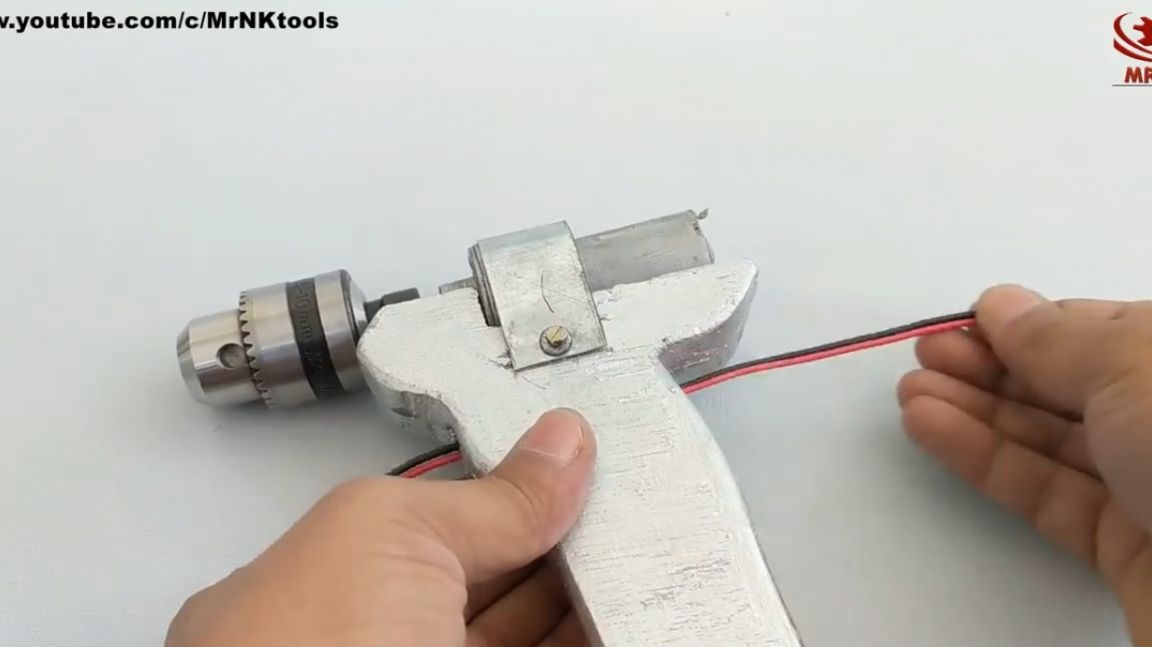
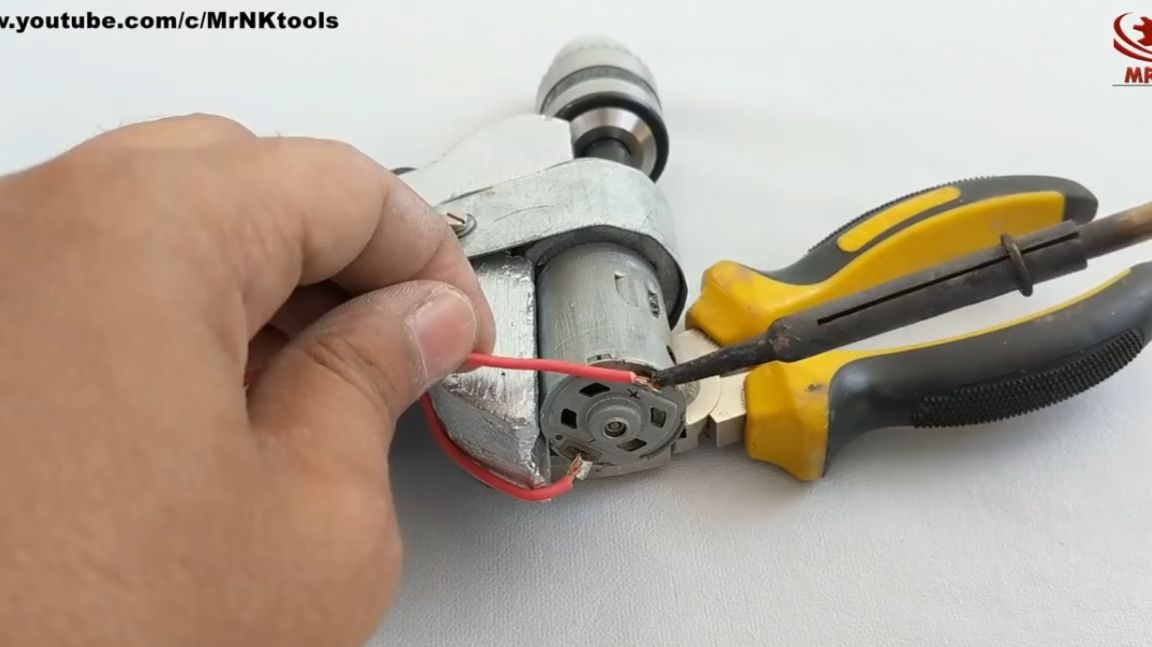
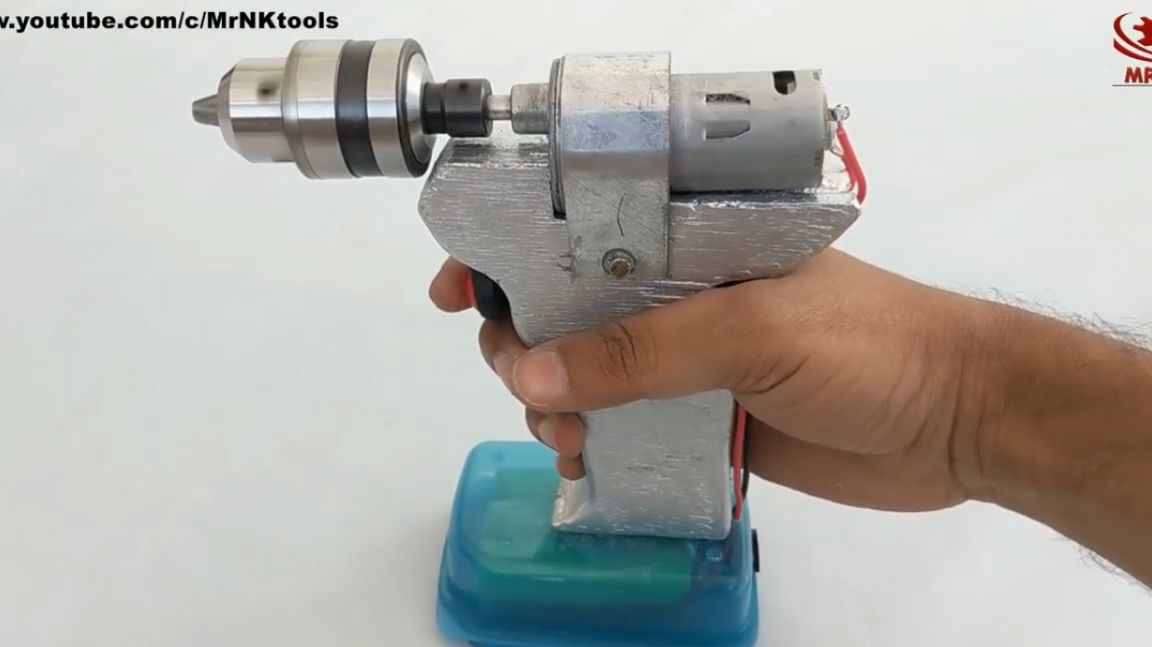
Next step We will install the engine, and also connect it.
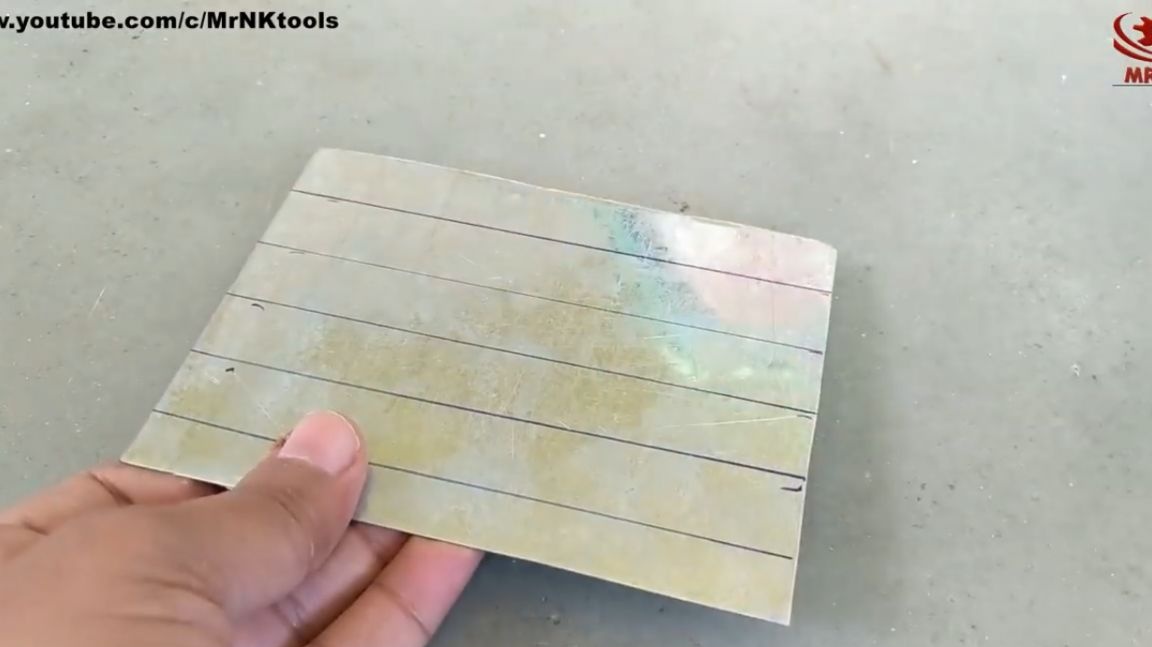
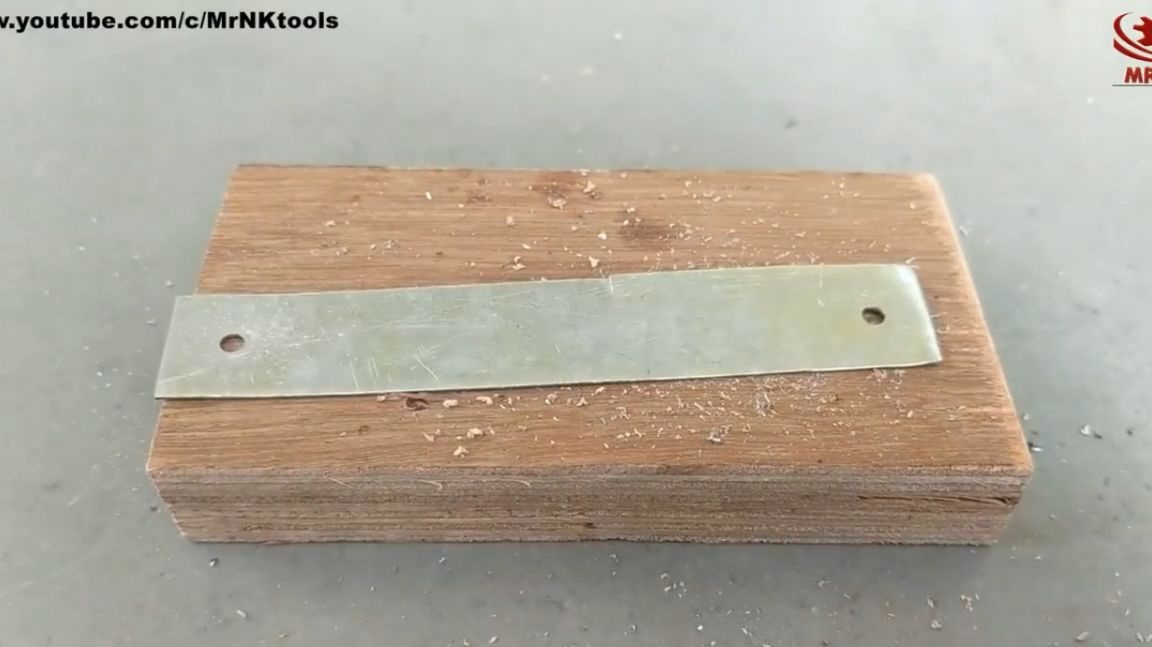
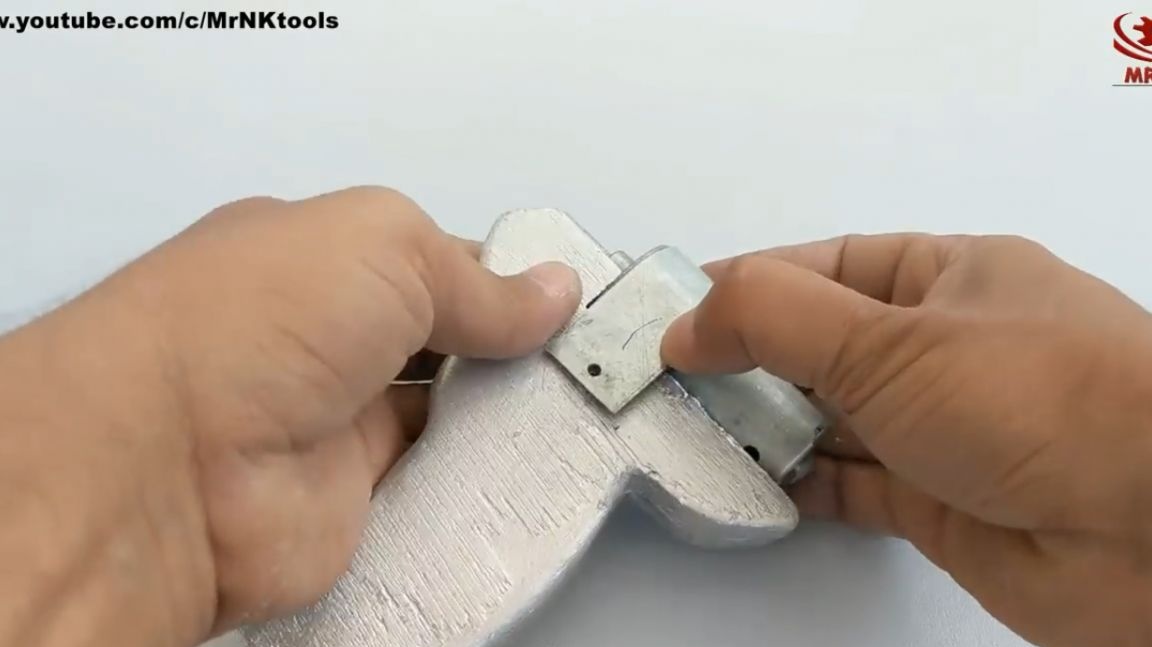
From a small section of galvanizing, it is necessary to cut a strip with a width of 20-25 mm.
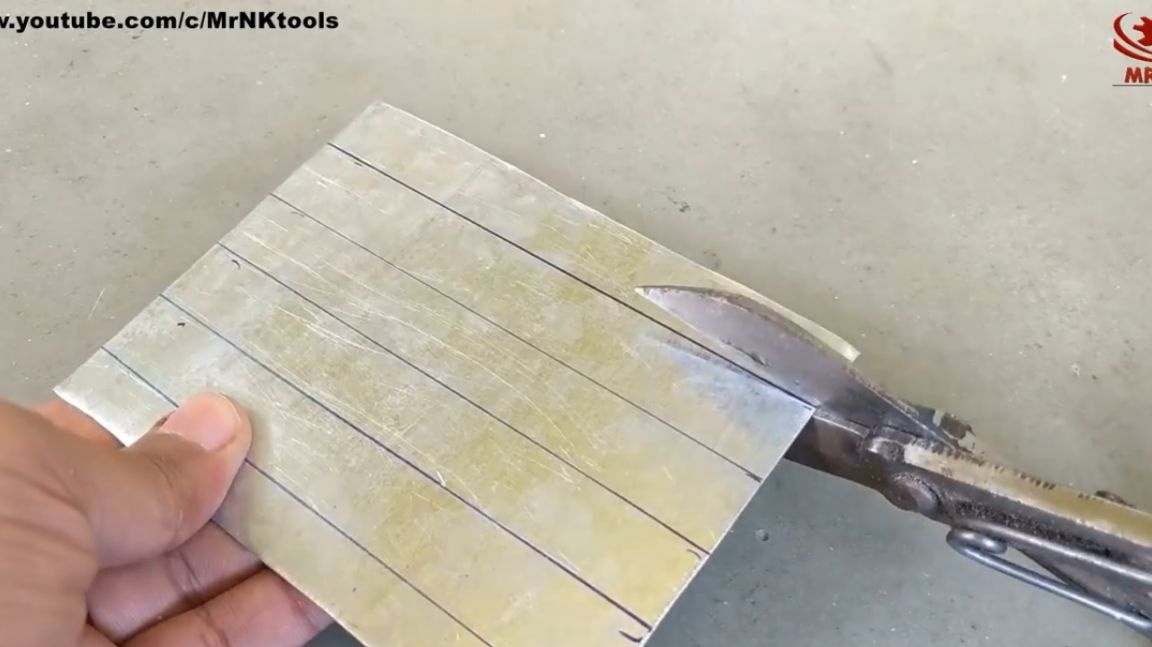
This is quite simple to do, just use special scissors for metal. From the resulting metal strip we produce a clamp for the electric motor of a screwdriver.
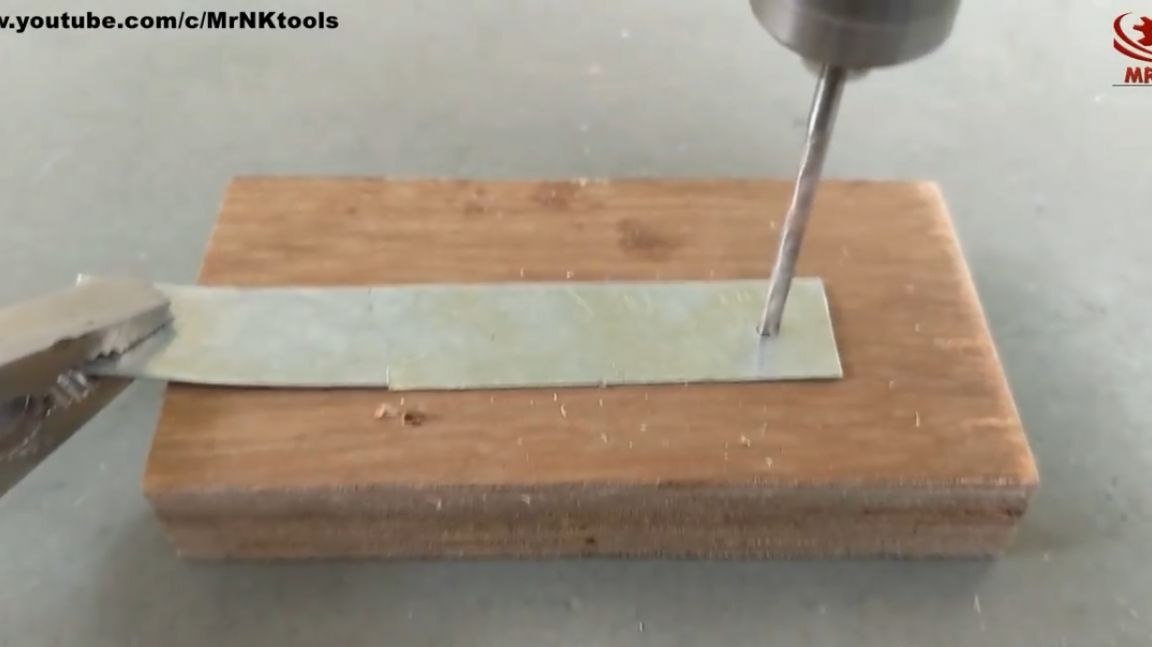
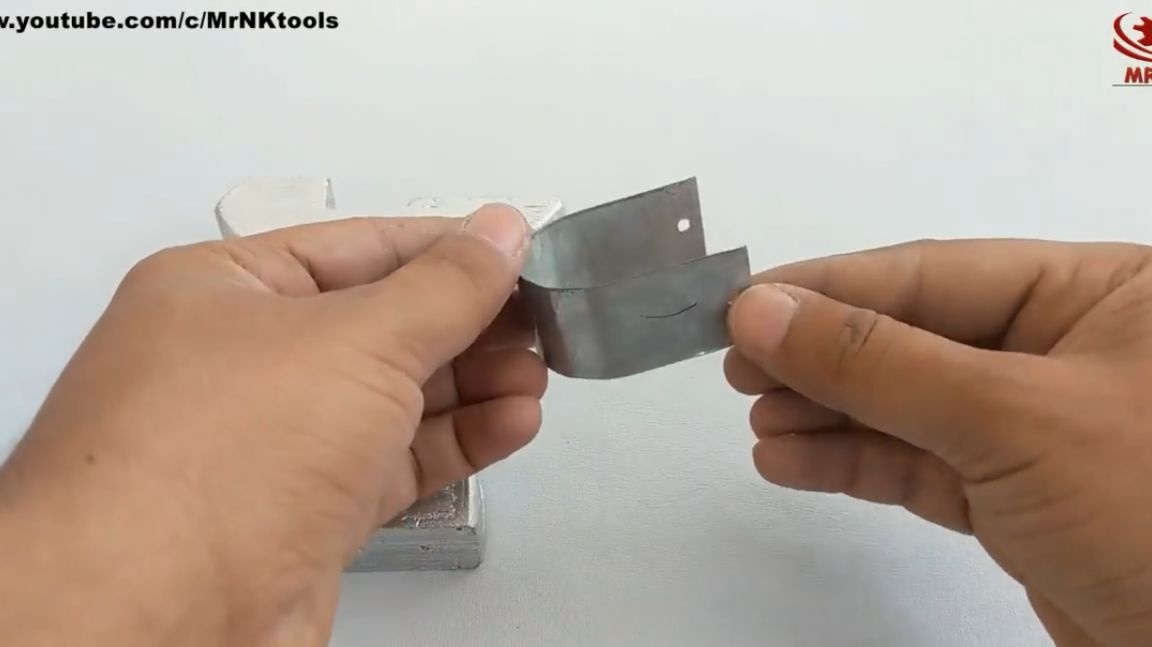
To do this, mark the places for the holes on both sides of the galvanized steel. Then drill it in the designated places with a thin drill.

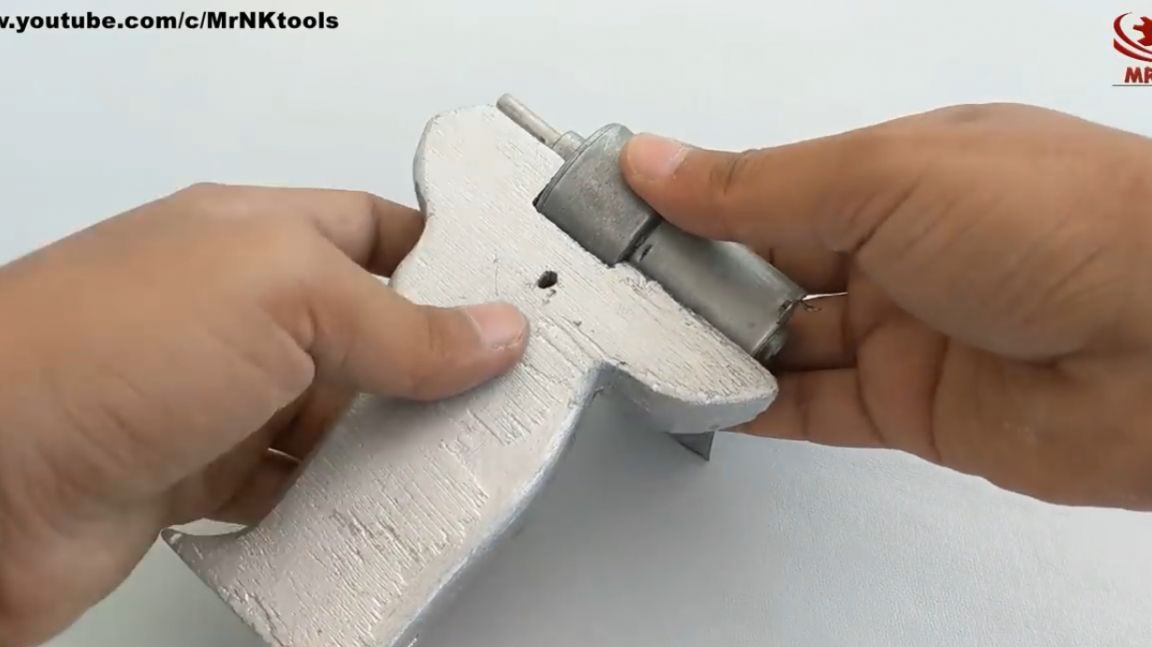
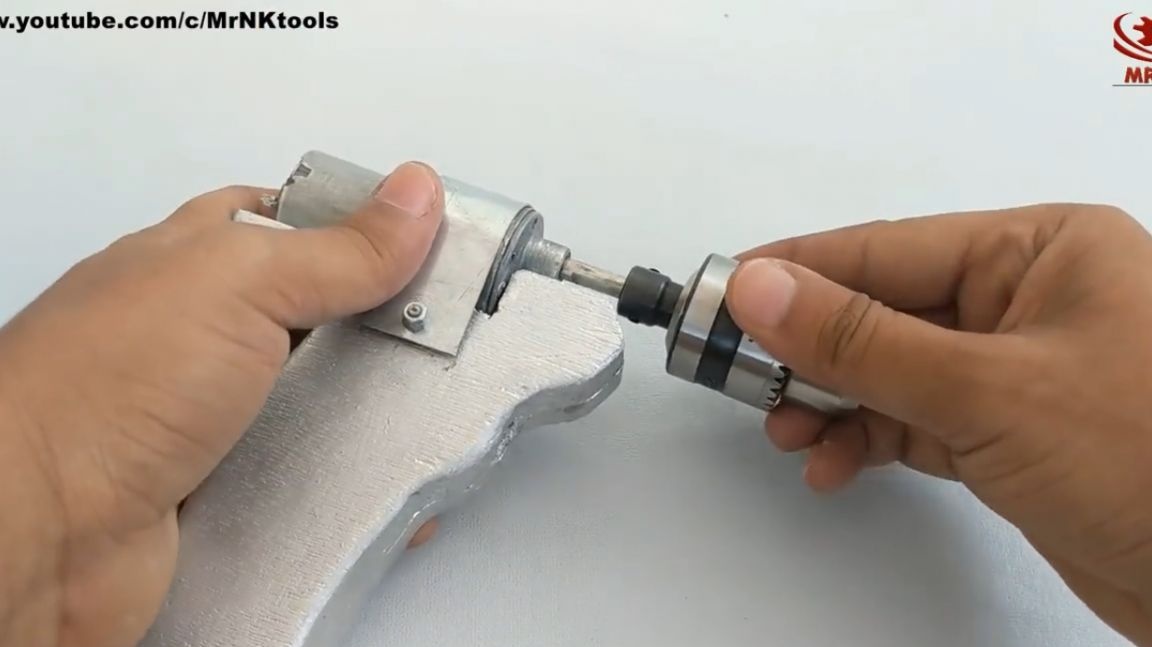
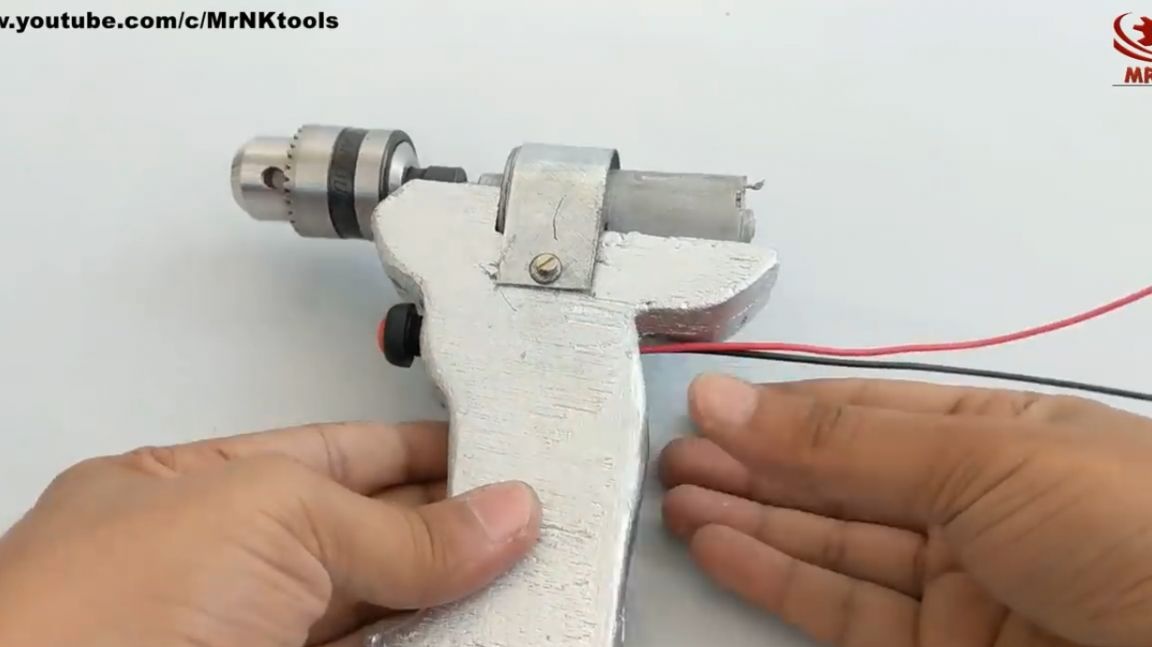
Then we bend the plate in the form of an arc, and fix with its help an electric motor, using a thin bolt with a lock nut.
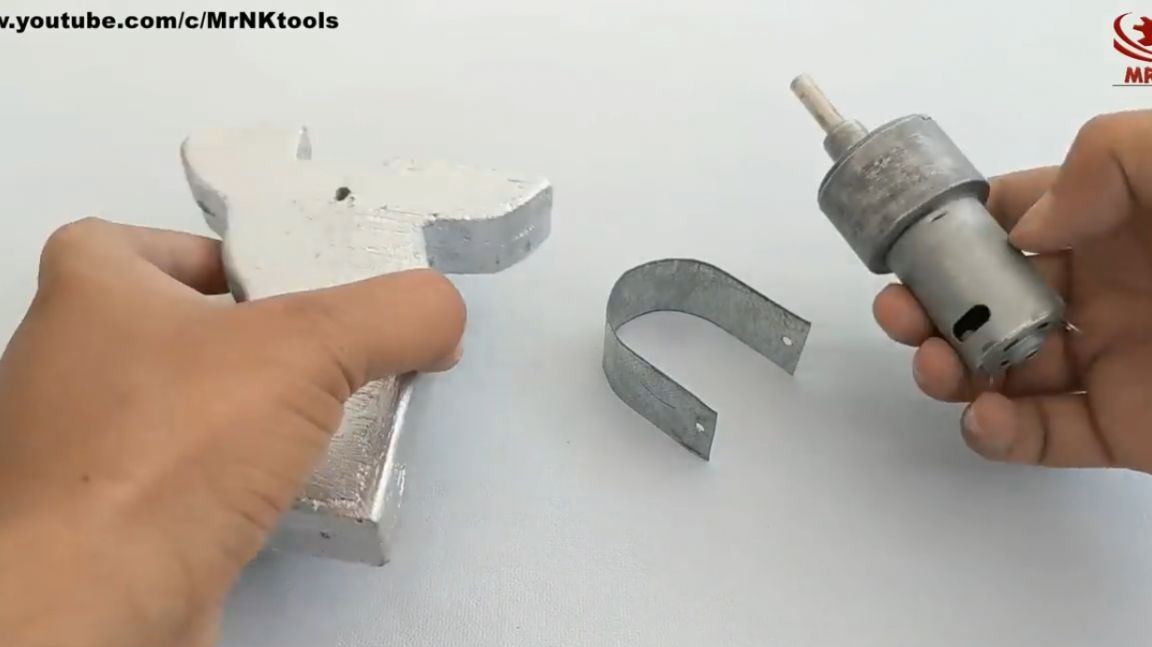
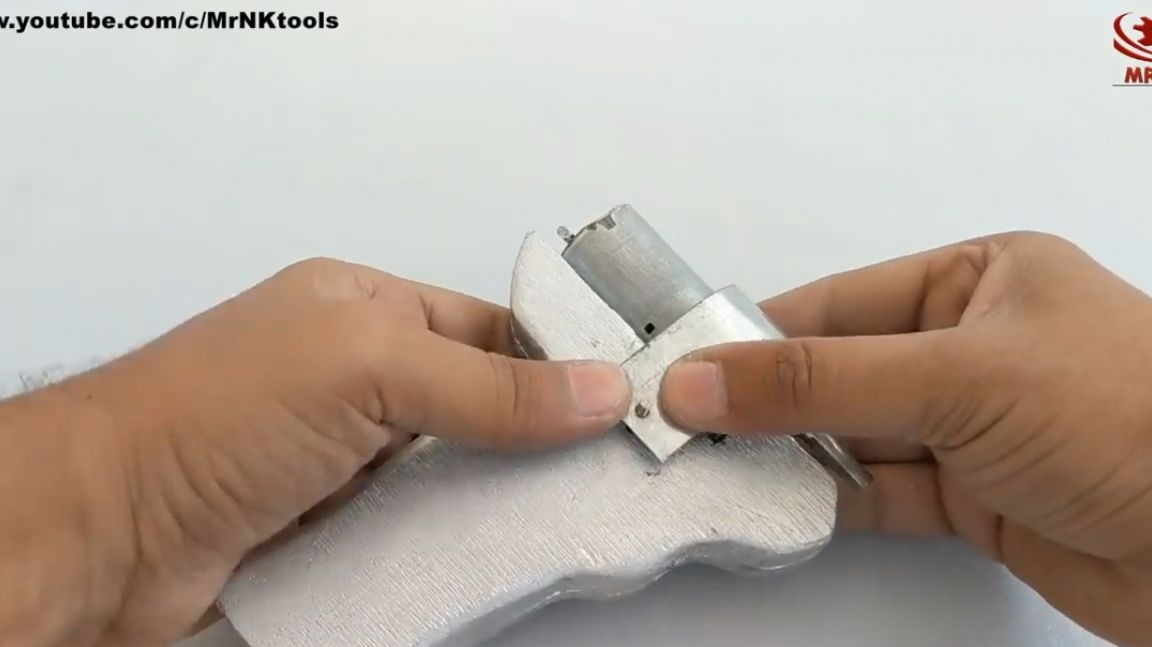

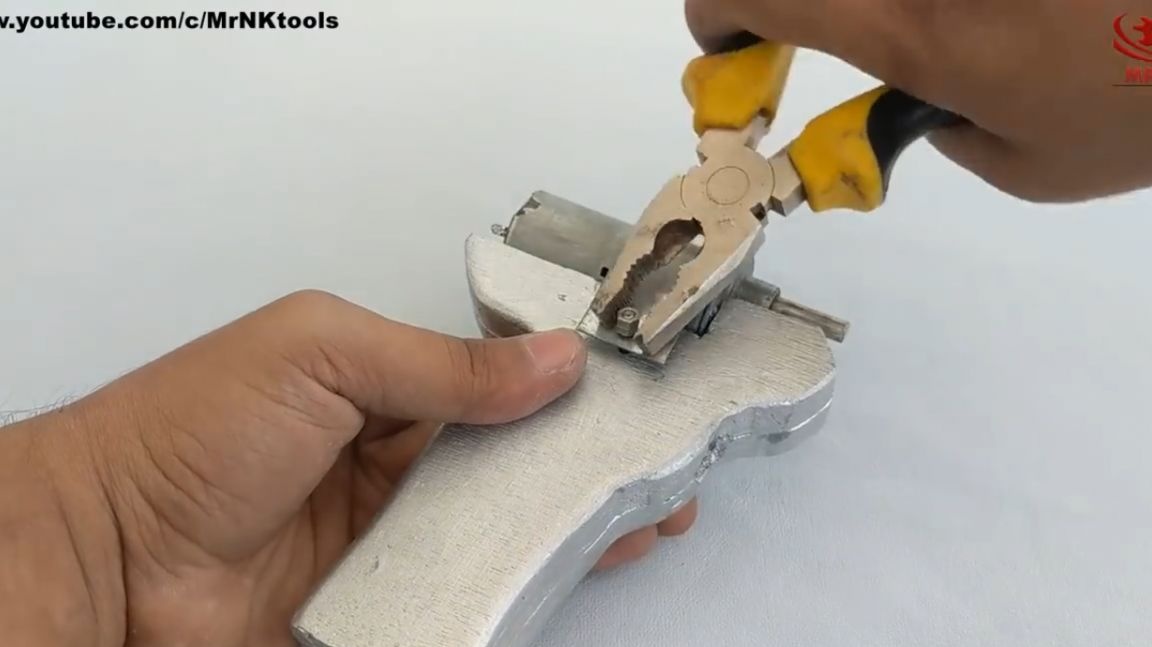
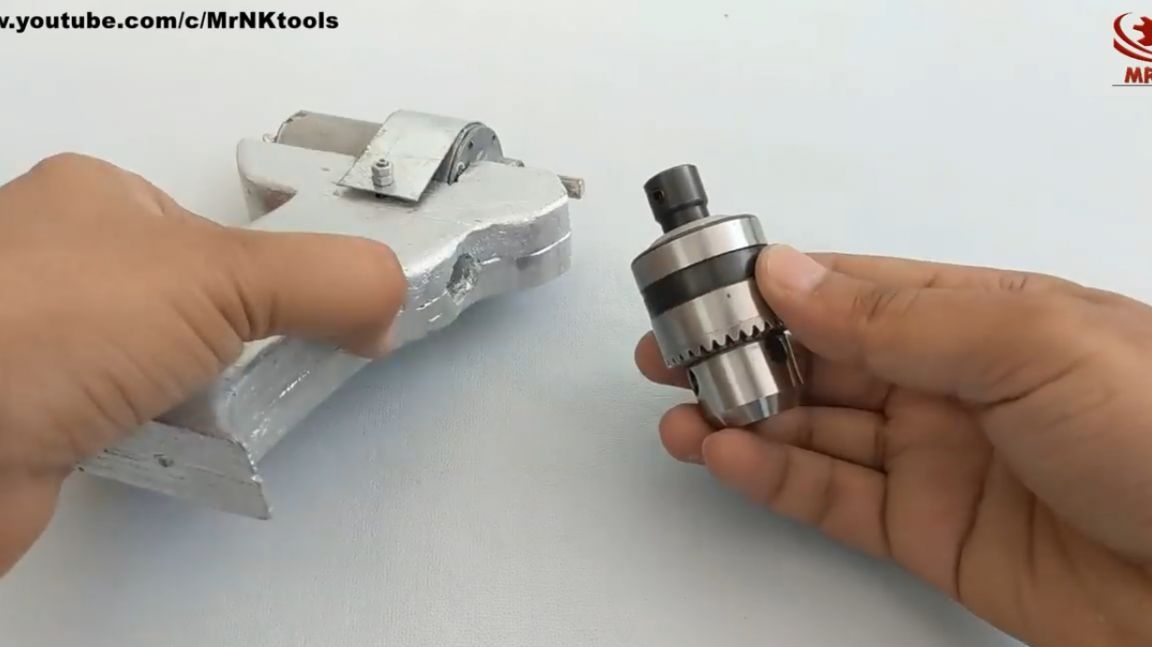
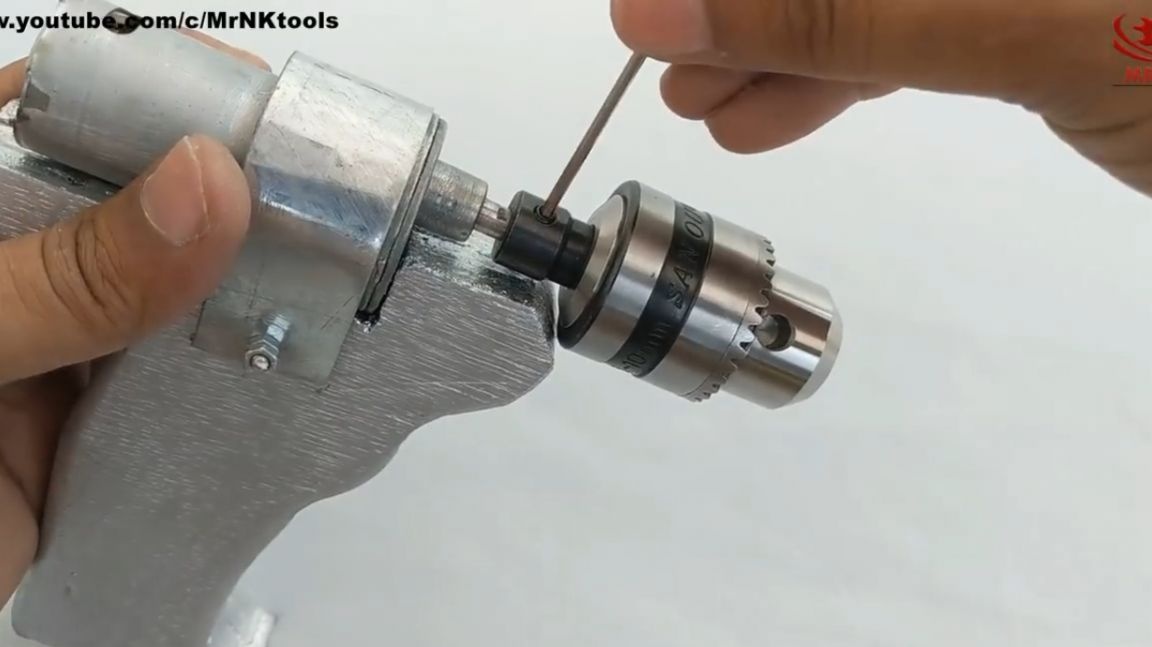
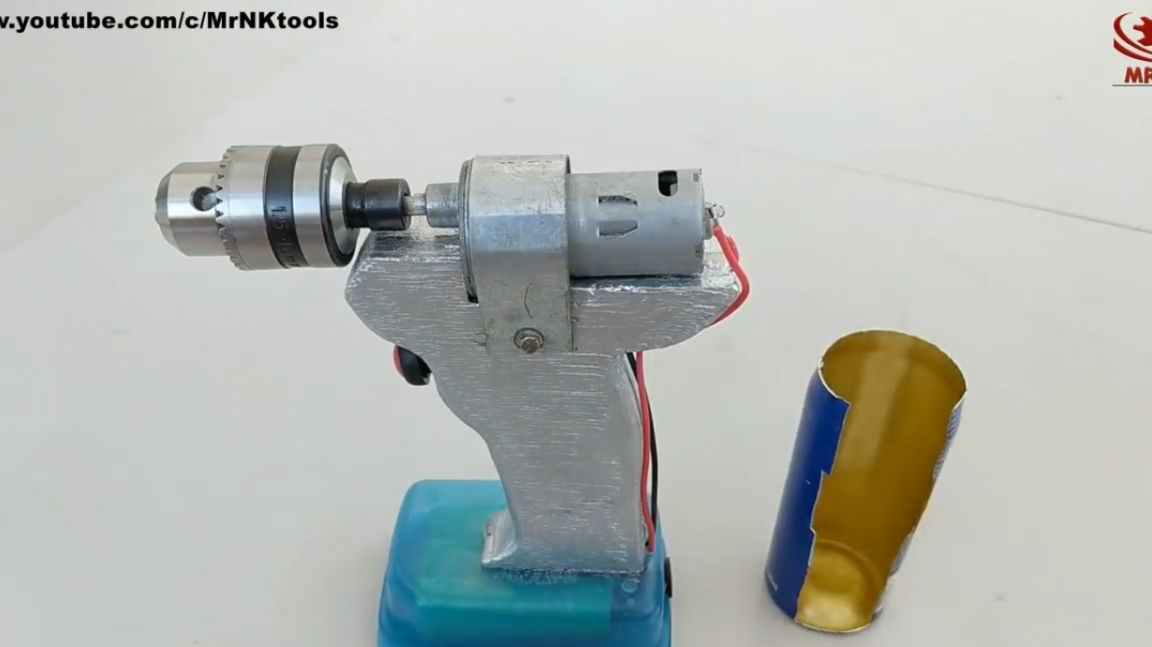
We attach the drill chuck to the engine through a special clamping adapter. We fix the cartridge with a bolt under the hexagon, which is located directly on the clamping adapter itself. We use the corresponding key.
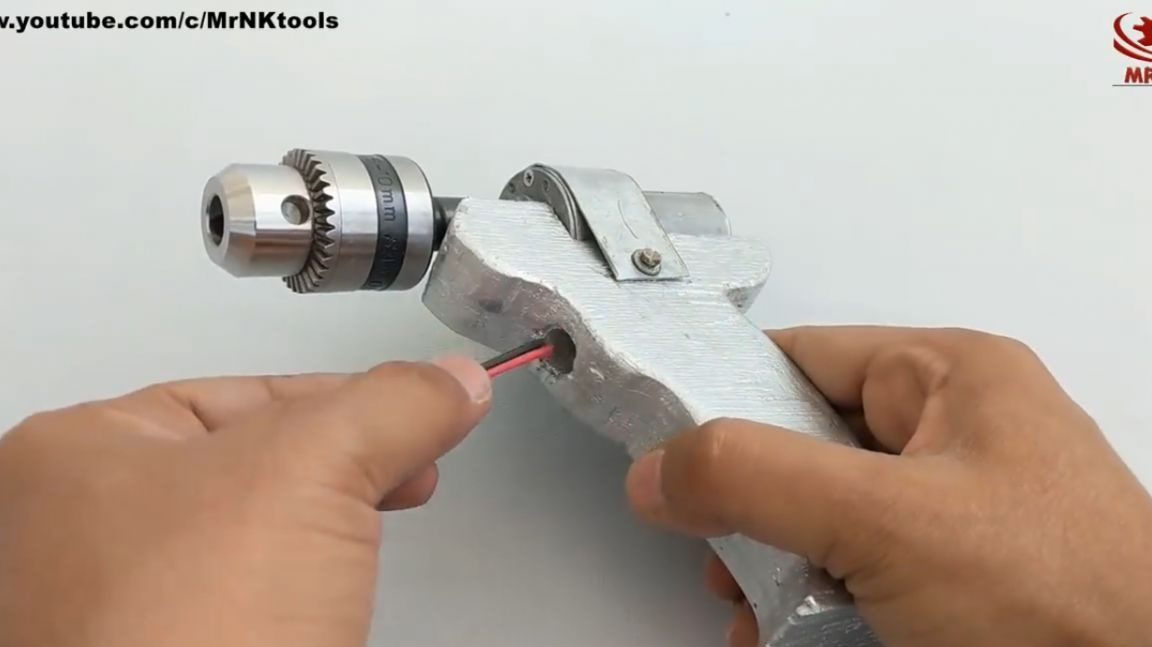
We insert the screwdriver motor start button into the hole on the handle prepared for it at an early stage. We place the wires coming from the button on the back of the handle.
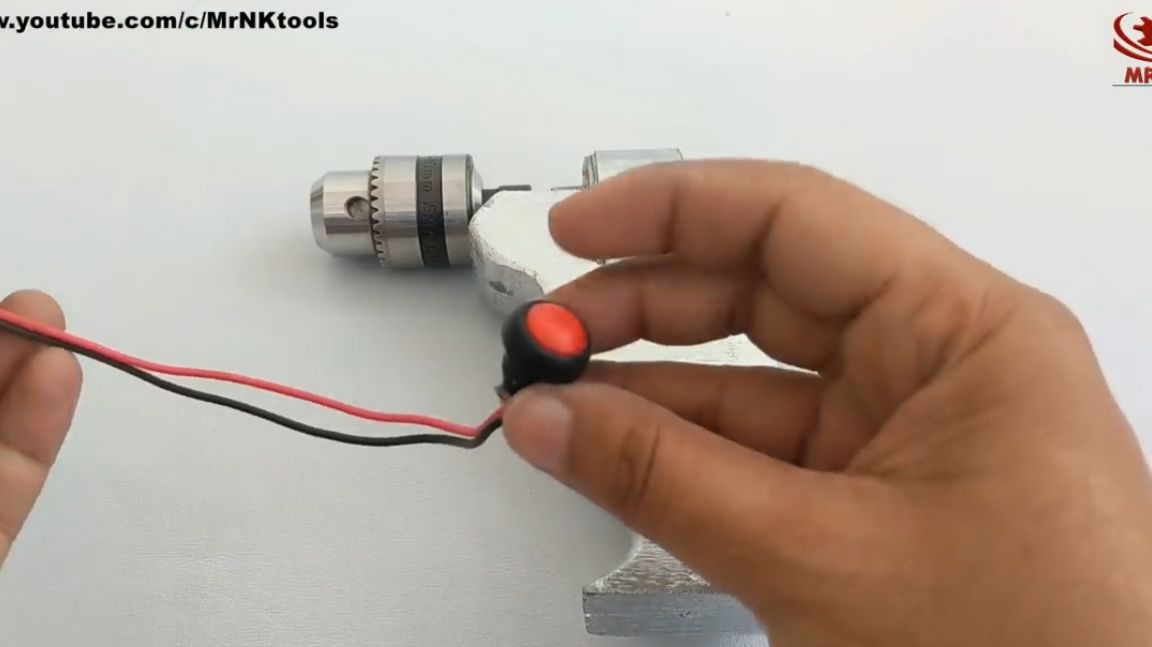
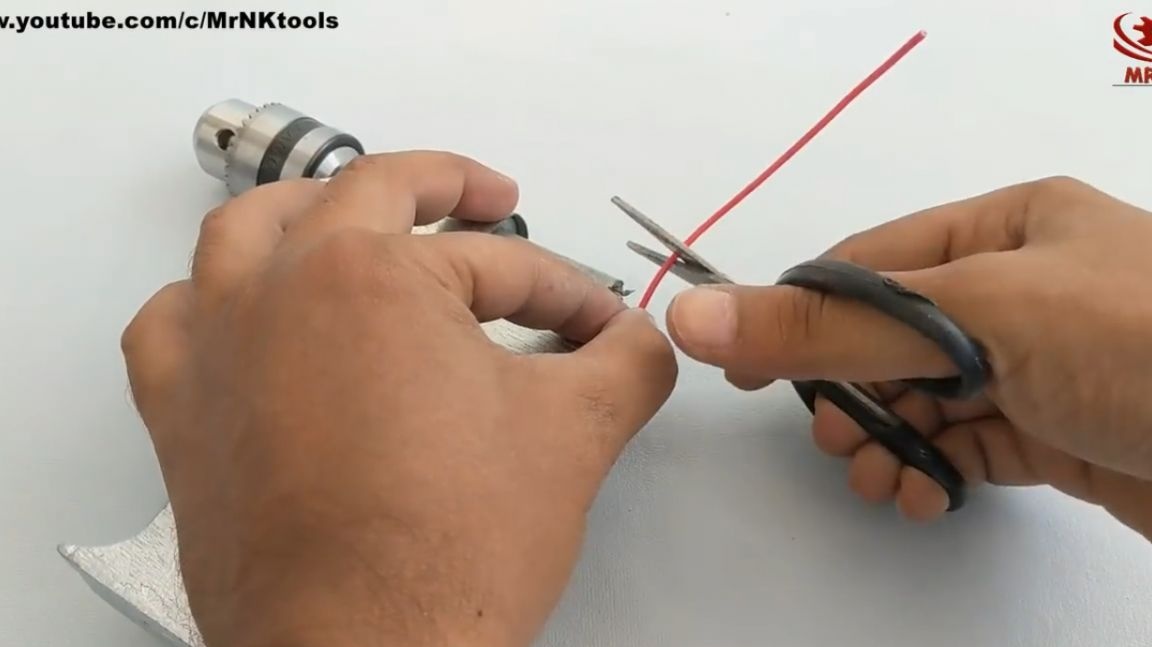
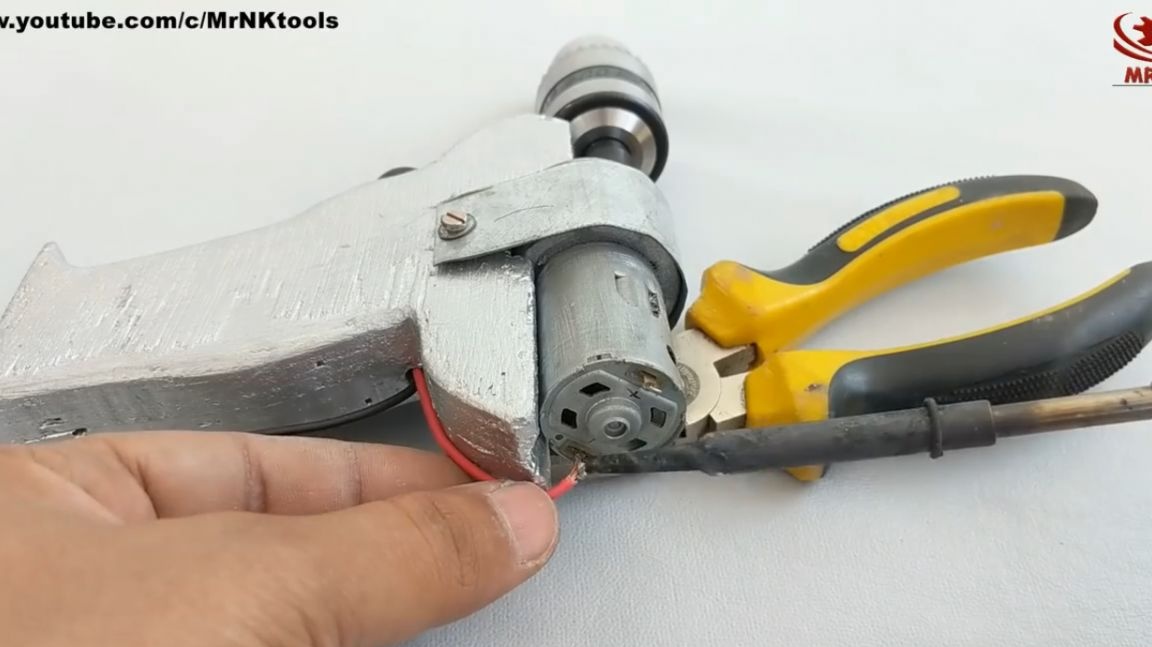
Next, solder the wires to the electric motor.
The next step is the installation of batteries.
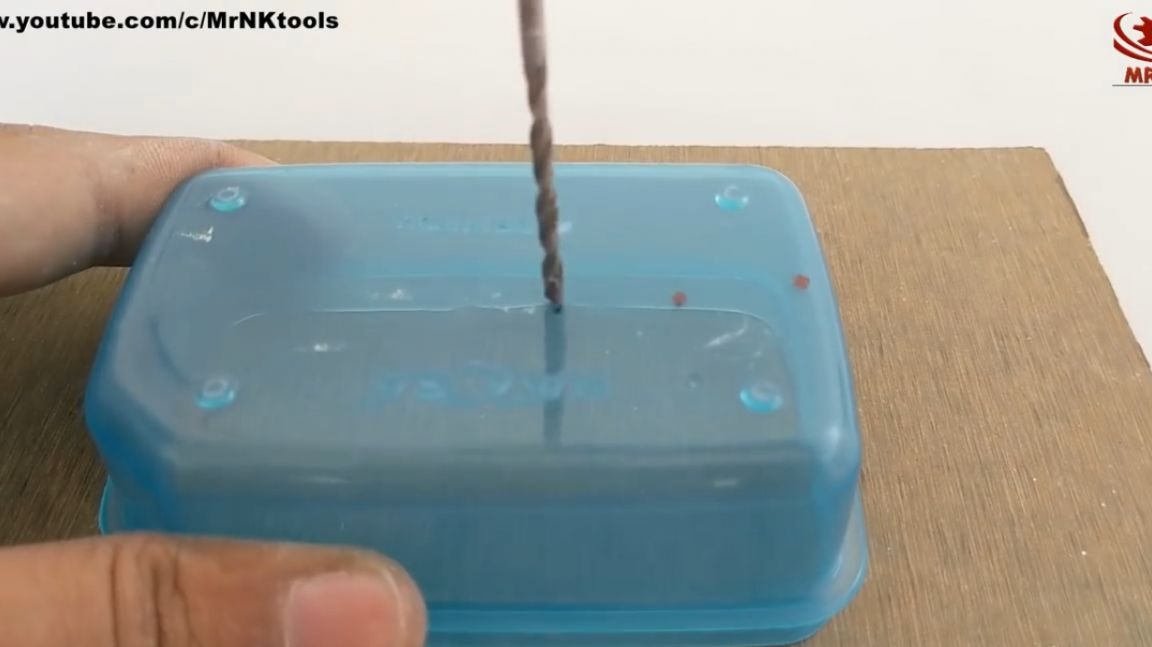
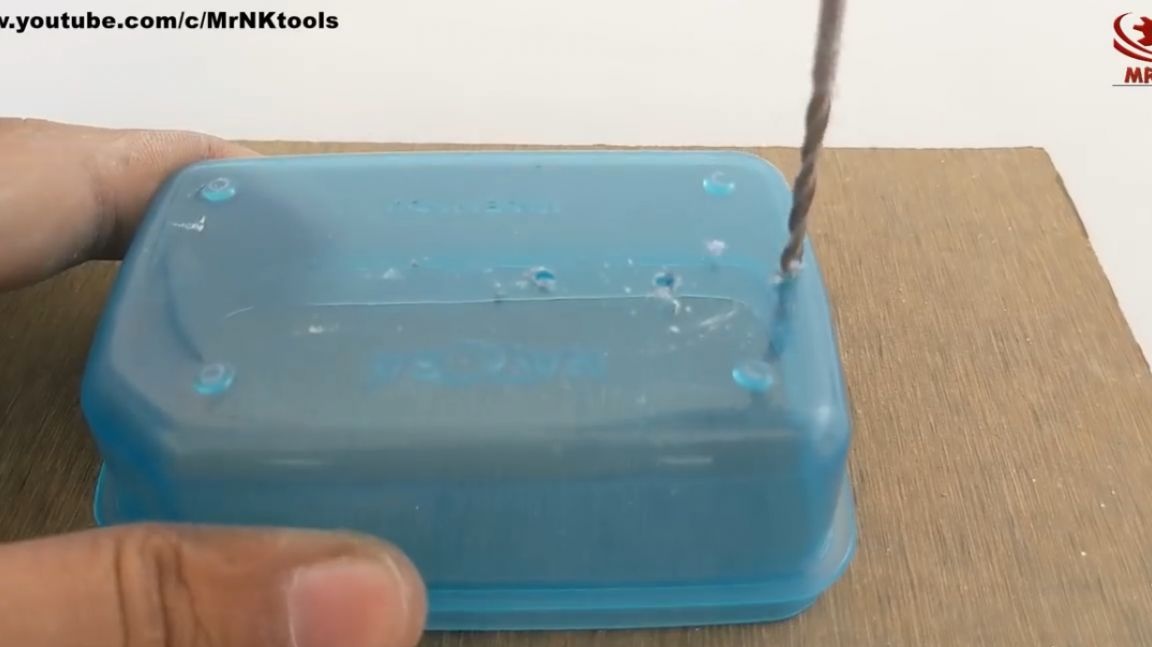
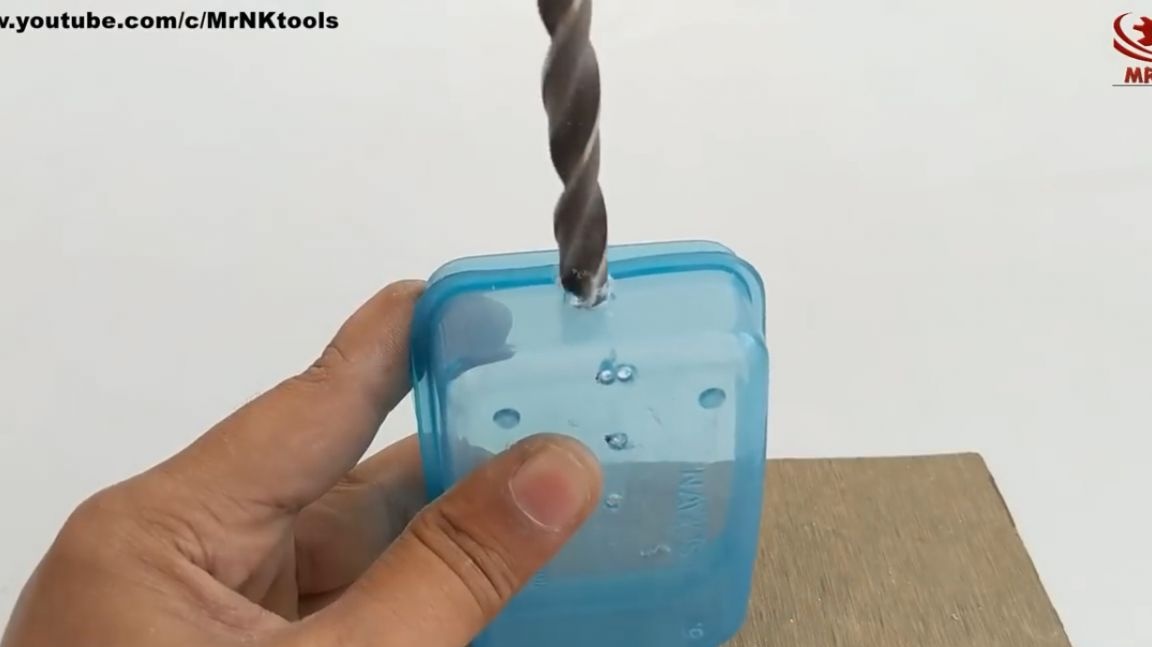
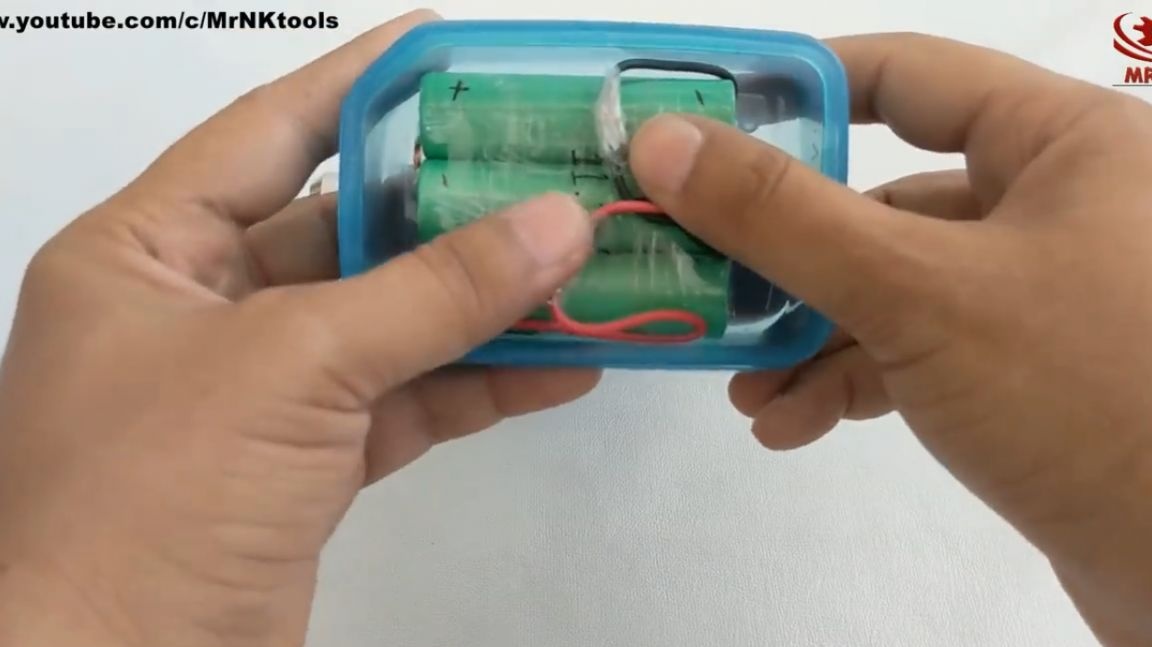
The author decides to place 3 cans of lithium-ion batteries in a plastic food container.
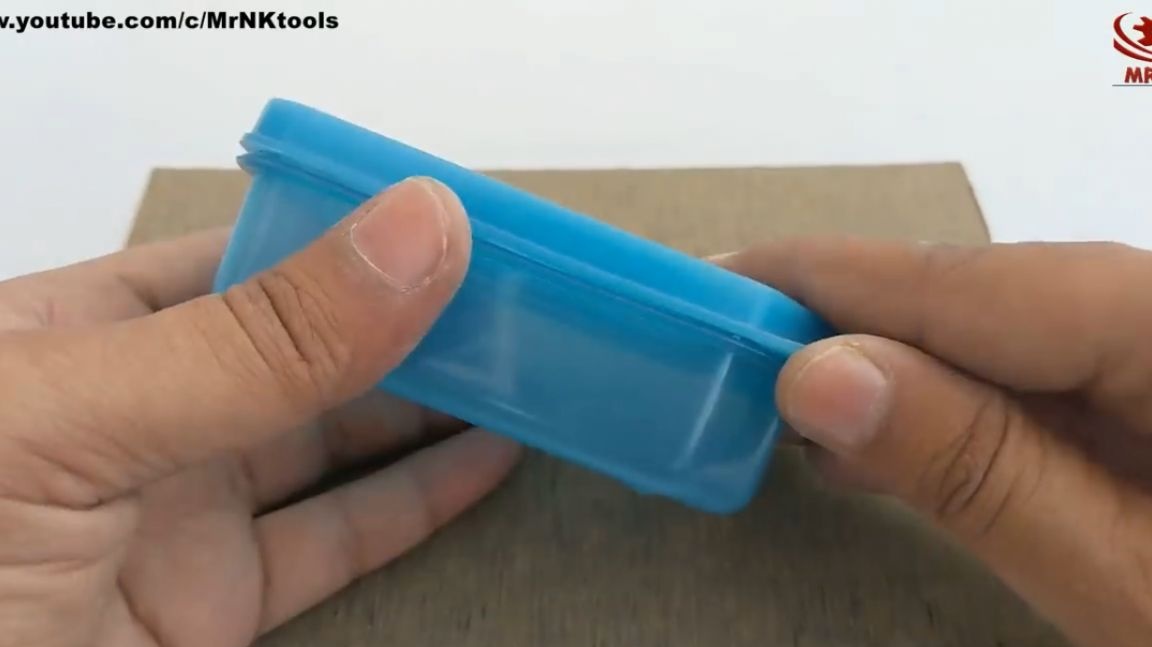
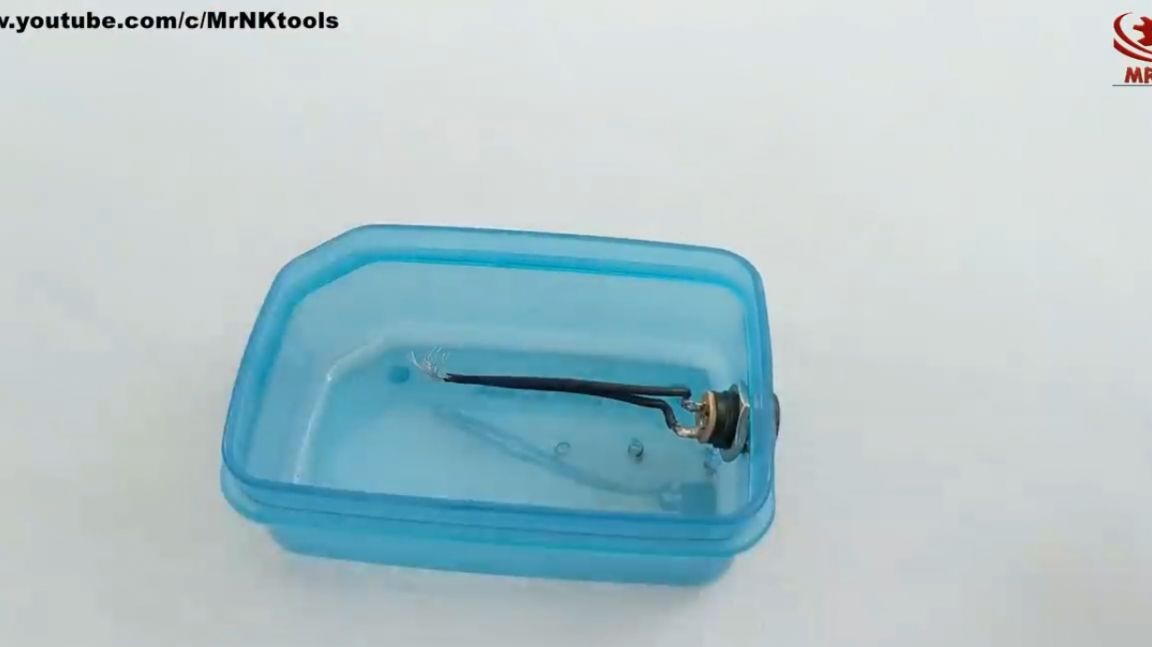
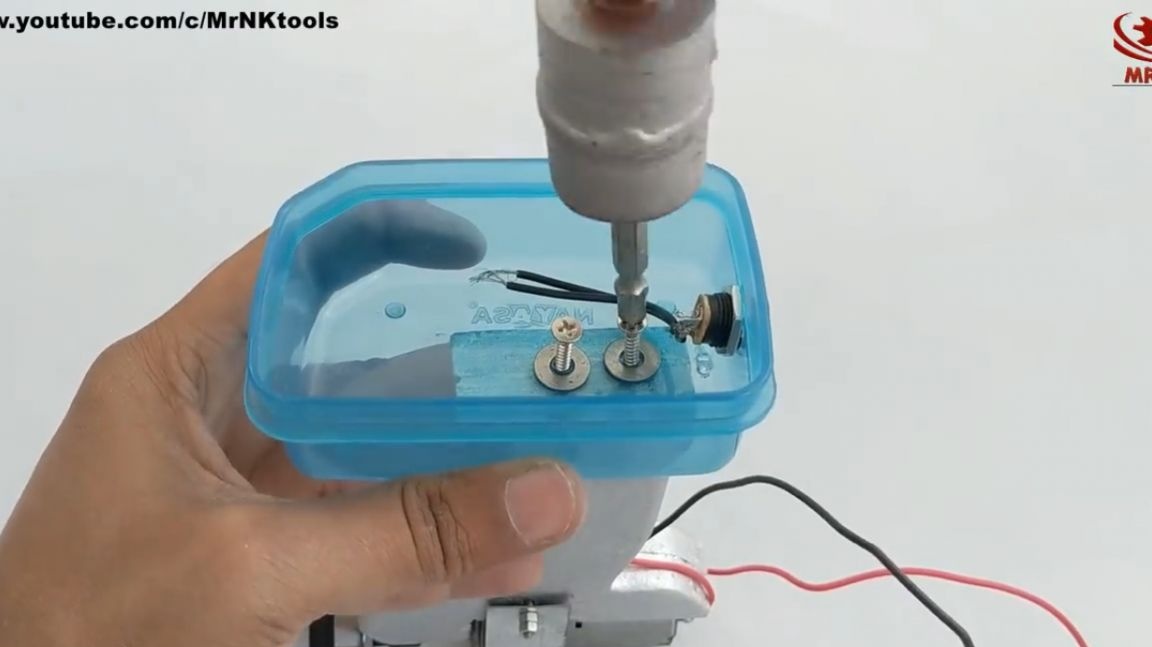
The container fit perfectly in size. To do this, he makes four holes with a 3 mm drill. He also makes another hole of a larger diameter on the side with a 10 mm drill. This will be a hole for the charging connection socket.
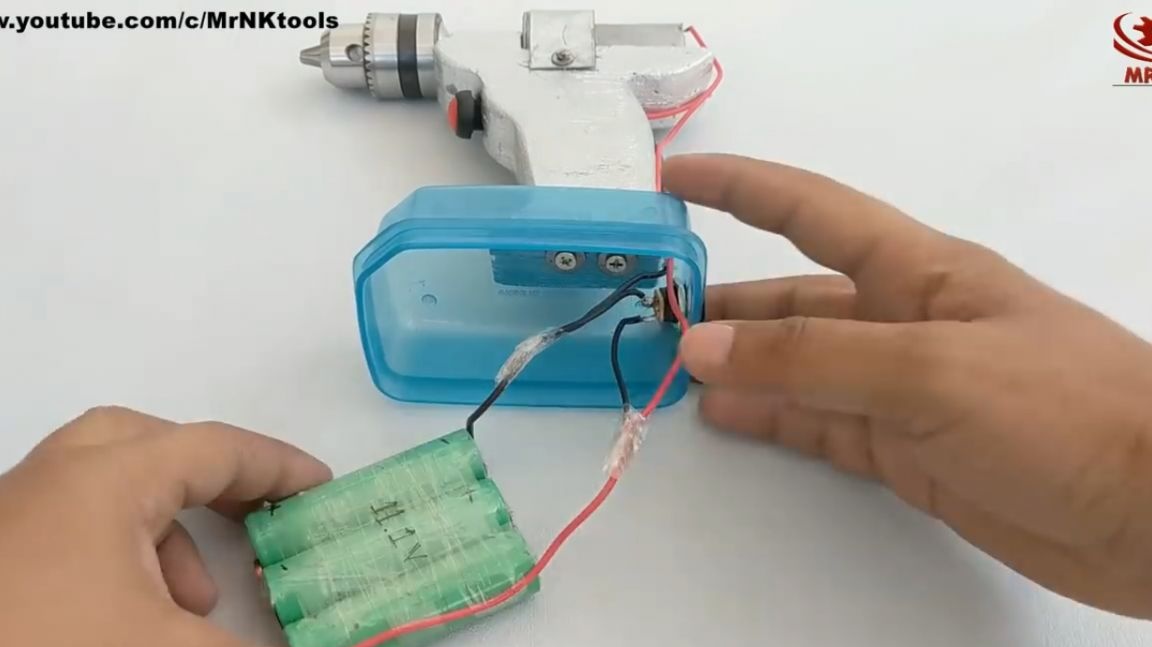
Then the connector with the wiring exiting the container is fixed with a clamping nut on the container body itself.
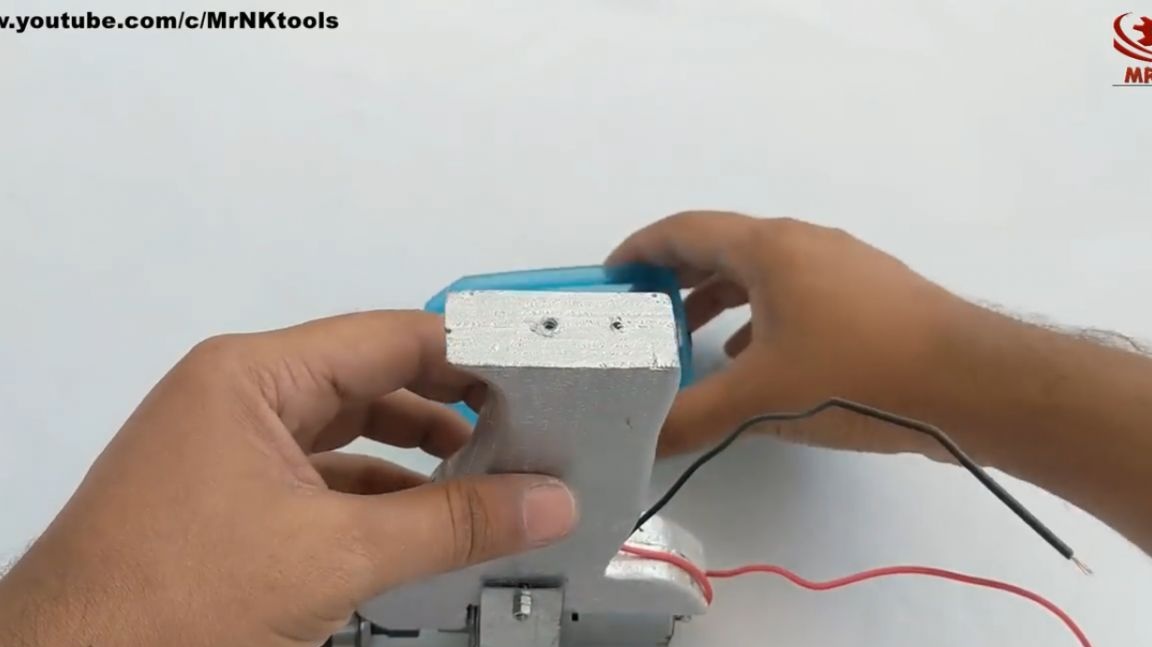
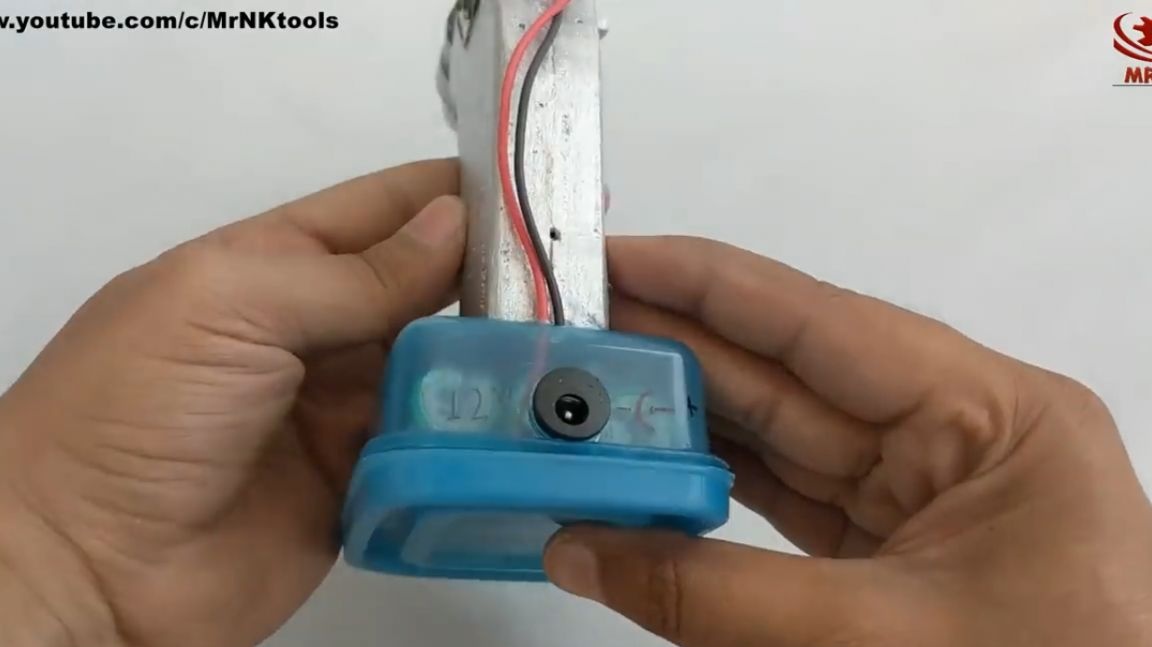
Next, you need to fix the container in which the batteries will be located on the handle of a screwdriver. The author fastens it with several screws on the end of the handle.

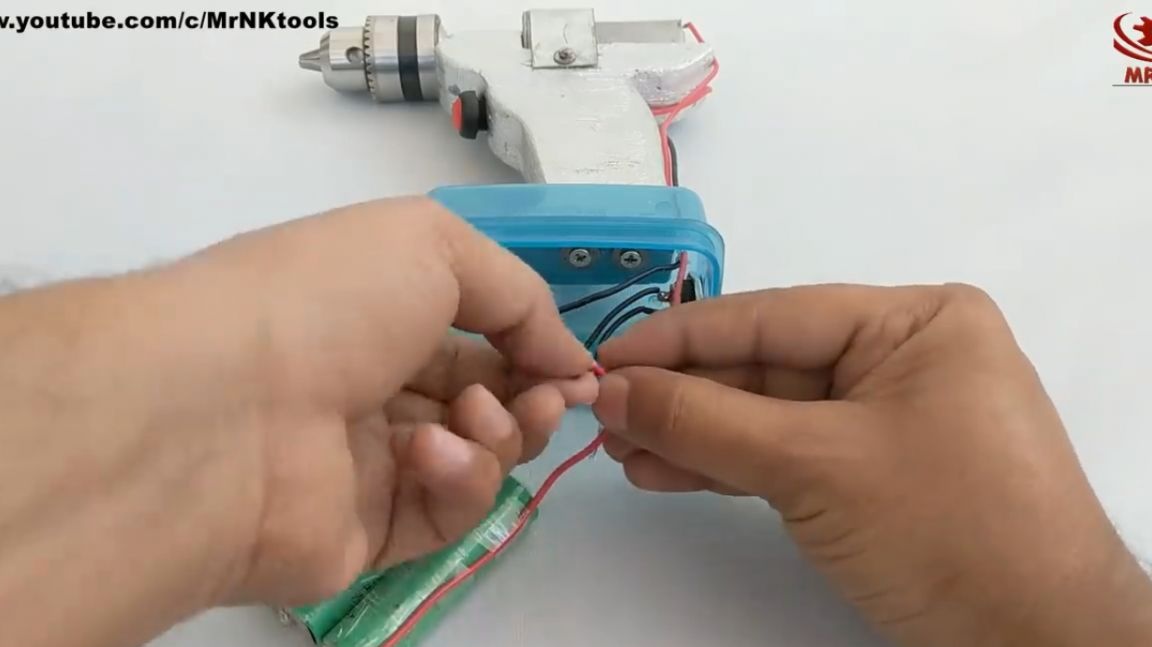
Then we fasten 3 batteries 18650 together with tape or cling film. The contacts of the battery banks are connected in series.
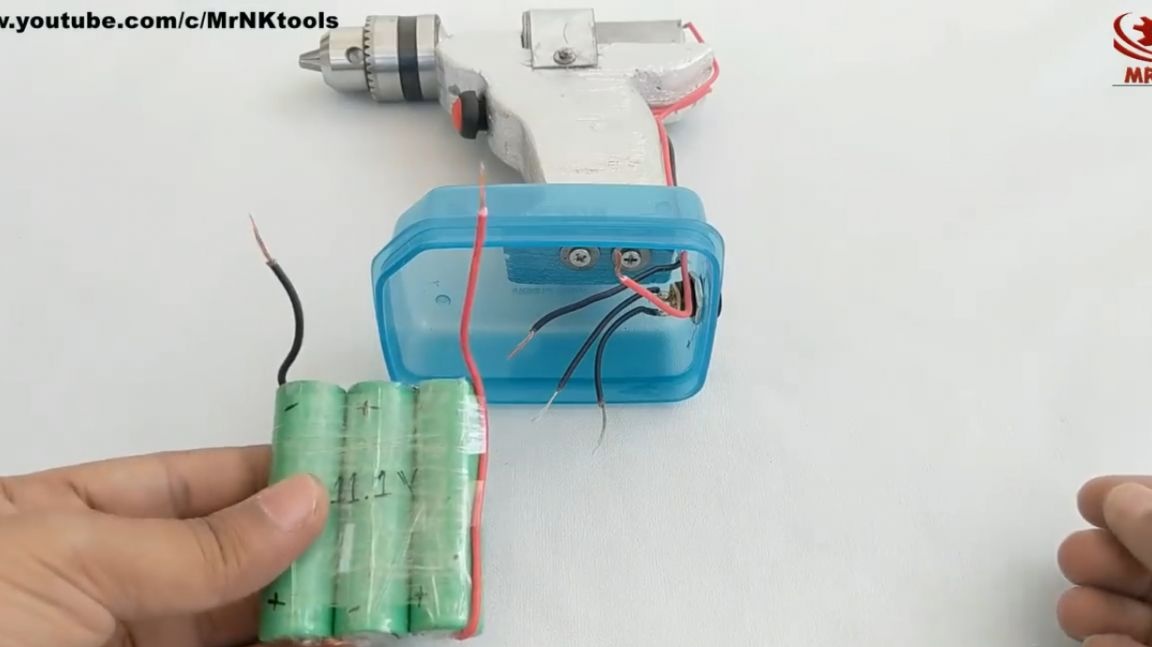
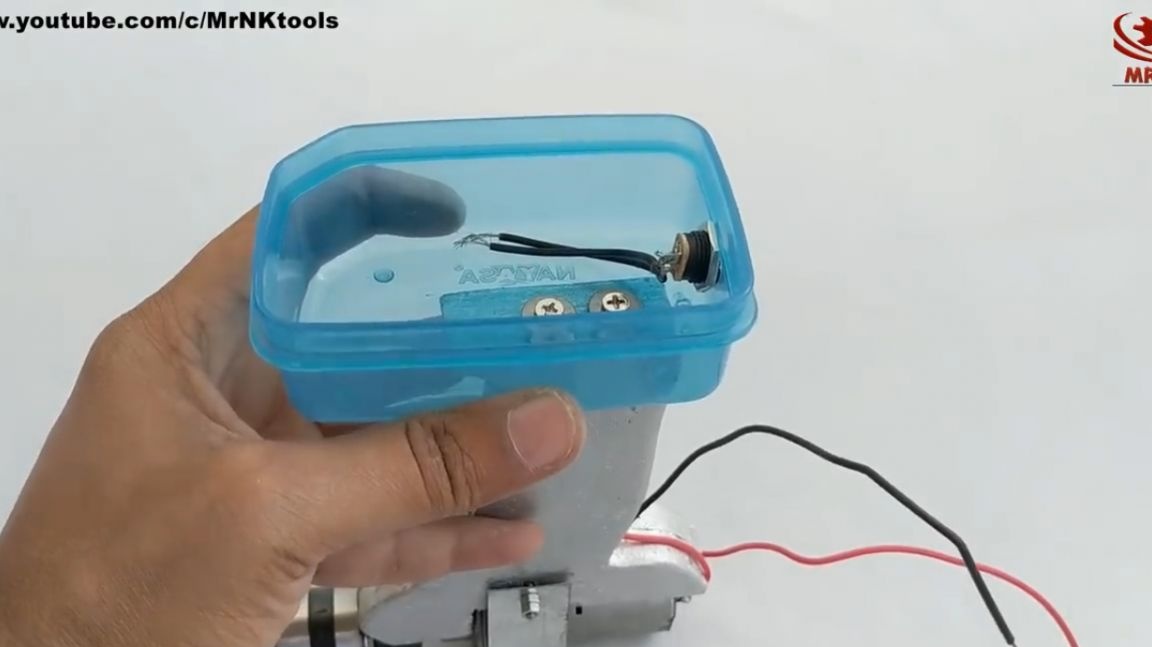
We connect the supply wires coming from the battery compartment to the corresponding outputs from the connector for connecting the charger. In this case, the author does not solder the wires together, but simply twists and isolates the connection points with a transparent adhesive tape. But of course, for reliability and better contact, the connection would not hurt to solder, but as insulation, it is better to use a heat shrink tube or electrical tape.
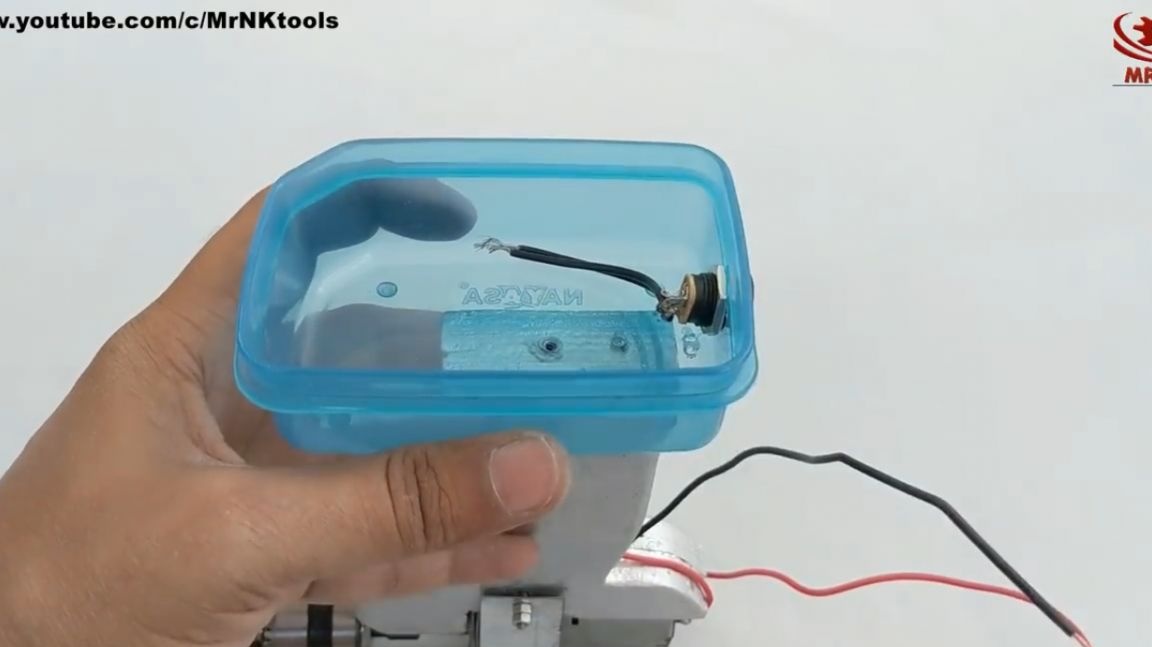
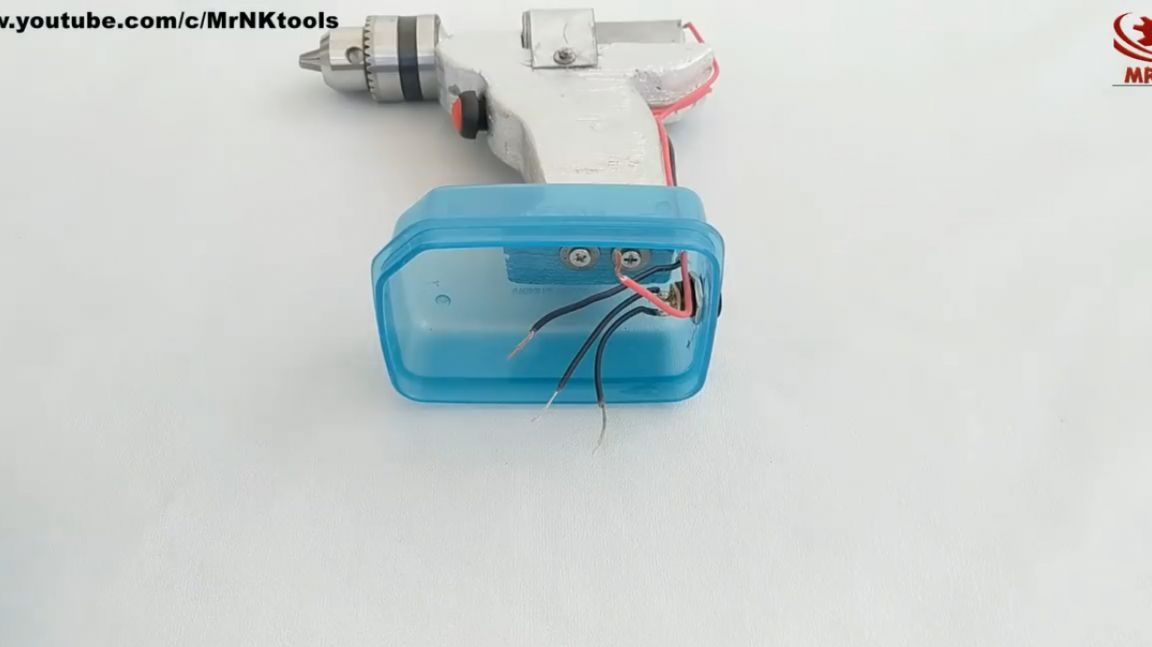
We pack the resulting power supply in a plastic container, and snap the lid.

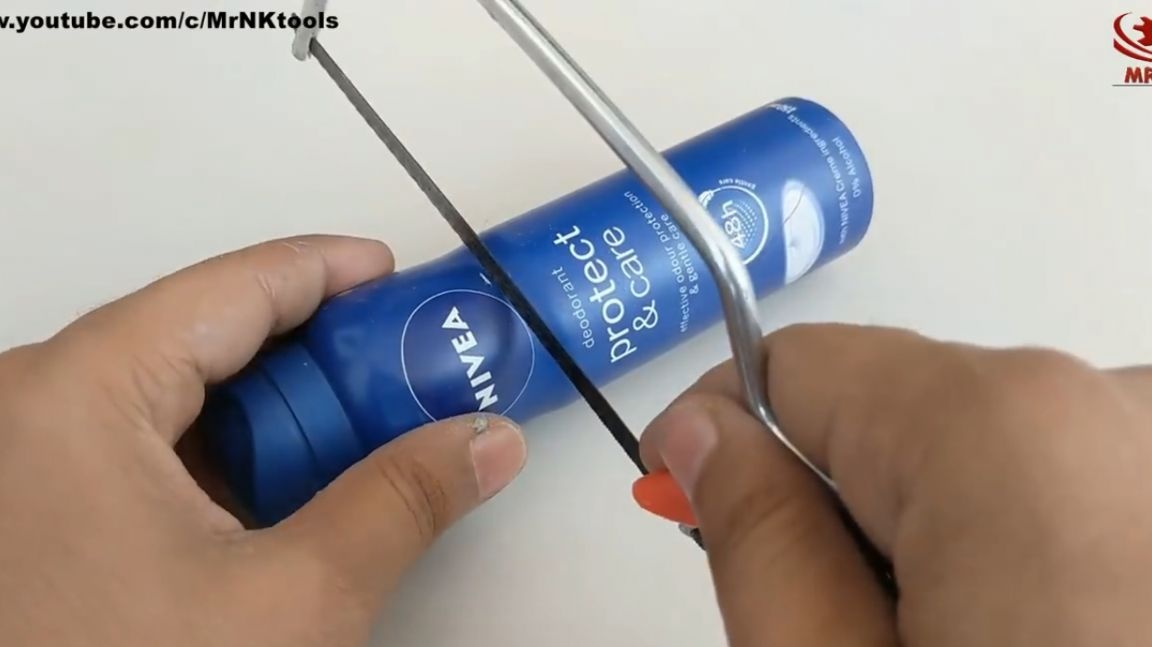
Well, the final step is to make the case protection.
As the case of a screwdriver, we will use an empty cylinder from under the deodorant. To do this, it is necessary to cut off the neck.
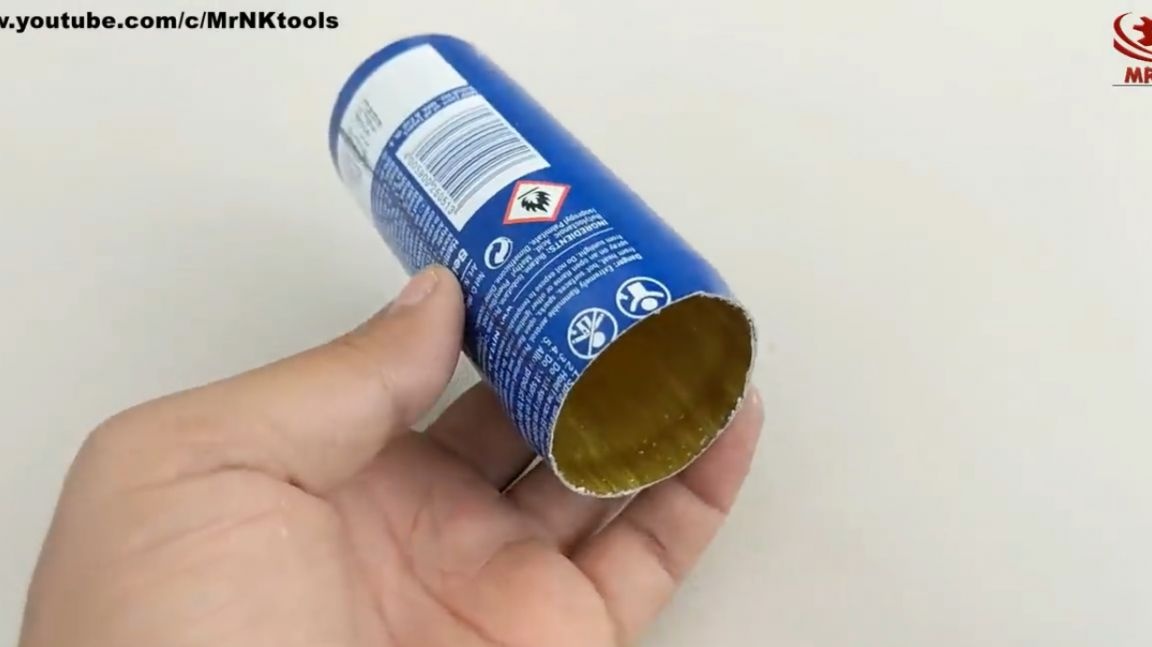
Then, with scissors we cut out the groove of the required size for the electric motor.
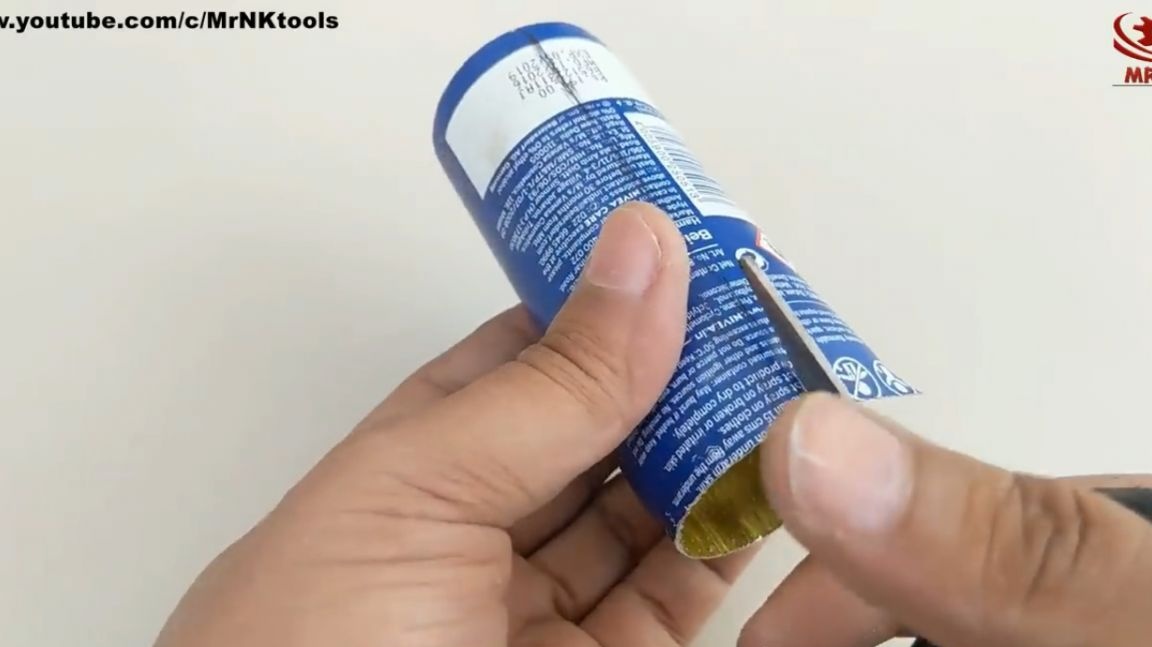
Next, try on our makeshift casing. If everything fits, then fix it on a strip of double-sided tape.

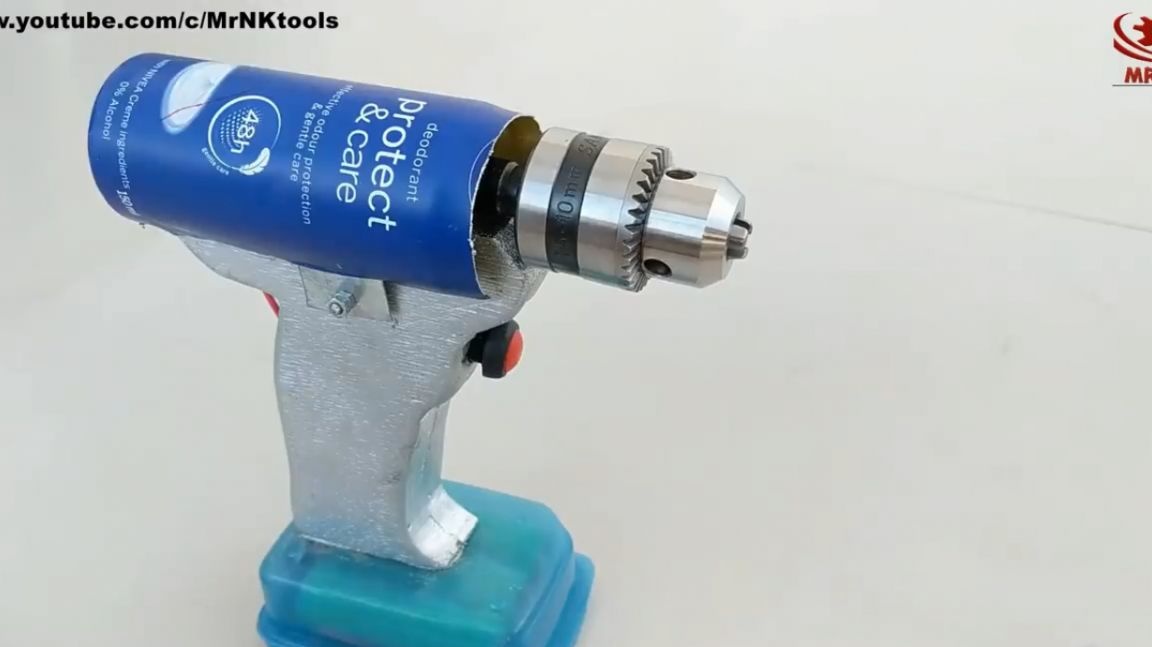
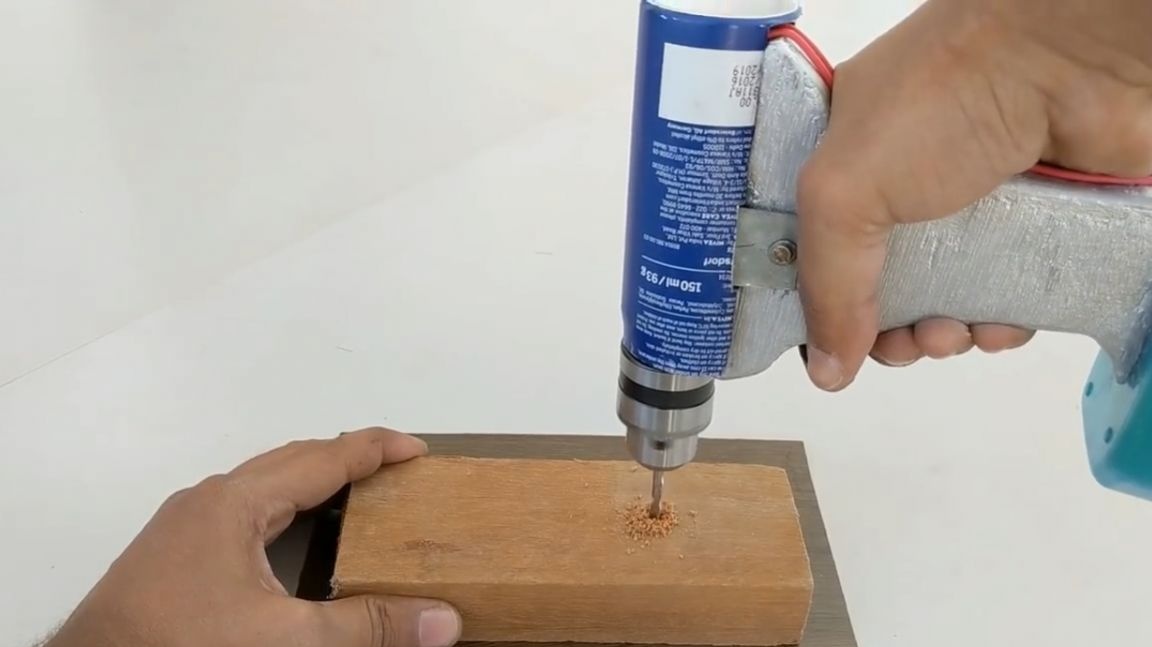
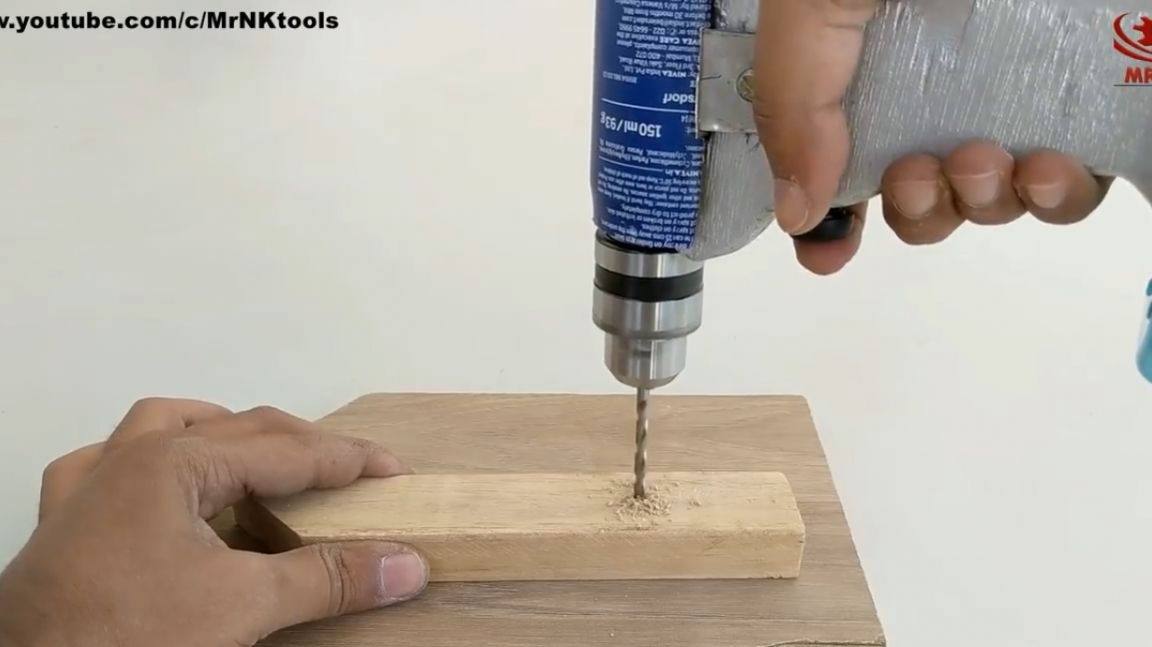
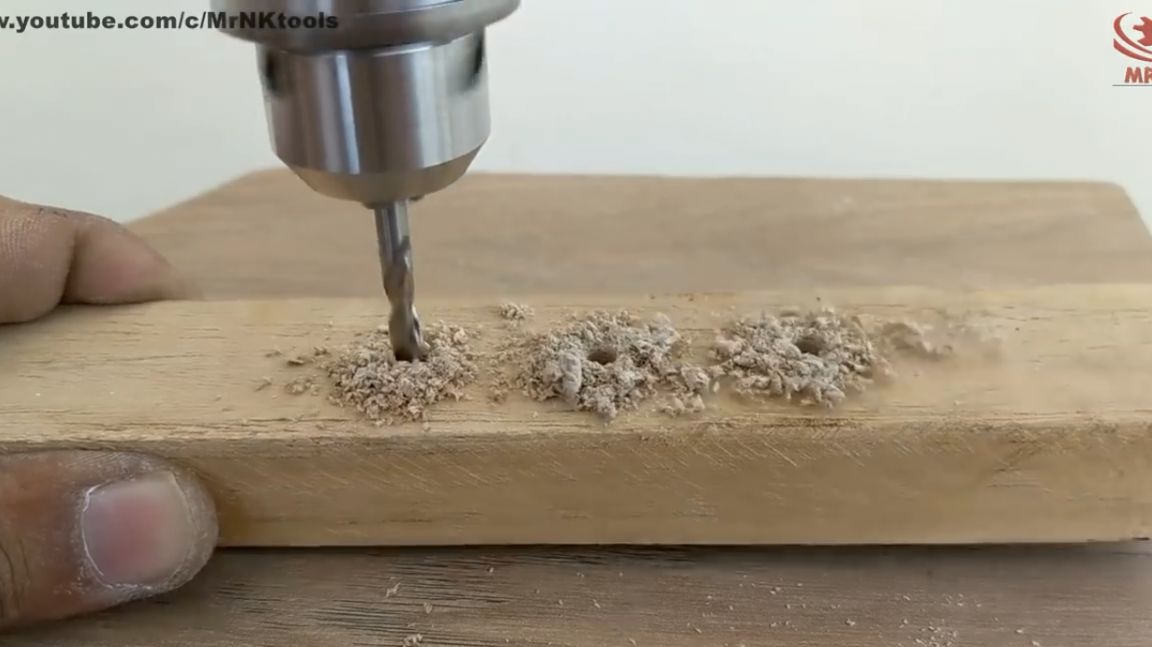
That's all. Homemade drill screwdriver is ready for testing.
Let's clamp the drill in the chuck and test the tool in action.
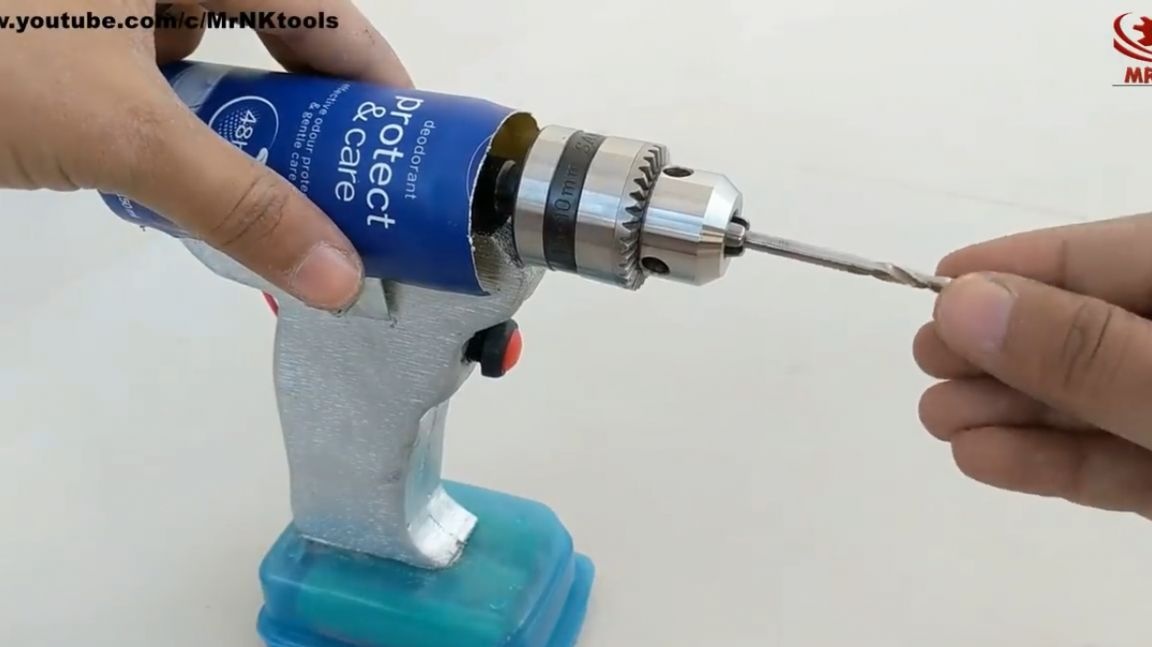
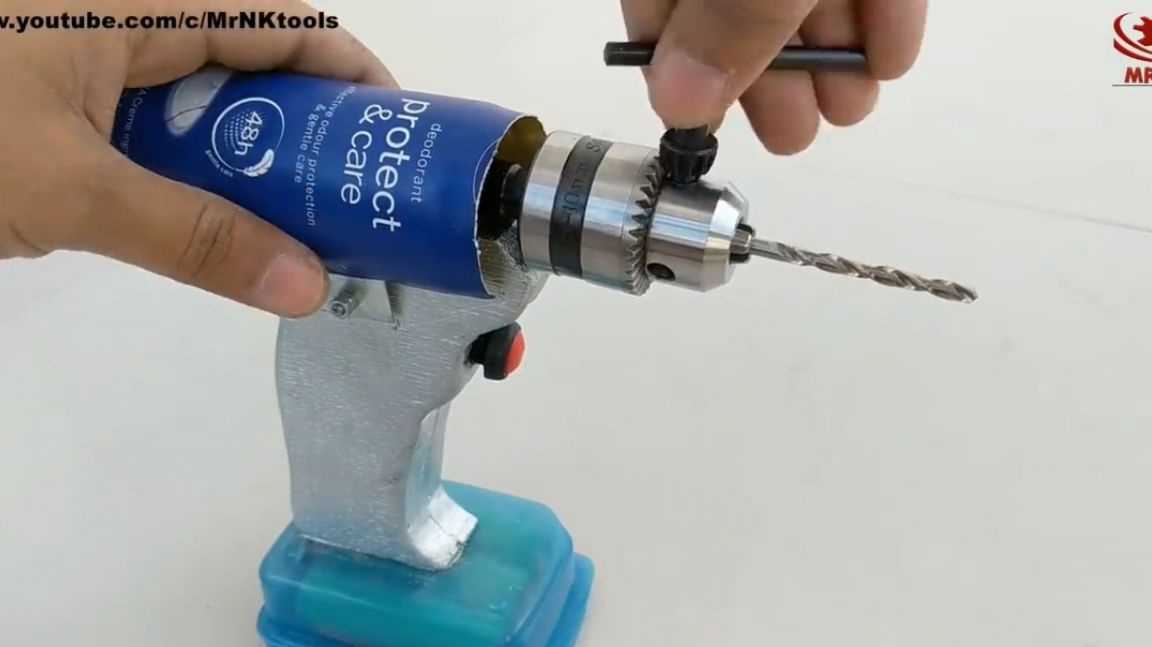
It does a great job with the tree.
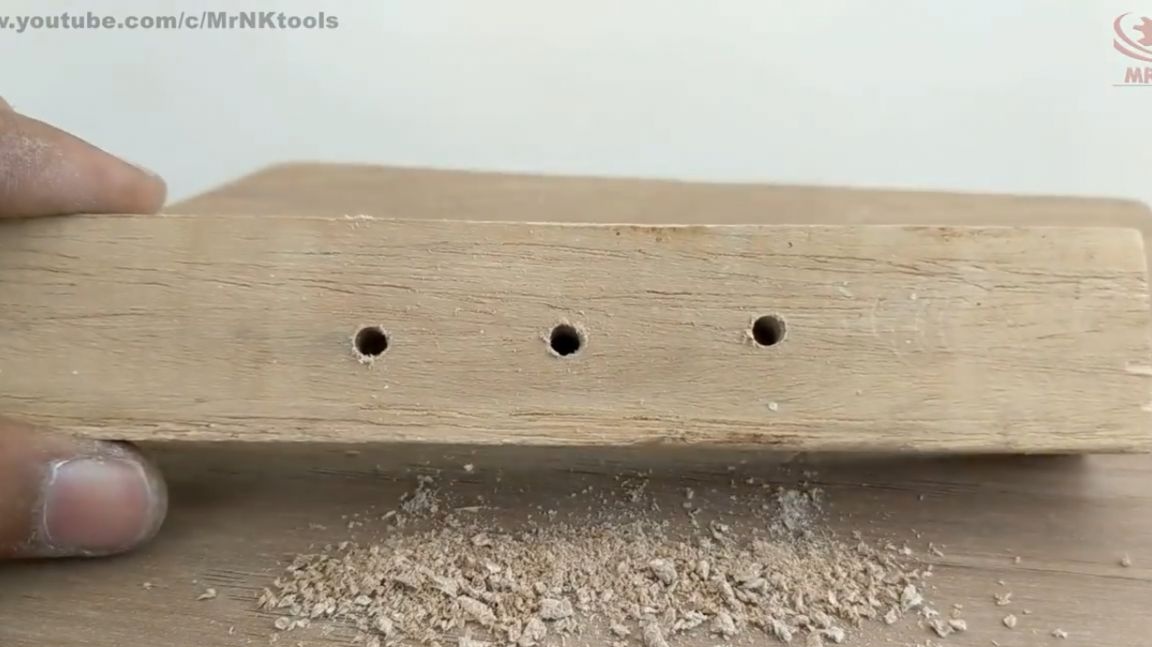
Undoubtedly, such a homemade product will be an excellent assistant to lovers of homemade products and more.
Thank you for attention. See you soon!
Video: