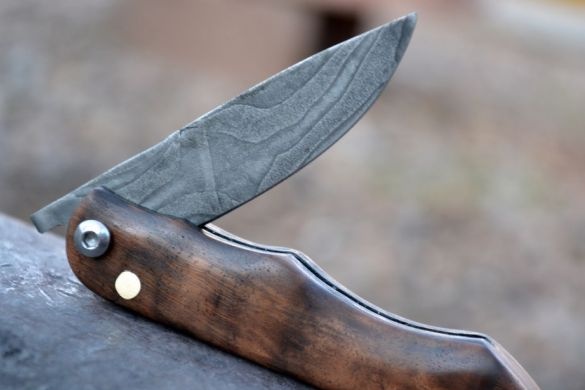
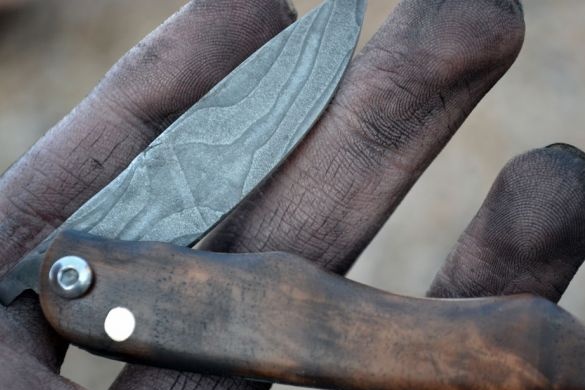
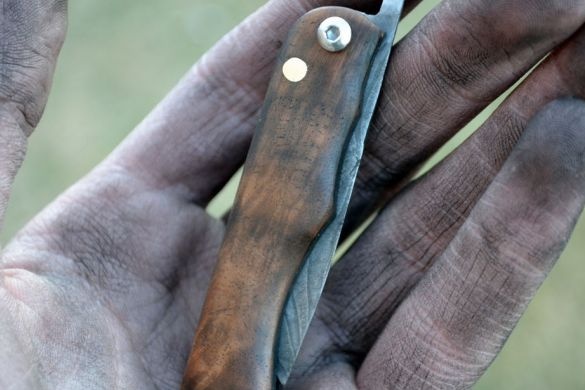
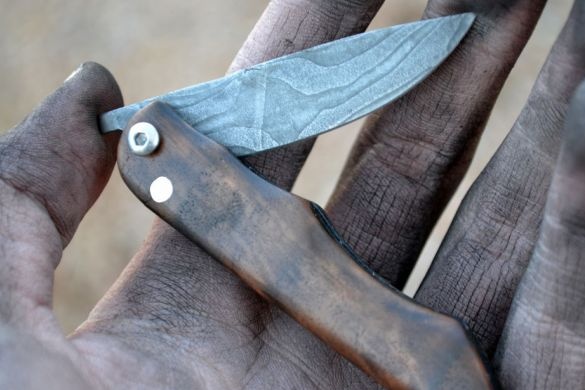
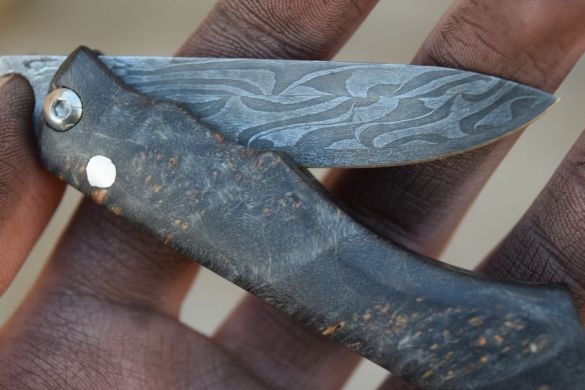
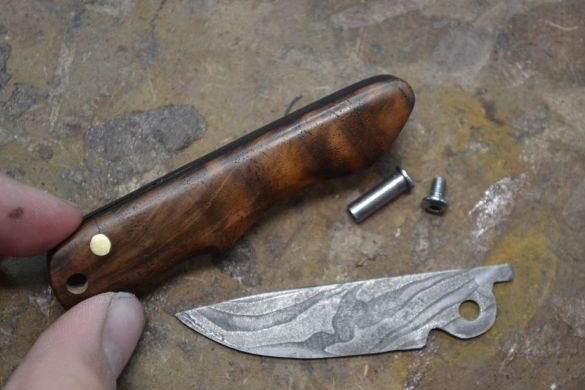
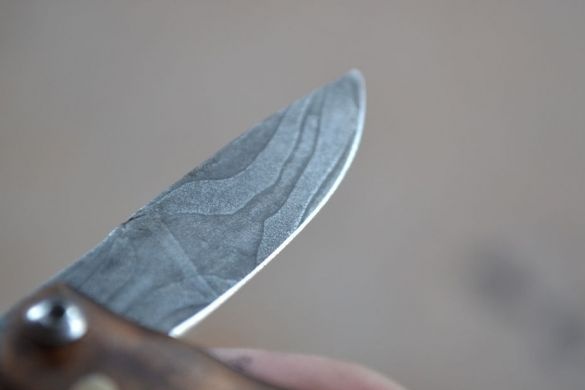
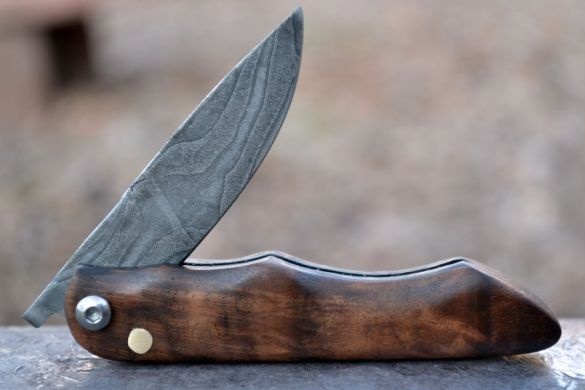
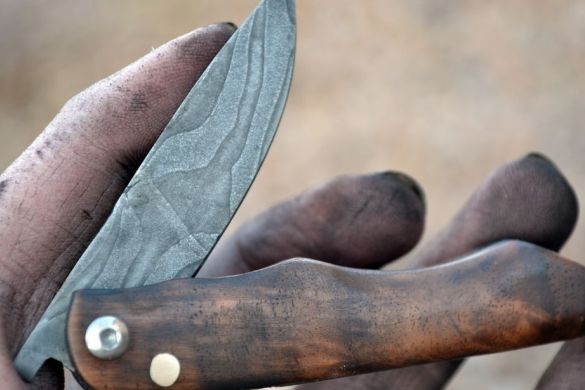
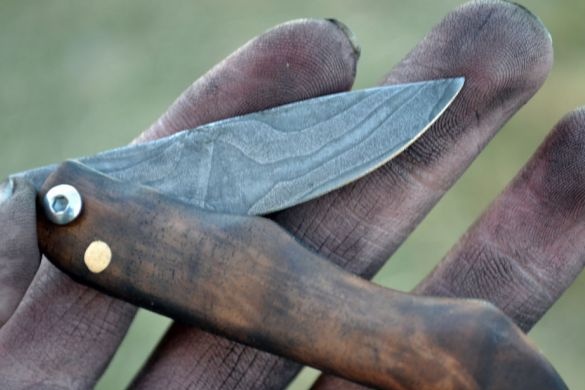
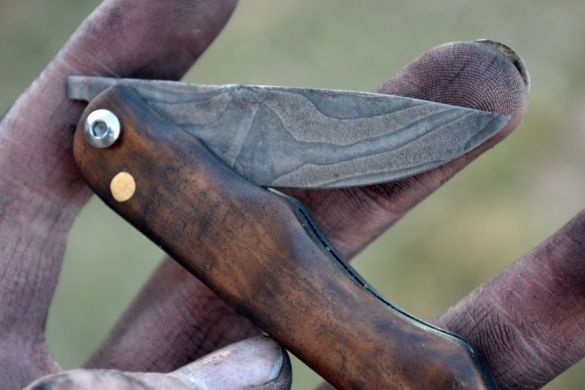
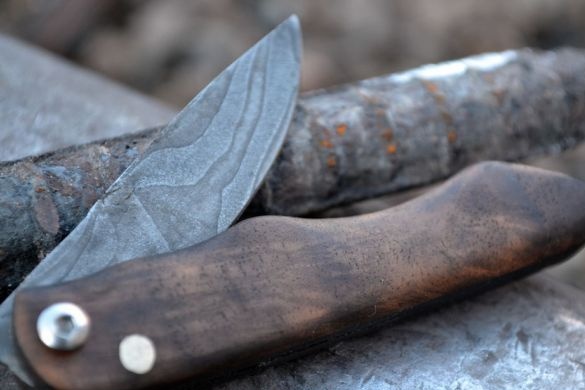
Greetings to fans of working with steel! I bring to your attention a high-quality, stylish, unique handmade knife from. We will make steel do it yourself by forging. This knife is folding, friction type, the design is very simple, but this does not prevent the knife from coping with its tasks perfectly. Such a knife will not be ashamed to give as a valuable gift, or even it can be sold for solid money. So, let’s take a closer look at how you can make such a knife!
Materials and tools used by the author:
Material List:
- brass rod (for the pin);
- wood for the handle (walnut);
- borax;
- iron chloride;
- rapeseed oil;
- a blade from a lawn mower and a file (for a blade);
- screw with nut (for the axis of the blade);
- epoxy adhesive;
- oil for impregnation, etc.
Tool List:
- forge furnace, anvil and hammer;
- welding machine (preferably);
- ;
- vise;
- grinder;
- drill or drilling machine;
- jigsaw;
- a hacksaw for metal;
- clamps;
Pencil and more.
The process of making a knife:
Step one. A few words about Damascus steel
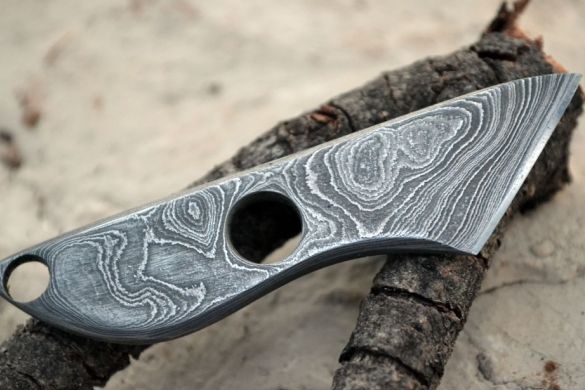
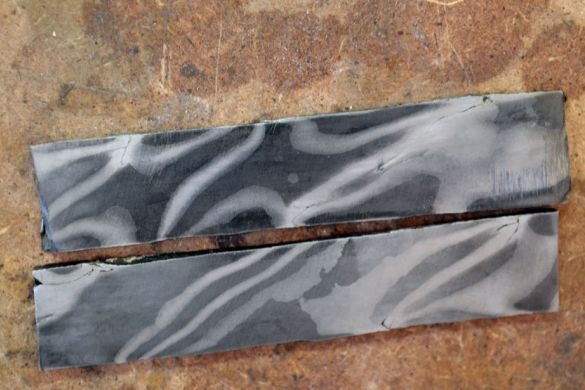
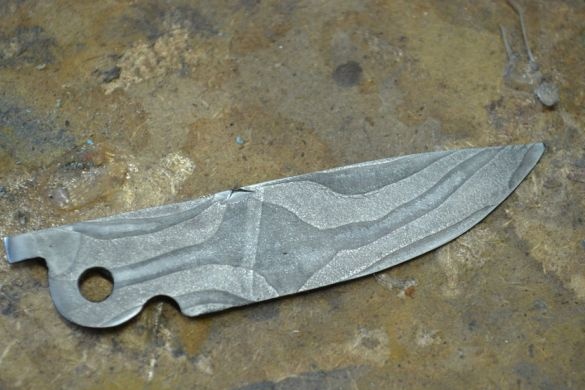
called a mixture of steels of various grades. They are mixed by heating, that is, during forging. Further, when the blade is forged from this mixture, it is then immersed in acid. Due to the chemical reaction, each steel grade darkens differently, one is lighter and the other is darker. As a result, interesting patterns are obtained on the blade. The main point is to find an interesting mixture of metals that will look good. Also do not forget that the steel for the knife must be strong.
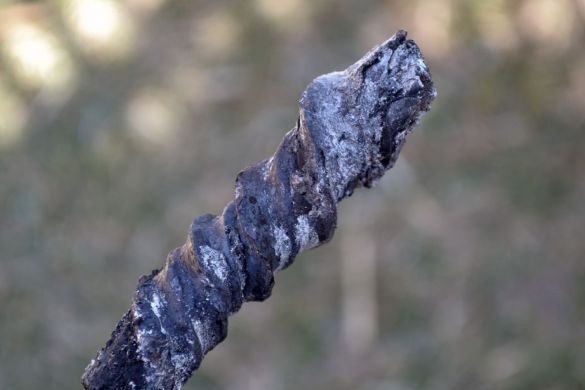
The author decided to use a knife from a lawn mower as well as an old file. The resulting damask steel, when mixed, is called “Twisted Damascus”. The steel of the file after etching will be darker, and the steel from the knife of the lawn mower is lighter.
Step Two We prepare a blank for forging
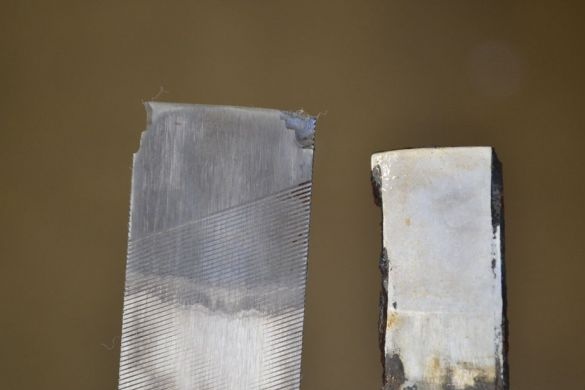
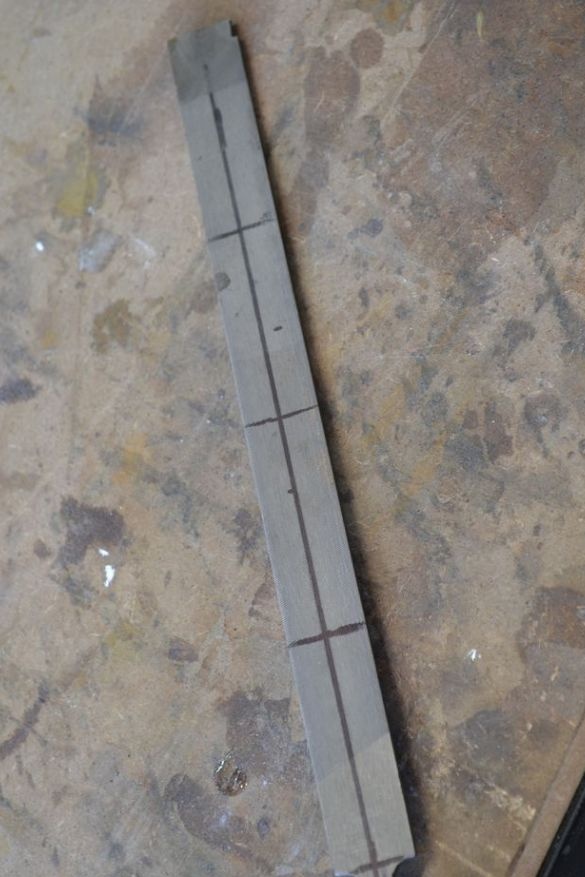
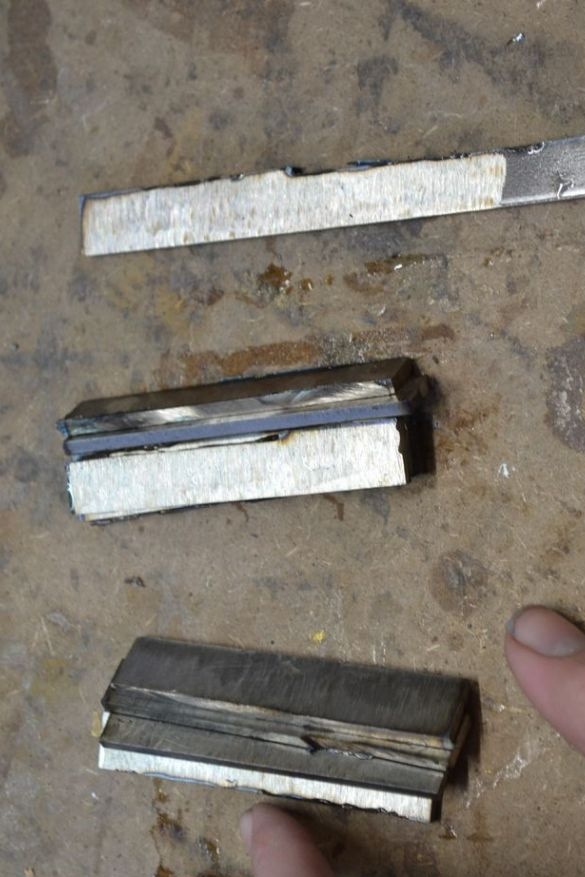
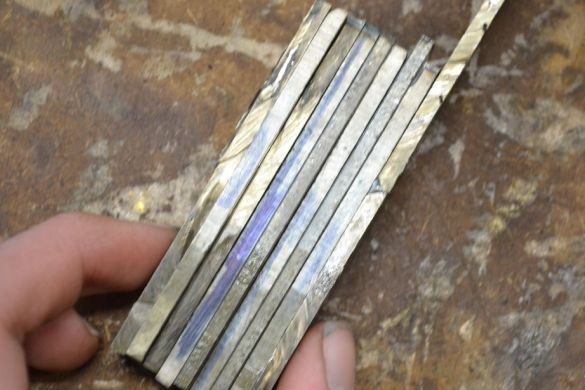
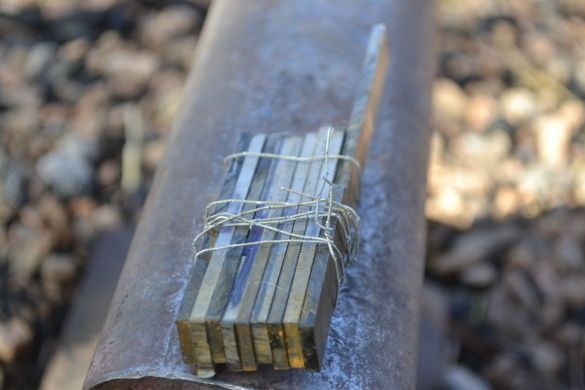
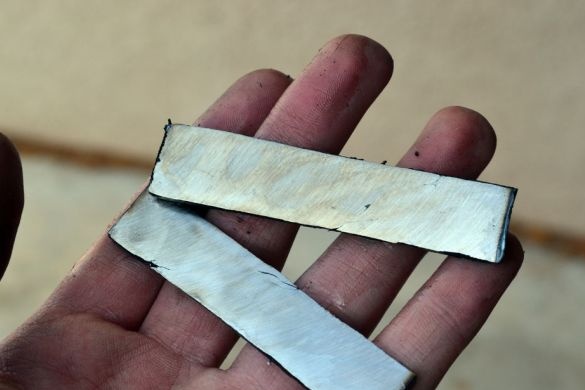
We take the file, as well as the knife of the lawn mower. You will need to cut them into approximately 4 pieces of equal length to get 8 layers. In general, the more layers of metal in Damascus steel, the more interesting it looks. One piece should be long, it will be the handle that you will hold on to forging.
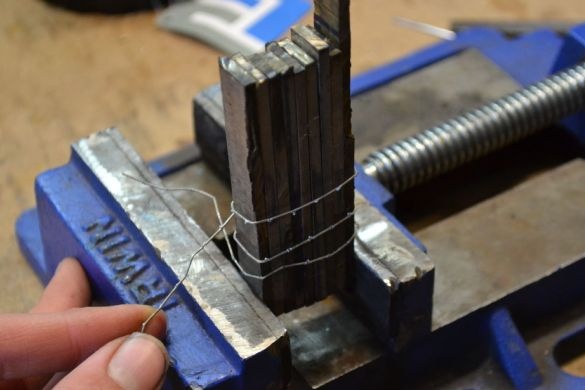
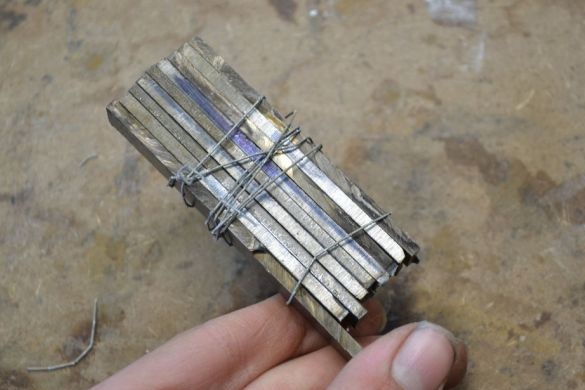
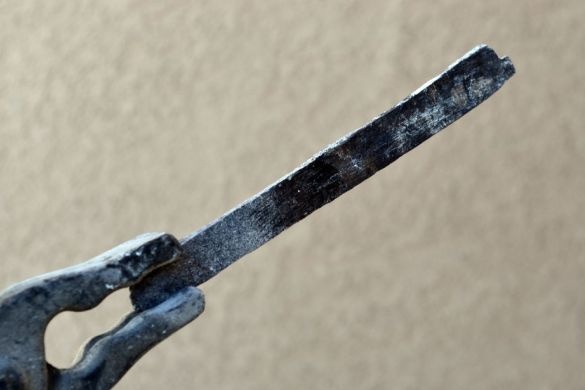
All plates need to be connected in one single unit, it is best to grab them by welding. If there is no welding, we clamp the workpiece in a vise, and then carefully twist it with steel wire.That's all, now the workpiece is ready for the next step!
Step Three Blacksmithing work
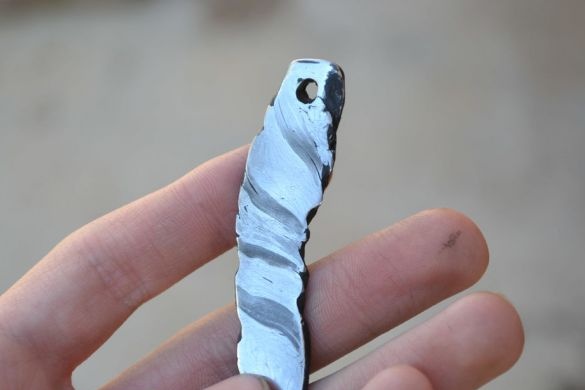
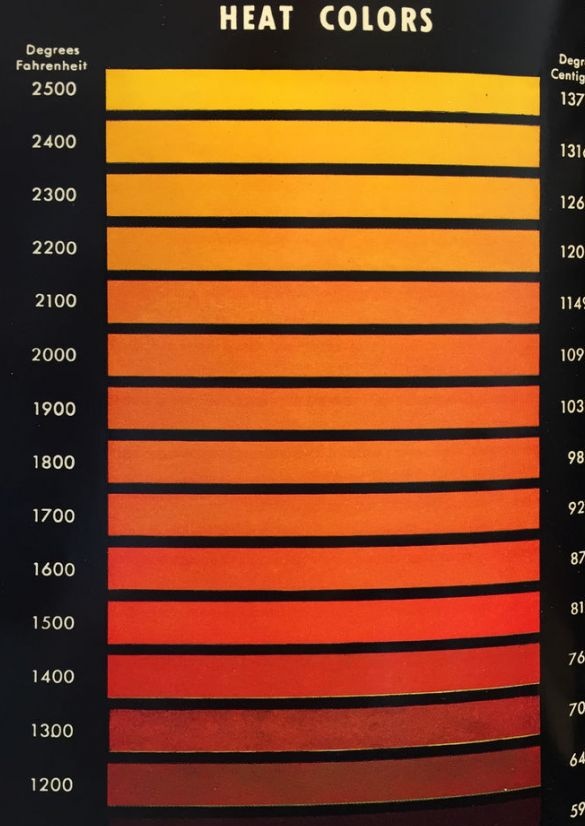
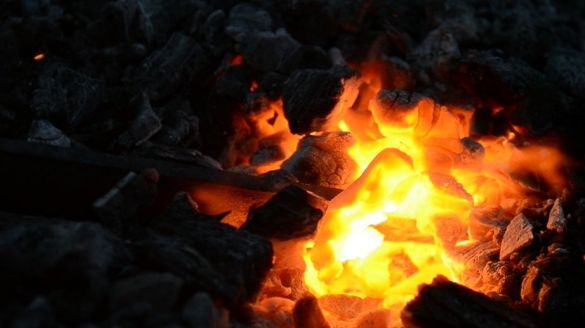
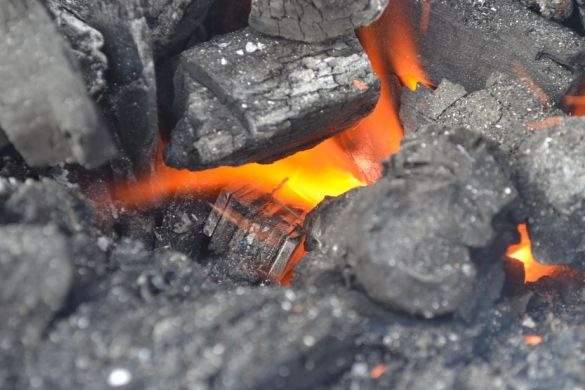
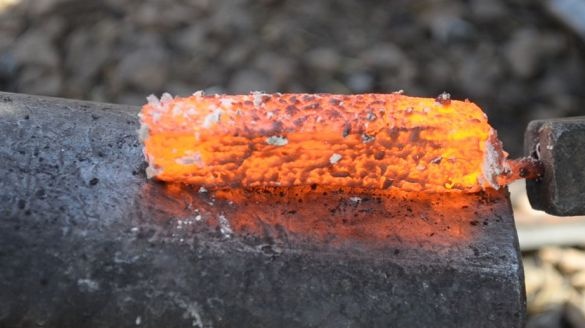
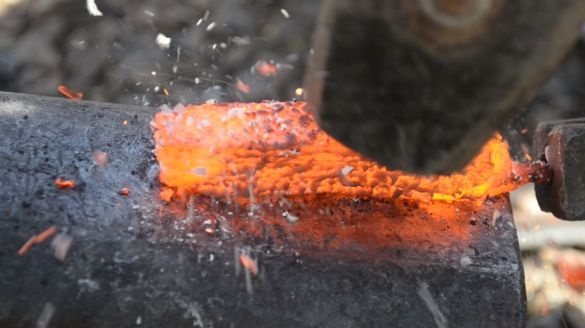
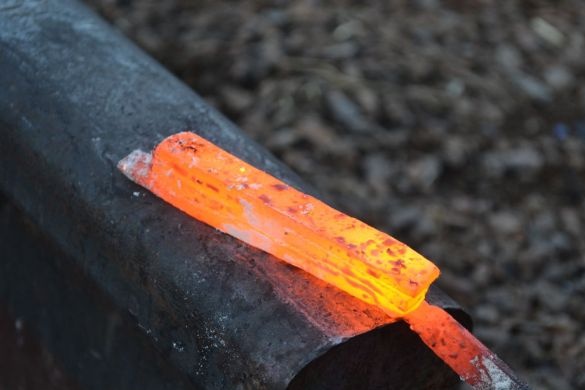
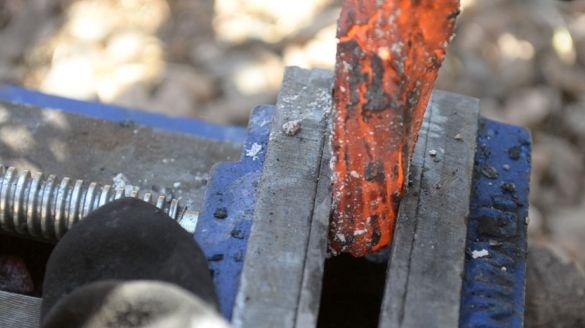
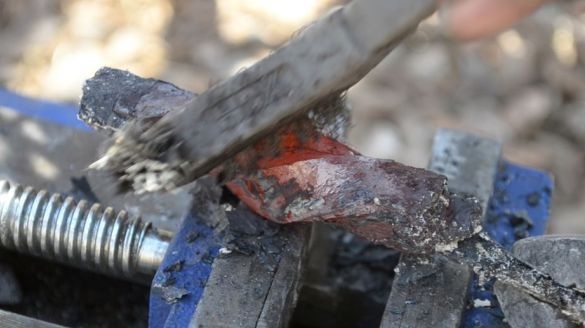
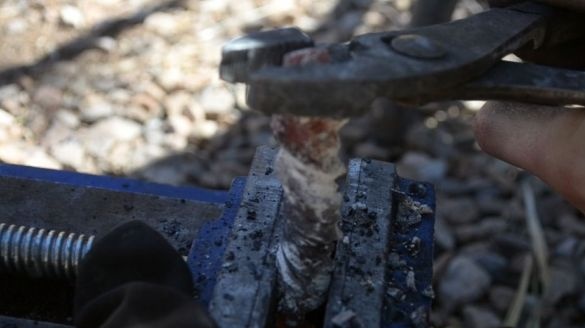
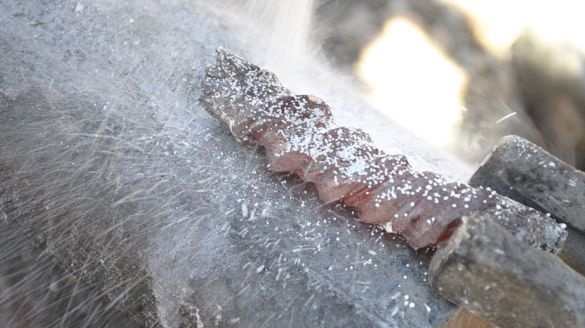
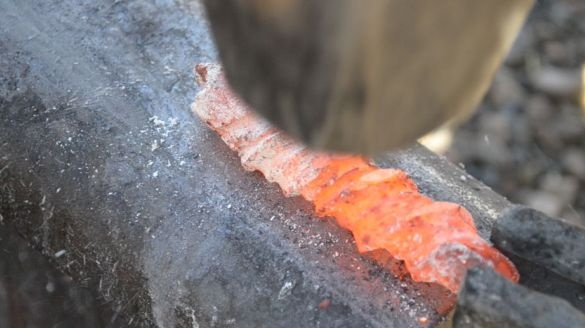
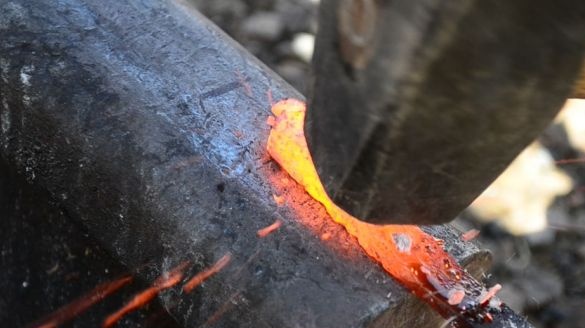
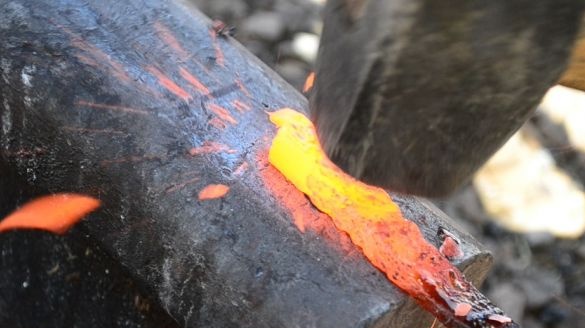
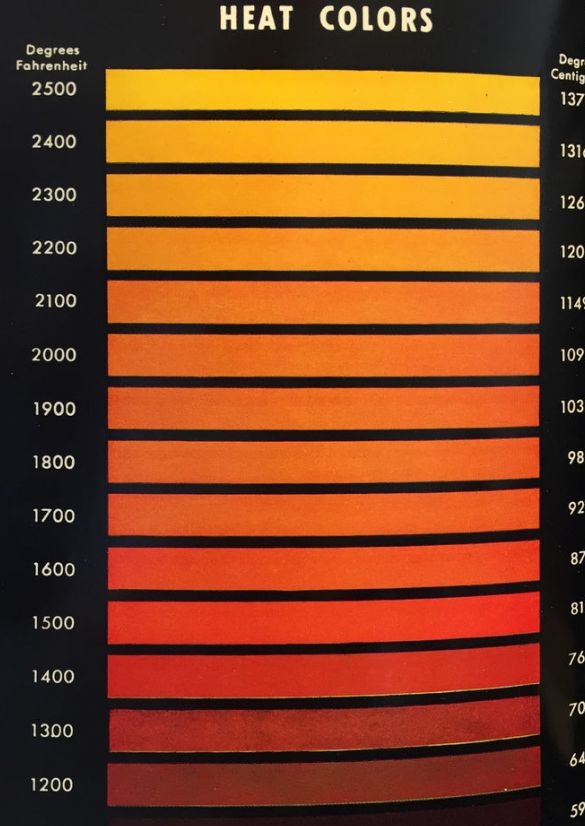
We send the workpiece to the forge furnace, and heat to a predetermined temperature. Steel should become soft as plasticine. Then we remove the workpiece, clamp the tip in a vice and twist it. Thus, we mix layers of metals.
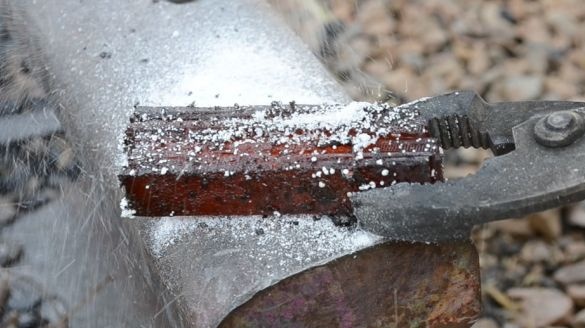
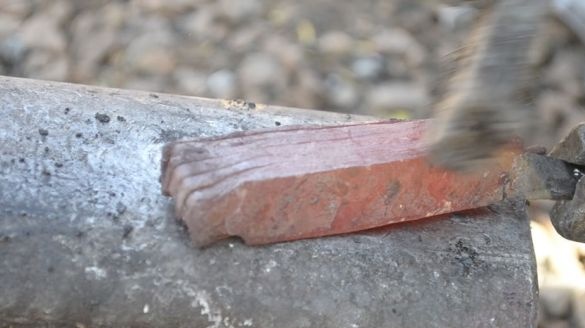
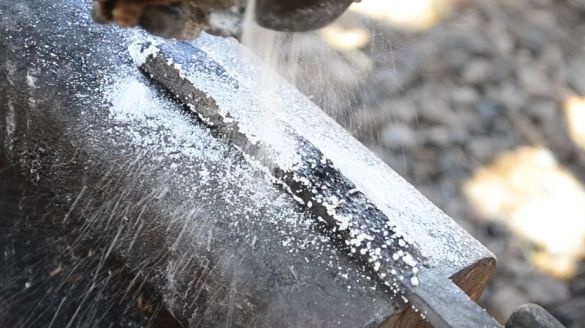
Well, then we warm again, sprinkle with a brown on the anvil and work with a hammer. Thus, we form a blank for the manufacture of the blade.
Step Four First grinding
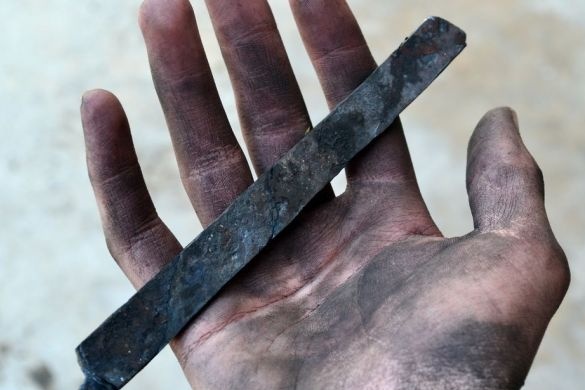
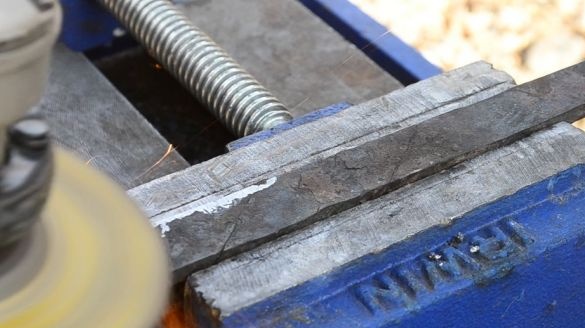
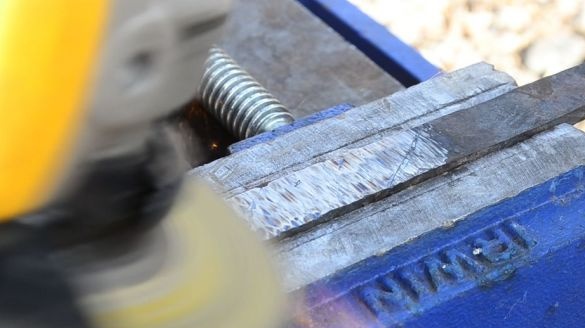
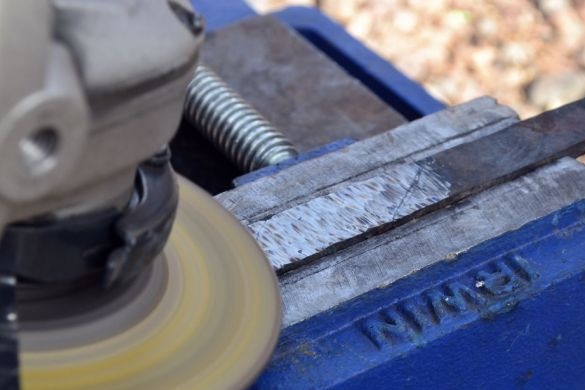
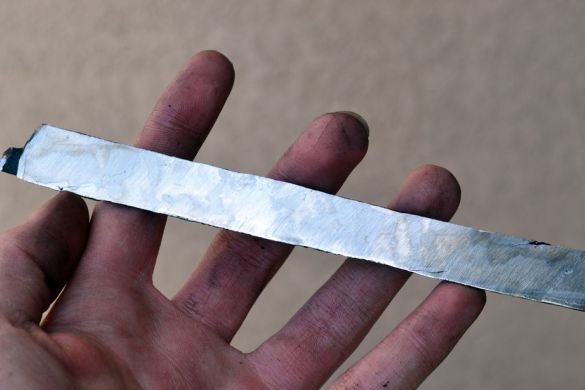
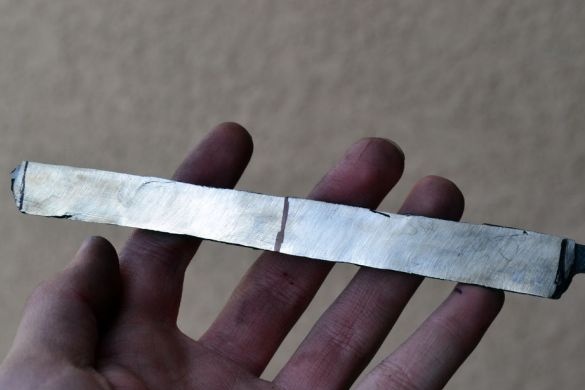
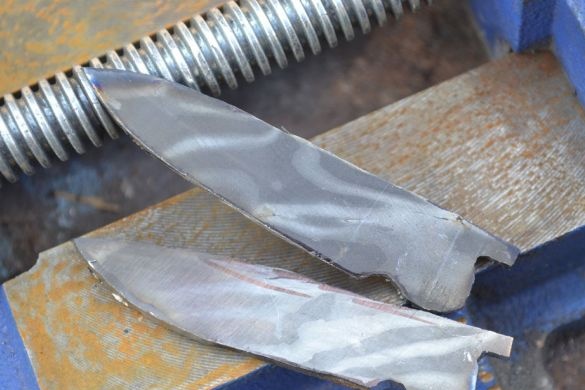
We work as a grinder, cut off the excess, grind the workpiece. The author of the strip turned out so long that it was enough to make two knives.
Step Five We make a blade
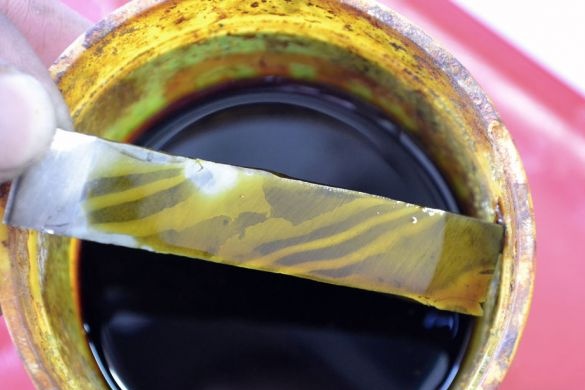
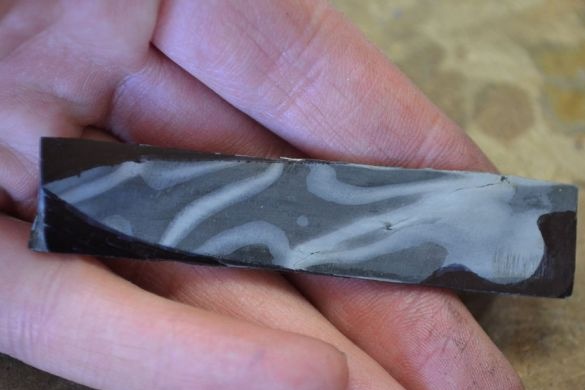
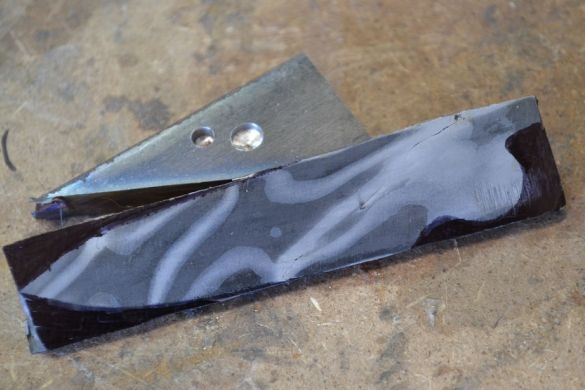
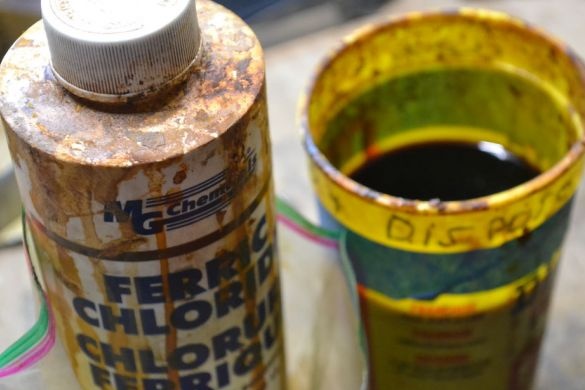
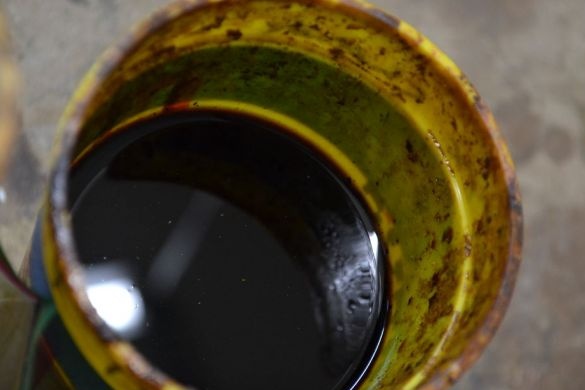
You can start making the blade. First, the author decided to lower the blank into iron chloride for 10 minutes to see what the drawing would be. At the end, neutralize the acid with baking soda.
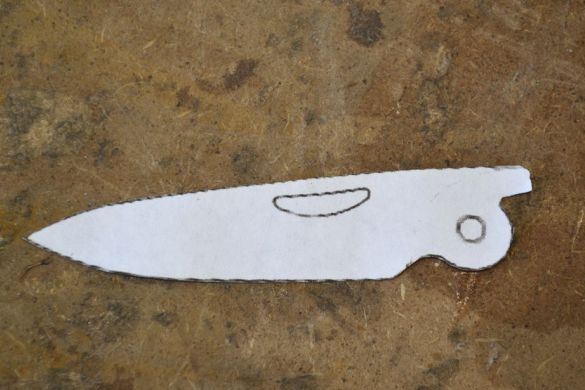
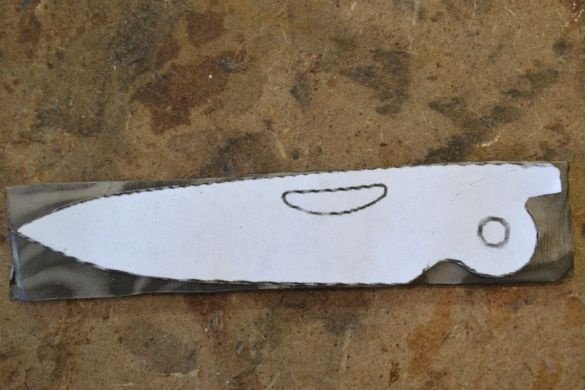
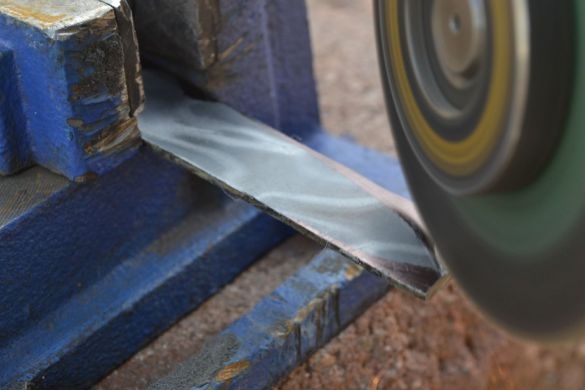
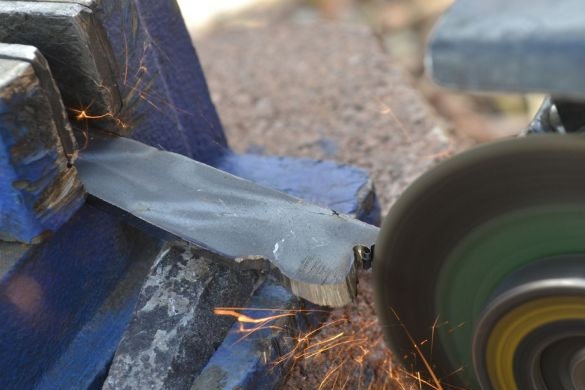
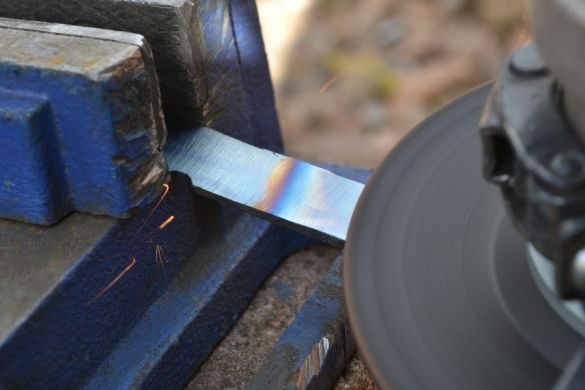
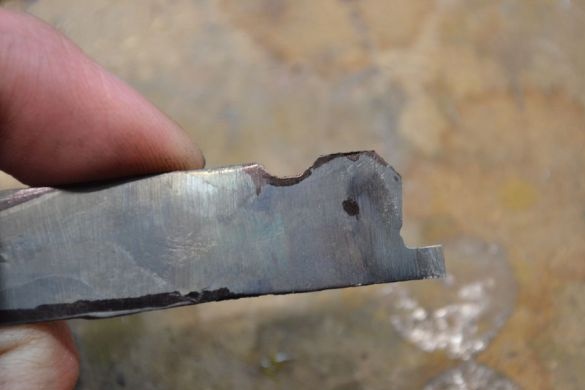
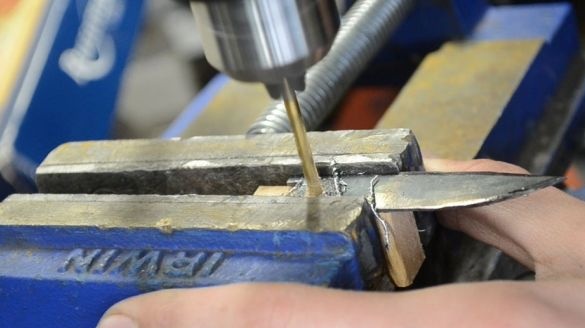
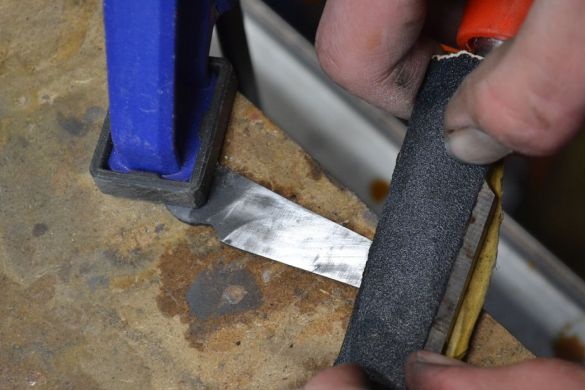
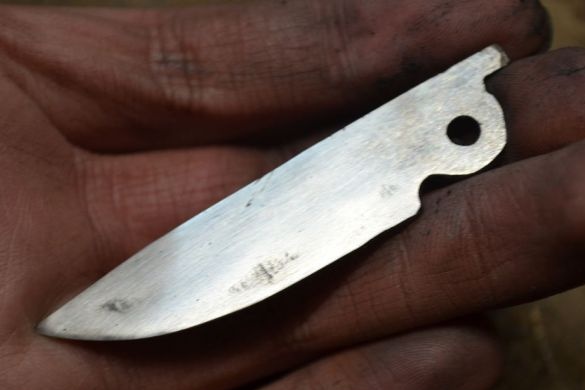
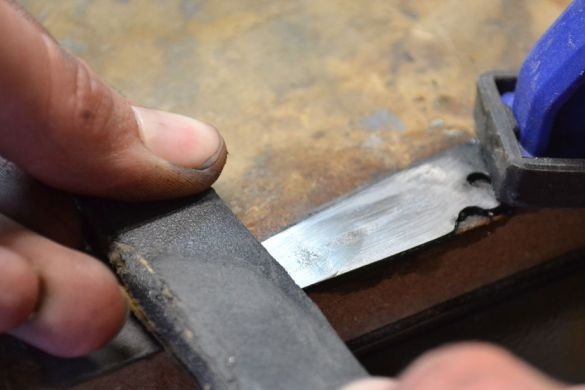
We cut a rough profile with a grinder, where we use grinding discs. As a result, you will have to finalize the blade with files, sandpaper and drill a hole for the axis of attachment.
Step Six Heat treatment
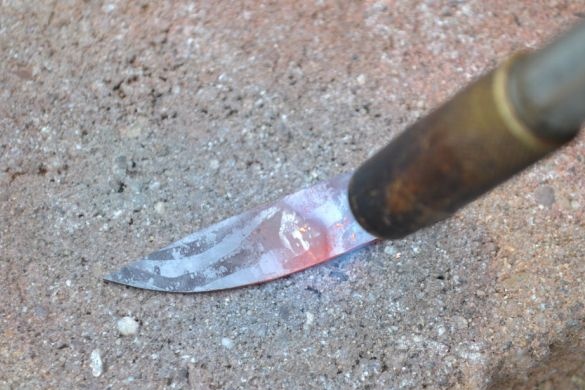
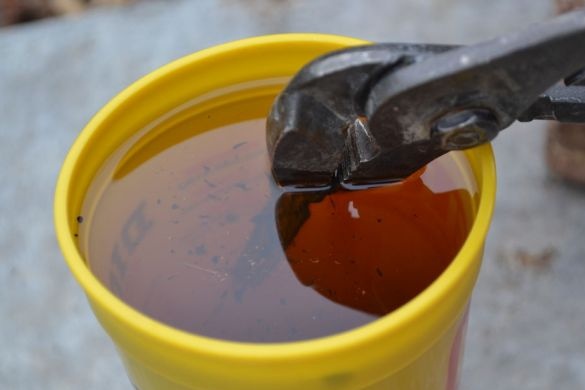
Now the blade needs to be tempered so that it holds the sharpener for a long time. For this, the author used a gas burner, but a blacksmith's furnace would be quite suitable. Kalim the blade red and cool in vegetable oil. Next, it will be necessary to make another metal tempering so that the steel is not brittle. We take the burner and heat the blade to a straw color, let cool in air. The same procedure can be carried out in a conventional household oven.
At the end, sand the blade with sandpaper and polish it.
Seventh step. Blade Etching
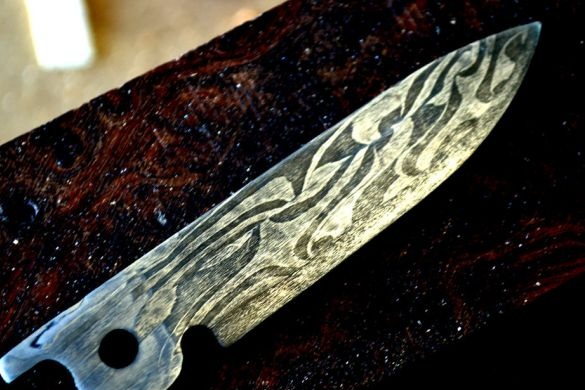
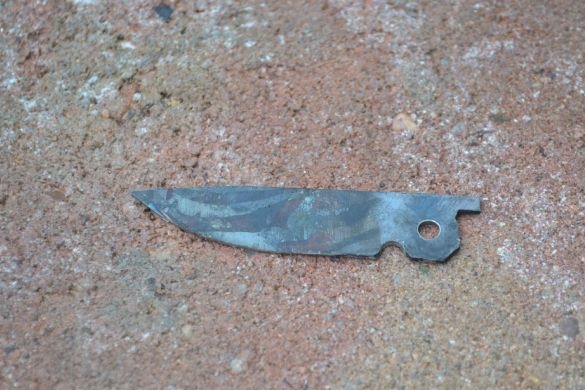
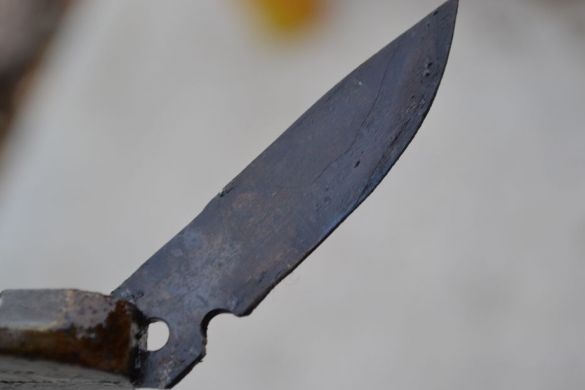
Iron etching will be needed to etch the blade. Depending on the etching time, the pattern will be different. The author first plunged the blade for one hour, and then polished it with 2000 grit sandpaper, and then etched again. In general, everything is done through experiments.
Step Eight. Pen making
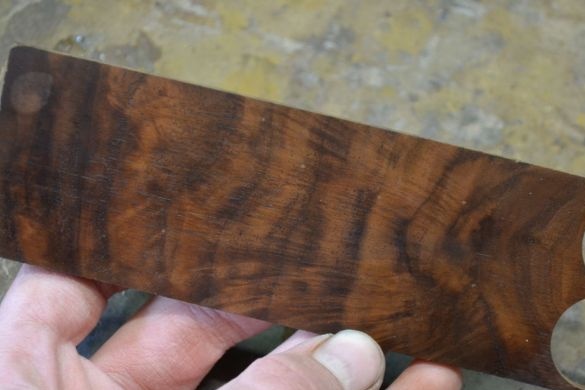
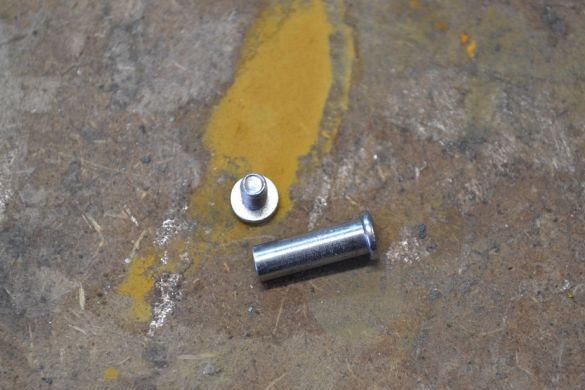
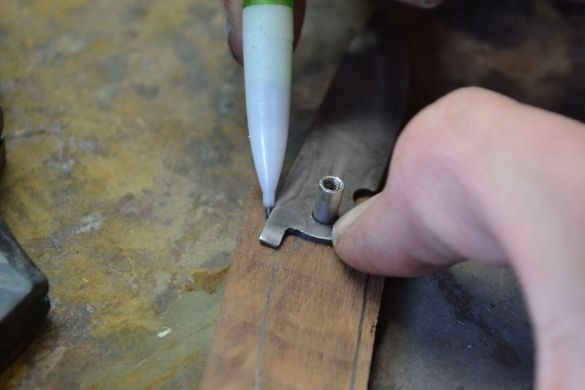
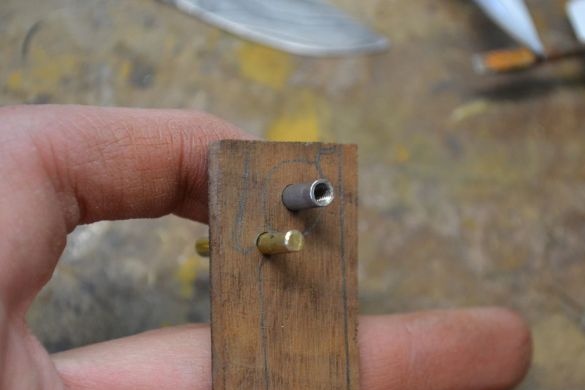
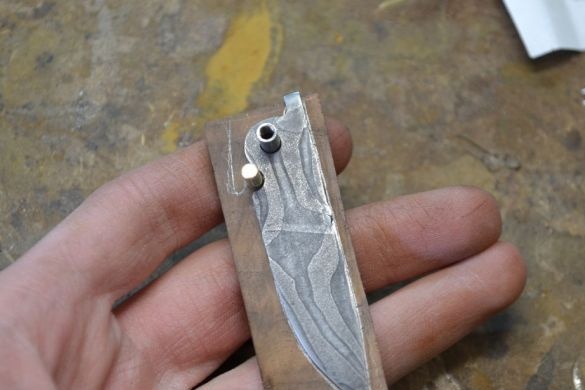
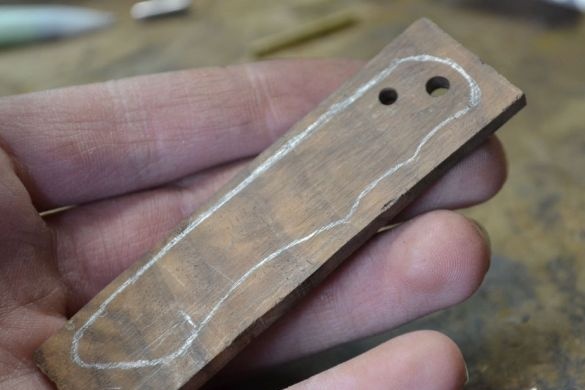
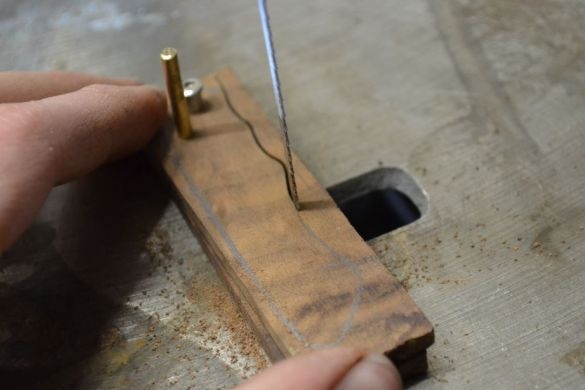
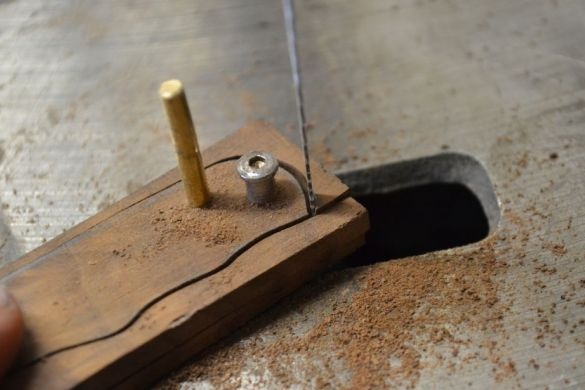
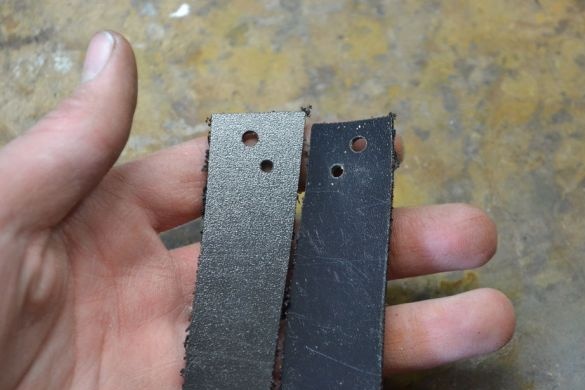
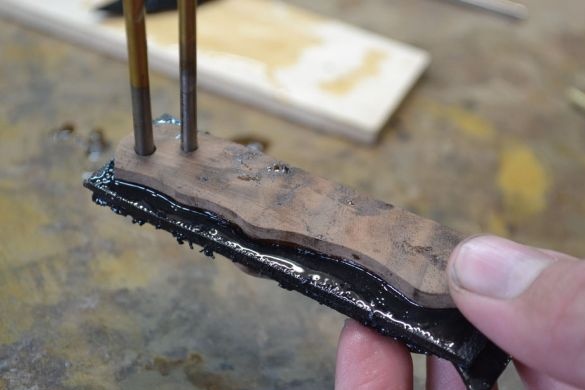
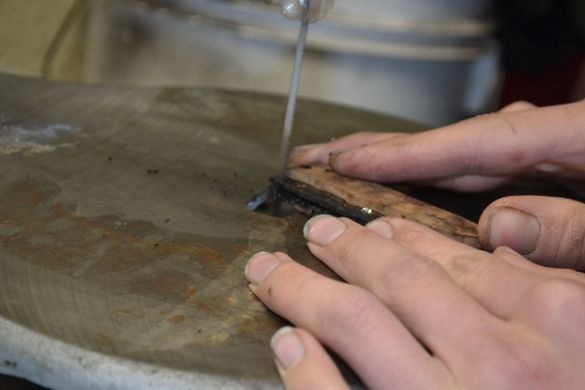
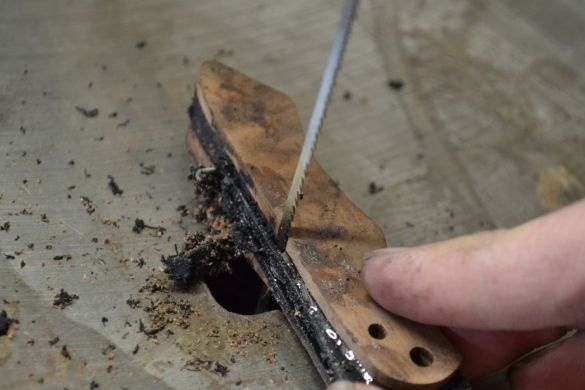
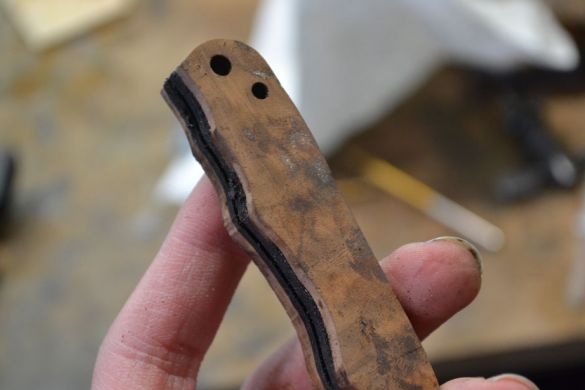
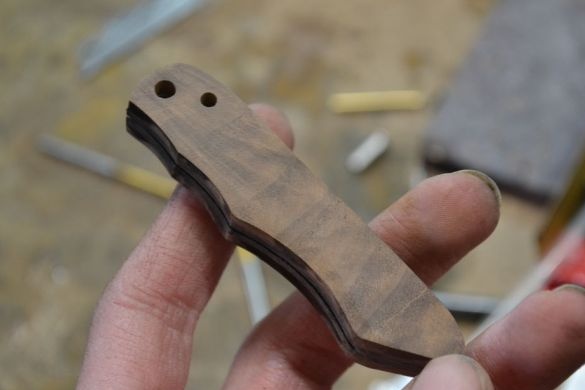
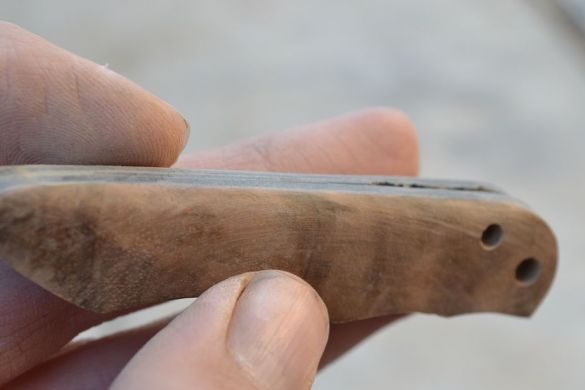
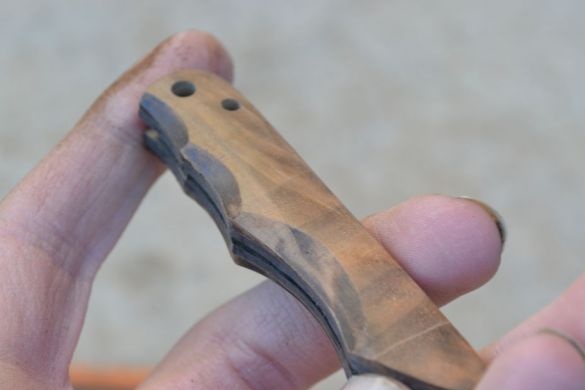
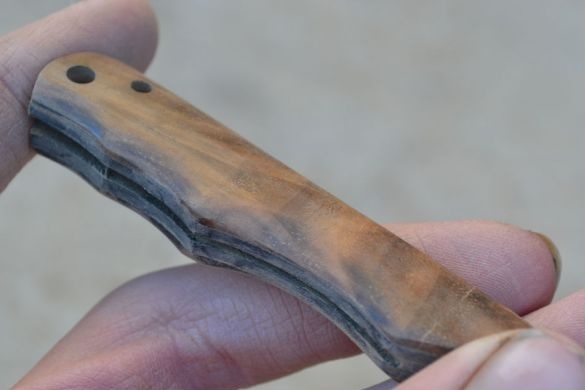
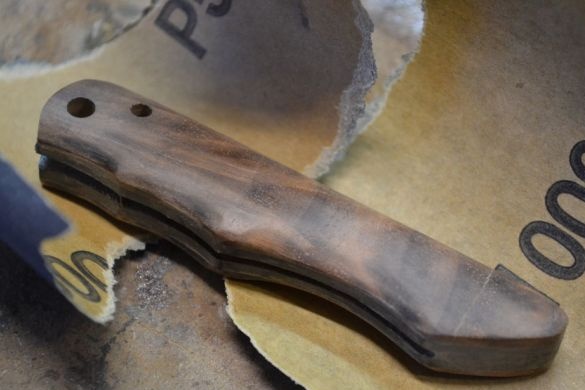
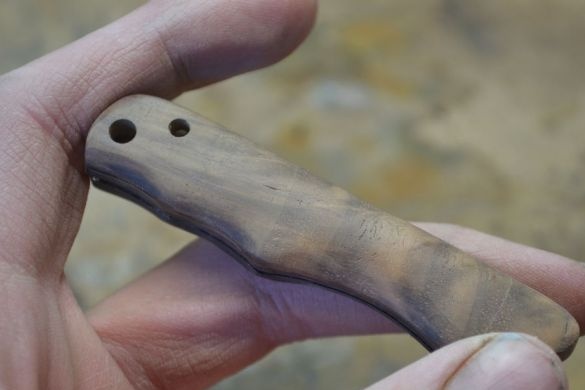
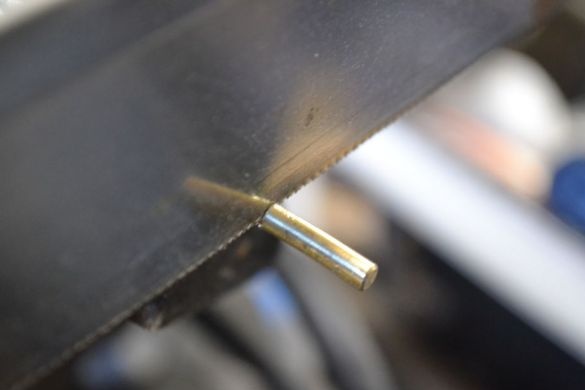
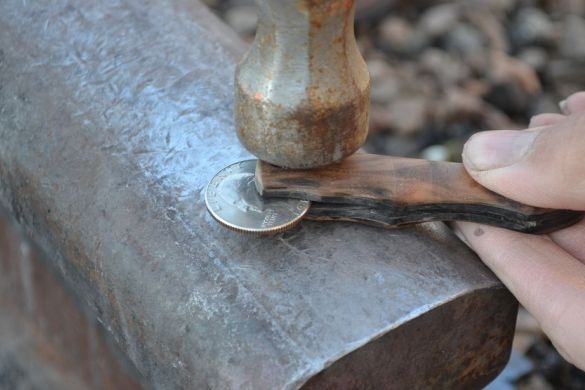
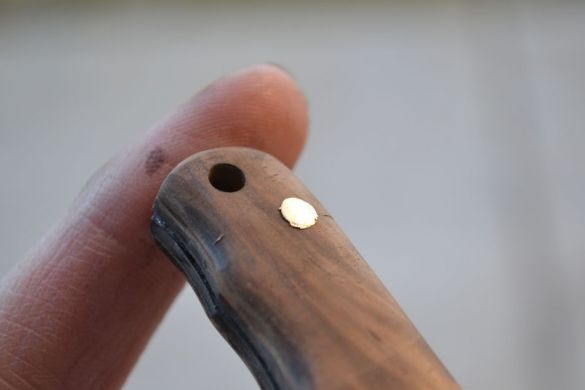
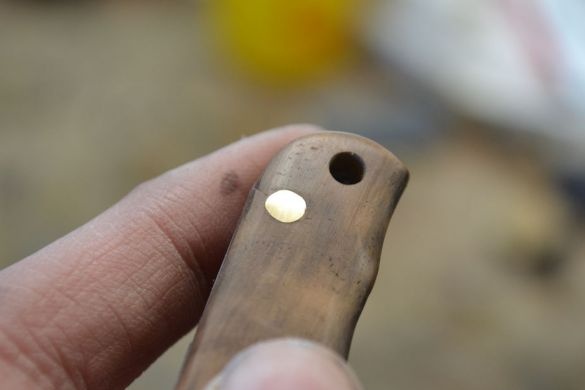
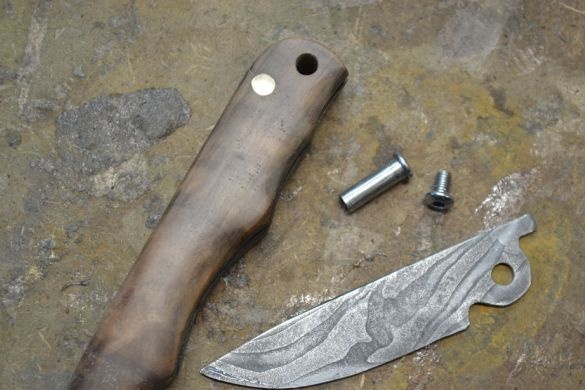
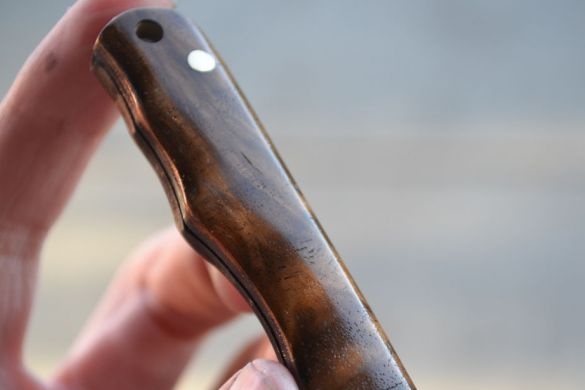
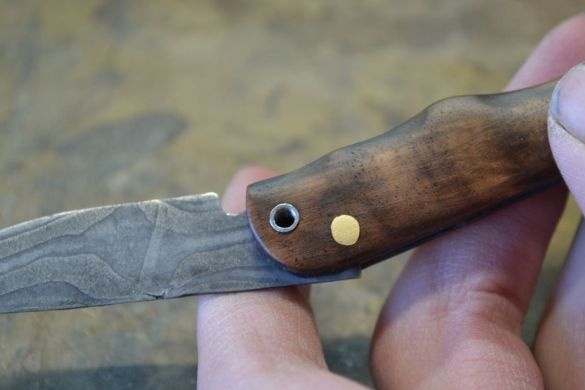
Pick a beautiful, valuable wood for the handle and cut two halves. Drill two holes, one for the mounting axis, and one for the fixing pin. The author decided to use a brass rod as a fixing pin.
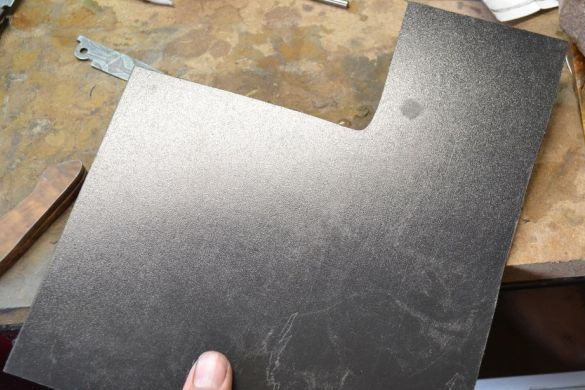
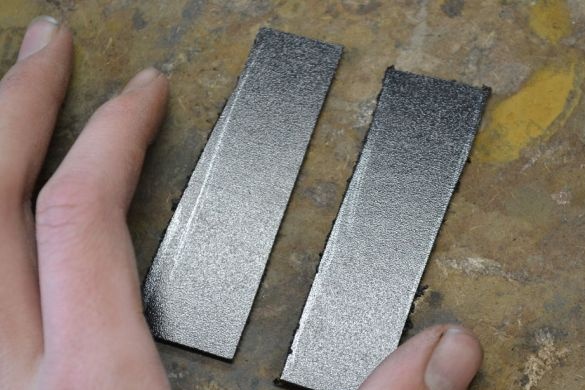
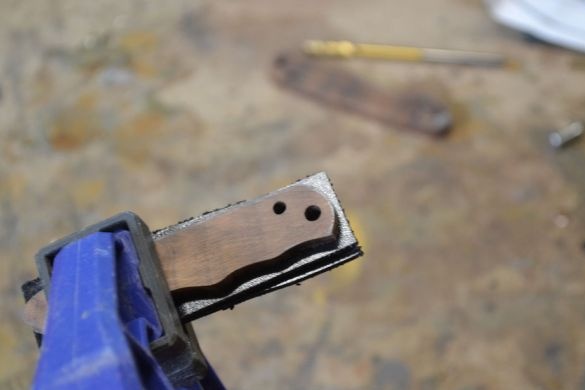
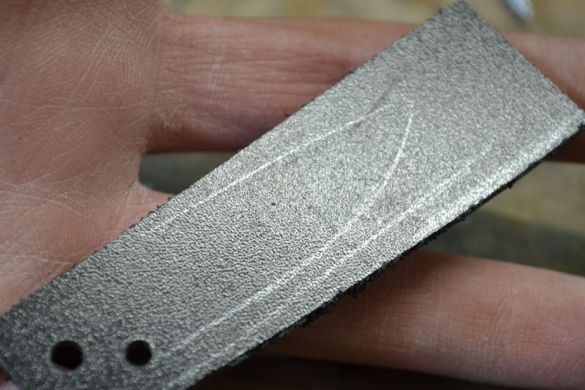
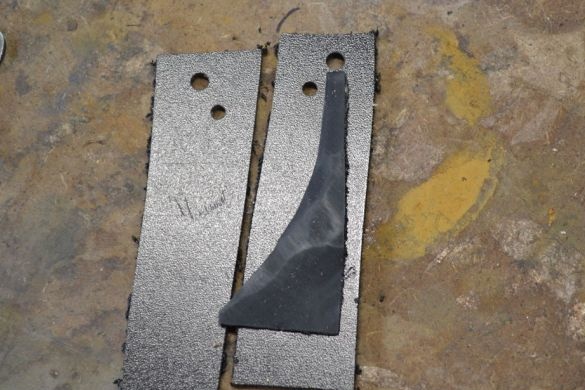
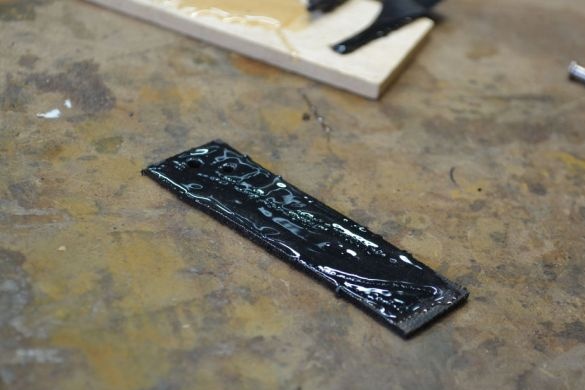
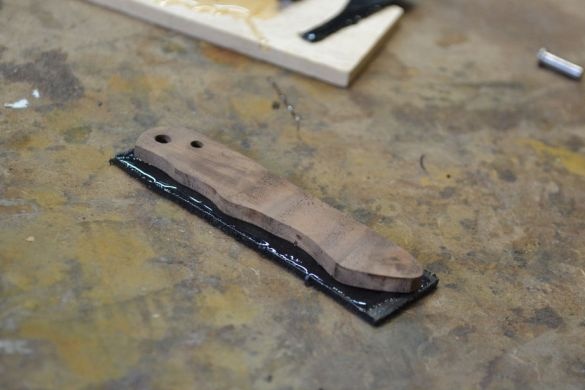
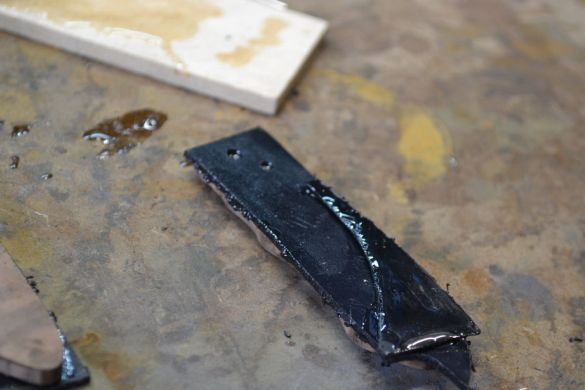
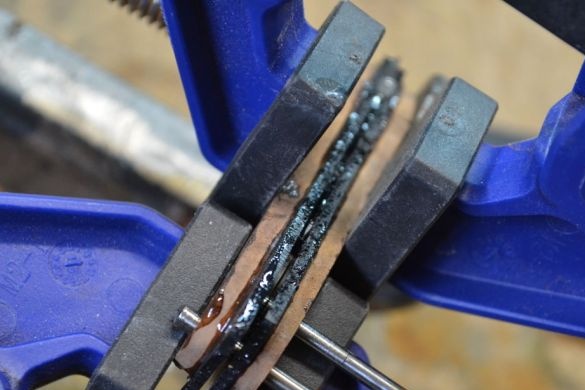
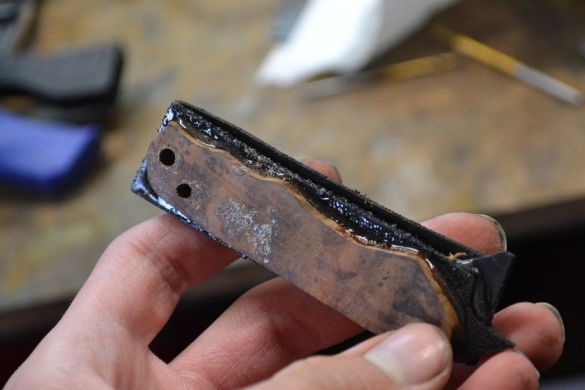
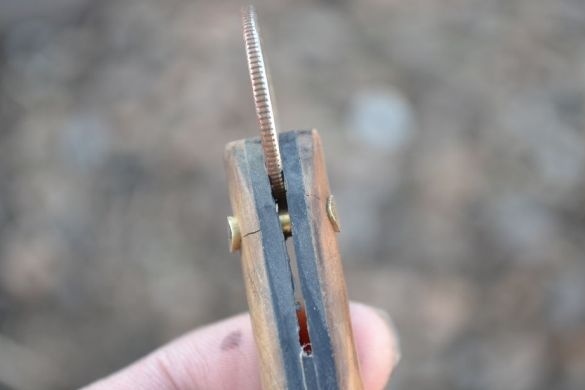
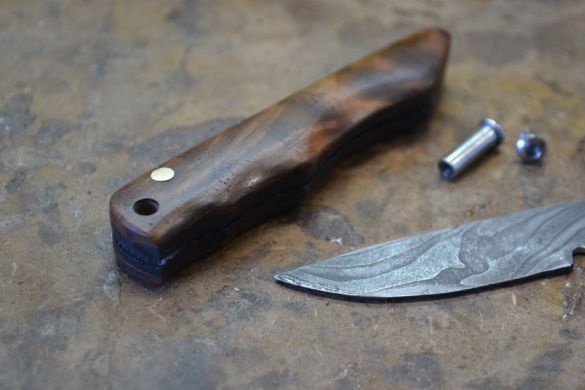
Inside the pen, the author decided to make inserts from Kydex material, so the pen will be more durable and stronger.
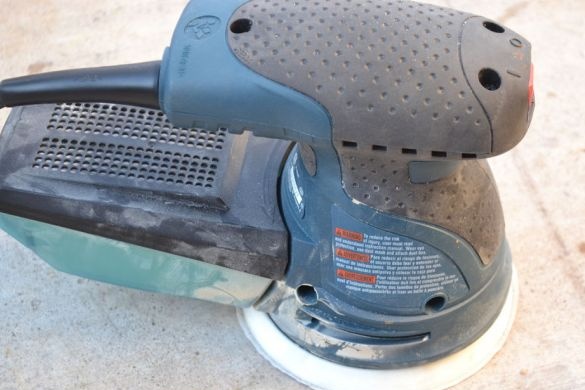
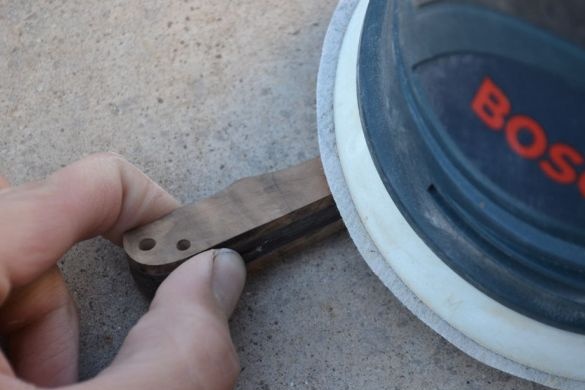
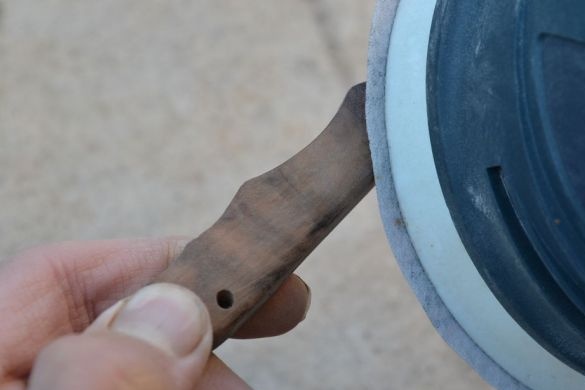
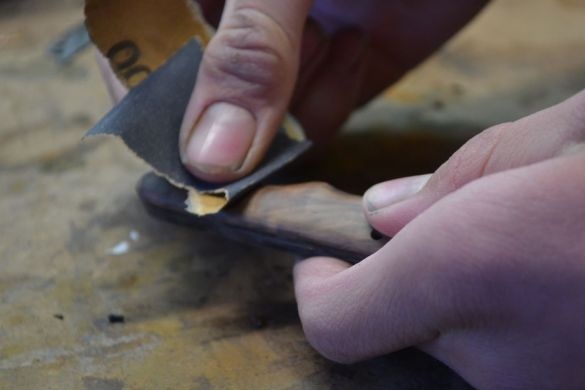
At the end, grind the handle using an orbital sander or manually.
Step Nine. Collect the knife
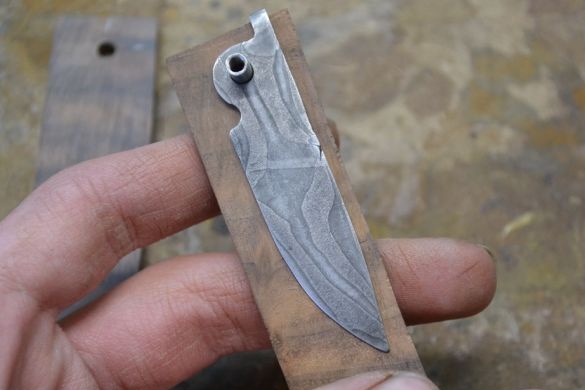
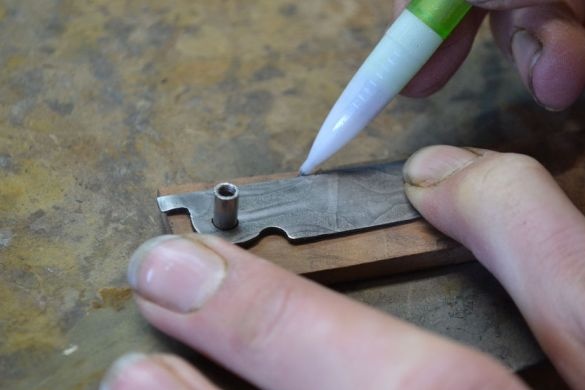
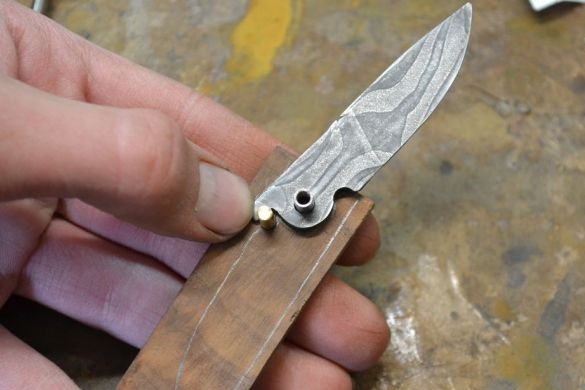
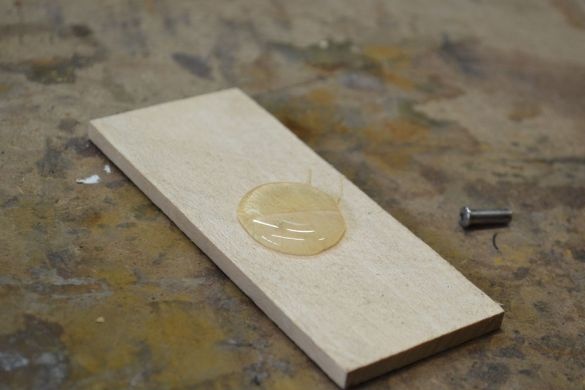
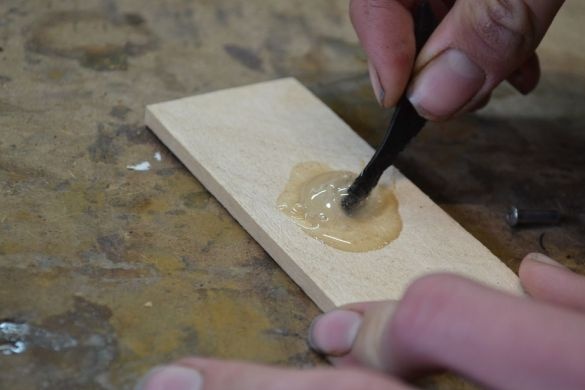
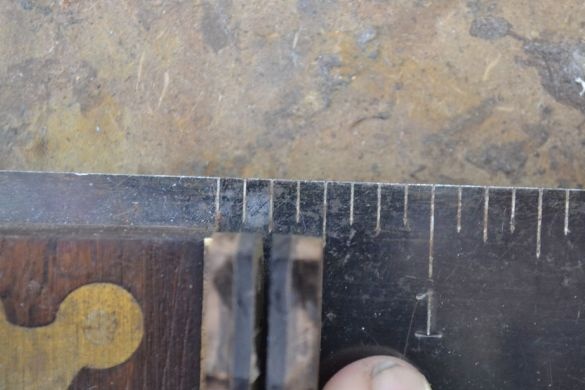
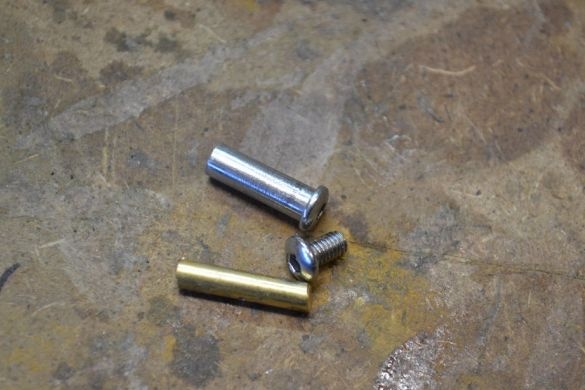
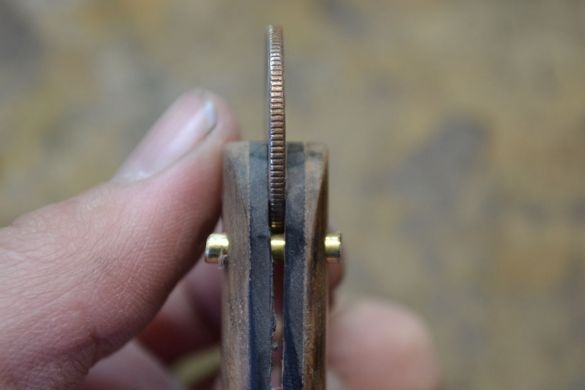
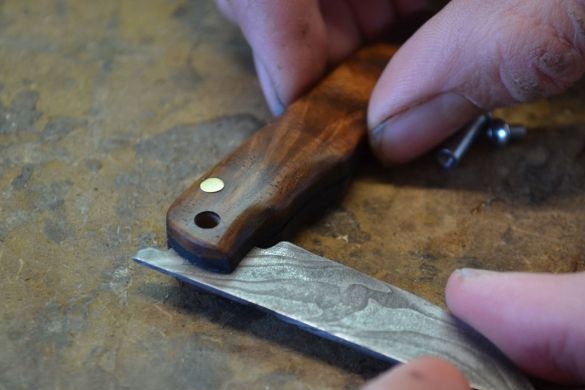
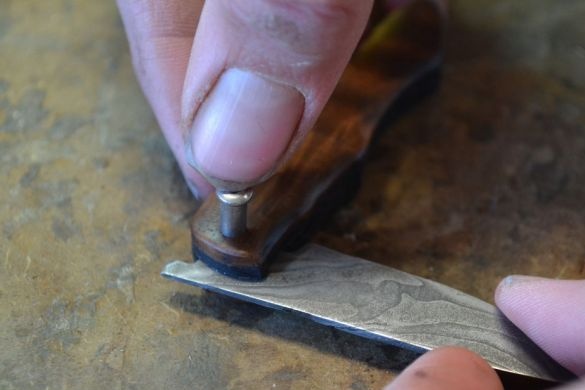
Using epoxy glue, glue the fixing pin into the handle. Select the desired gap so that the blade enters with a small gap and does not hang. To fix the blade, the author used a nut with a screw.
Check if everything is working correctly.
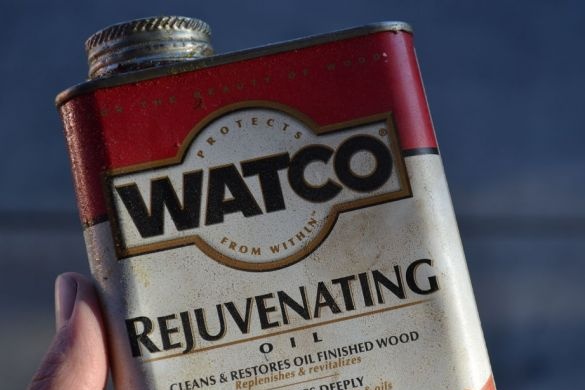
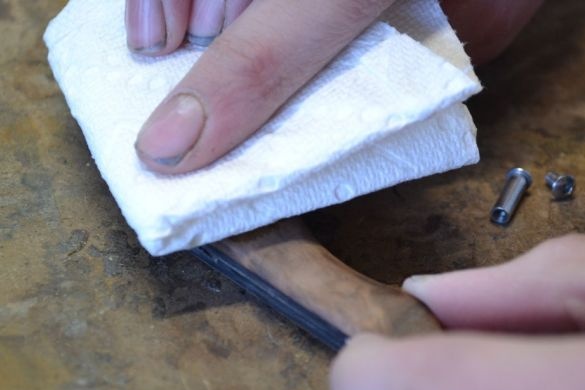
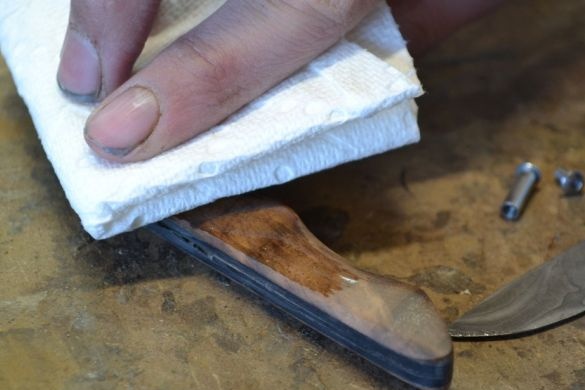
At the end, soak the handle with oil, this will protect the wood and make it more beautiful. If desired, the pen can be polished, so it will look even better.
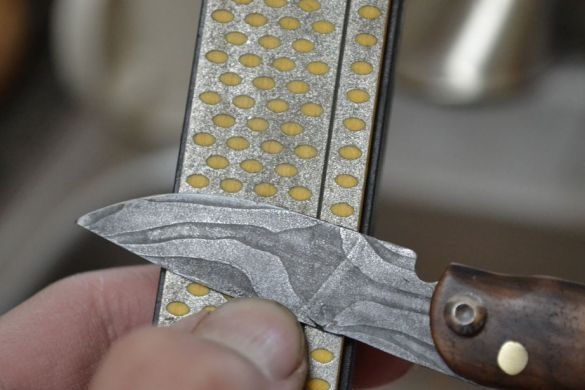
You just have to sharpen the blade properly. Here you will need a special grinding device or even ordinary sandpaper.
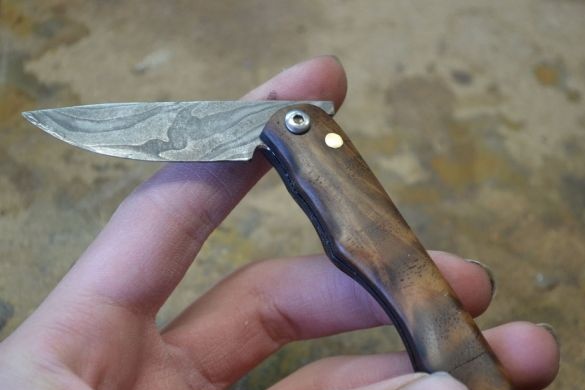
That's all, a wonderful knife is ready! Share your opinions.

