
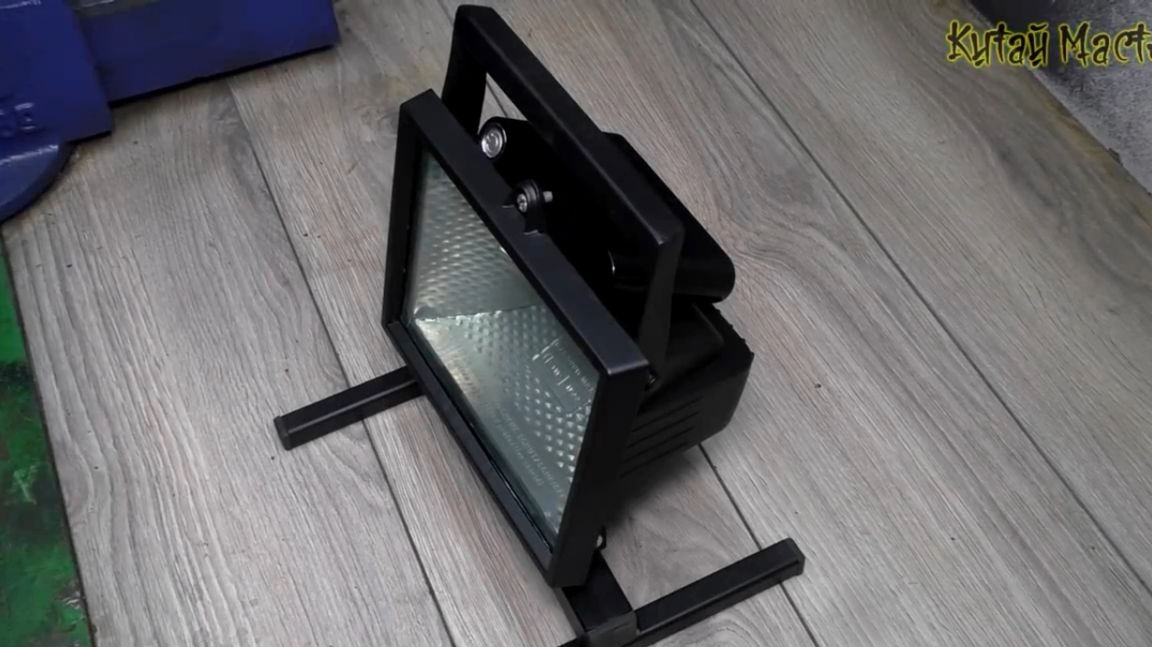
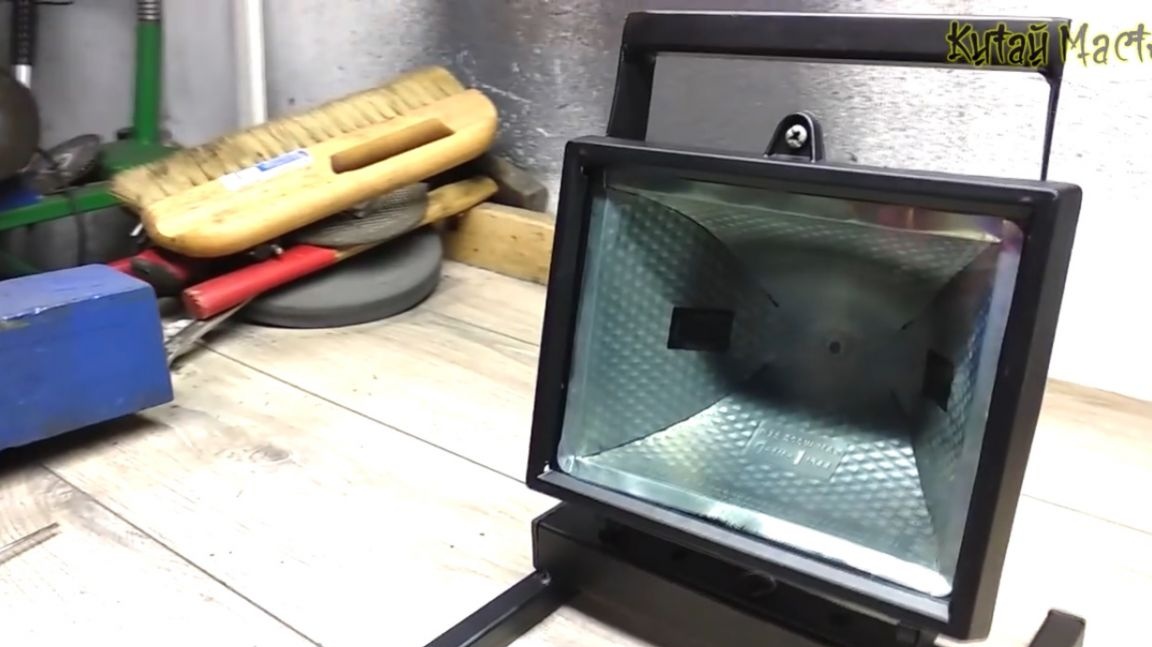
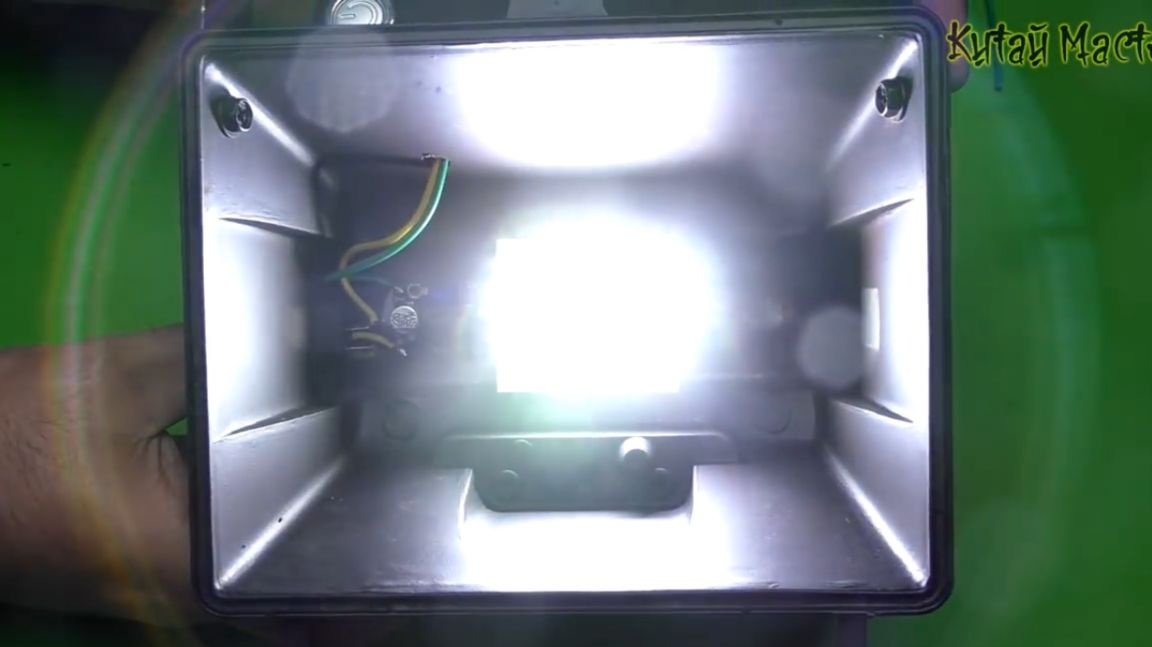
Today we’ll try to give a second life to the old halogen spotlight.
But not just bring it back to life, but make some changes to the design. We also expand the modest functionality of this spotlight and make it autonomous. And we’ll add to it the ability to charge mobile gadgets.
For work, we need:
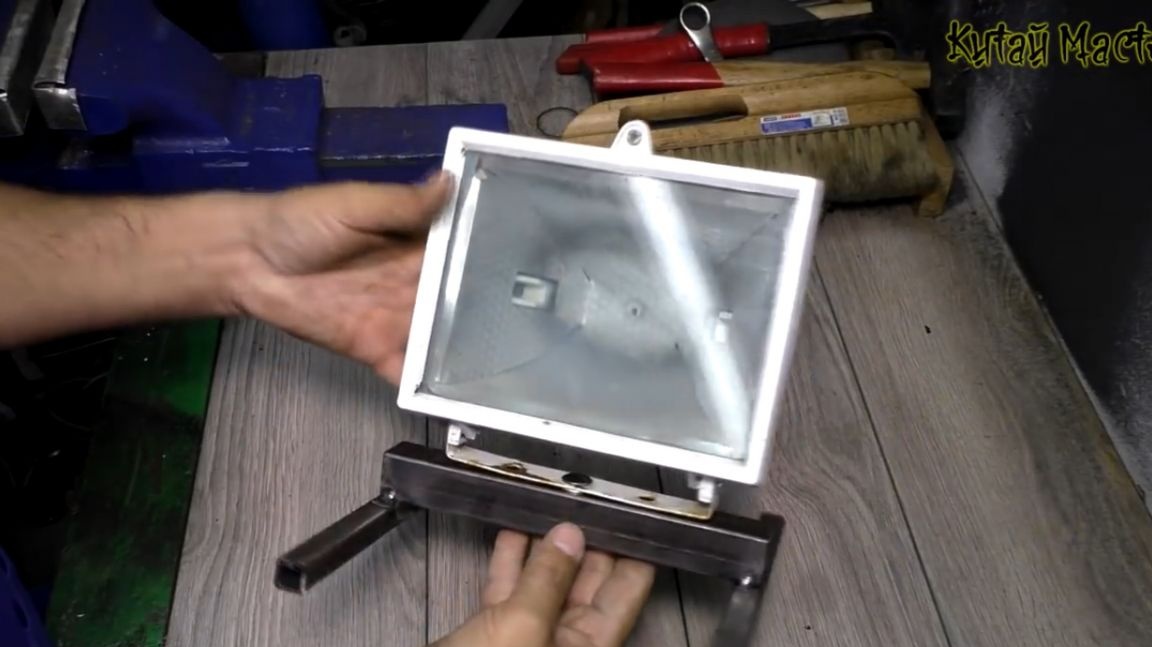
1. Actually, the spotlight itself (the author has a large 250-watt halogen lamp);
2. A piece of profile pipe with sides of 15 mm;
3. A piece of profile pipe with a side of 25 mm;
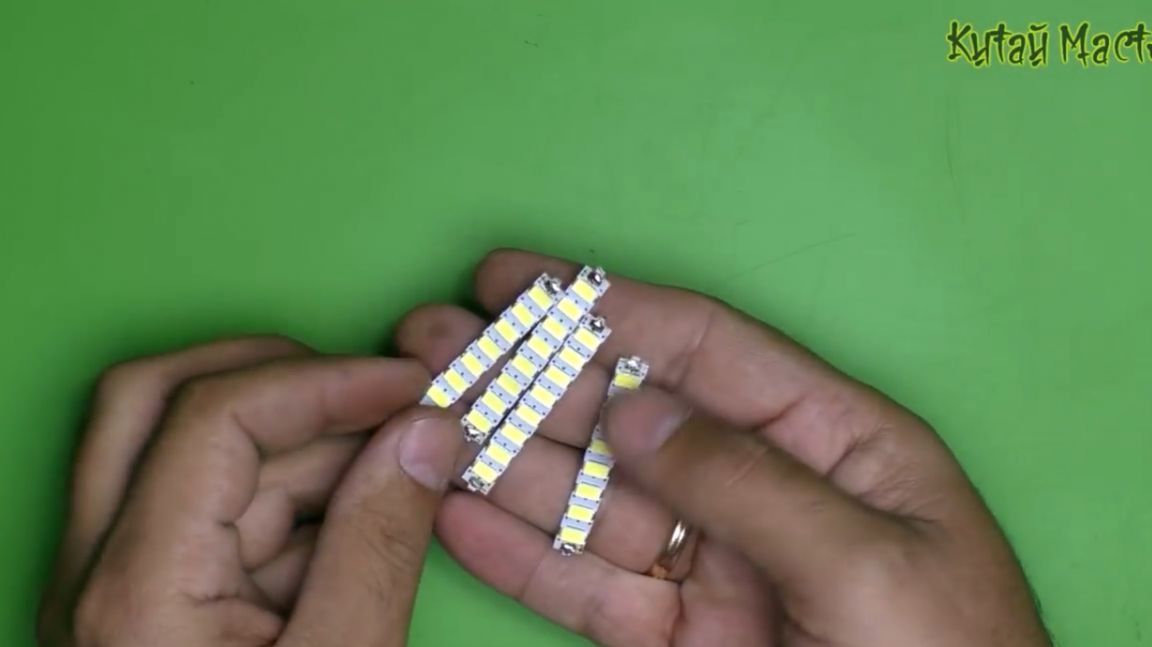
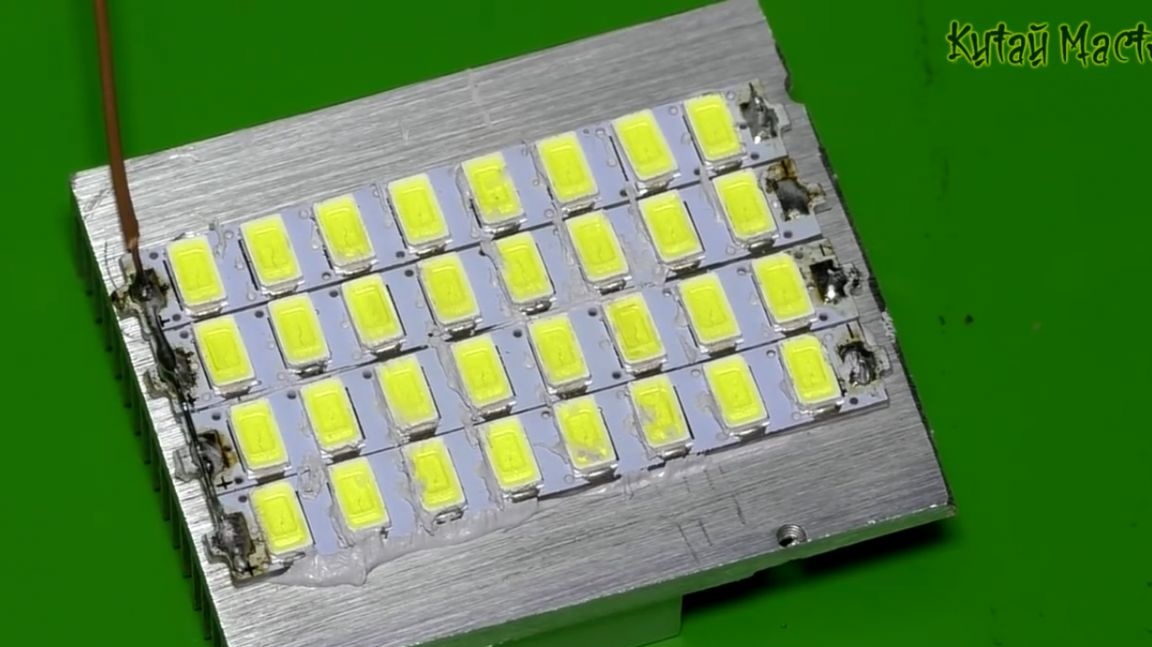
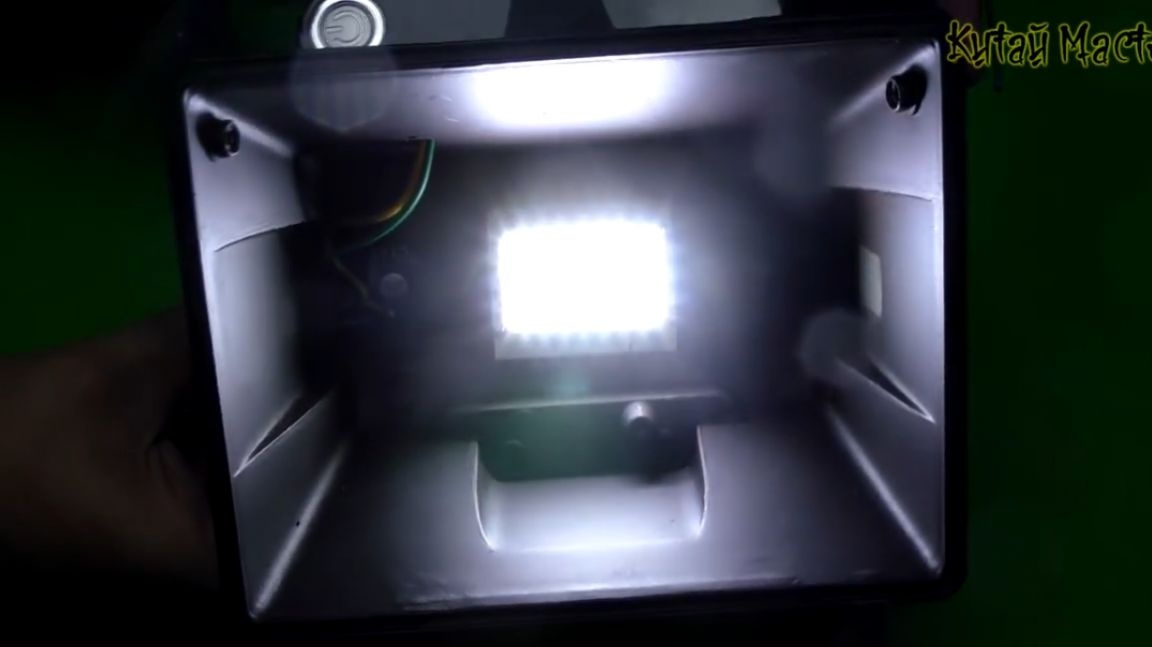
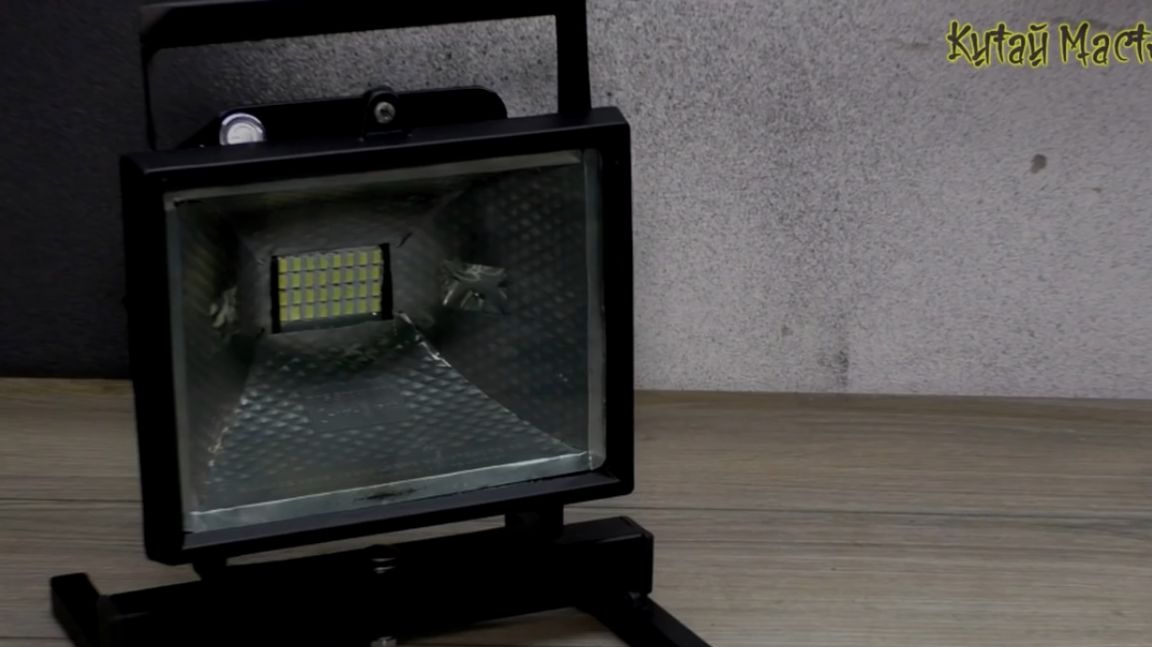
4. The LED assembly on the elements 5730 (the supply voltage is 12 V, the author dubbed it with a non-working Chinese lamp, which was called "corn" due to the location of the LEDs);
5. Chinese step-up module for voltage up to 35 V;
6. Several plastic plugs for the profile pipe;
7. Powerbank (in the author’s example, this is a constructor, the batteries of which were elements from old laptop batteries. You can do without it and just put the holders on the required number of batteries);
8. Heat conducting glue;
9. Wires for connecting LEDs;
10. Paint;
11. Sandpaper;
12. Metal radiator for LED assemblies.
Tools used by the wizard:
1. The grinder;
2. The welding machine;
3. Drill and drill;
4. Soldering iron;
5. Solder, flux.
Let's get started.
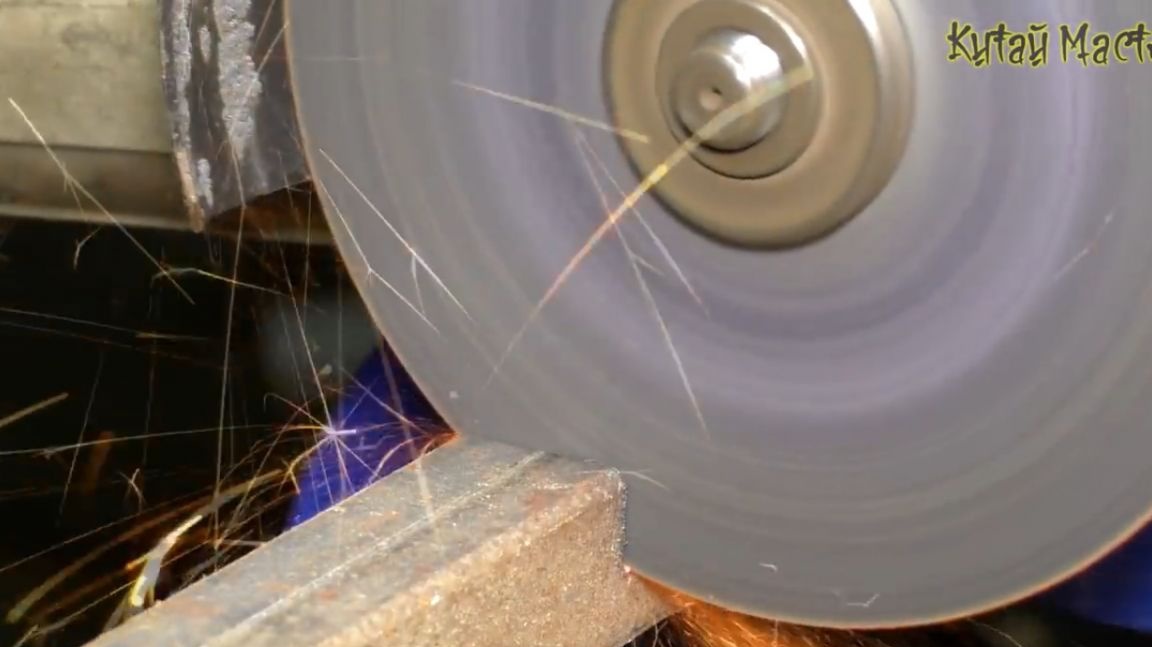
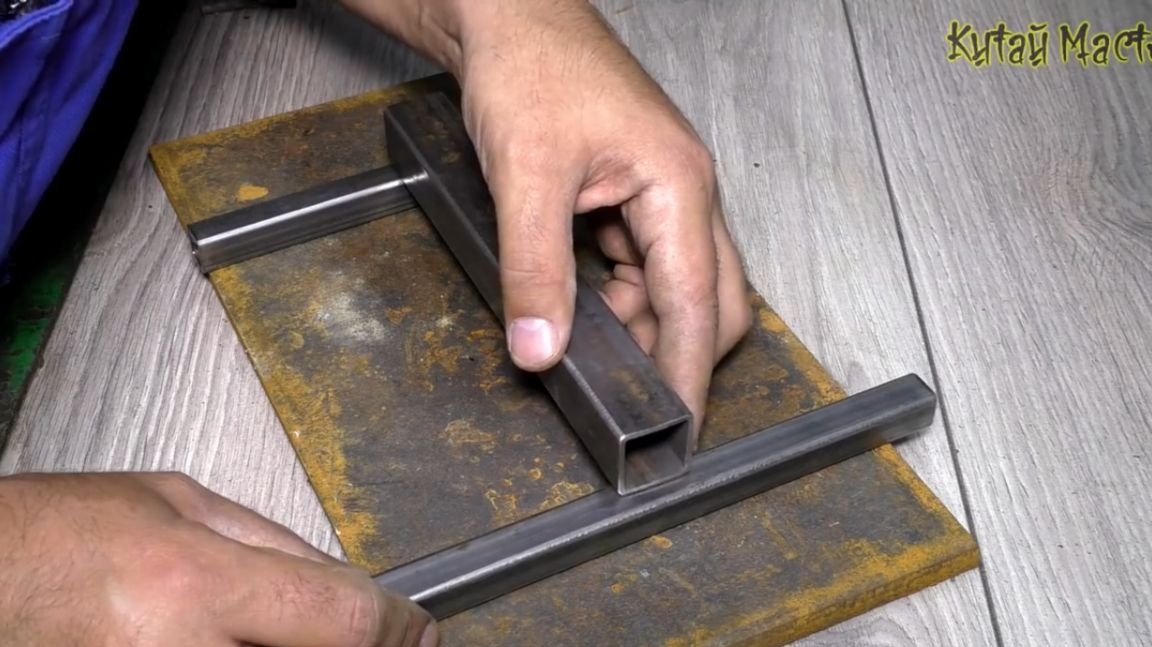
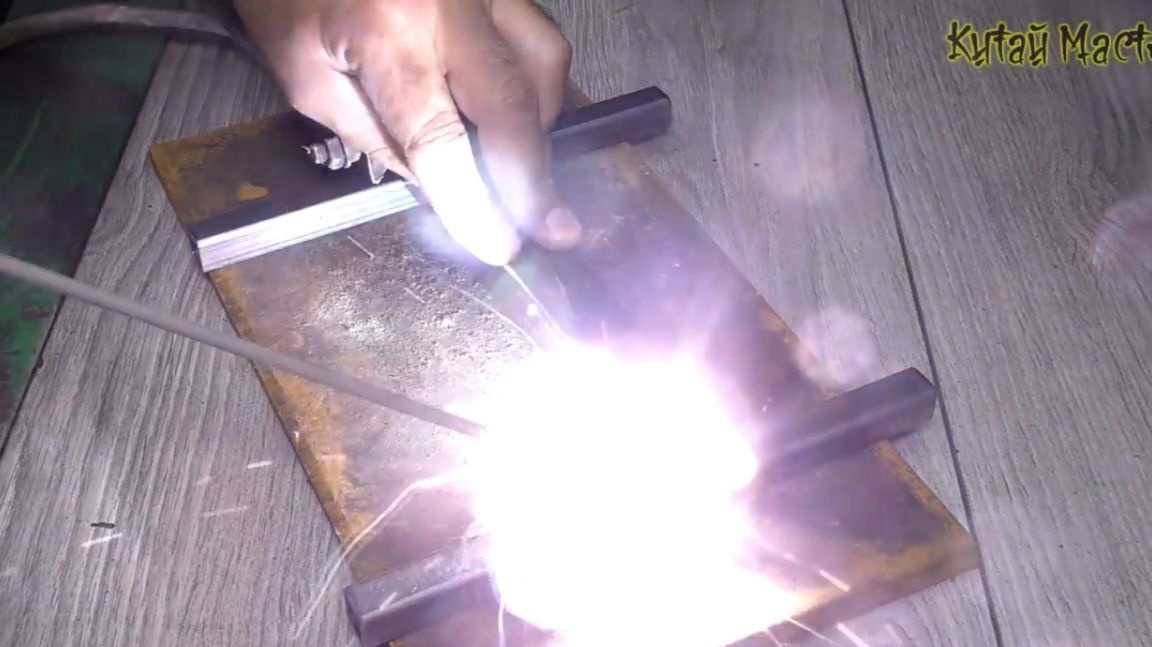
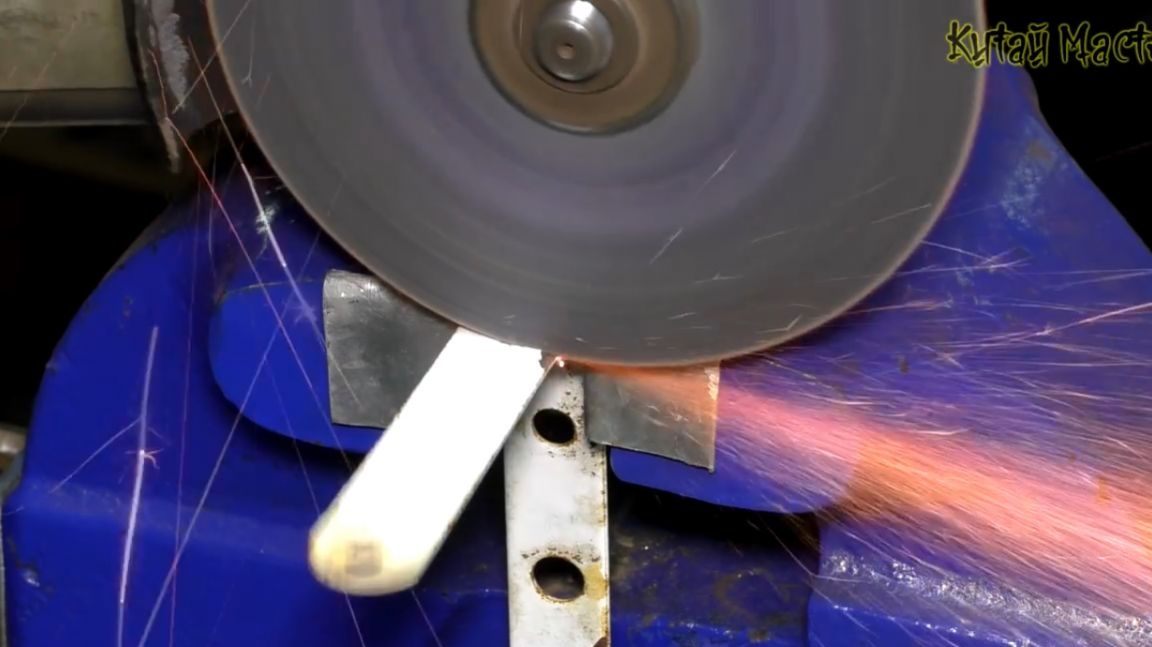
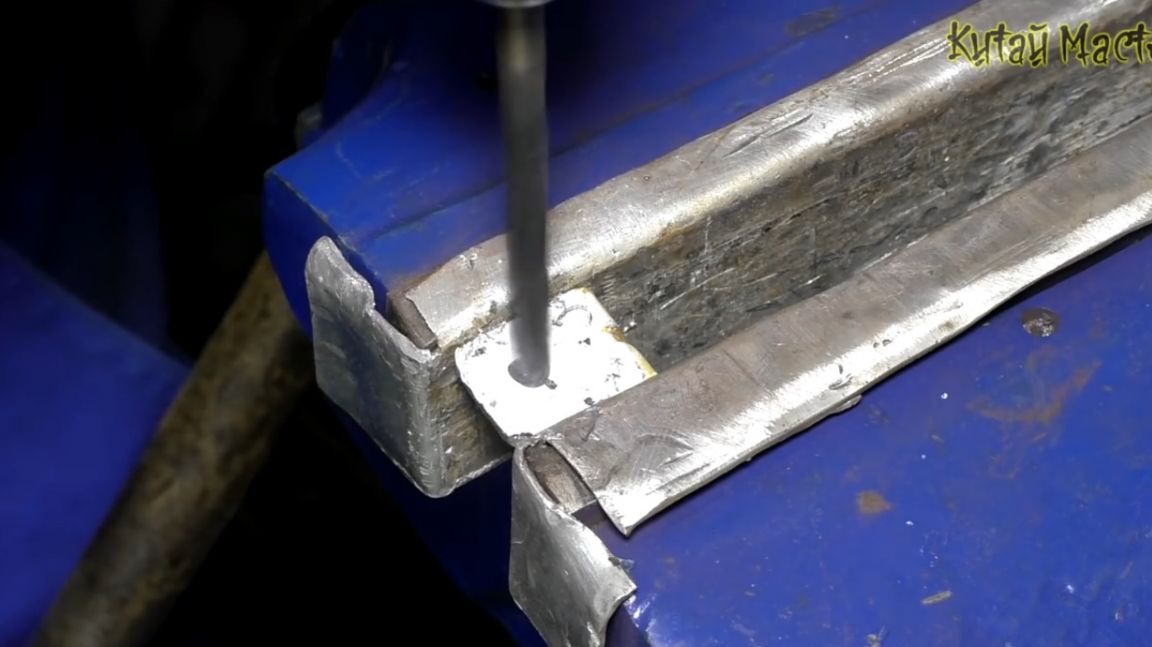
As usual, we start by cutting the blanks. From 15 mm pipe, you need to cut two workpieces 200 mm long. And from a pipe with a side of 25 mm, cut off the same length of the workpiece.
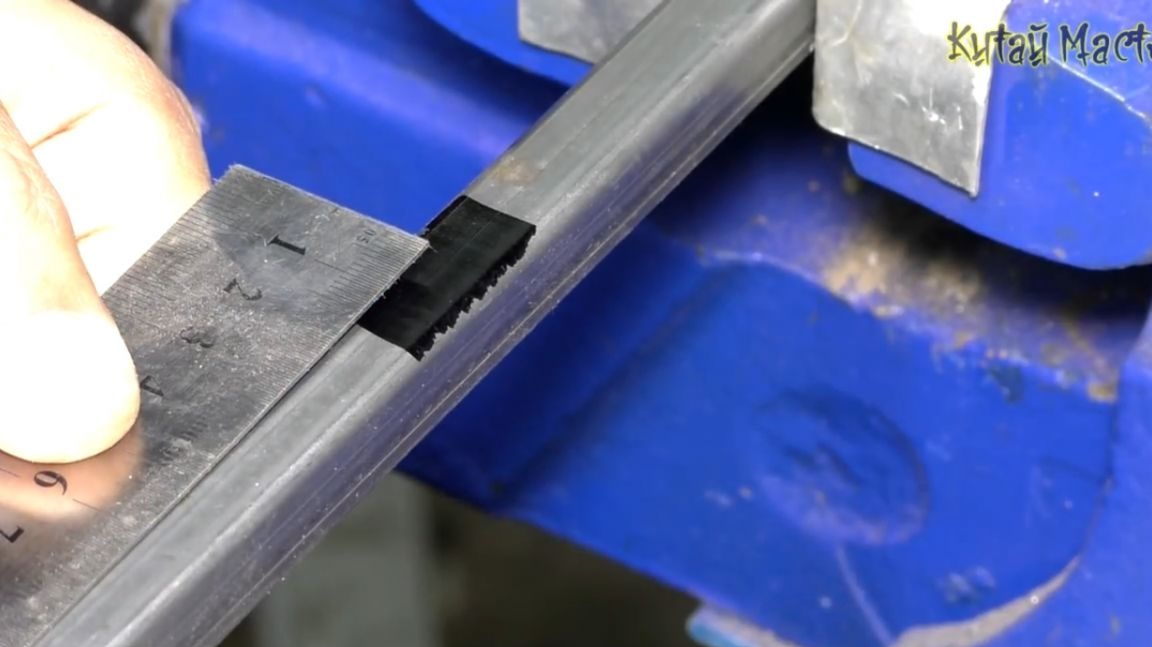
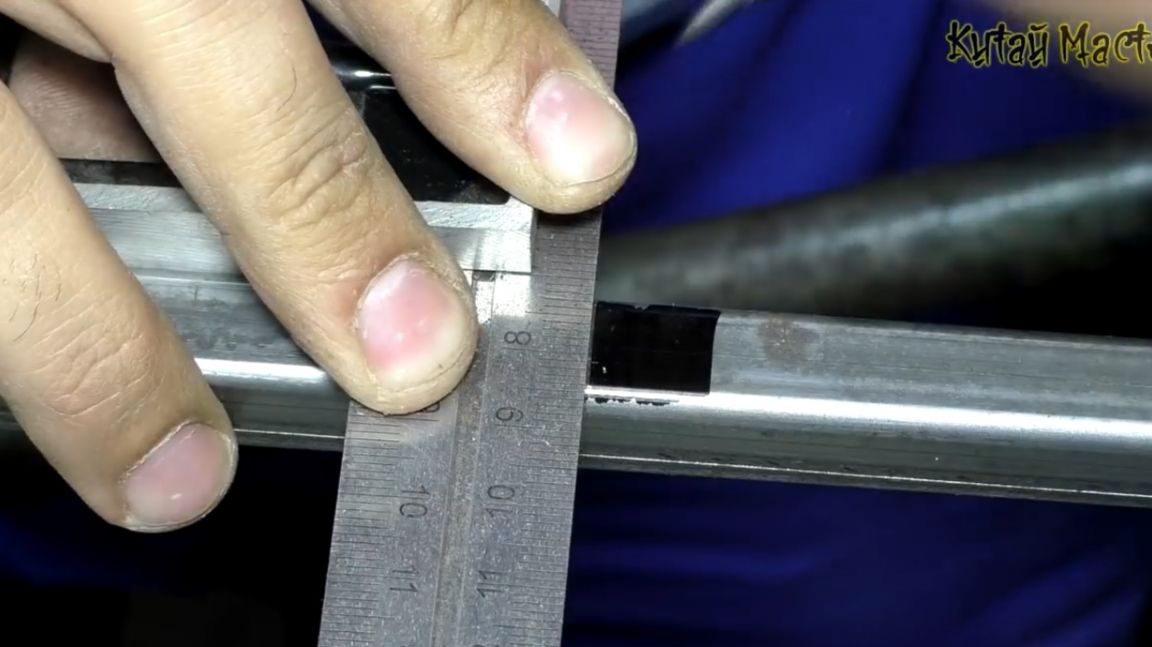

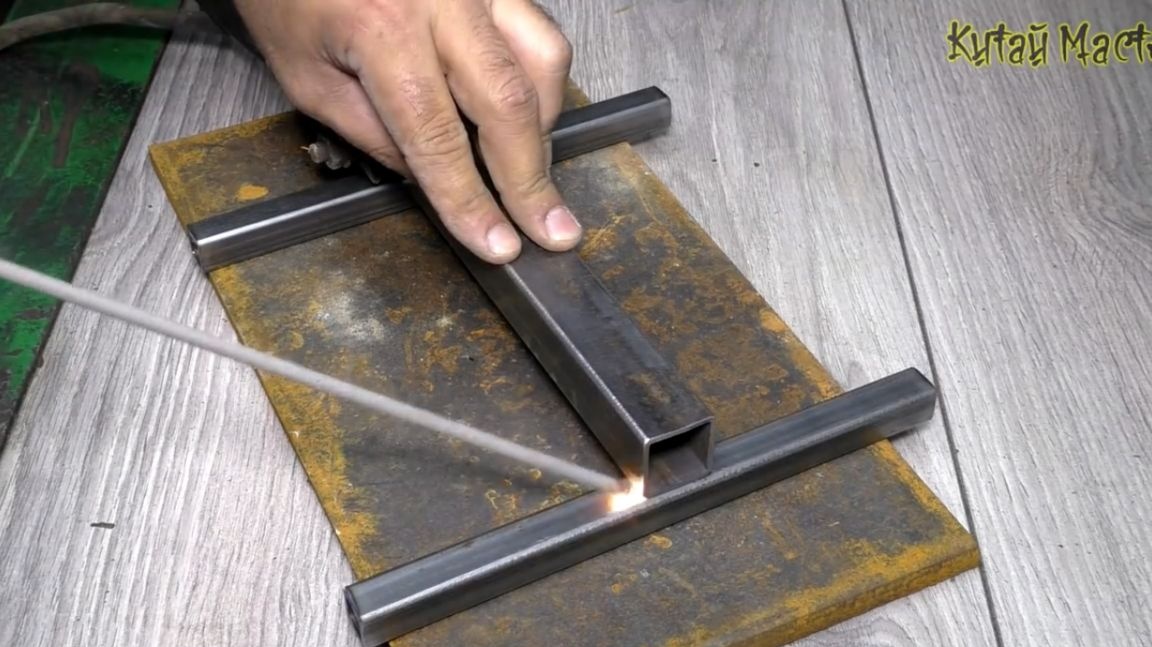
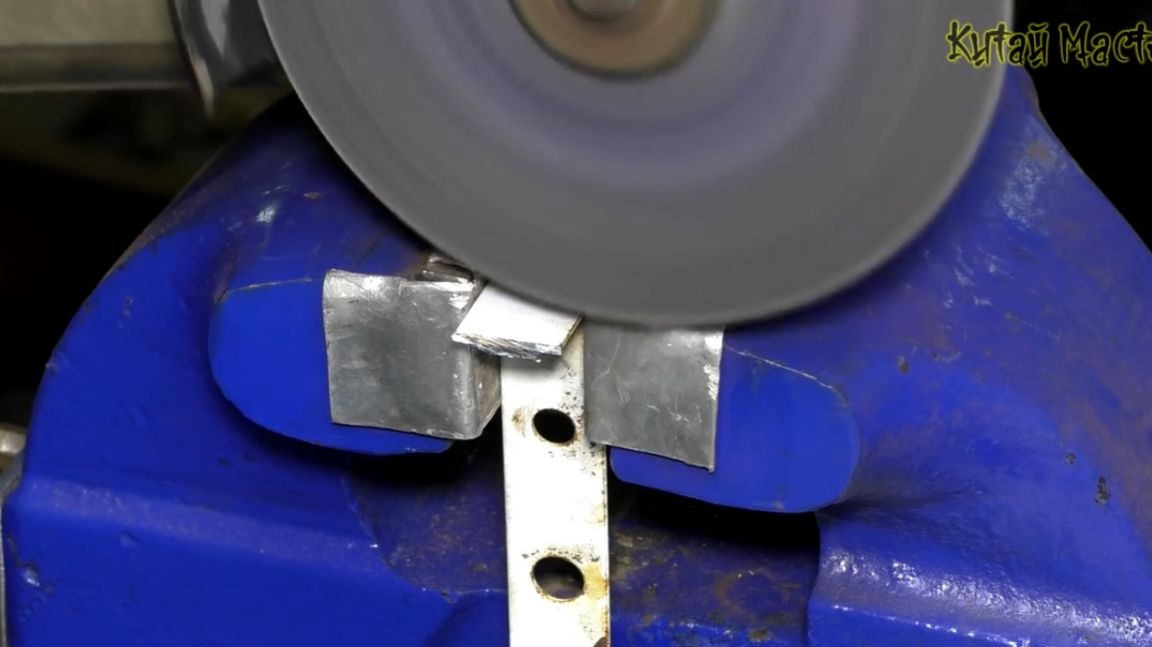
Now welding. We mark the middle of our workpieces and shift the part inward literally by a couple of millimeters, in order to subsequently insert a plug in it, and it does not go beyond the dimension of the part.
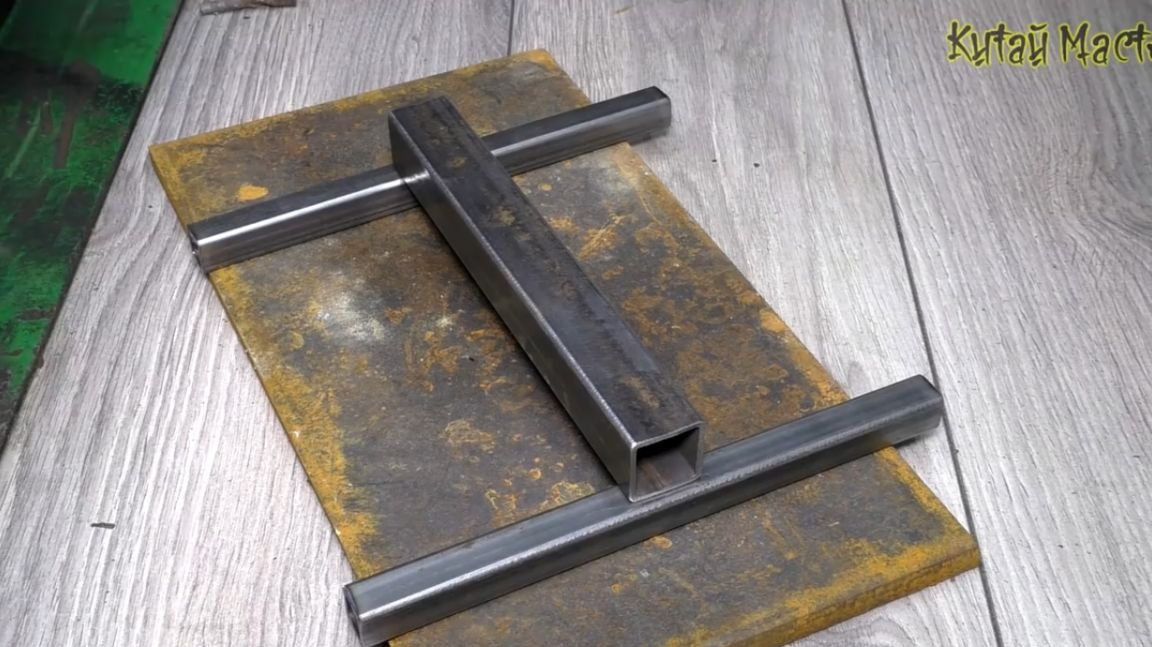
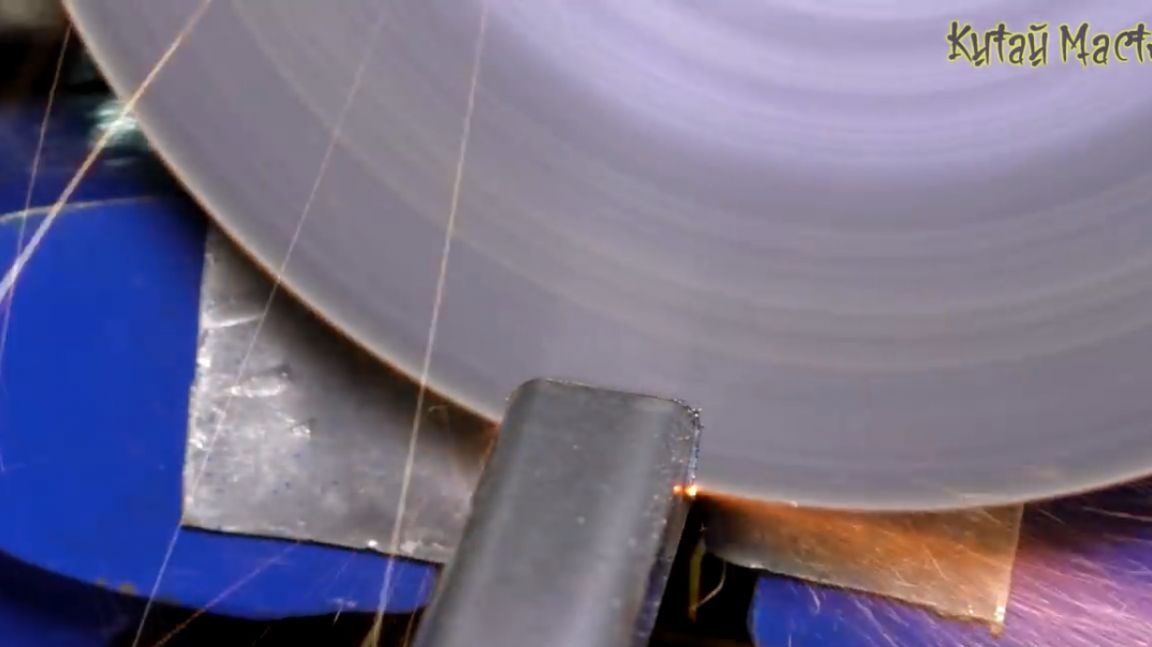
Weld the 25th pipe with an overlap.
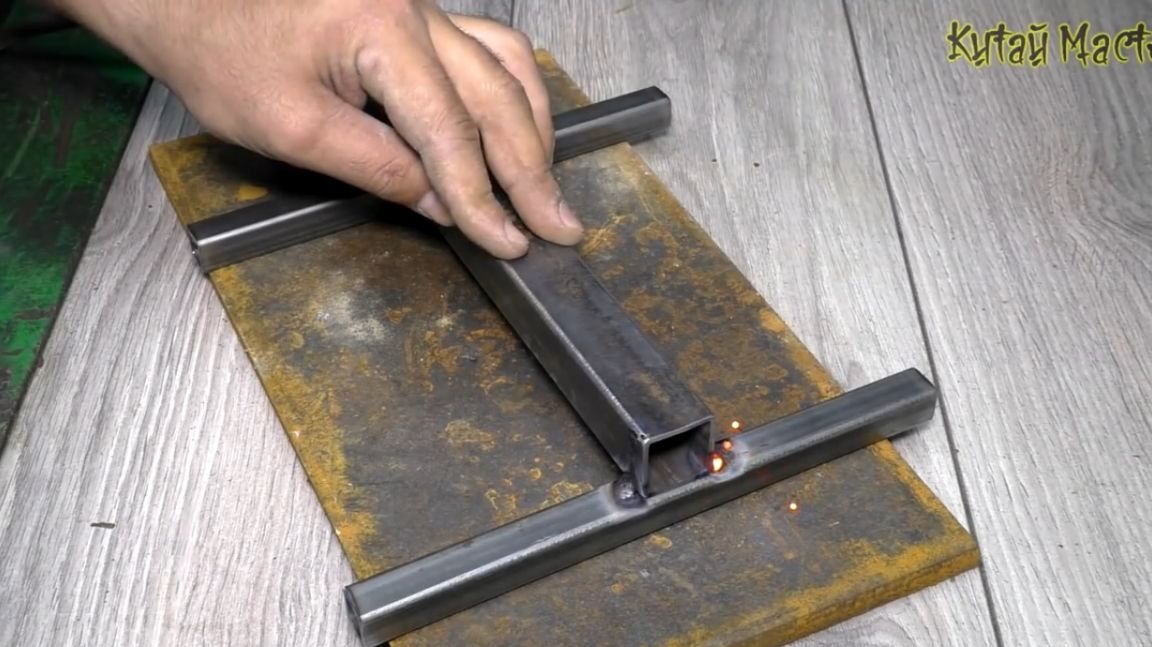
This will be the base of our spotlight. Here is the beauty we have.
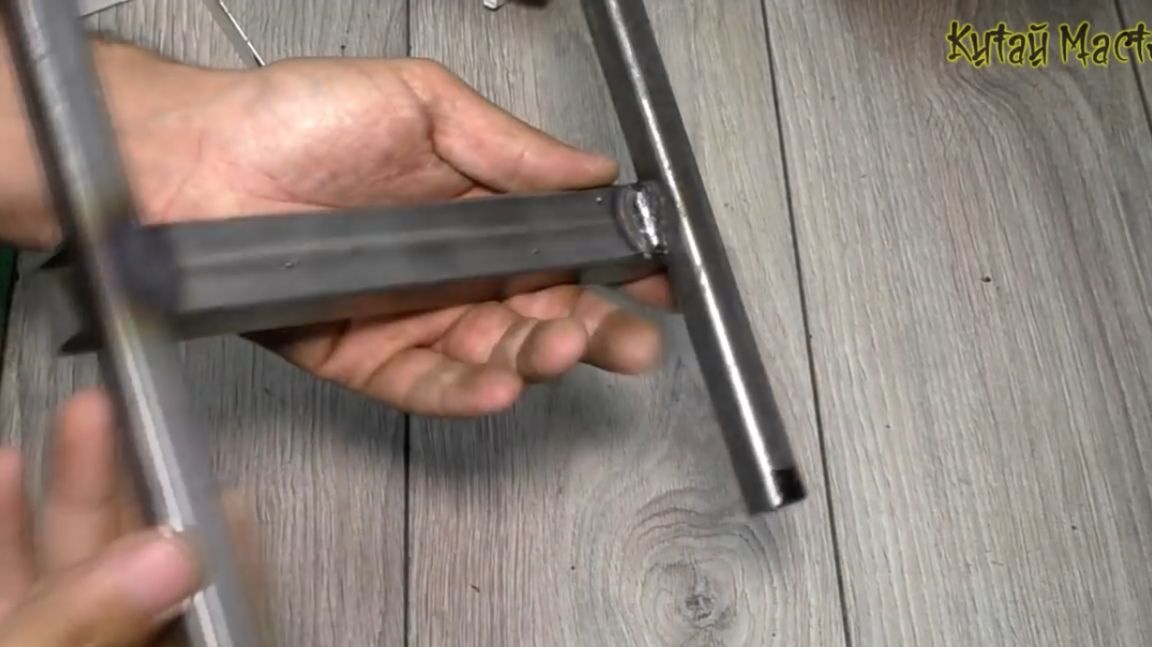
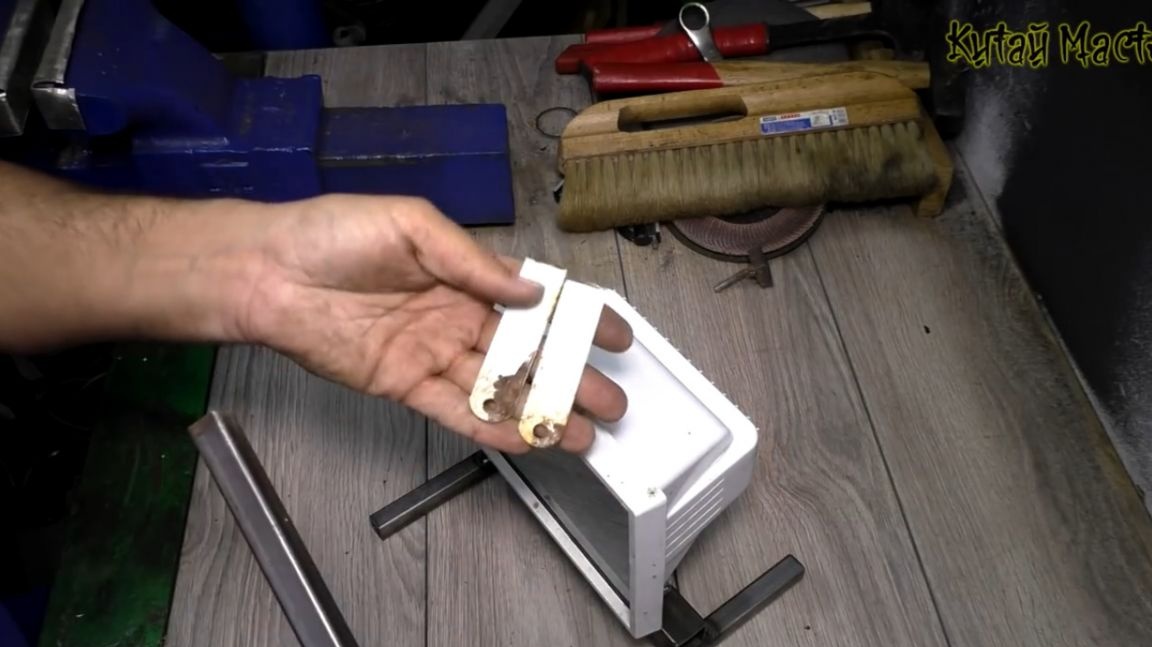
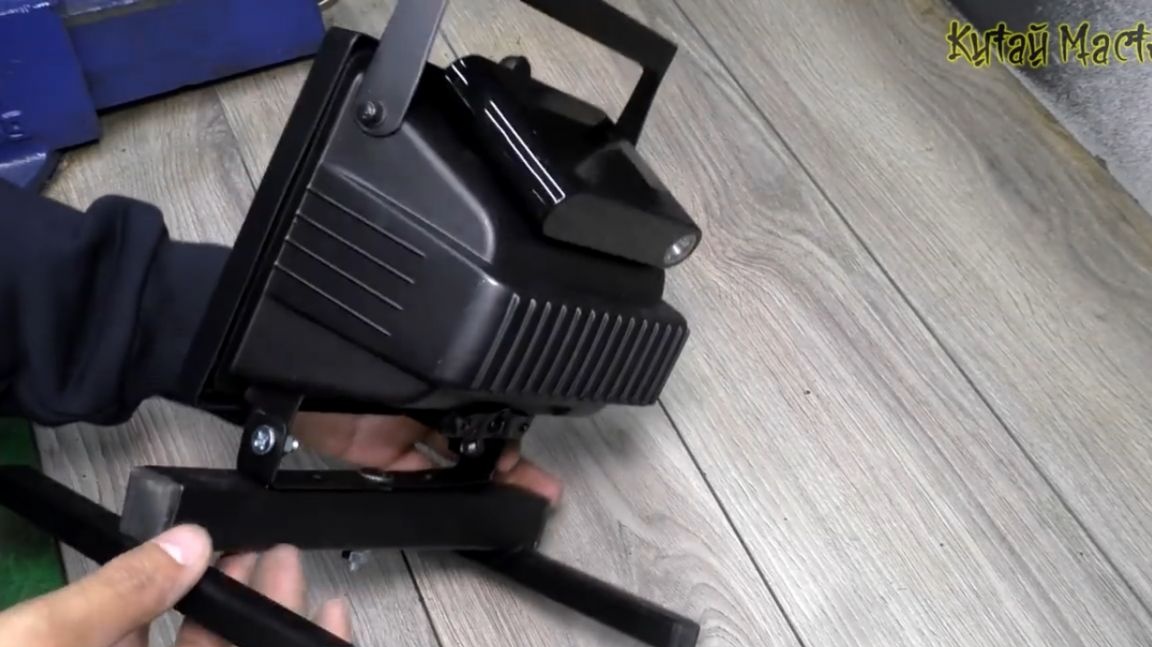
We put it aside and deal with the native bracket of the searchlight. Its author decided to tame in height. According to the master, it will be more beautiful and add additional rigidity. A couple of centimeters from the base will be enough.
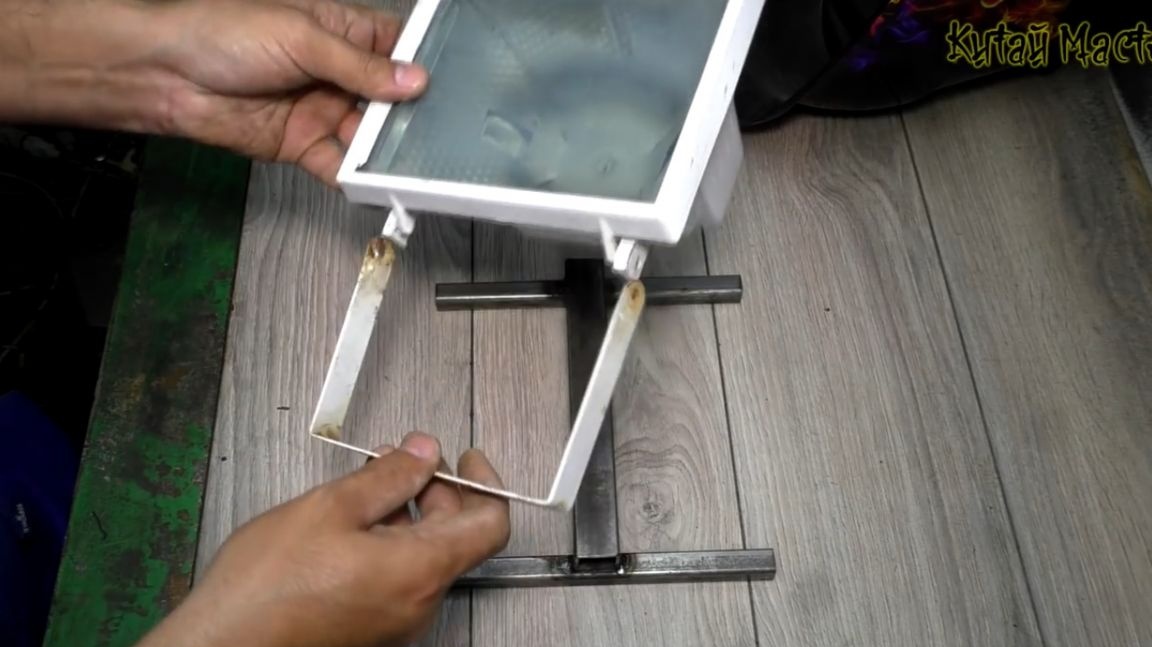
Do not discard the sawn off pieces of the old bracket. They are still useful to us. Then you will understand why.
The new bracket is ready.
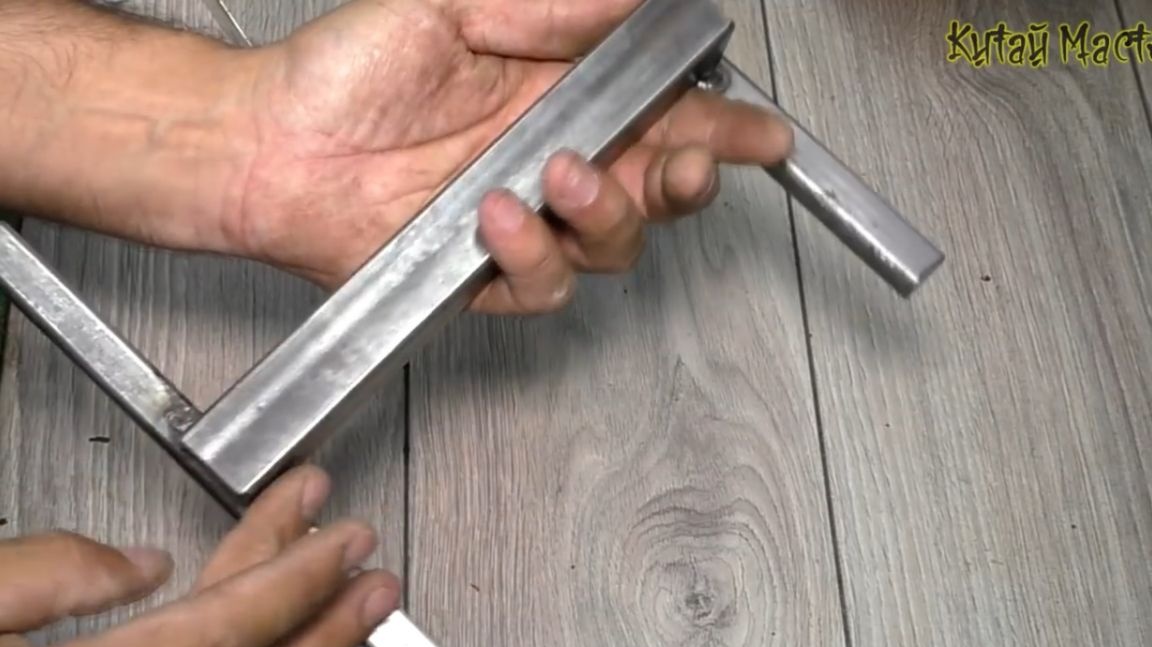
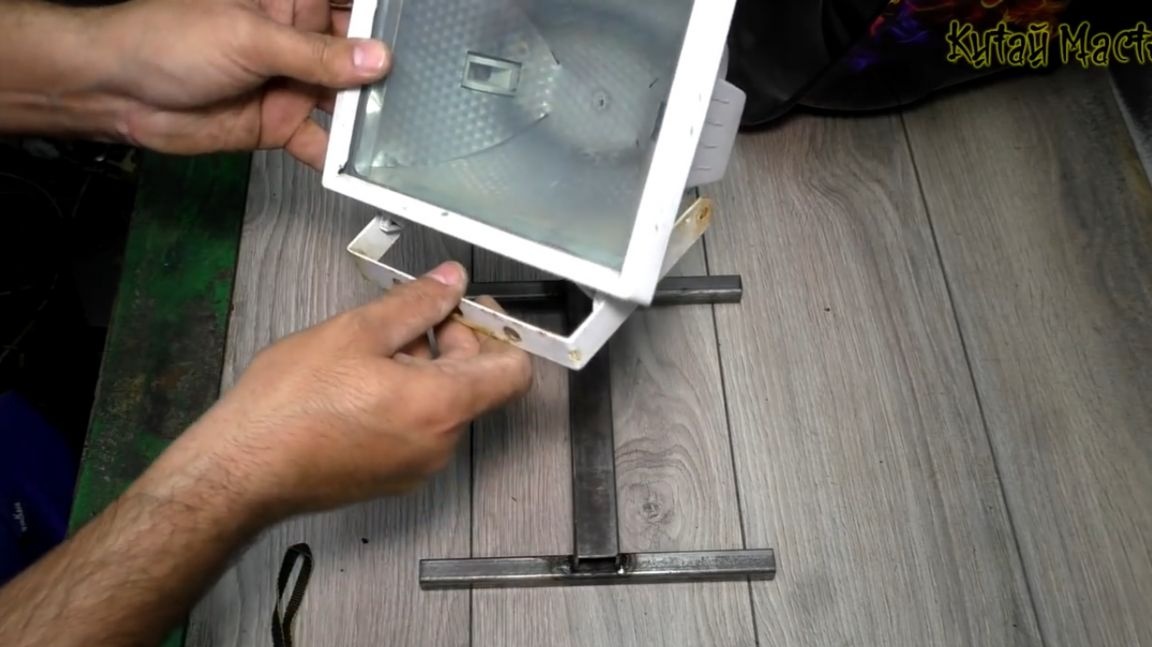
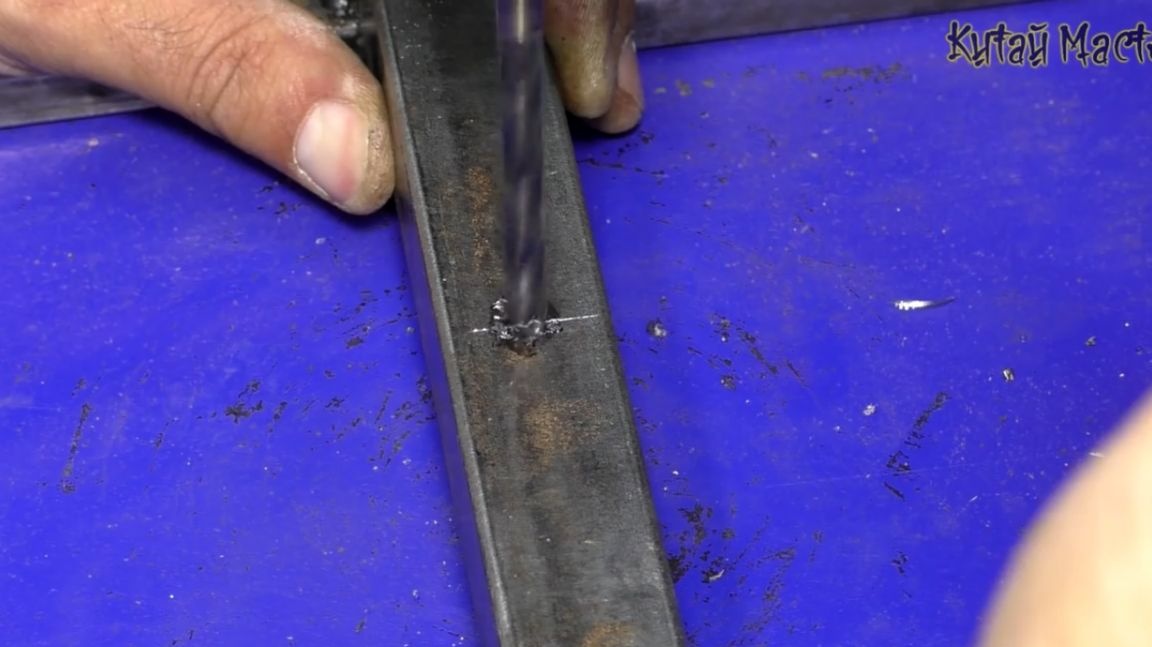
He will be screwed to the base of the M6 bolt through the washer. For this, we drill a through hole at the base.

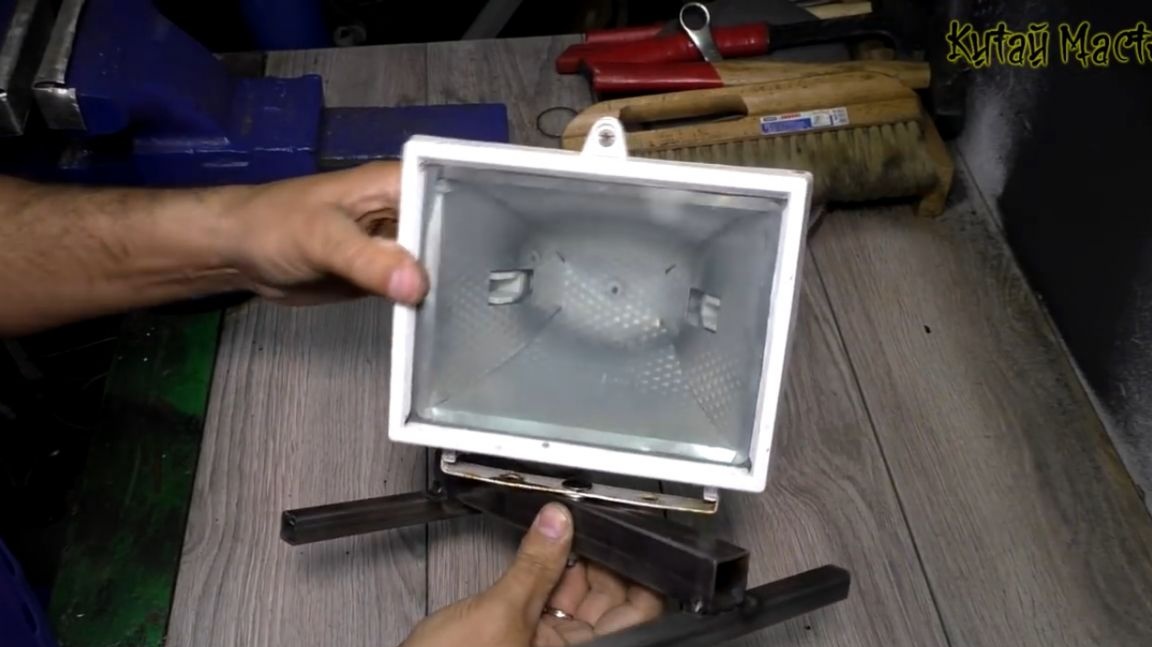
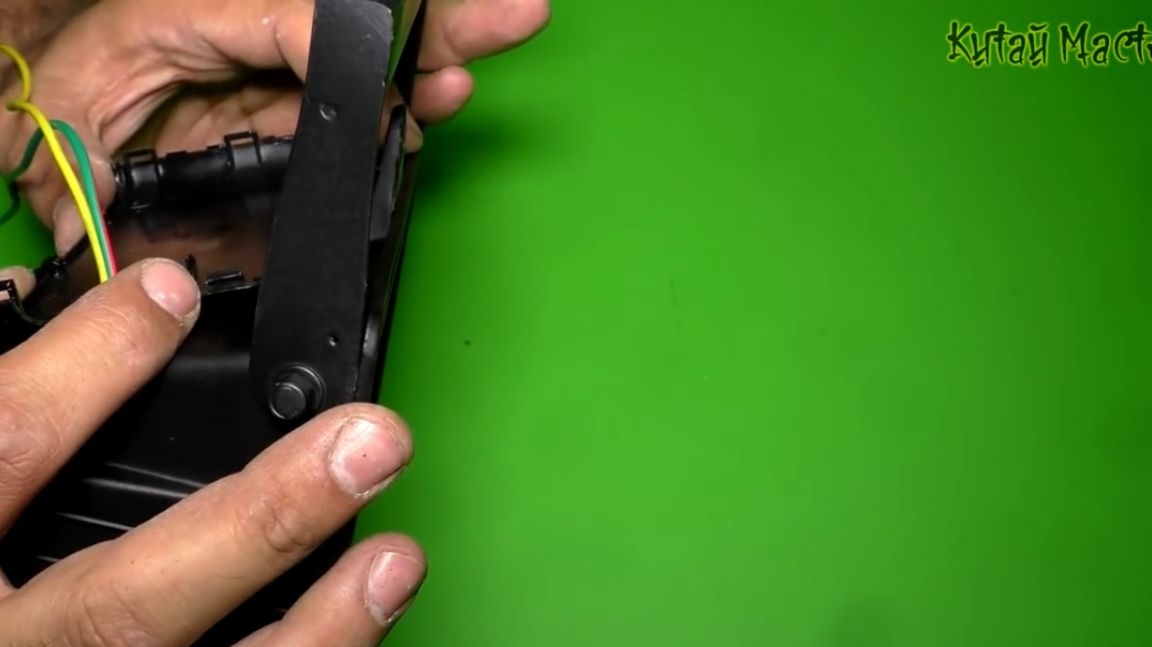
Locksmiths are almost finished and it remains only to make a pen for our flashlight.To do this, the master will use the trim from the old bracket and the same profile 15-mm pipe.
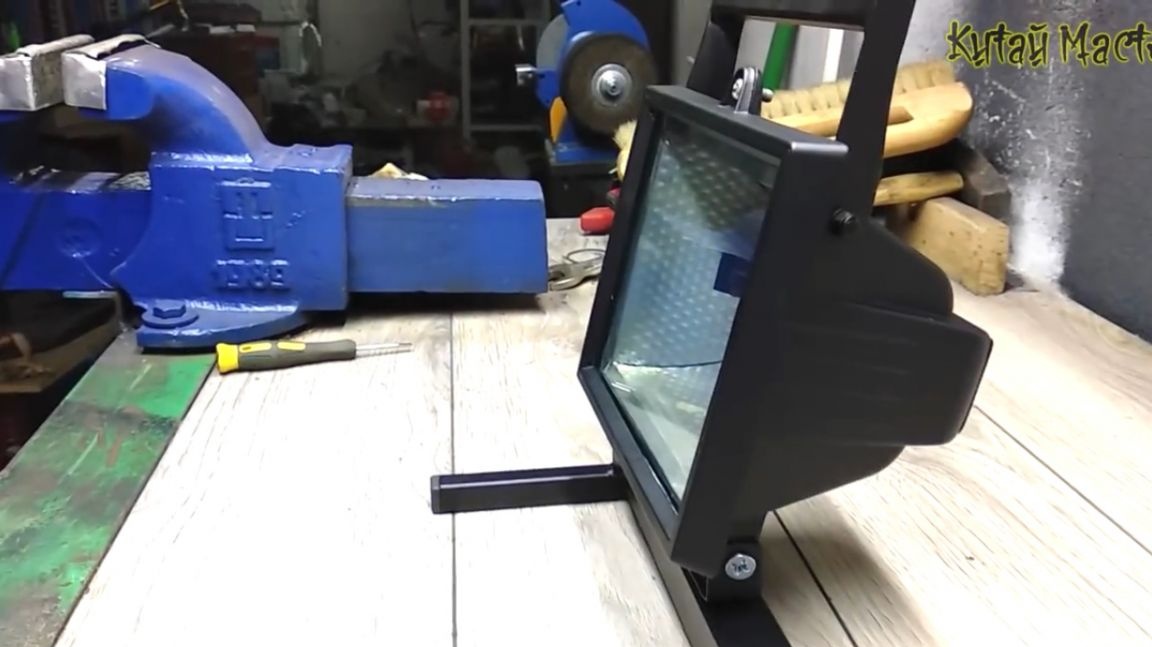
After grinding and painting all the details, the body of our homemade product has acquired such a beautiful finished appearance.
Now add some electronics to it.
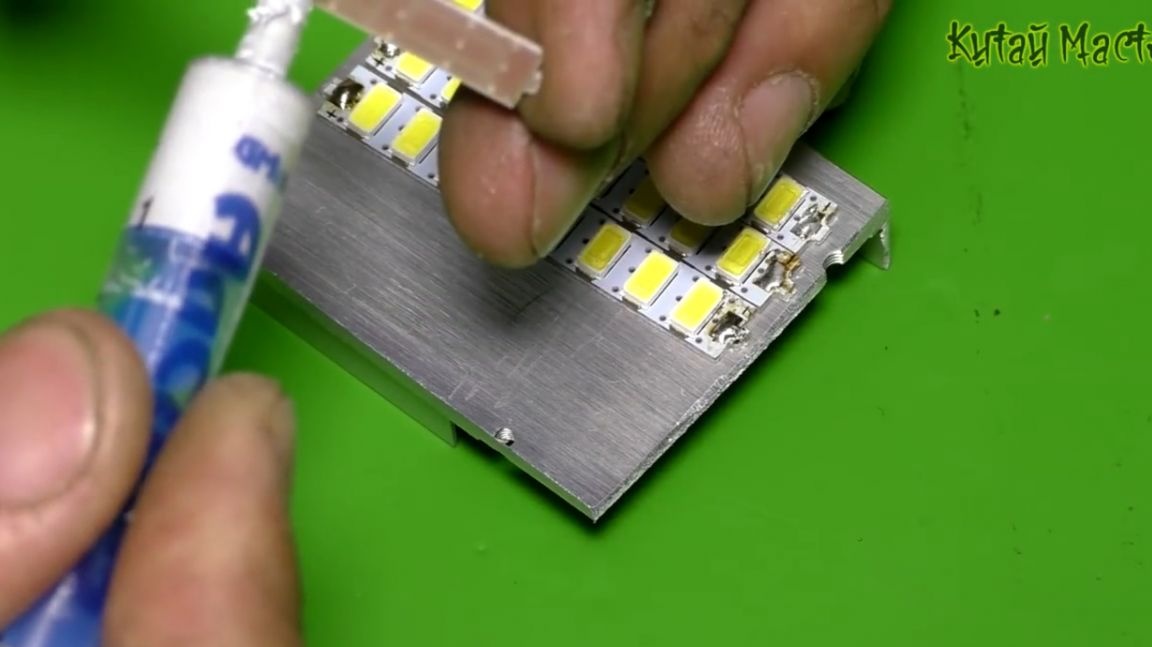
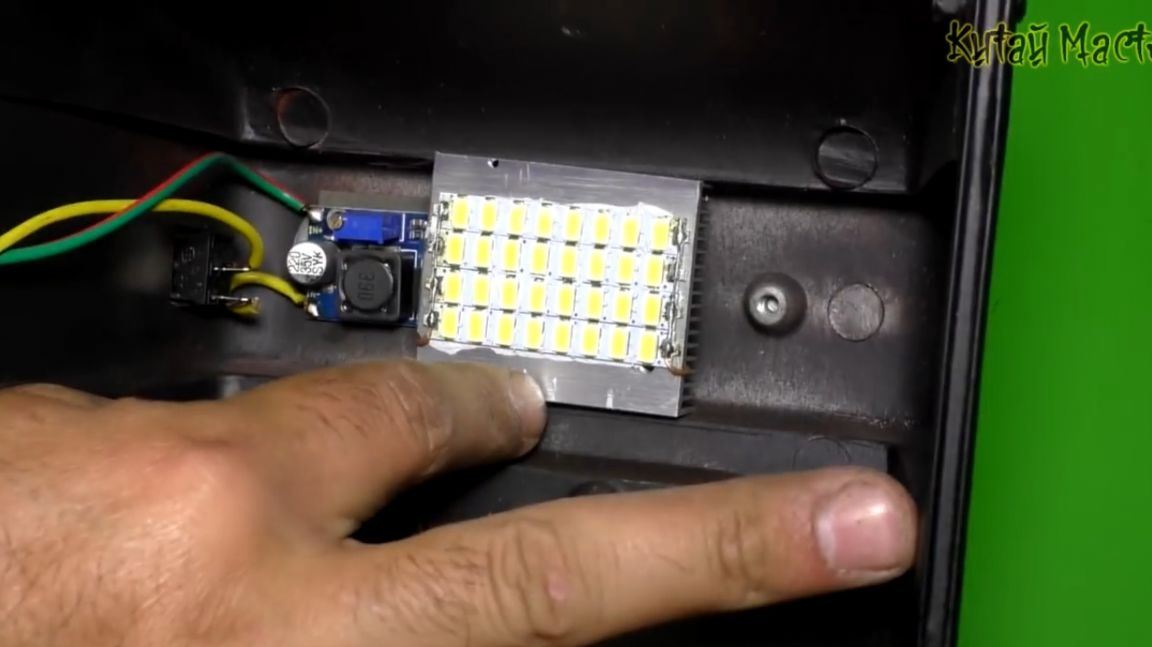
These LED assemblies get very hot during operation.
And so that they do not fail prematurely, we will mount them on a radiator.
In his bins, the author found such a radiator.
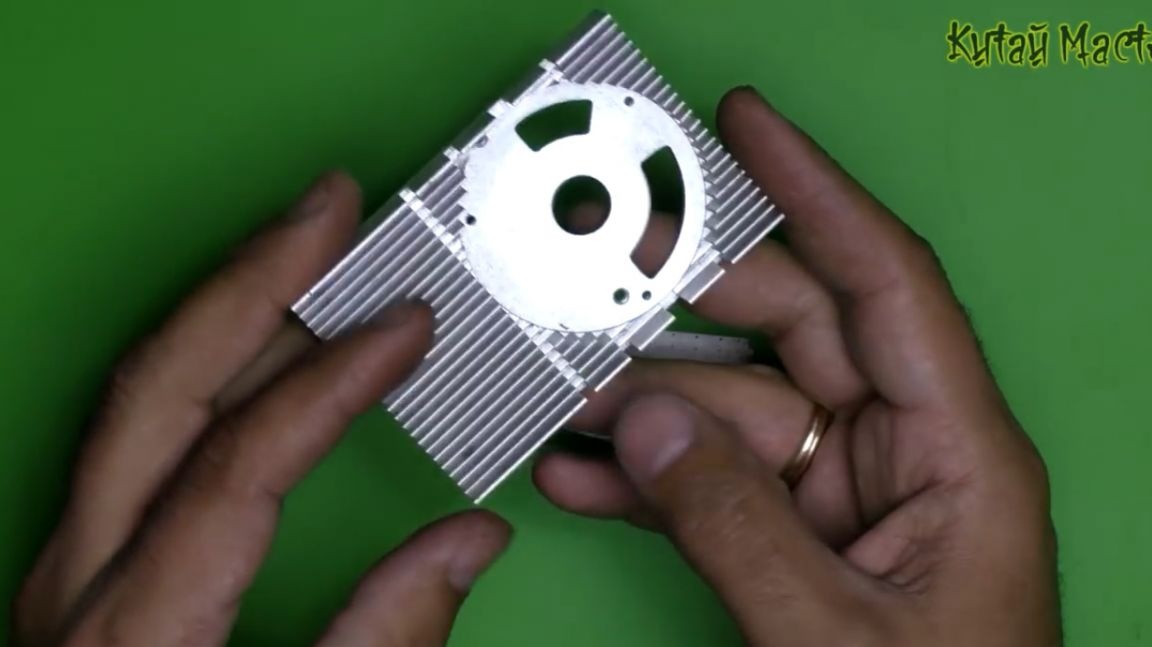
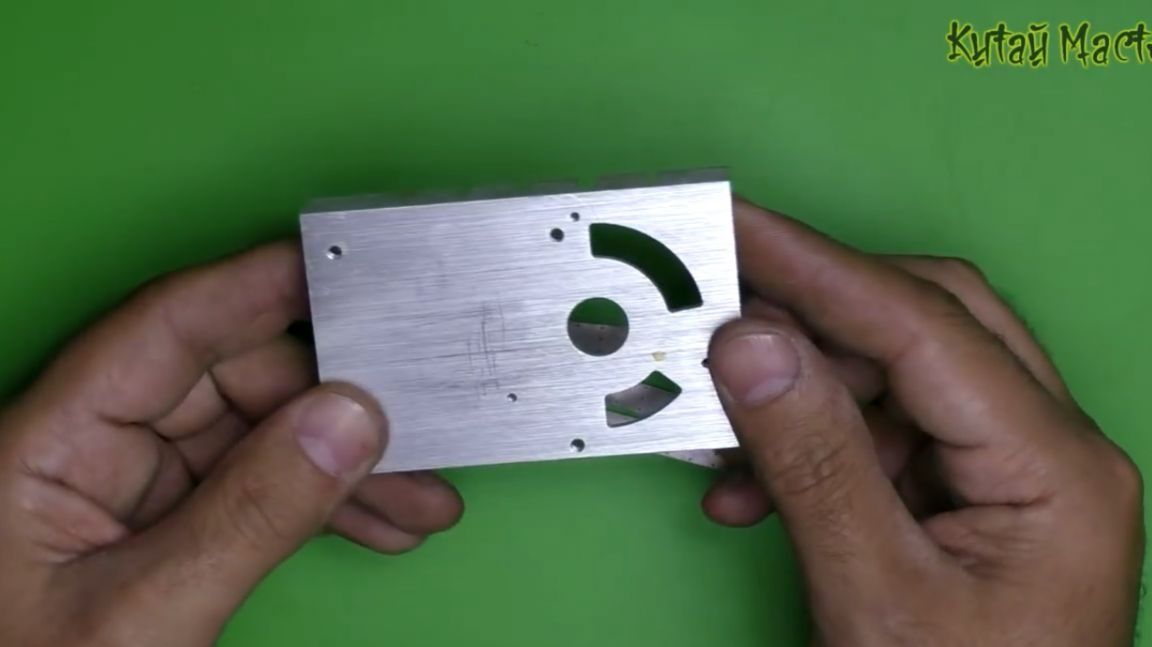
It is from an old video card. And since the LED assemblies do not have mounting holes, we will fasten them to the radiator using heat-conducting glue. But first, the surface of the radiator must be degreased.
Apply glue gently, and press the LED assembly to the radiator.

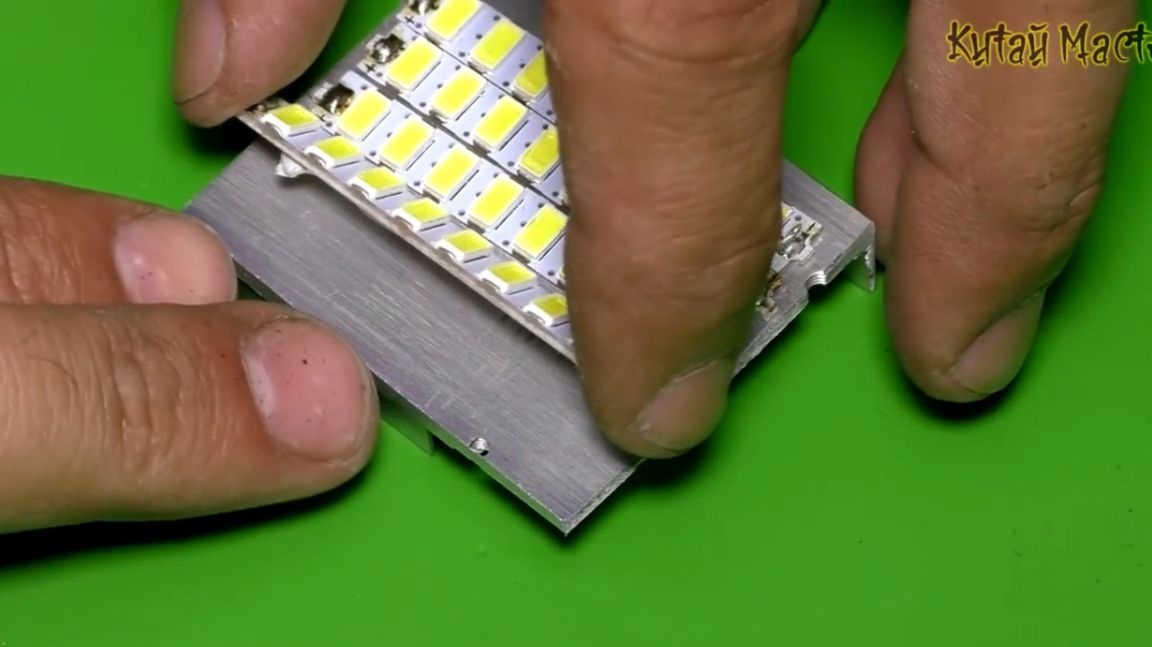
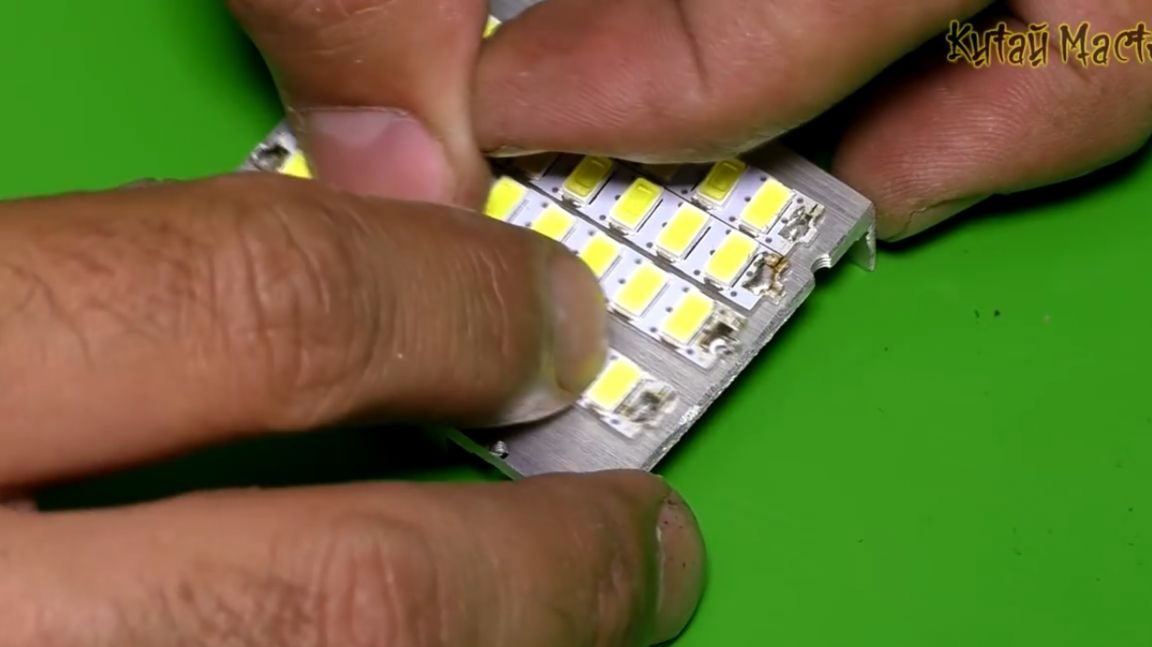
We do the same with the other three elements.
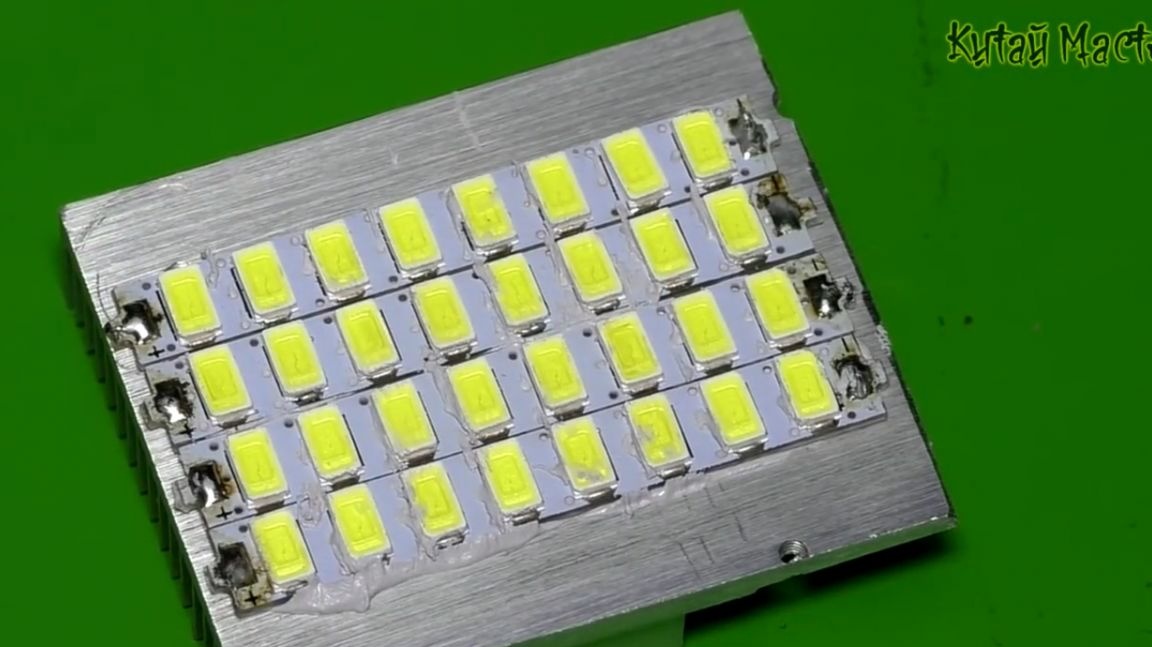
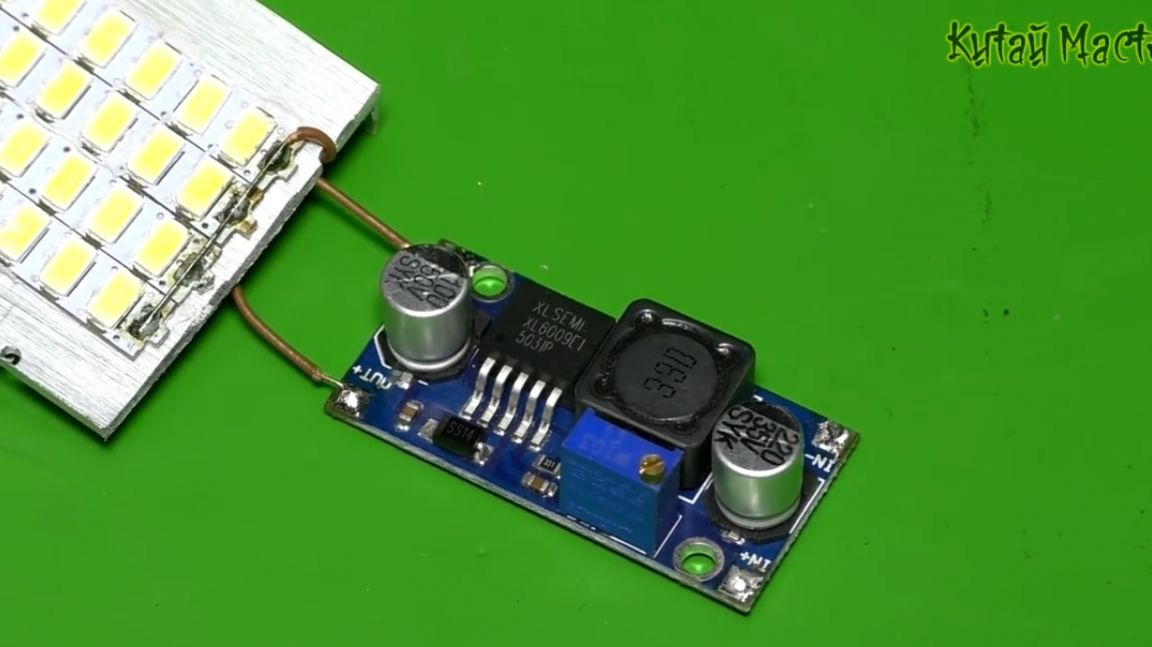
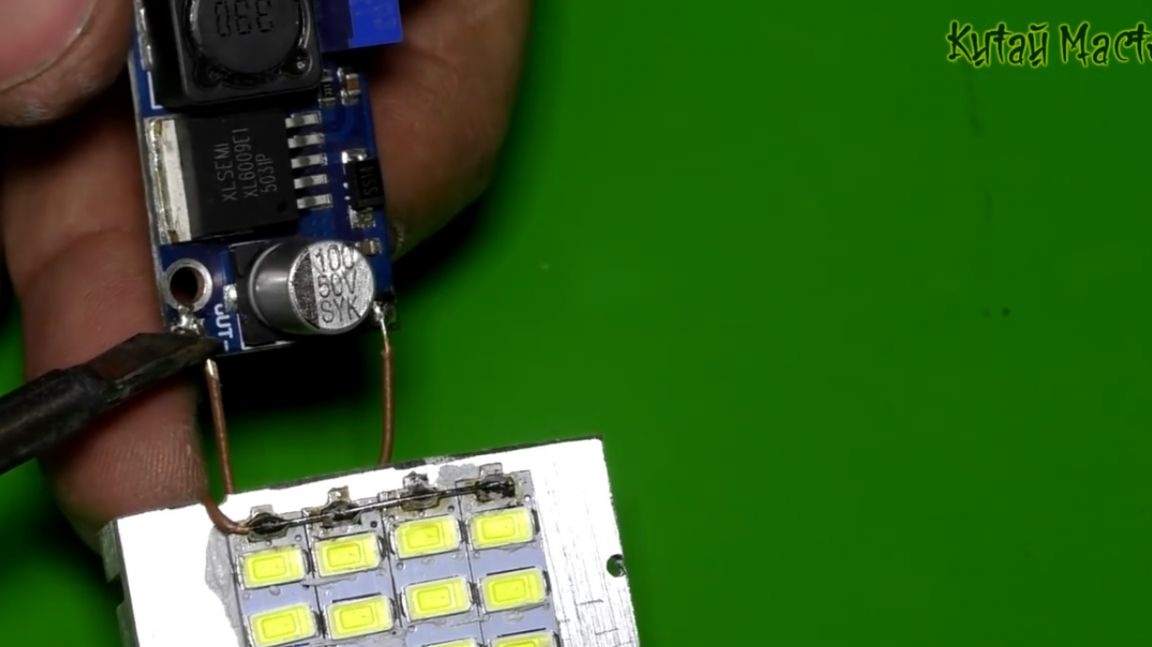
After some time, the glue has dried. Now you can connect the modules. The author will do this in parallel, and they will light up simultaneously. You can divide the inclusion into groups, but to whom it is more convenient.

When connecting a boost module, I think there should be no questions. Everything is clear, all the soldering terminals are signed on it, it is quite difficult to mix anything up. We connect the boost module observing the polarity.
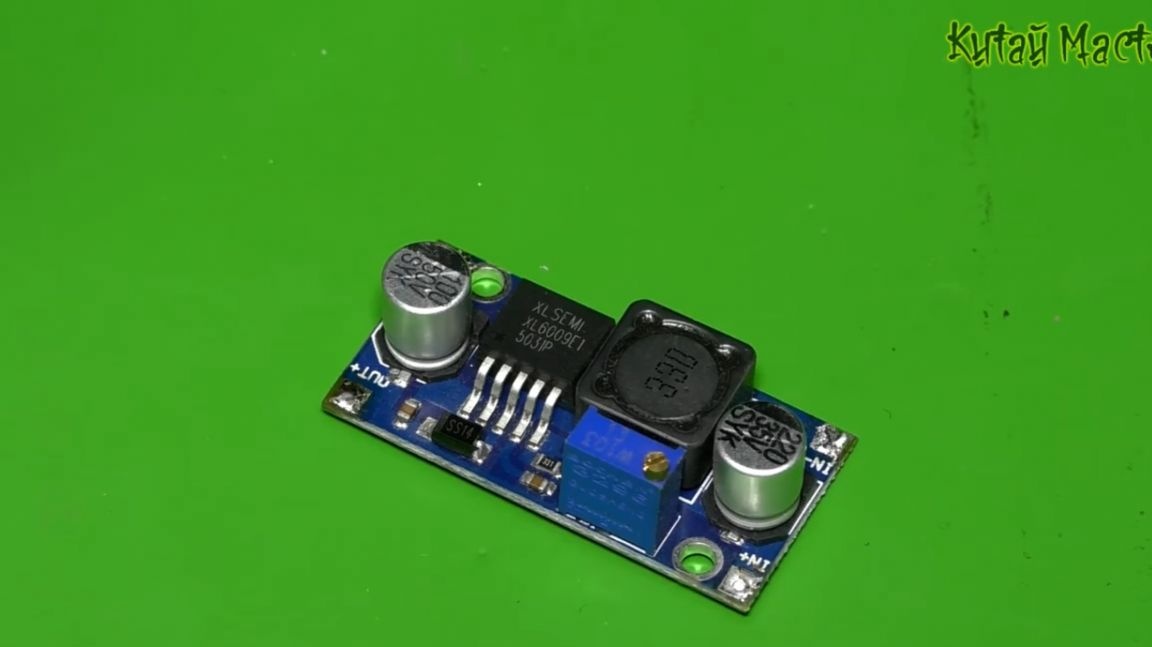
The output voltage is adjusted using a variable resistor installed in the module.
We fix all the insides inside the case. The author also cut a small switch into the spotlight. He fixed the step-up module with double-sided tape, and the radiator with the same heat-conducting adhesive.
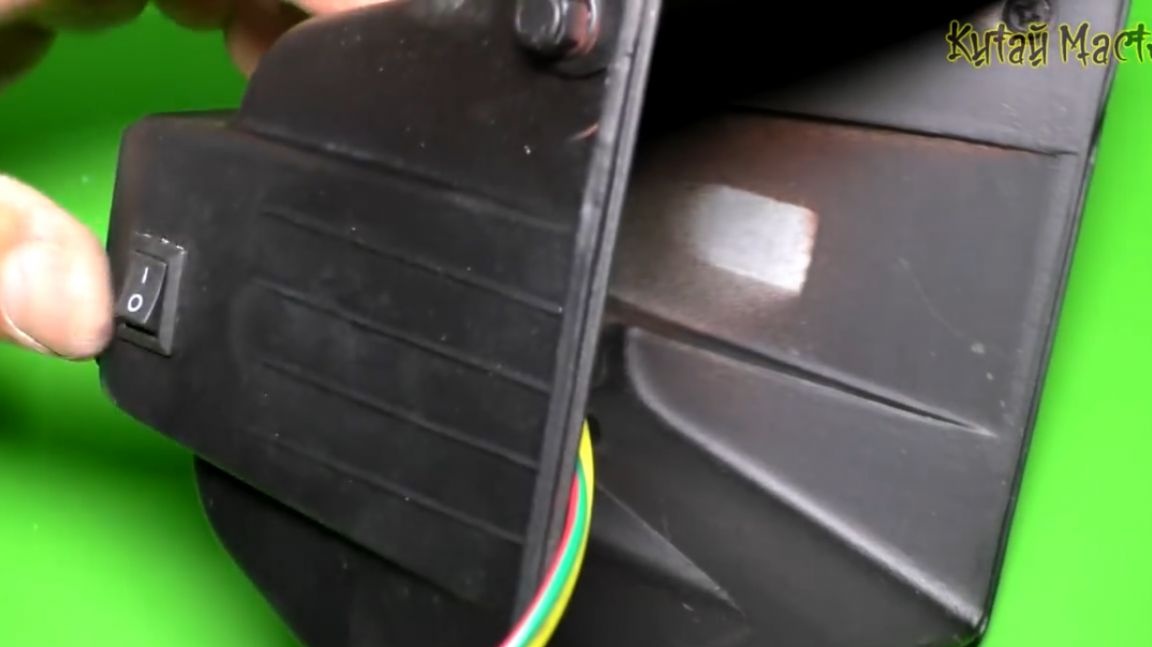
It is time for fastening the power bank. Since the wall of the spotlight is very thin, the author decided to fix it on the same double-sided tape.
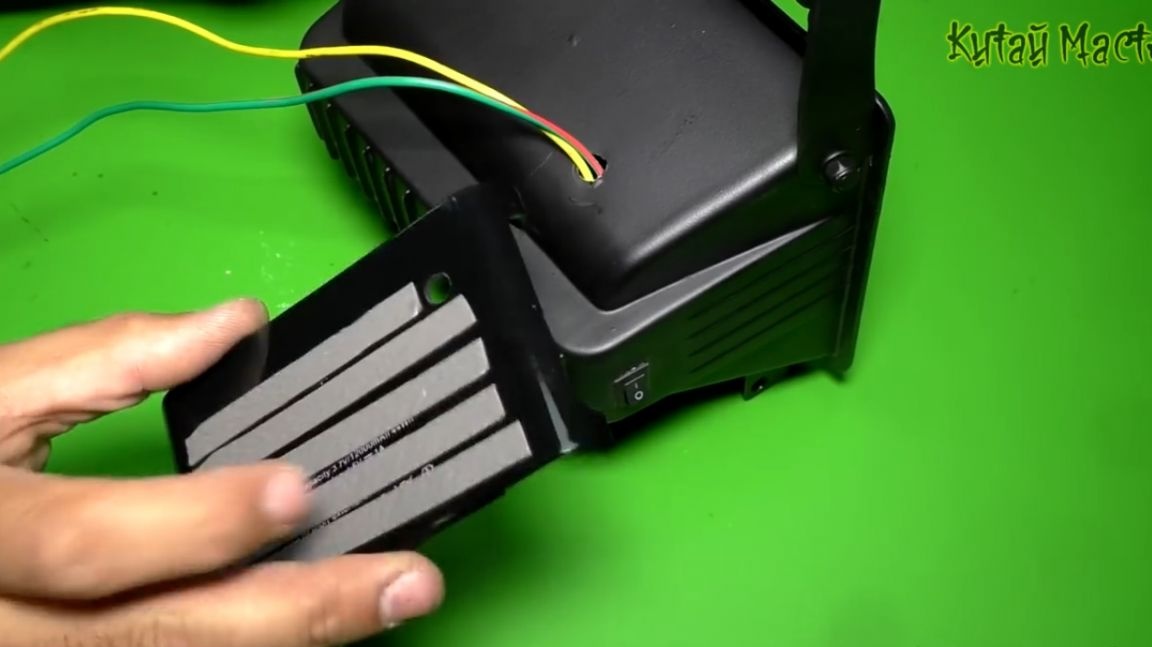
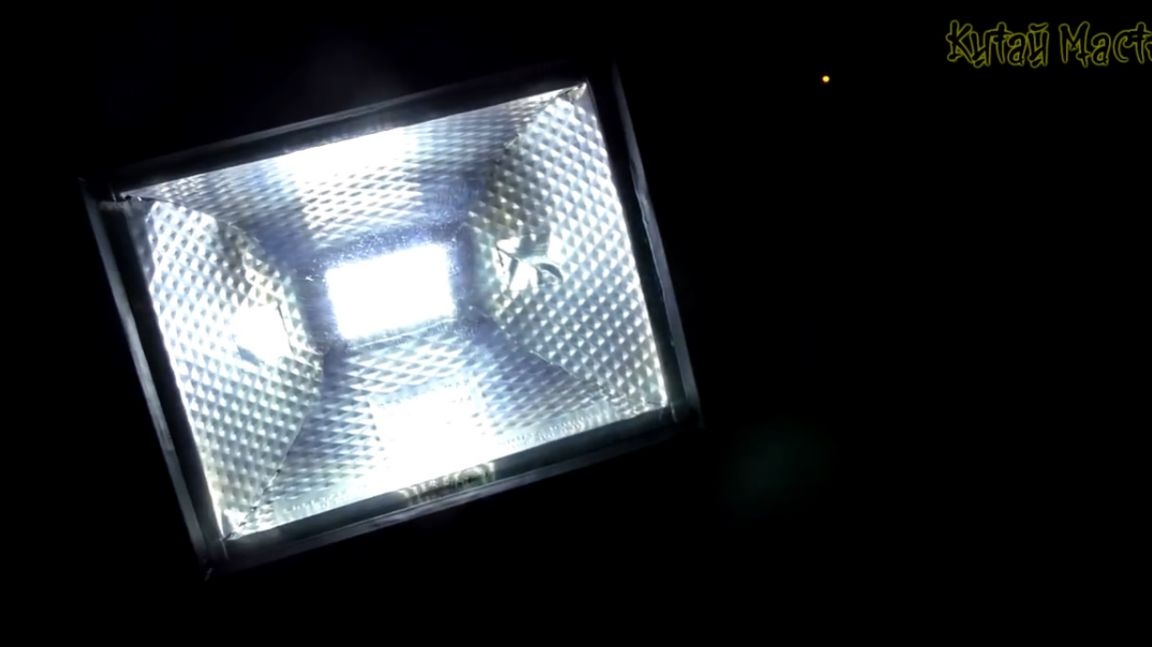
Our design is already working and shines very well.
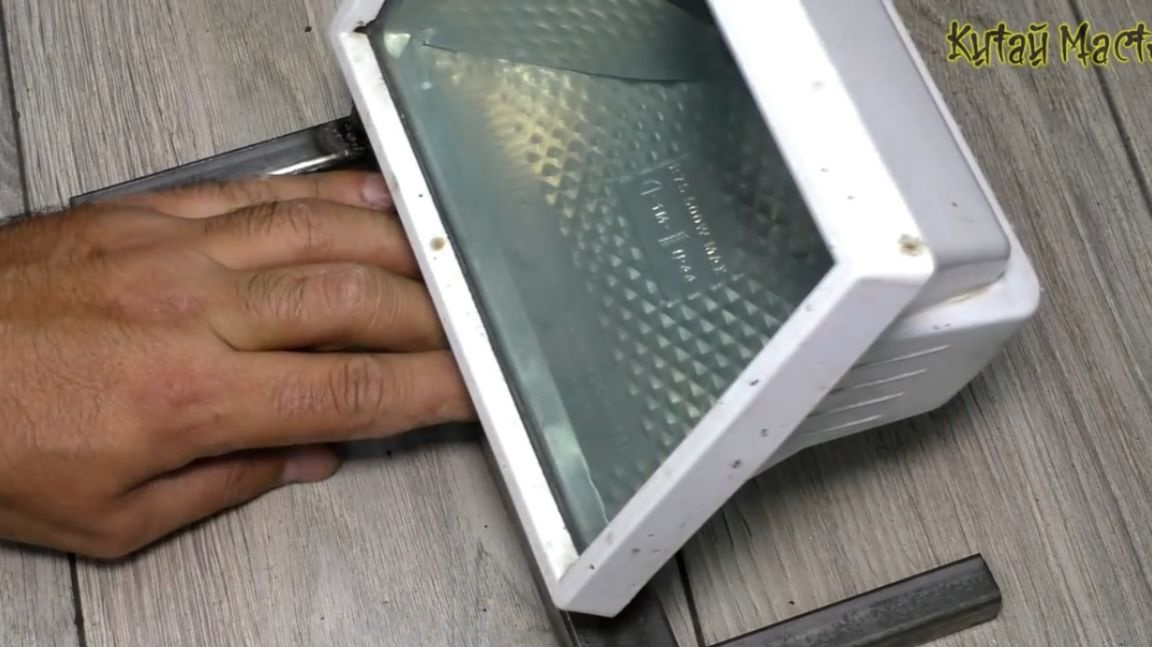
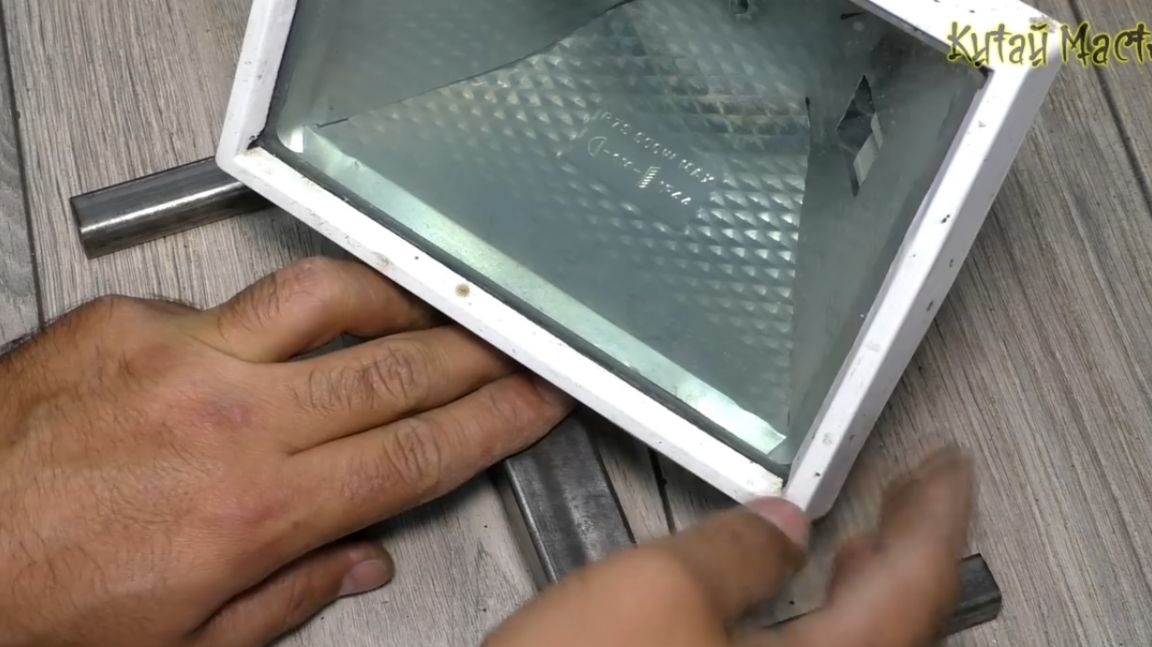
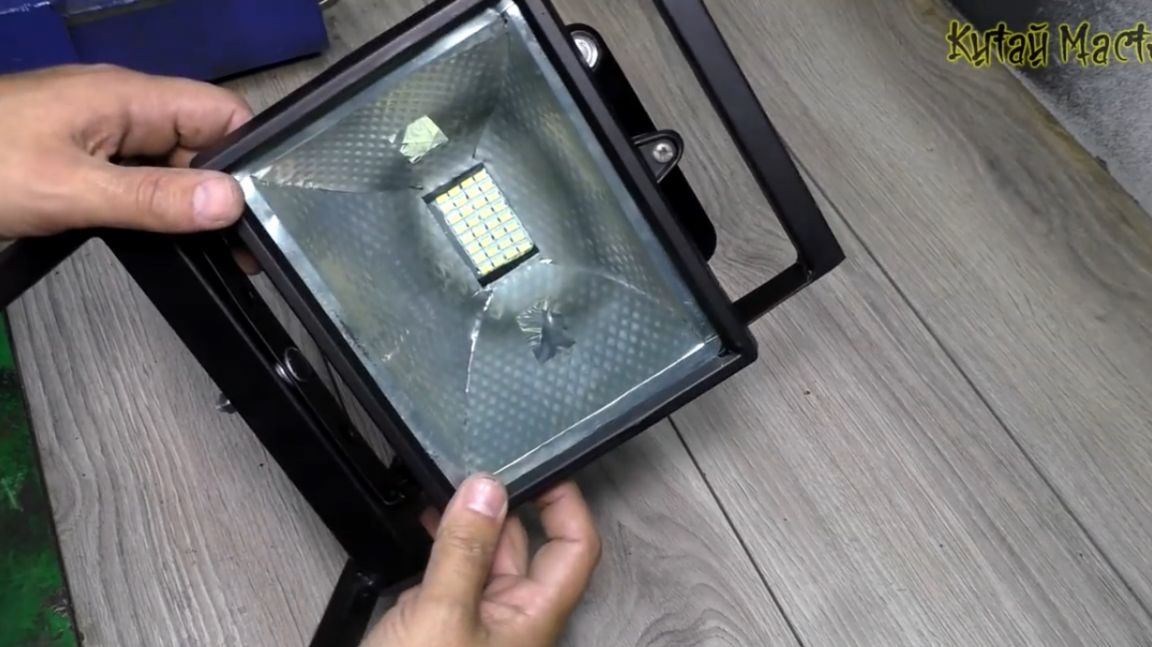
But you still need to put a reflector. It is not known how he will focus the beam, but he will definitely add beauty to our spotlight.
First, take the reflector and glue all the ends.
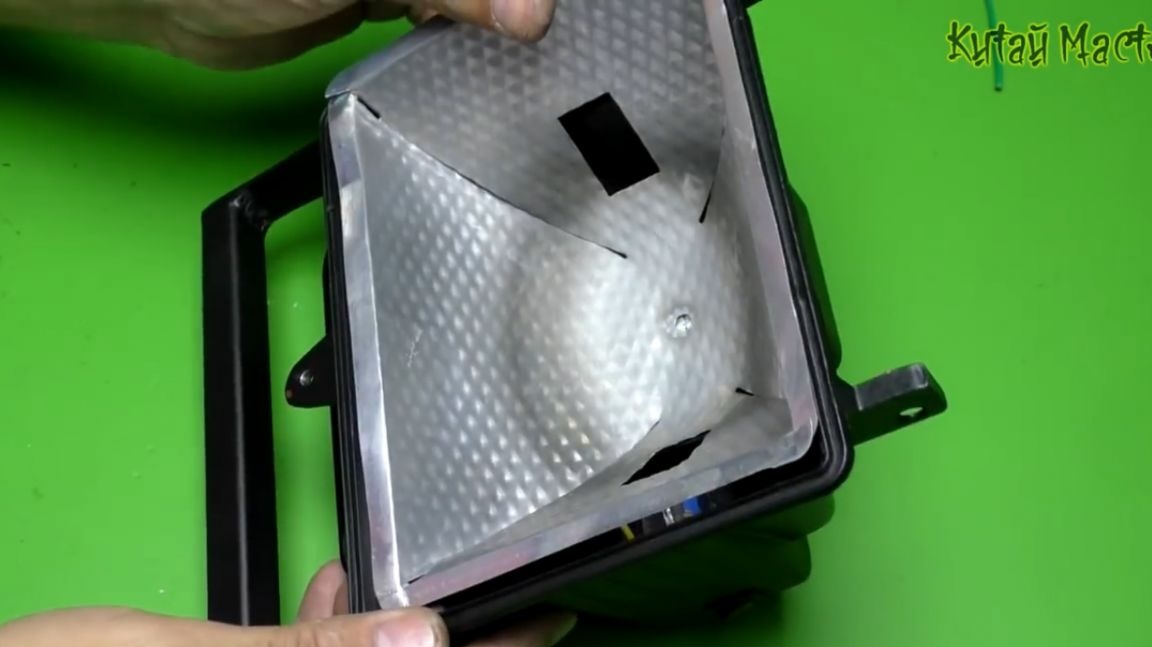
This is necessary so that it simply does not fall apart when we cut the middle under the LEDs.
And finally, a fully assembled searchlight. The author also sealed the hole for fastening the old lamp with tape.

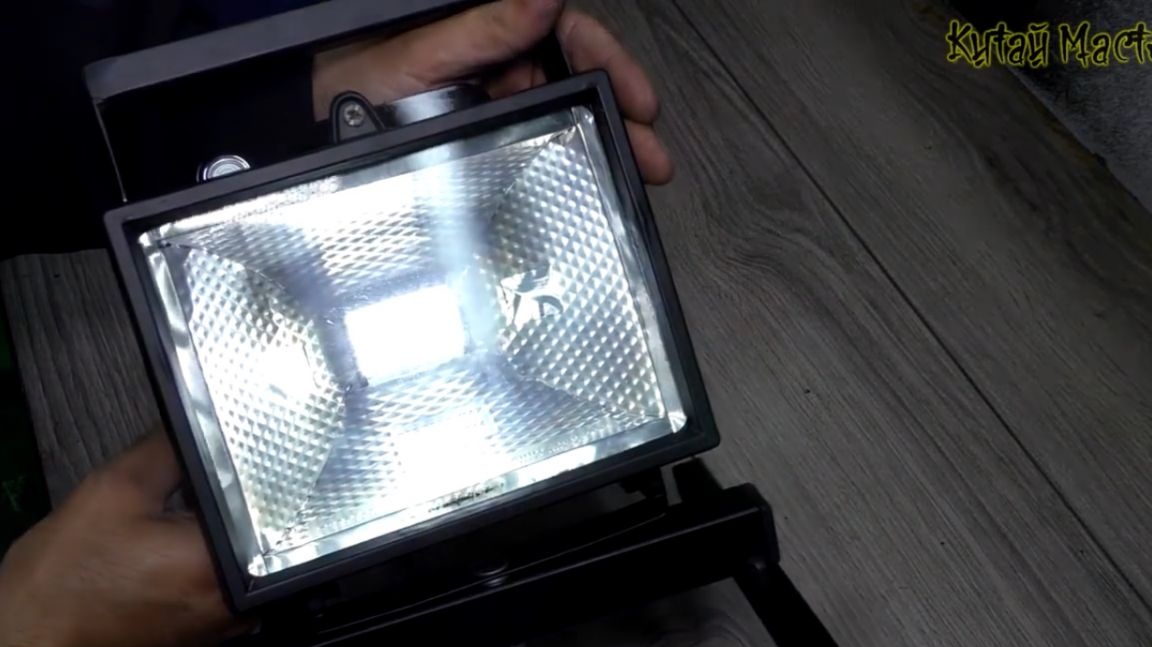
According to the master, this spotlight turned out to be better than the factory one. It even has a function for recharging mobile gadgets and a battery indicator.
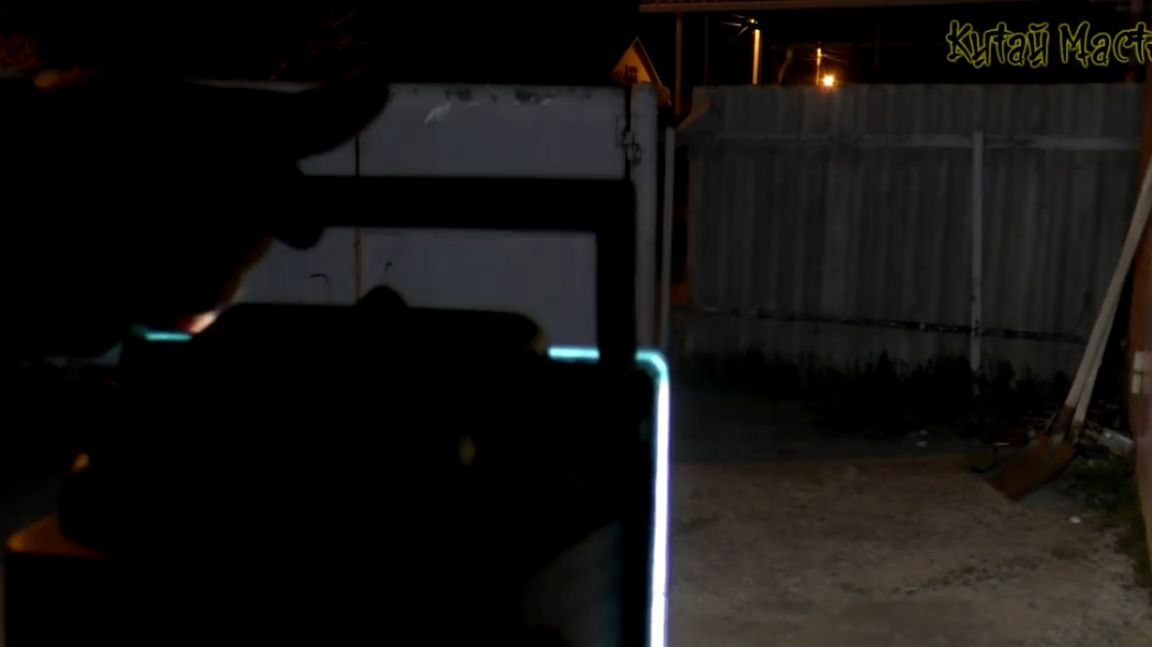
Well now, let's see what he is capable of. We will not check in complete darkness (somewhere in the distance a street lamp is lit), but the effect of our spotlight is also very good.
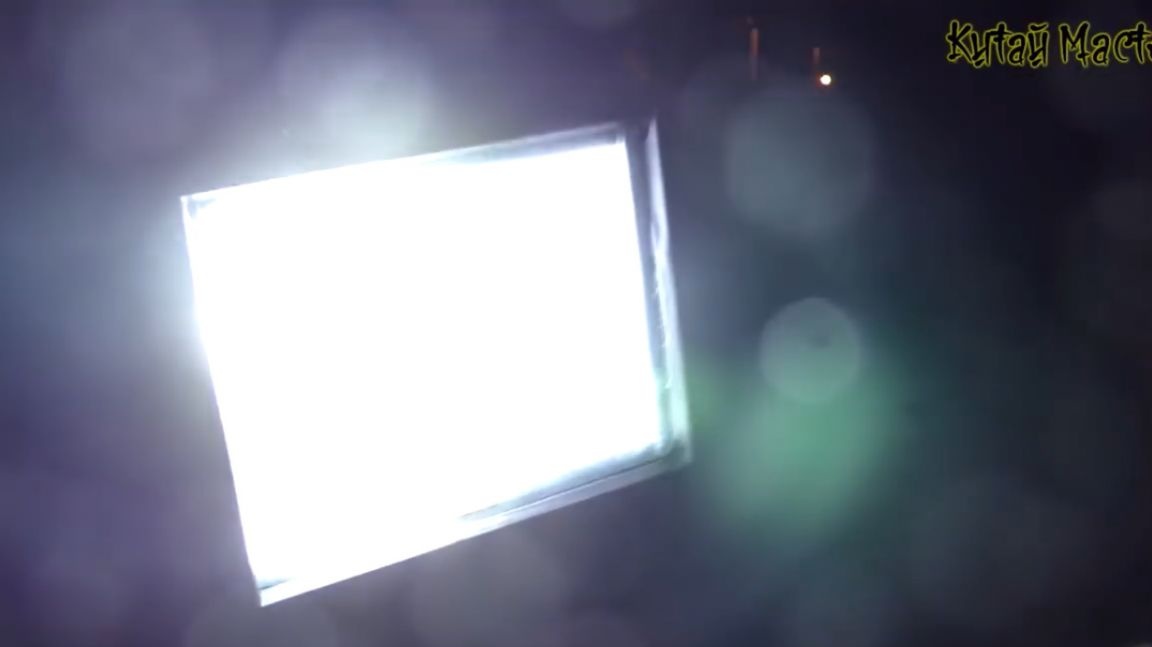
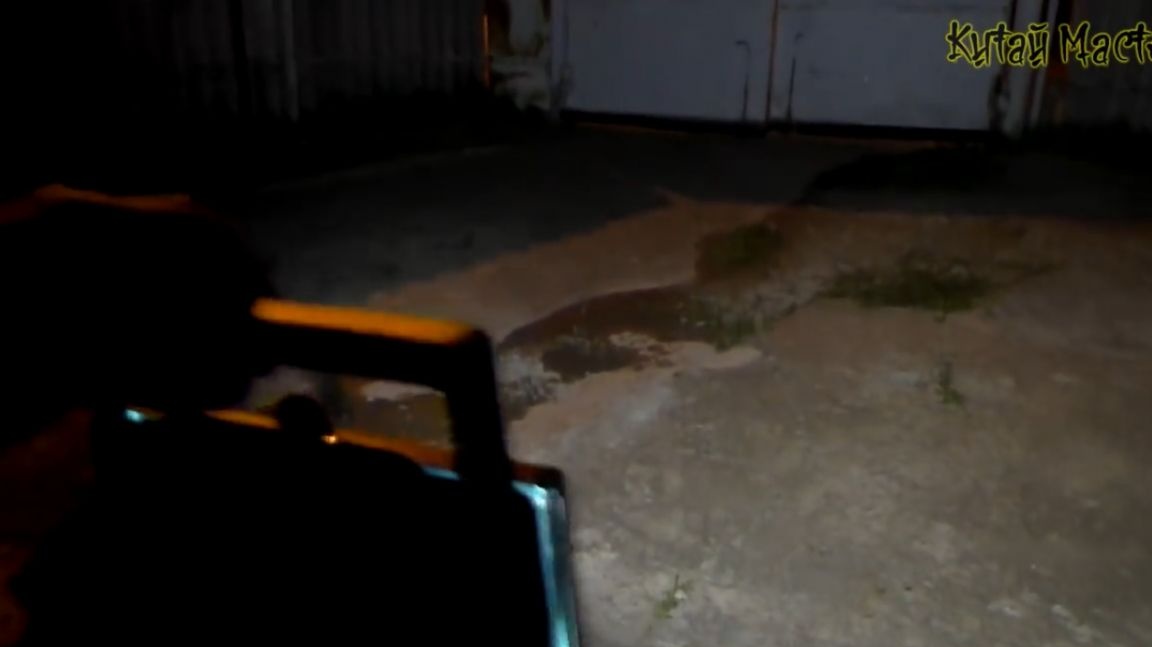
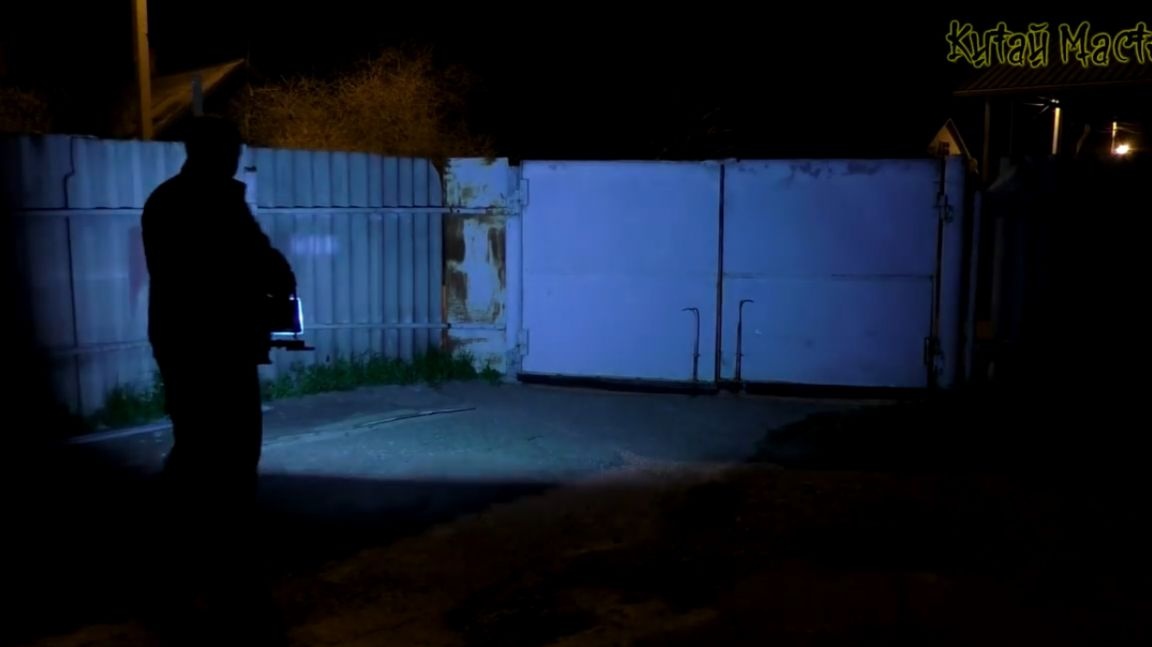
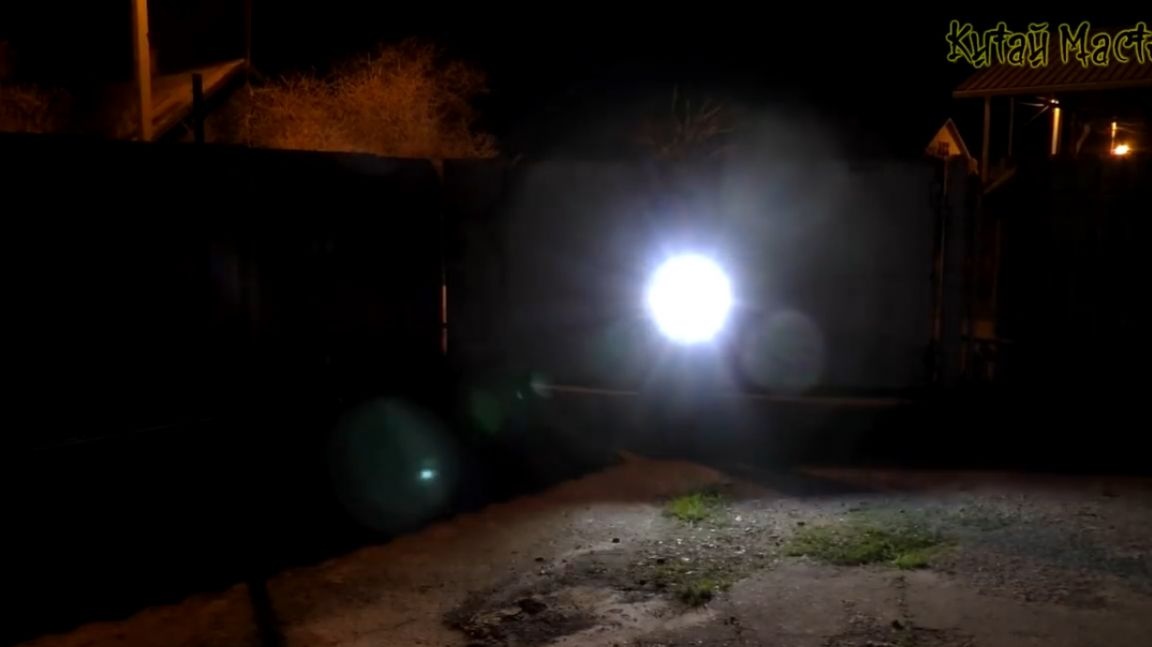
I think this thing is very useful for fishermen, on hikes or just in the garage. Thanks to the powerbank, you can charge this spotlight with an ordinary charger with a microusb connector. And the continuous glow time on fairly old batteries was about 4 hours. The design of the searchlight can be further improved by attaching to its handle, for example, some kind of hook. Then, if necessary, the spotlight can be easily placed almost anywhere (the size of the handle will not allow you to place the spotlight on a tree branch, for example). It will only be necessary to find what to hang it on. In general, with this homemade product in the dark you will not stay.
Thank you for attention. See you soon!
Video: