
If suddenly a situation arises in your life when you urgently need to convert 12V to 220V or even use a different voltage range, you can always adapt electric motors for this. Any engine can work as a generator. So, for example, DC motors are quite simple to spin up and they already generate energy due to built-in magnets. But for AC motors or motors without magnets, you need to apply voltage to the winding to start.
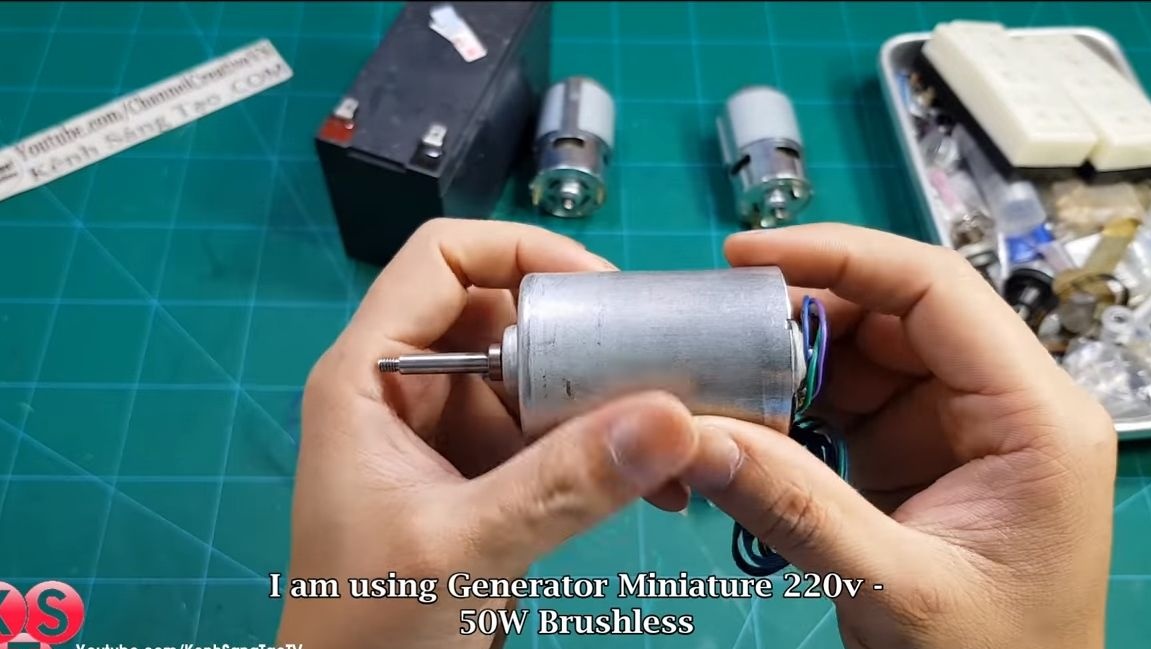
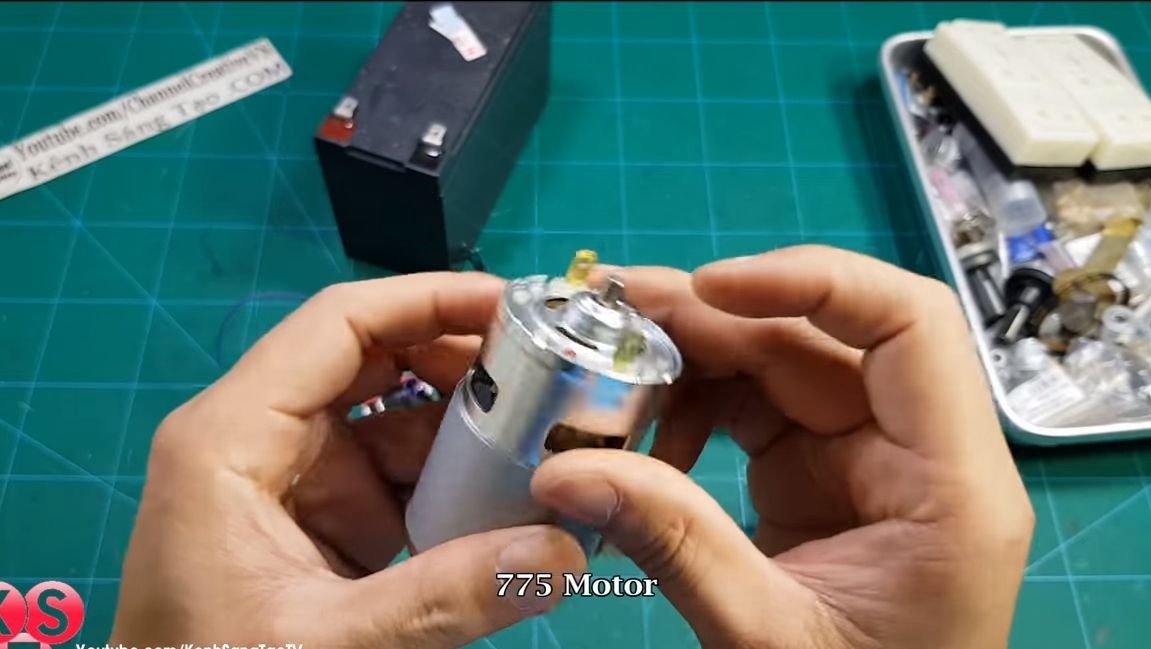
Today we will look at how to make a simple voltage converter based on two motors. Of course, this technology has low efficiency and short life, when compared with transformers and various electronics. Here it is necessary to overcome the frictional forces in the bearings, energy is lost in the cooling fan, and so on. But then such a converter does not require knowledge in electronics, it is not required to solder the board for a long time, everyone can quickly assemble it. IN homemade two engines were used, one on 12V, in this example it is the 775 motor, it is quite powerful and well suited for homemade work. And the second motor is similar in size to 220V, which works as a generator, generating 50 watts of energy. The whole thing is powered by a 12V battery. So, we will consider in more detail how to make such a converter!
Materials and tools that were used by the author:
Material List:
- ;
- at 220V (judging by the description of brushless);
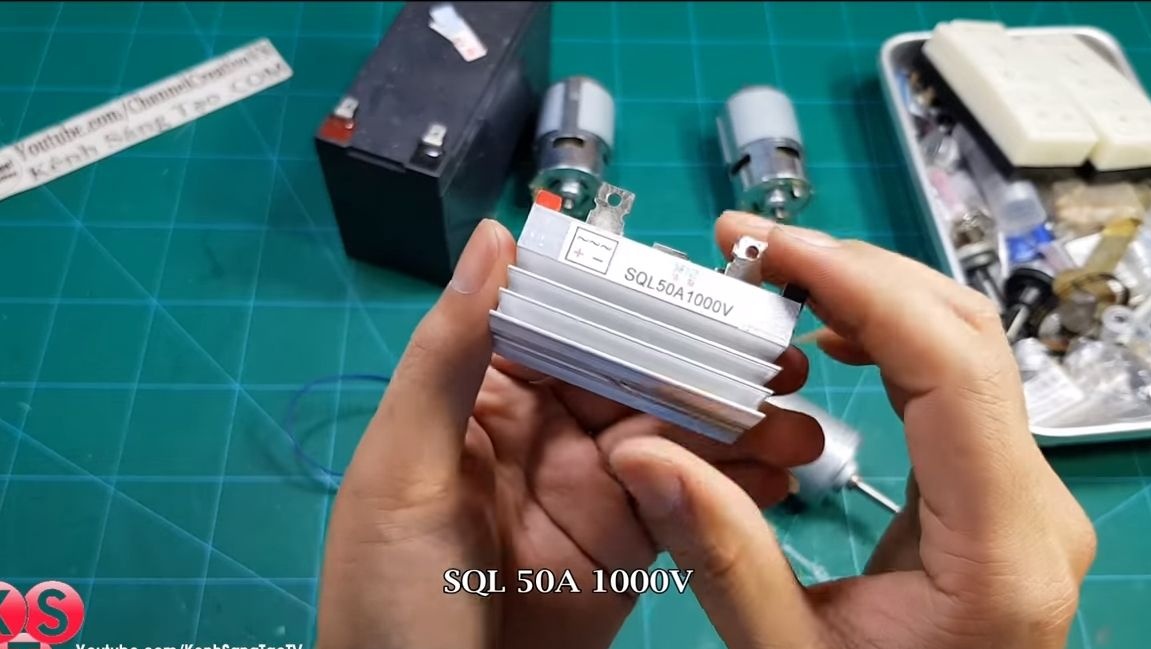
- rectifier (optional);
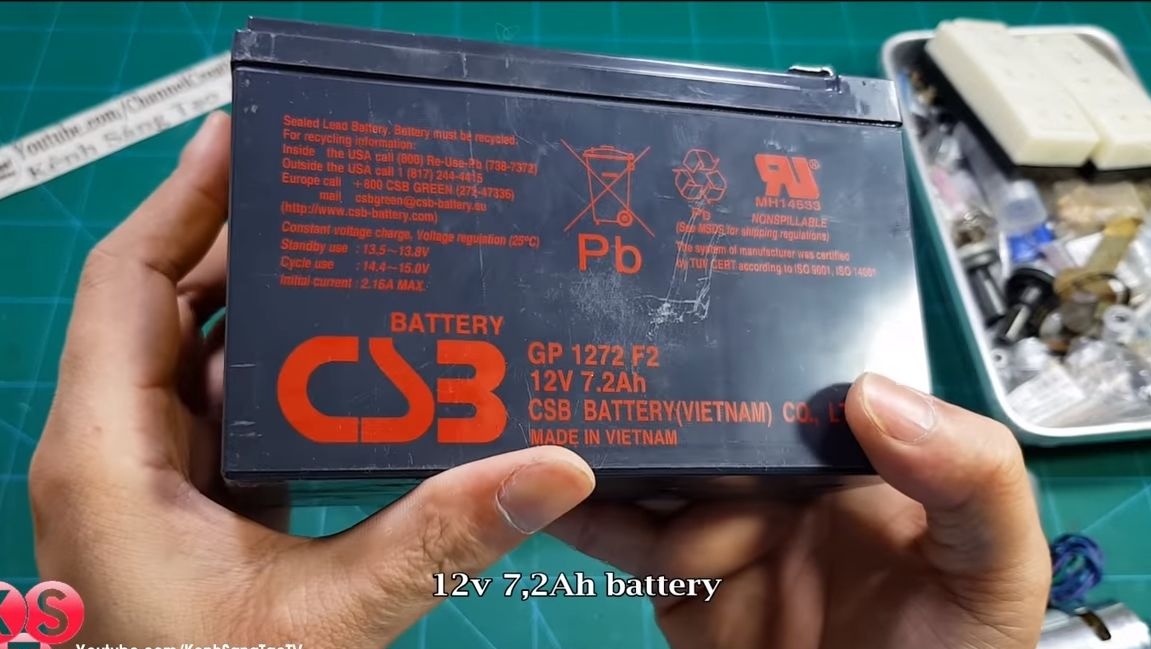
- 12V battery;
- cardan transmission;
- plywood;
- two outlets;
- wires;
- heat shrink;
- screws;
- steel clamps.
Tool List:
- screwdriver;
- soldering iron;
- scissors;
- lighter;
- multimeter.
Generator manufacturing process:
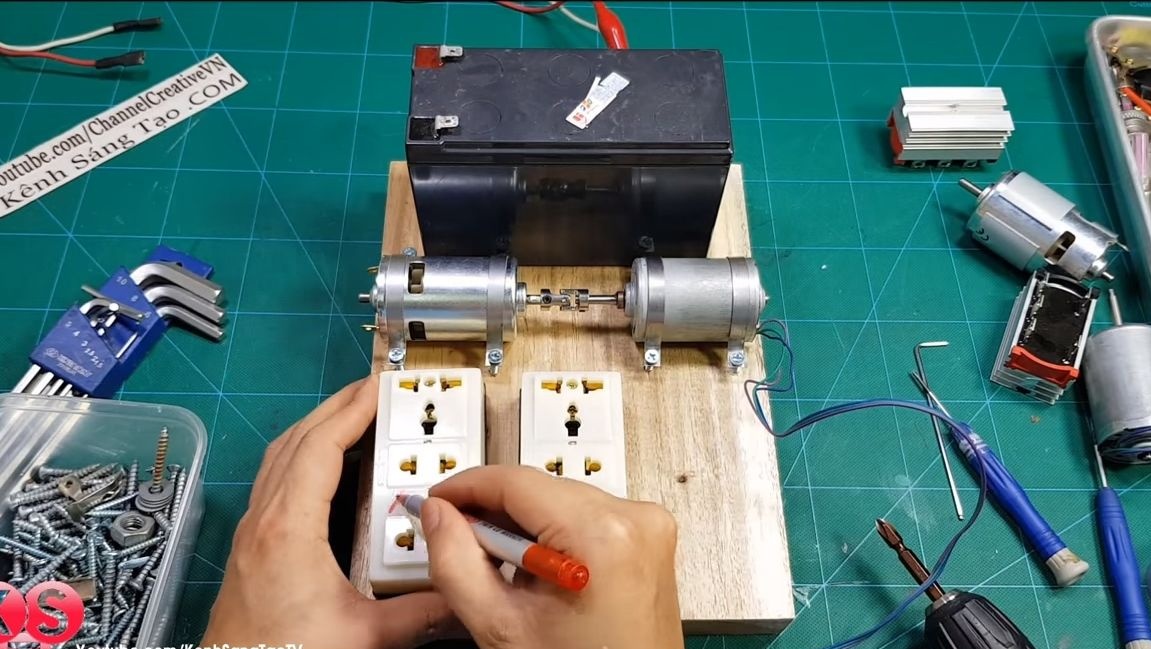
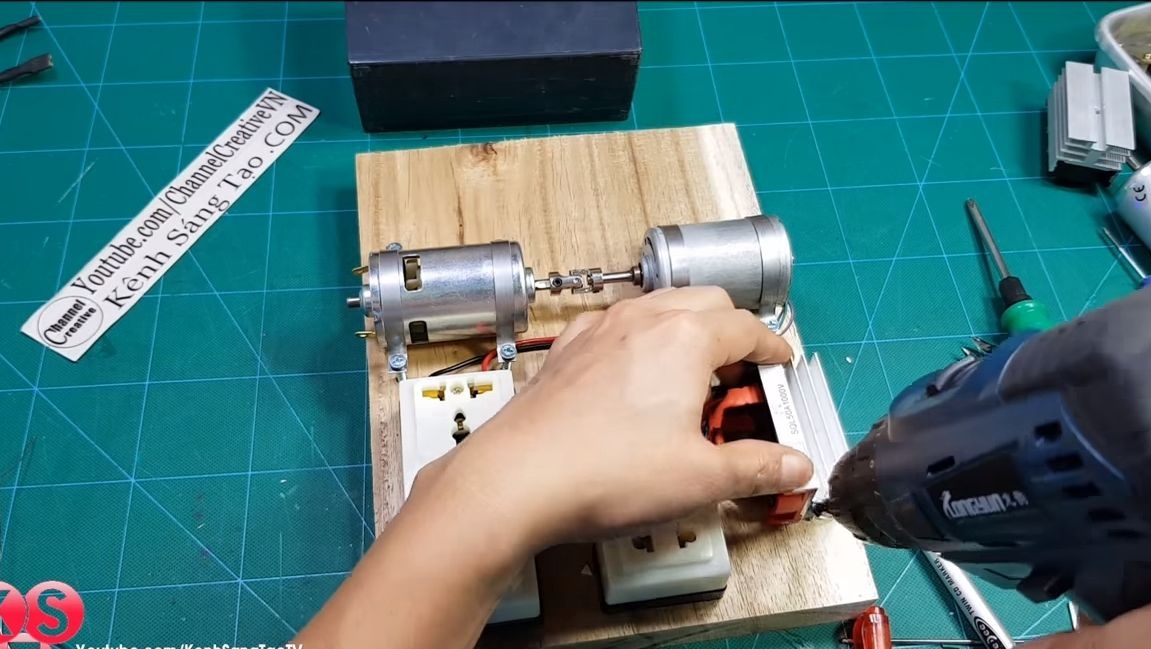
Step one. Install the motors
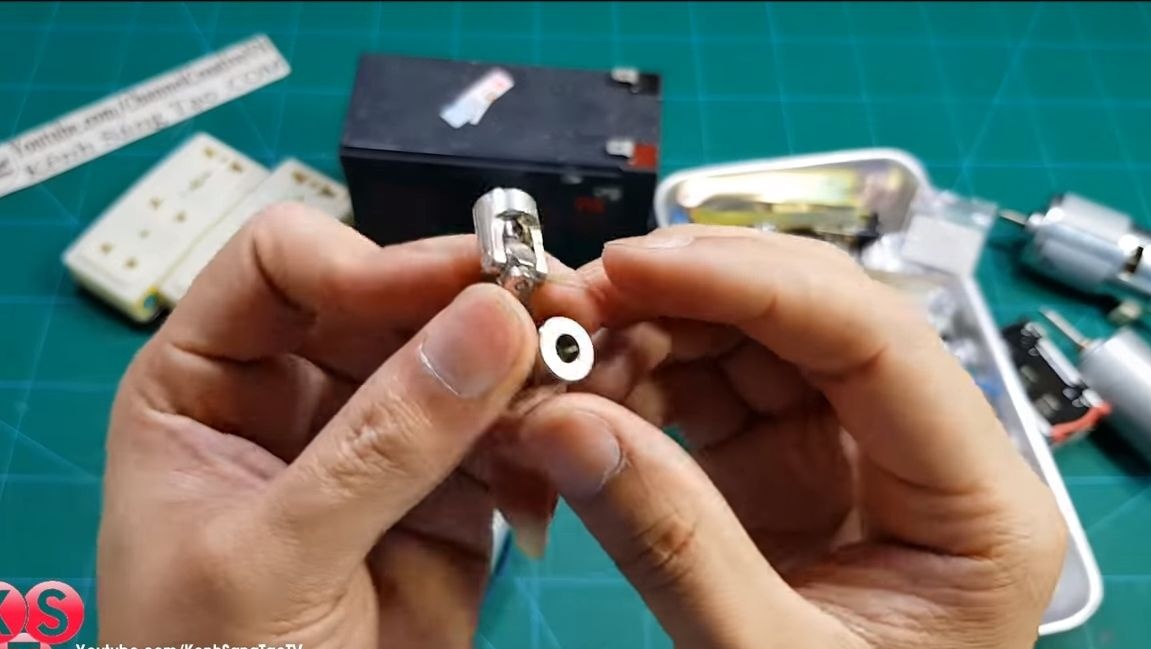
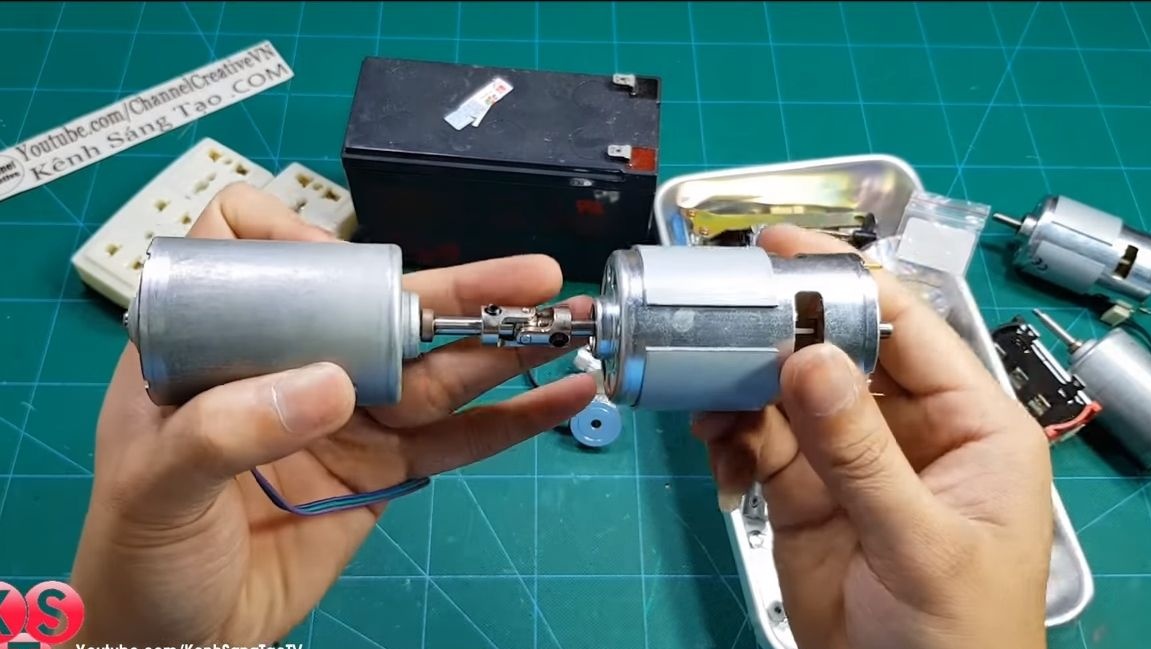
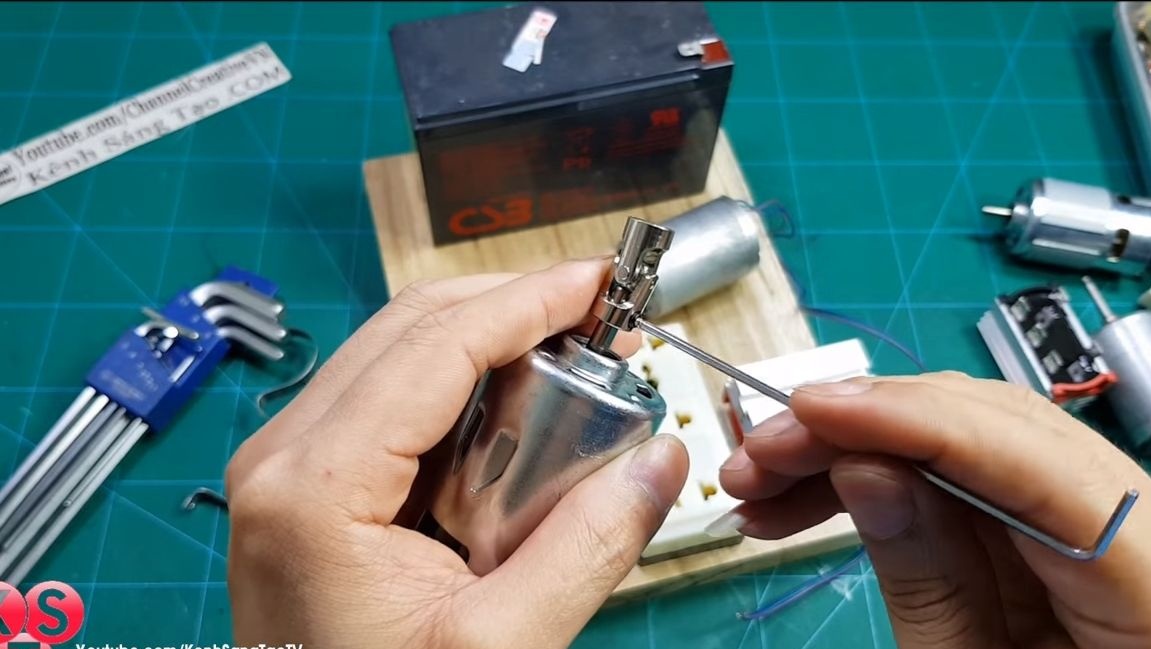
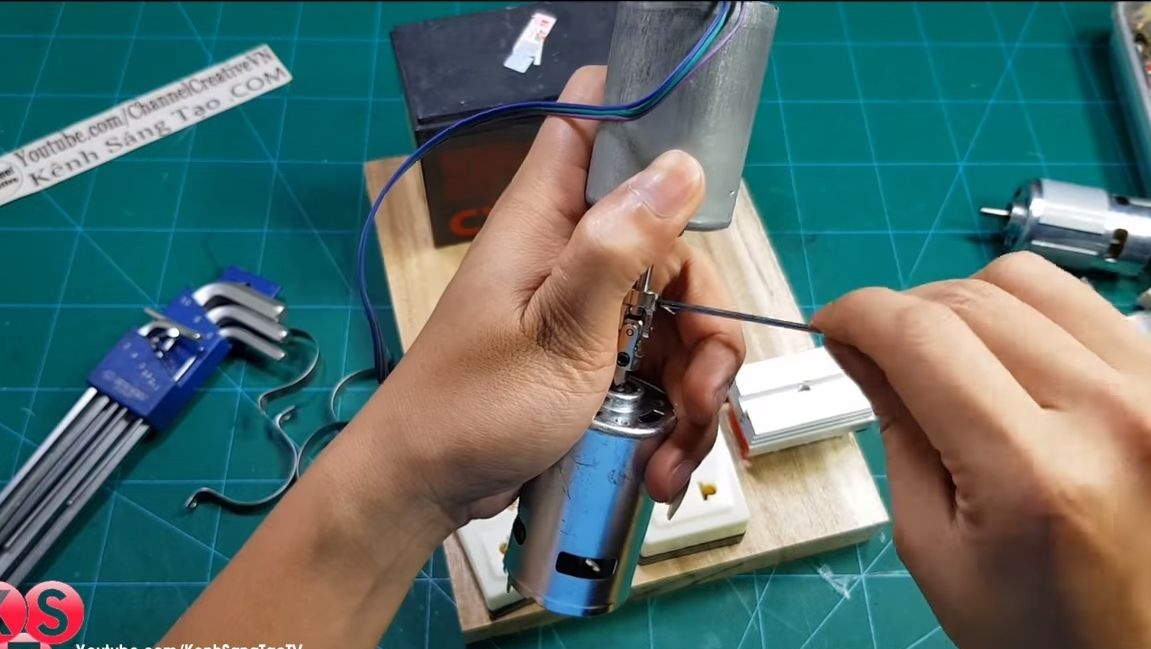
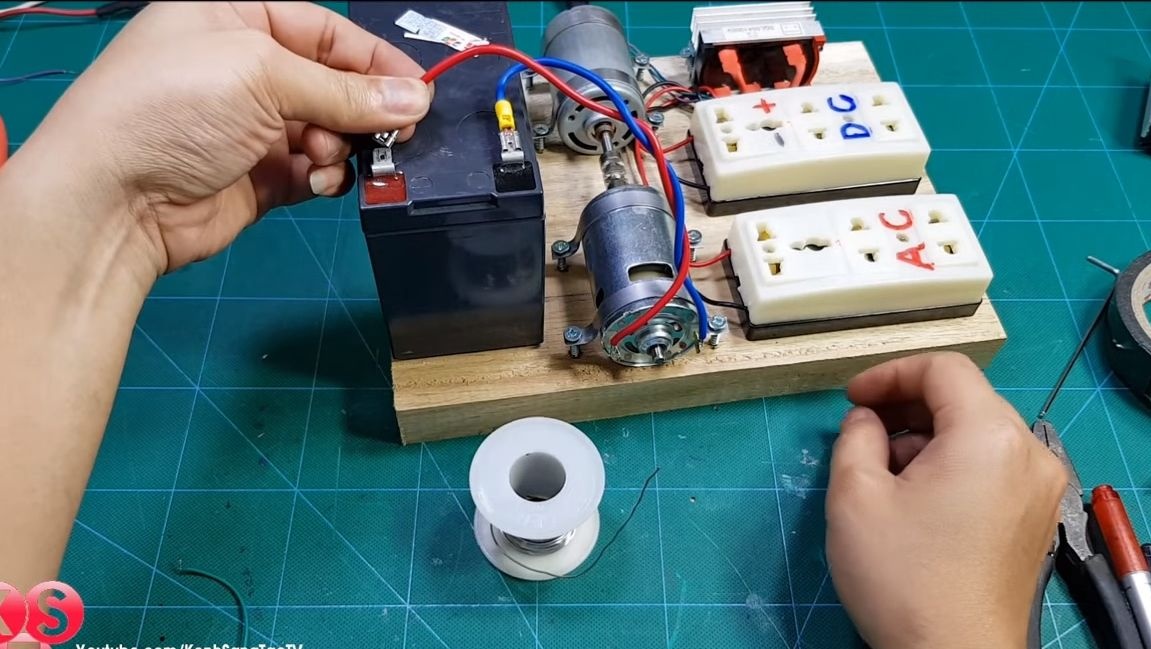
First install the engines on the base. First we connect their shafts, for this the author used a cardan drive. Due to this, we will avoid the vibrations that will form during uneven docking. Instead of a cardan transmission, it is quite possible to use a piece of hose, clamping it on the shafts with steel clamps.
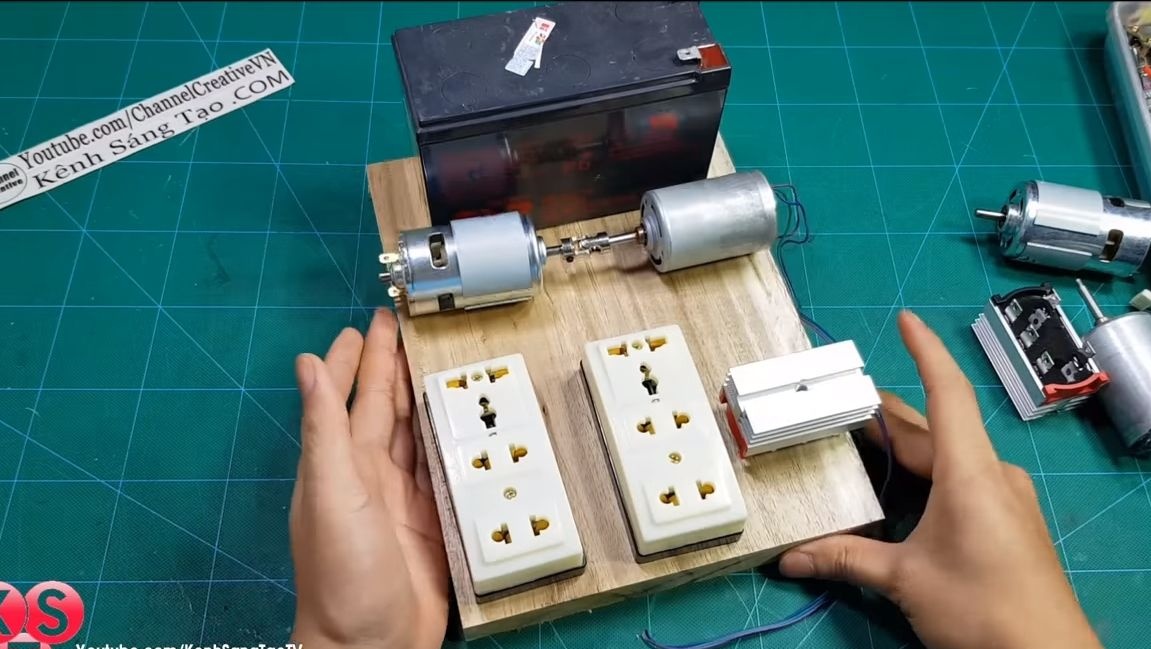
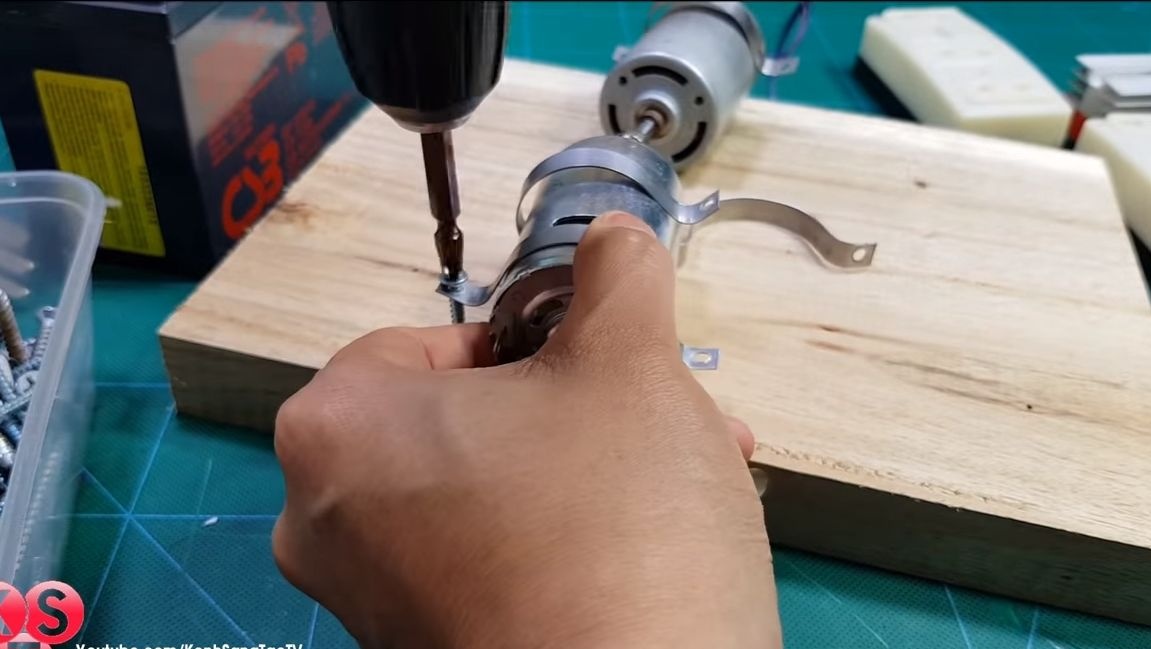
Now you can install the engines on the base, which is a piece of plywood or board. We use steel clamps and screws for fastening. Clamps can be made from thin steel, for example, from a can.
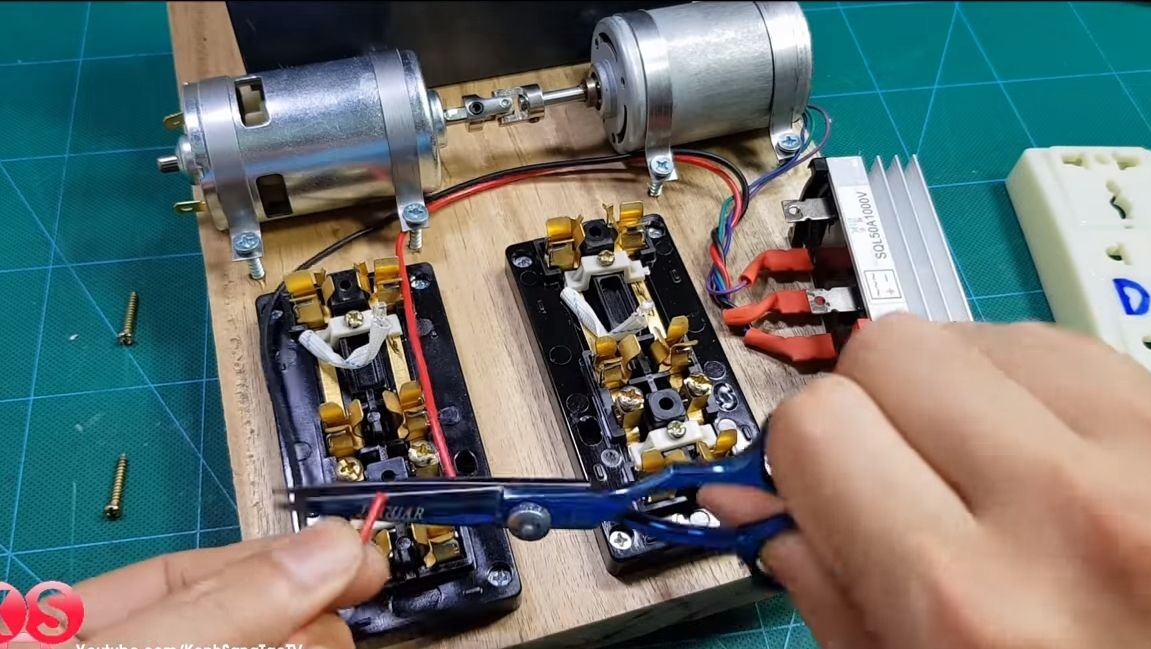
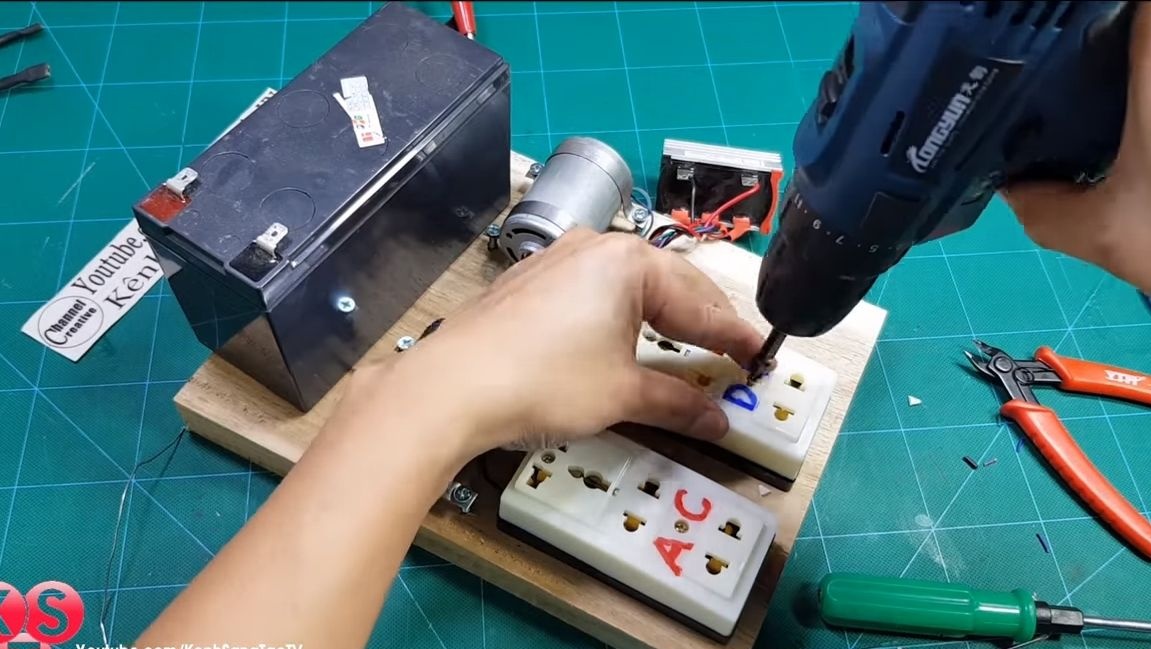
Step Two Install sockets
In total, the author decided to install two sockets. In one, we will have alternating voltage, and in the other, constant. It will be necessary for experiments. But of course, alternating voltage is most often used in everyday life. We attach the sockets to the base with screws and immediately sign where the voltage will be.
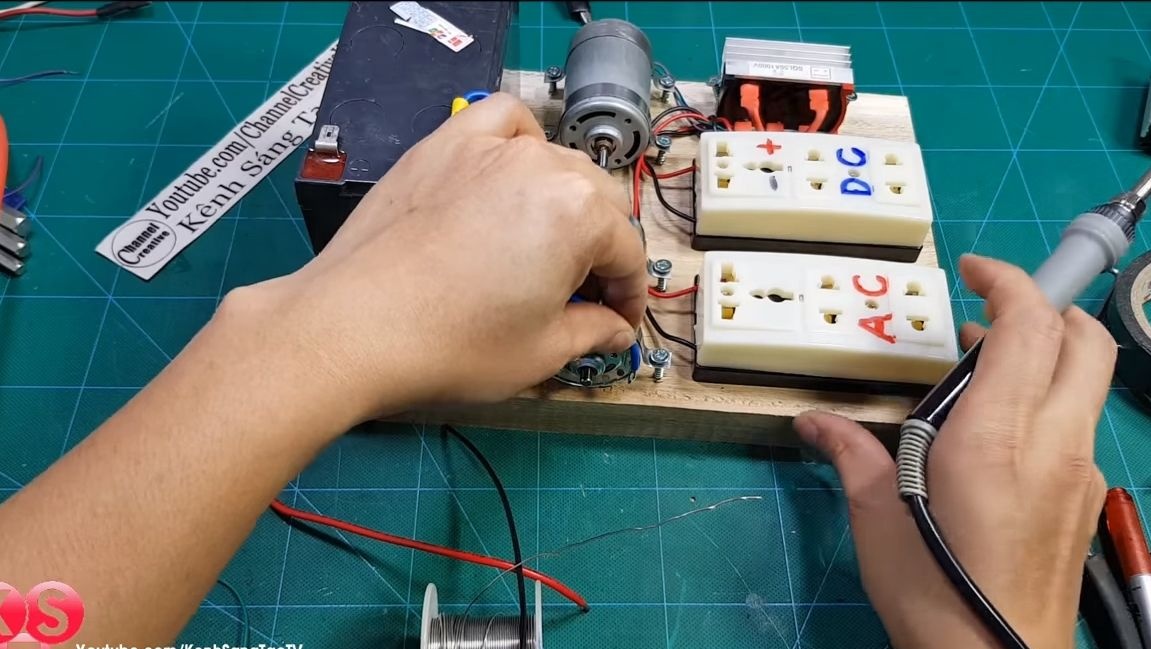
Step Three We connect the generator wires
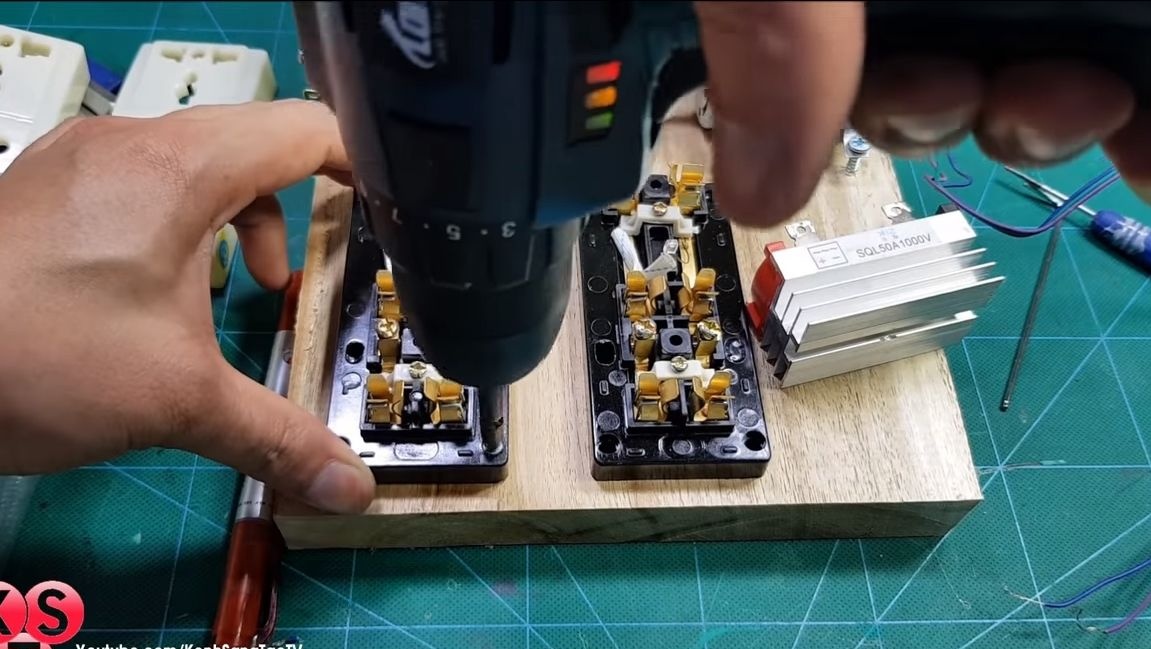
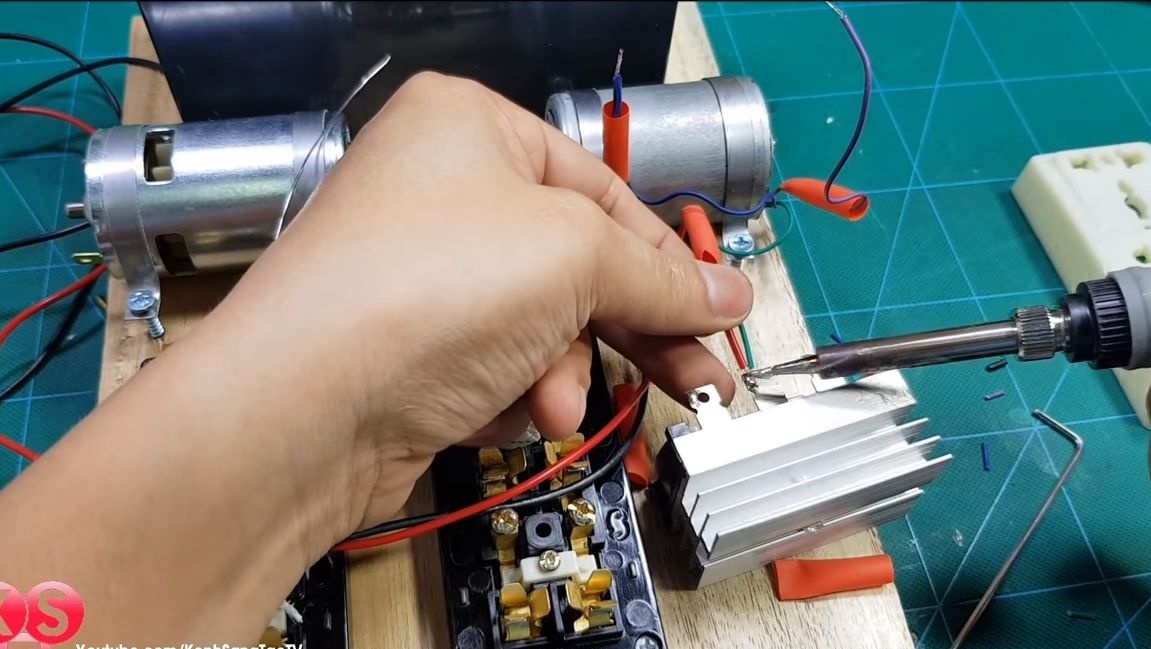
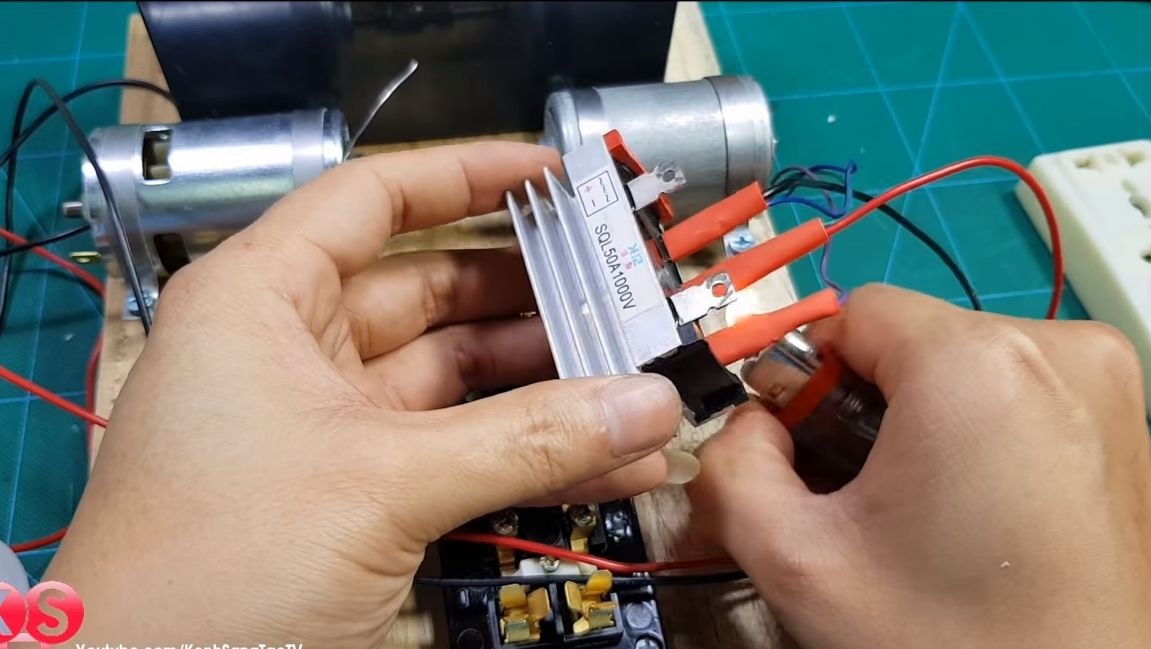
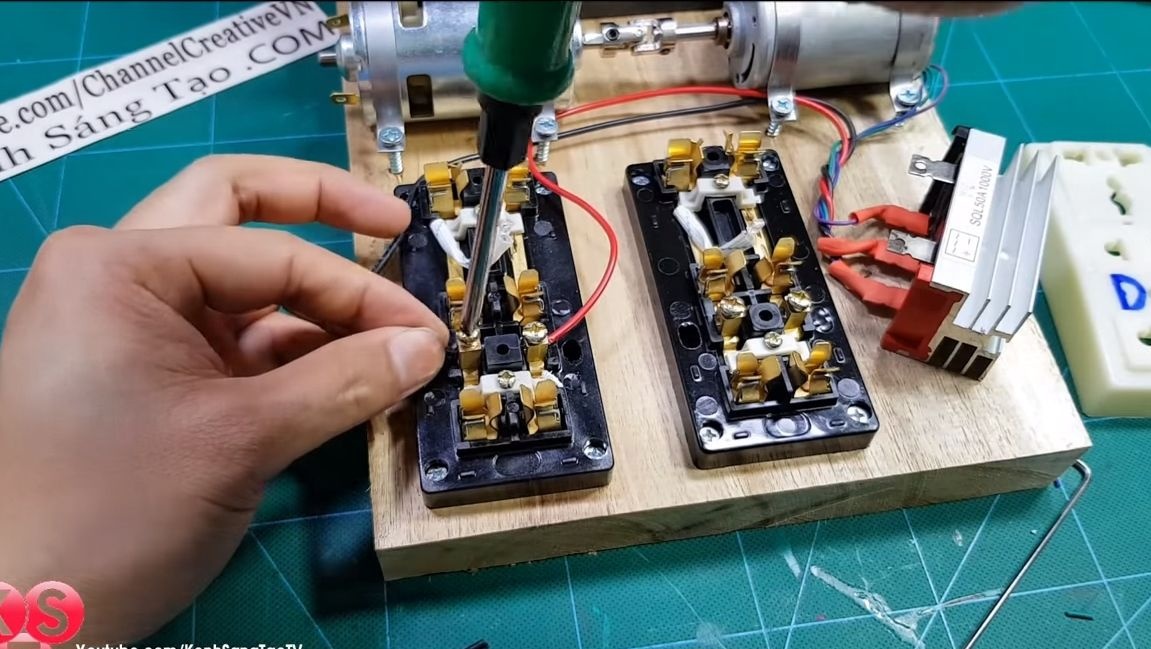
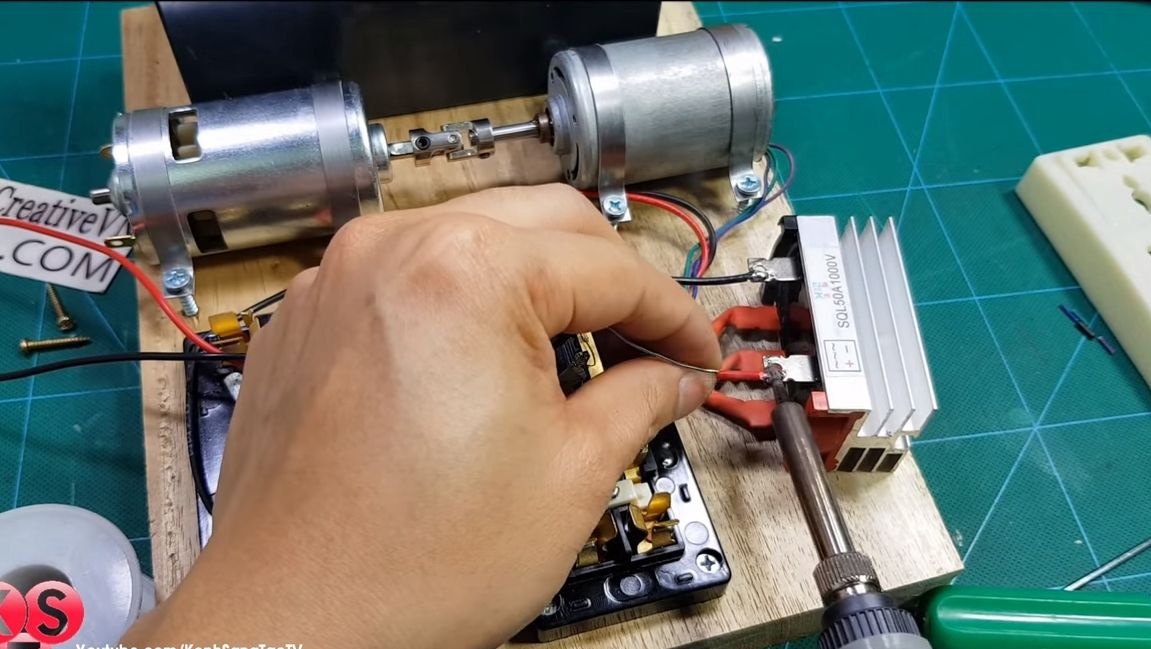
The author decided to solder the wires from the generator to the rectifier, at the output of which we get a constant voltage. The contacts are well insulated with heat shrink. Next, we attach the two wires from the rectifier to a socket with a constant voltage. And we attach two more wires directly from the generator to the contacts of the AC outlet.
That's all, now screw the socket covers into place. The rectifier also needs to be securely fastened by screwing it to the base.

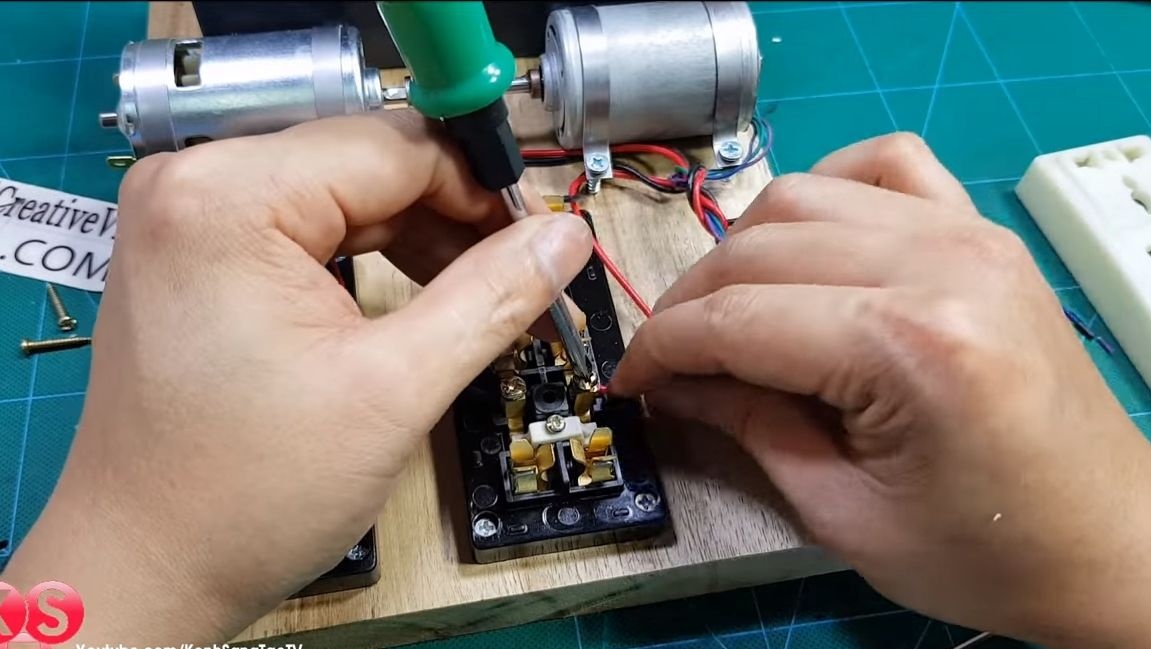
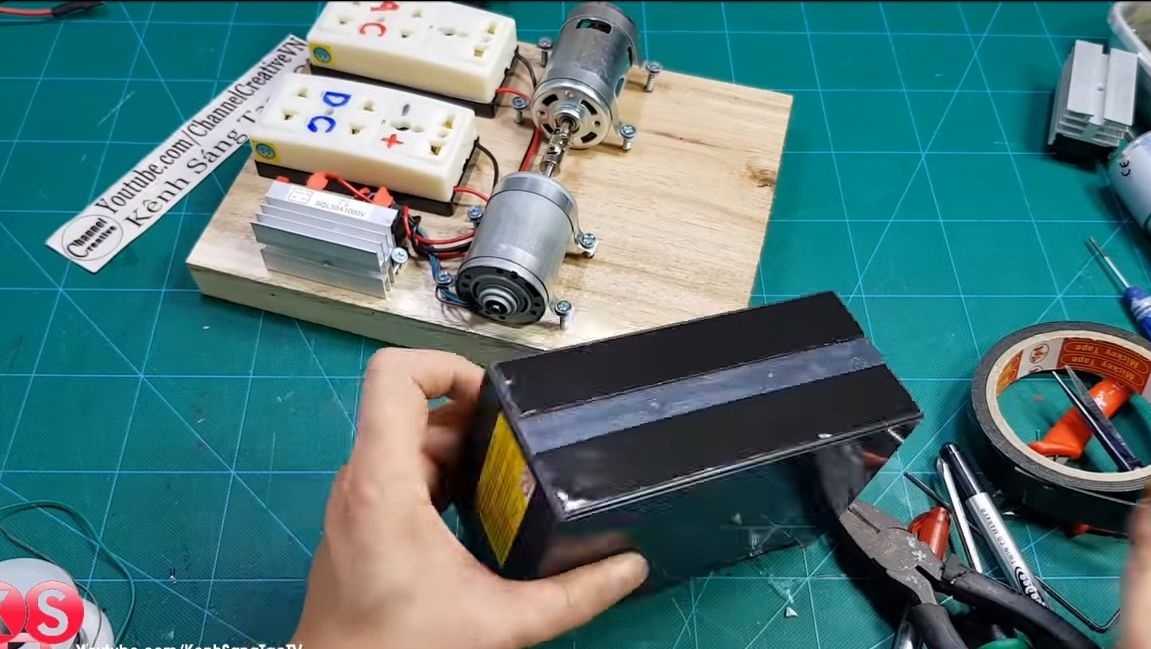
Step Four The final stage of assembly
Based on the battery, the author decided to use double-sided adhesive tape for these purposes. We solder the wires to the motor contacts 775, at the ends of which we install the terminals for connecting the battery. That's all, our converter is ready, you can proceed to testing!
Step Five Testing our converter!
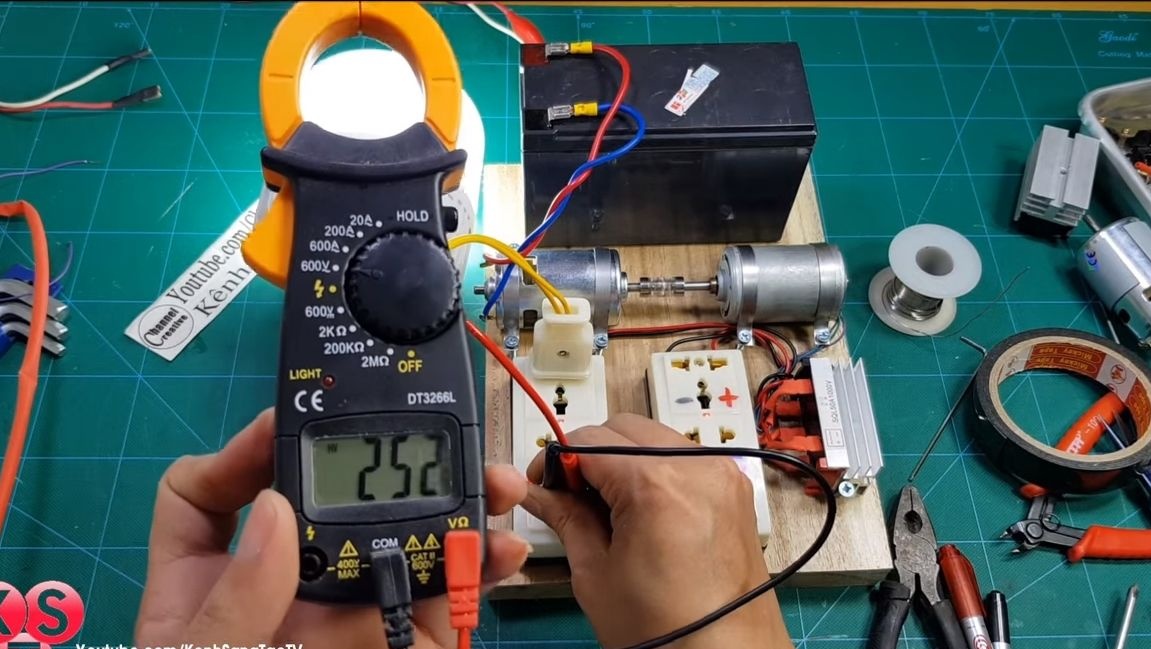
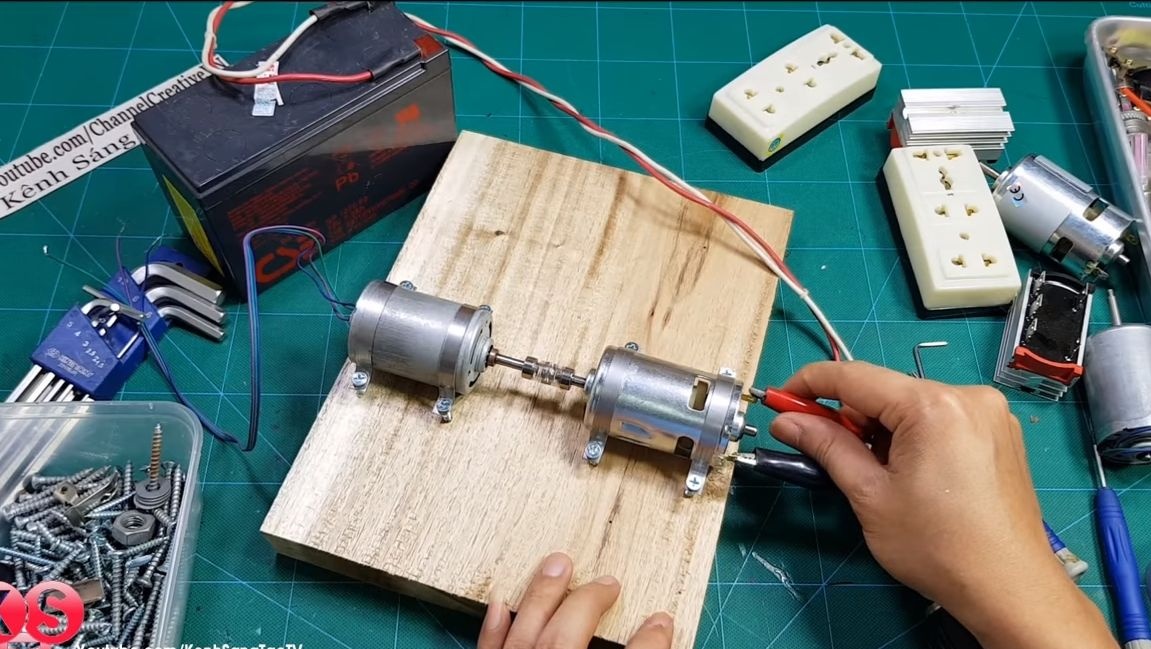
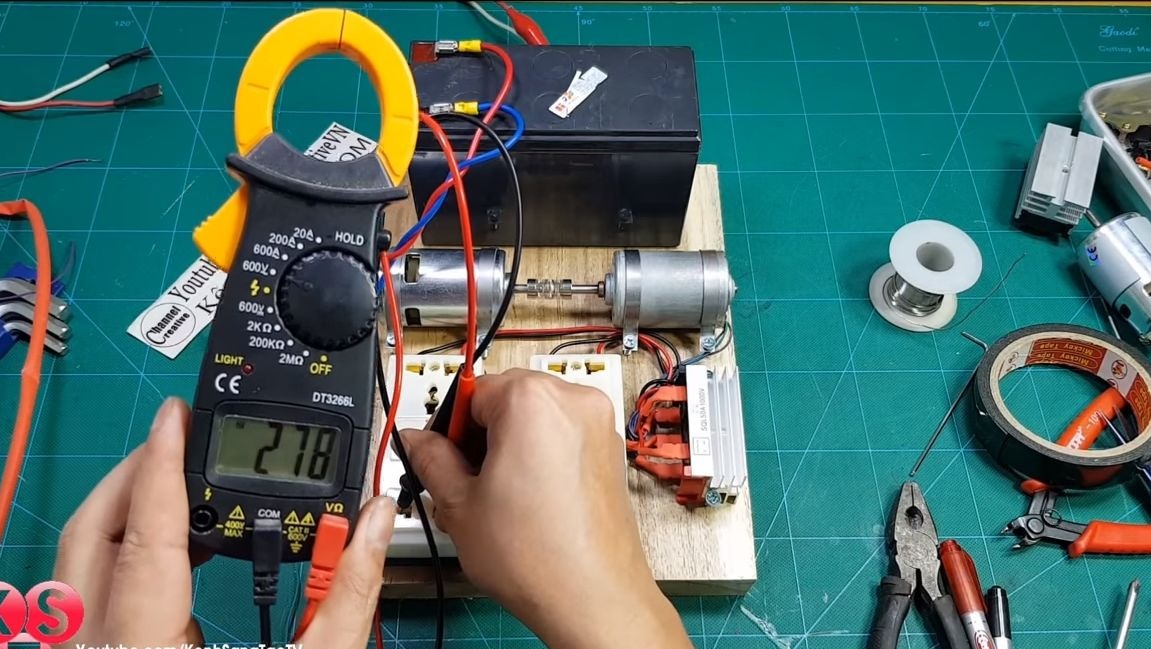
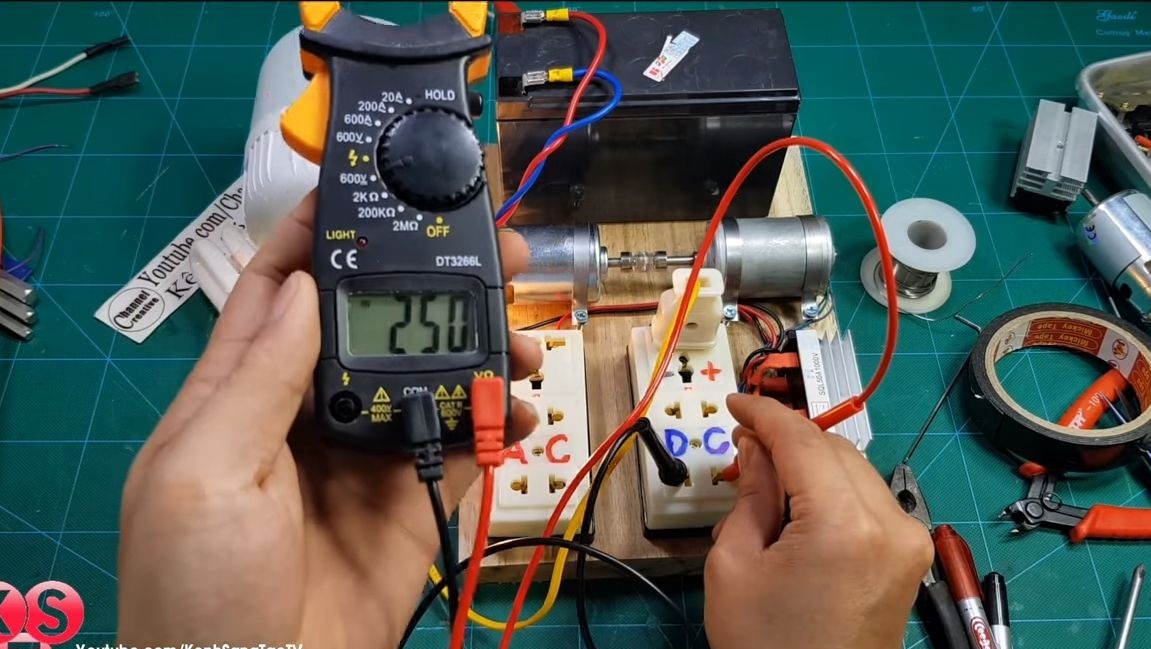
To start the device, we connect the battery to our 12V engine, in this case it is the 775th motor. As soon as it works, the generator will begin to generate a voltage of just over 220V. These numbers will depend on how quickly the motor rotates the generator shaft, it is advisable to make a speed regulator. When the author measured the multimeter in the AC outlet, the figure appeared 280 Volts.
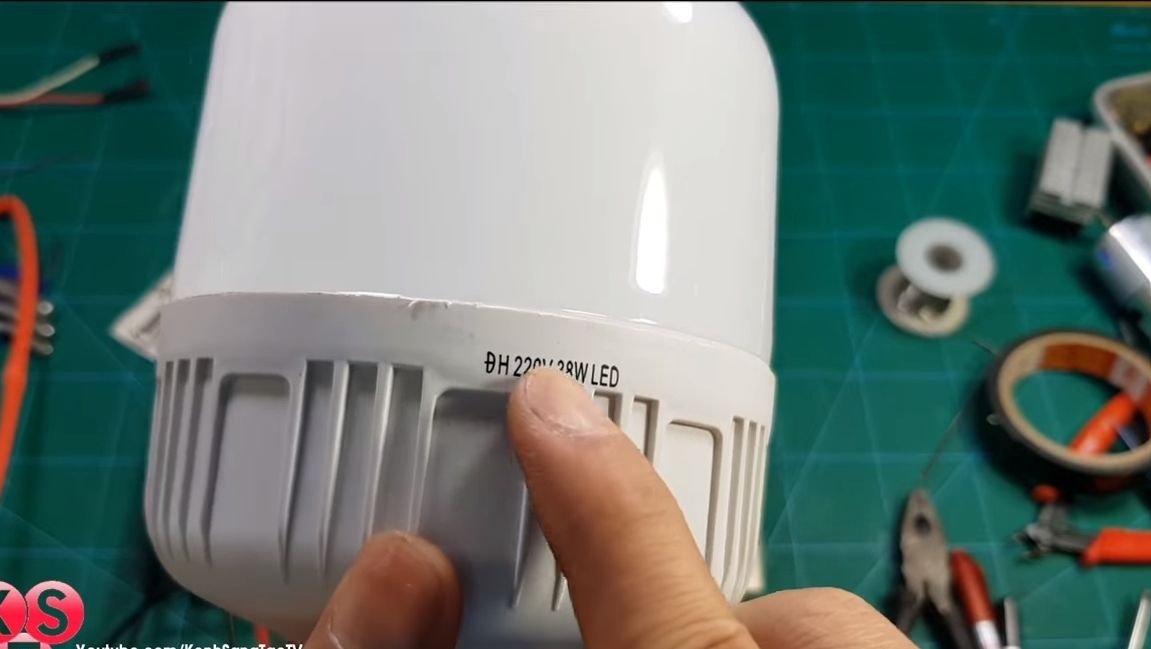
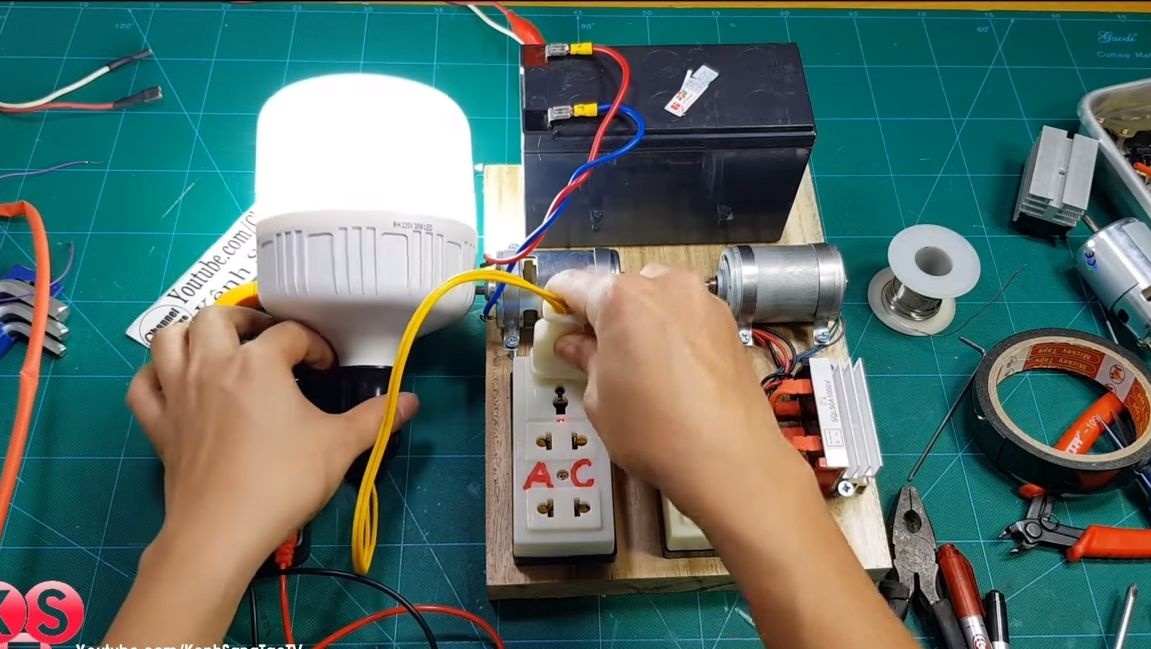
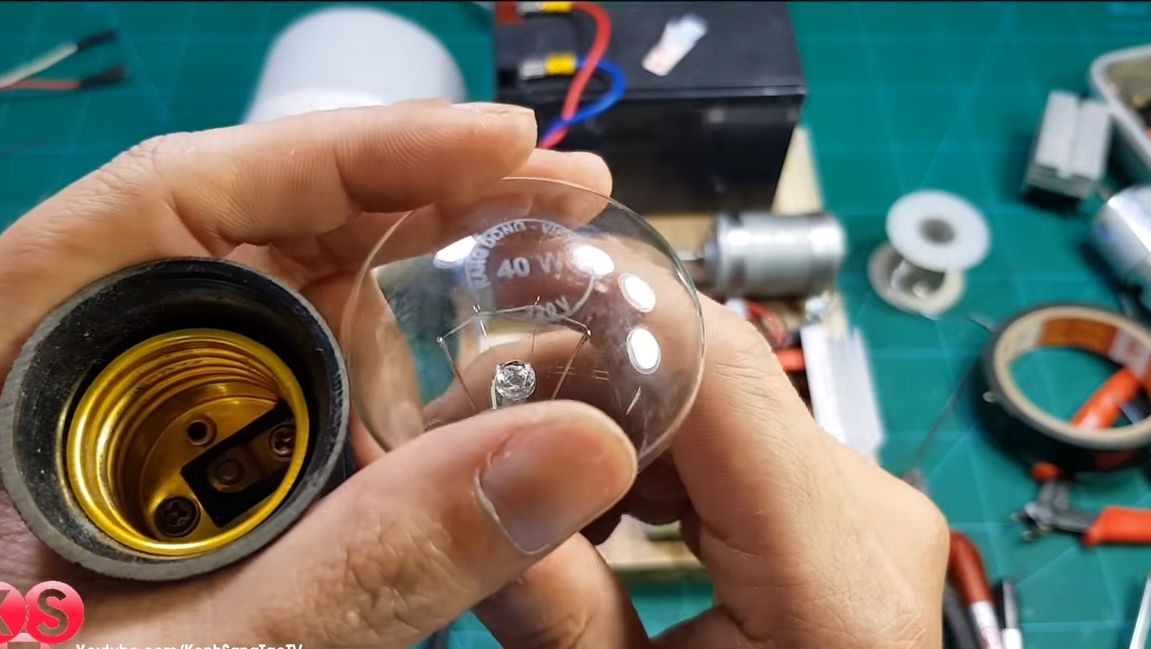
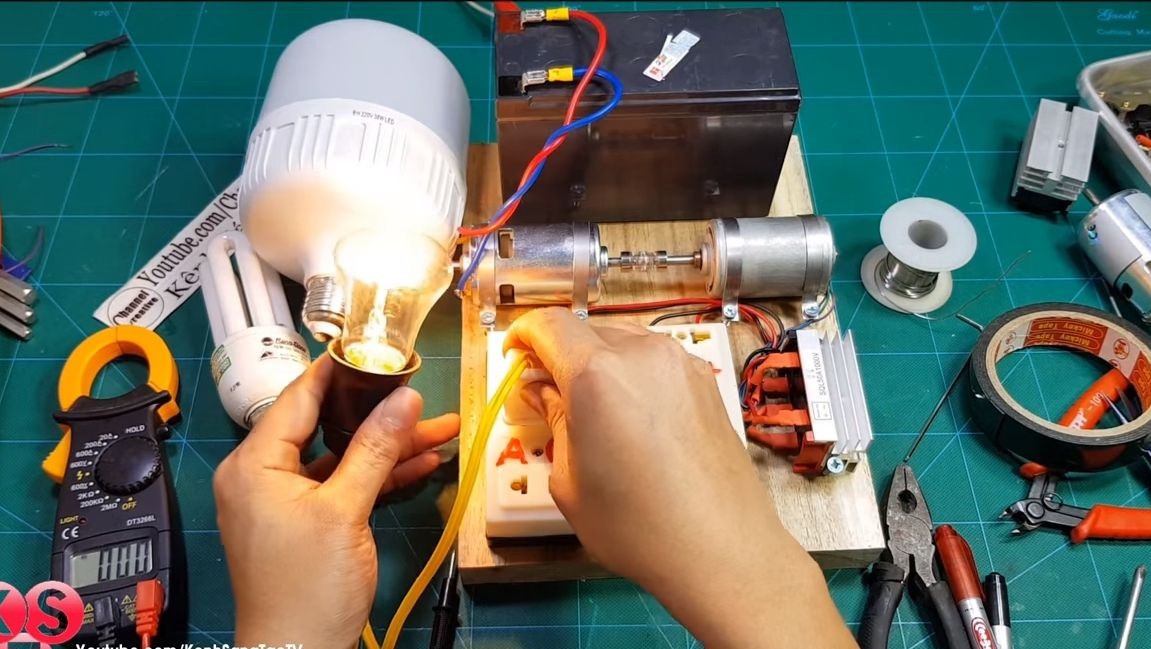
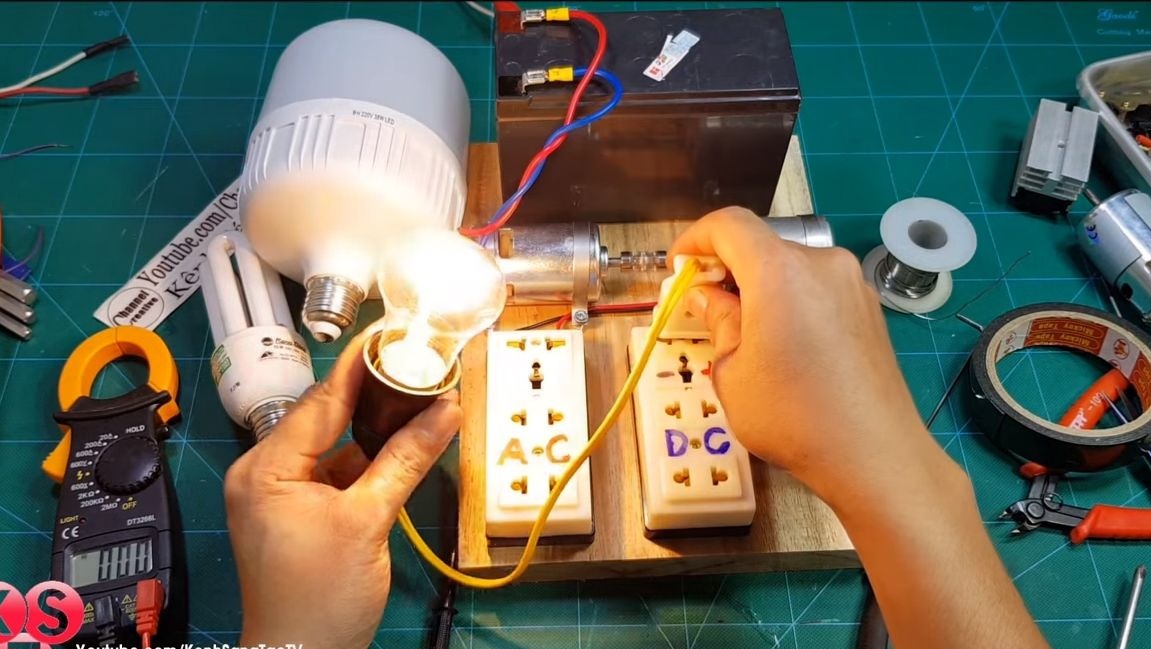
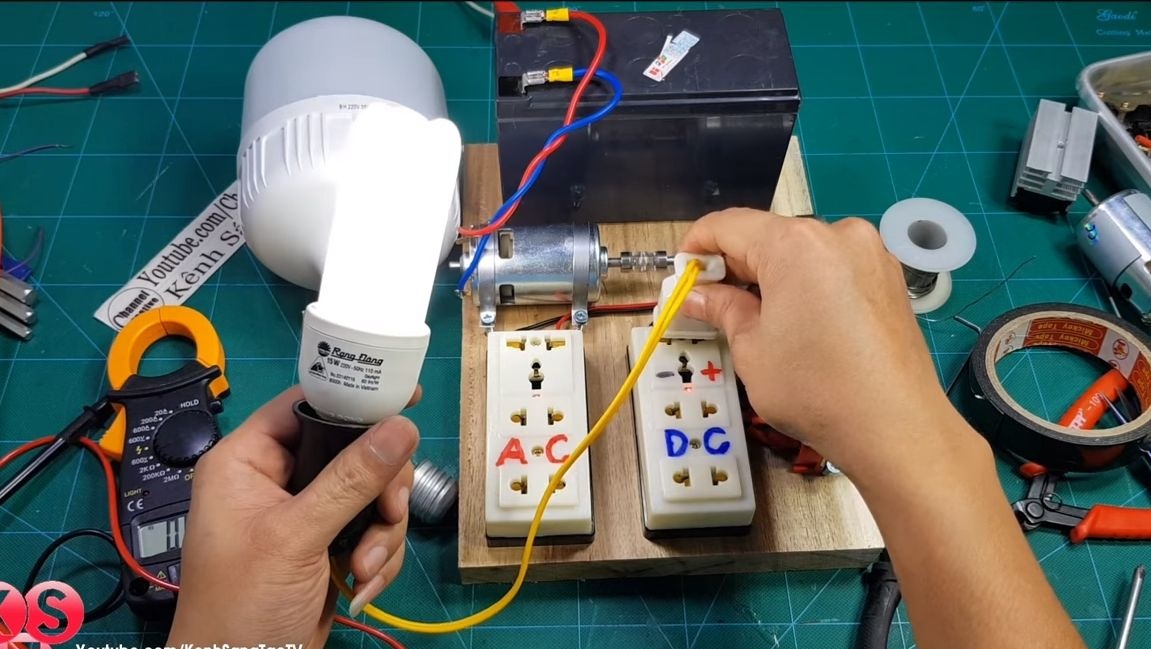


As an experiment, we connect light bulbs to an AC outlet, the author has an LED on, a fluorescent light, and a 40 W incandescent lamp without any problems! As for the DC outlet, a fluorescent lamp works here, as well as an incandescent lamp. An interesting fact is that the incandescent lamp shines brighter from a constant voltage than from an alternating voltage. The fact is that with alternating voltage, the thread either heats up, then cools, as a result, the bulb does not shine at full power. But with constant current, the thread burns with a stable temperature, and therefore it shines at maximum.
The final step was to test the generator using chargers. The author first charged a mobile phone, and then a laptop. Homemade turned out quite working.
That's all, I hope you liked the project, and you found something new for yourself. Good luck and inspiration in the manufacture of your own projects. Do not forget to share your best practices with us.