Many are convinced that the manufacture of a knife requires special skills and expensive tools. In fact, you can make good knives using hand tools. The only problem is that manually making the knife is harder and this takes more time. As for the reliability of the knife and the strength of the blade, it already depends on the selected steel grade and whether the blade was hardened correctly.
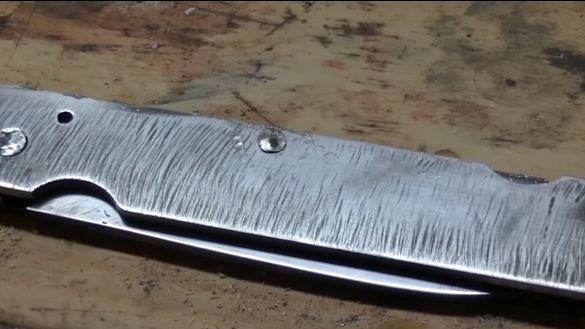
In this manual, we will look at an example of how to make a simple folding knife using hand tools. This is just an example by the fact that the author did not specify which steel he chose for the manufacture of the blade, moreover, no hardening was performed. The knife is all-metal, in it absolutely everything is made of steel, including pins, they are also steel. So, we will consider in more detail how such a knife is made.
List of materials and tools that the author used:
Material List:
- Sheet steel;
- steel rods;
- sheet spring steel.
Tool List:
- a hacksaw for metal;
- drill;
- files;
- vise;
- sandpaper;
- clamps;
- epoxy adhesive;
- marker.
The process of manufacturing a folding knife:
Step one. A few words about the choice of steel
Steel for the manufacture of pens is suitable for almost any, it can even be made of copper or aluminum, so it will look better, and will not rust. As for steel for the blade, then everything is more complicated. The steel should be such that it can be hardened, otherwise the blade will constantly become dull, nicks will form on the hiring and so on. Quenching steels are pretty numerous. Of the available in the first place, you can choose tool steel, for example, you can use the old flat file. To make the metal soft, it needs to be annealed. There are also many types of steels specifically for making knives that you can buy.
Step Two Let's start with the pen
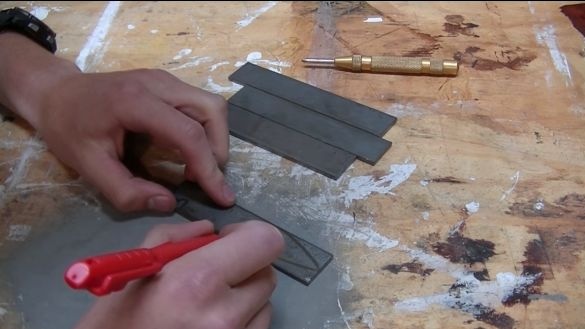
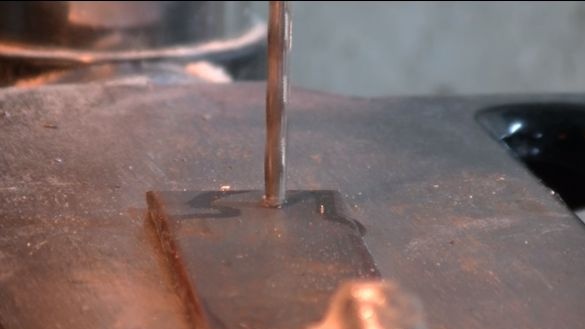
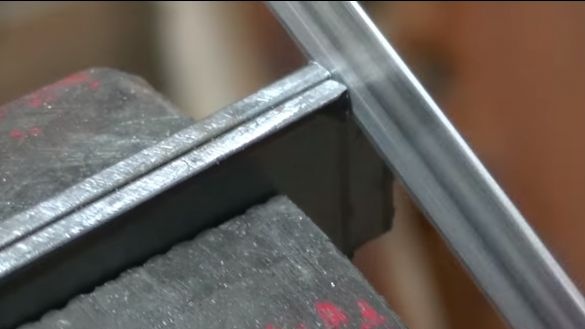
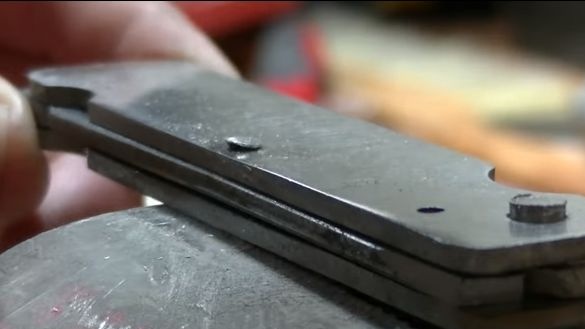
First of all, we have to transfer the knife parts templates to steel. Initially, they are usually made on paper, and then cut out patterns. We circle the patterns on the metal with a marker and start cutting. First of all, the author decided to make a pen, and it consists of two halves. Both halves must be identical.
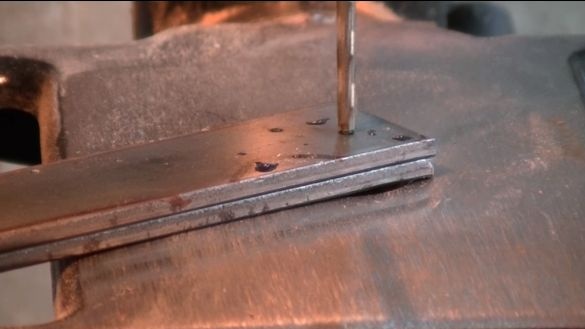
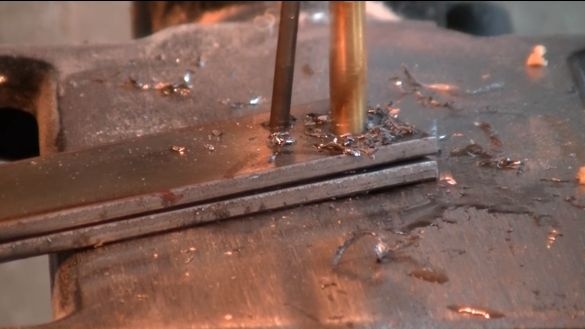
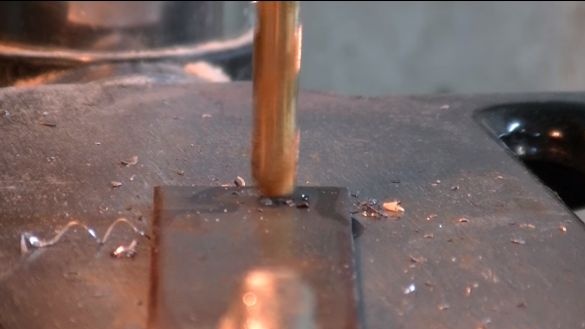
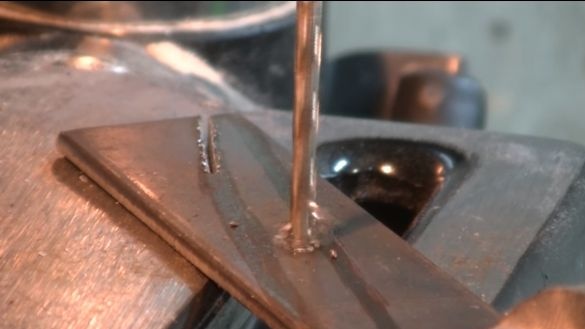
For the manufacture, we connect two sheets of steel and drill holes. One hole will be needed for the axis that will hold the blade. And the second hole is needed for the pin, with which the locking lever will be attached.
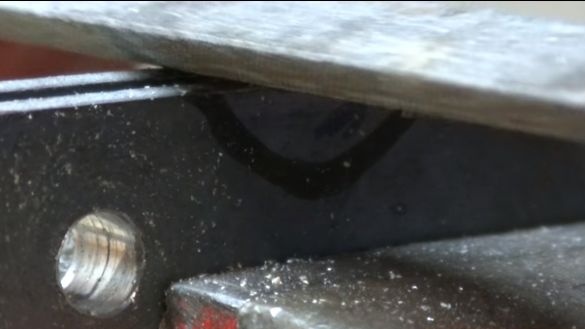
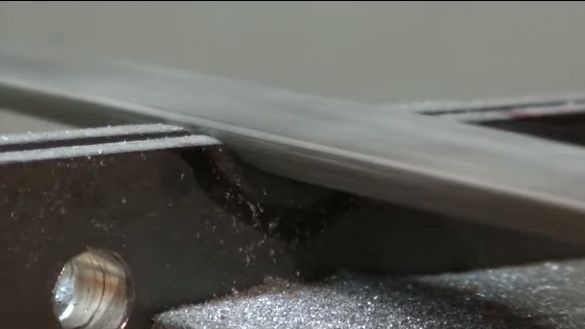
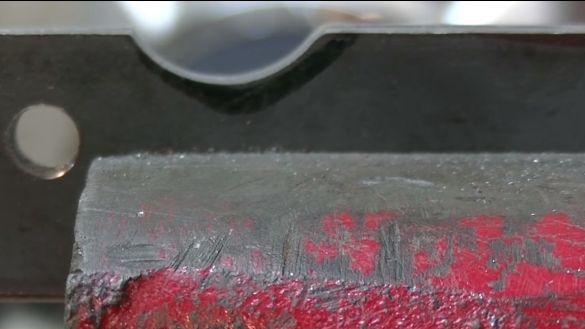
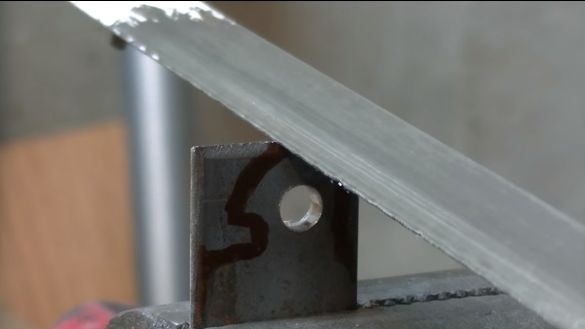
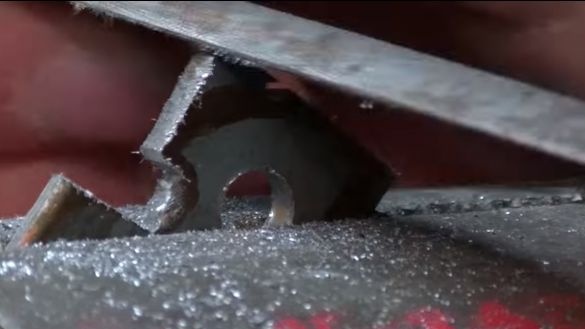
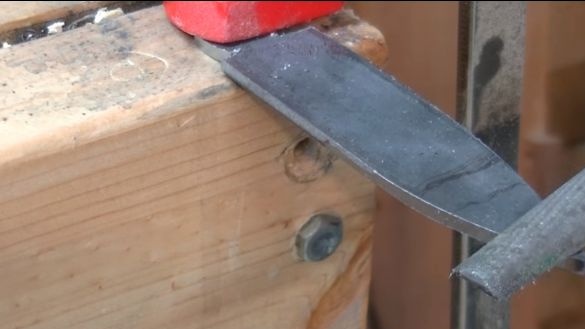
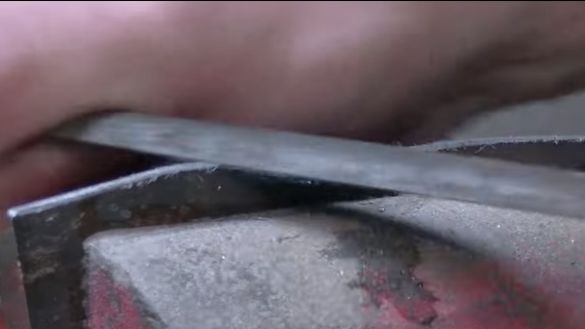
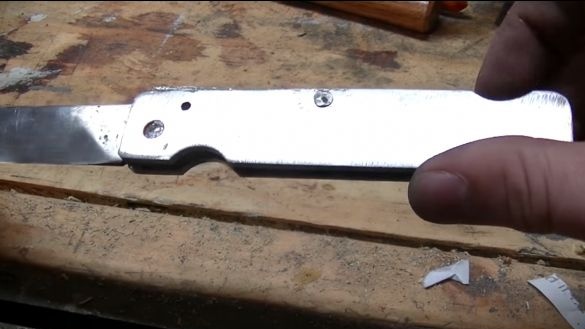
The next thing to do is to form a recess in the handle so that it is convenient to get the blade with your fingers. We take a marker and draw this area on the blank. Well, then the author clamps the product in a vice and gets to work. A semicircular file is used as a tool. A little patience and the necessary work is done. At the end, take a flat file and go around the entire perimeter of the handle. So you make both halves of the same shape and size.
Step Three Cut the blade
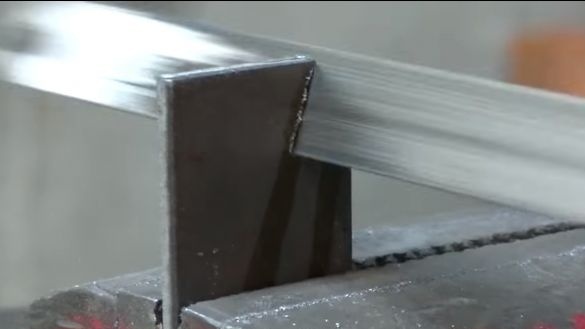
You can start making the blade. First of all, we drill a hole with which the blade will rotate on the axis. Well, then we clamp the workpiece in a vise and proceed to cutting. The author cuts the main profile using a conventional hacksaw for metal. If you have a grinder, this process can be significantly accelerated.
When the rough profile is cut, we take the files and bring it to its final shape.
Step Four We form bevels
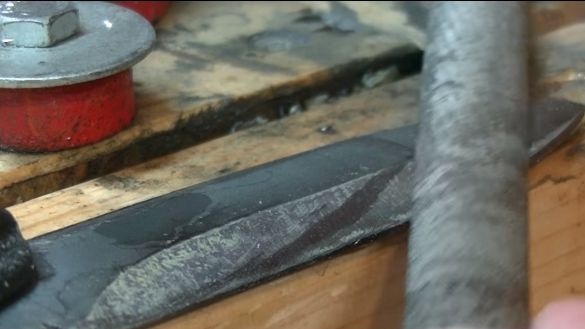
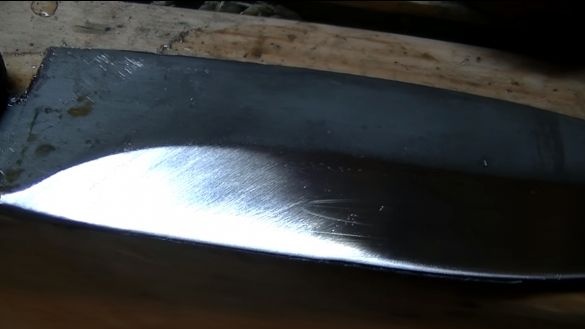
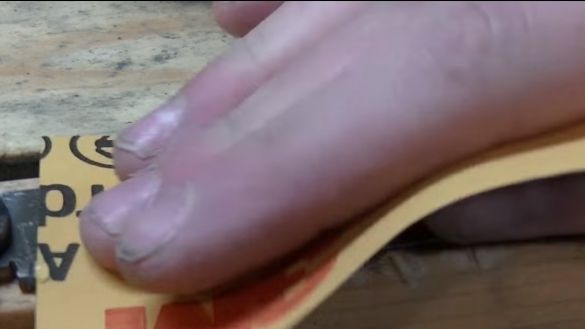
The knife cutting data will depend on the bevels. Since we have a small knife and a small blade, the main emphasis should be on the sharpness of the blade, because you are unlikely to cut something with a knife. The bevels should be as smooth as possible, while the blade will turn out thin. It is quite possible to form the bevels using a flat file. Slowly, slowly, we make a bevel on one side of the blade, and then on the other. When the bevels are formed, go over with fine sandpaper to polish the rough scratches from the file. If necessary, the blade can be polished, but this is done after hardening.
Step Five The manufacture of the locking mechanism
We will produce a locking lever, for this we will also need sheet steel. Just cut the desired product with a hacksaw for metal, and then modify the files. We drill a hole for fastening the lever with a pin.
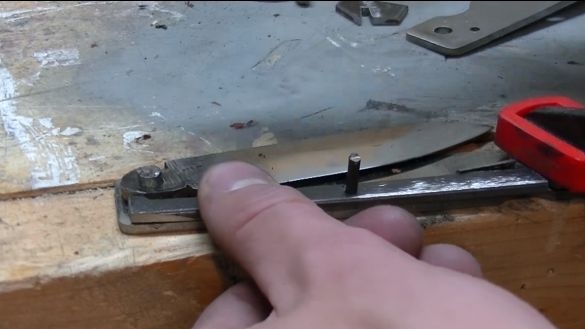
That's all, now install the lever on one of the halves of the handle, and also install the blade. Try how it works. Fit the locking mechanism to the ideal. The blade should not hang when the knife is open.
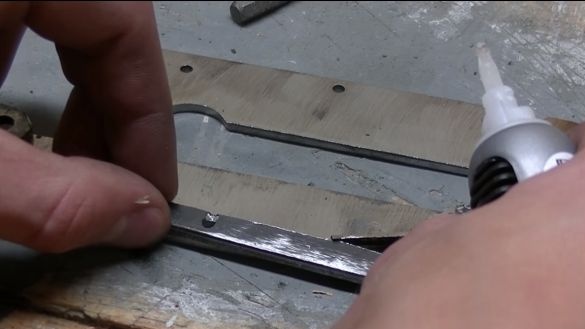
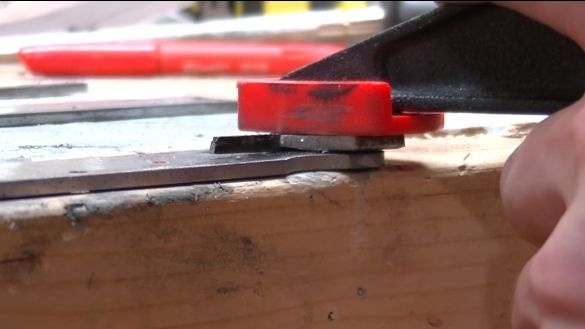
In addition, you need to make a spring that will press the lever. Here you will need a piece of sheet spring steel. For a spring, focus on sheet metal. The author glues this emphasis using epoxy glue.
Step Six Collect the knife
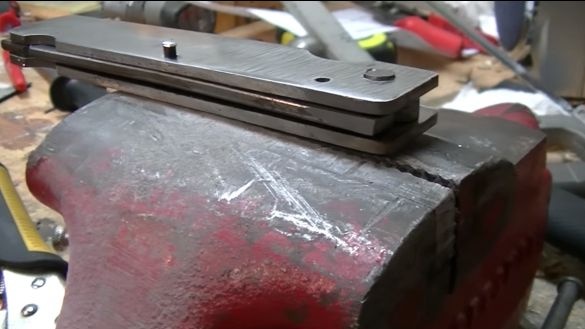
If you do not temper the blade, the knife can be assembled. In general, in addition to the blade, it is also customary to temper the locking lever, so it serves much further, and the blade holds better. The knife is assembled on steel rods, which are subsequently riveted. That's all, the knife is ready, at the end, grind the handle to smooth the rivets and make it smooth. You can also sharpen the blade. Do not forget that the knife is made of steel, which means that it will rust. For protection, thoroughly grease all components with oil, including the blade.
That's all, I hope, the instruction was useful for you, and you have found something new for yourself. Good luck and inspiration in the manufacture of your own projects. Do not forget to share your best practices with us.

