
Today I will show one of the most frequent applications of epoxy resin - filling cracks in the workpieces.
Indeed, in most cases, due to cracks, we immediately reject such material. We do not use it for further work. Using an example of such a cracked pruning of a pine beam, the master will demonstrate how this problem can be fixed.

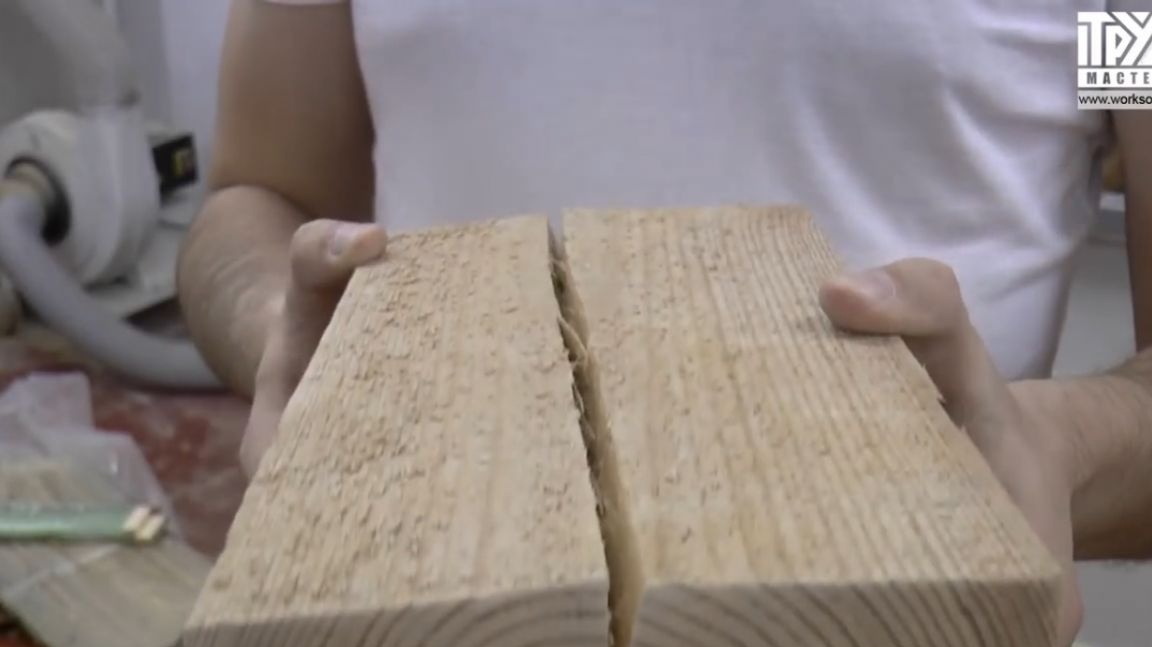
Moreover, it’s not just to fix, but even to give the future product a more interesting look and uniqueness.
Let's get started.
For work, we need:
1. Pine beam with a crack;
2. Bulgarian (it is better to use a chainsaw);
3. Disc for the grinder;
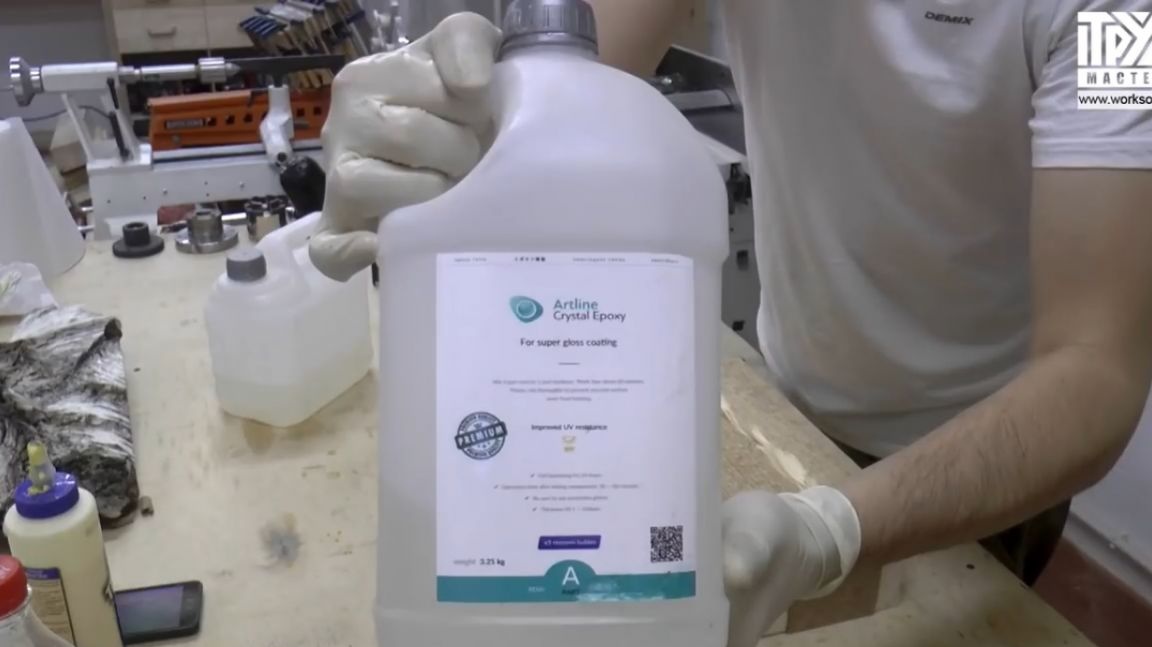
4. Epoxy resin;
5. Kohler;
6. Glue for wood;
7. Adhesive tape;
8. Tung oil;
9. Lathe;
10. Priming oil;
11. Sandpaper;
12. Ruler and pencil.
First you need to determine the size of future products.
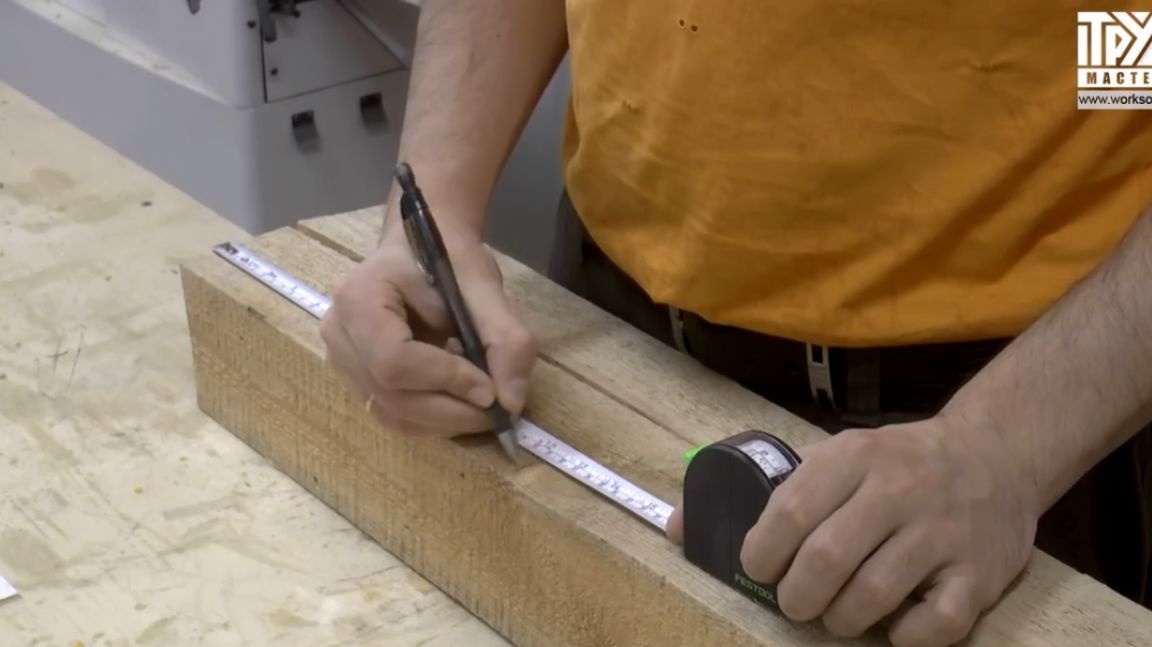

The master measures the necessary size, marks out and cuts a piece of the beam. We will continue to work with this part of the pine.
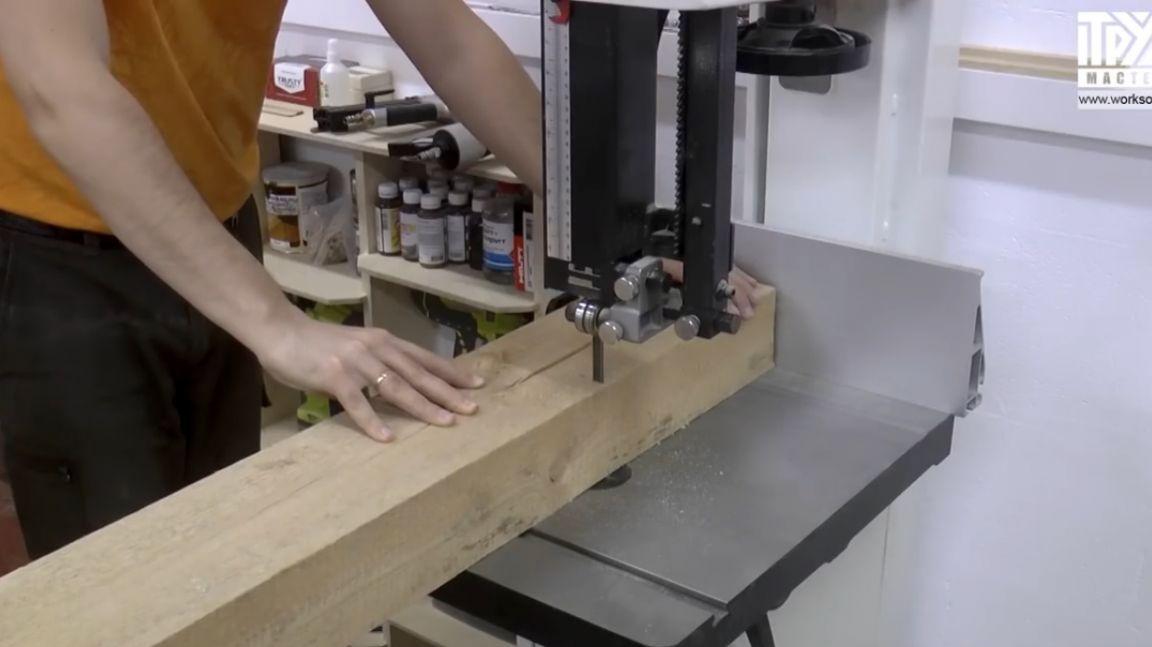
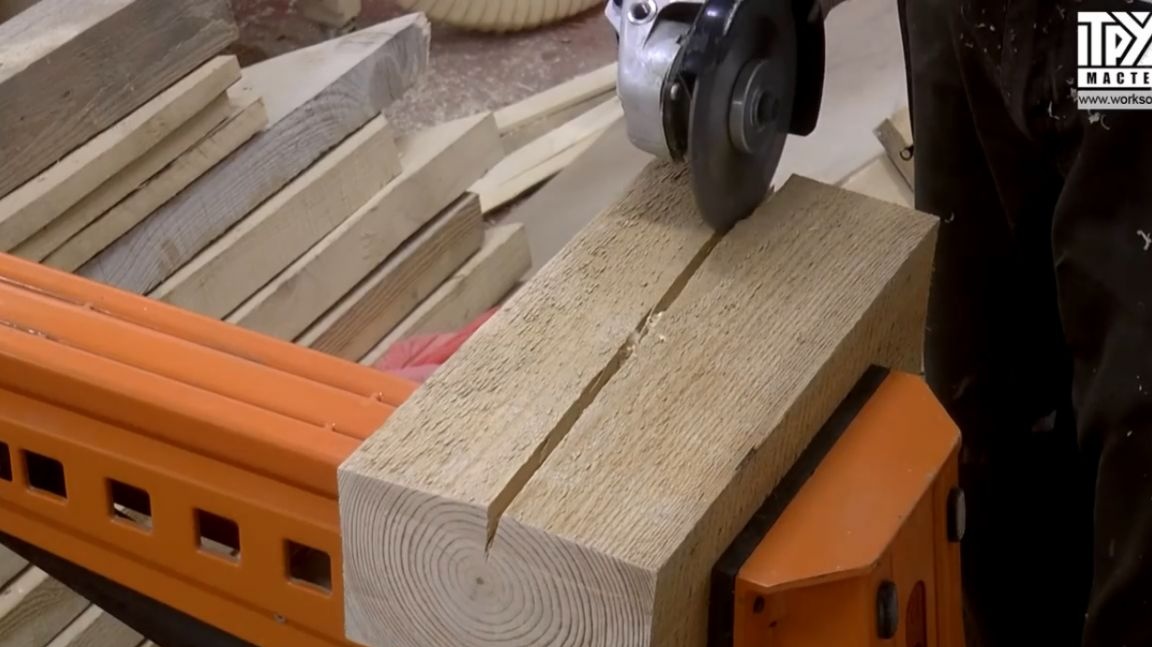
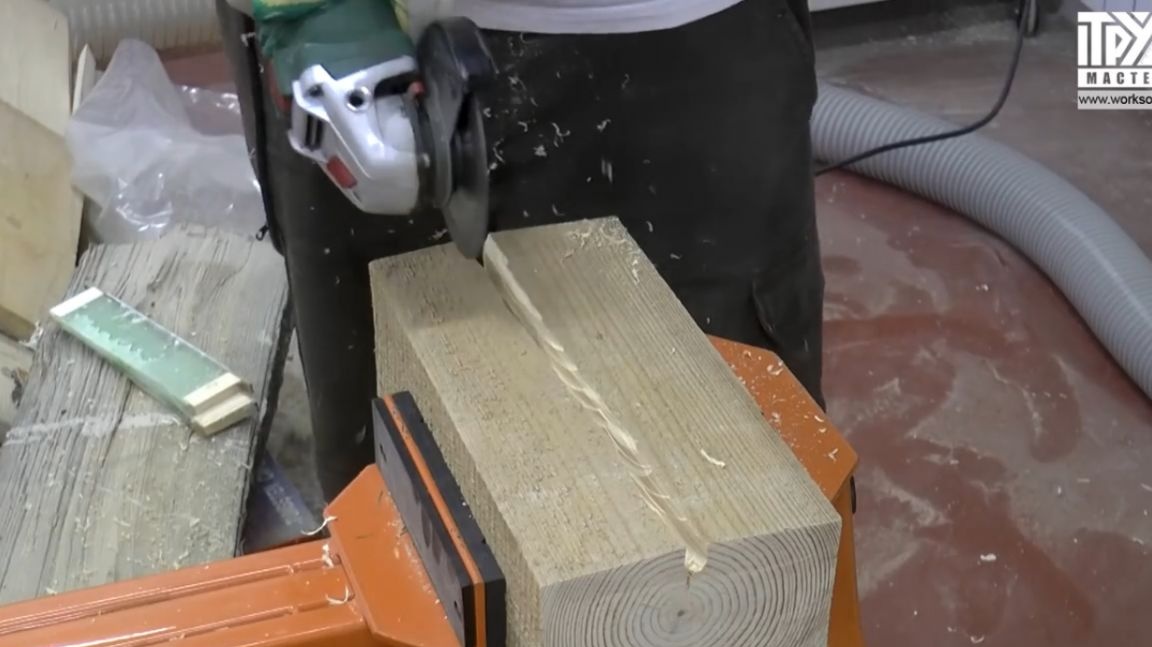
To achieve a more interesting effect, the cracks on this bar need to be slightly expanded in a chaotic manner. Then clean from the darkened layer of wood, which under the resin usually does not look very healthy. The author firmly fixes the wooden blank in a vise and begins to slowly give it additional “flaws”.
Accordingly, we perform such an operation on both sides of the timber.

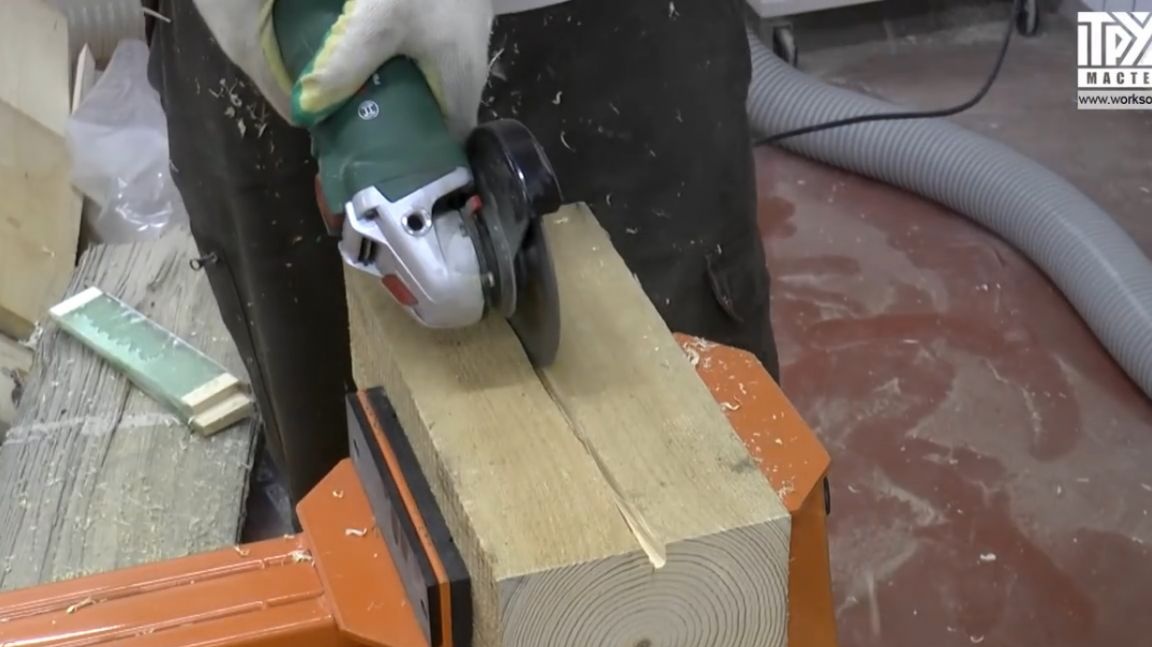
For sawing new and expanding existing cracks on the timber, the master uses a grinder. In general, for such a crack treatment, a chain saw would probably be much better. In principle, she can work with wood like a sculptor with plaster. But if you do not have such a tool (like the author), then you have to be content with a three-tooth disc for a grinder. In general, it turned out not bad.
Preparation for pouring resin.
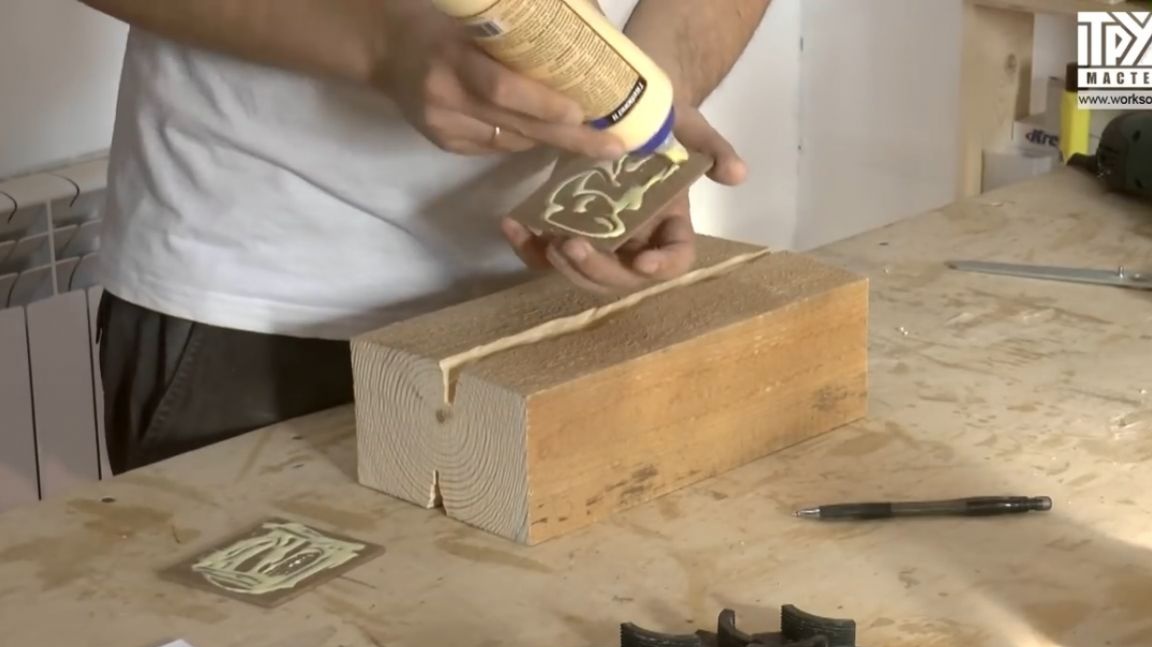
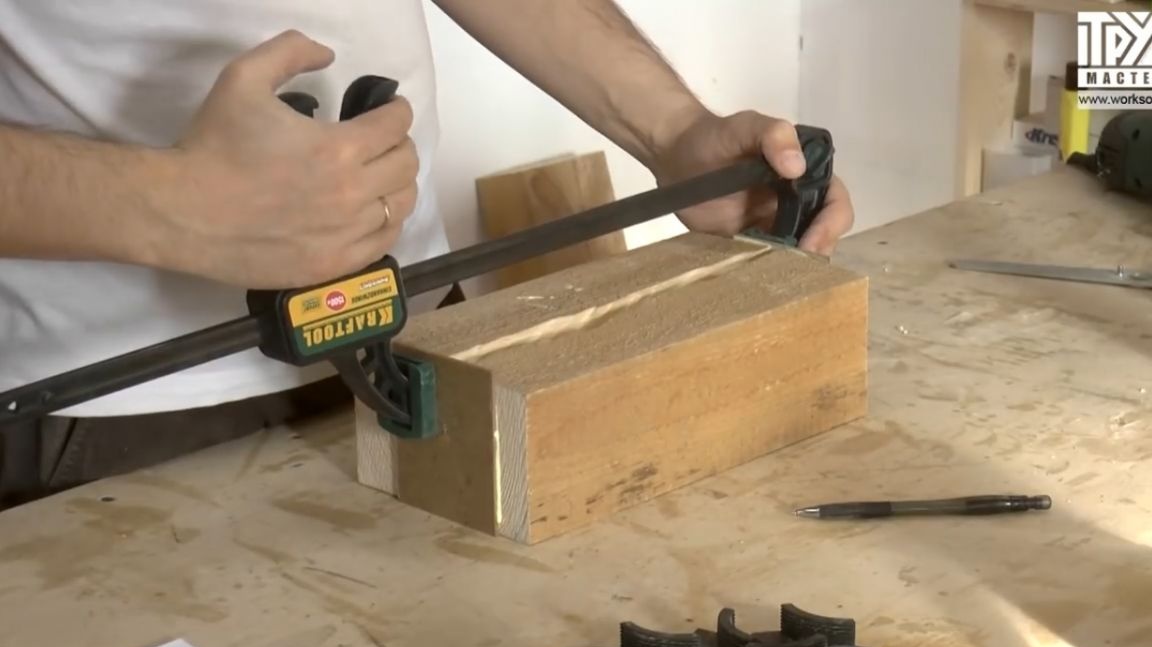
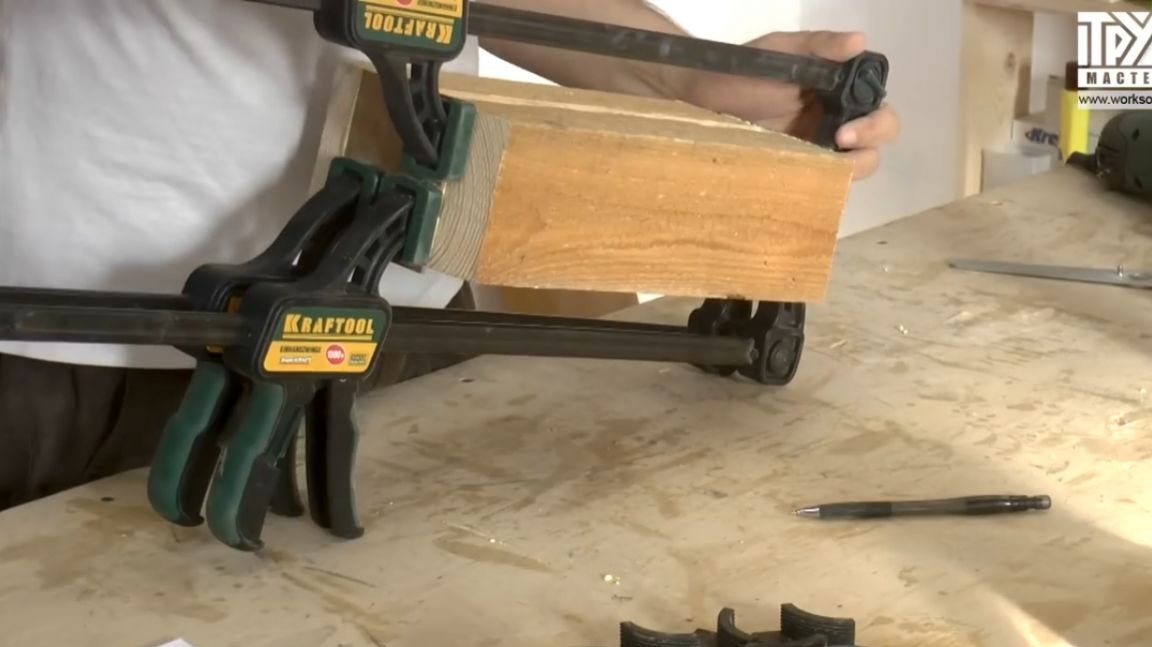
During the sealing of the workpiece, which the master usually produces using thin mdf, it is better to glue the adhesive tape initially so that the glue with mdf does not get into the filling cavity. The author glues a piece of mdf on both sides of the bar. Then it pulls the whole thing together for more durable bonding.
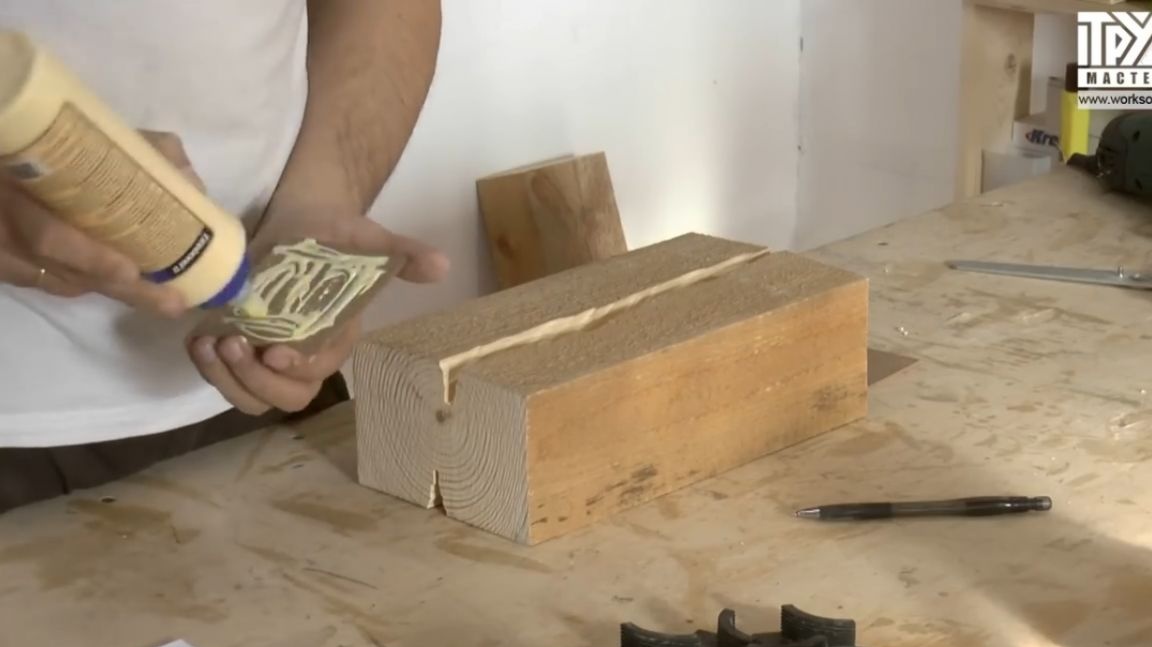
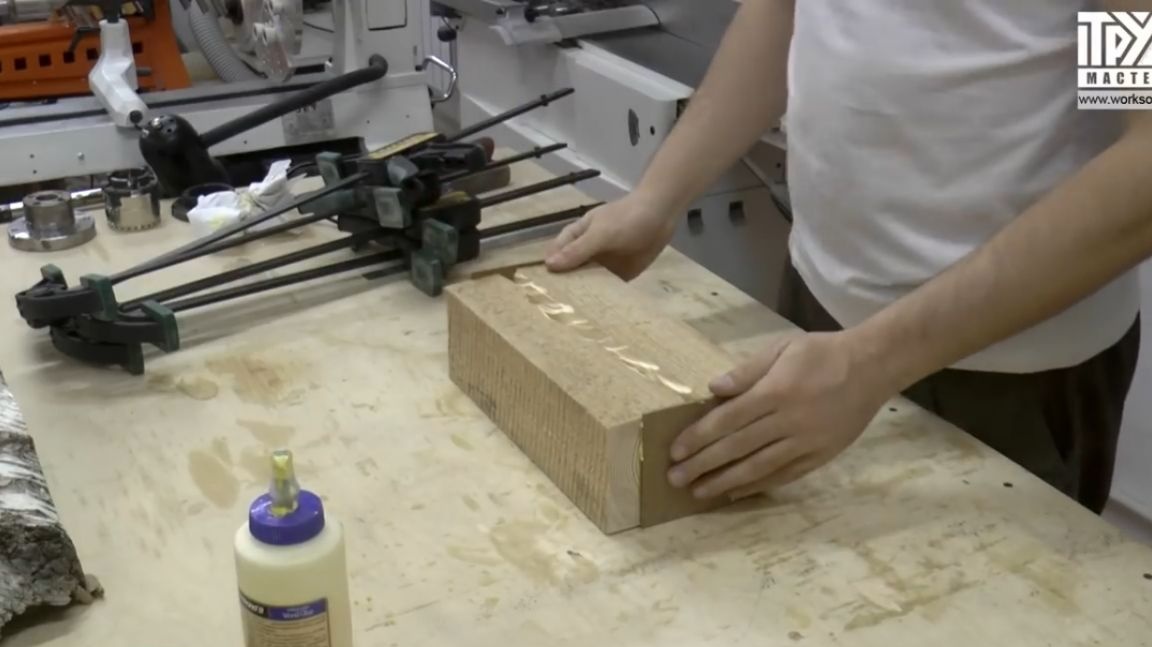
Here's what happened after the glue dries.
Epoxy is extremely fluid, so the sealing process must be approached with the utmost seriousness.
There are very few subtleties in the pouring itself.Since the volume of resin is quite small, so worry about the conditions is not particularly worth it. However, if microbubbles of air are not needed in the casting, which in any case will emit pores of wood, you can thoroughly ground the whole thing with a thin layer of the same resin, and set this layer aside for several hours.
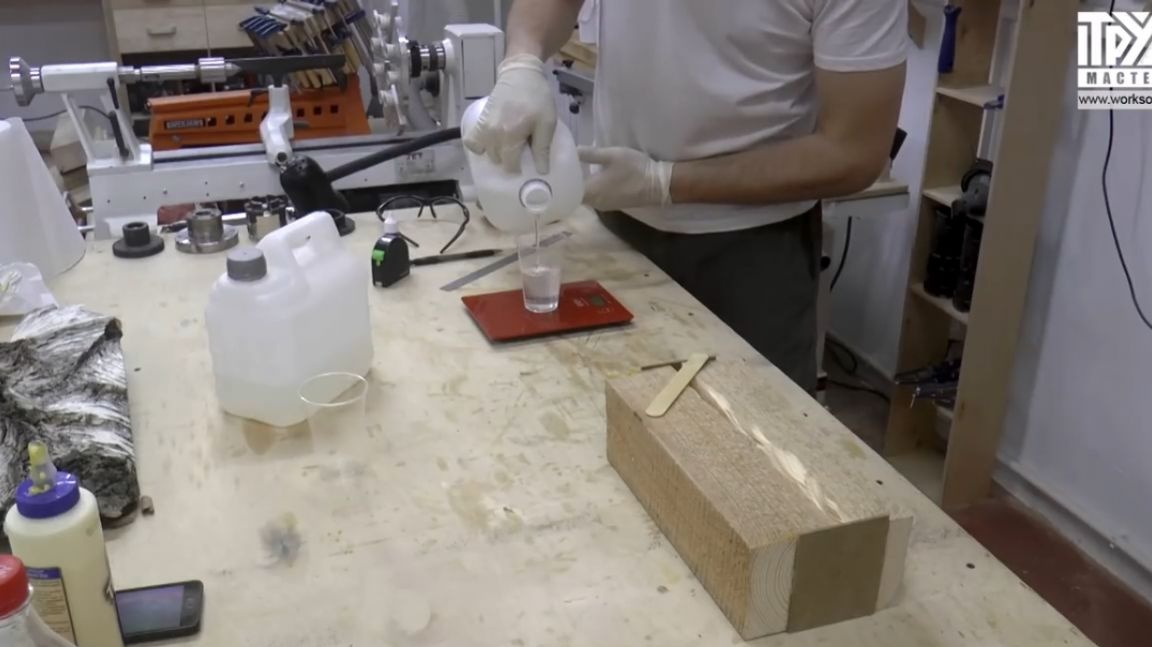
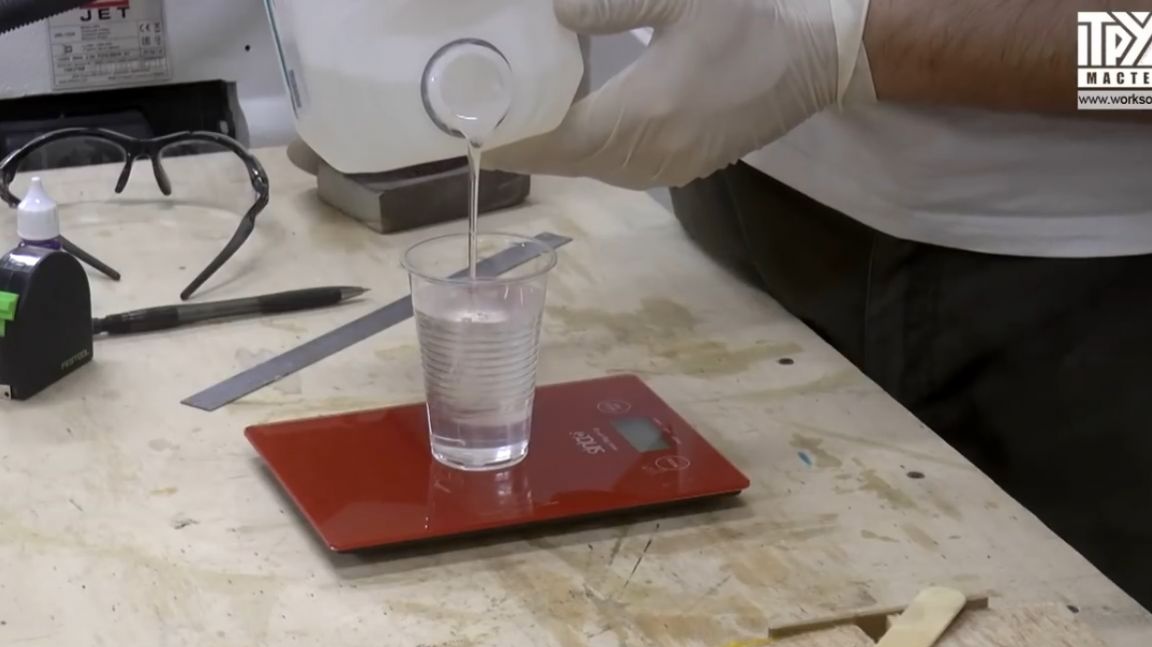
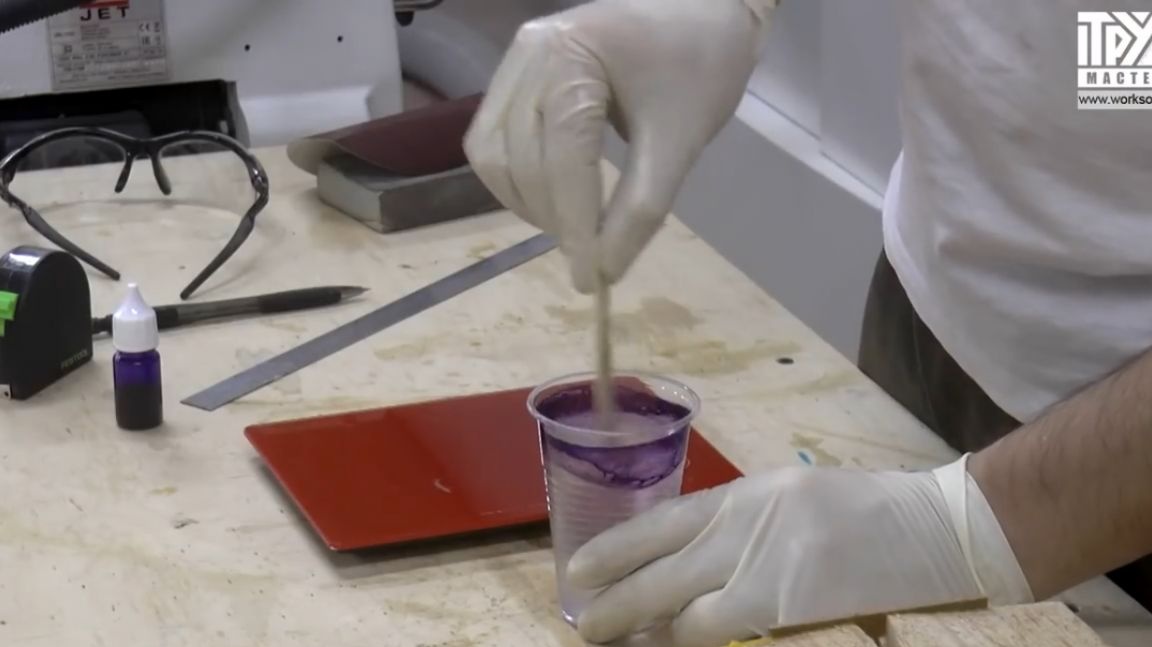
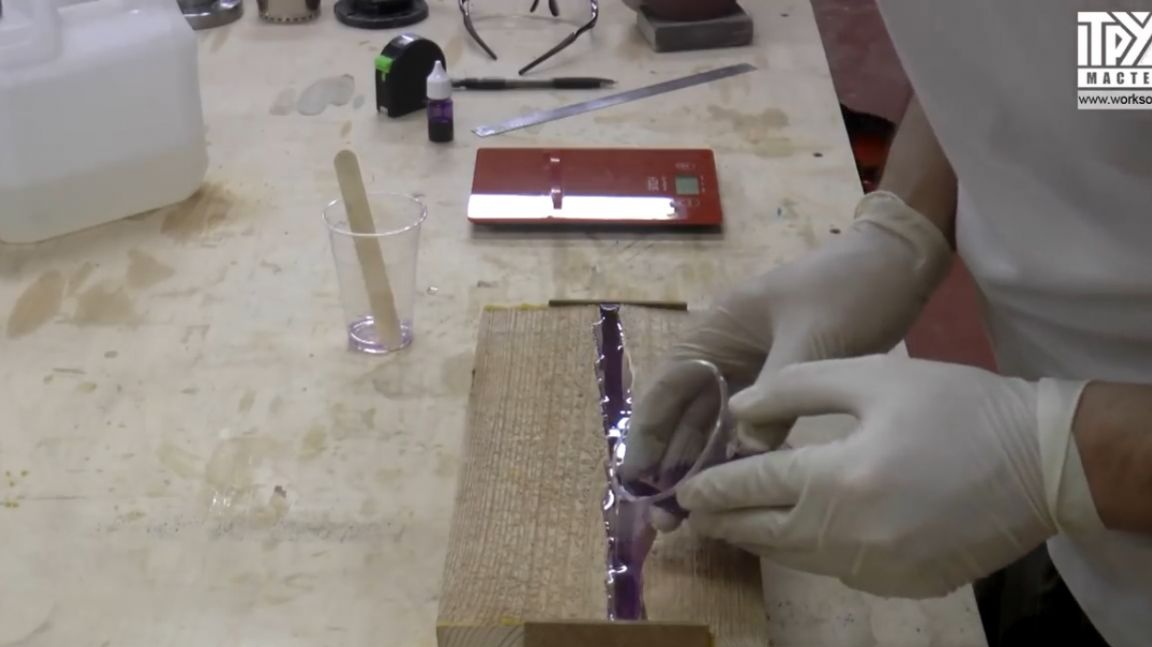
The process of mixing and tinting artline crystal resins is basically the same as most epoxies. It is only necessary to remember the proportions and follow the manufacturer's recommendations. The proportions are as follows: 2 parts of resin per one part of hardener (2: 1). The author uses scales to more accurately determine the required amount of each component of epoxy glue.
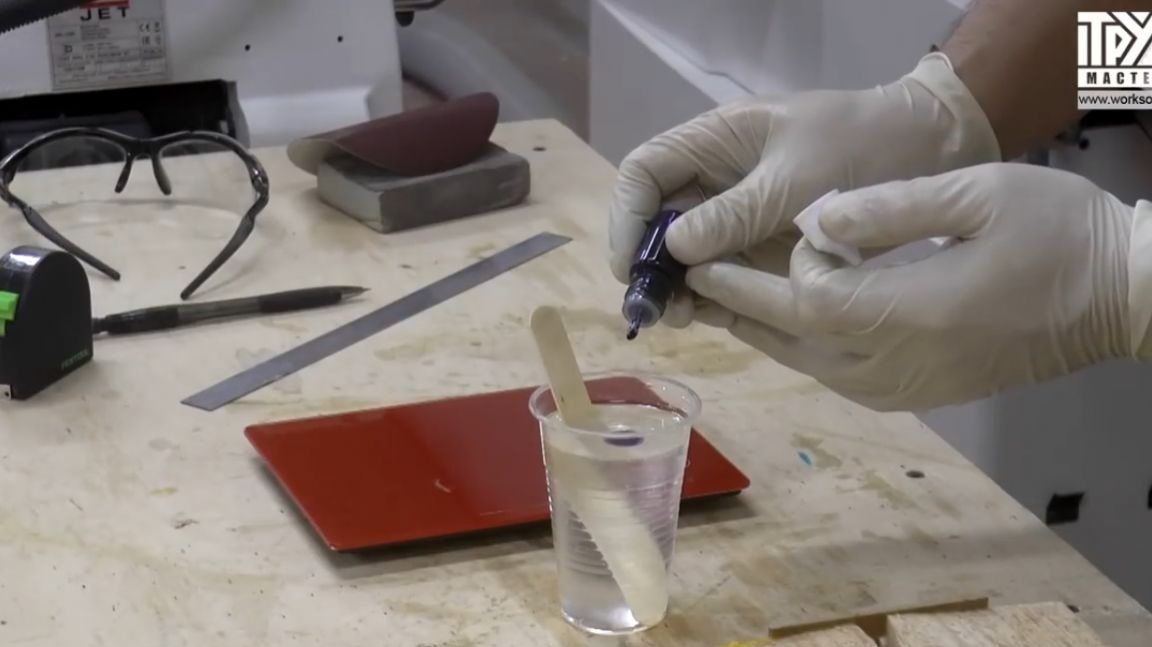
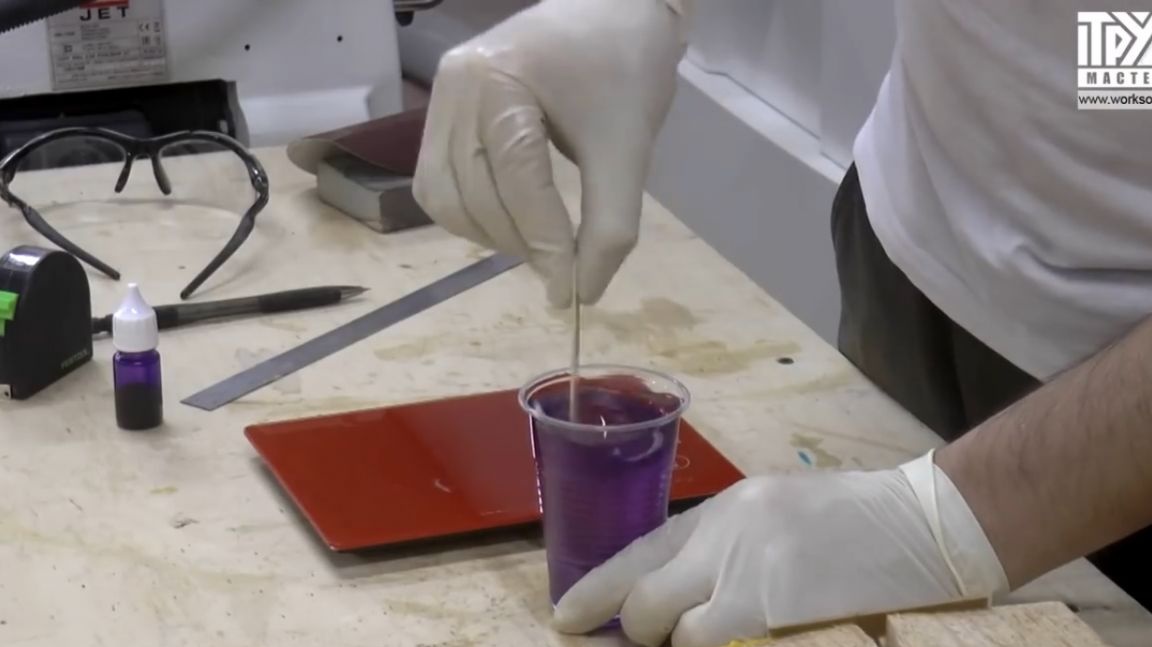
Next, add the color and mix the resin thoroughly.
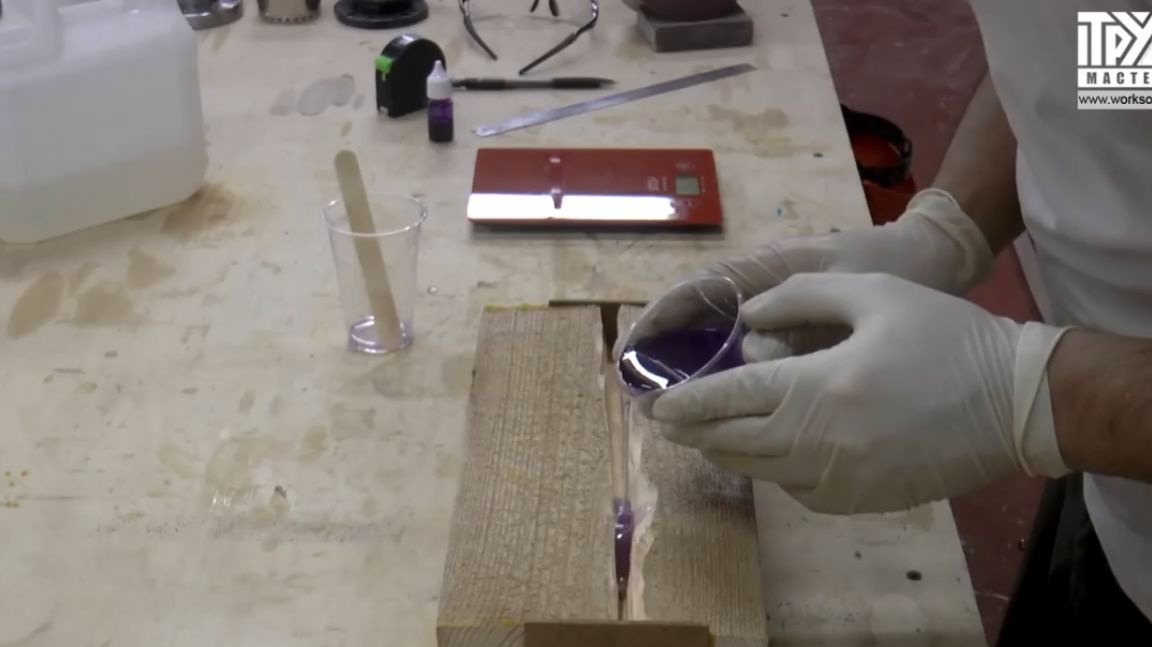
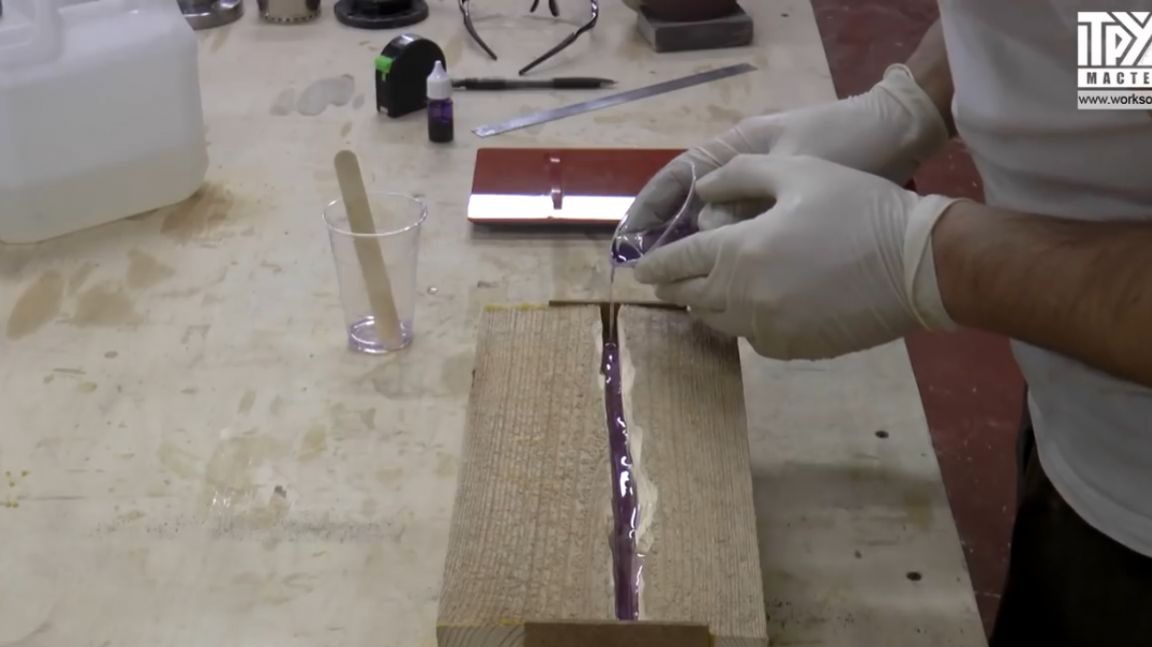
Fill.
This preform will have to be poured in two passes, since only after the first casting has hardened will it be possible to turn the preform over and fill the epoxy from the back.

Of course, it is possible to apply various options for tinting from different sides of the product, or to refuse it altogether, because the resin is very transparent after solidification and this can also be a peculiar feature of the product. But nevertheless, with the addition of bright colors, rather banal wood, it still becomes much more lively and interesting. So the field for experiments here is completely endless.
Next is a lathe.

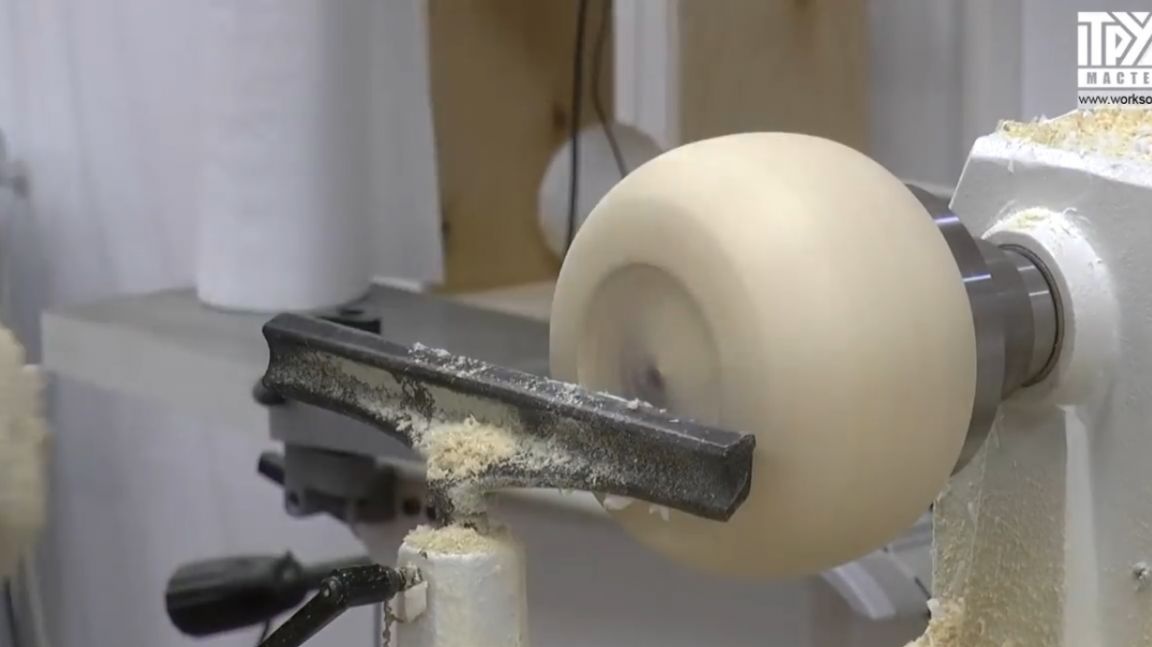
It is very profitable to use a pine rich in structure for turning such products, because you can find rather large monolithic blanks, which is very much appreciated in precision. In almost any sawmill, you can order a bar of any cross section, dissolve it into workpieces and leave them crack to an acceptable humidity. After which the whole thing is poured and put into work. Thus, raw materials can be very cool to save. Of course, it is advisable to find a good tree without fungus and other flaws. Then it will be an excellent material for work and creativity. Unfortunately, in the middle zone of Russia there are quite serious problems with this. The entire scaffolding is of very poor quality, but still some elements can always be beaten, and vice versa, flaws in wood can be considered as pluses, for some kind of zest in the products. Again, you can remove all of these flaws in the same way and also pour resin, for example.
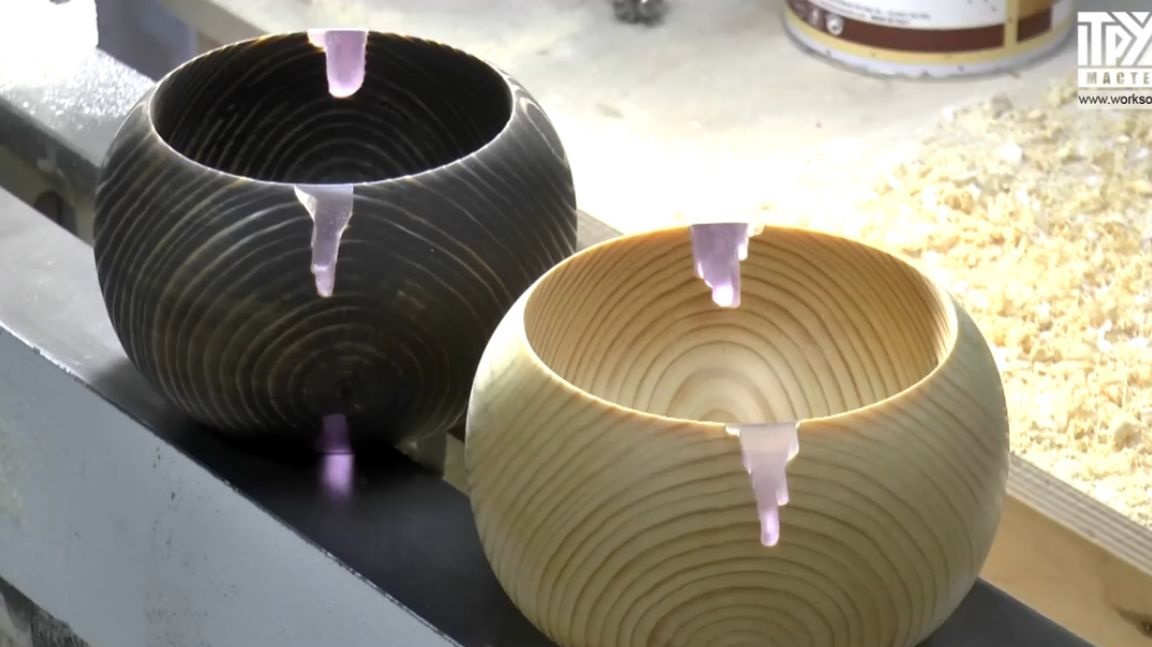
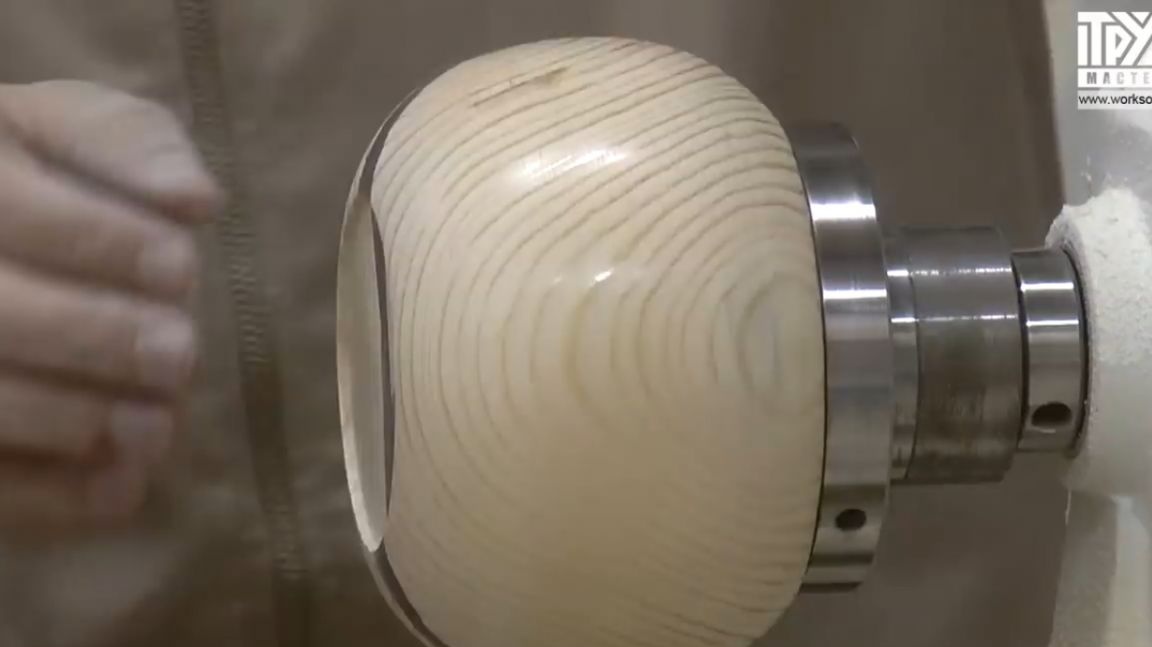
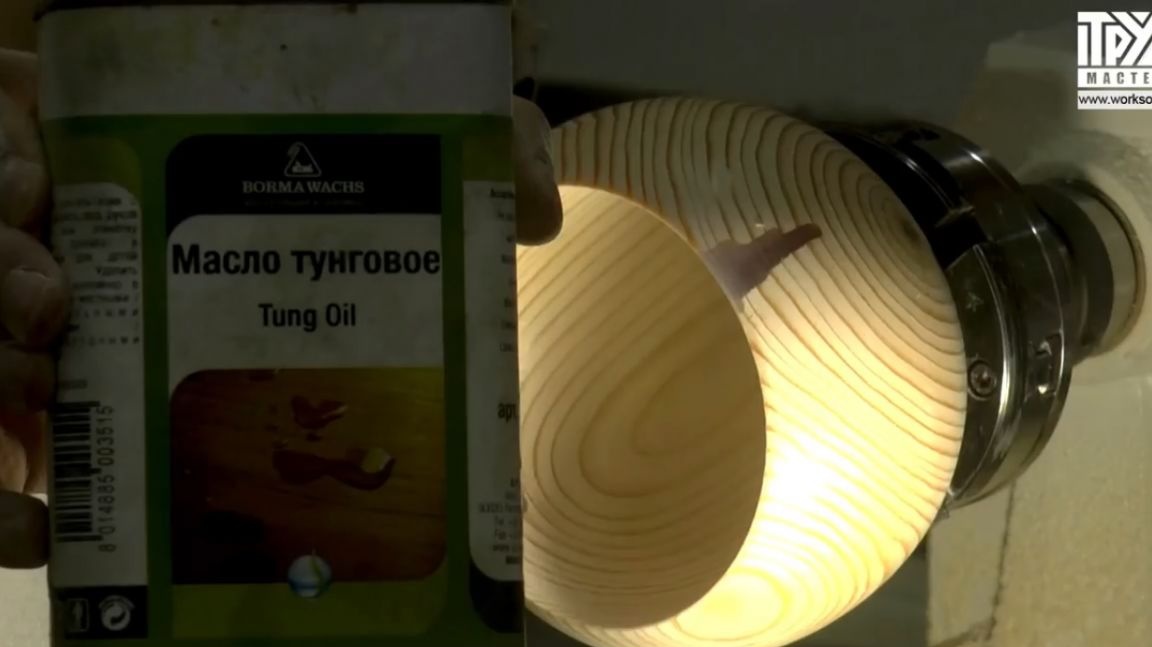
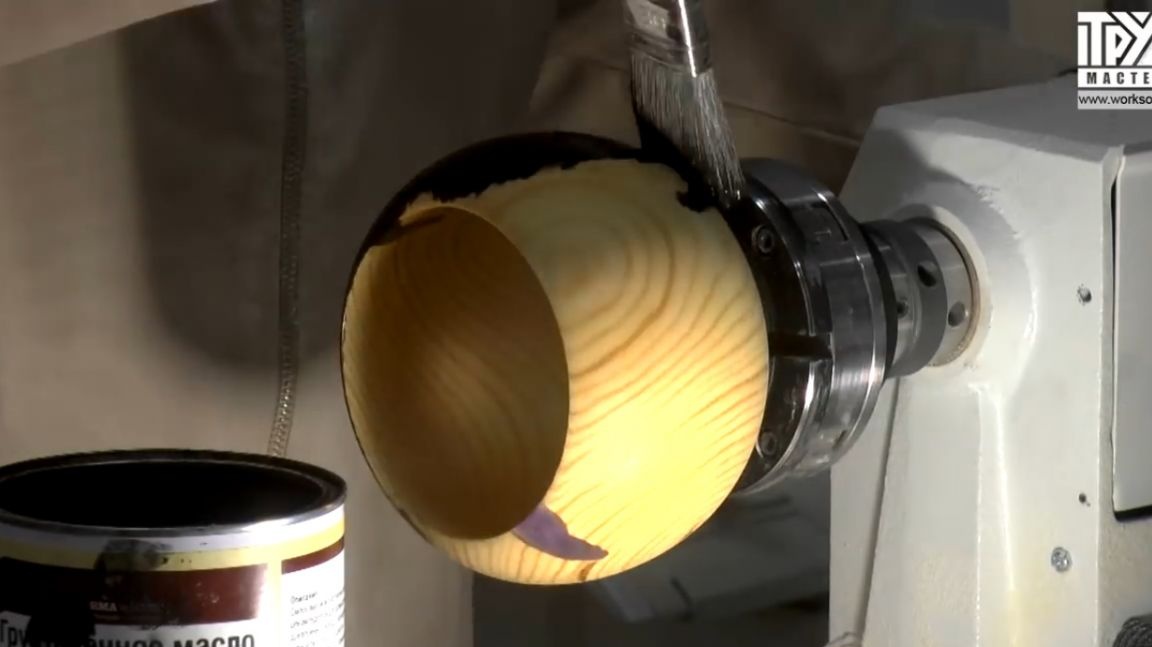
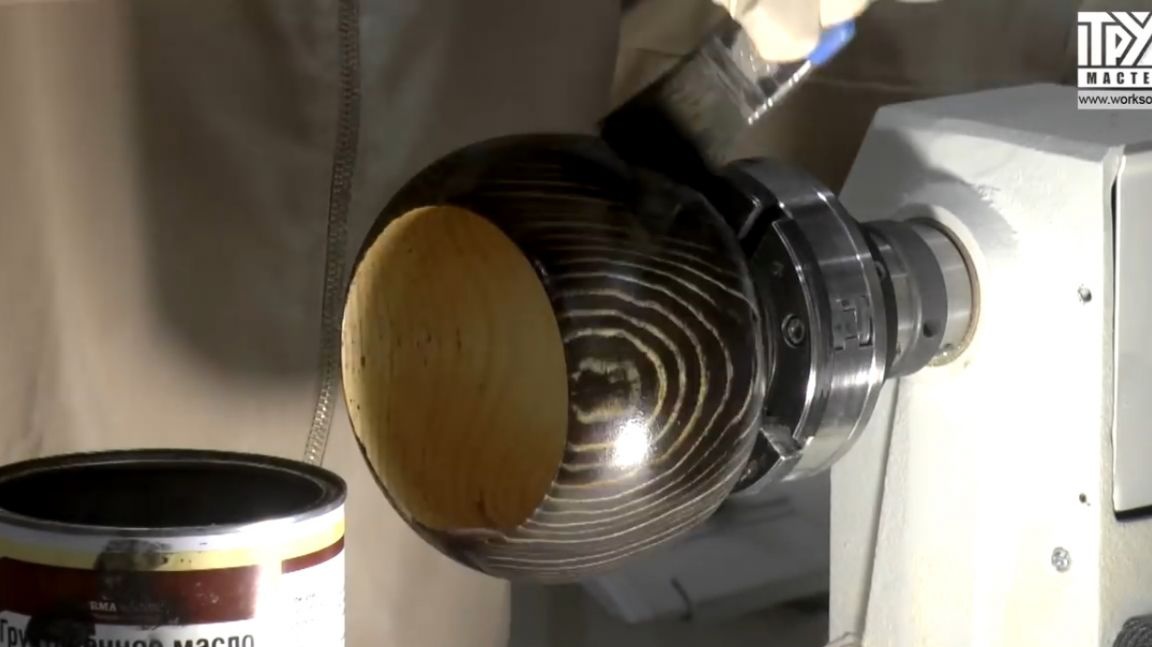
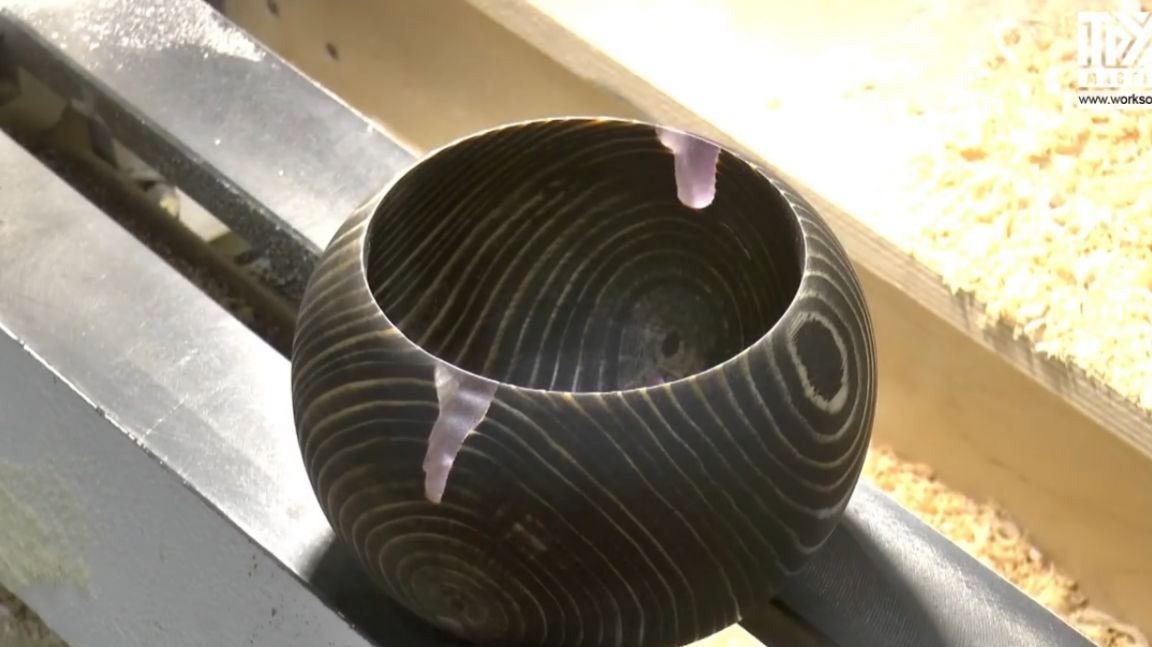
Now we process the workpiece with tung oil.
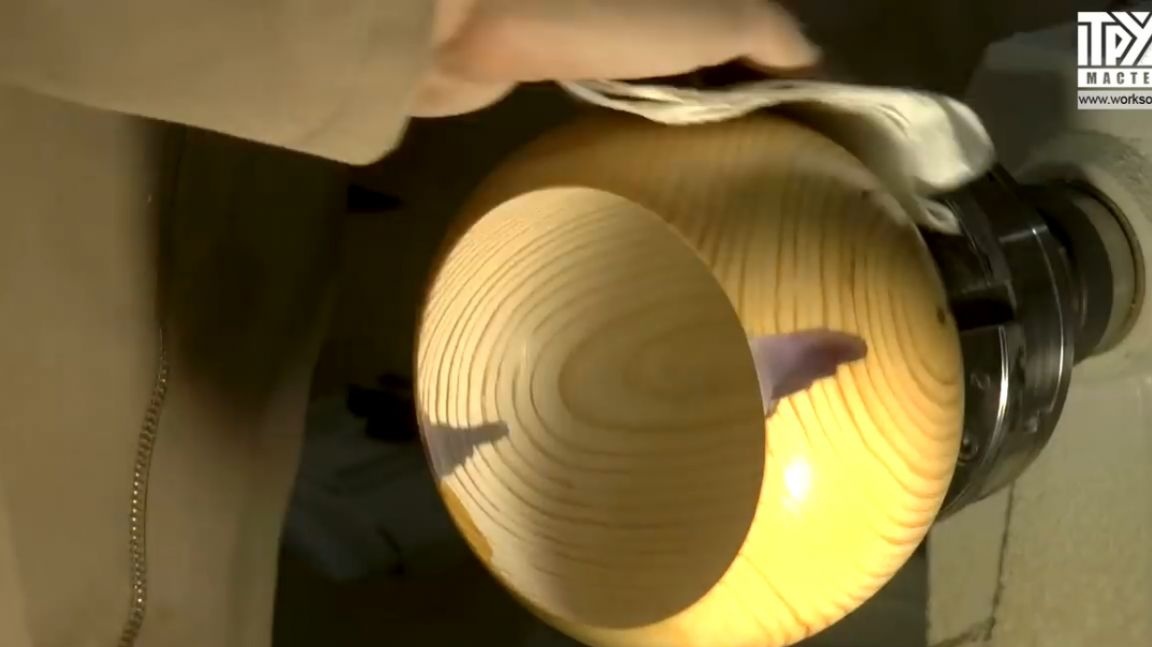
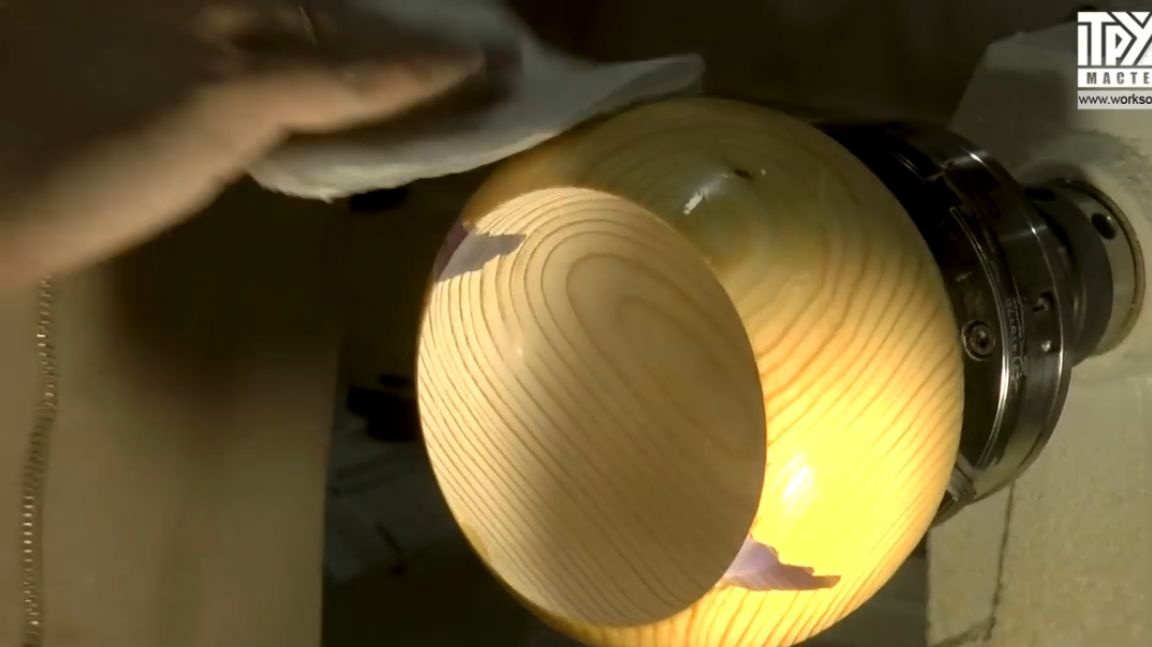
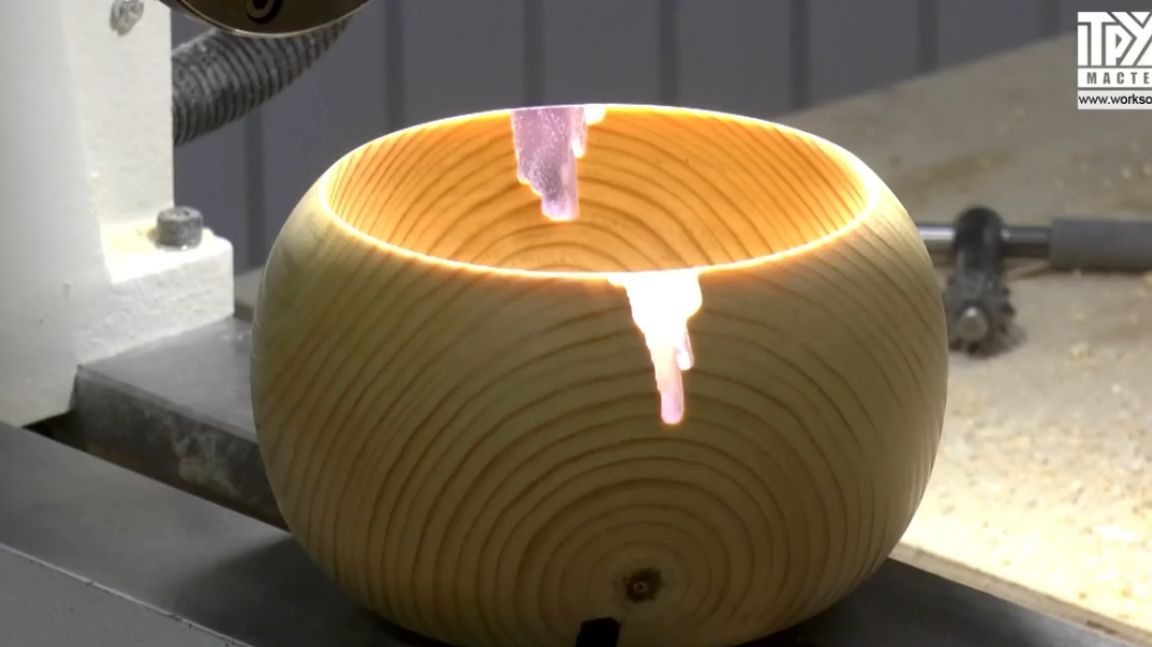
As a result, we get this:
Now we will make another such plate.
Resin in a lathe is like putty in a carpentry, but it is also an ornament. The only thing, of course, products using epoxy are already becoming purely decorative. That is, eating from the same cups, plates, dishes and other things with the use of resin is no longer worth it. Although, to be honest, I have no idea how this could be used for its intended purpose. I understand that this is pure decor. Nevertheless, sometimes people ask about it and everyone has to explain it.
I also want to remind you that when working with resin, while turning or grinding these products, a lot of dust is released, which is quite light. It can stand in the air for a long time, so it is simply necessary to use respiratory protection. Although it is necessary to protect breathing in principle during any work with wood, it is advisable to clean all these sawdust and dust, of course, every time after work.
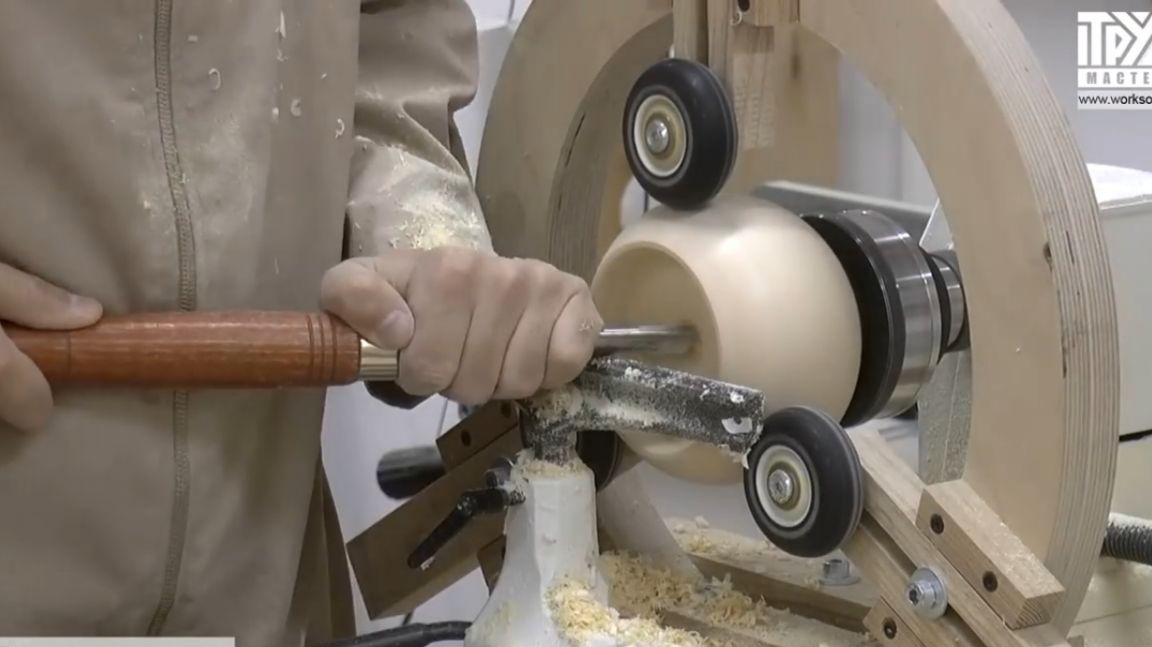
The author did not bore the first workpiece deeply from the inside, because, out of habit, he made a small ledge under the chuck, which for soft wood, could lead to loss of the workpiece during turning. Therefore, in time for the sprouts of the second blank, the master already used the lunette. And not so much to center the workpiece as to press it against the cartridge.
The shape of the product here turned out to be just profitable, and the rubber wheels of the lunette did not allow the workpiece to fly off the cartridge, because it was necessary to fix the workpiece from pine very gently, due to the same softness of this wood species.
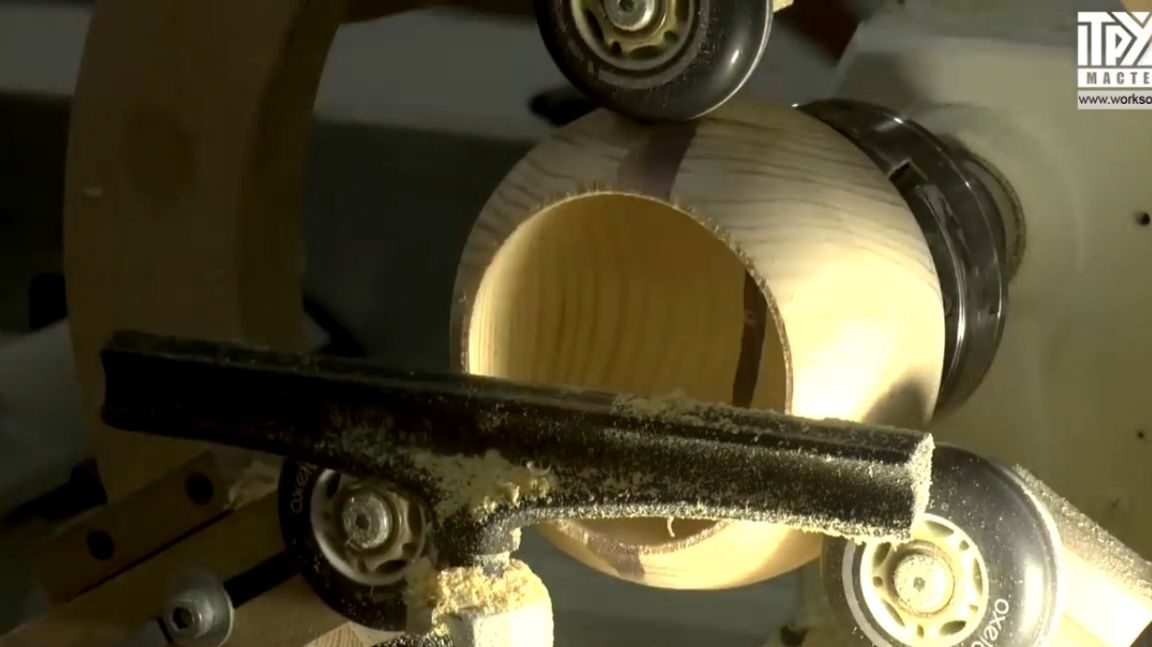
Again, you can work with the backrest much faster, removing more material in one pass. Of course, after dismantling the rest, the outer surface of the workpiece will need to be slightly sanded, because, anyway, the wheels from it leave a mark. But this is not the worst, compared with what is without it.The blank can simply be lost, or the same ledge will crack.
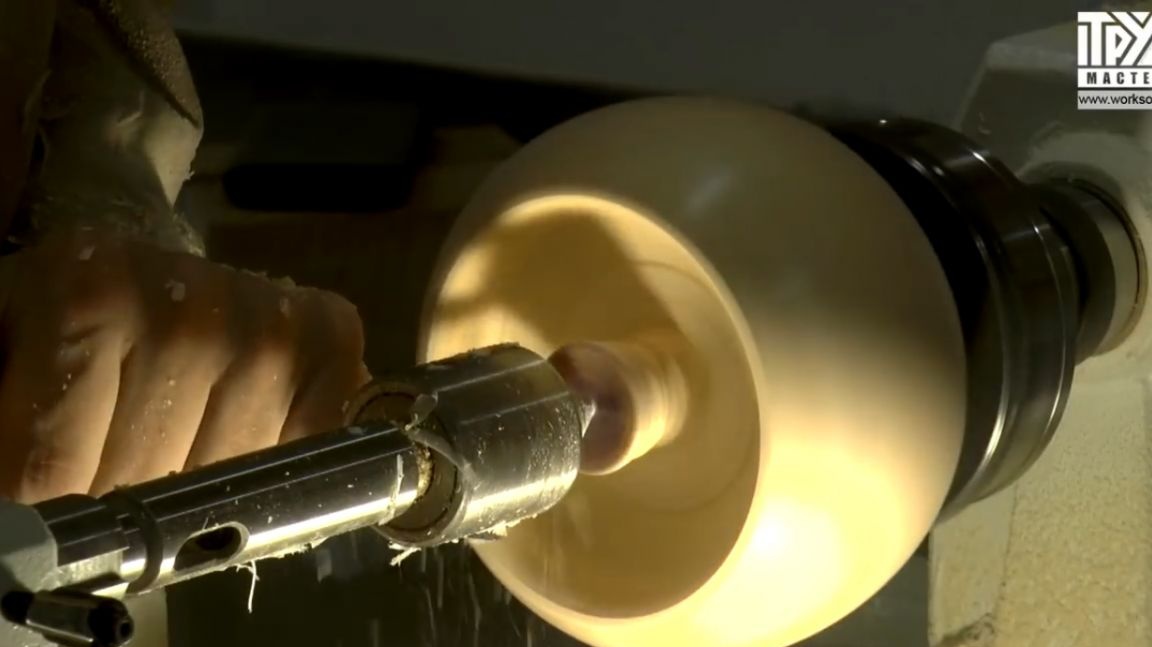
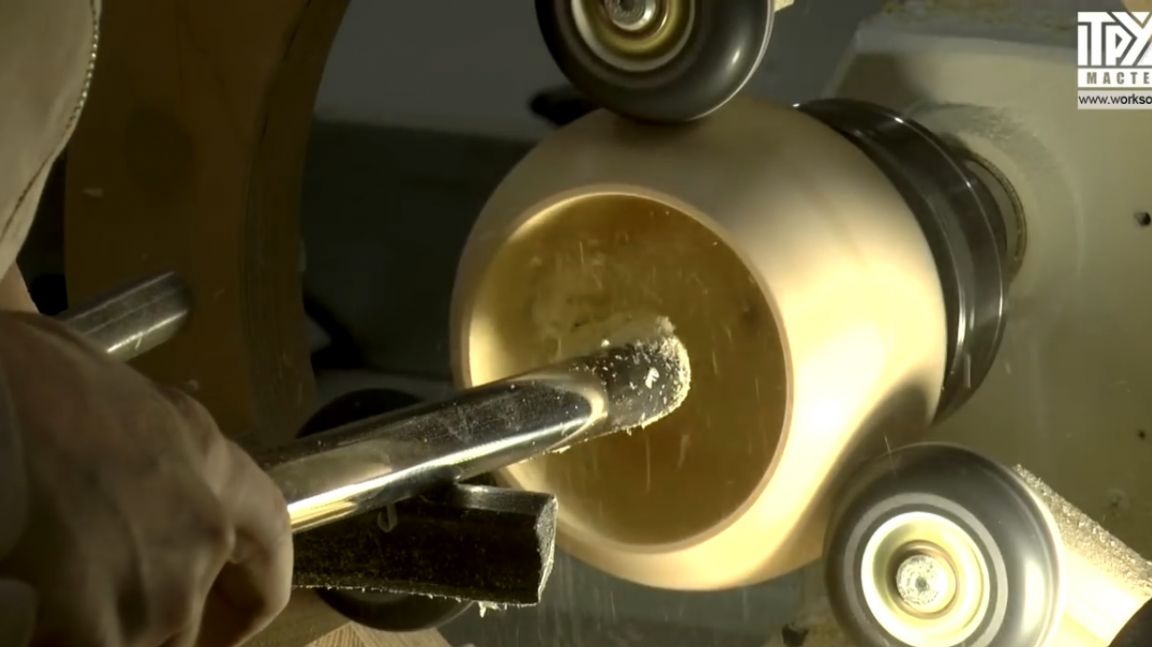
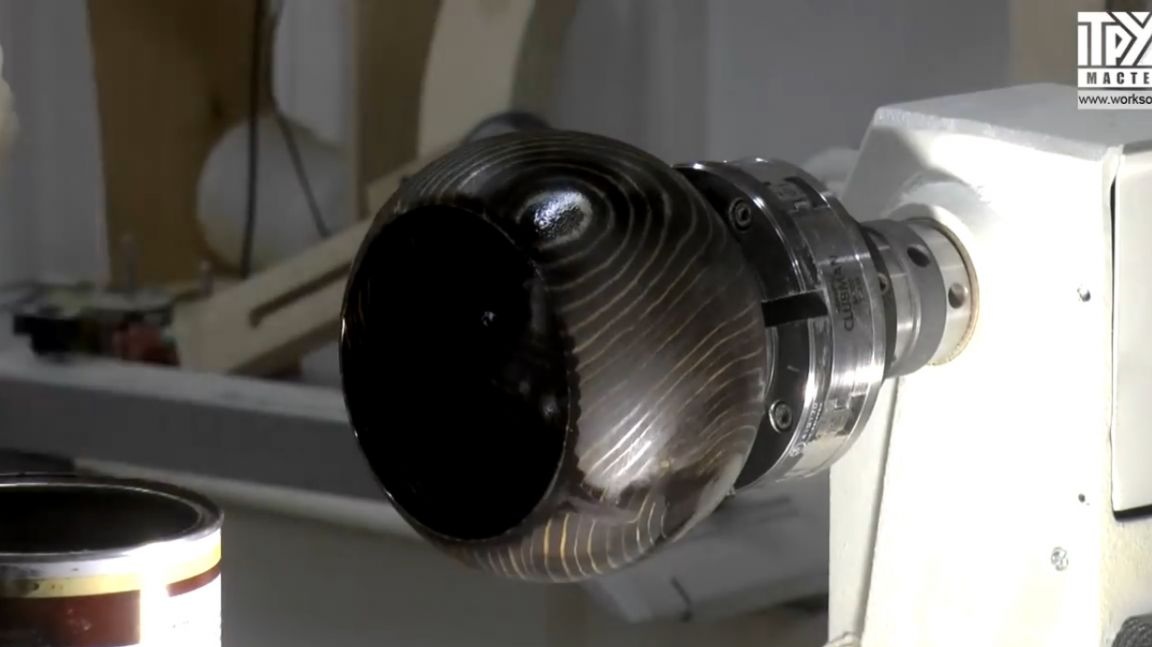
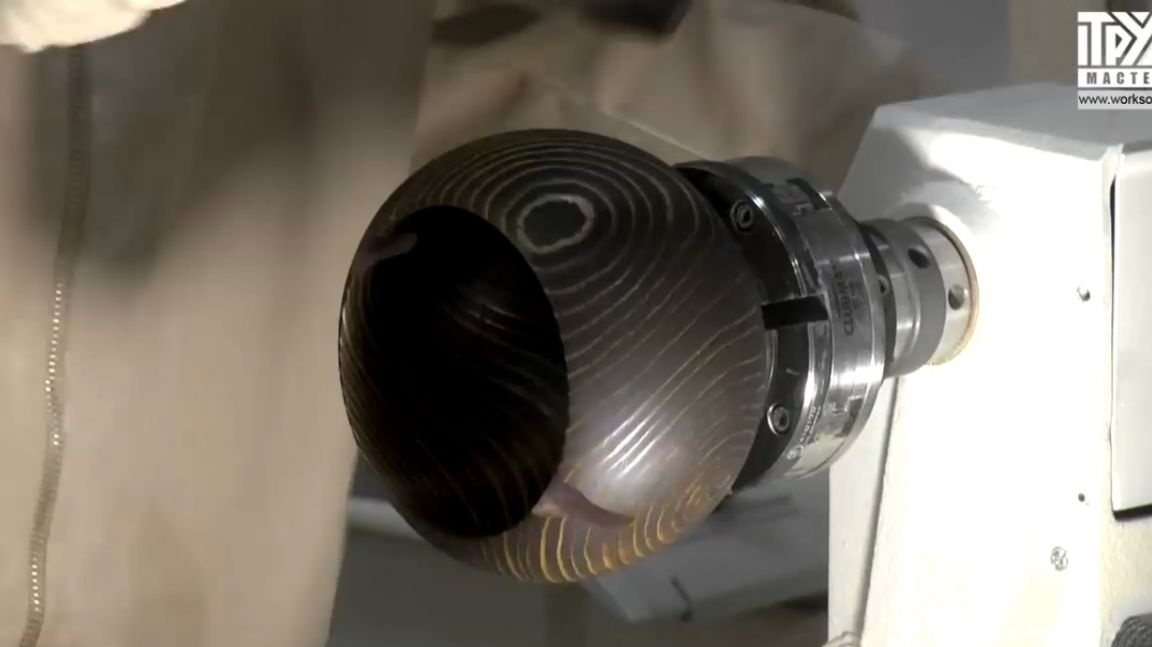
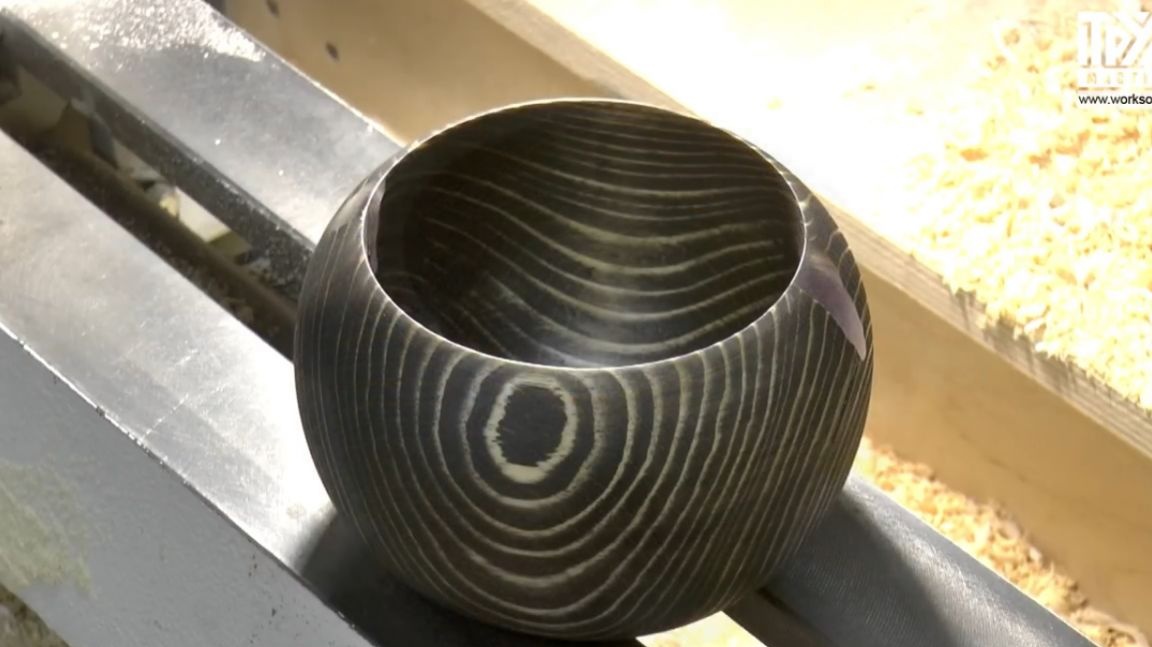
During the internal boring of the second workpiece, it was already possible, as planned, to get to the lower casting of resin, which of course already gave the product a more logically finished look.
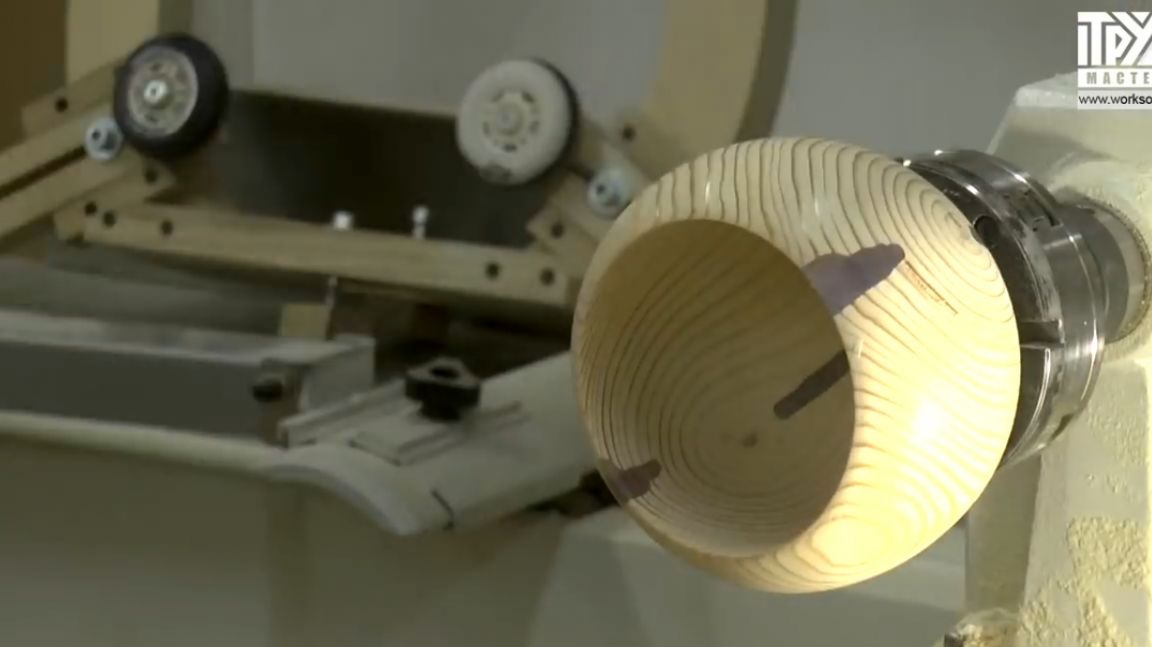
Also, continuing the experiments, the author has already decided to cover the second blank with tinted oil, which also betrays the pine structure even more expressively. The only, as usual, tinted oil immediately showed all the small shoals of grinding the product. So with such coatings, you can always check your grinding quality.

Such products turned out actually from some scraps from the construction site.
So experiment your friends and success in all your endeavors.
Thank you for attention. See you soon!
Video: