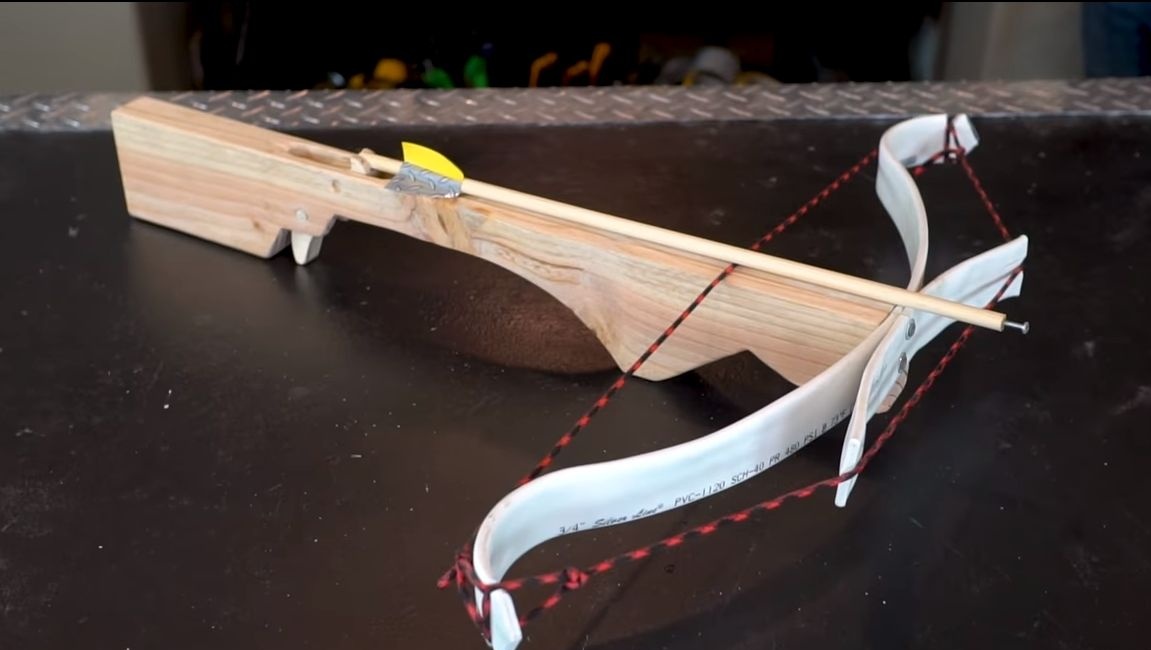
If you want to make an interesting training shooter for your child weapons, the best option would be. In addition, to shoot from such a weapon would be interesting for himself. Everything is done quite simply, here you can completely do with hand tools. The crossbow turned out to be quite powerful, as for training shooting. It uses double shoulders, which increases the stiffness of the bow and allows you to throw at high speed arrows made of wood. The author uses self-tapping screws as a tip for arrows, but you can show imagination and come up with something more interesting.
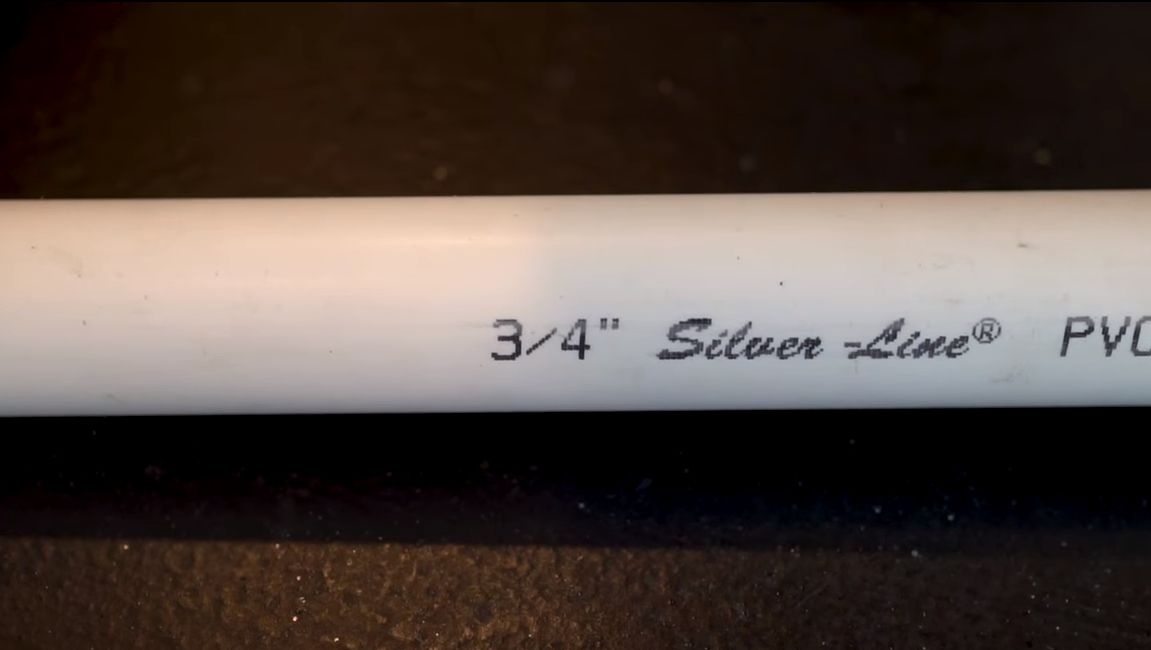
The author made the bow from PVC pipes, this material is springy and easy to get, the pipes are in many plumbing stores. The bed, butt, trigger device, everything is made of wood. With some modernization, you can easily hunt with this crossbow, but that's all between us. So, we will consider in more detail how to make such do it yourself.
Materials and tools used by the author:
Material List:
- timber;
- PVC pipe;
- two screws;
- strong rope;
- wooden rods for arrows;
- adhesive tape (for plumage).
Tool List:
- a hacksaw or a pendulum saw;
- jigsaw;
- belt sander;
- drill;
- marker;
- roulette;
- screwdriver;
- building hair dryer;
- vise;
- oil for wood processing;
- paint for painting onions (optional).
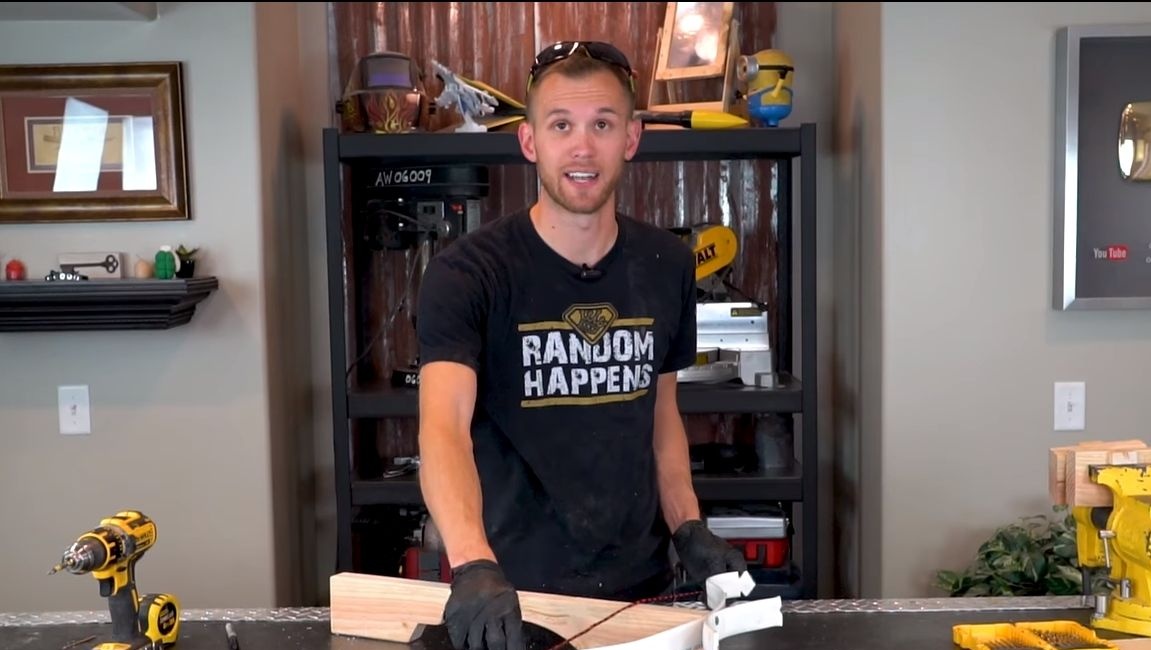
Crossbow manufacturing process:
Step one. Cut the blanks
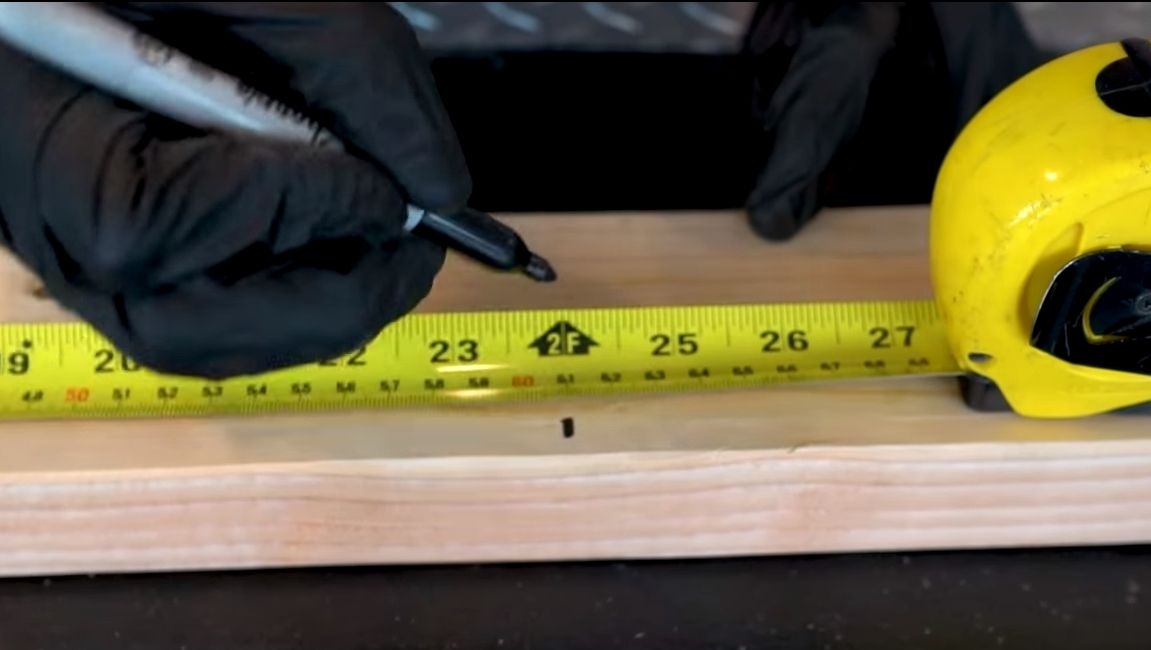
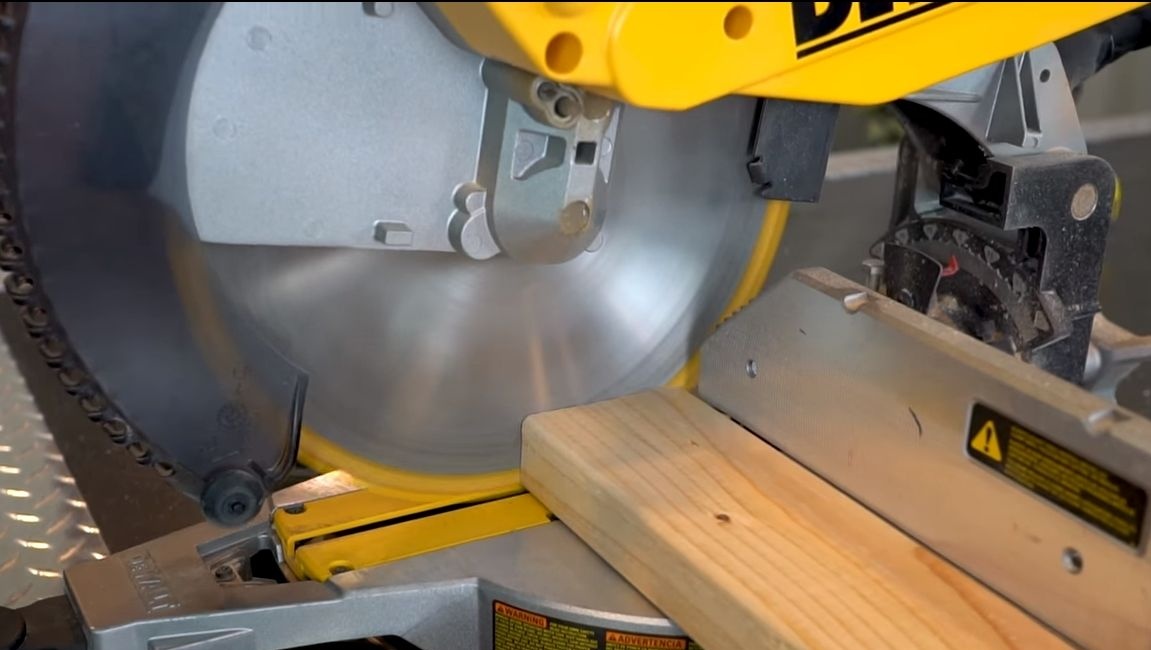
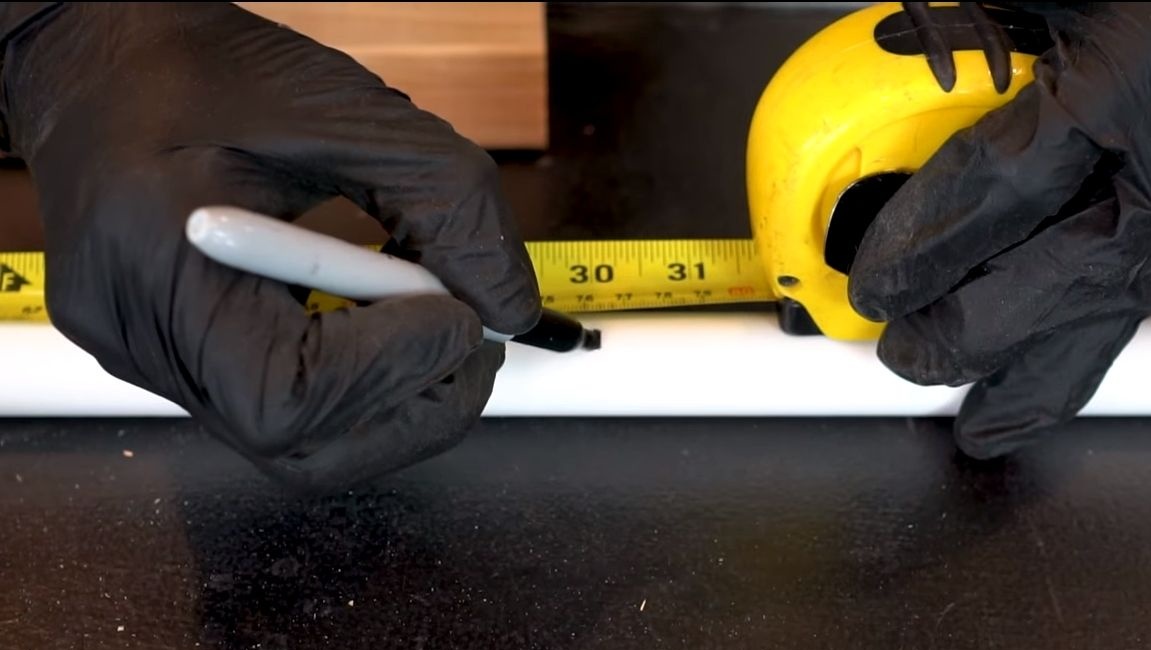
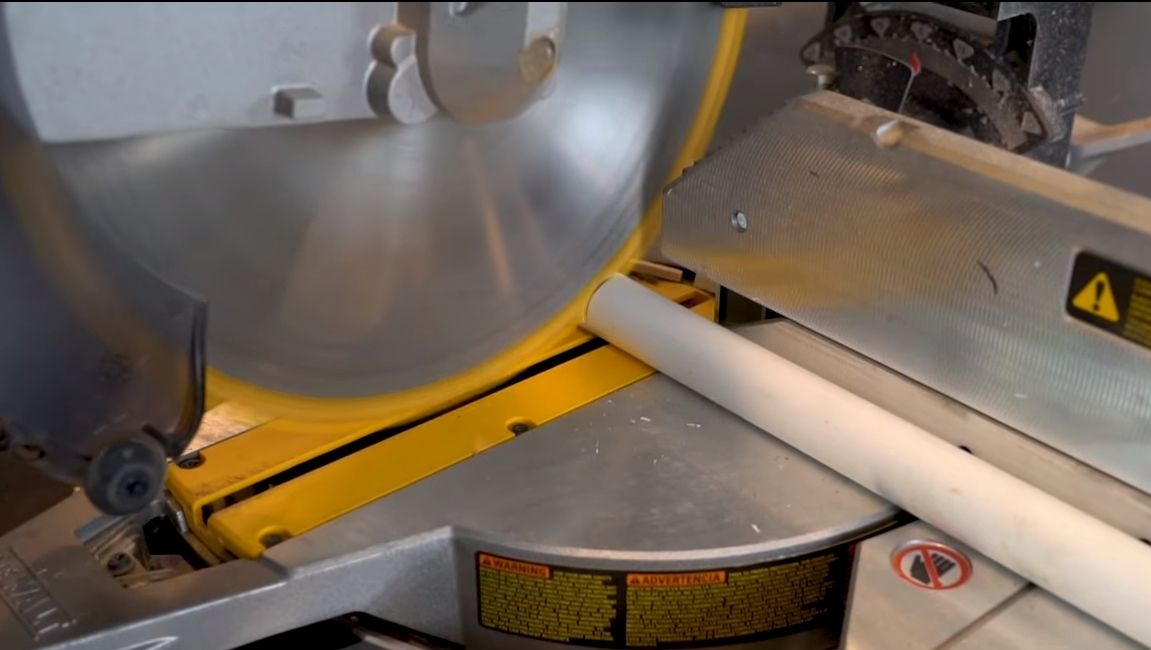
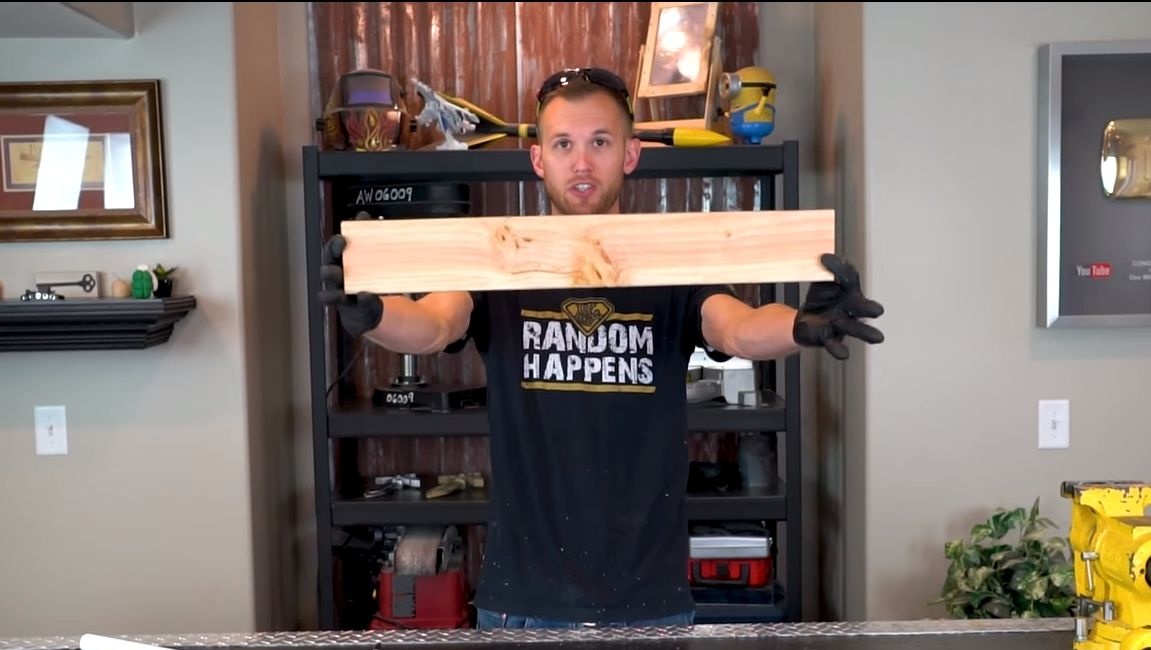
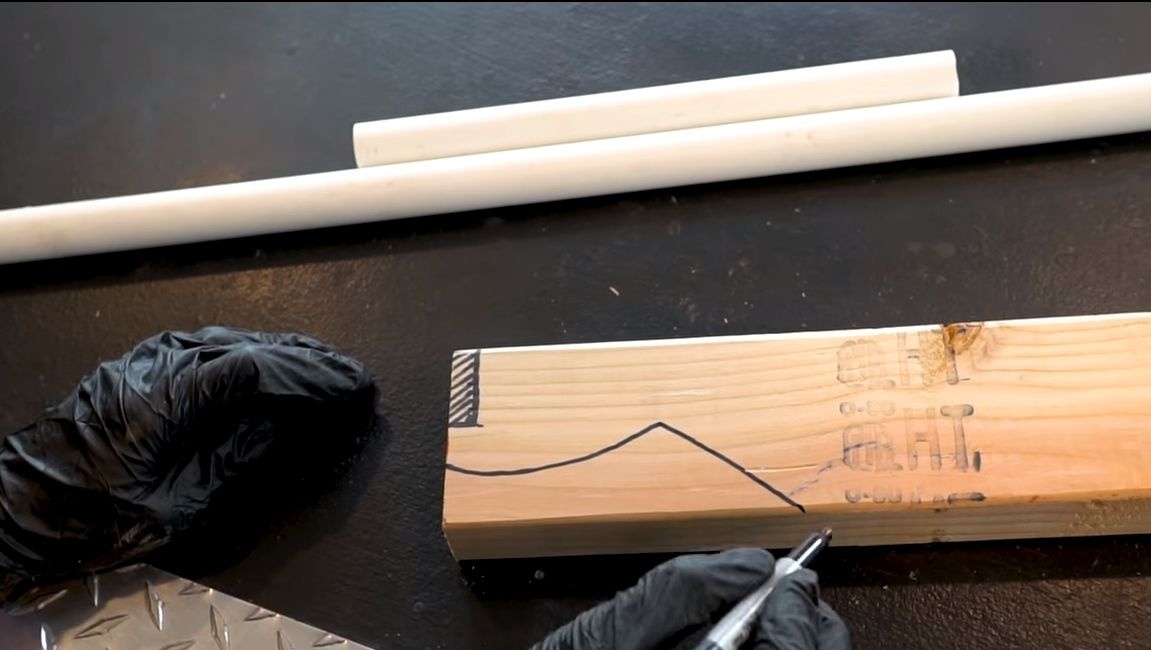
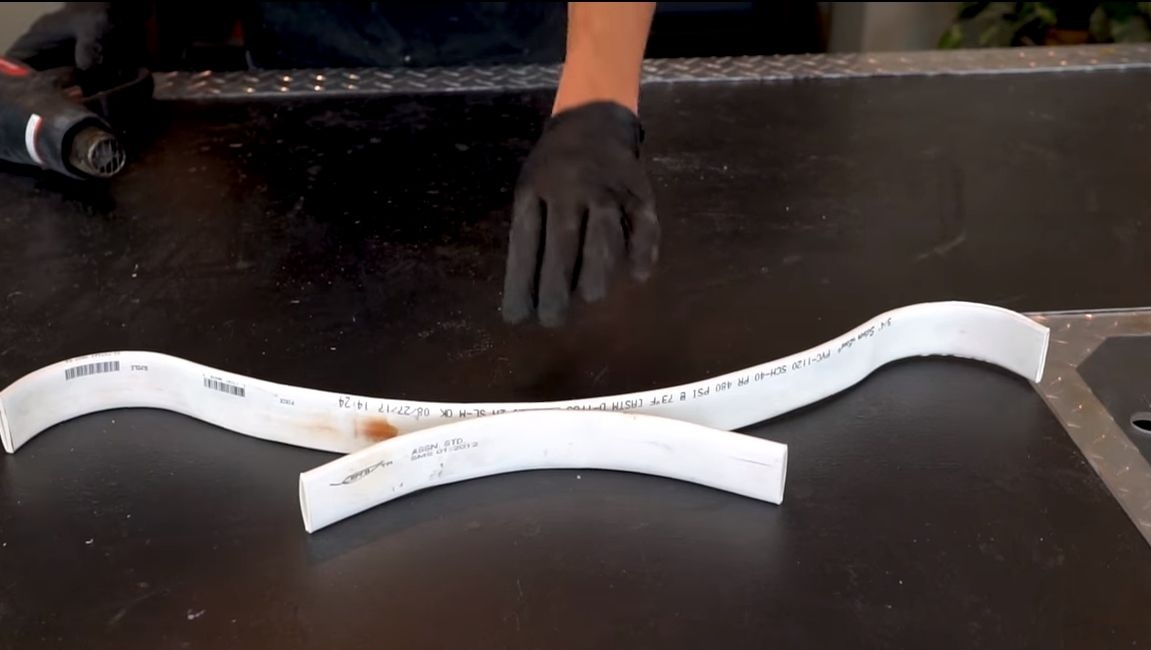
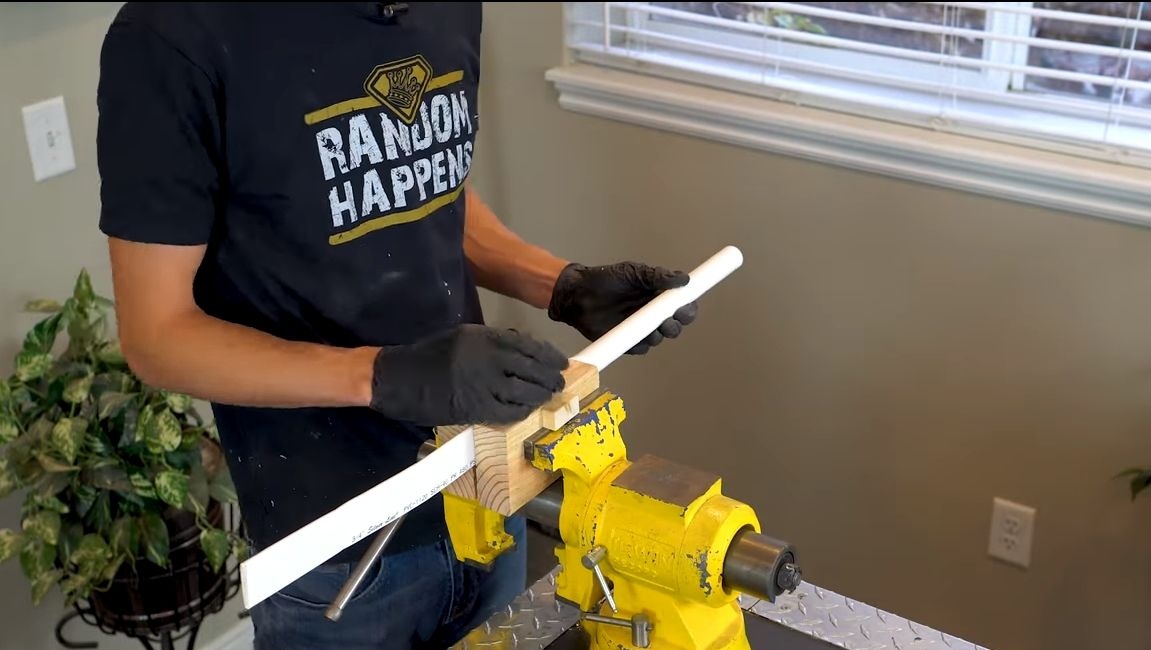
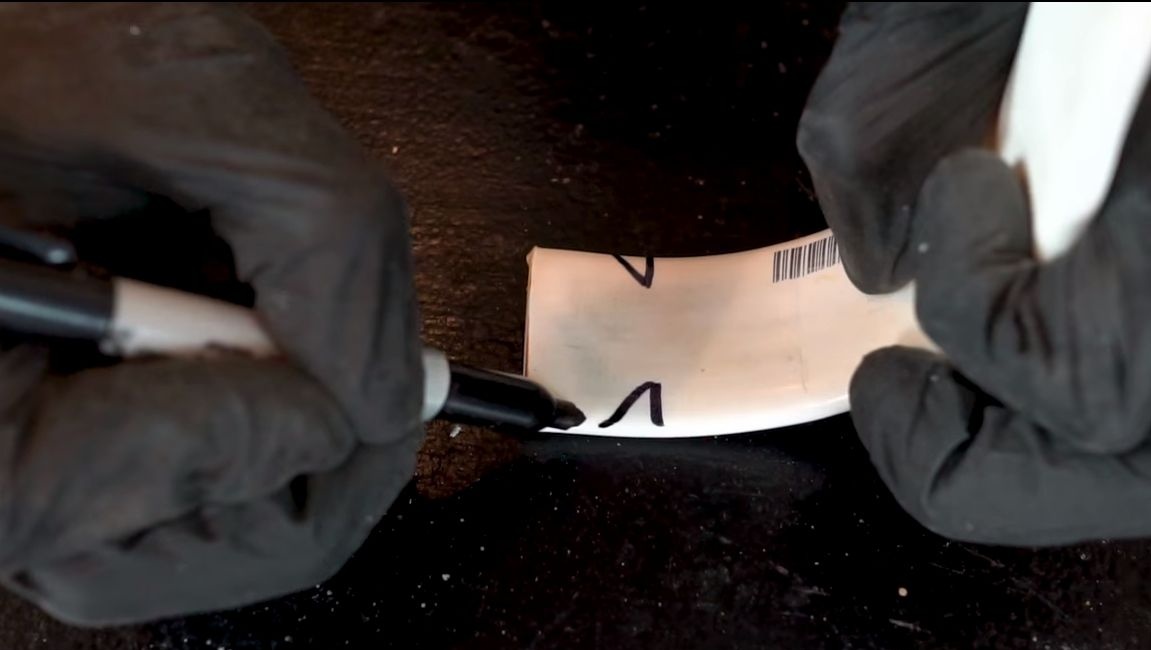
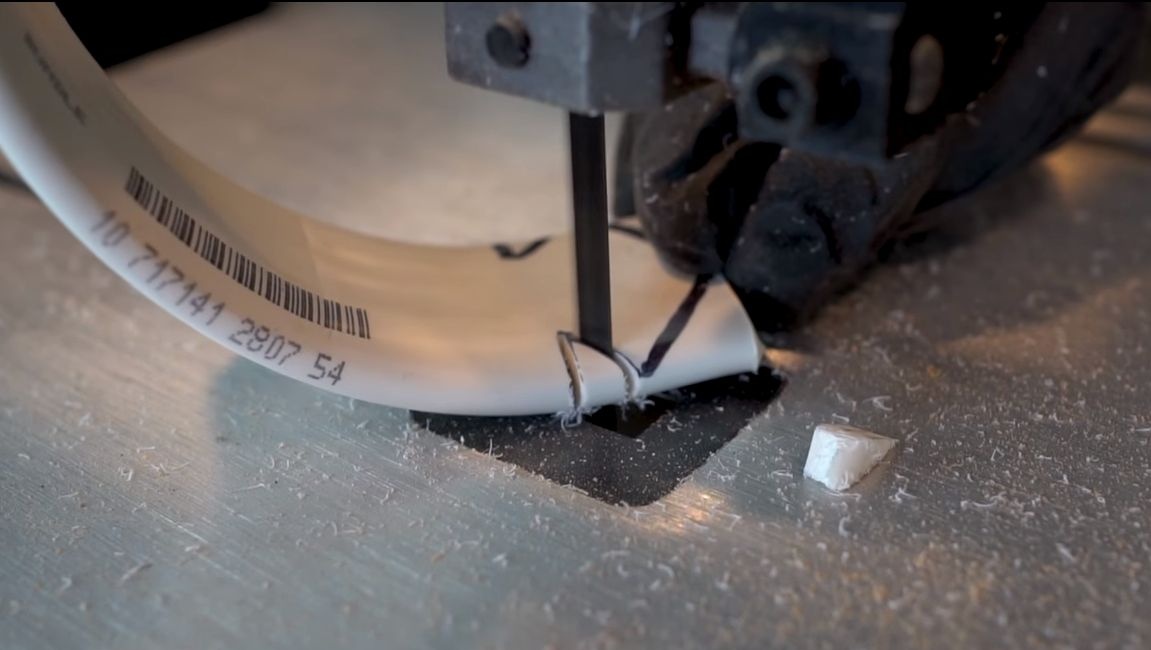
First of all, cut a wooden beam, it will be used to make the base. We also need to cut the pipe. You should get two parts, long and short. You look at the sizes in a photo.

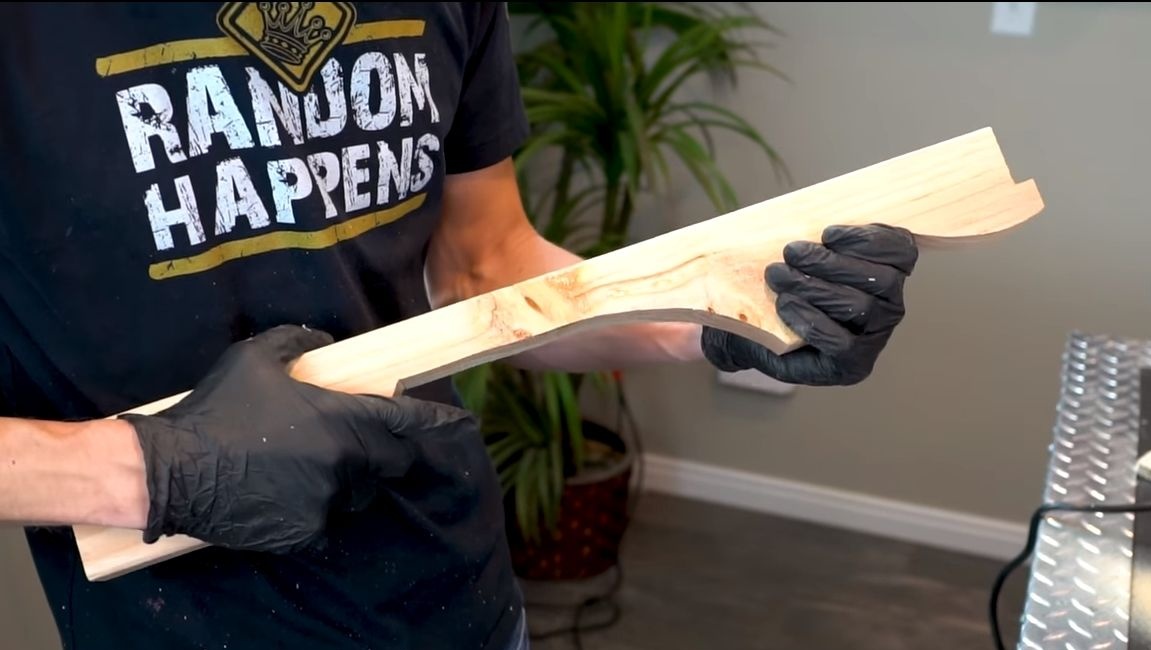
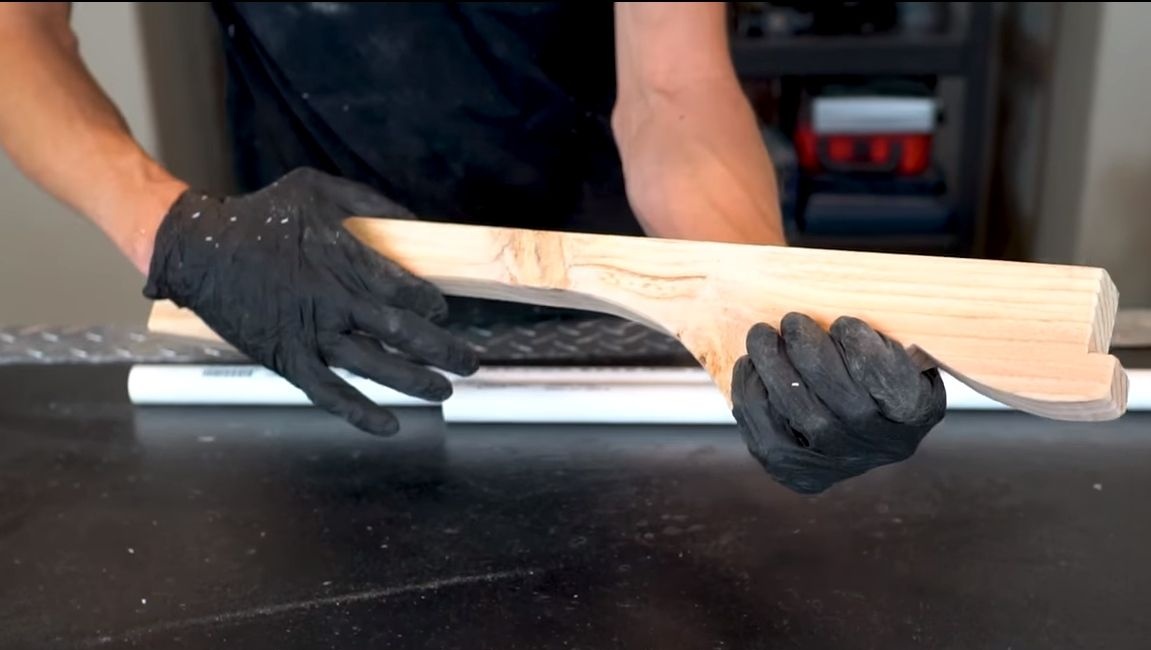
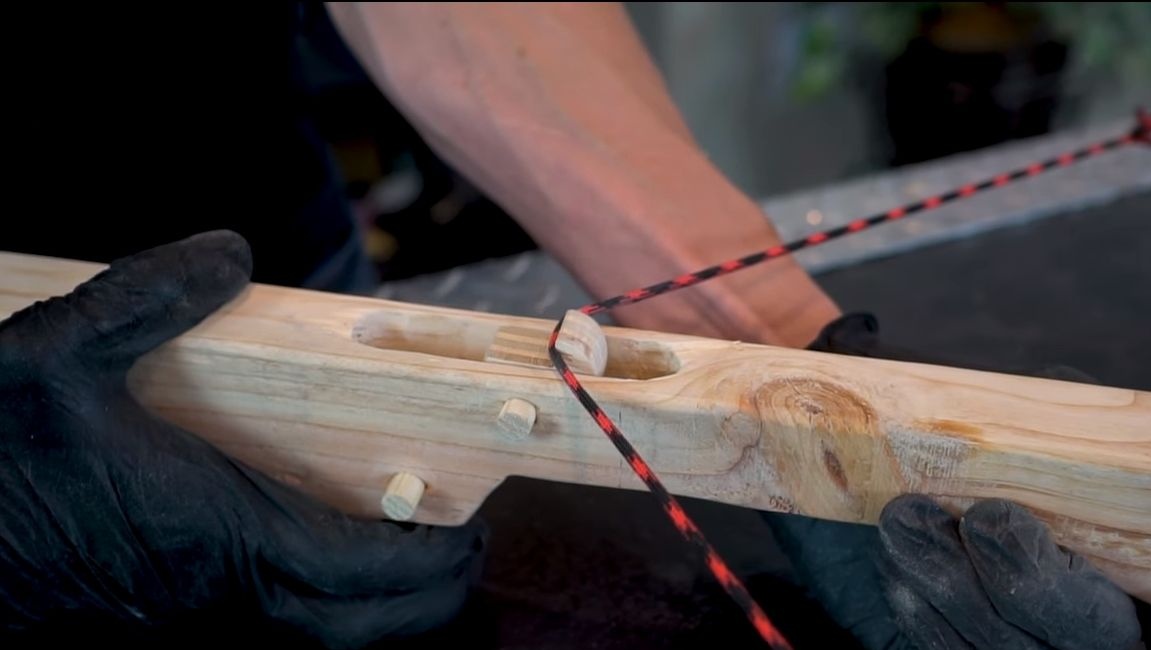
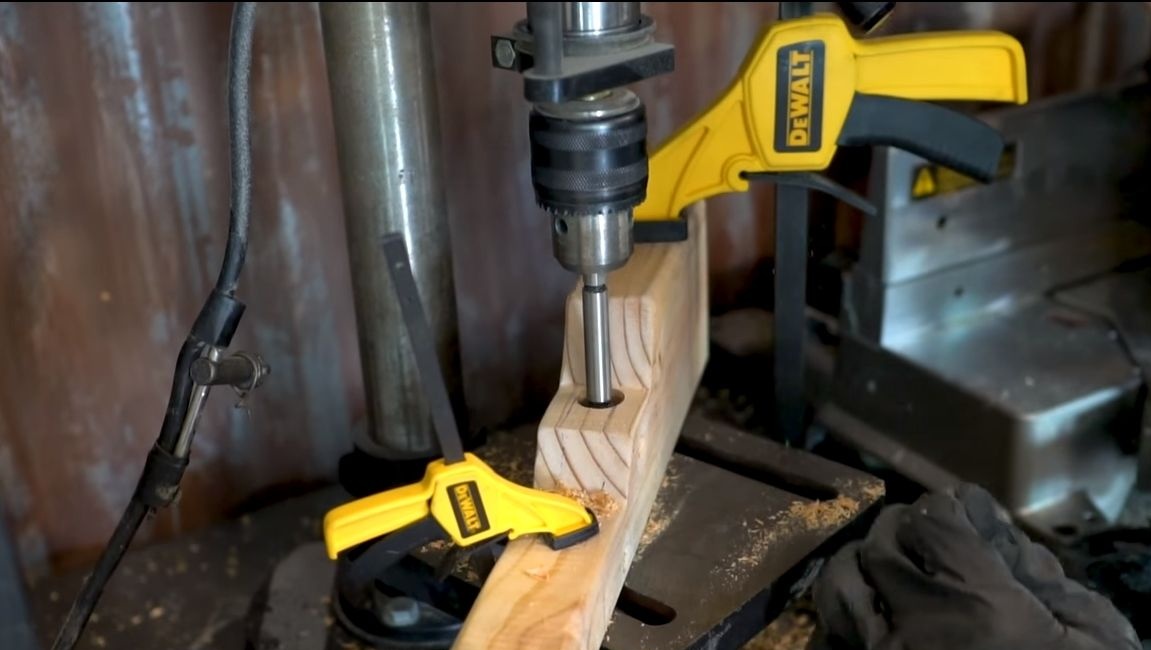
Step Two We make a bed
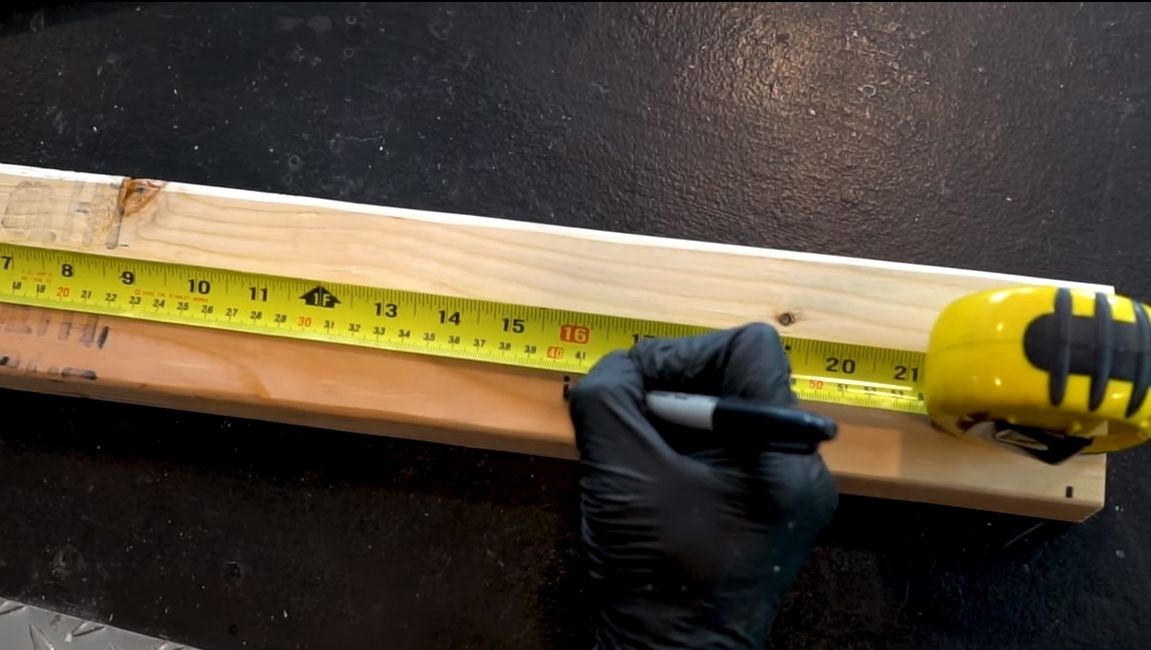
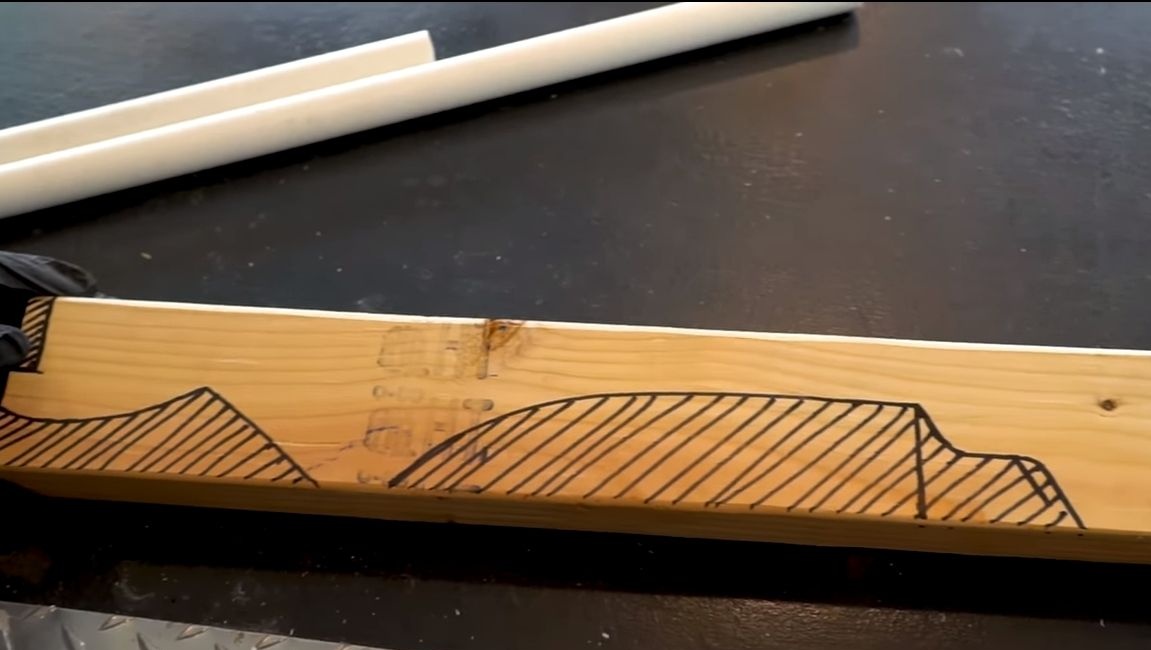
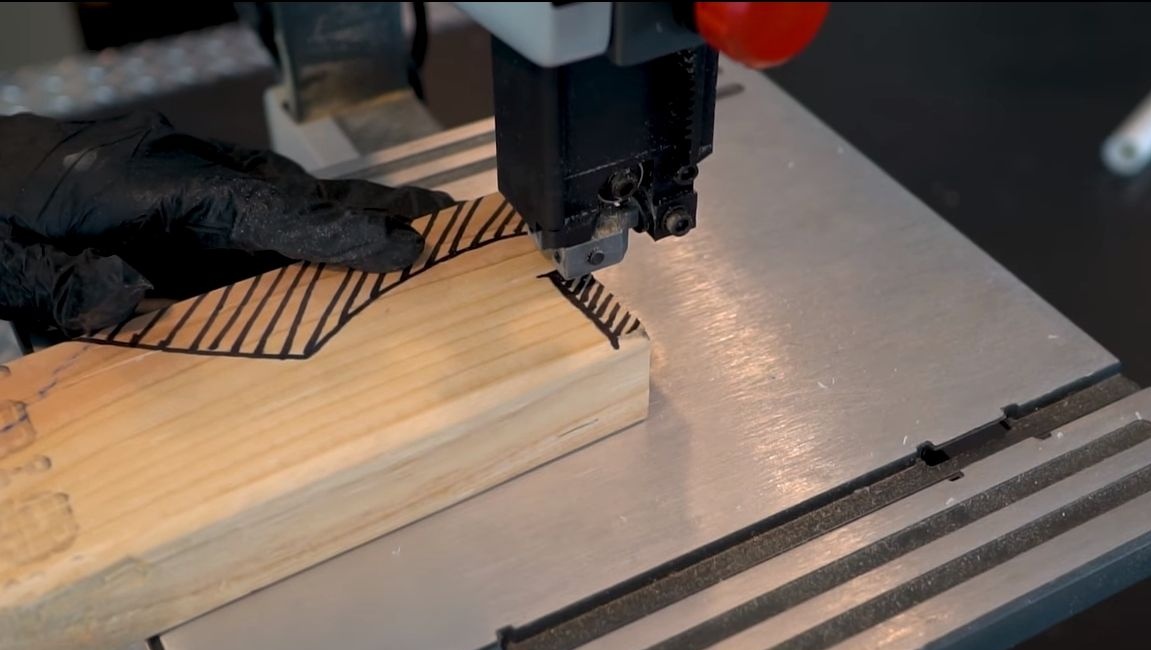
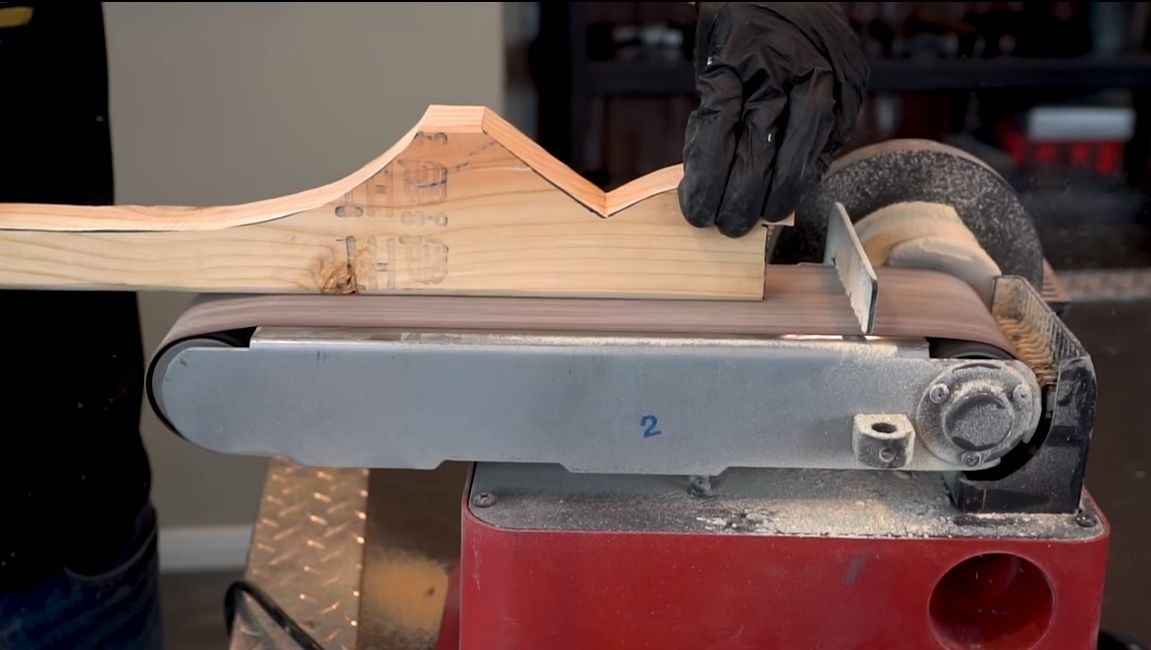
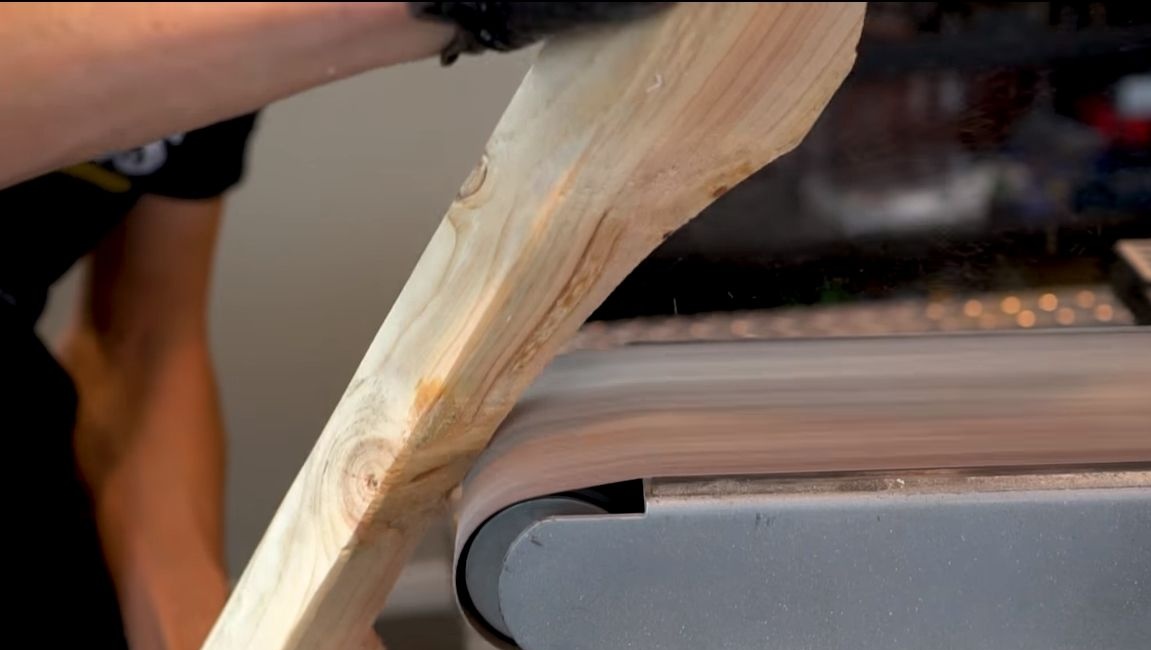
The bed is made of wooden timber. First of all, we will make the necessary markup using a marker. Well, then we cut out the excess parts using a jigsaw, an electric jigsaw will perfectly cope with this task.
To get smooth forms, the author modifies the product on a belt sander. This task can also be handled manually using a knife and then large sandpaper.
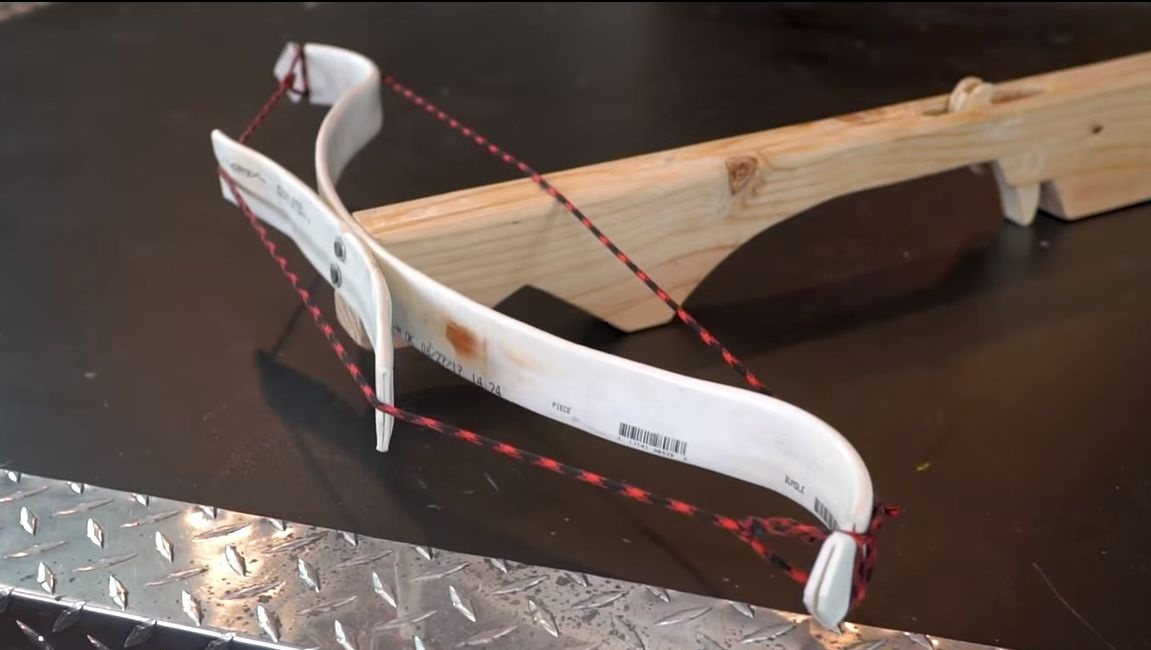
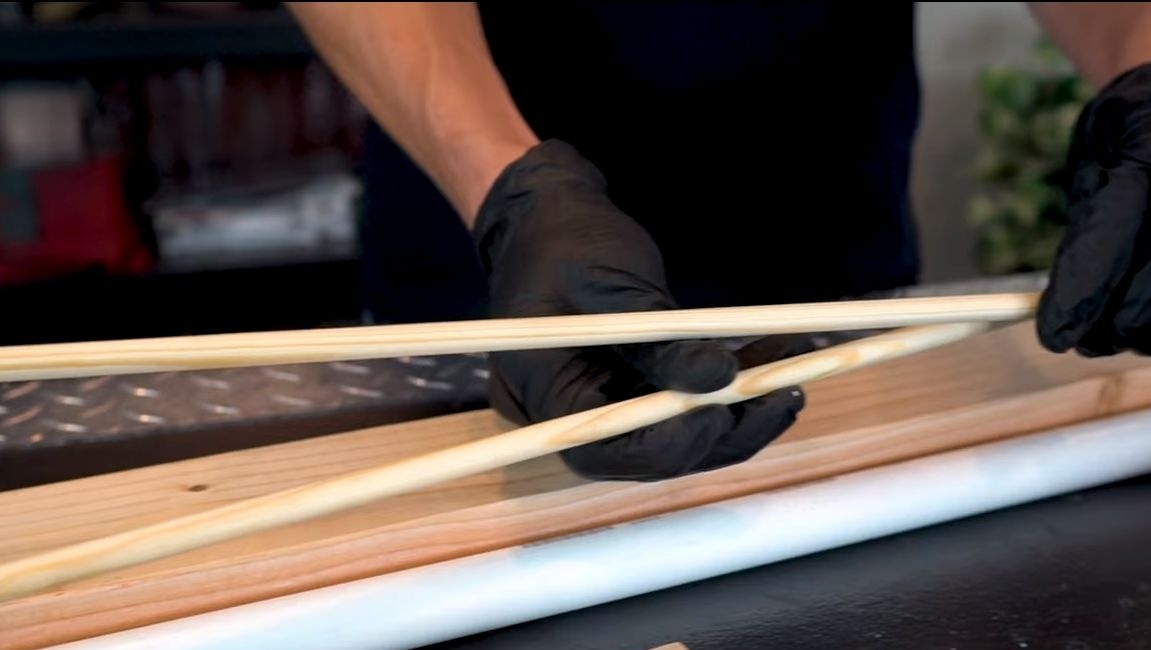
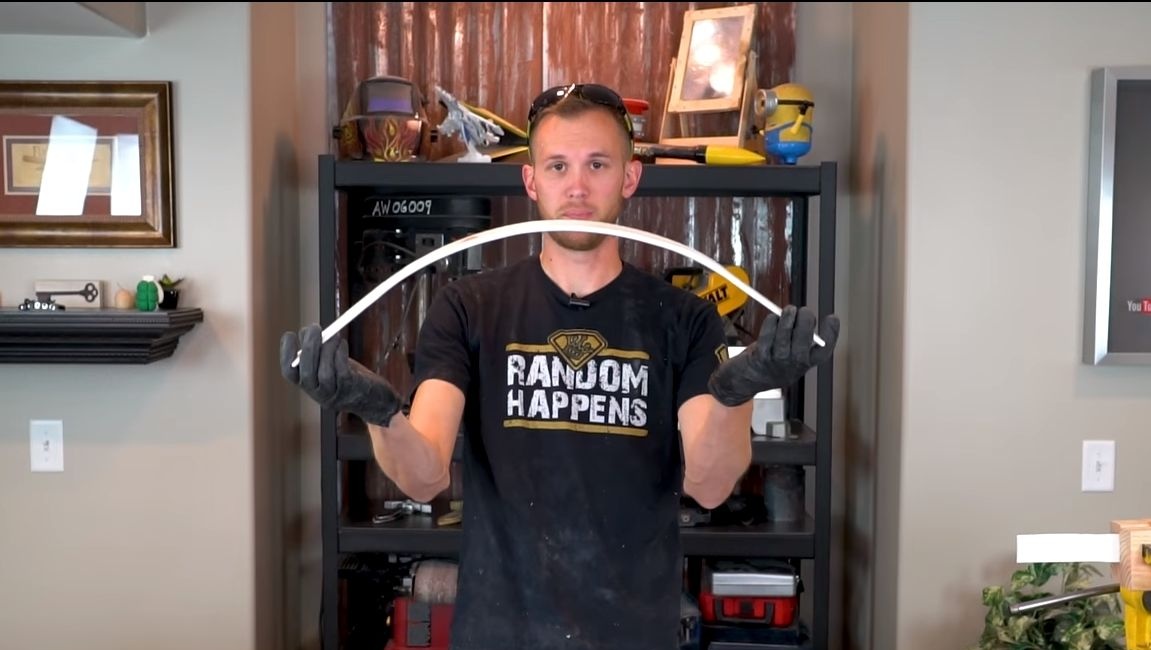
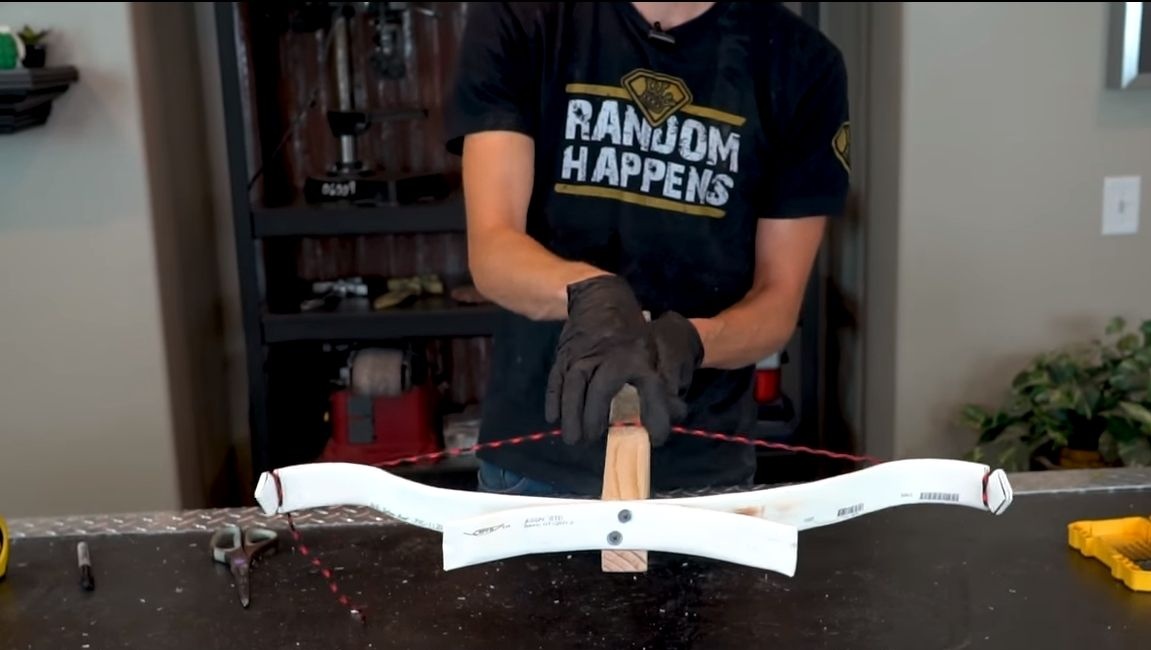
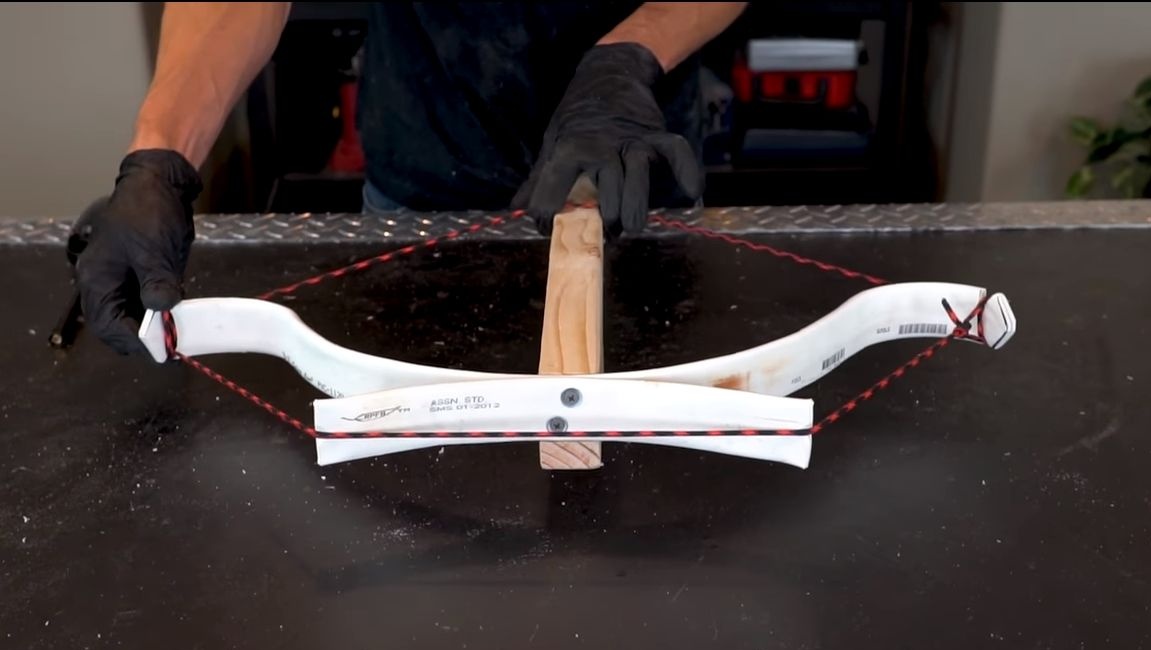
Step Three Make a bow
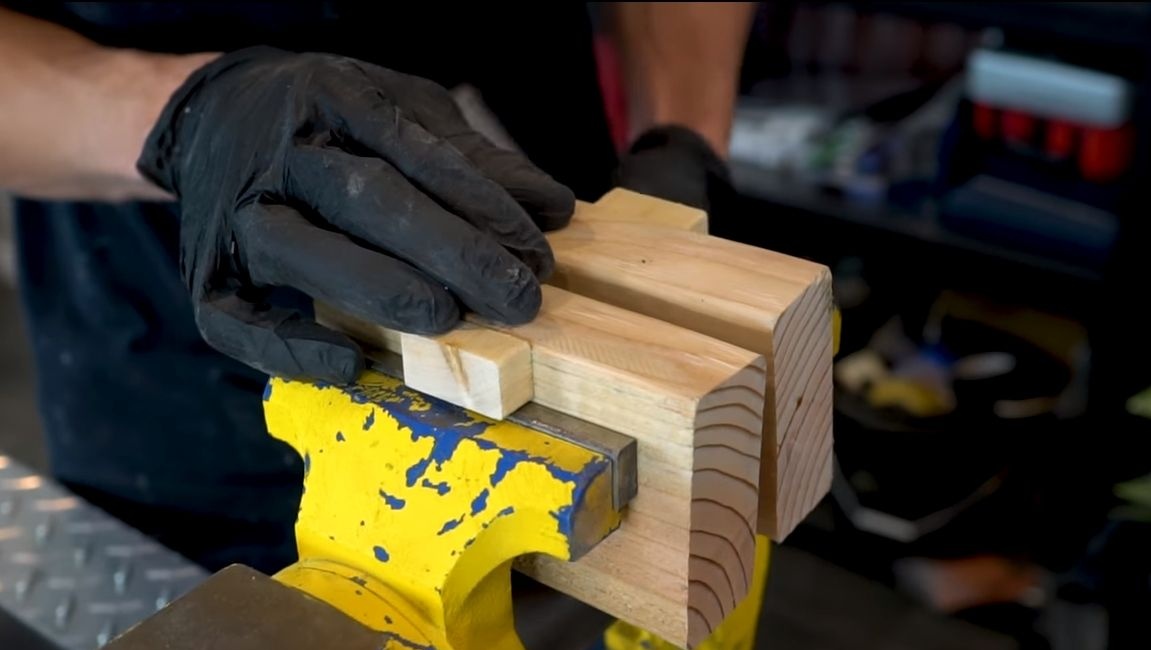
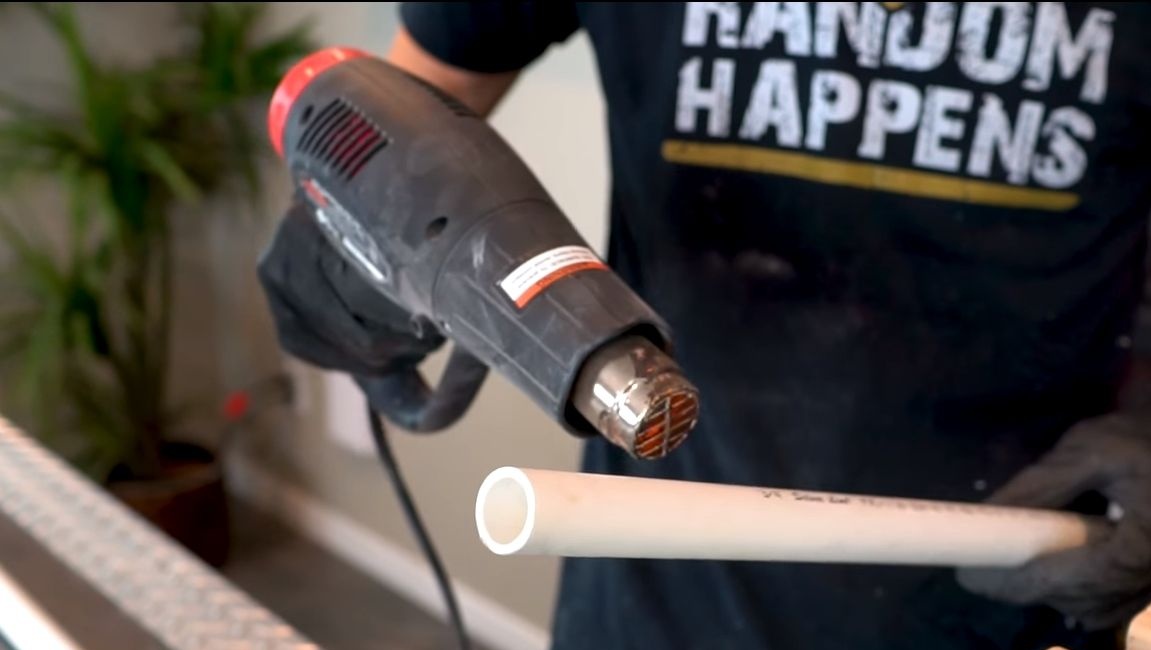
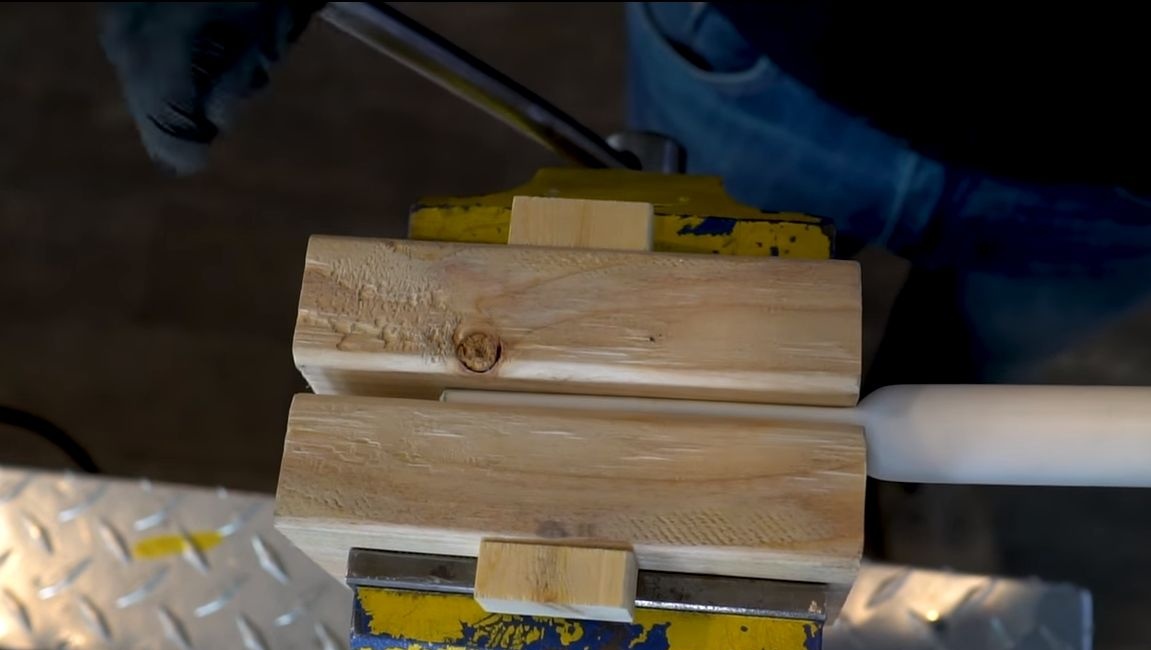
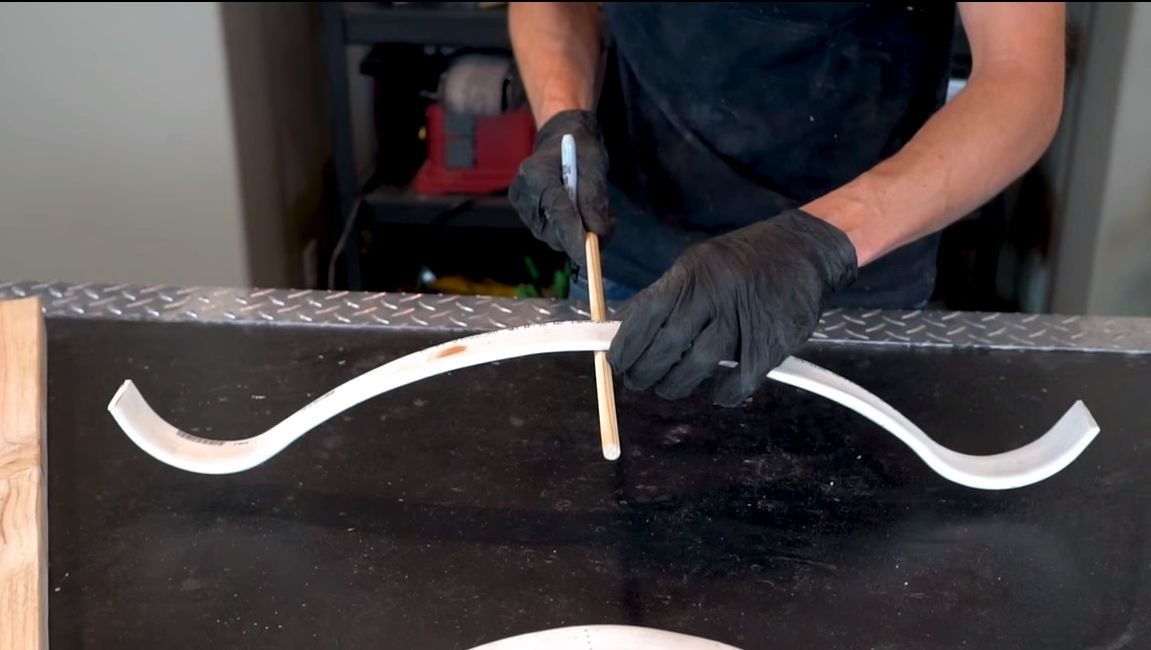
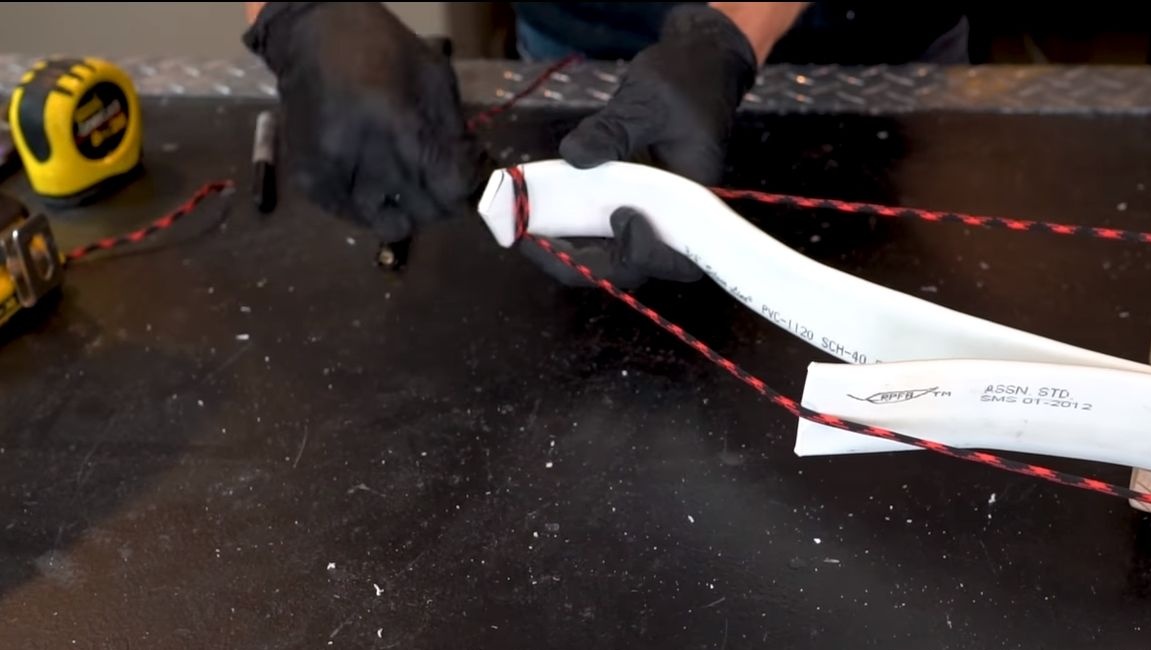
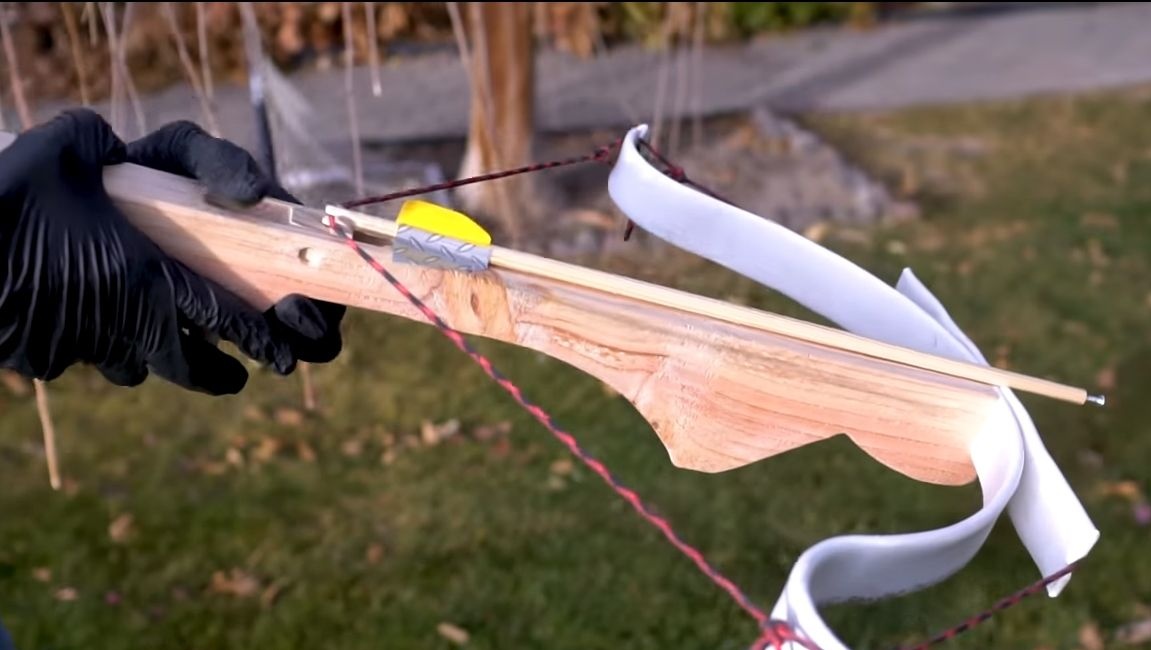
The onion consists of two parts, which increases its rigidity. Everything is made of PVC pipes that need to be made flat. To do this, we need a vise with an insert of wood, so that no prints remain on the pipes. We heat the pipe with a construction hairdryer until it becomes soft, and then squeeze it in a vice. Step by step we heat the sections and compress. At the end, we form the desired onion profile.
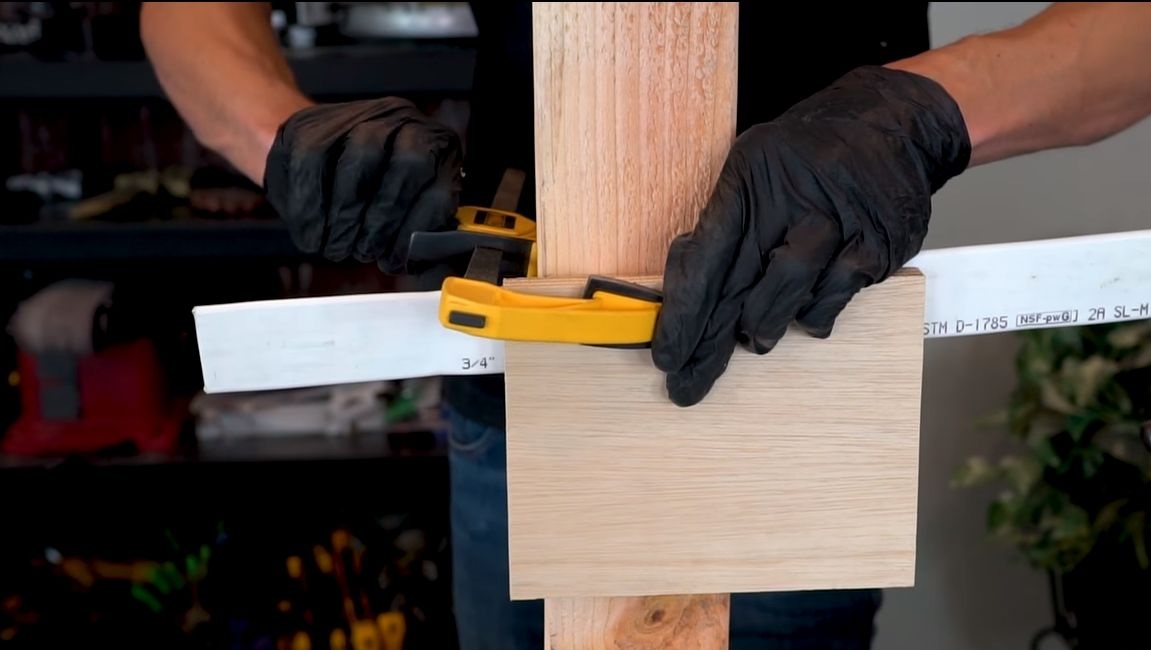
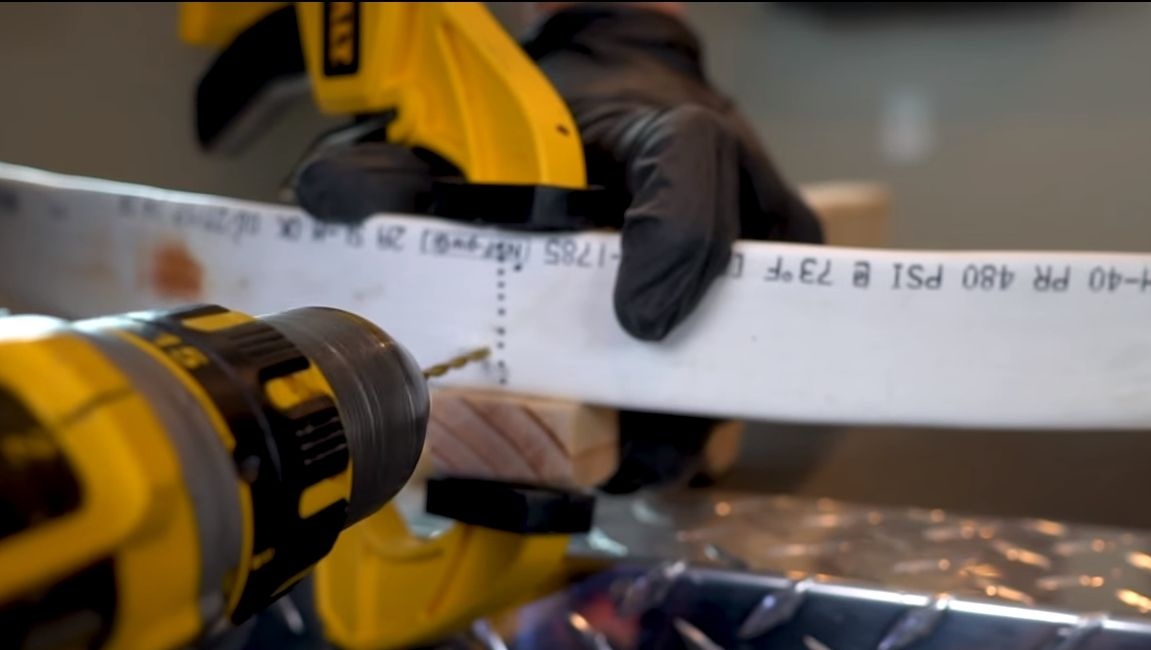
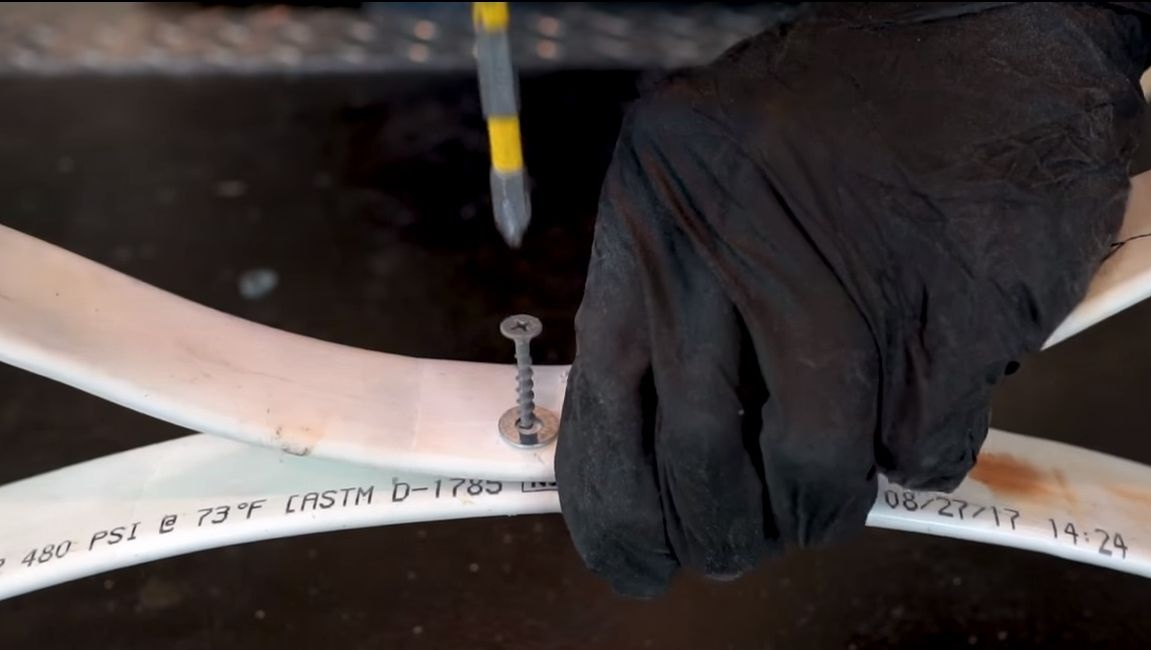
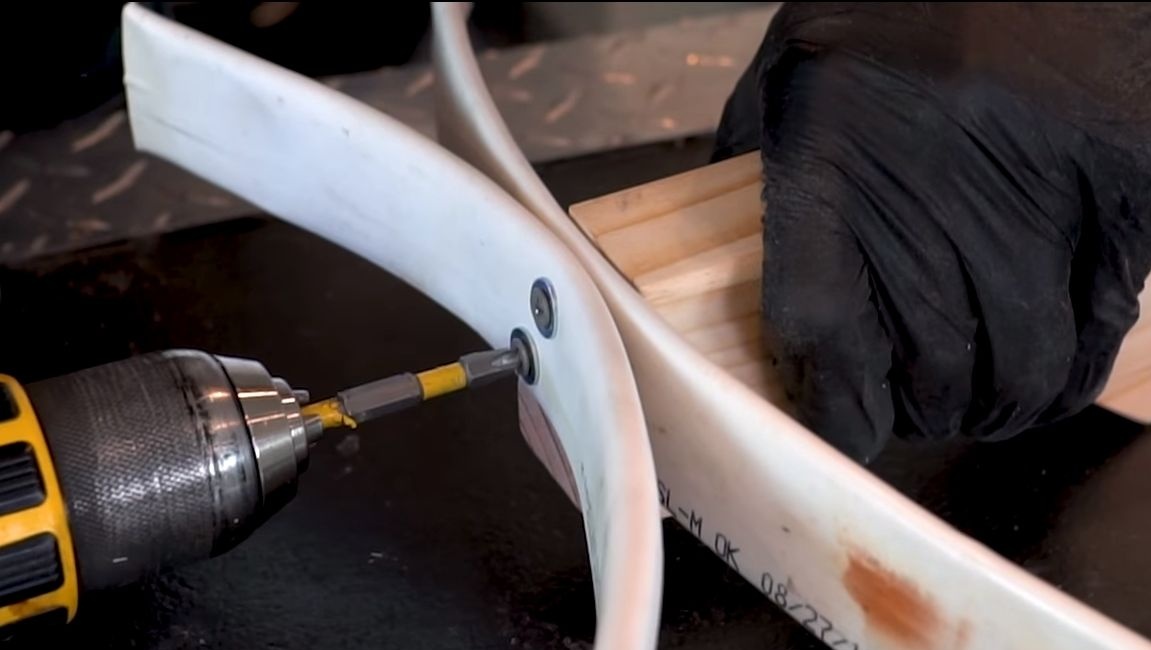
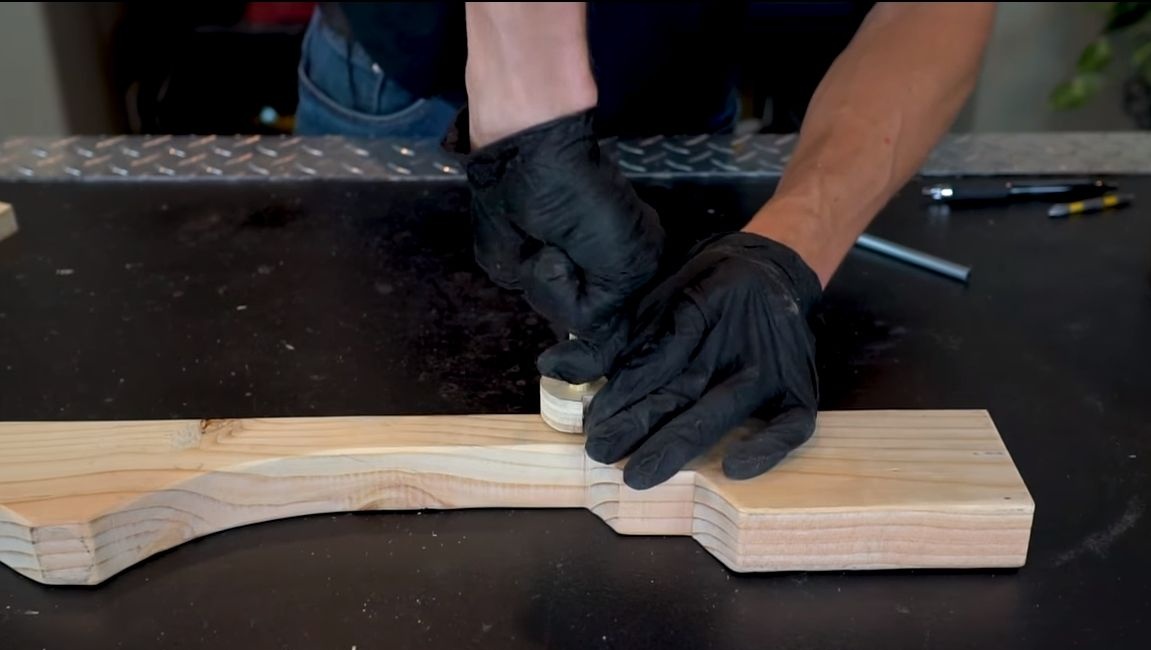
Step Four Onion mount
To attach the onion, we look for its center, and then we drill two holes, like the author. For fastening we use two self-tapping screws, as well as washers. But do not fasten the bow tightly yet, it still needs to be finalized.
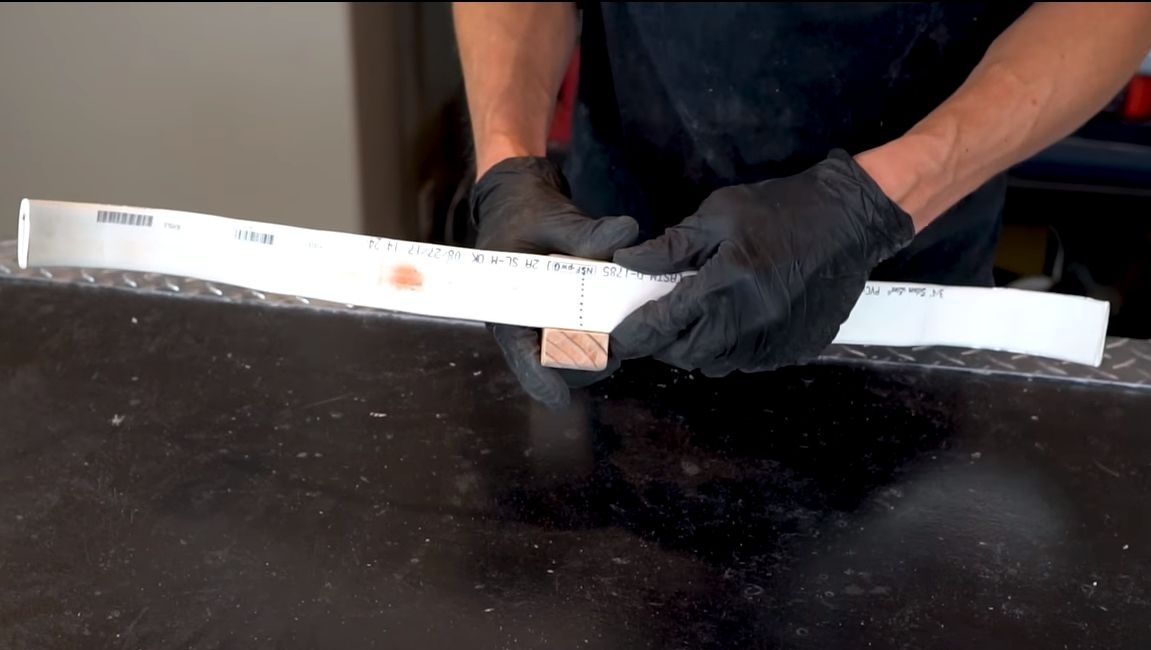
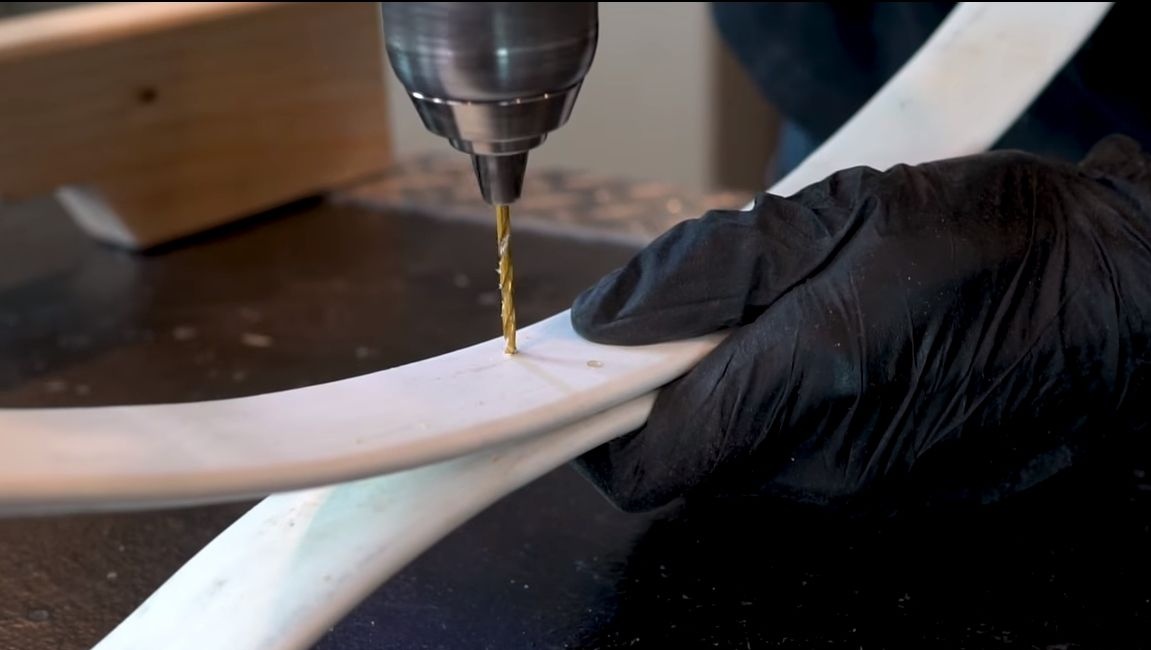
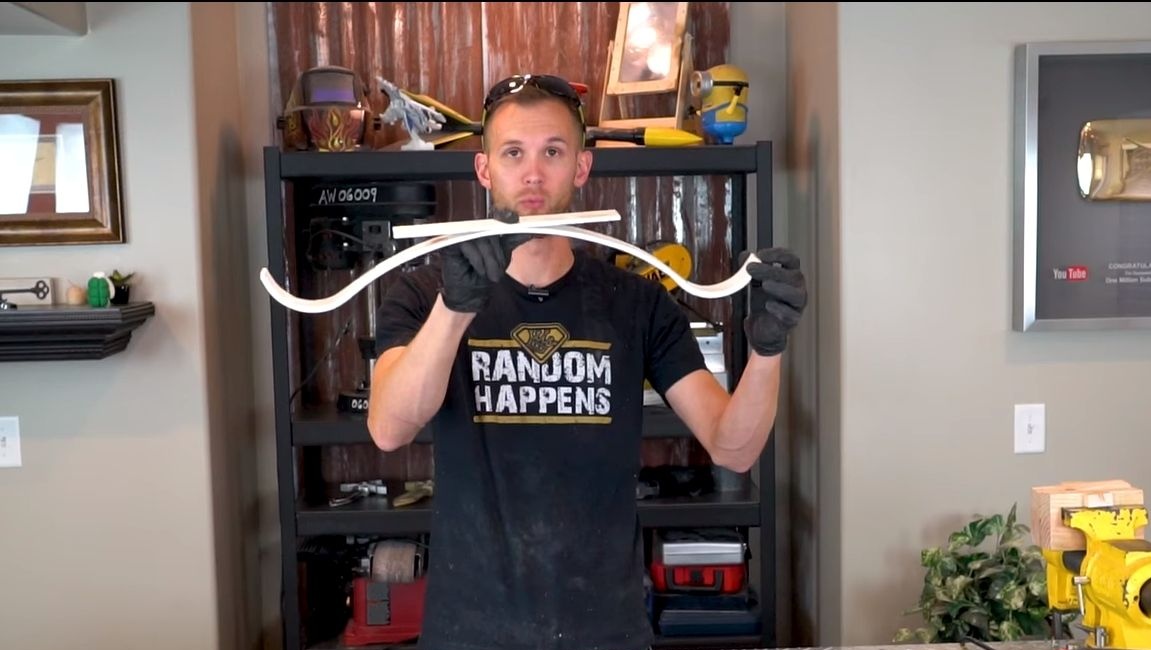
Step Five We finish onion
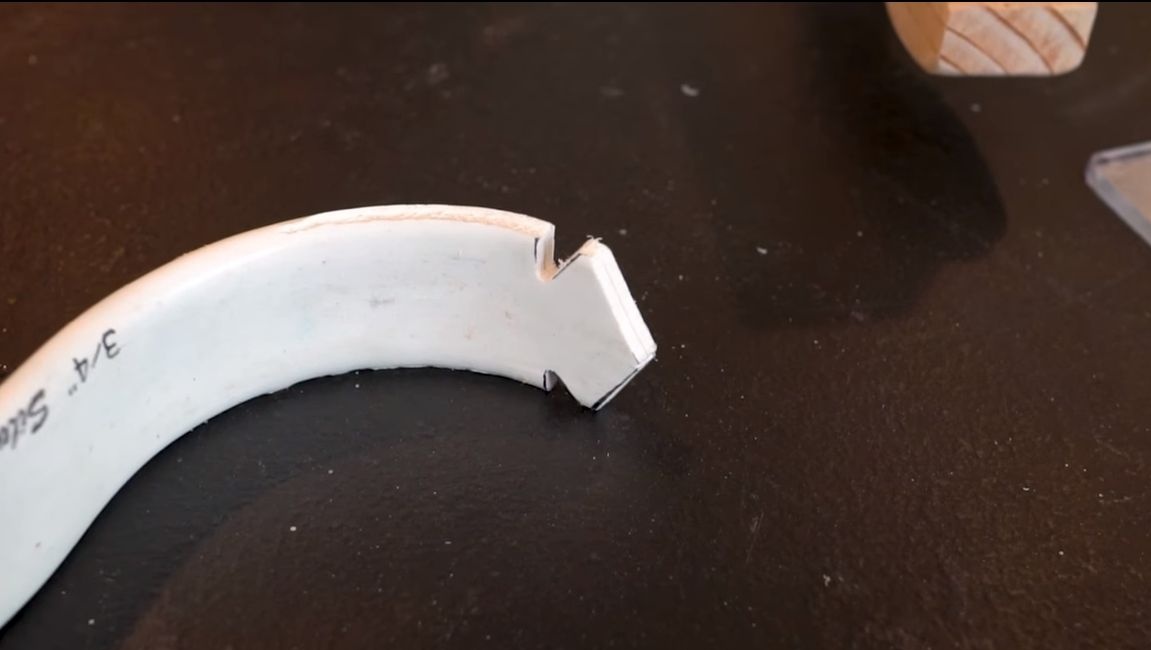
The essence of the refinement is to make grooves at the ends of the shoulders to which you can attach the bowstring. We make markings and cut out the excess parts using a jigsaw. As for the short shoulder, here at the ends you need to make grooves so that the bowstring does not fly off.

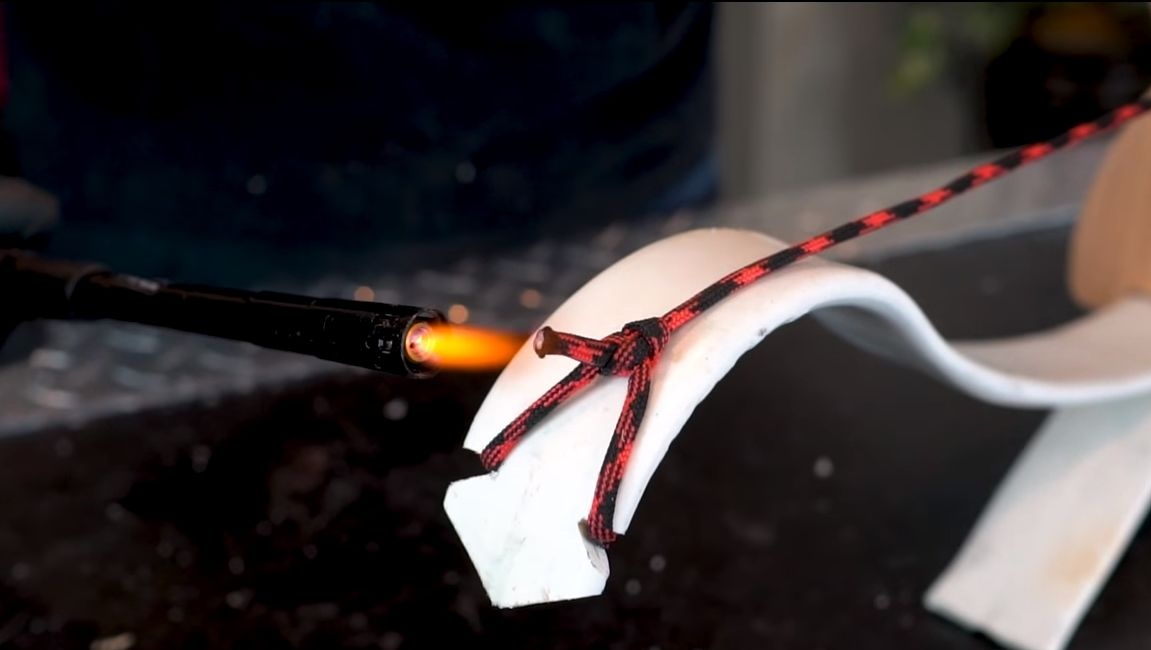
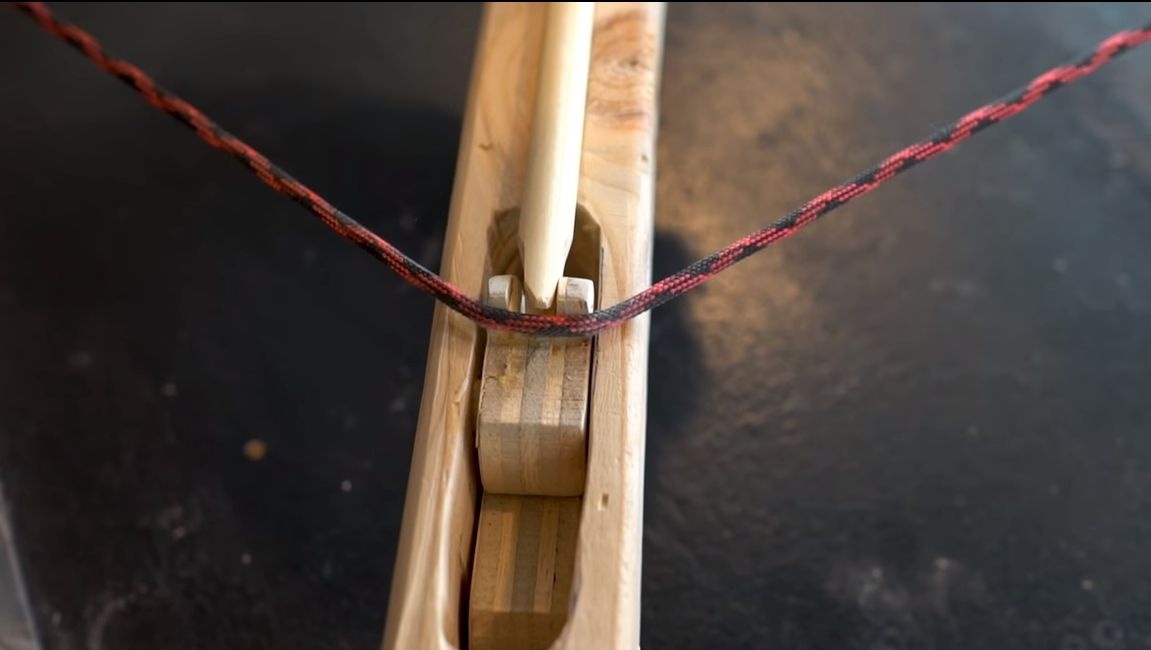
Step Six Bowstring Installation
As a bowstring we use a synthetic strong rope. Cut off two pieces of the desired length and melt the ends with a lighter. Well, then we attach the main bowstring to the ends of the shoulder with a slight tension. As for the additional shoulder, one more rope will be needed to use it. How everything connects can be seen in the photo.
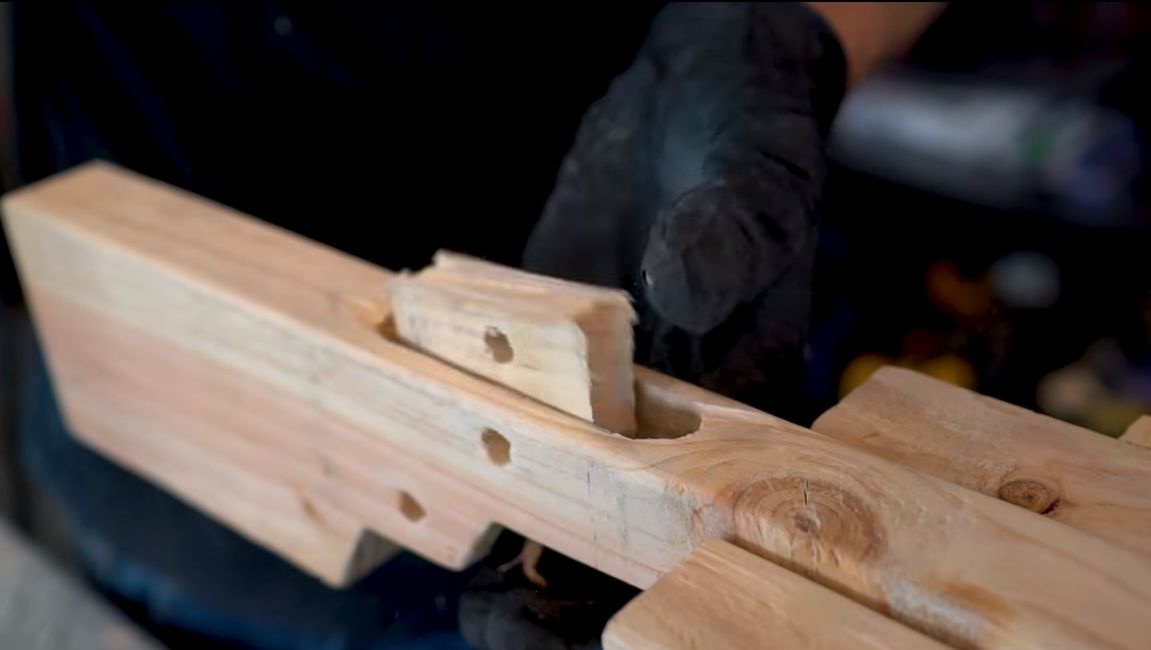
Seventh step. Arrangement of the trigger
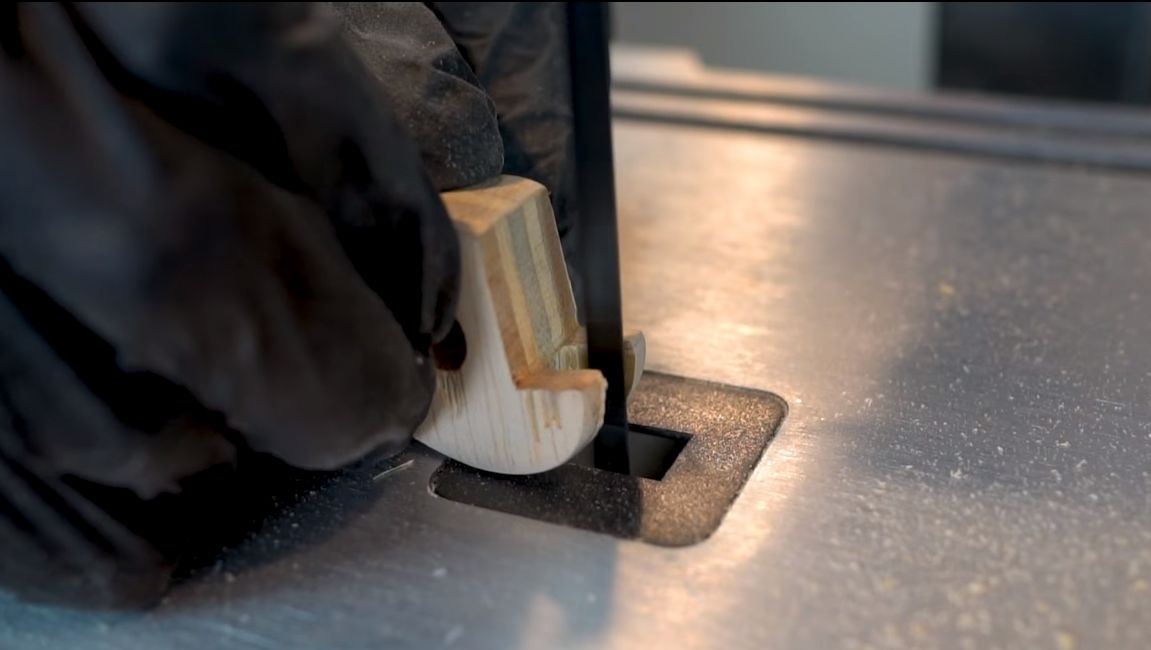
The trigger mechanism is a trigger type. It consists of two parts, one is the trigger, and the second is a part with teeth, one of which it holds the bowstring, and the other rests on the trigger. These parts can be cut out of plywood using a jigsaw.


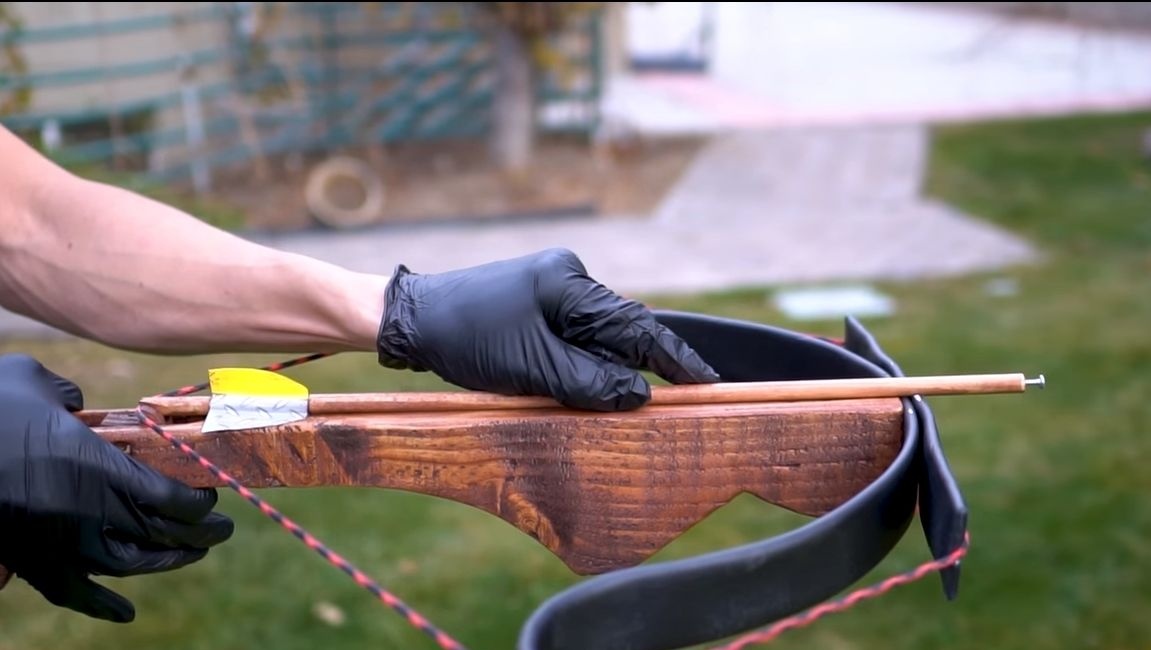
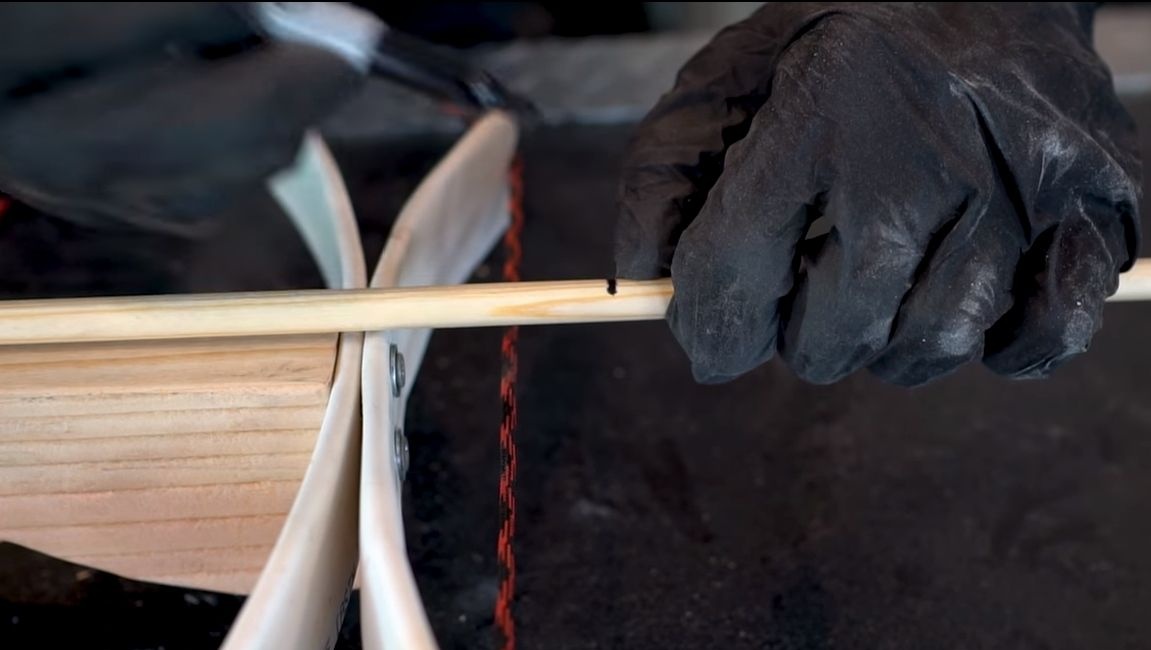
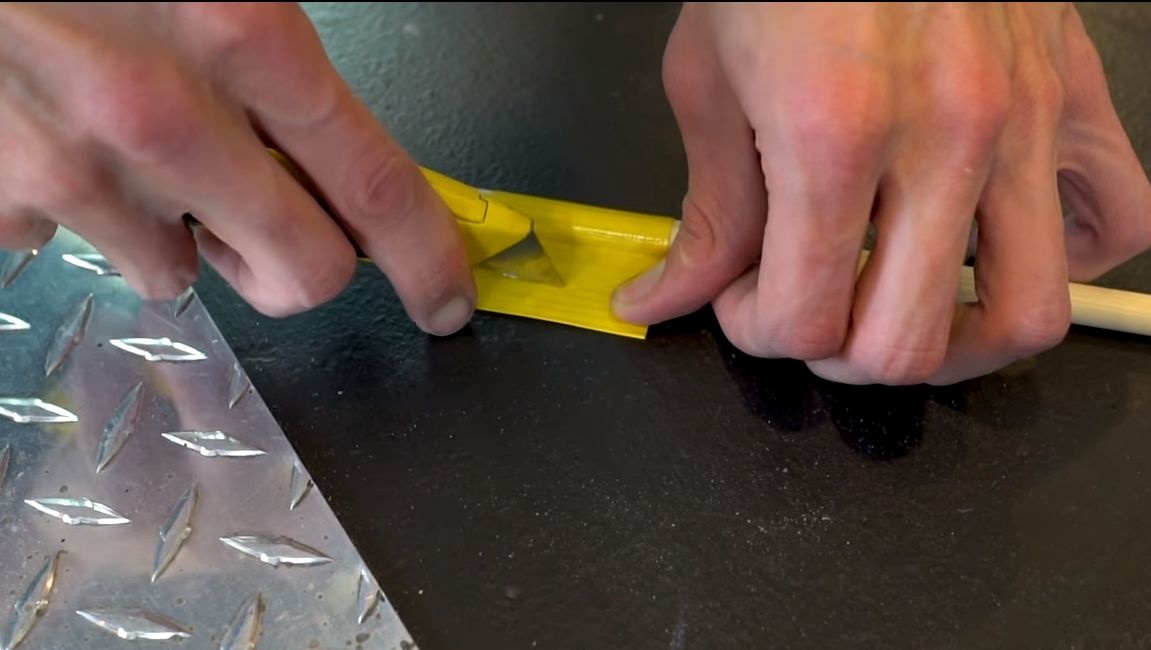
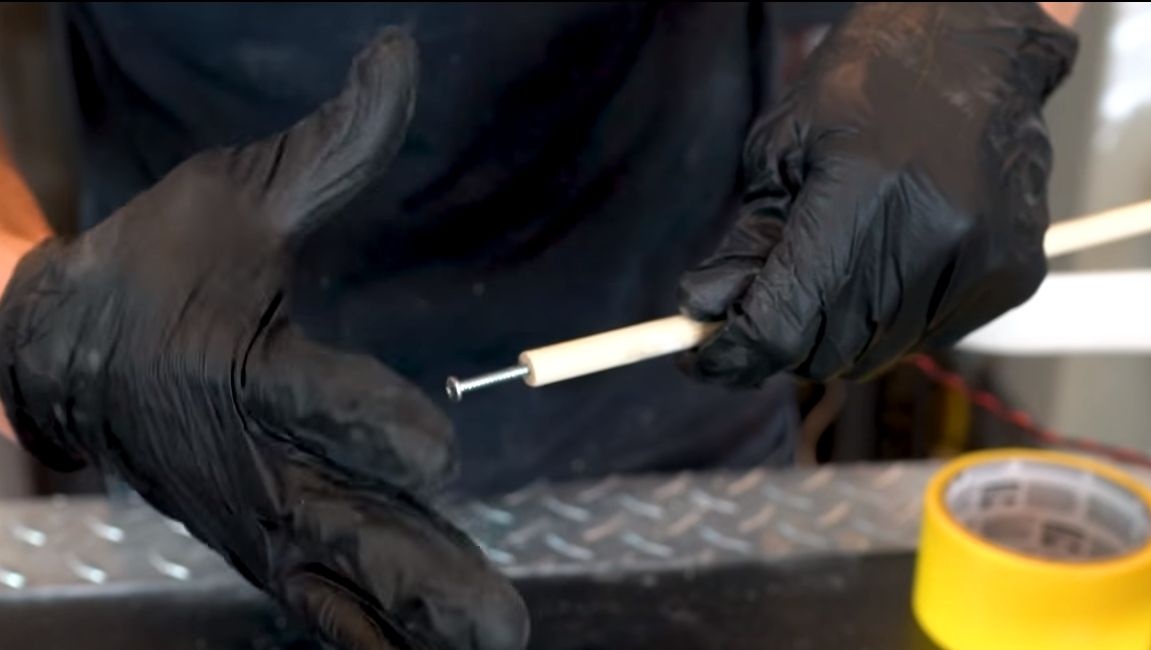
Step Eight. Arrow making
We make arrows from wooden rods. To stabilize the flight, make plumage for them, the author used adhesive tape for this. Well, at the end of the boom you need to install some kind of weight, the author turned a self-tapping screw there. If desired, you can cut off the head and sharpen the rod.

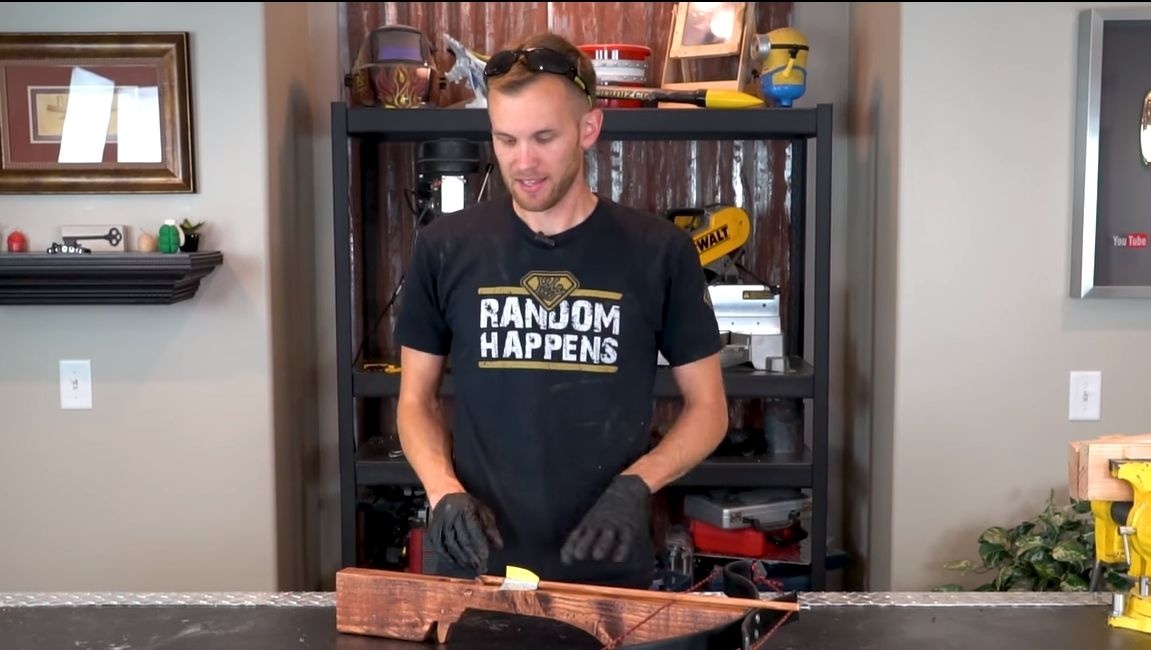
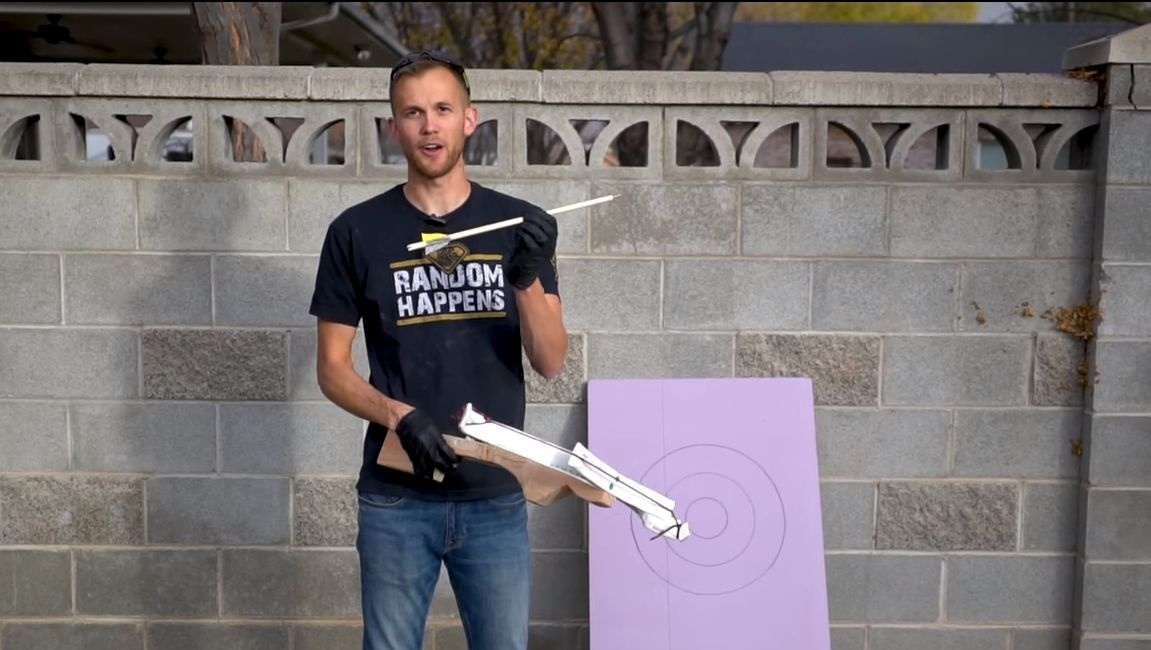
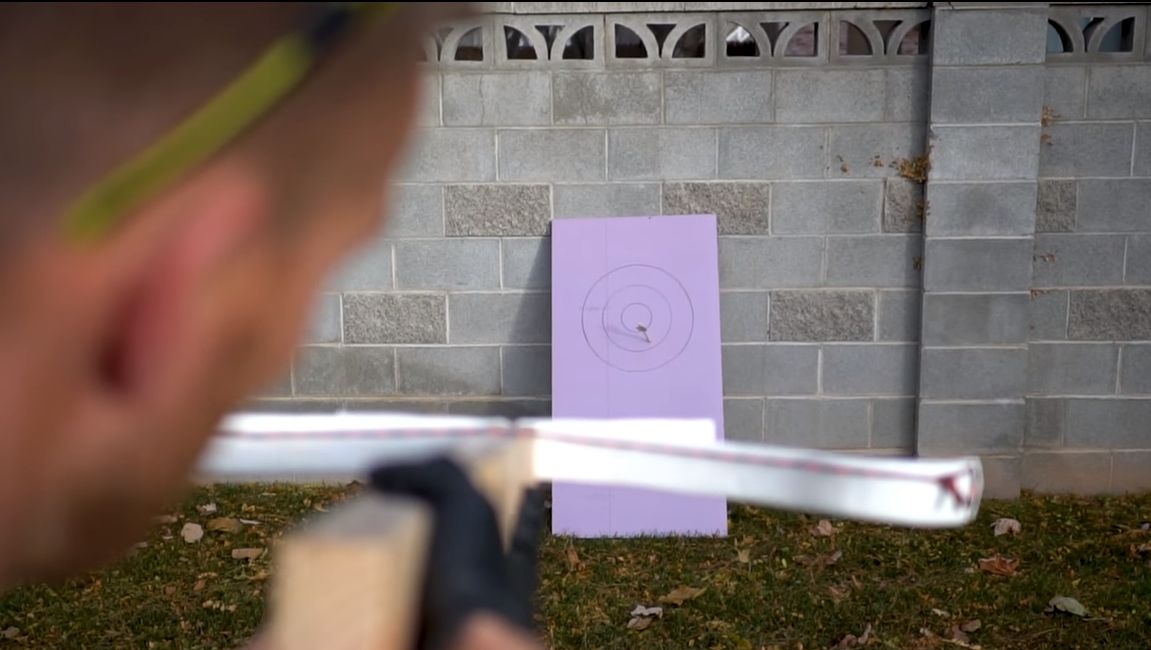
Step Nine. Test
You can experience the crossbow! He showed excellent results with the author. Pretty good power for such a small crossbow goes well with high accuracy.
Step Ten Finishing touches
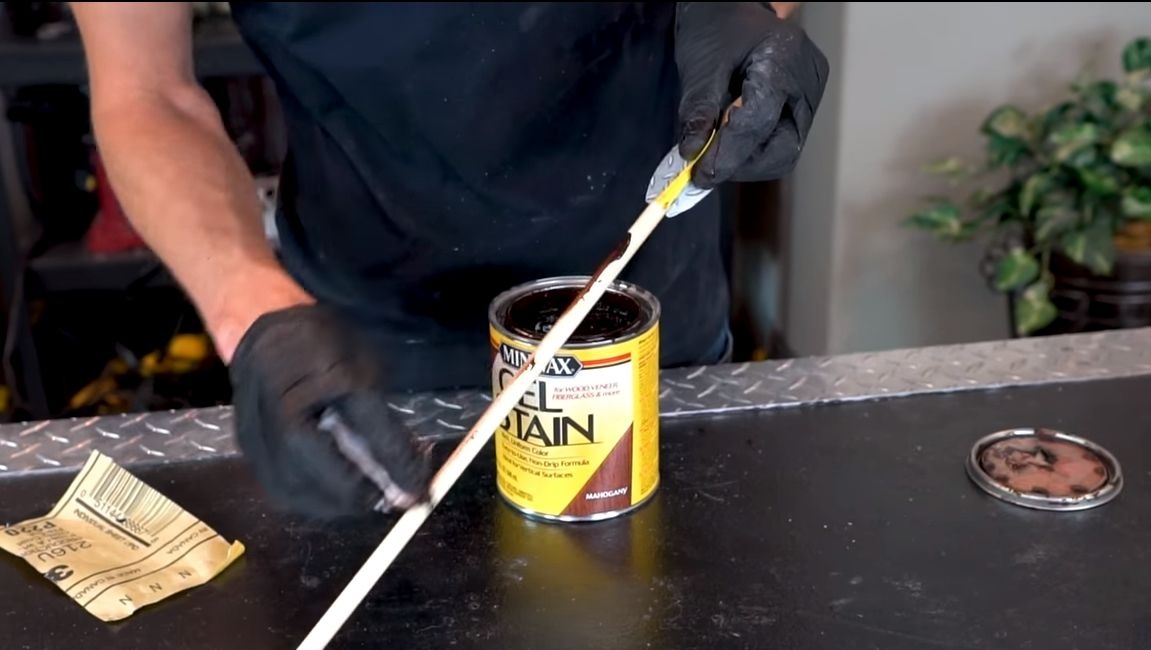
At the end, apply oil to the wood, paint or varnish it. So the tree will not get dirty and absorb moisture, which negatively affects it. As for the PVC parts, they can also be painted, for example, using a spray can. Now, not everyone will distinguish your crossbow from the purchased one, and it shoots from nothing worse.
That's all, homemade ready. Use such things only for good and educational purposes. It is best for testing to take it with you to the forest, where there are no people and animals. I hope you enjoyed the project. Good luck and inspiration in making your own crossbow! Do not forget to share your best practices with us!