


Hello to all lovers homemade. I think many people know that no carpentry workshop can do without a vice. This is a very functional tool for fixing the part during various types of processing, as well as pressing during gluing. Usually one part is movable and the other is rigidly fixed to the workbench. But as usual, an expensive and high-quality tool costs a lot of money, not all beginner locksmiths or just lovers of craftsmanship can afford such a pleasure. That is why it was decided to make this vice, thereby proving that to make them do it yourself it’s real and it will be no worse than the factory ones, and in some indicators even better. The cost of materials will be many times less than buying a ready-made vice, all the more we should not forget that some in the workshops have trimmings, leftover channels and other details that will be used to make this homemade product.
Before you read the assembly process, I suggest watching a video with a detailed production of these vices.
As well as a video of the primer and painting of the finished home-made tool.
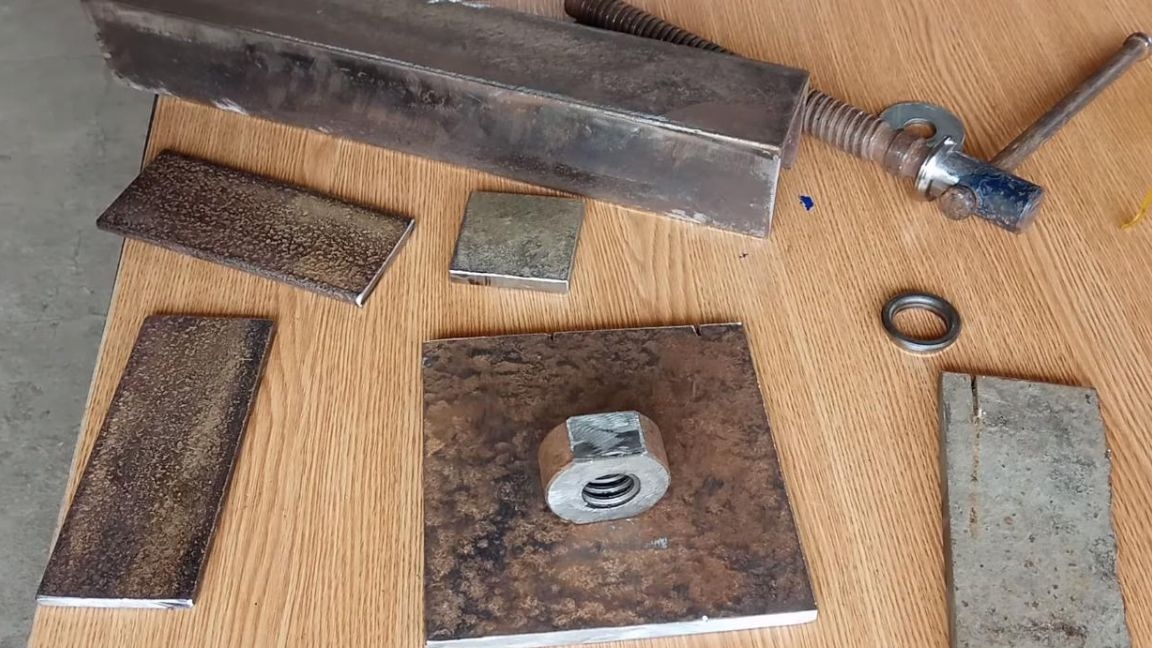
In order to make a vise of metal with your own hands, you will need:
* Sheet metal with a thickness of 12 mm and 8 mm
* Angle 73 mm, metal thickness 8 mm
* Spring
* Two bearing cages
* Screw from jack or old vise
* Screw nut
* Welding machine, welding mask, gloves
* Clamps
* Profile 20 * 40 mm
* Electric drill, preferably a drilling machine
* Metal drill 6 mm
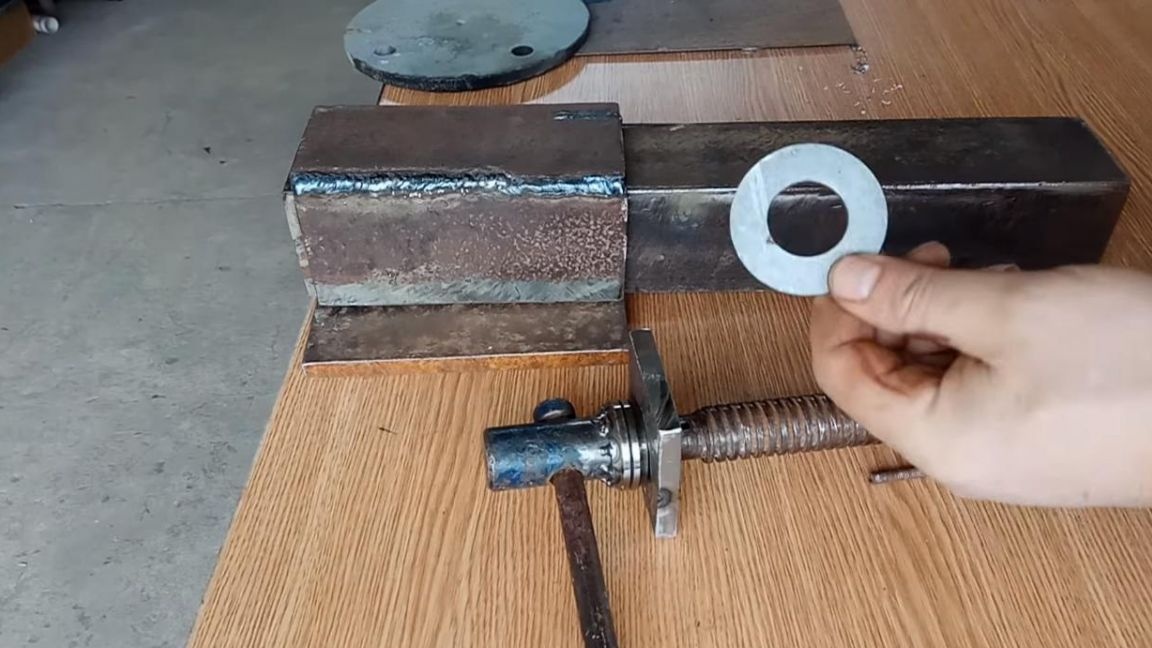
* Washer with a hole close to the diameter of the screw
* Angle grinder with cutting wheel
* Hairpin with a diameter of 6 mm
That's all you need to make a powerful vise with your own hands.
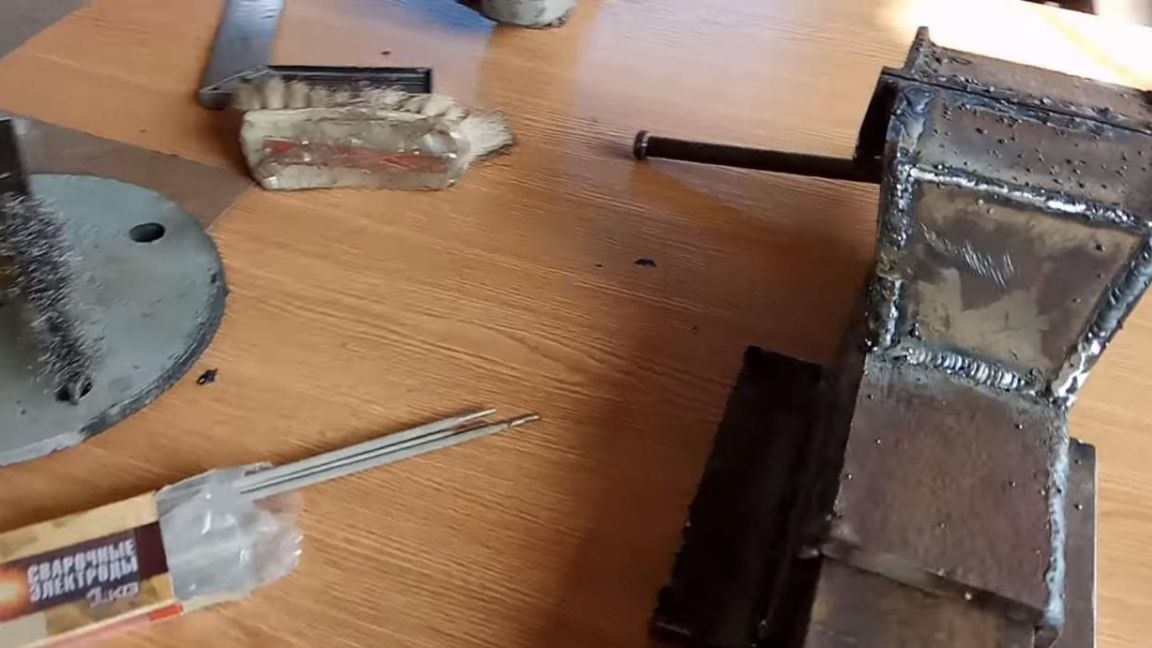
Step one.
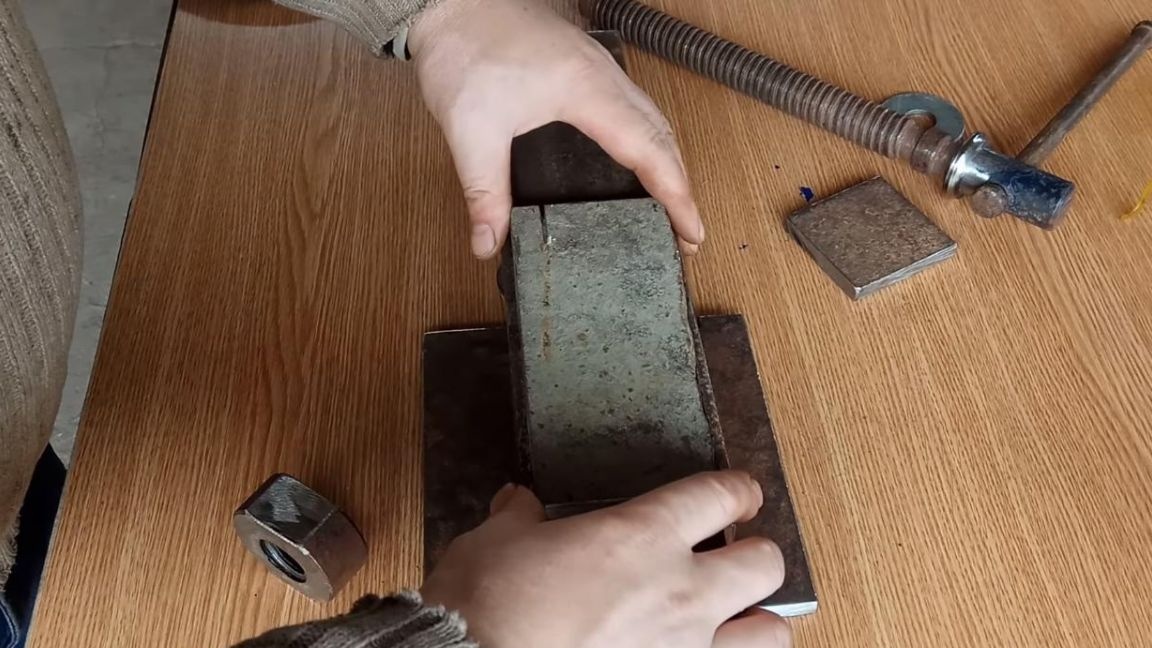
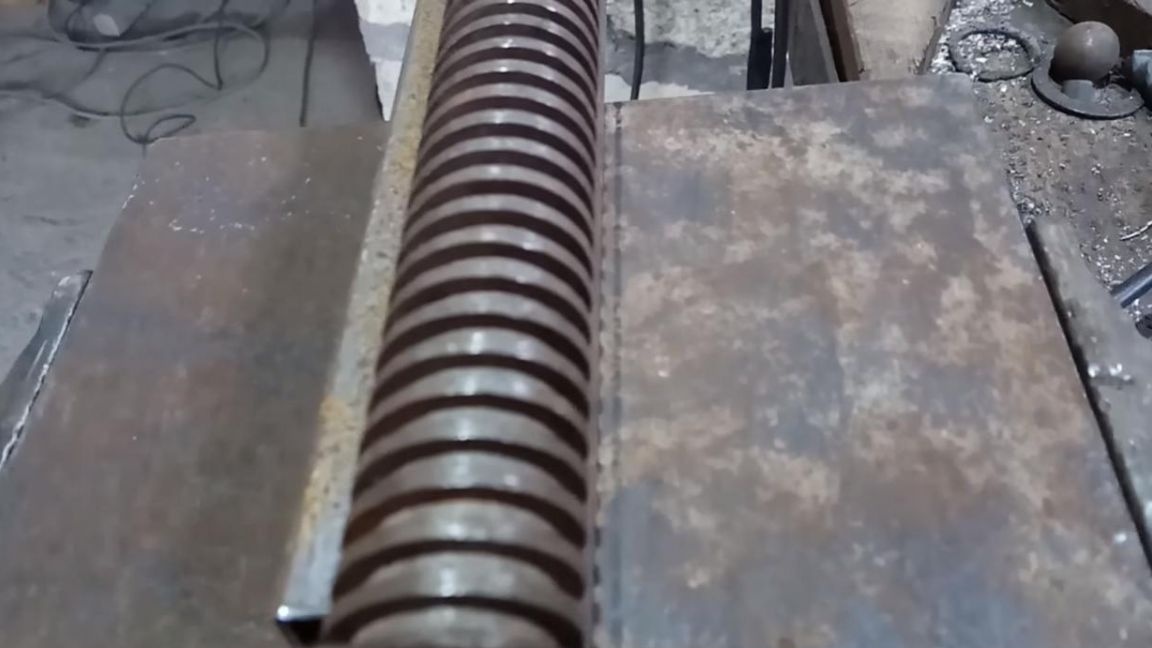
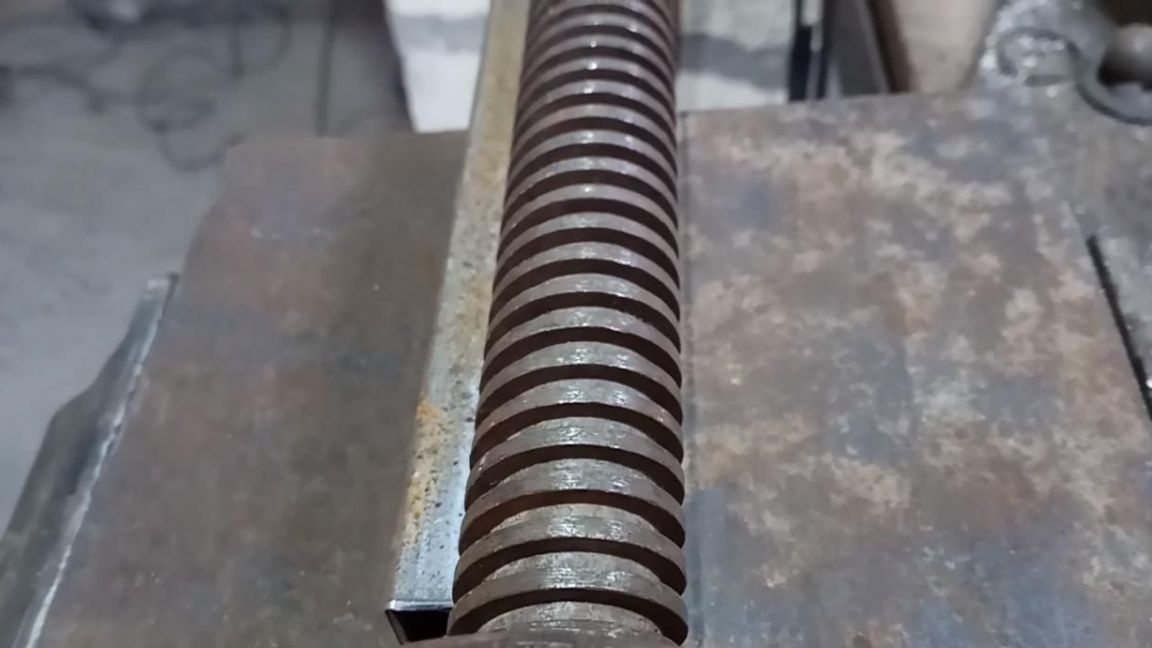
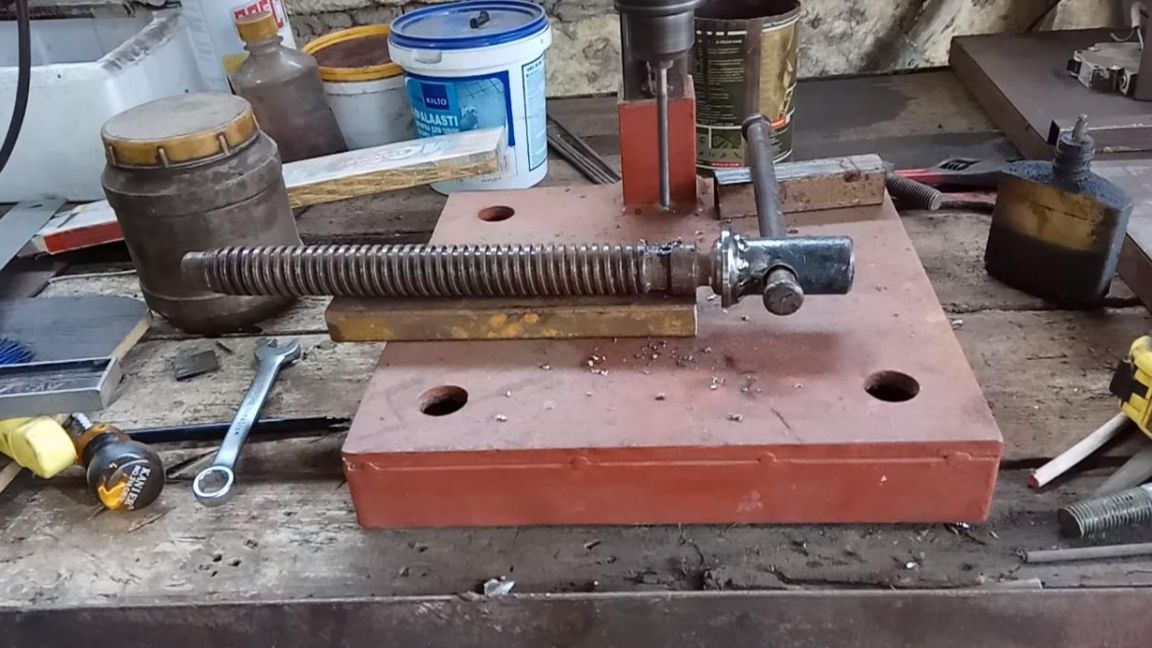
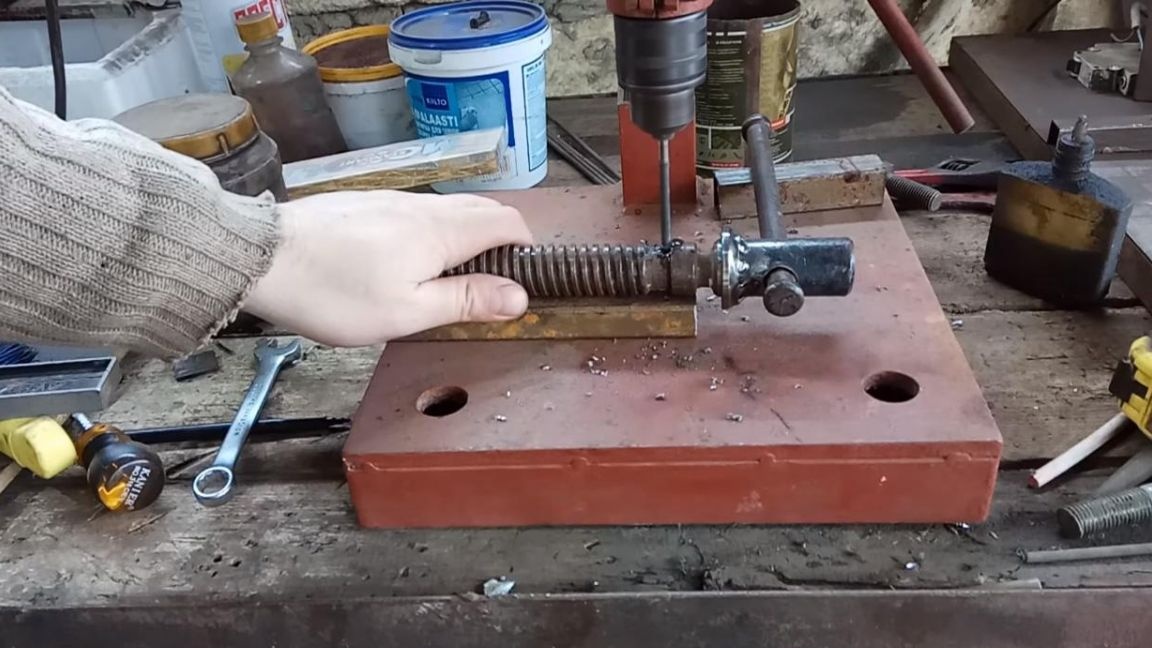
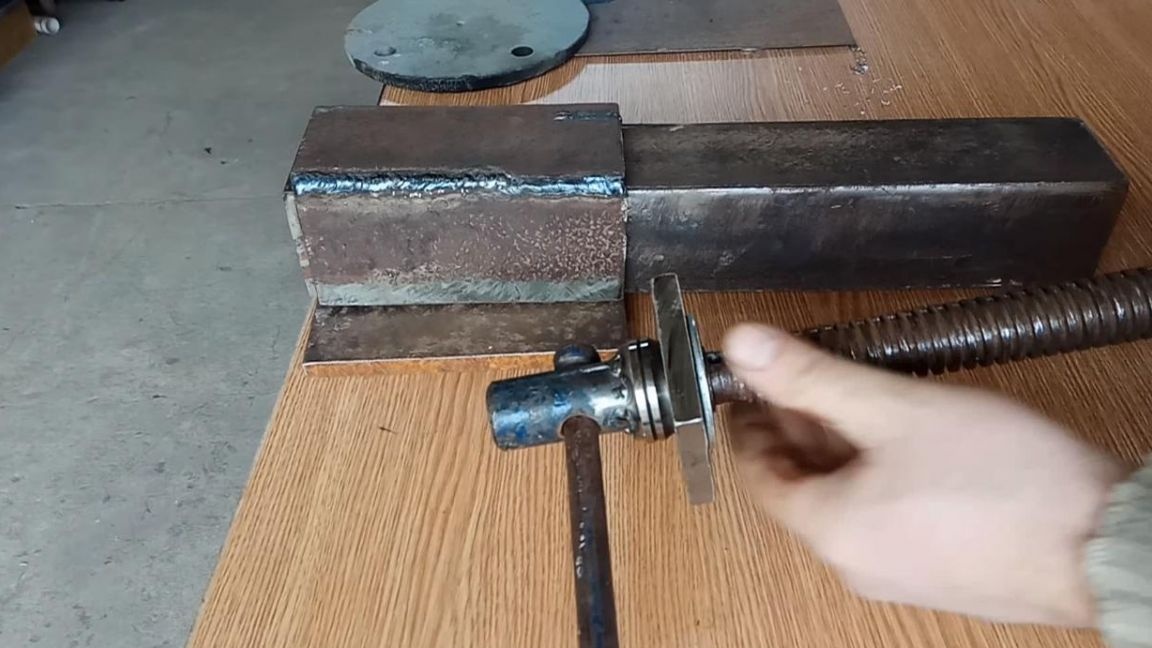
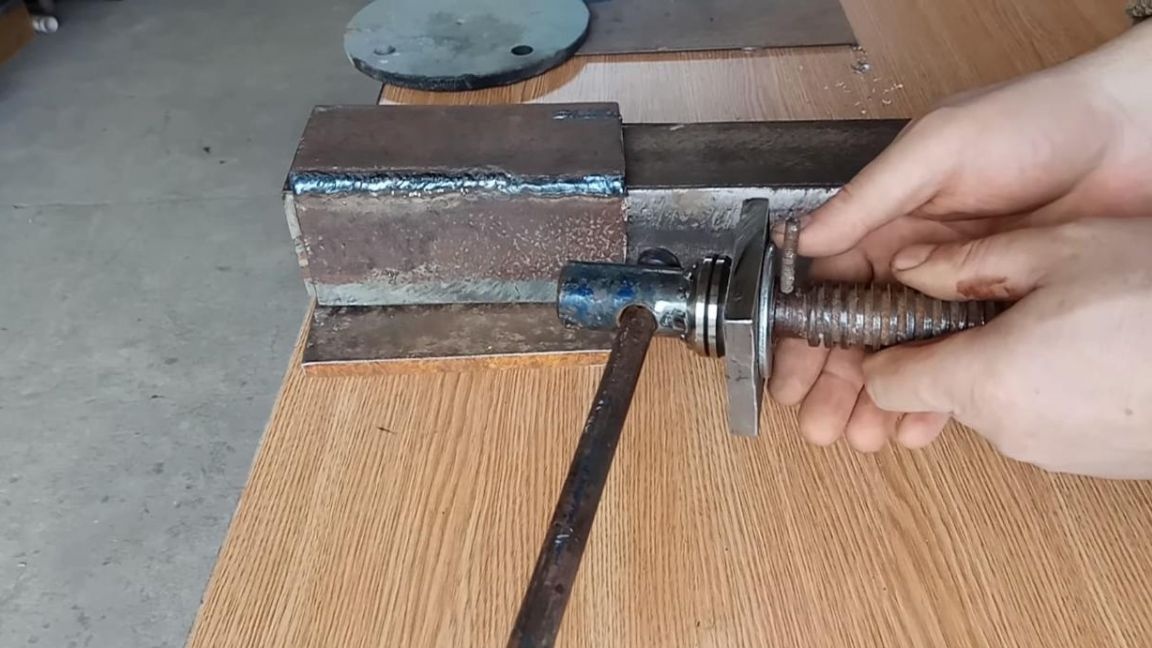
First of all, we install the bearing cage on the screw, which will serve as a stop when clamping the vice.
Metal clips are strong enough, which is what is needed for our homemade products. In the future, a thrust bearing can be installed in this place. We position the clip on the screw as evenly as possible, it is best done on a lathe by holding the screw in the chuck and installing the cutter, set the clip on it, slowly rotating the machine chuck and, if necessary, tap it to eliminate deviations.
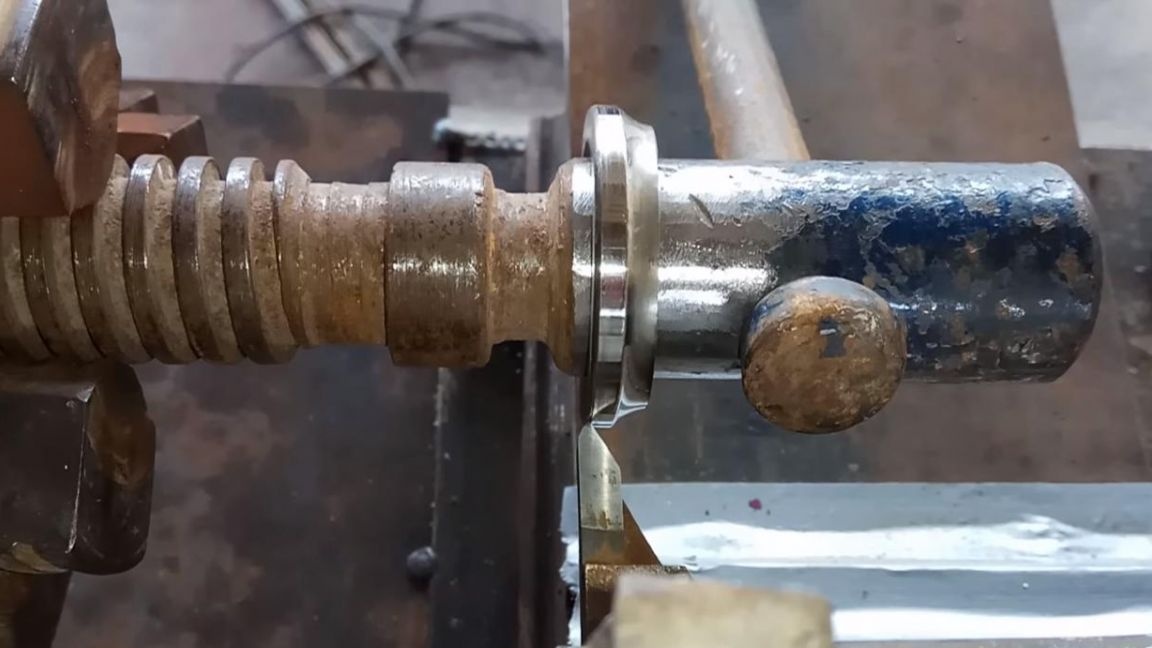
After that, using a welding machine, we weld both parts tightly to each other. When welding parts, observe safety measures, do not forget to wear gaiters and a protective welding mask.
Step Two
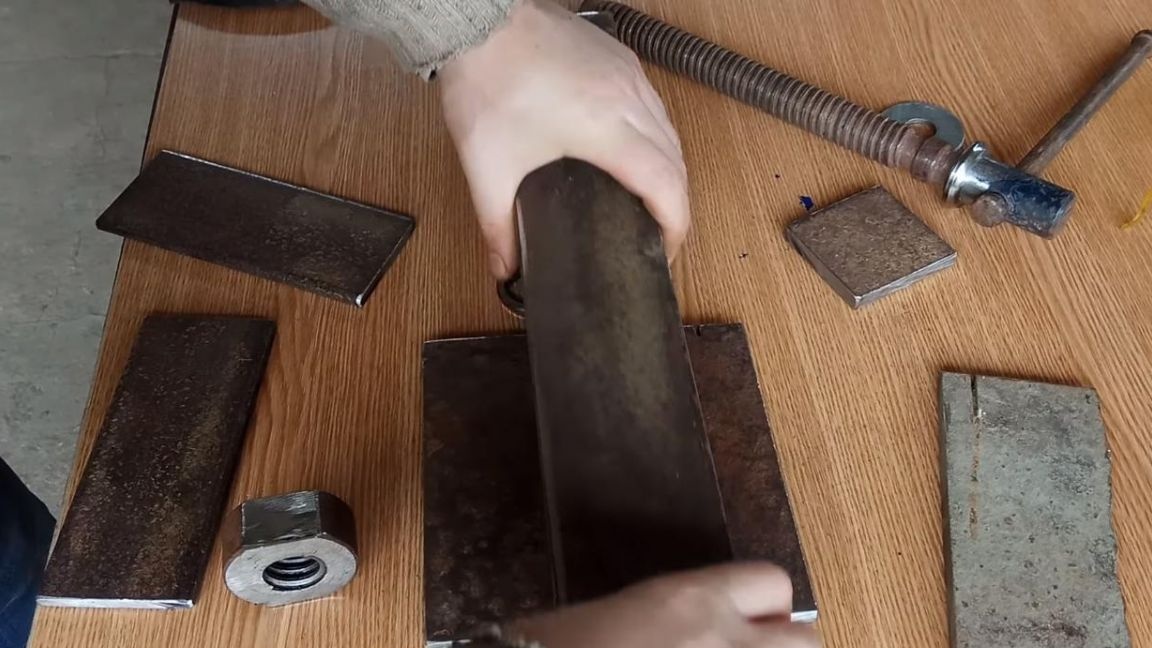
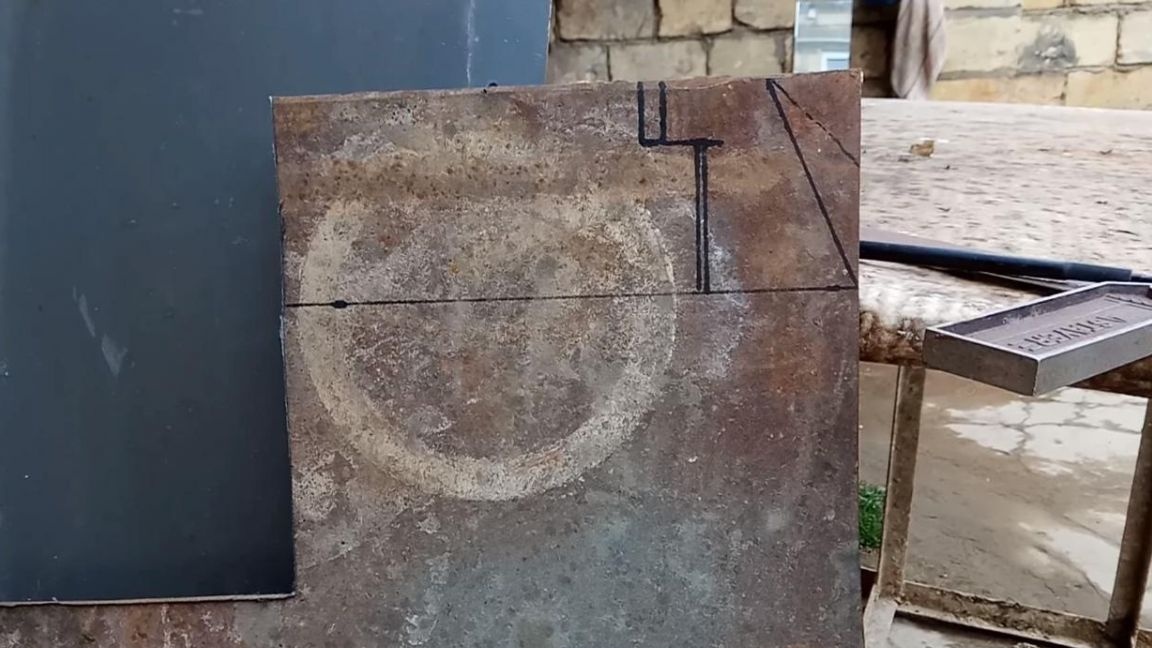
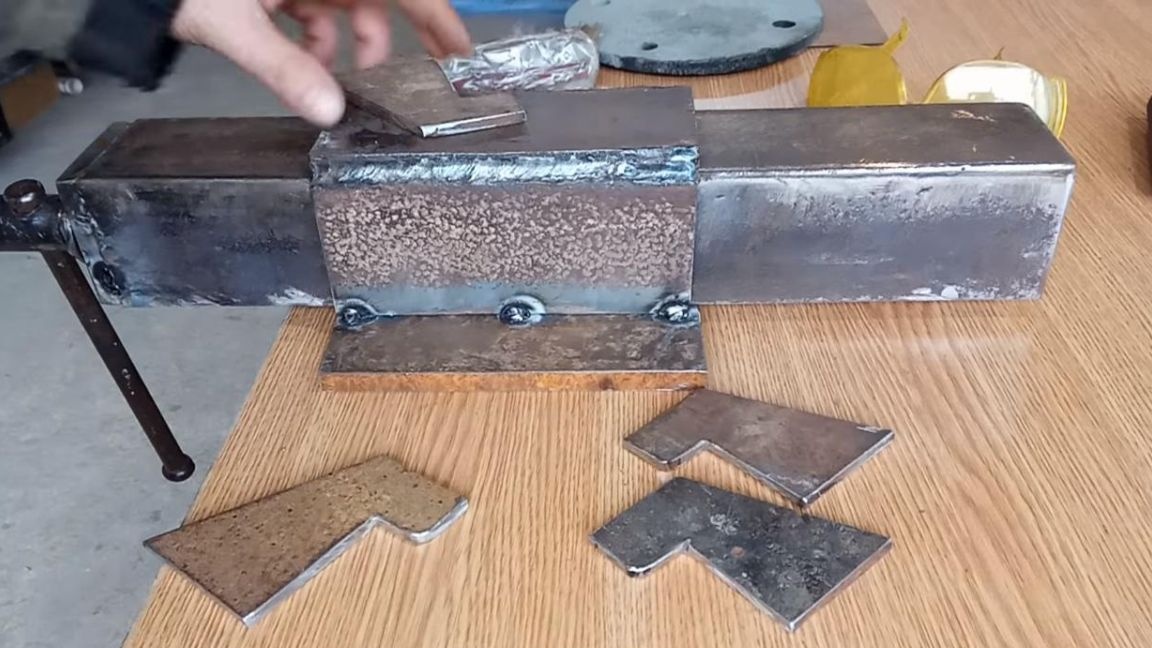
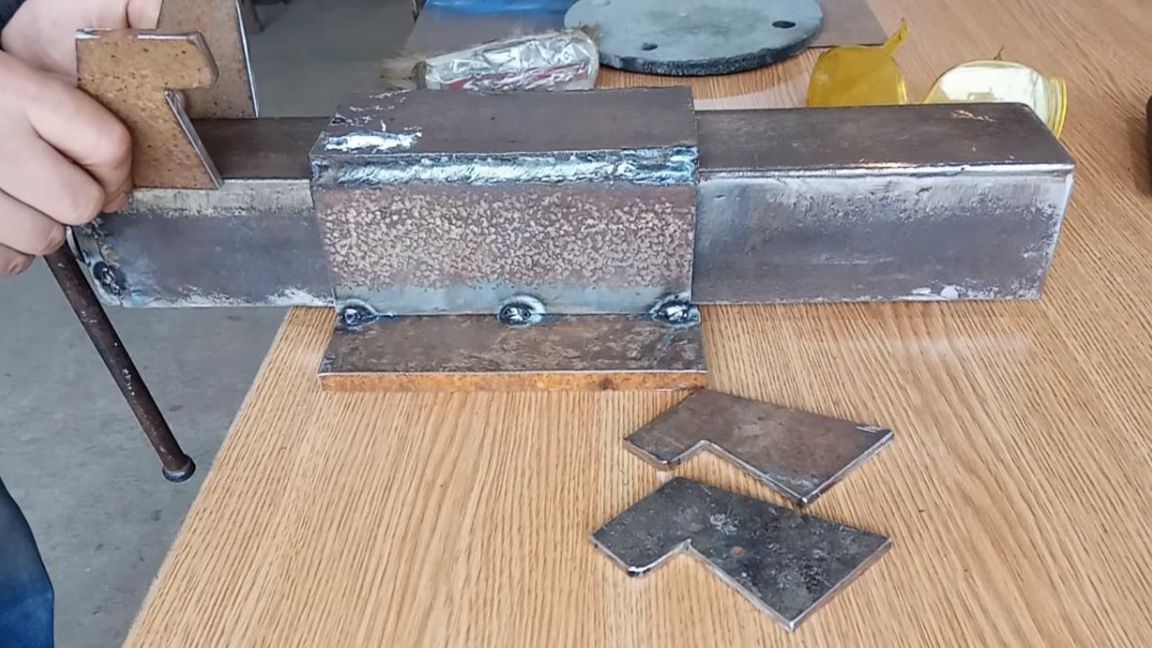
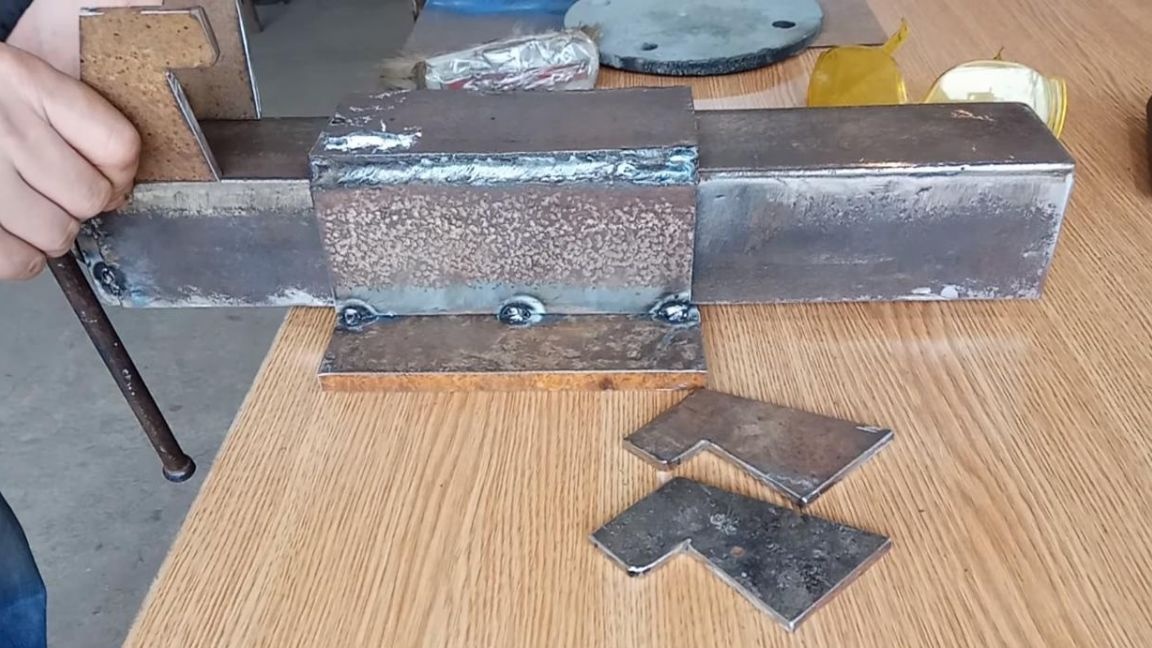
Now you need to make the fixed part of the vise, using an angle grinder, saw off a square of 180 mm from a sheet of metal 12 mm thick.
We try on pieces of metal 8 mm thick along the height of the corner, which will be the moving part of the vise, and on top we place a sheet of 12 mm metal, we fix all these parts to the corner using a clamp.
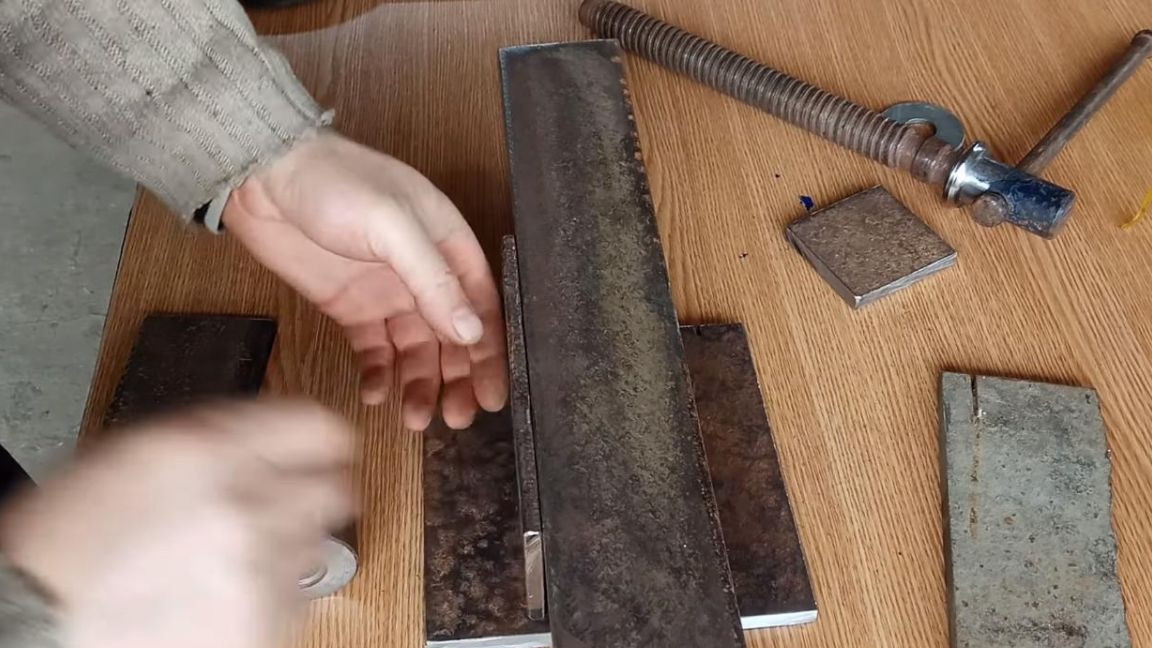
In order to be able to move freely inside when welding parts in one piece, you need to put a cardboard on this from three sides, thereby ensuring a minimum clearance for the normal operation of the movable mechanism.
Also, make sure that the metal does not creep out during welding, as this will take a lot of time to fix.
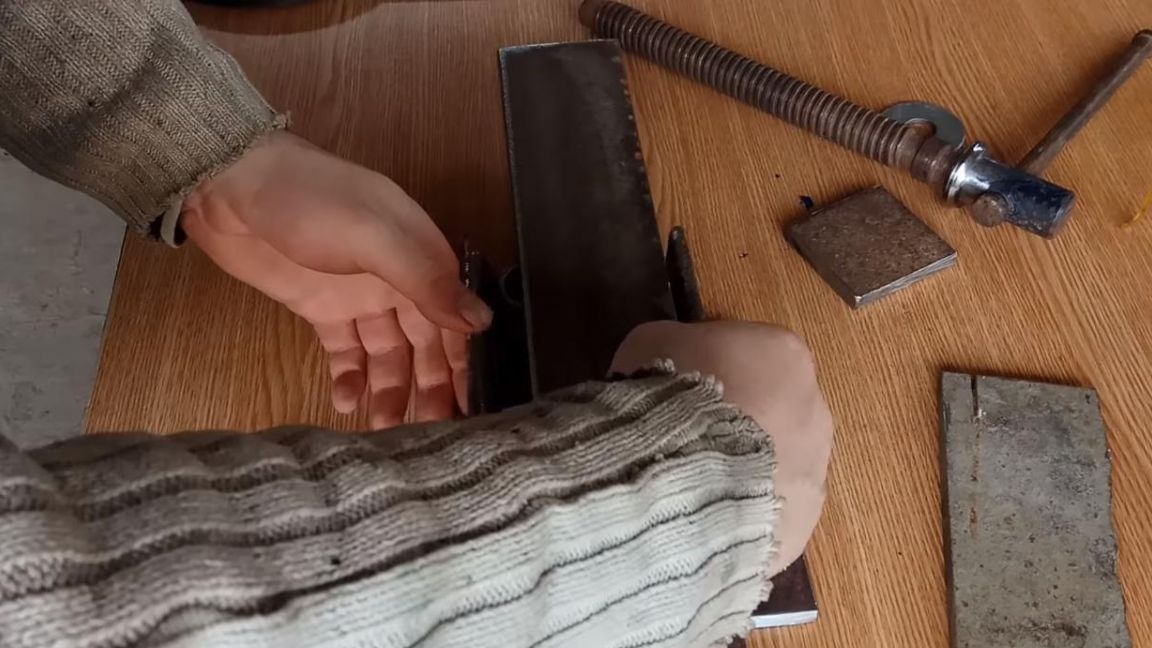
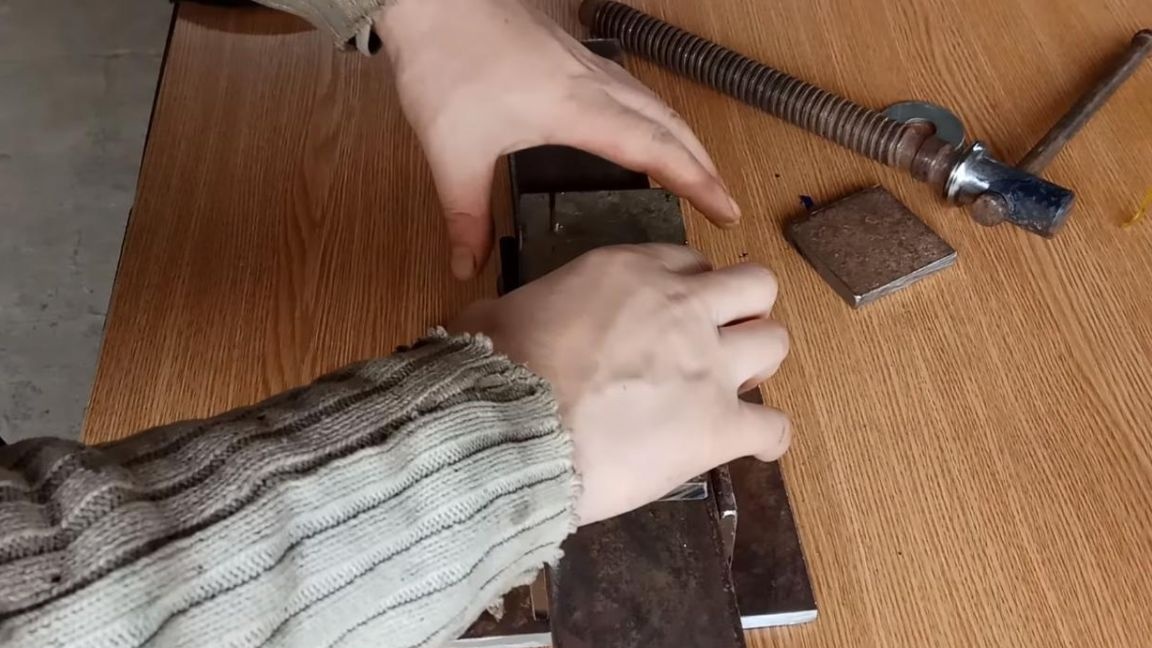
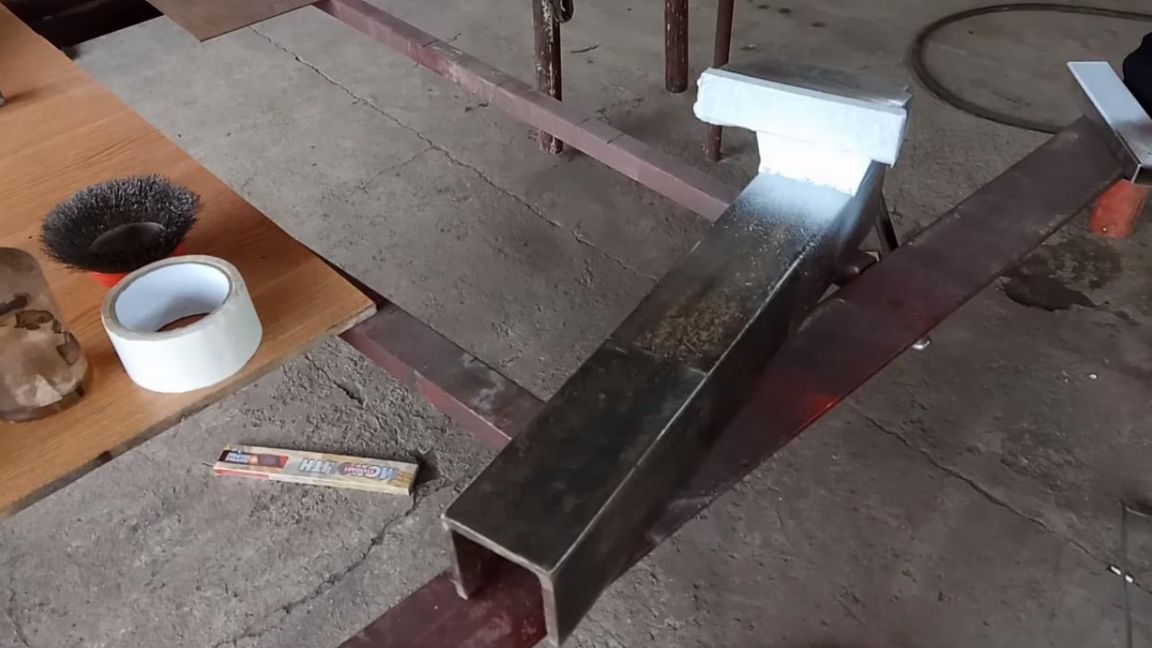
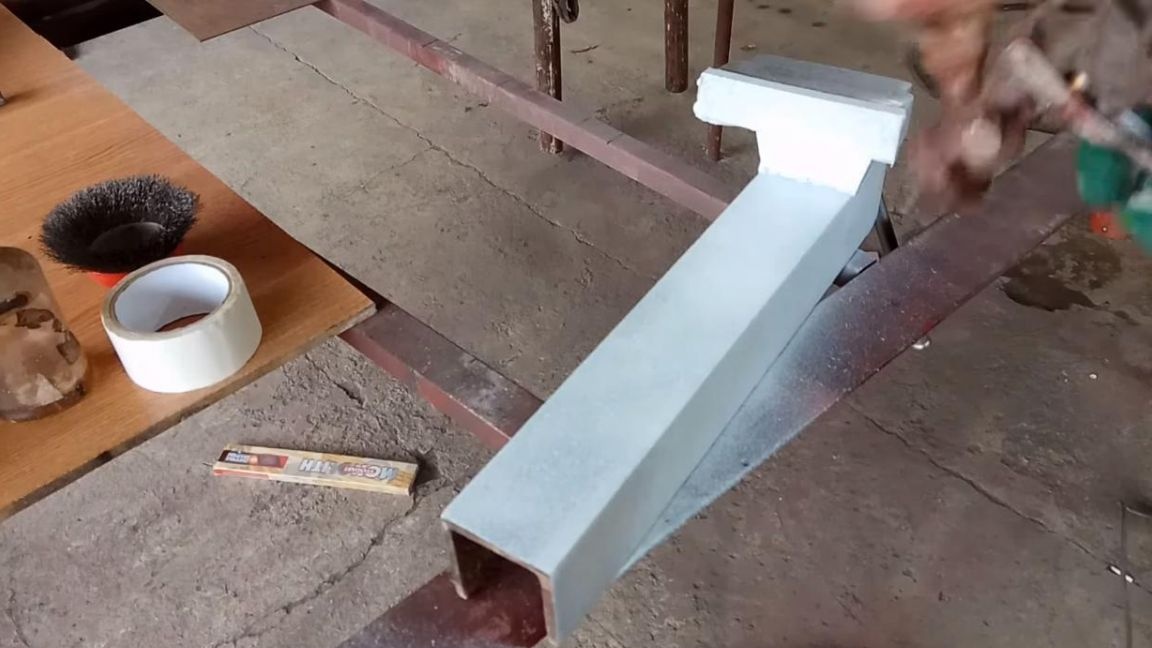
Step Three
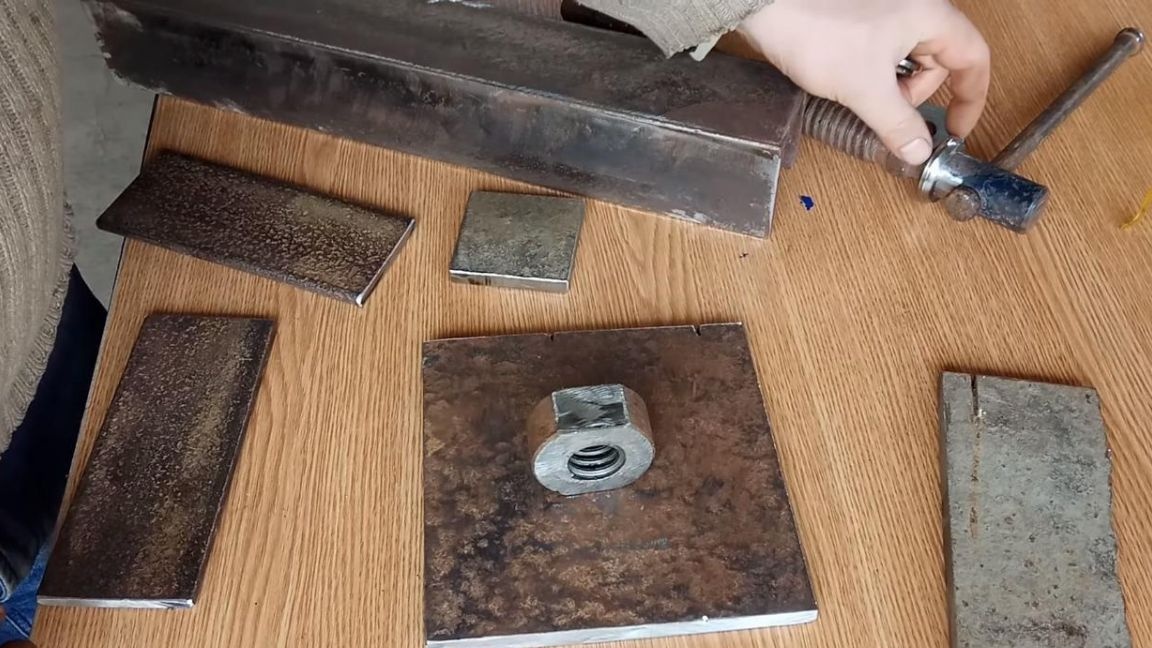
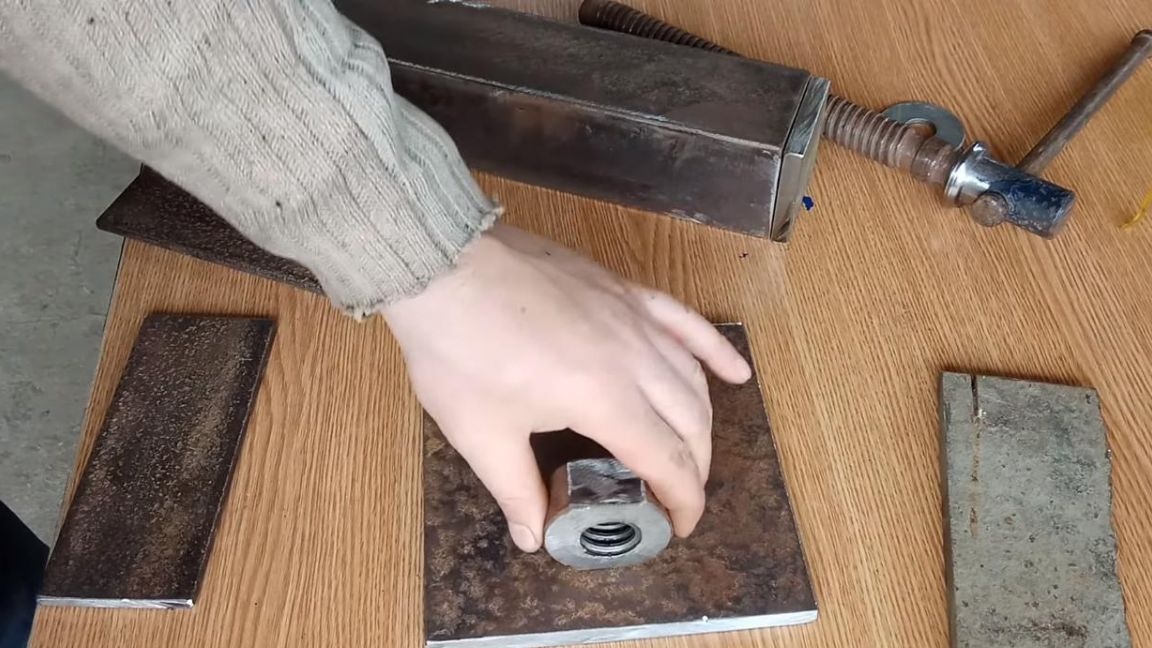
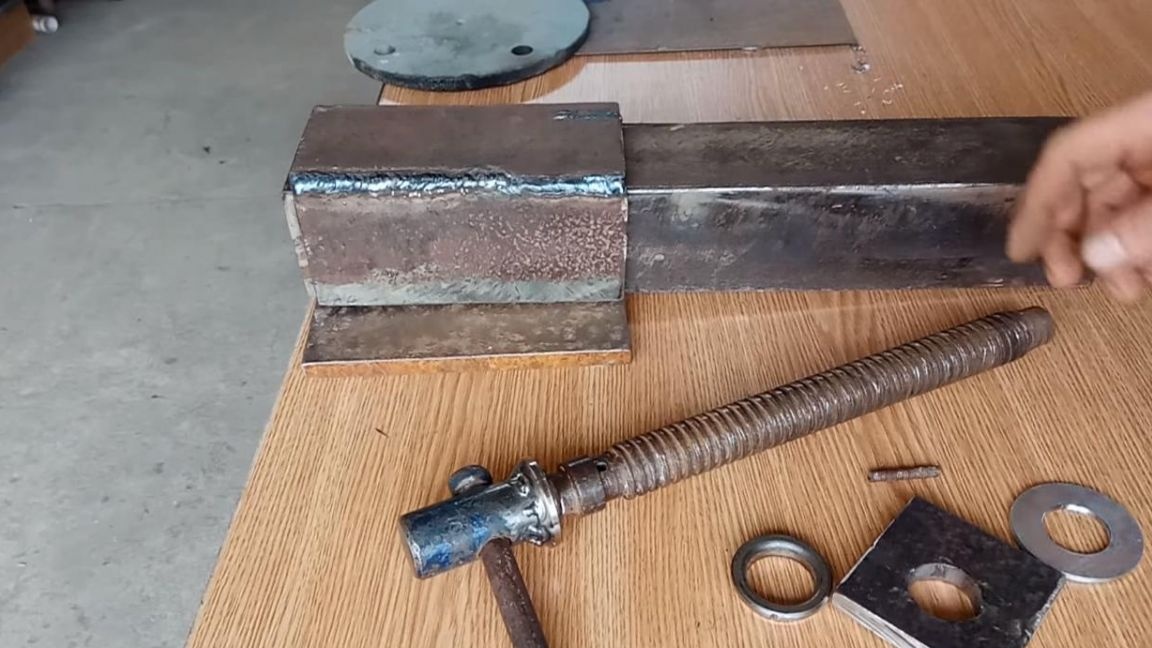
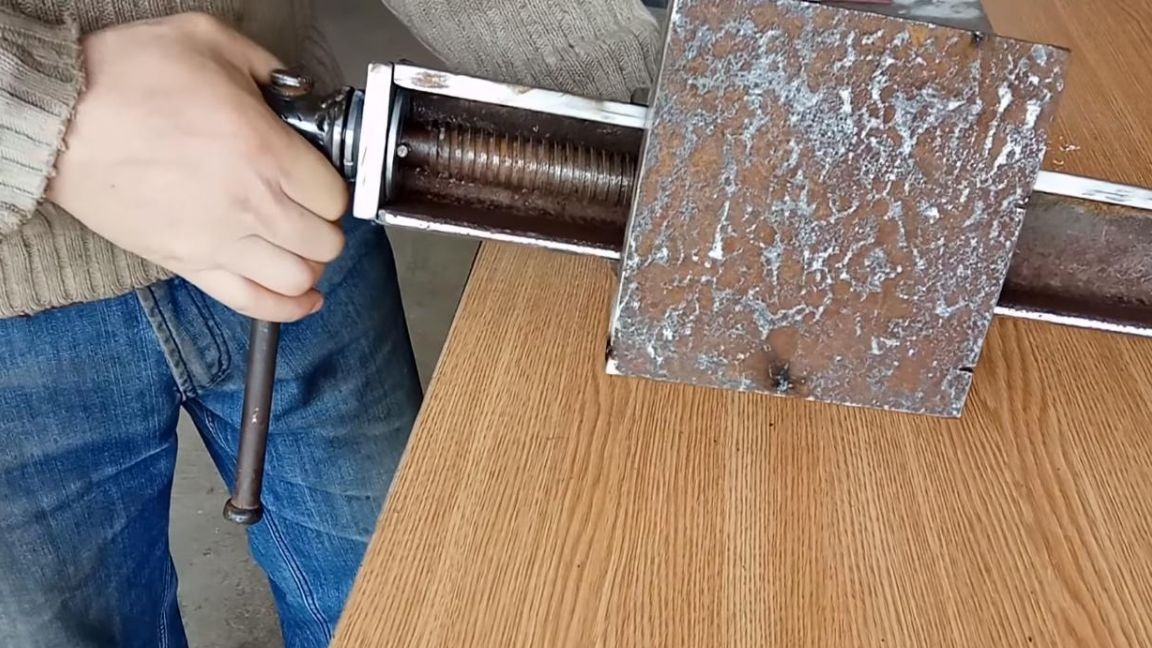
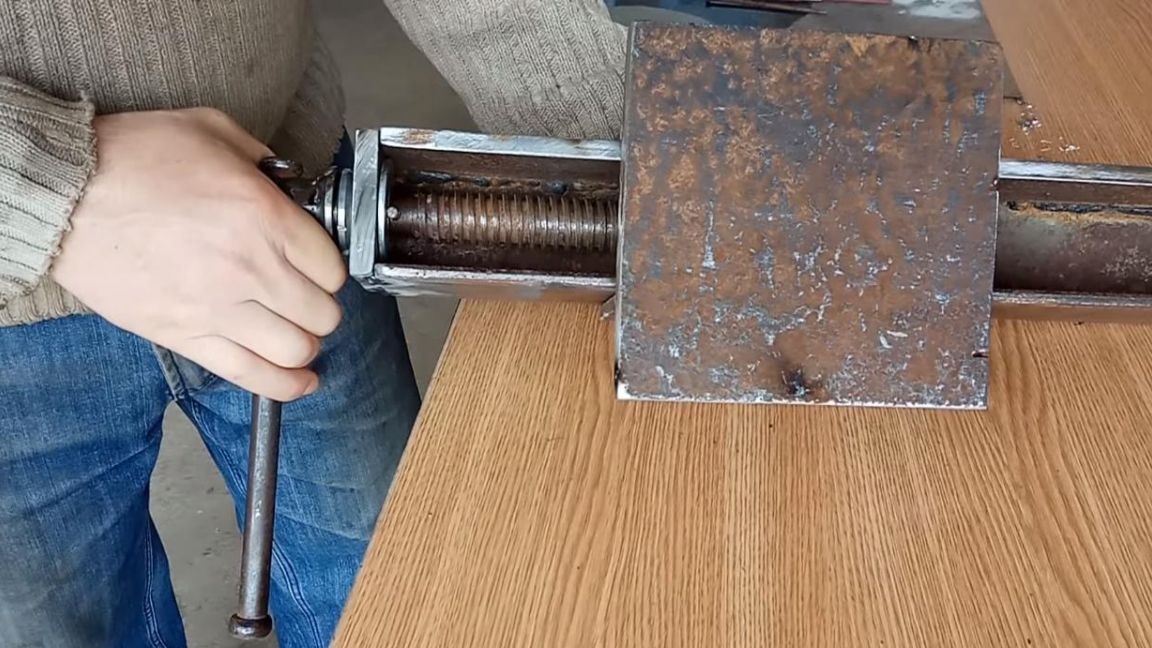
Install the nut on the base.
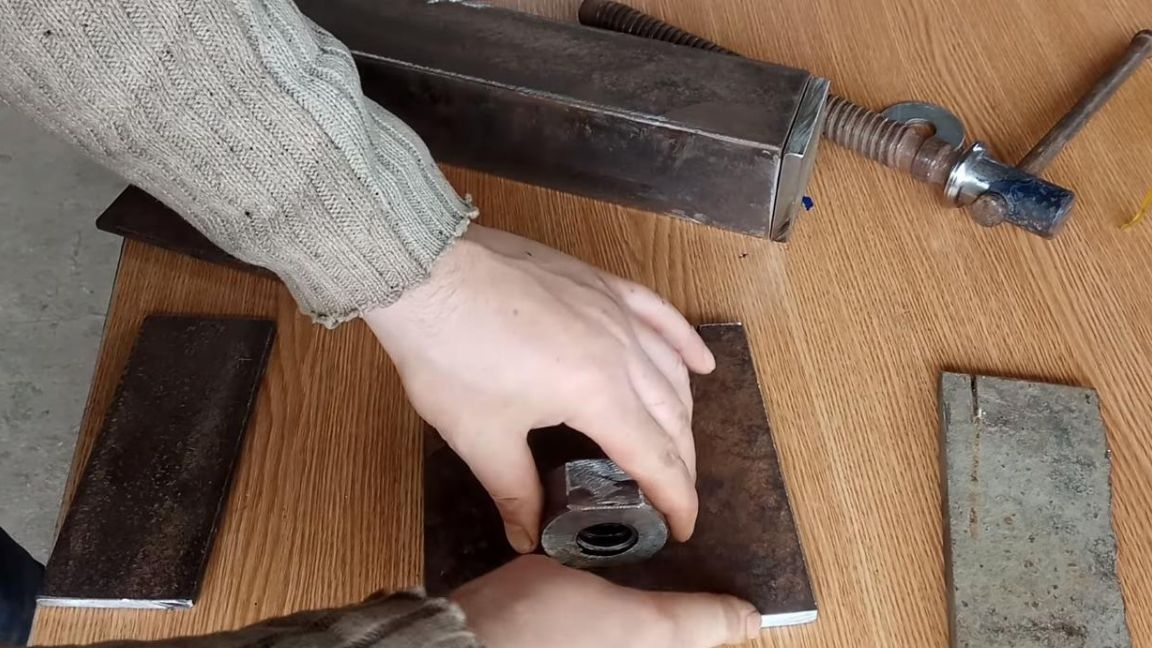
To do this, mark the place where it will be welded, position it in the middle, indenting from the edge about 5 mm. In order for the screw to move smoothly, we lay a profile with dimensions of 20 * 40 mm under it and weld the nut to the base by welding, after which we thoroughly boil it.
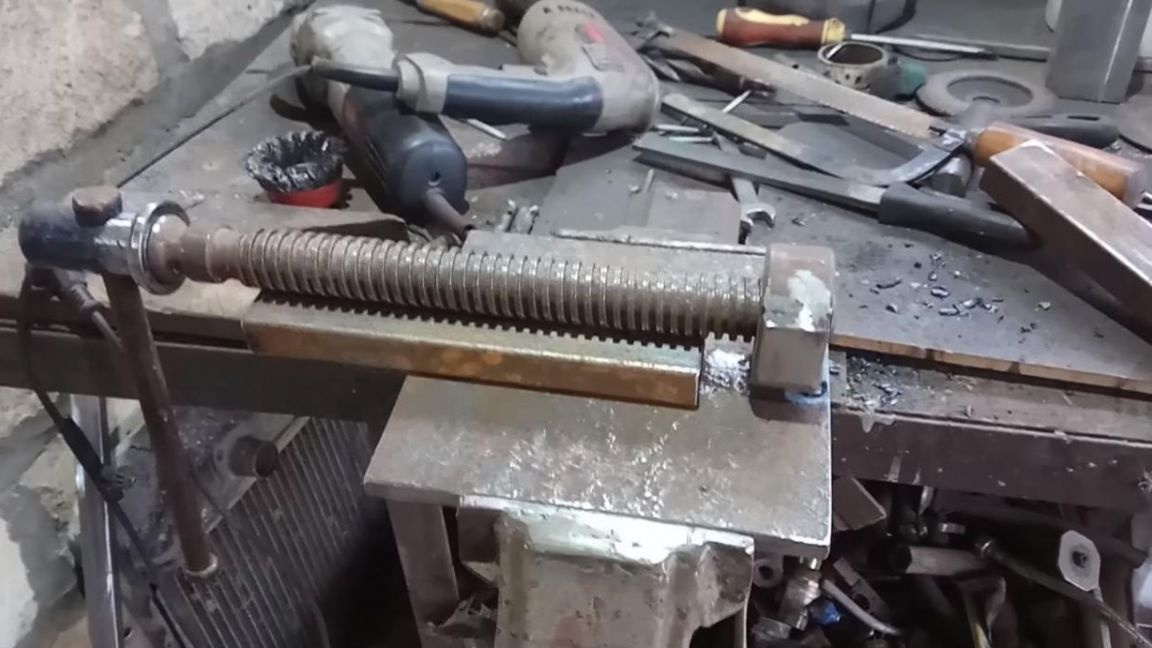
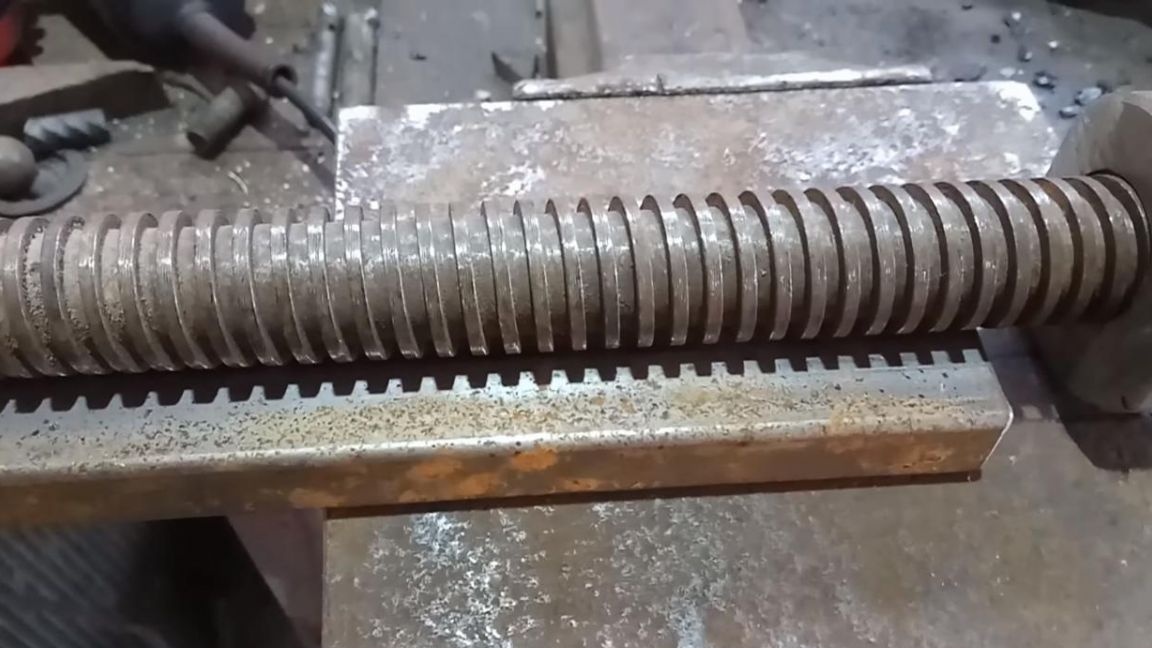
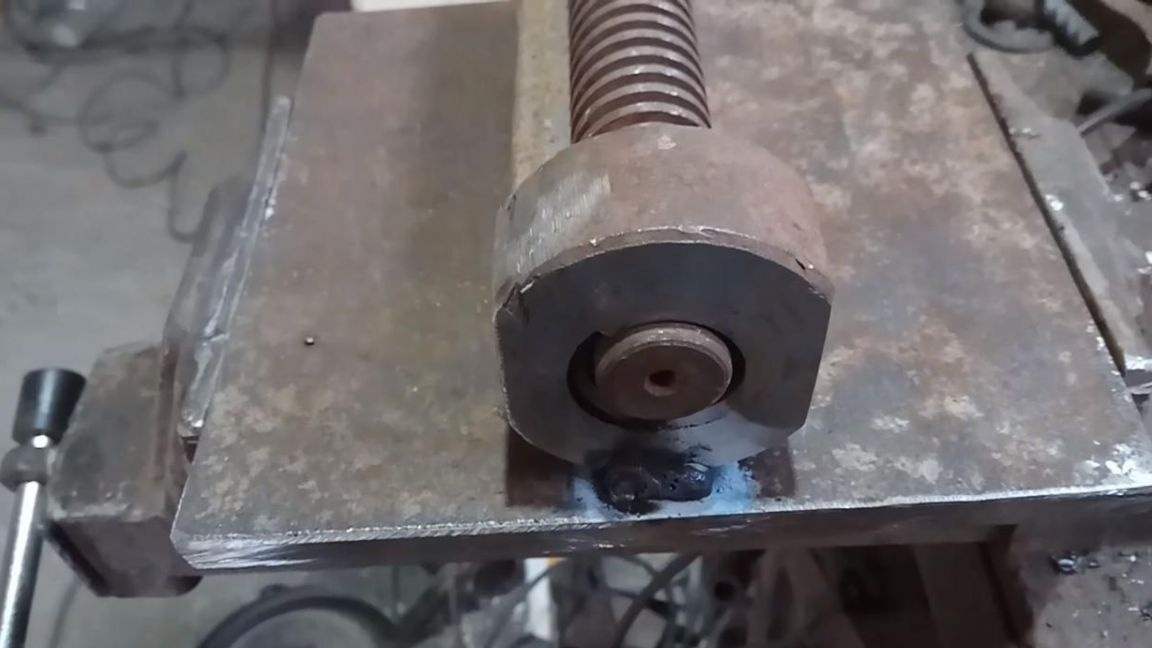
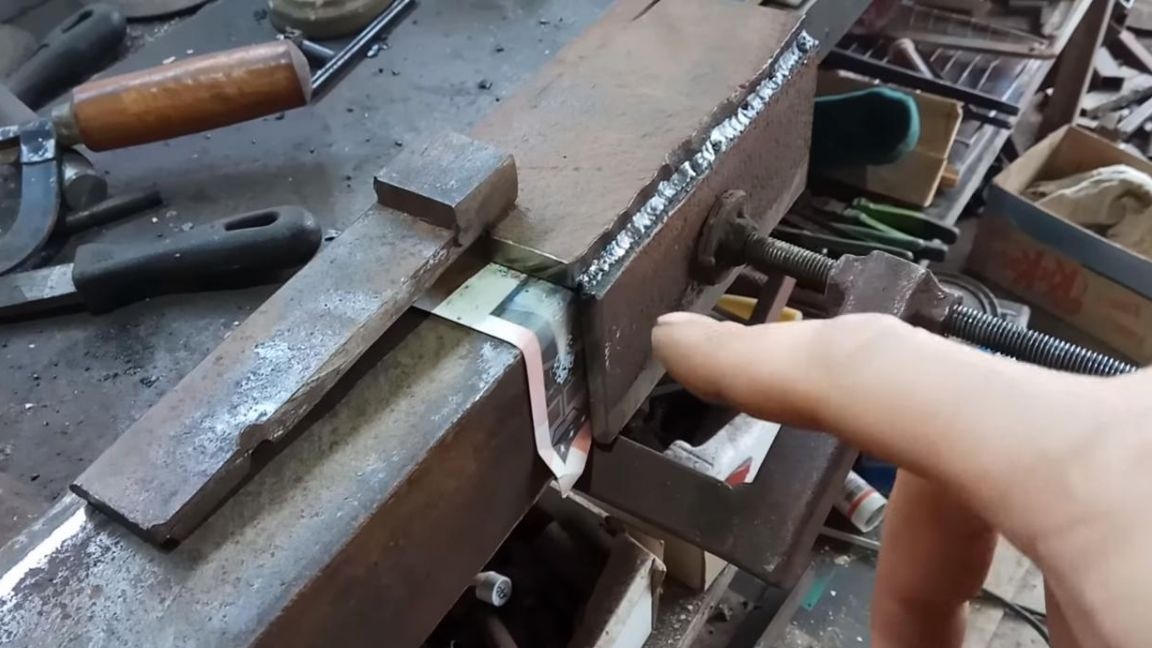
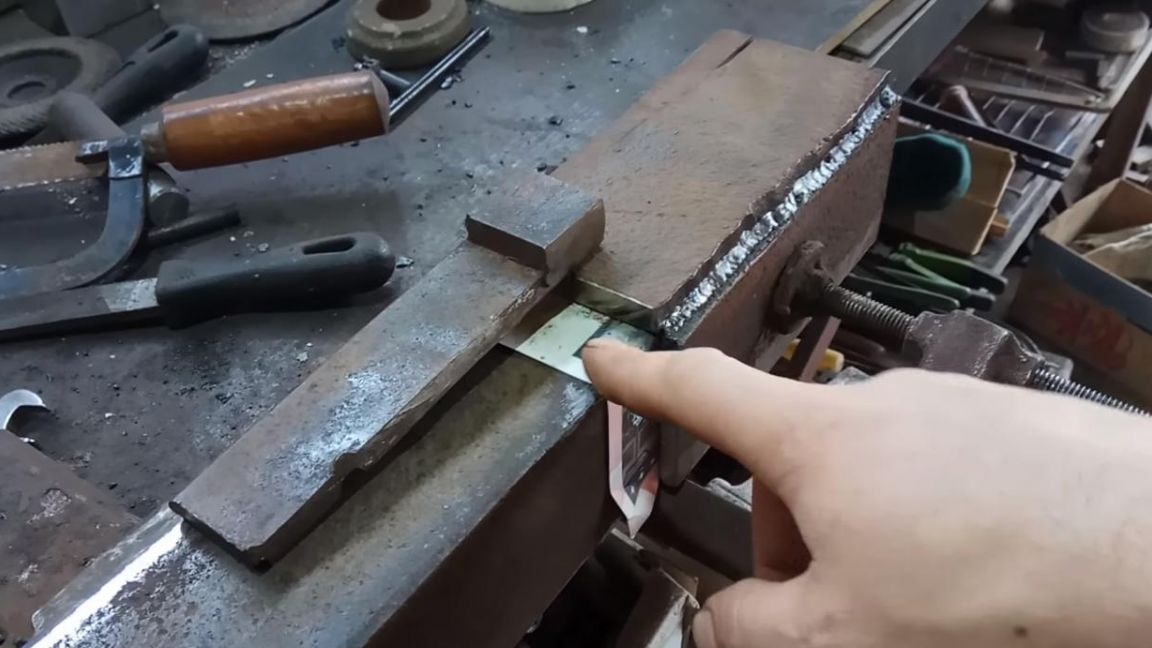
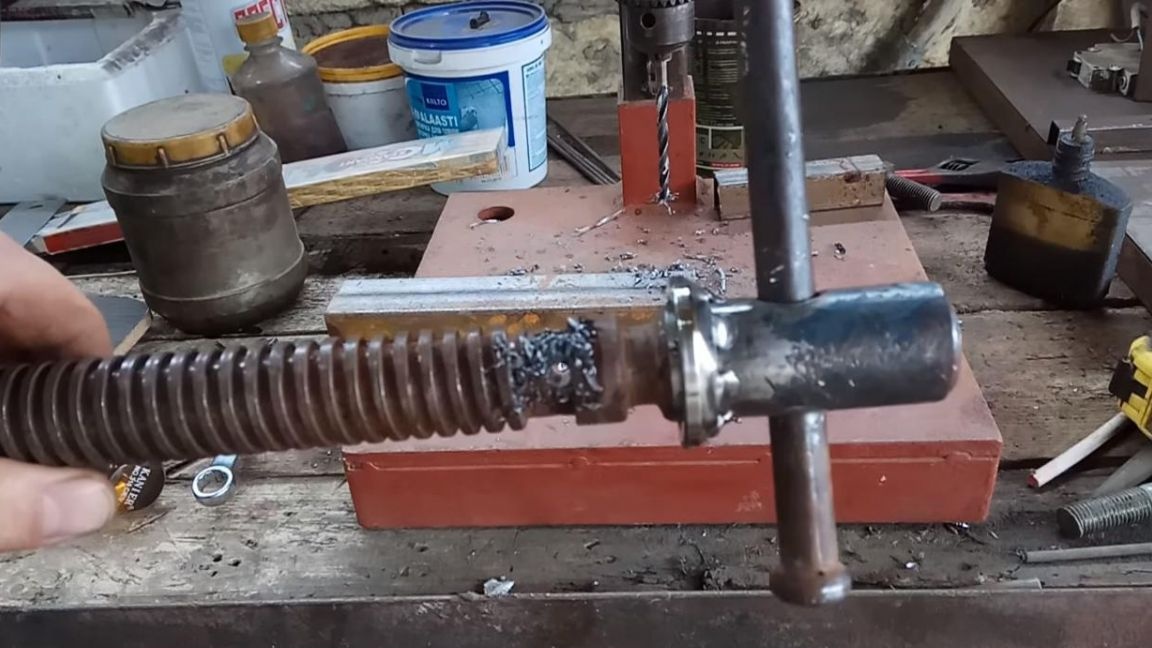
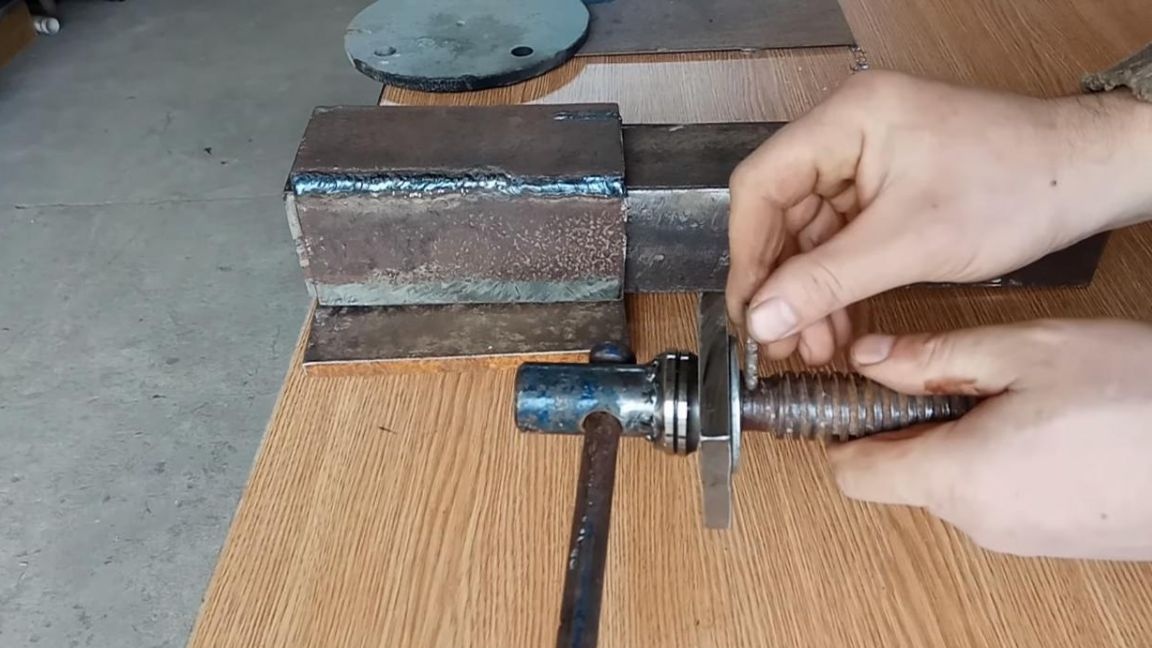
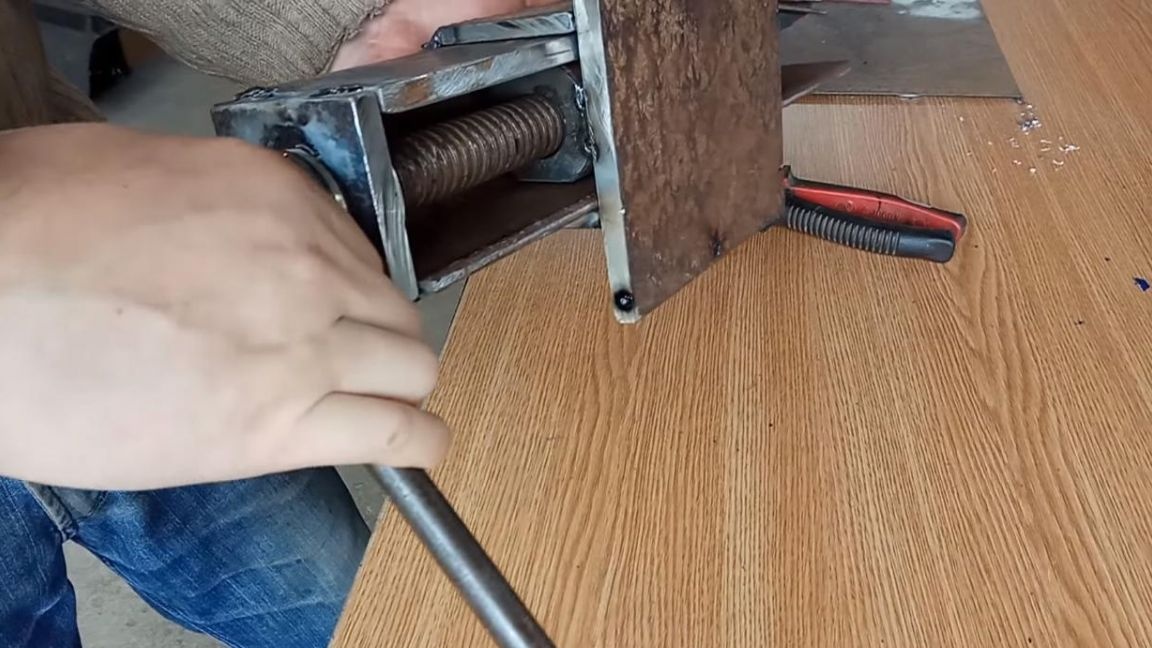
For a reverse stroke, a hole must be drilled in the screw. It will be easier and smoother to do this on a drilling machine, but if you don’t have one, then a conventional drill will do. We make the hole strictly in the middle of the screw, the drill in this case has a diameter of 6 mm, a cotter pin of the same diameter will be installed in it later on.
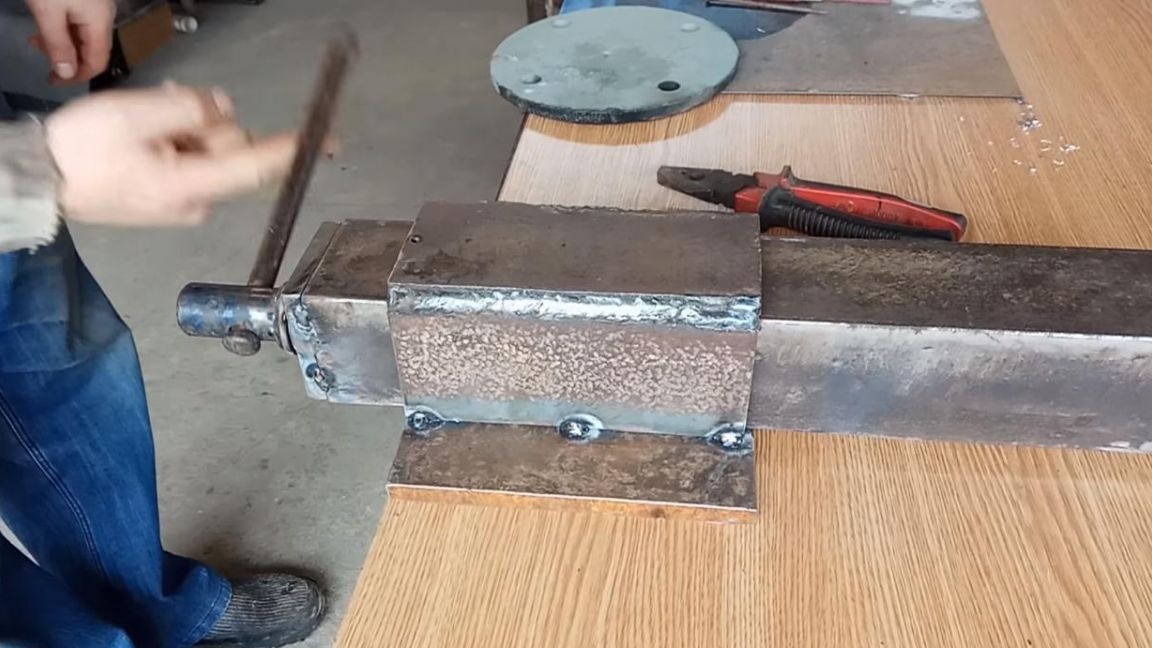
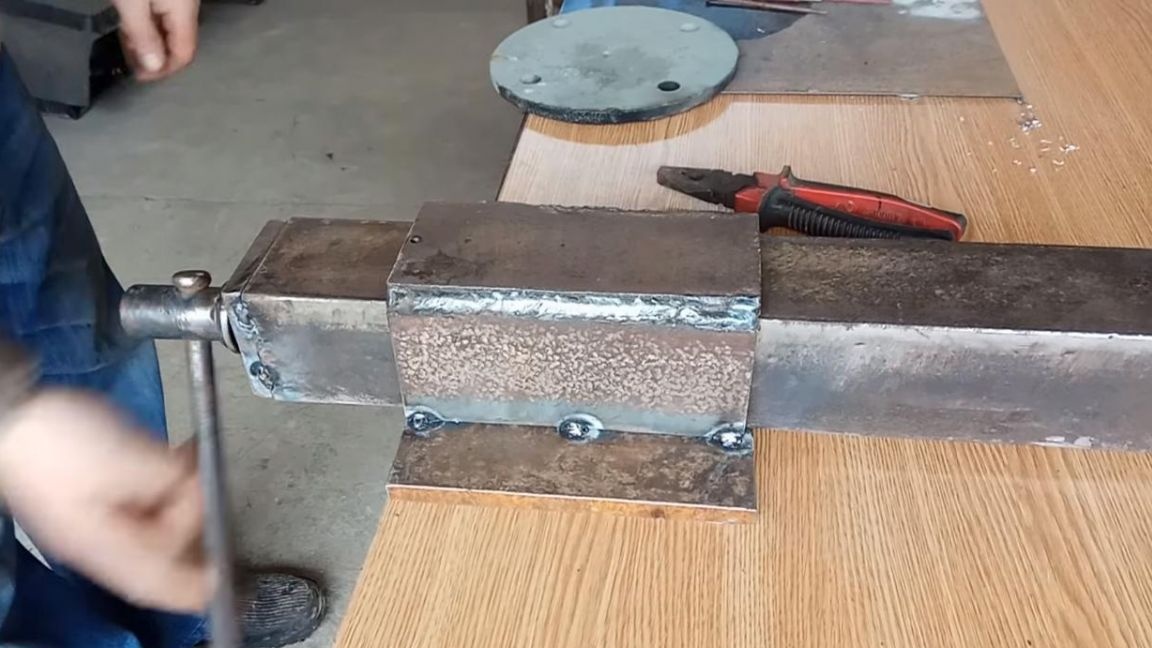
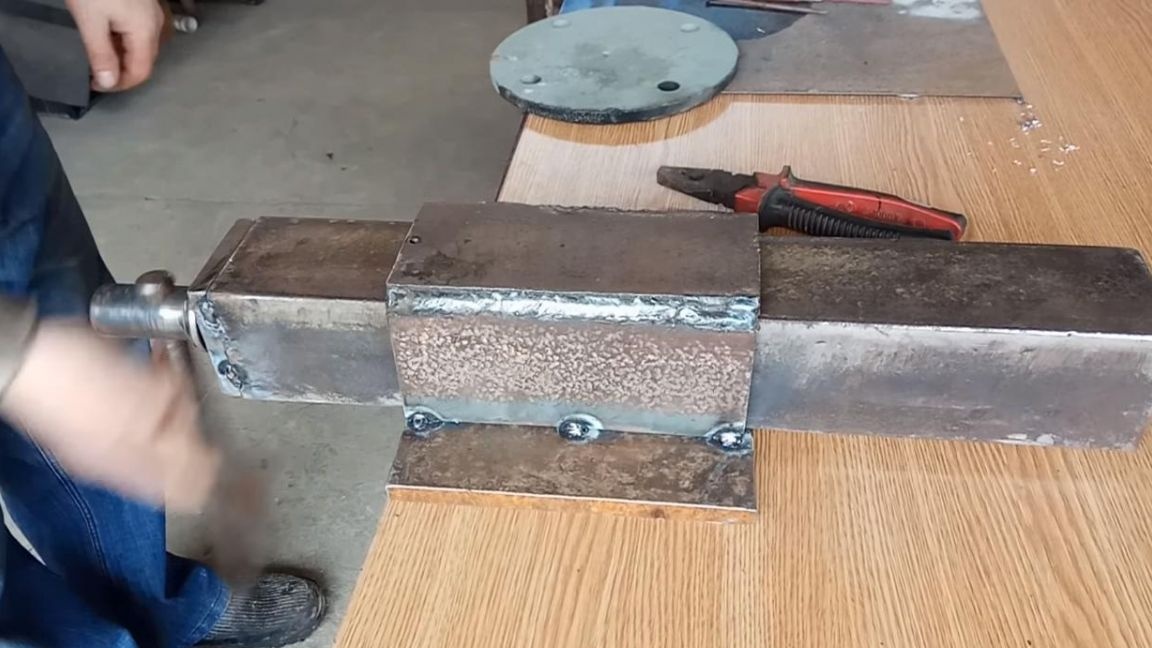
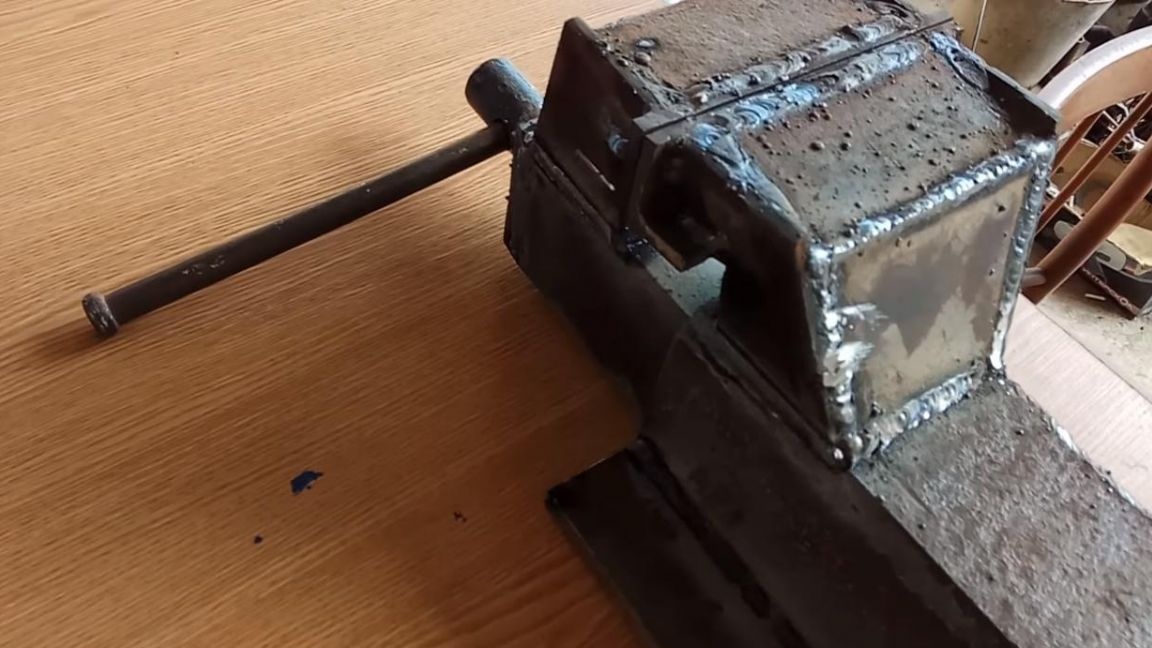
Step Four
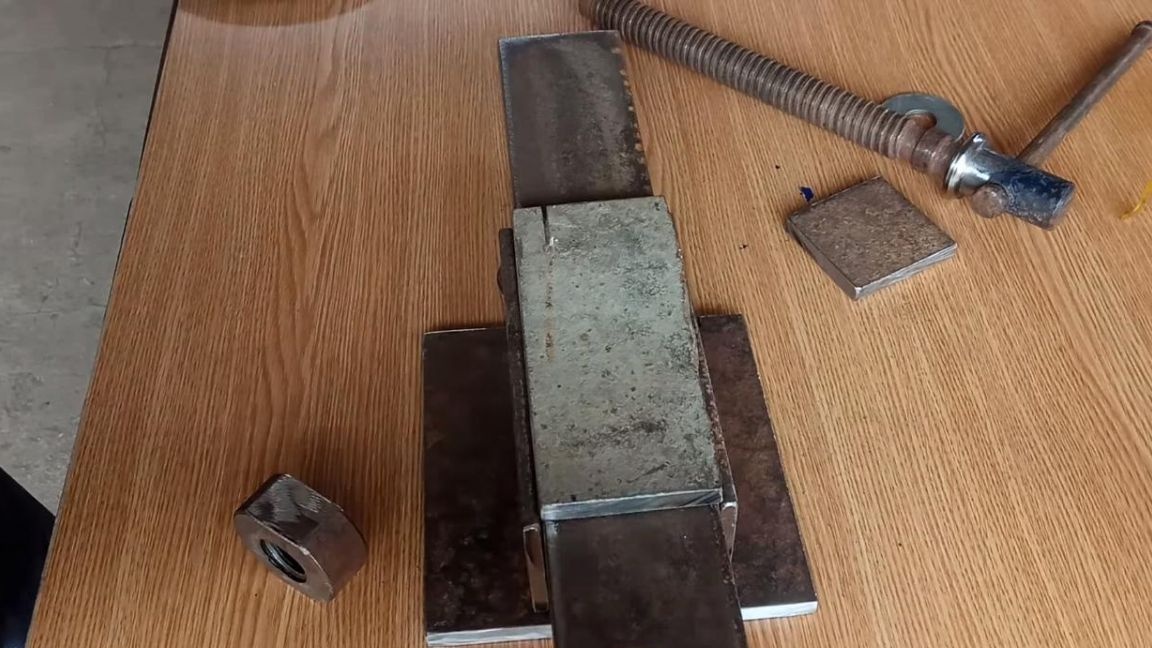
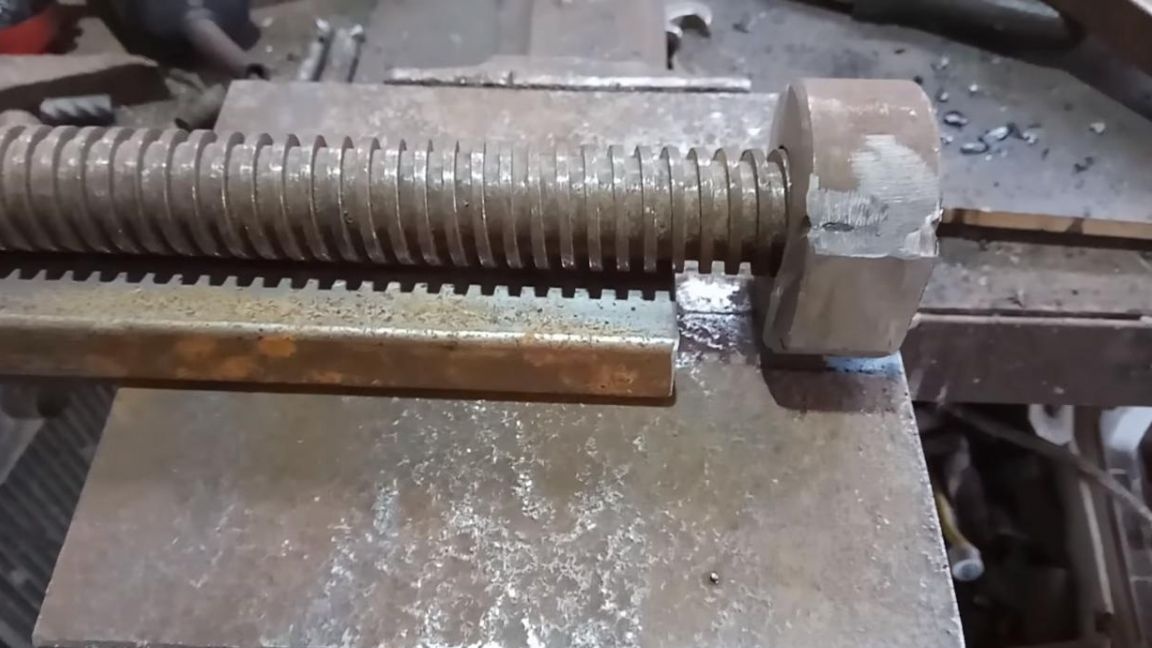
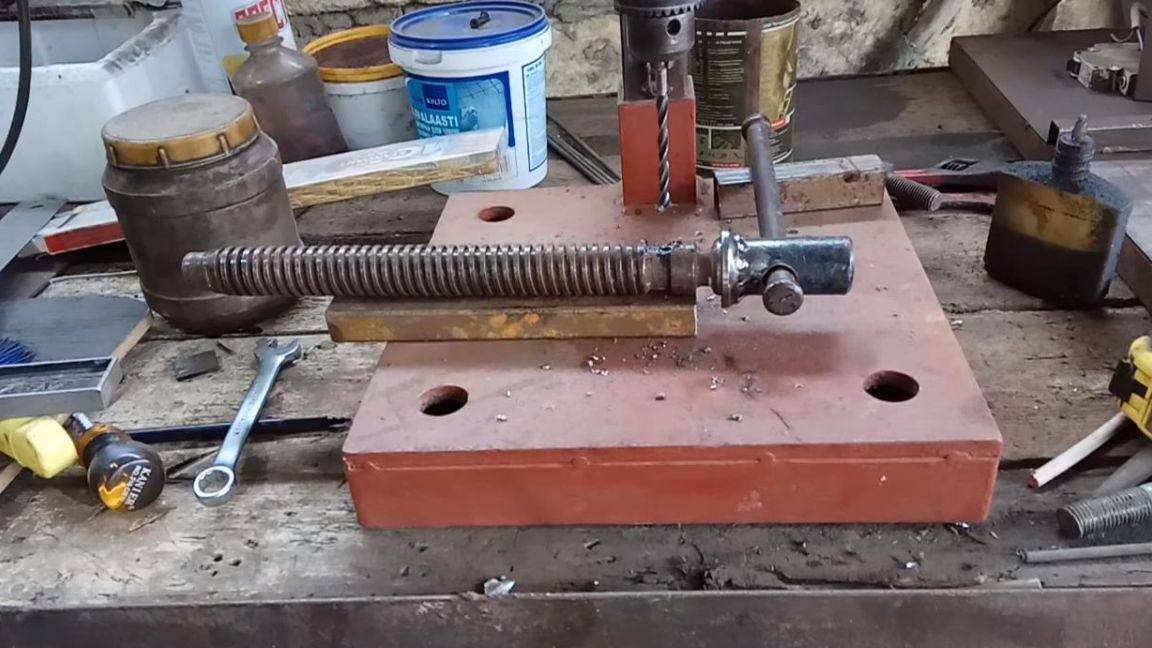
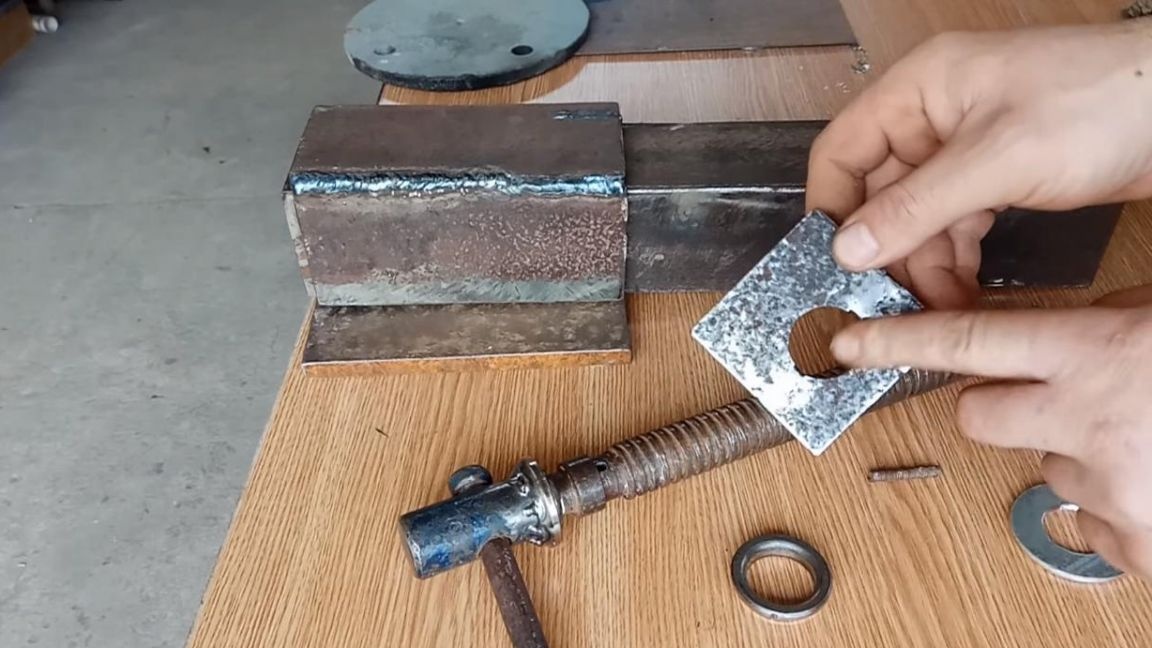
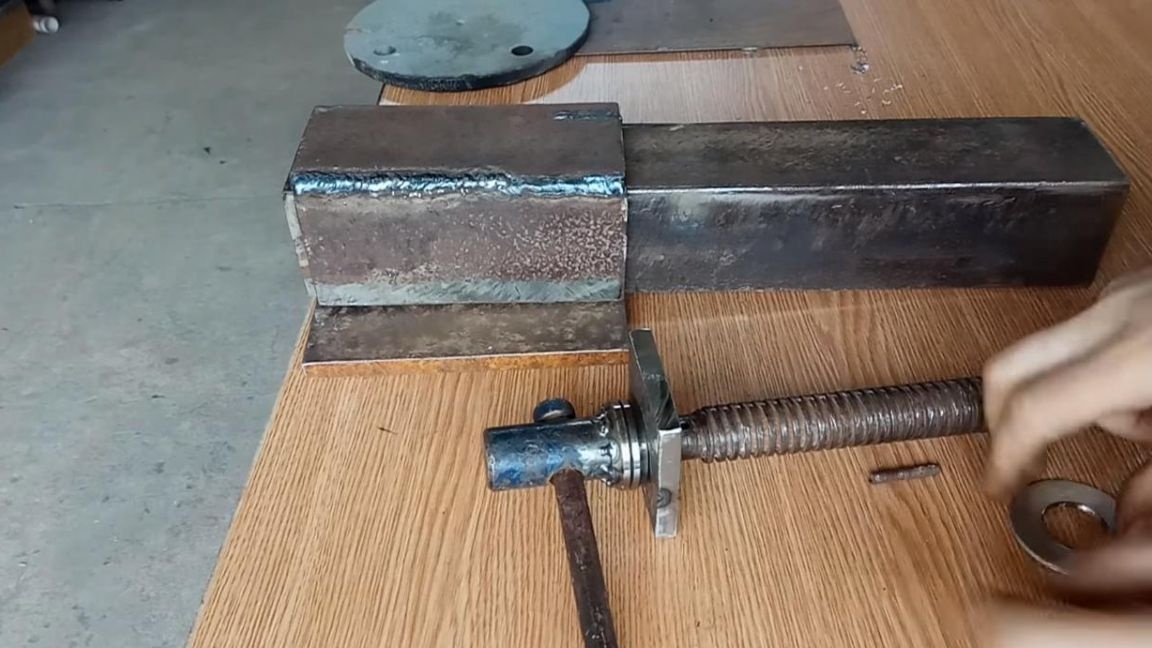
The plate for stopping the screw should have a hole slightly larger than its diameter. In this case, there was no metal drill of the required diameter, so it was decided to cut a 12 mm plate in half with an angle grinder, and then make semicircular cuts with the same angle grinder, and then weld back.
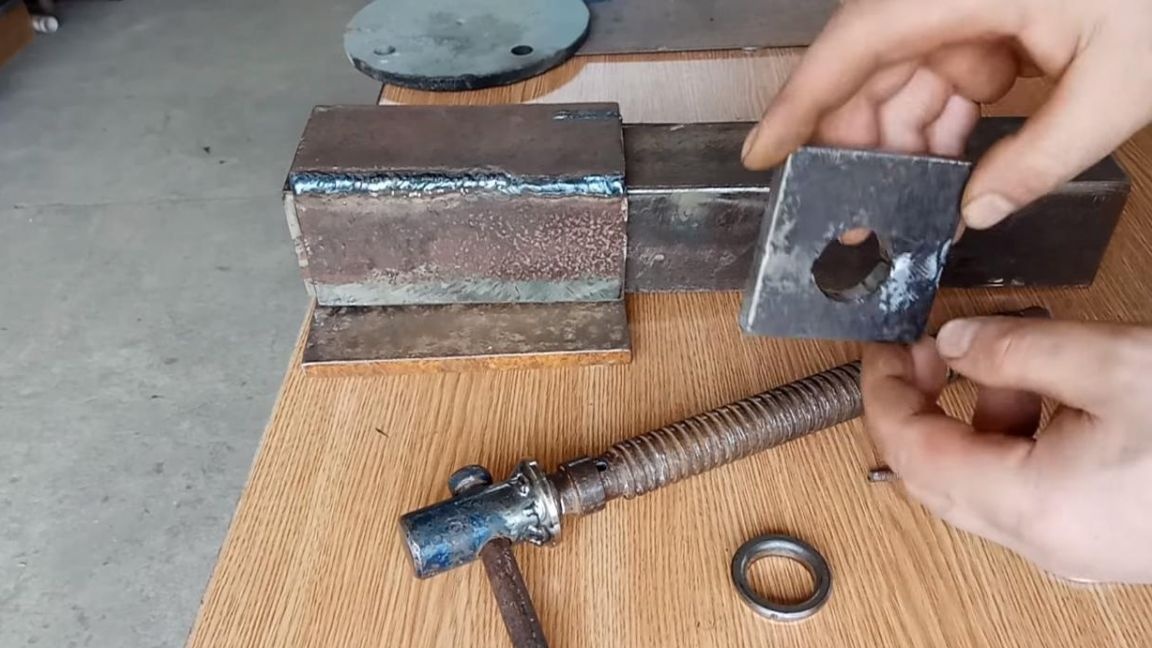
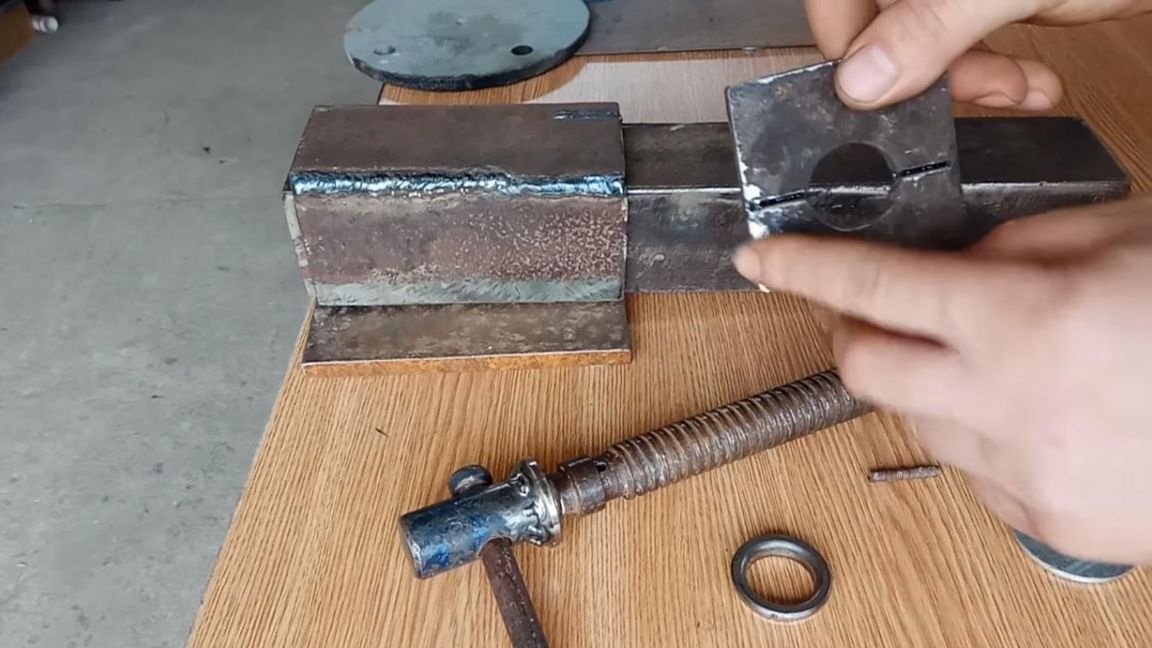
The screw assembly with the thrust plate looks like this.
In addition to the cages from the bearing, a washer is needed for the reverse stroke of the vice, it can be done by yourself using a lathe.
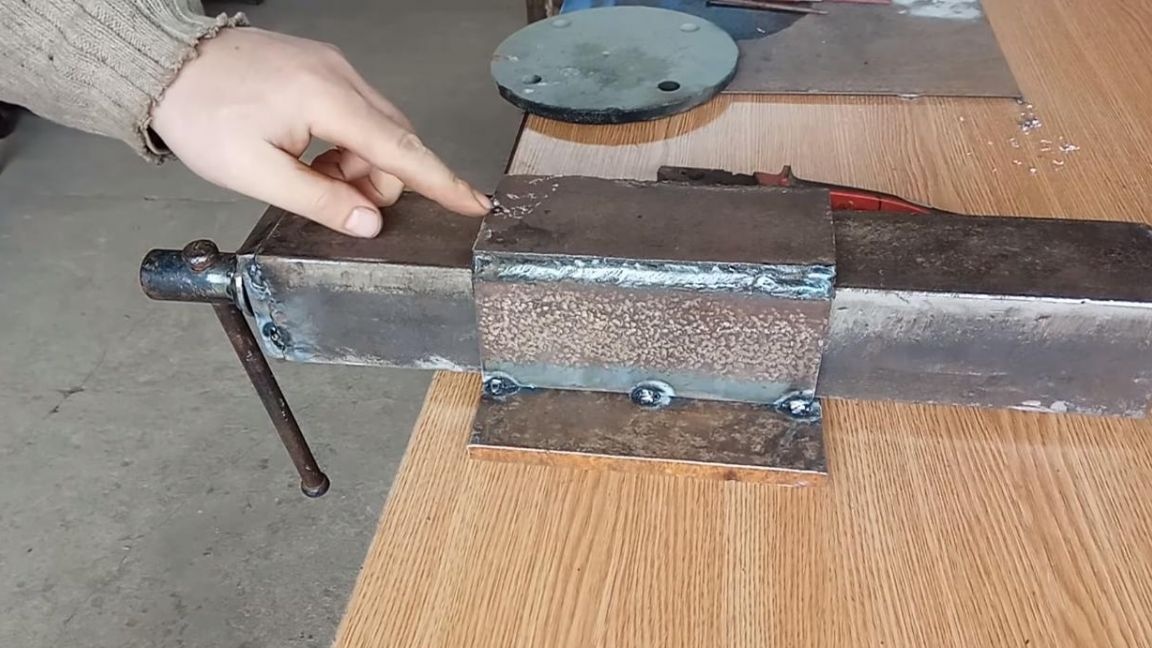
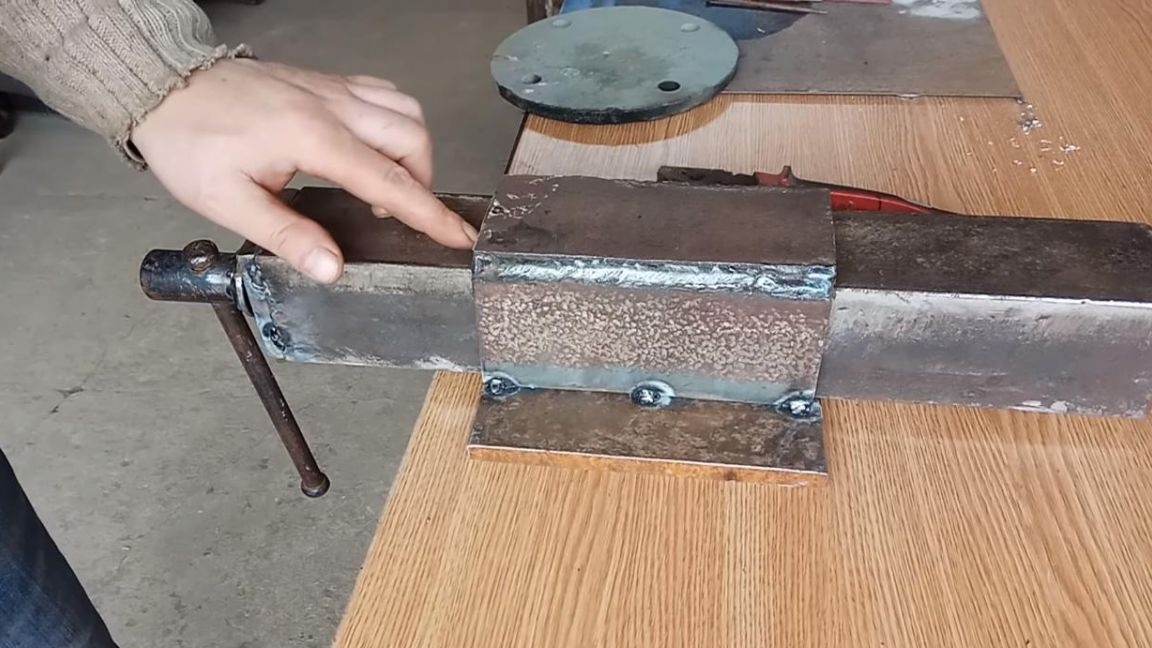
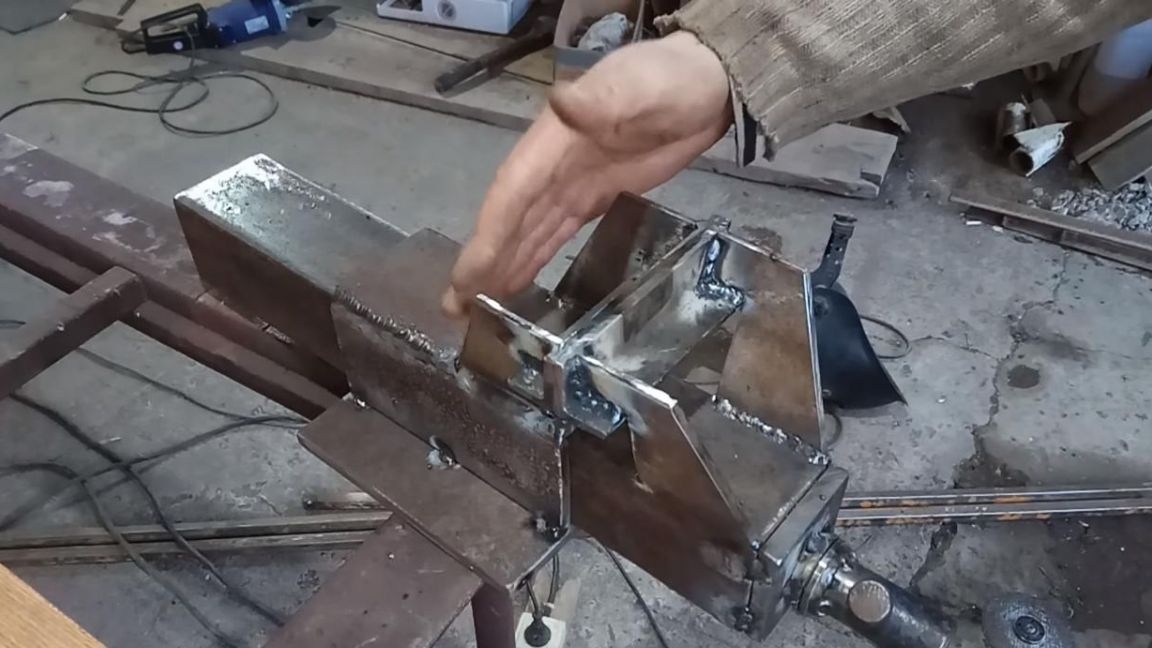
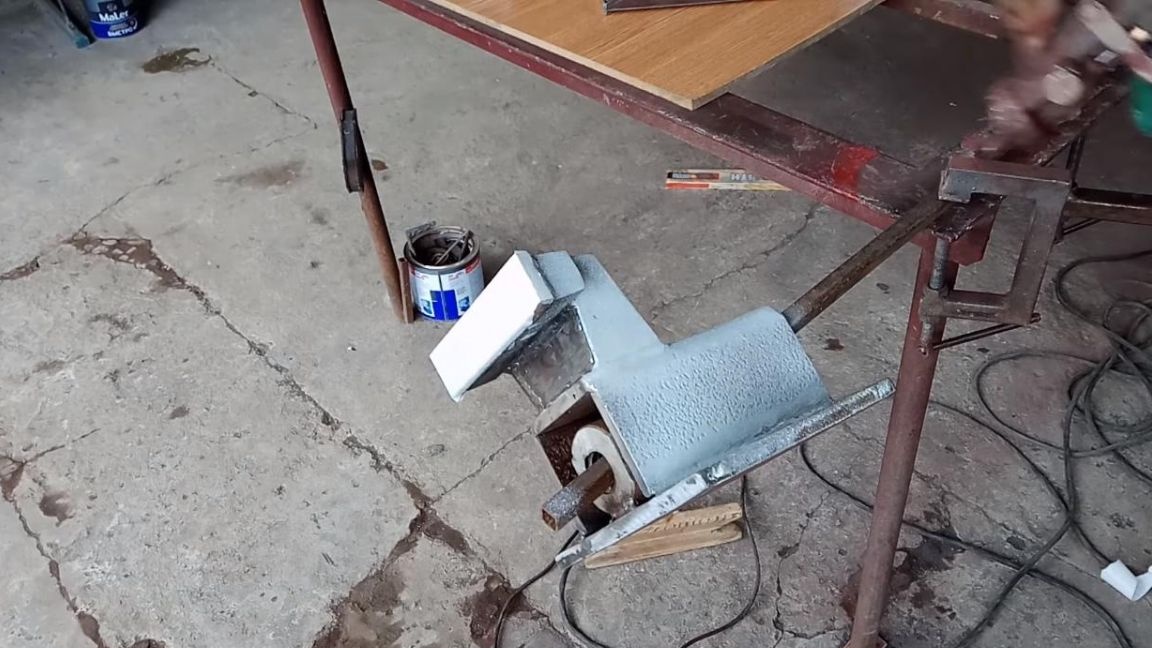
Step Five
We weld the U-shaped part, which was made a little earlier, to the base exactly in the middle, and also the pressure plate to the movable part, with several points.
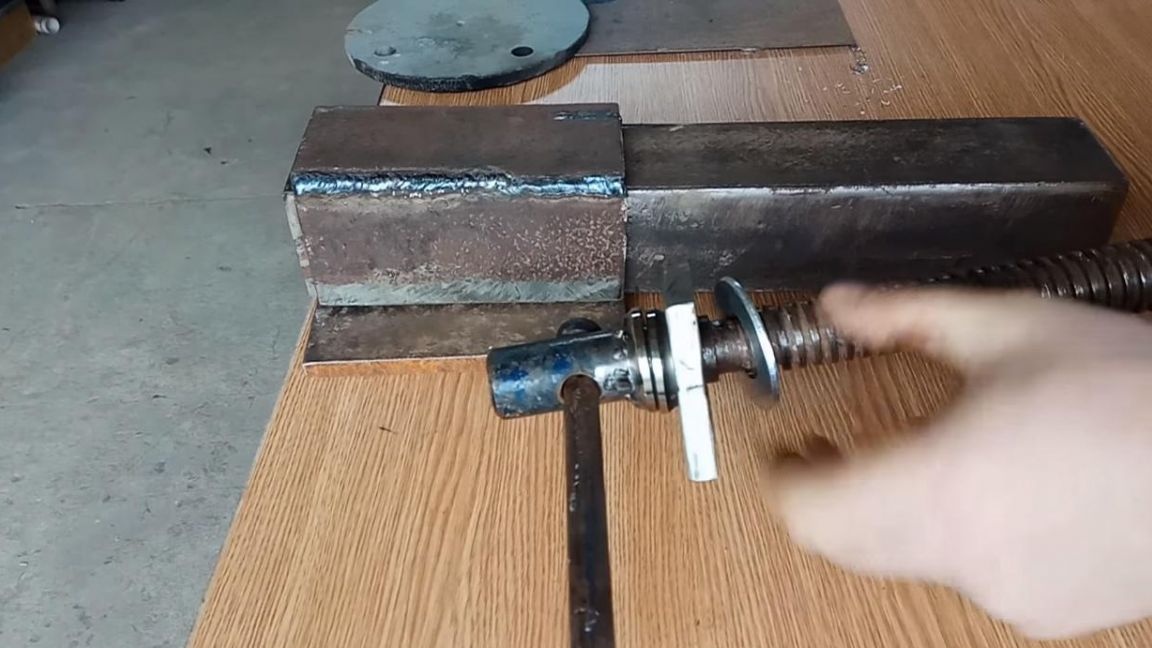
We put the washer on the bottom and put in a stud, which prevents the screw from coming out when unscrewing. After that, we qualitatively boil the joints of the stationary parts.
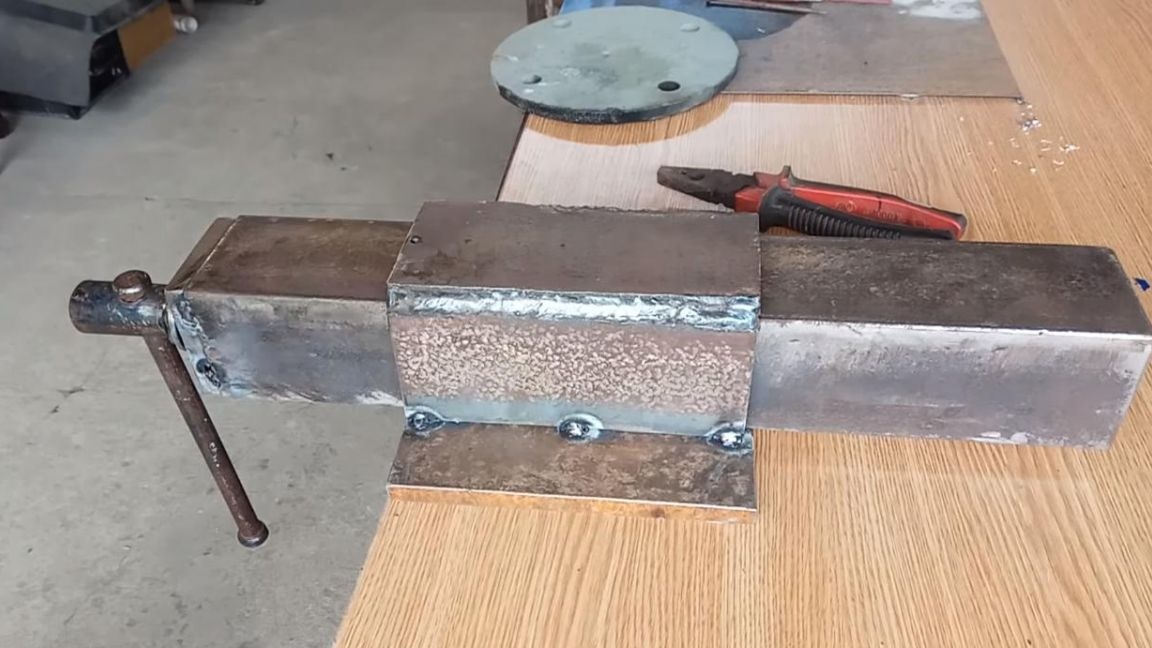
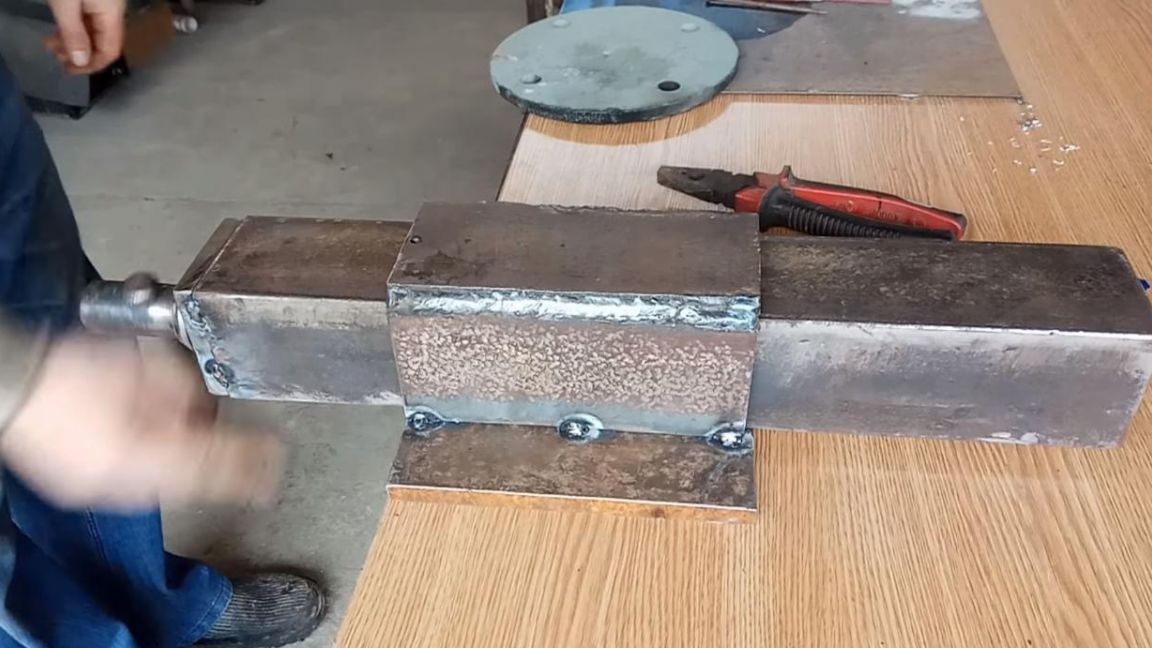
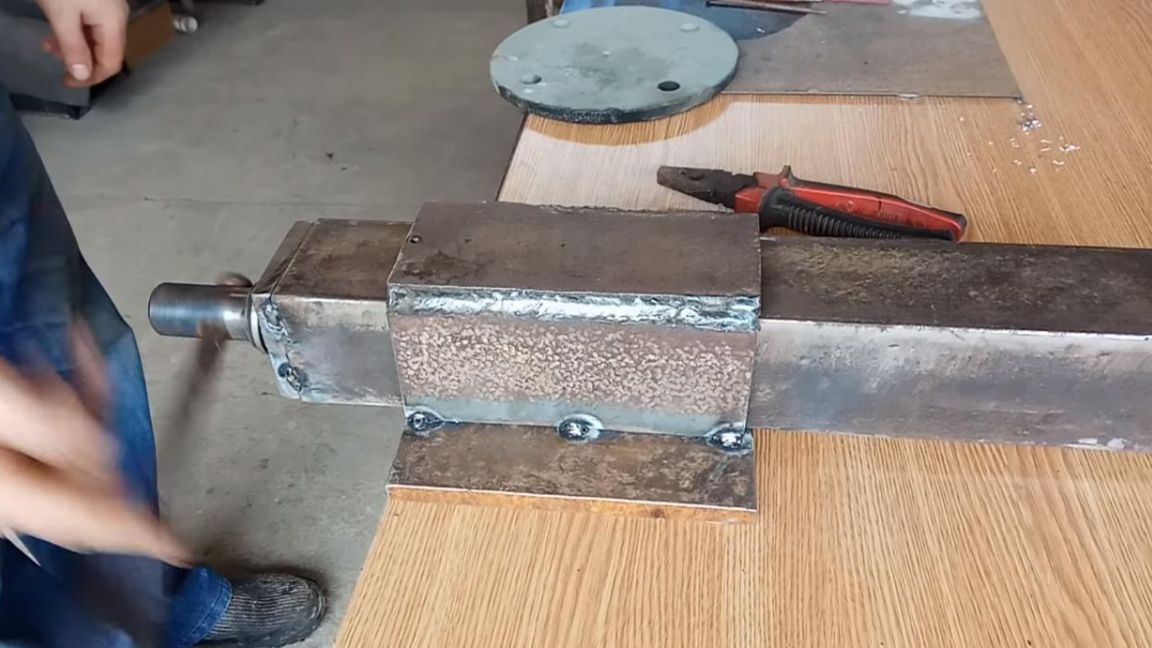
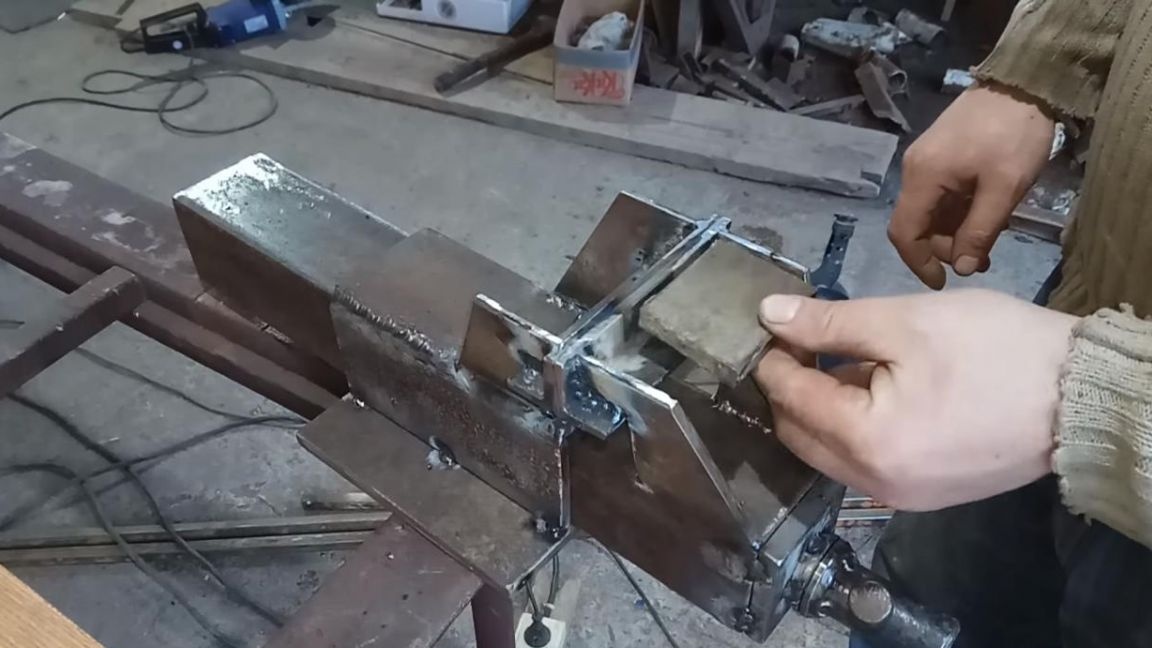
This is how it looks.
We drill a hole in the upper part, in the future it will come in handy for installing protective rubber, since the ingress of chips on the moving part, and subsequently the stationary part, can lead to jamming of the vice or complicate the movement of the screw. In any case, this does not hinder or weaken the structure.
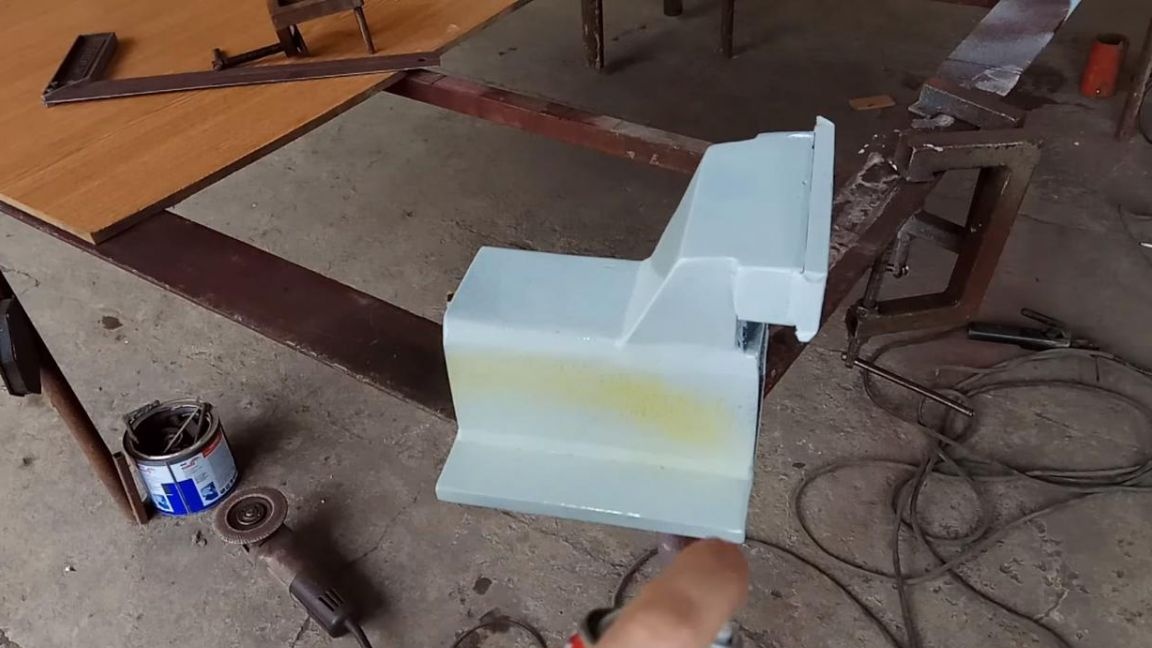
Step Six
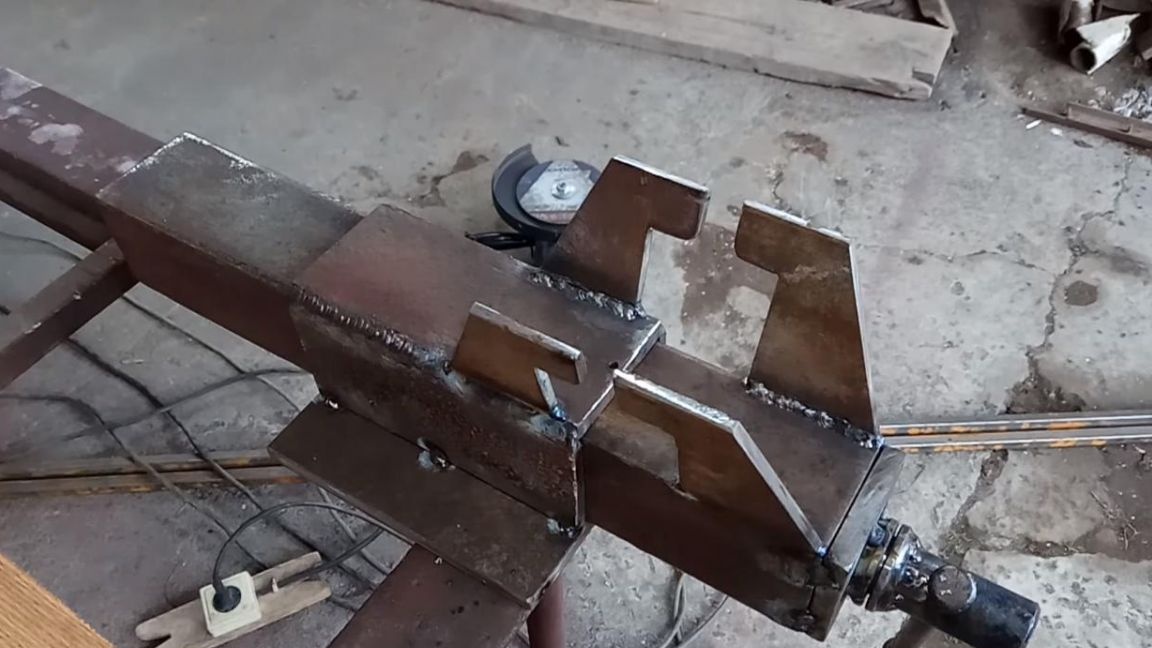
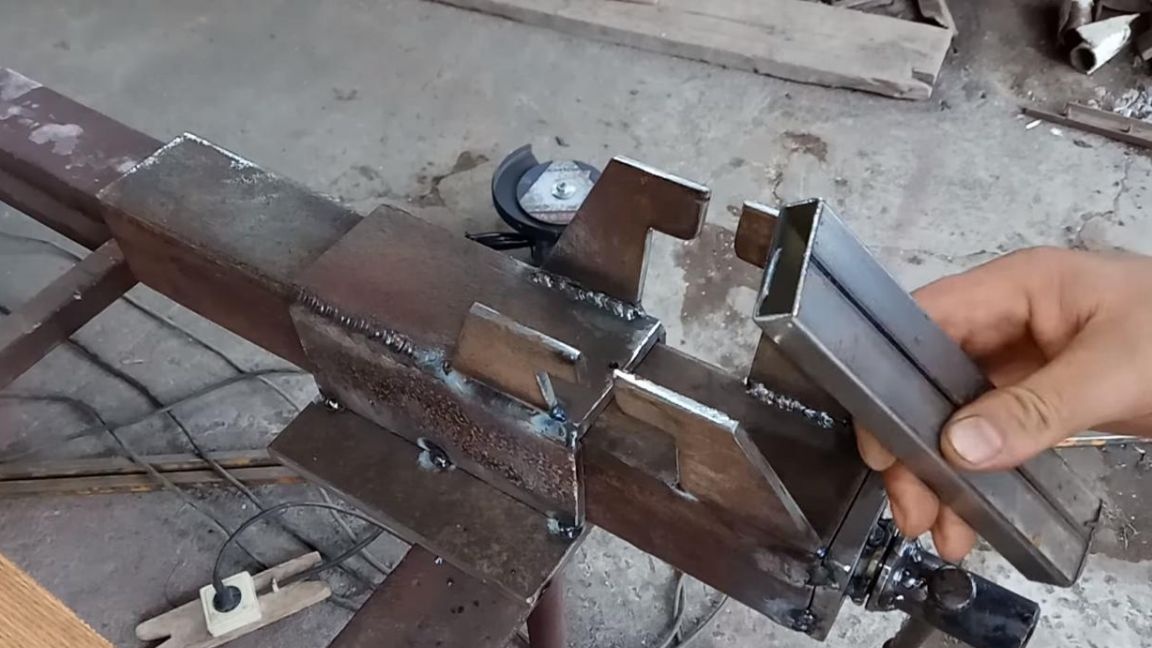
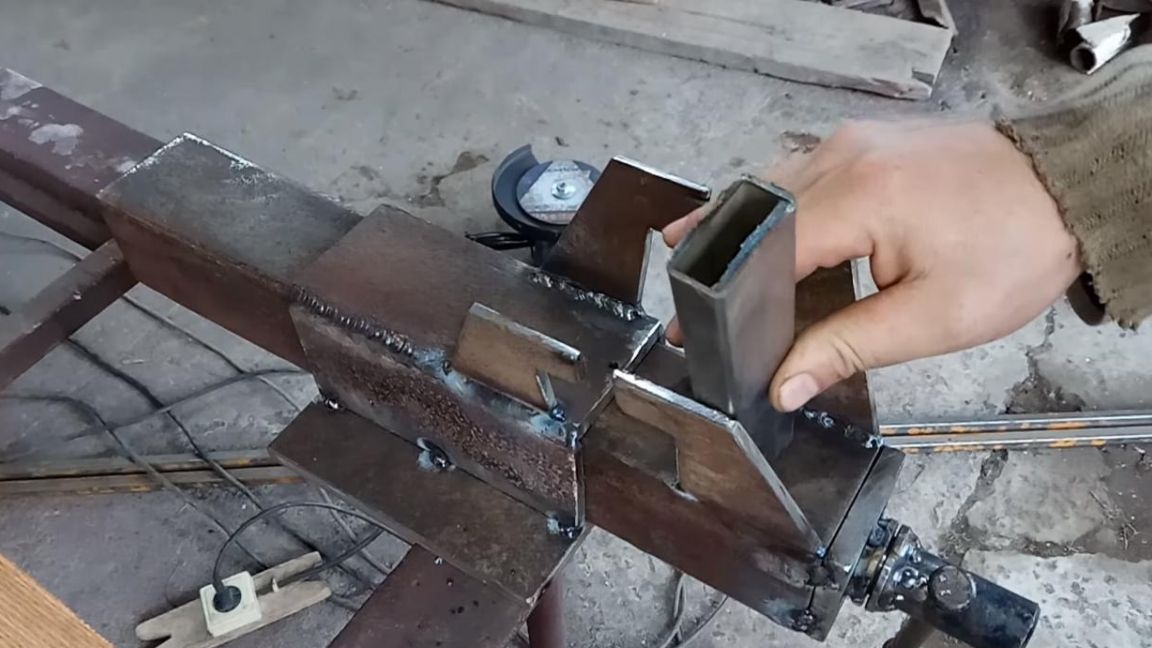
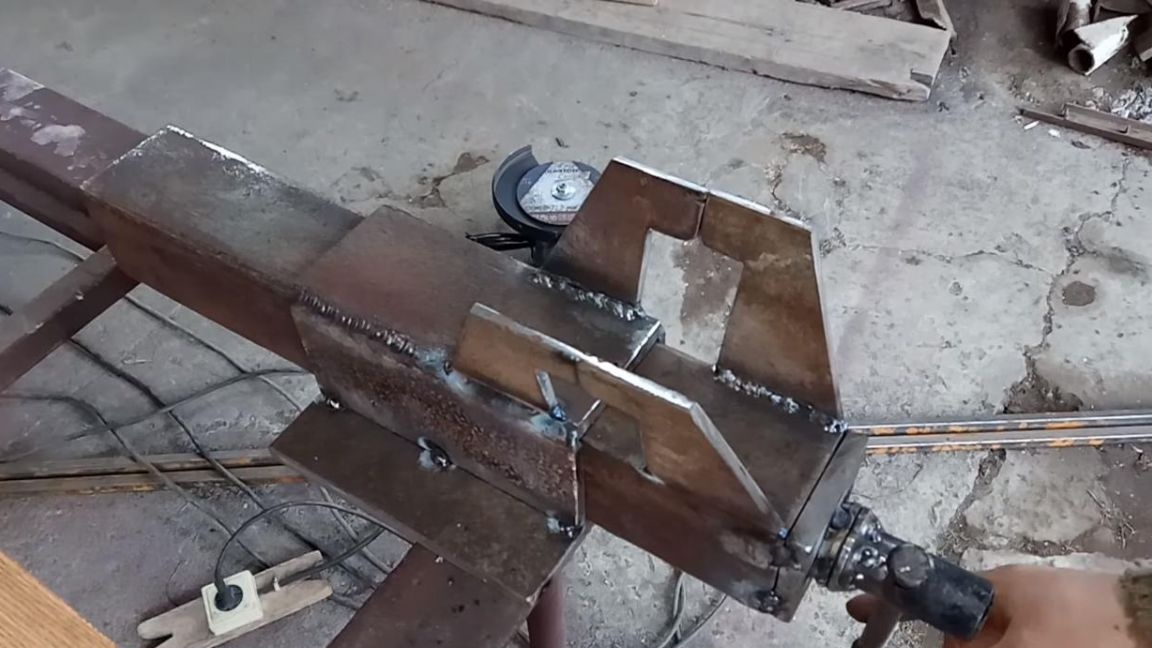
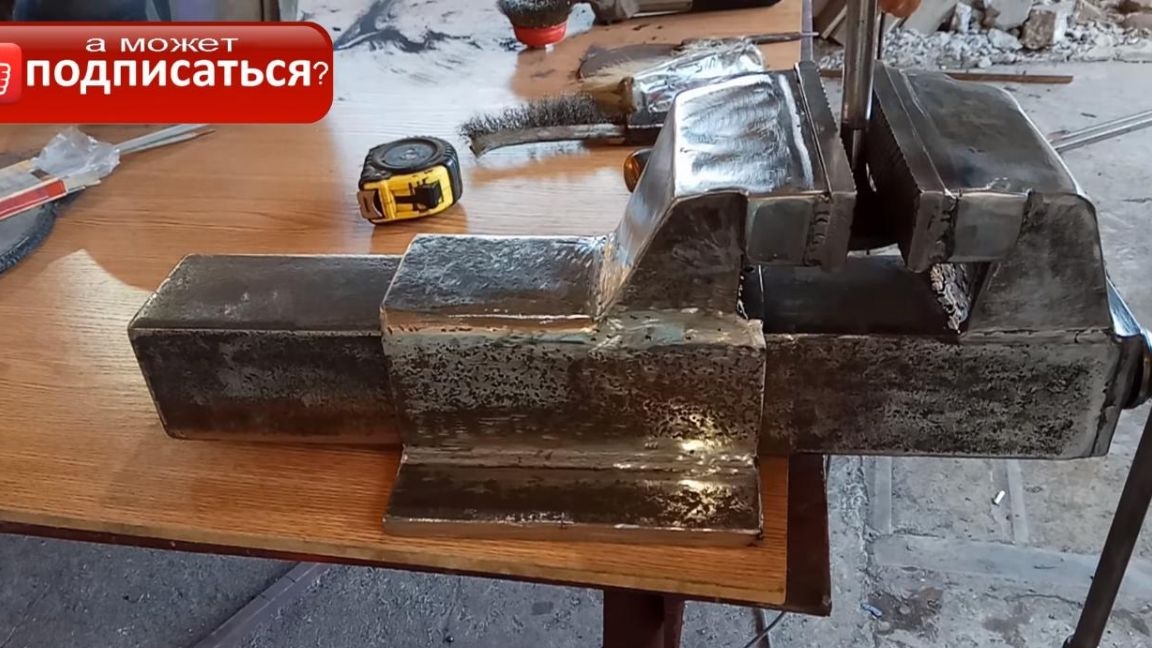
It's time to make the top of the vise. We mark the sketch in the form of a trapezoid on a sheet with a thickness of 6 mm and with the help of an angle grinder we cut four pieces, two of them will be higher, since they will be installed on a sheet of metal, whose thickness is 12 mm.
When all four parts are sawn, we weld them, but we do it a bit at an angle to increase the width of the jaws, it is equal to 140 mm by the way. For convenience and accuracy, you can make a template from the profile with the necessary angle at which all four parts will be welded.

It should be something like this.
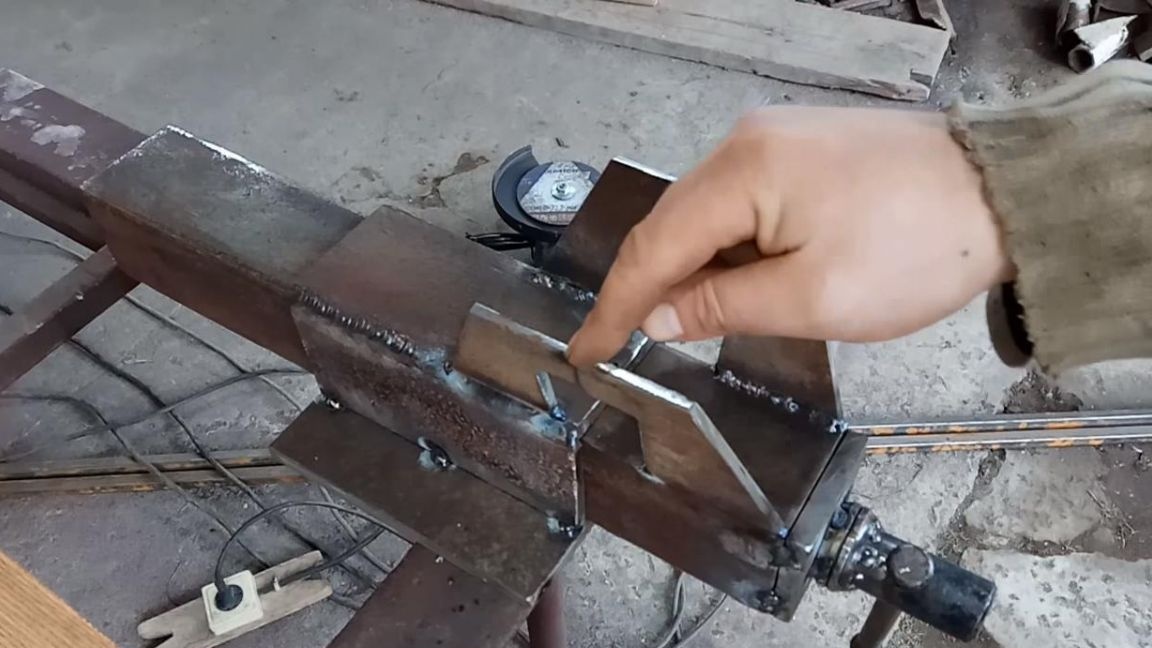
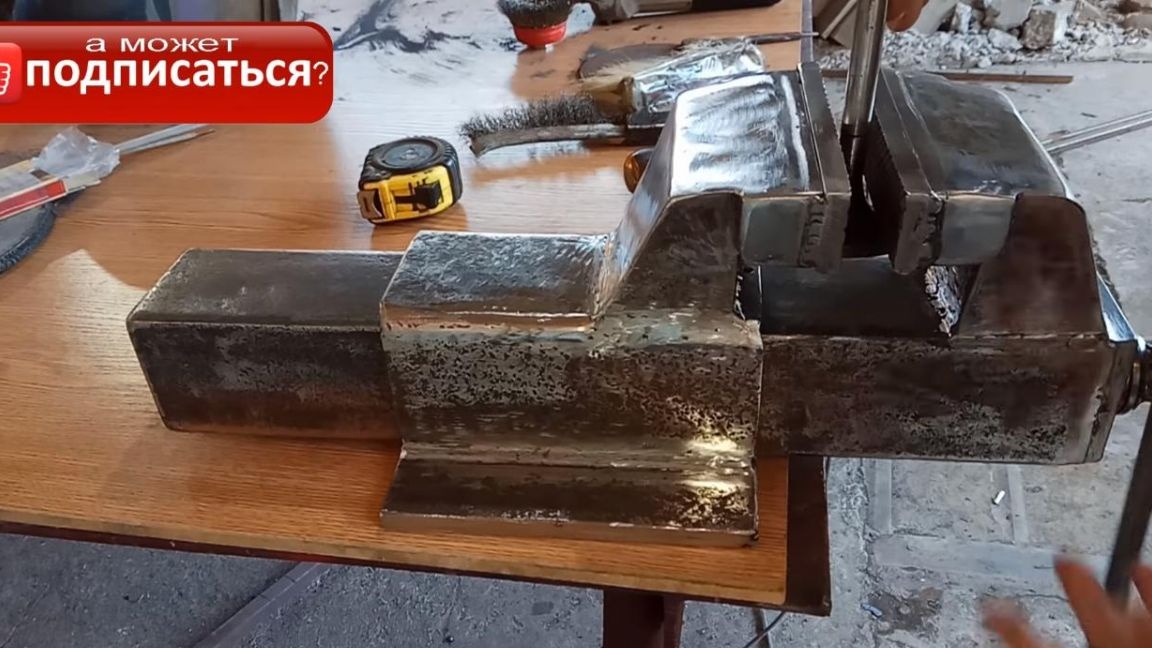
Seventh step.
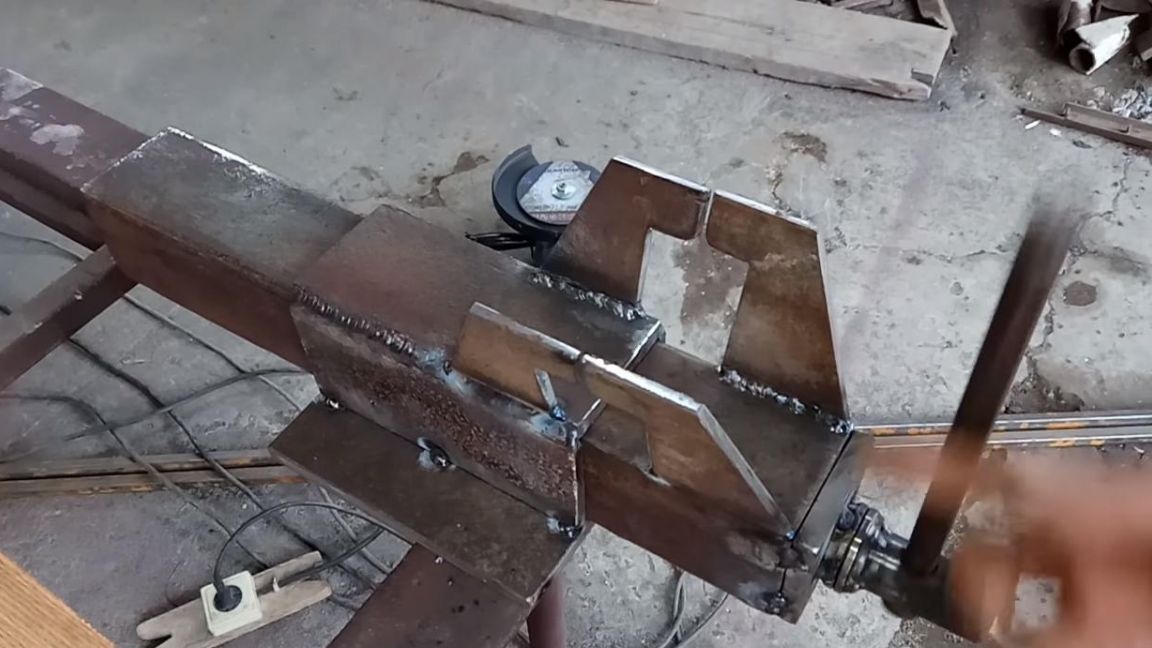
We weld the corners for installing the jaws, for a more accurate positioning we tighten them with a clamp, so the jaws will be even with respect to each other.
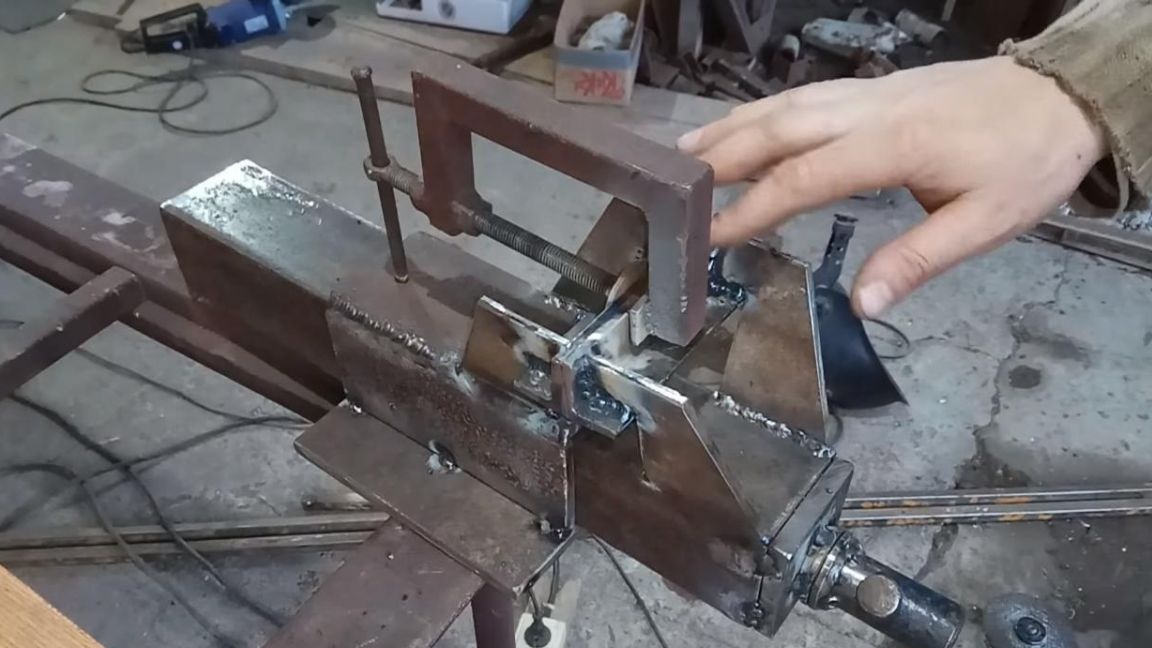
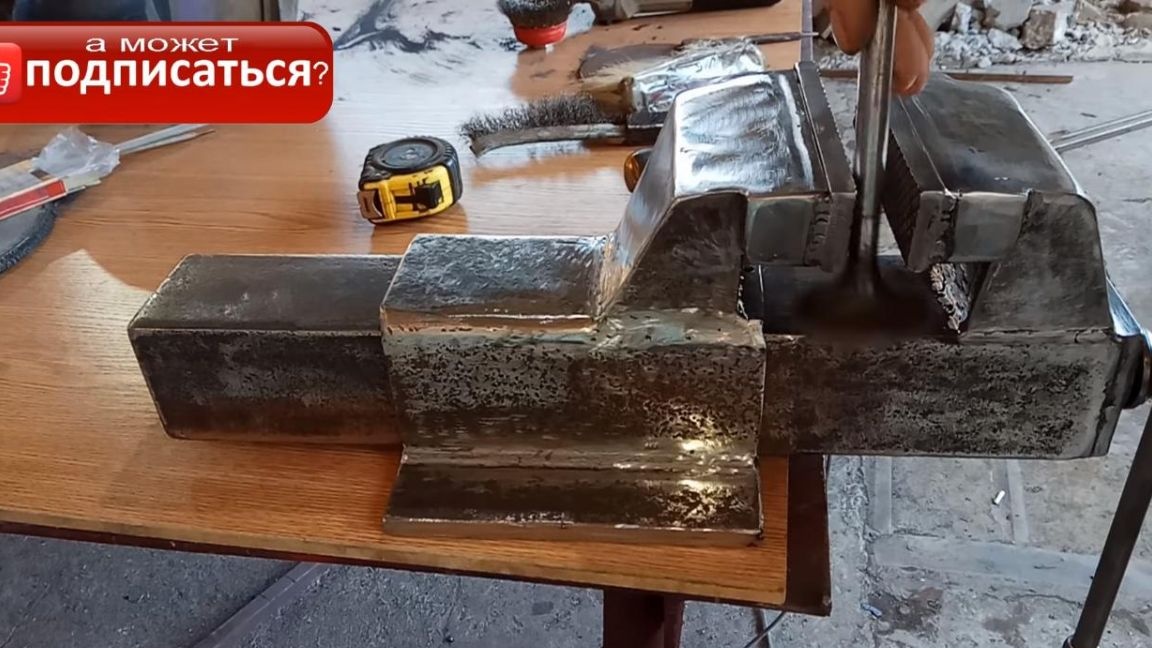
The time has come to sheathe the movable and fixed parts, the top will be made of 12 mm, and the sidewall of 6 mm sheet of metal. We weld everything thoroughly and clean it with a metal brush.
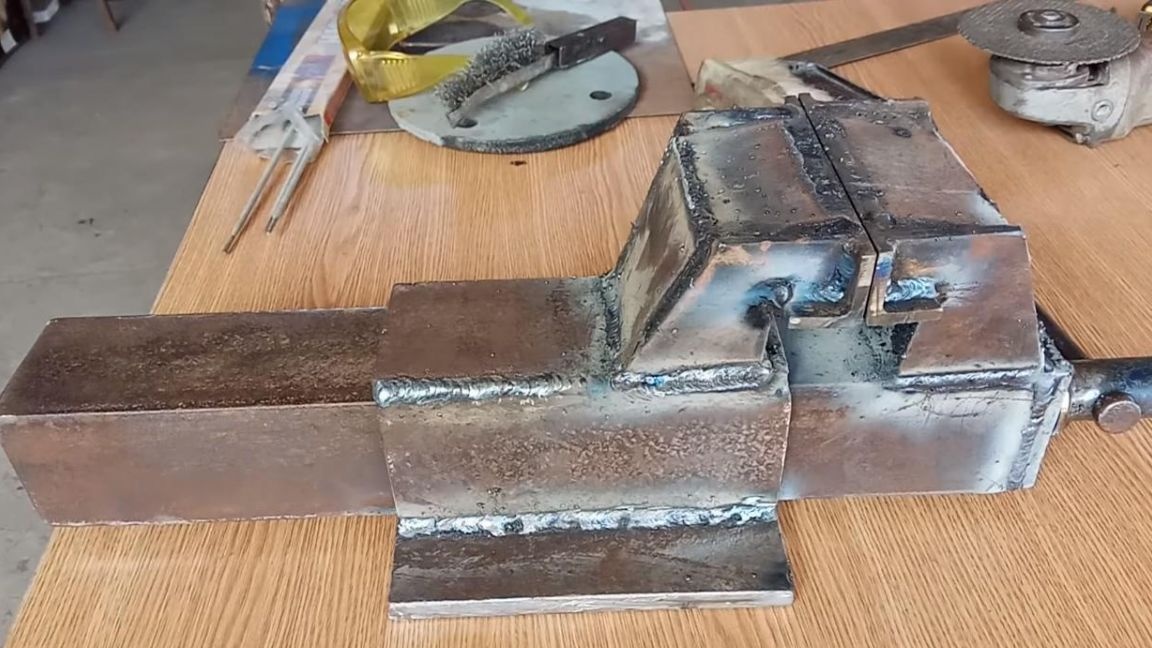
Do not forget about safety glasses when working. This is how the vice looks from different sides, you will still need to weld the 25th corners to remove sharp corners in the places where the jaws are attached.
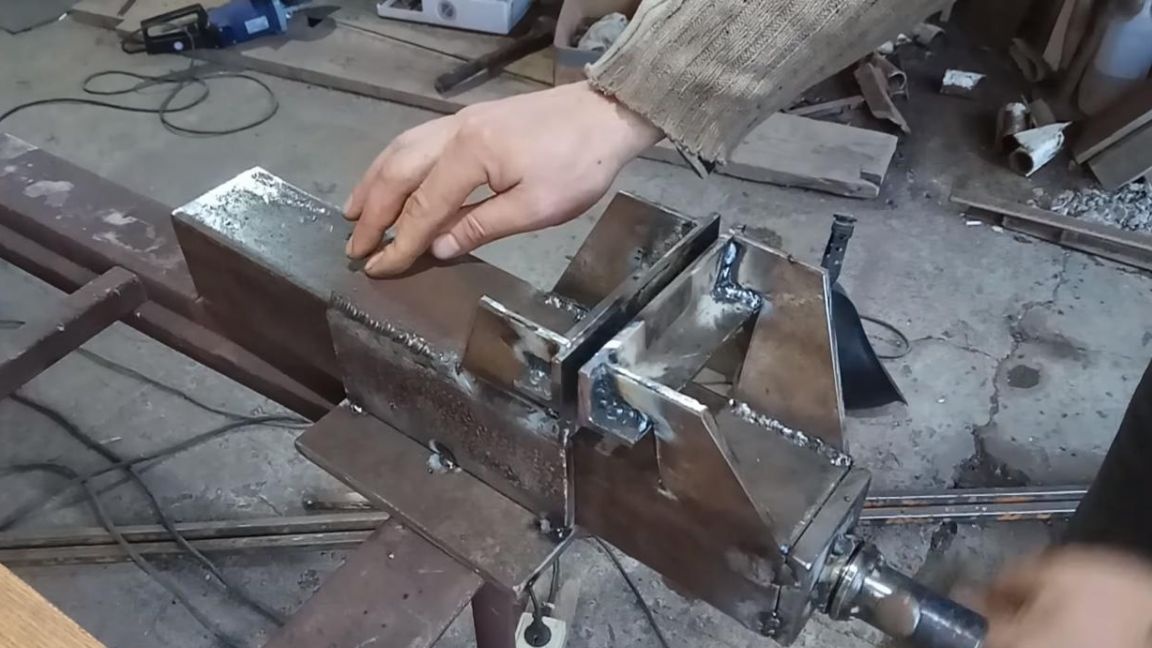
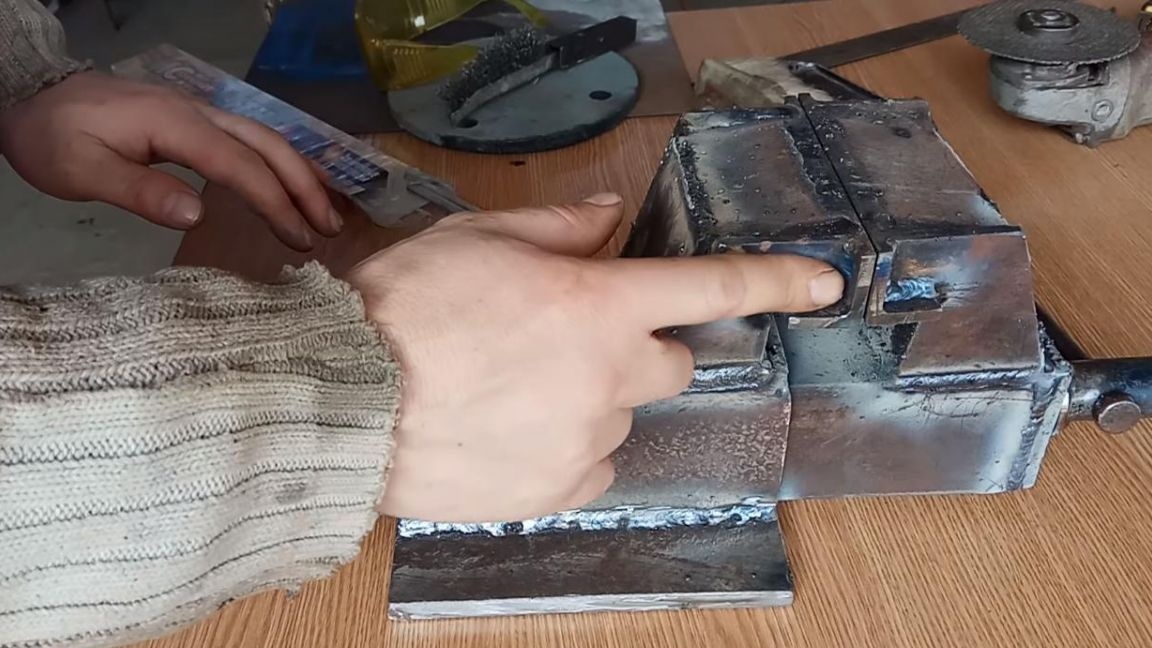
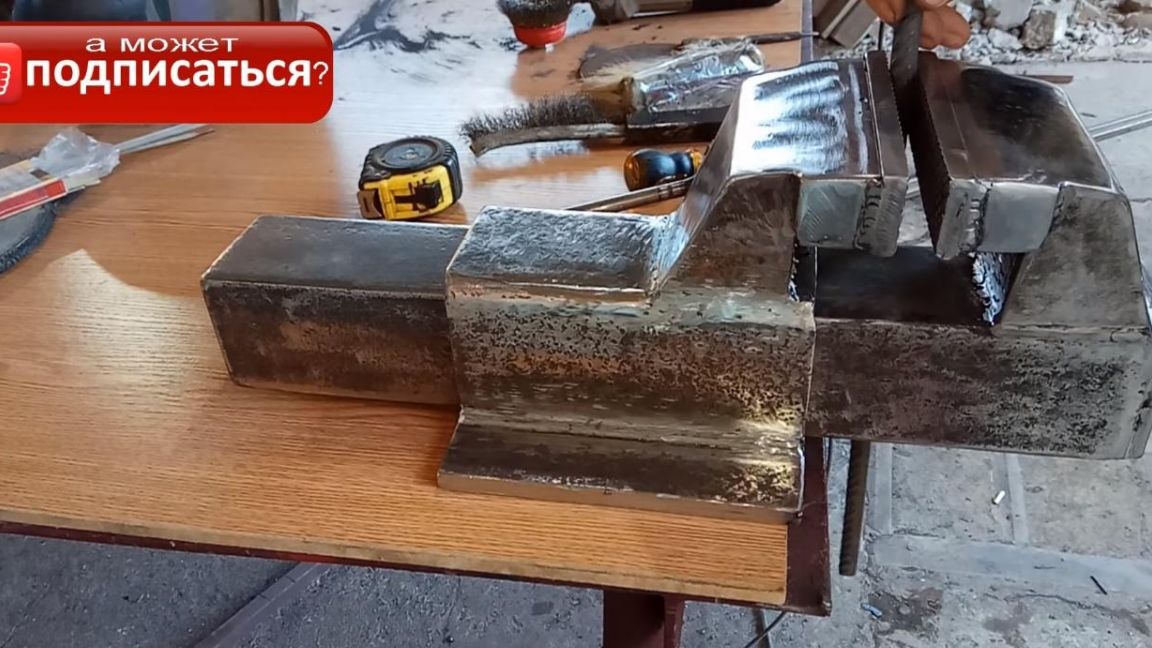
Step Eight.
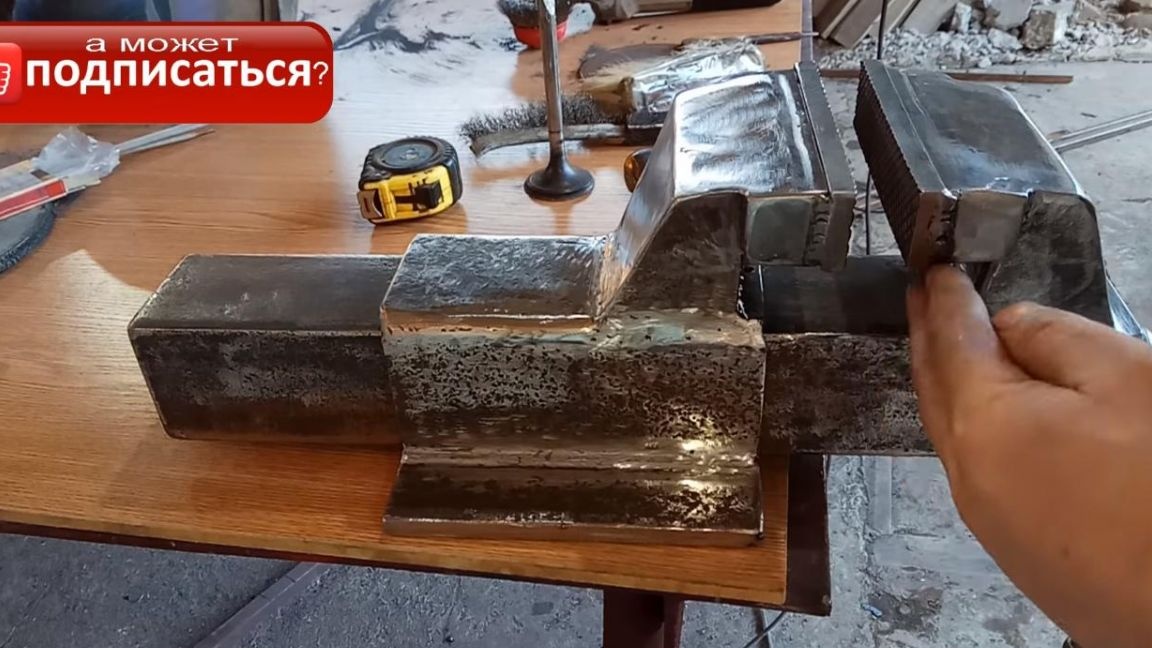
It’s time to make the jaws themselves, the material for them was not chosen by chance, the springs are quite durable and have a thickness of 12 mm, which is just right for a powerful tool.We make notches for better adhesion of the part in a future vice using angle grinders with a cutting disc 1 mm thick.
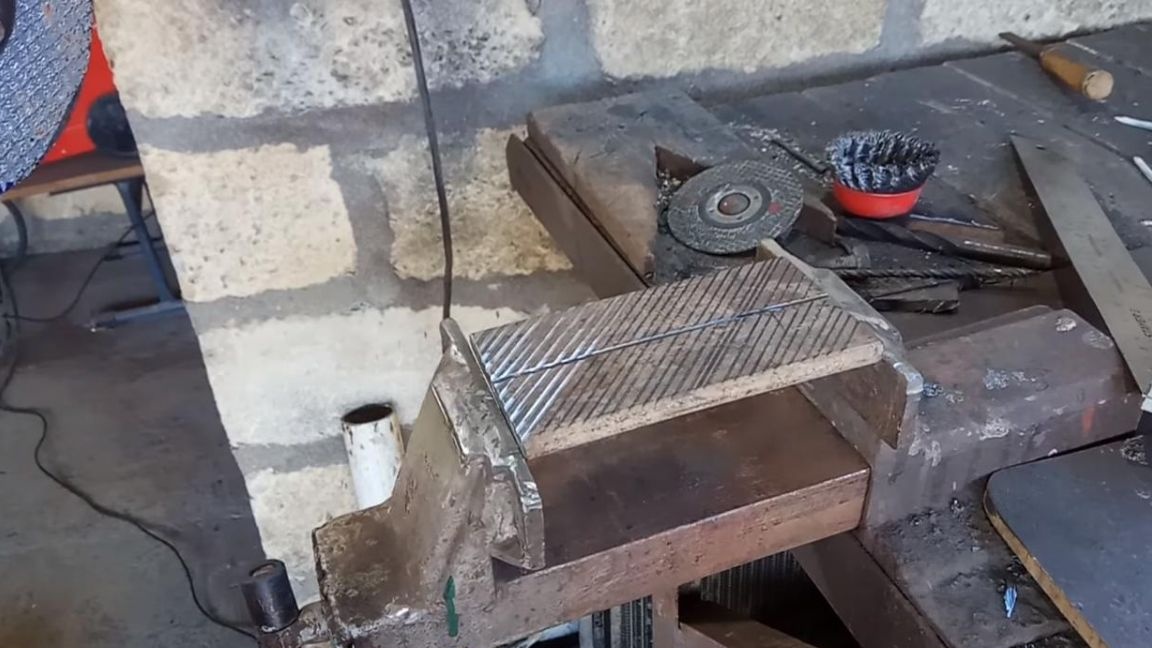
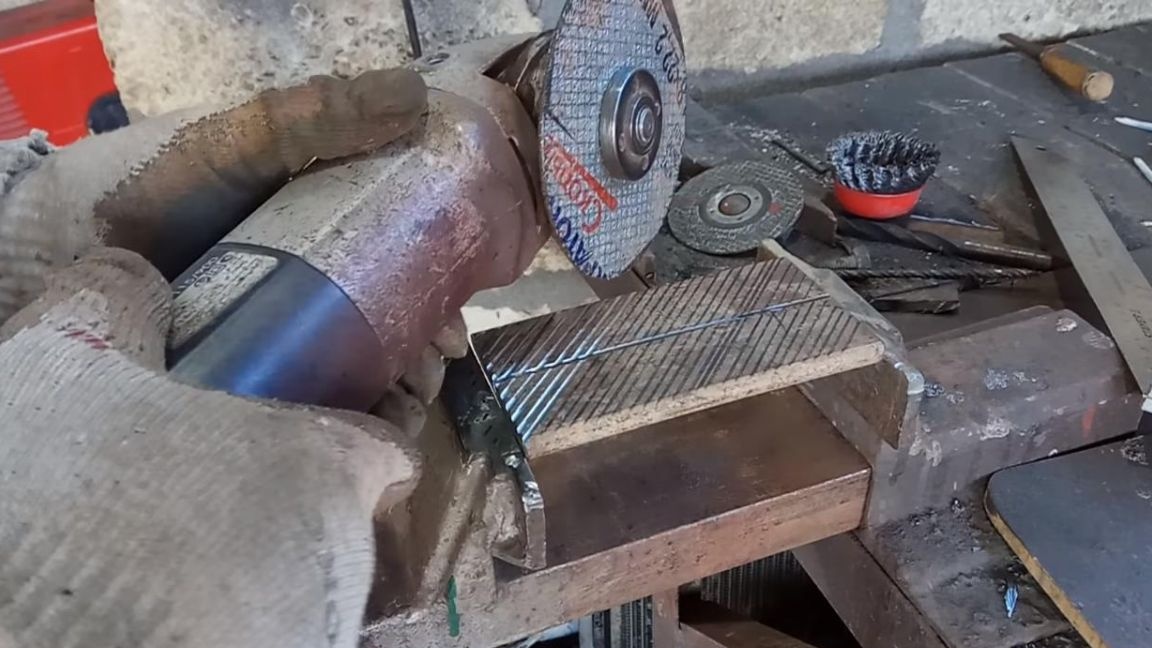
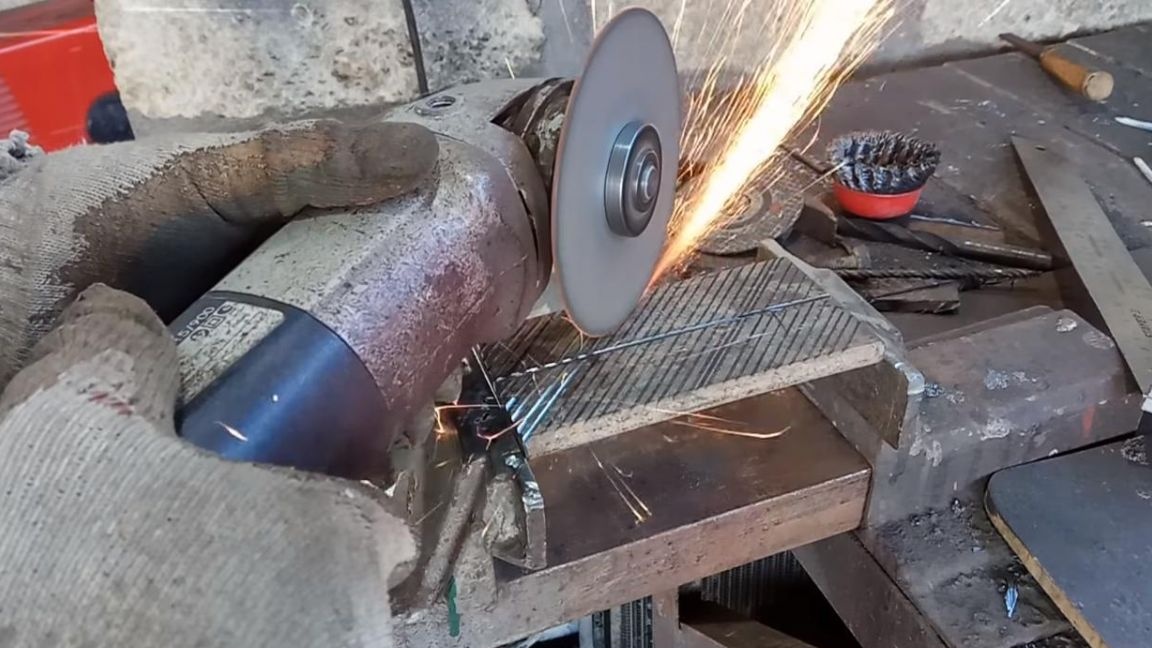
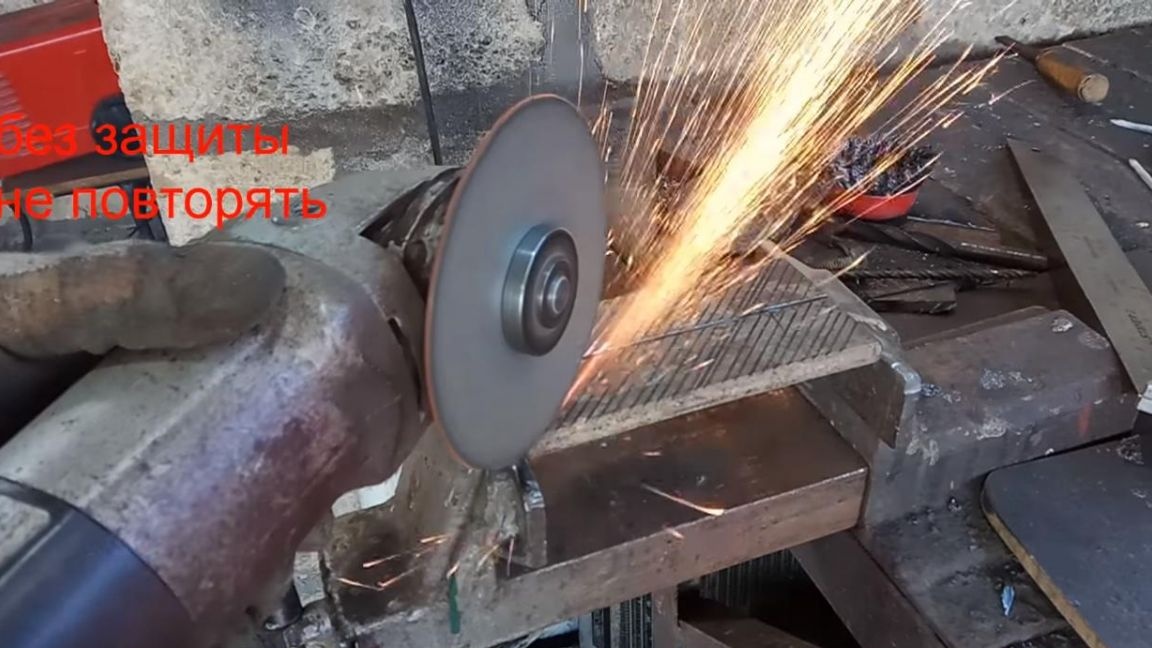
Attention, working with angle grinders without protection is impossible, do not risk your life. Next, you should weld the sponges to the corners and consider the vise ready.
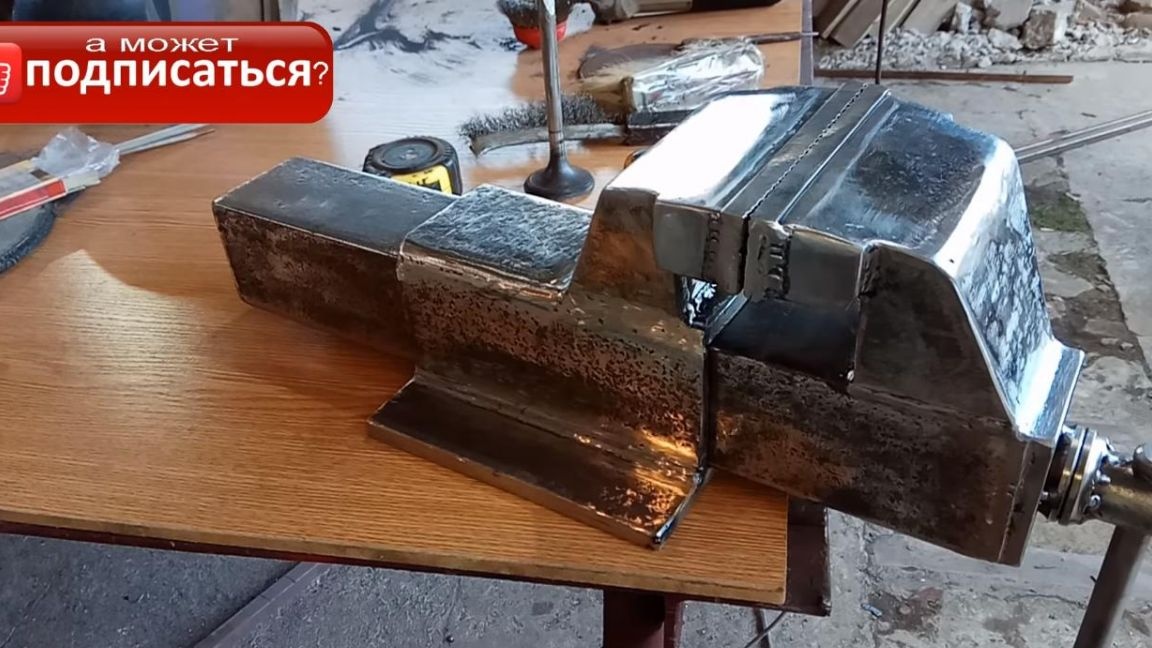
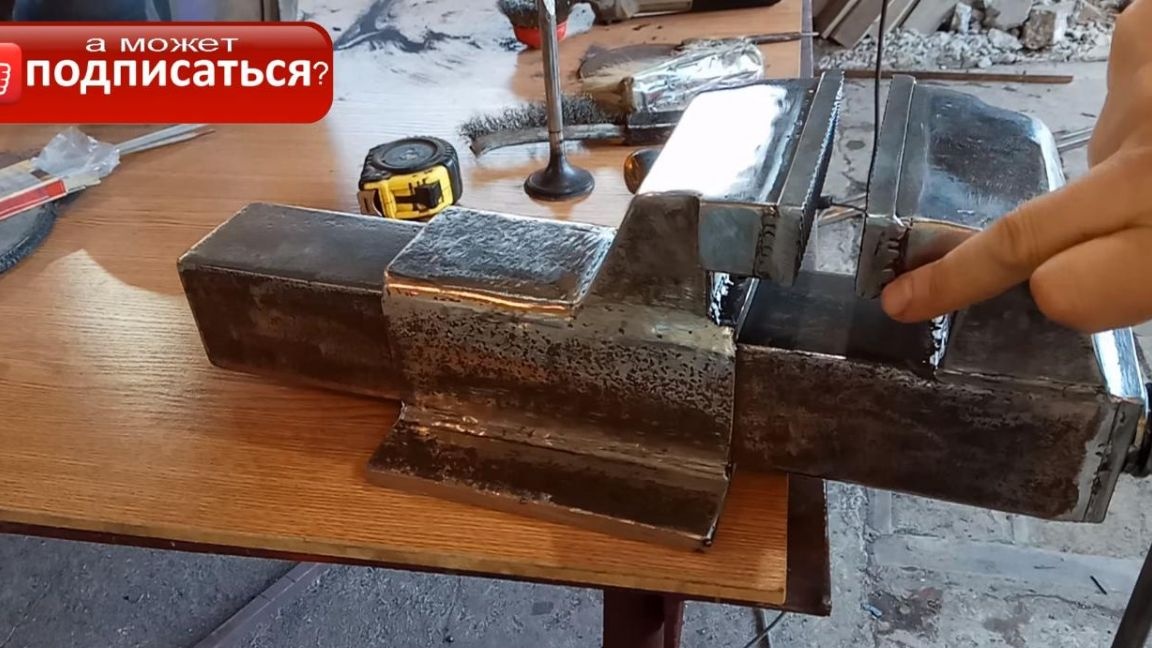
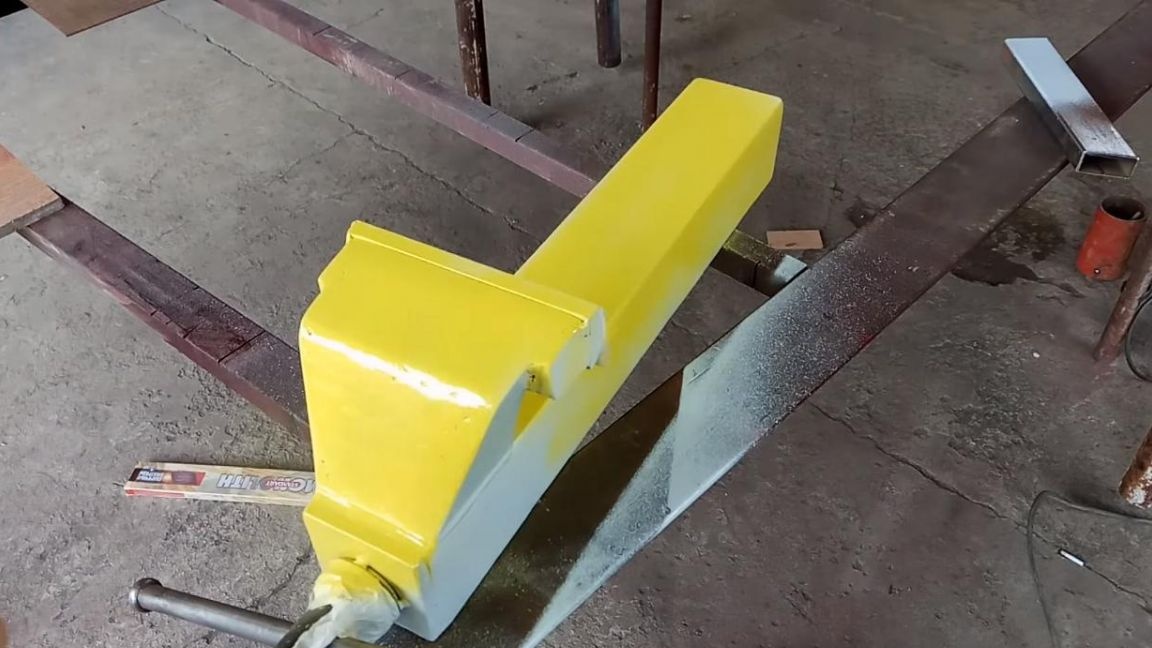
This is how the vice looks without painting.
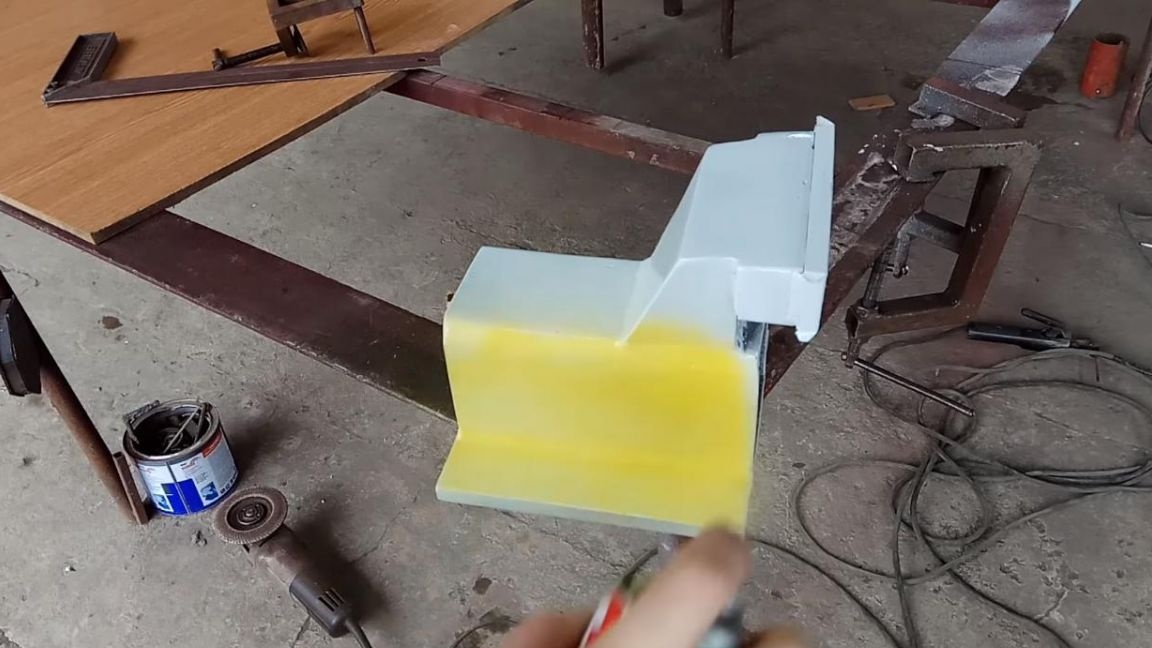
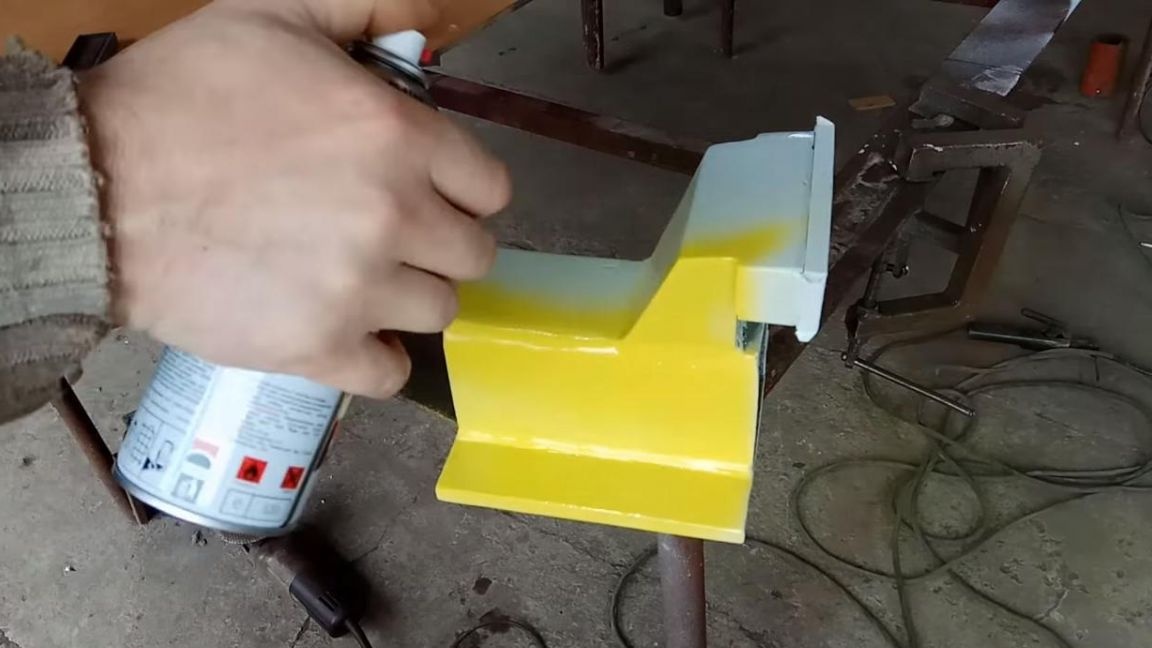
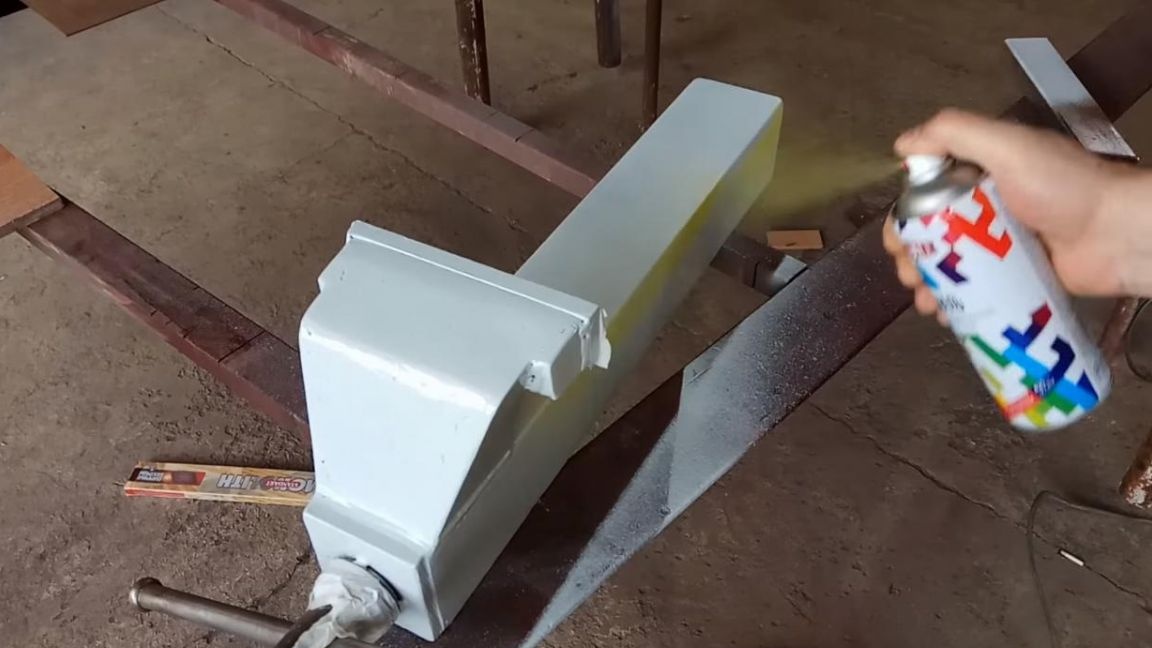
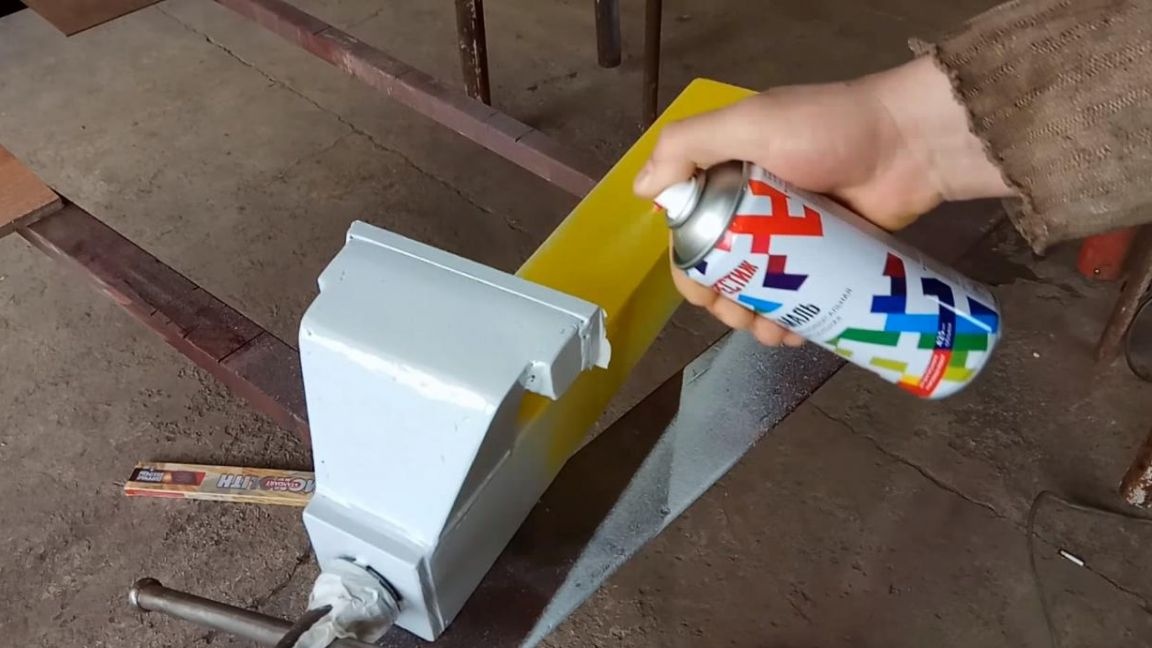
Step Nine.
Now let's look at the appearance of a vise. First, glue the places that do not need to be painted, this is a screw, nut, sponge and handle. After all the parts unnecessary for painting are sealed with masking tape, we begin to prime the surface of the vice. In this case, a spray gun was used, but if you don’t have one, as well as a compressor, then a primer spray can is as easy to buy as with paint.
When the soil layer dries, you can paint the vice in color, the option with yellow paint turned out to be very successful, and there it is as your heart desires. At the end of the painting, the vise is ready.

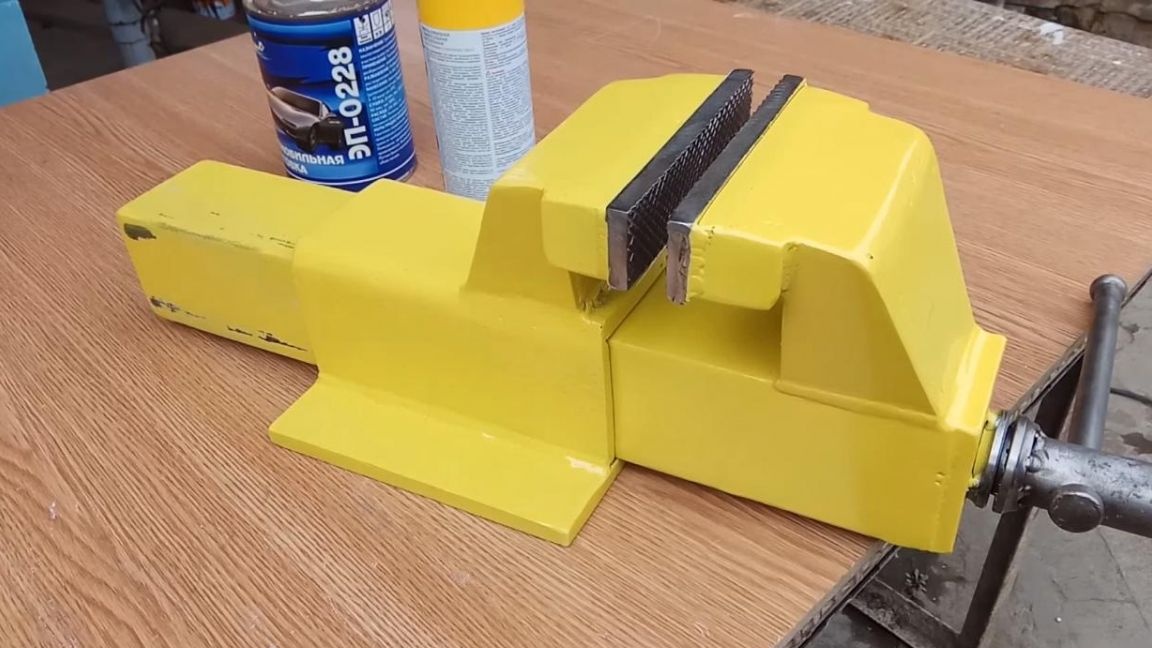
The assembly time was about two working days, which I consider justified, given how powerful the vice turned out. They are also not without pluses, here you can clamp, for example, a valve, since there is little space under the lips for fixing such parts, but the movable front part makes it possible to clamp a long part down to the floor, without resting on a workbench, as is done in some factory vise.

That's all for me, thank you all for your attention and successful homemade products.