Hello, dear visitors of the site. Today I want to talk about how I make beer mugs from empty bottles and glass jars.
I talked about (and showed) how I cut glass bottles in this thread.
Basically, I cut empty vodka bottles.
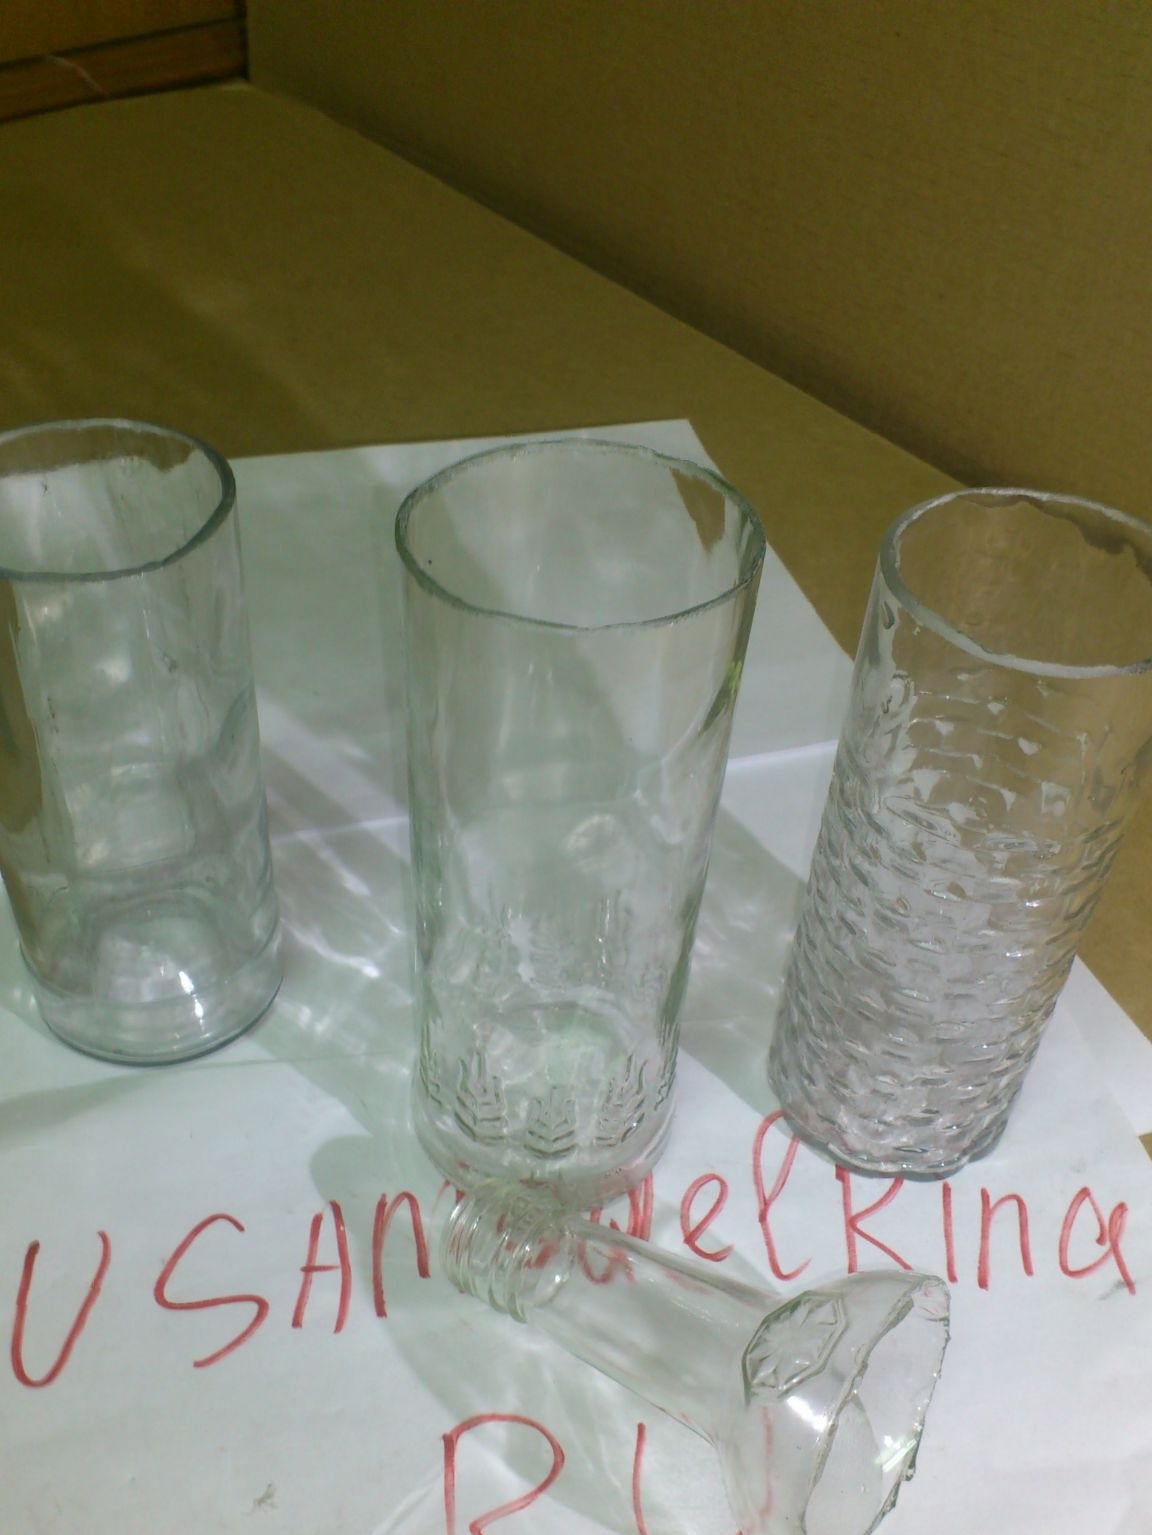
I used the resulting glasses for their intended purpose in their workshop (to drink some water, for example ... Or to draw water to cool workpieces and tools!))))) ...
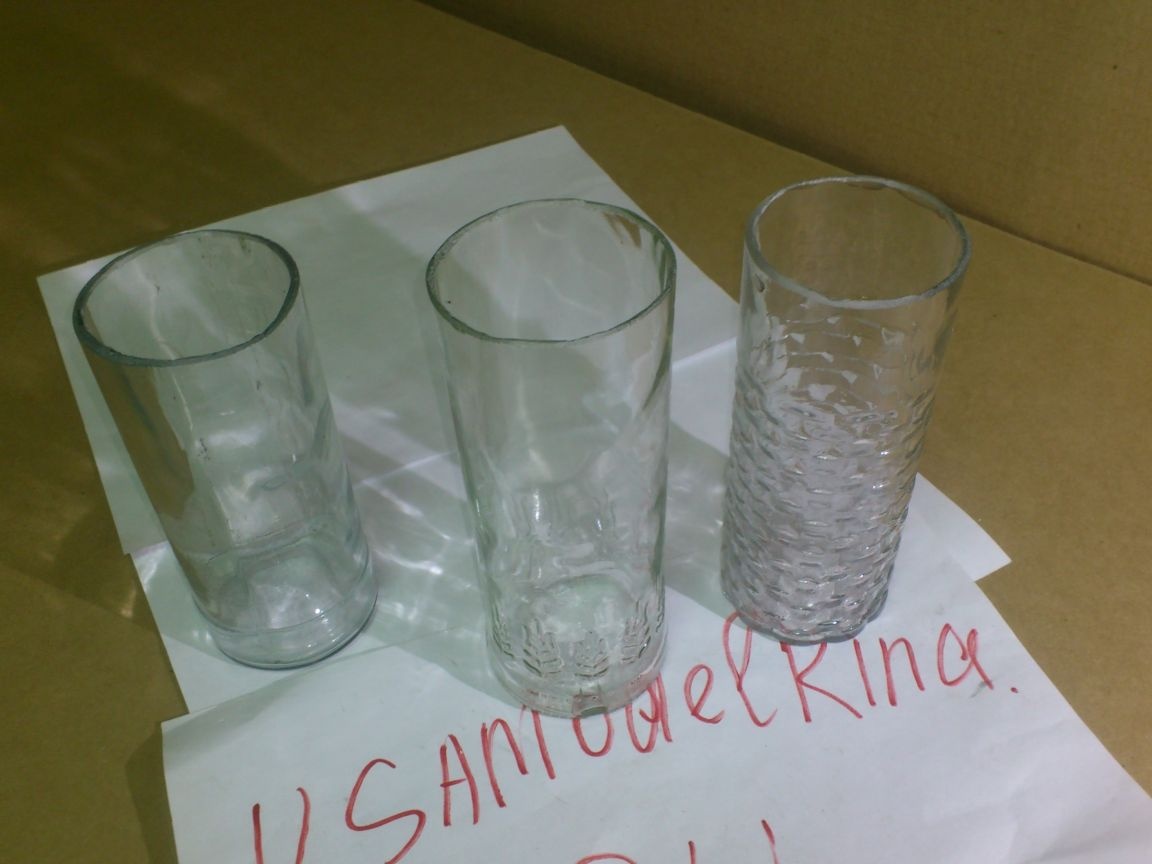
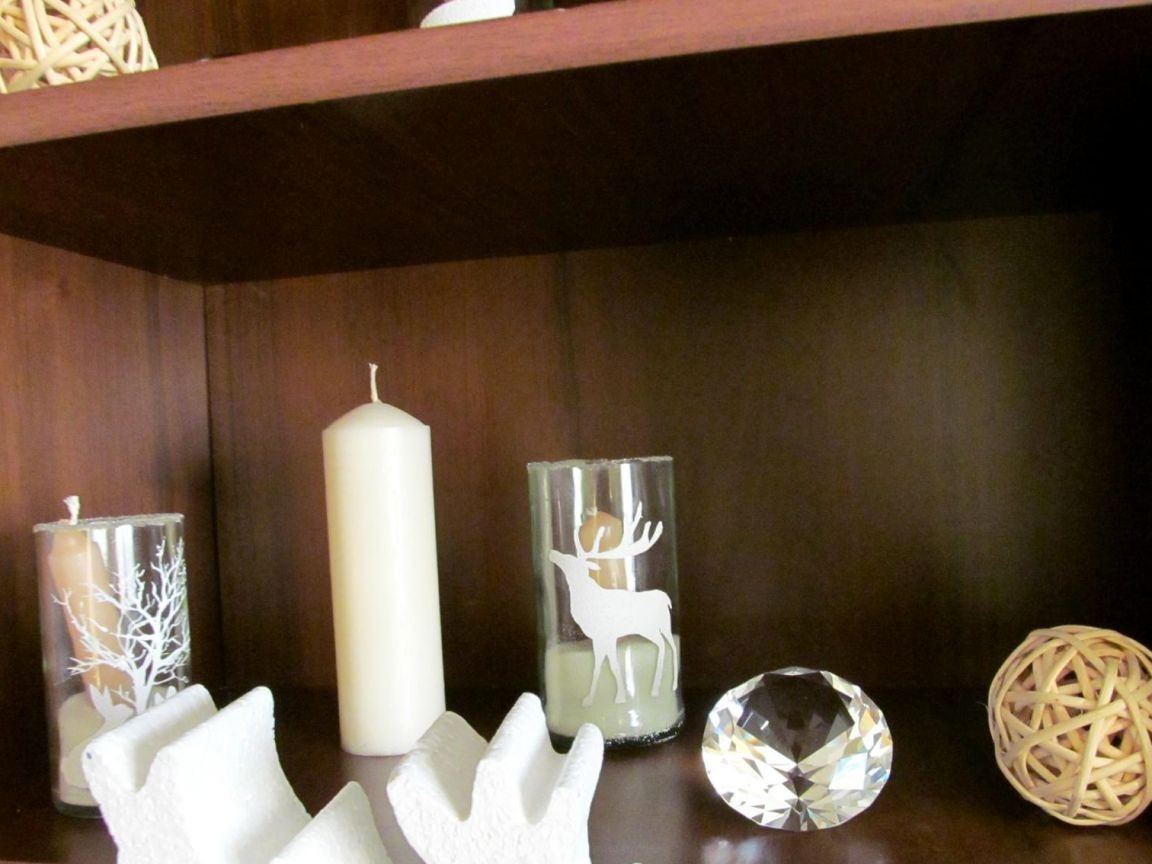
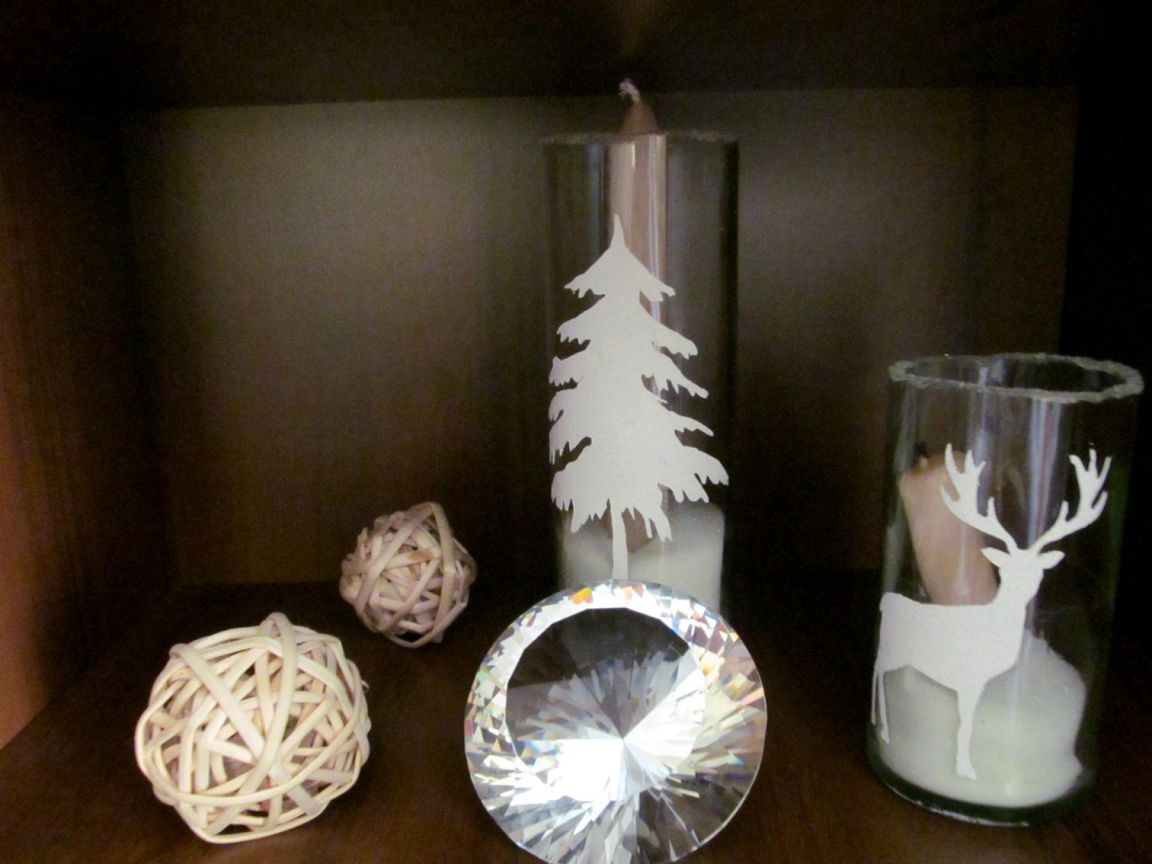
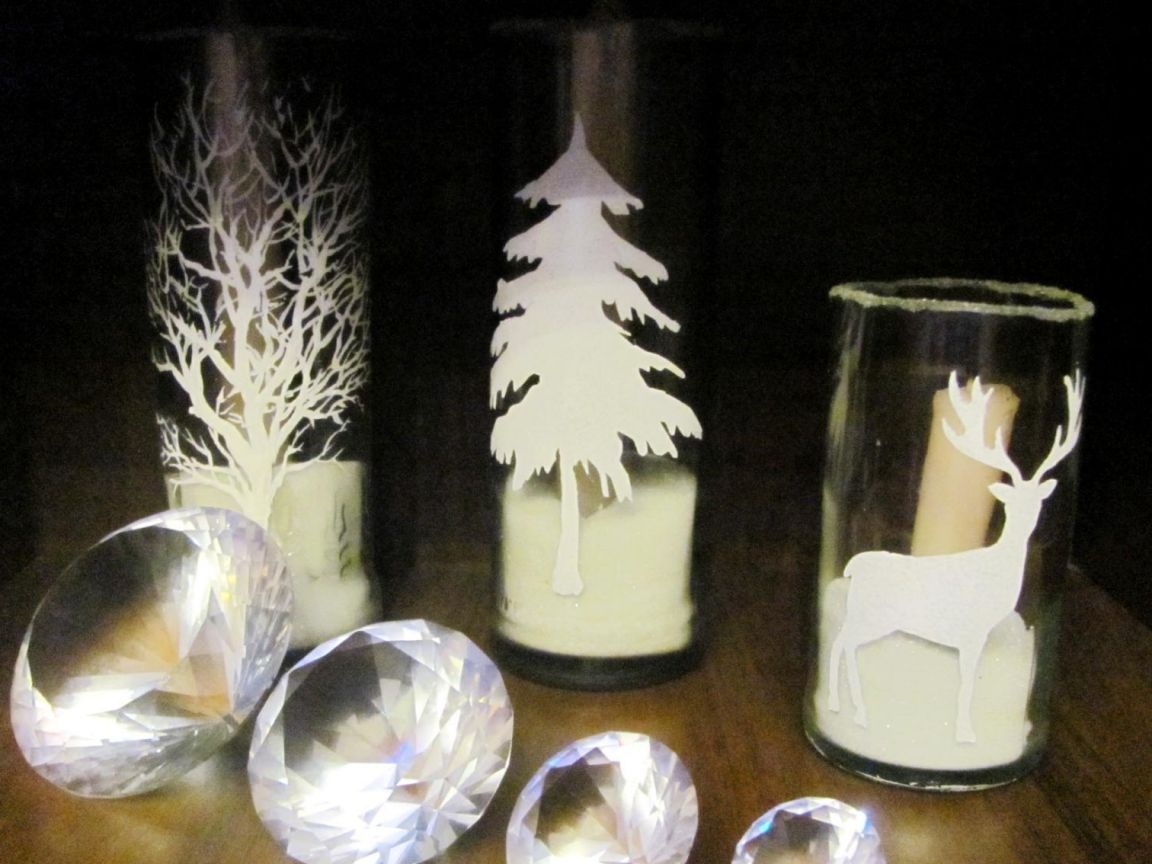
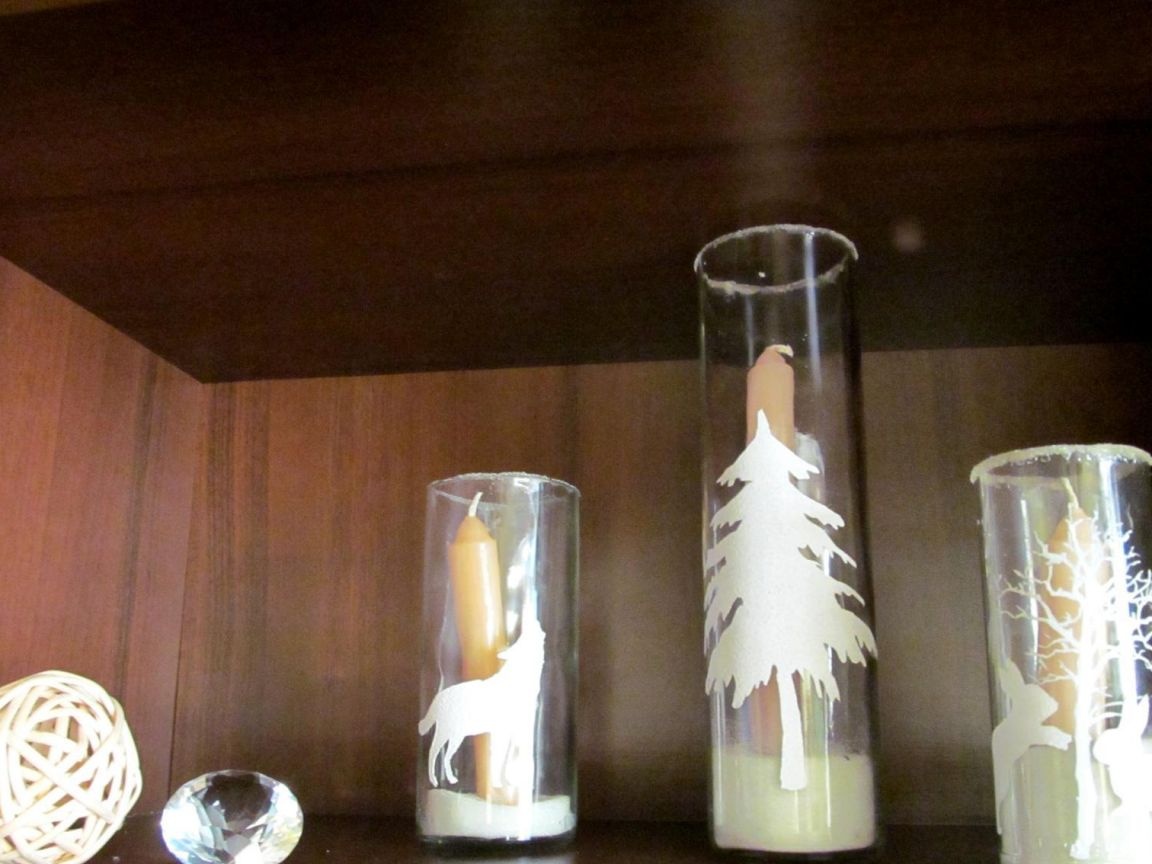
My daughter used some of them to decorate the house for the New Year!

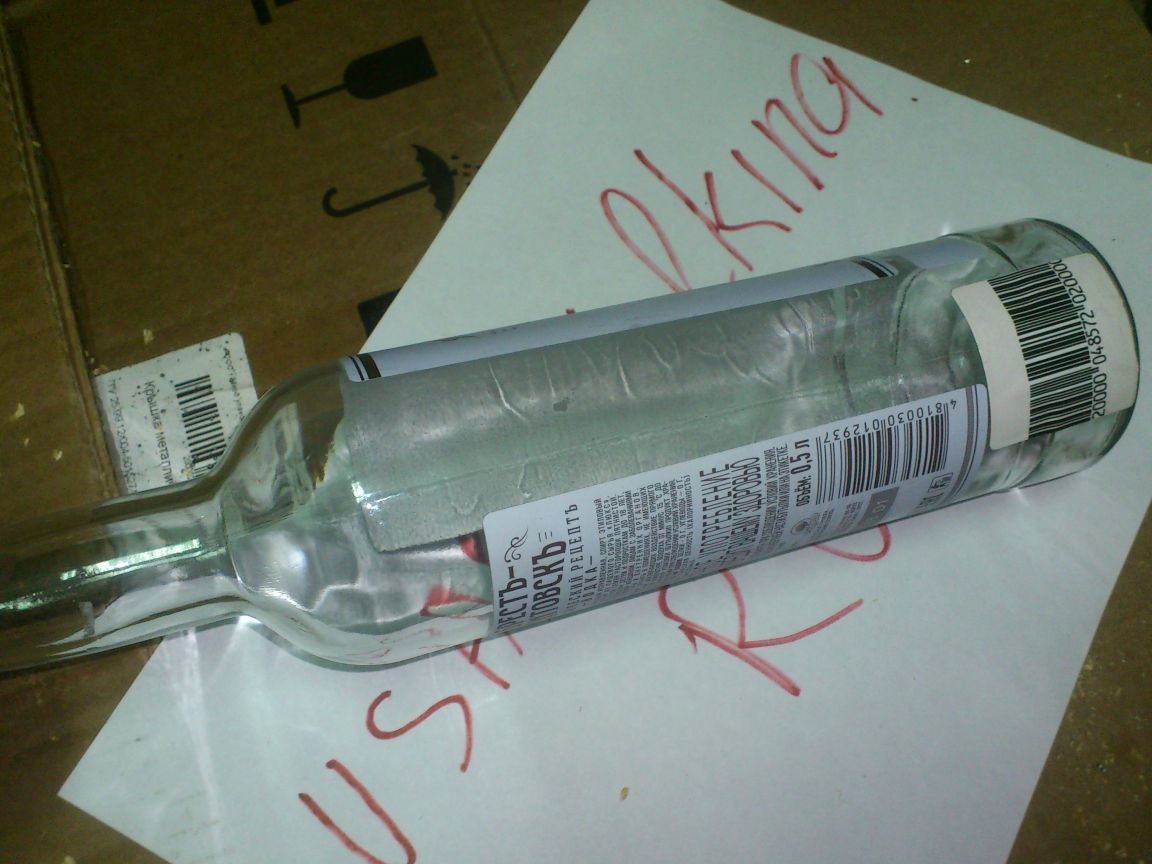
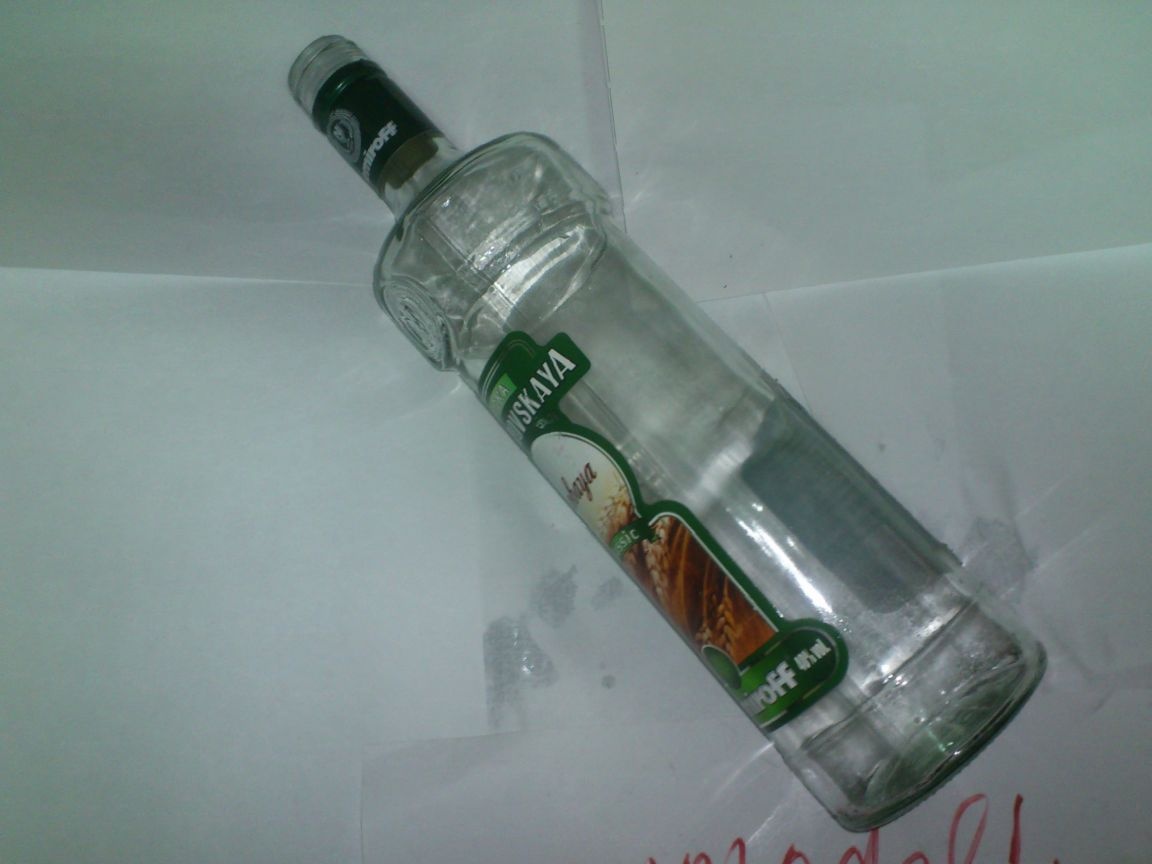
But once I caught my eye a few more bottles ... Liter from vodka "Nemirov":
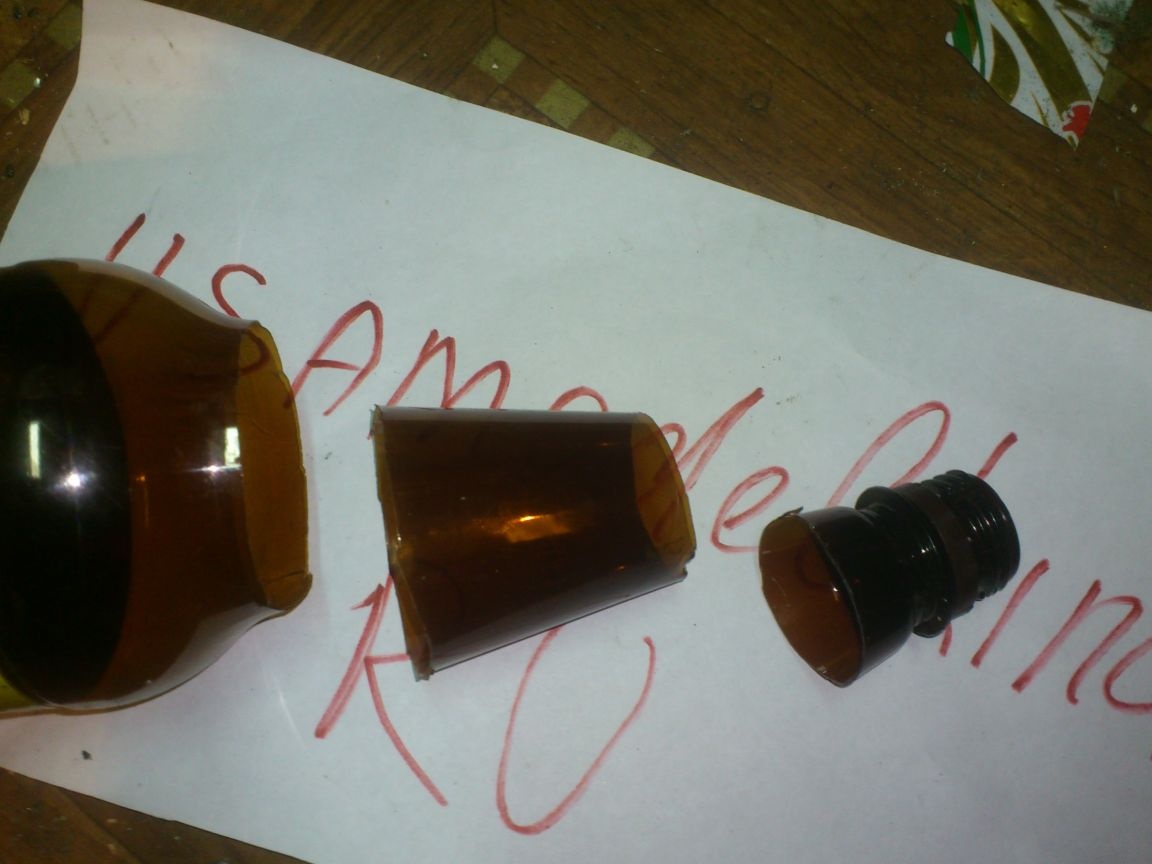
And this one, from sparkling wine:
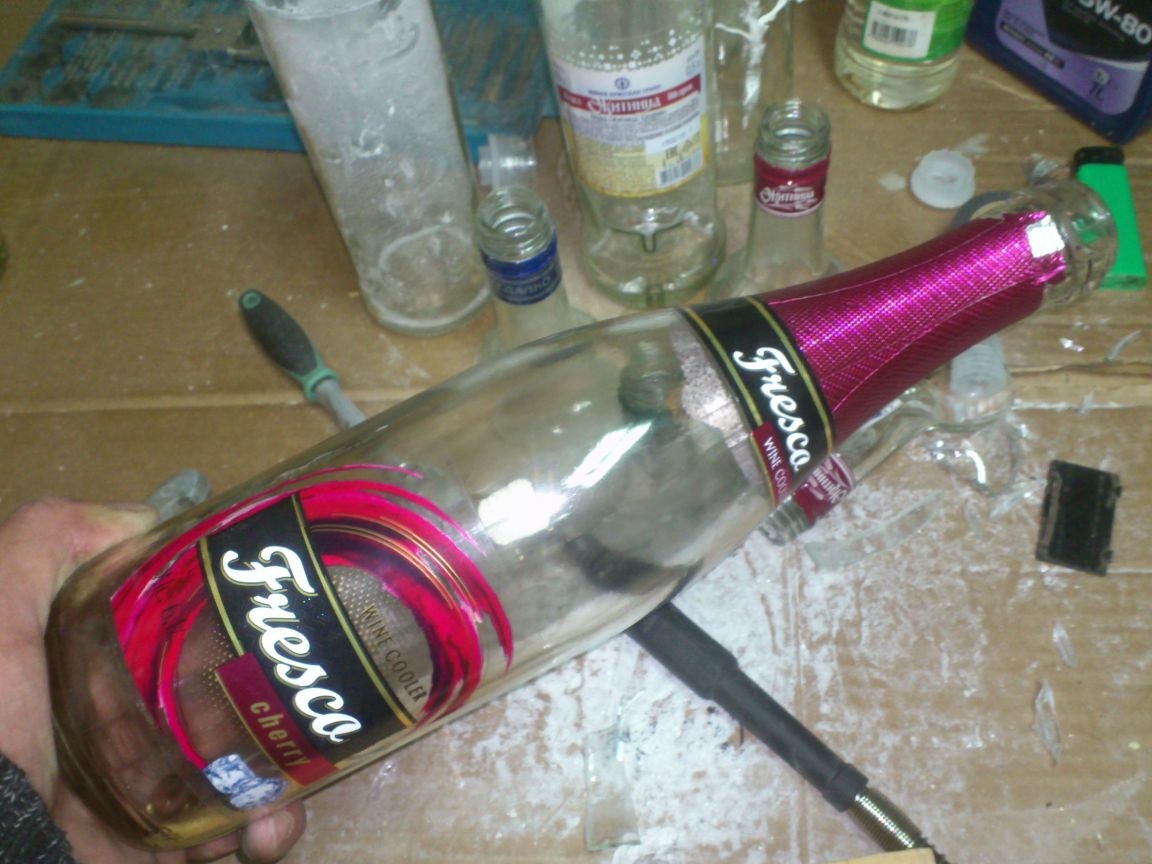
And it occurred to me to turn them into beer mugs ... And here is what I needed for this:
1. Empty glass bottles.
2. Plastic bottles.
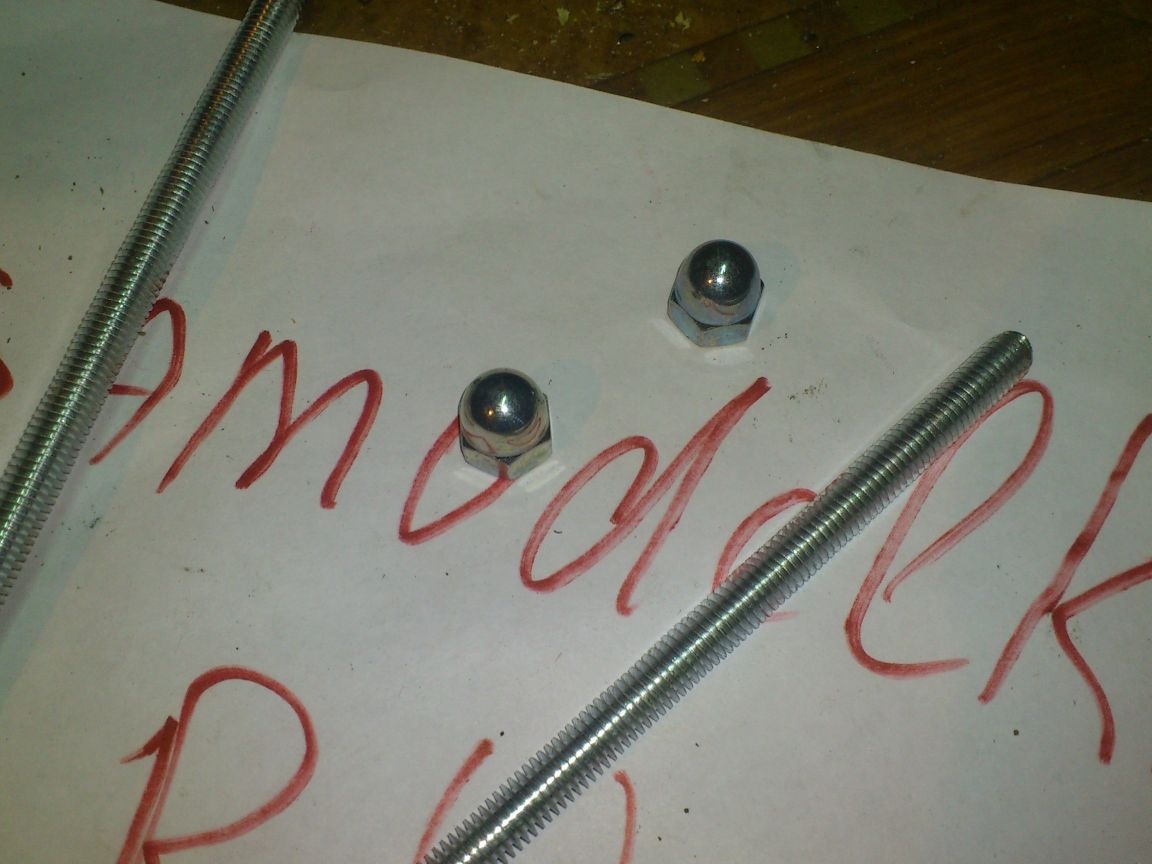
3. Trimming M8 studs.
4. The remains of sheet stainless steel.
5. Cap nuts M8.
6. Trimming sheet "stainless steel", 1 mm thick.
Tools were also not needed very much:
1. Engraver with a diamond disk.
2. A grinder with cutting, sweeping and flap wheels.
3. Drill.
4. Technical hair dryer.
5. Technical (clerical) knife.
So, let's start ... First of all, I cleaned the stickers from the bottles ... For this operation, I usually use a cut-off five-liter plastic water bottle. I cram glass bottles tightly into it and fill it with water, adding a little detergent. As a rule, the next morning all the stickers are behind:
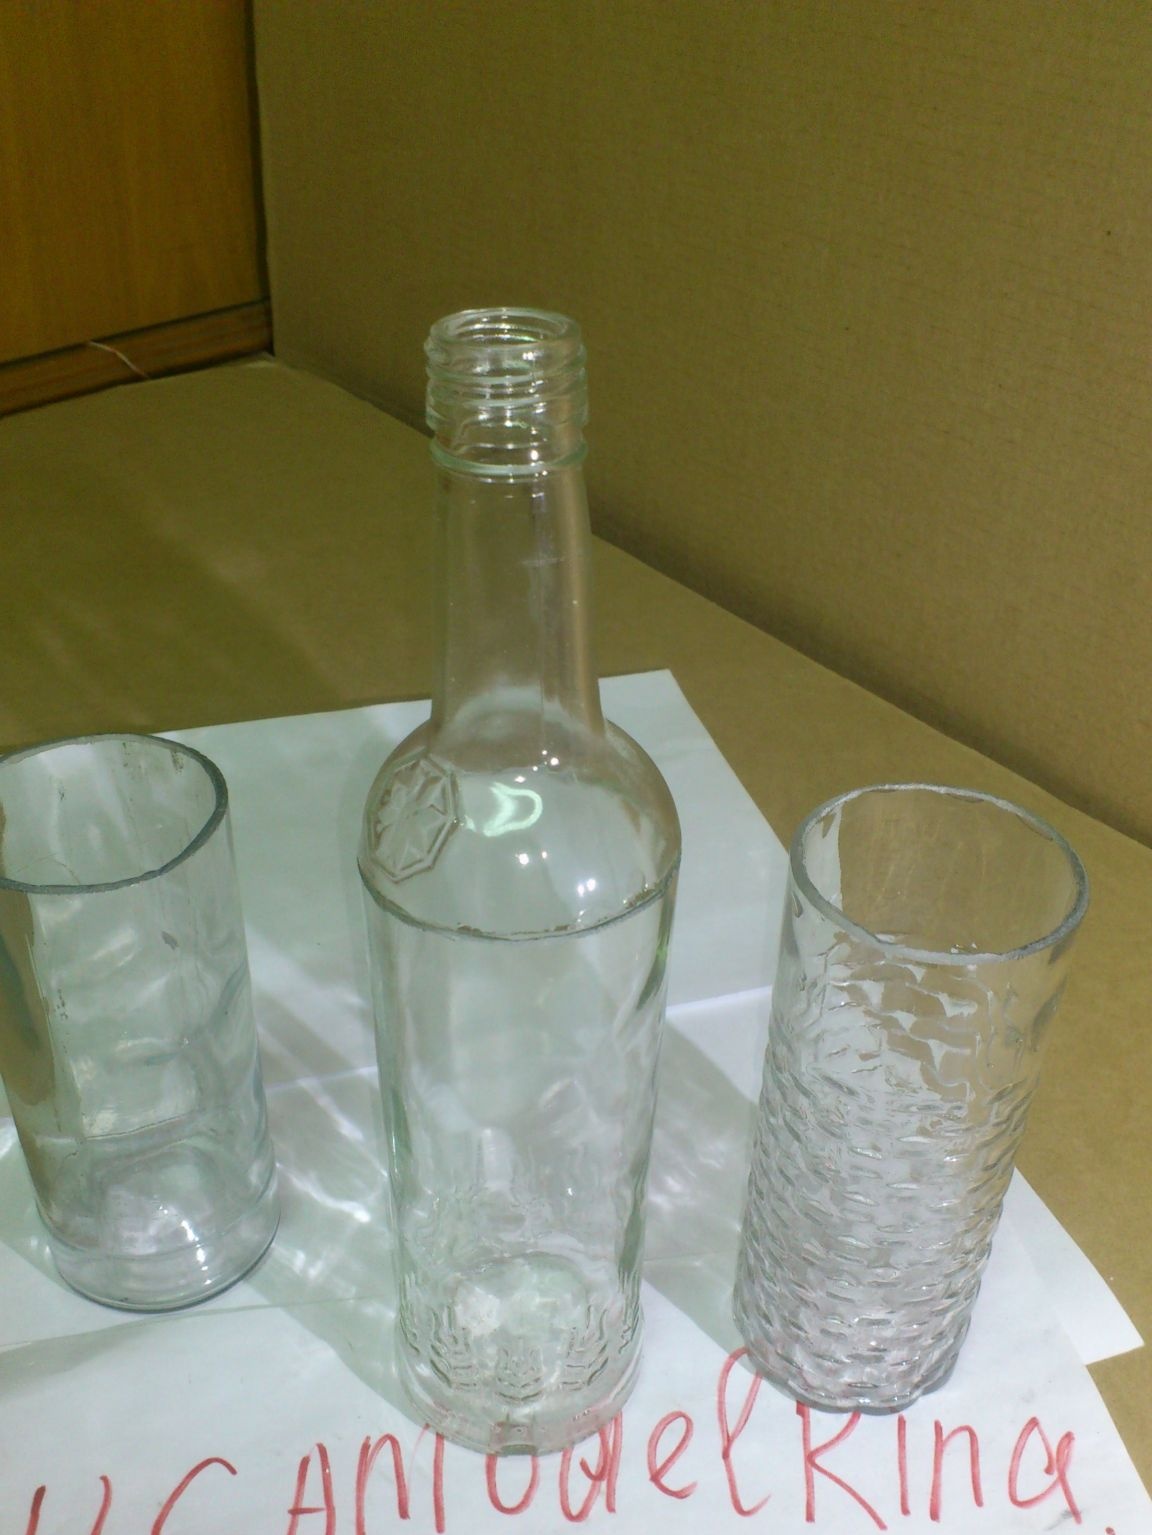
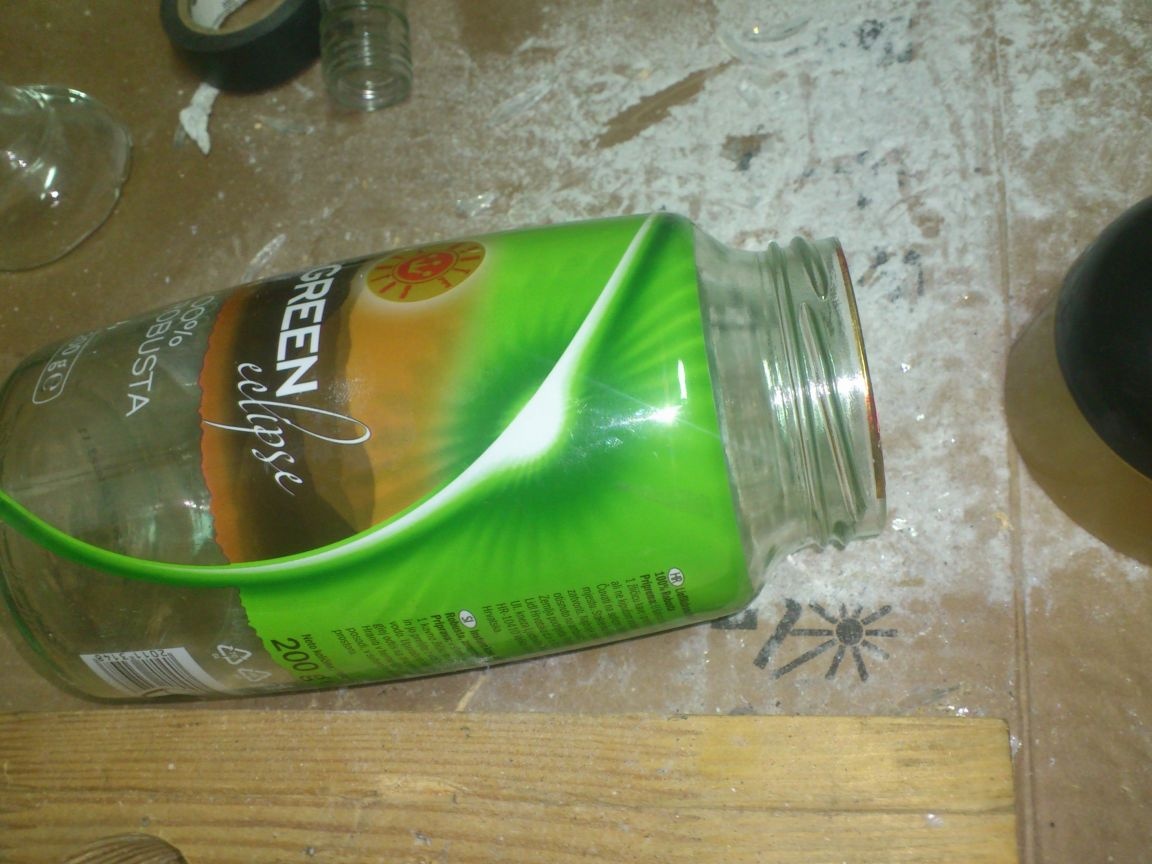
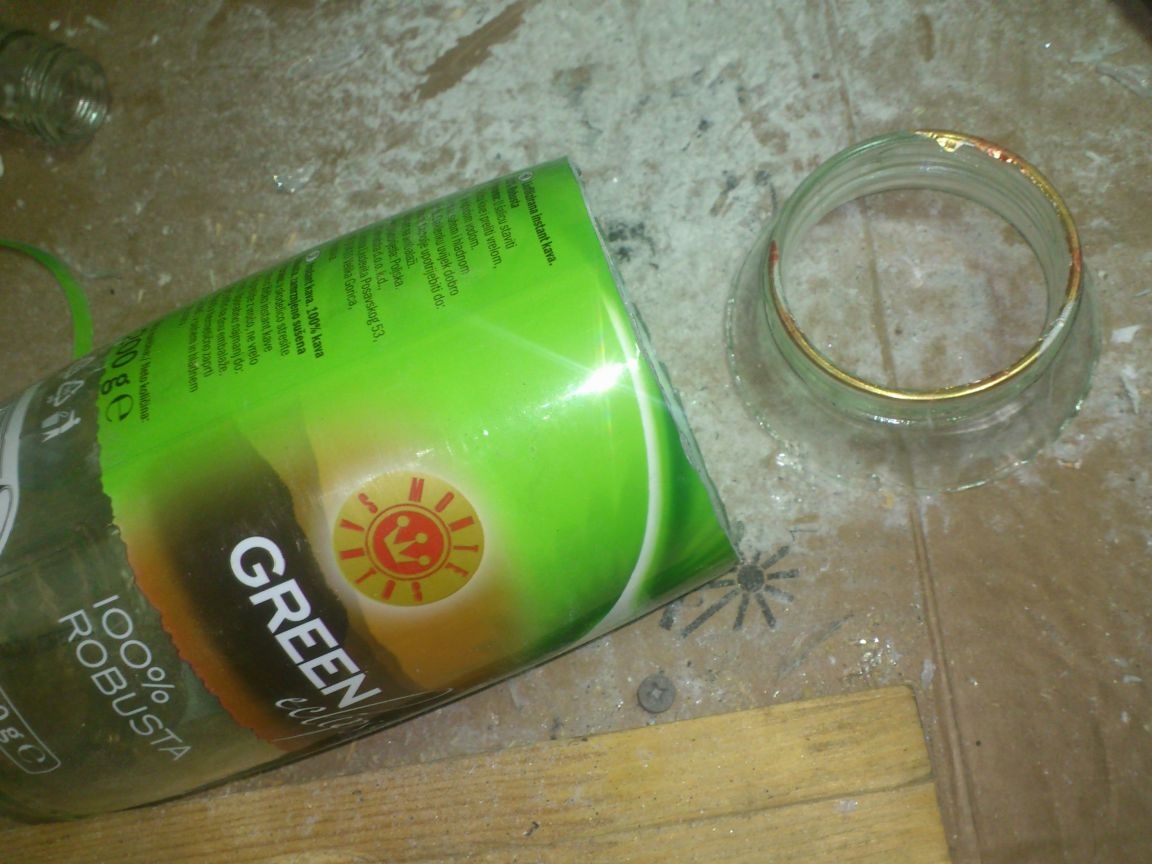
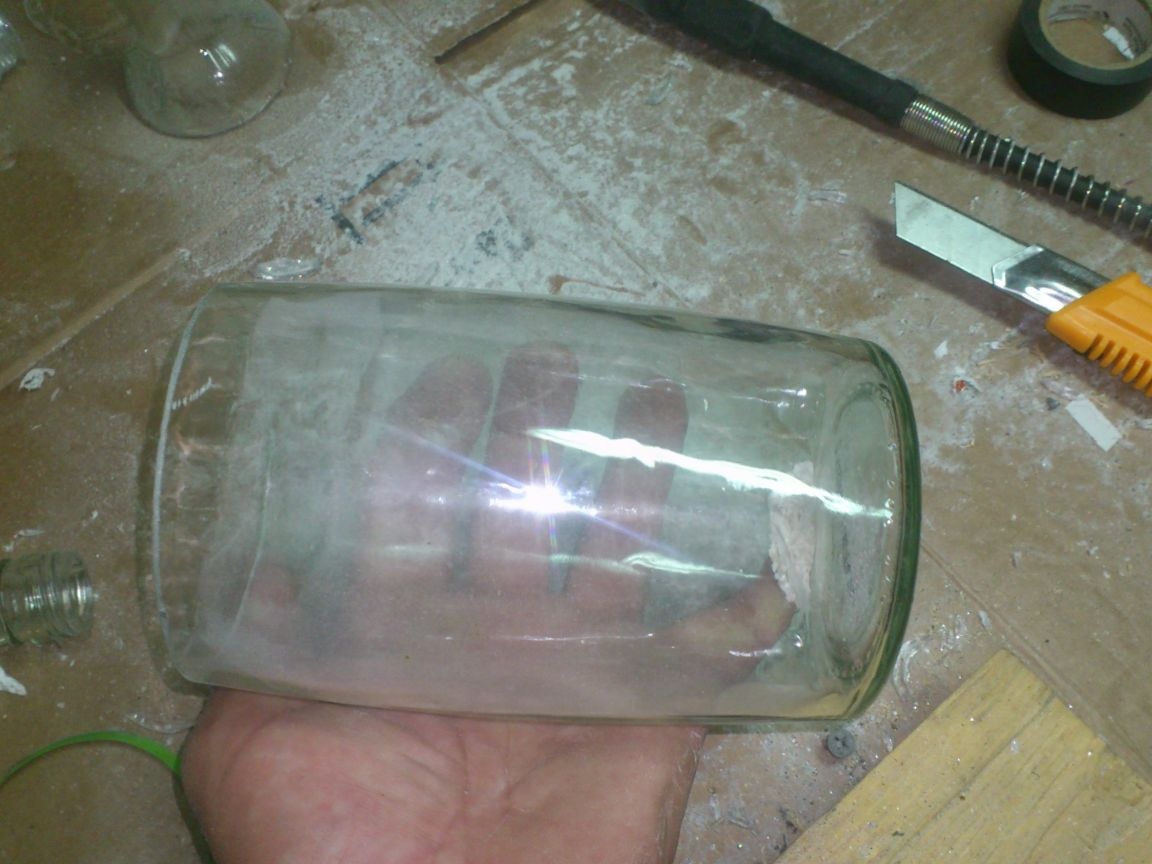
The next day I cut the bottles with an engraver:
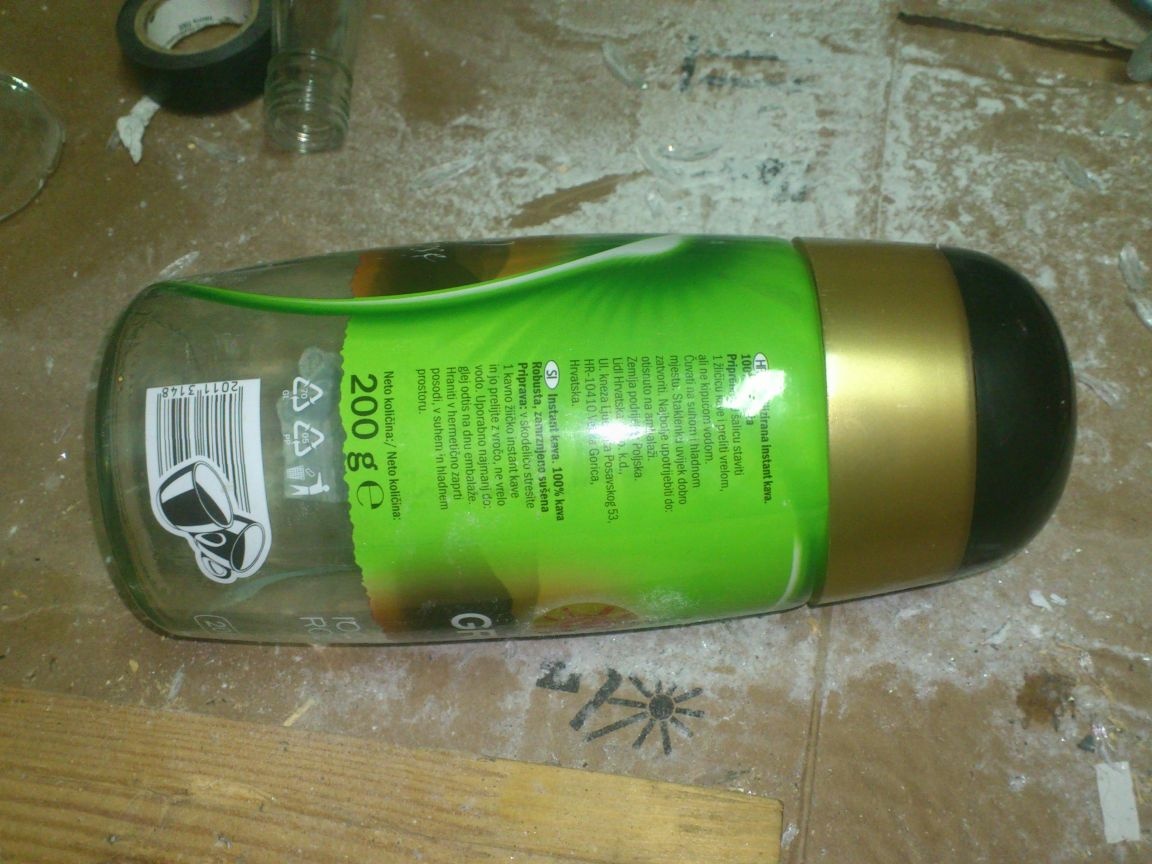
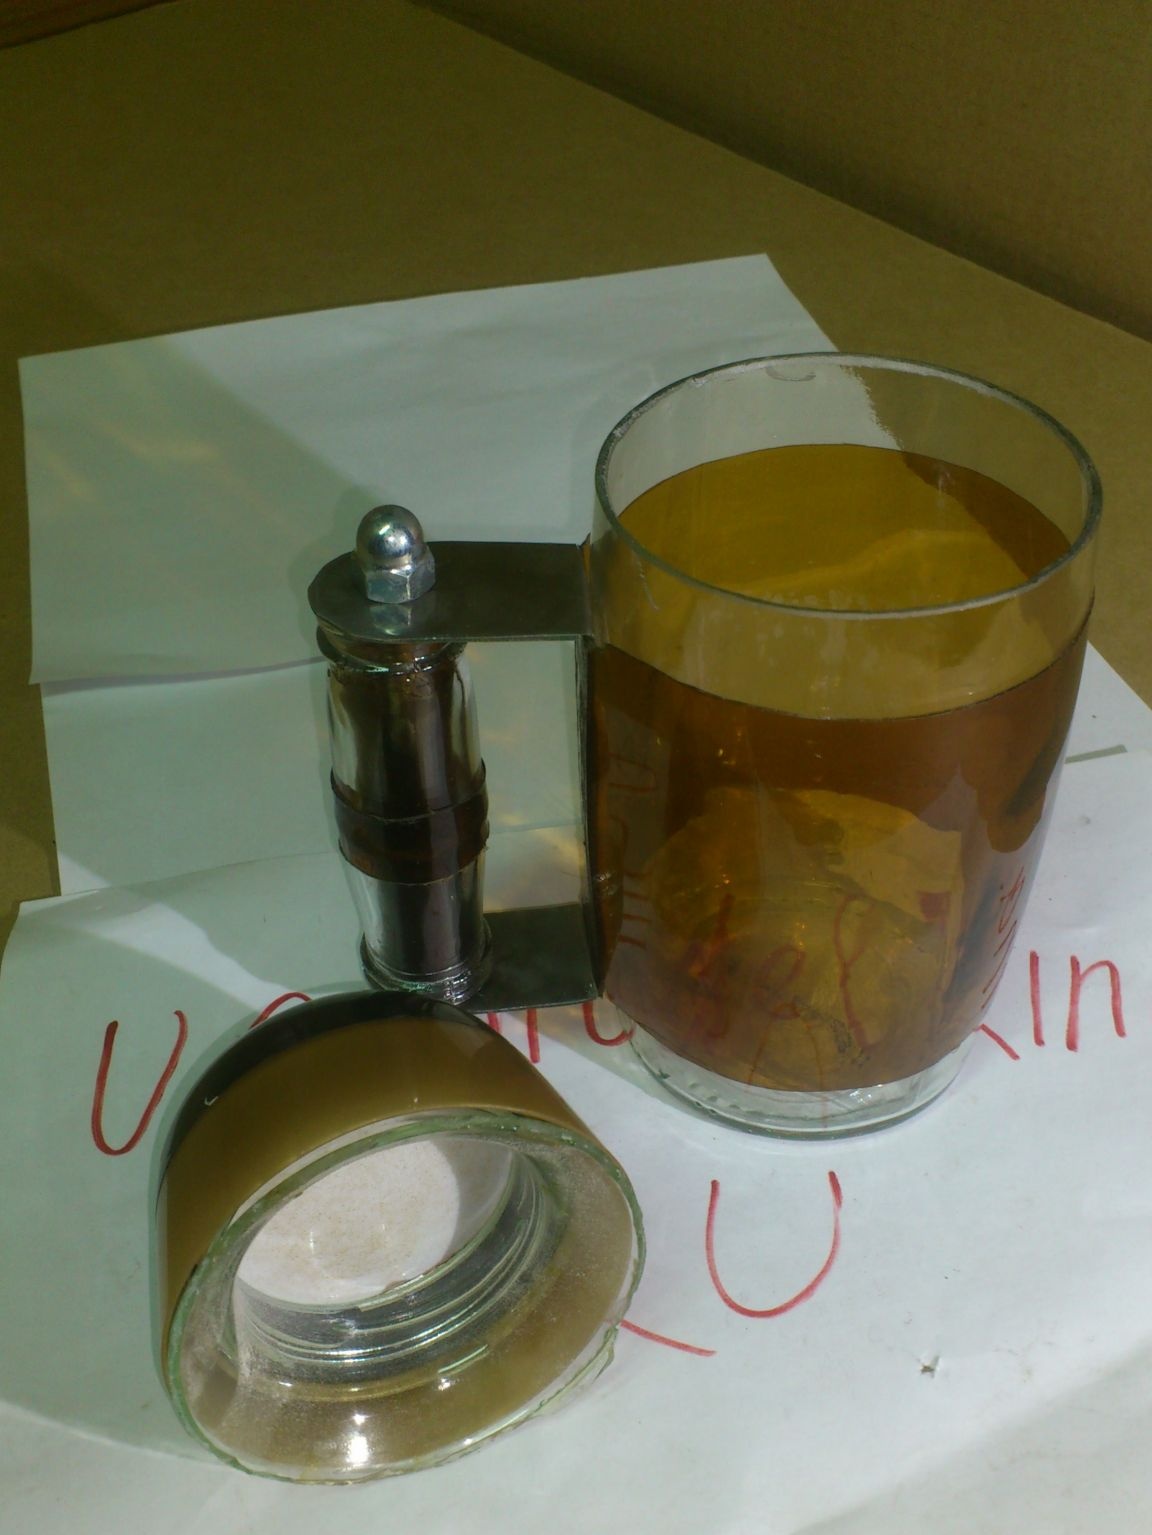
By the arm came a large glass jar of instant coffee ... I decided that it would also make a good beer mug:
I decided to make handles for mugs from the necks of vodka bottles. I cut them using the same method:
Since I had only two bottles with long necks, I cut some more simple vodka bottles, simultaneously making a few more glasses, so that the good would not disappear))))
Since the length of the neck from the vodka bottle is not enough to use it as a convenient handle, I decided to connect them in pairs. To do this, I cut off several pieces of the M8 hairpin that I had in stock. You can use any other hairpin, both thinner and thicker ... But I did not mind this one!)))).
Yes, and two cap nuts on a mug in my stocks I found exactly this size:
I glued the necks in pairs, fastening them with a hairpin.Glue took the first one, since gluing has a more technological effect - later I decided to fasten the necks with another method.

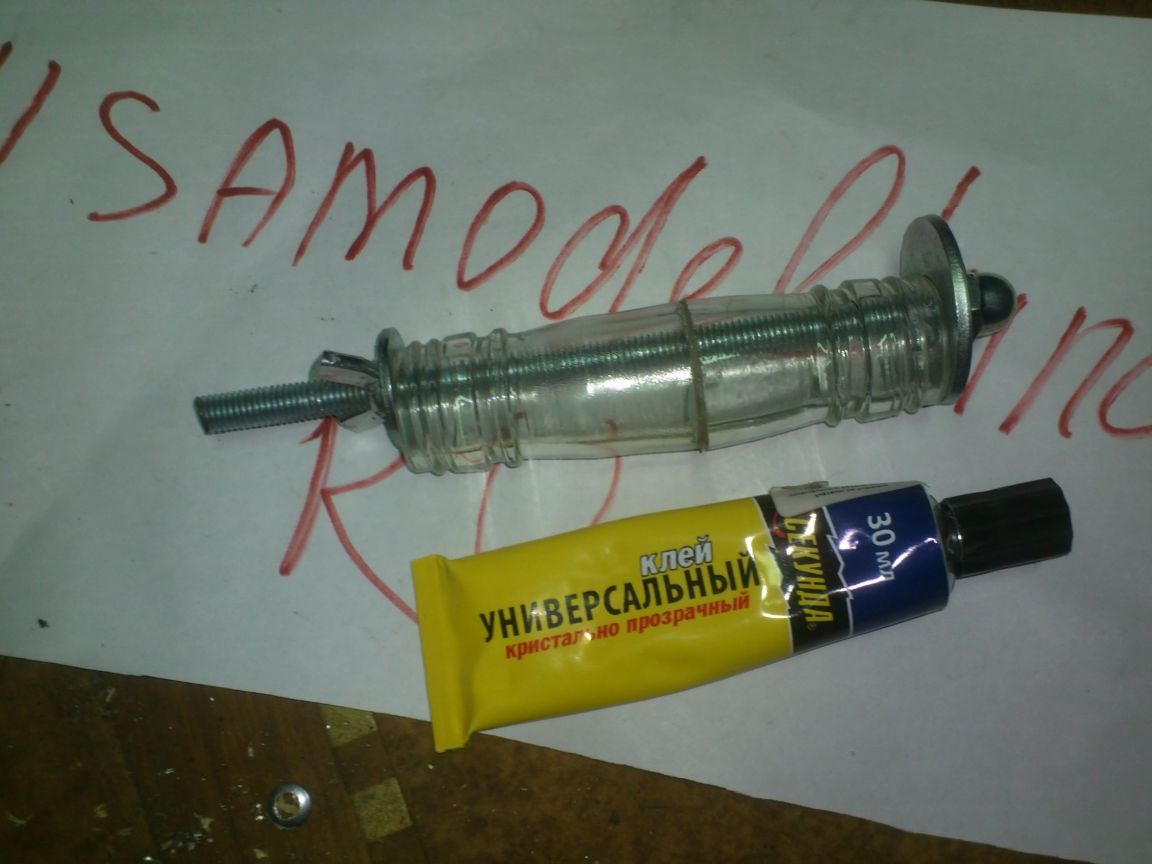
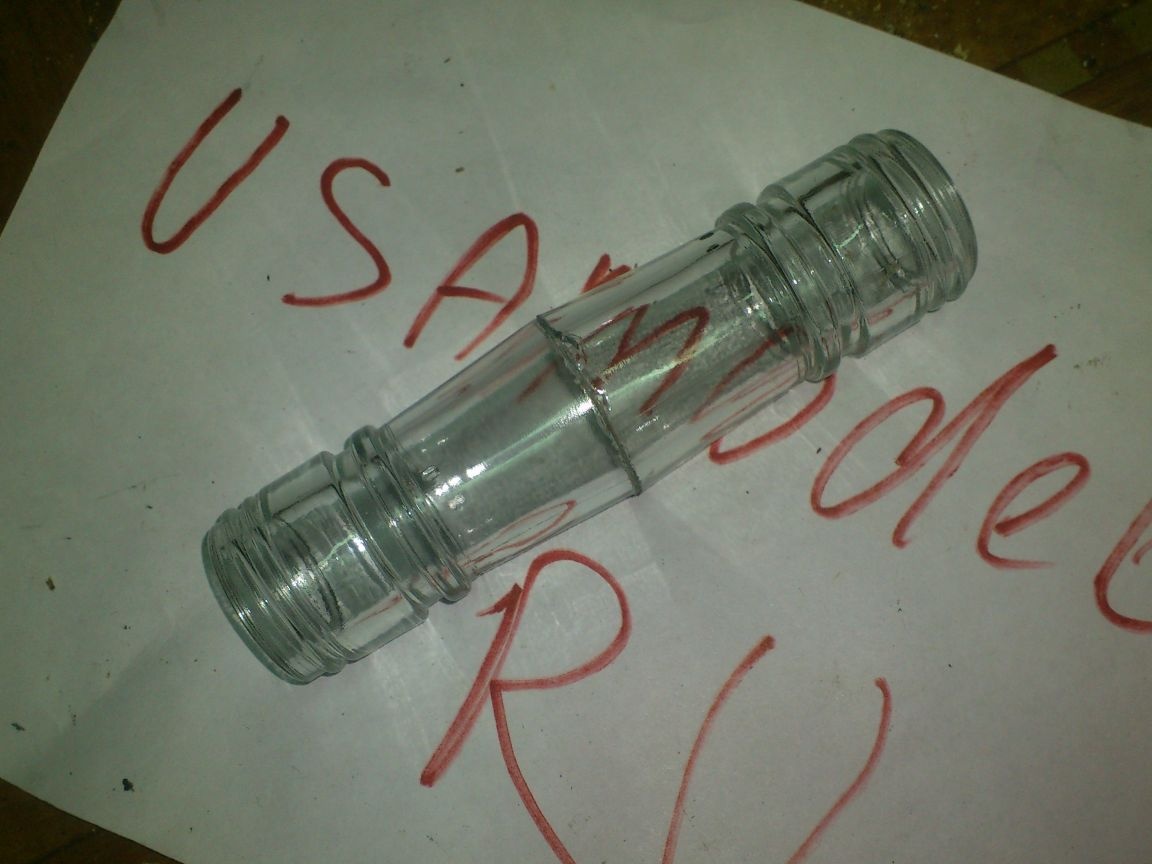
After the glue dried up, I cut off the neck of a plastic beer bottle, put it on gluing and planted it, heating it with a technical hairdryer:
I cut off the excess with a technical knife:
(By the way, it was not so easy to do this! After casing with a hairdryer, the plastic (PET) becomes very hard. Moreover, its layer has become thicker.)
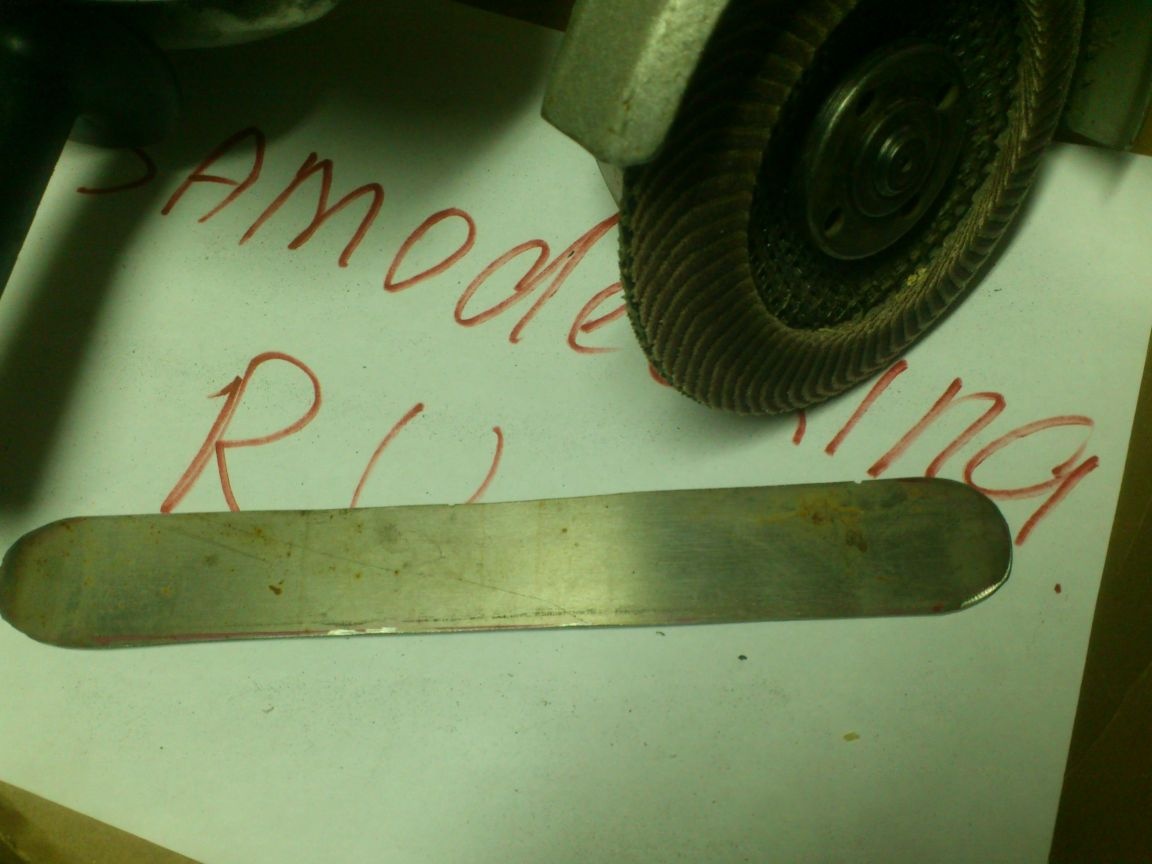
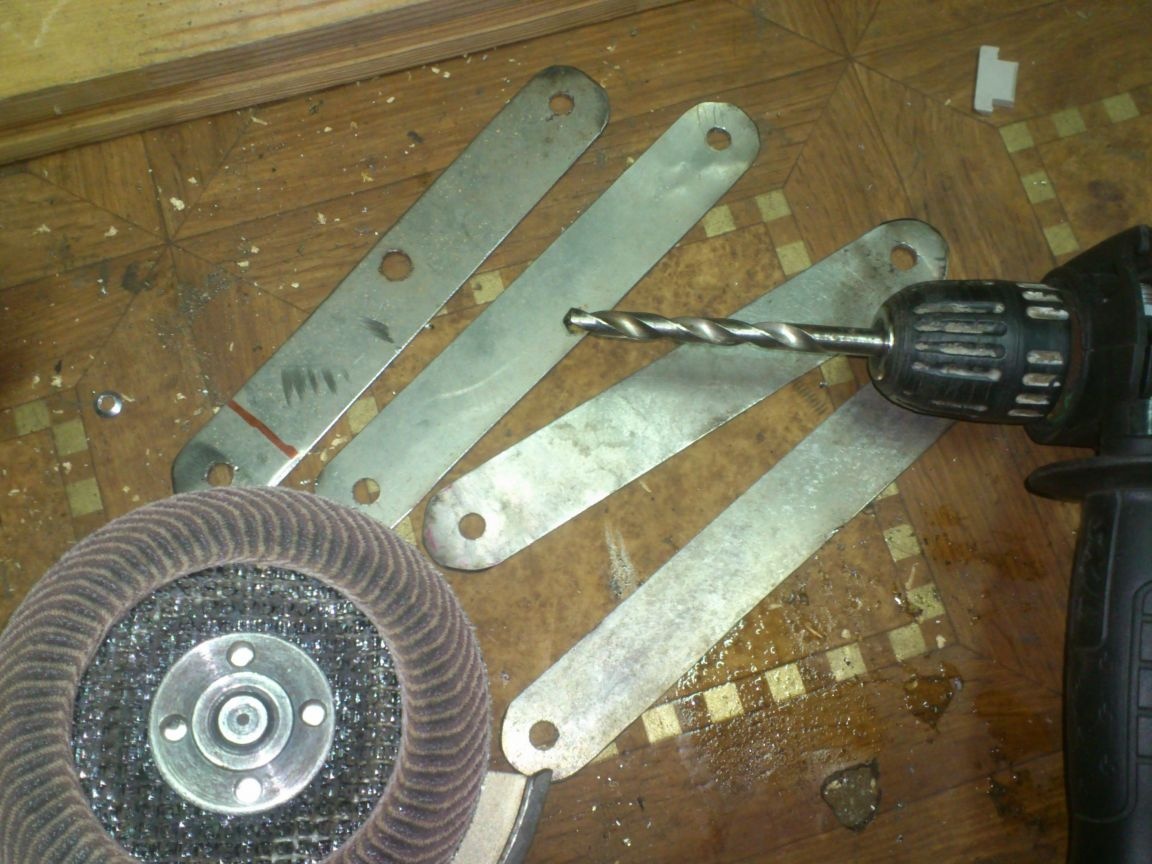
The handle is almost ready. Now you need to somehow fix it to the mug. For this, I decided to make stainless steel brackets. From past homemade I still had trimmings of some case from something ... From it I cut out several stripes of the Grinder:
Having trimmed them with a hammer, I rounded the edges and cleaned the strips with an emery-petal circle:
I drilled holes at the ends using a drill and a drill with a diameter of 8mm.
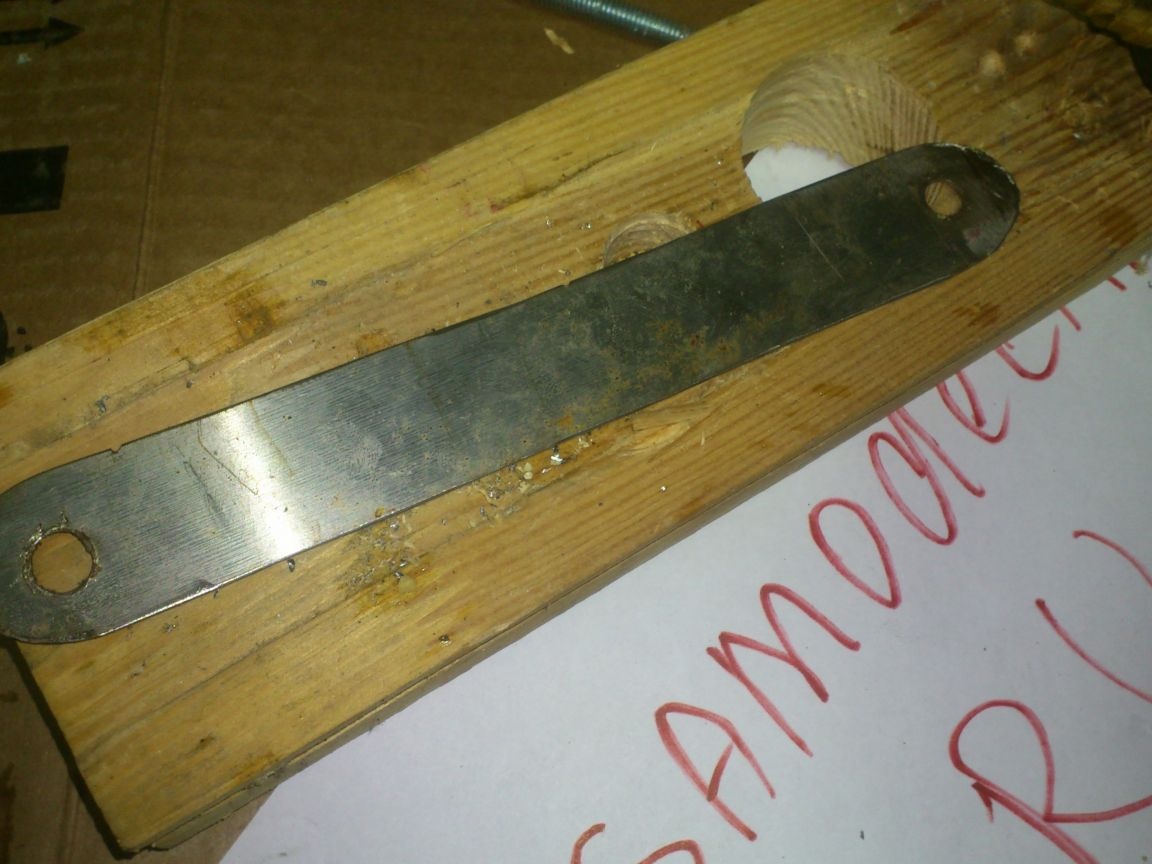
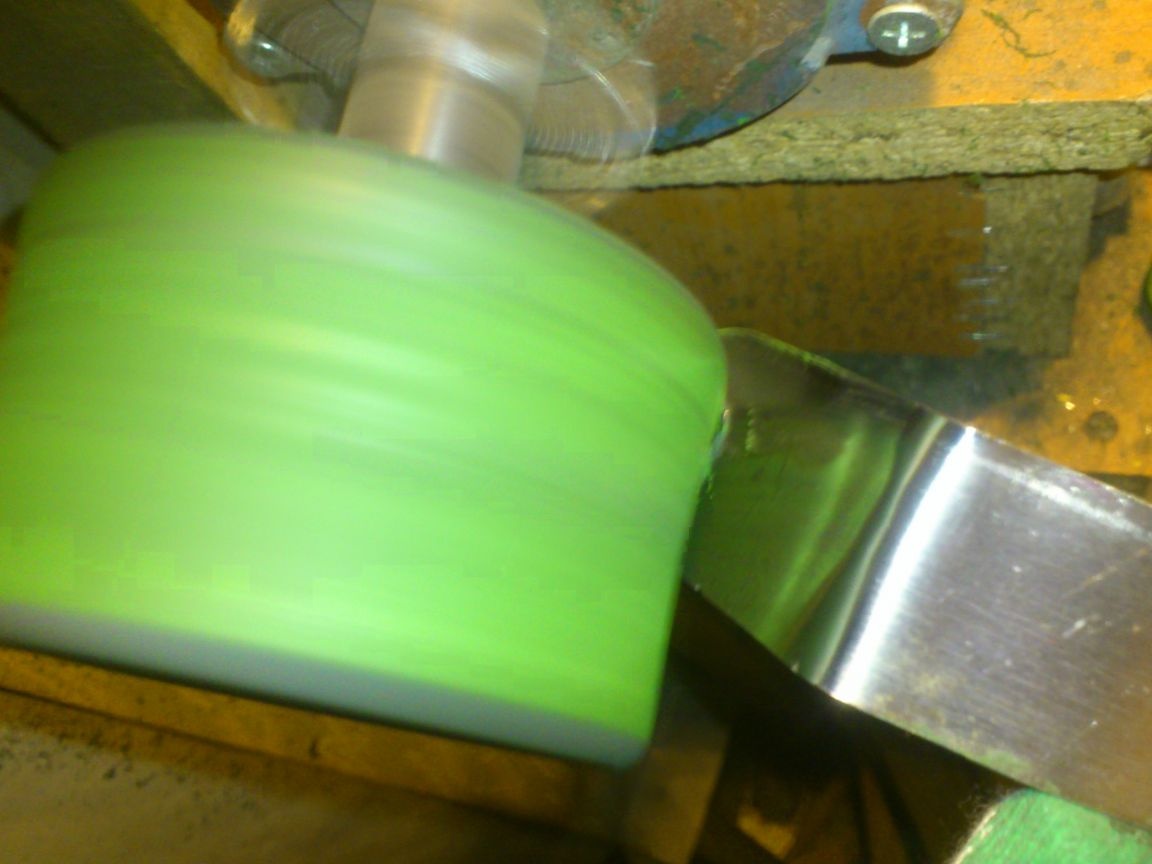
After that, he lightly polished:
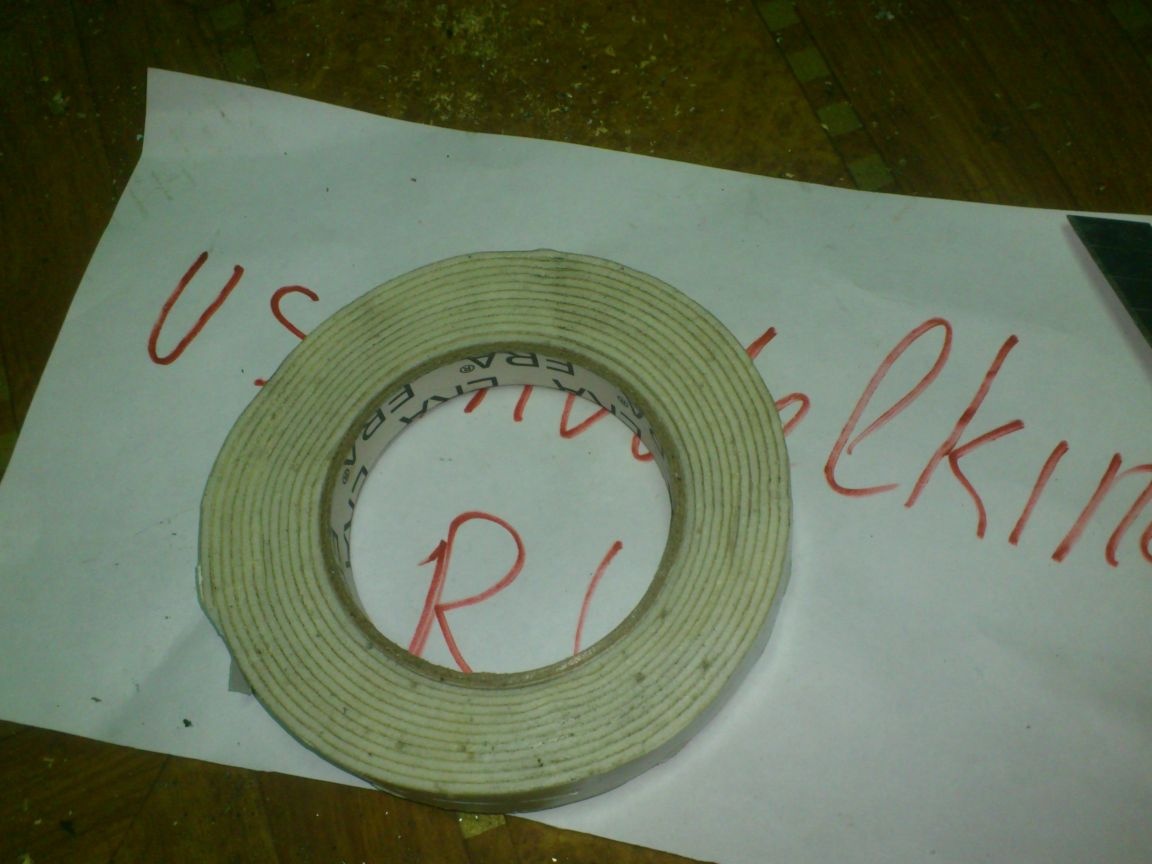
Now you need to fix these strips to the glass parts of the mugs. I decided to pre-mount using foam double-sided tape. (I just fell under the arm))))
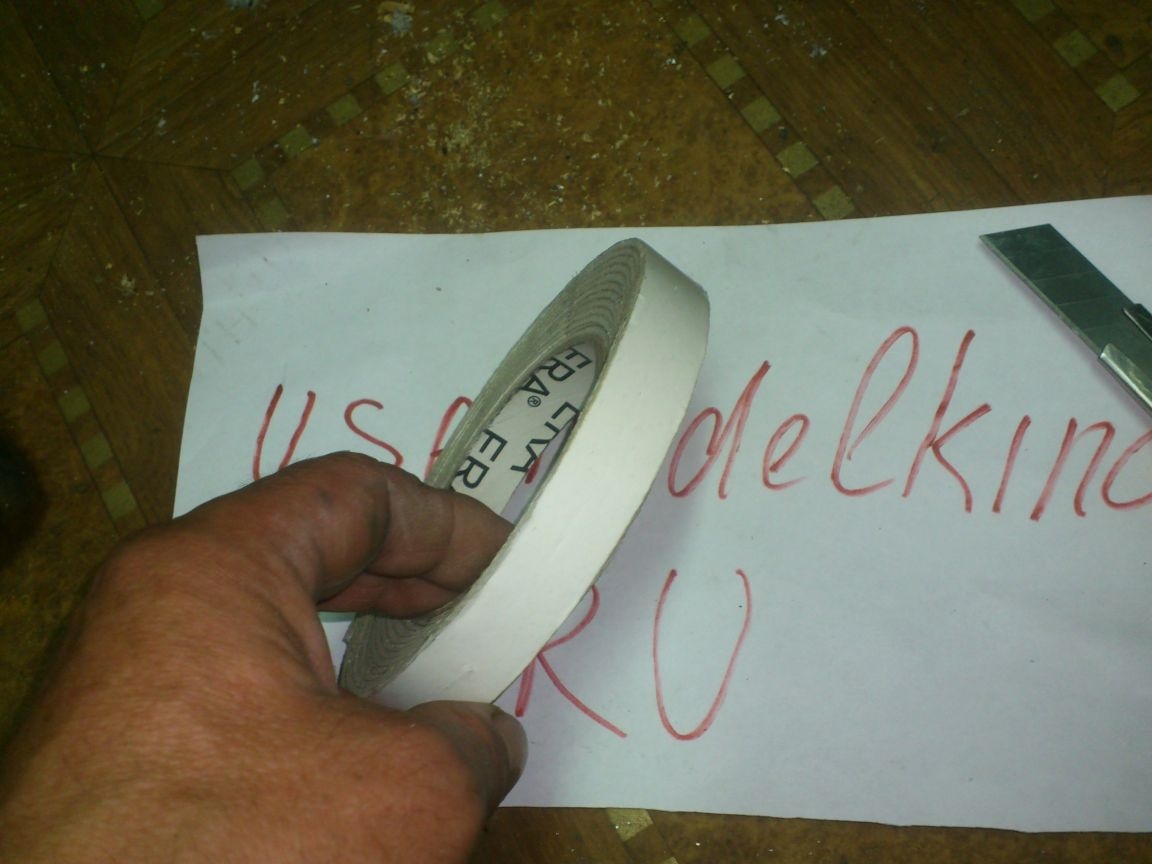
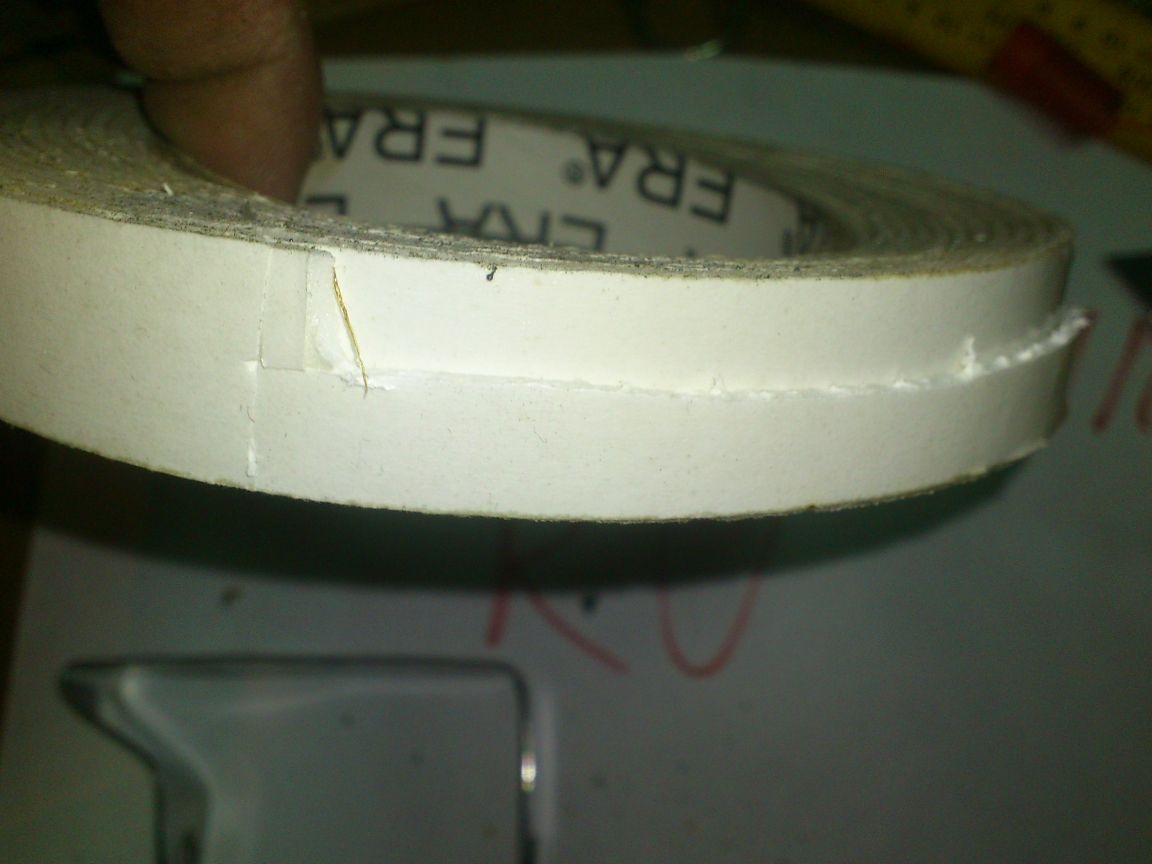
Since the tape was wide, I “halved” it with a knife along:
I glued the resulting strips onto the strips in this way, and glued the metal strips to the circles:
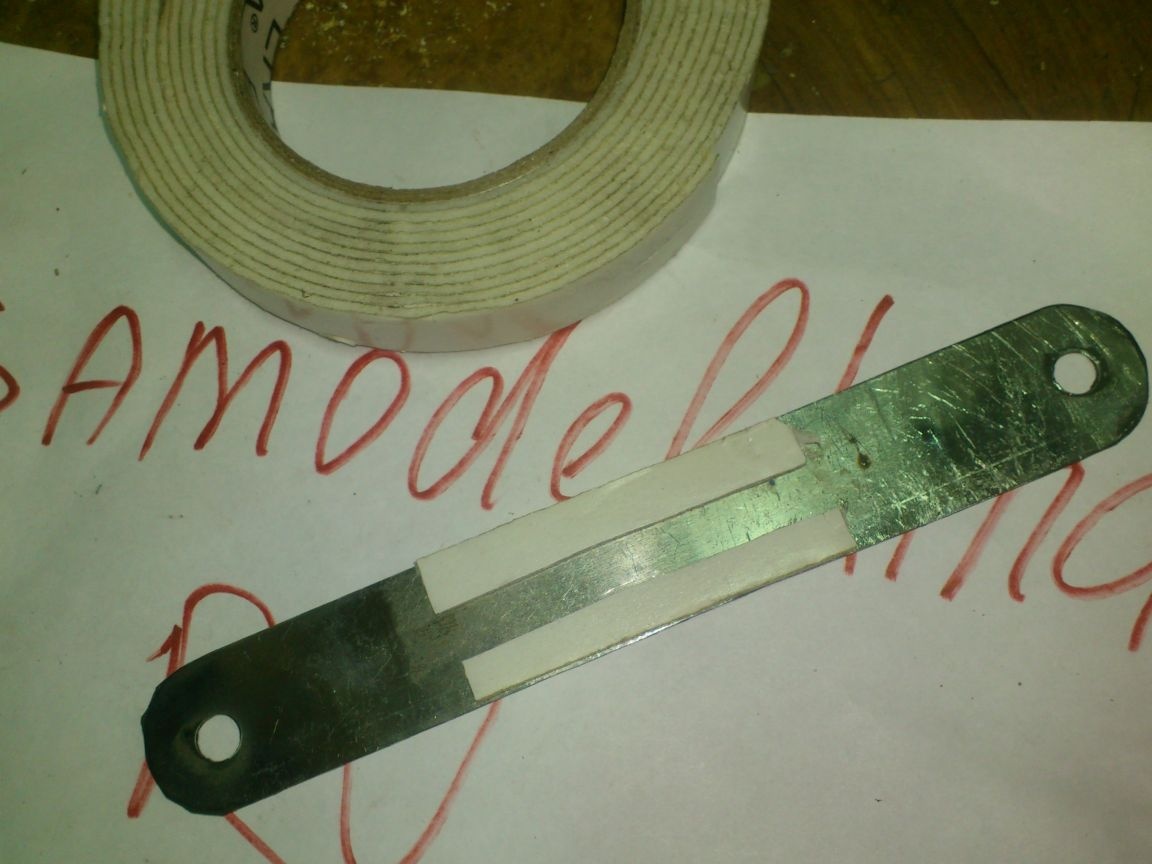
Why I did just that, in two rows along the edges, I think everyone understood ... The surface of the circle is cylindrical, and the strip is flat. For reliable fastening, it is necessary to compensate for the gaps formed at the edges of the strip. The adhesive composition of the tape fills them:
I did not stick along the entire length, but only the middle part, since the edges will later be bent and form a bracket for attaching the handle from the necks.
Of course, double-sided tape will not provide a secure fit! I decided to carry out the main fastening by the same method with which I fastened the necks, namely, using the shrink properties of PET bottles.
The middle parts were cut from two-liter plastic beer bottles:

I put them on my mug blanks and planted them with a technical hairdryer:
The edges were very uneven, so I trimmed them with a knife. To cut it off evenly, I prewound the "pattern lines" of electrical tape:
Here, in fact, everything is ready ... It remains only to bend the edges of the plates to get the brackets, insert the handles and pull them with studs using cap nuts.
Since the pin has an outer diameter significantly smaller than the inner diameter of the bottleneck, this difference must be compensated. This will prevent the handles from moving in the brackets. To do this, I cut strips from beer bottles equal in width to the length of the handles, twisted them into a tube and stuffed them inside the "handles":
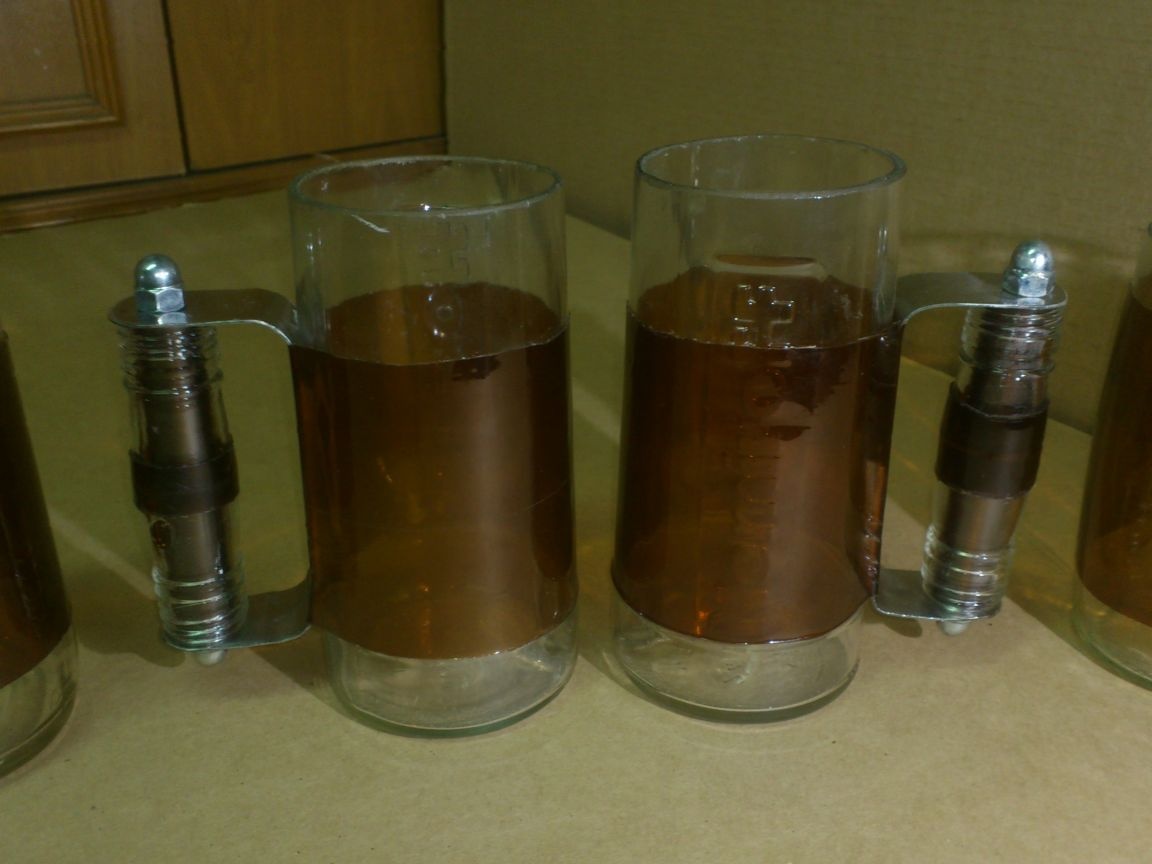
Now the arms will not hang out. And from an aesthetic point of view, they will look more complete. Insert. Fasten with nuts:
I want to caution against the mistakes of those who may decide to repeat. For such mugs, only heavier and larger bottles are suitable - from champagne, liter from vodka and so on ... Do not use standard half-liter bottles. Wine diameters of small diameter do not fit either ...
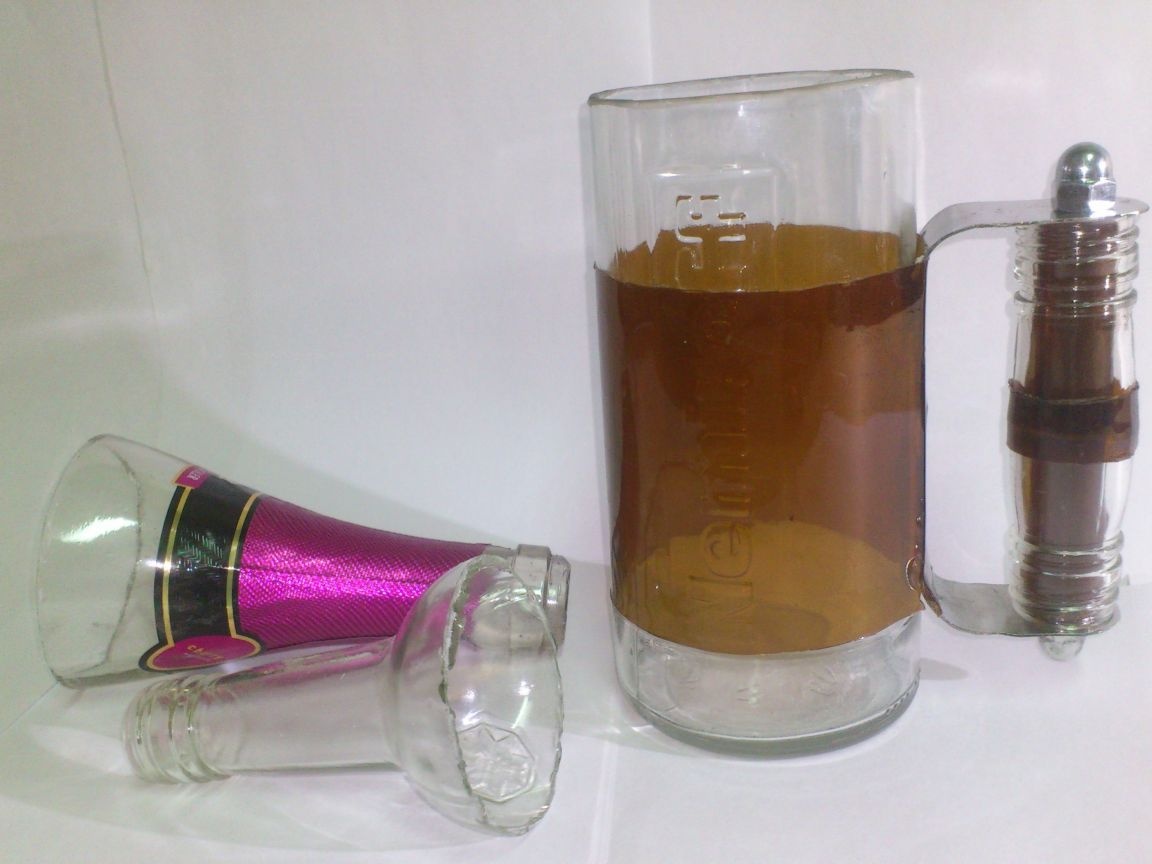
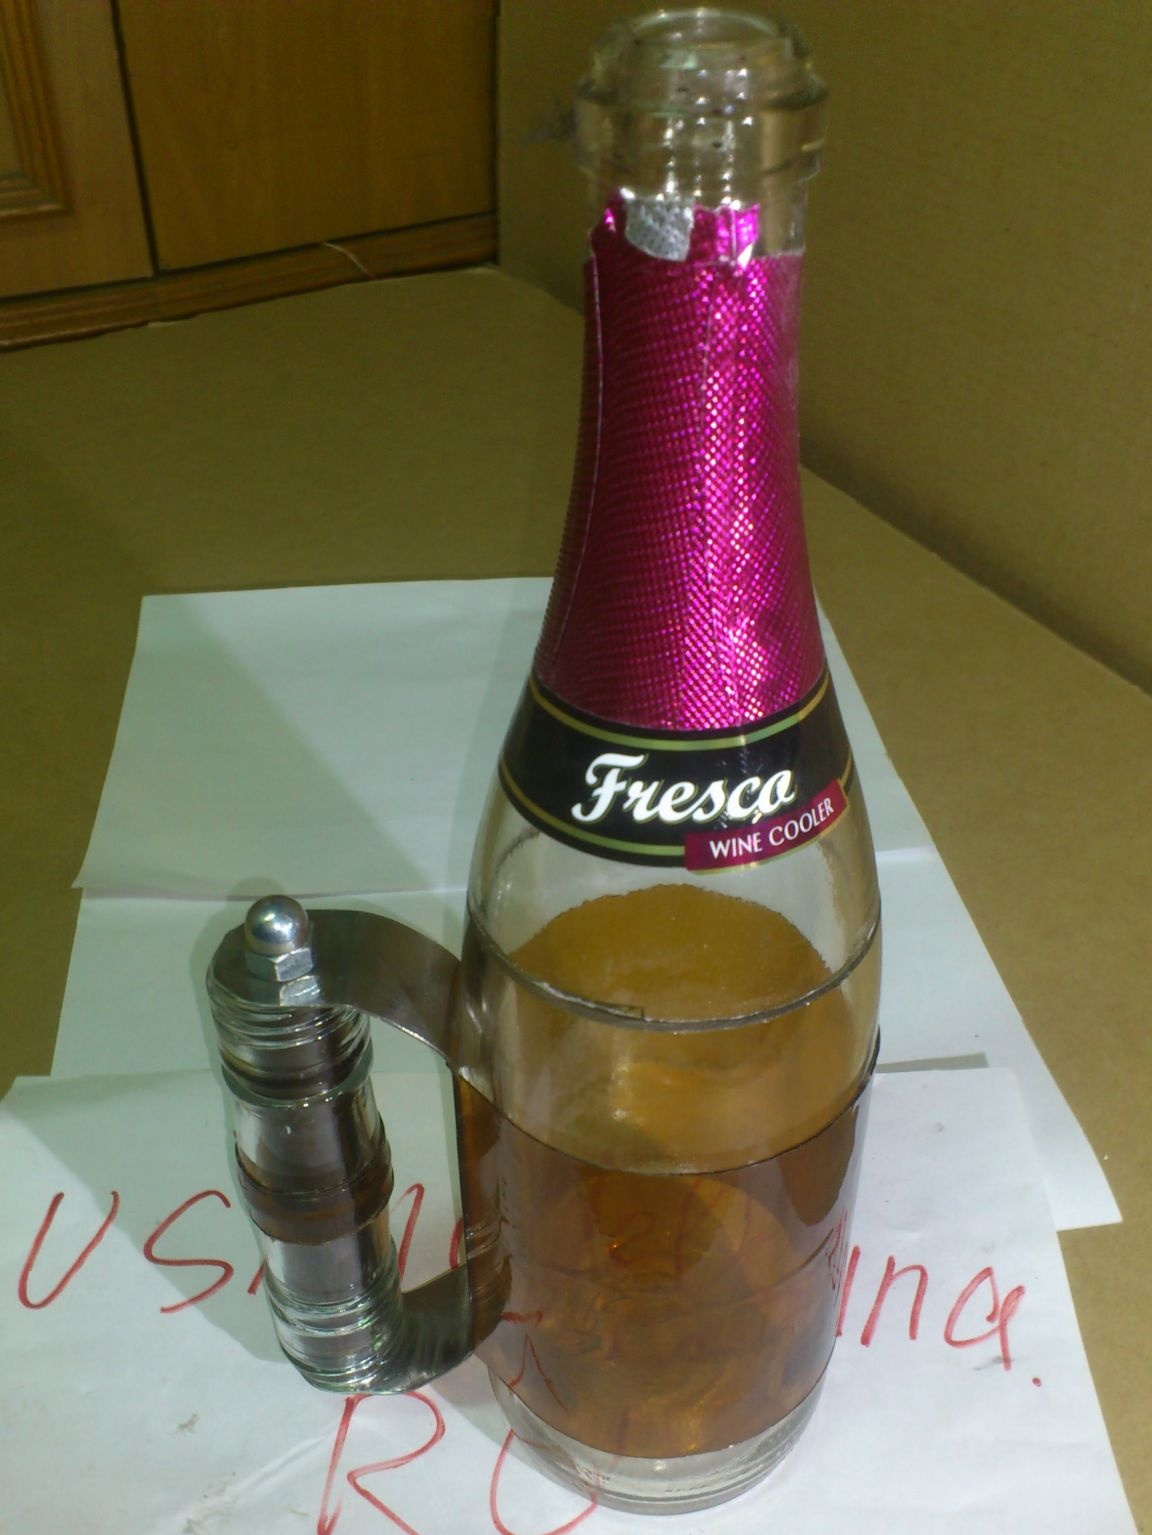
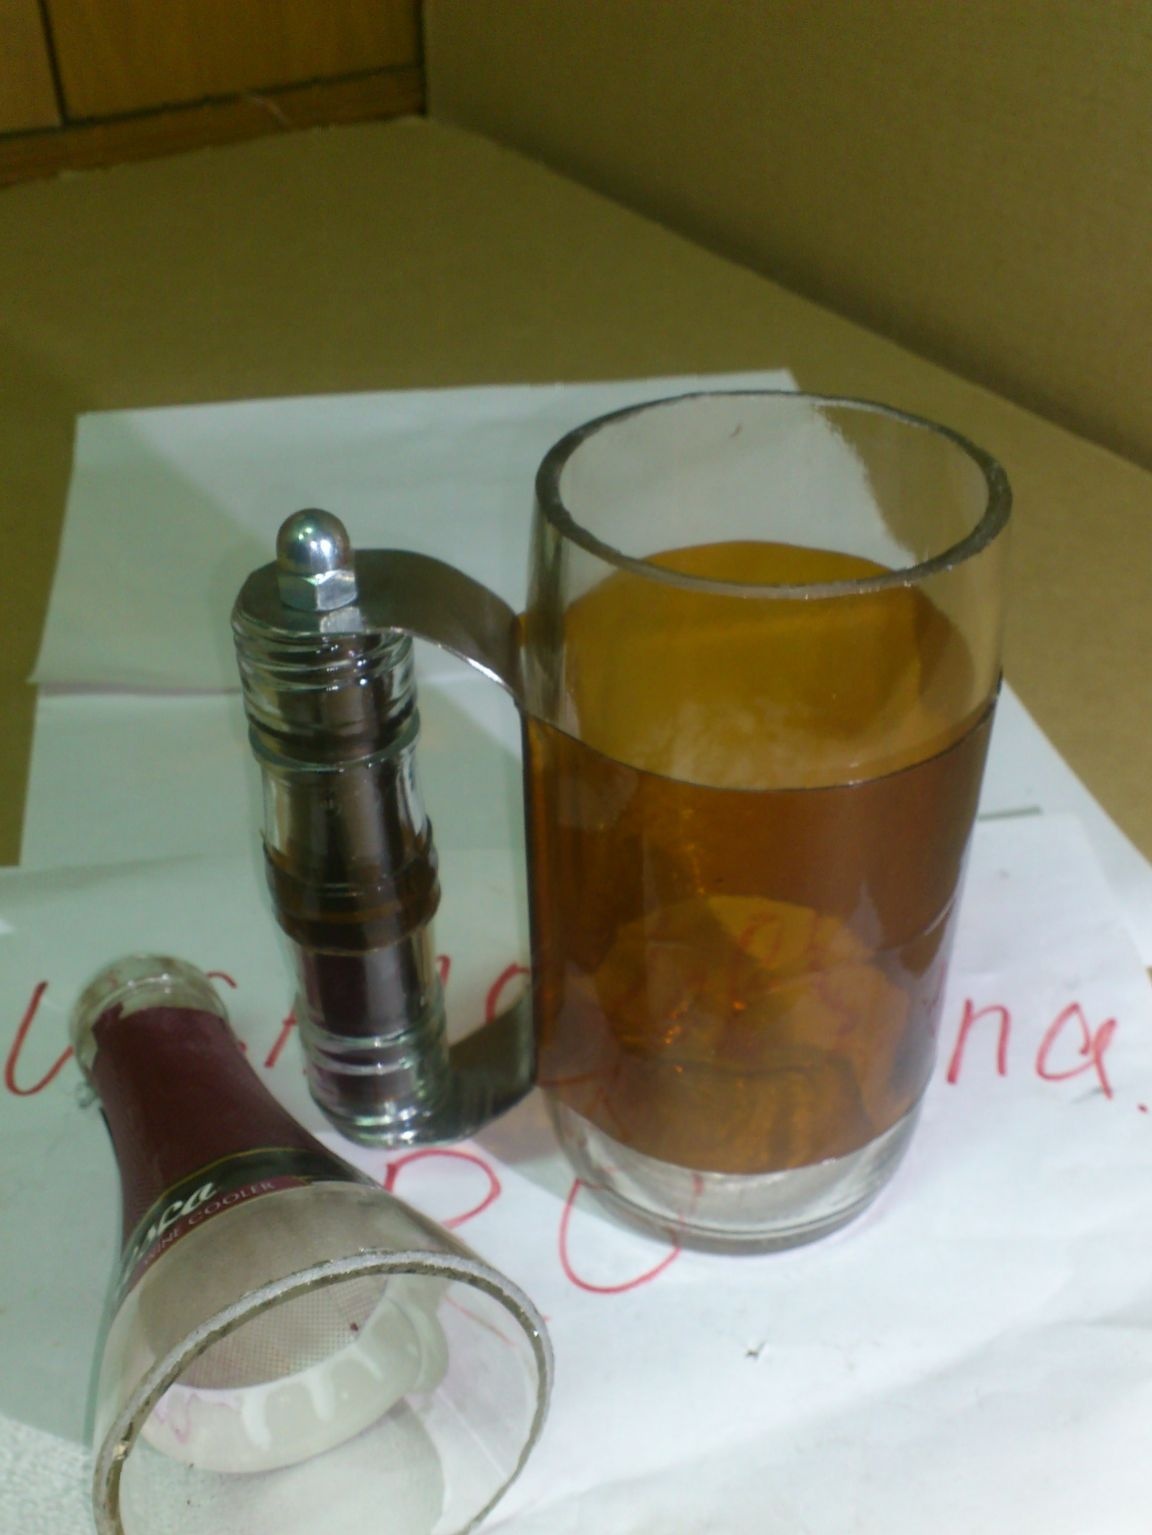
Being carried away, I decided to remake one of the smaller glasses into a mug. Moreover, I had one rather long neck. The result was such a mug:
And then it turned out that she was very unstable !!! Under the weight of the handle, even one made of one vodka neck, she strove to tip over! Indeed, in vodka containers the walls are thin (and therefore their weight is small), and its diameter is small. Here is the center of gravity and it turned out somewhere exactly along the edge. Even just putting it on the table did not work out on the first try .....
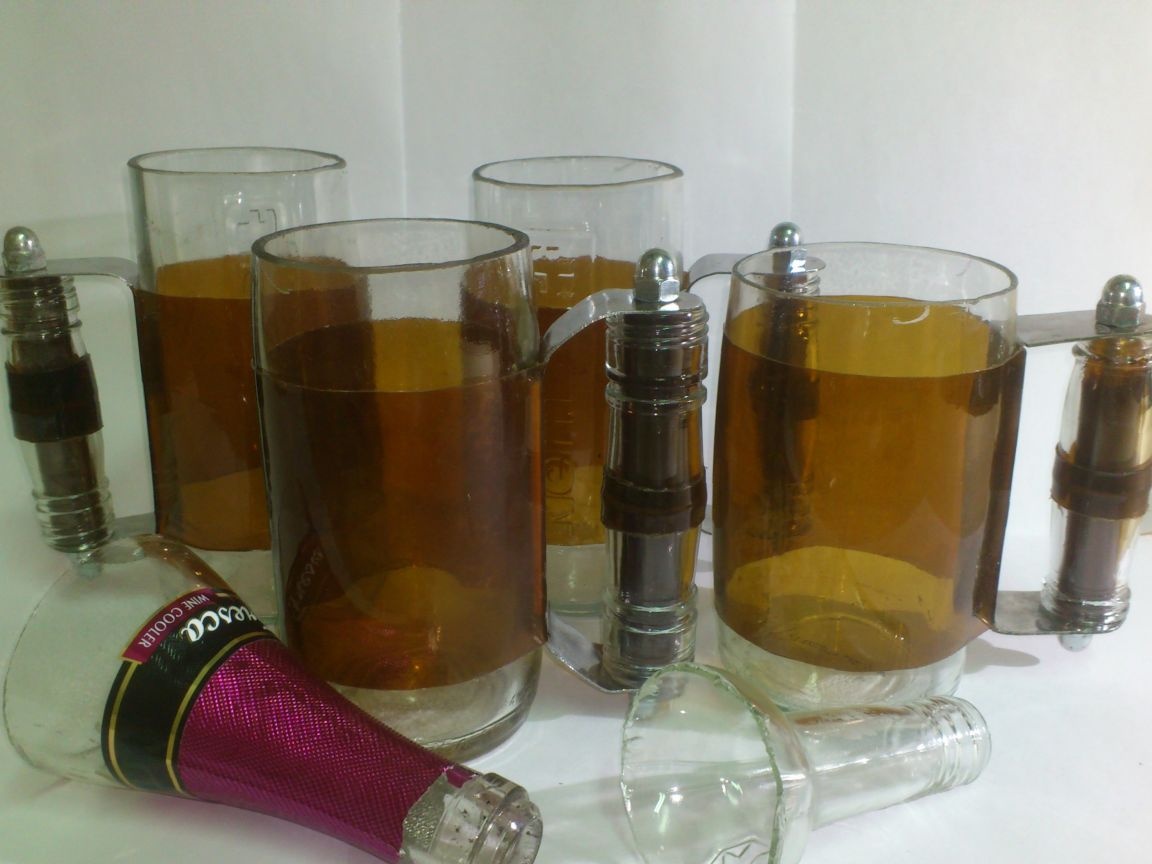
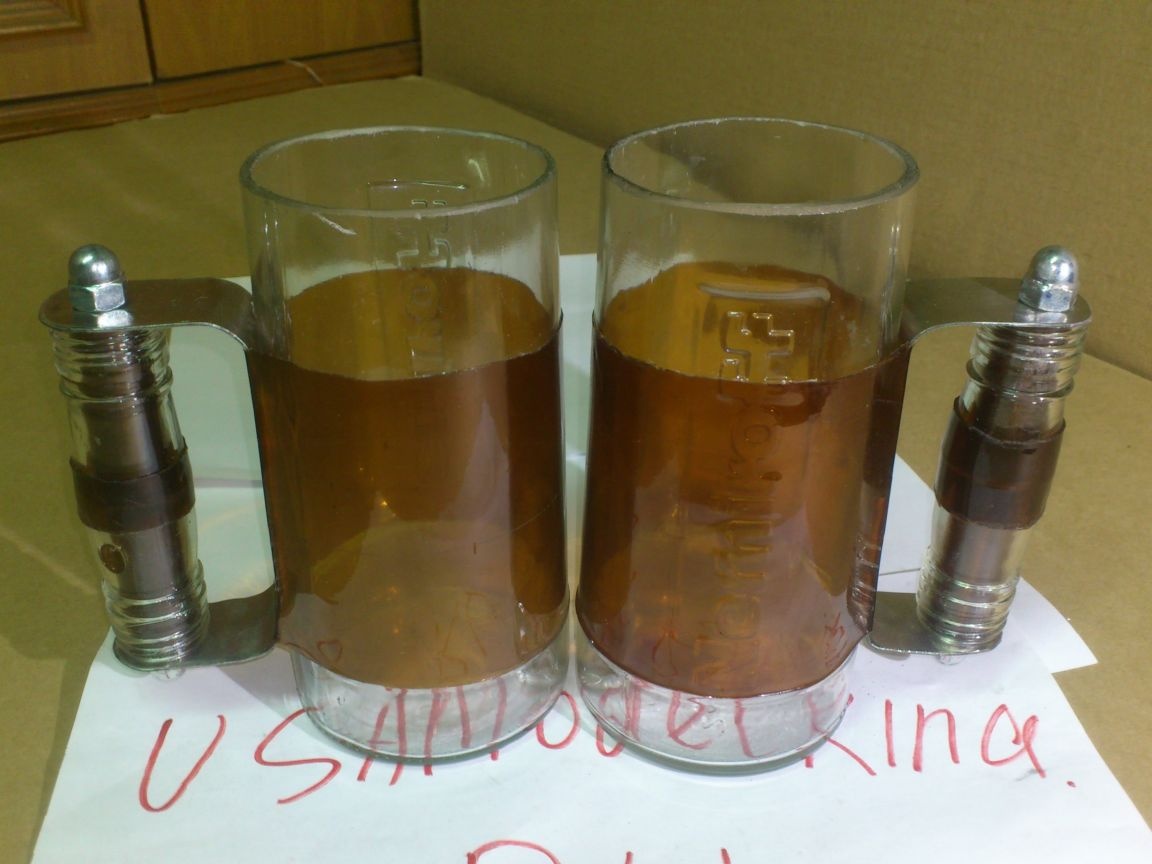
But the mugs made from wider and heavier bottles turned out to be very stable:
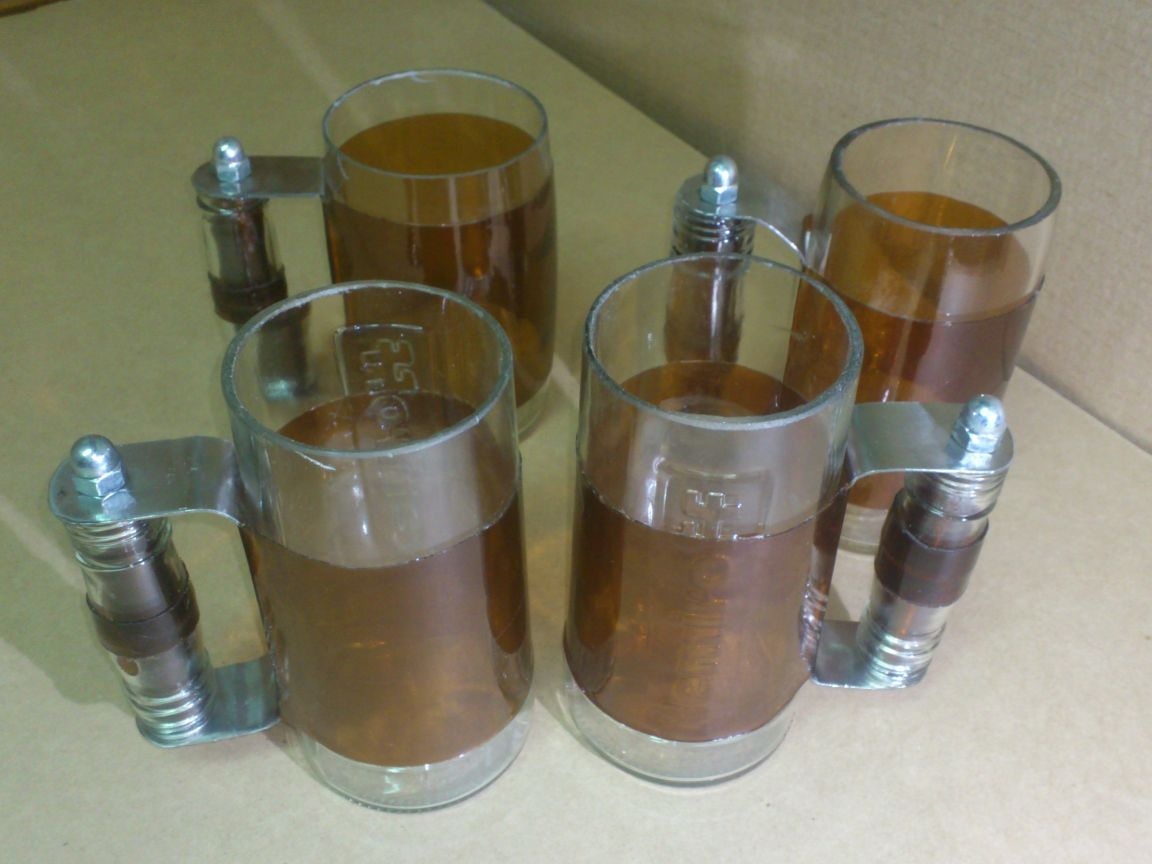

Of course, I won’t carry them home.))) But for drinking beer with friends in the garage, or in the workshop they are very convenient! In addition, they possess just the necessary surroundings to create a "spiritual atmosphere".)))). Or, for example, they can be used in a bathhouse !!! Such "technogenic" circles will look very organic in the "rough wooden interior" of the bathhouse!


And from these scraps did not remain ... Let's go to the arms))):
Bye! Enjoy your beer !!!))))