
Today I want to show you how to make excellent material from those materials that are (or at least should be) in almost every workshop device for smooth sharpening knives.
Initially, the master wanted to buy a ready-made knife sharpener in China (namely, the Aliexpress online store), but thought why not try to make such a sharpener yourself do it yourself. Moreover, the prices of this product from Chinese friends are rather big.
Actually, the author of this homemade product looked on the Internet a lot of videos about how and what various knife sharpeners are made of, and, based on them, made his own sharpener.
For self-manufacturing, you will need the following materials and tools:
1. An ordinary board;
2. Sandpaper;
3. Screwdriver;
4. The hammer;
5. Thick electrode 1 pc;
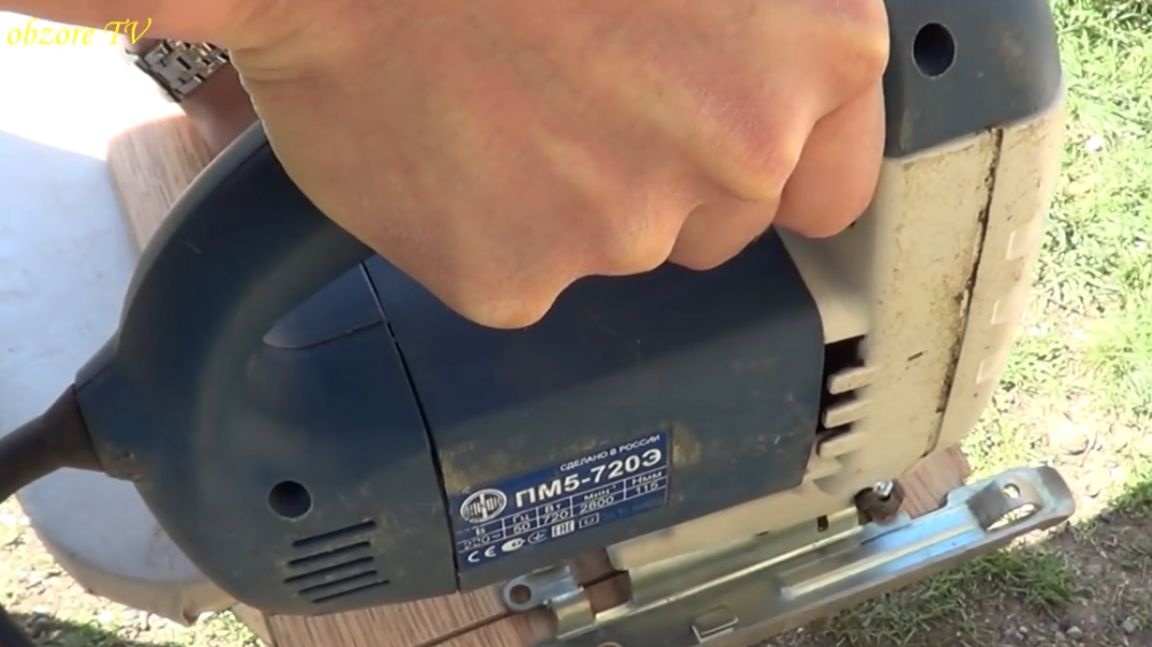
6. Electric fretsaw;
7. A piece of laminate;
8. Bolts and nuts;
9. Wooden handle;
10. Allen key;
11. Ftoroplast or textolite (fiberglass).
Let's start actually making the sharpener.
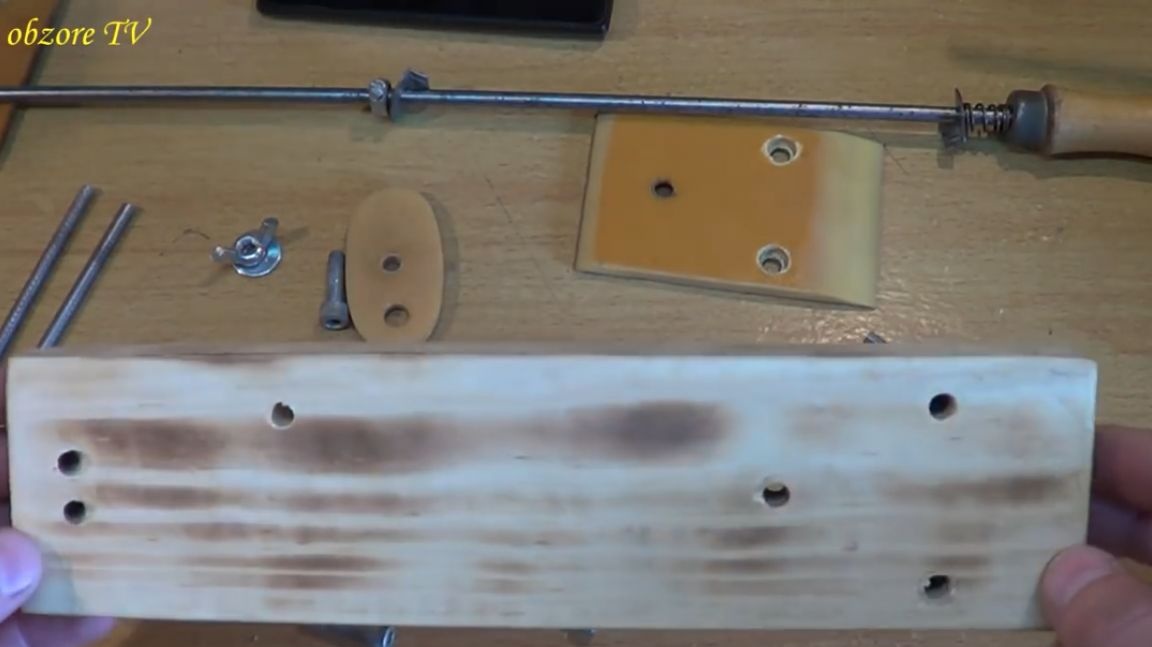
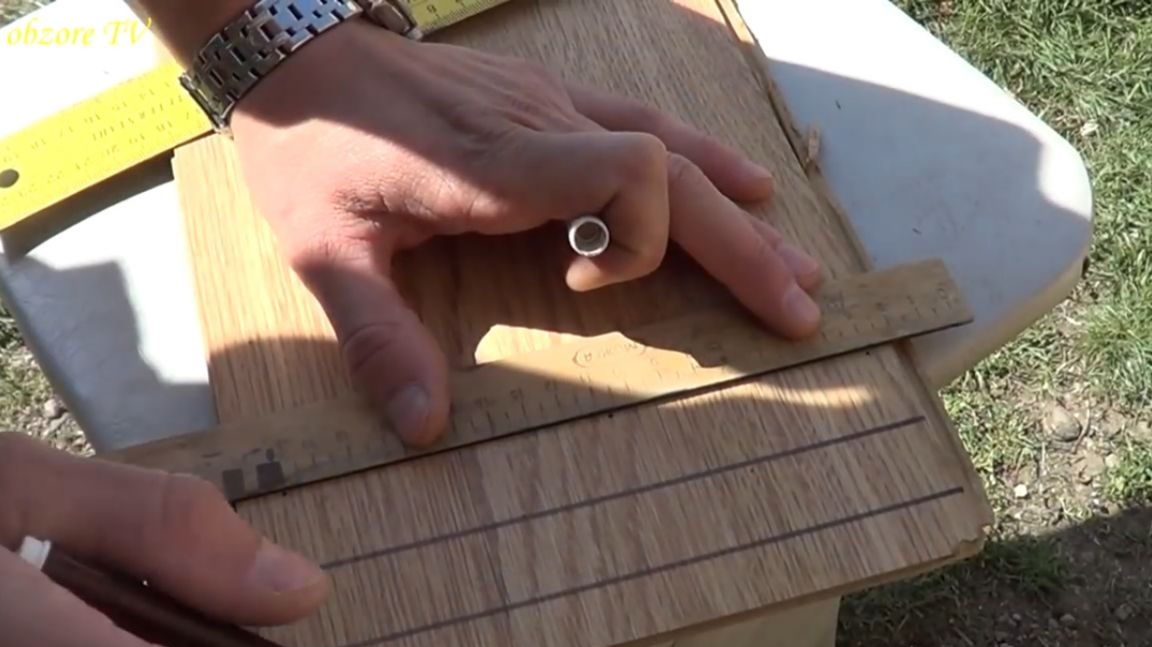
First, take an ordinary board and cut a piece out of it. Then it is necessary to process the resulting wooden billet, namely to grind it with sandpaper.
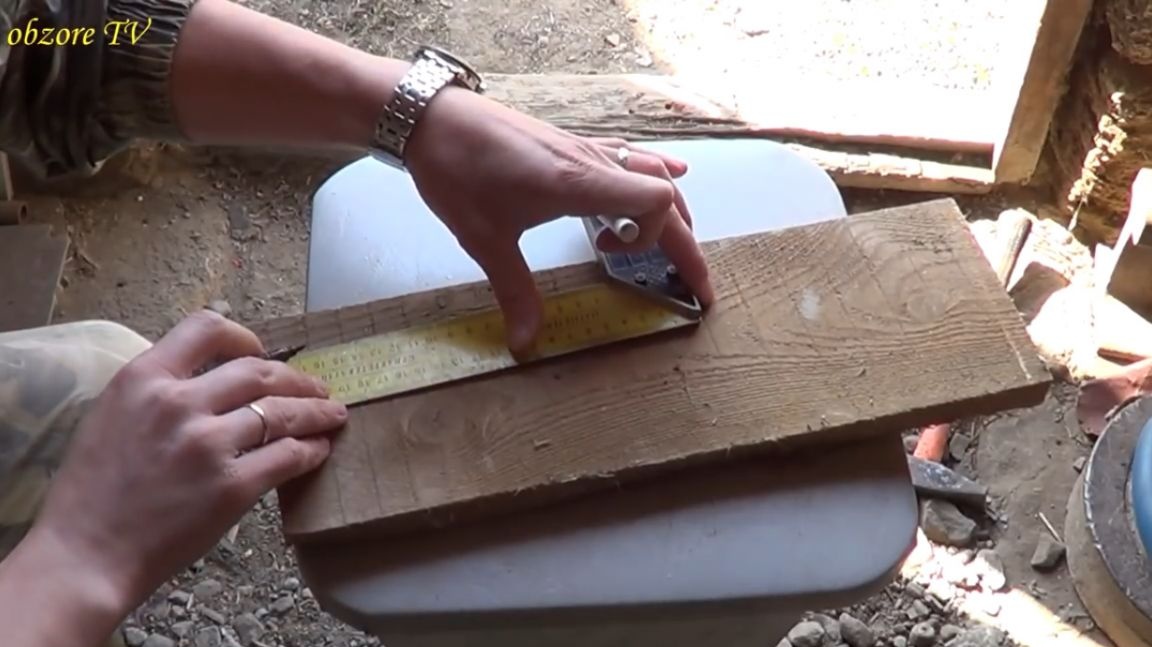
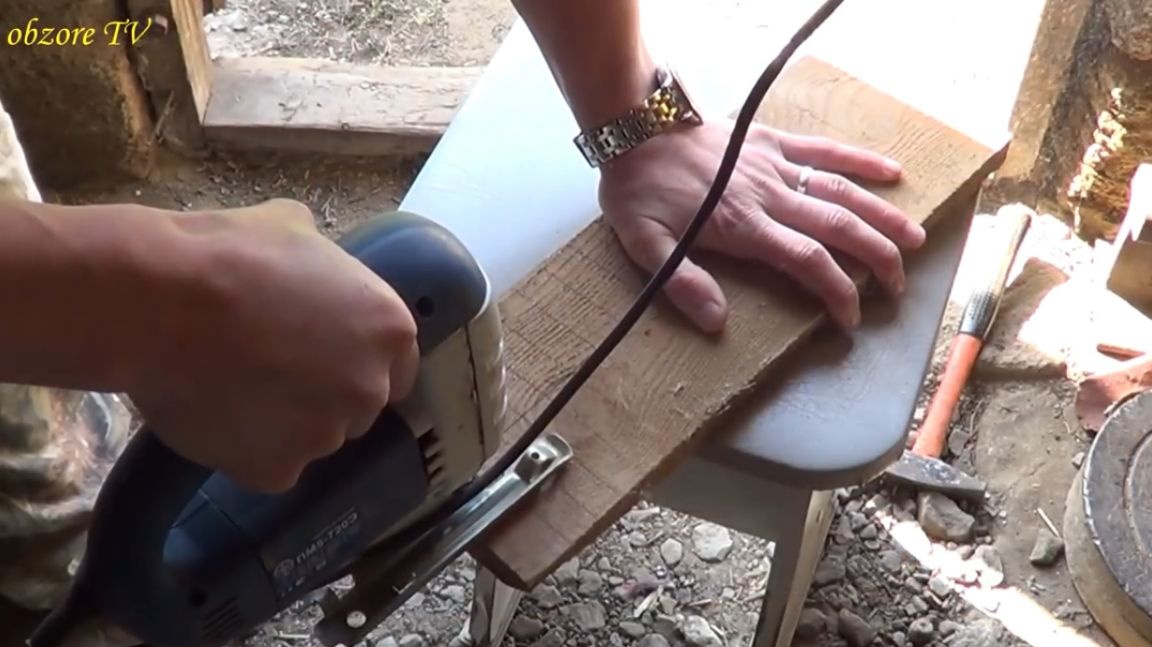
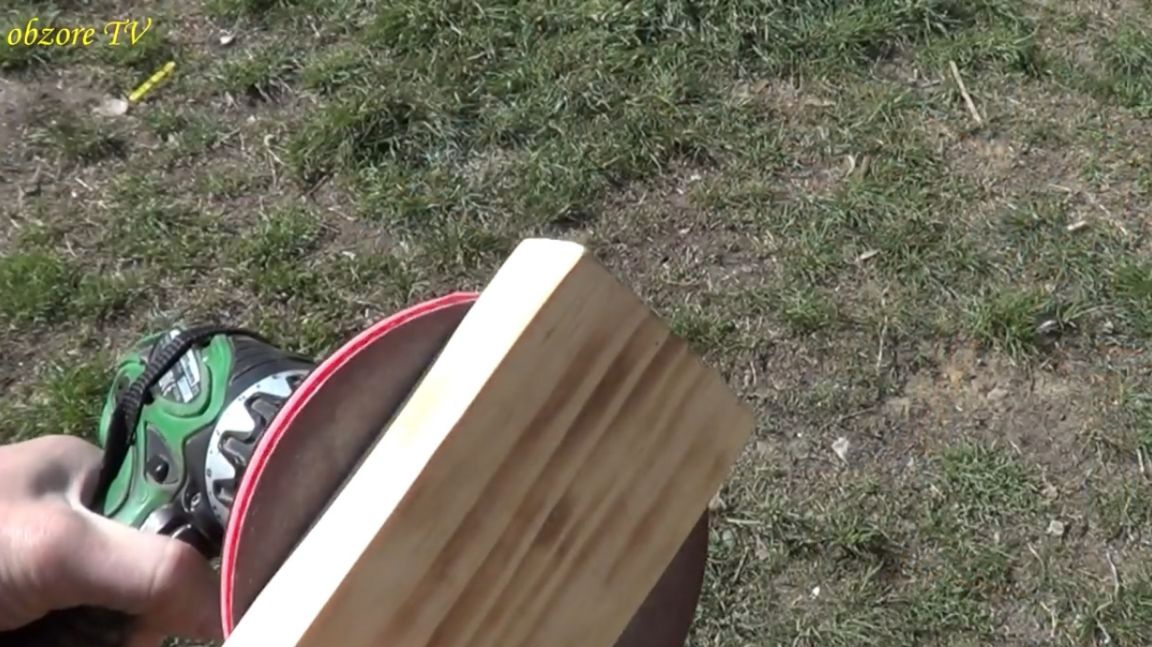
It will serve as the basis for our home-made grinding tool.
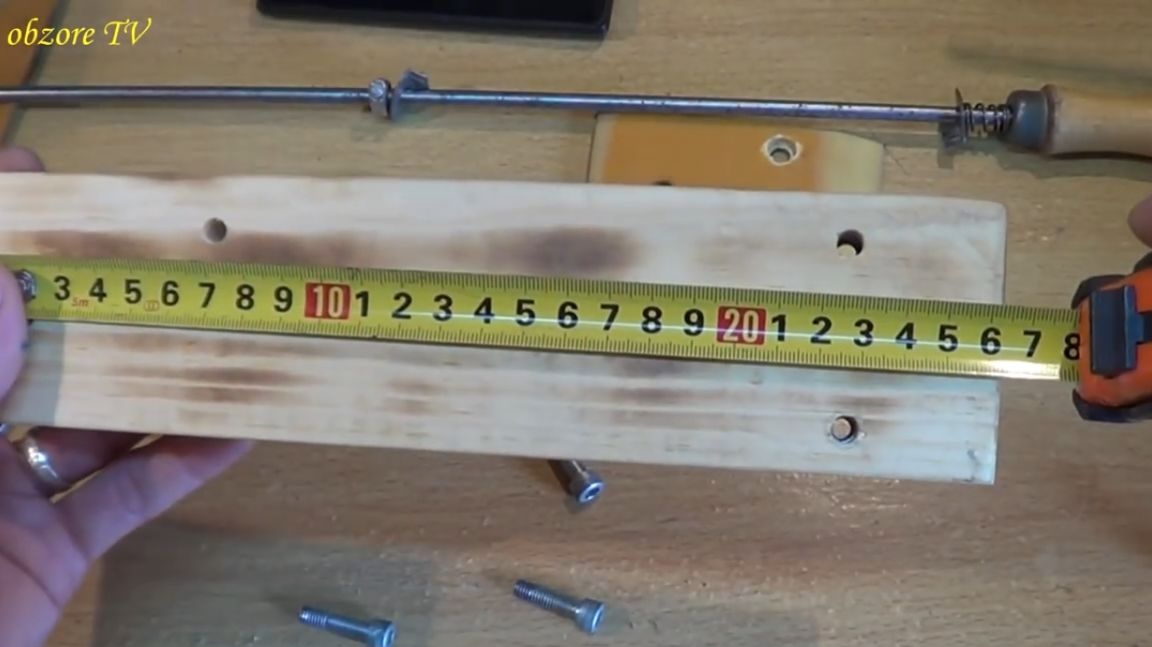
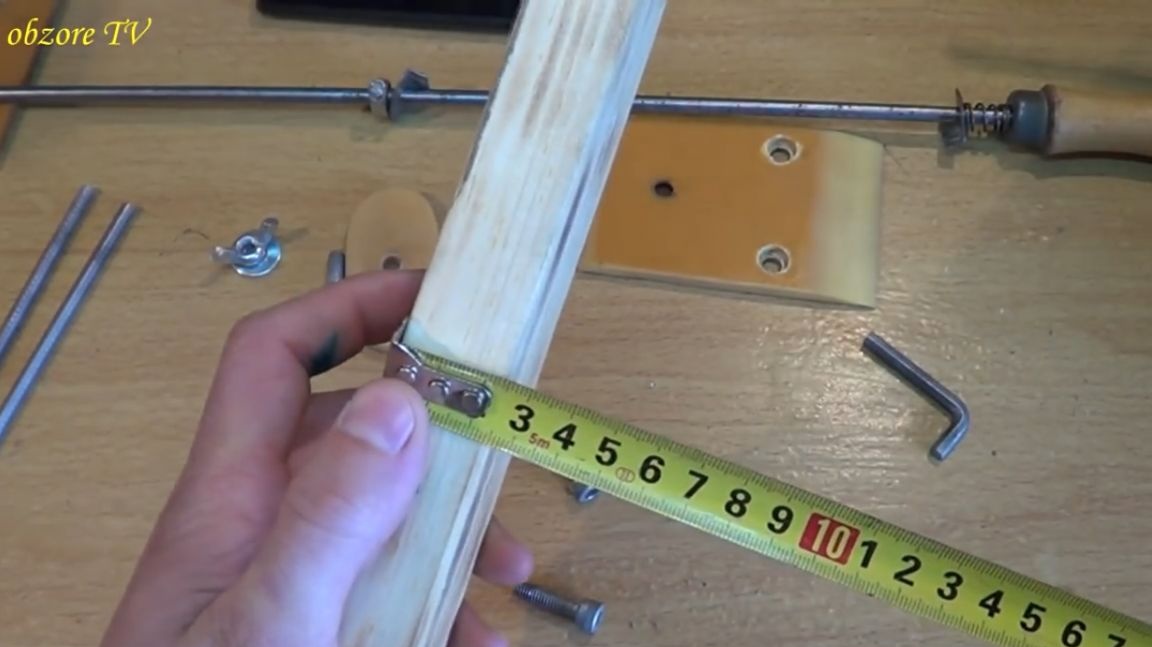
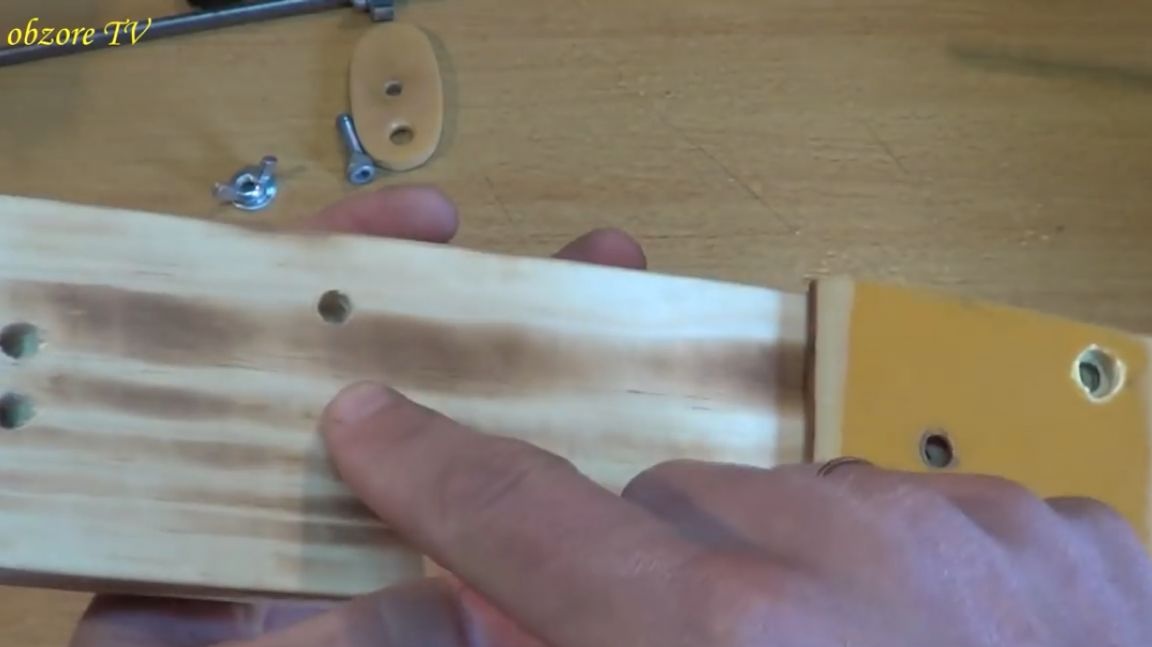
In terms of size, it turns out to be 26 cm long for us, the workpiece turned out to be 6.5 cm wide, and the height of the wooden base is 2 cm.
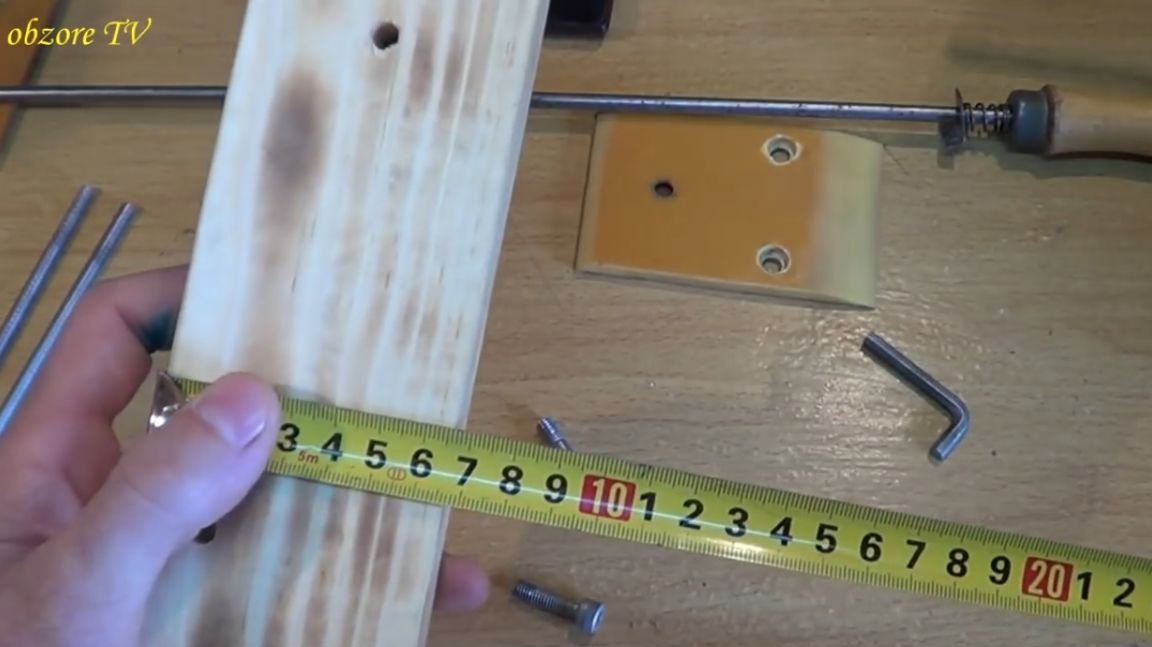
Also, holes must be made in this board. In total, this part of the future product will have 6 through holes. We drill 2 holes for the rack itself (about it a little later). Next, we drill another hole of a smaller diameter, and also on the other side of the board we drill 3 more holes that will serve to fasten the pressure plate.
Insert the nuts into the holes made.
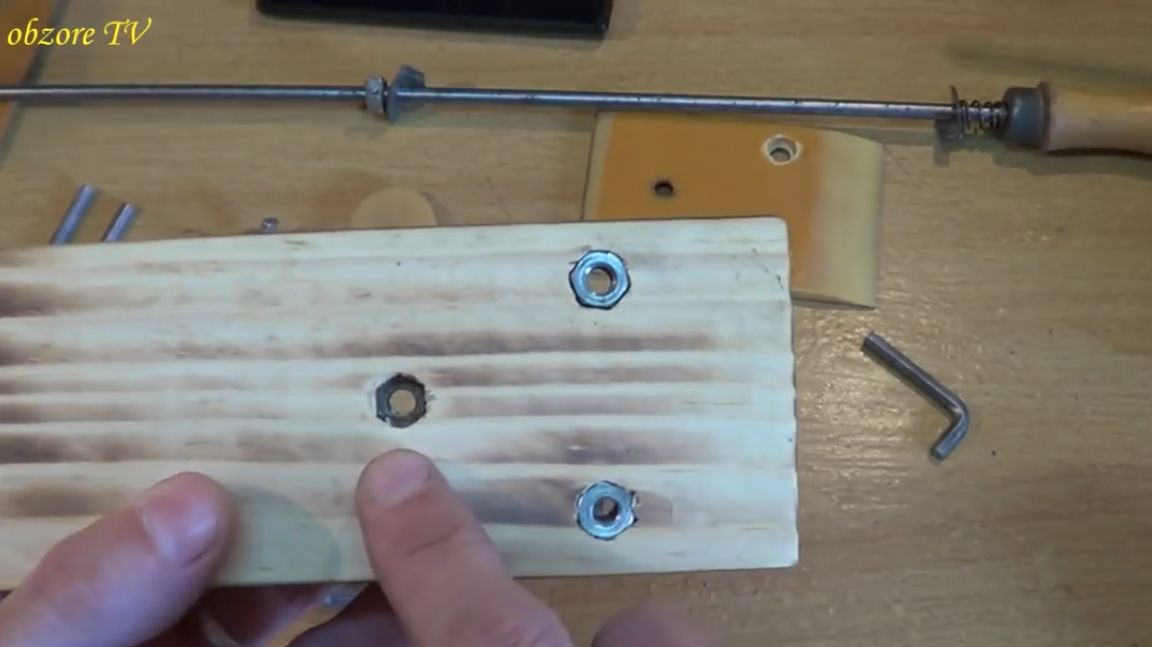
In the future, these nuts can be put on glue so that they do not fall out, but so far everything seems to be quite tight.
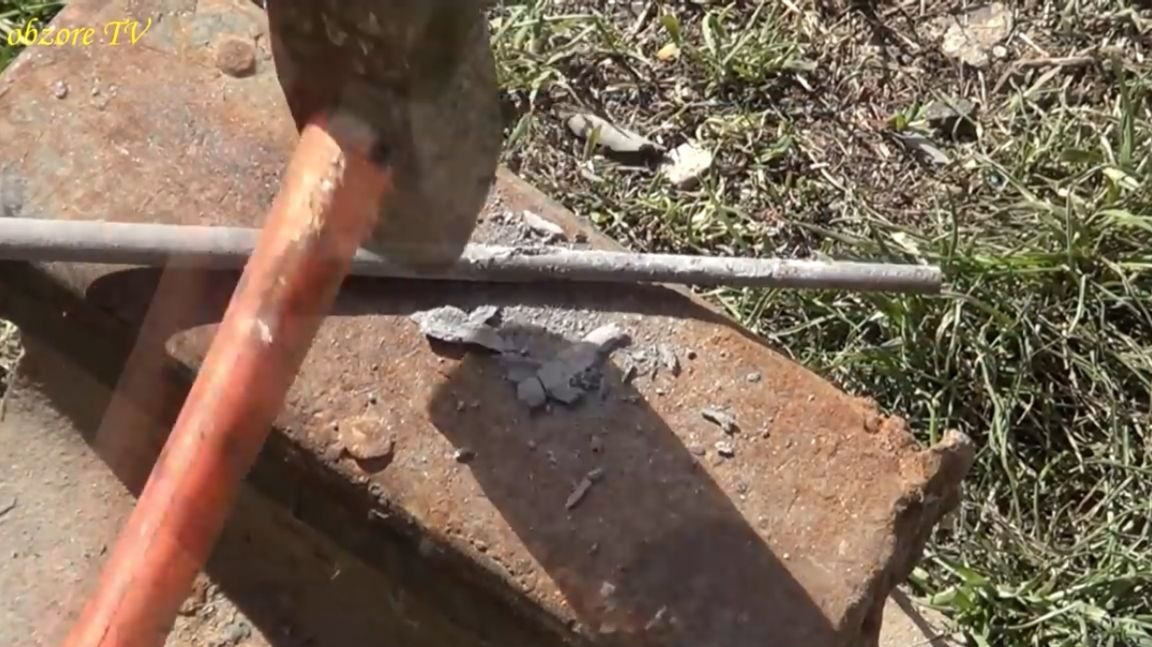
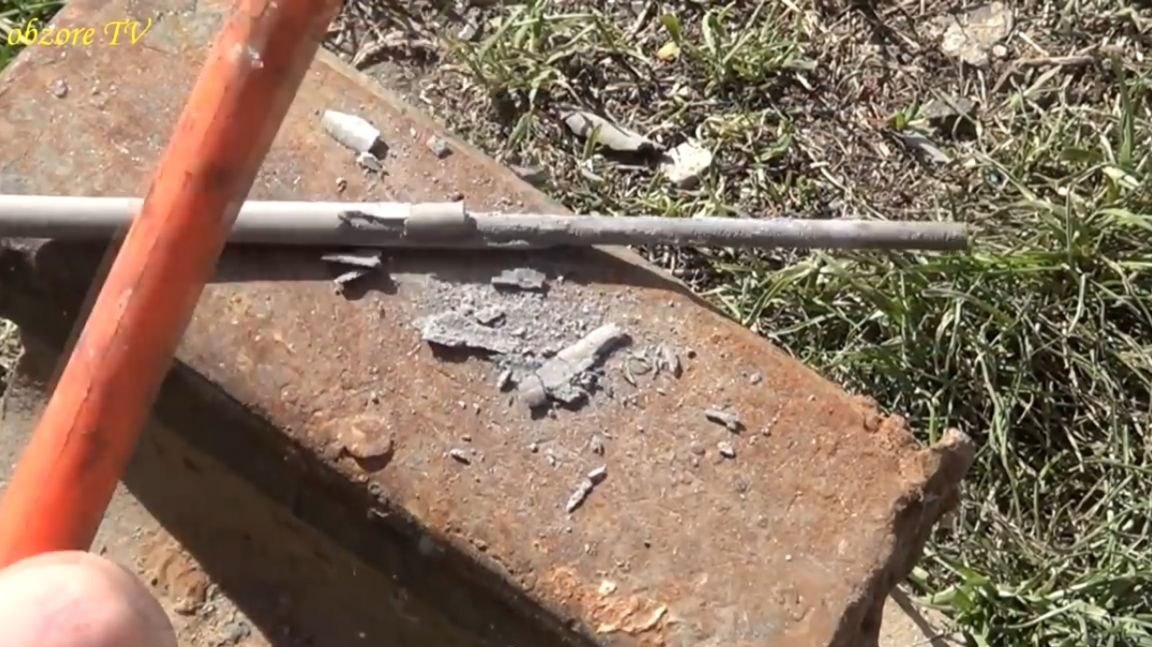
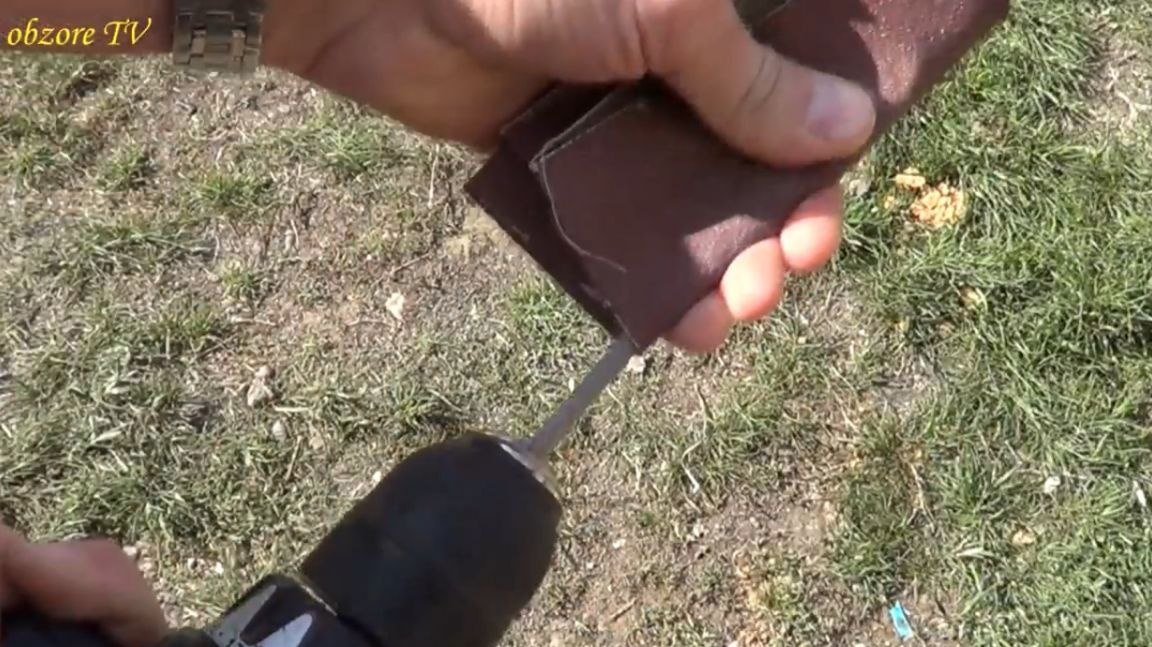
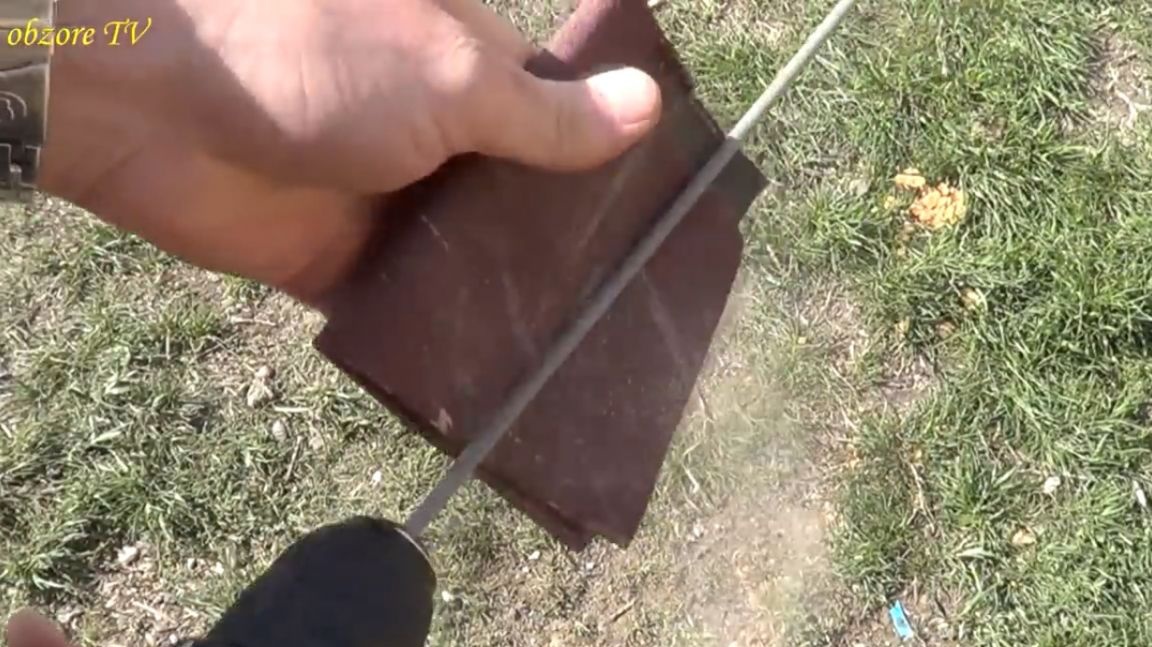
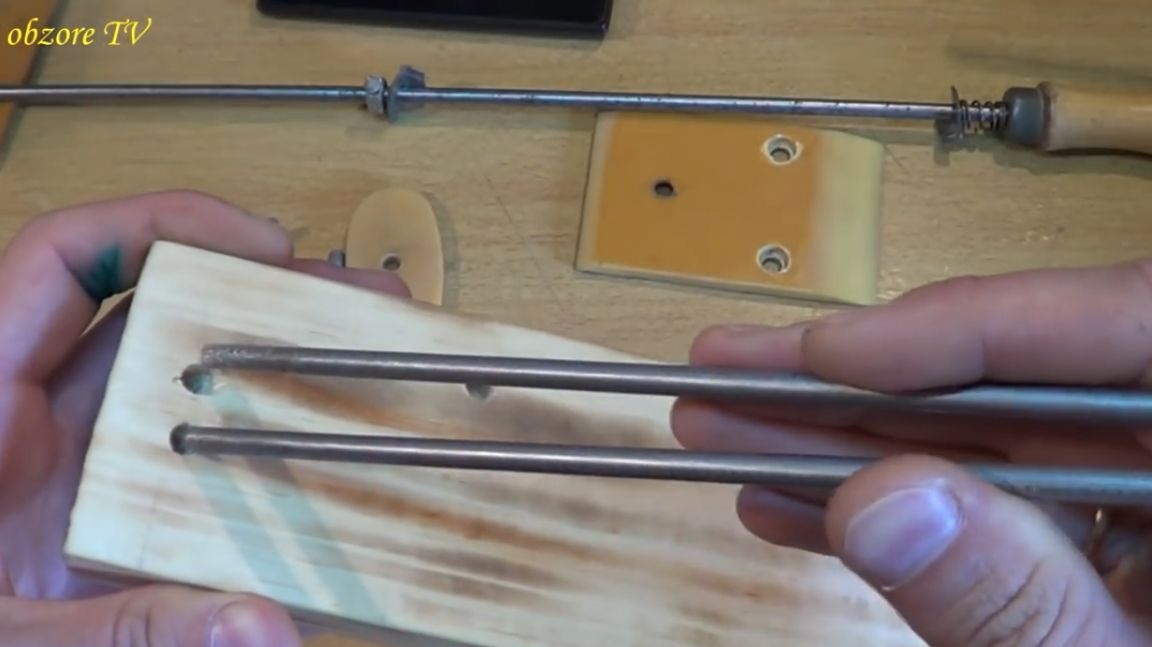
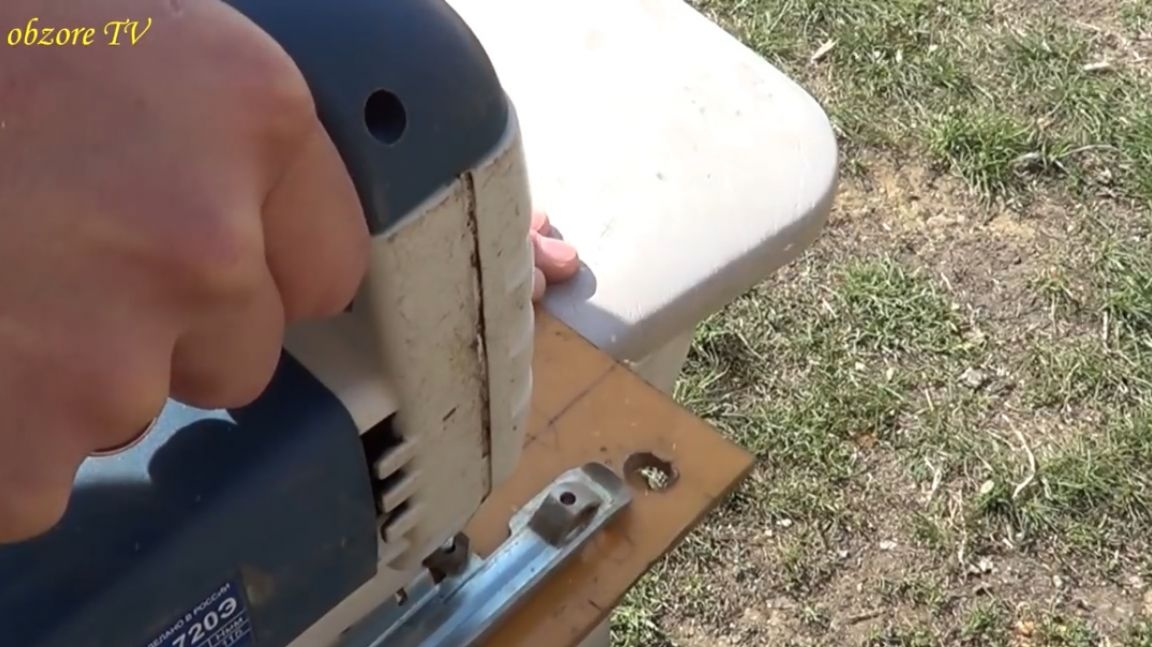
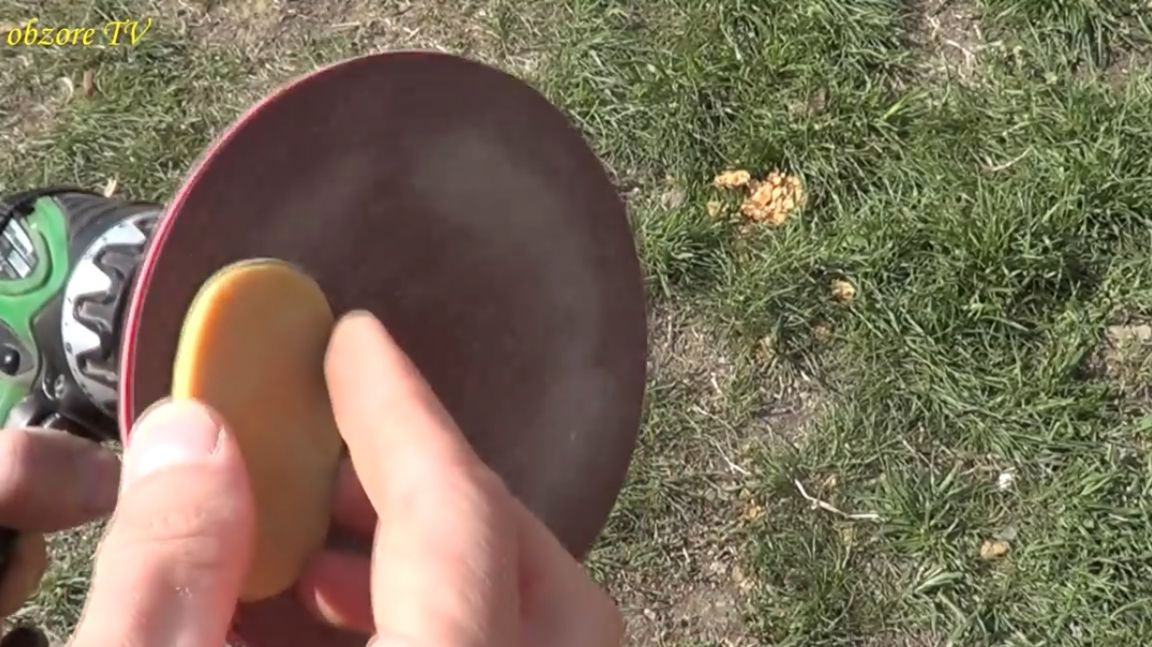
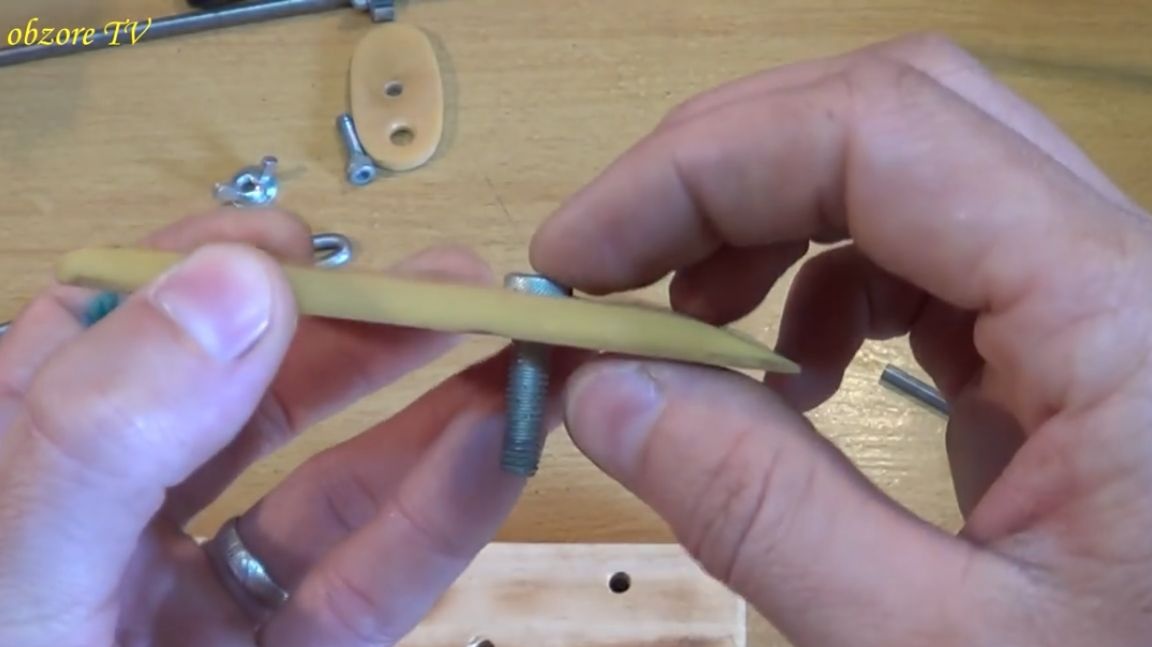
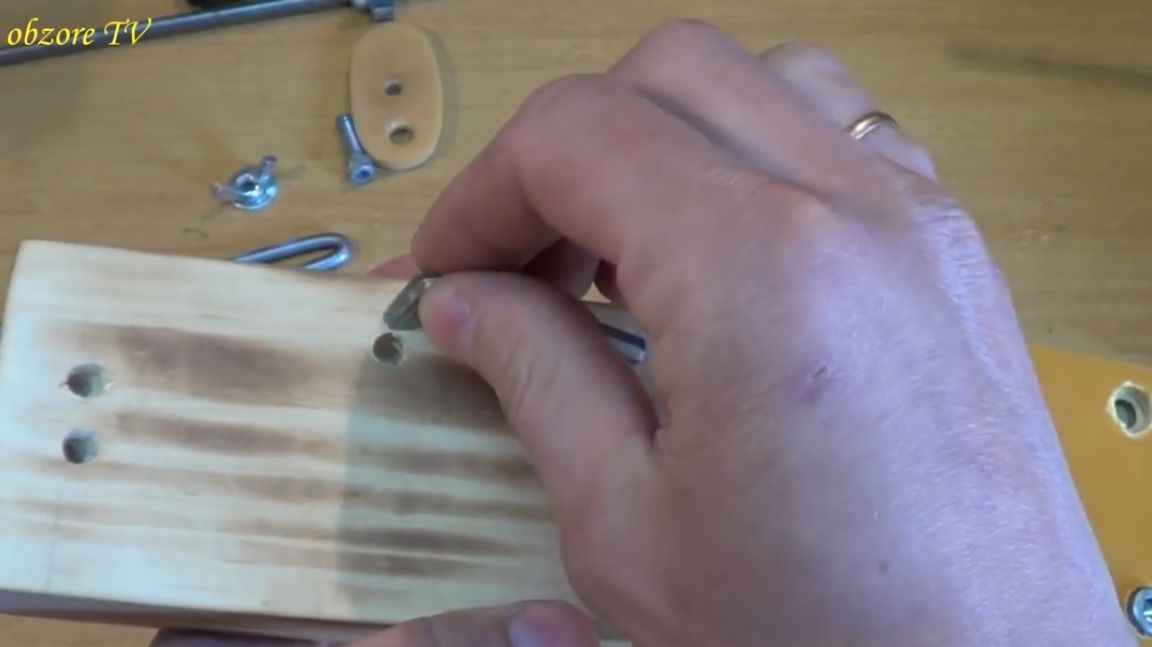
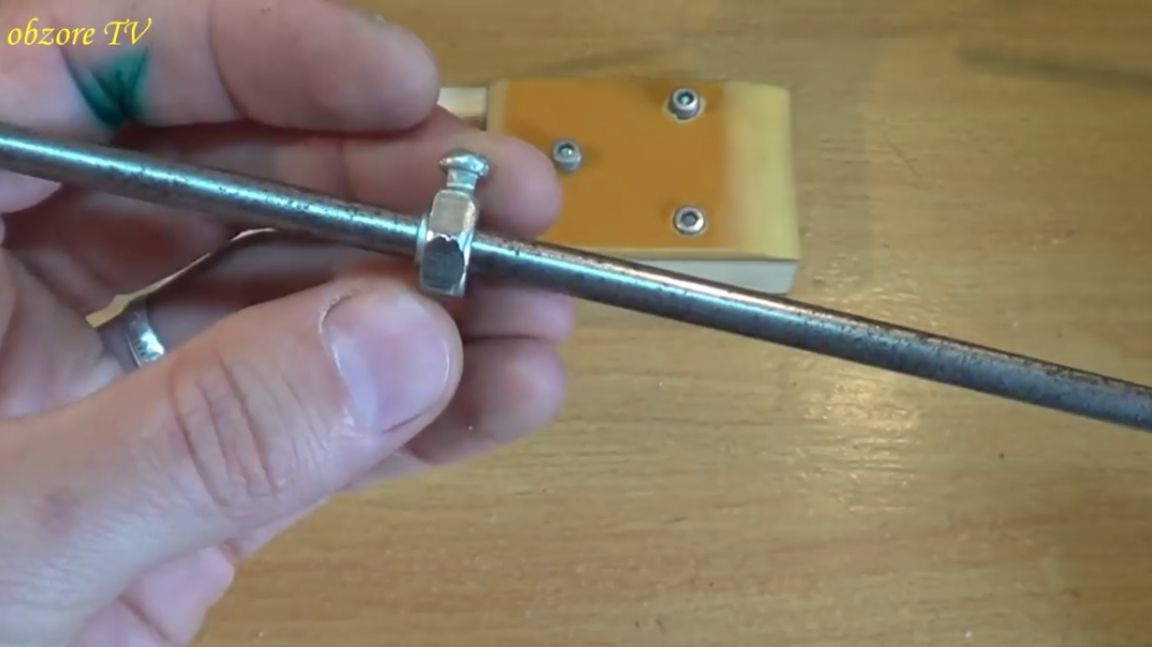
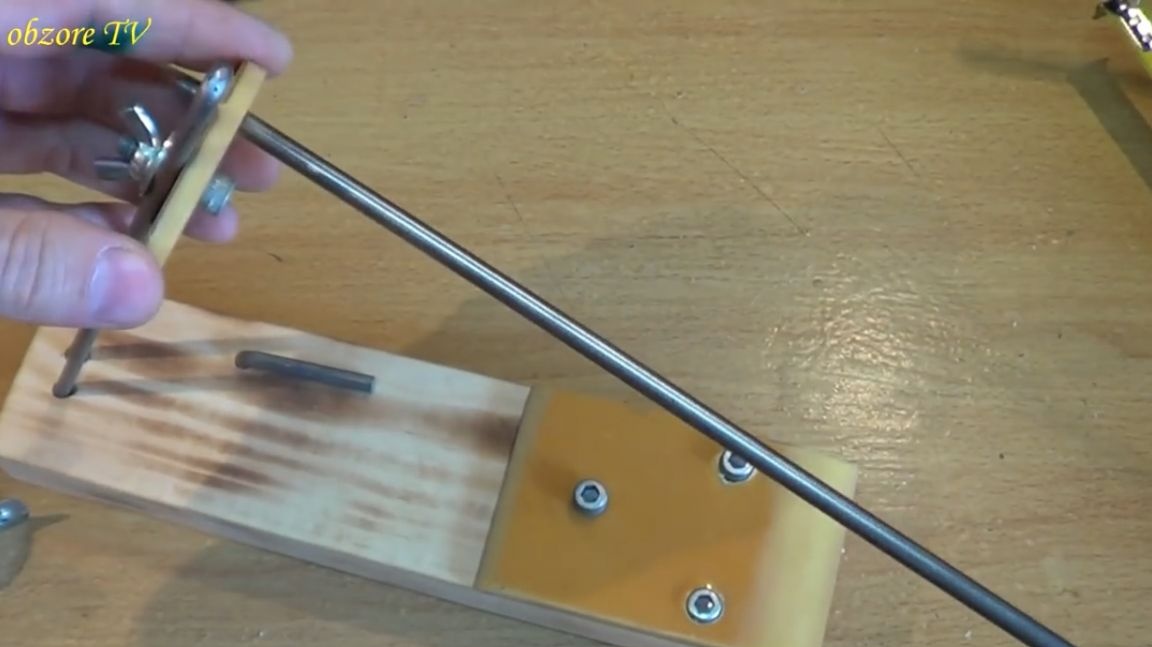
Then we will make the guide rail itself. Her master made of an ordinary thick electrode. It must be bent in half. Then, using a hammer, the author beat off the entire upper part from the welding electrode and sanded it. By the way, you can also grind using an ordinary screwdriver. To do this, simply insert the electrode into the clamping chuck of a screwdriver and holding sandpaper in the hand, grind the product.

At this stage, the blank obtained from the electrode (guide rack) is inserted into these two holes.
We insert not at a right angle, but at a slight slope. The angle of the guide is somewhere from 65 to 70 degrees.

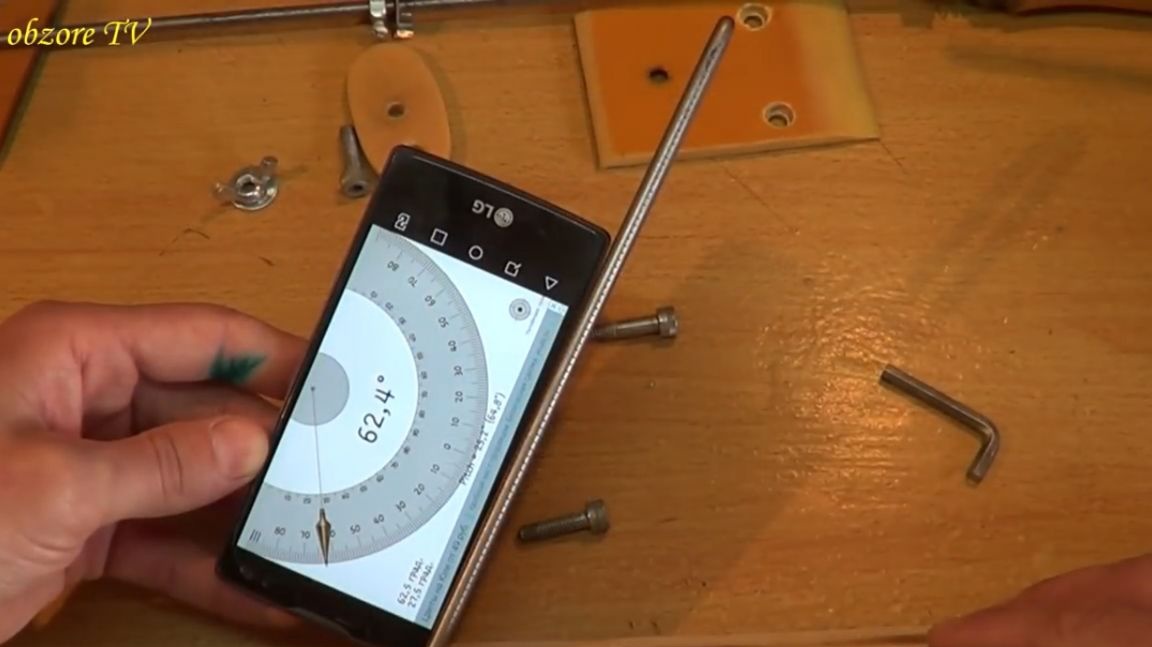
Everything sits down rather tightly, but also for greater reliability of our design, in the future it will be possible to put the guide stand on epoxy glue, or on some other glue, or on something else.
Further, the author decided to use such a piece of fluoroplastic.
But perhaps the master is mistaken and this is not a fluoroplastic. Ftoroplast most often white and some slippery. Most likely it is textolite or fiberglass. But in fact this is not so important. The main thing is that this material is pretty hard and does not wear out.
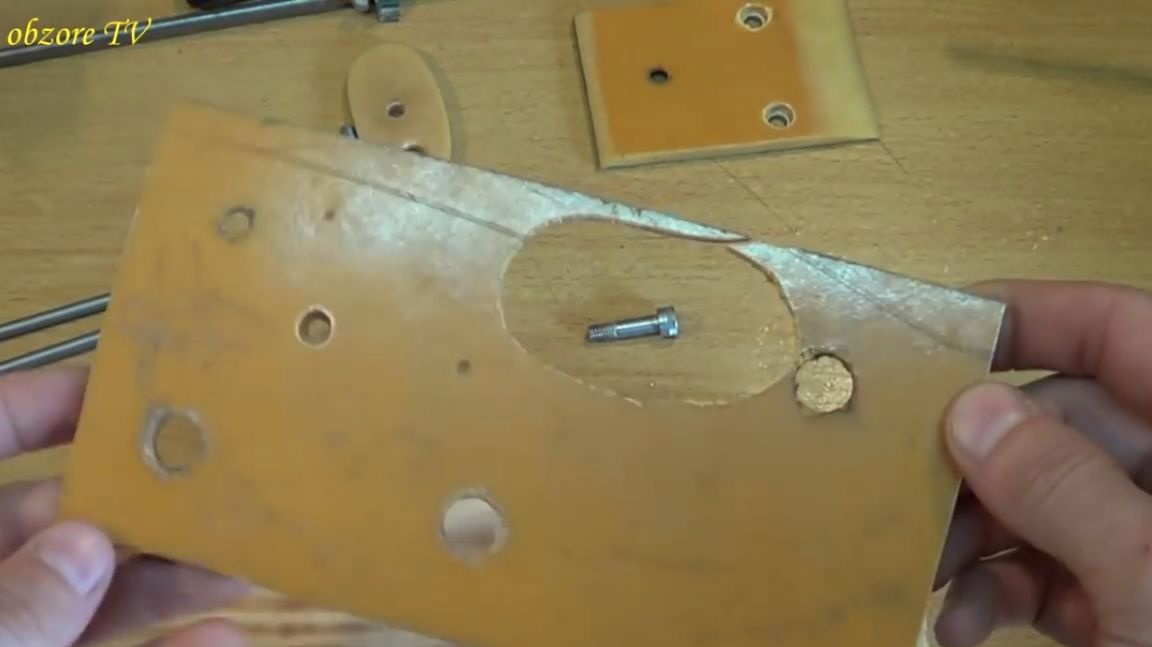
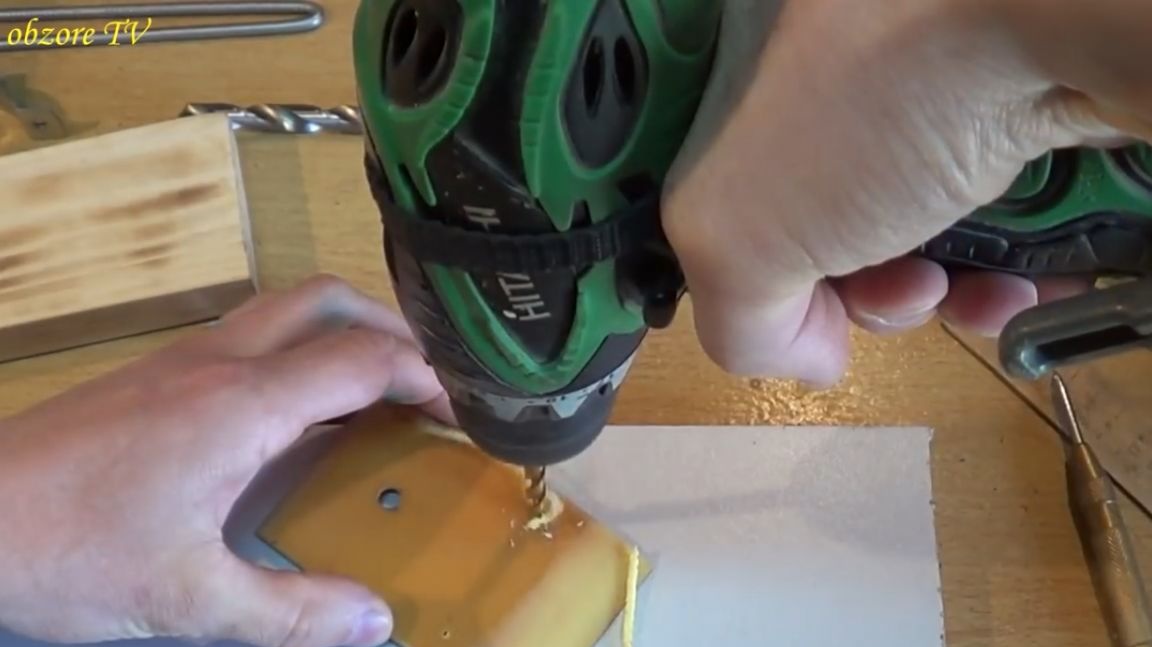
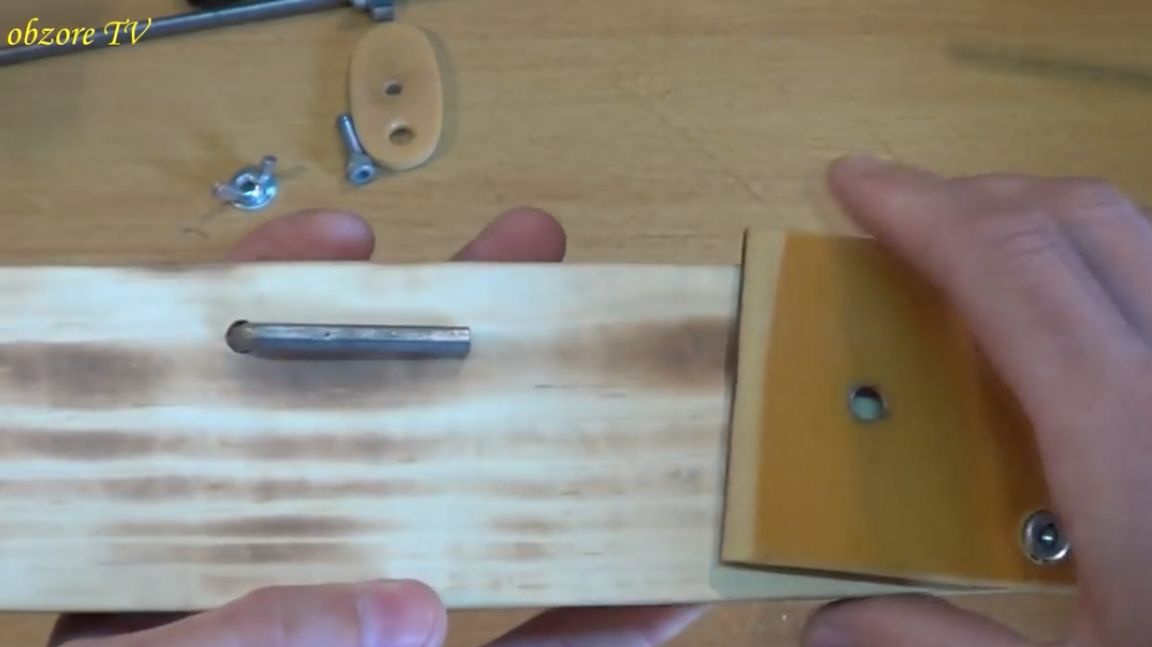
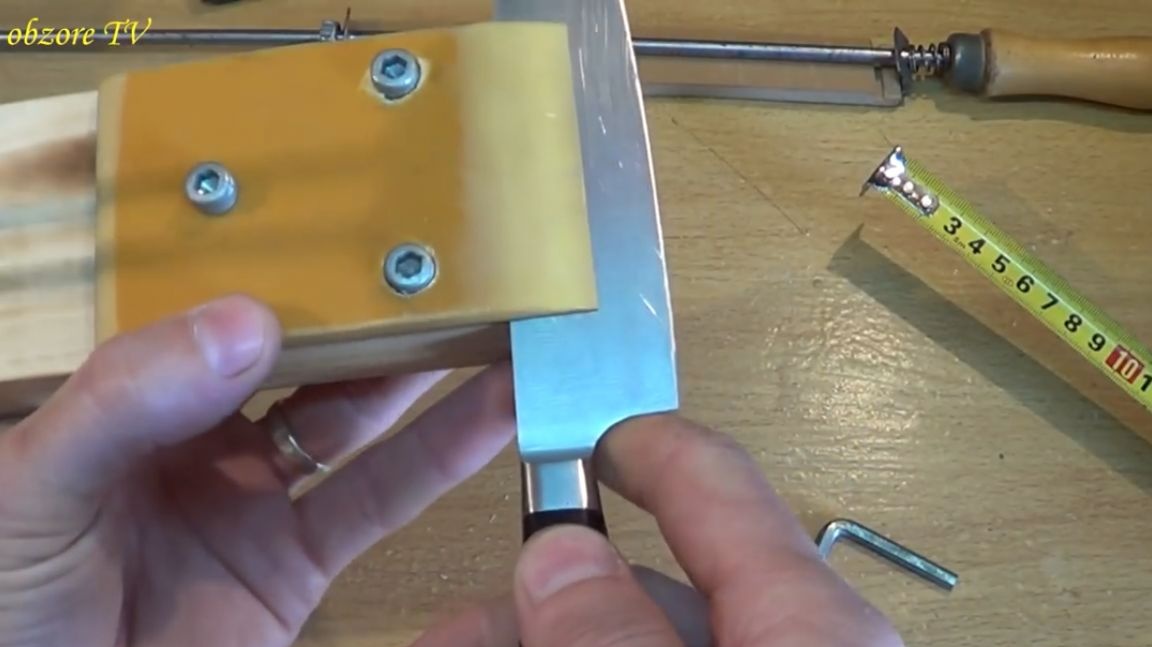
From this piece (fluoroplastic or non-fluoroplastic), the author sawed a kind of pressure plate. He made holes in it, as well as small sweats, so that the caps would go a little deep into the plate.
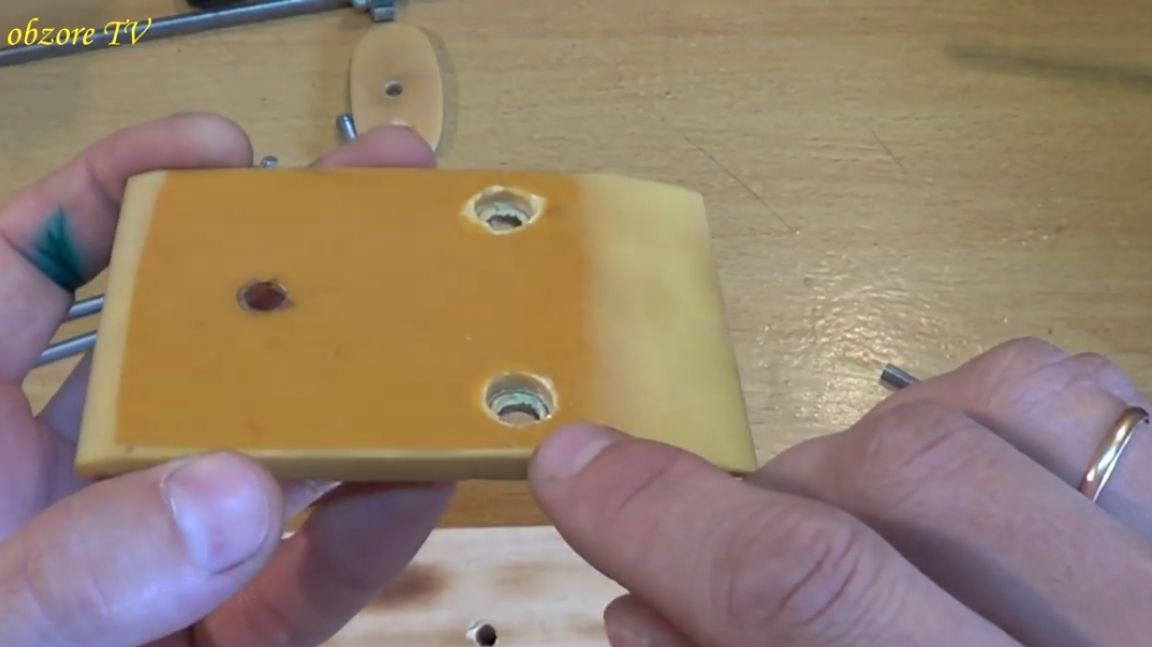
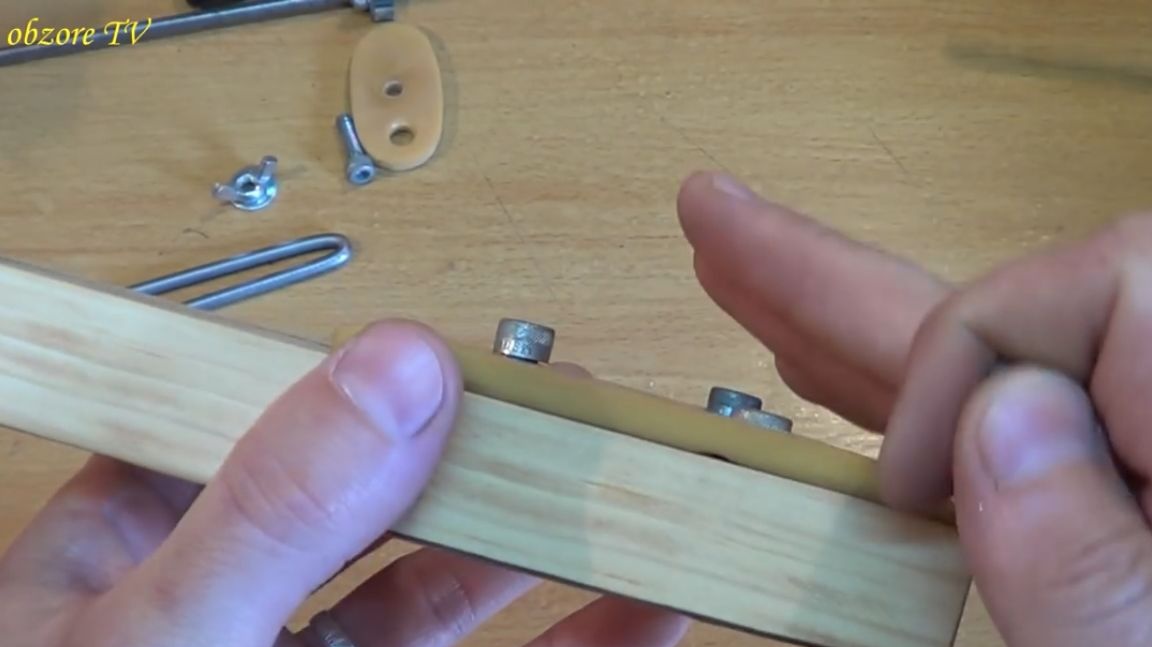
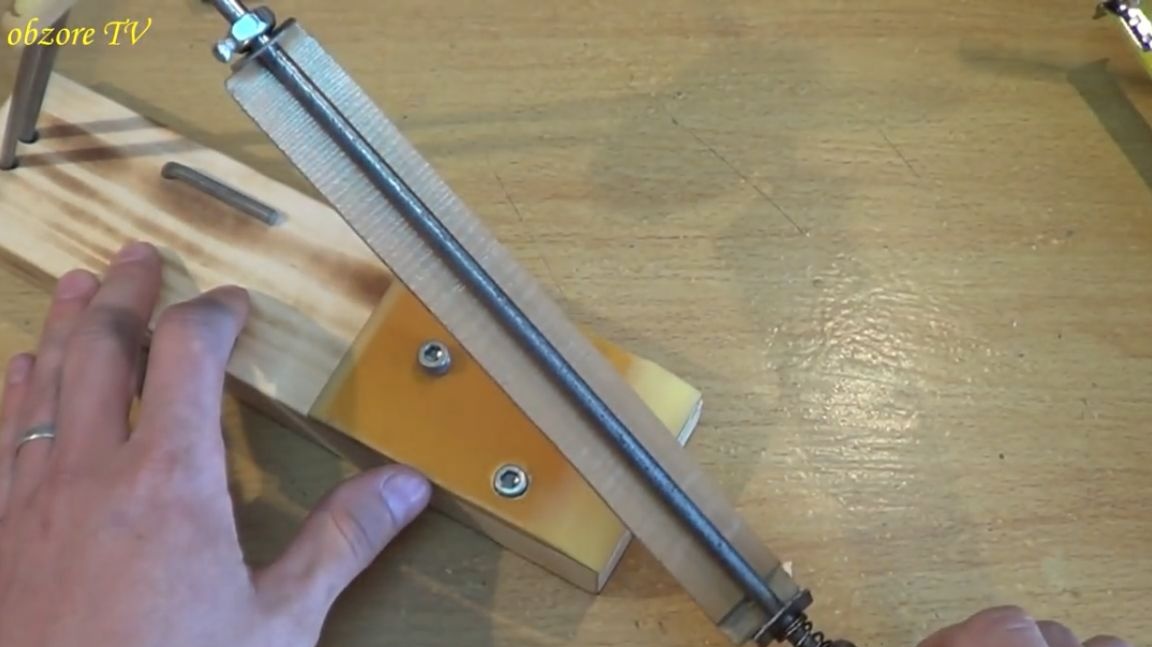
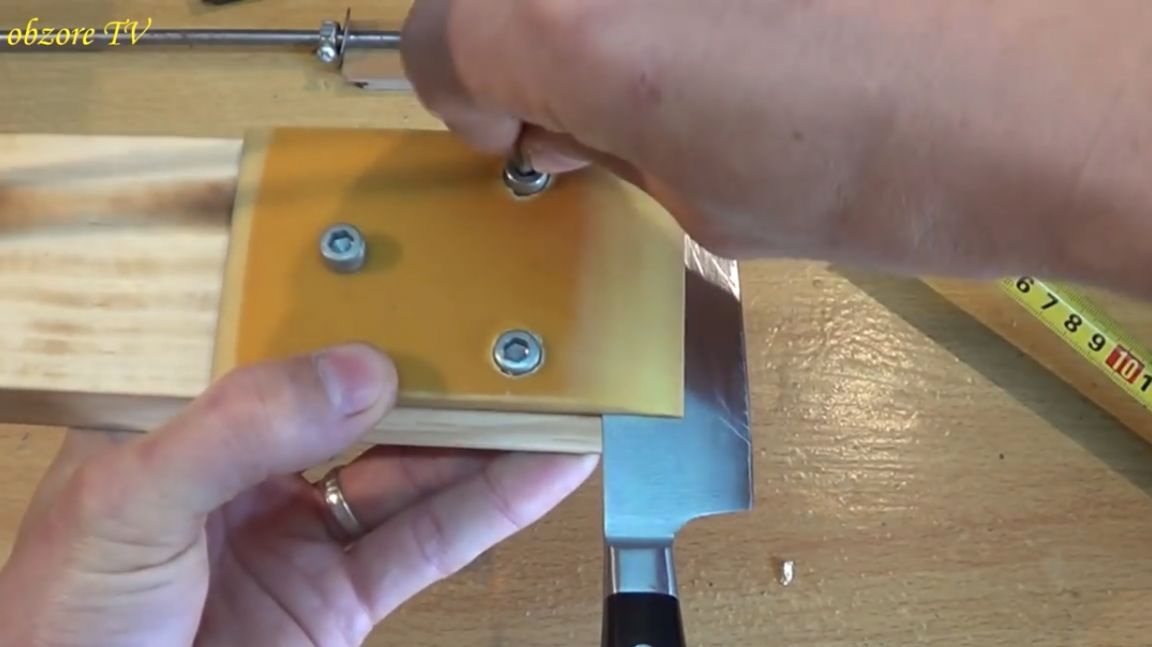
Then we put this plate on a previously made wooden base. Fasten with screws.
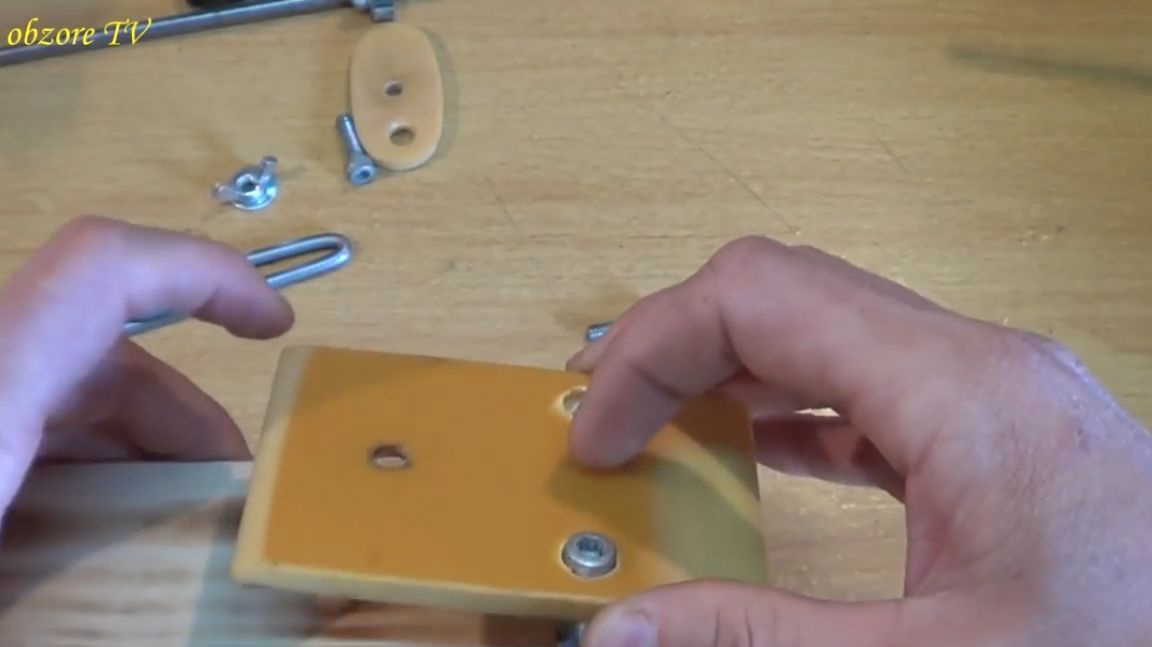
The author took the cogs under the hex key. The master also made a small hole in the base of the future knife sharpener so that this key is always in this sharpener.
The whole thing is clamped and they (cogs) are practically not visible on the plate.
And here, the master did not begin to make potai, since the grinding part of the tool of this screw would not touch.
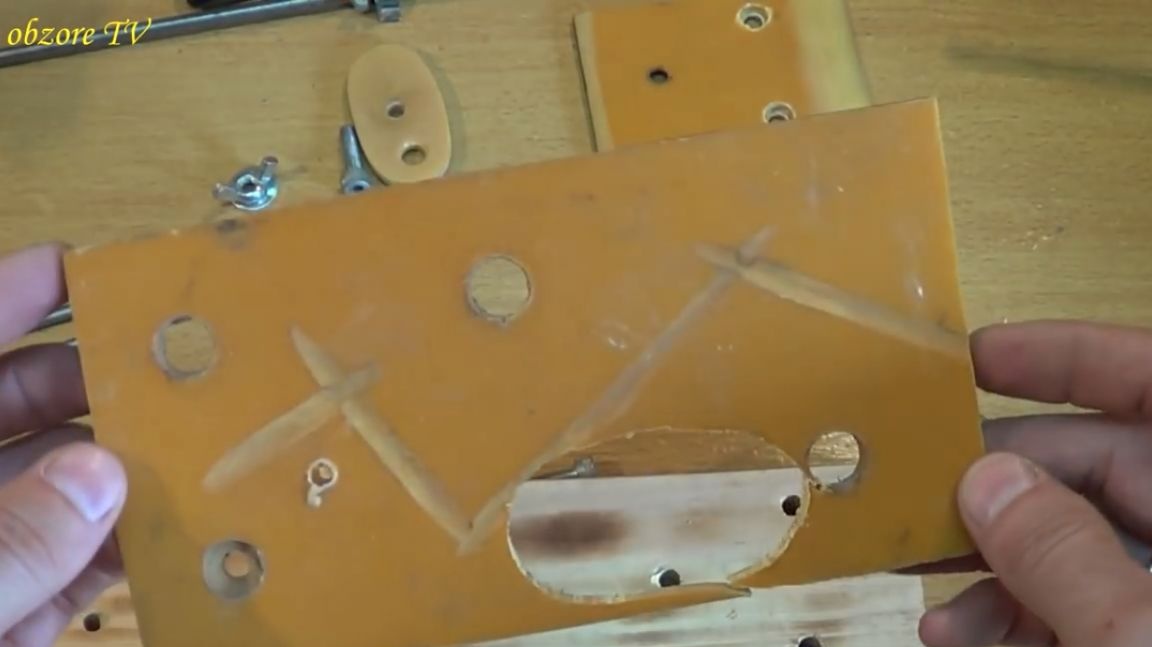
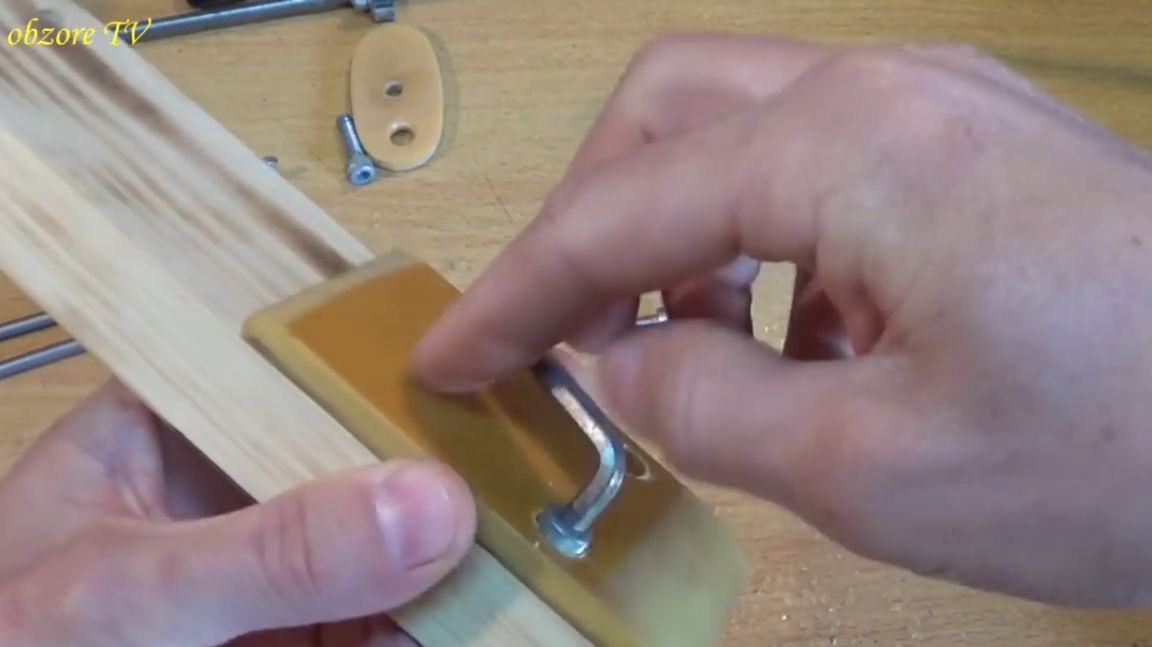
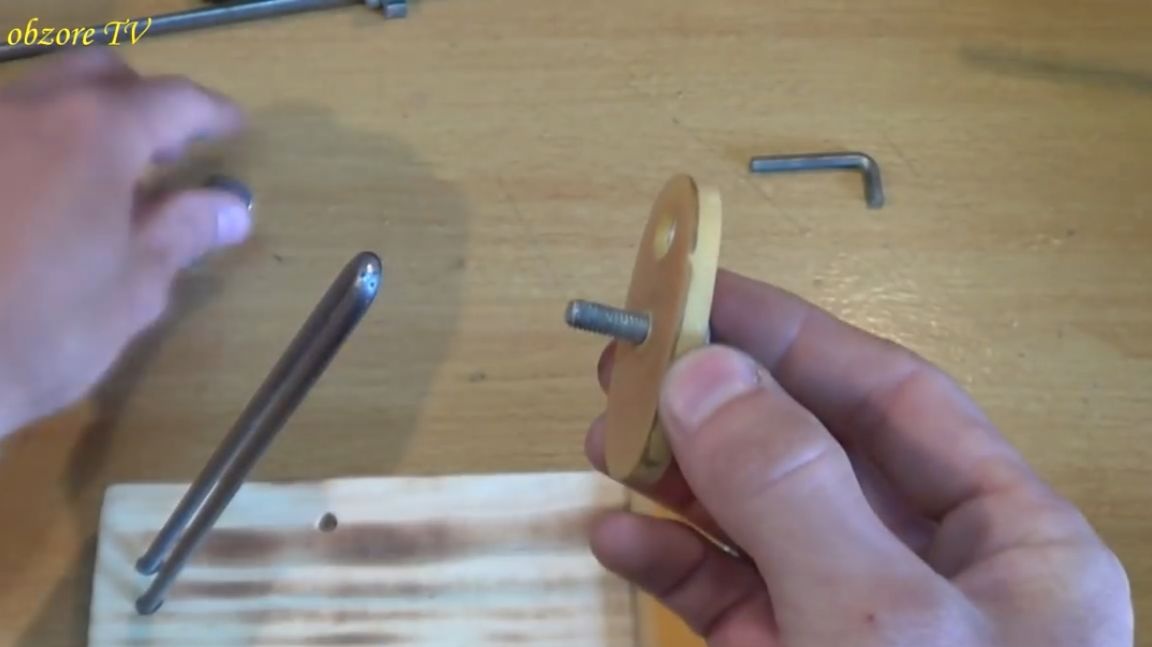
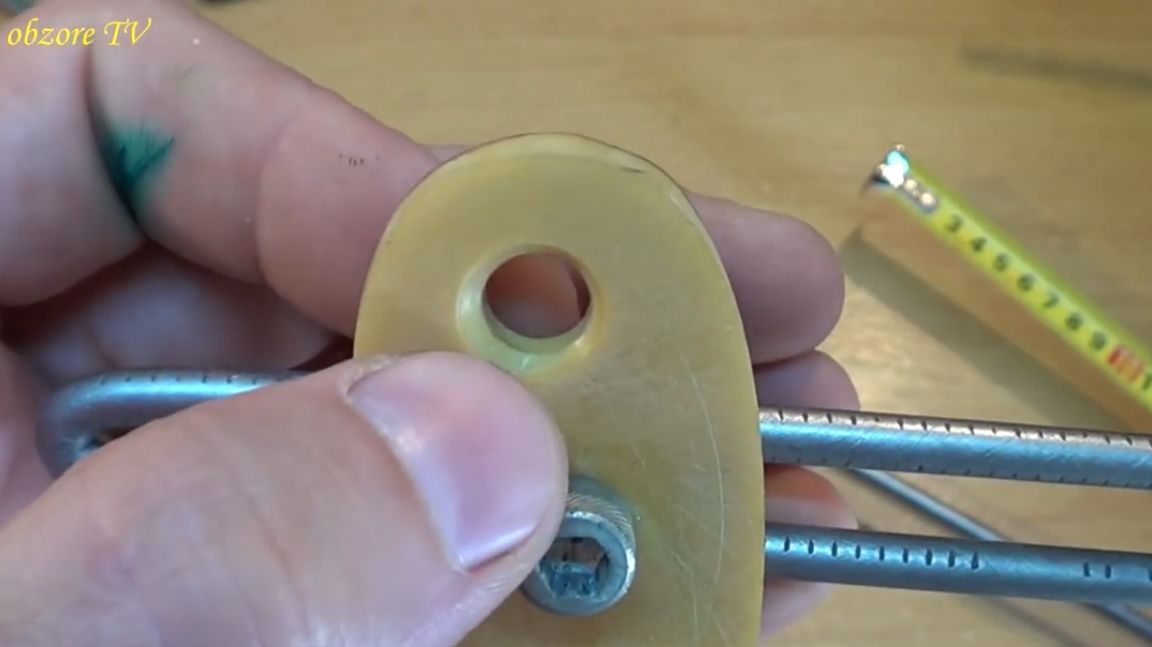
Further, from the same fluoroplastic, the author made such a plate.
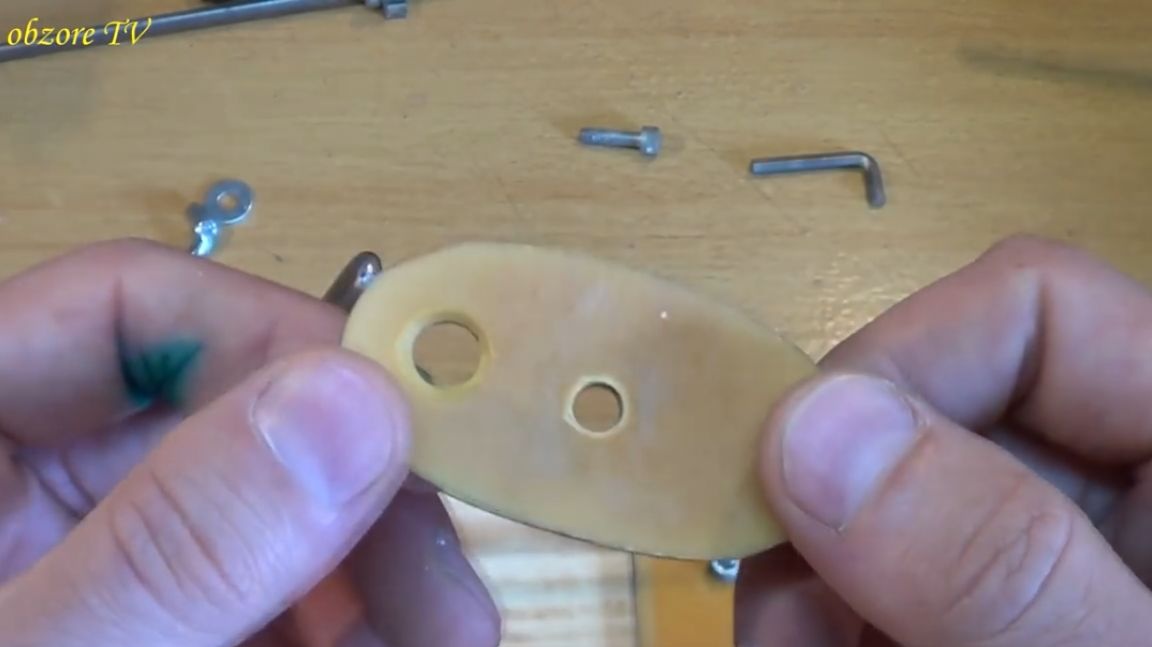
In this record I made 2 holes for the same hex screw.
Further, this whole thing is put here and pressed with the help of a lamb.
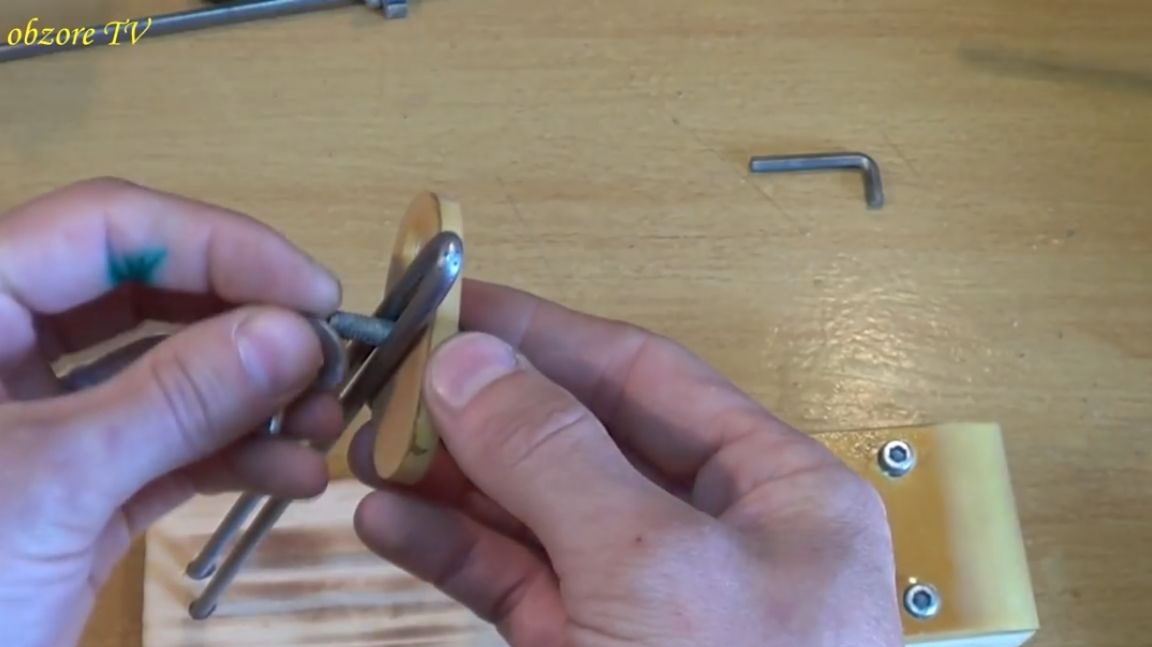
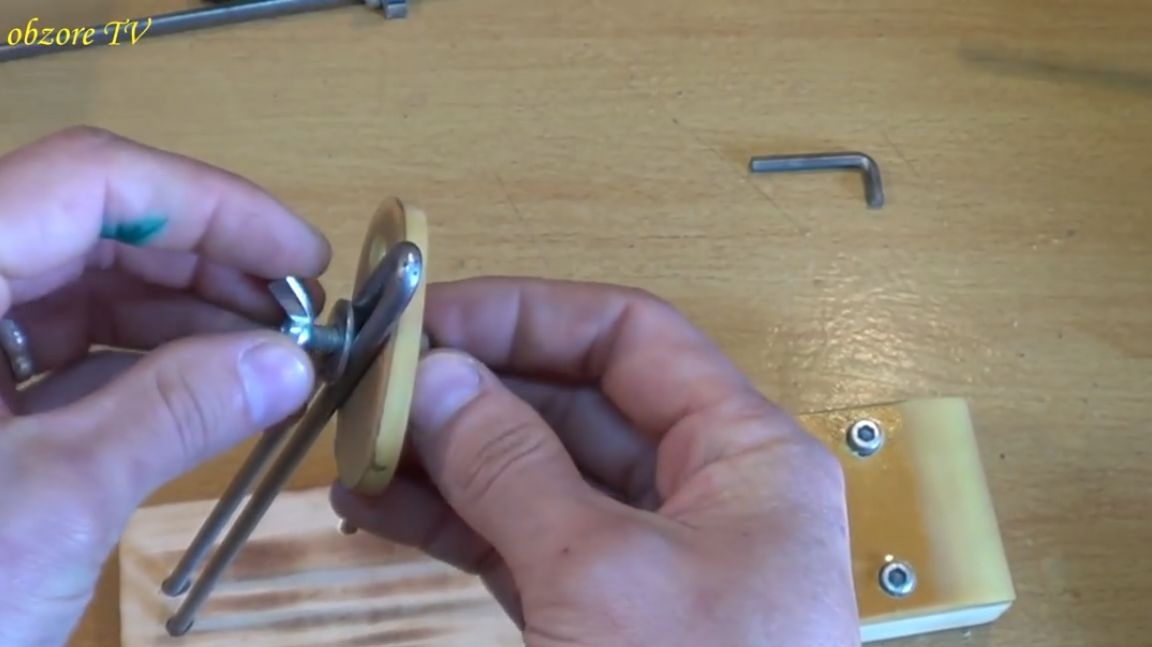
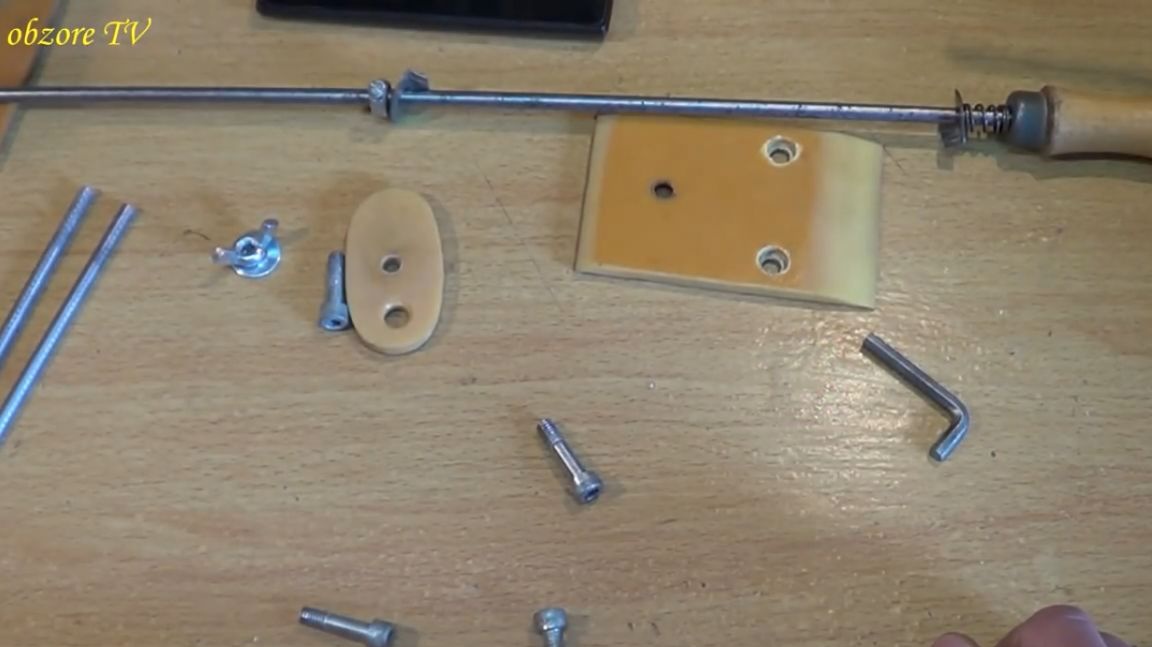
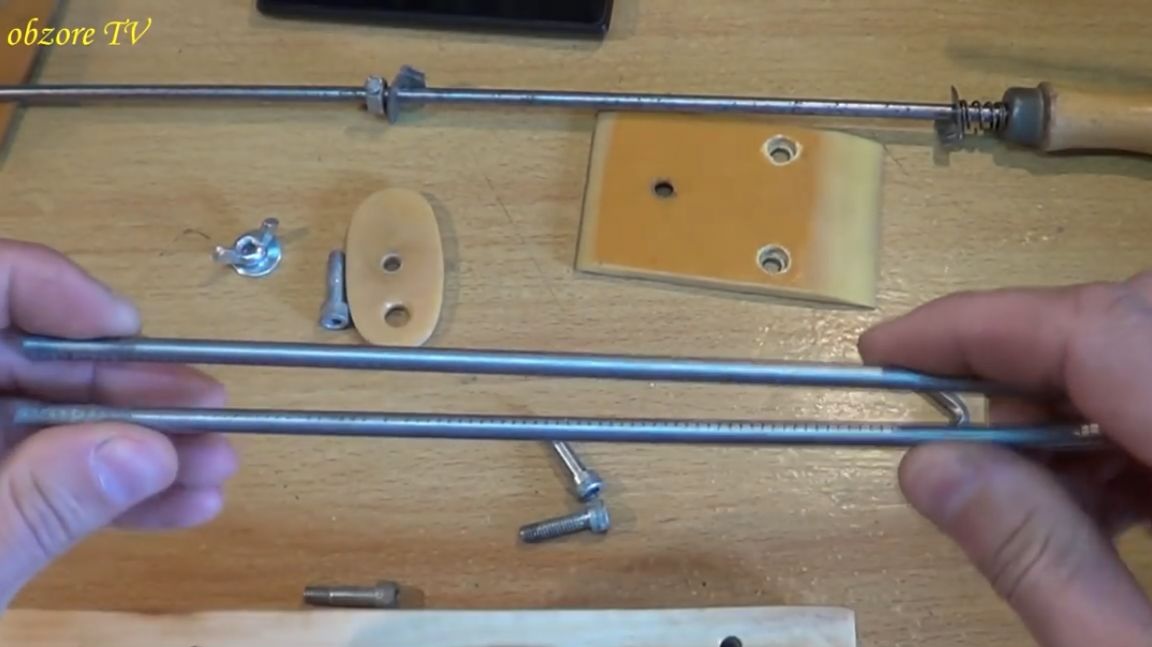
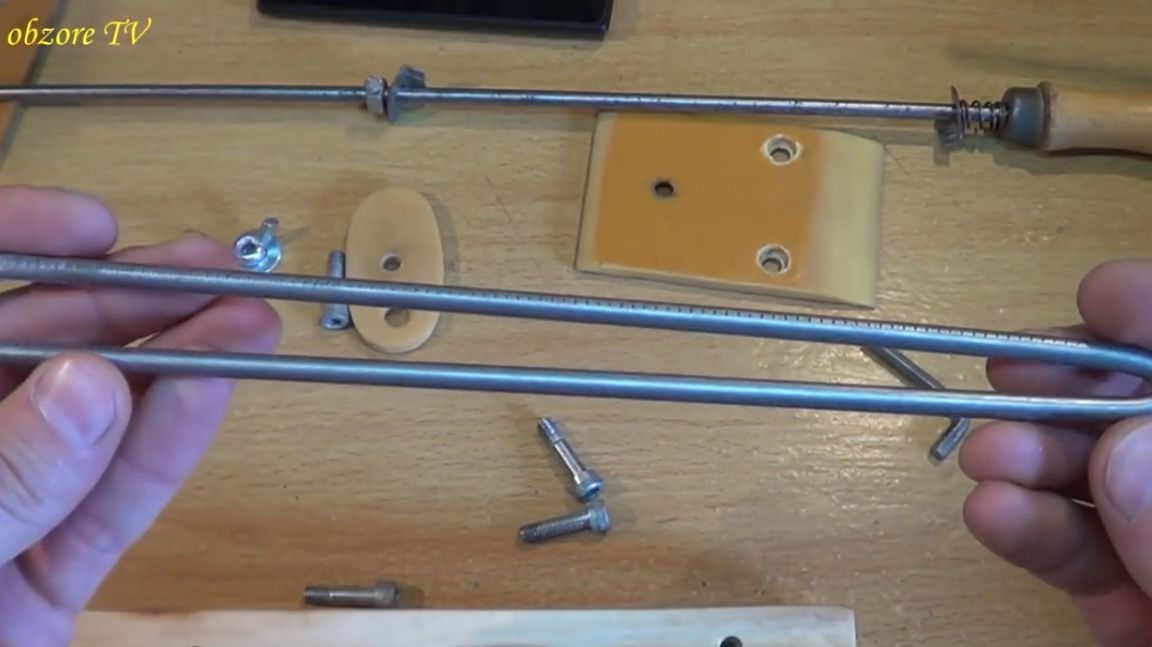
Then the master made just such a guide for grinding stones.
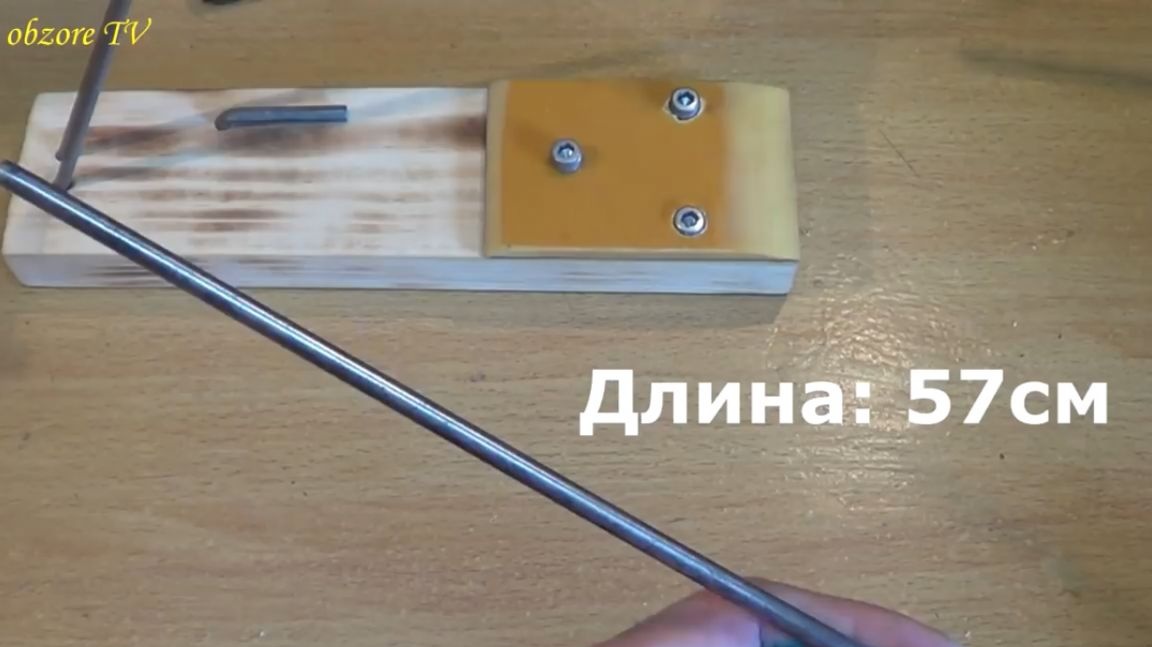
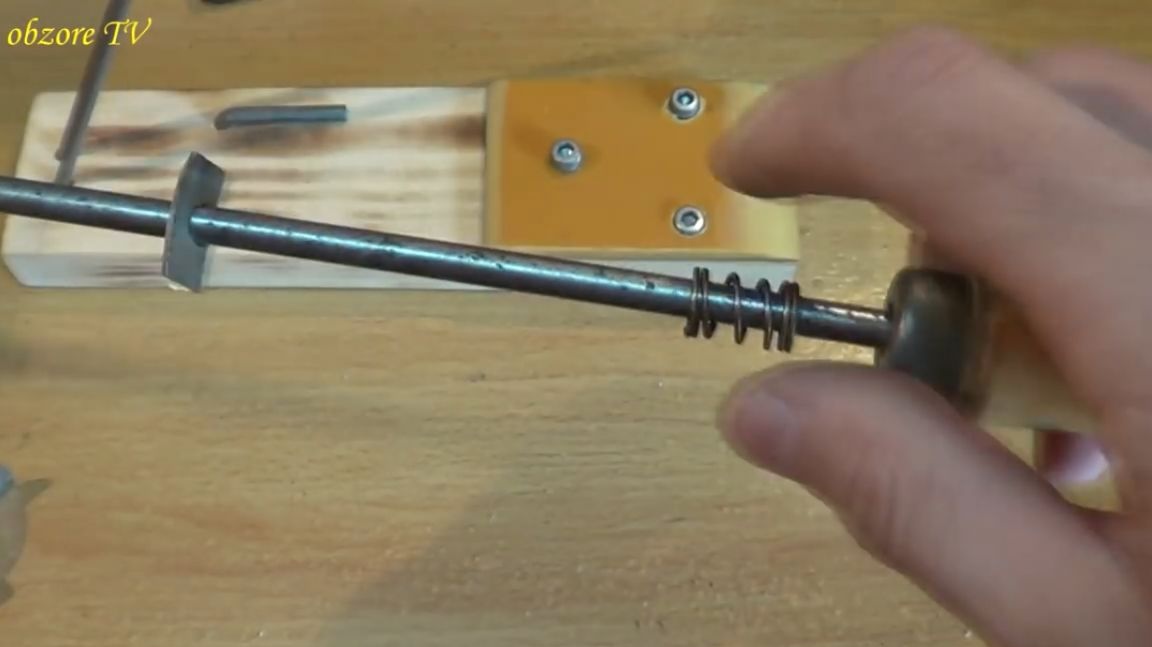
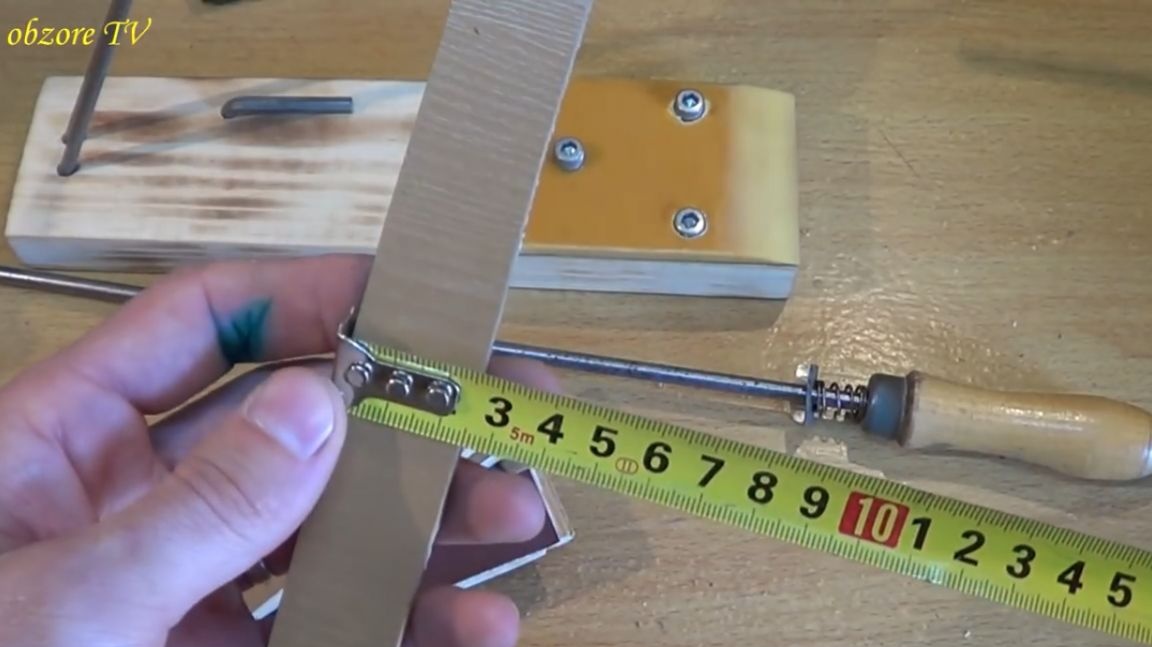
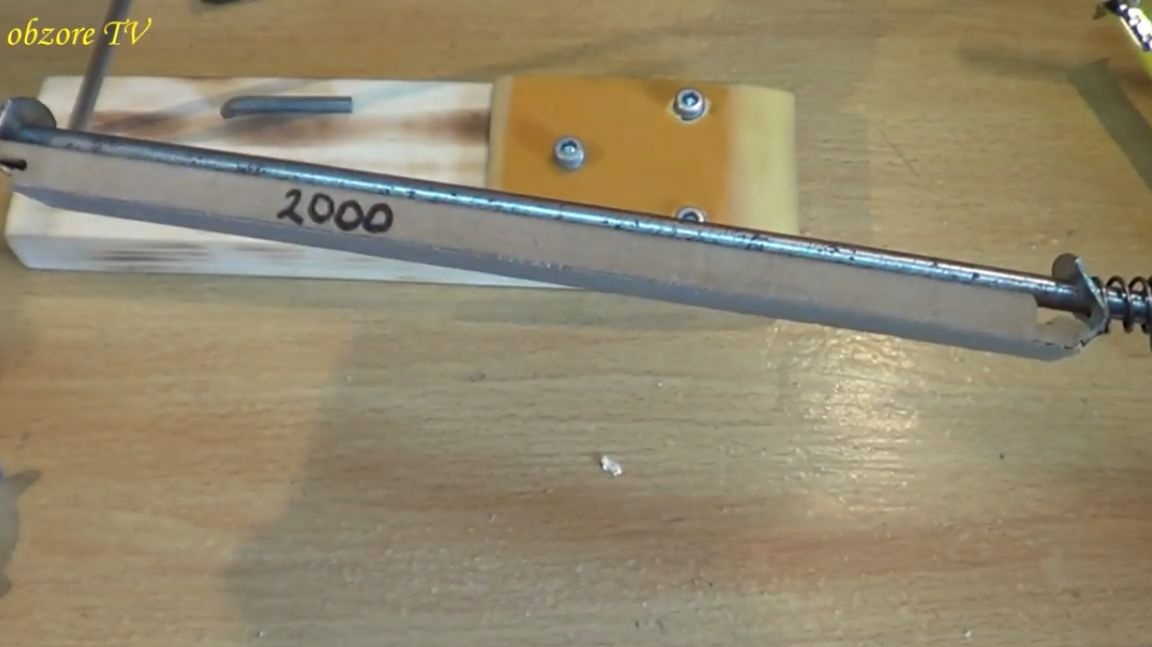
The length of the guide is 57 cm. Its author made of ordinary steel bar. He also cleaned it up. And on one of the ends I put just such a pen (it seems to be from a Soviet old file).
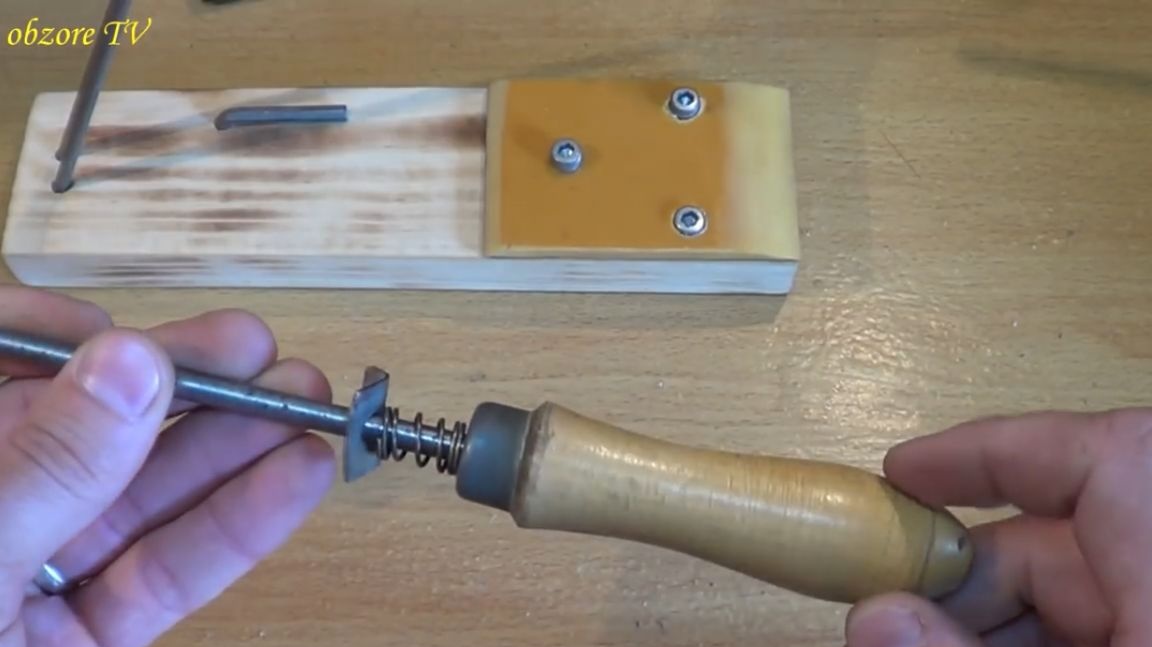
You can also strengthen this connection by putting the wooden handle from the file on the glue, but here it is itself pretty tightly entered, nothing falls out.
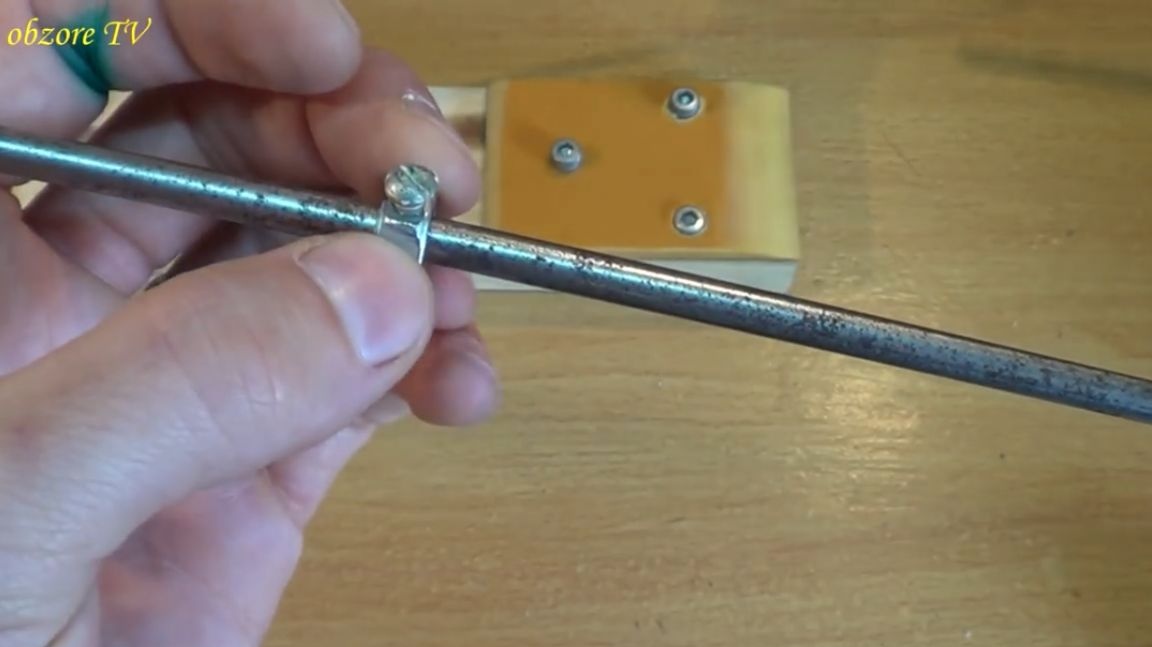
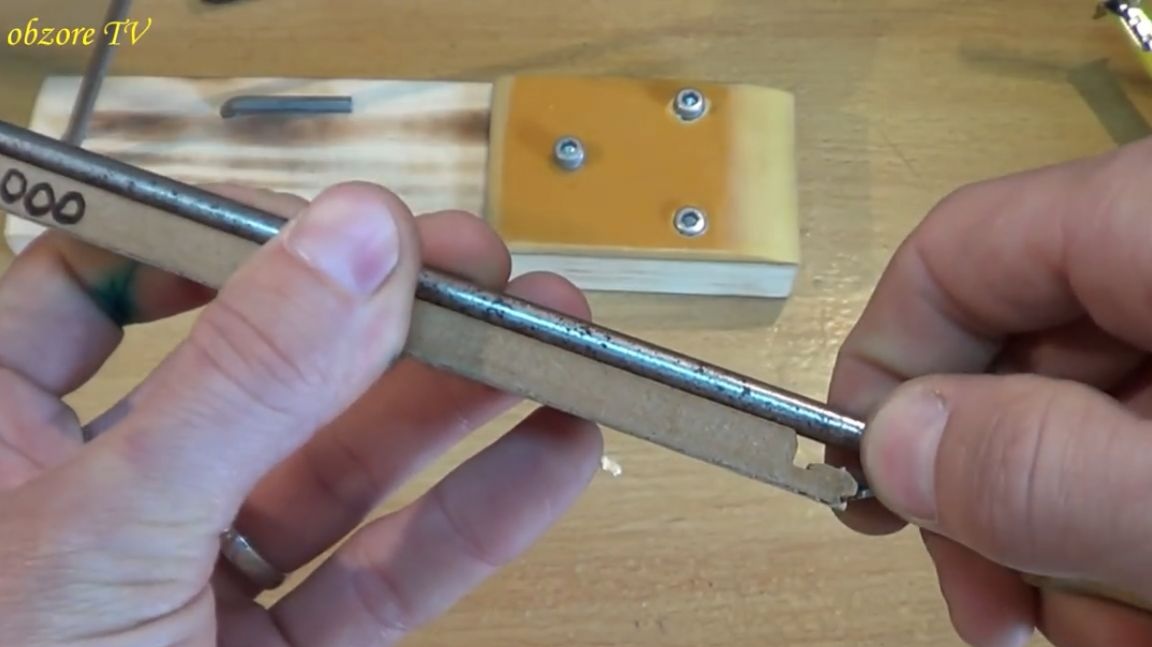
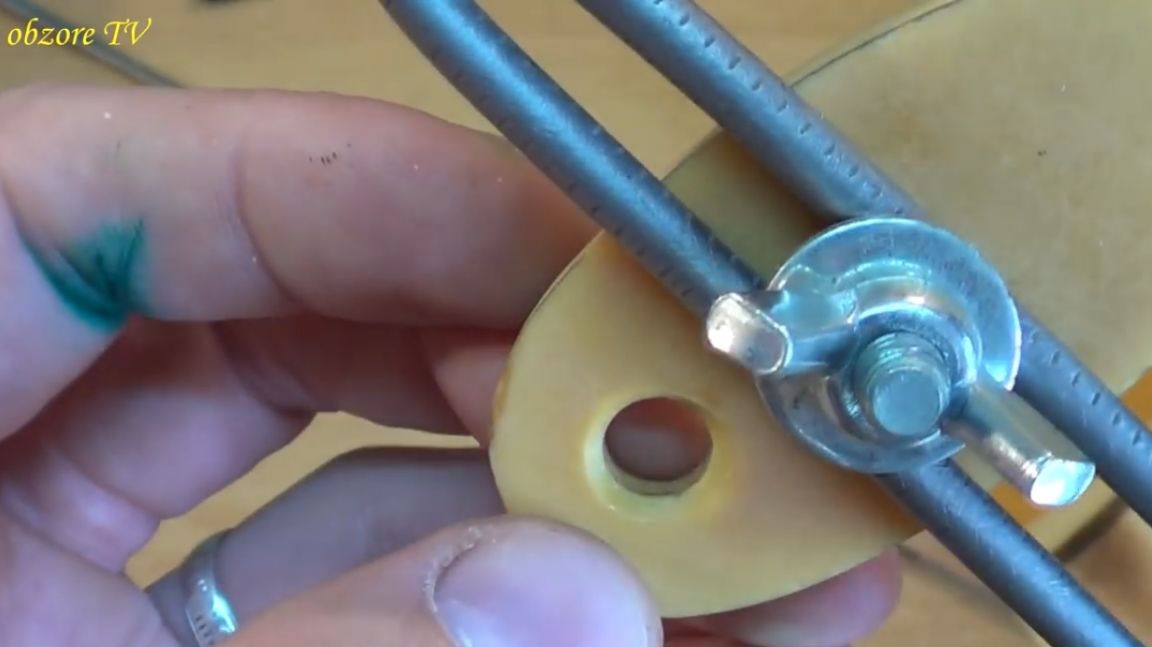
Regarding the fastening of the grinding stones themselves. The author took a small piece of the clamp, cut it and made holes. As a result, we got such little corners, two identical.

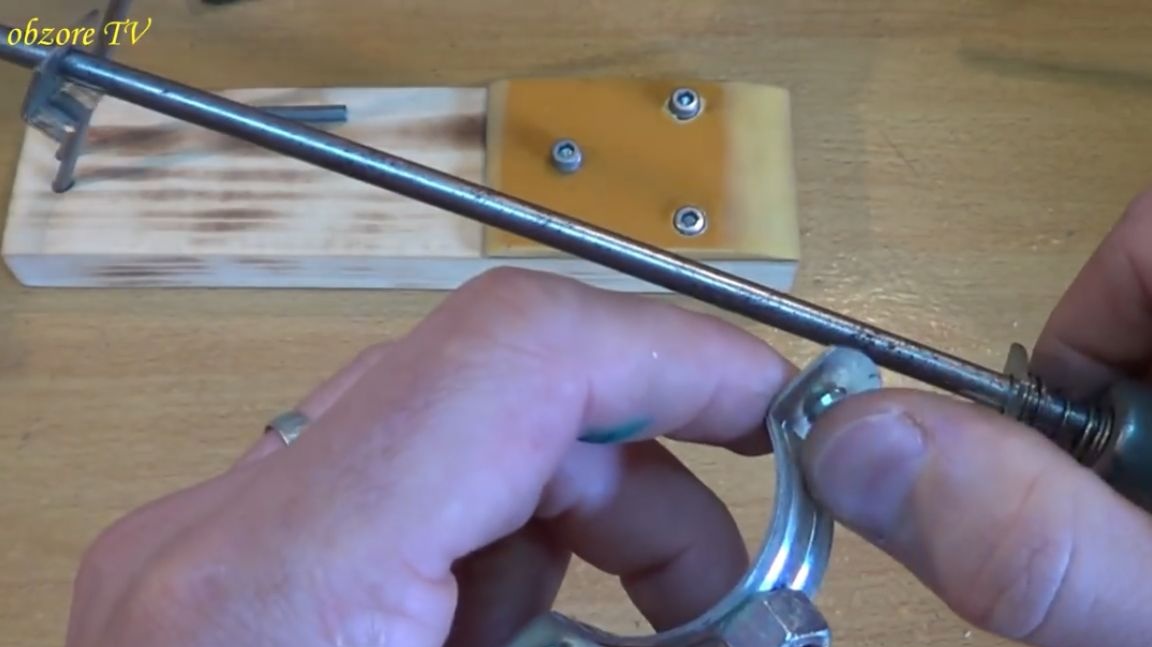
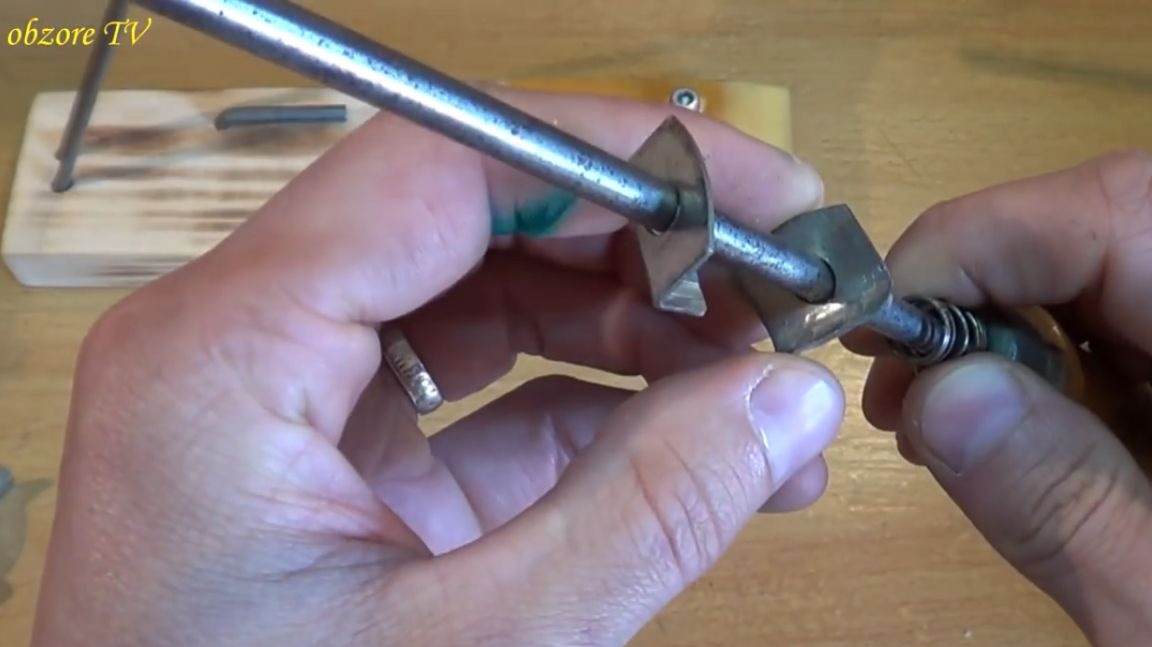
And here I put a nut with a threaded thread and a clamping screw.
Also, the master put a spring on the guide so that it was possible to change grinding stones without unscrewing the nut with the clamping screw.
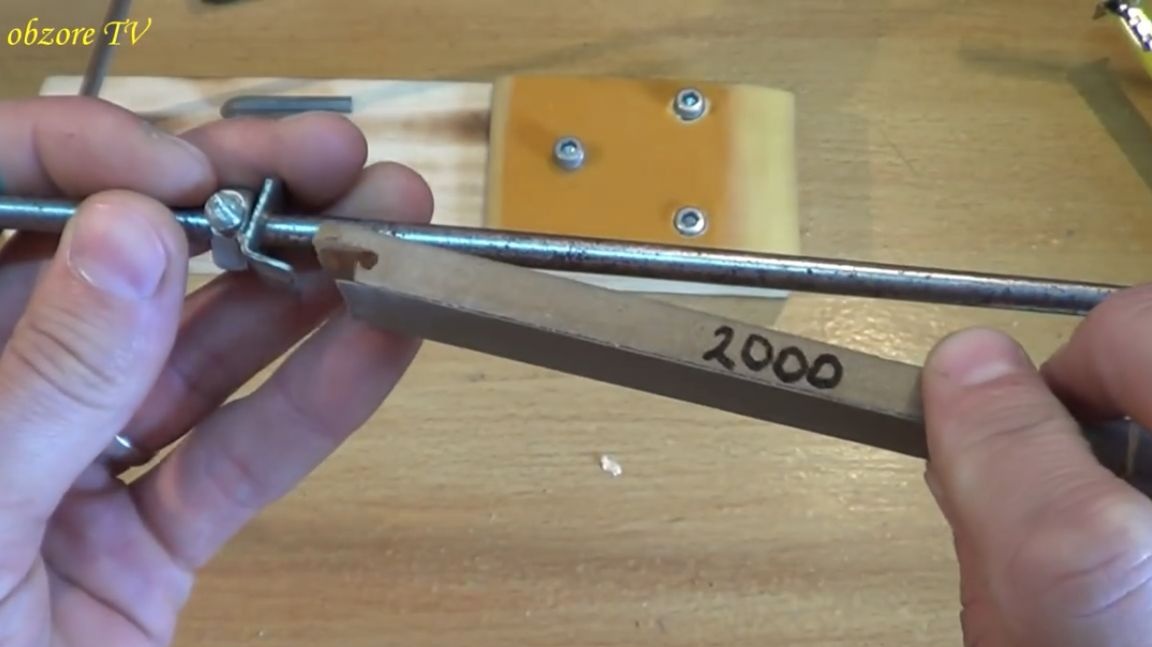
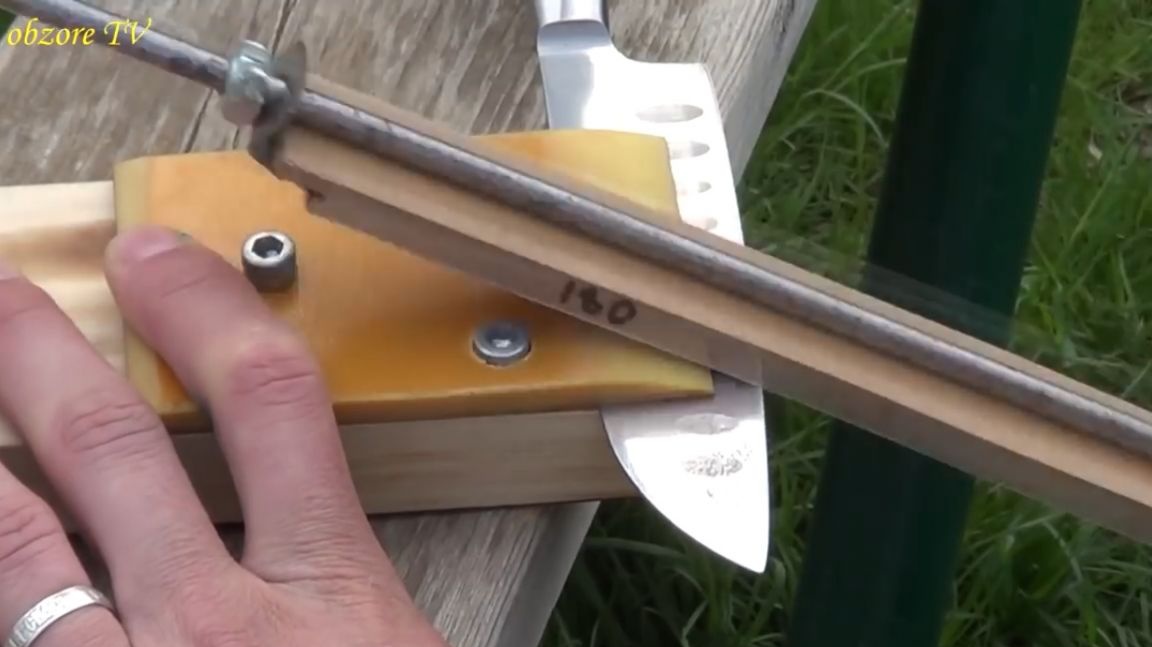
The grinding stones themselves, or rather the foundation for these stones, the author made of an ordinary piece of laminate. Just cut it into strips.
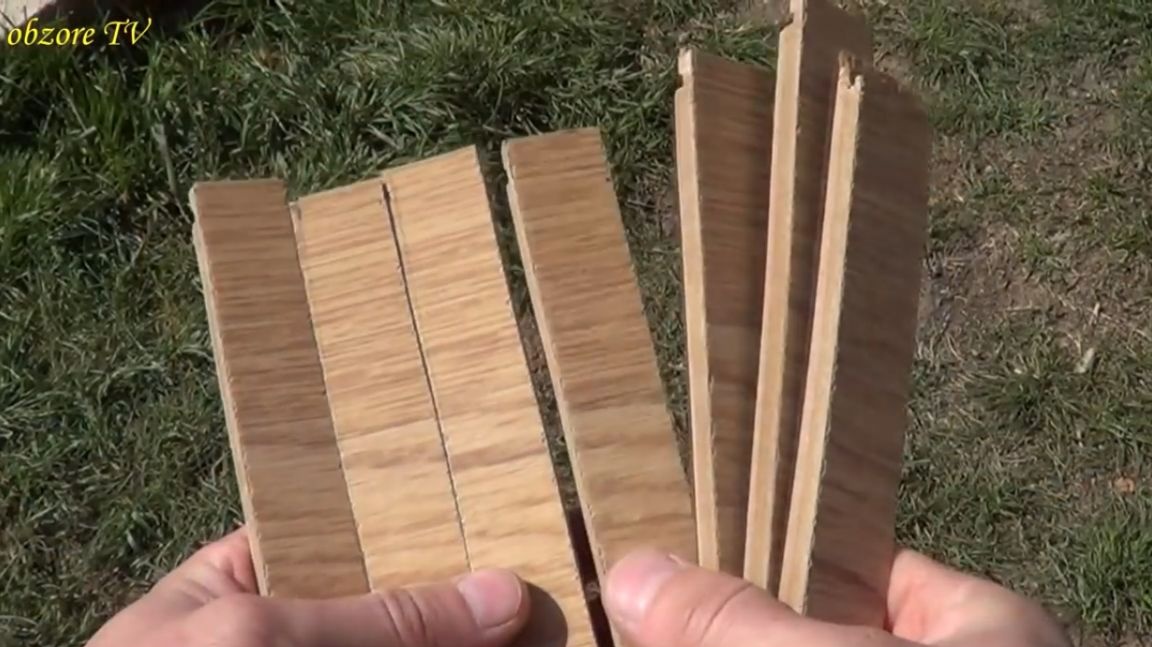
The width of the strips is 2.5 cm, and the length is about 20 cm.

There are already ready grooves on the laminate pieces, in fact, where the corners of the guide part of the device will become.
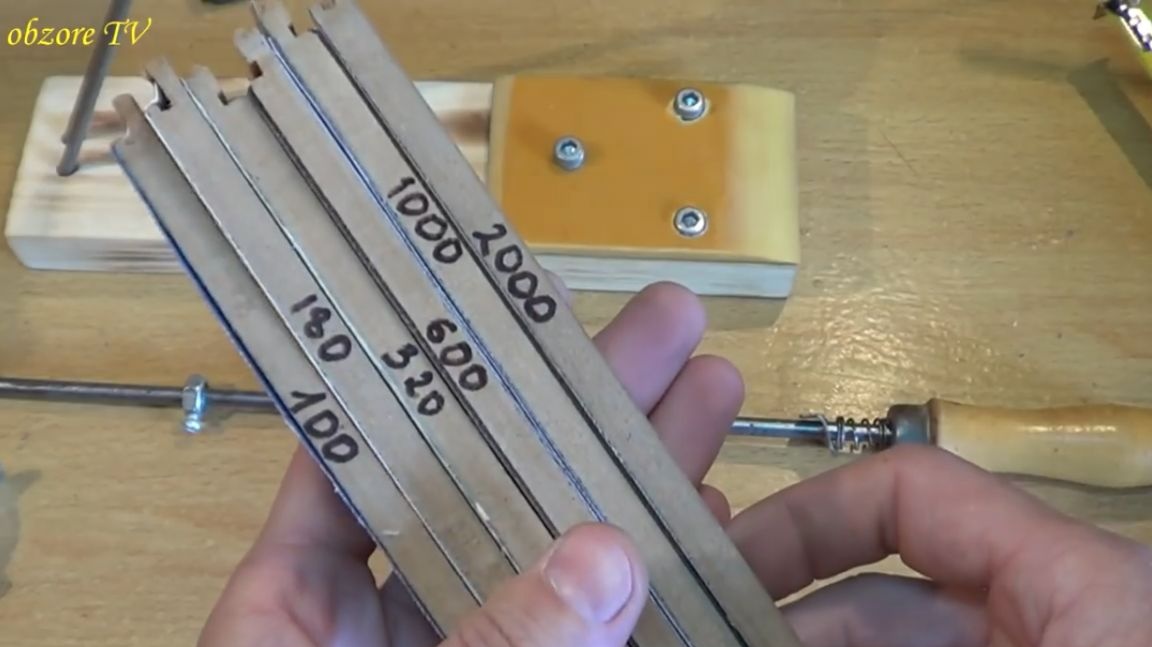
Then the author pasted sandpaper on the pieces of the laminate using double-sided tape and signed which one where. And, actually, this is how it all turned out:
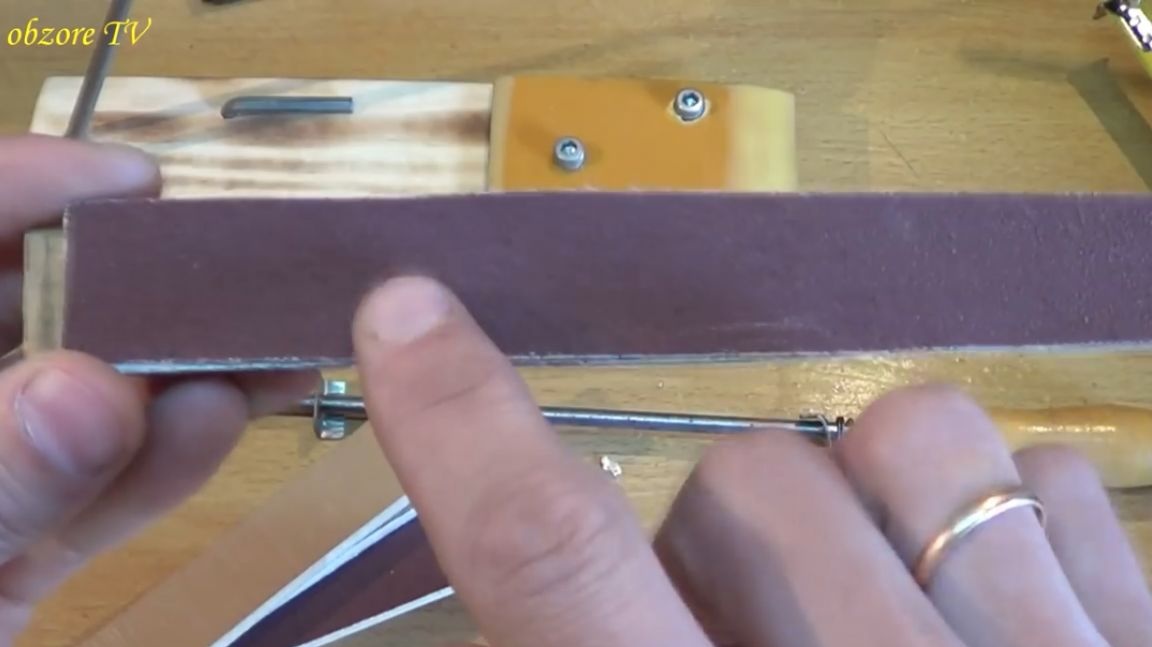
This whole thing is put quite easily. With the groove of the laminate, we get into one corner of the guide, and with the second corner we press the grindstone using the spring.
All. Nothing falls out anywhere. Everything lies smoothly and fairly tightly.
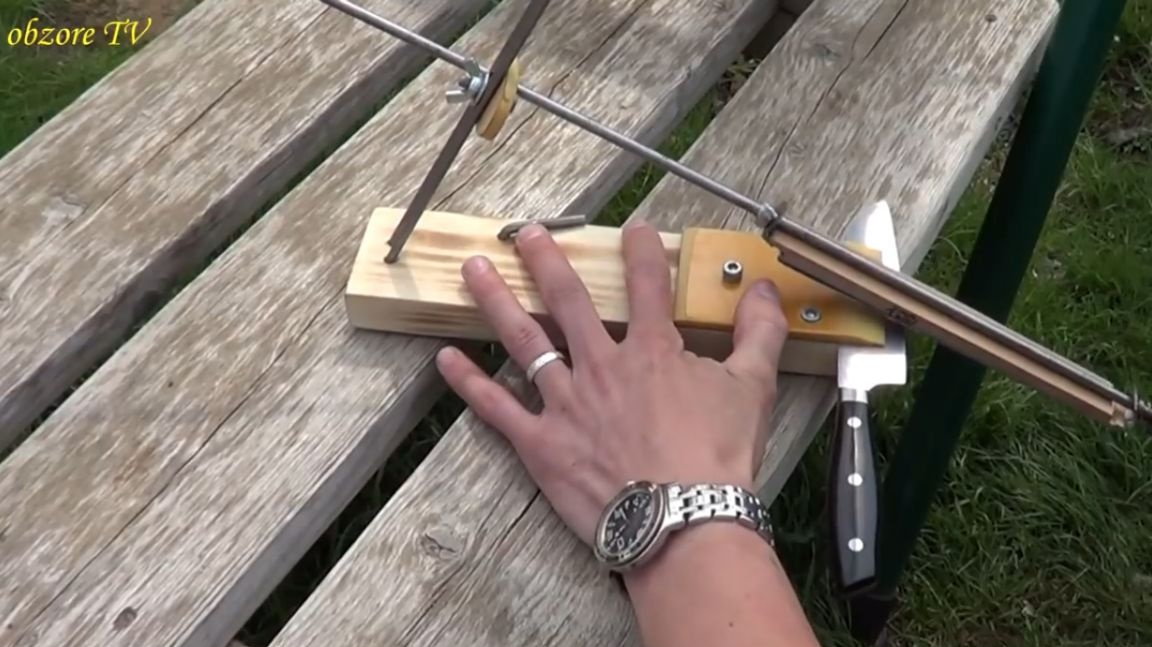
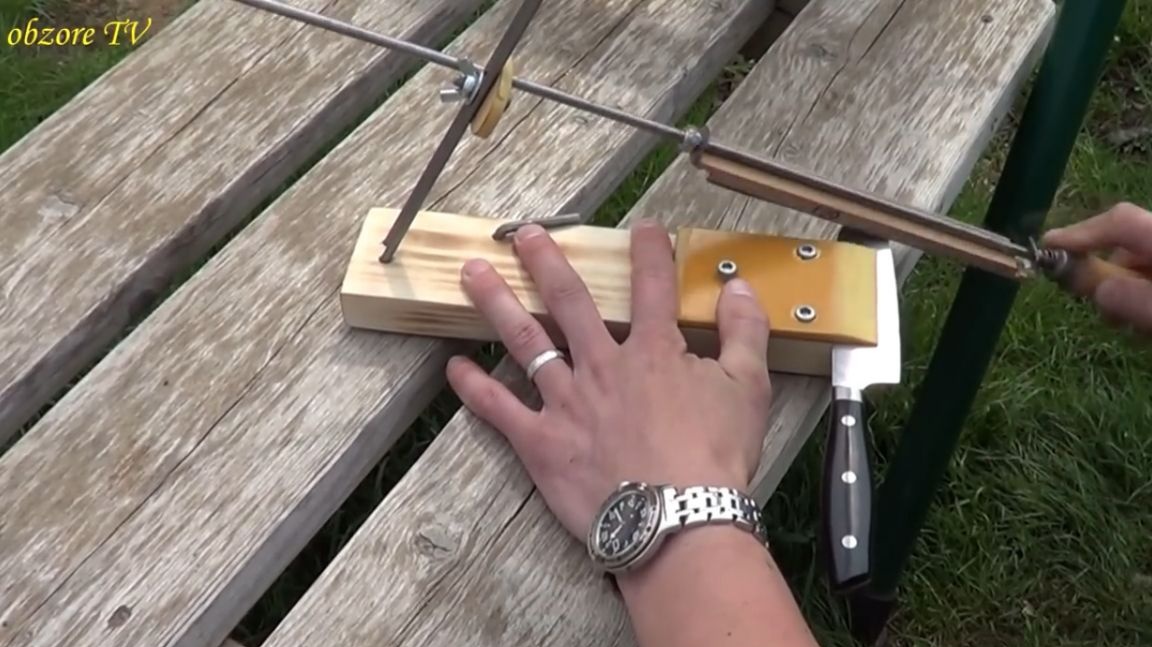
Let's continue to assemble our device further. We insert the guide with the grinding stone fixed on it into the hole previously prepared for it, and you can safely start the process of sharpening the knife.
The move is quite large due to the fact that here the author took a small chamfer on both sides.
Due to this, the course increased. We put the knife here.
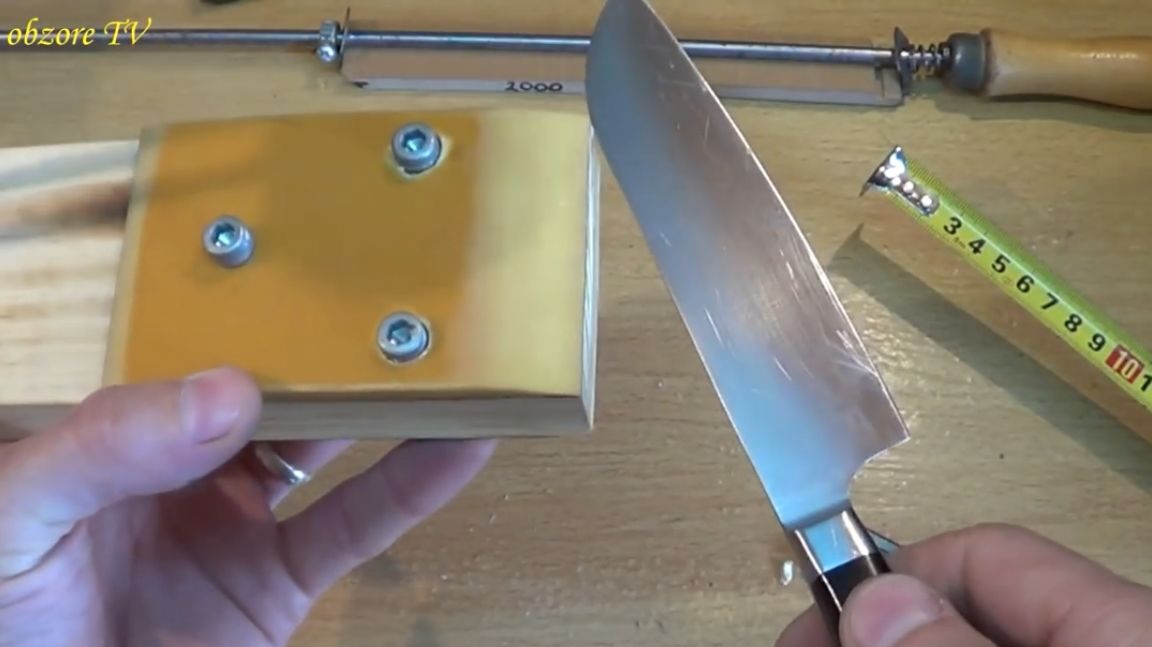
To do this, first weaken, and after installing the knife, tighten the screws.
Everything is clamped very, very tightly, the knife does not fall out.
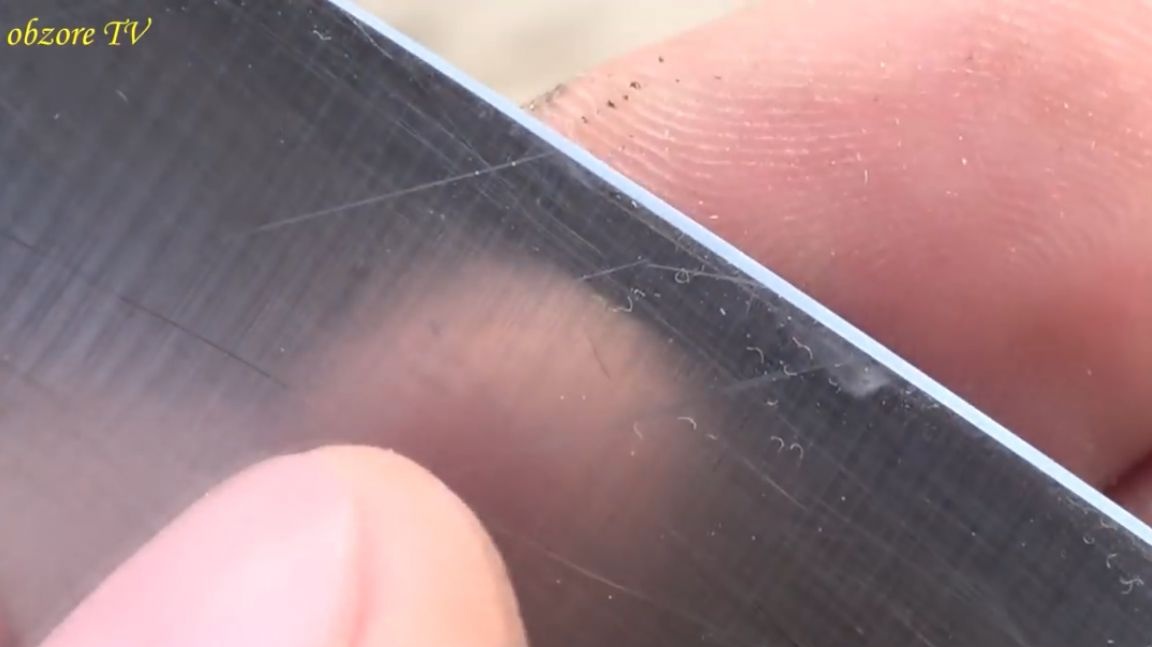
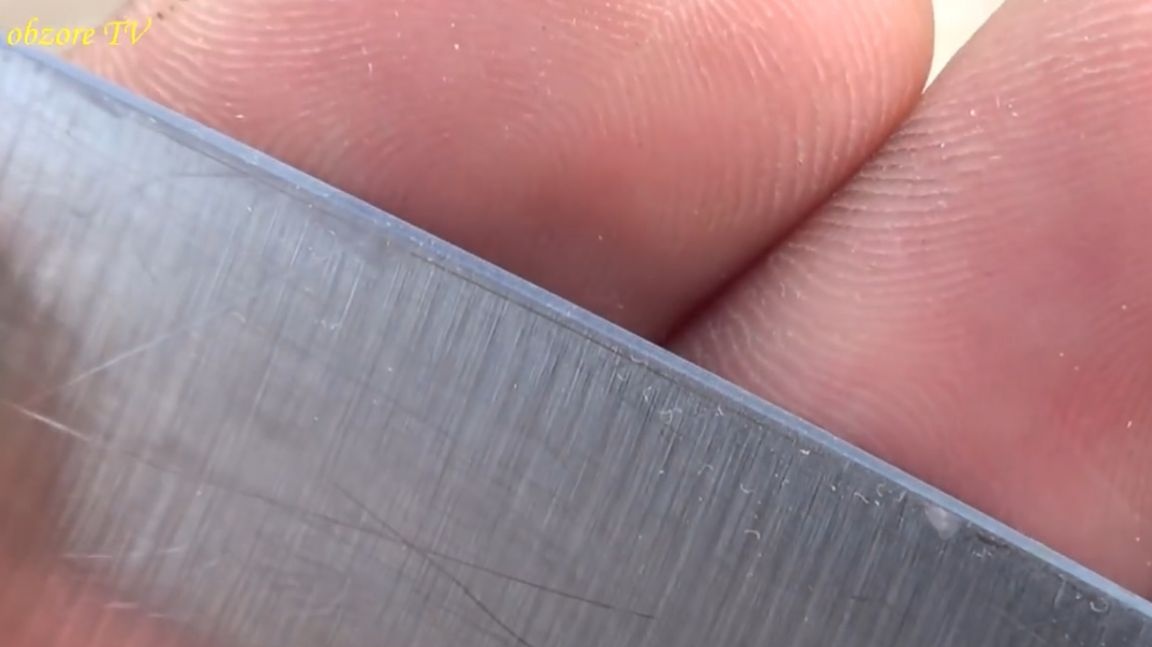
Well, now, let's try to sharpen this knife and see what happens.
Well, actually such a sharpening turned out.
Let's go try it on a piece of paper, for example.

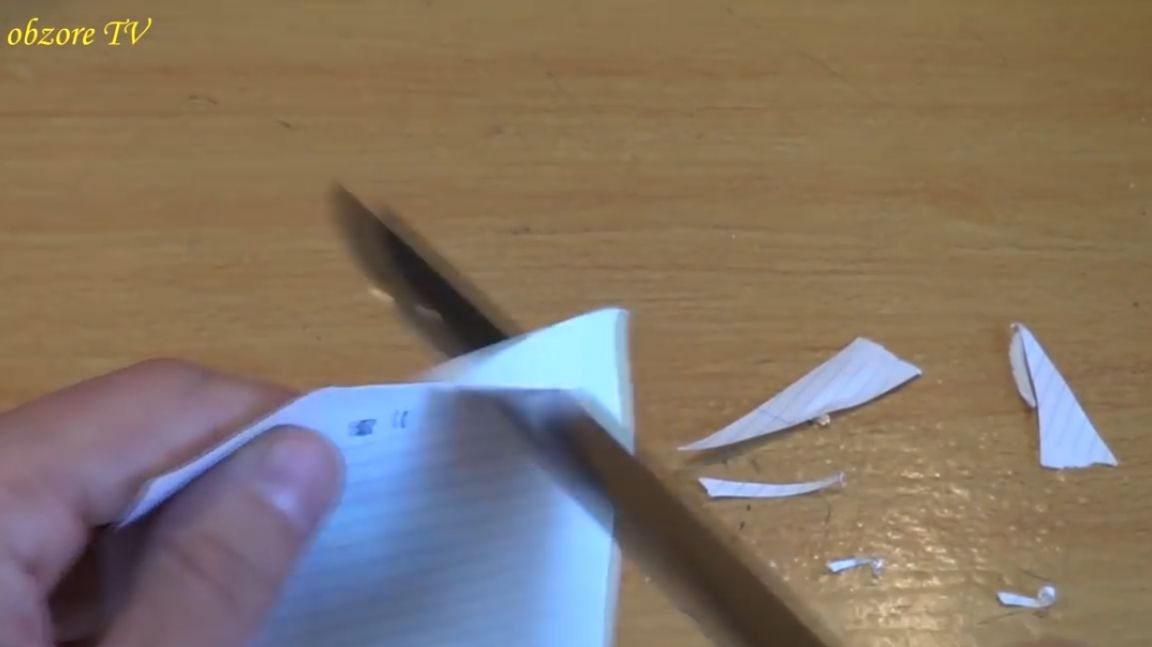
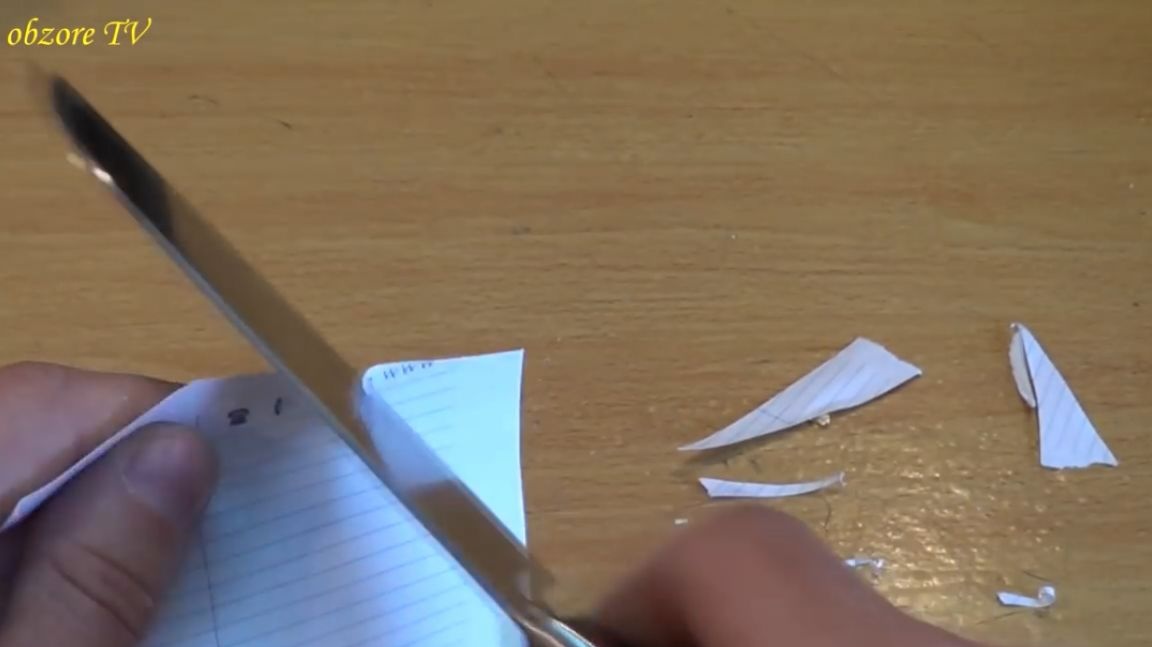
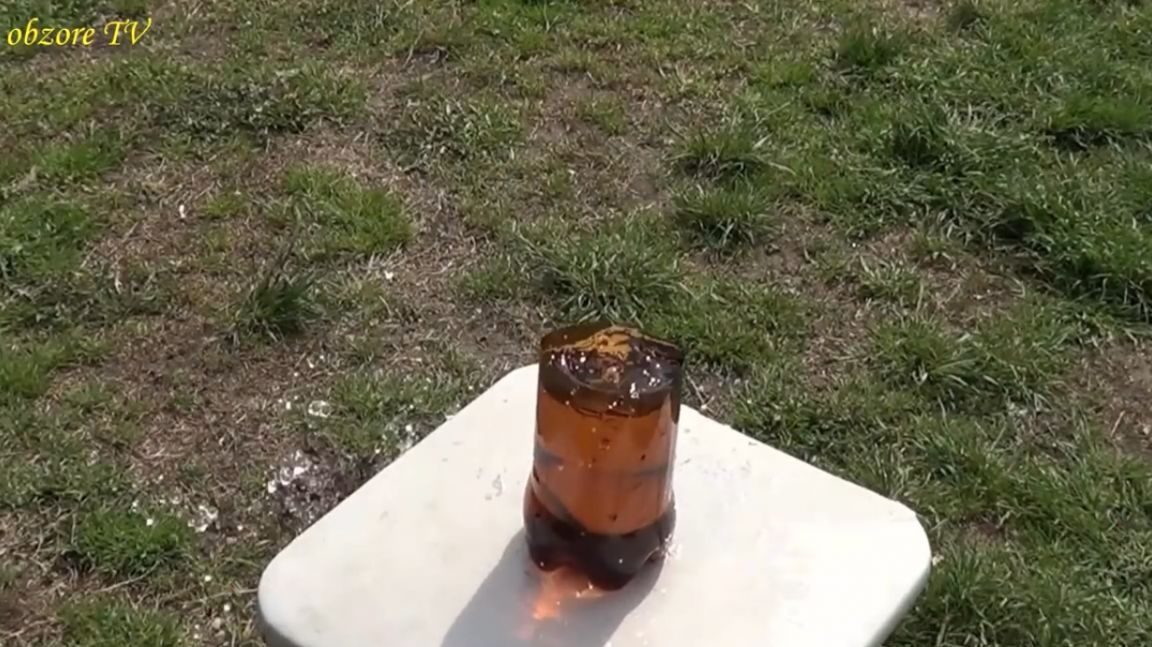
Excellent! But can such a knife handle a plastic bottle filled with water? Now we find out.
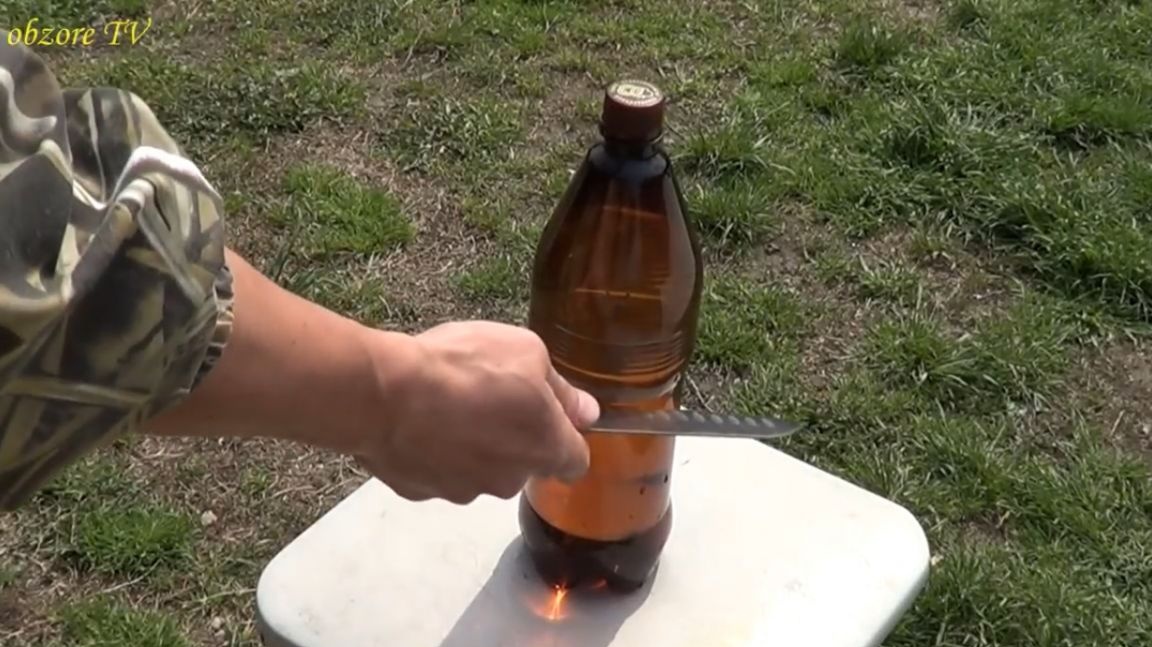
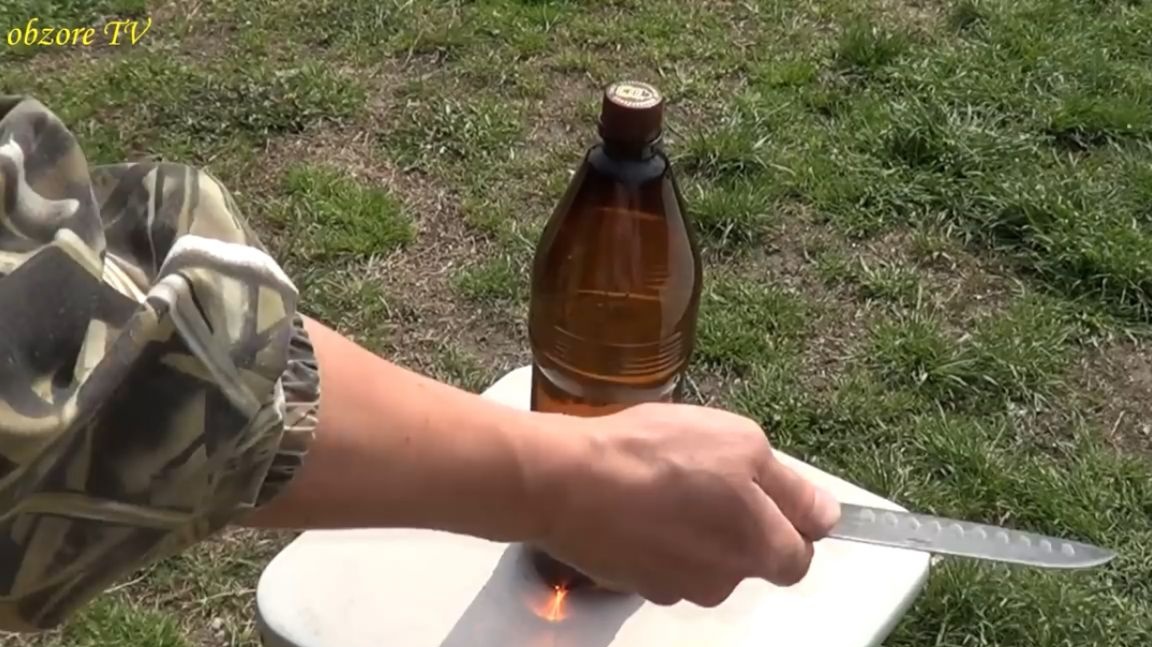
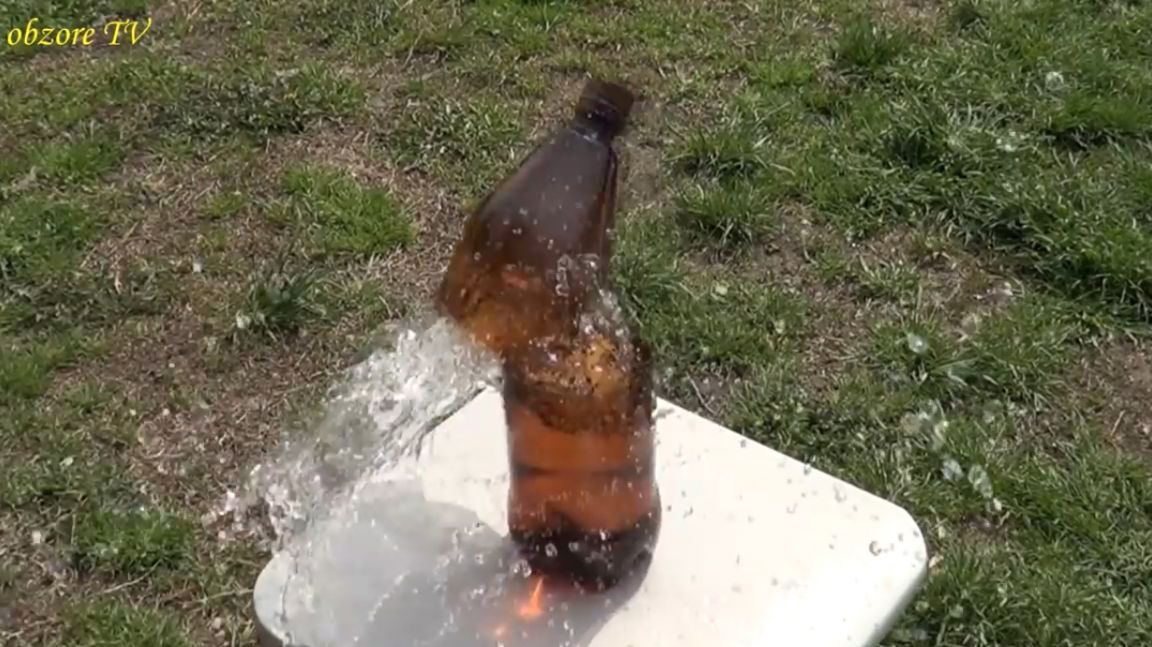
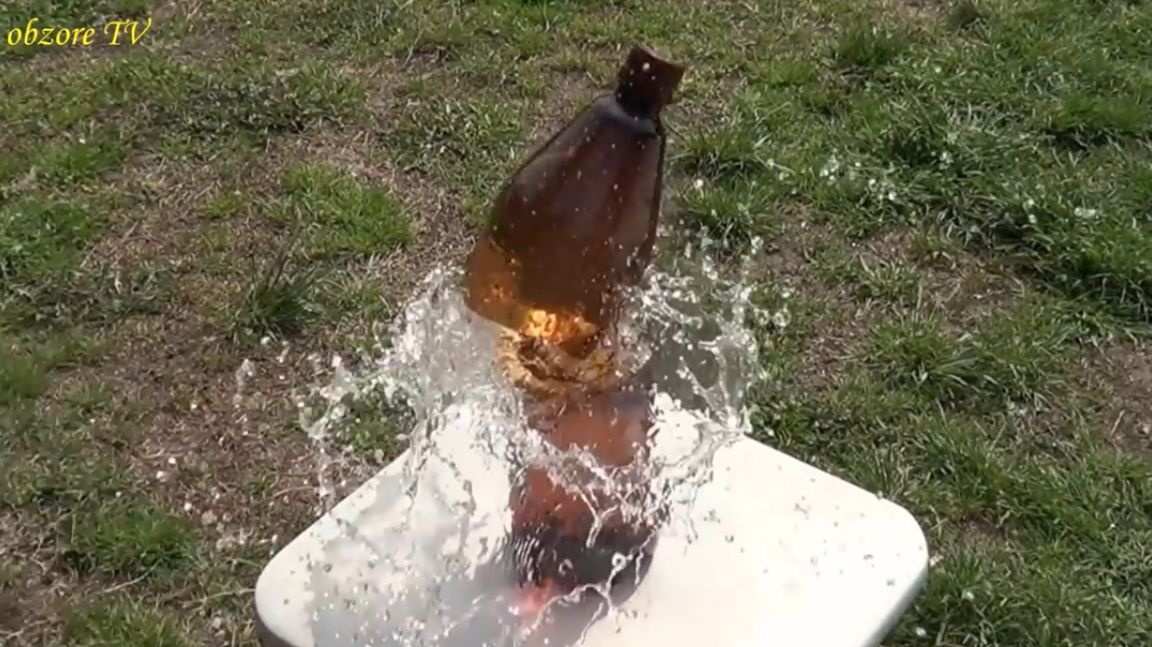
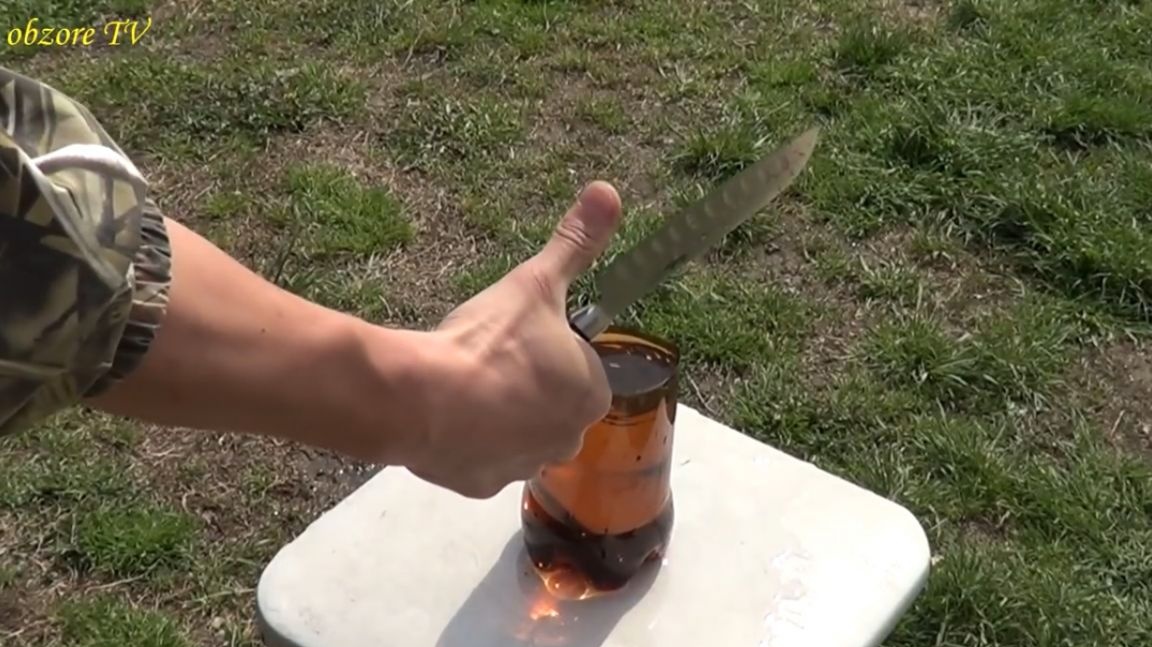
It cuts very well, the knife is sharp. So the author was pleased with the sharpener. The only drawback he noticed in it was that he hadn’t done such a sharpener much earlier. Everything else is one plus.
Thank you for attention. See you soon!
Video: