

Greetings to all fishermen and lovers of crafting something do it yourself. I bring to your attention very necessary fishing device - depth gauge. Everyone knows that the simplest depth gauge is a rope with a load and knots tied through a meter. We will complicate the design a bit. and nodes do not have to count.
Tools needed.
1. Welding inverter.
2. A drill on a rack.
3. Angle grinder.
4. Hacksaw for metal.
5. The mallet.
6. Vise.
7. Wrench.
8. The drill.
9. The grinding machine.
10. Tweezers.
11. Sandpaper.
12. Roulette.
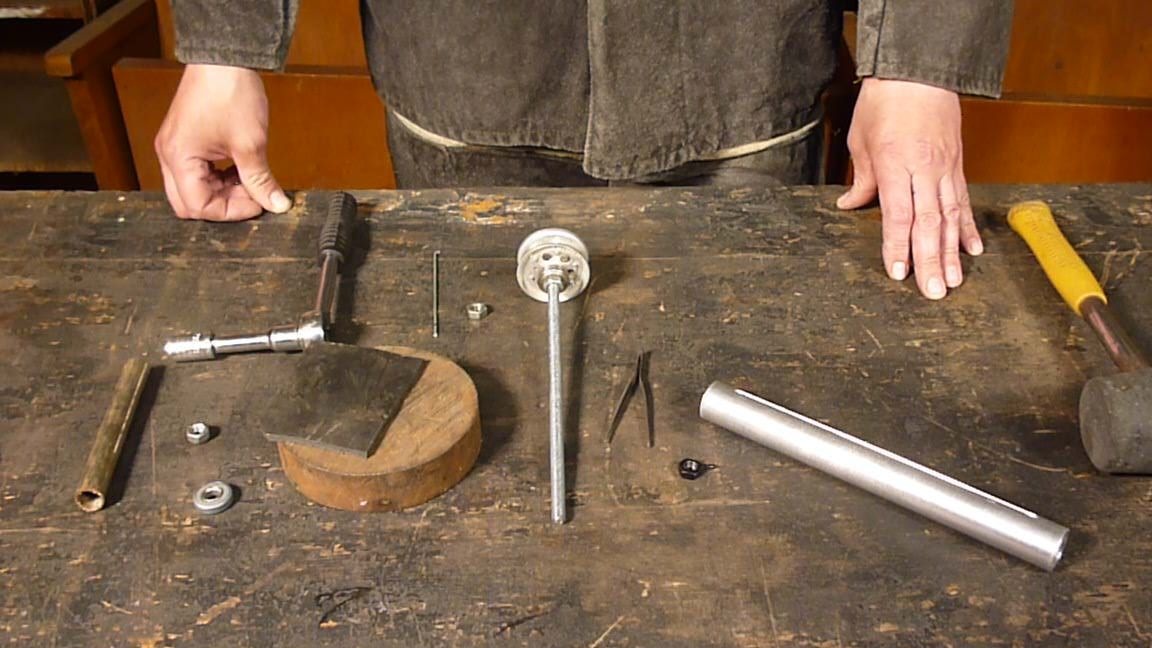
Materials required.
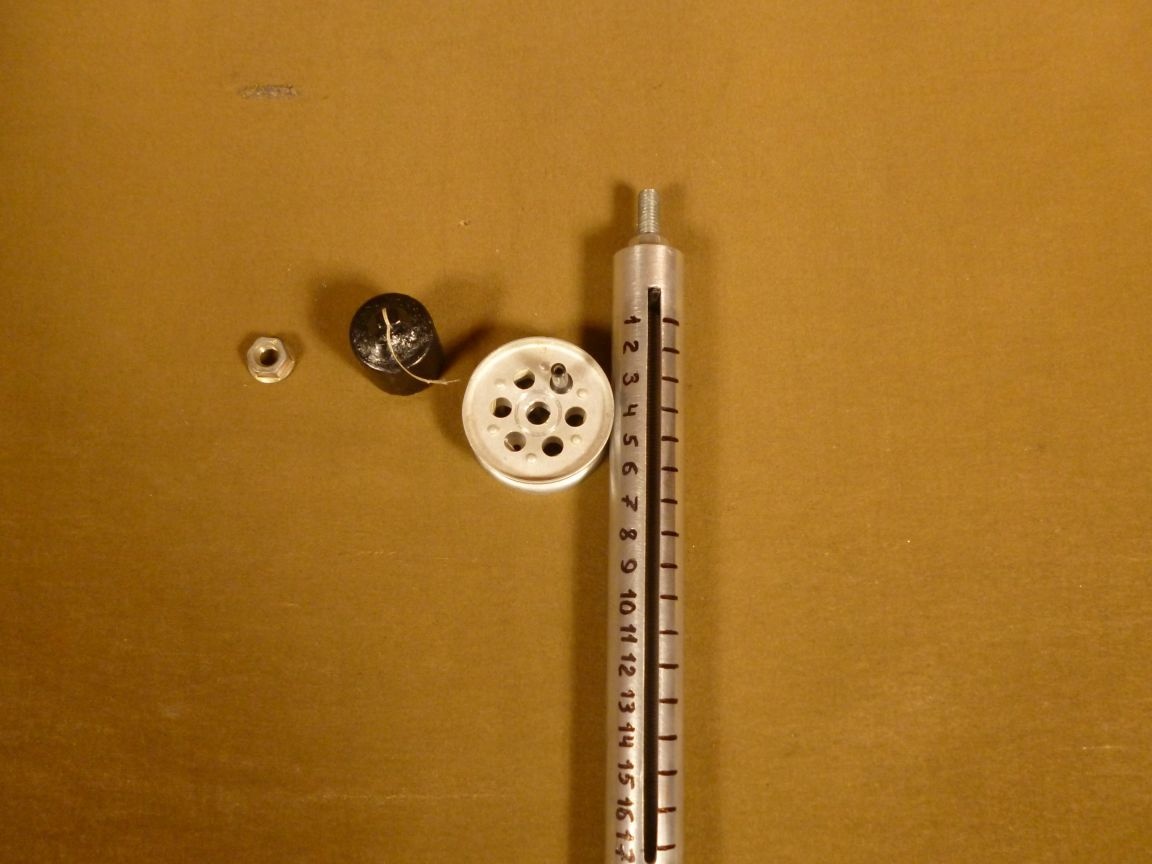
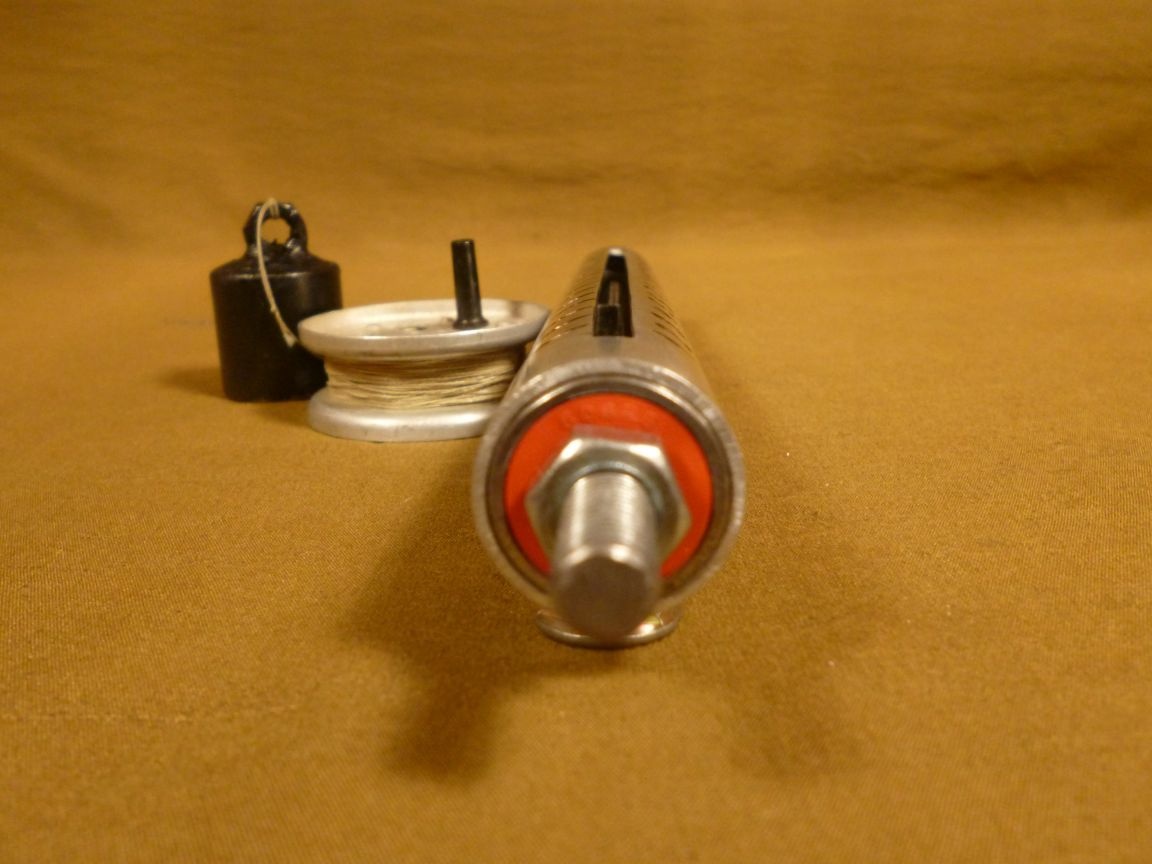
1. Fishing reel.
2. Metal stud.
3. Aluminum tube.
4. The nuts.
5. Bearings.
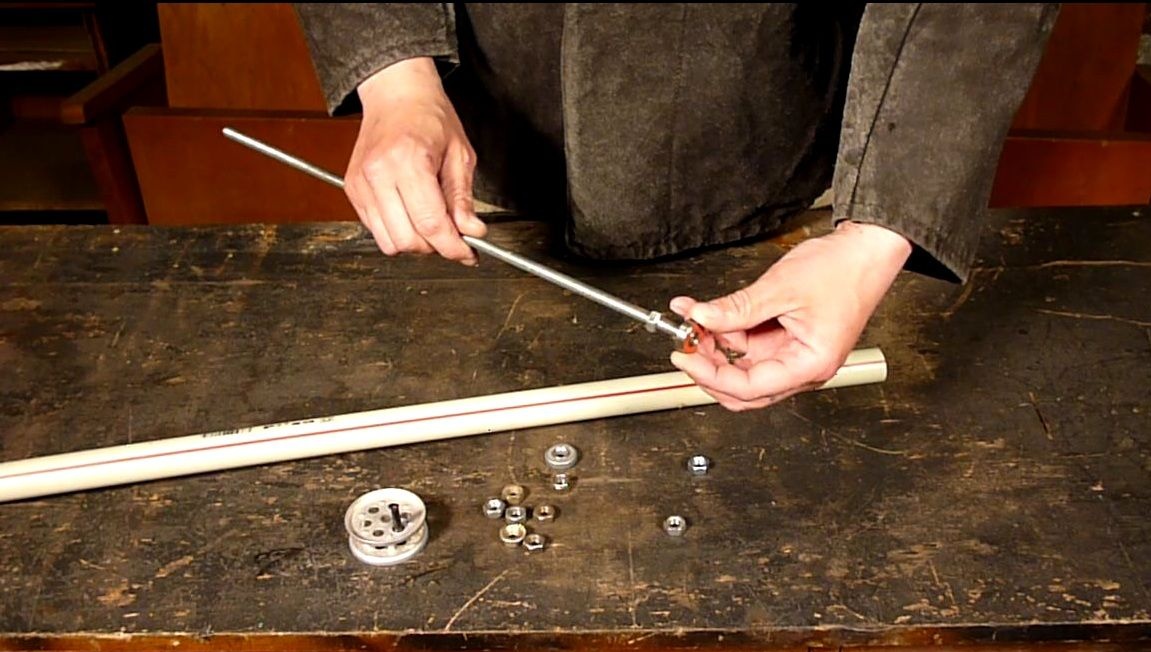
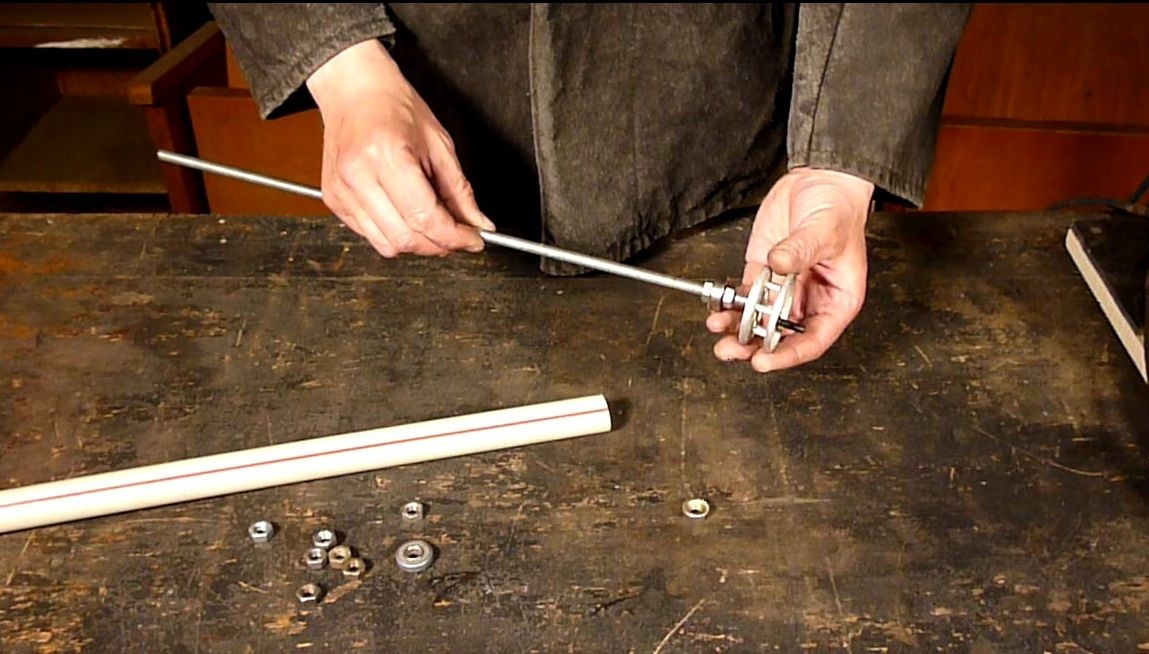
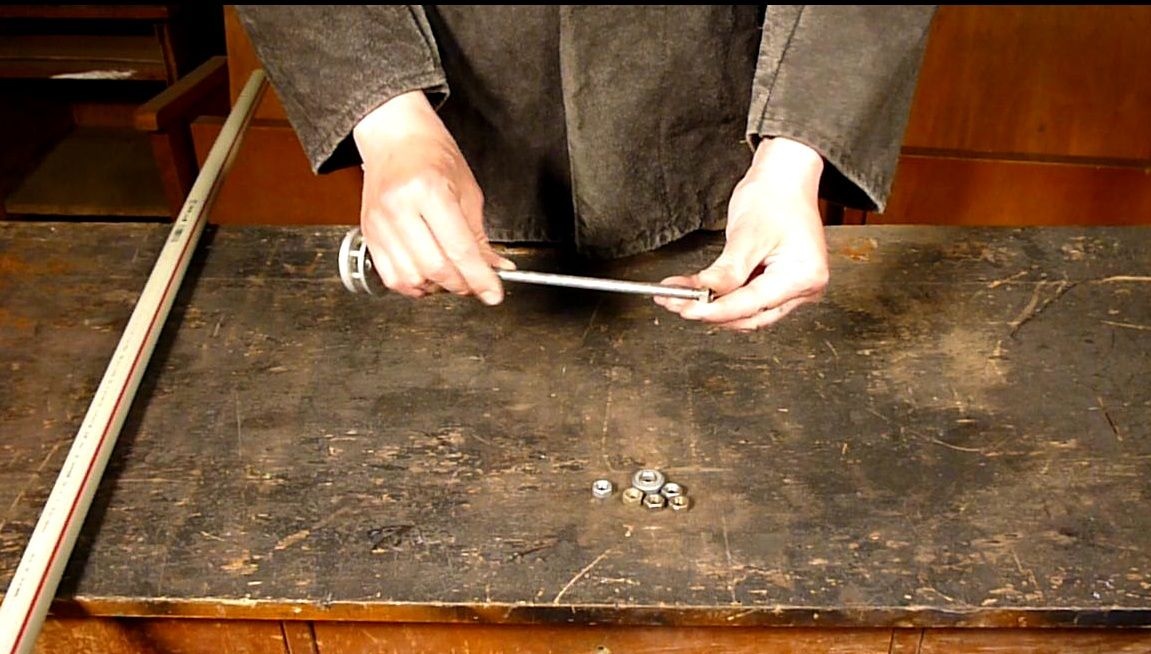
First you need to fix the bearings on the stud. The diameter of the stud should be as close as possible to the inner diameter of the bearing. Screw the first nut onto the stud.

Dress up the bearing.
We fix the bearing with the second nut and tighten it to the stop.
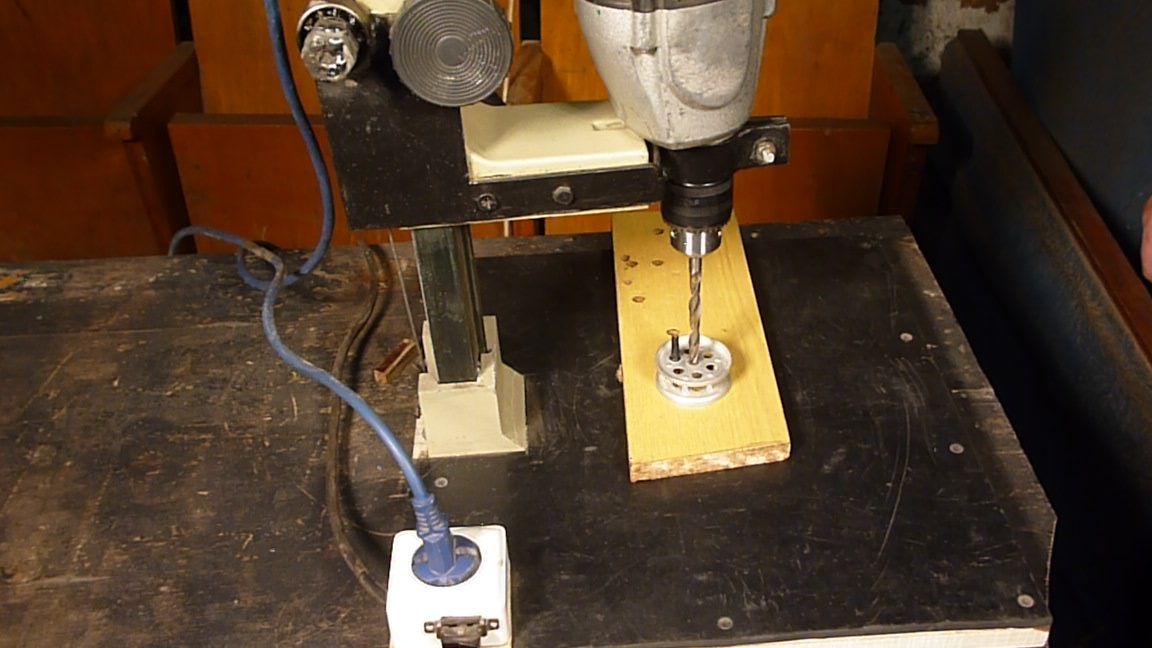
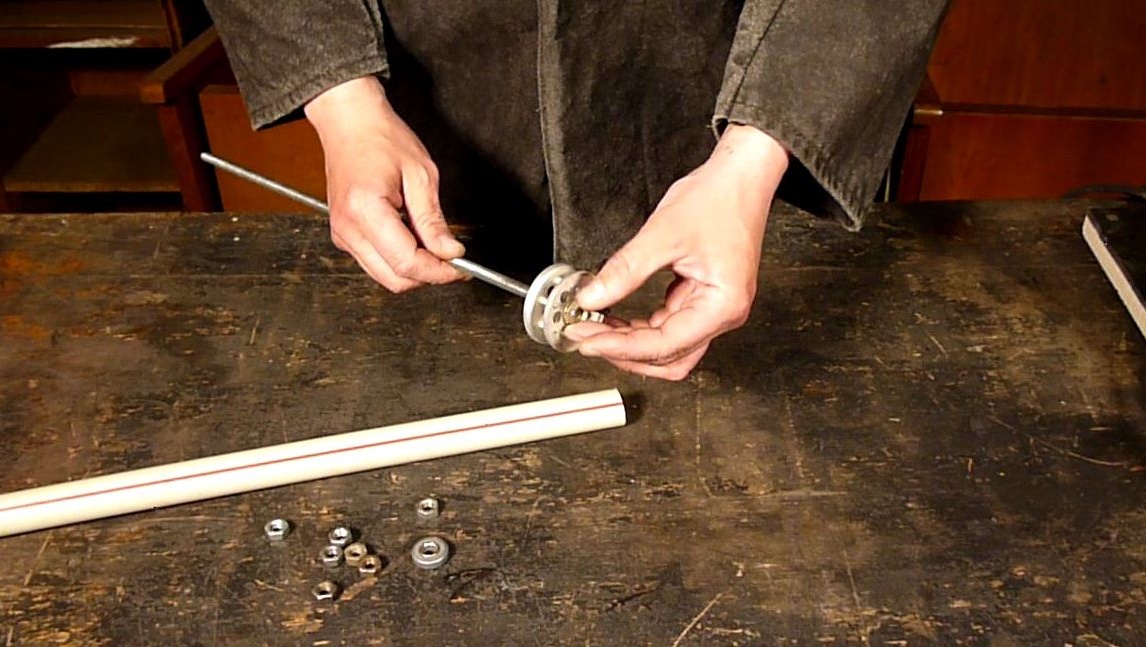
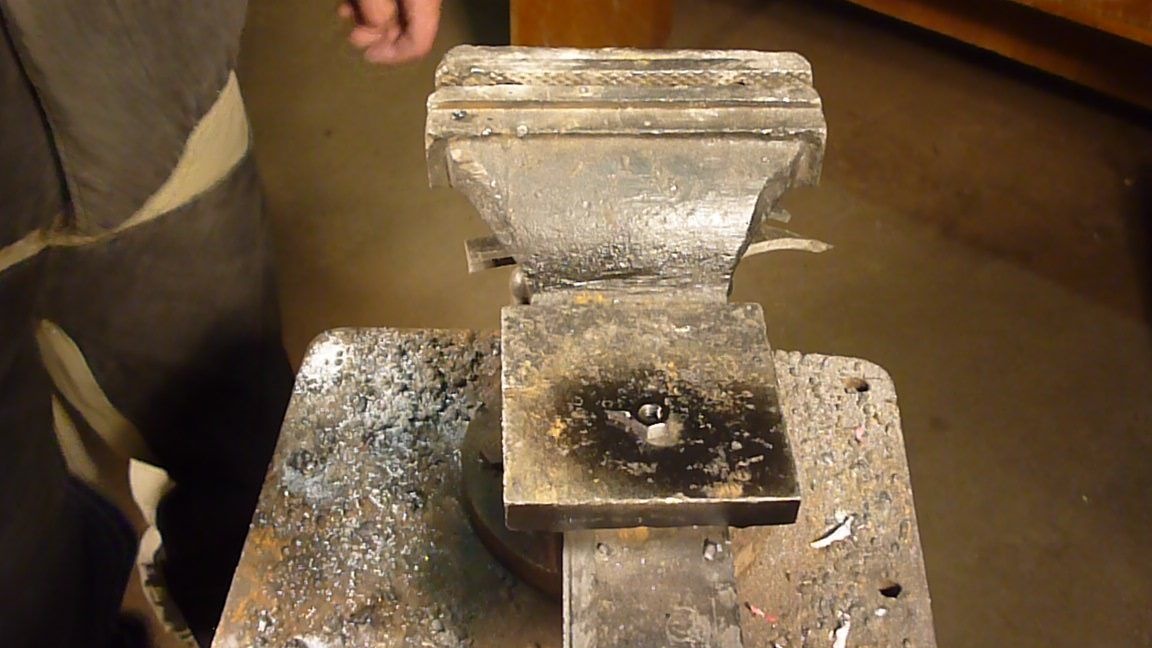
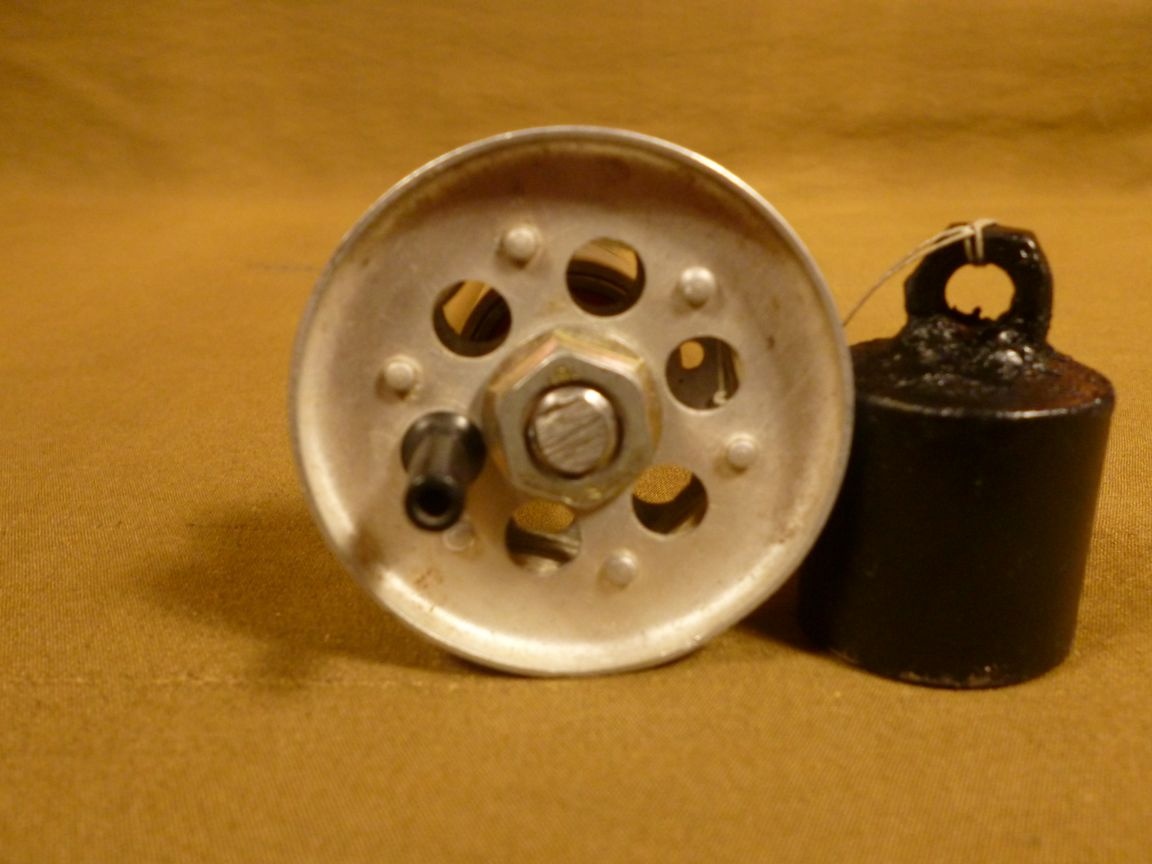
In the center of the fishing reel we drill a hole for the diameter of the existing stud.
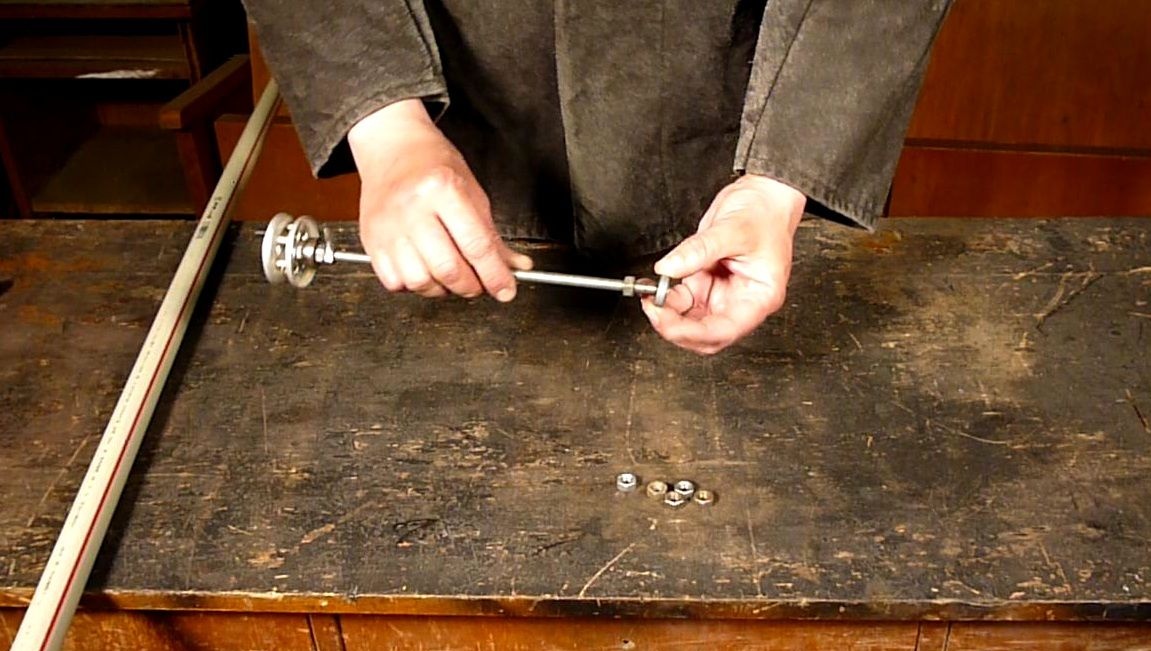
We dress the coil on the hairpin and fix it with the third nut.
Now you need to make a slider. To do this, weld a piece of nail or wire to another nut.
In principle, you can do without welding and turn the slider, for example, from textolite or plexiglass, to whom it is easier.

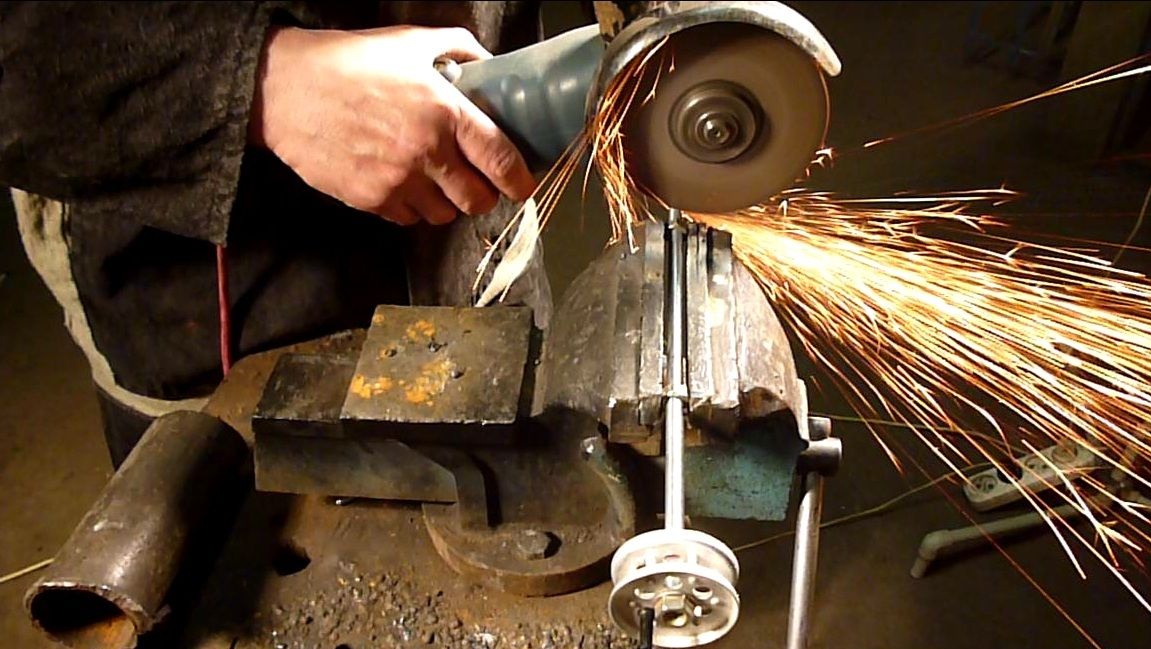
We clean the welding seam and shape the runner on the grinding machine.
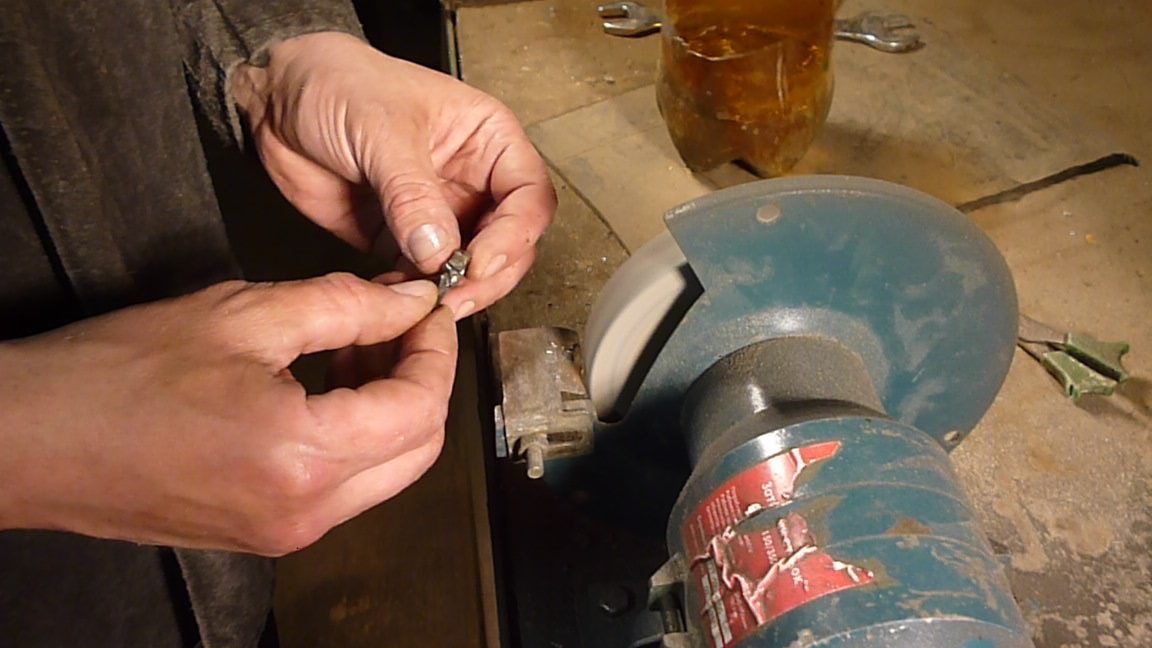

It is also desirable to paint the slider, although of course it is better to make it out of stainless steel.
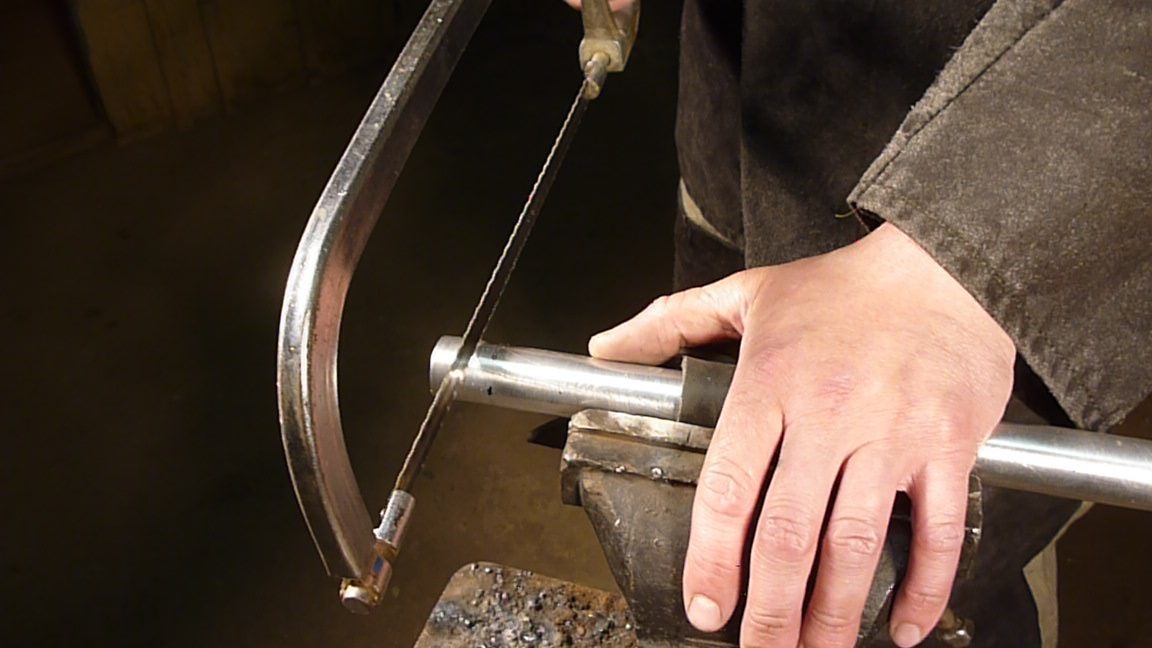
Cut the hairpin to the required length. The length depends on what diameter of the coil and how many meters of the cord it is supposed to be wound on it. In our case, it turned out 20 cm.
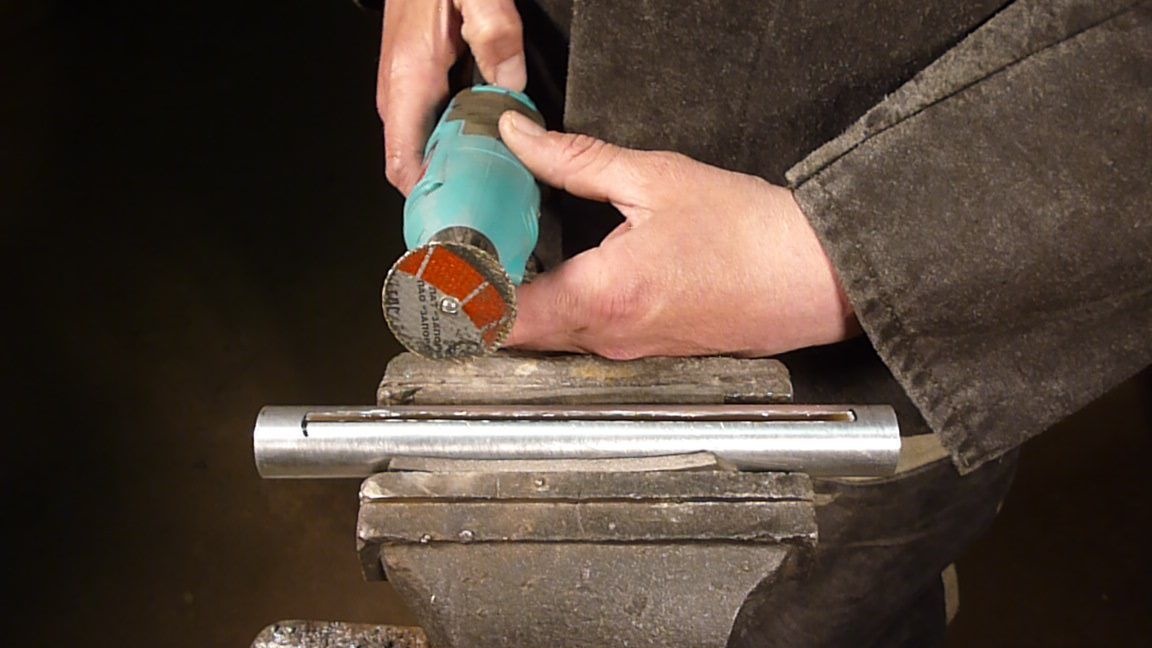
Trim the slice and chamfer.

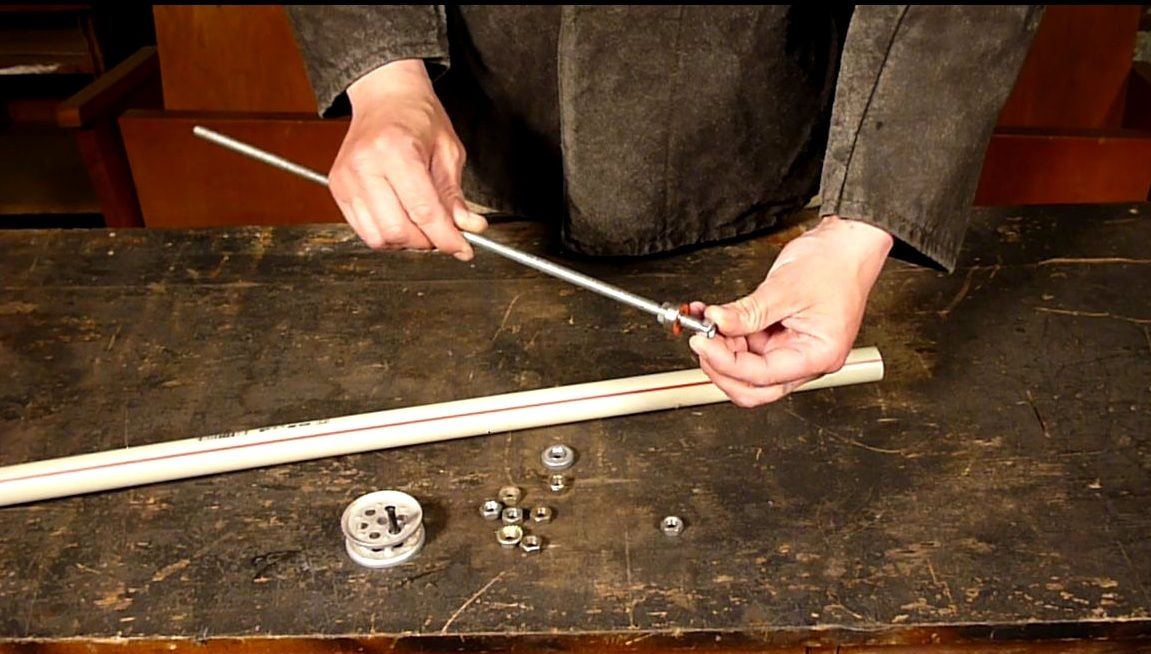
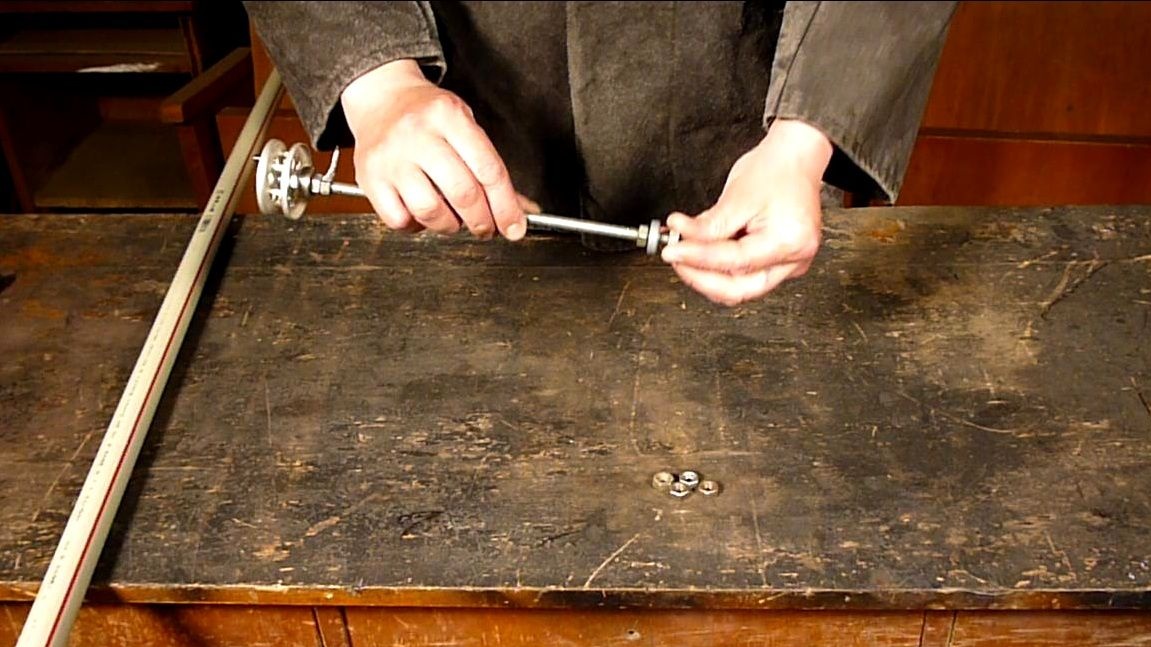
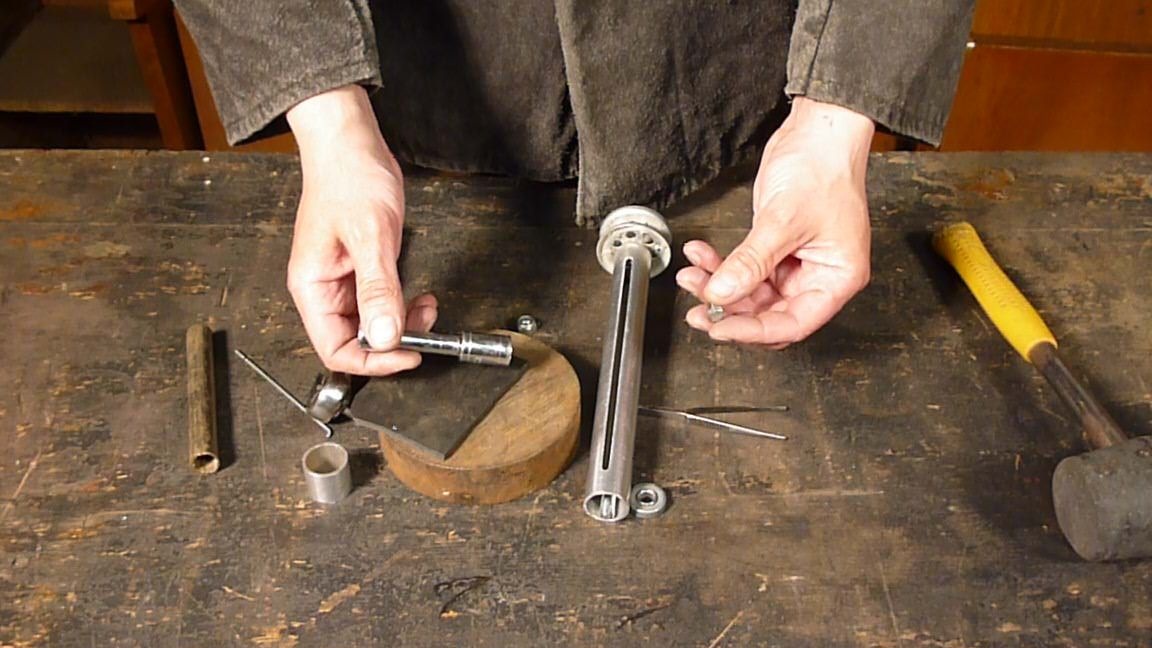
We fasten the second bearing to the free edge of the stud, fixing it between the two nuts.
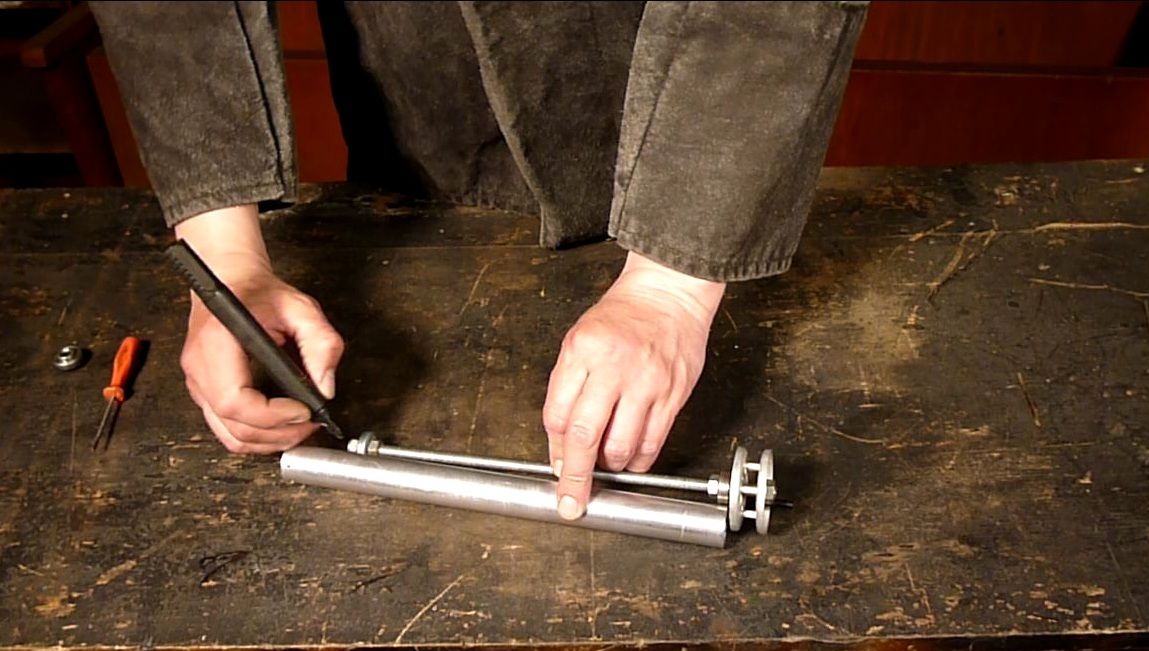
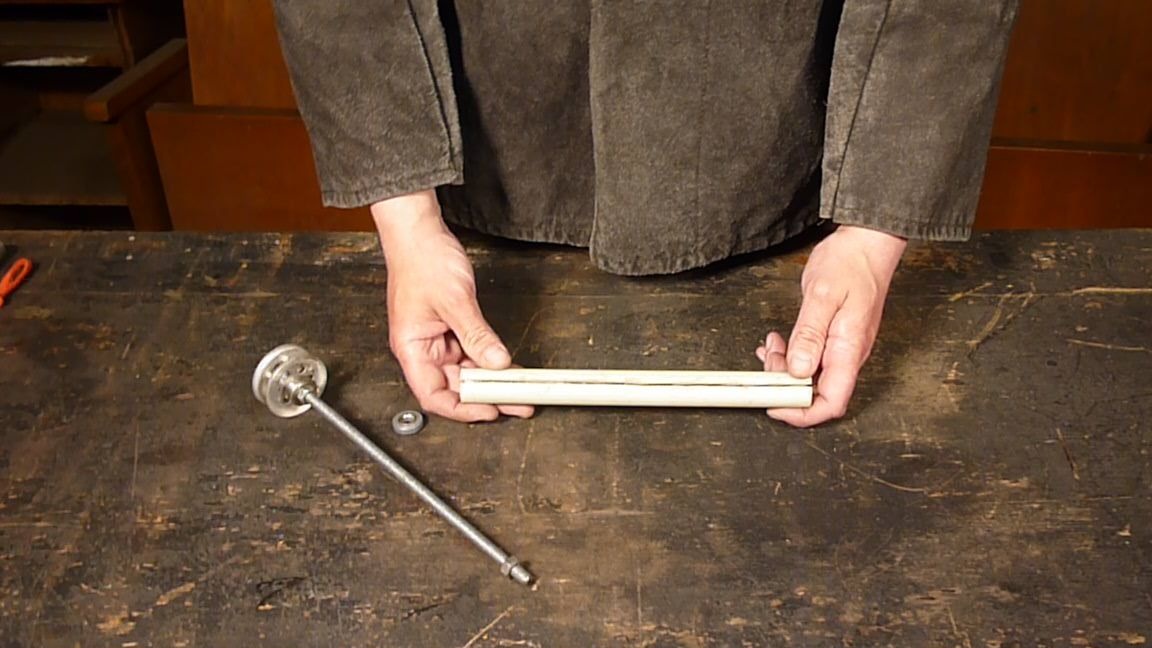
Mark the length of the aluminum tube, from the edge of the bearing near the coil, to the cut of the stud. The inner diameter of the tube should correspond to the outer diameter of the bearing. Cut off.
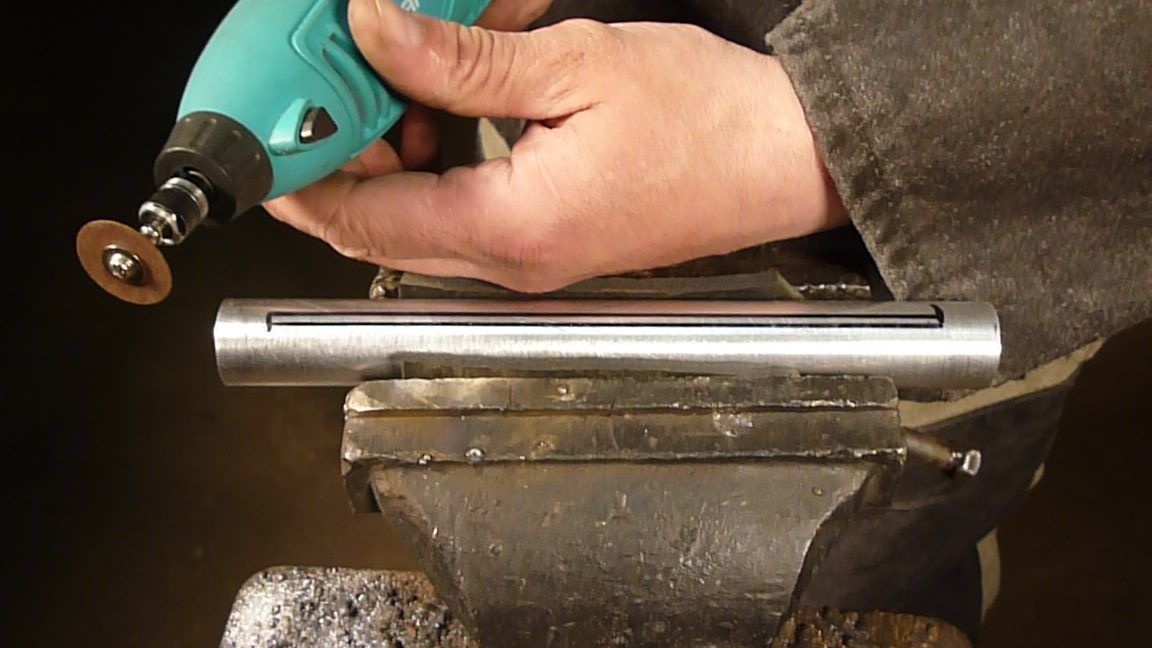
A groove for the slider must be cut in the center of the tube. We used a drill, you can use files. The length of the groove is equal to the distance between the internal nuts.
We process all sections with sandpaper and collect all the parts together.
Take the slider with tweezers and insert it into the groove.
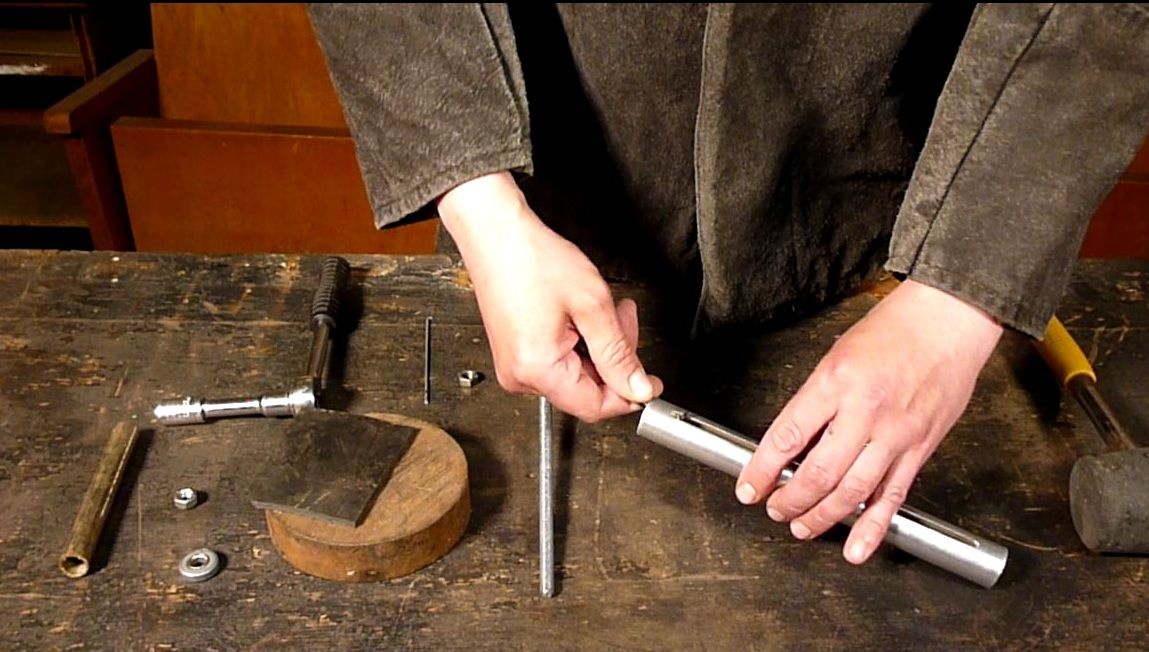
Holding the slider with your fingers, screw the hairpin into it.
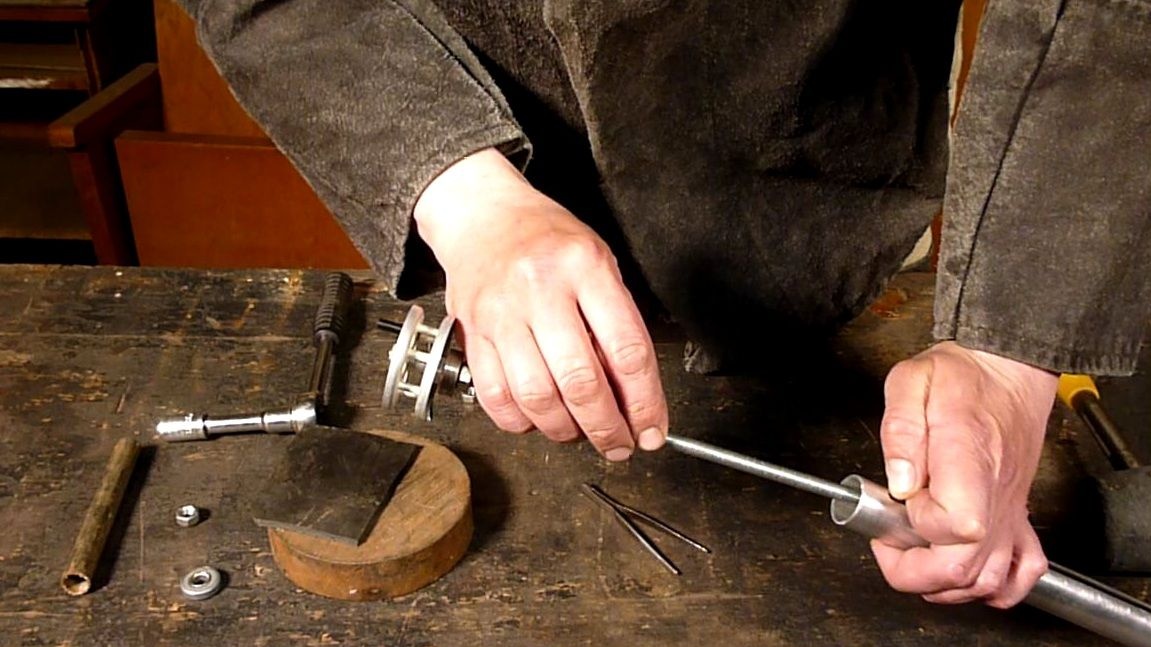
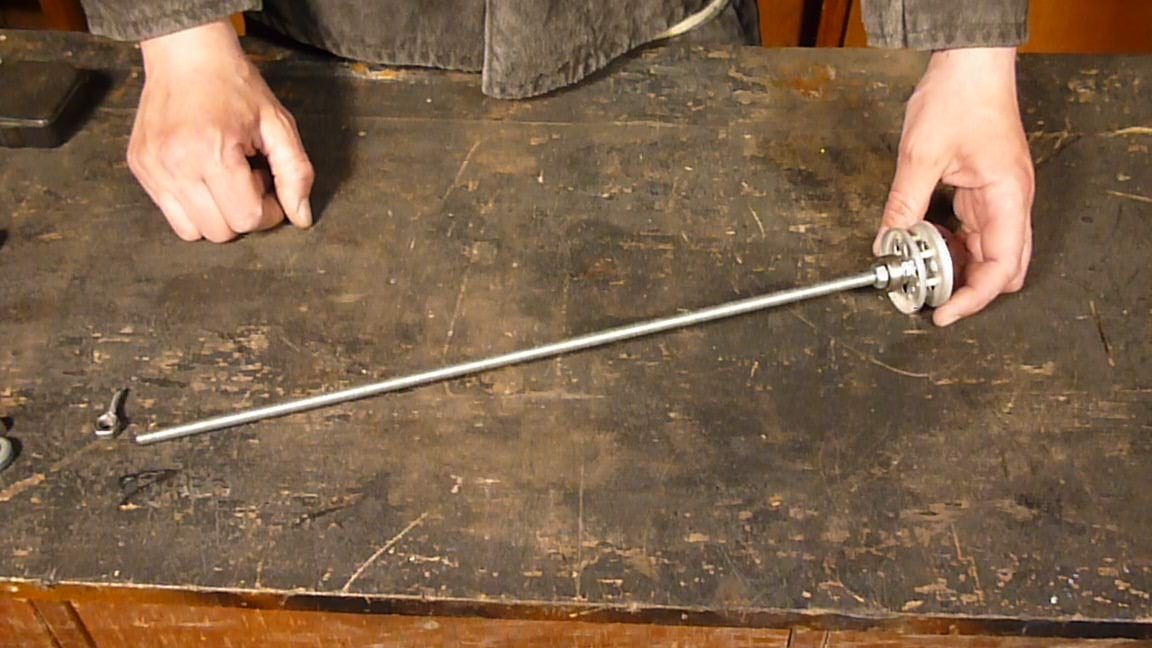
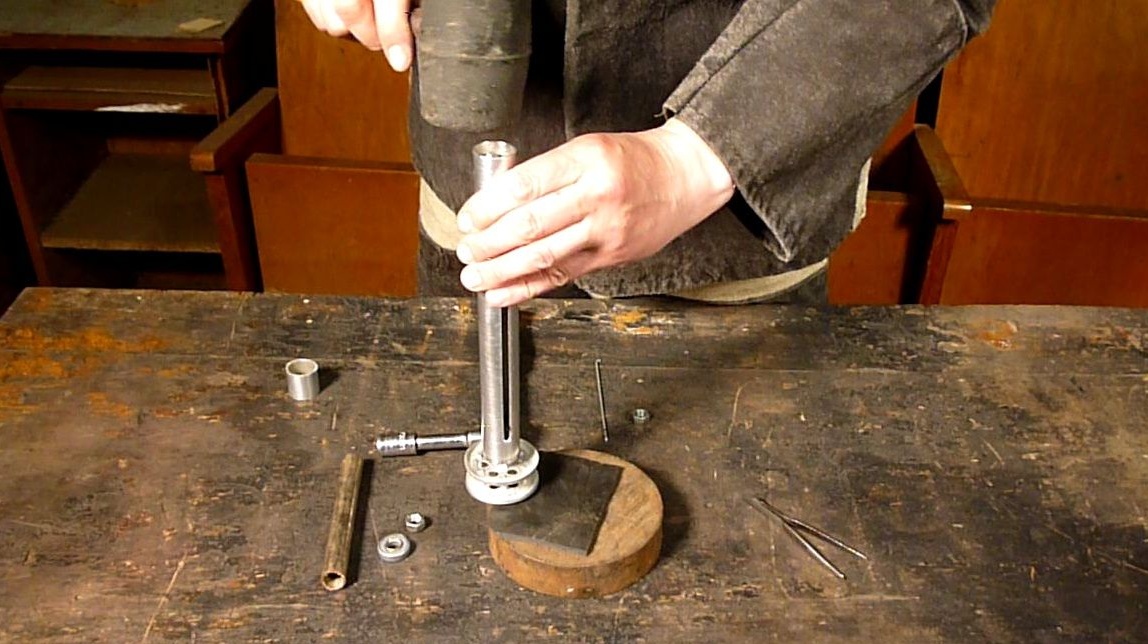
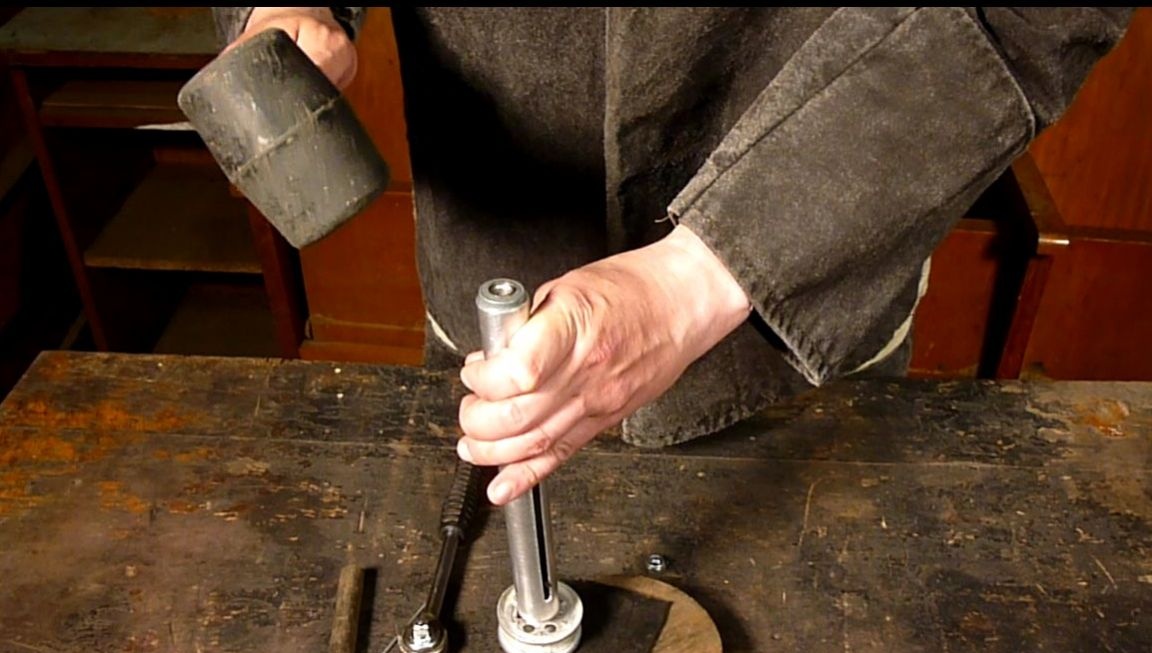
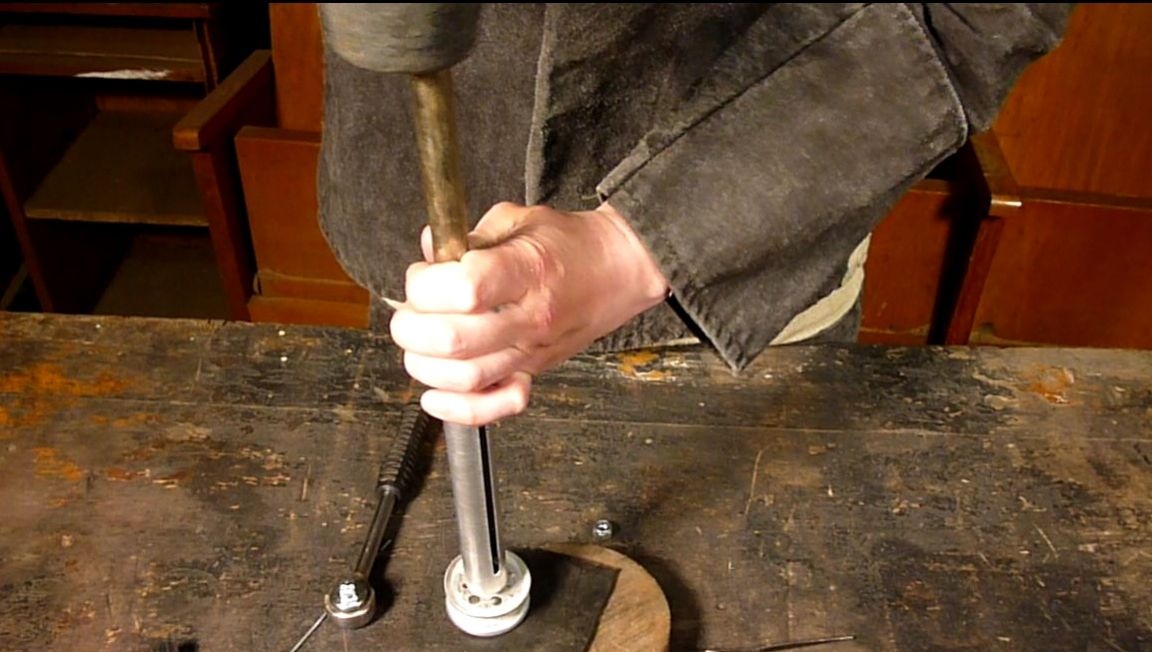
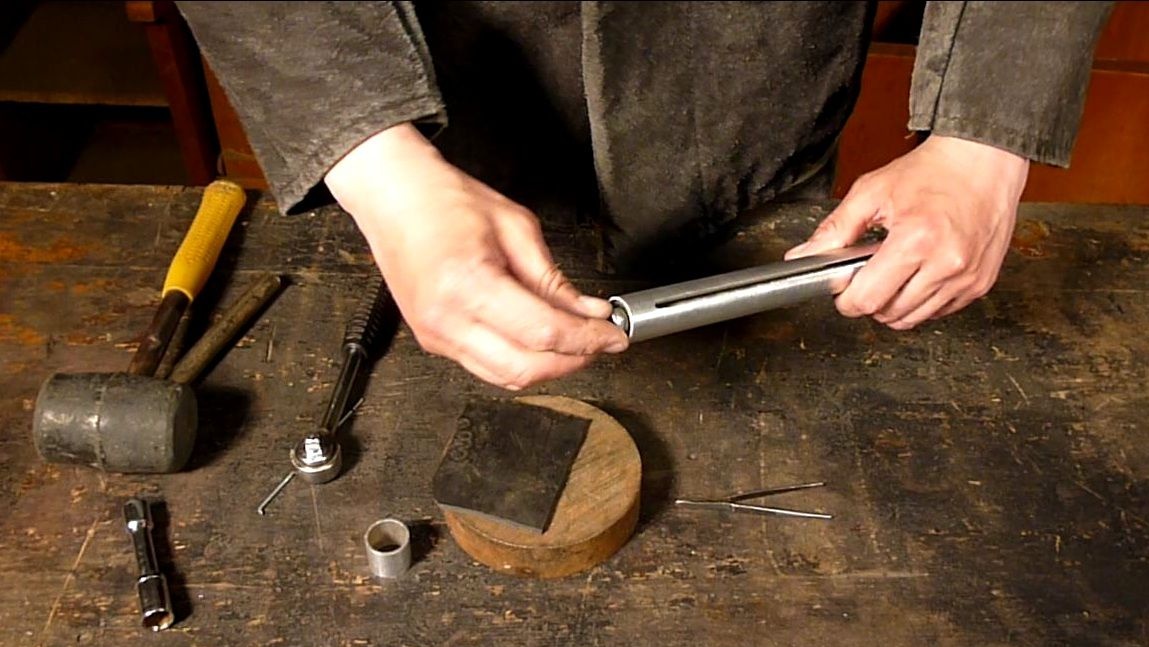
We stuff the tube onto the bearing, slightly tapping with a mallet. The slider must be left approximately in the center of the stud so that it does not rest against the edges of the groove.
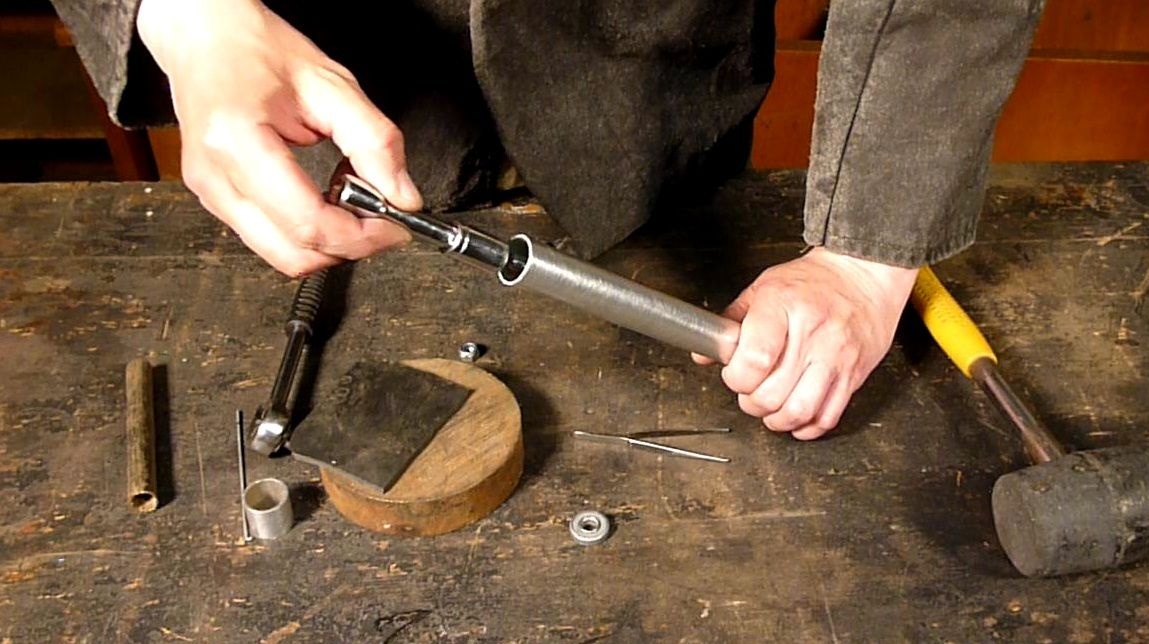
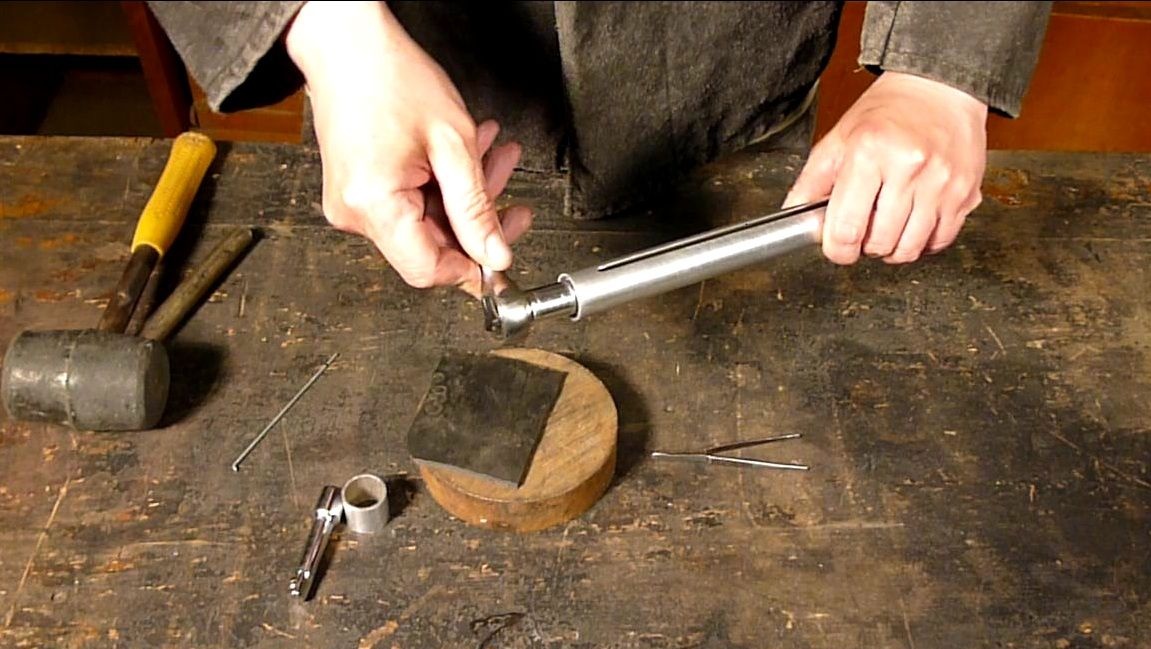
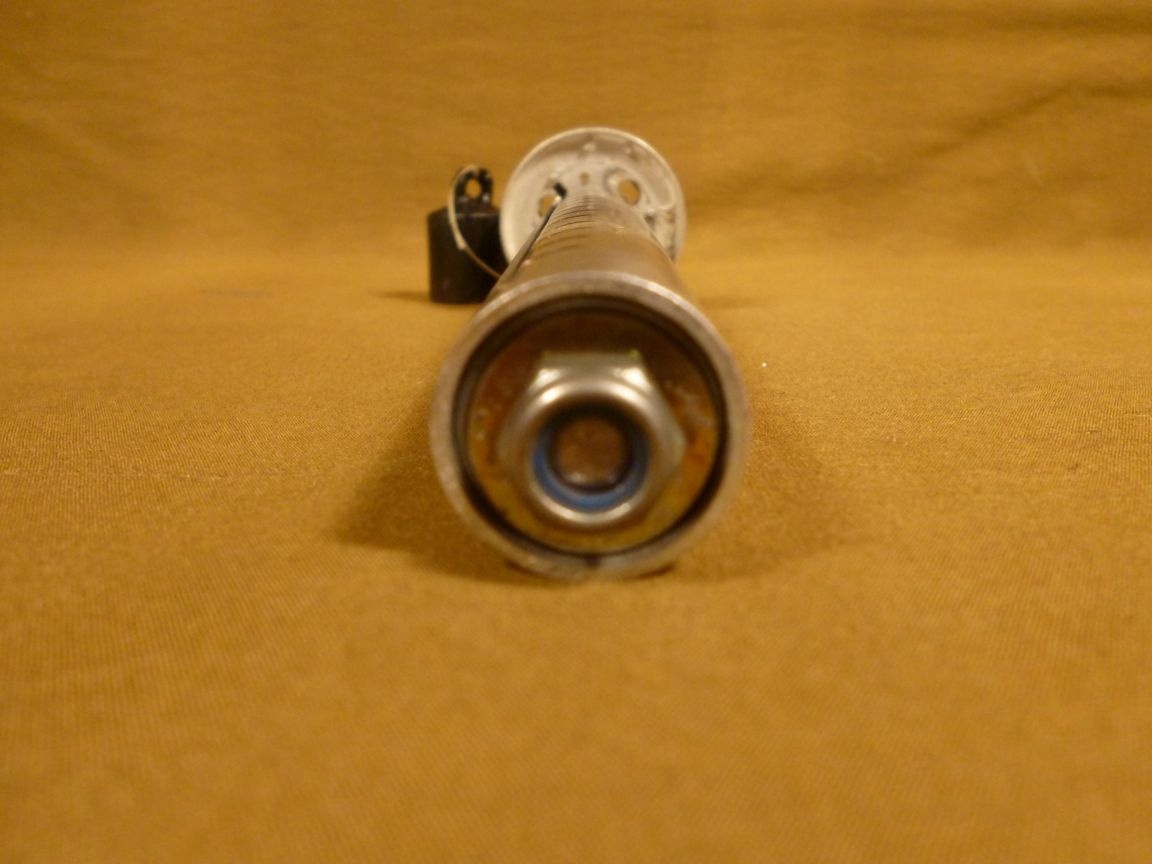
Now we twist the nut onto the free edge of the stud and install the second bearing using a piece of smaller diameter tubing.
We twist and tighten the last nut, it is desirable that it be self-locking.
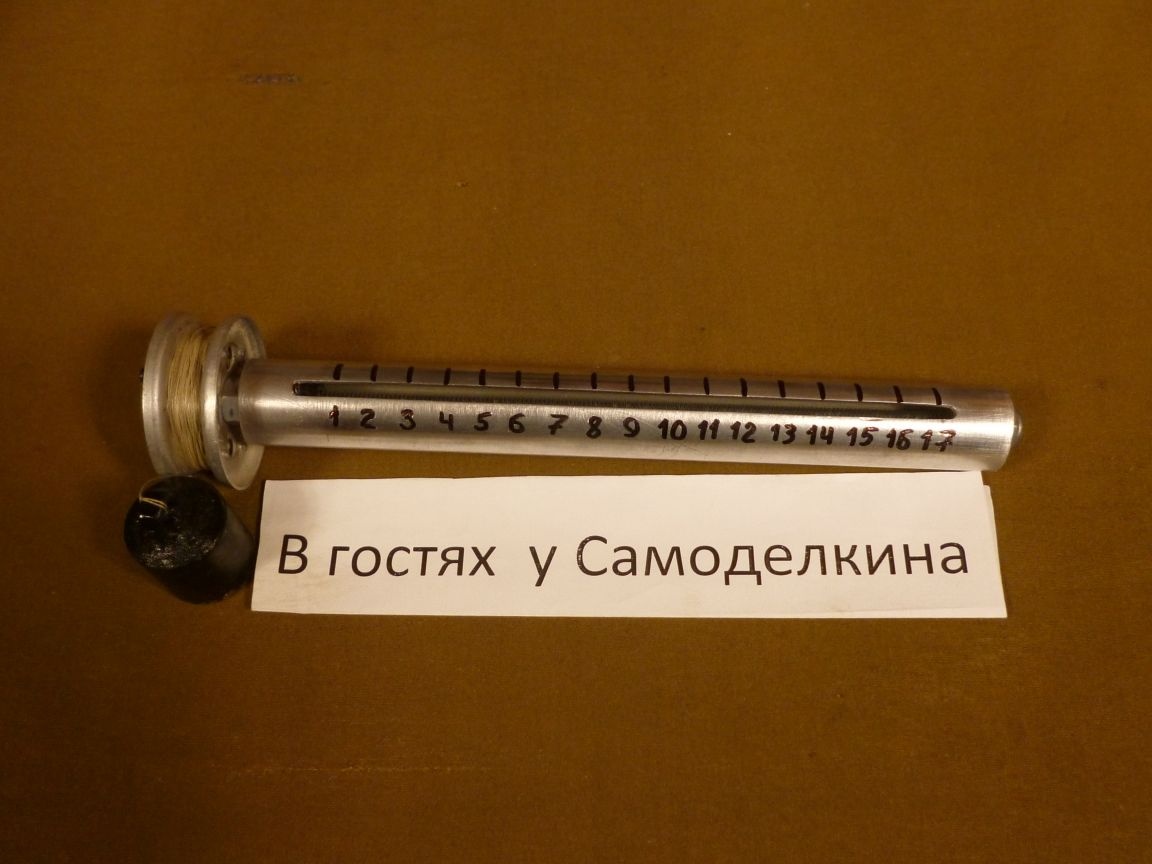
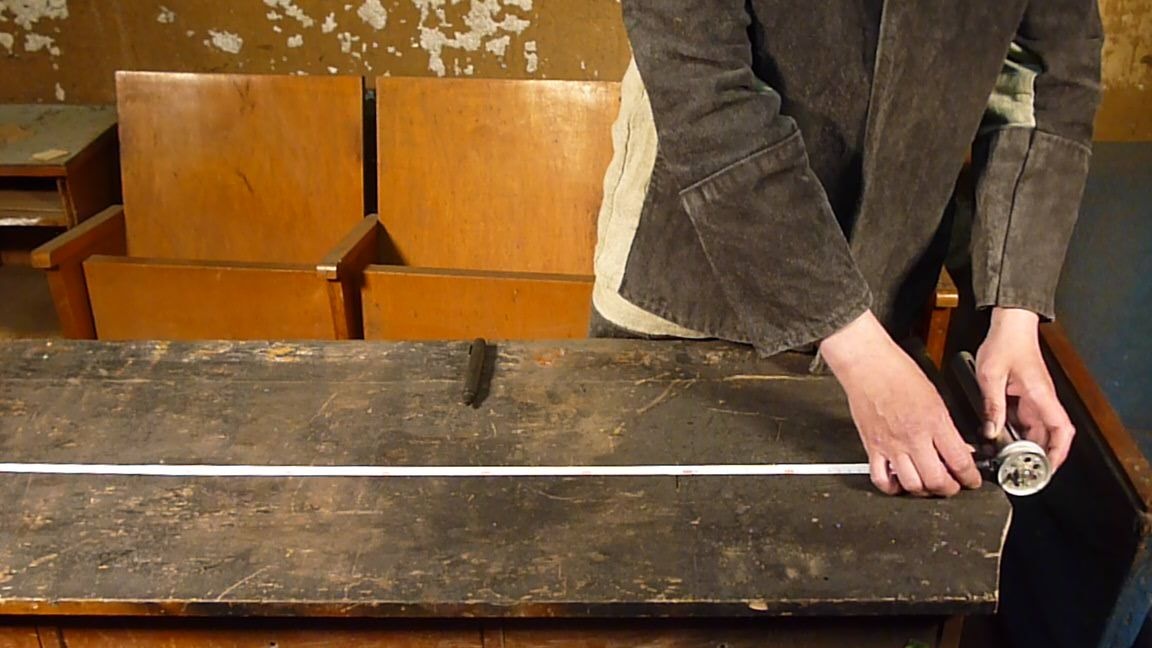
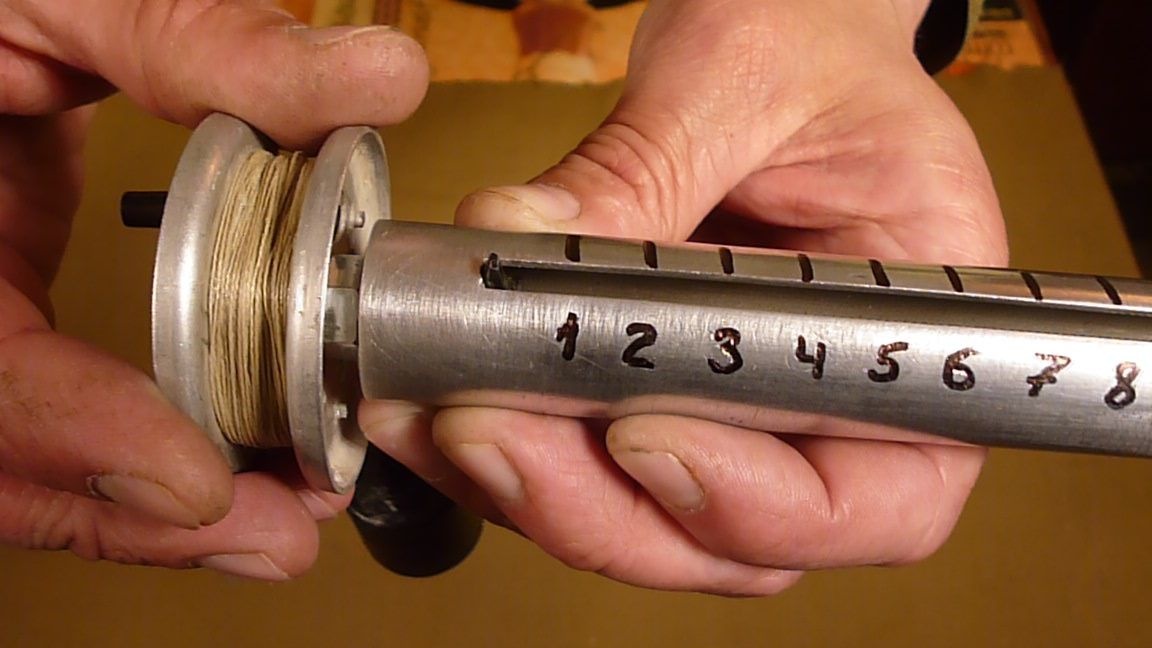
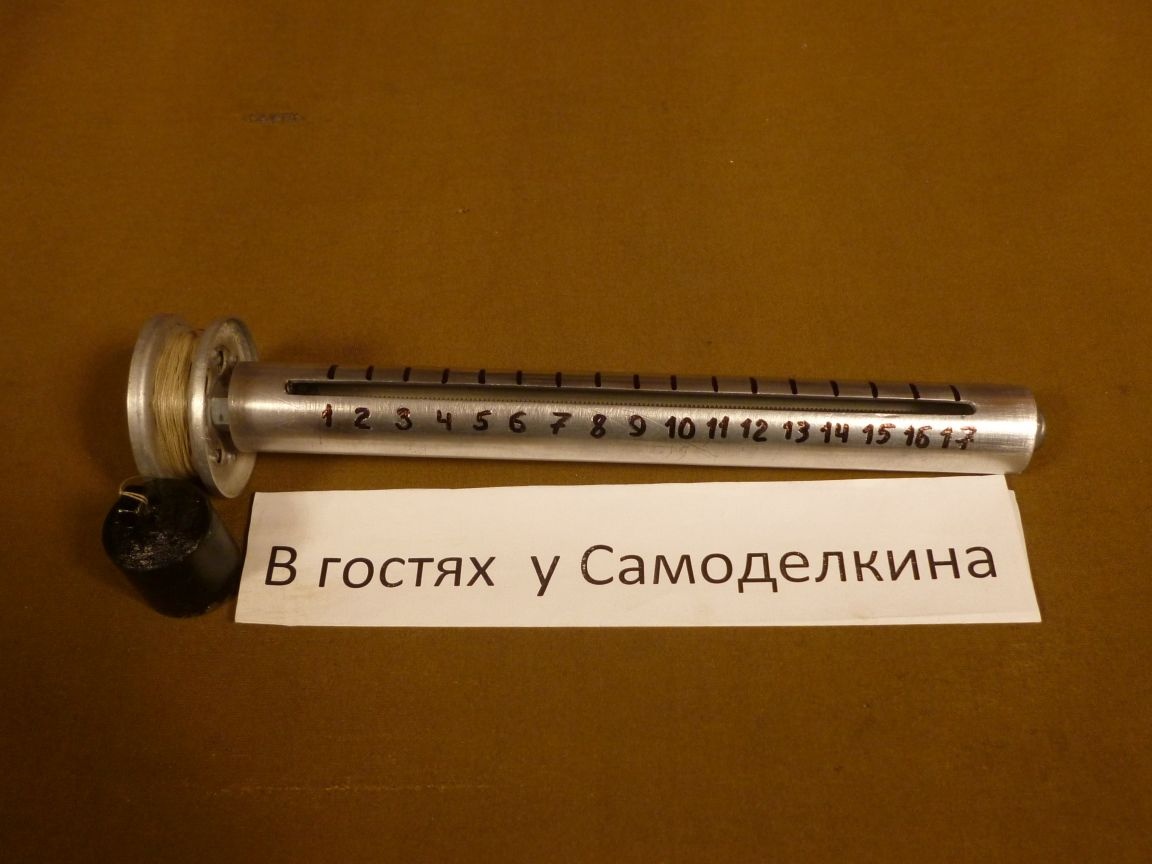
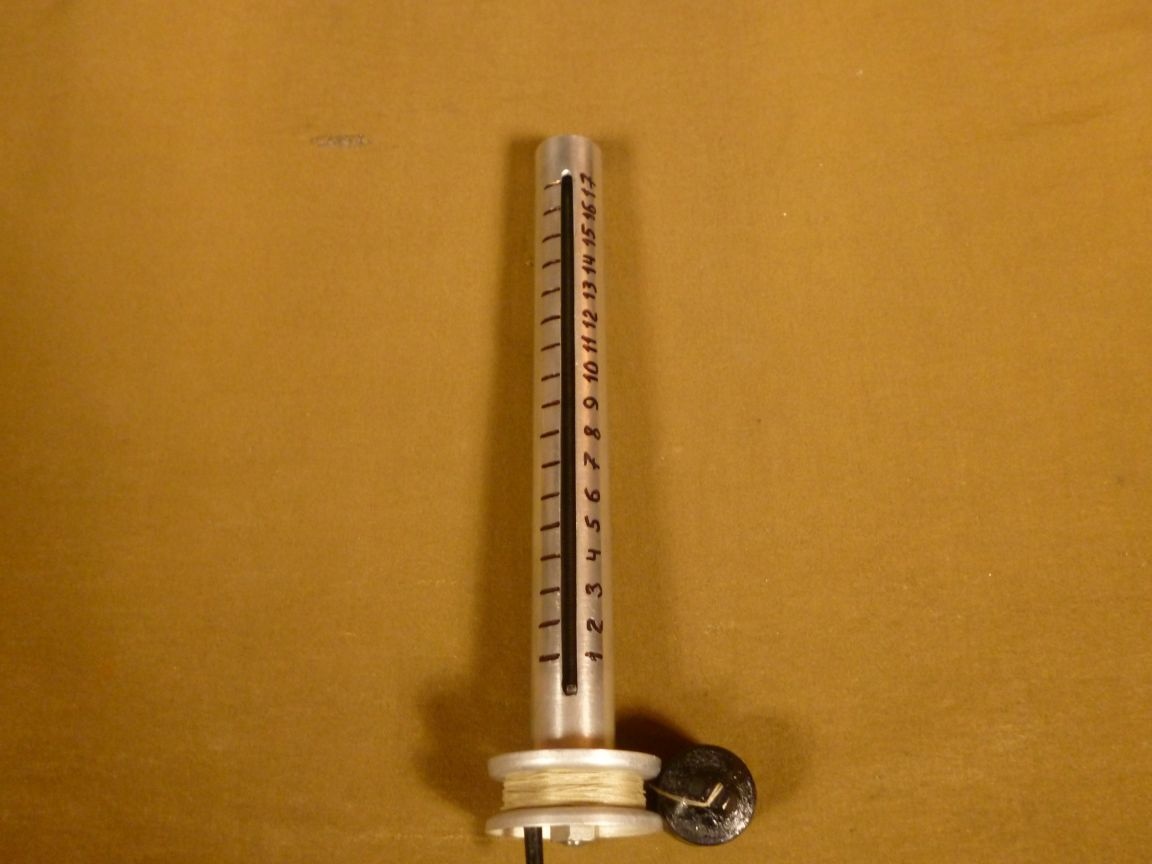
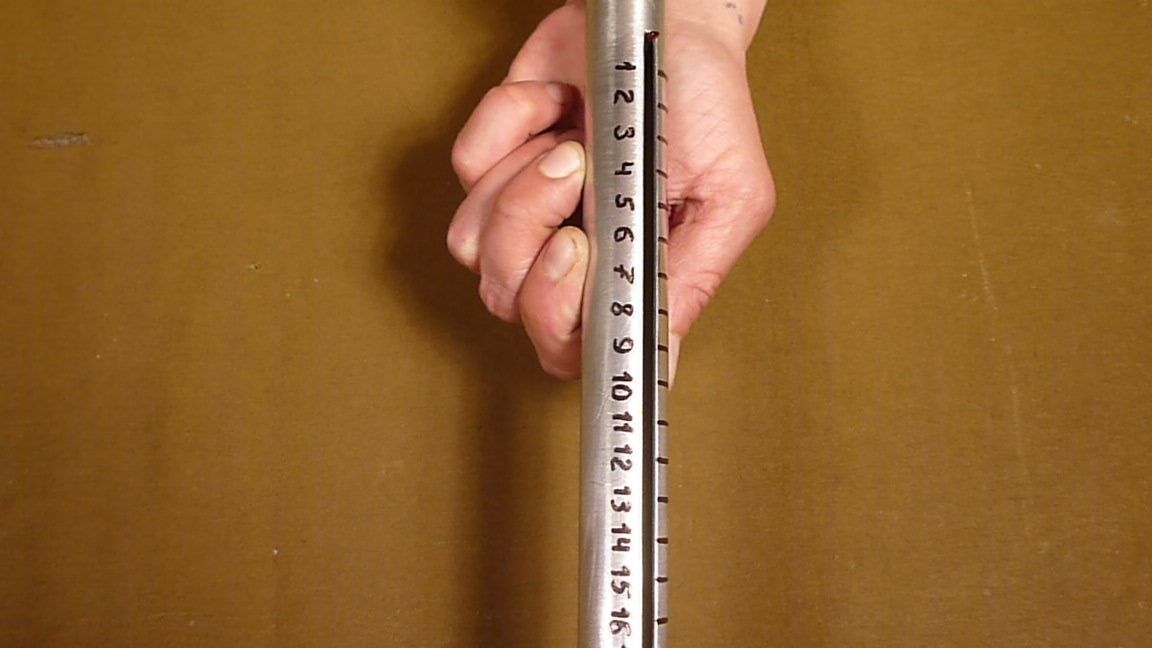
The depth gauge is ready, it remains only to mark the scale. We wind the cord with the load on the reel, set the slider to the extreme position near the reel and proceed to the marking.
We unwind the tape measure on the table, set the depth gauge to zero and pull the load. Having reached the mark of 1 m, we put a notch on the body near the slider, and so on until the groove or cord runs out.
Serifs and numbers on the depth gauge body are best applied with a drill or scribble with a needle, and apply a coat of paint.
This is not a complicated, but very useful design. Of course, it will not replace the sounder, but it will help to measure the depths of the reservoir.
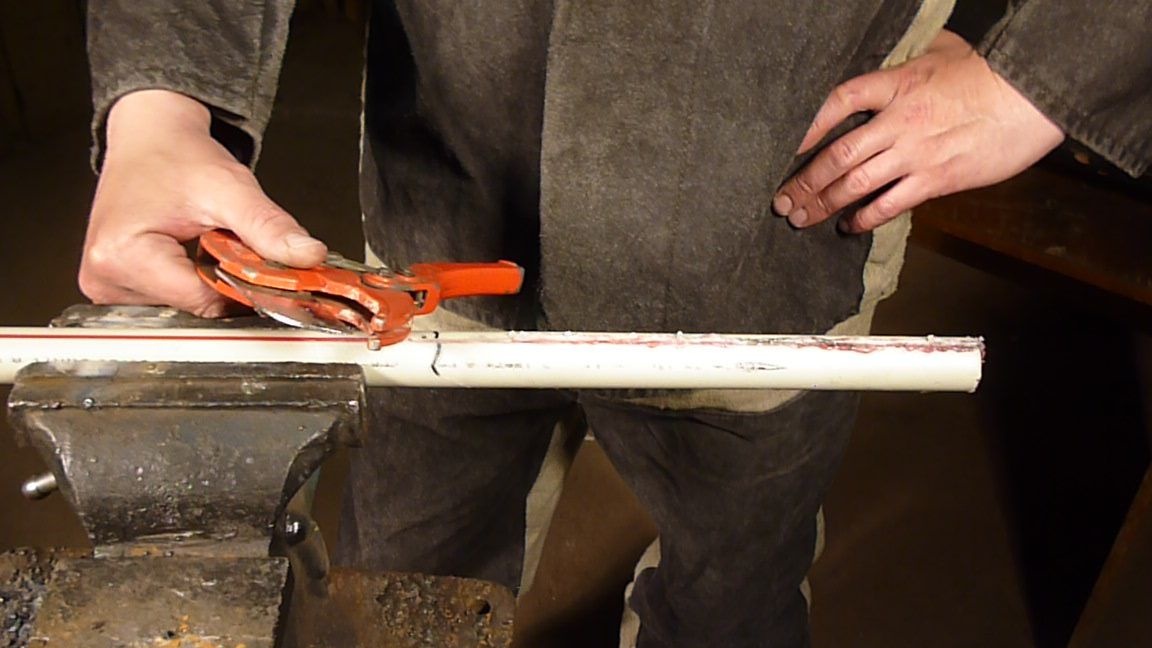
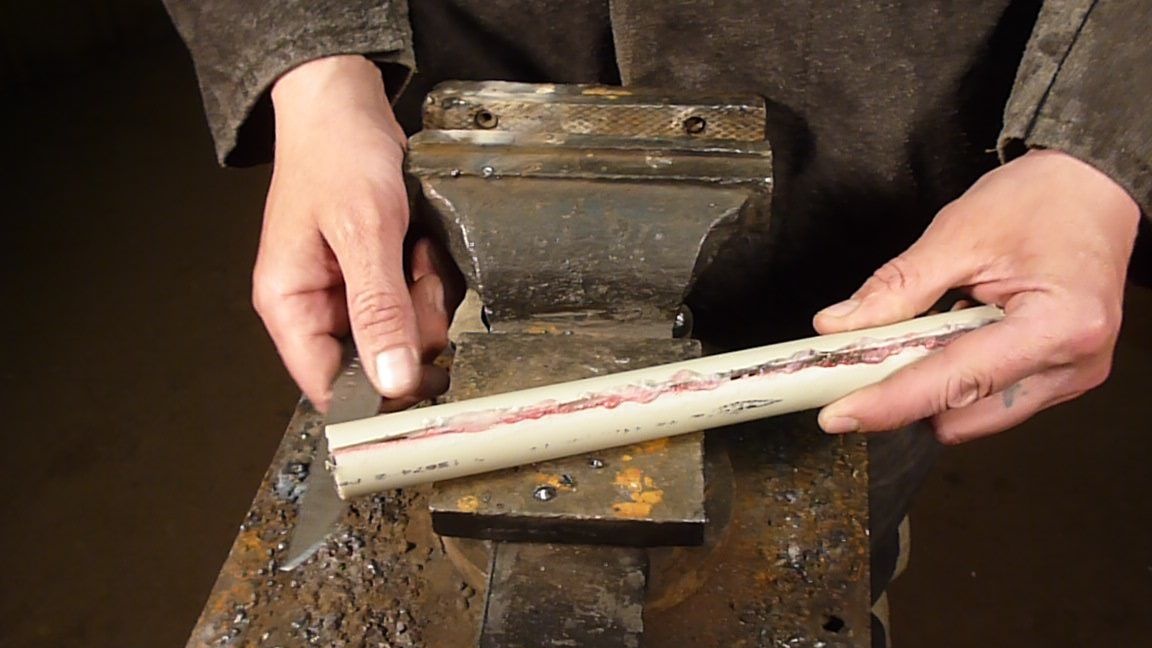
Well, just in case. A polypropylene pipe is present in the photo because initially the depth gauge body was supposed to be made of it, but in the process they preferred an aluminum tube, since polypropylene did not live up to expectations.
No tail or scales and good luck to everyone.
You can watch the video about making the depth gauge here.