

And so, for this board game we need:
-corrugated cardboard
-paper
barbecue skewers
connector for two finger batteries
wire
-switch
motor gear
-tubules for cocktails
-wire
threads
- small metal ball bearing
-balls from pin pong
-wooden sticks
floating water pipe
- 1.5 volt AA batteries (finger batteries)
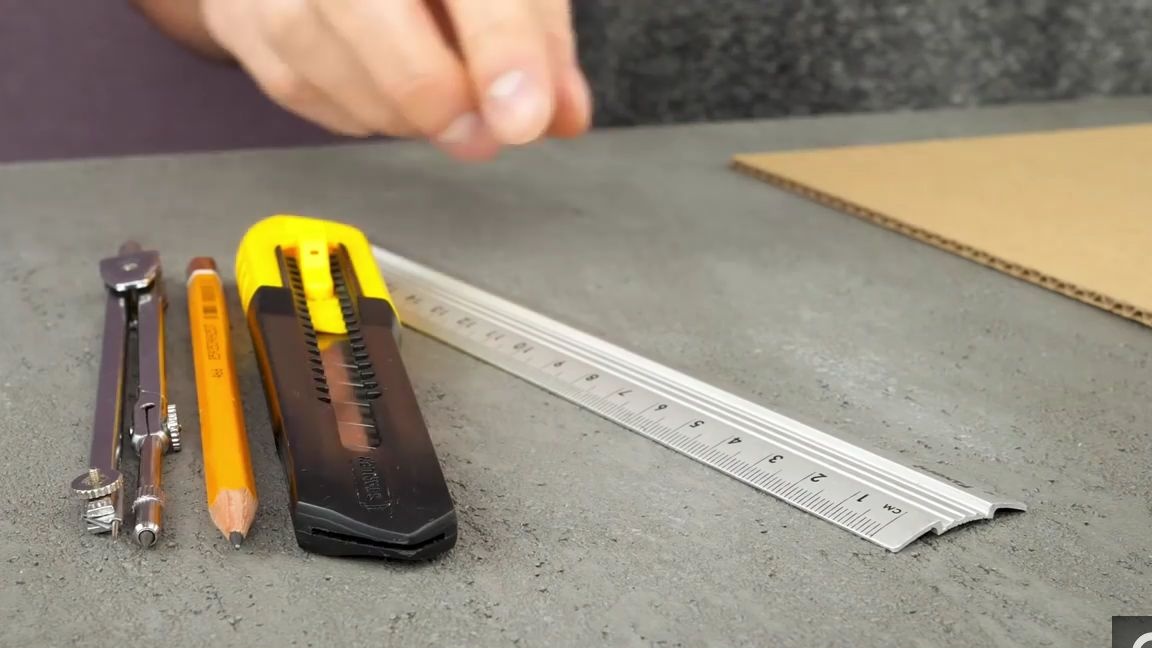
Of the tools we will also need:
soldering iron
thermal glue
-mini electric saw based on a bor machine (by the way, I did an article about a rather high-quality and not expensive bor machine from the Aliexpress website earlier, who wants to see something, look in the "goods" category on this site)
line
-compass
-pencil
-saw
table vise
-stationery knife
-scissors
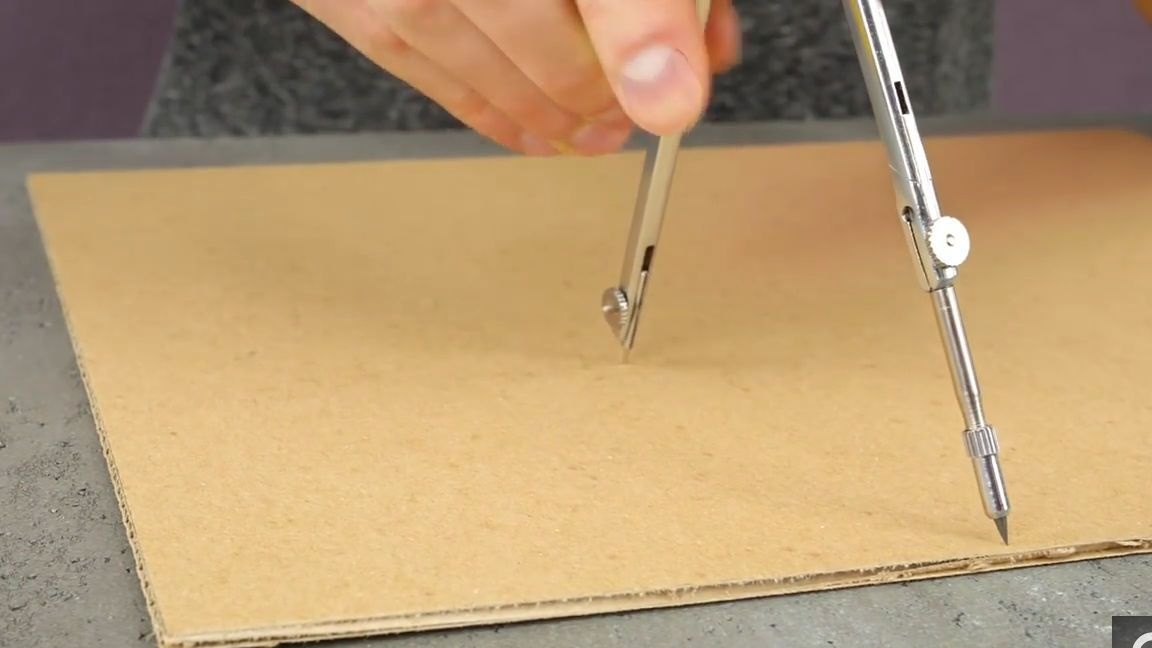
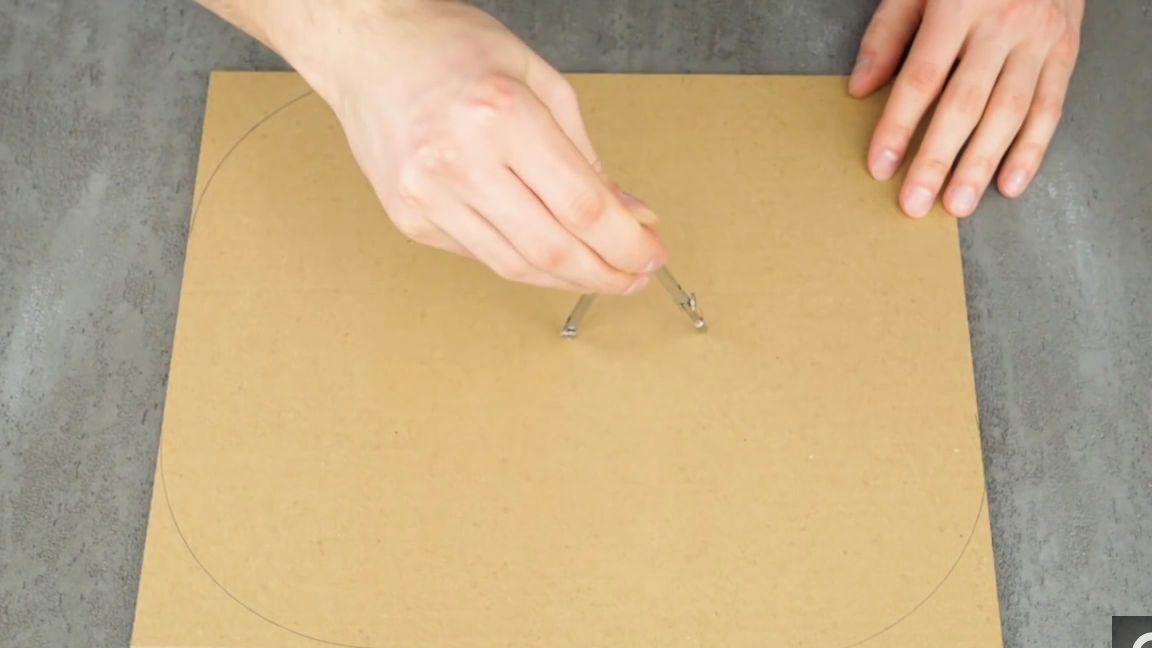
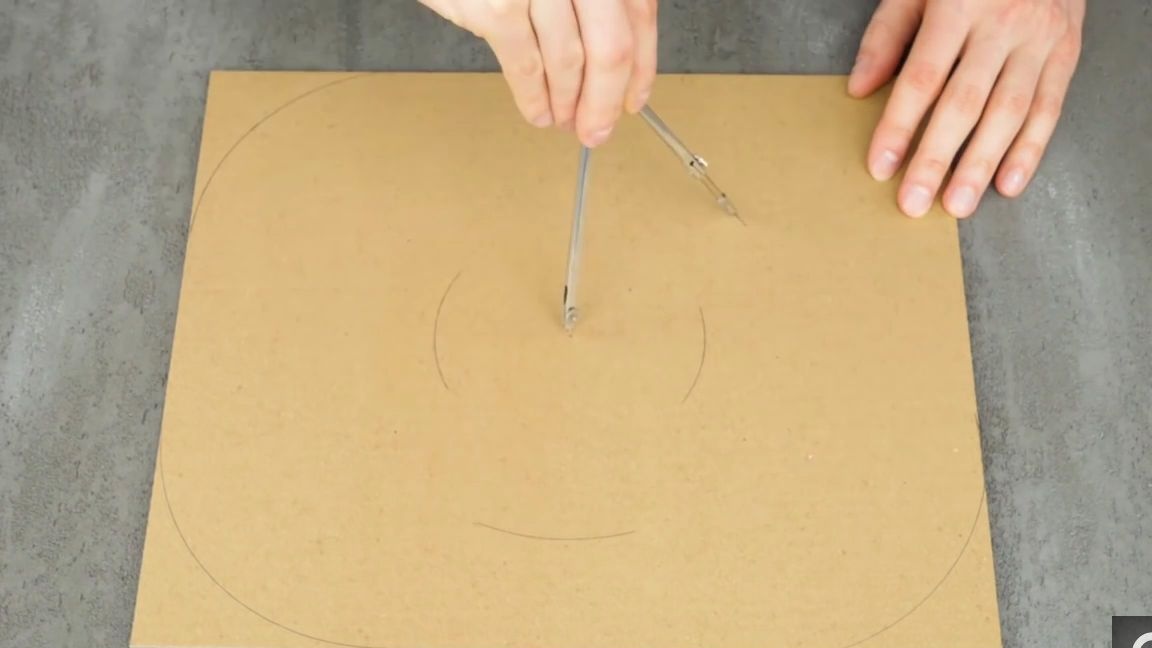
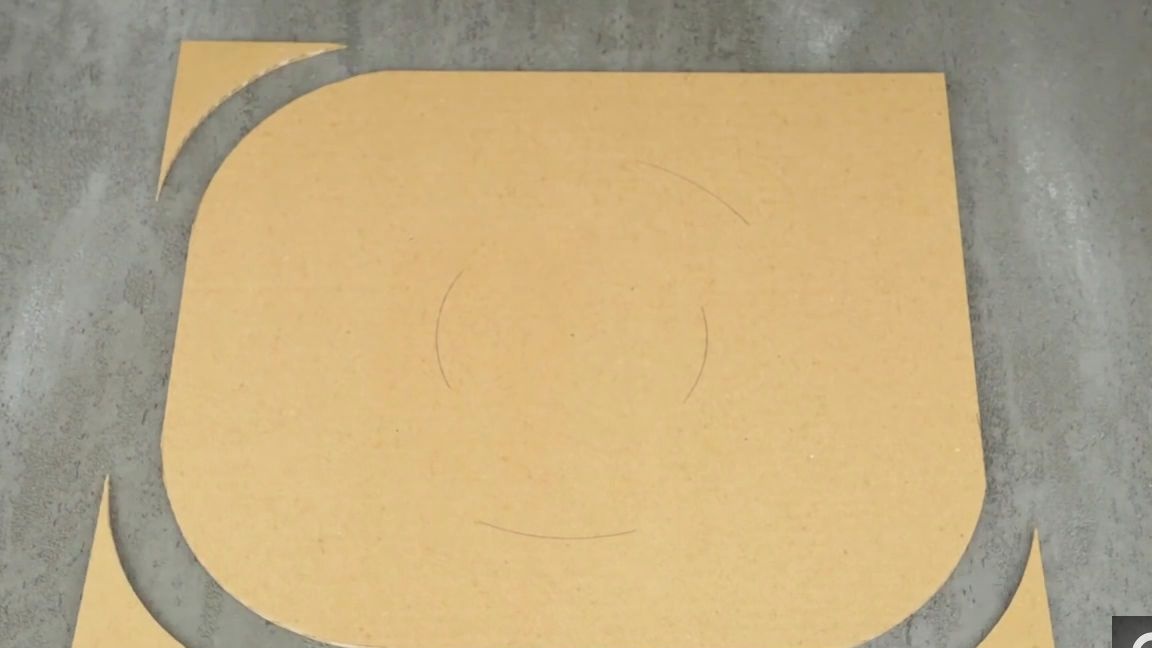
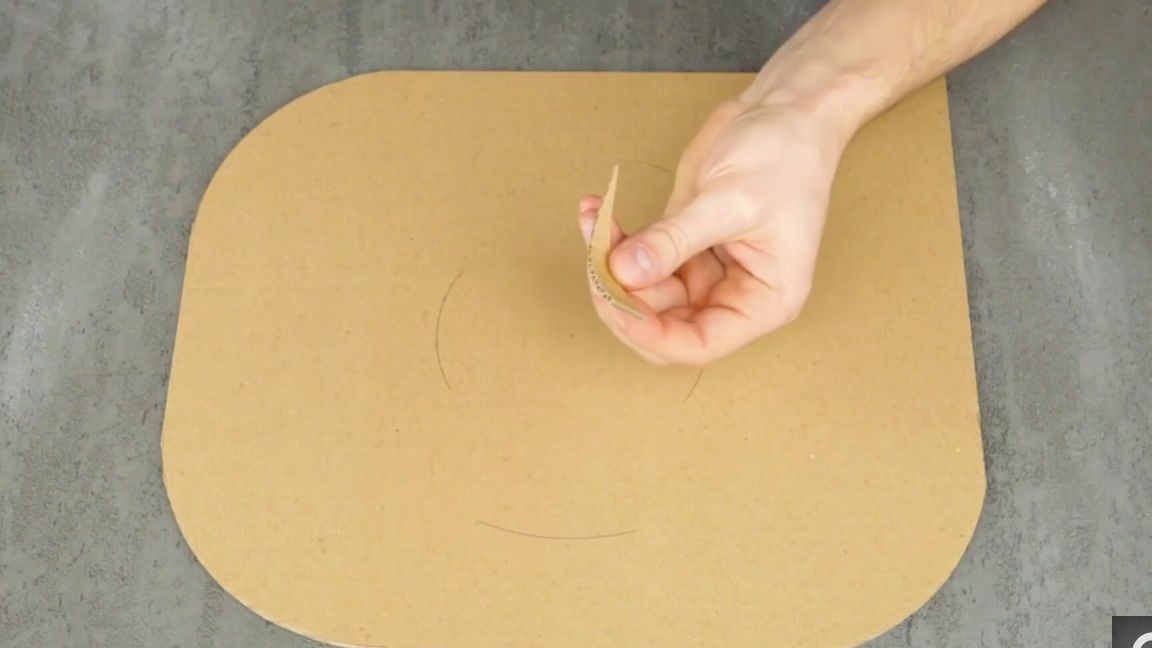
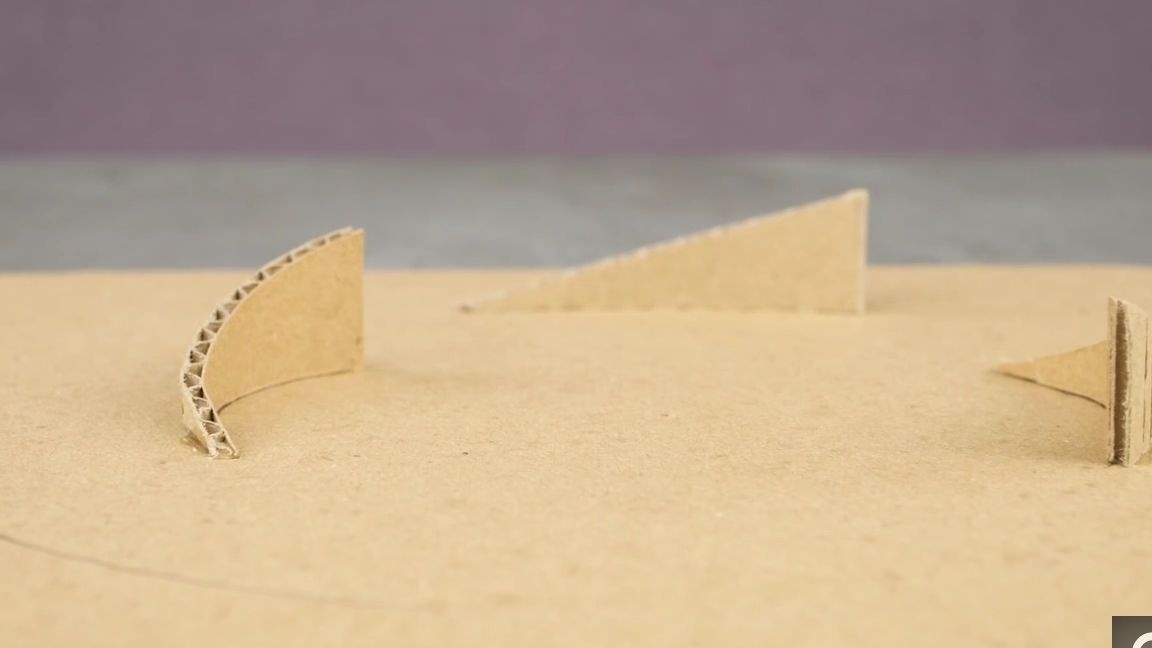
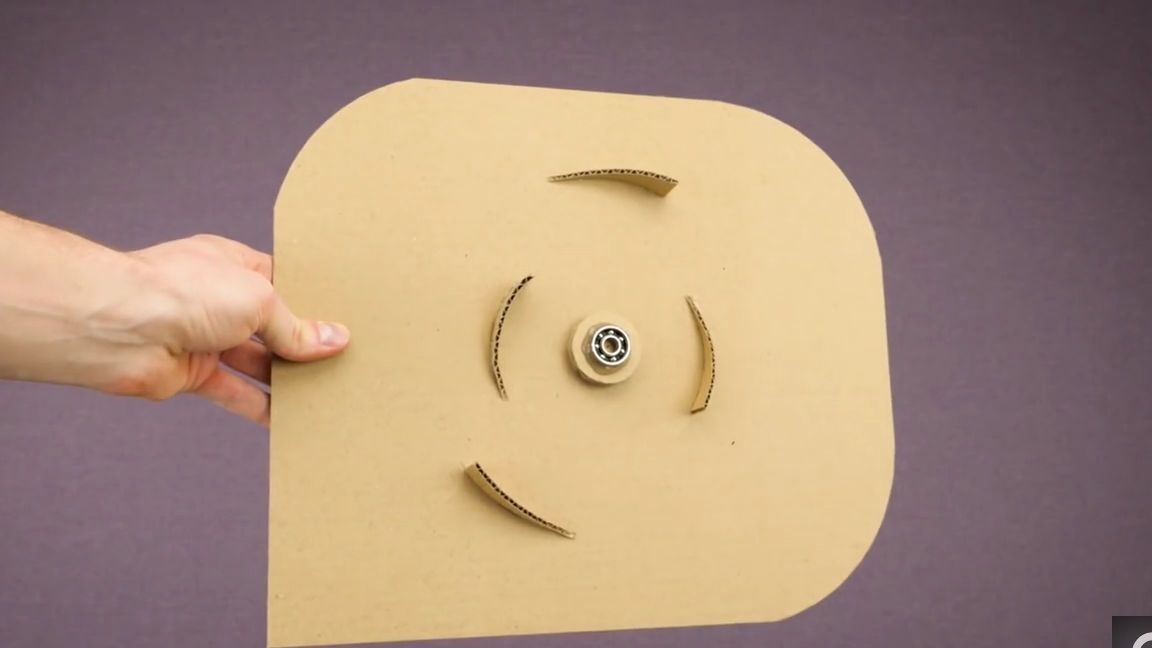
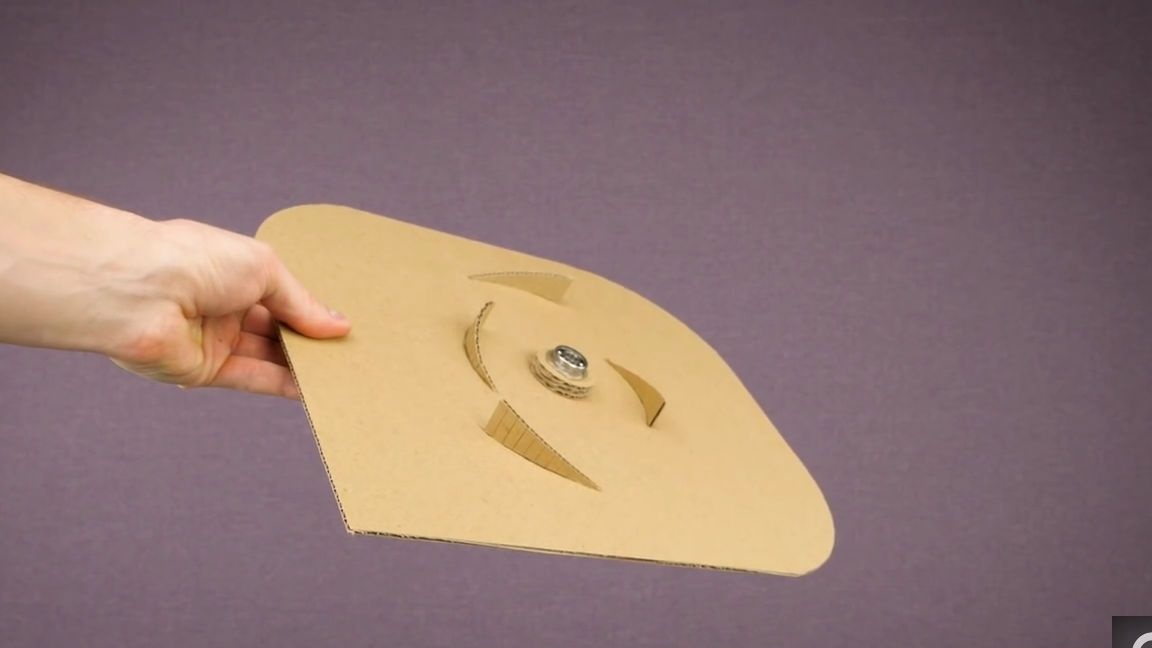
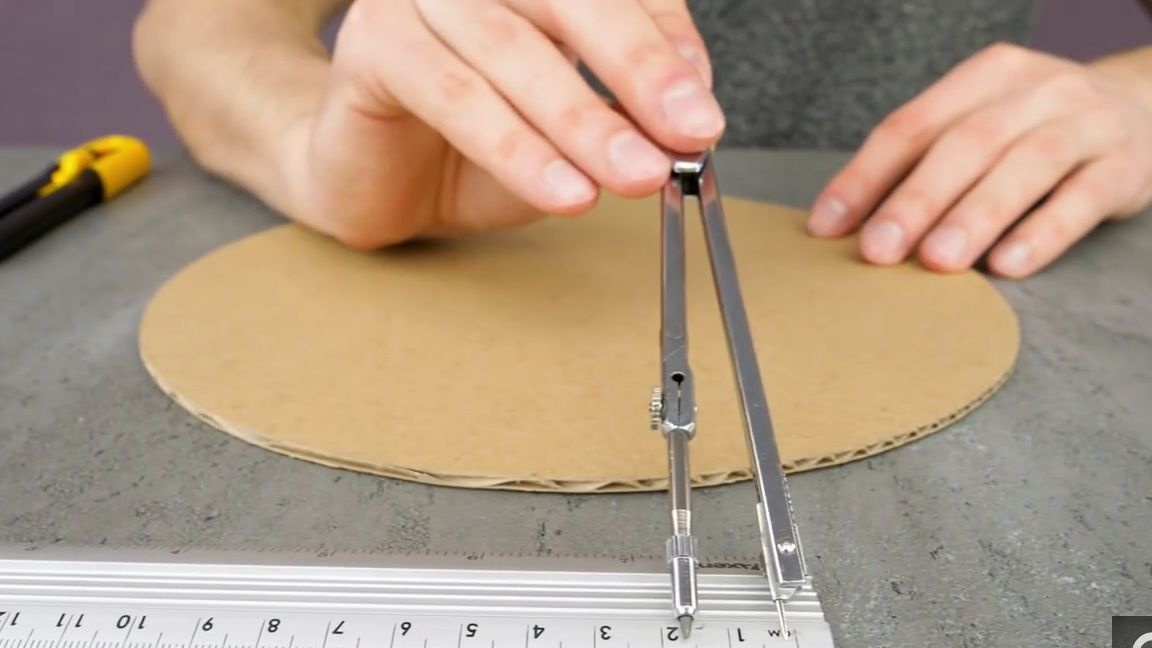
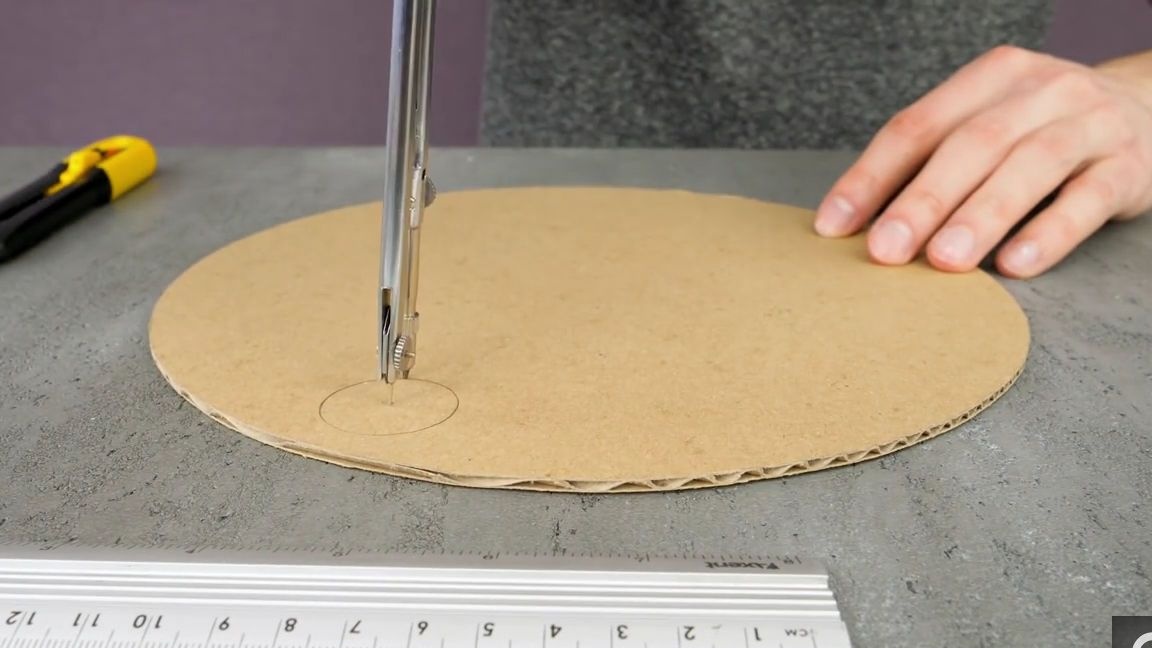
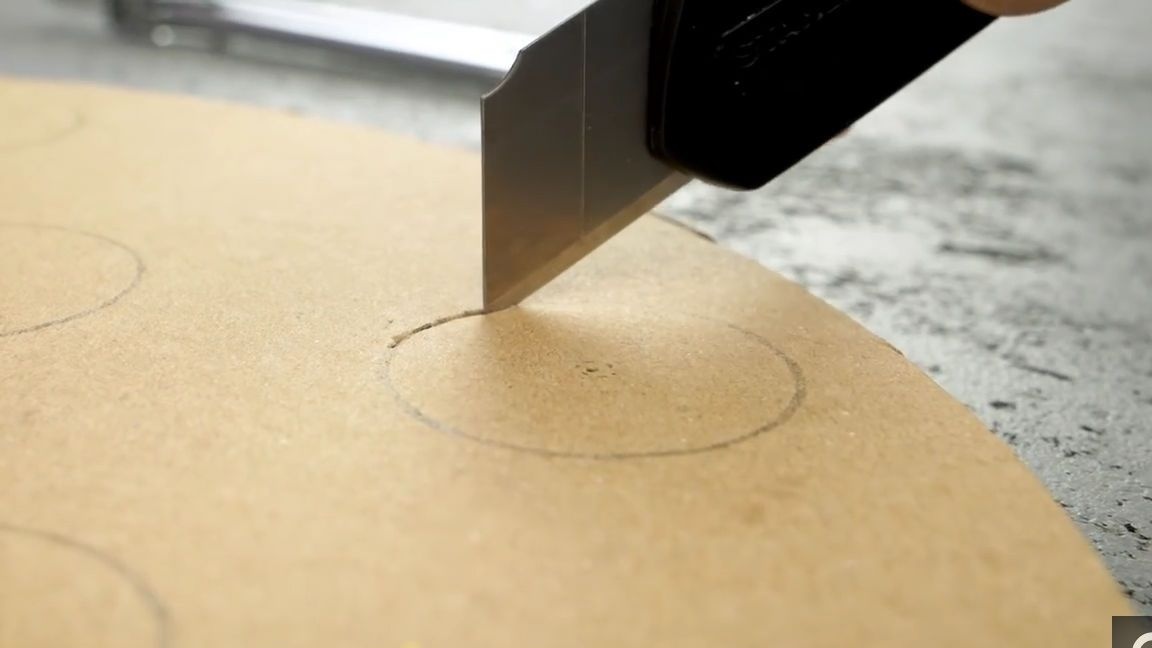
And so the first thing to do is to take a pencil, a ruler, an office knife and a sheet of corrugated cardboard. Then on a sheet of cardboard with a compass we round 3 sides (you need to leave one, then you will understand why), then with the help of the same compass we make 4 semicircular lines, as shown in the photo, well, and cut off the edges with a stationery knife or scissors which we have rounded:
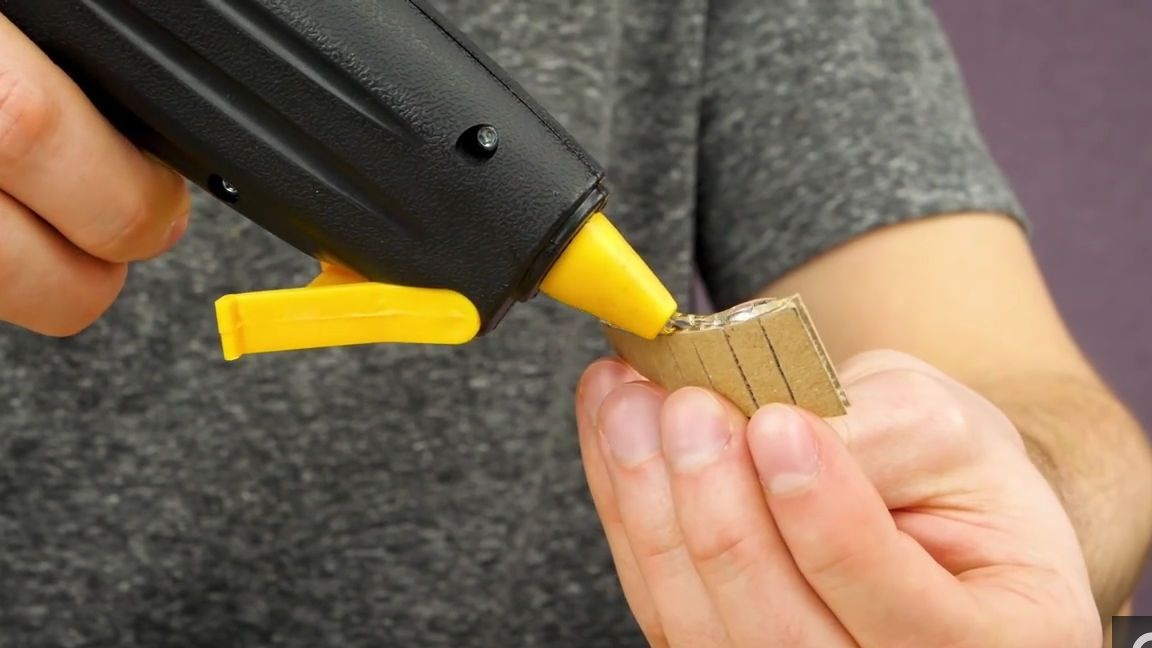
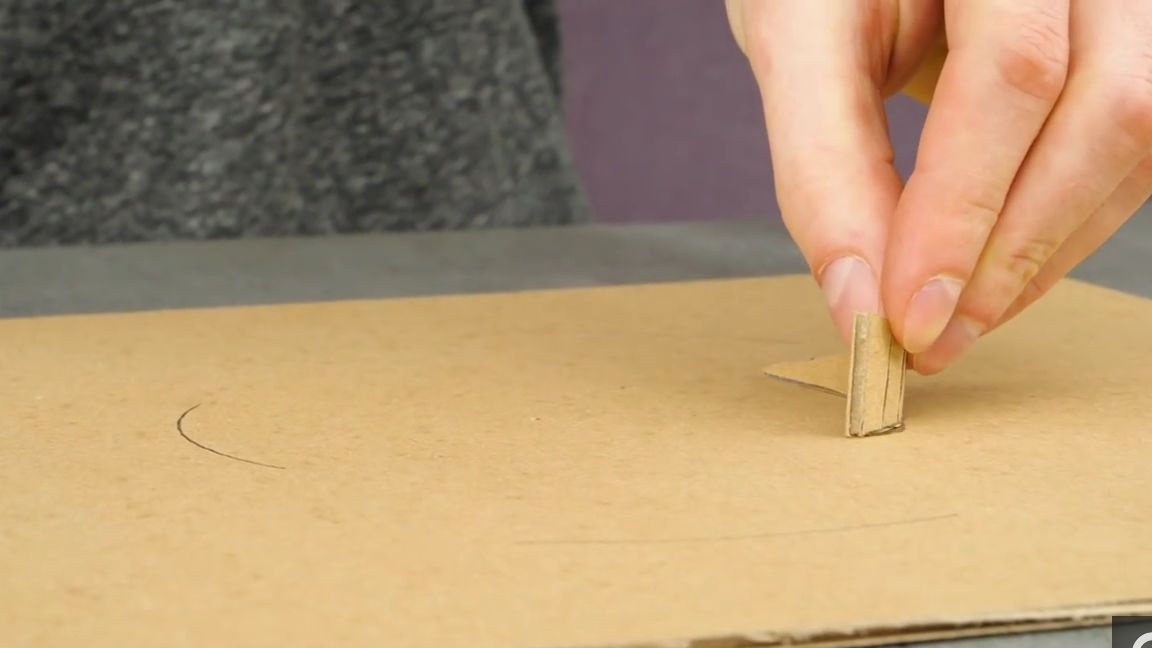
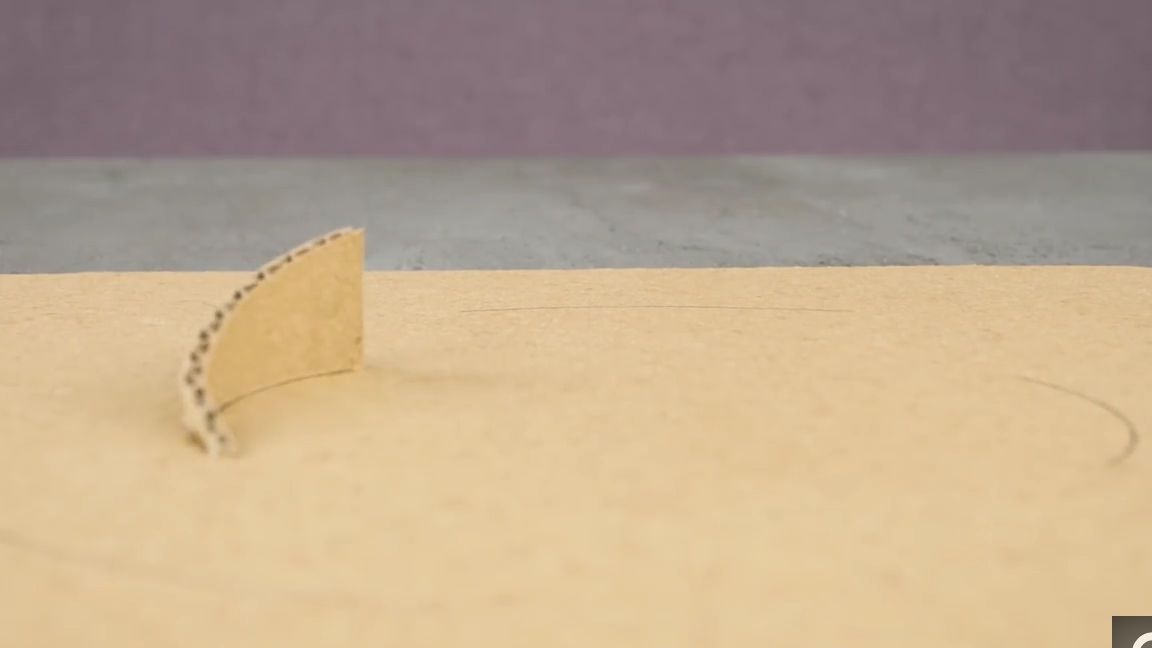
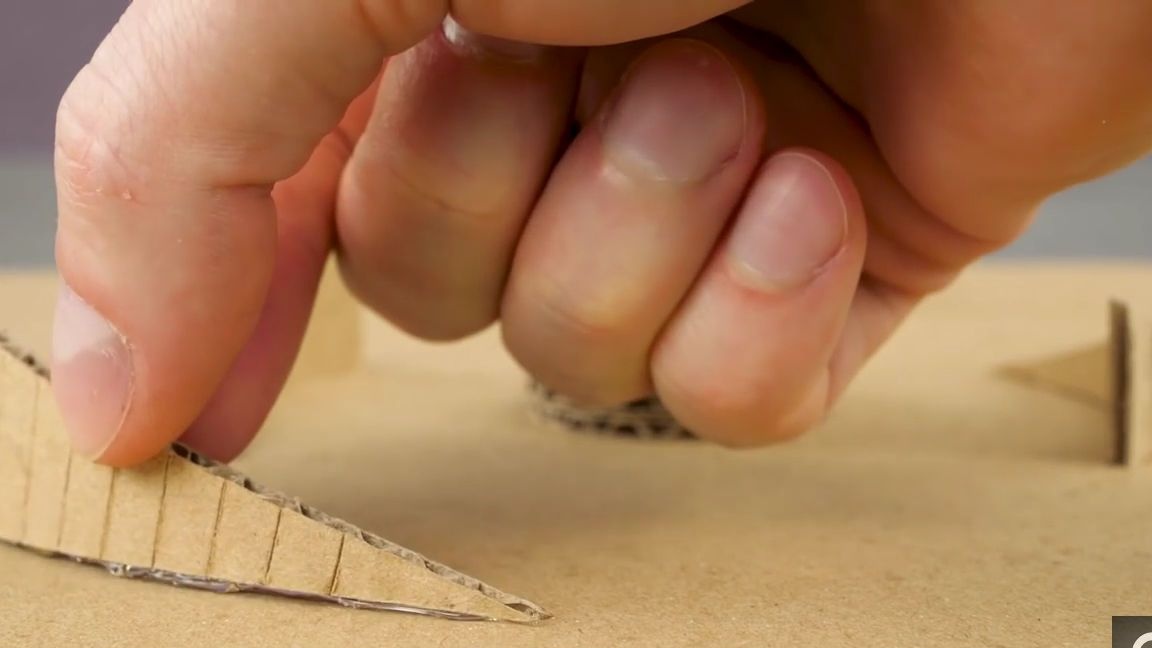
From corrugated cardboard cutouts, here’s such a small detail, in shape it should be approximately like a not very steep springboard from the side, then neat cuts should be made on this side on one side, but so that the detail does not fall apart, it should just be better bend. Next, apply a little thermal glue to the lines that we made earlier in the center of the previous workpiece and glue the cardboard detail. And so with all the lines. It is important that they all be directed in the same direction.
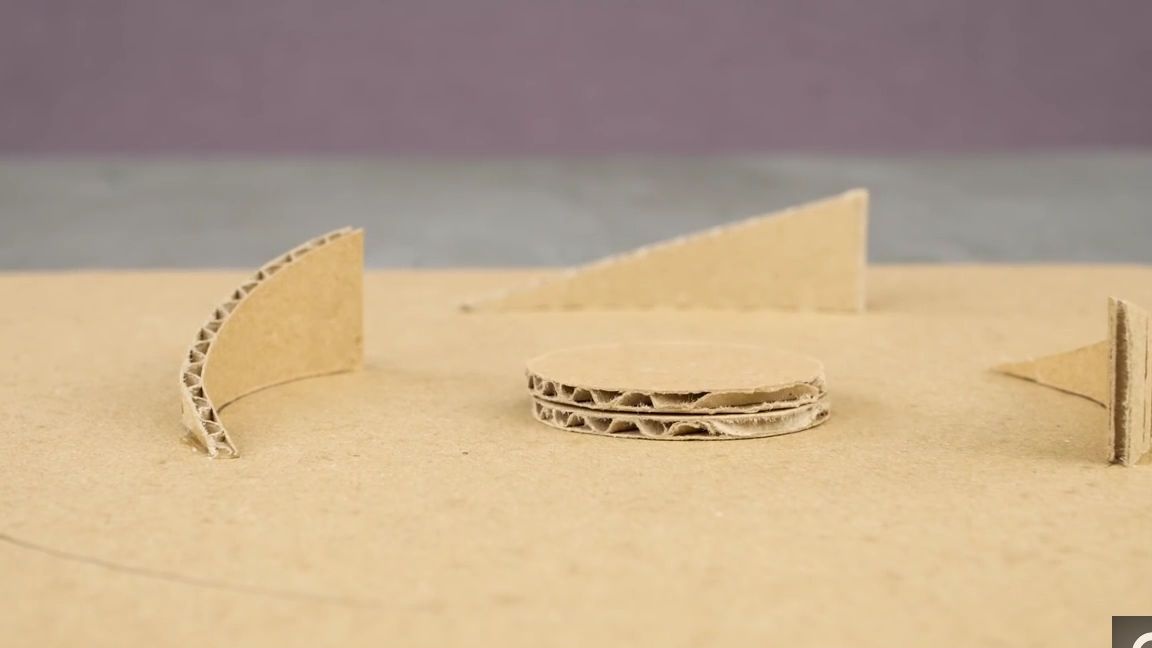
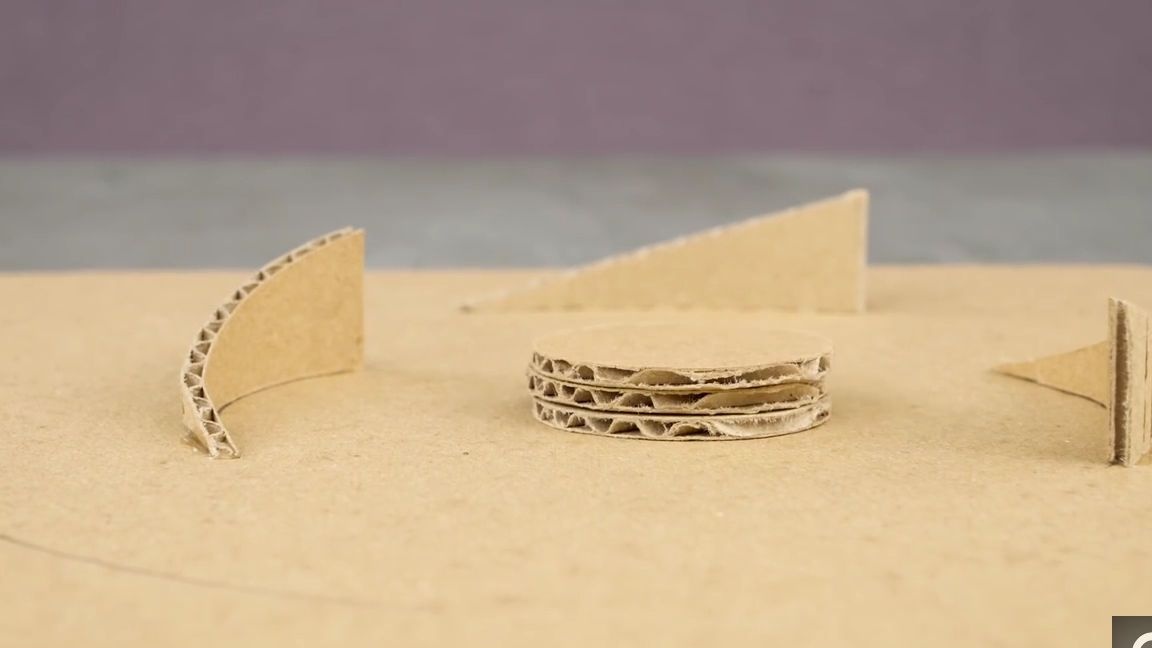
Also in the center itself you need to glue 3 small cardboard circles, and on them a ball bearing.
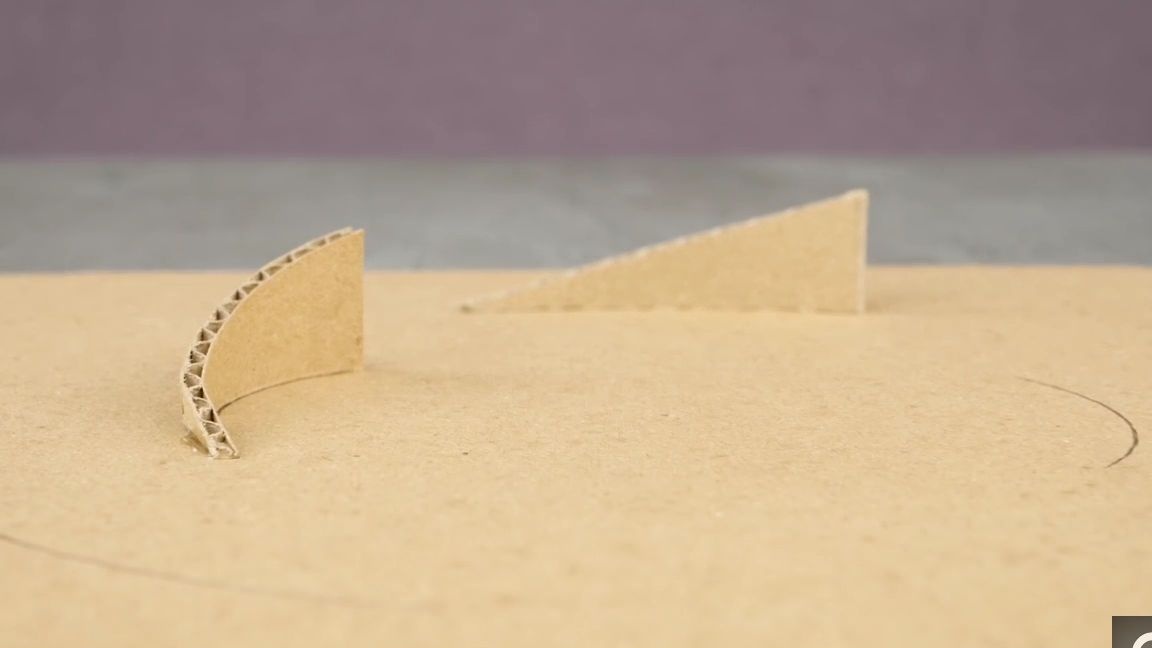
This is how it should turn out:

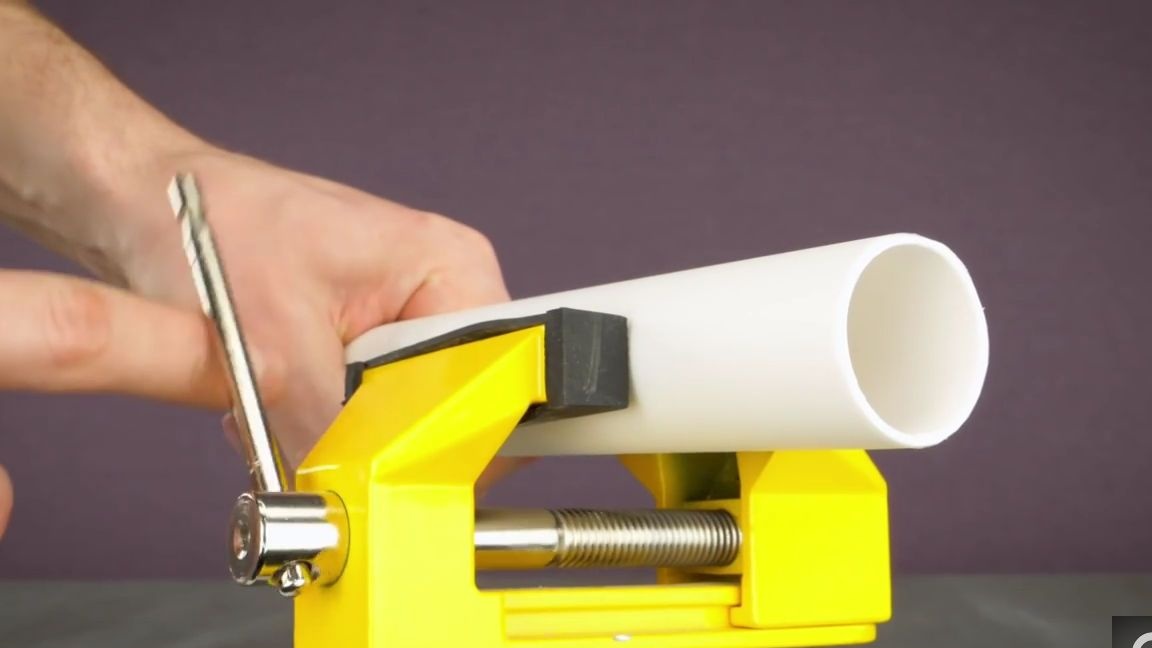
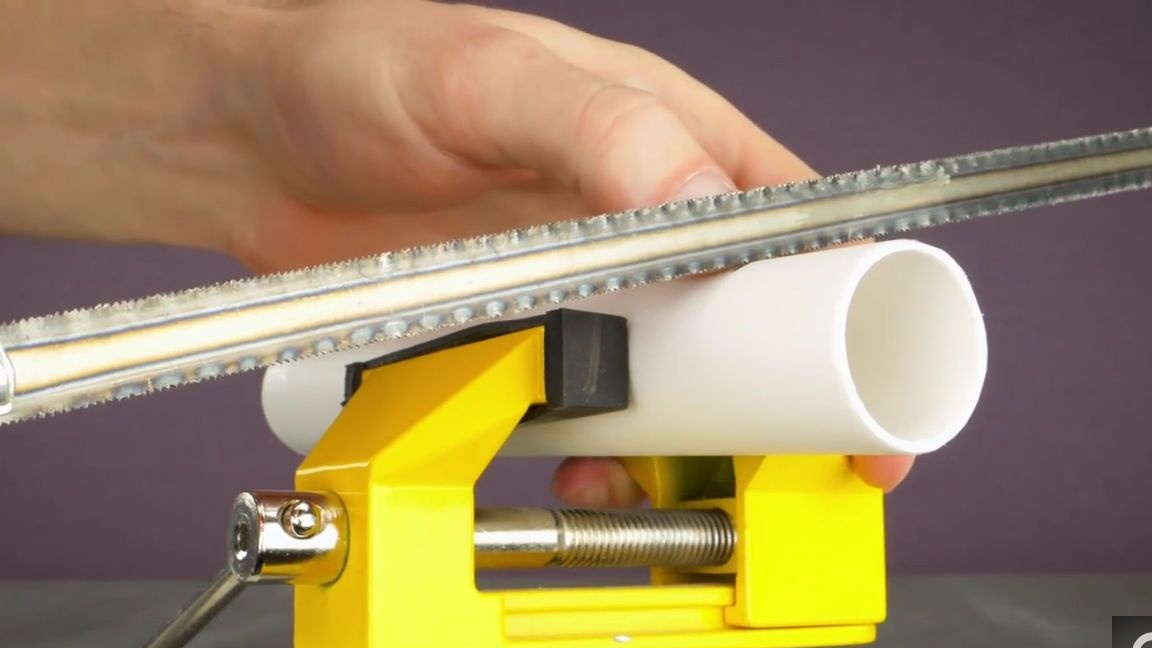
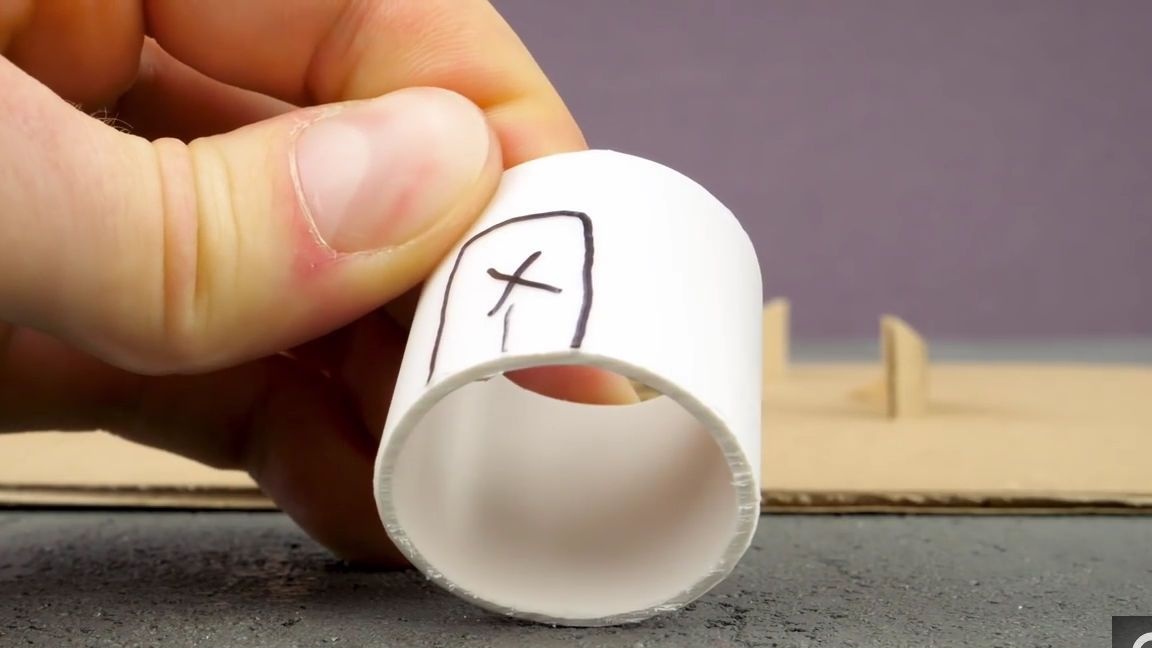
We take a plastic pipe and clamp it in a vice, make a mark of 3 centimeters with a marker and cut it off. In total, 12 such segments must be made:
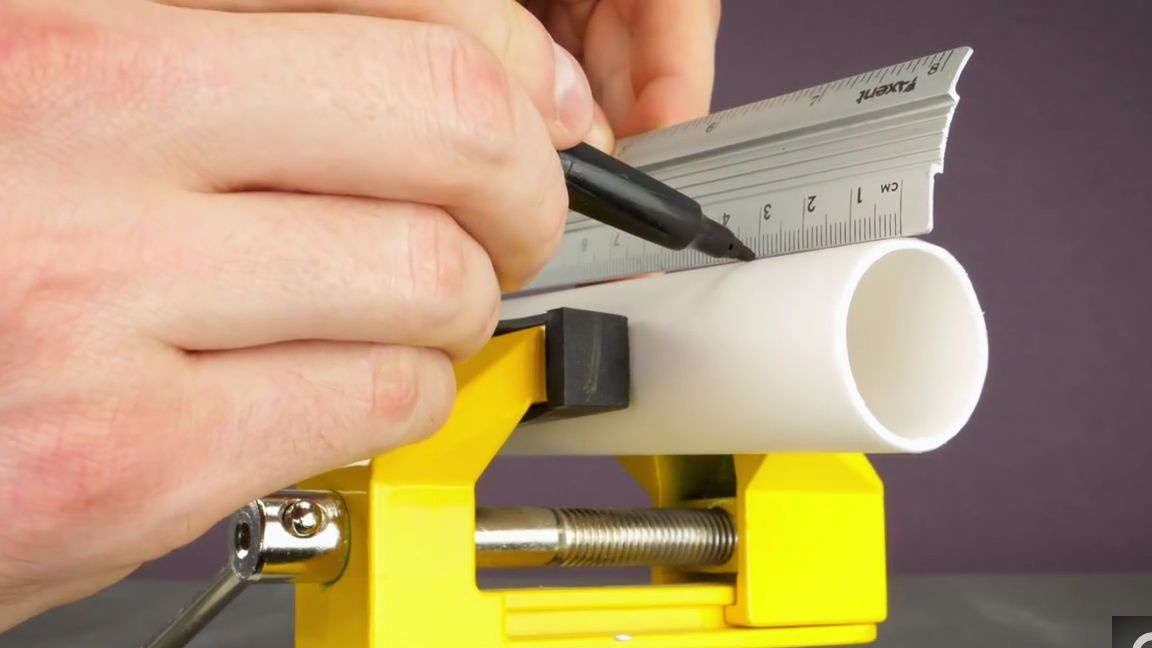

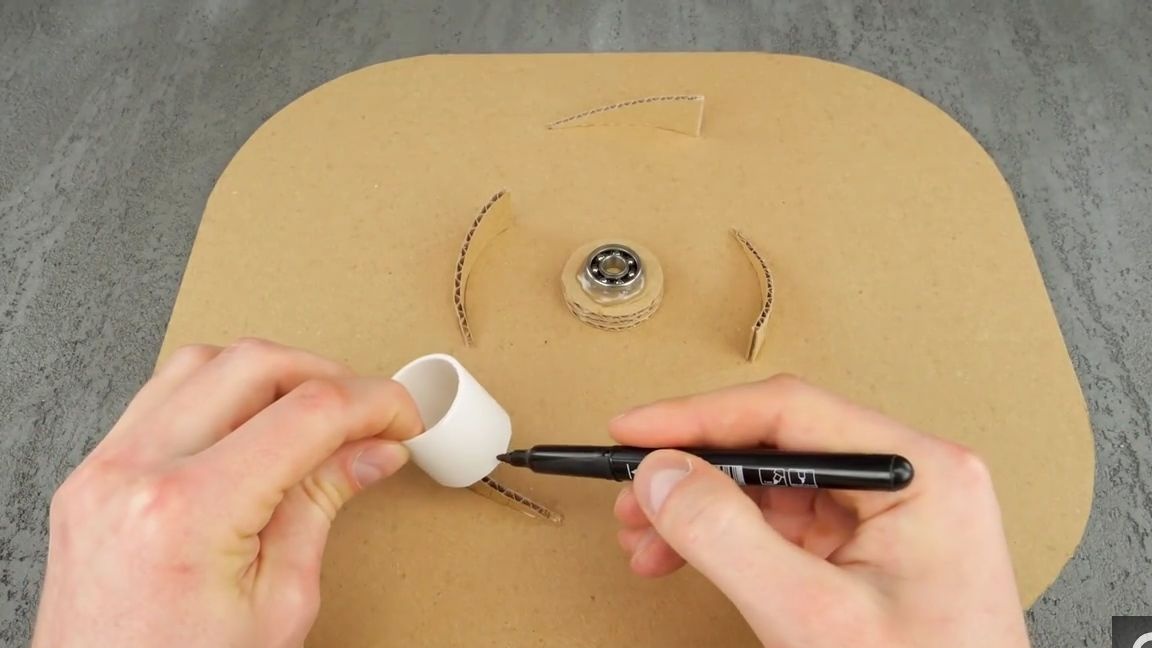
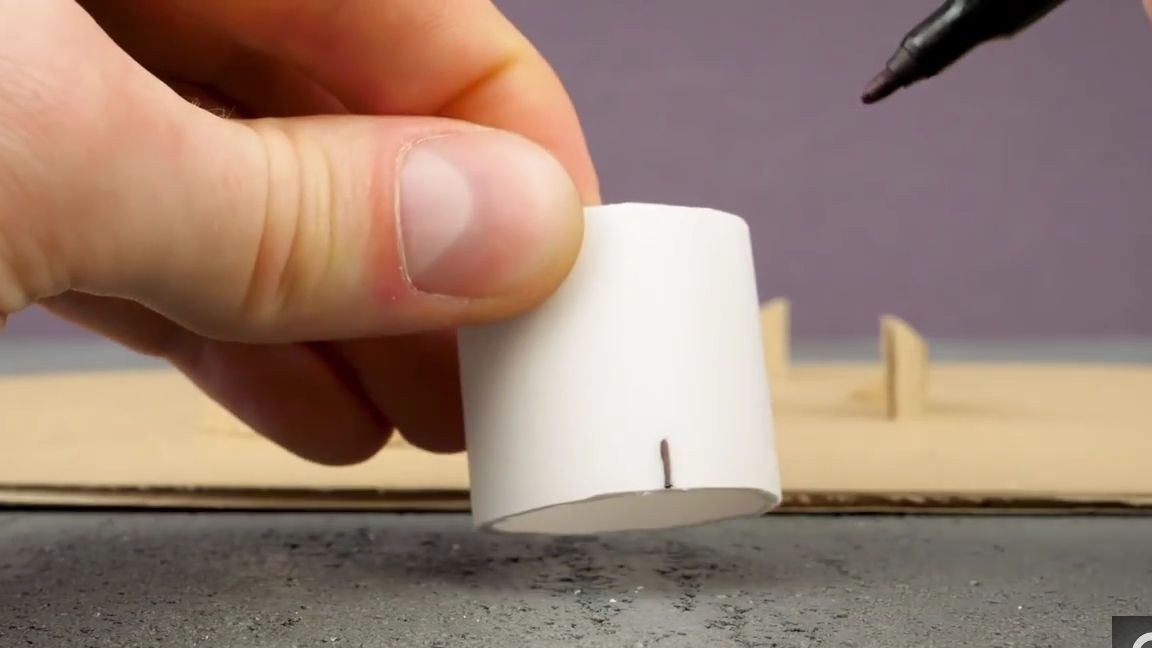
Now you need to draw the following on the segments of the plastic pipe, there is nothing complicated here, so just do as shown in the photo, and then cut out:
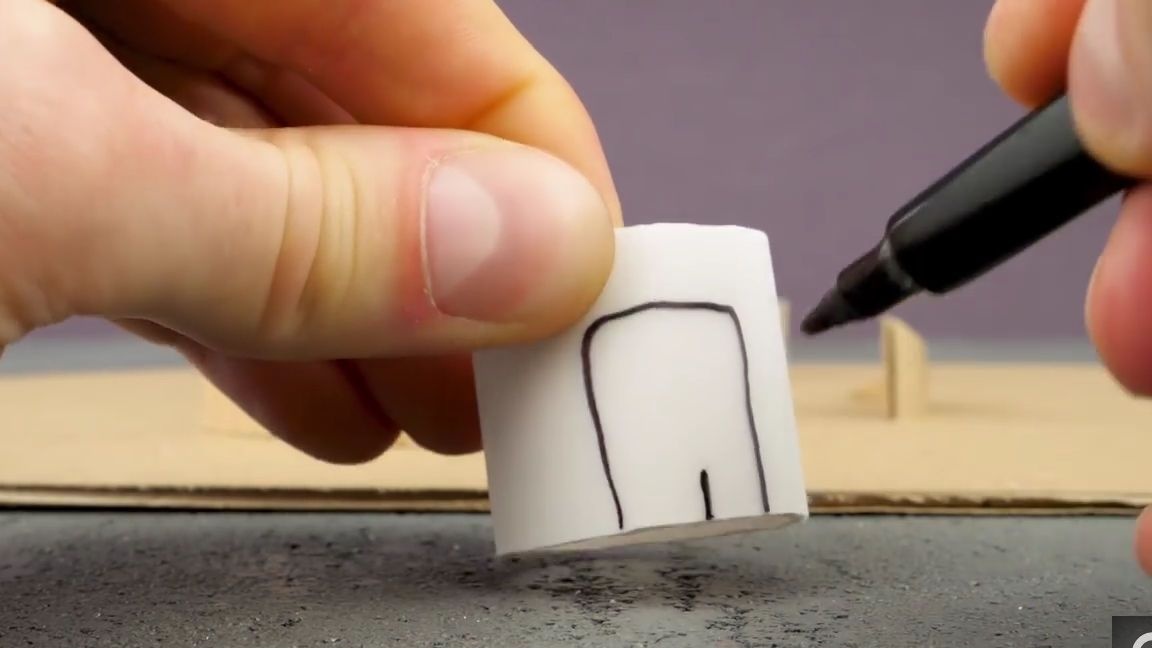

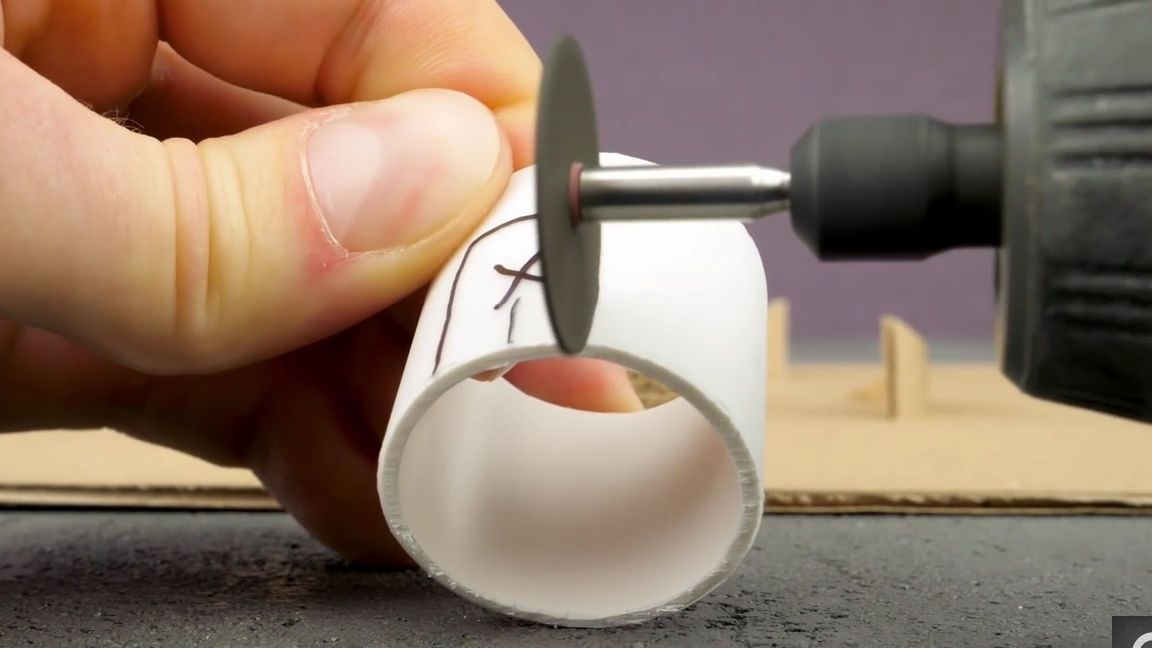
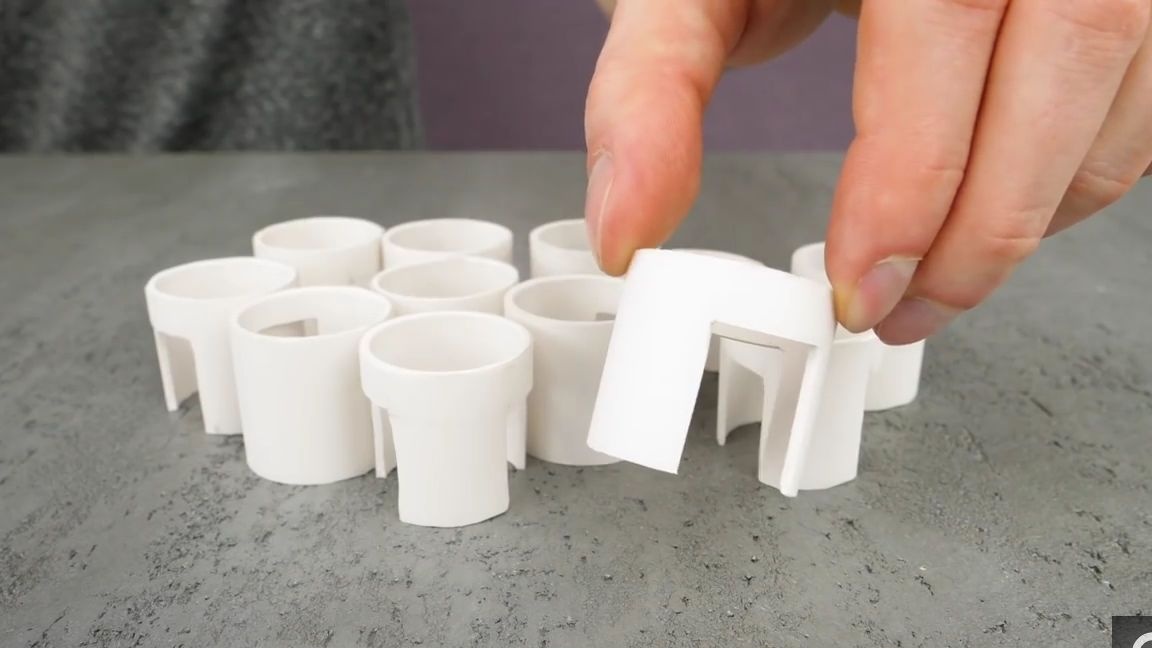
In total, we should get twelve of these blanks:
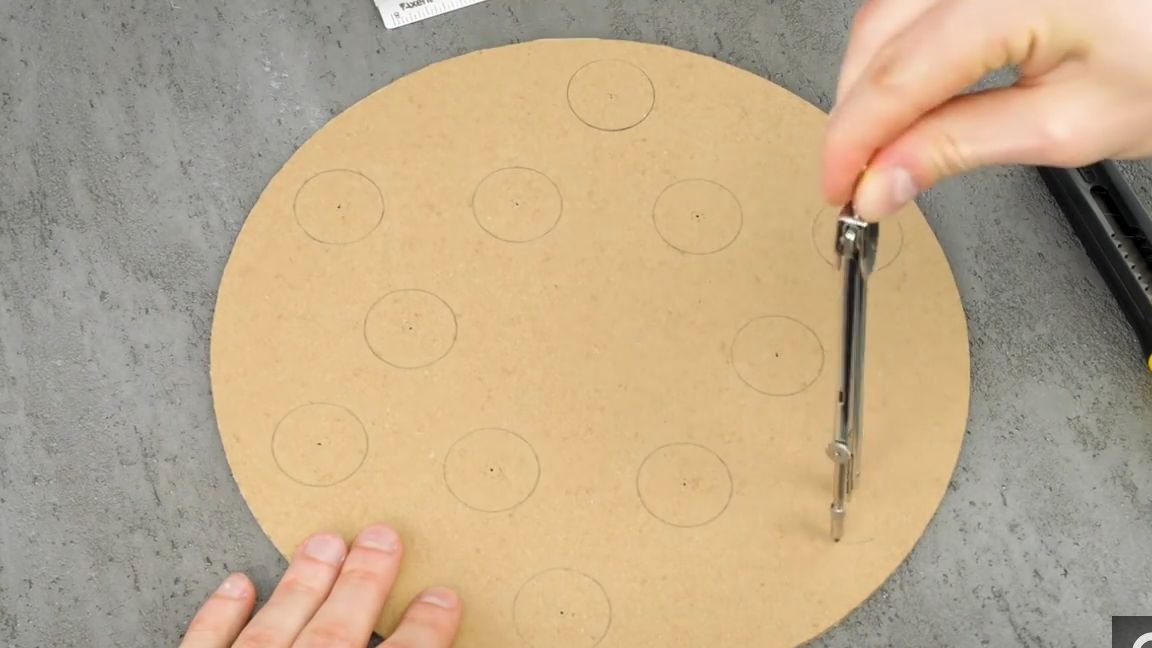
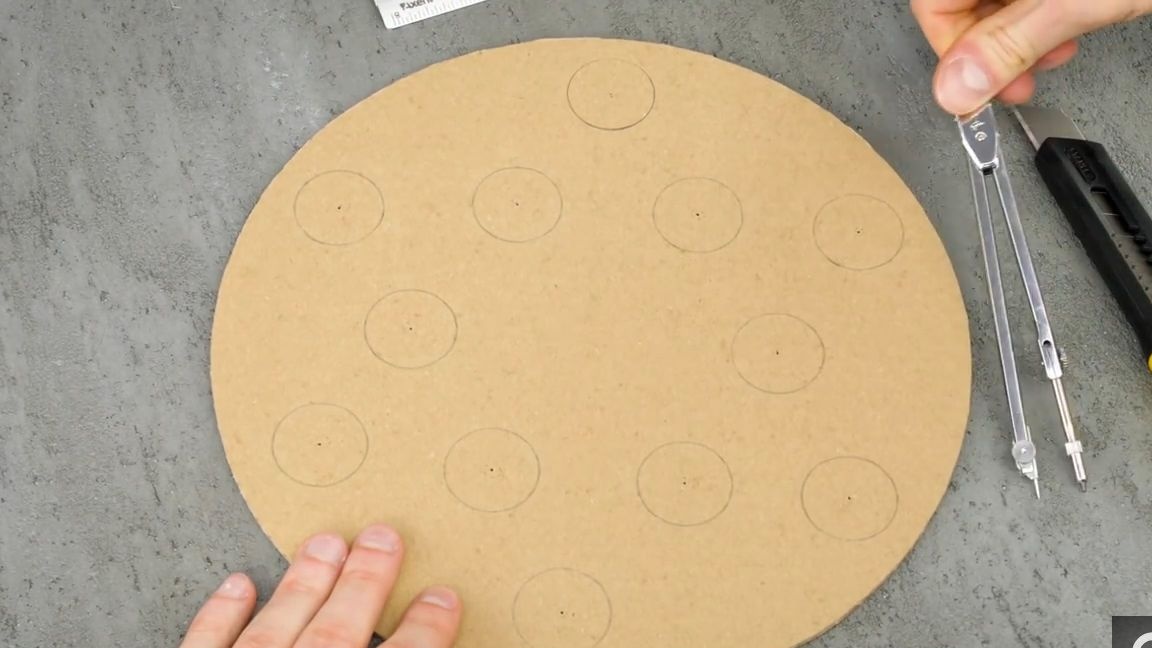
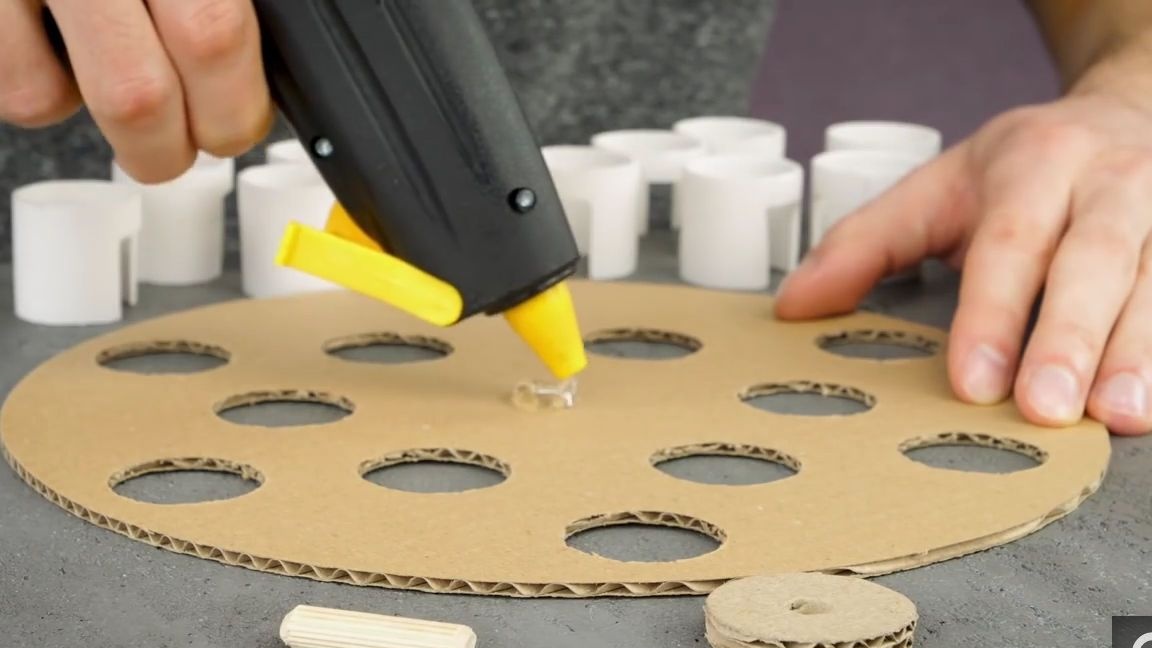
Again we take a compass and a circle of corrugated cardboard. We measure 17 millimeters on a compass (in principle, the holes should be approximately equal in diameter to the diameter of the plastic pipe that we used earlier) and make 12 equal circles on a cardboard circle:
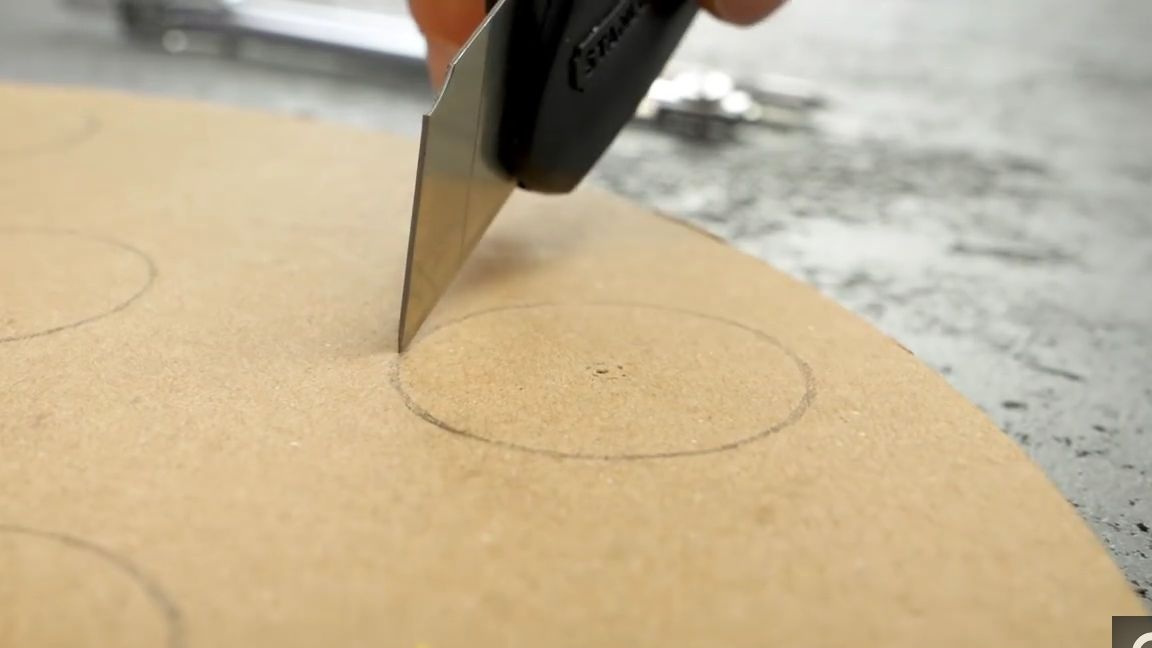
Cut using a clerical knife:
Pour a little thermal glue into the center of the circle and glue a small circle of double cardboard with a hole made in the middle in advance:
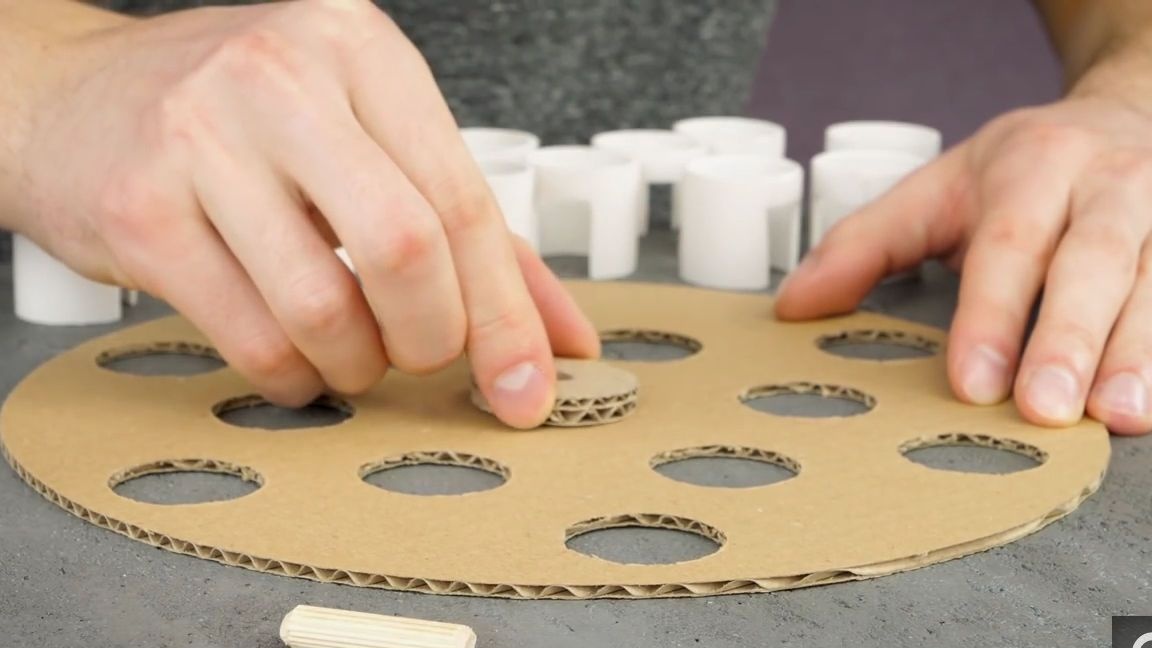
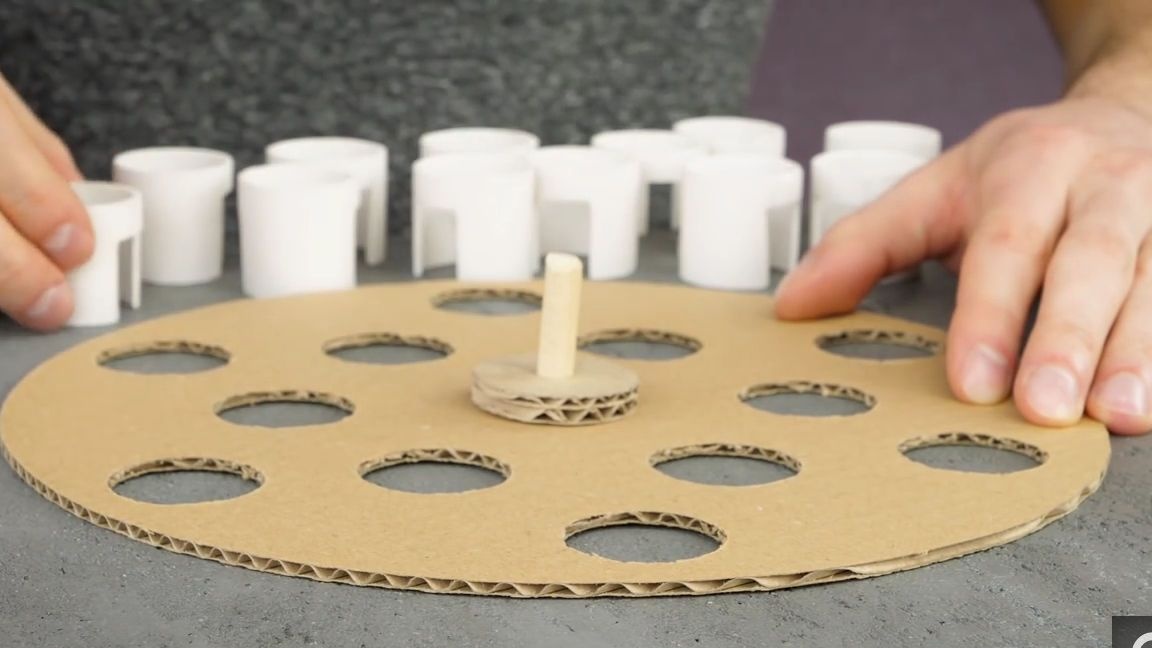
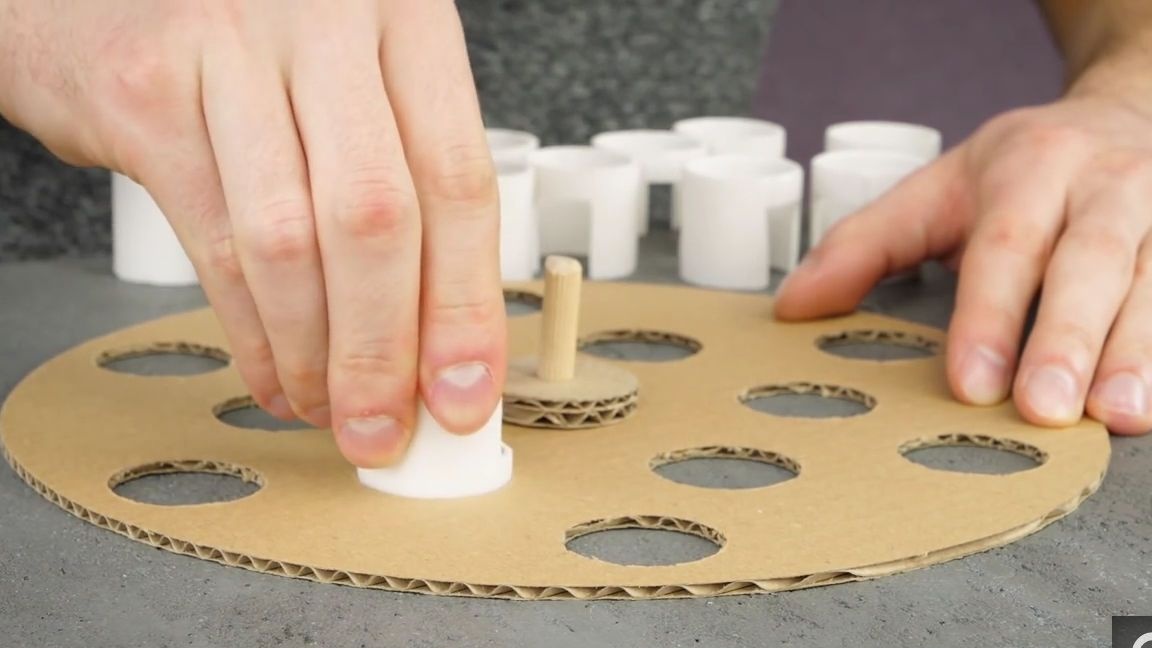
In the hole in the cardboard circle we insert a wooden block of cylindrical shape:

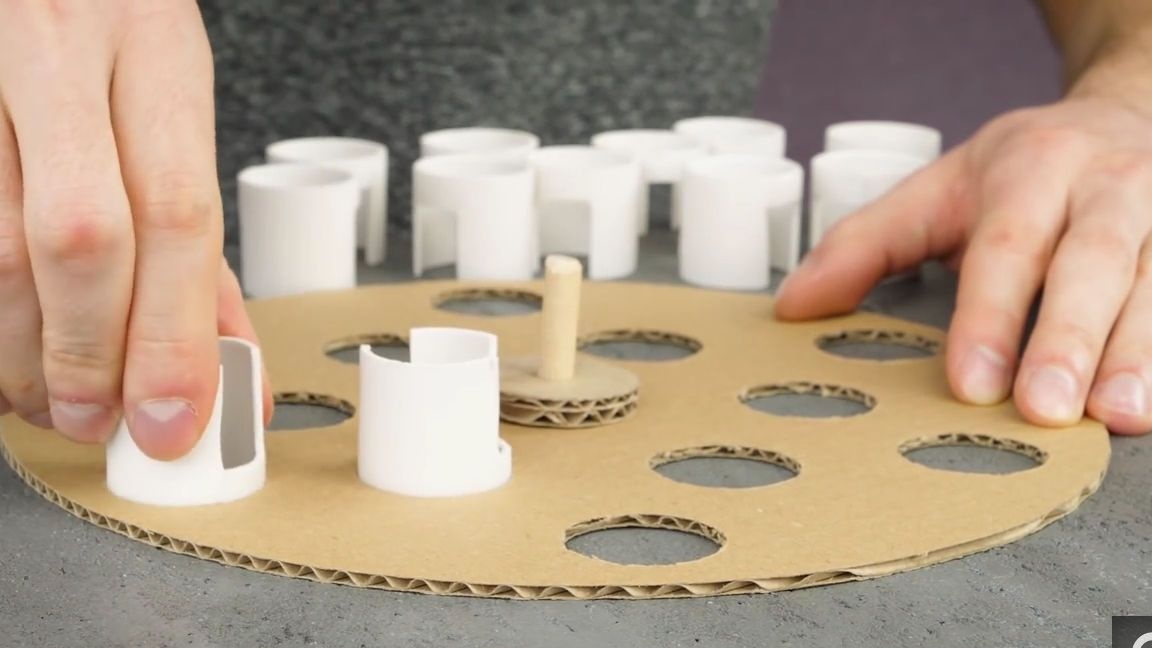
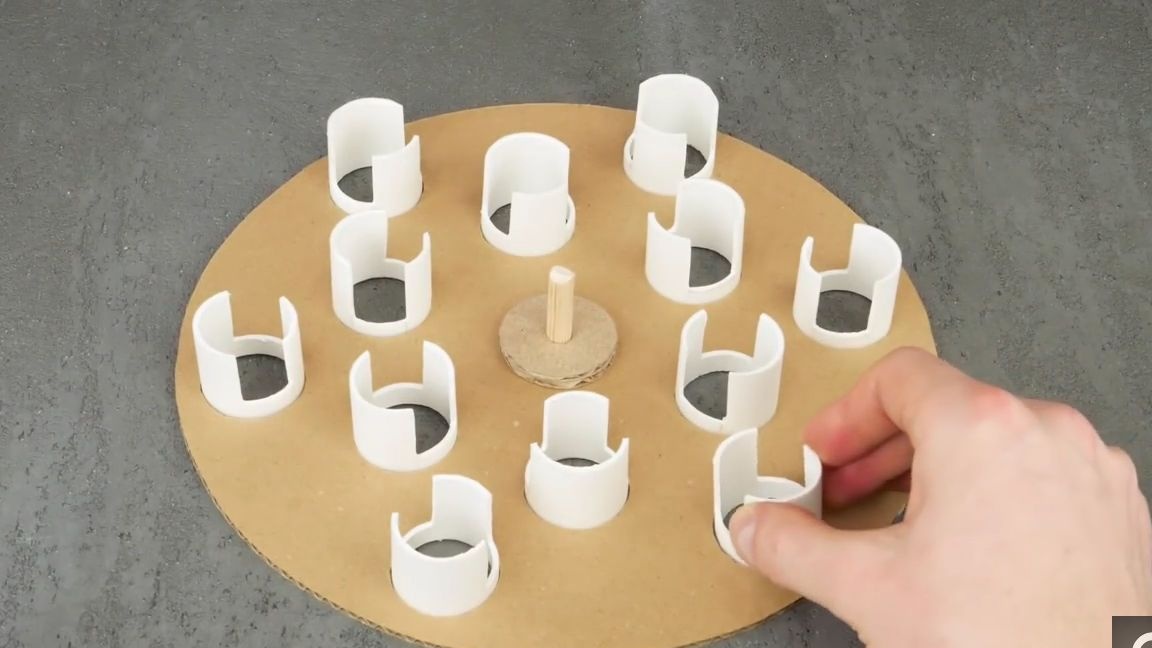
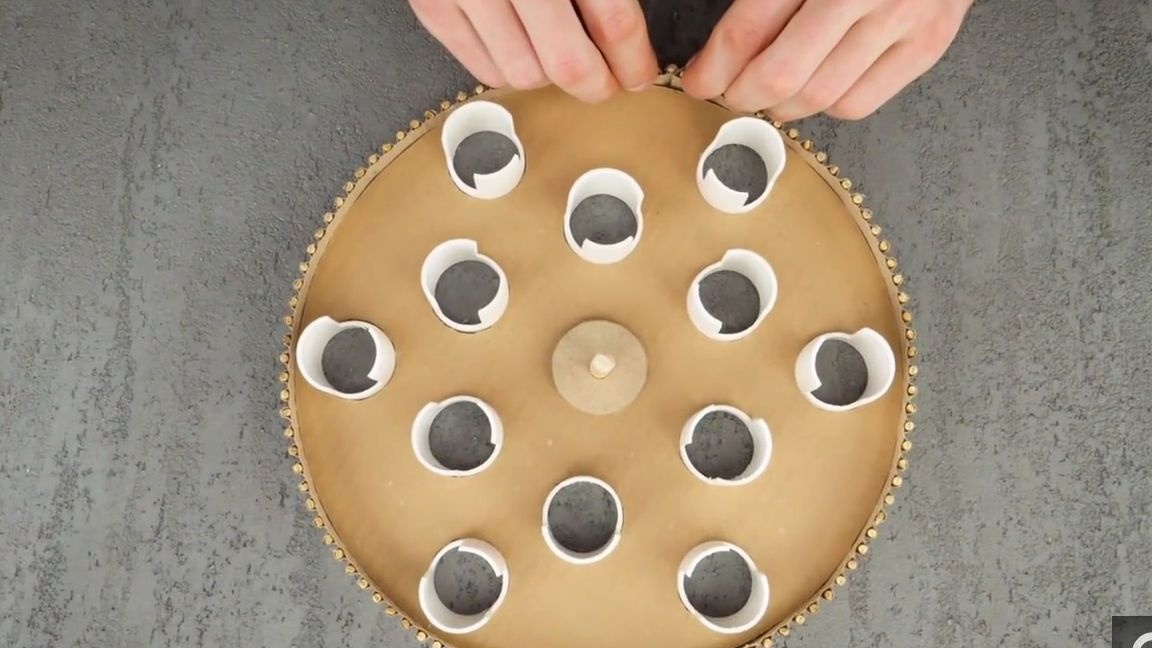
We begin to insert the blanks of their plastic pipe, they must be inserted into the holes with the slot up and the slots should form a certain
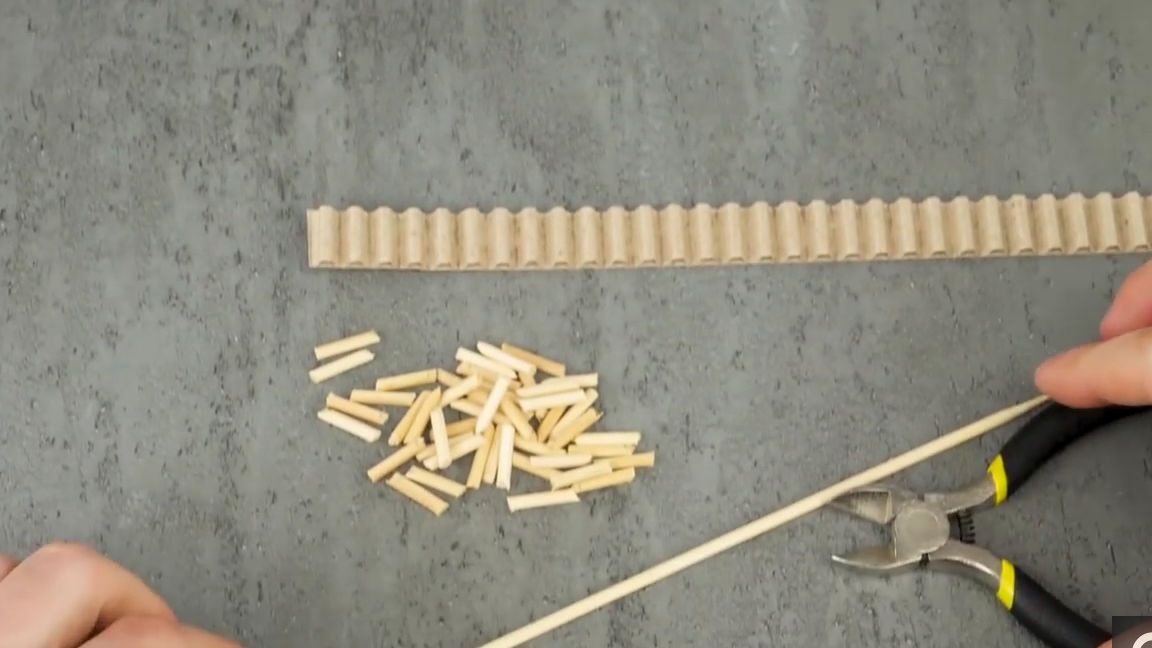
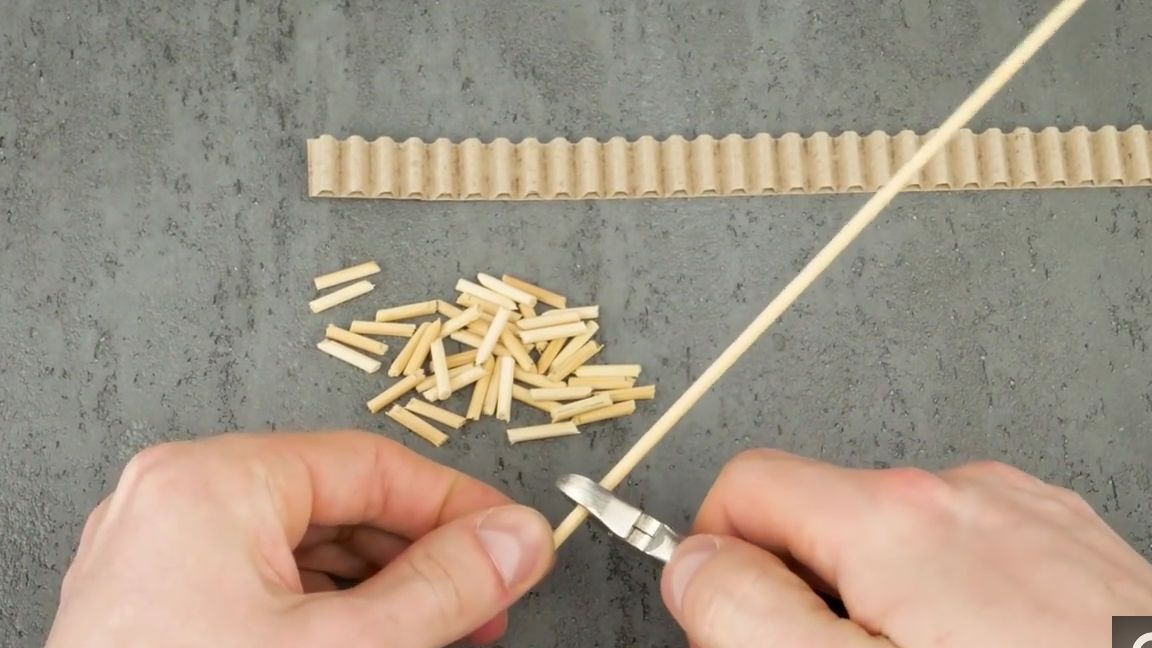
Now you need to take barbecue skewers and a thin but long strip of cardboard without top sheet of paper, first with the help of pliers we make a lot of pieces of barbecue skewers, these lengths should be about the same as the width of your cardboard strip:
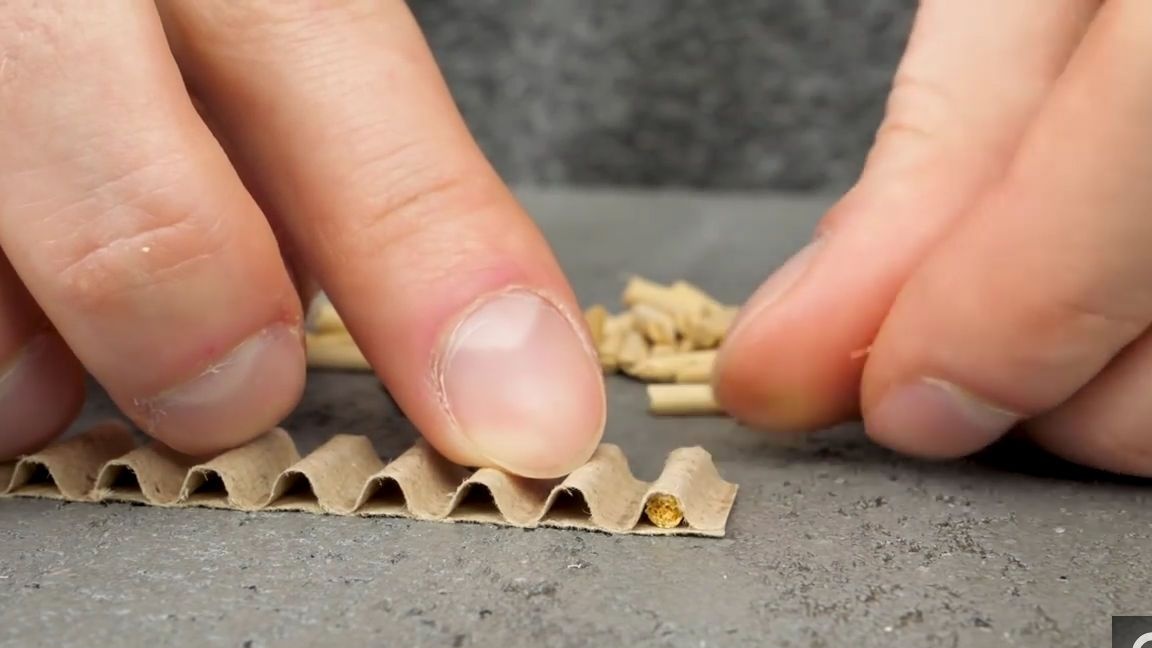
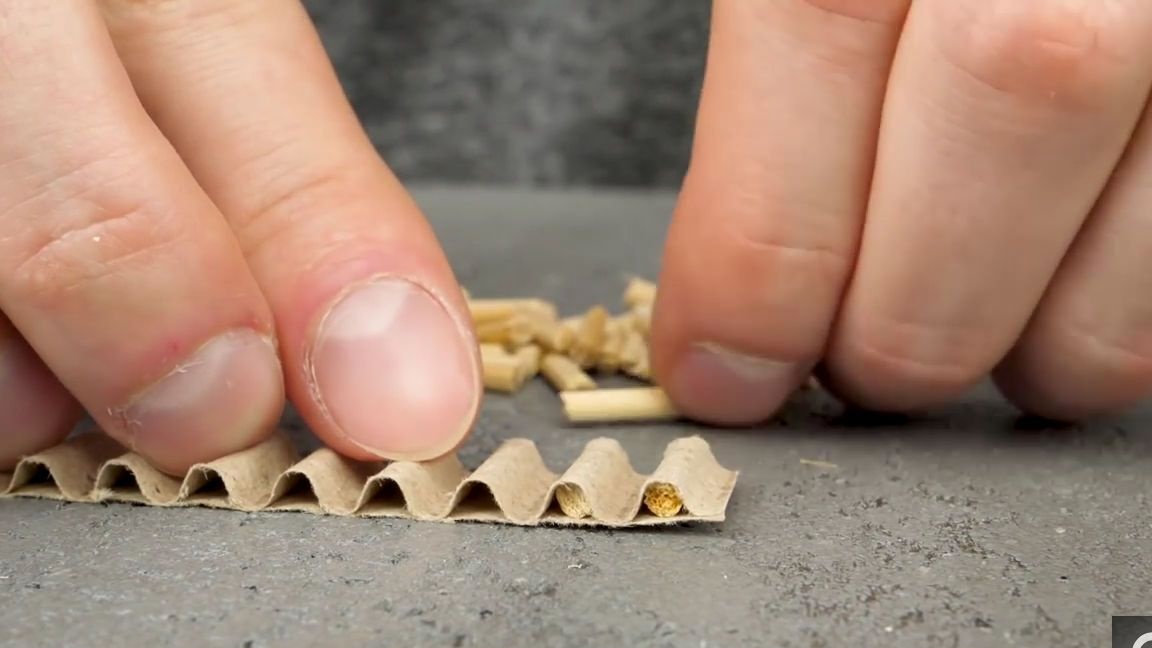
We insert the segments of the skewers, as shown in the photo, this will have to be done quite a few times:
Now we take the cardboard blank that we made earlier and wrap it with a strip of cardboard into which we inserted the skewers, and of course we glue it, it should turn out as shown in the photo:
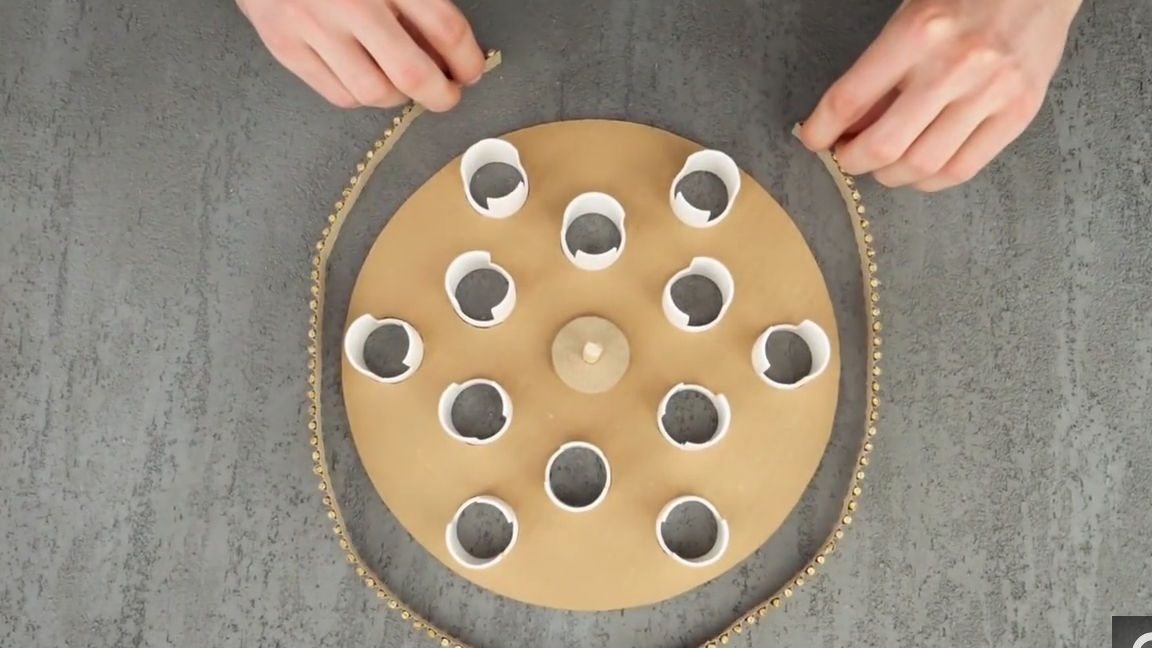
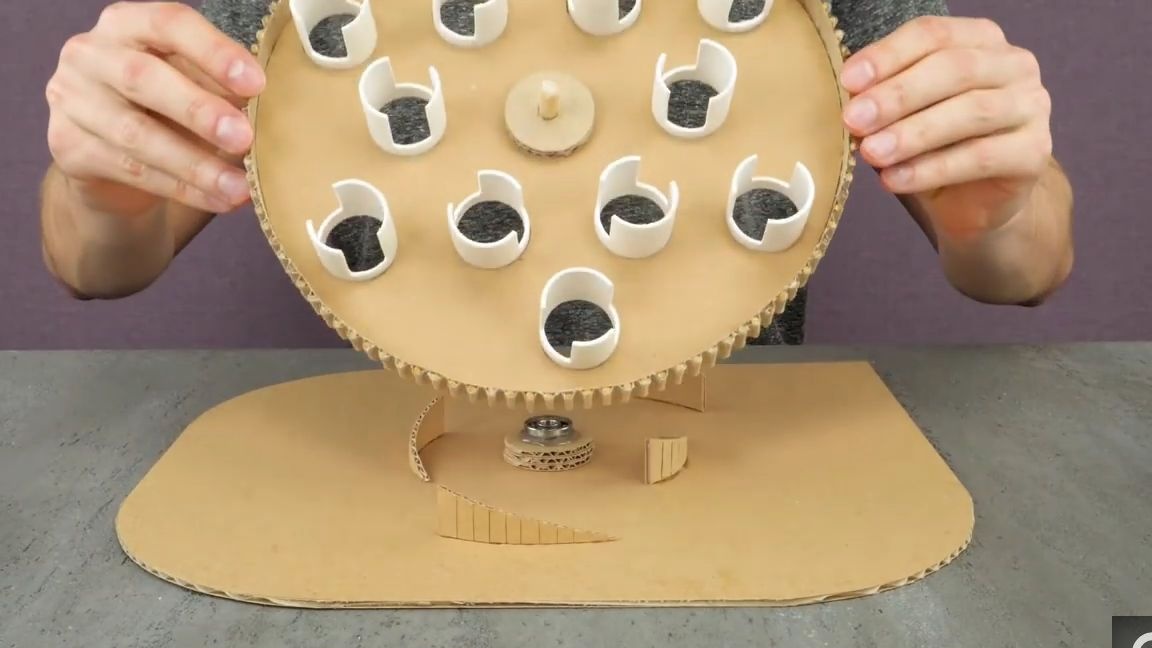
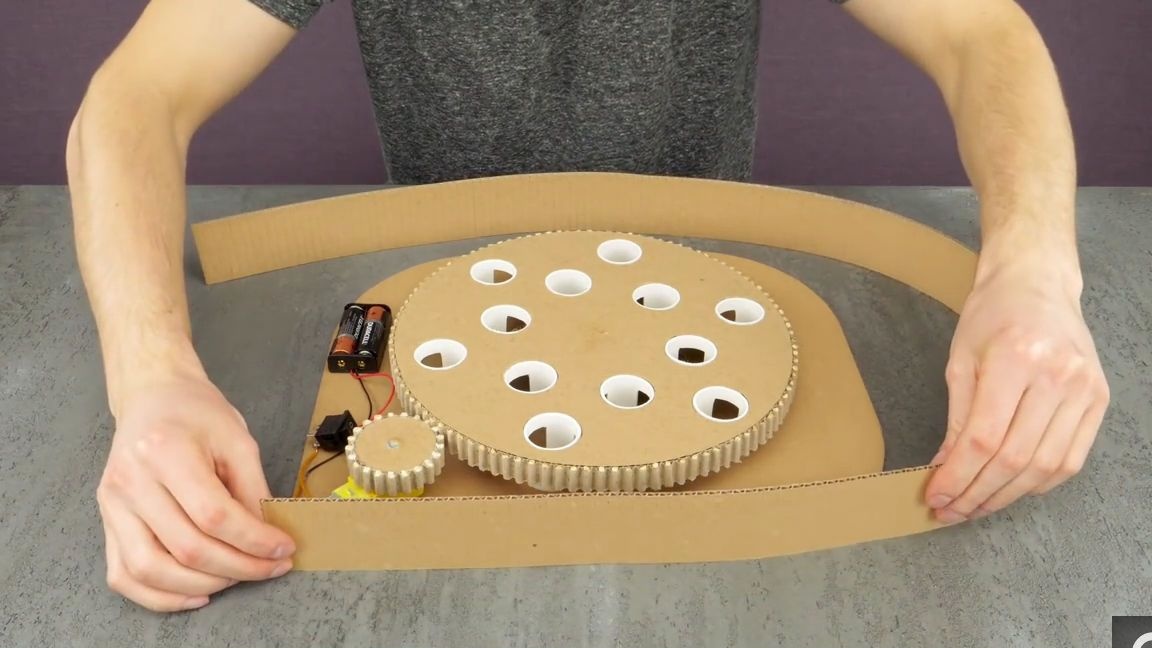
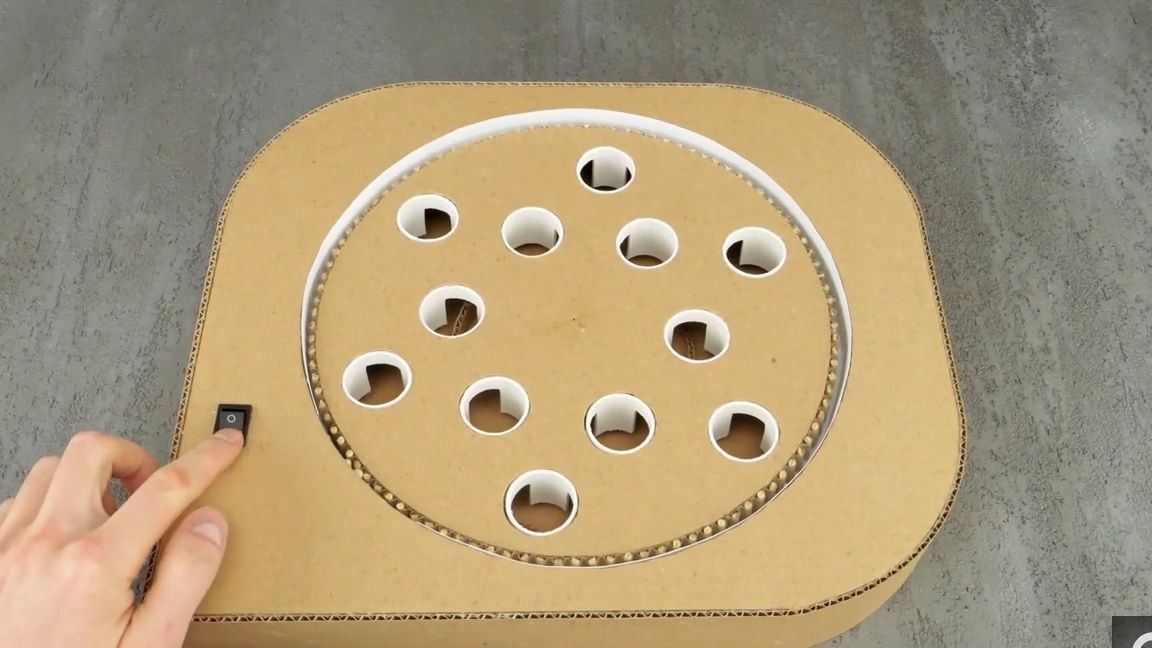
We install the workpiece on the base, so that the upper part can freely rotate around its axis, and the cardboard slots that we made almost at the very beginning should pass through the slots in the tubes:

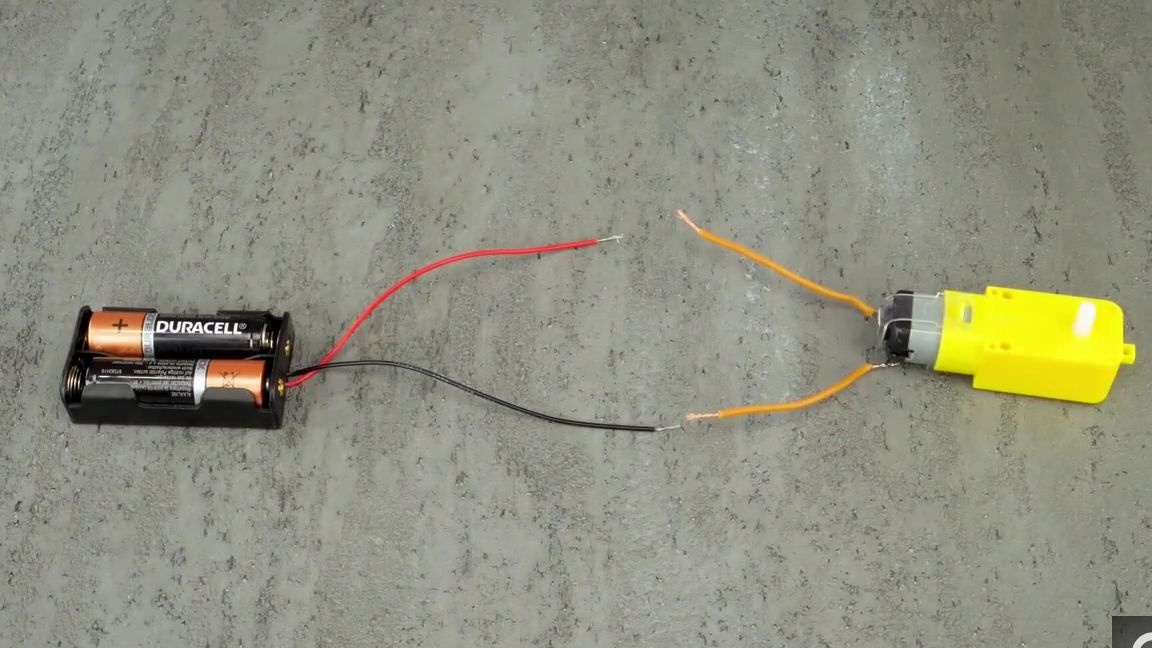
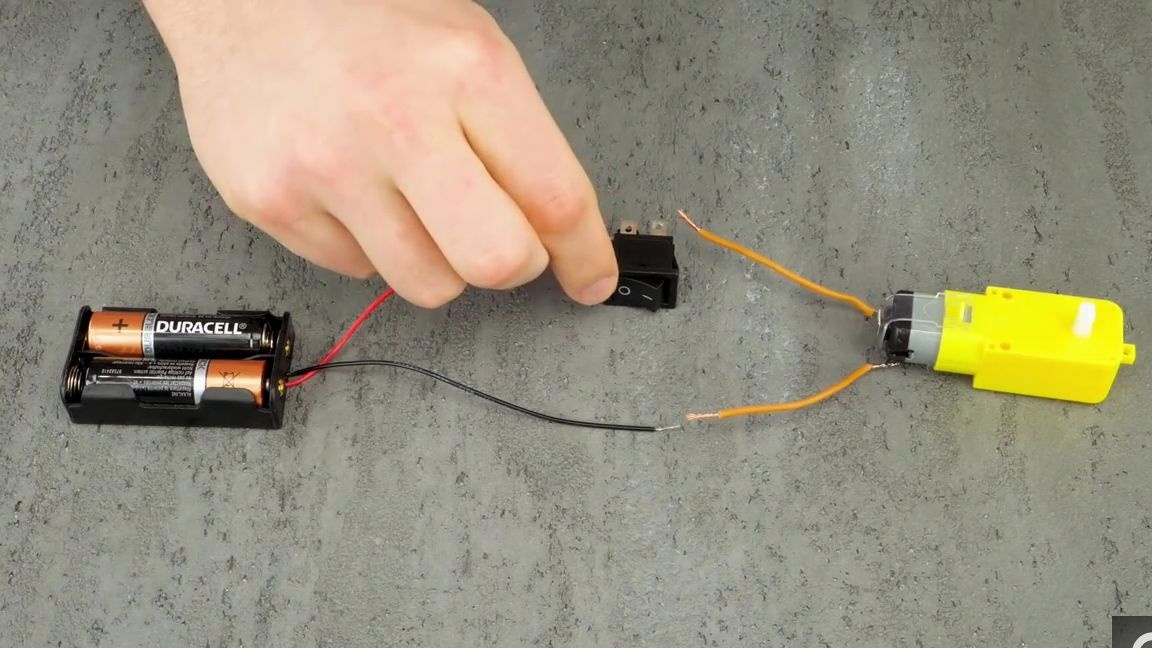
Then we take the gearbox (which by the way is often used in homemade products due to its low price and functionality), the battery connector, the batteries themselves, the wires and the switch. We solder all components into a simple electric circuit, so that the switch turns on and off the gear motor:
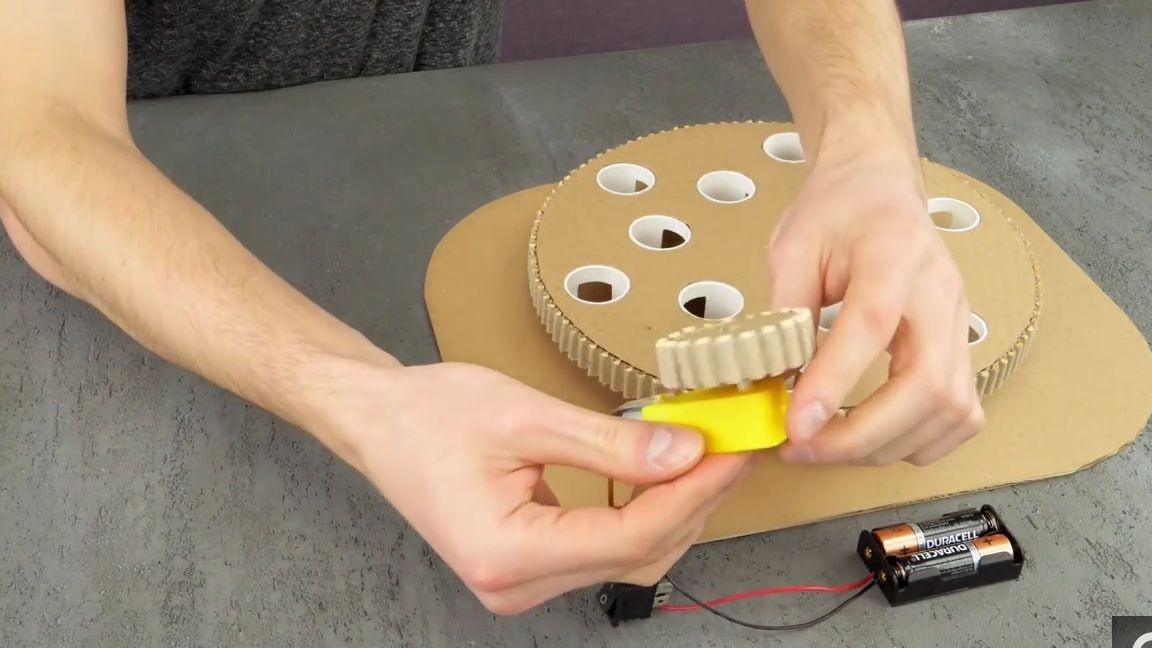
We put a small cardboard wheel on the gearbox axis, which should be wrapped in a cardboard strip with inserted pieces of barbecue skewers:
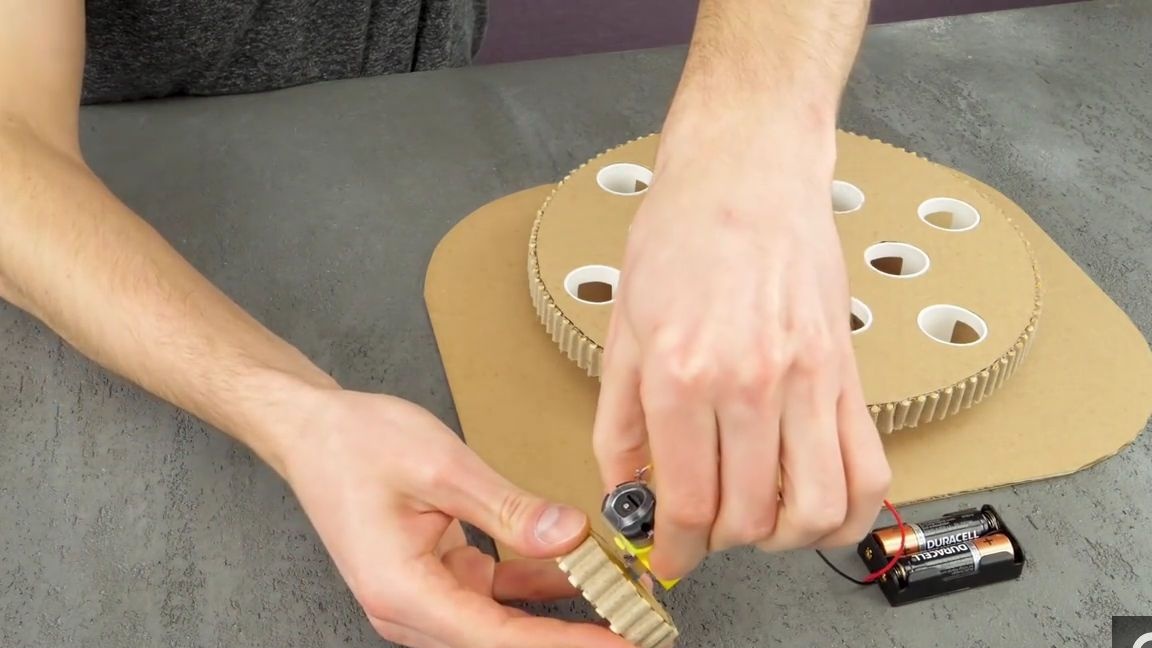
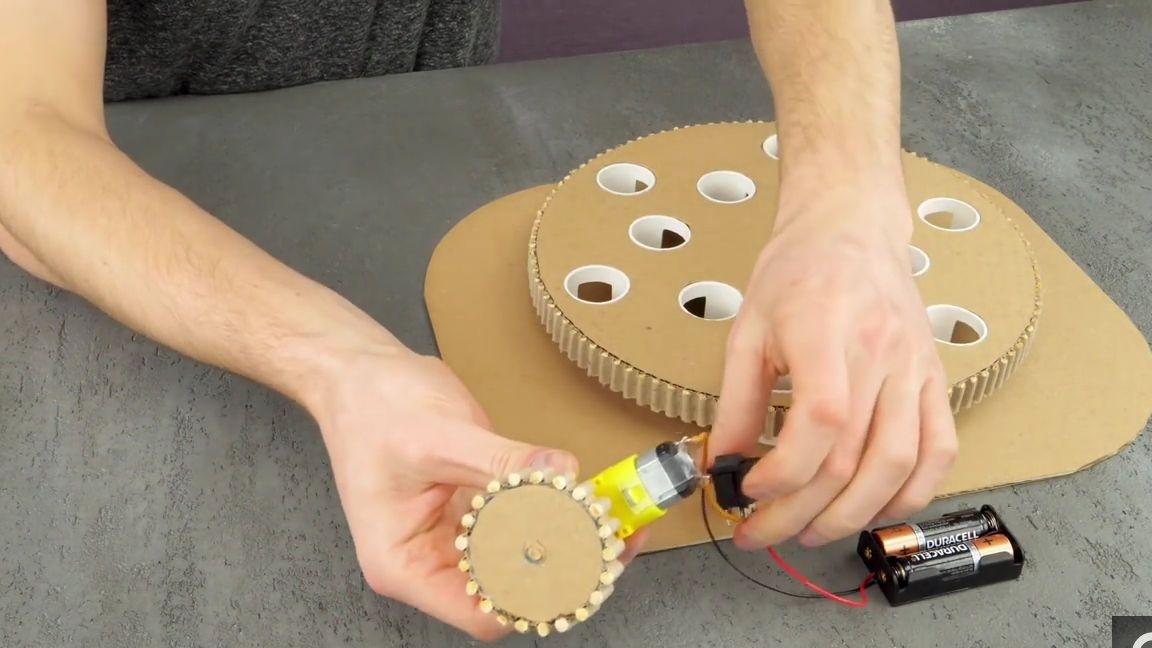
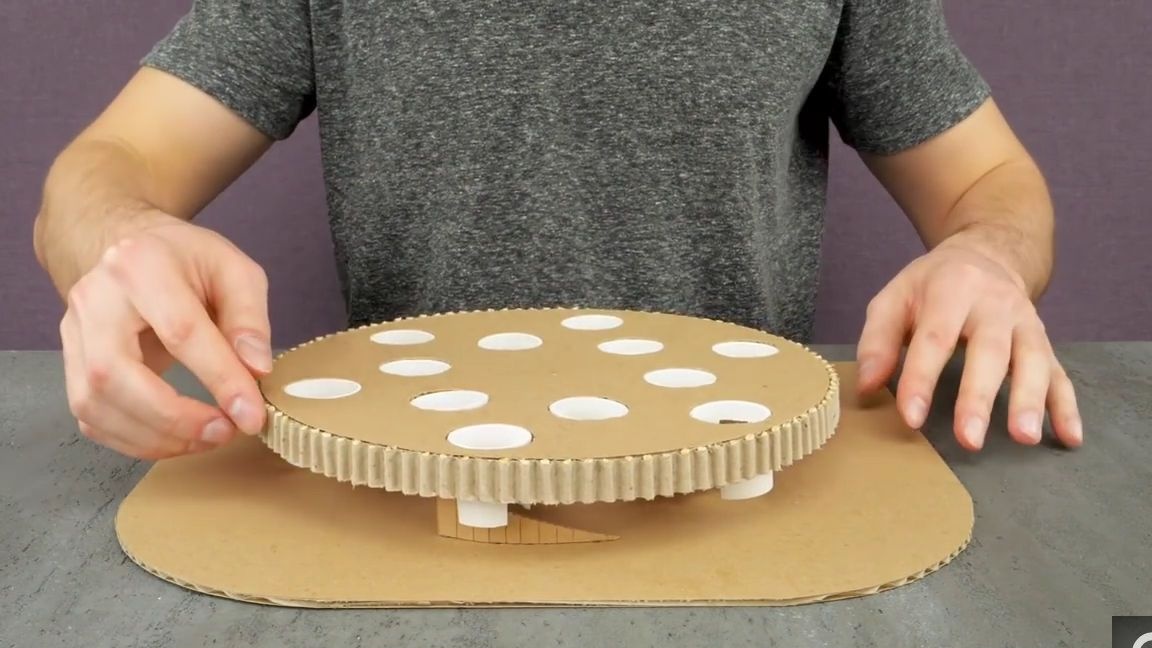
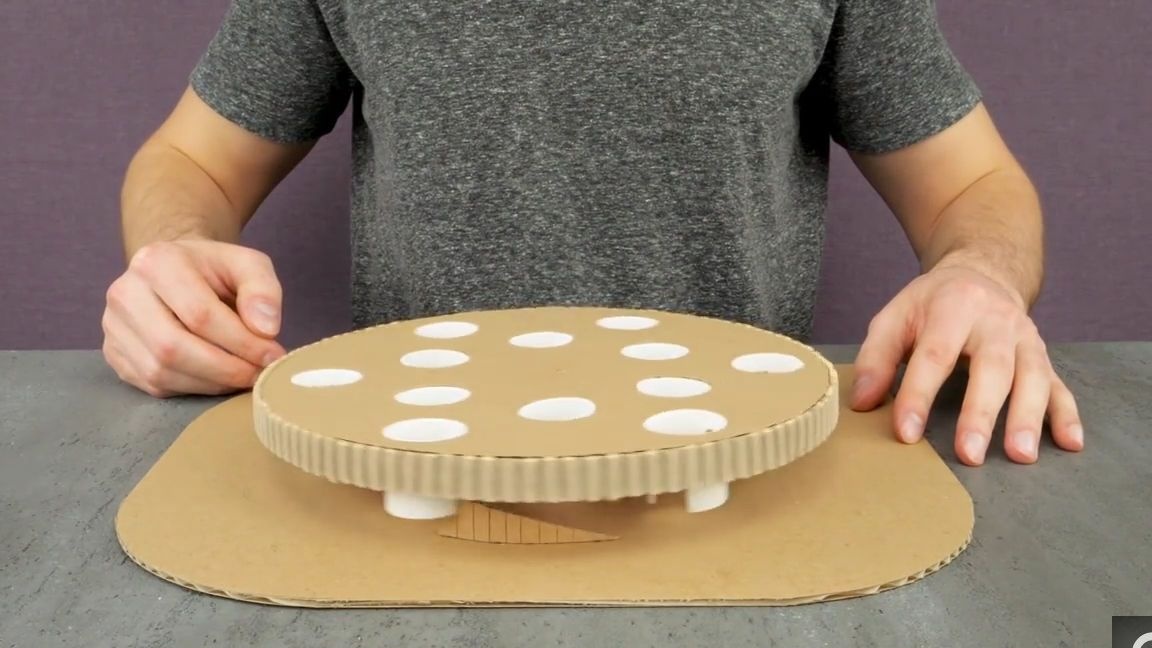
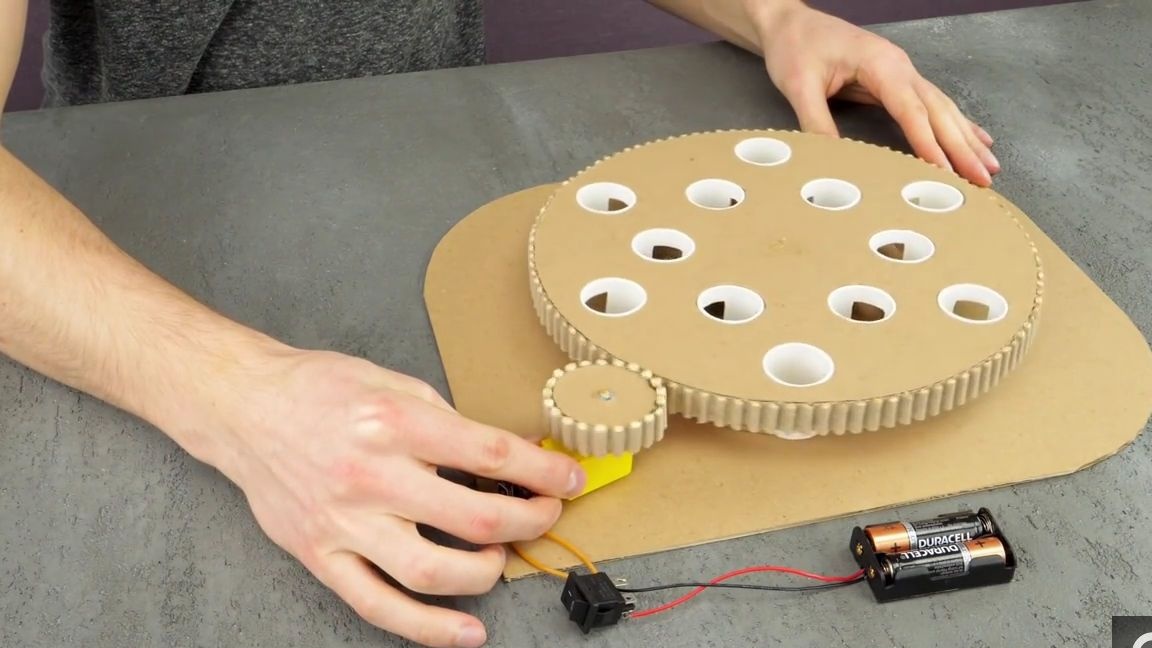
We glue the whole structure to the base, so that the small wheel rotates the big one, thereby we get a big gearbox:
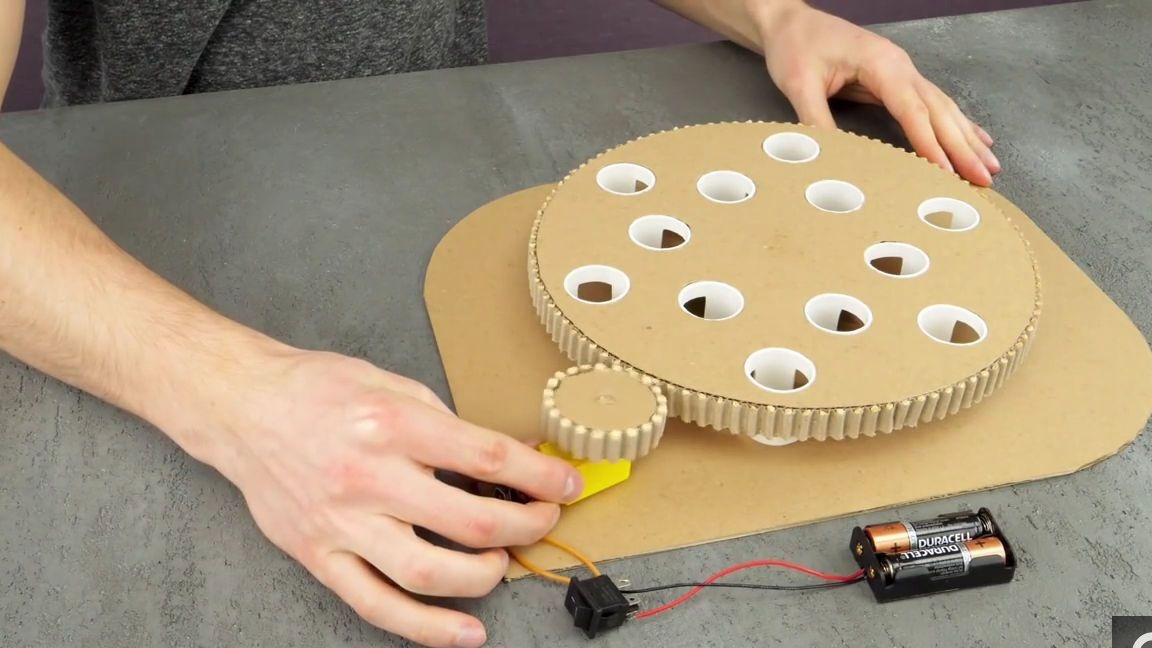
Testing:
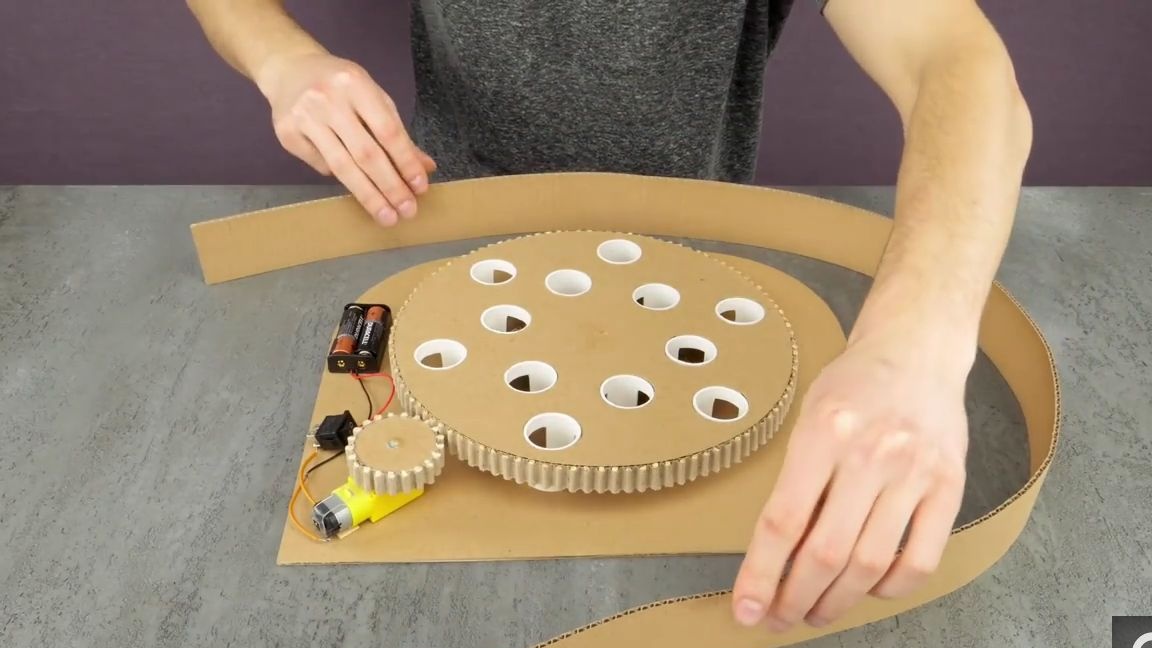
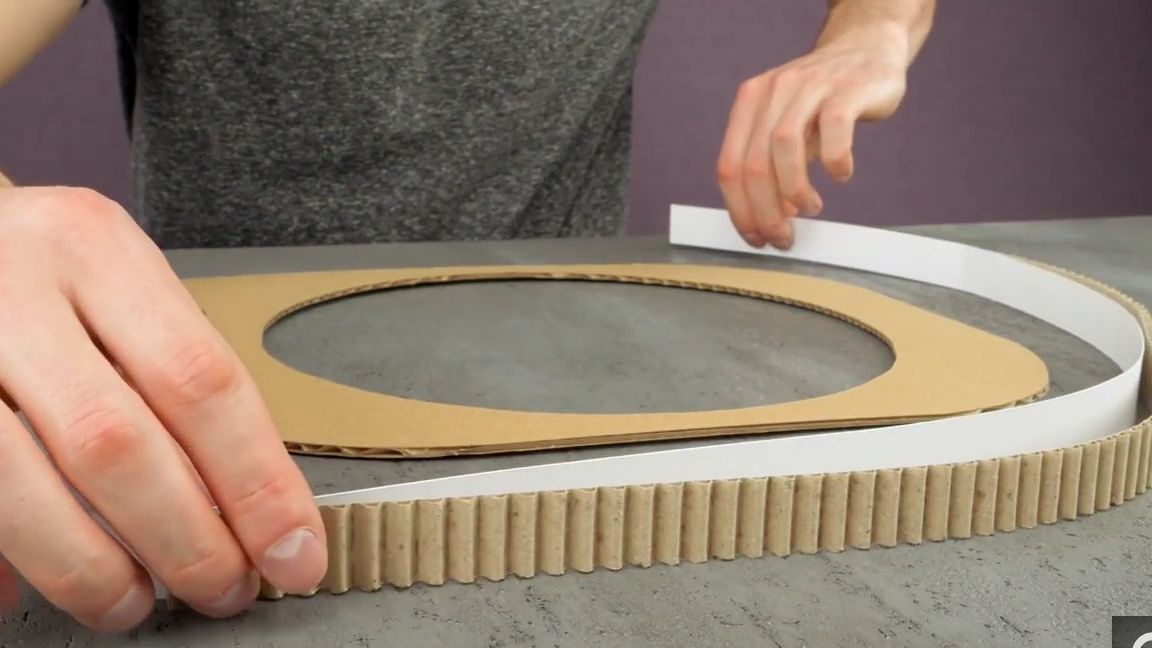
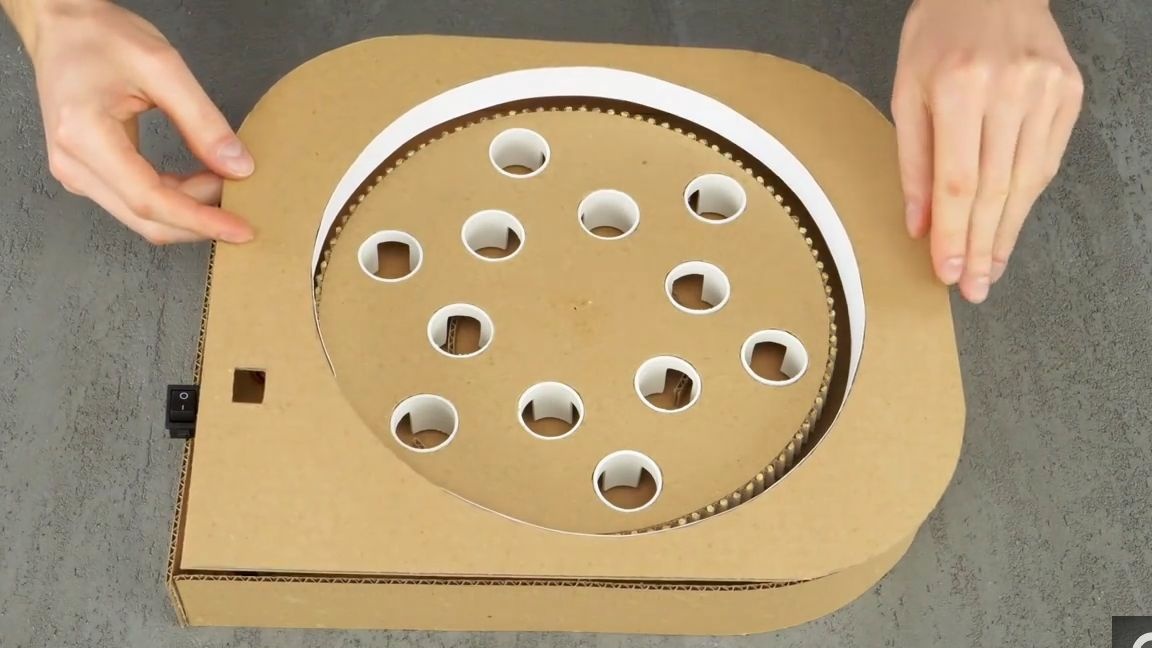
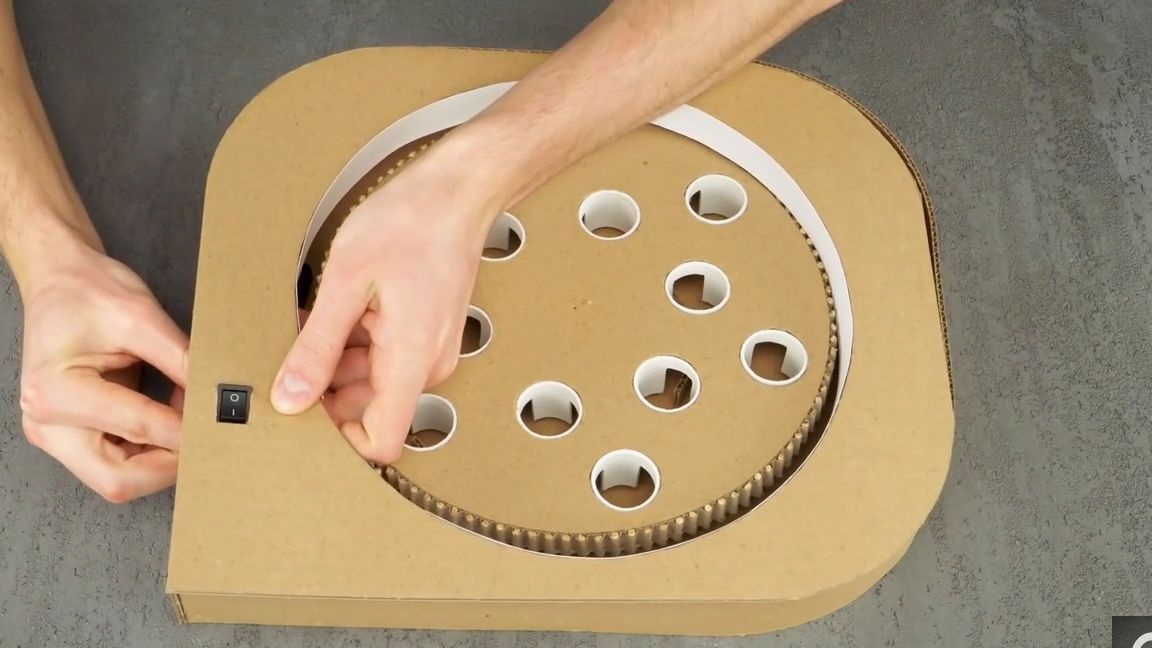
We make the frame for the construction, there is nothing complicated here, so just do everything as shown in the photo:
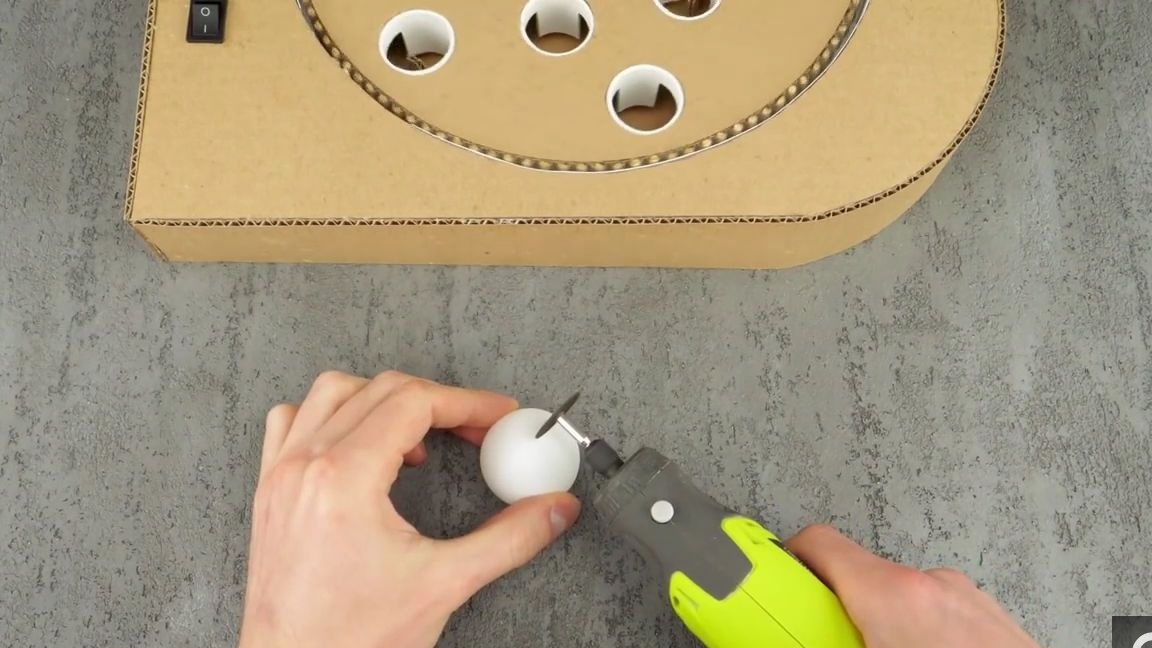
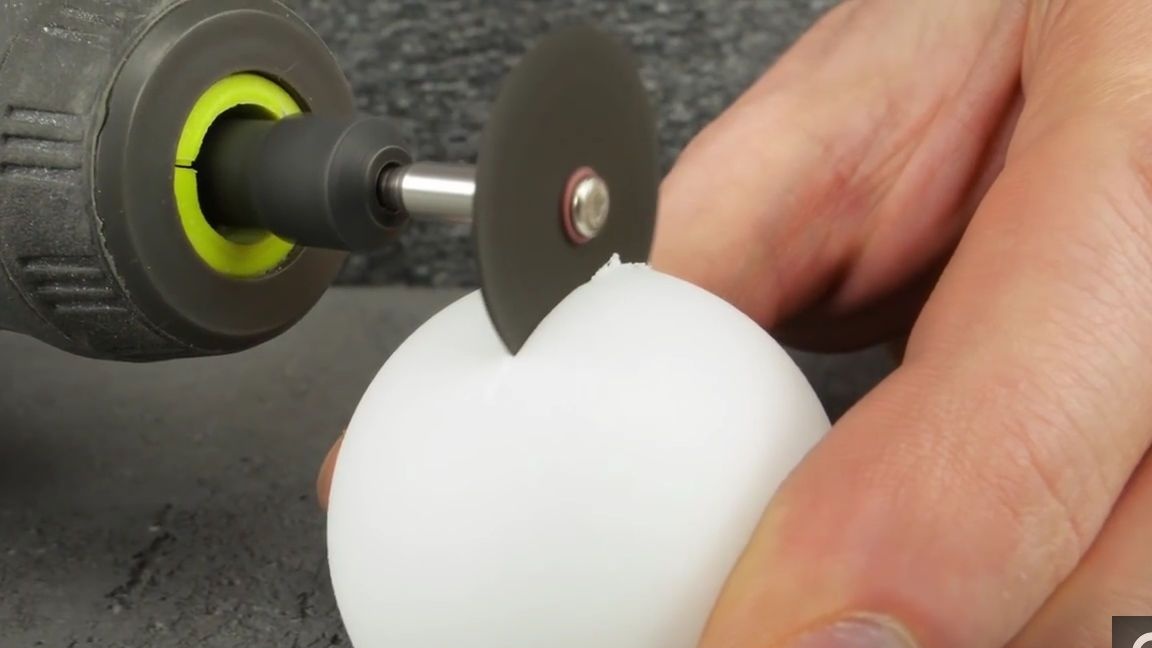
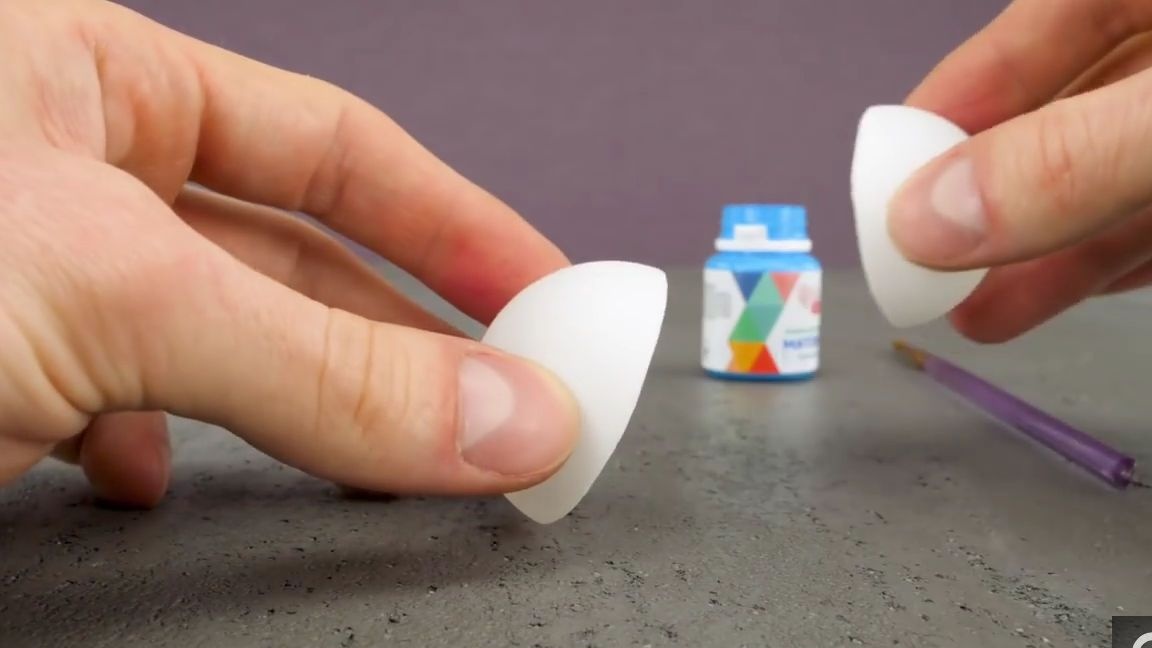
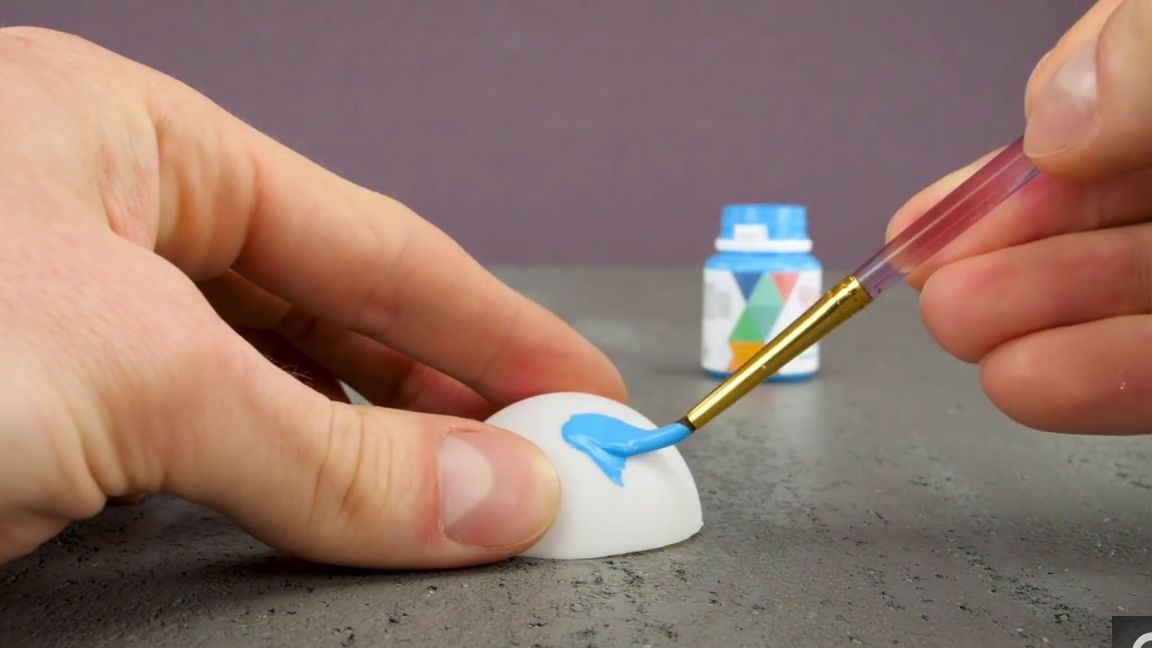
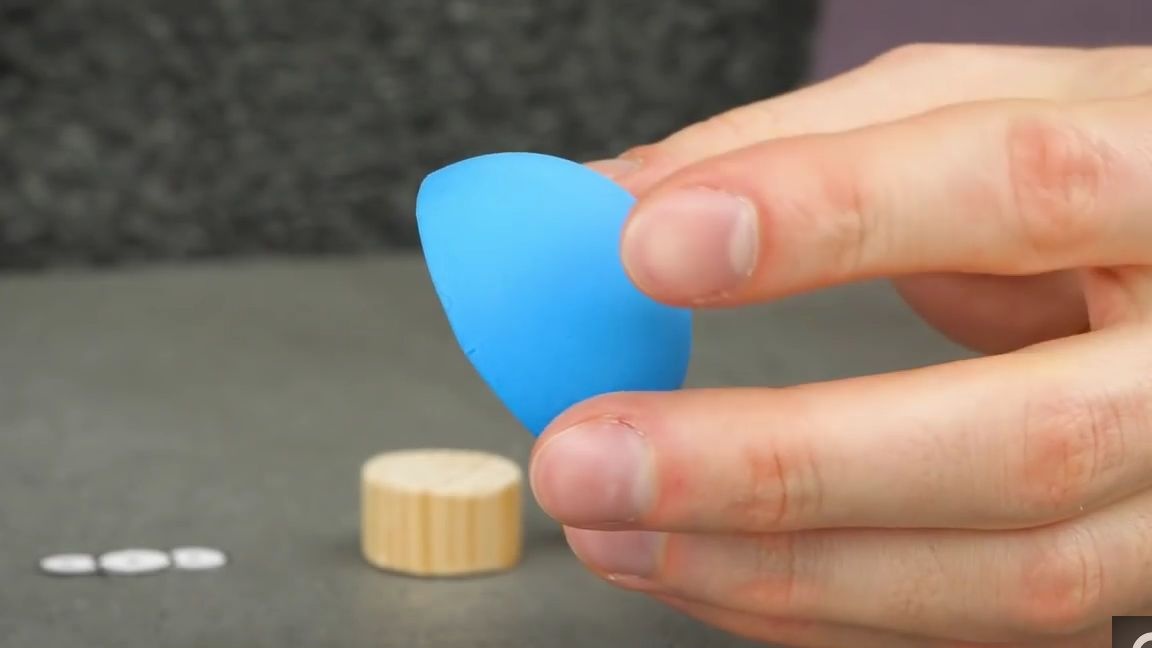
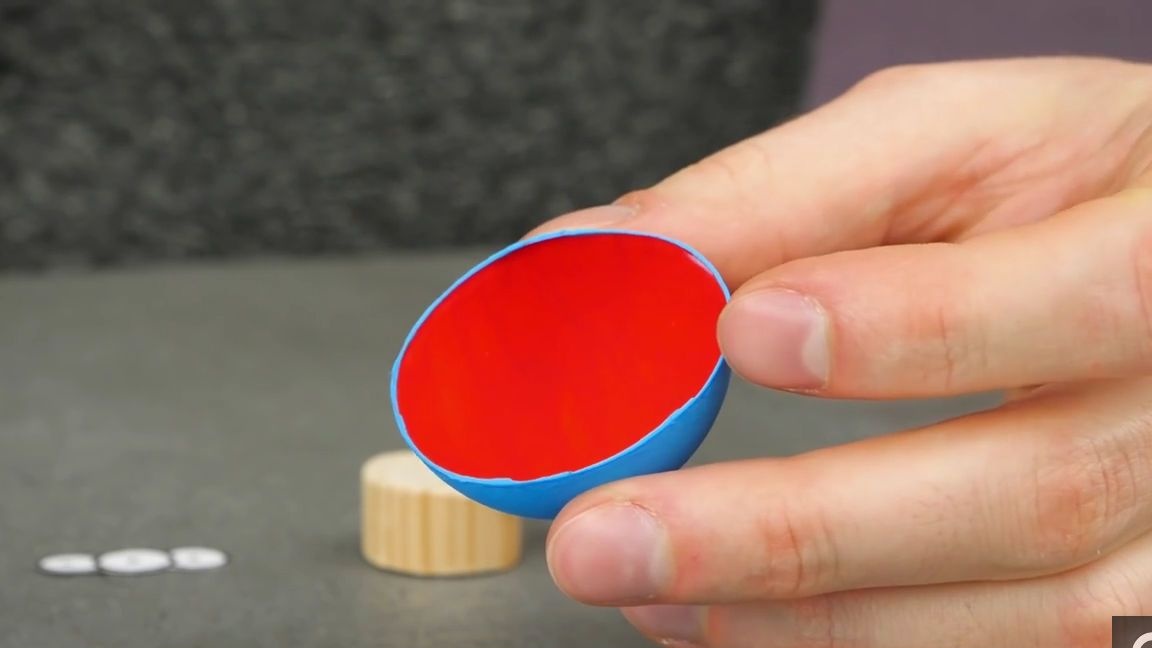
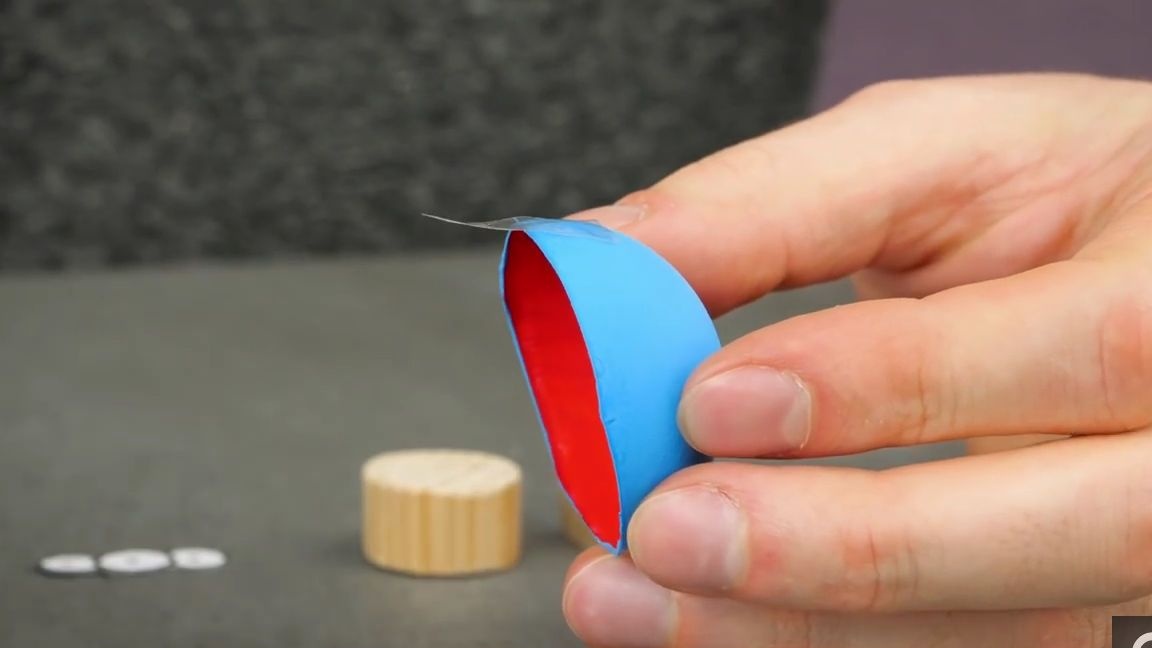
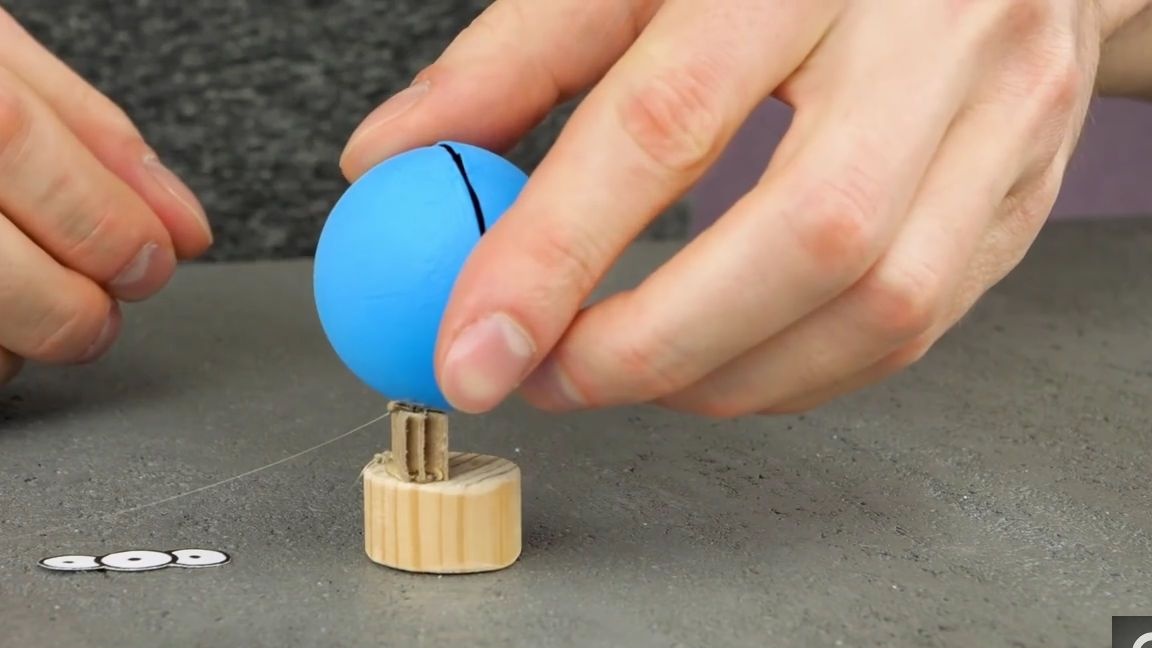
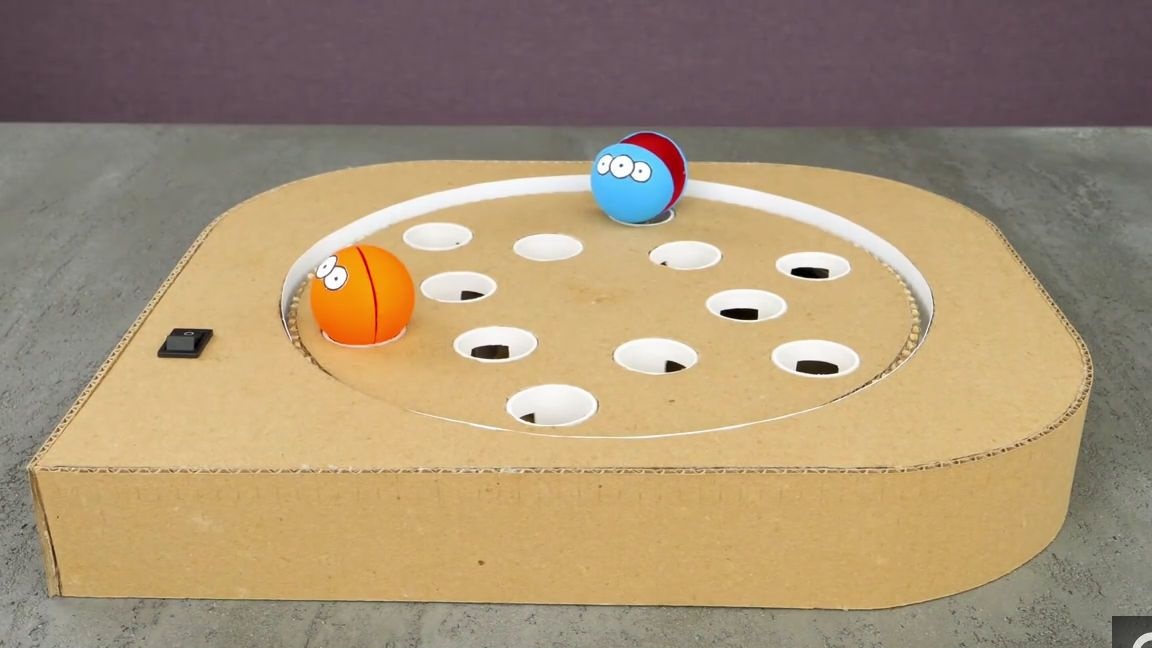
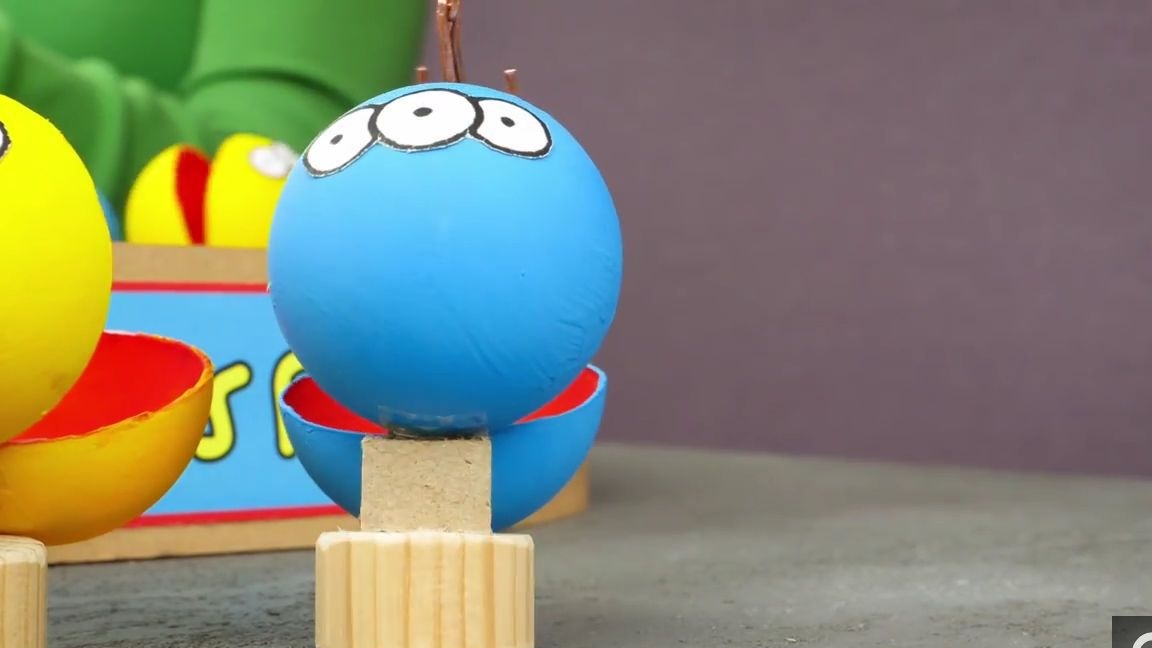
Now you need to make a fish, for this we take a ball from the pin pong and cut it roughly into the floors, then paint (preferably with oil paint). After that, cut off a small piece of adhesive tape and glue it as shown in the photo, well, and then connect both halves of the ball with this adhesive tape:

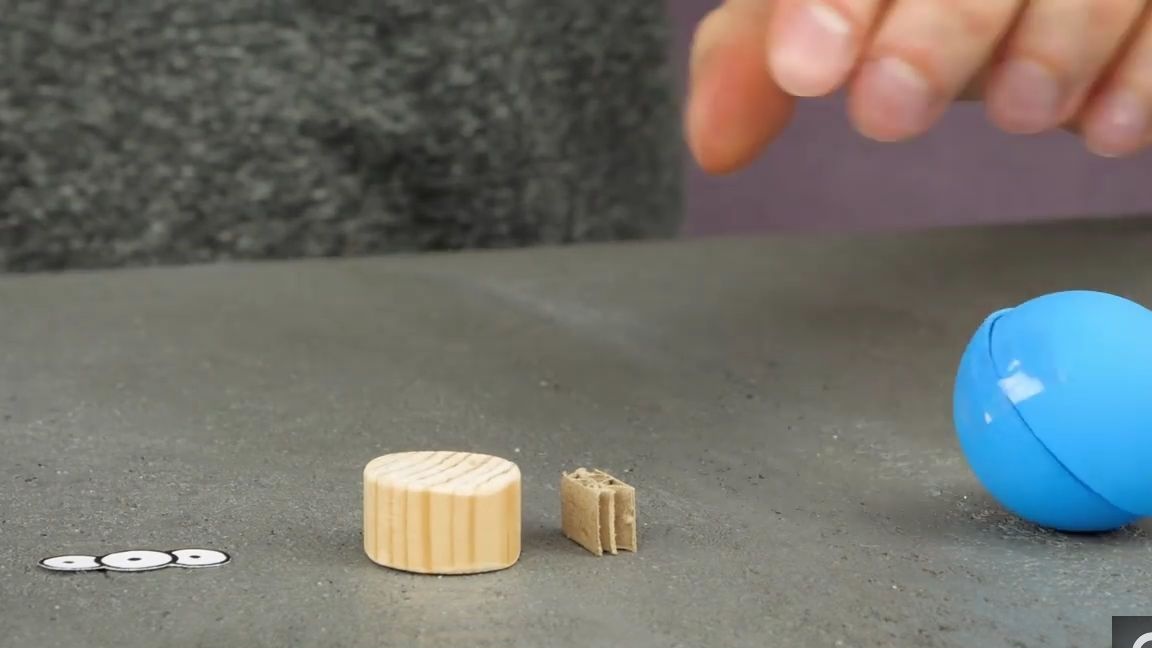
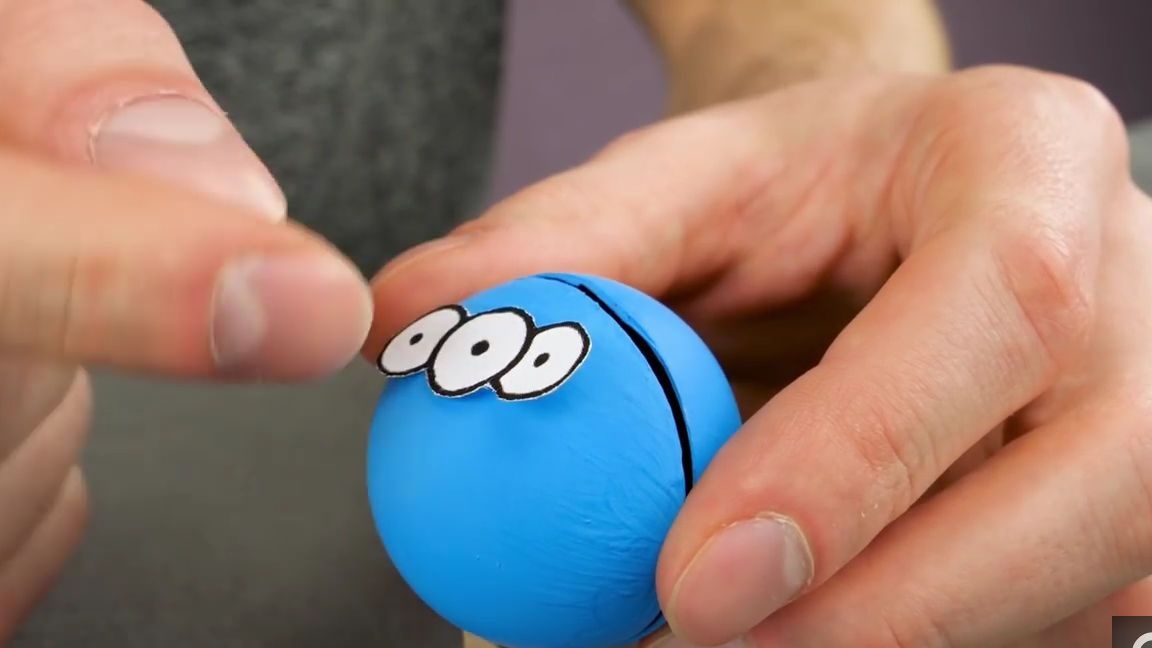
Take a small wooden block, a rectangle of double corrugated cardboard and paper eyes for our fish.
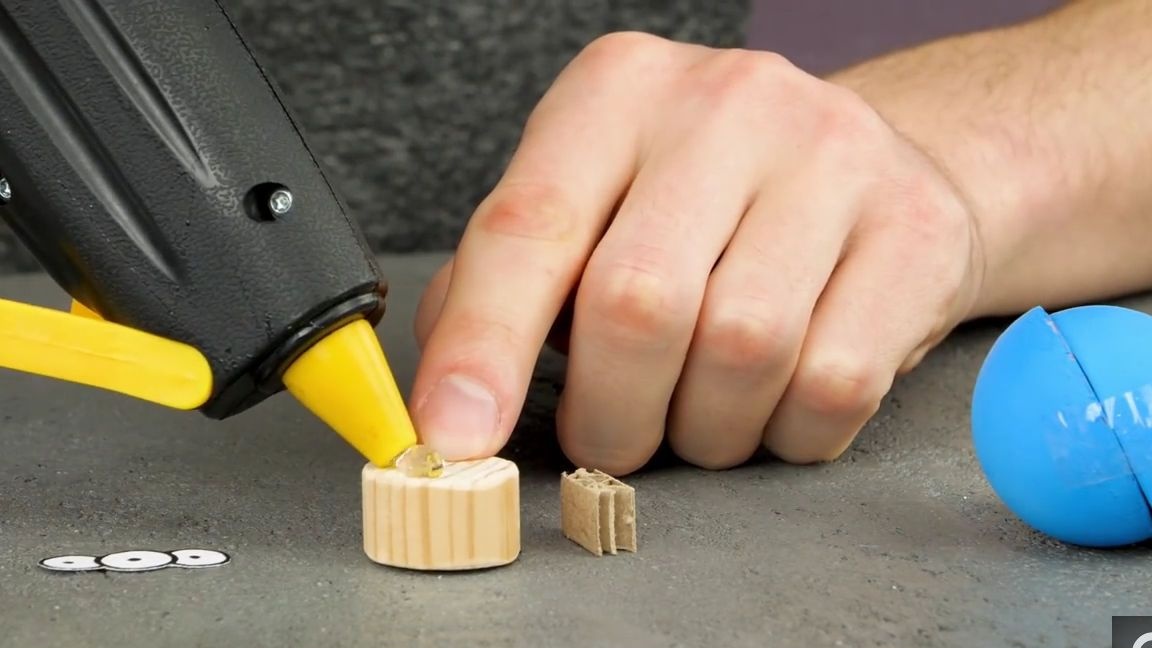
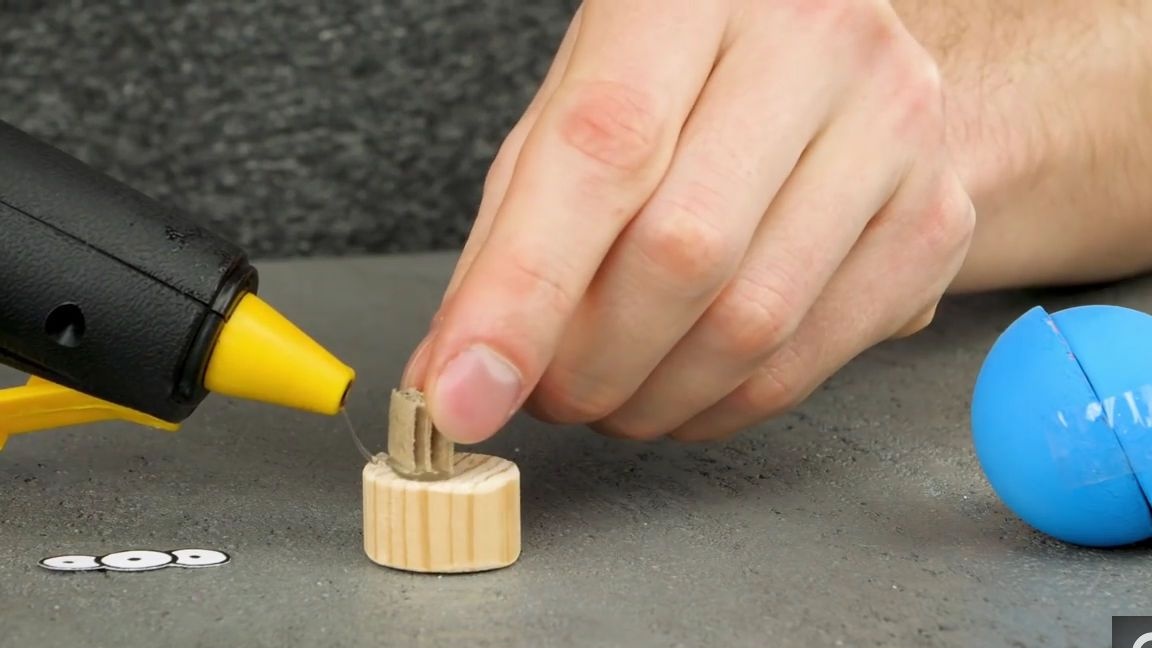
We apply a little thermal glue to the bars and glue the cardboard rectangle “on the edge” and glue the ball halves from the pin pong on top of the whole structure, which we glued with adhesive tape earlier. And of course, glue the eyes as shown in the photo:
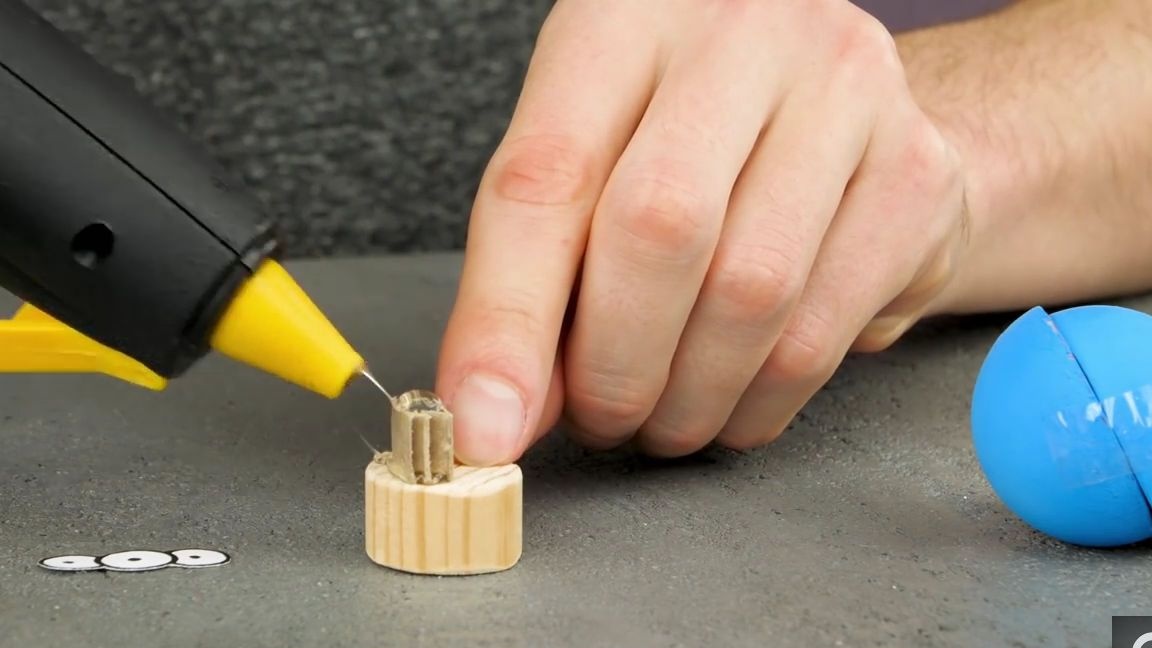
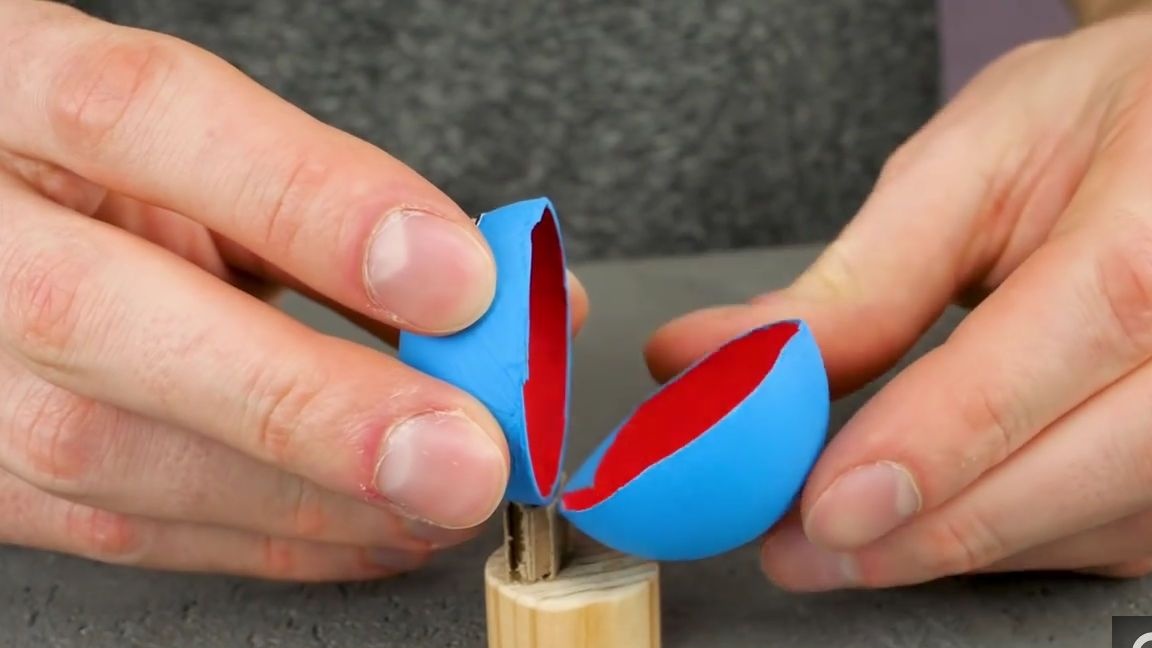
The mouth of the fish should open and close as follows:
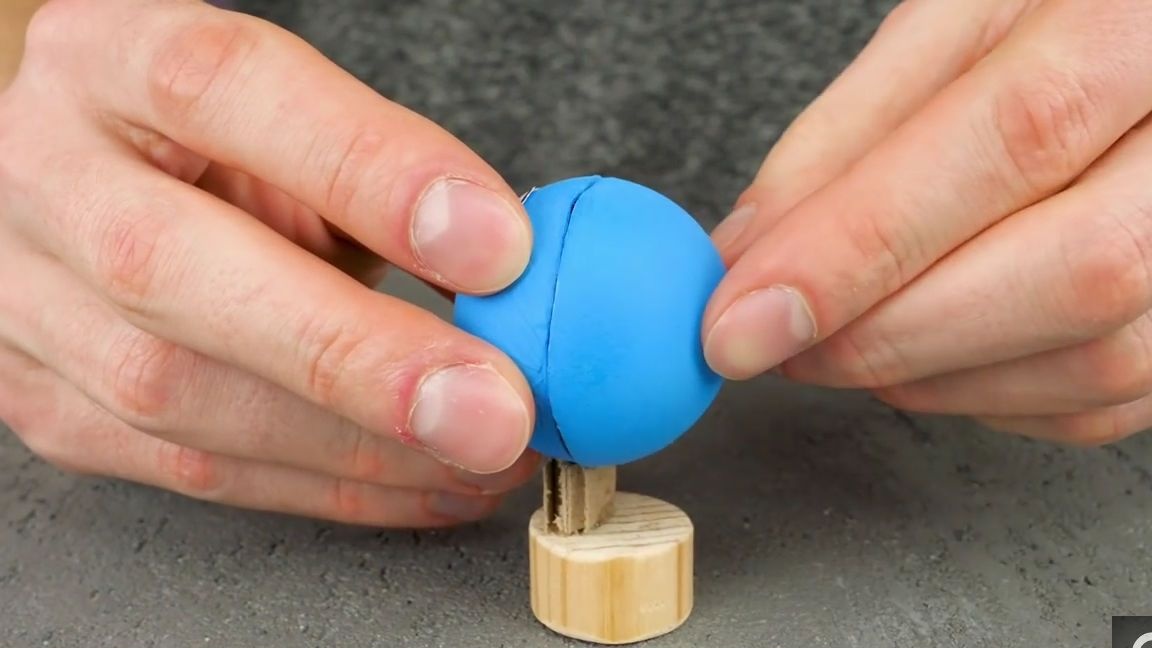
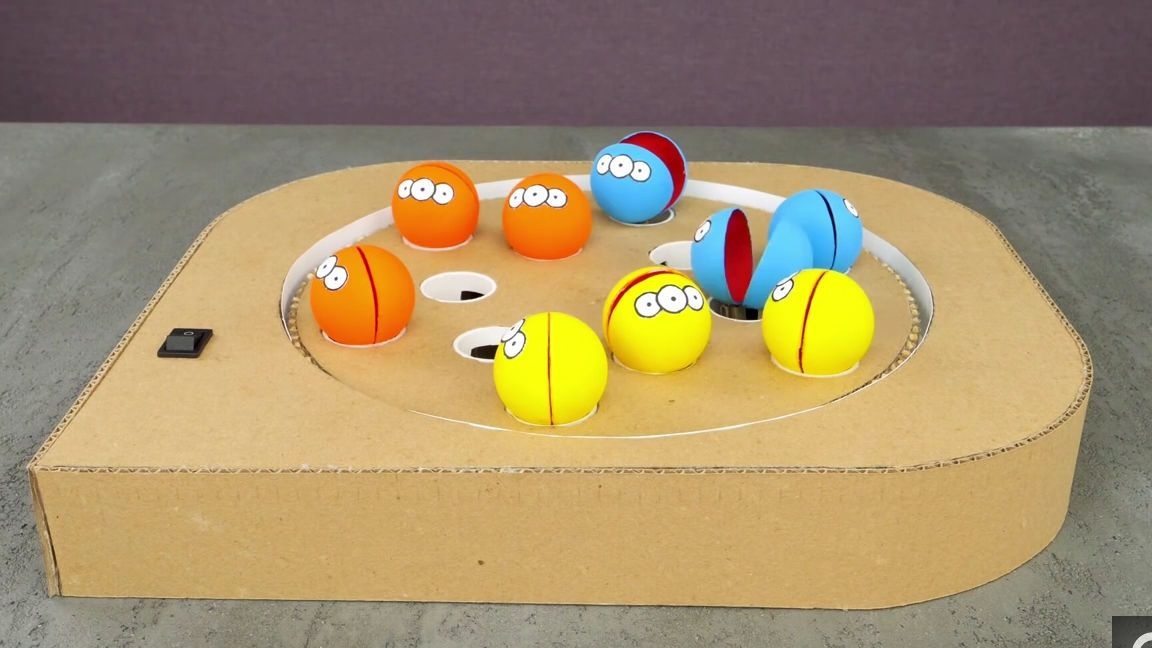
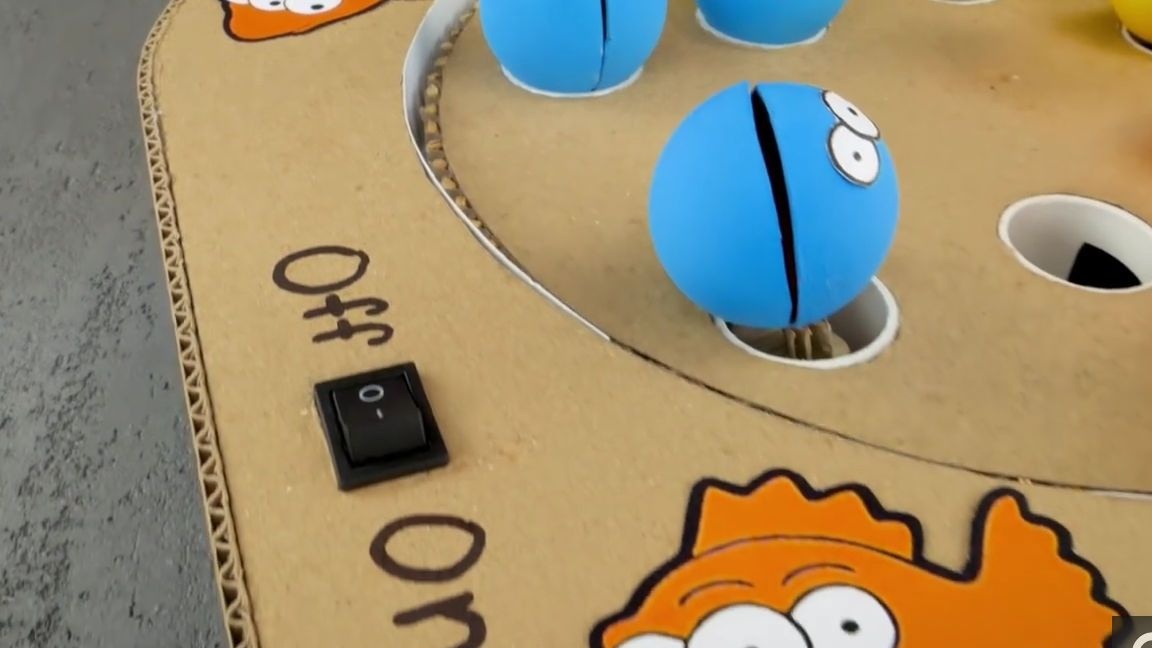
We install the fish on the entire structure with the “mouth” up, it is important that for some the “mouth” is open, and for some it is closed (in fact it’s practically a knee shaft):
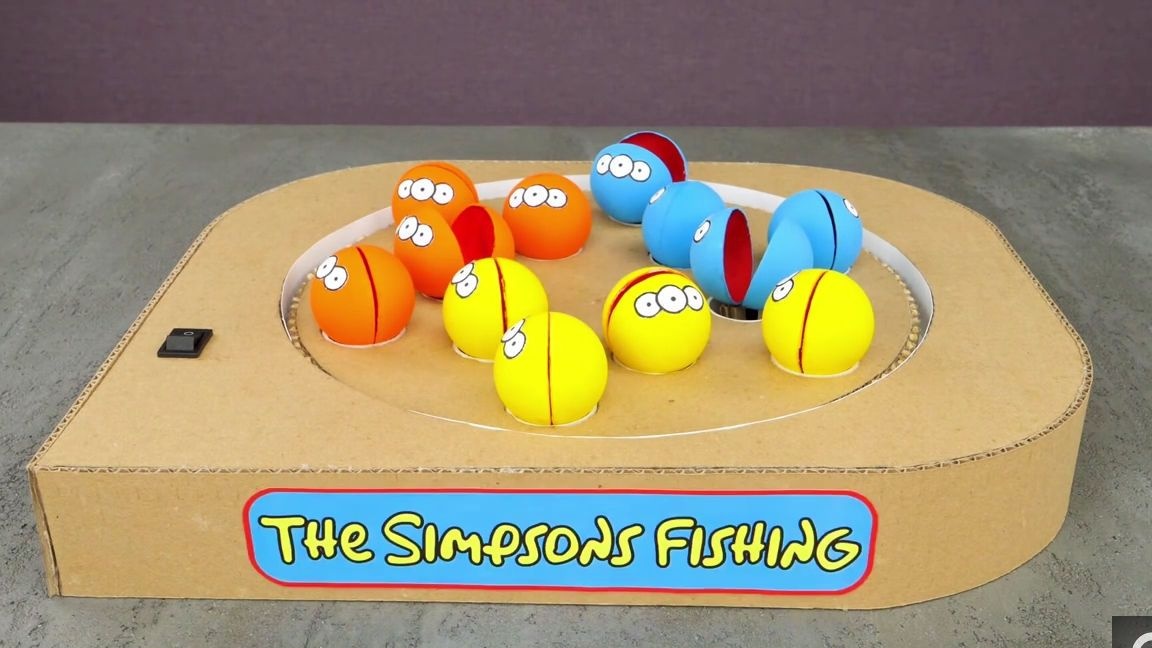
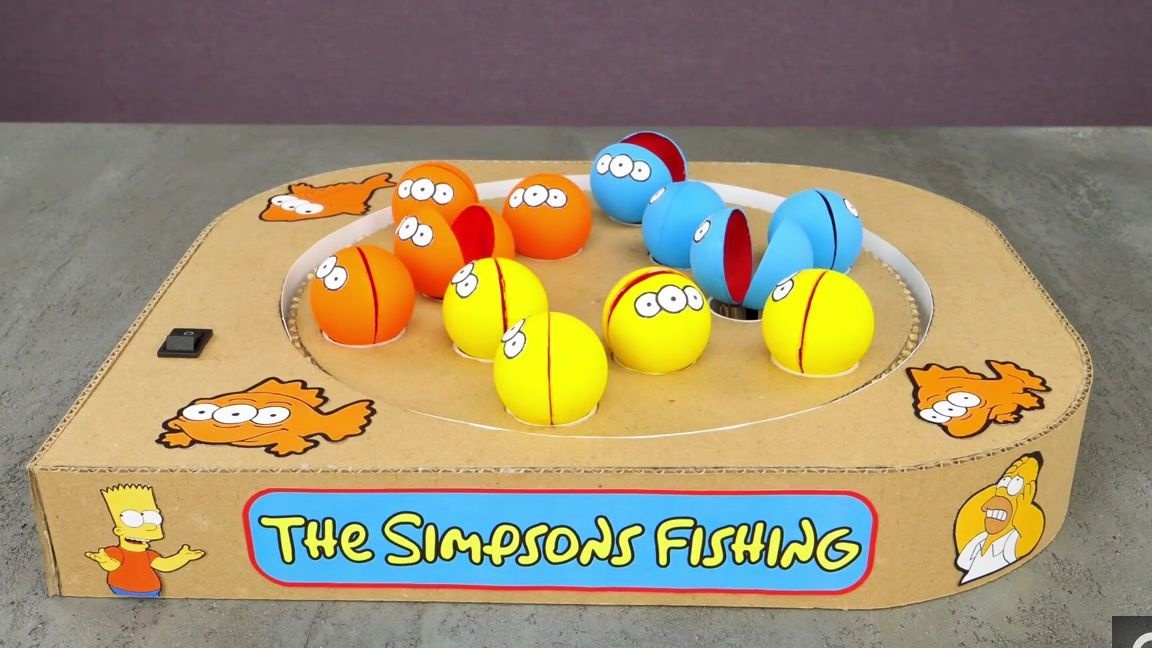
Decorate:
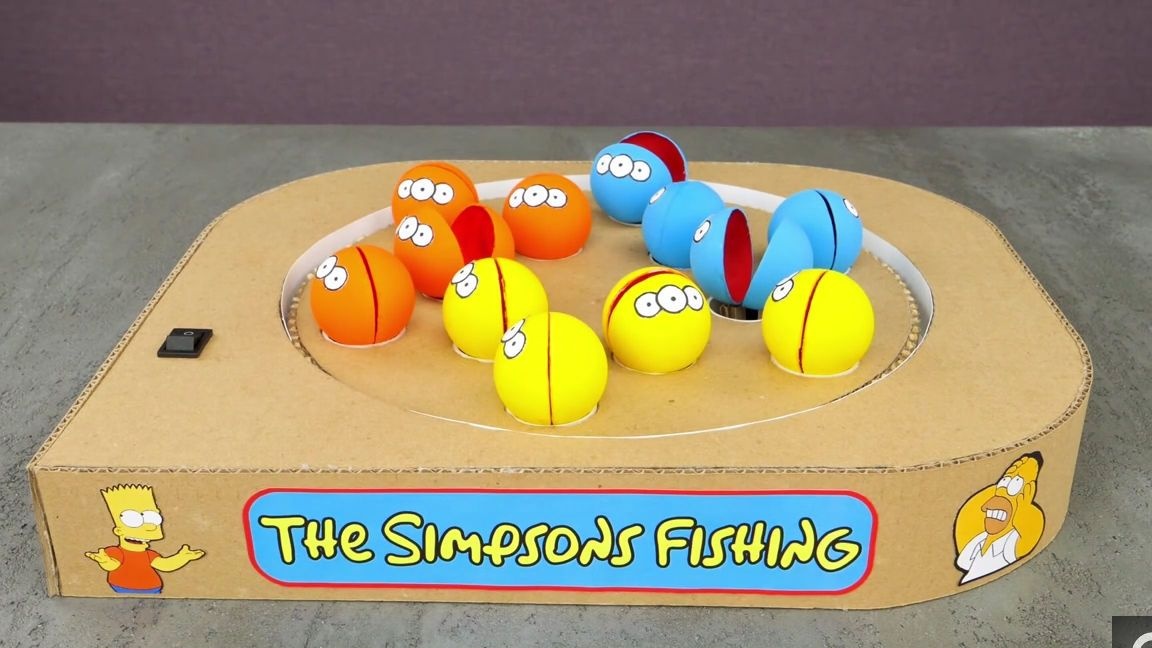
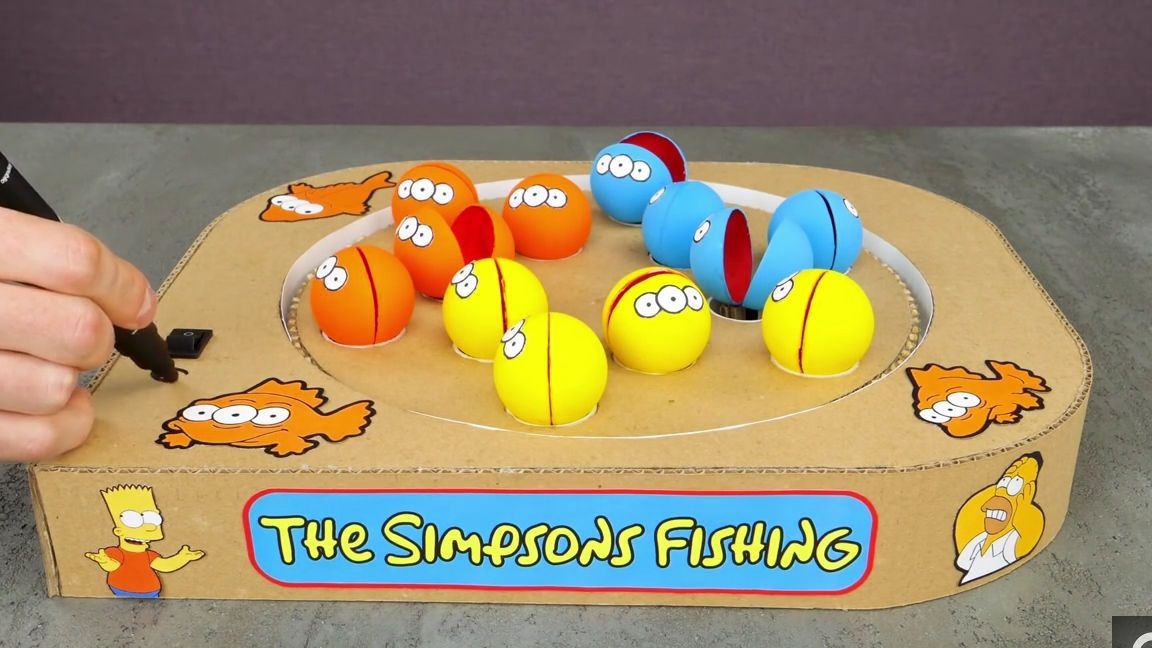
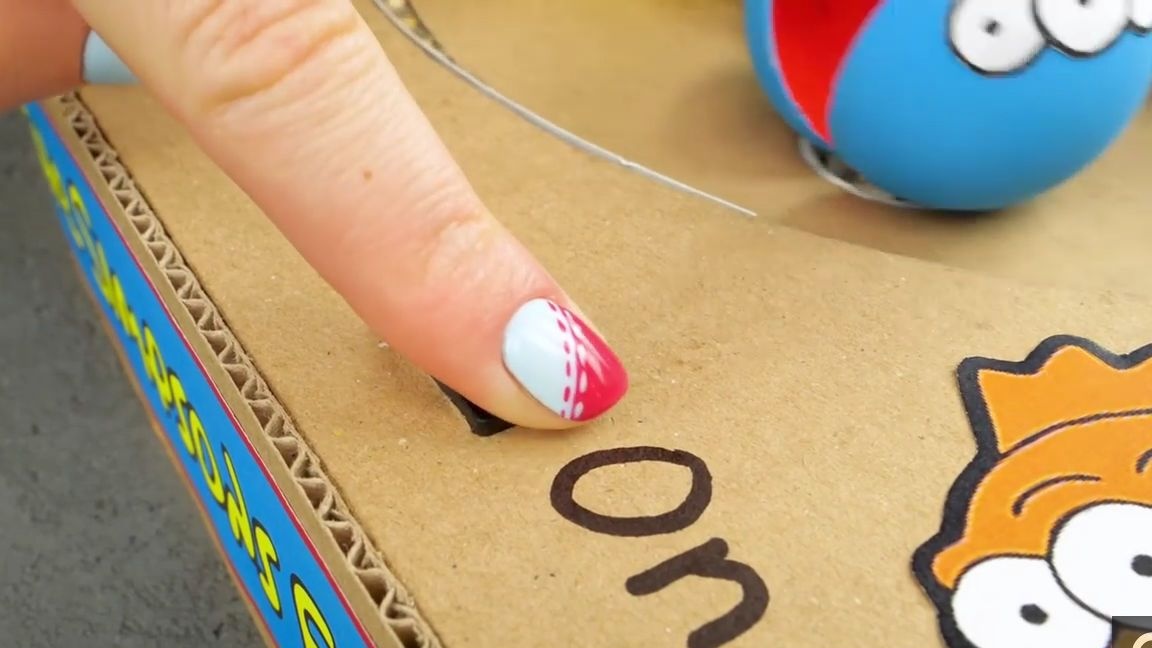
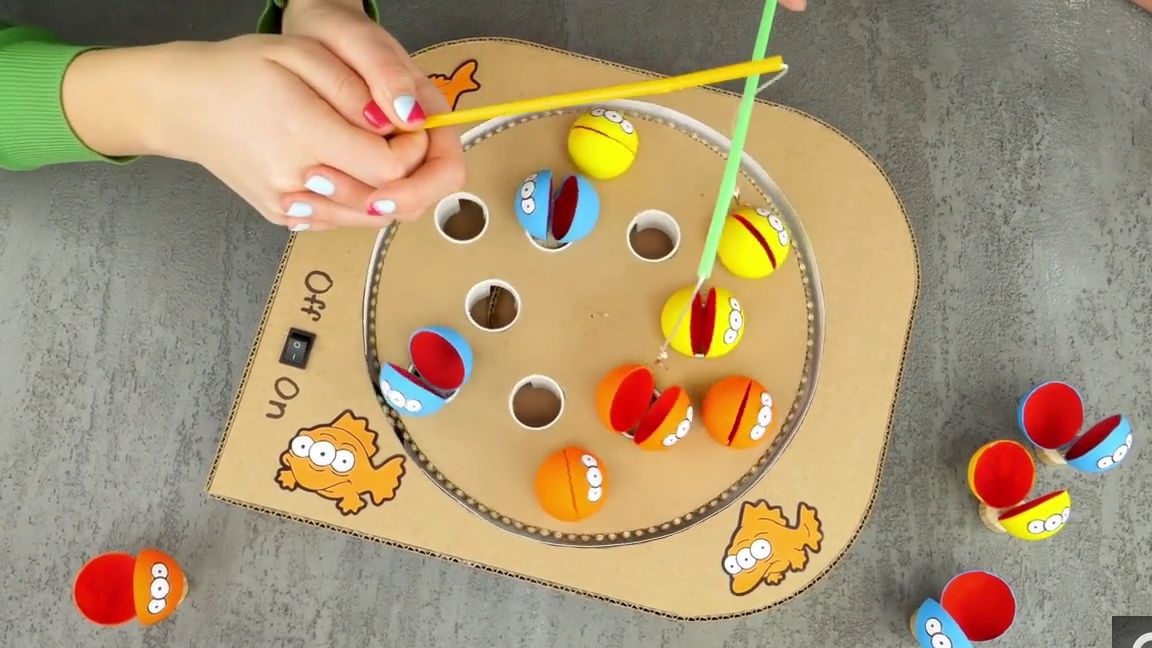
Add with the marker, next to the switch, the inscriptions “turn on” and “turn off” or “on” and “off”:
[center]

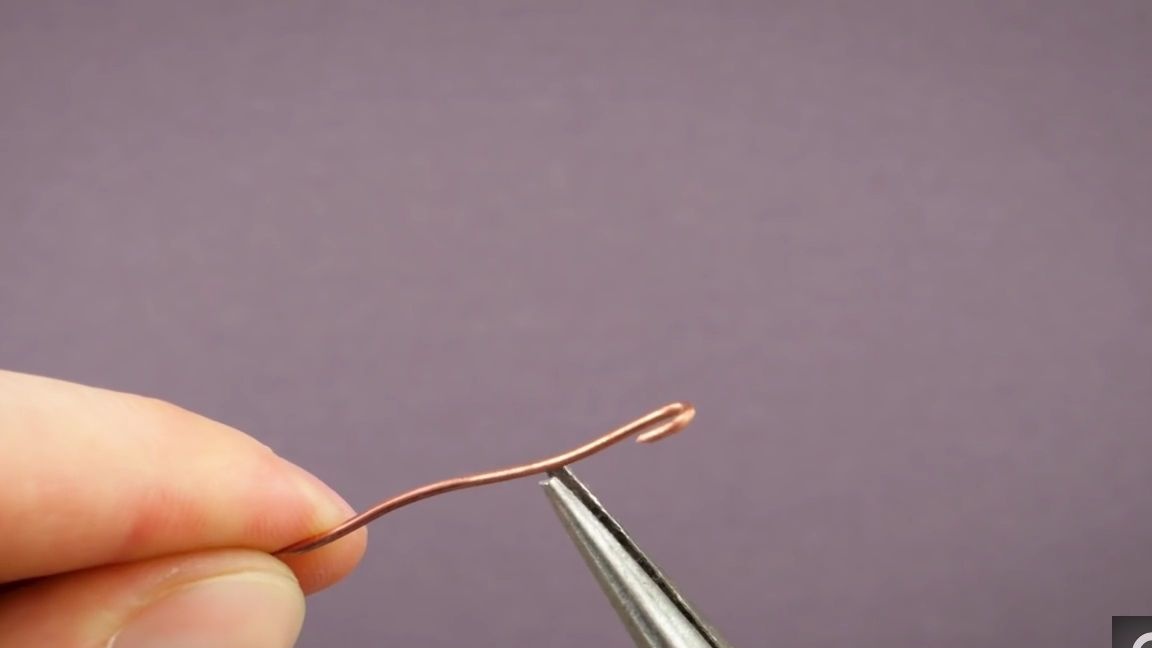
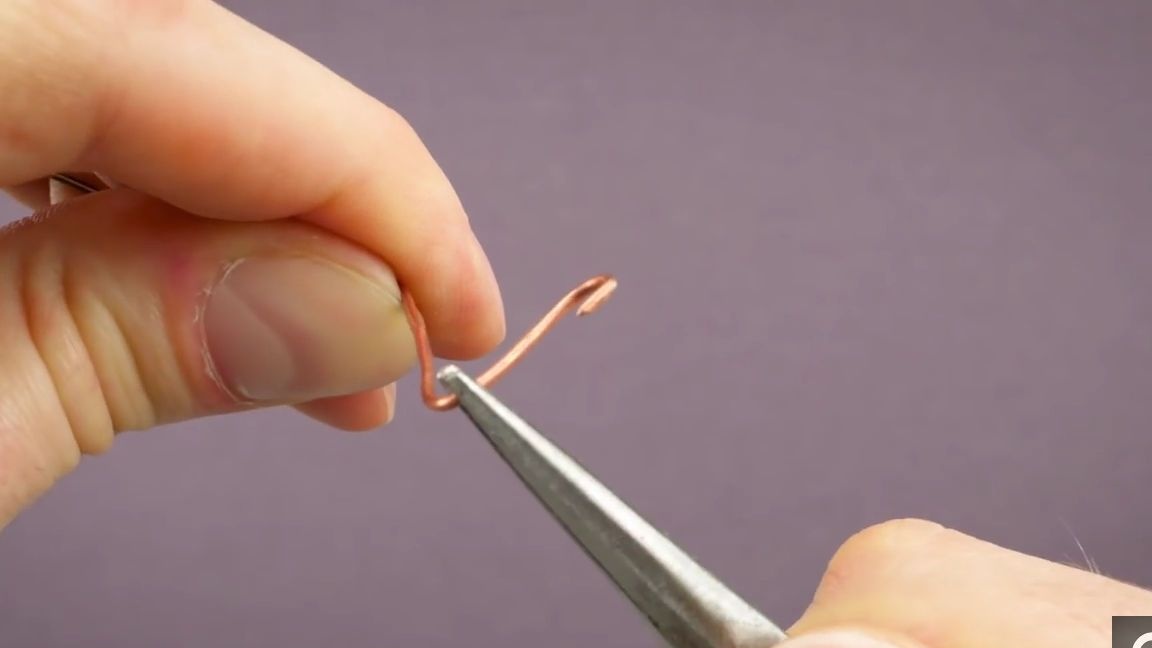
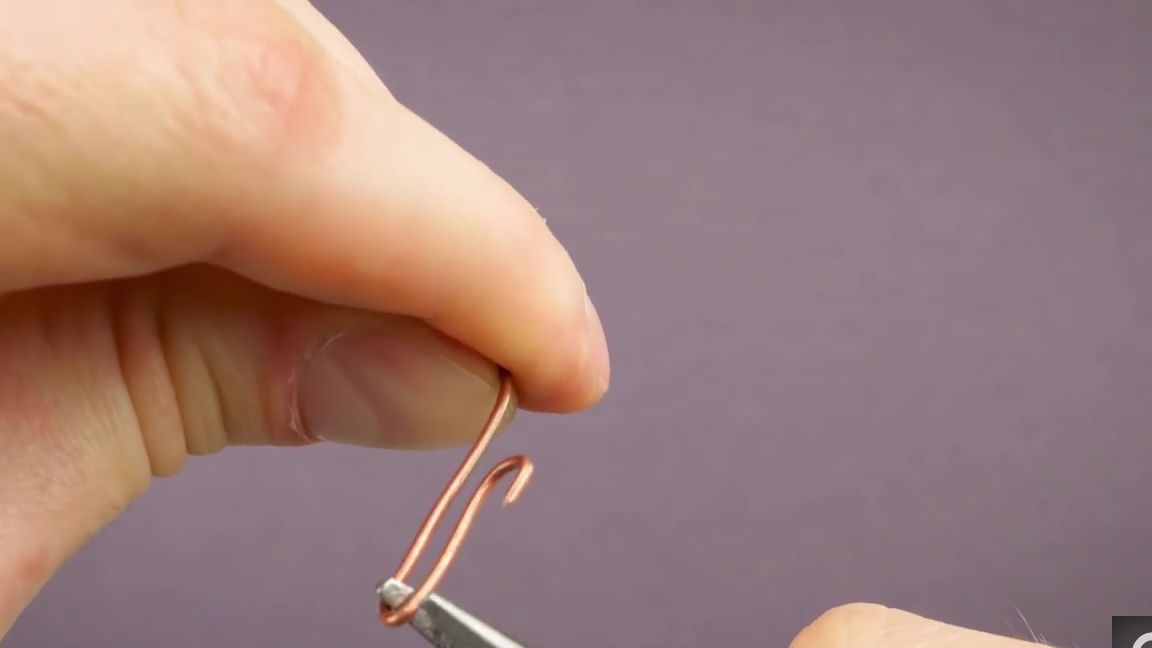
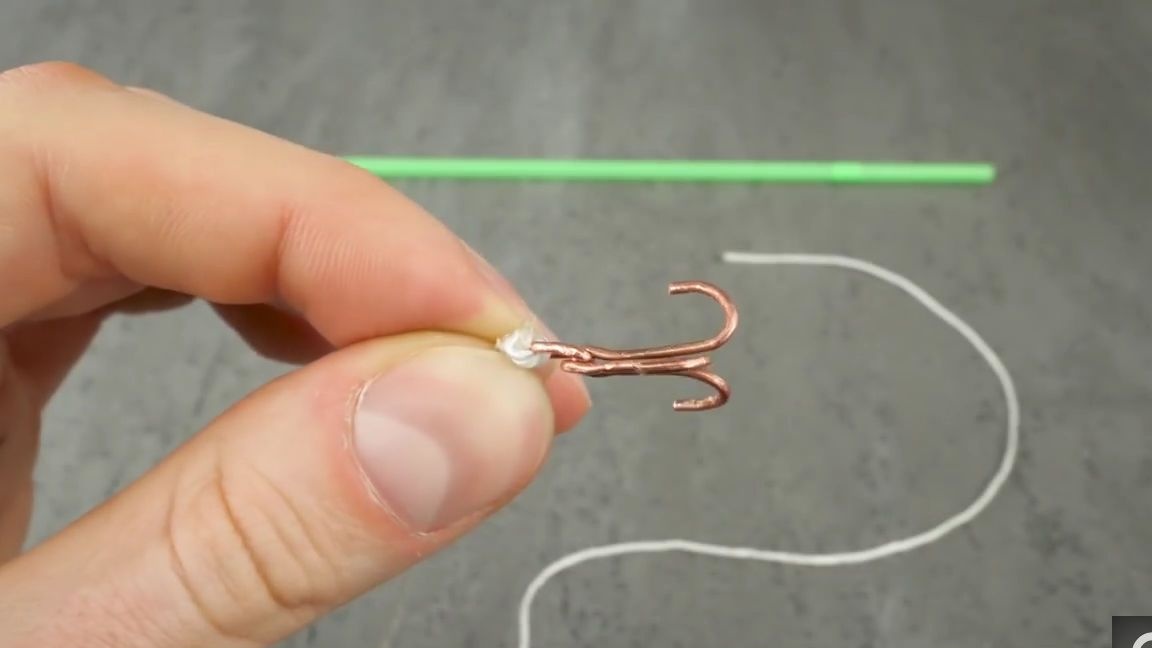
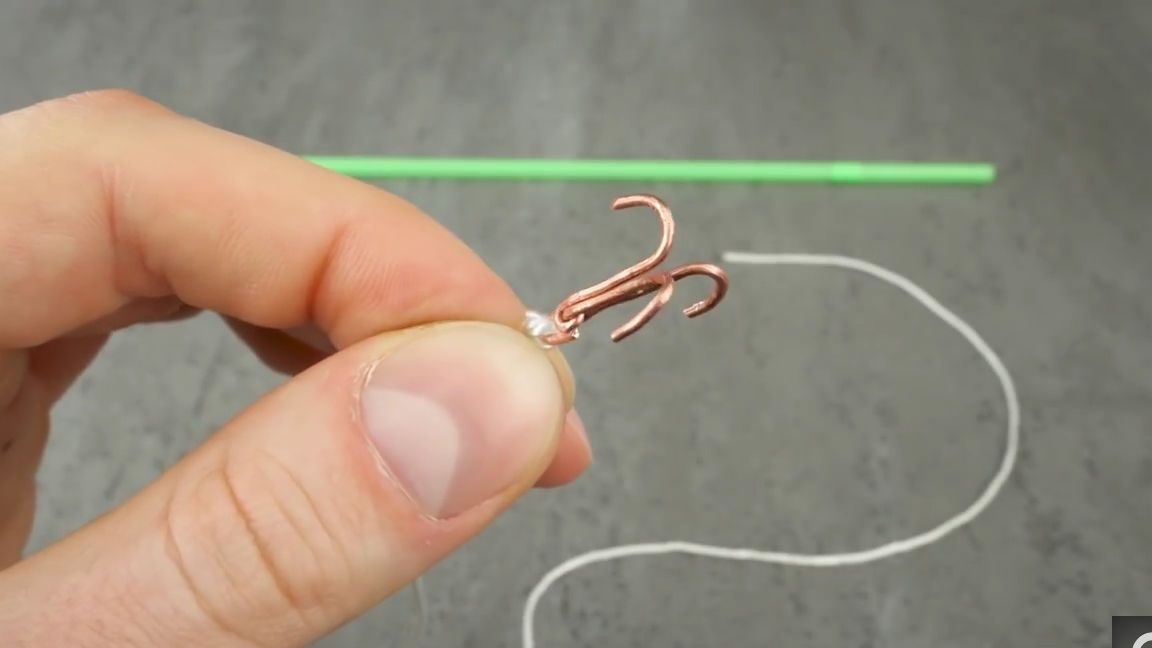
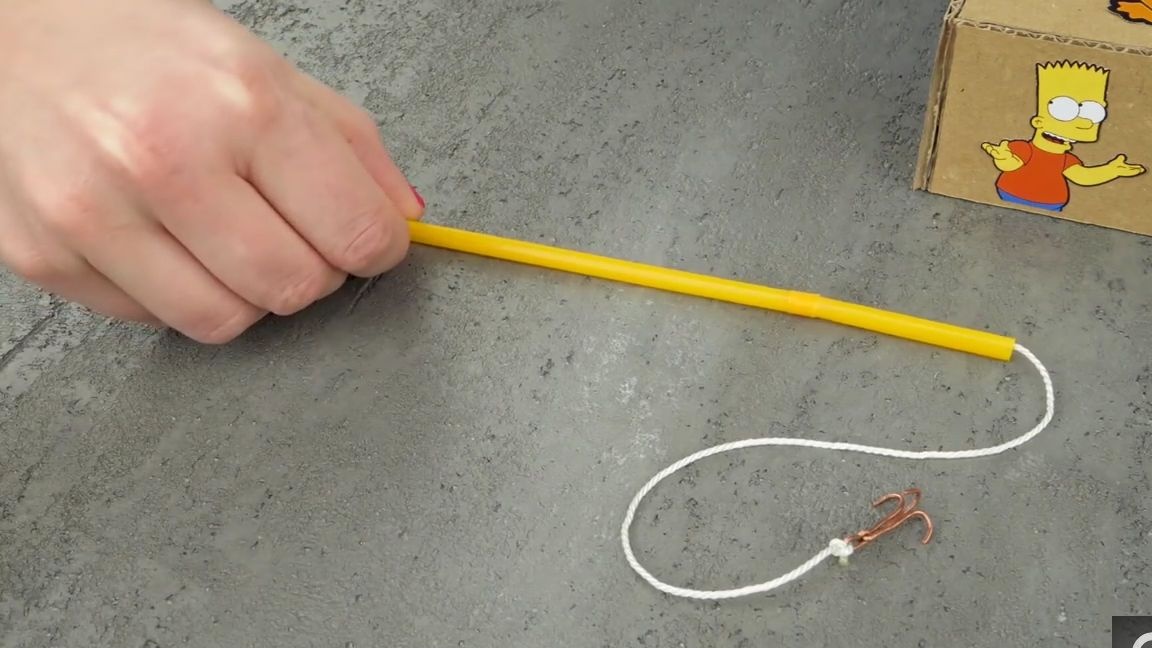
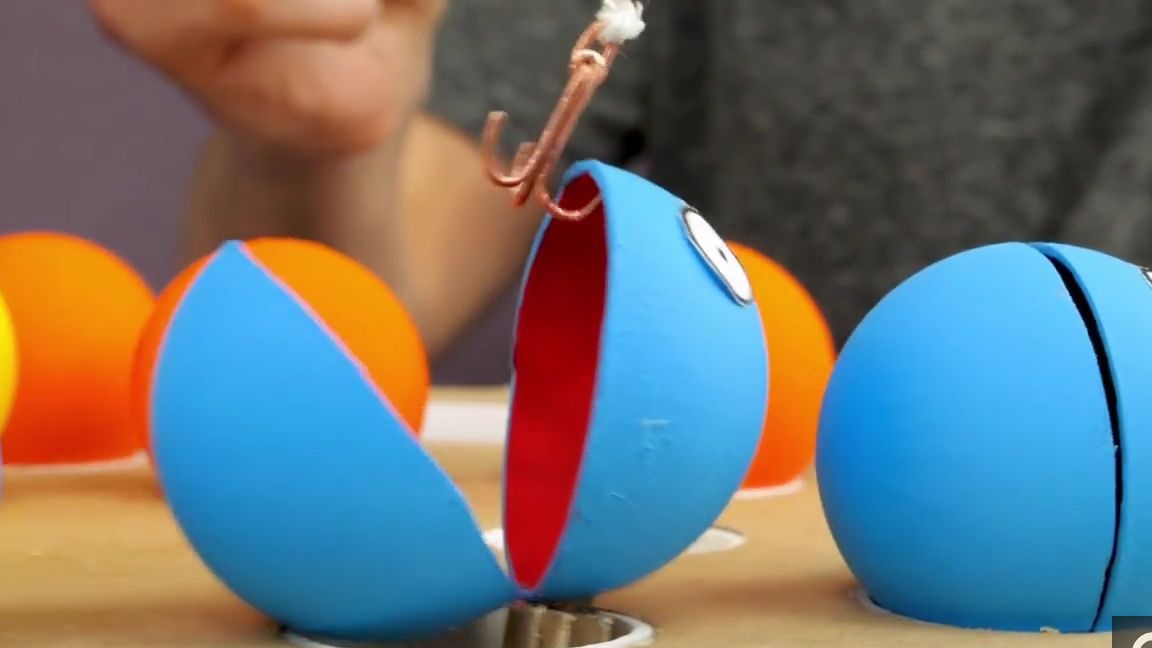
We take the most ordinary copper wire, preferably 1-2 mm thick, and use a narrow-nose pliers to form a fishing hook (only without points), after which we attach 20-35 centimeters of thread to it:
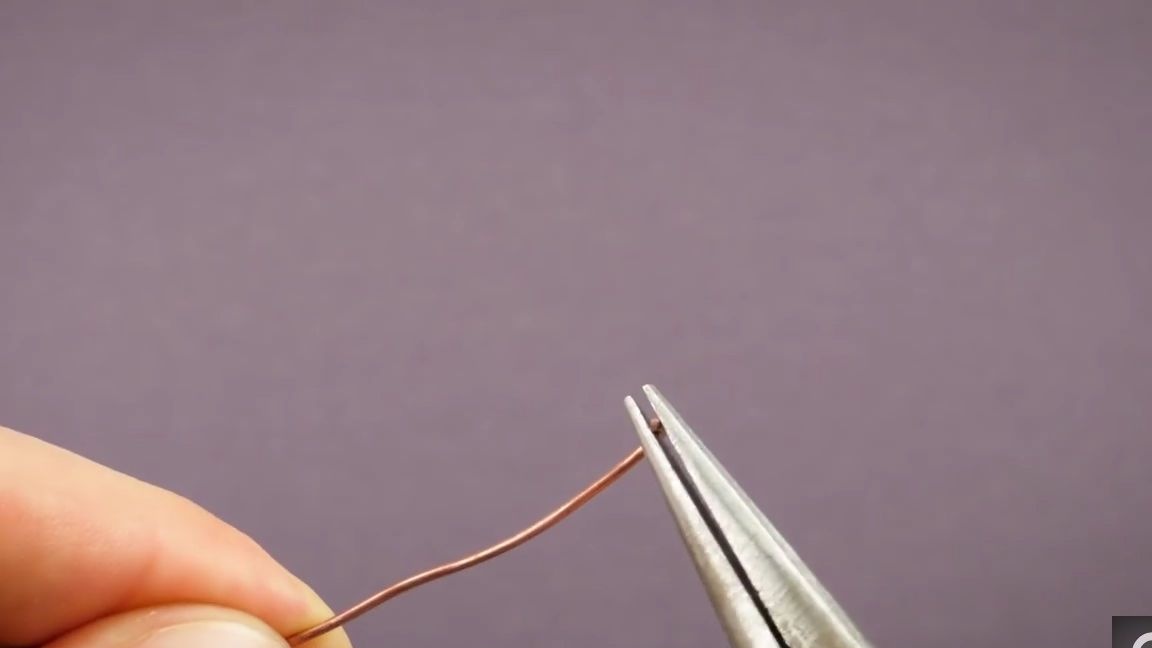
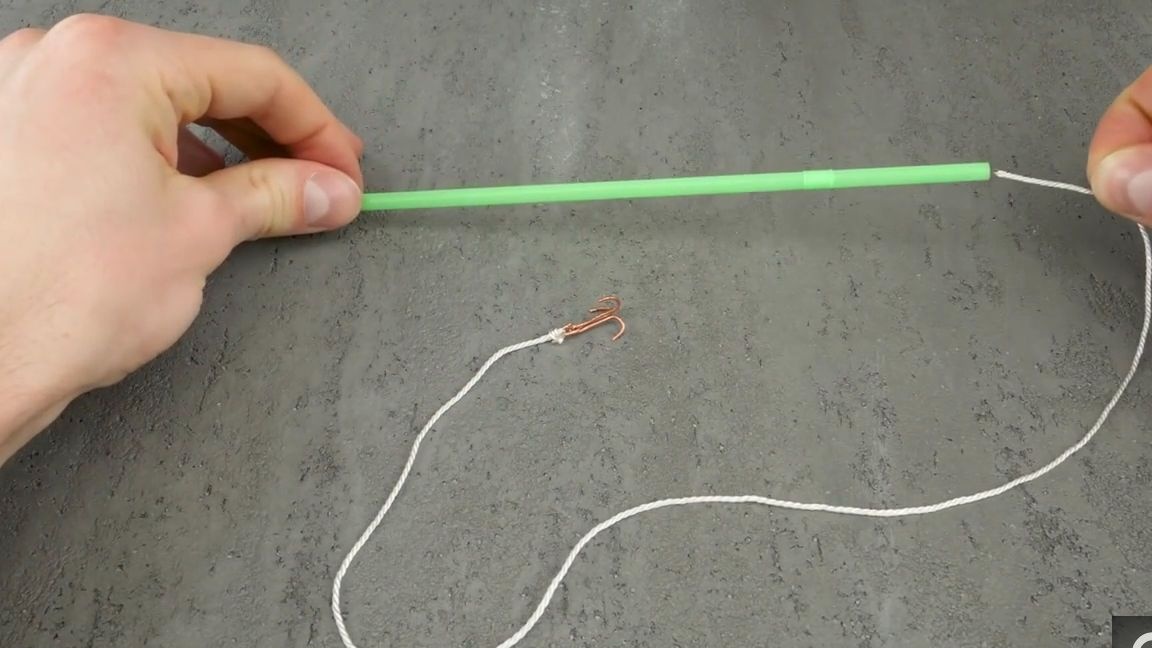
The other end of the thread from the hook must be skipped and secured through a straw from cocktails. After that, the fishing rod is ready, all you need to do 2 such fishing rods for a pair game:
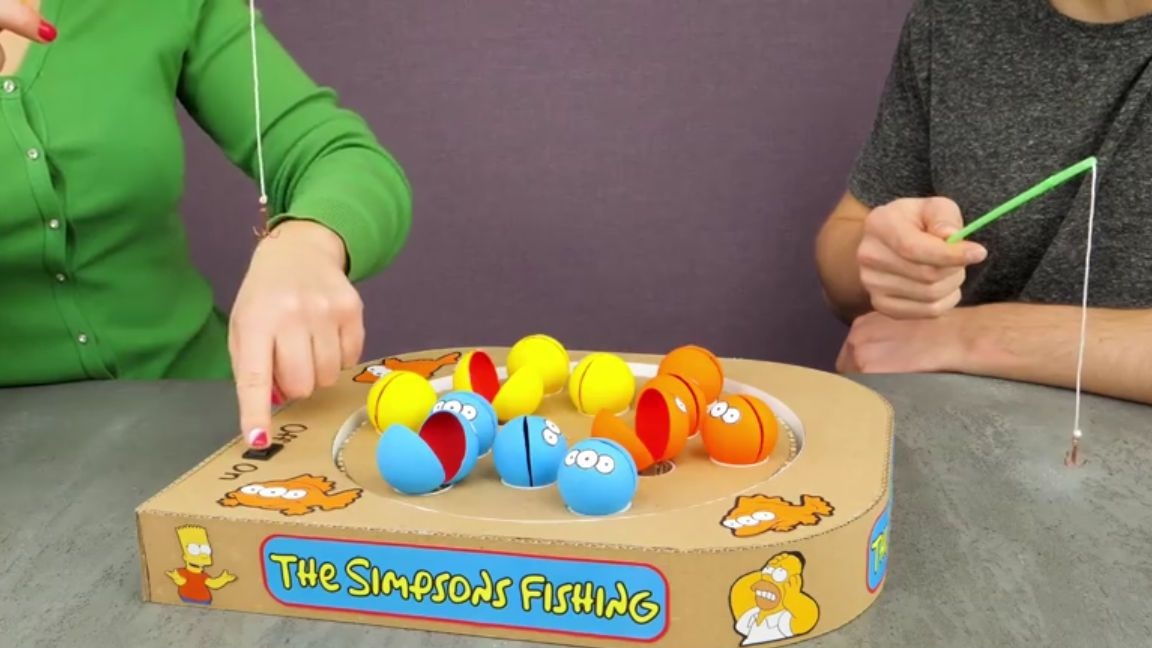
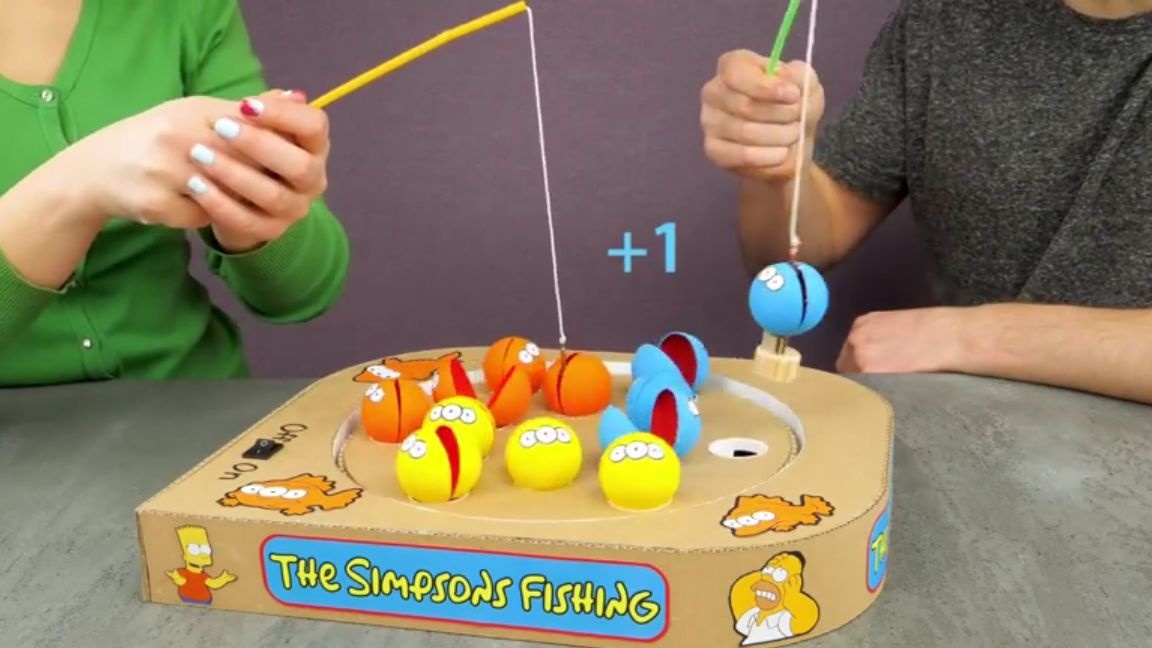
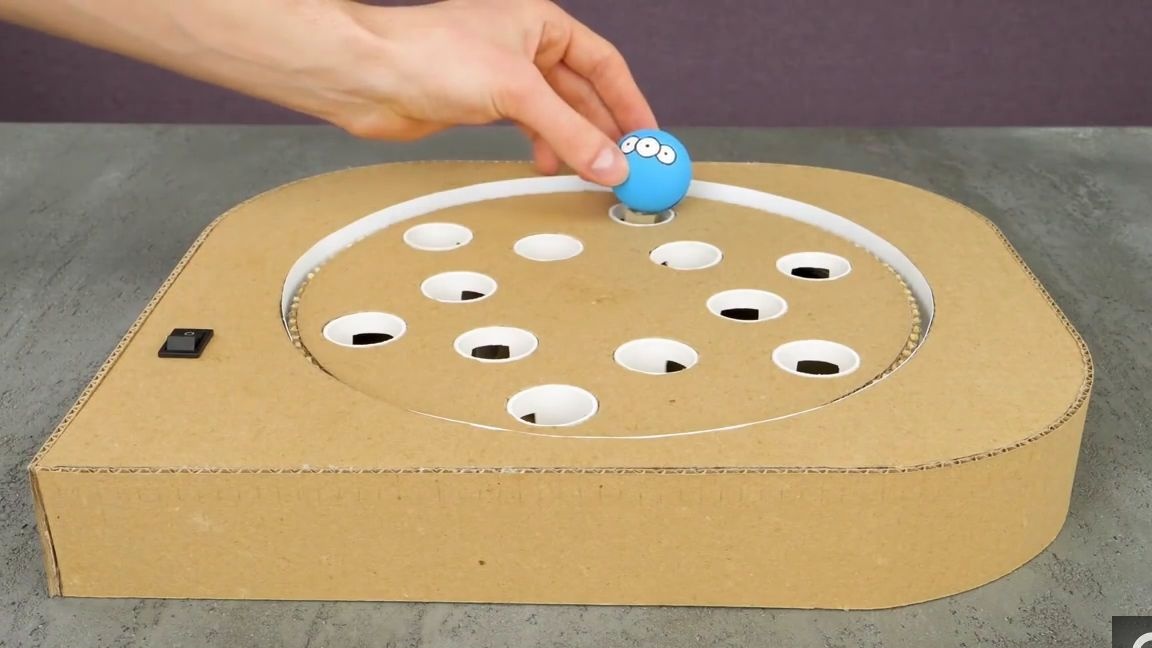
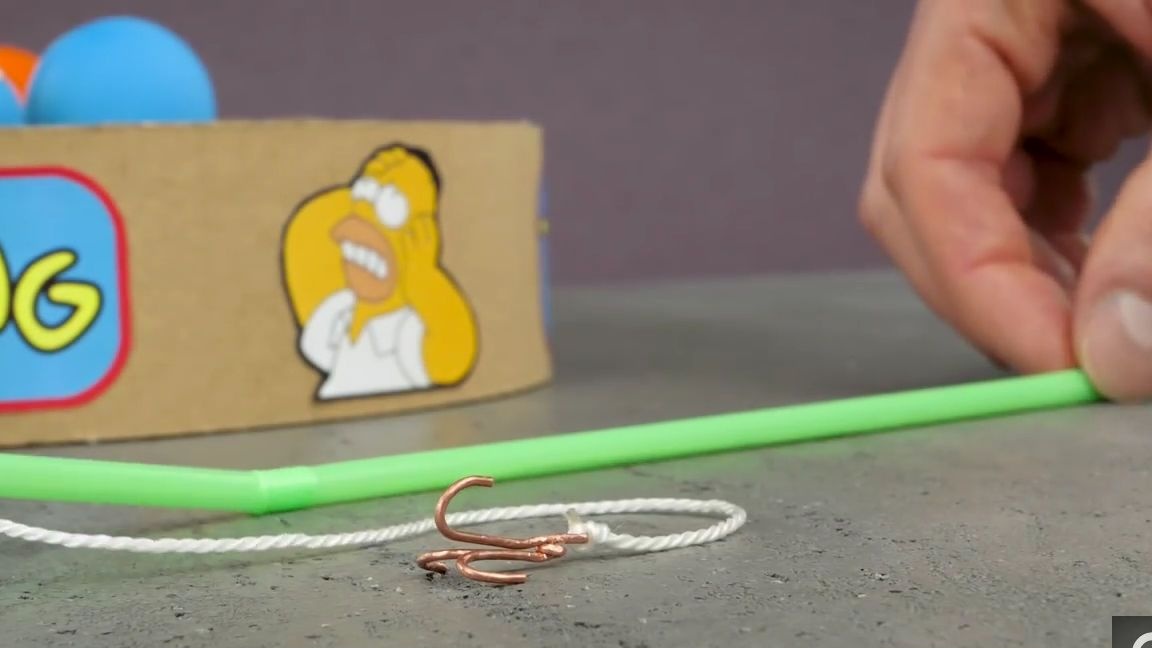
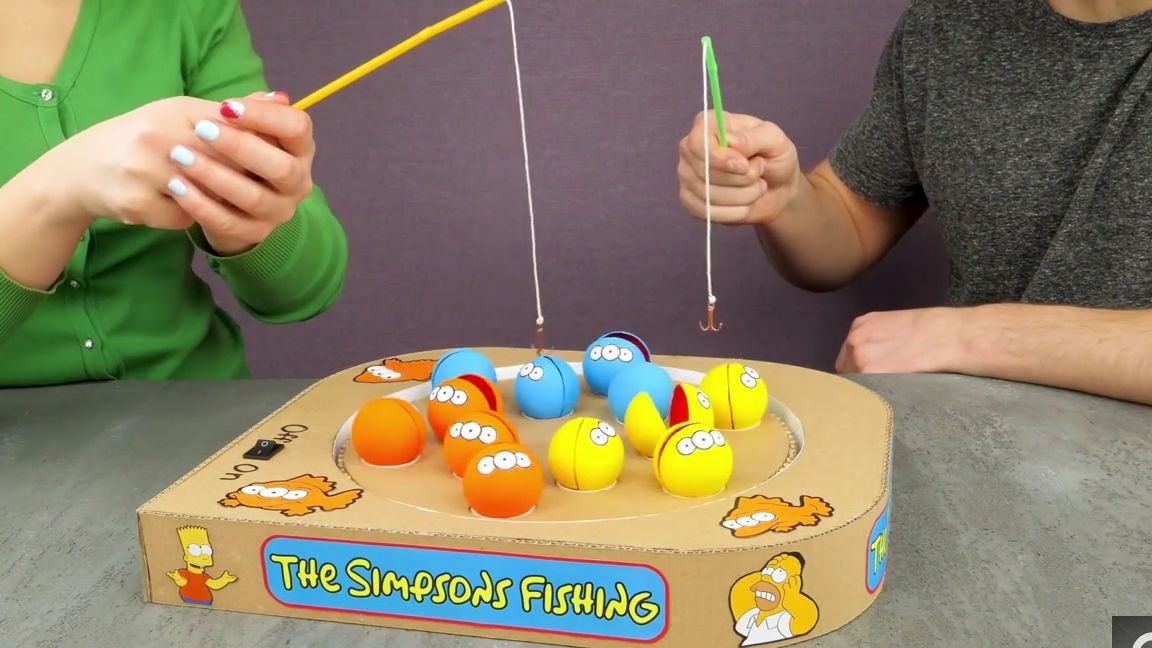
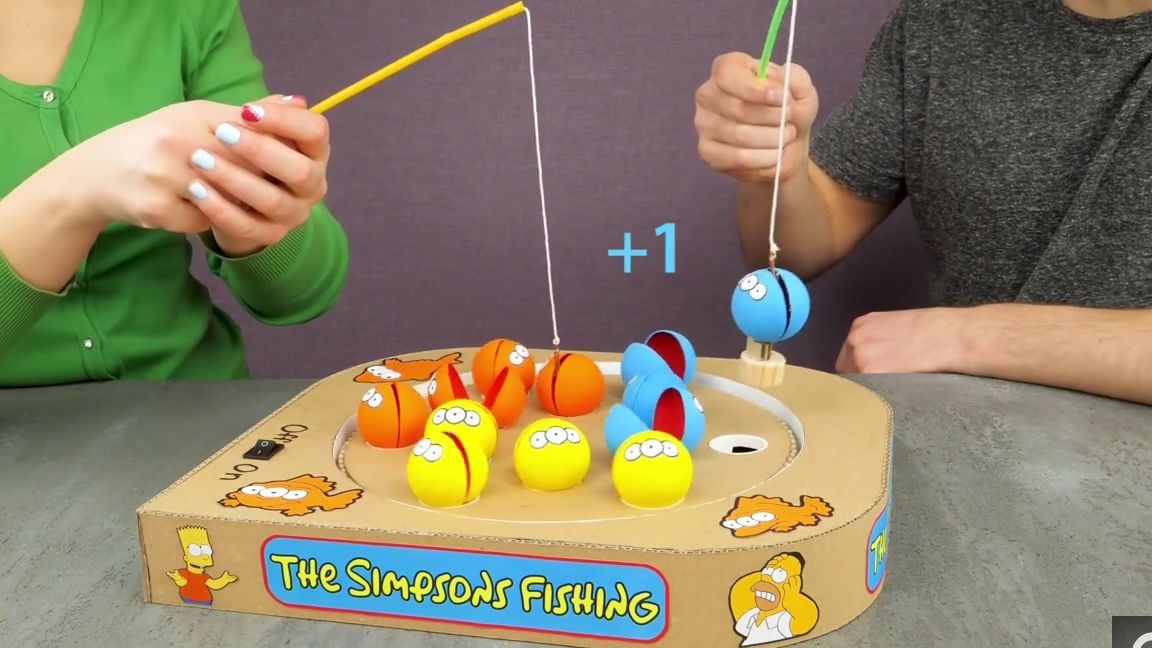
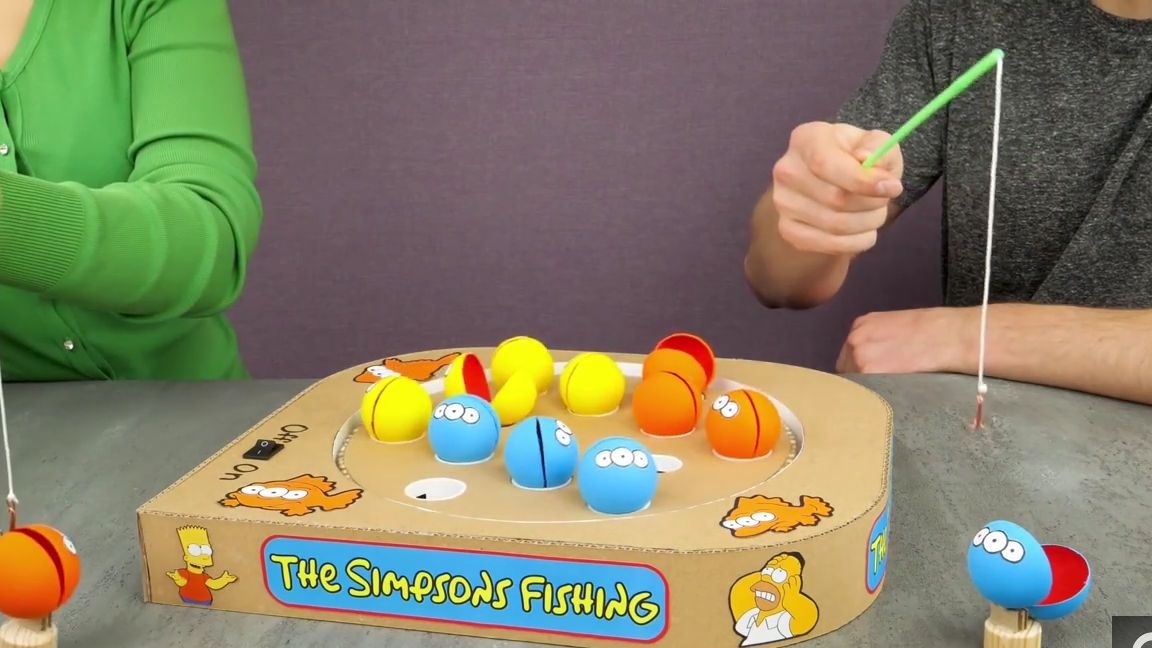
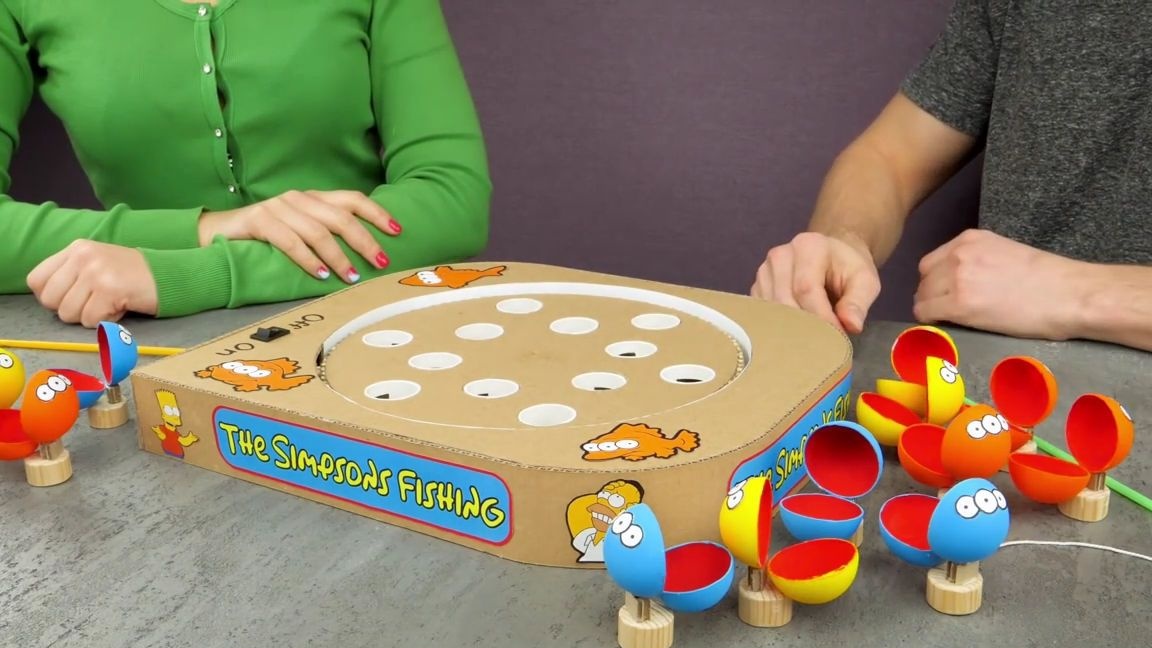
That's it! The board game for fishing is ready and it remains only to test it. To do this, turn on the game itself, call a friend or girlfriend, take fishing rods and start the game!
When you turn on the entire installation, the gearbox starts to rotate the main wheel, which in turn makes the fish move, well, since their trajectory is just in the path of the trampolines that lift them, when they lift due to gravity, their mouths rise , at this point you must try to pick them up with a fishing rod. In this game, you need to make decisions quickly, as the fish open their mouths for a very short time. I think if you make more fishing rods, then you can play more than two people.

Here is a detailed video from the author with tests and assembly:
Well, thank you all for your attention and good luck in future projects and homemade products!