
Perhaps you were wondering how to make a bluetooth speaker do it yourself? And not just a speaker, but a compact, simple, beautiful, very fast and of course for cheap. If yes, then the following is a step-by-step instruction for self-production of a compact, beautiful and not expensive music speaker.
So let's not drag out and get down to business right away.
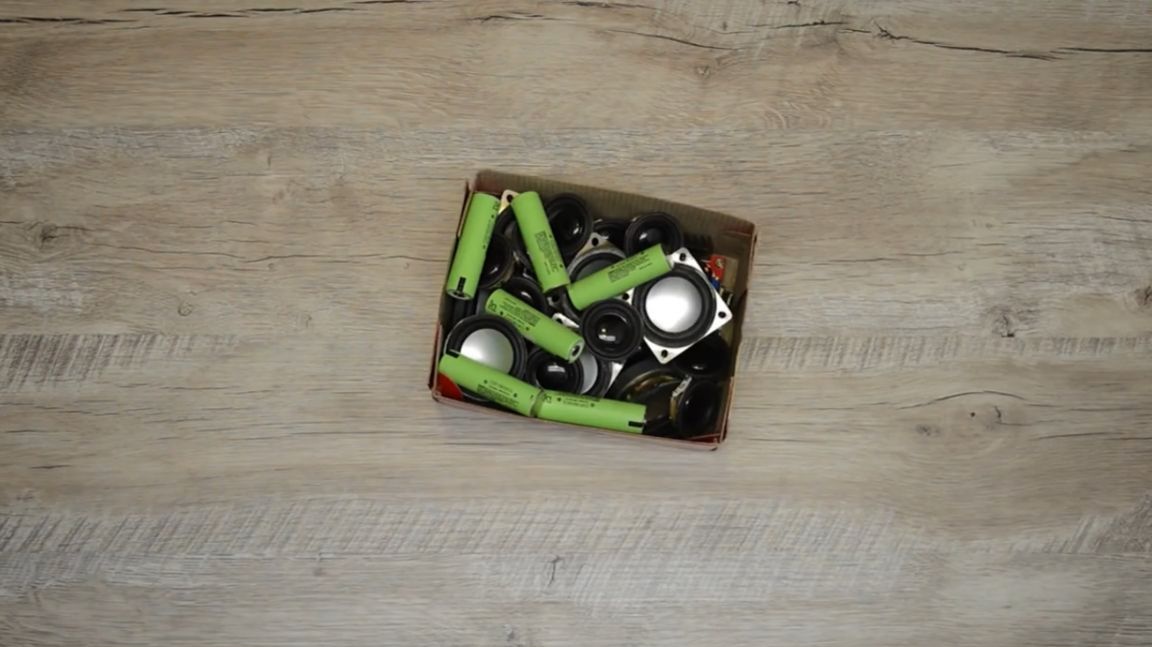
The author of this home-made bluetooth speaker has such a magic box in which there are a lot of cool components for creating acoustics. But today, for the realization of what was conceived, only the smallest of them will be needed.

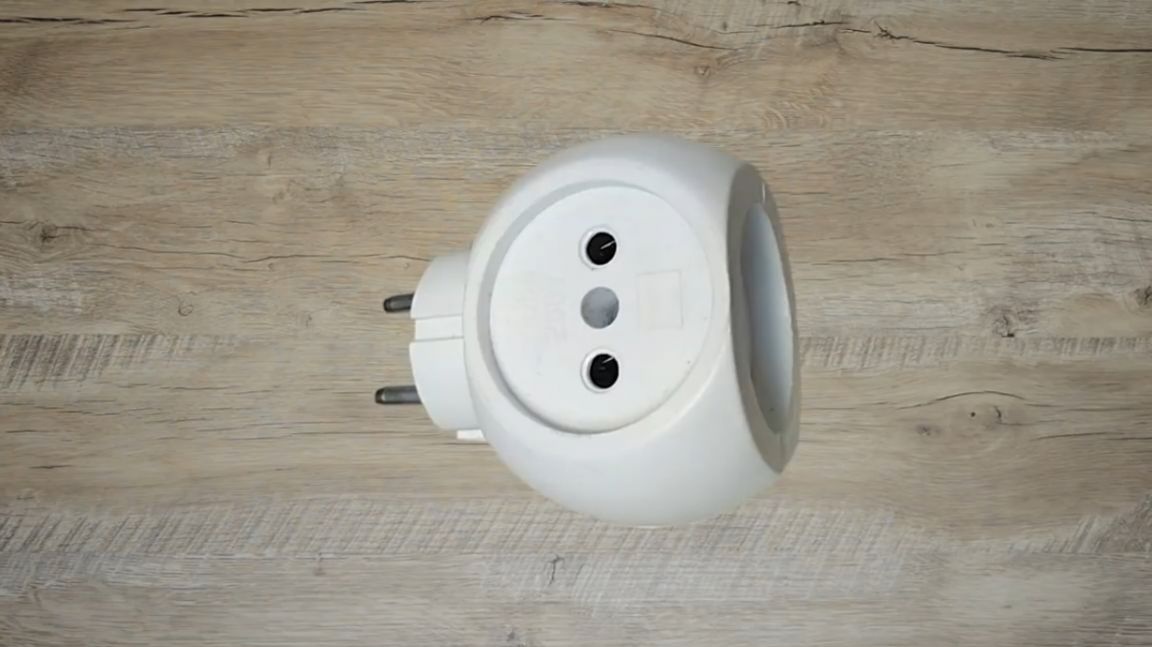
The main body of the future fun speaker will be such a deshmansky Chinese plastic tee.
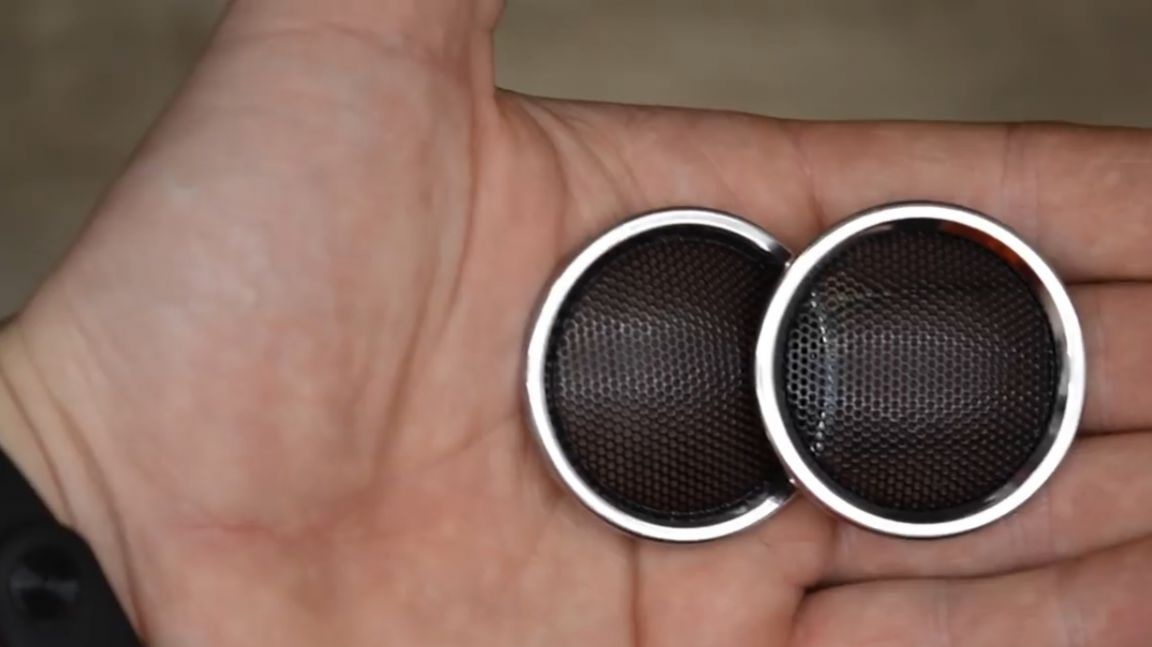
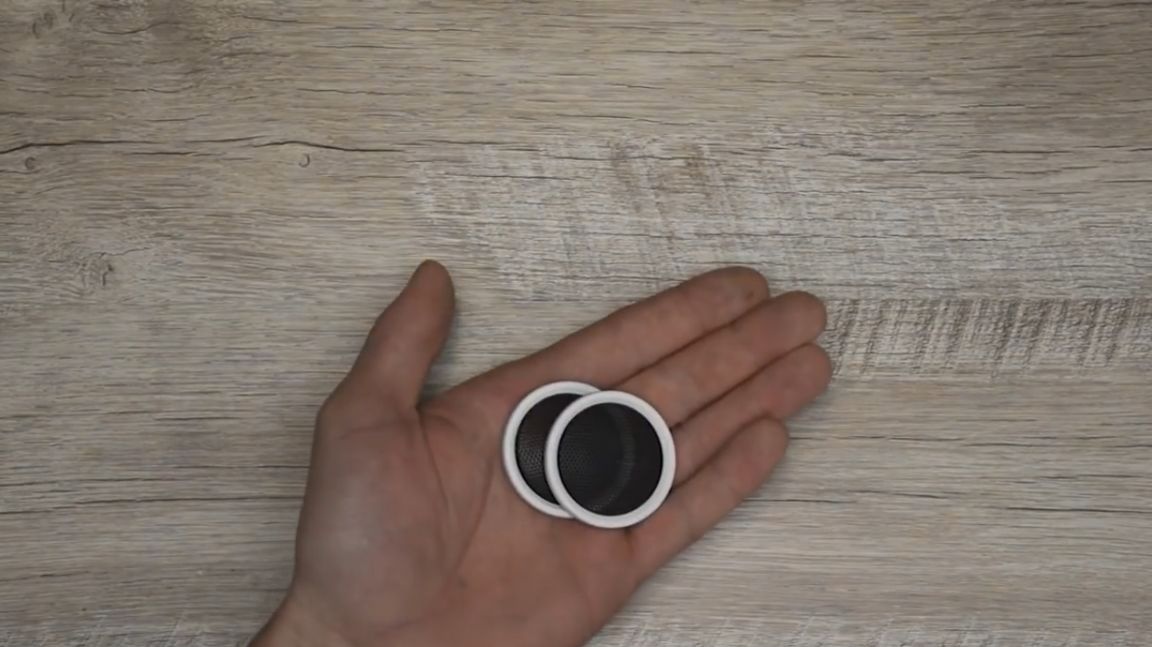
Next, we need such a tiny speaker.
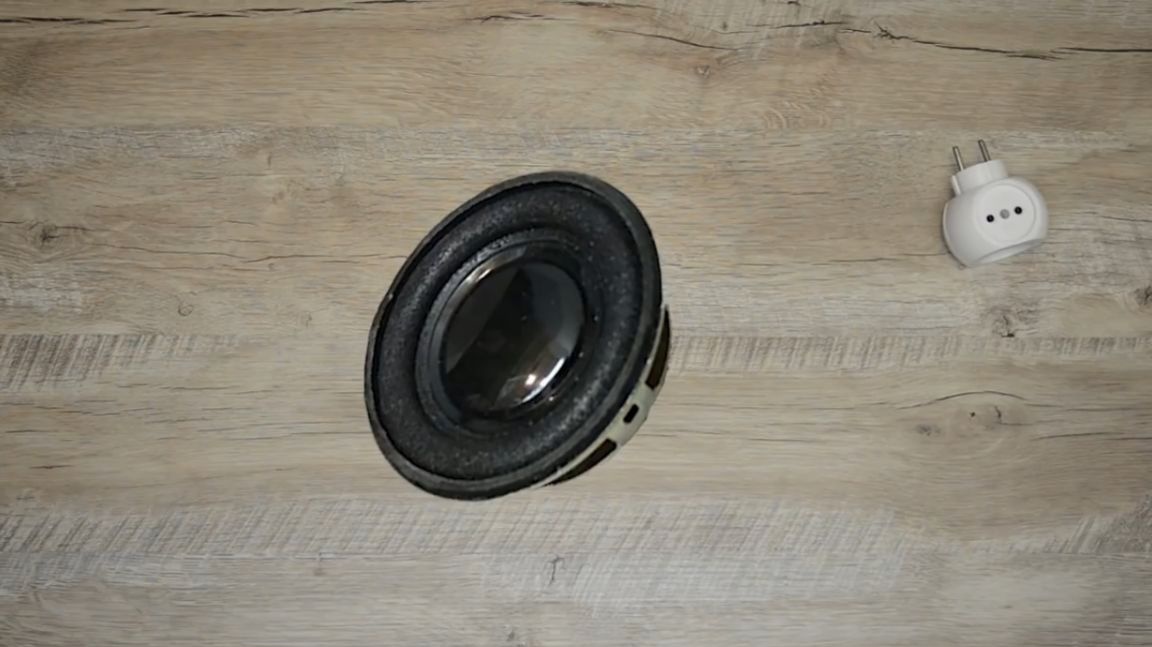
Rather, 2 such speakers, with a power of 3 watts each.
Also, to create a homemade speaker, you just need an audio amplifier designed for these speakers.

And also we need these things that are designed for the size of these speakers.
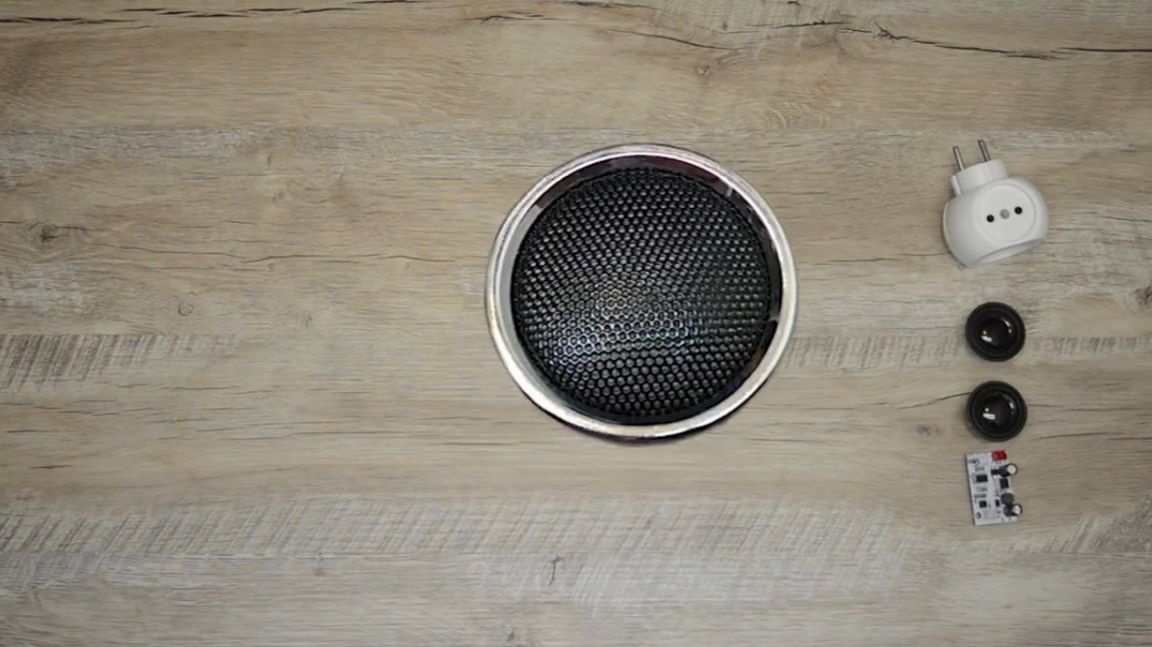
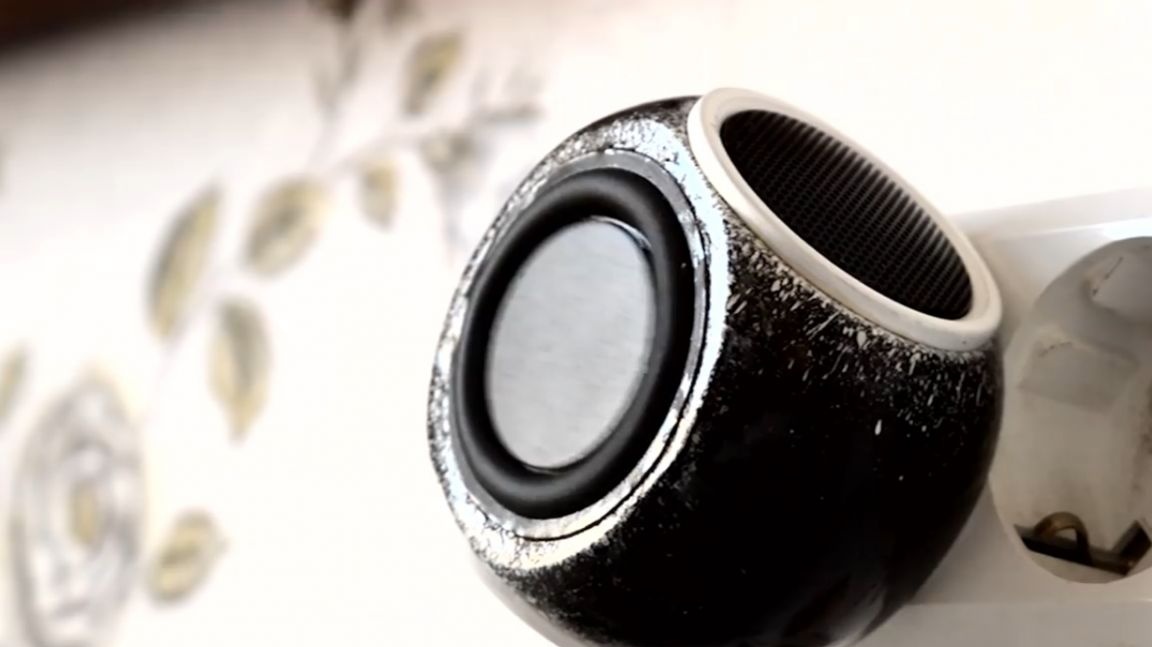
The next component will be a passive bass emitter, well, so that there is somehow more bass.
Well, actually the whole thing needs to be somehow powered up. Such a tiny 5V power supply is suitable.
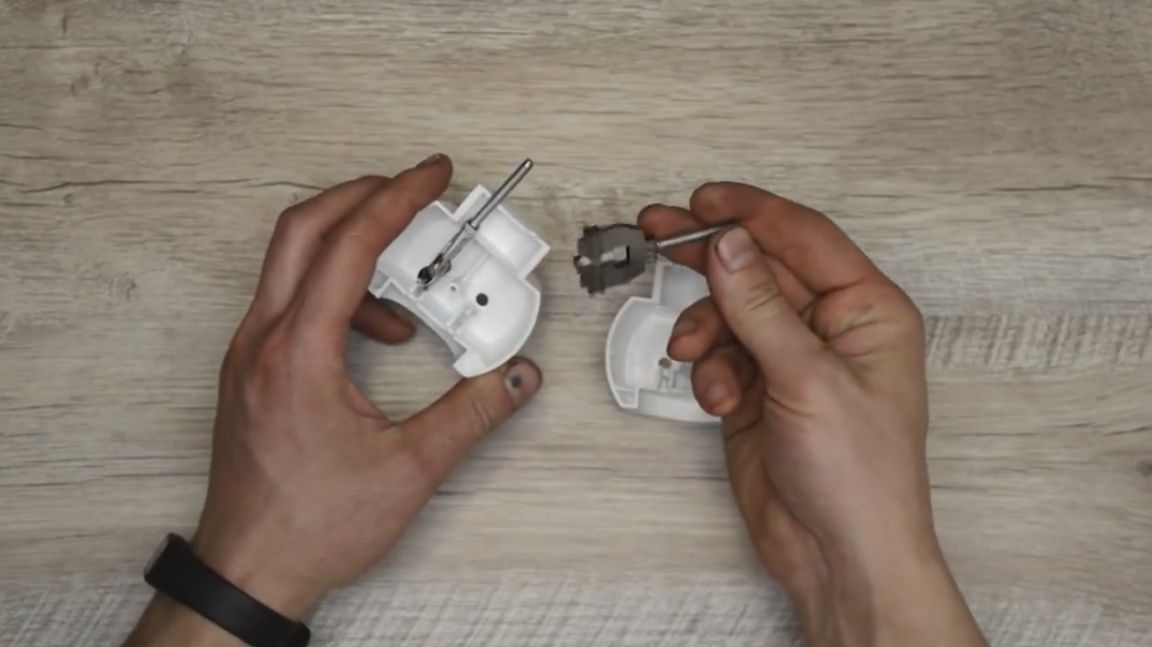
Let's hope that all these components will fit into the tee body, or it will really be a disaster. We take a curly screwdriver and disassemble this triple.
In principle, there is quite a lot of free space inside. There are also such contacts here that we do not need so far.
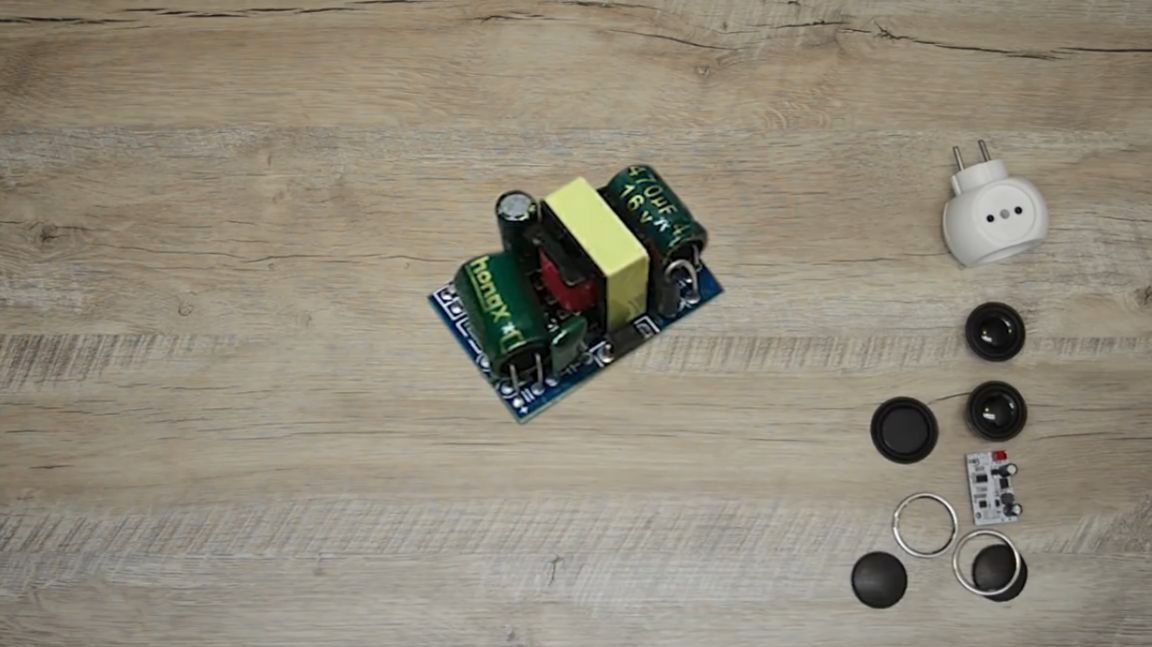
At first glance, everything seems to fit. Although, it seems that this amplifier by no means crawls into such a case, due to the fact that there are several kinds of capacitors sticking out.
In short, everything is clear with this amplifier, we must once again return to the box and look for something more interesting and suitable for our purpose.
After a certain amount of time, the author found another amp. And at first glance, it is directly much smaller than the previous audio amplifier. Suitable in general.
The next step will be destruction. We take the pliers and begin to chicken this poor threesome.
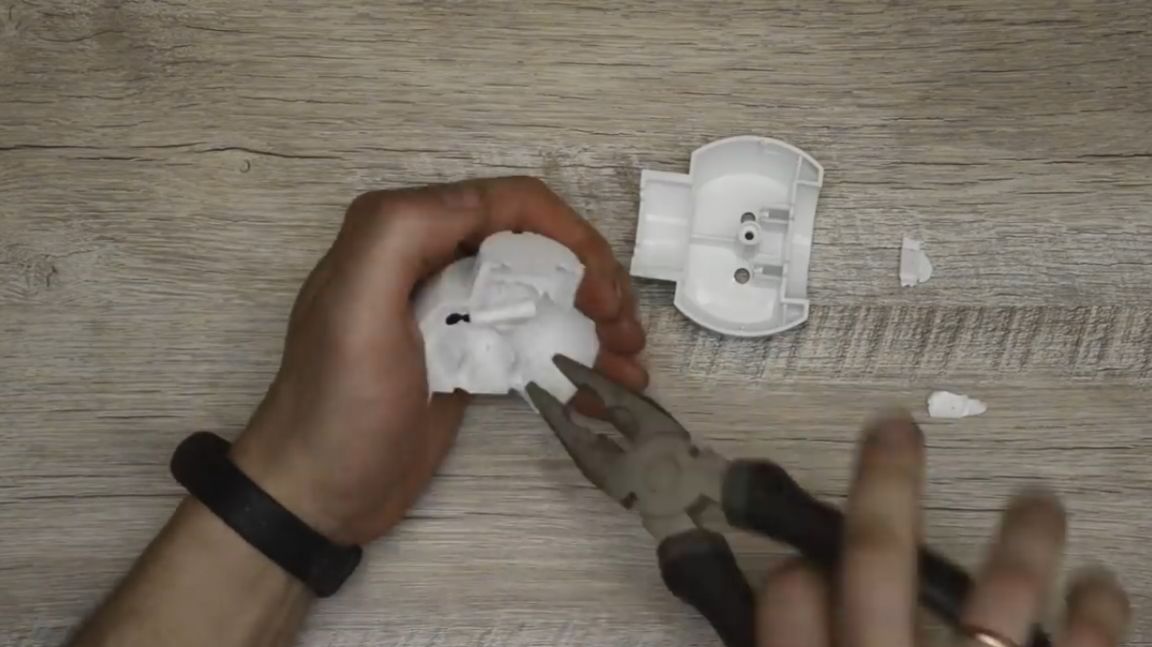
But it’s somehow inconvenient to work with these pliers, so we put them aside, and take such a soldering iron.
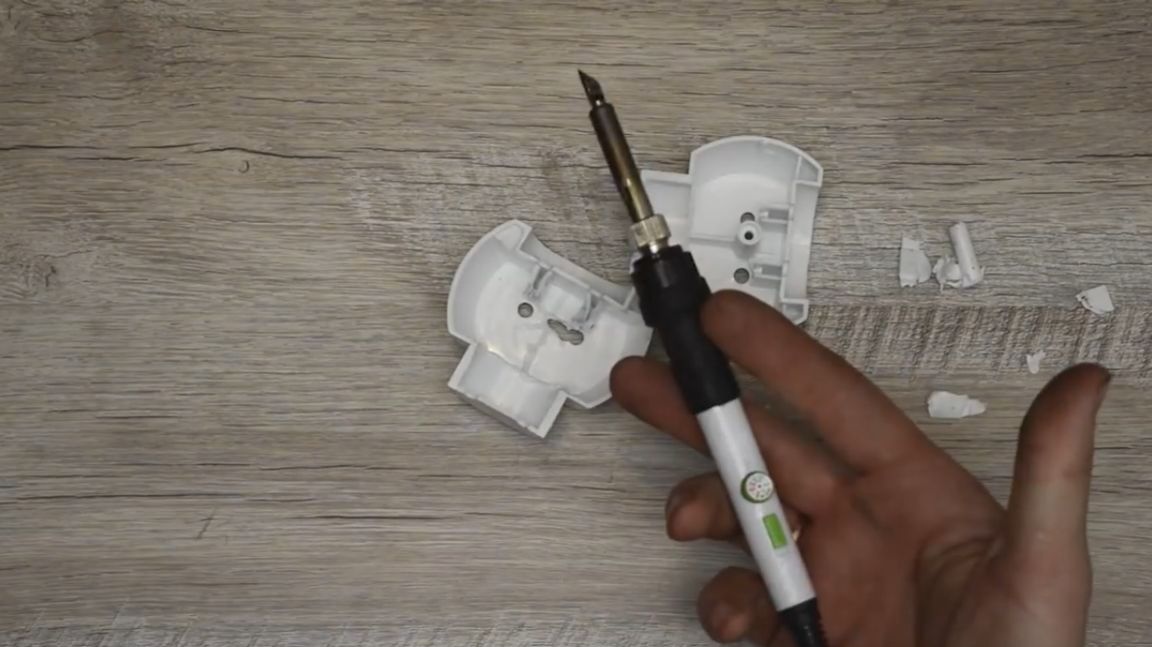
We plug the soldering iron into the socket, warm it up well and begin to properly fry this tee.
Cool karabas turned out.There is a hole for the passive emitter, now it remains to make a couple more holes for the speakers. For this, the author decided to use such a mill here.
It is often used by furniture makers to drill holes for hinges in laminated particleboard or MDF panels. The diameter of the cutter is 35 mm. We take a screwdriver, clamp the cutter and drove.
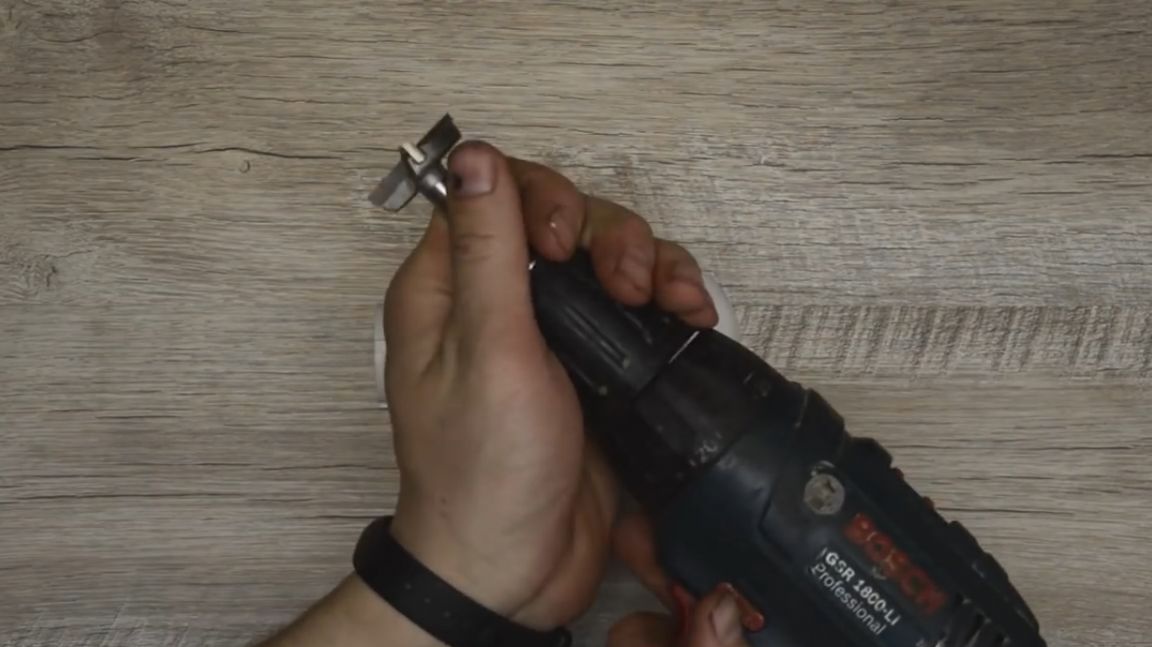
Just don’t try to drill as the author does (emphasis on the hand), because if something goes wrong, then wrapping your skin on the cutter, it’s straightforward not to be difficult, you won’t have time to blink an eye.
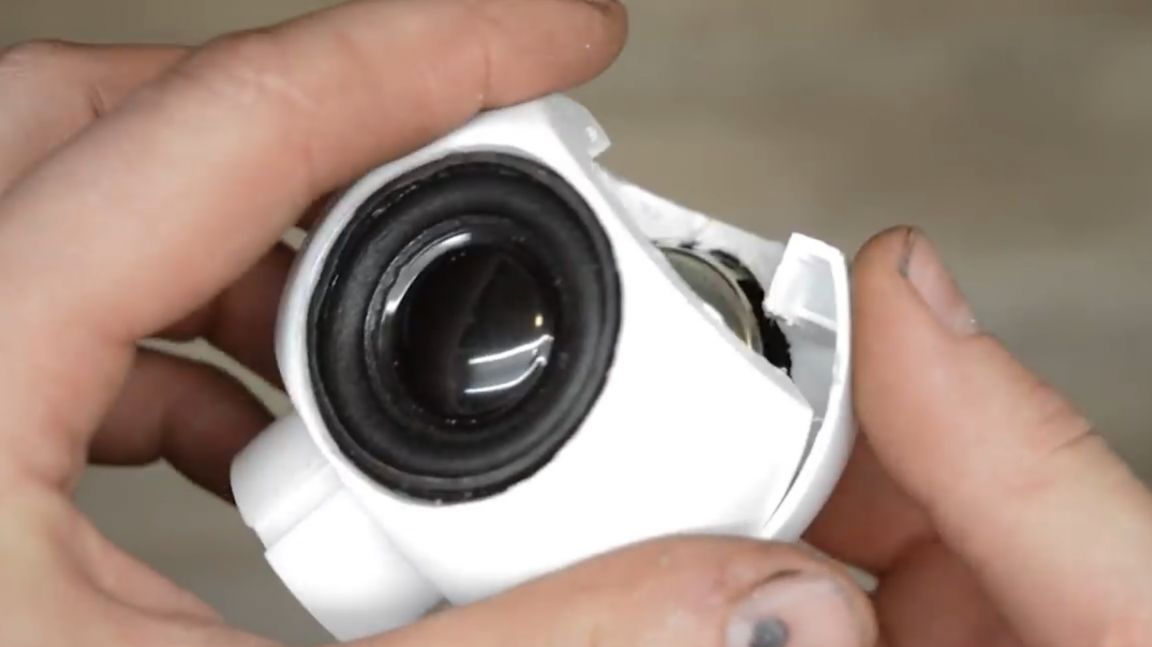
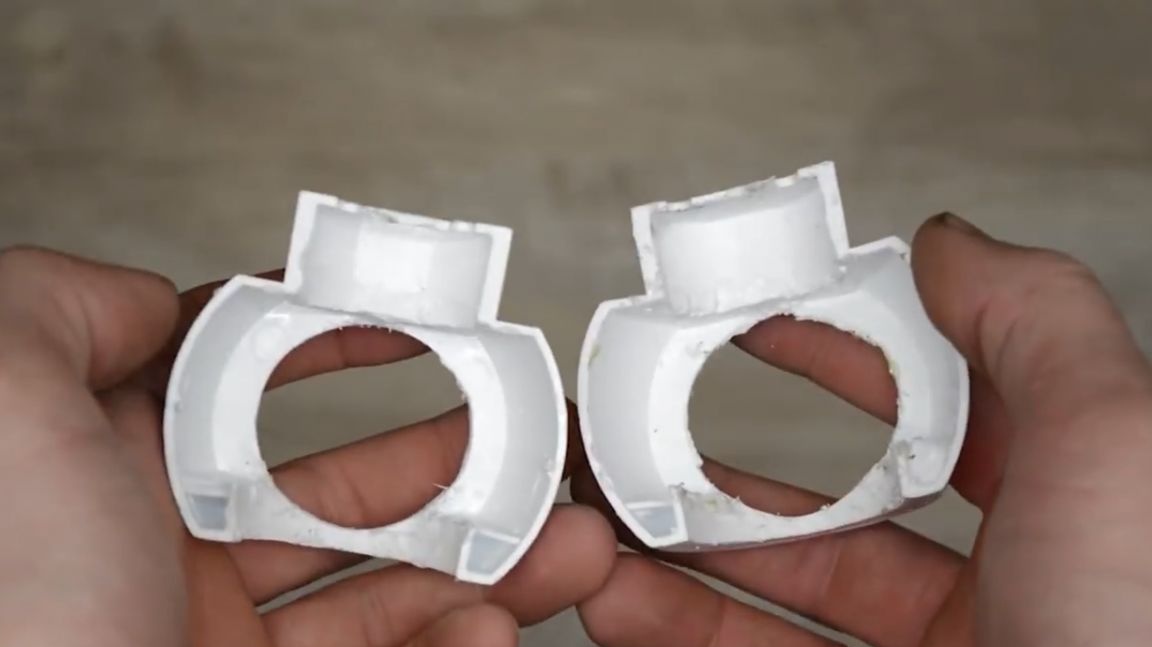
As a result, these are pretty smooth holes.
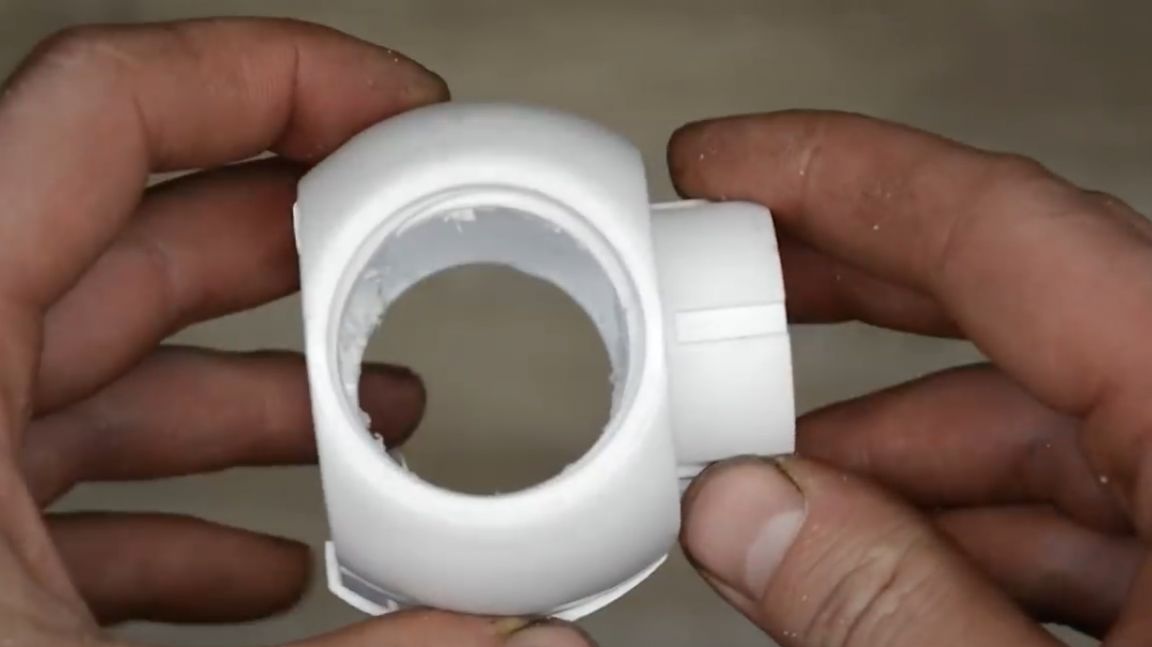
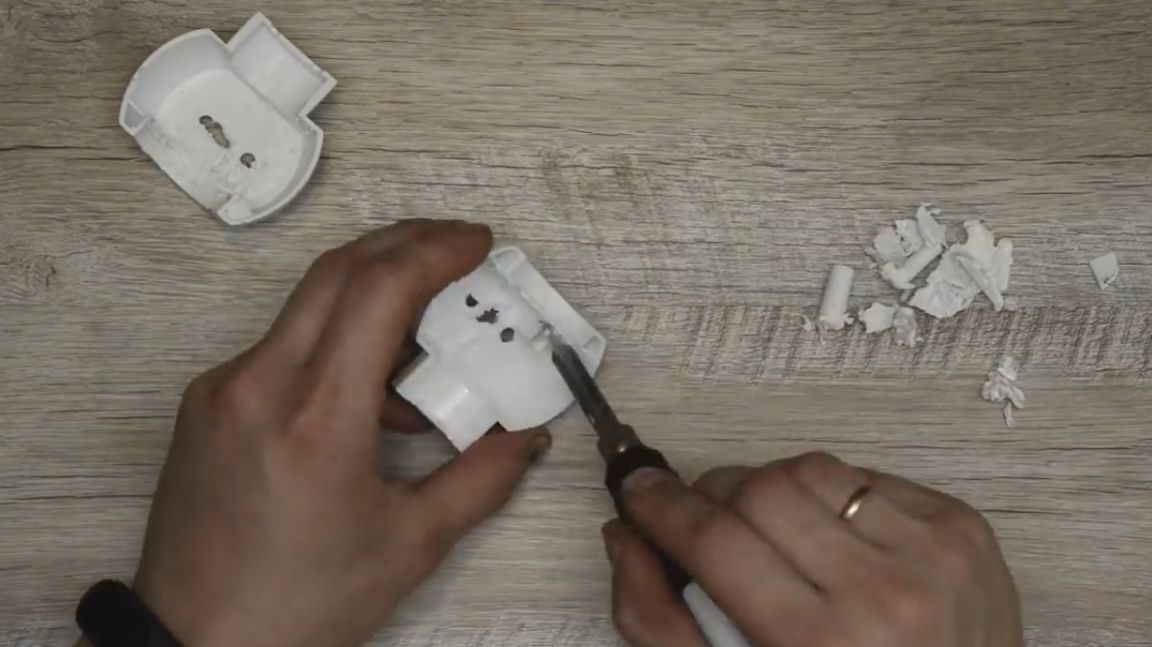
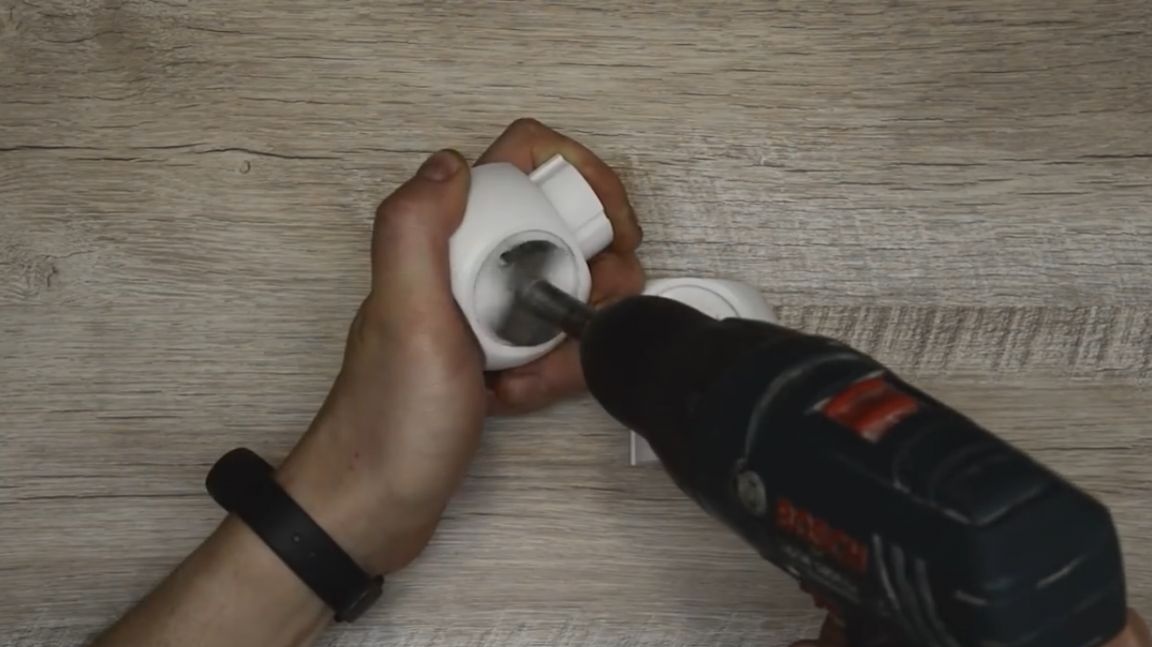
But at the same time, the dynamics do not completely get there. Therefore, we take an engraver, well, and manually bring these holes to the diameter we need.
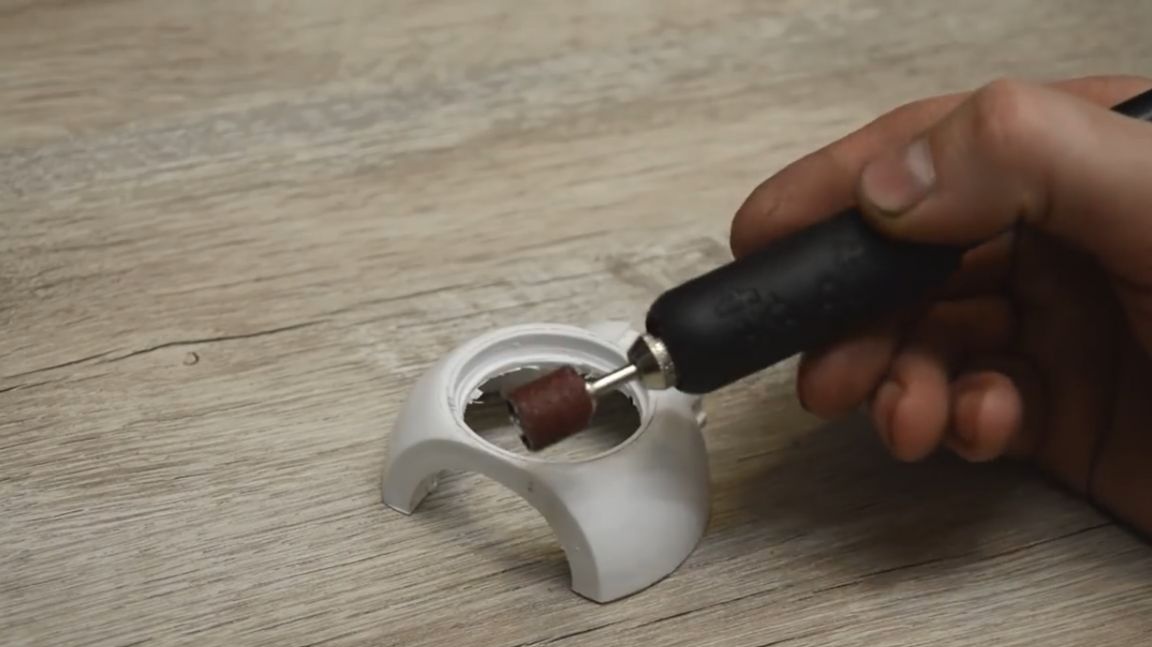
In the end, we got such a thing that looks pretty cool.
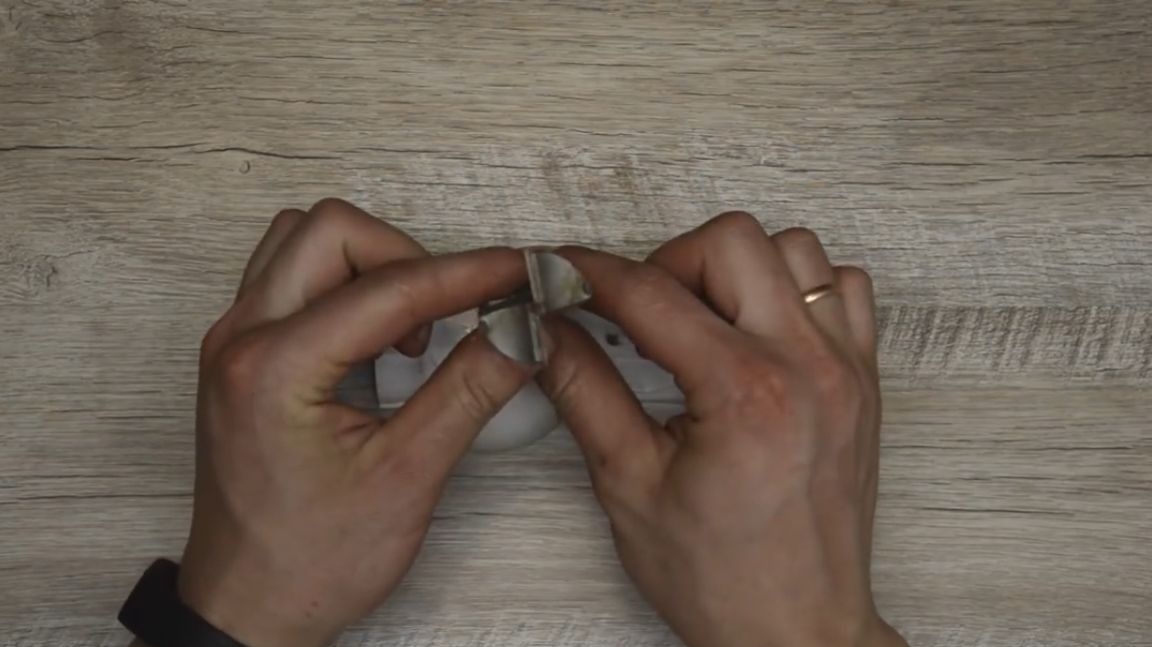
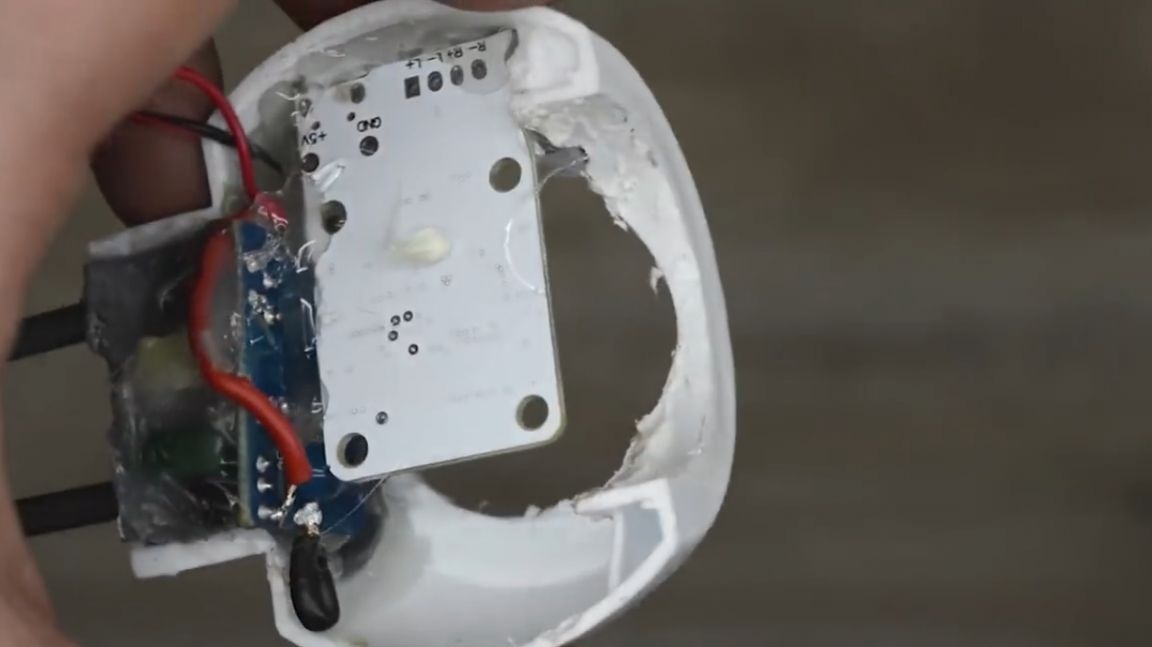
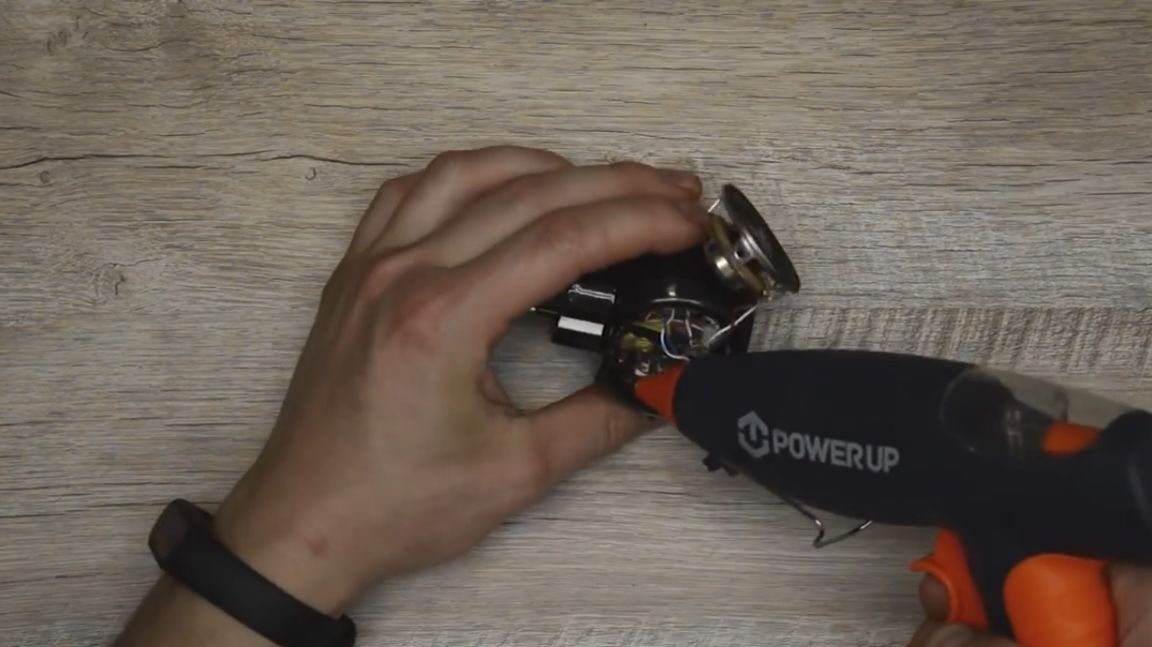
Now take the contact group, break off the ears so as not to interfere, and solder the wires. Next, we glue the whole thing with all your favorite hot glue.
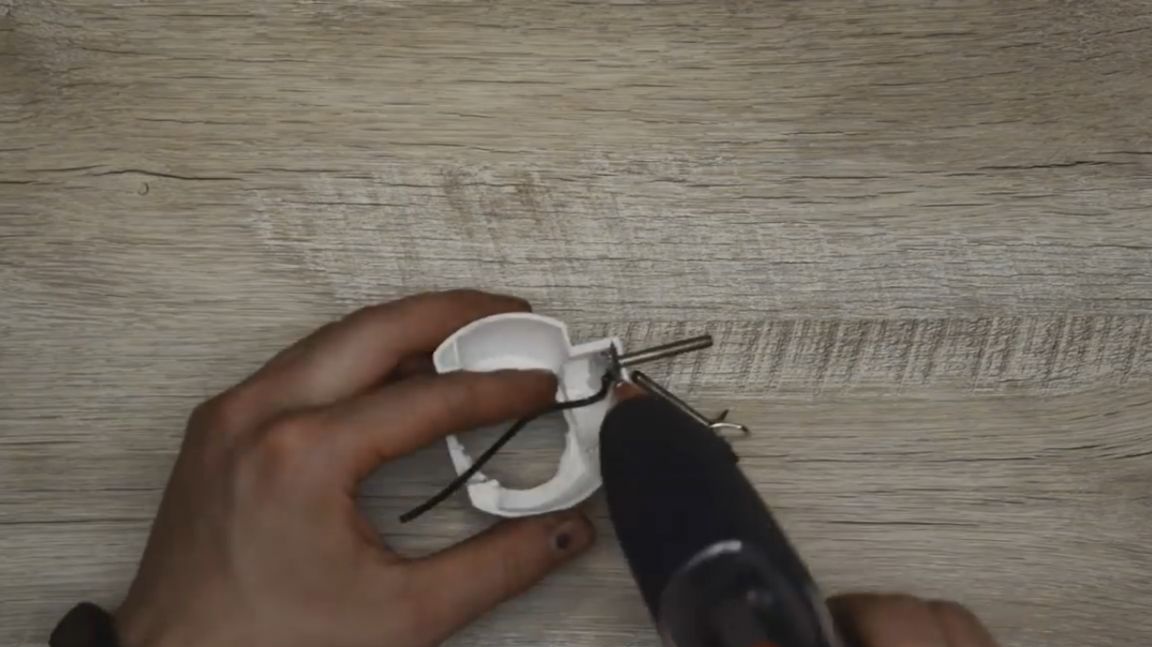
For some reason, many do not like glue guns, as for me, this is an awesome tool (material) that allows you to glue a lot of things in inaccessible places, and not only very quickly, but also a pretty good, solid connection. Therefore, I advise everyone to buy and have such a gun on hand, and you will understand that he really has a lot of advantages.
Now you can also glue the 5 volt power supply, and solder the power wires.
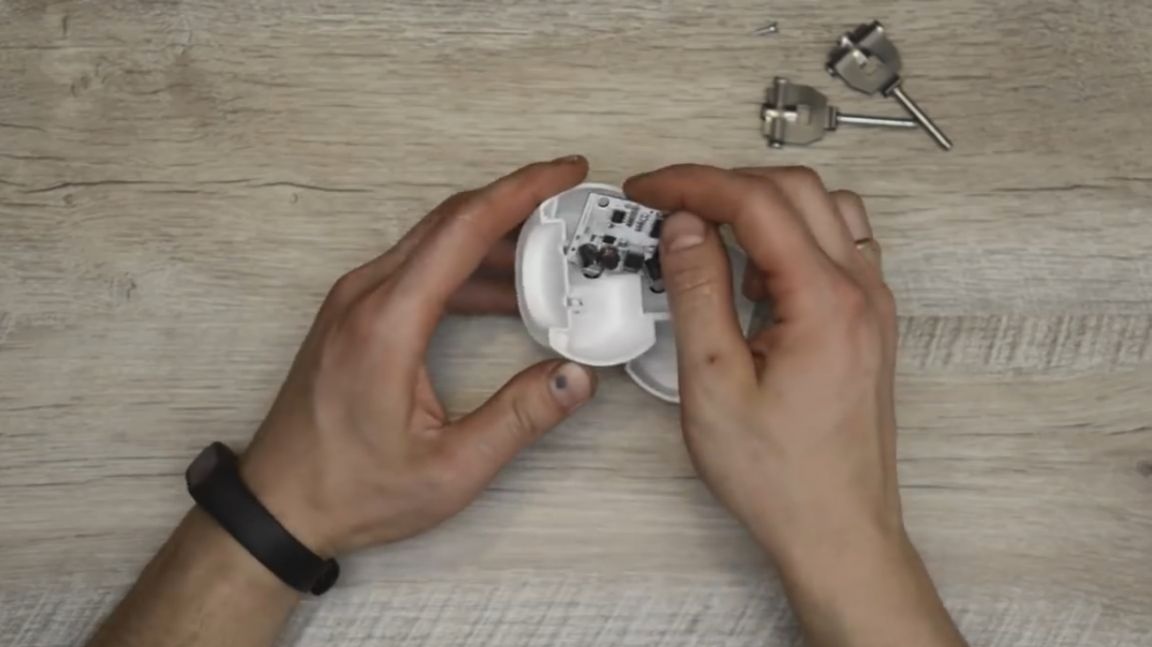
Next, in the column we will install here such a bluetooth amplifier.
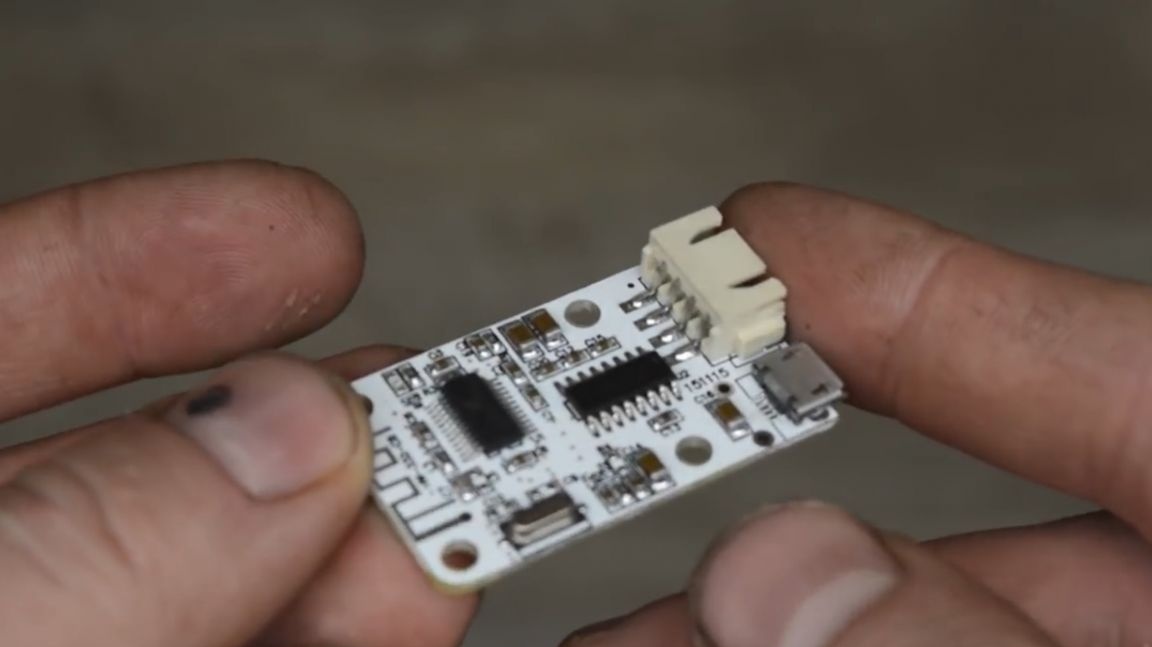
It has 2 connectors: one microusb, for powering the amplifier, and the second, for connecting speakers. But we do not need them, because on the reverse side there are 2 contacts for connecting the power supply and 4 contacts for connecting speakers.
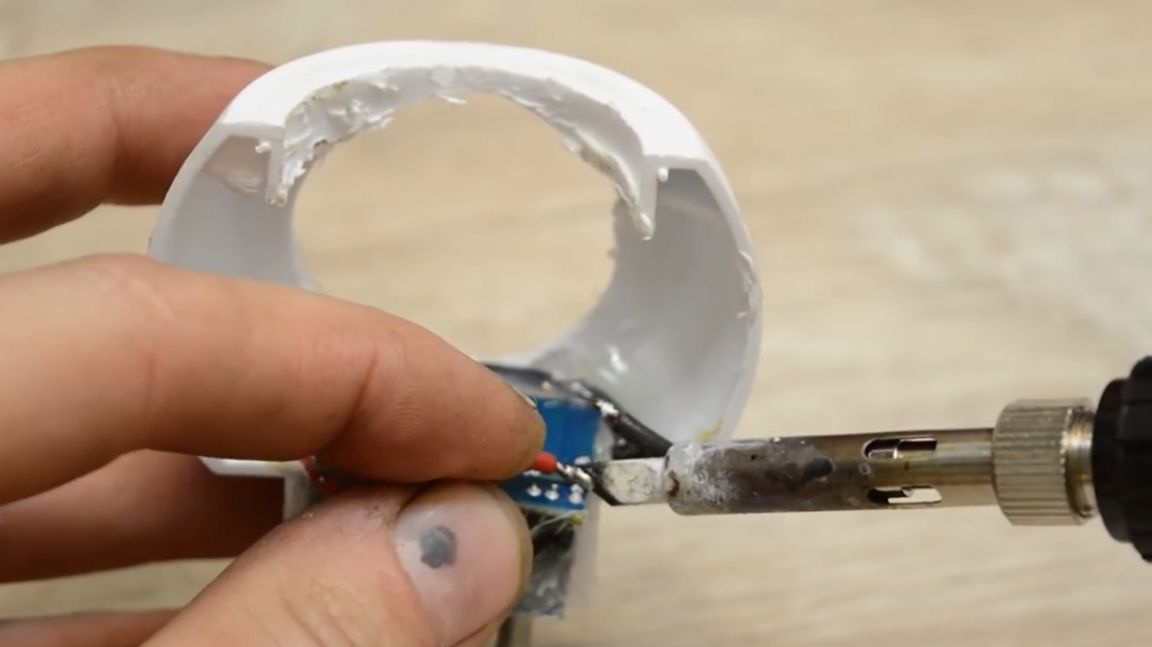
We take the triple, put the amplifier inside. Well, now we pour the whole thing with hot-melt adhesive.
To be honest, it’s just some kind of tin, I hope this all works. As a result, we got such a thing.
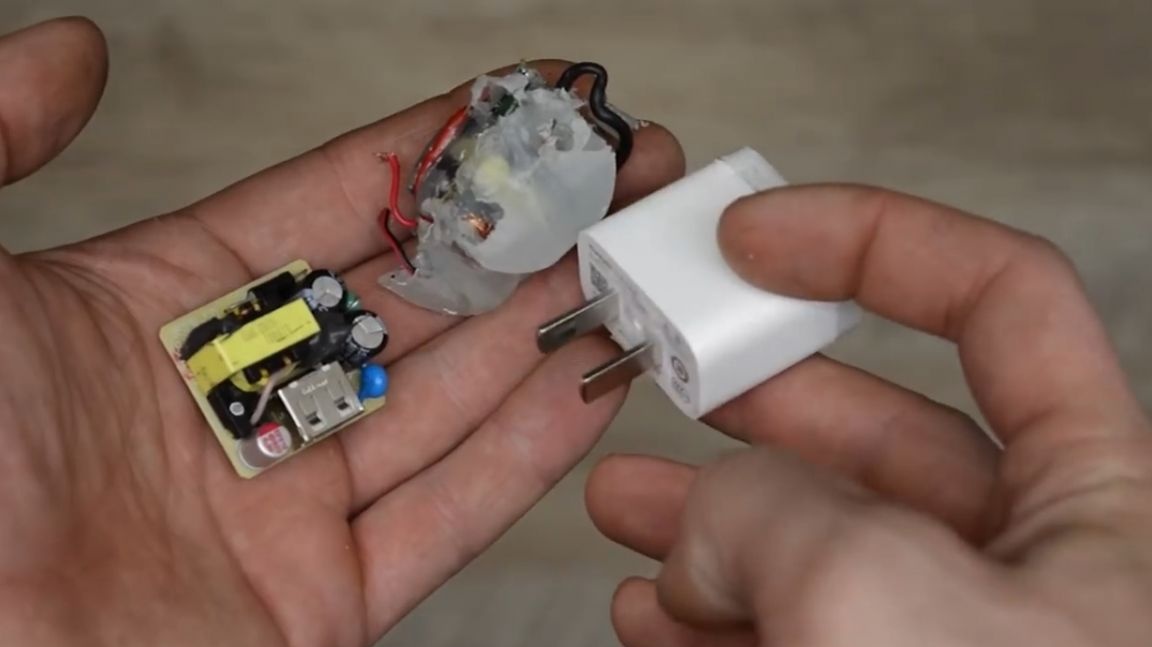
You ask, where are all the guts? As it turned out, this power supply is really weak for this amplifier. He hardly pulls out one speaker, not to mention two. Therefore, the author had to uproot this power supply.
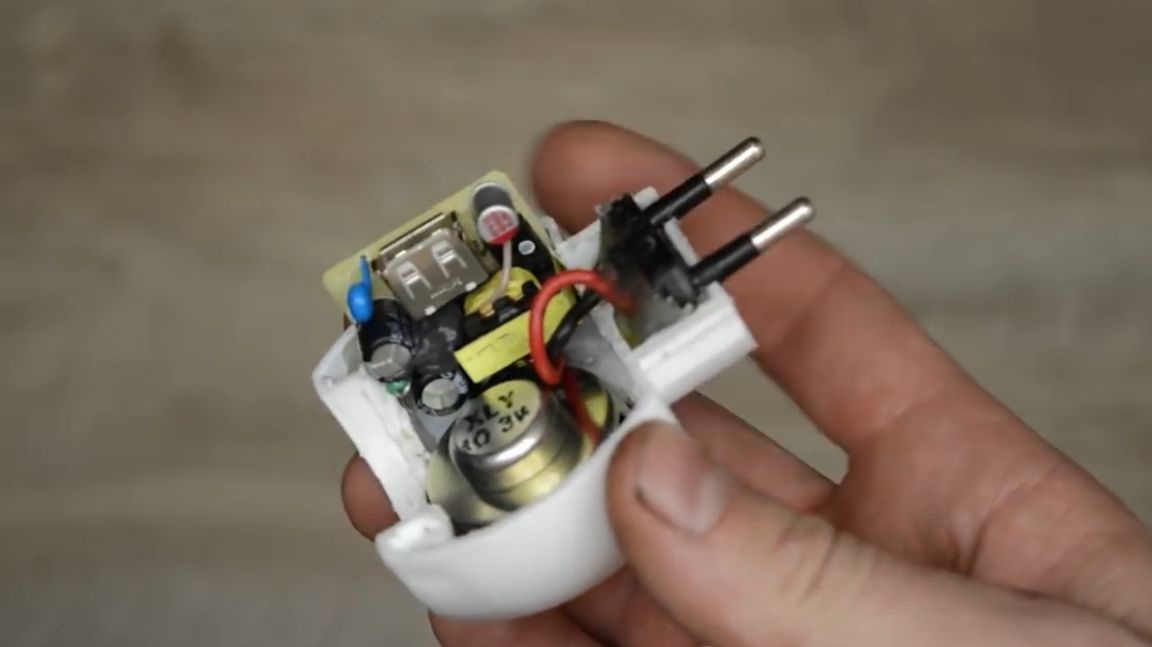
And for this homemade work, the author found a more suitable power supply, which he took from charging his phone. The characteristics are as follows: 5 V, 2 A. I think it will be the very thing for this amp (and even with a margin), also the unit itself is very compact.
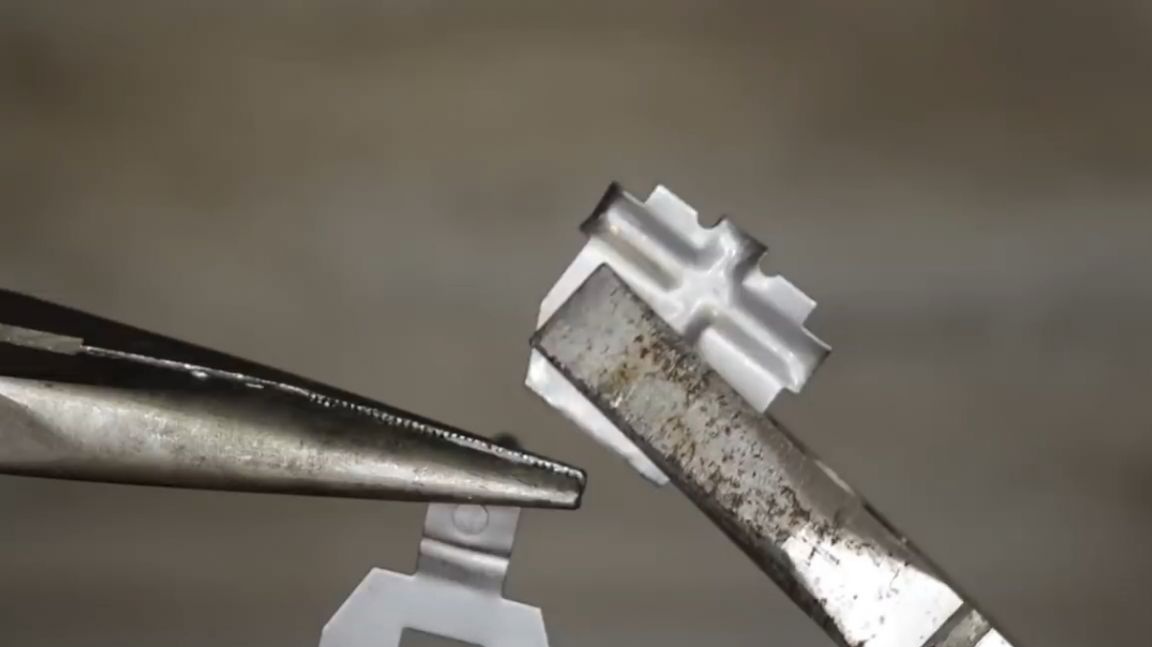
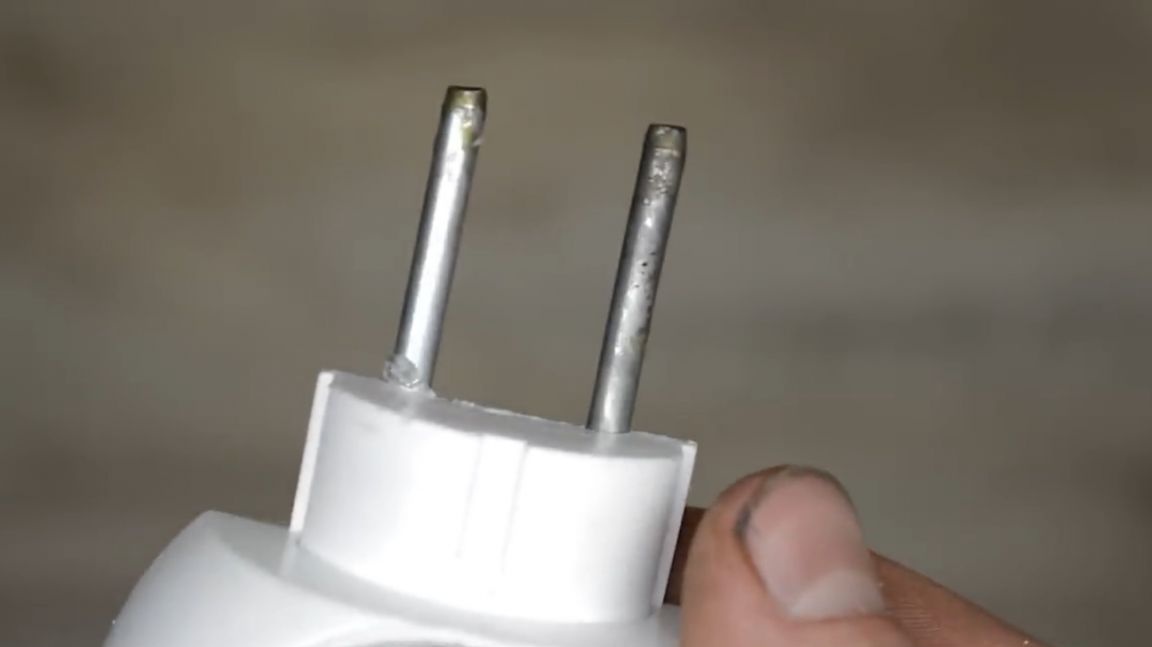
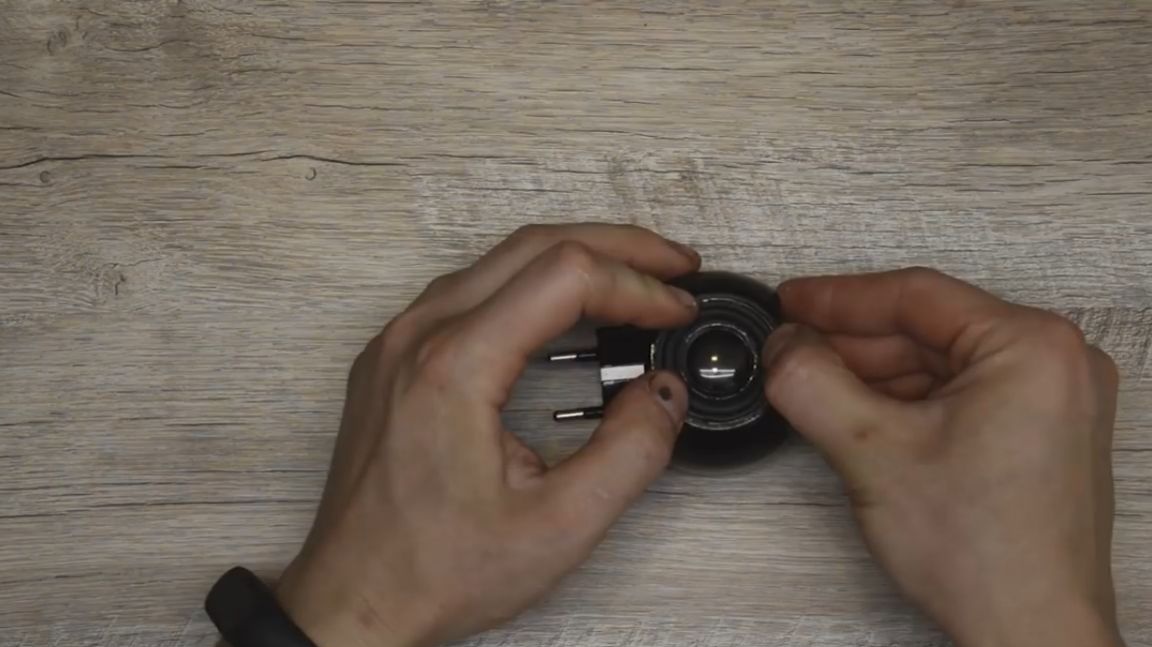
Also, the author took an adapter from the American to the European outlet, this will be a kind of new contact group. We remove all unnecessary from the adapter.
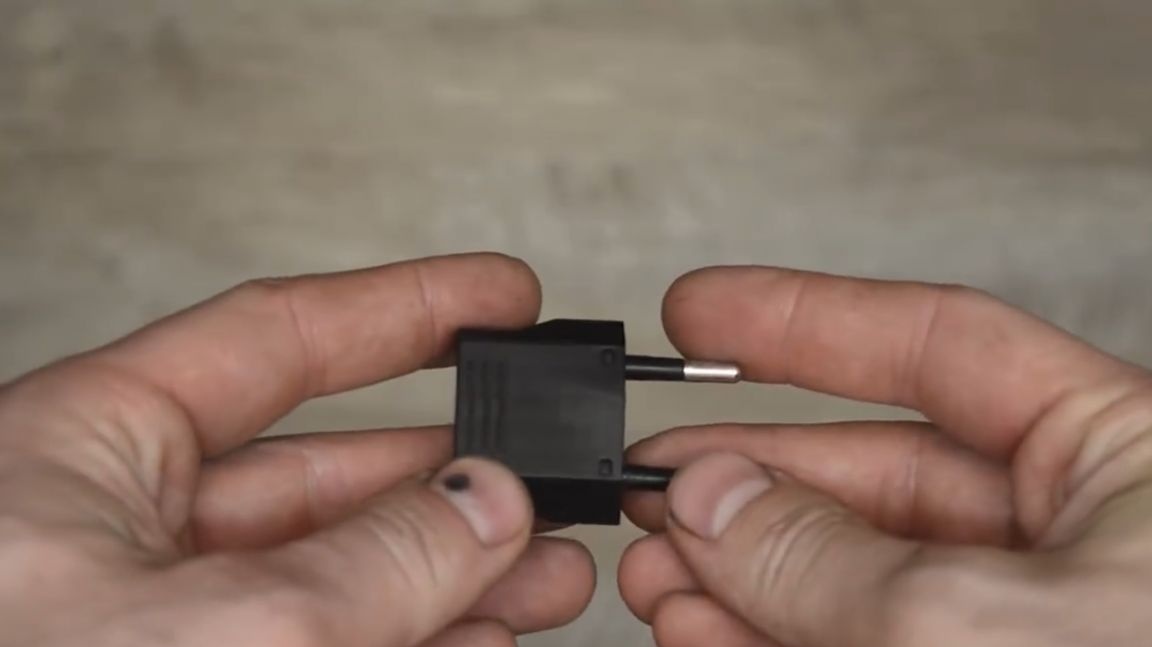
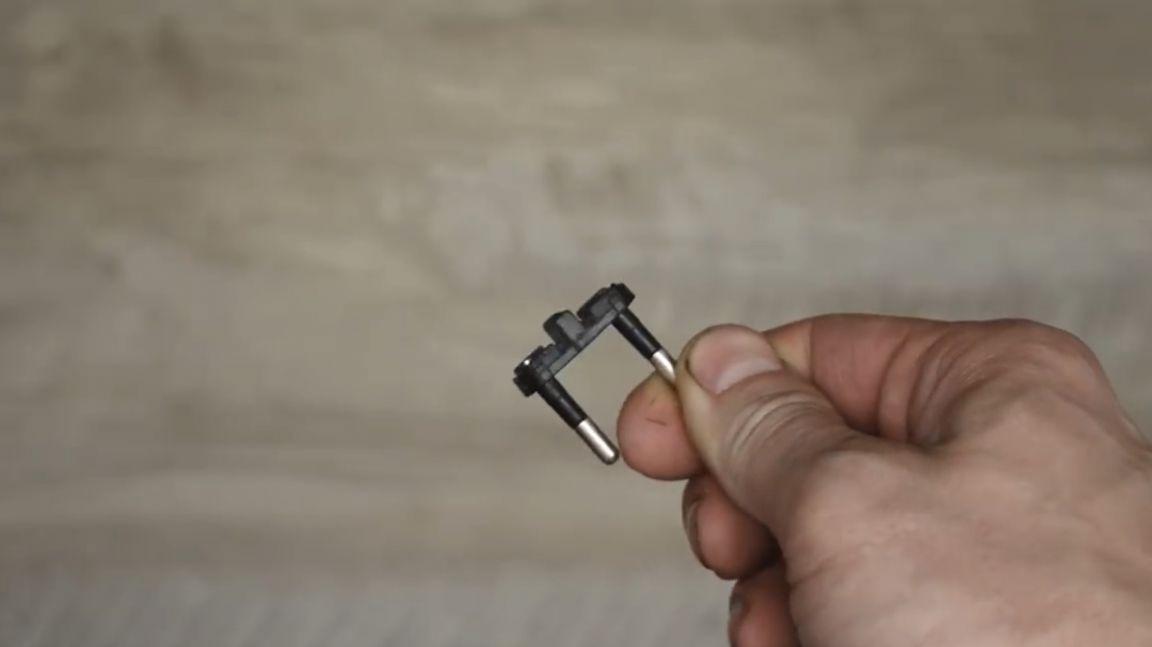
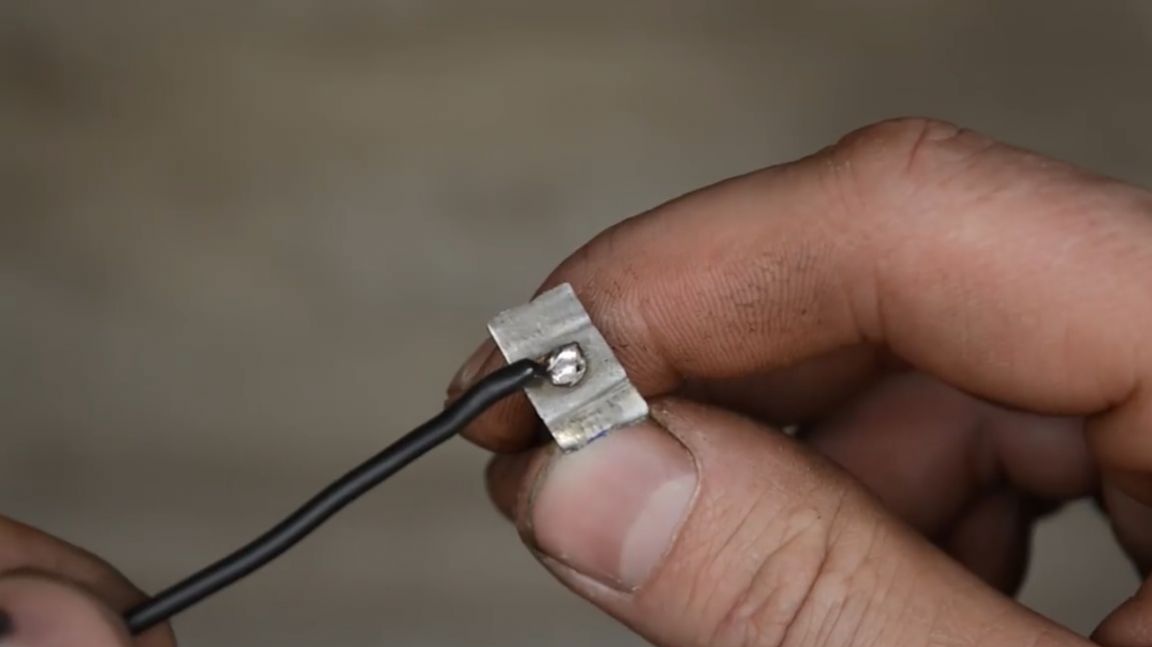
Further, as in the first embodiment, we weld two wires. Immediately the whole thing is soldered to the power supply, getting a pretty nice design.
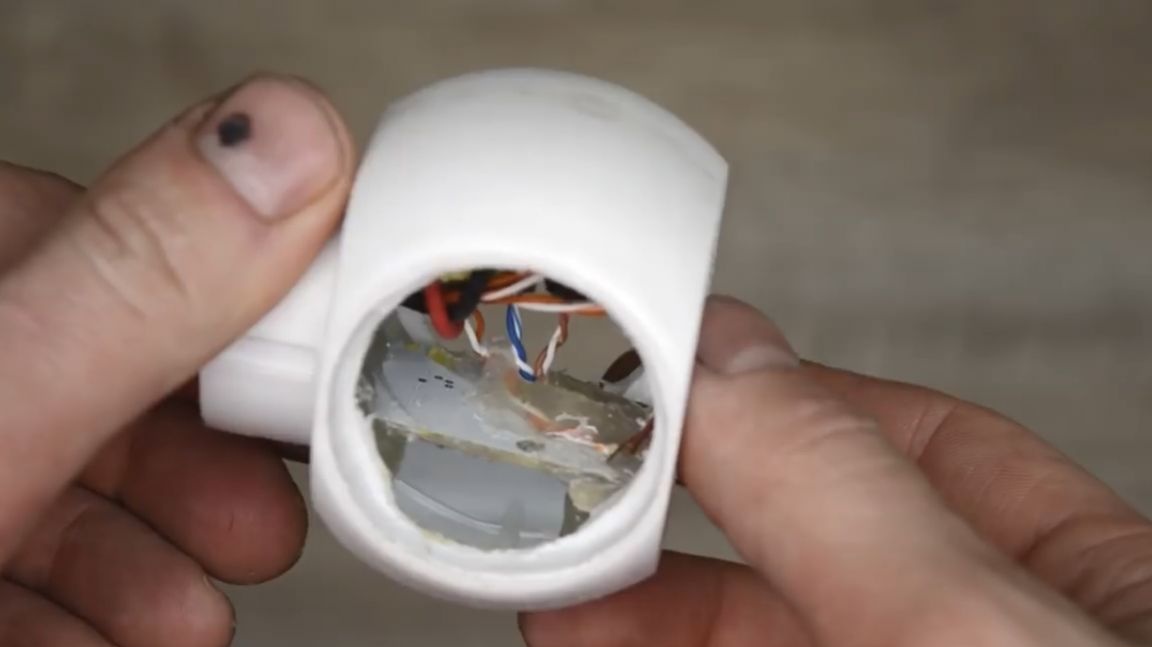
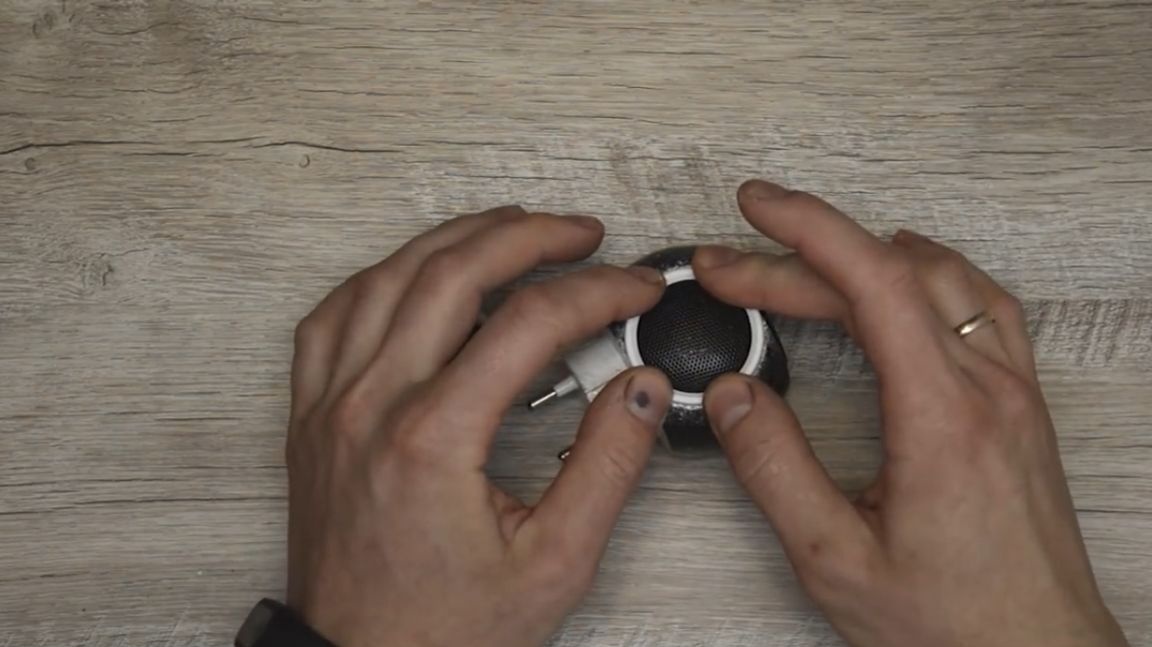
The next step is to install everything in the tee body, and, as always, we fix everything with our favorite hot glue. It turned out here is such an interesting design, which is much better than in the first version. Everything looks pretty neat, right already pleases the eye.
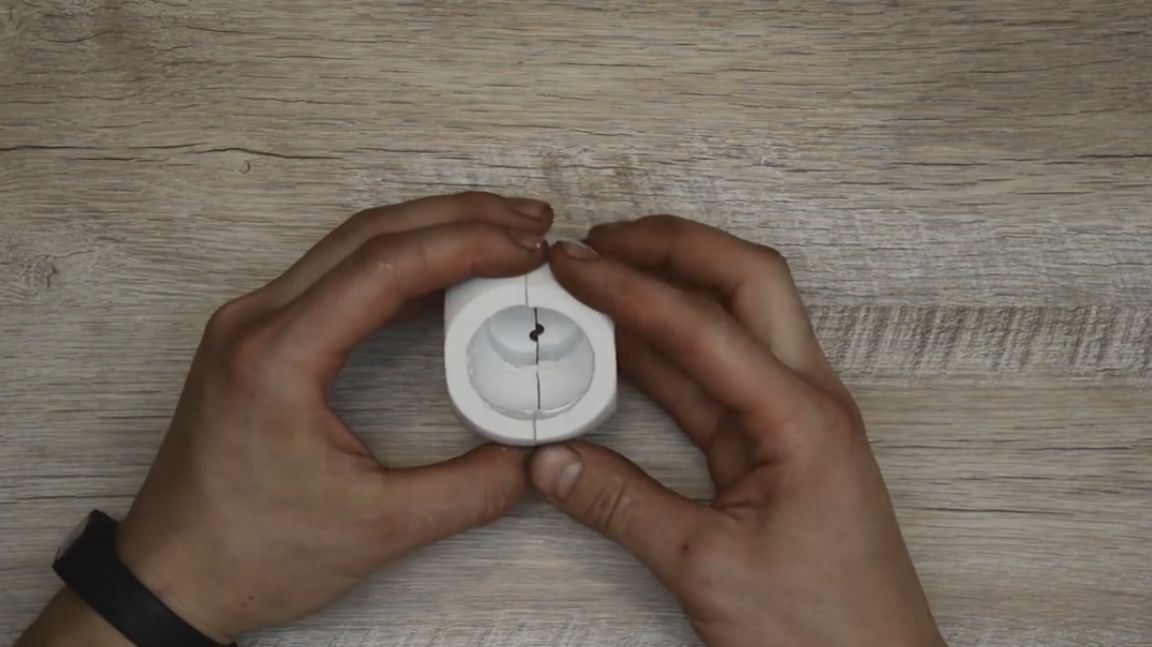
Next, install the amplifier back into the inside. And now you can put together the two parts of the tee. And we will connect them together using the same soldering iron. To do this, thoroughly melt the two sides of the tee and try to mix the plastic as best as possible, in principle, we do what they do when soldering a car bumper.
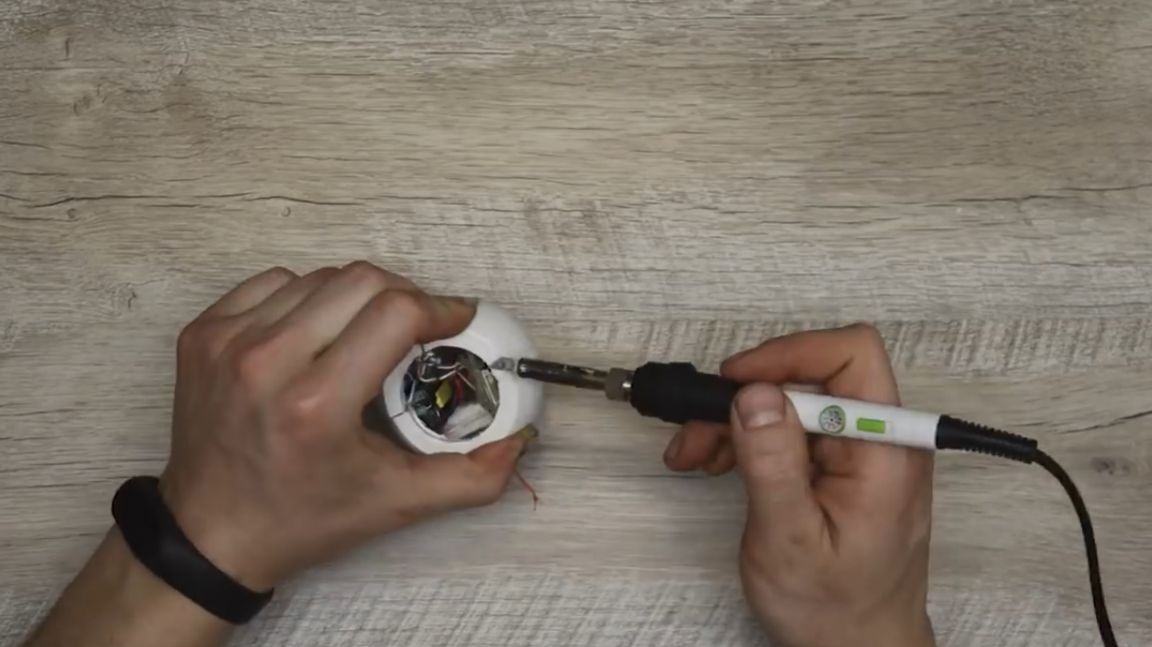
The resulting welded seam pass sandpaper of different grain sizes. As a result, we get such a well-welded and polished case, which we will paint with black paint.
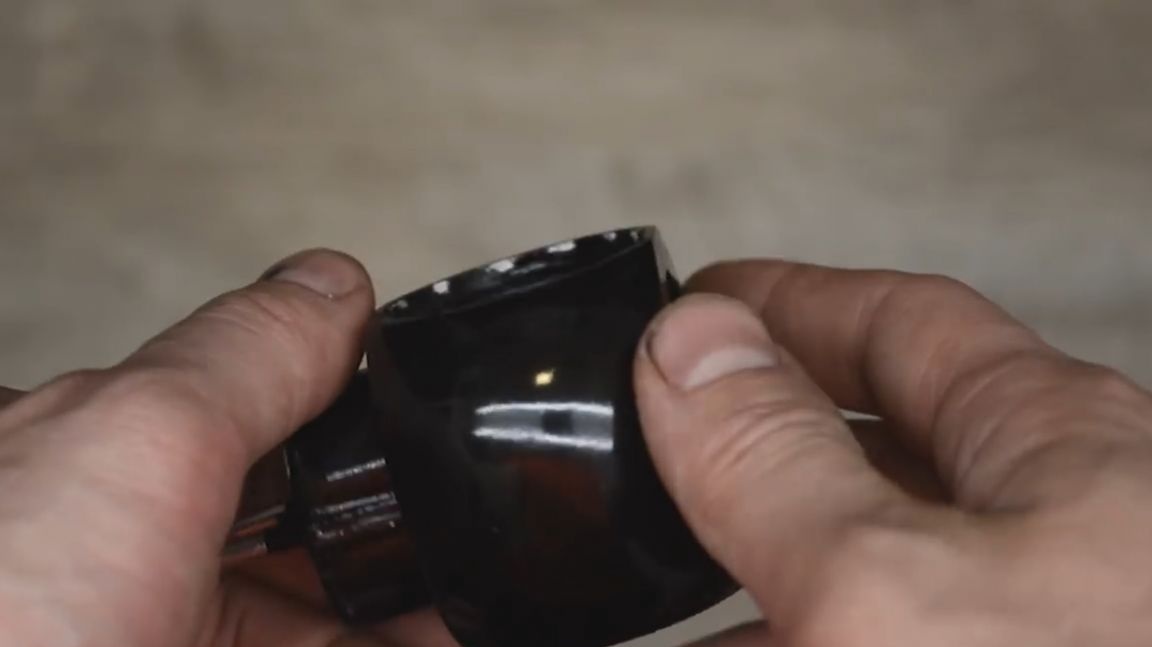
At the output, we get such a nice black gloss.
Of course, not everything is imperfect, there are smudges of varnish, the box itself is not completely polished, but this is an experimental column, so it's okay. Now we solder the speakers.And before installing them in the case, we coat everything with hot-melt adhesive so that they sit firmly there, well, so that the box is as tight as possible.
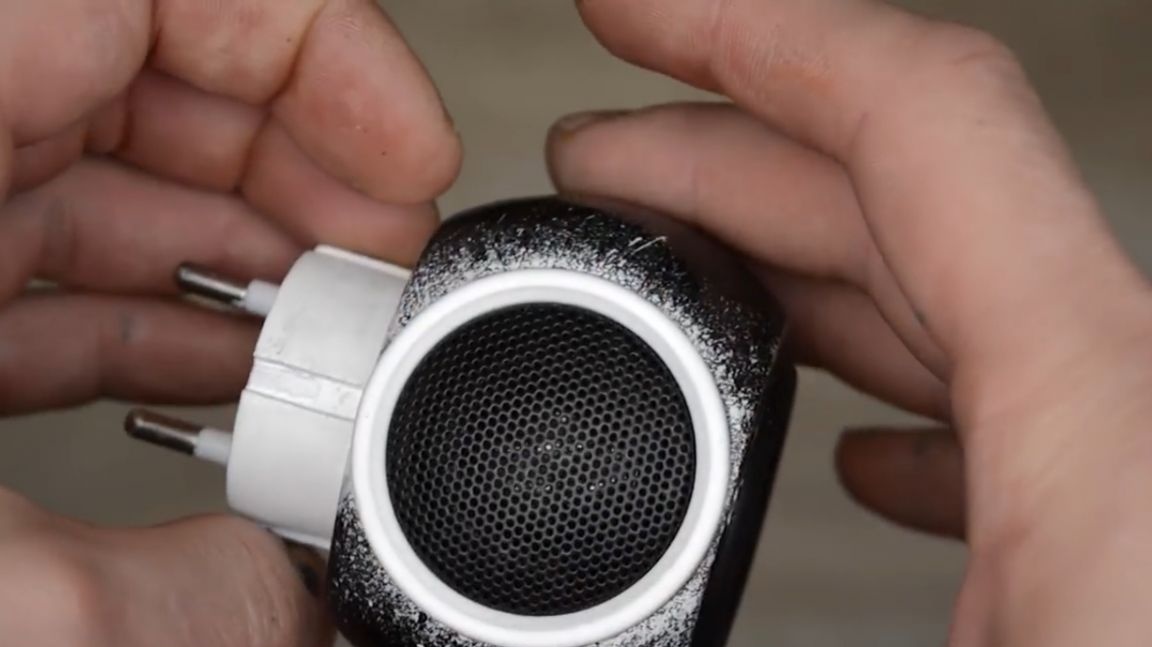
The passive emitter is glued to ordinary glue. Before setting up two chrome grids, the author decides to repaint the frames in white, as he somehow doesn’t really like the chrome. Well, also paste them into our column.
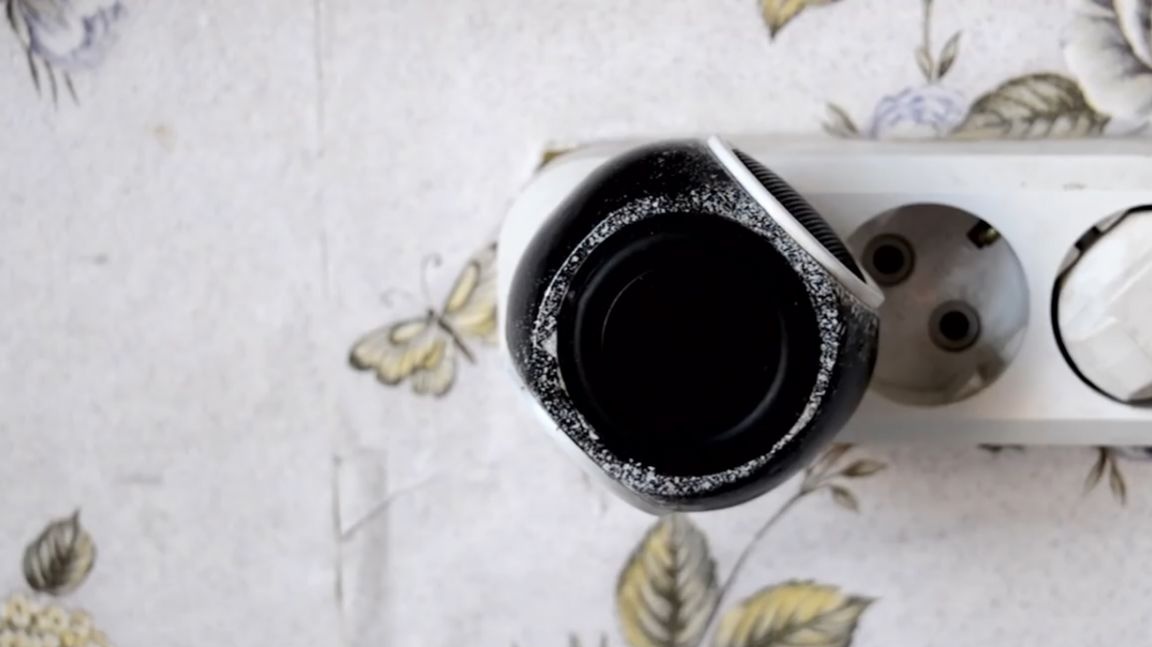
By the way, about the appearance, the author also changed it a little, adding such an interesting effect.
I’ve purely tried for the experiment whether it’s a ride or not, but the ford would have turned out pretty attractive, at least much better than the usual boring black gloss, and the jambs became less visible.
To make such an effect is very simple. To do this, you need to take an old toothbrush and puff some paint from the bottle. Well, at an angle, we begin to move the bristles of the toothbrush.
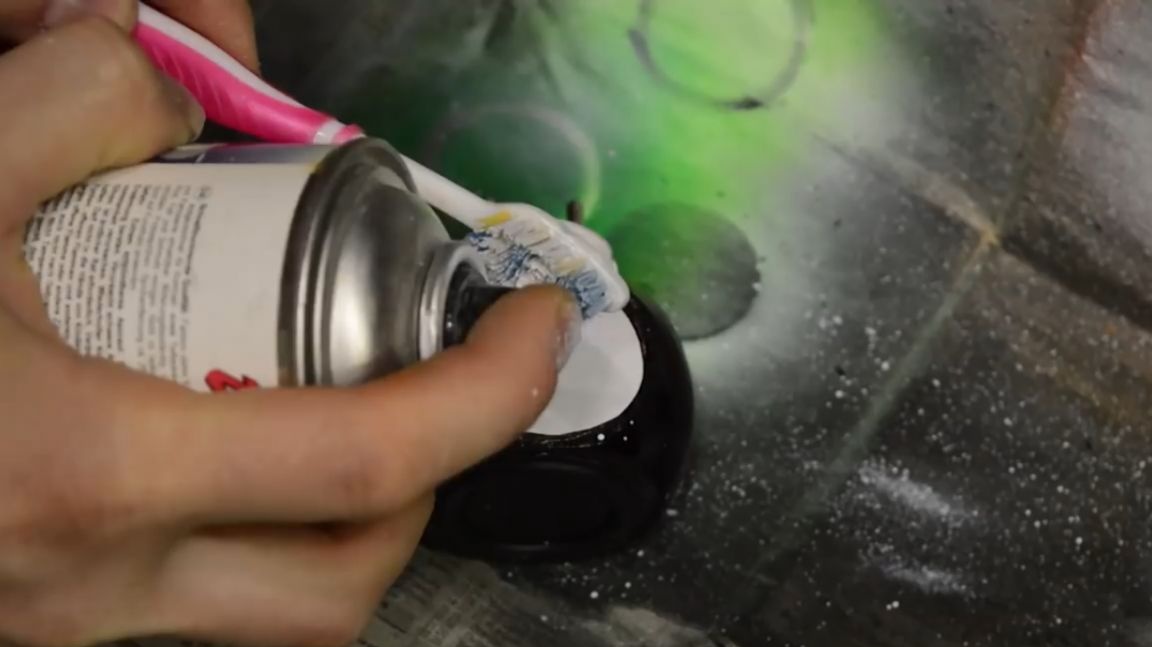
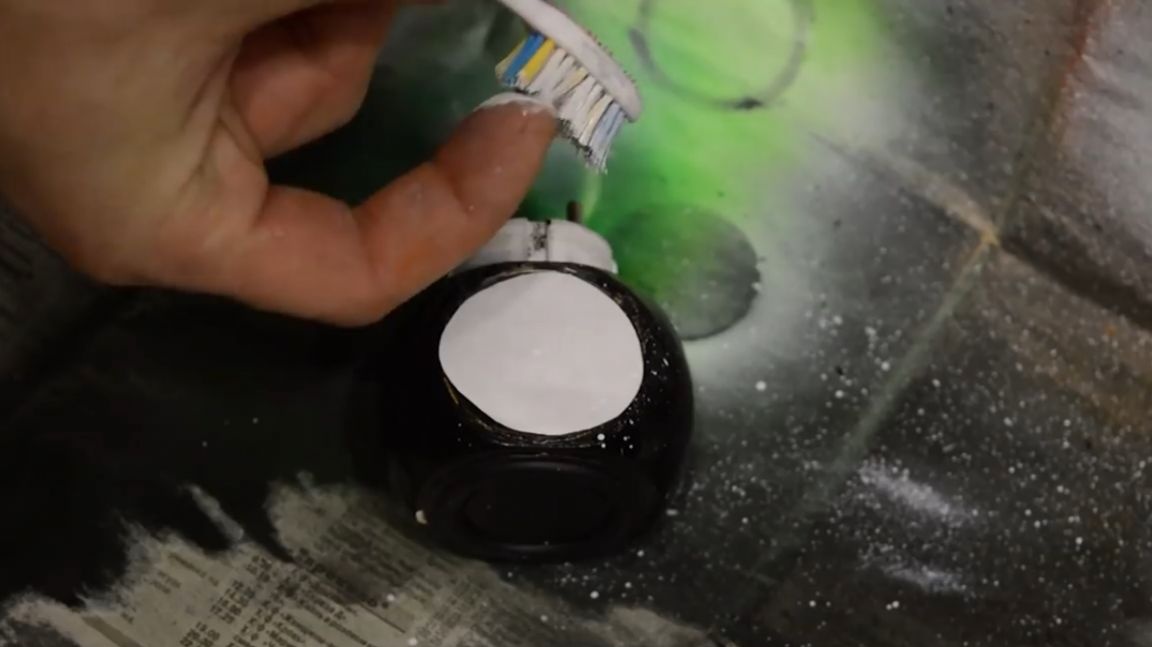
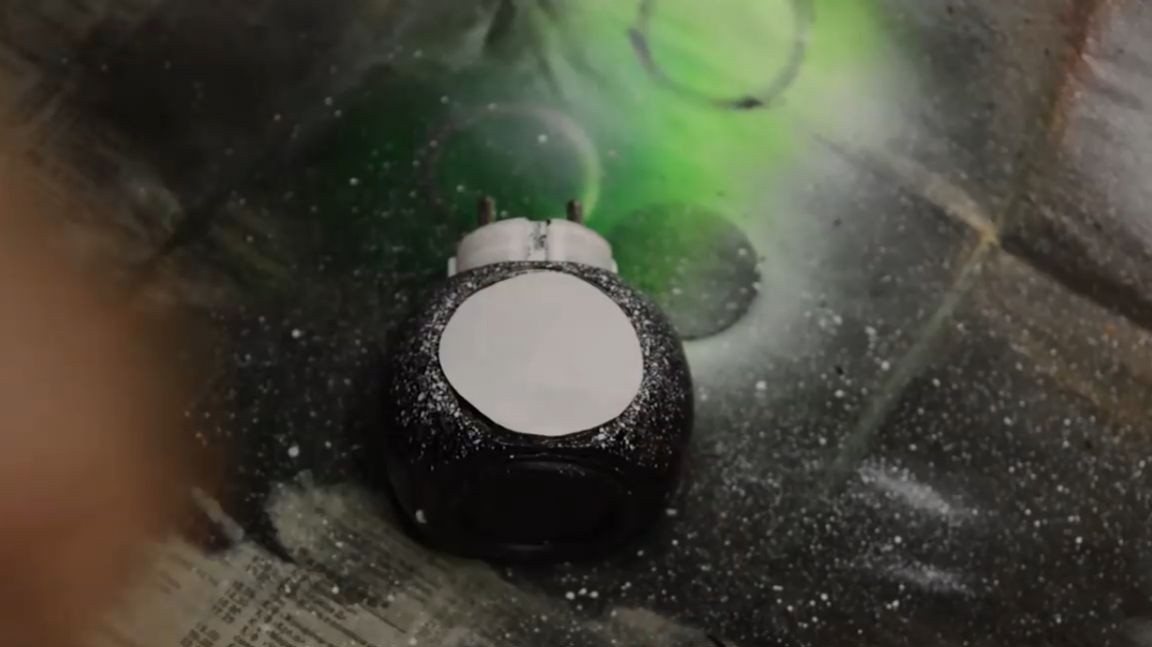
It turns out the paint scatters from the center to the edges, casually falls on the body and it turns out here is such an interesting effect, as if the paint is flying out of the speaker.
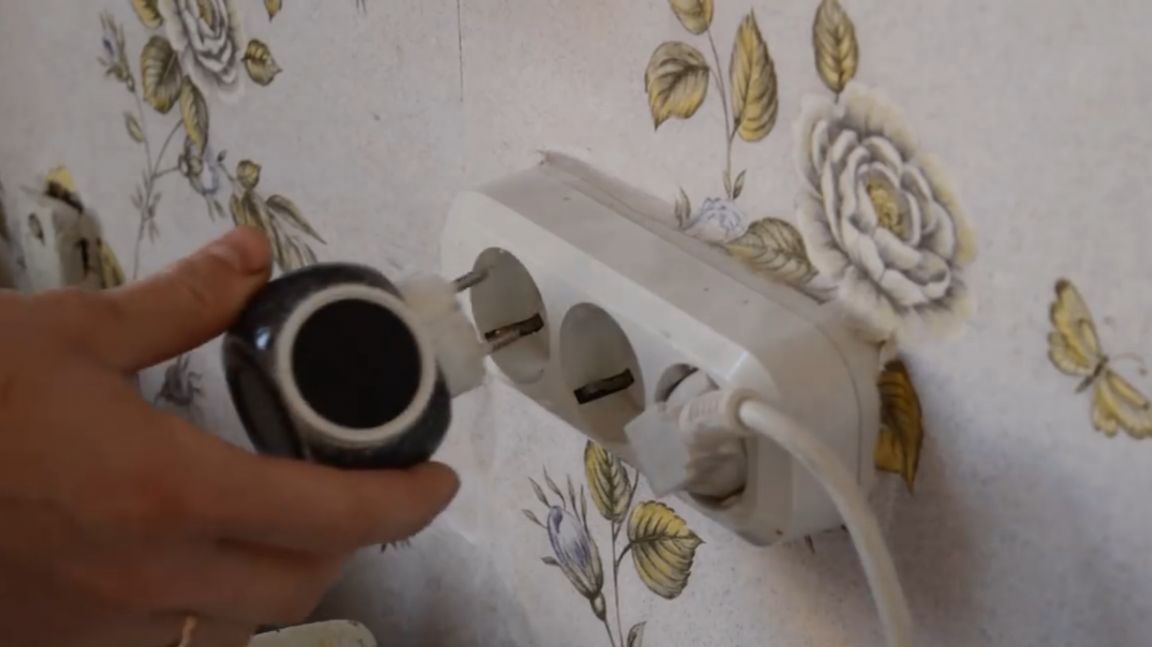
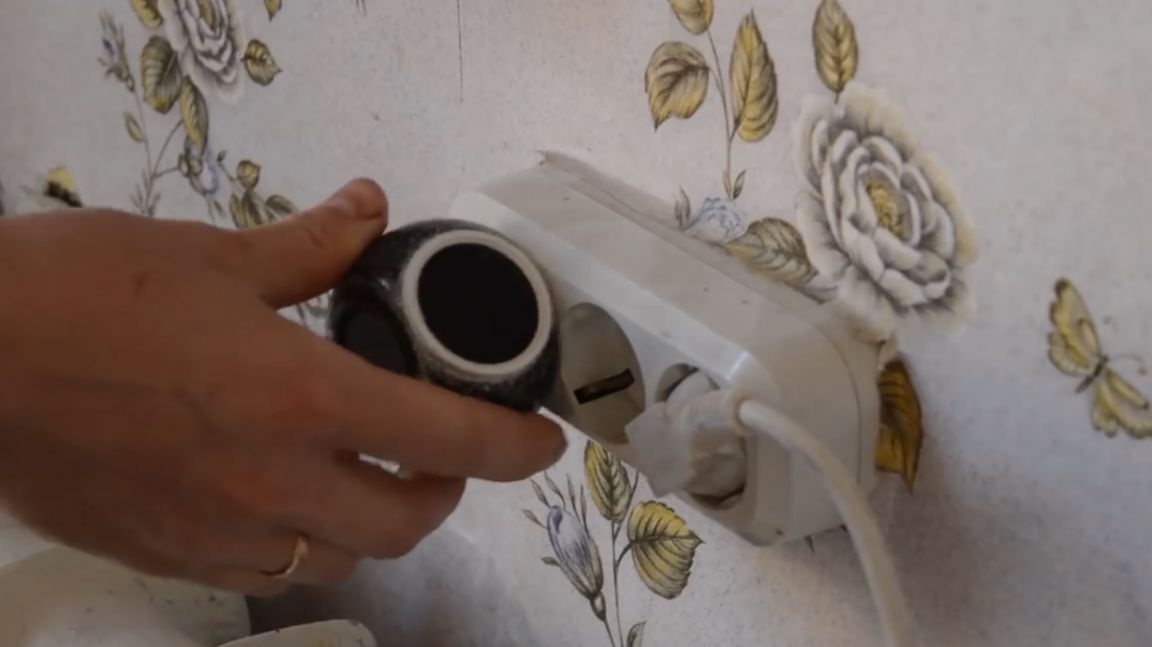
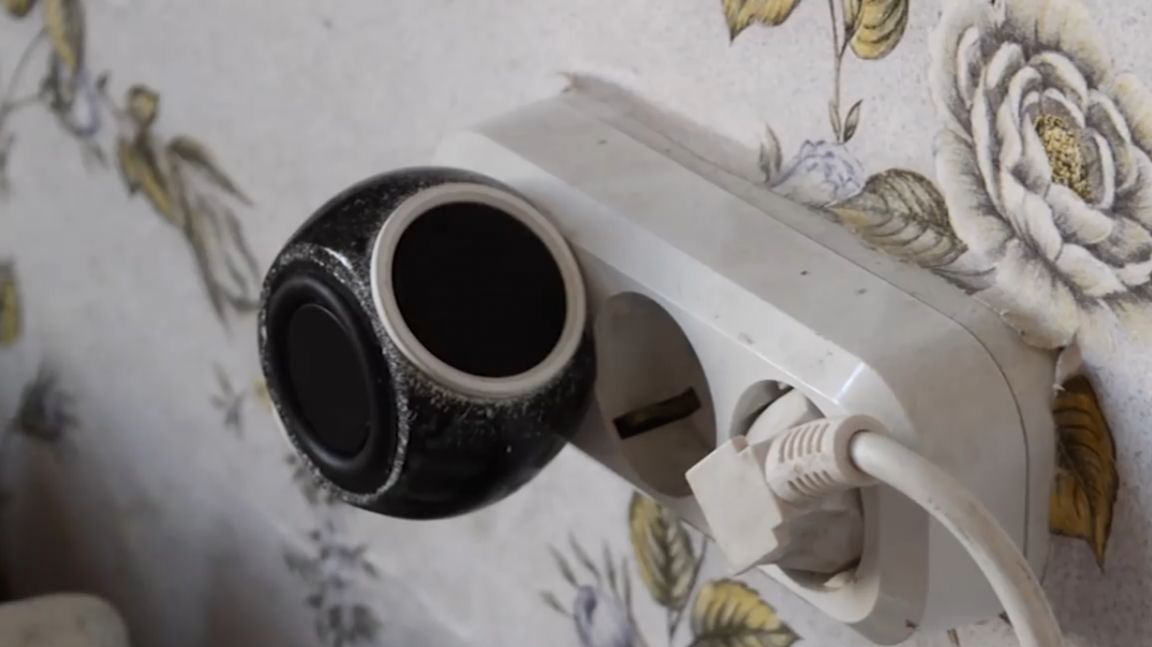
I think many of you remember how in kindergarten they liked to squeeze toothpaste with water into each other, well, it turns out about the same effect. The lower part will also be repainted in white, because black will still peel when we insert our column into the outlet, well, and I think the white peeling of paint on the white tee will be imperceptible.
Now, let's test this column.
And finally, a few words about the column. The speakers, as it turned out, are chic, given their ridiculous price, very loud and work out the midrange and treble range well (somewhere up to 12 kilohertz). In combination with a passive emitter, it turned out to perfectly expand the reproduced low-frequency range of the speaker. The emitter turned out to have 2 resonant peaks: the first peak fell at a frequency of 19 Hz, and the second, the most powerful one, at a frequency of 57 Hz. It was because of the second peak that we got a good bass response on this tiny column.
Thank you for attention. See you soon!
Video: