Spring has come, which means that it’s not too late to start breeding birds. The most loyal assistant in this matter will be the incubator. With this device you can “sit” chickens both for yourself and for sale. You will need only fertilized eggs. The advantage of the incubator is that everything can be controlled here, chickens are born warm and clean.
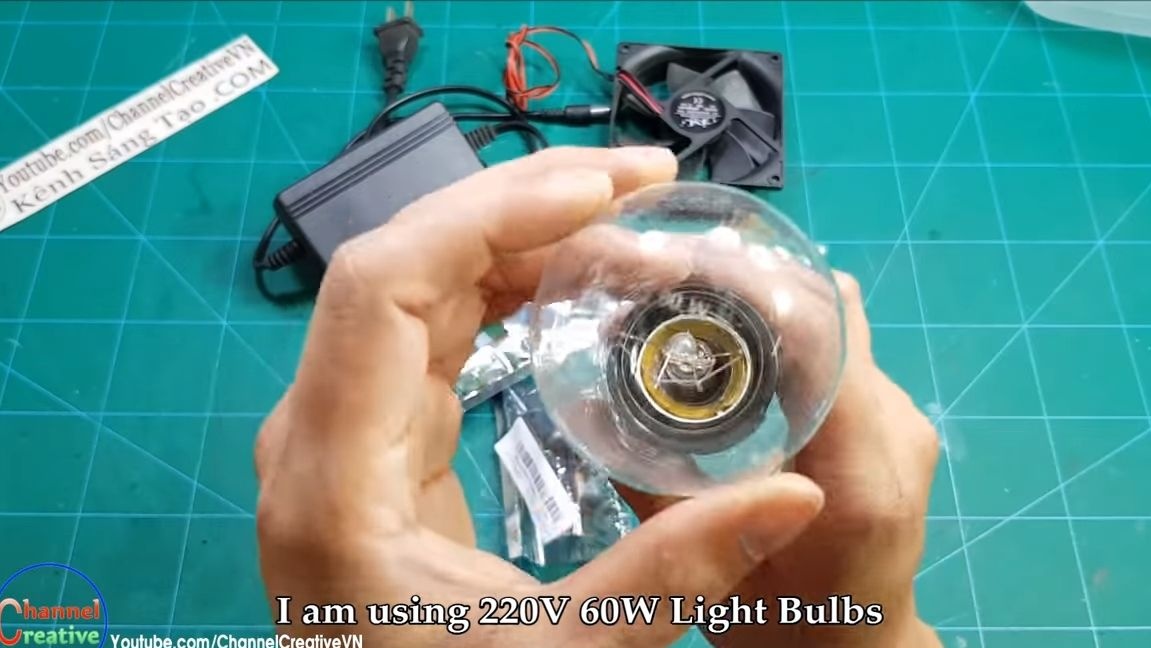
In this instruction we will look at how to make a simple incubator do it yourself. As a heating element, a 60-watt light bulb will be used here. The author made the case out of such a generally accessible material as polystyrene. For homemade you need to buy, which will turn the bulb on and off, keeping the temperature in the given range. So, we will consider in more detail how to assemble such an incubator.
Materials and tools used by the author:
Material List:
- 60 watt bulb;
- sheet polystyrene or finished box;
- ;
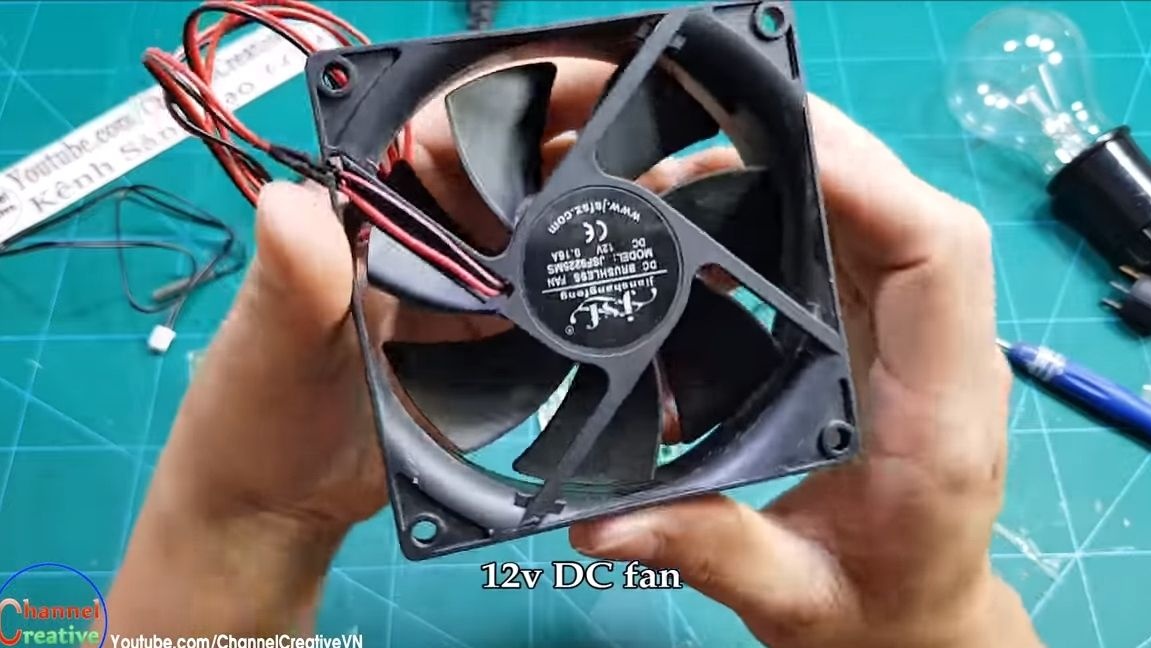
- a fan from the computer;
- a plastic container or something similar;
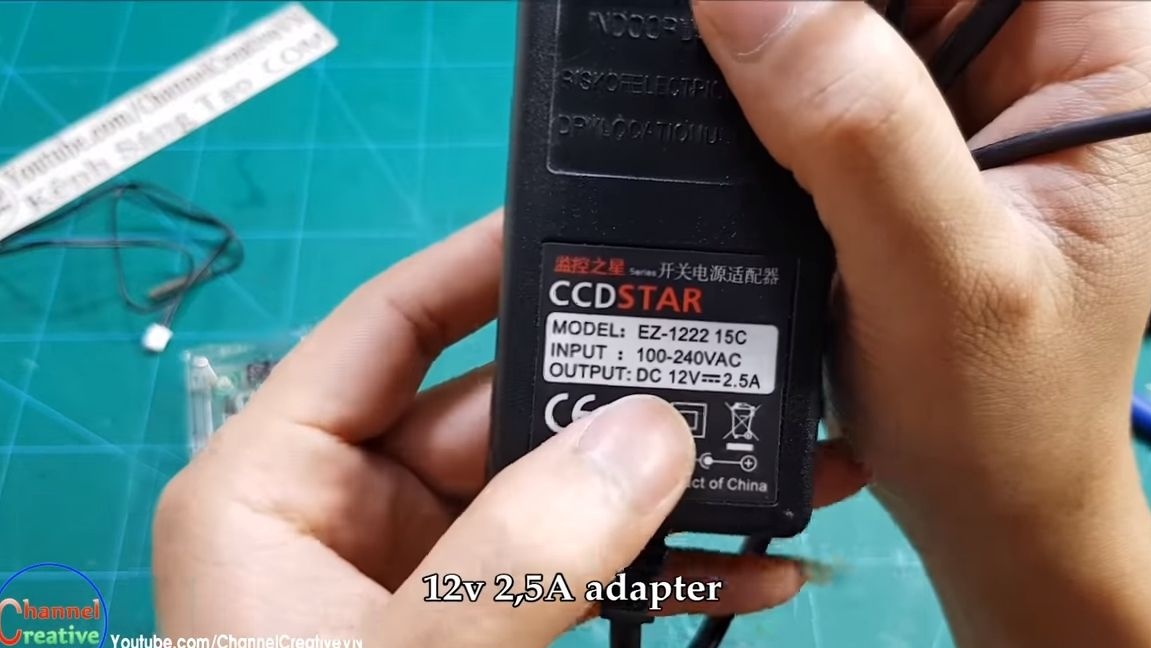
- power supply for 12V;
- wire;
- carrying;
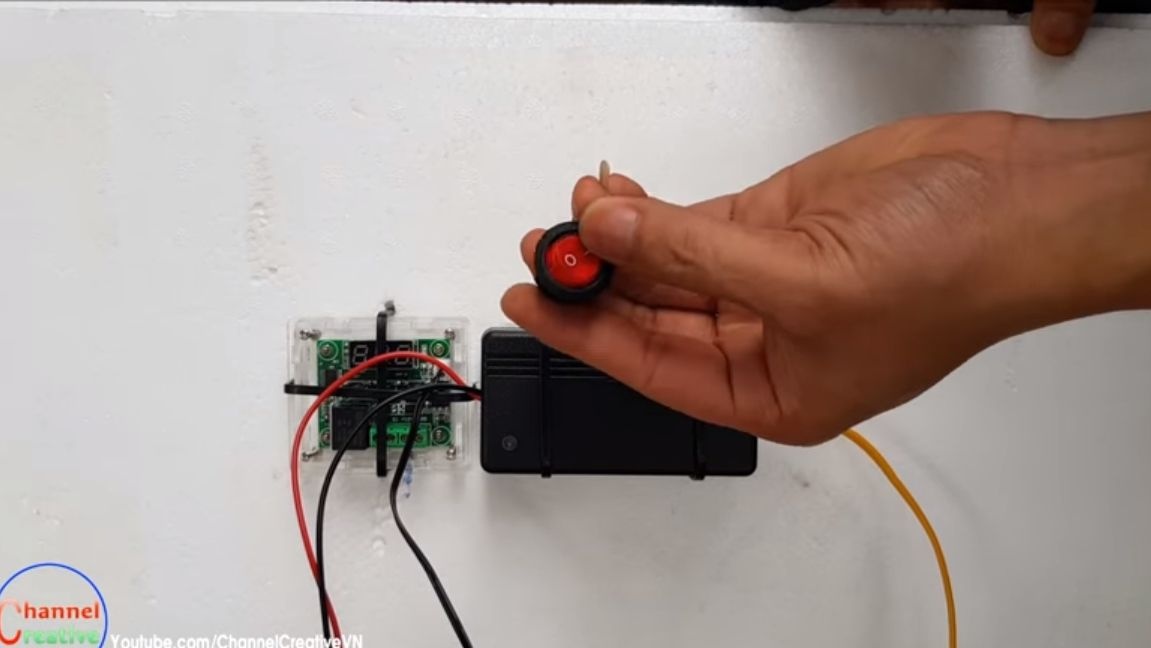
- switch, wires, heat shrink and other little things.
Tool List:
- drill;
- soldering iron;
- a screwdriver.
Incubator manufacturing process:
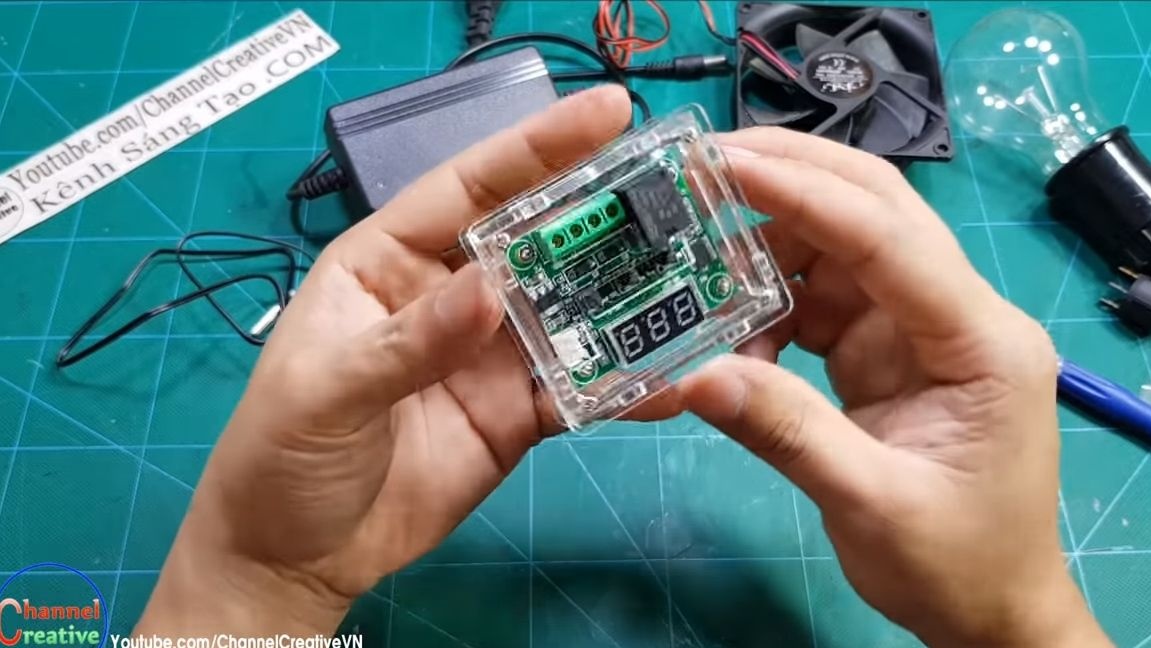
Step one. Controller housing
Make a controller housing made of plastic, plexiglass or other similar material. This will protect its elements from mechanical damage, as well as from falling water and dust.
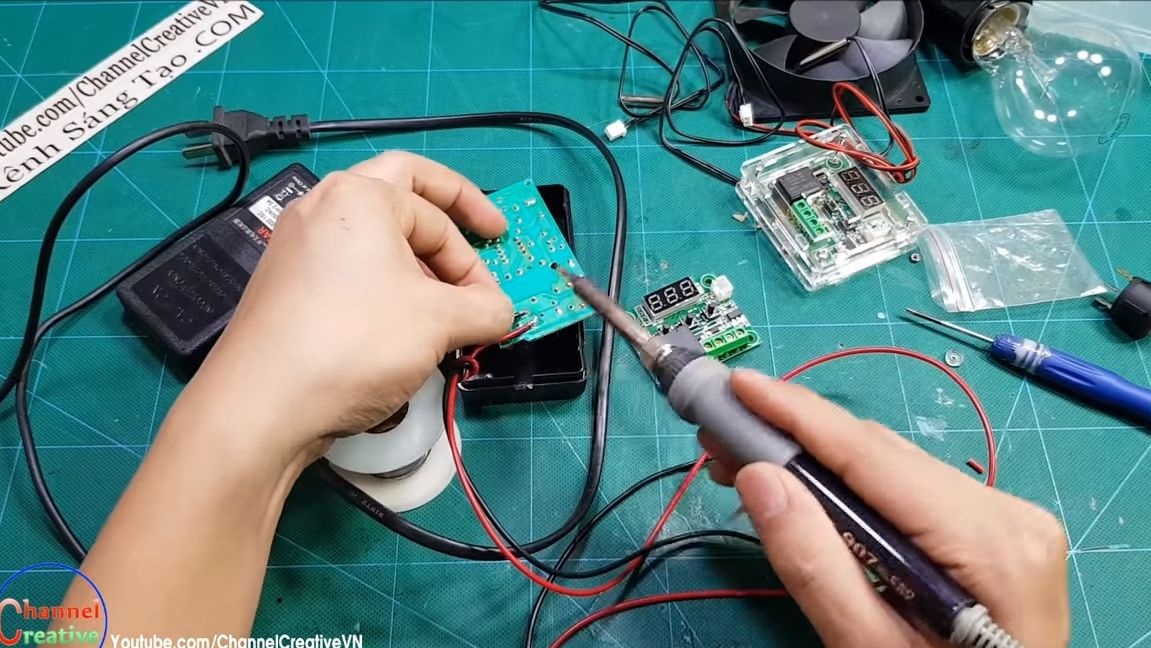
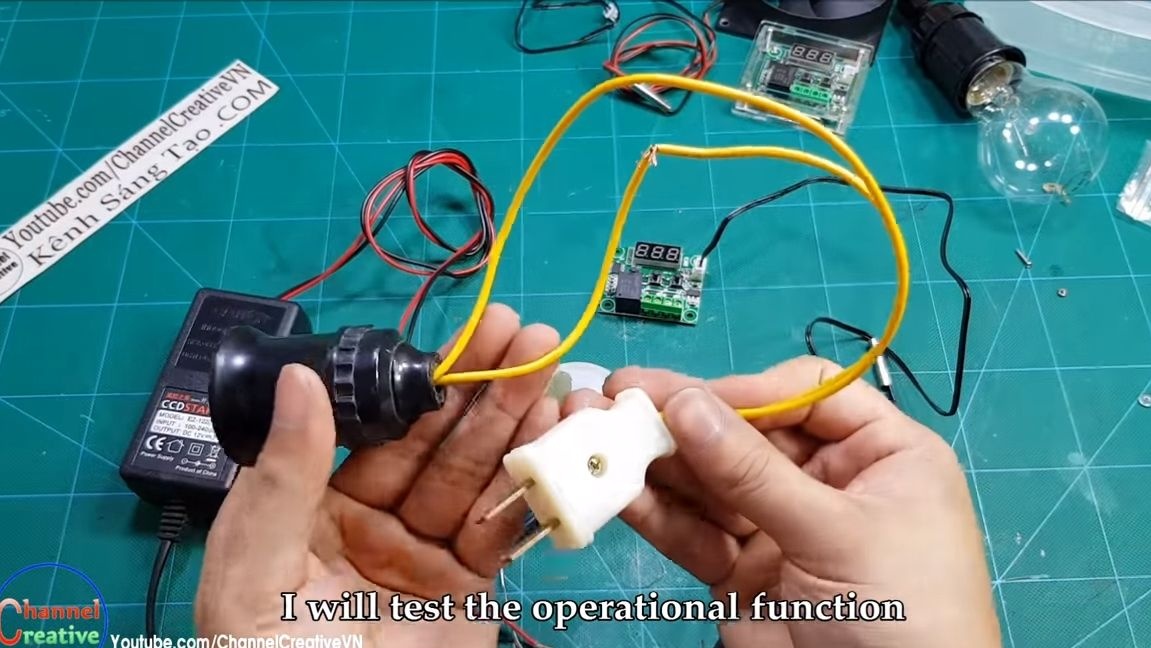
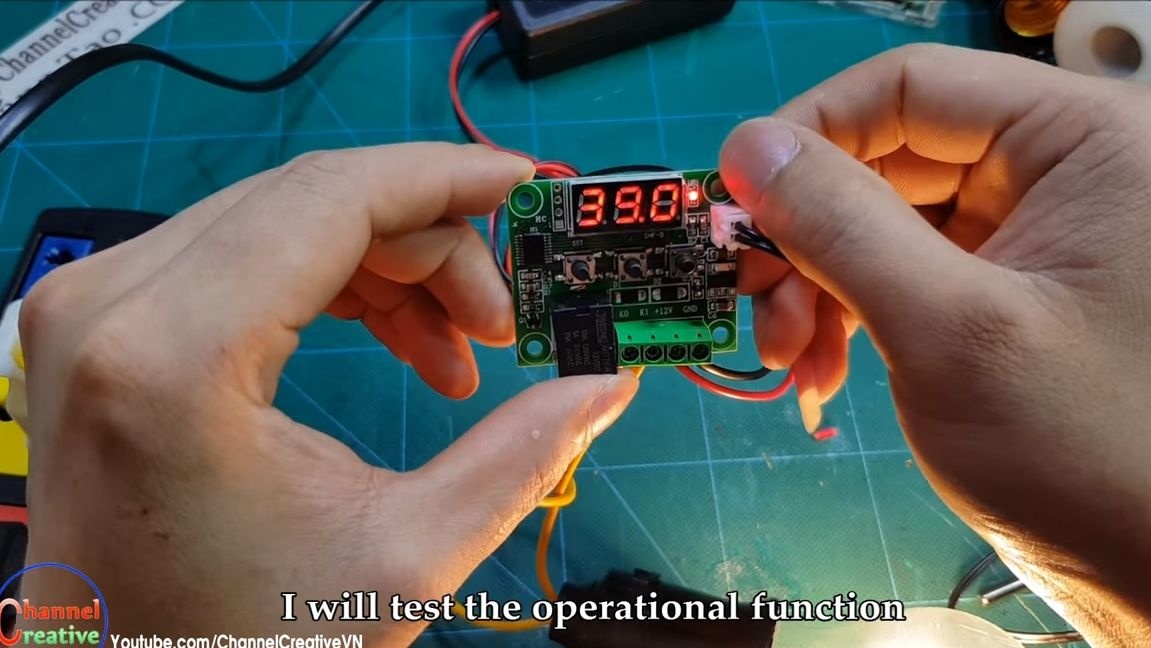
Step Two We assemble the circuit and test
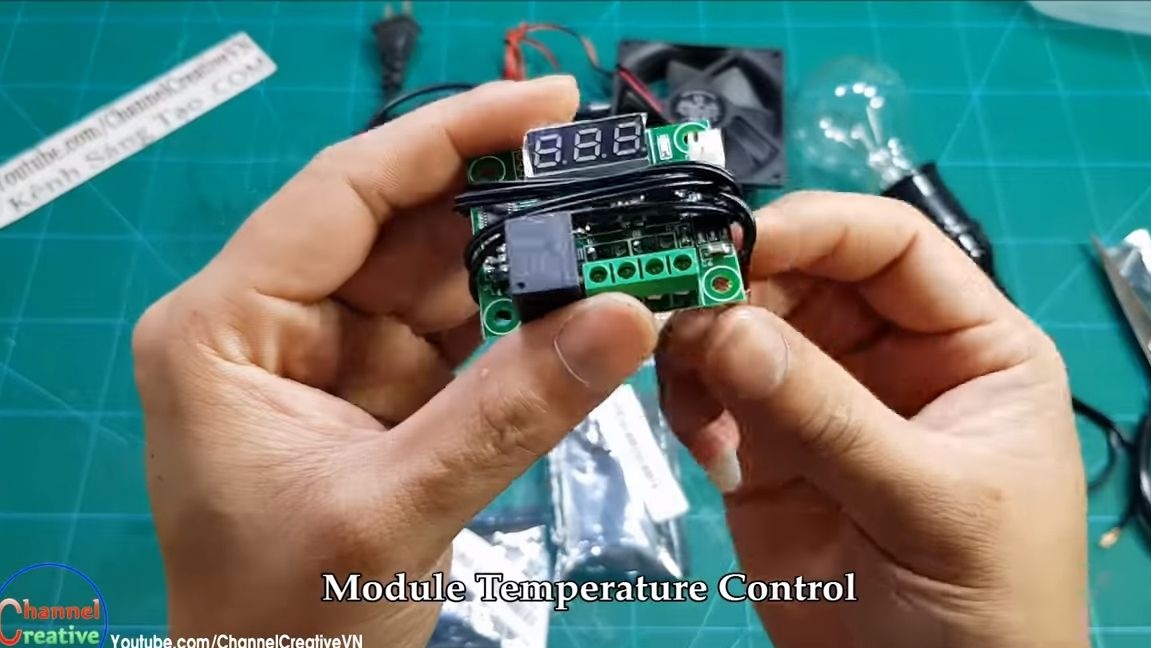
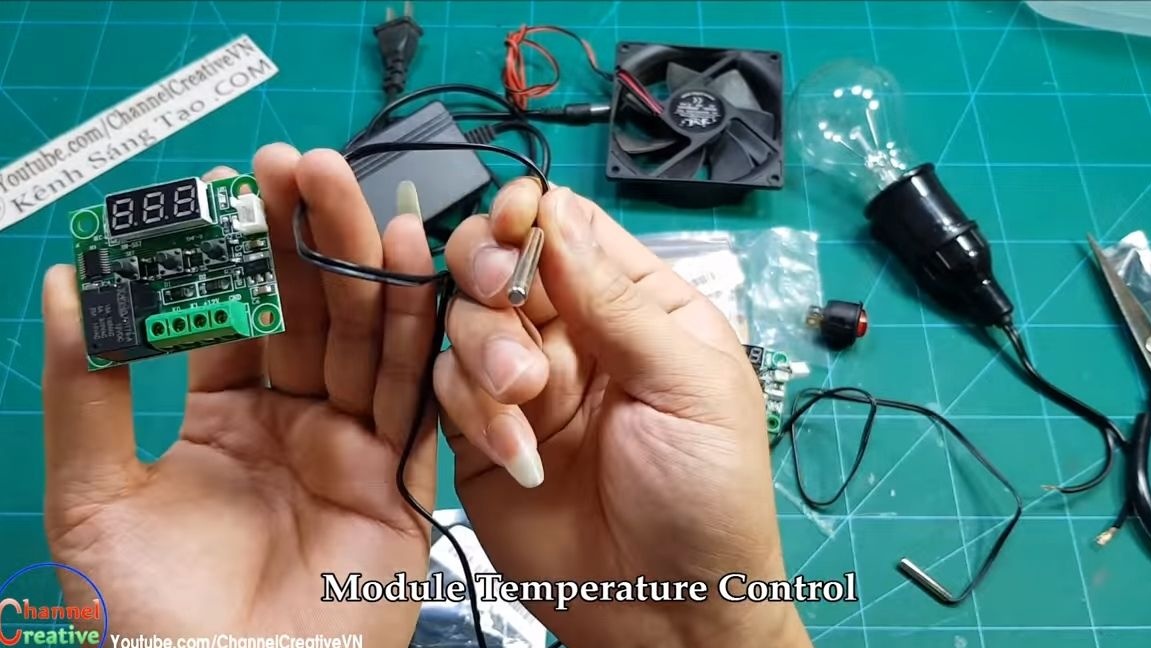
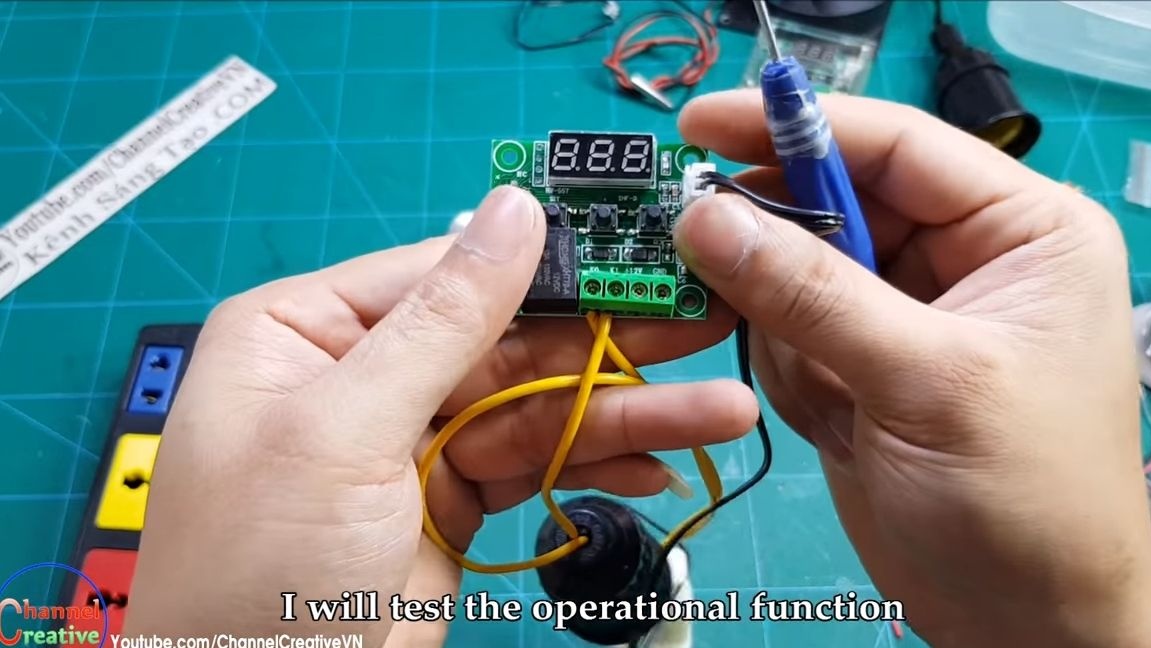
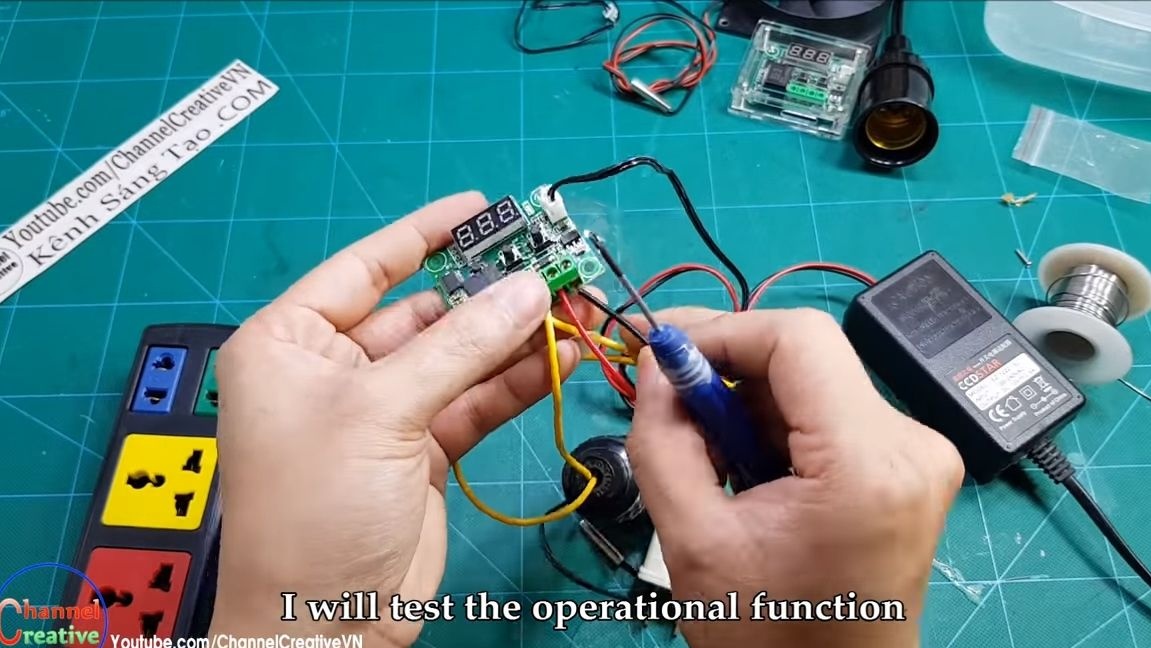
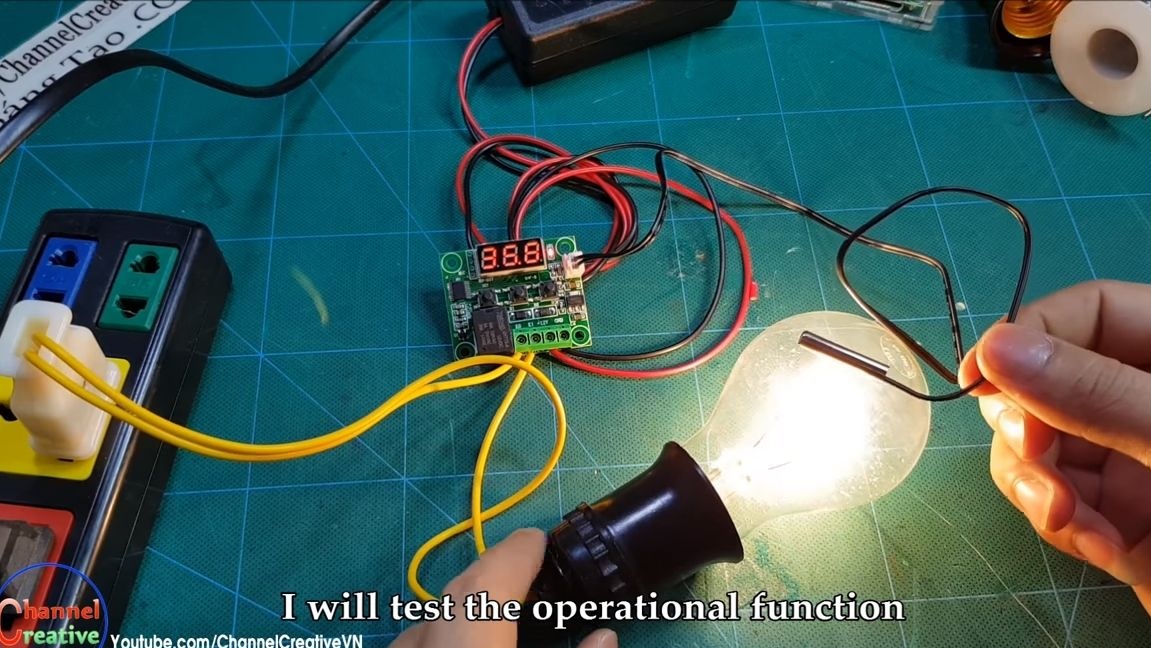
First of all, we will prepare a 12V power supply with a current of 2.5A. It is needed to power the fan, as well as to power the controller. A laptop power supply or something similar will do. Solder the “+” and “-” wires to the controller to the corresponding contacts. We also connect a carrying with a light bulb to the controller. We apply voltage to the 220V bulb, and also turn on the power supply. On the controller, set the desired value in degrees at which the device will turn off the power.
Now bring the sensor to the burning light. When it heats up to the set temperature, the light goes out.When it cools, the controller will turn on the light bulb again and so on.

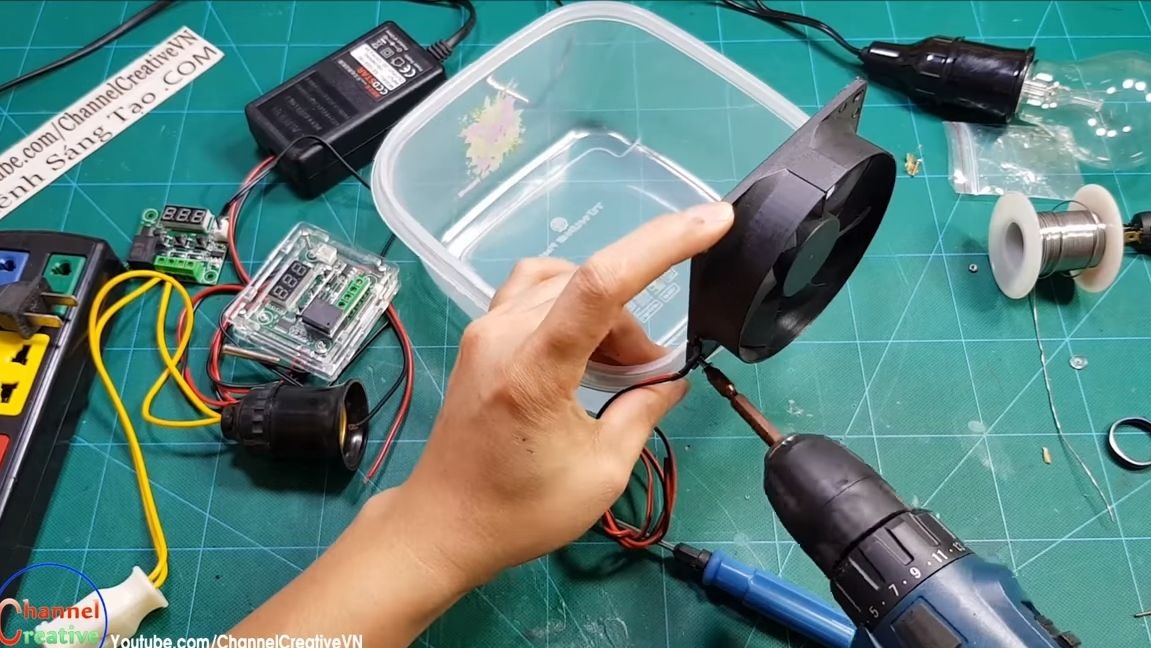
Step Three Fan and light installation
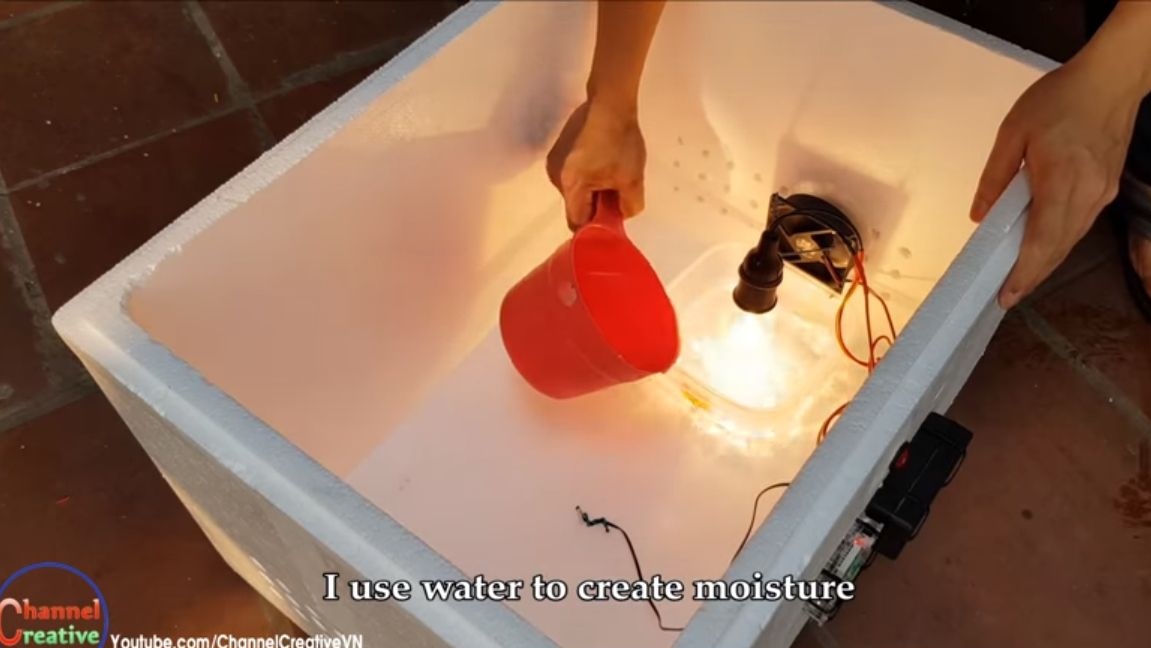
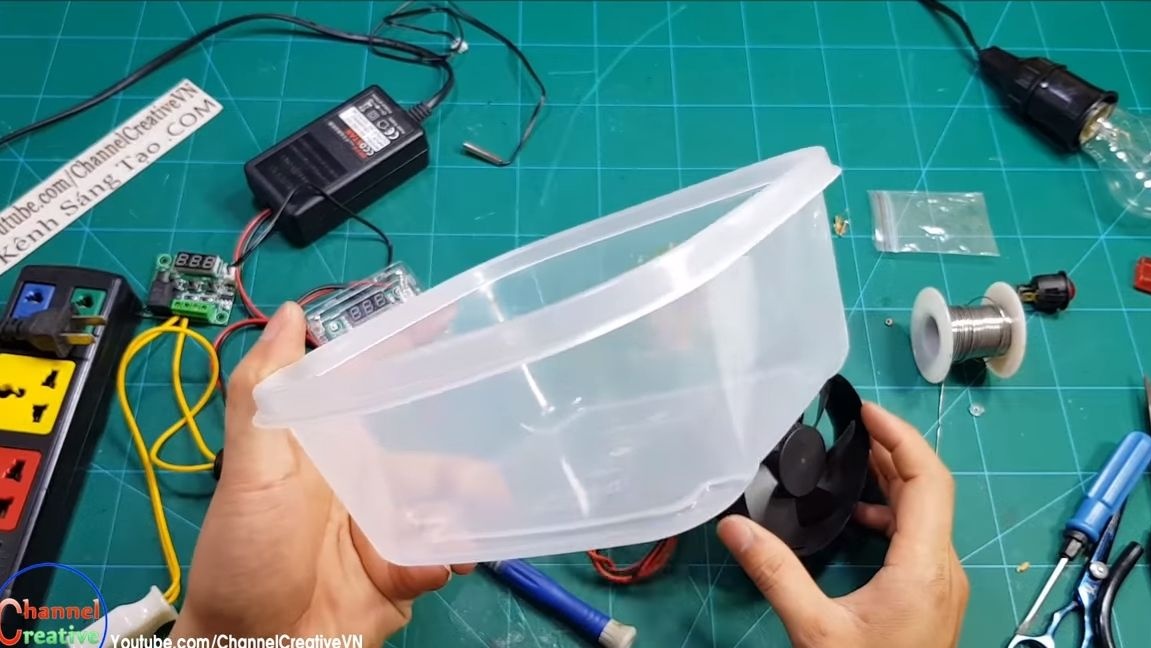
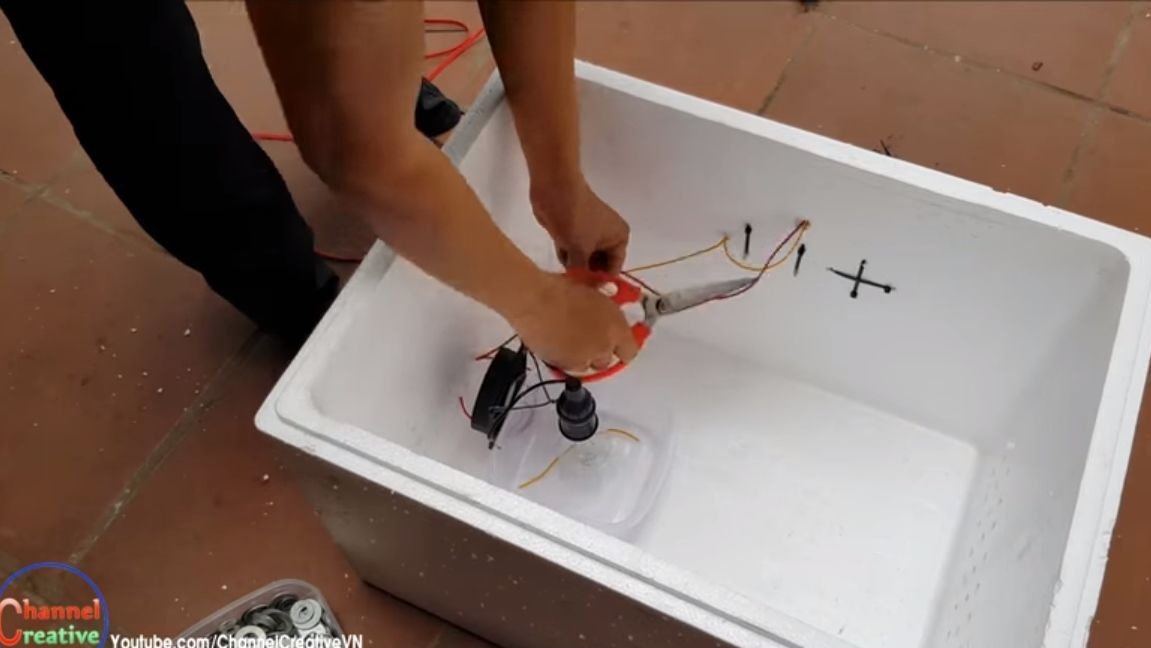
The system provides a fan from the computer. It is needed in order to evenly distribute heat throughout the incubator, as well as to produce ventilation. We fasten the fan with screws to the base, for which the author used a plastic container. Then water is poured into it to moisturize.
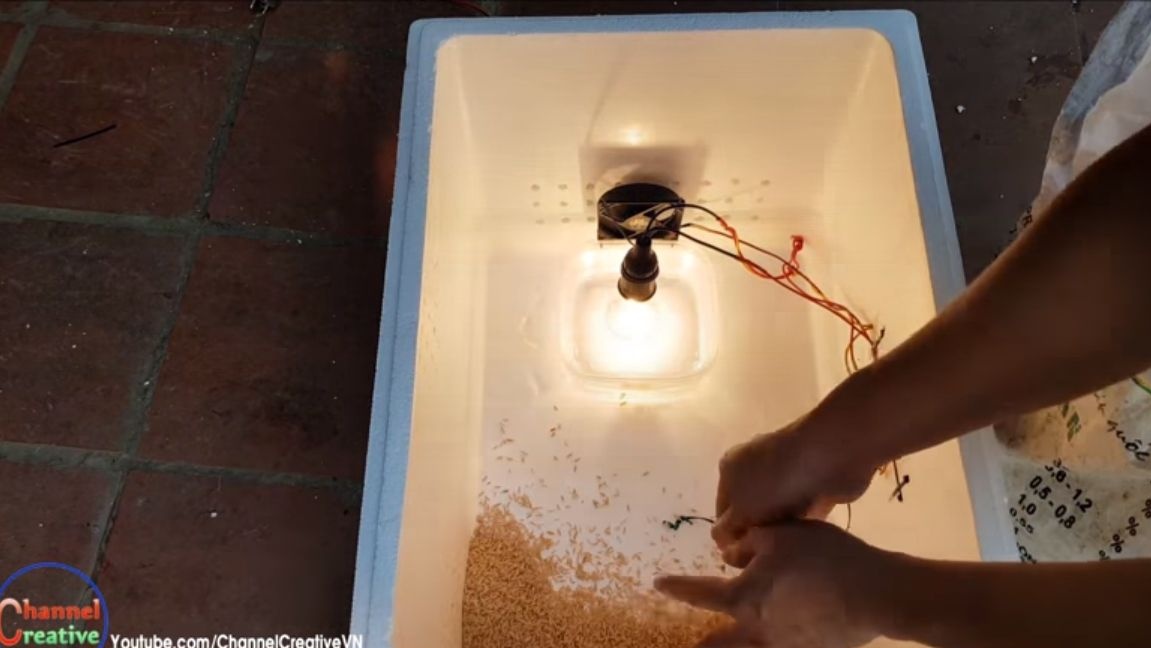
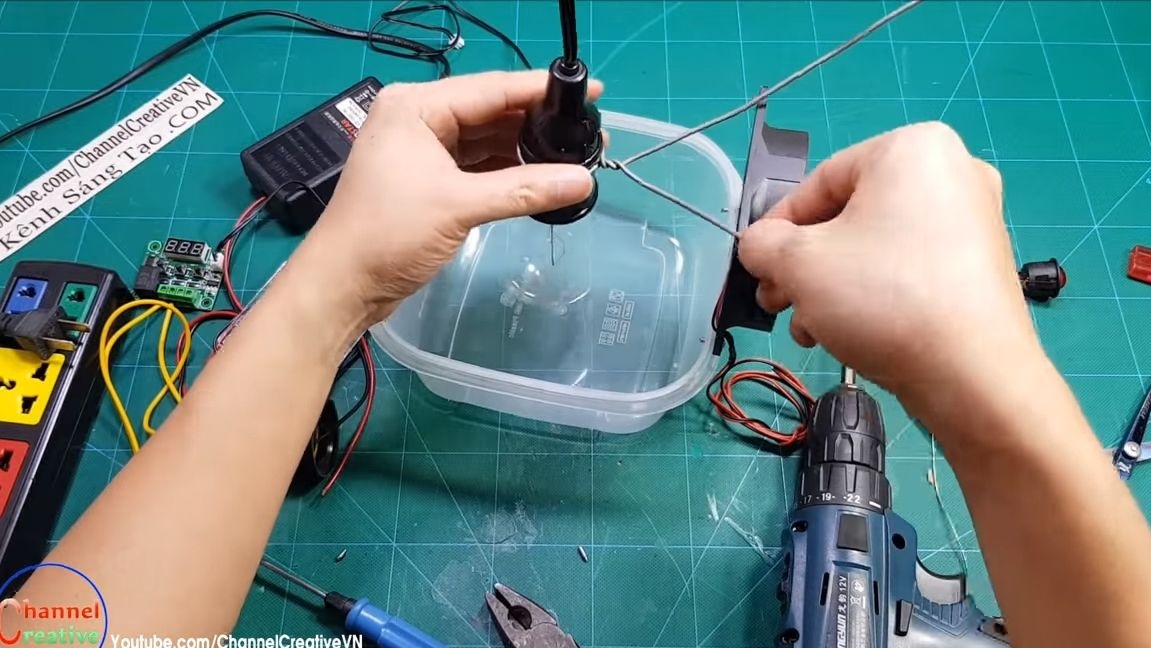
Install the cartridge with a bulb. For this, the author used a wire, with the help of which we fasten the cartridge to the fan housing. The bulb should face down without touching the container.
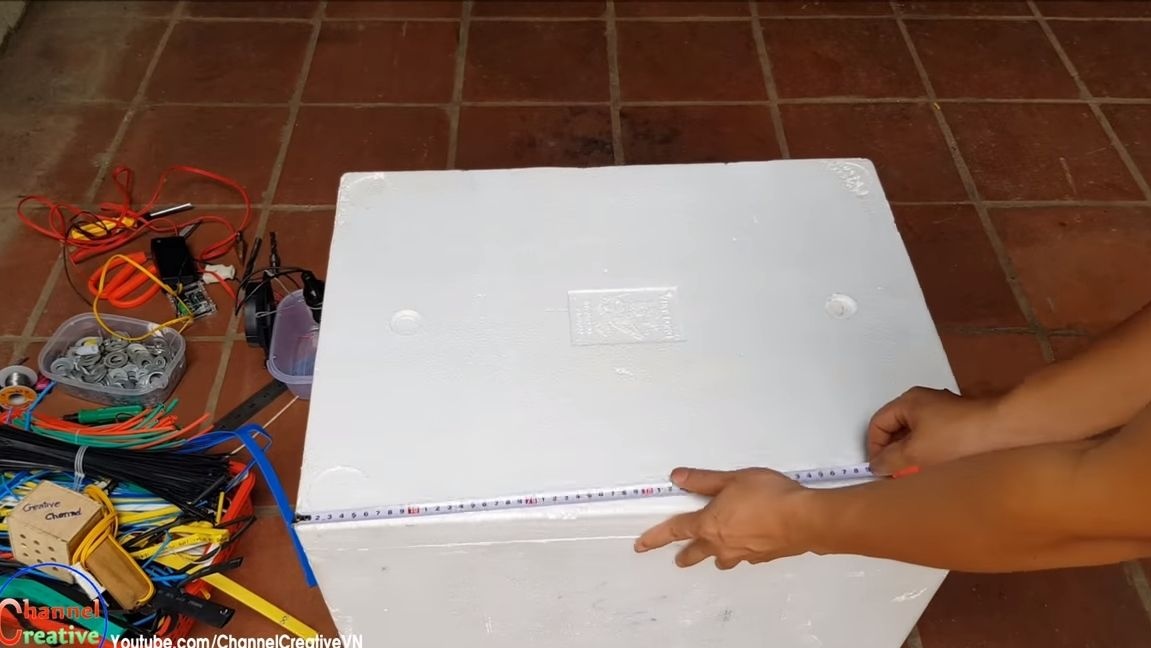
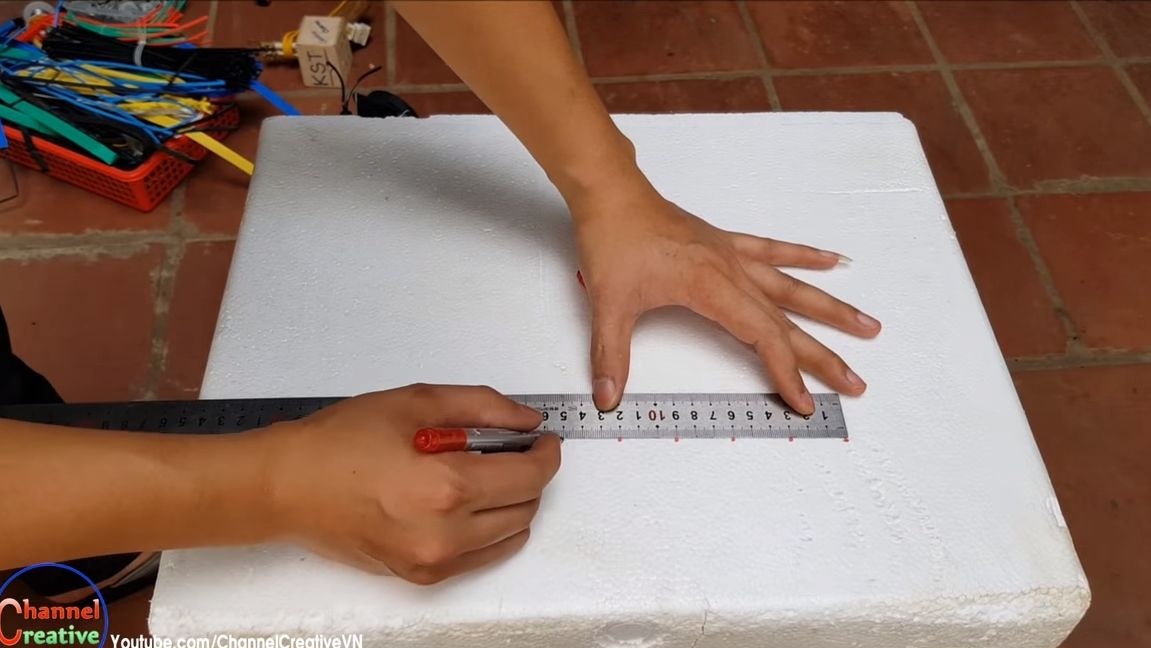
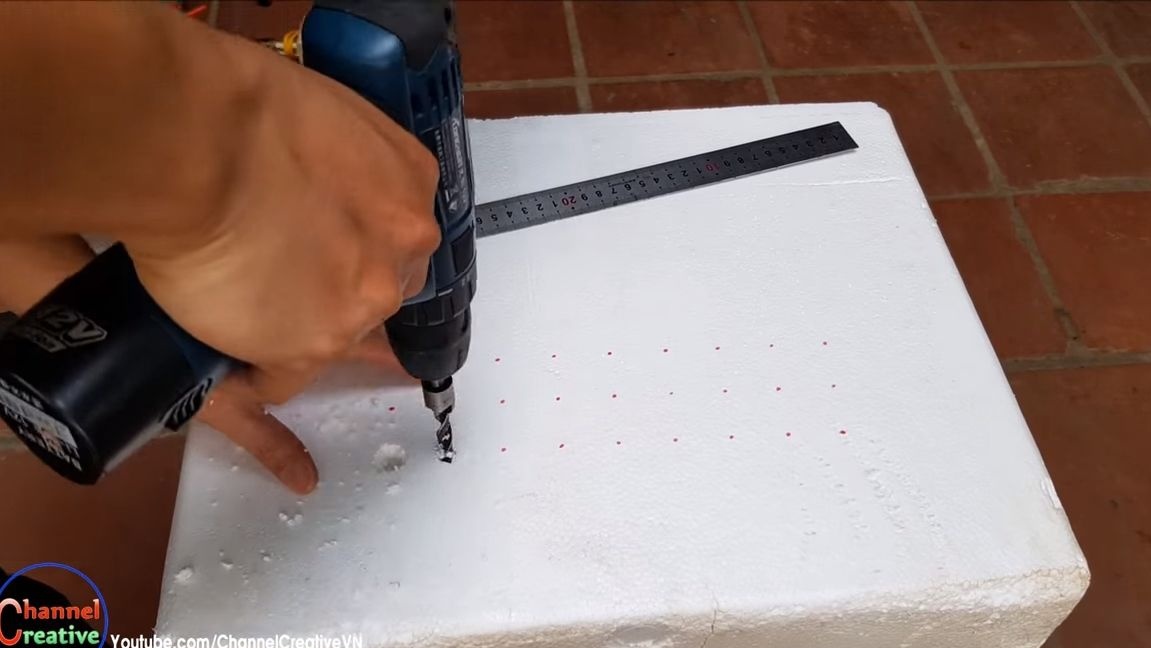
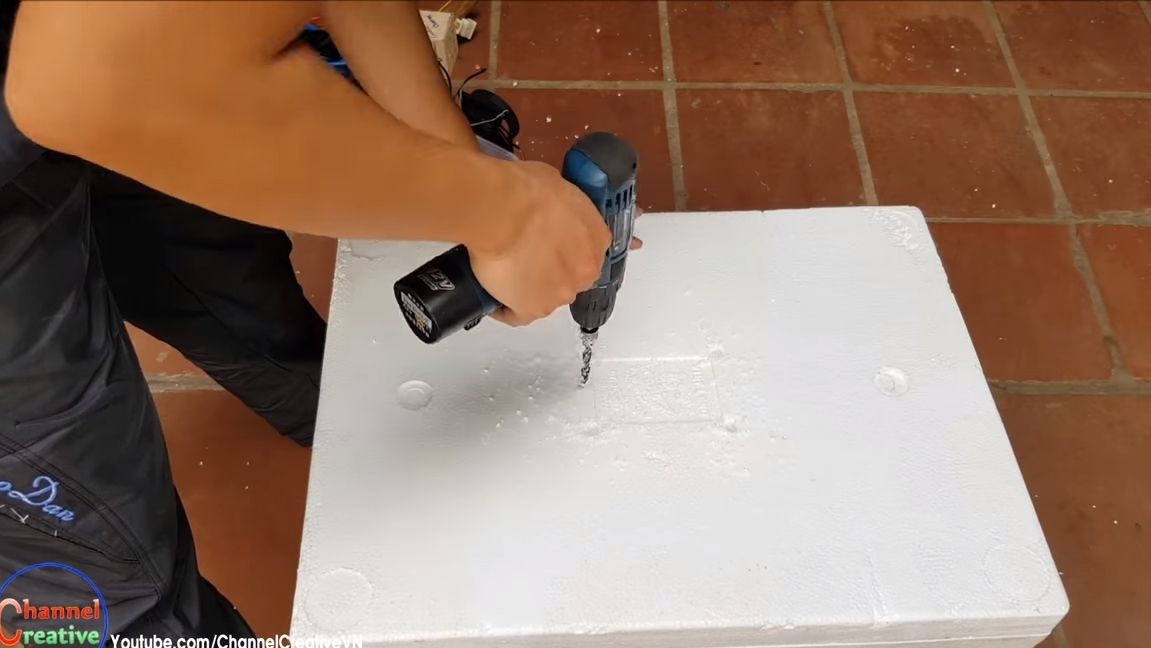
Step Four Case preparation
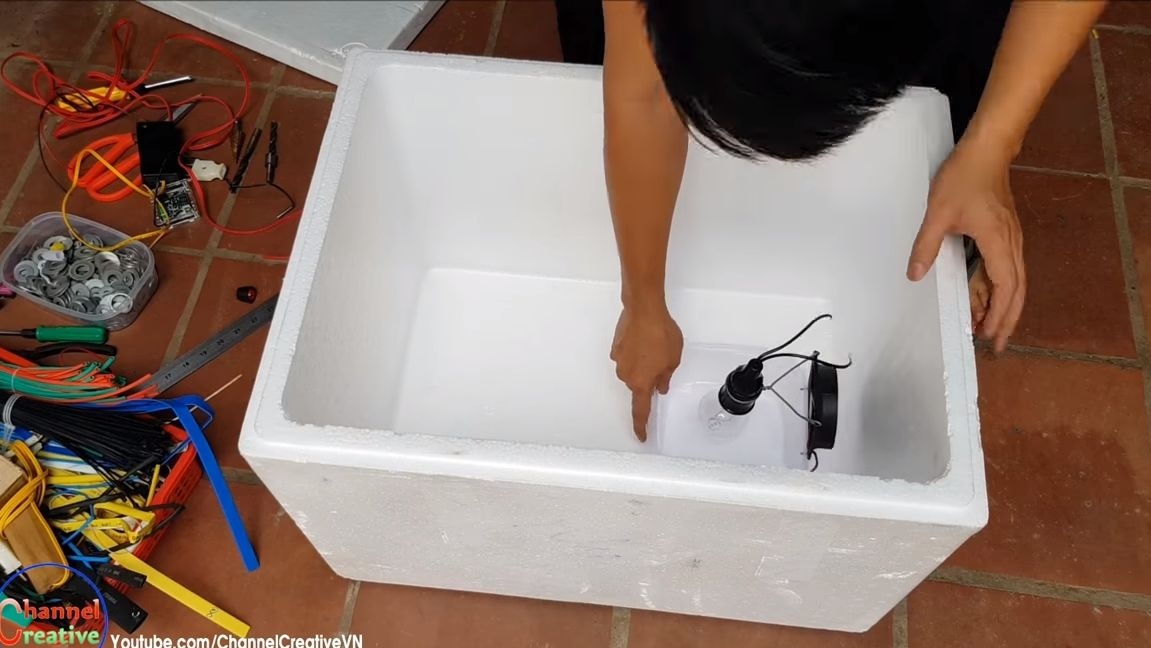
We’ll prepare the case, for the author it’s a foam box. It is necessary to drill holes in it, since ventilation should occur. The author drills holes in two walls so that the fan draws air through one side, and then blows through the other. You can also drill holes in the lid.
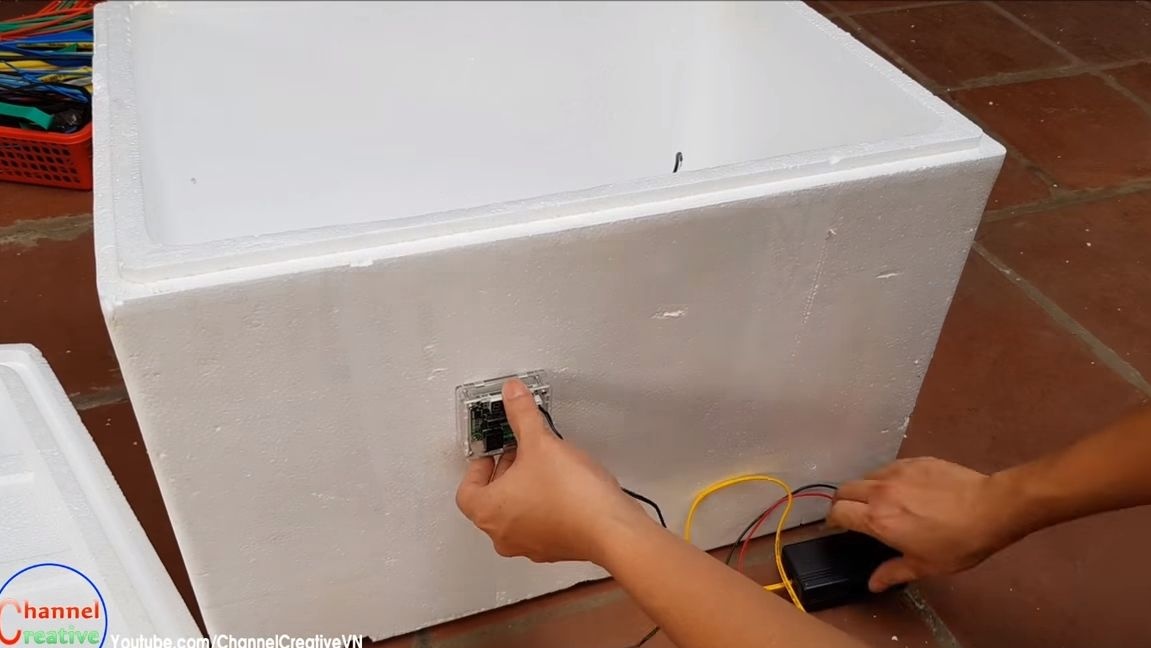
Step Five Electronics Installation and Connection
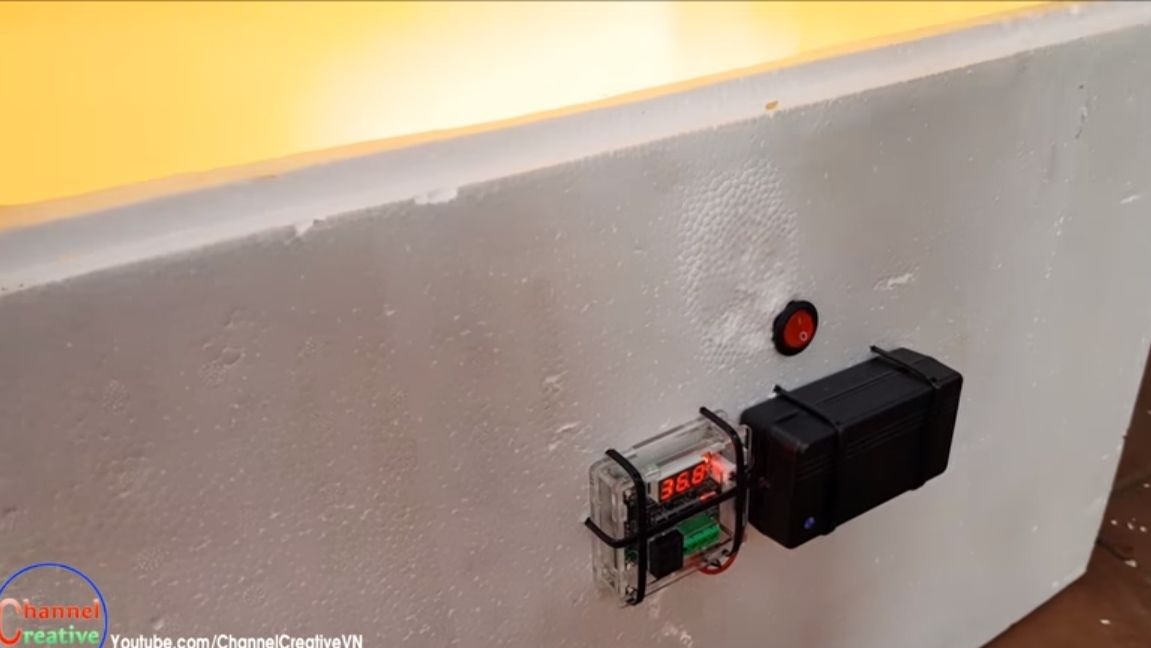
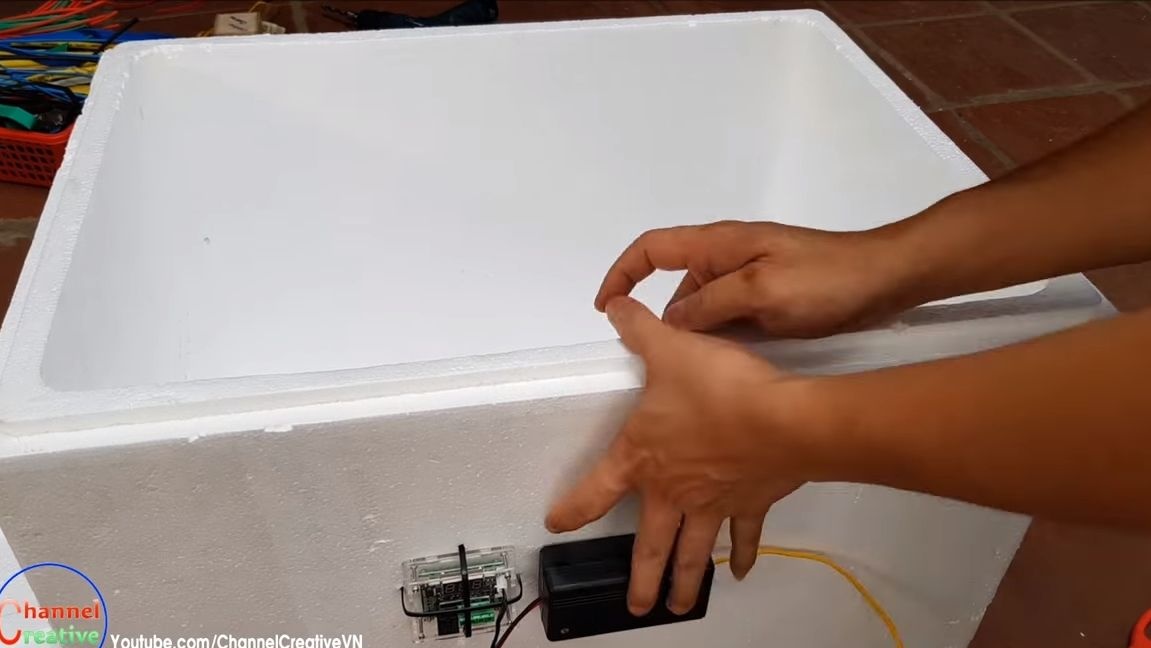
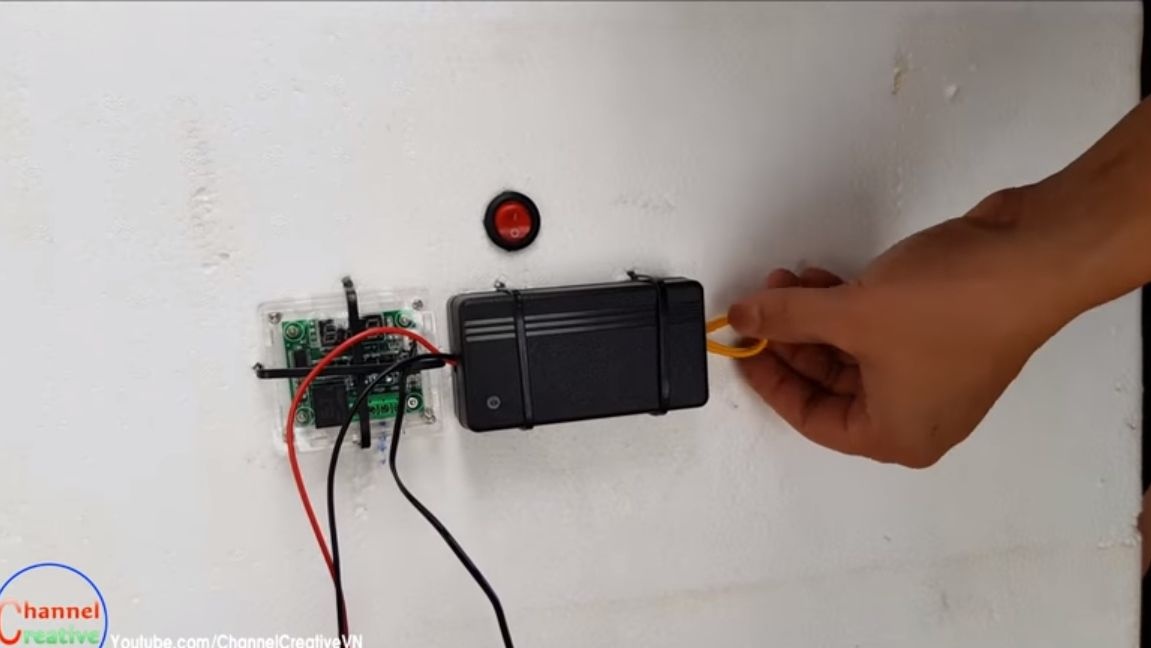
Outside the enclosure, install the power supply as well as the temperature controller. We drill holes and fasten the device with plastic ties. It is fast, convenient and completely reliable. Well, then we connect the necessary wires and try whether everything works. The wires also need to be fixed just in case.
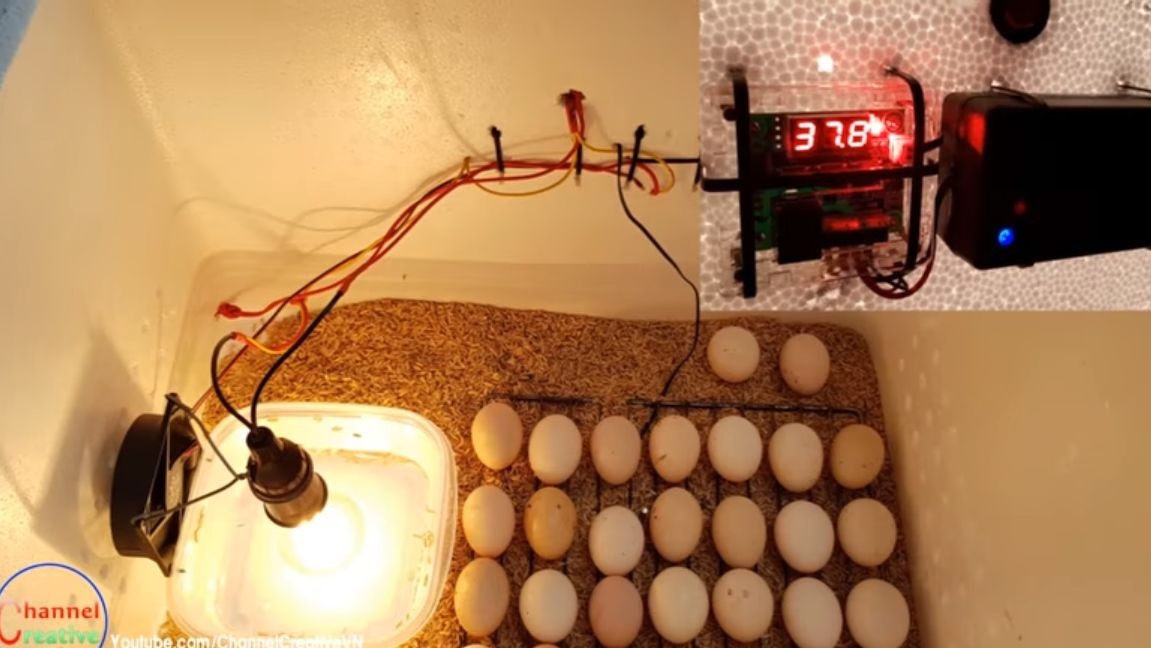
At the bottom of the incubator, with the help of a wire bracket, the author installed a sensor. This will allow you to control the temperature below, where it is the lowest. That's all, now you can configure the device!
Step Six Customization
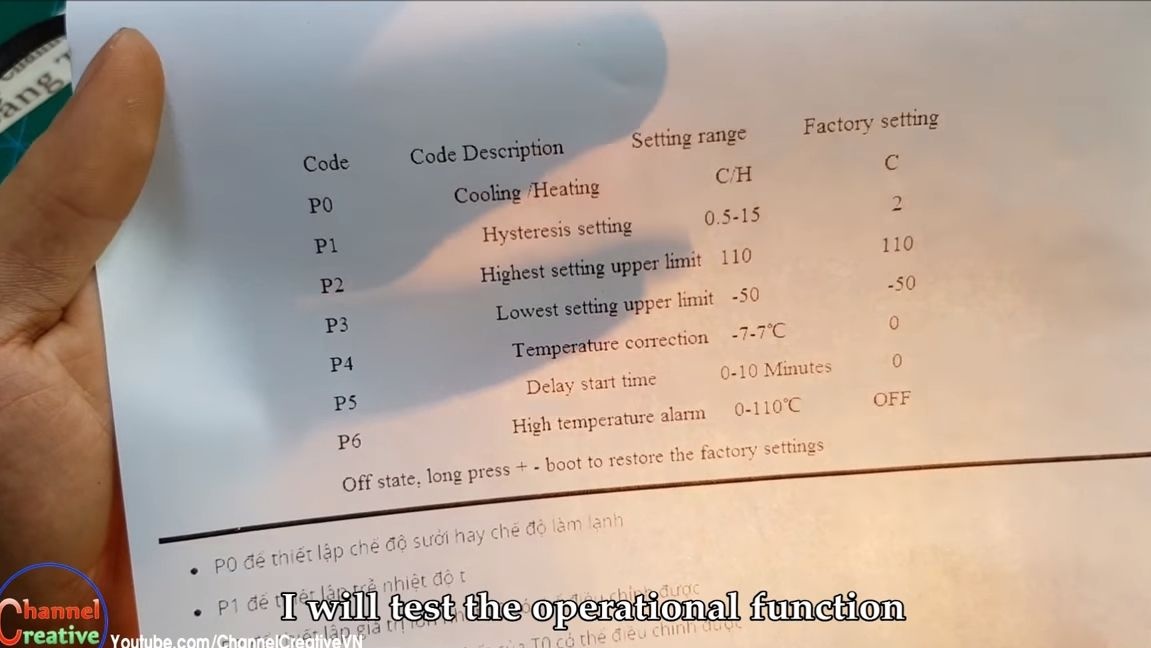
You can set up an incubator, these parameters depend on which bird eggs you will use. For chicken, you will need a temperature in the region of 37-37.5 degrees Celsius. To do this, set the limit value of 37.5 on the controller, if the temperature rises above, the controller will turn off the light bulb. And also set a step of 0.5, which means that the controller will not turn on the light until the temperature drops below 37.0 degrees.
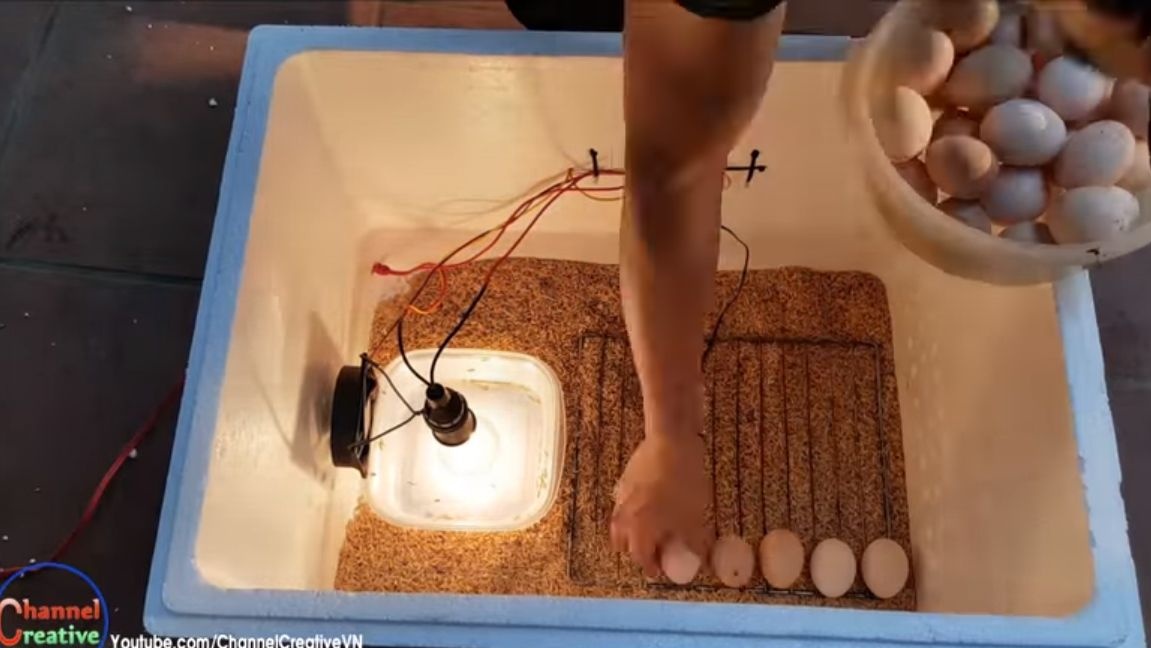
That's all, now pour some water in a plastic container, it will evaporate and humidify the air. This is very important for hatching chickens. Install a thermometer inside the incubator to see if the system is working properly. Turn on the incubator and check it in practice.
Seventh step. Testing!
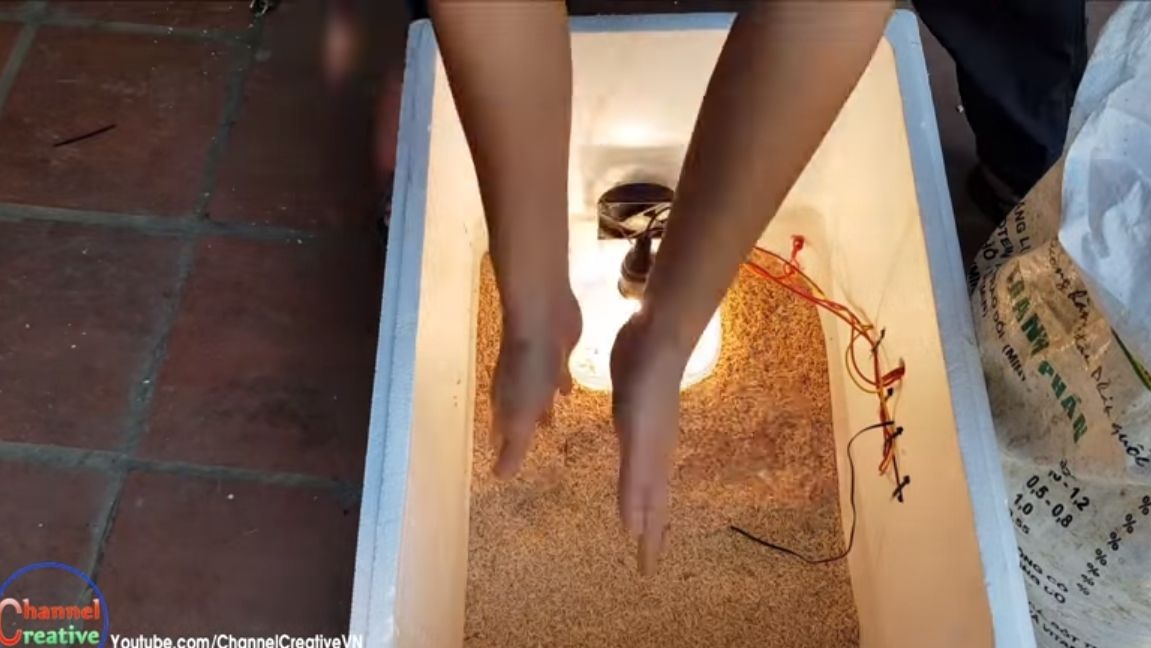
The bottom of the incubator can be covered with sawdust, spread hay and so on, that is, create a similar base, as in a real nest. We install a drill from the fridge or something similar. Lay the desired number of eggs and turn on the incubator. From time to time, do not forget to turn the eggs, as chickens may turn out to be defective. That's all, now it remains only to wait, when the chickens begin to squeak in the incubator! That's all, I hope you liked the project. Good luck and inspiration in making homemade items!