

With the help of the tool you can create a lot, even more of this can be created with the help of the mind.
Chairs and stools, tables and coffee tables, armchairs and beds and other similar items of furniture cannot take place without several elements. The main ones are the seats (covers), legs and drawers - the upper connecting strips located between the legs and serving to strengthen the frame.
Once I made six stools. The work was almost all manual. In order to rationalize the serial production, device, allowing you to saw through the ends of the tsar (as well as the pedicles, located below the latter), so that spikes are obtained.
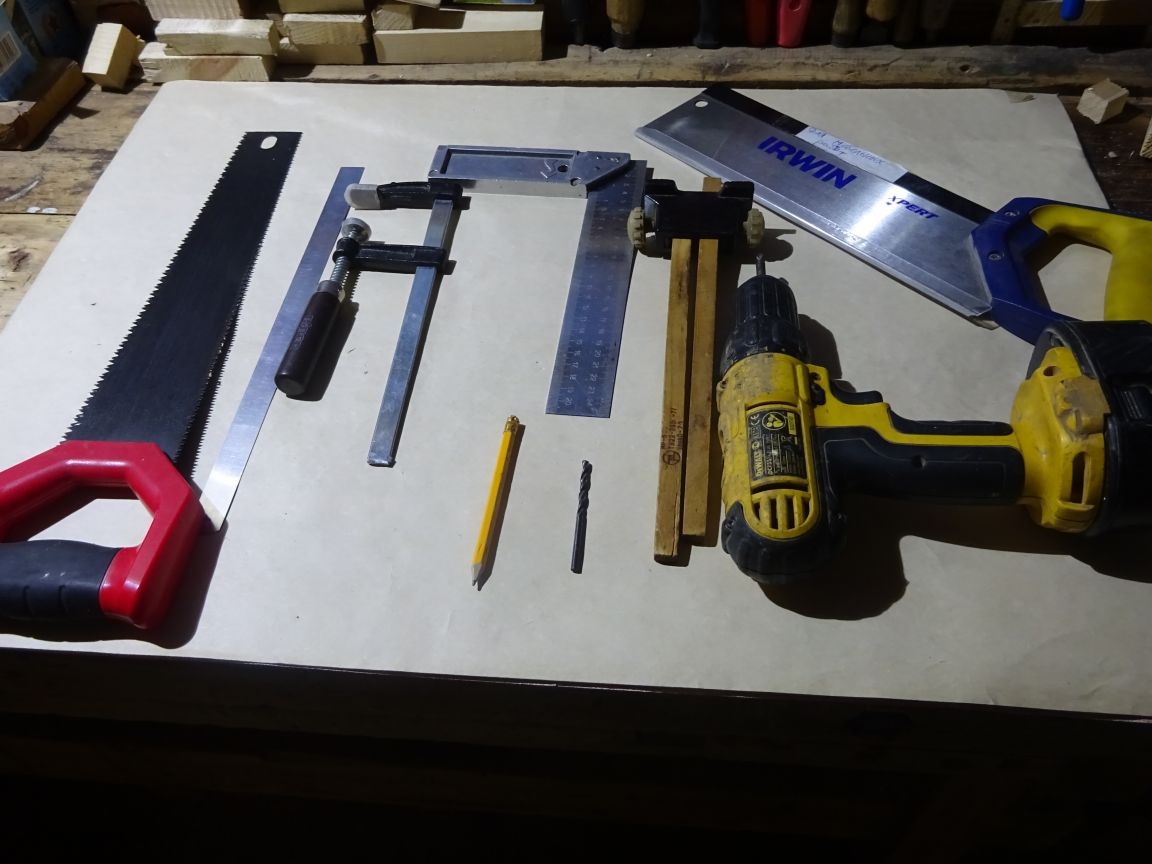
Tools used:
1) a hacksaw;
2) a saw blade;
3) a clamp;
4) ruler;
5) a square;
6) a pencil;
7) drill;
8) a screwdriver;
9) manual surface gage;
10) bench vise;
11) sandpaper;
12) electric drill.
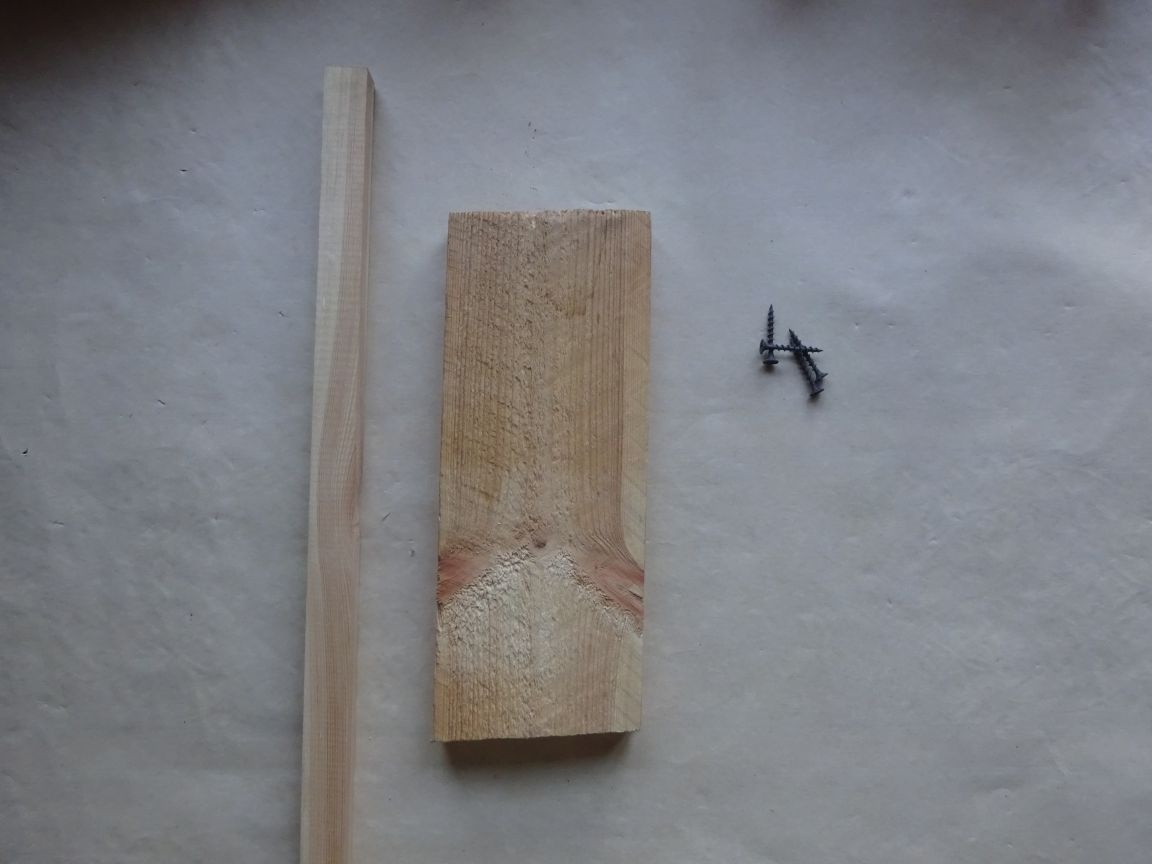
Materials:
1) a board measuring 10x30 cm;
2) a rail measuring approximately 2 x 1.7 cm;
3) four screws.
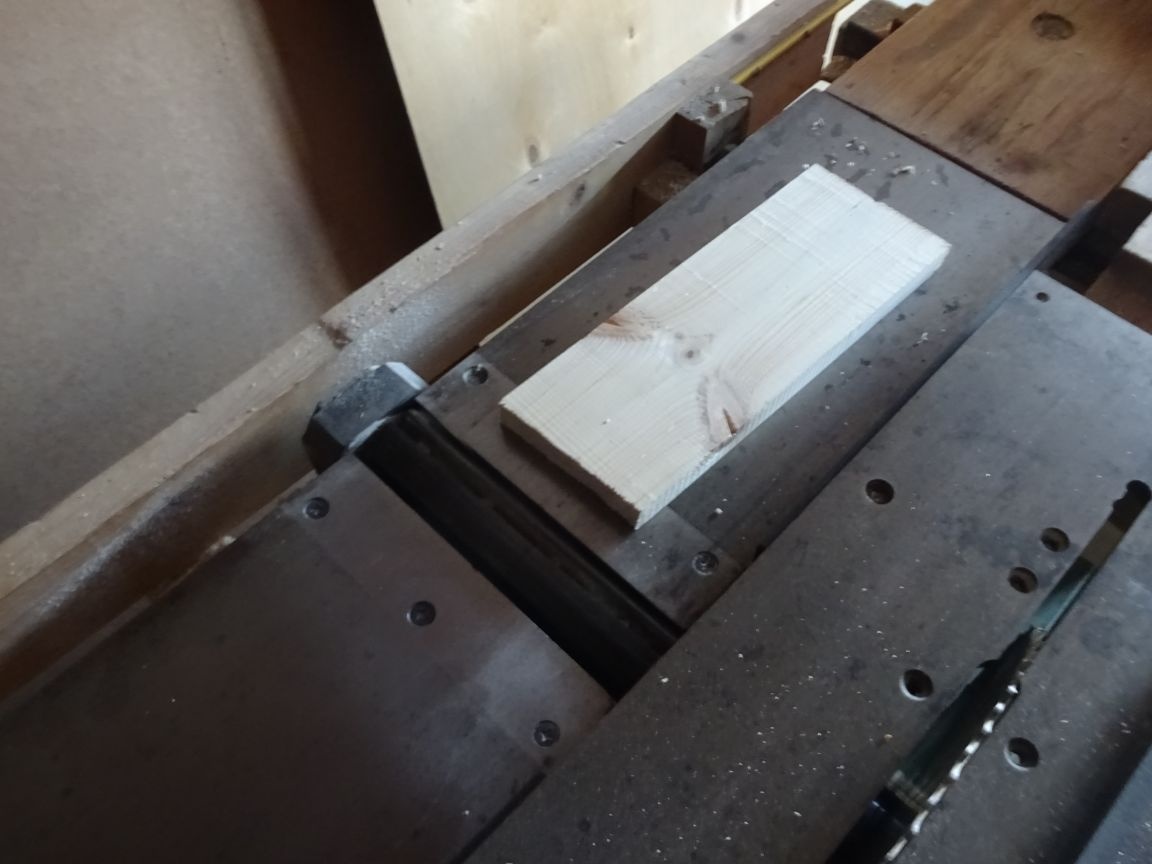
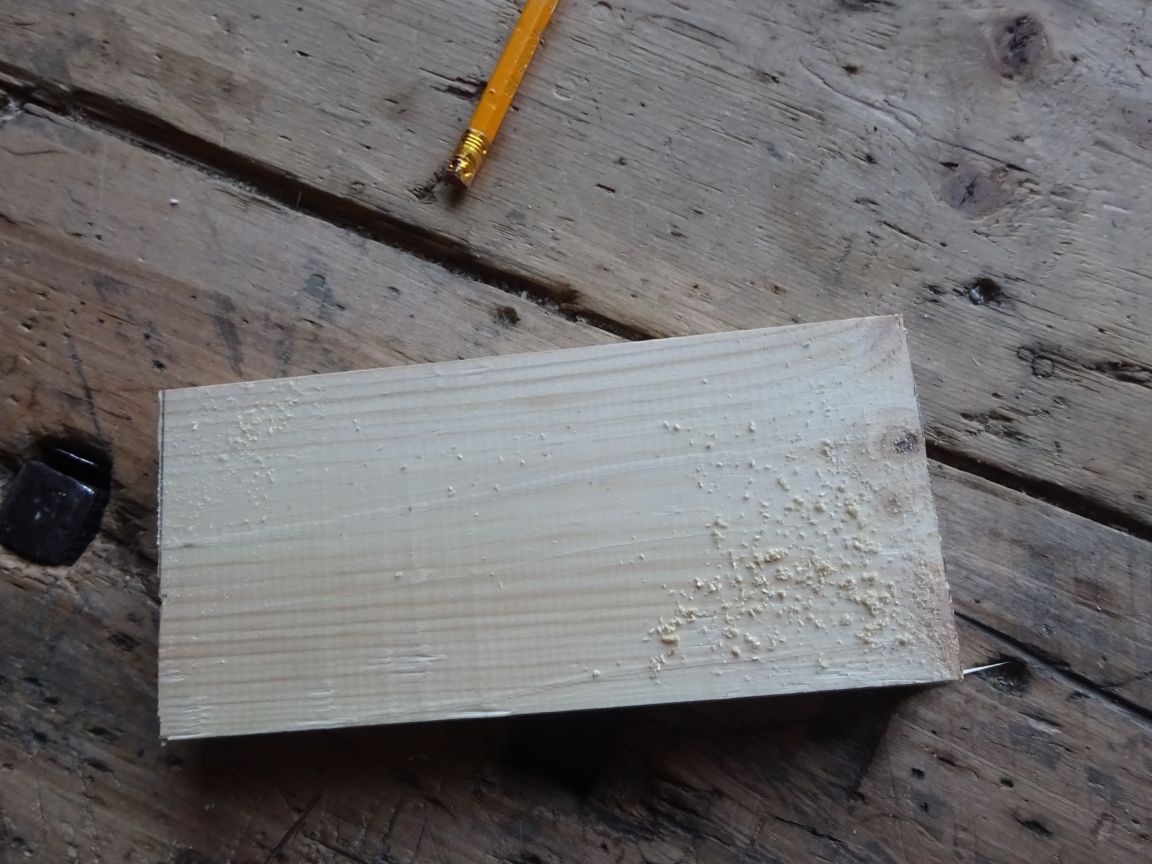
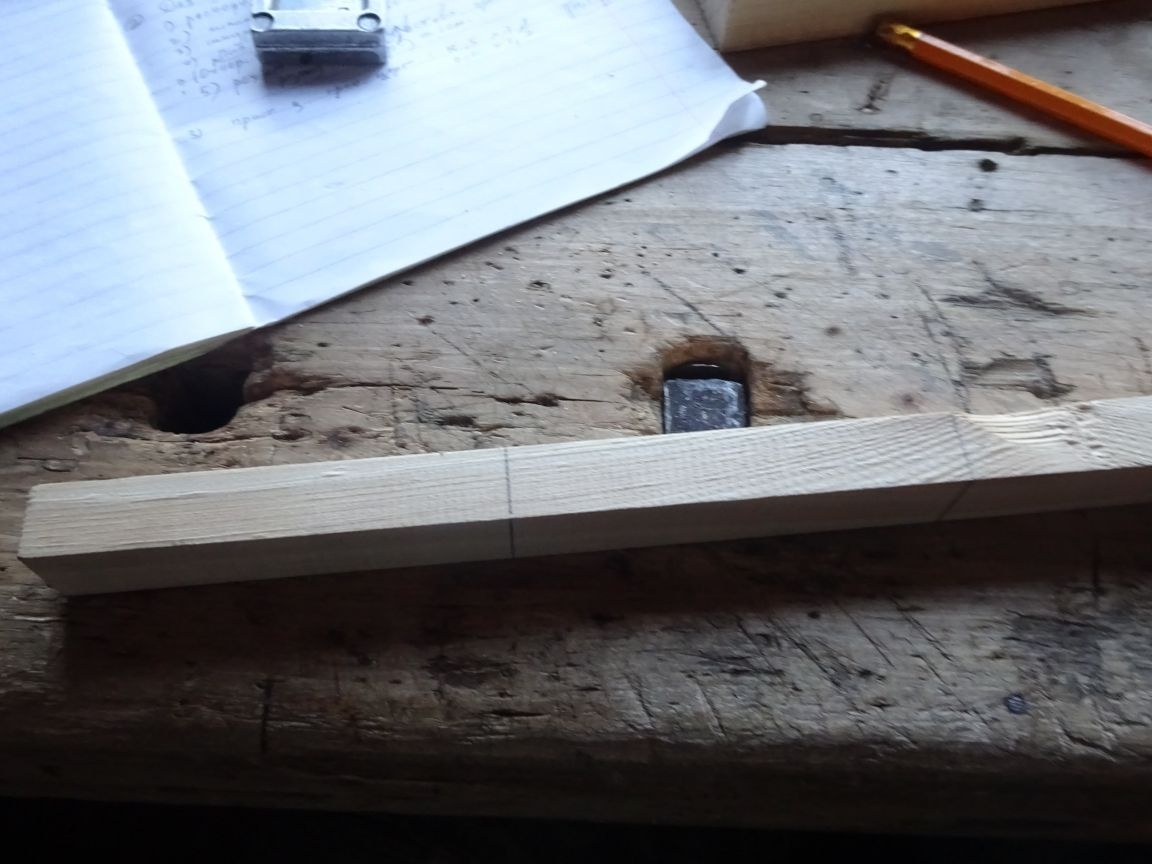
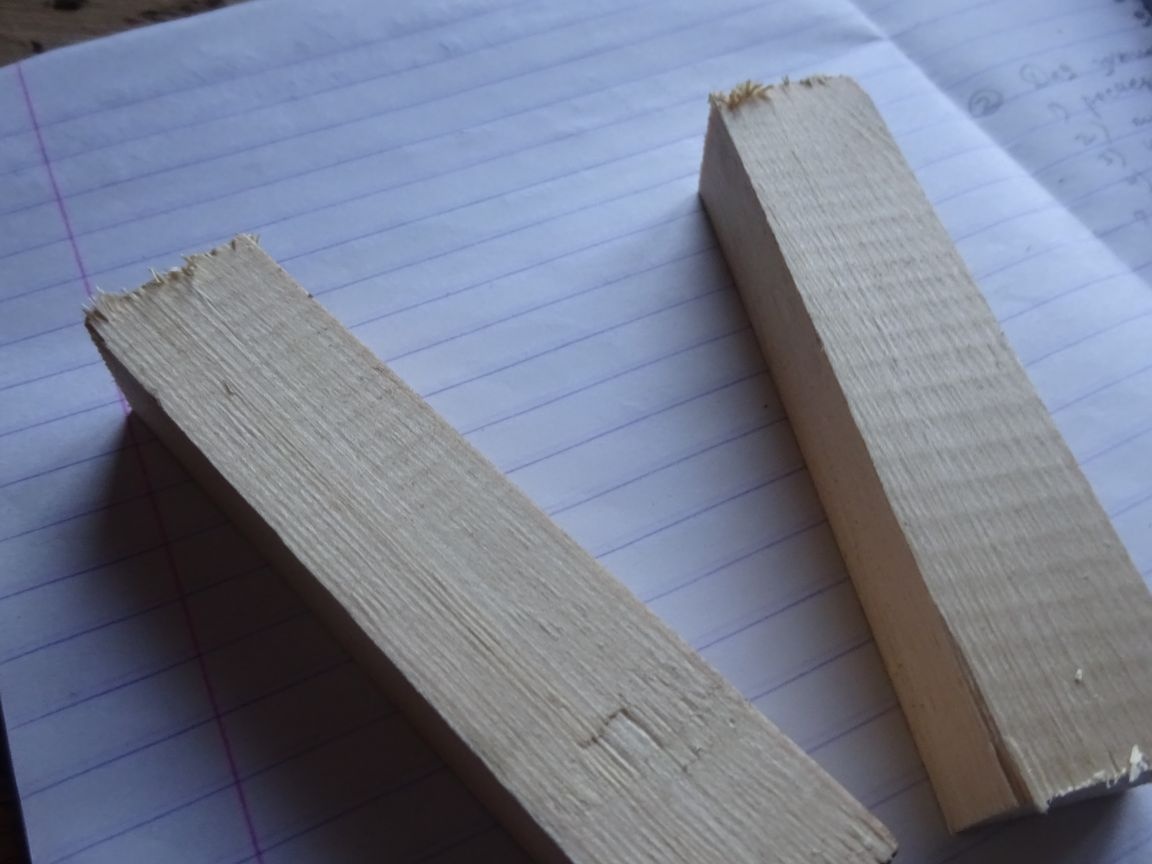
Step one. Preparation.
We are guarding a large workpiece on a planer / planer (a small one - a rail - was previously processed). Saw up to a size of 7 cm wide. Next, with the help of a square and a pencil, we outline the boundaries of the future bar with a length of 16.5 cm, due to the fact that the width of the drawers is often less than twelve centimeters. Saw off with a hacksaw.
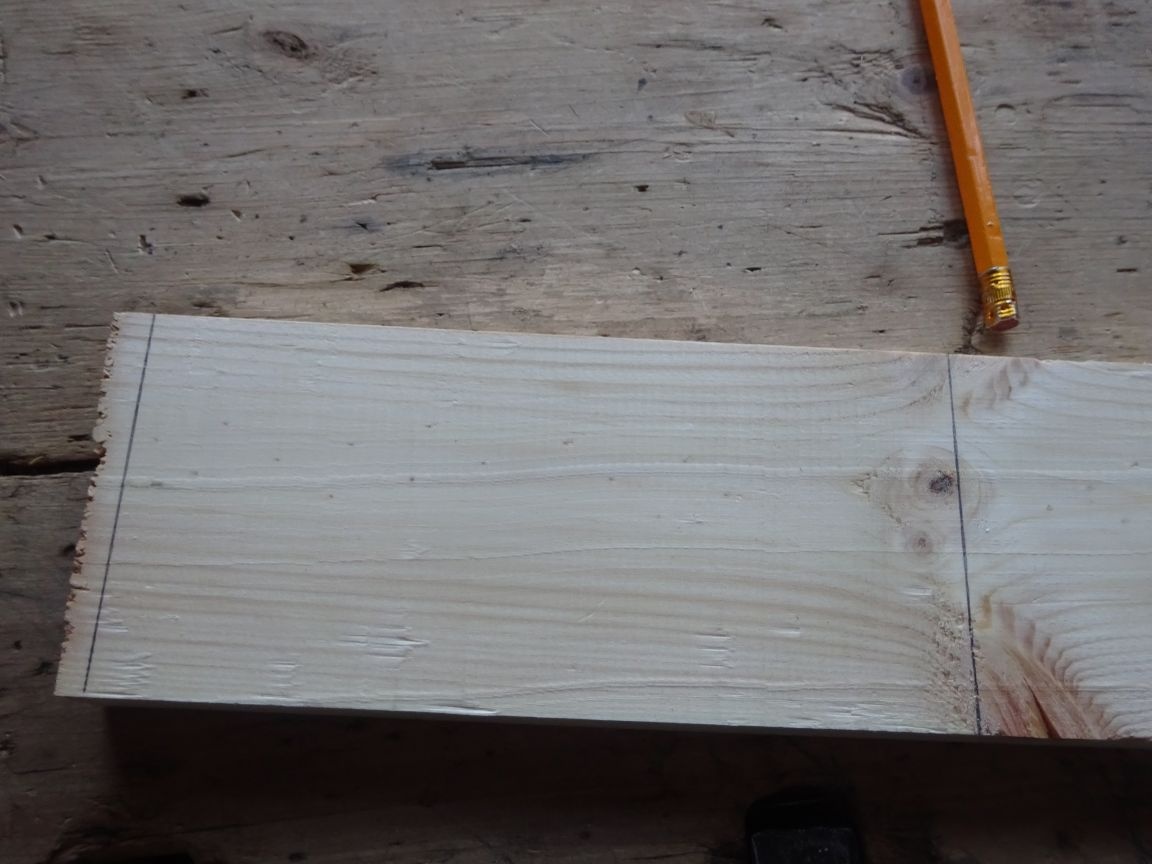
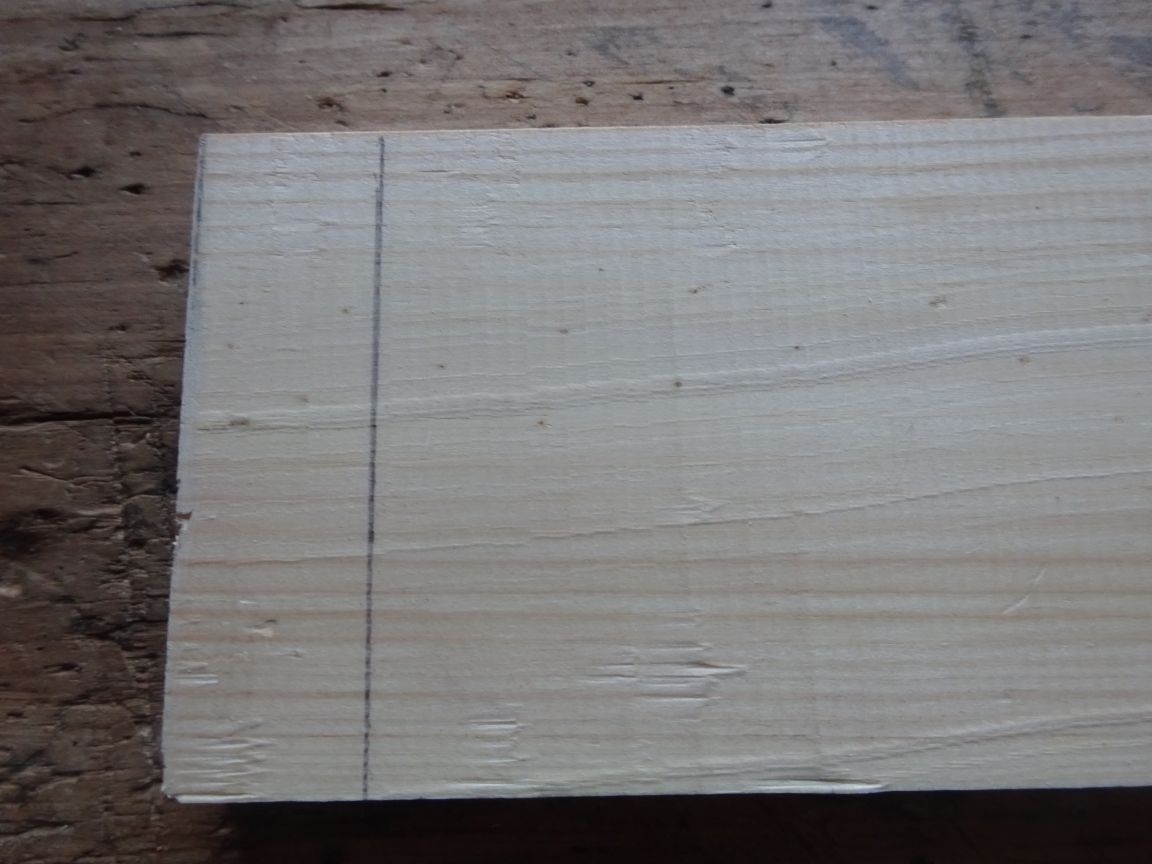
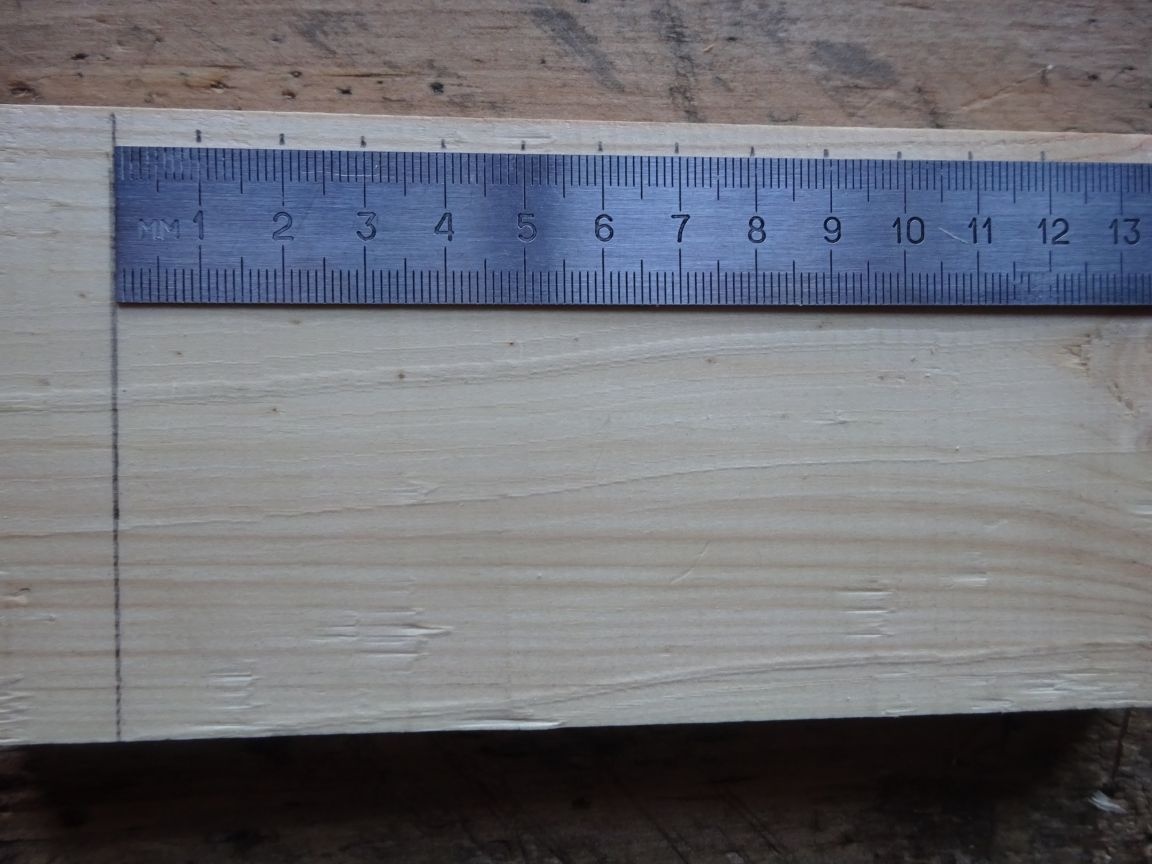
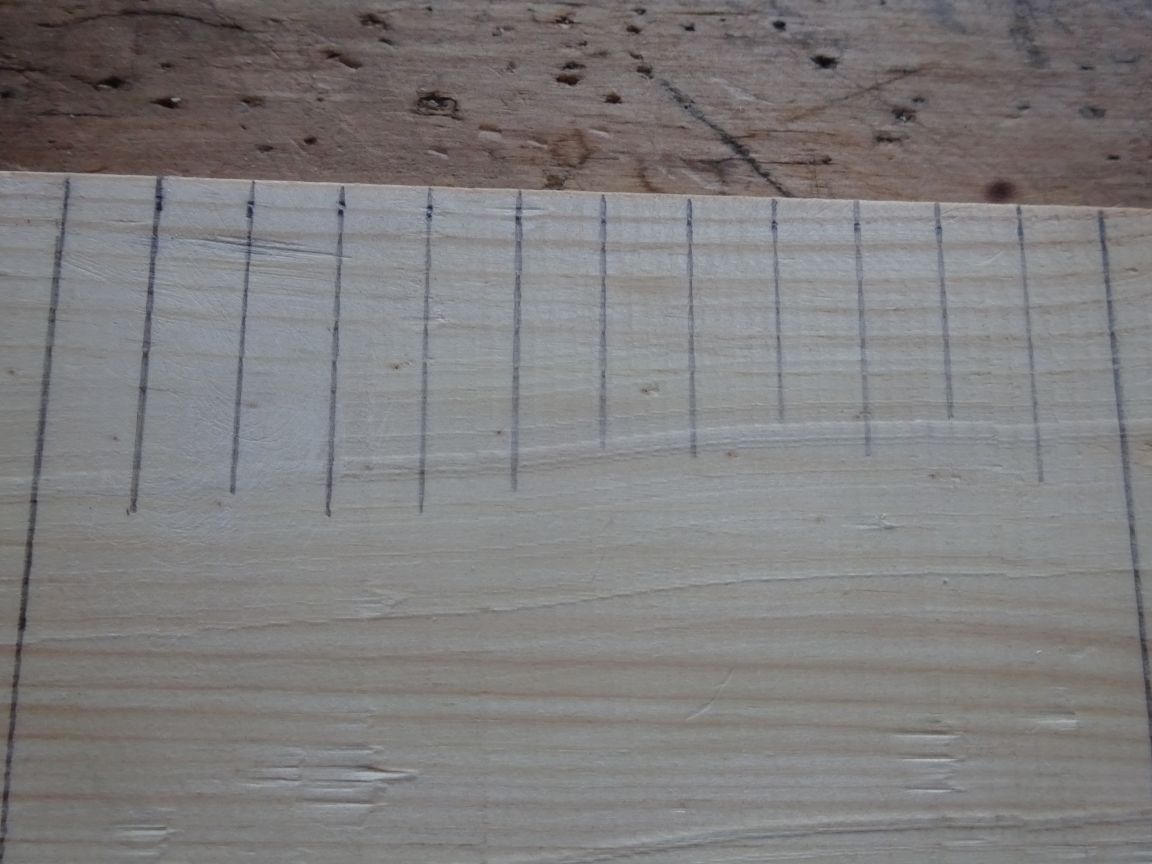
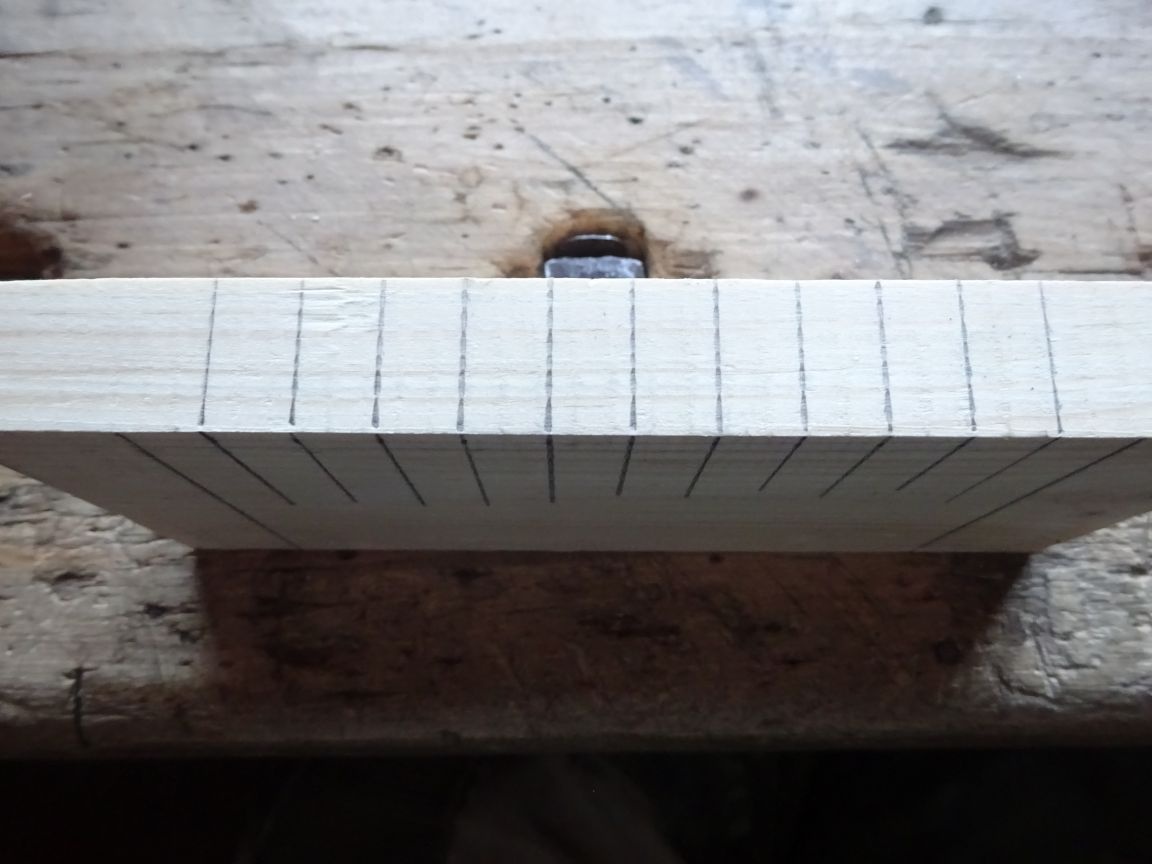
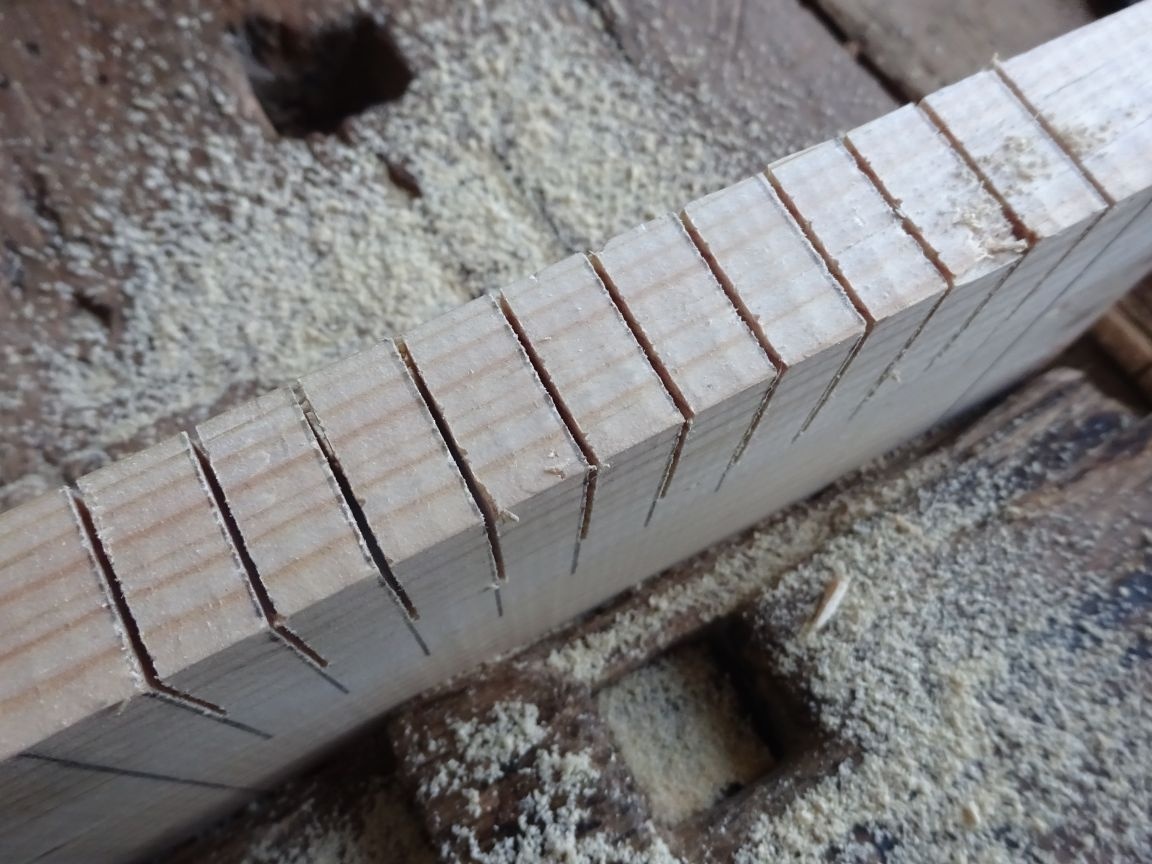
Step Two Marking parallel lines.
To the left and right of the ends of the bar at a distance of about 2-2.5 cm, draw lines (again: using a square), next to which the stops will be located. Then, using a ruler at the top edge, put dots through 1cm. On the square we draw down the lines, not far: 3 cm is enough. We turn the bar so that the upper narrow face becomes the face. We continue the previous lines, but in the other direction. The result is parallel lines in three-dimensional space.

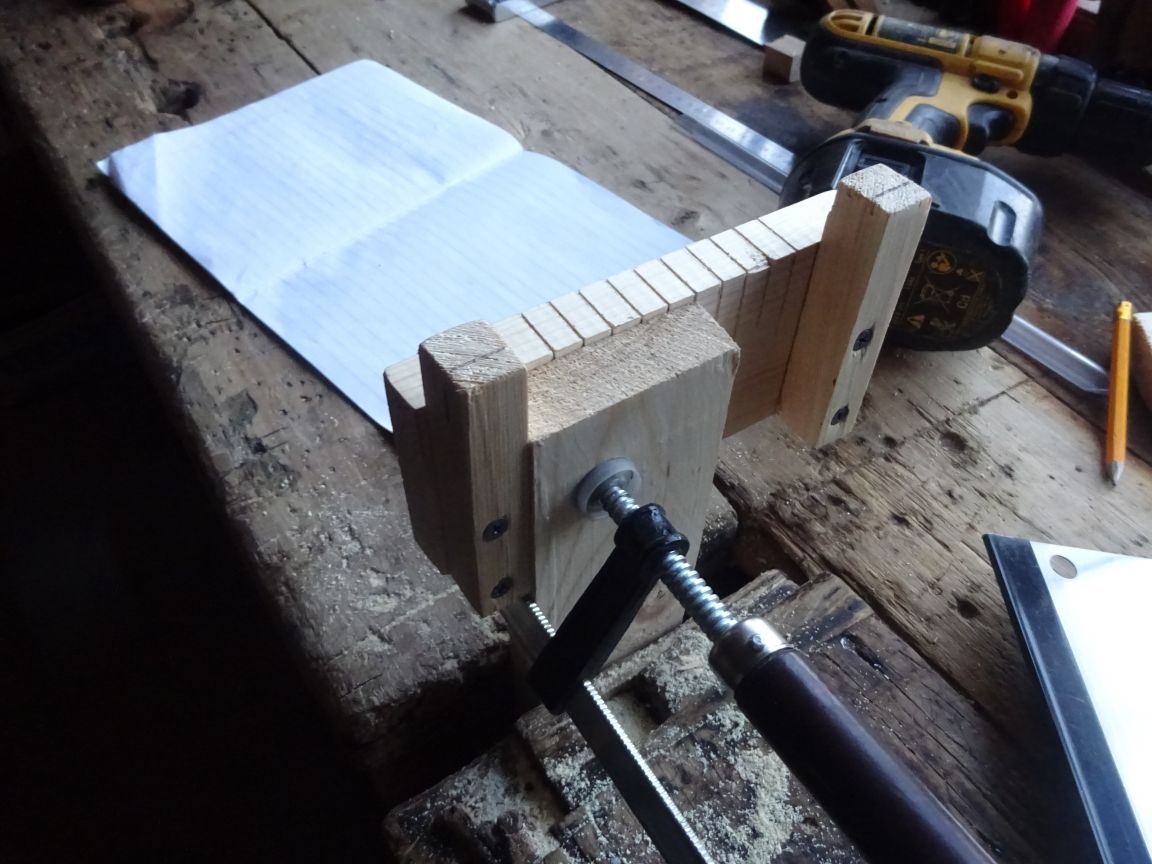
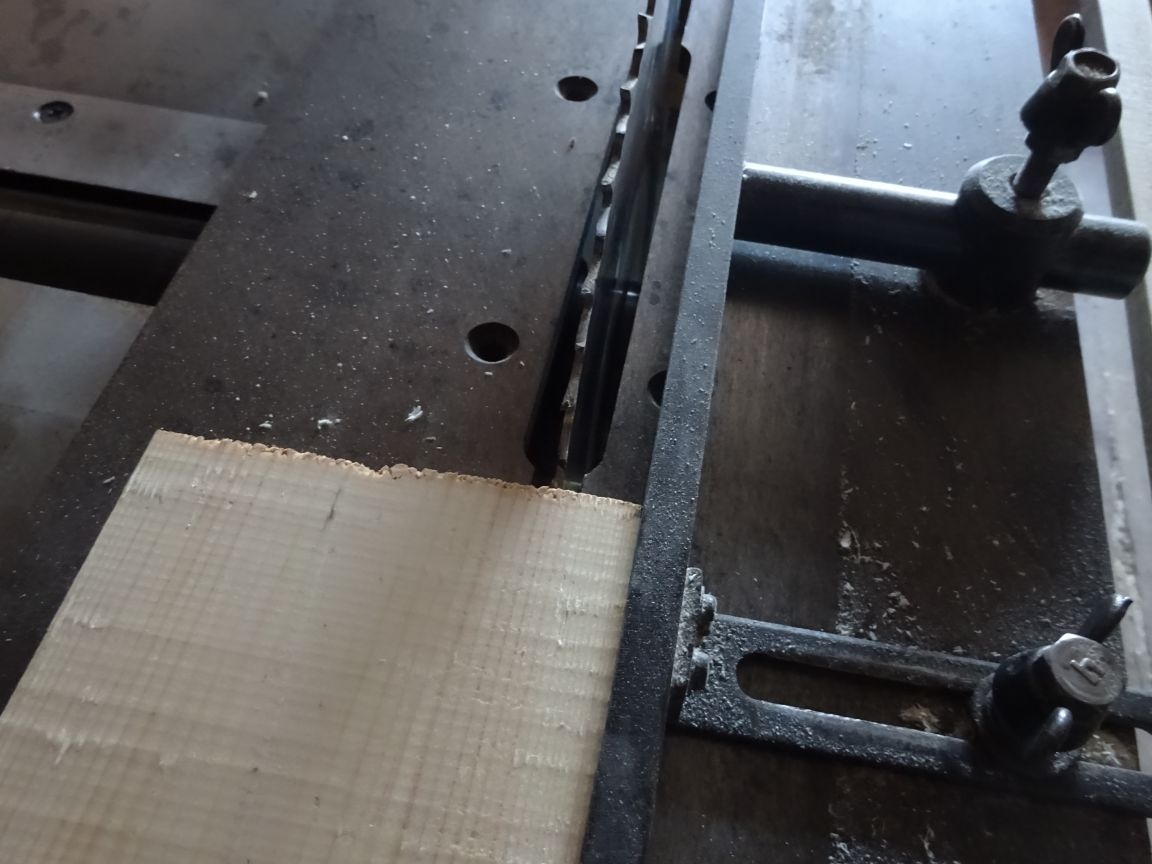
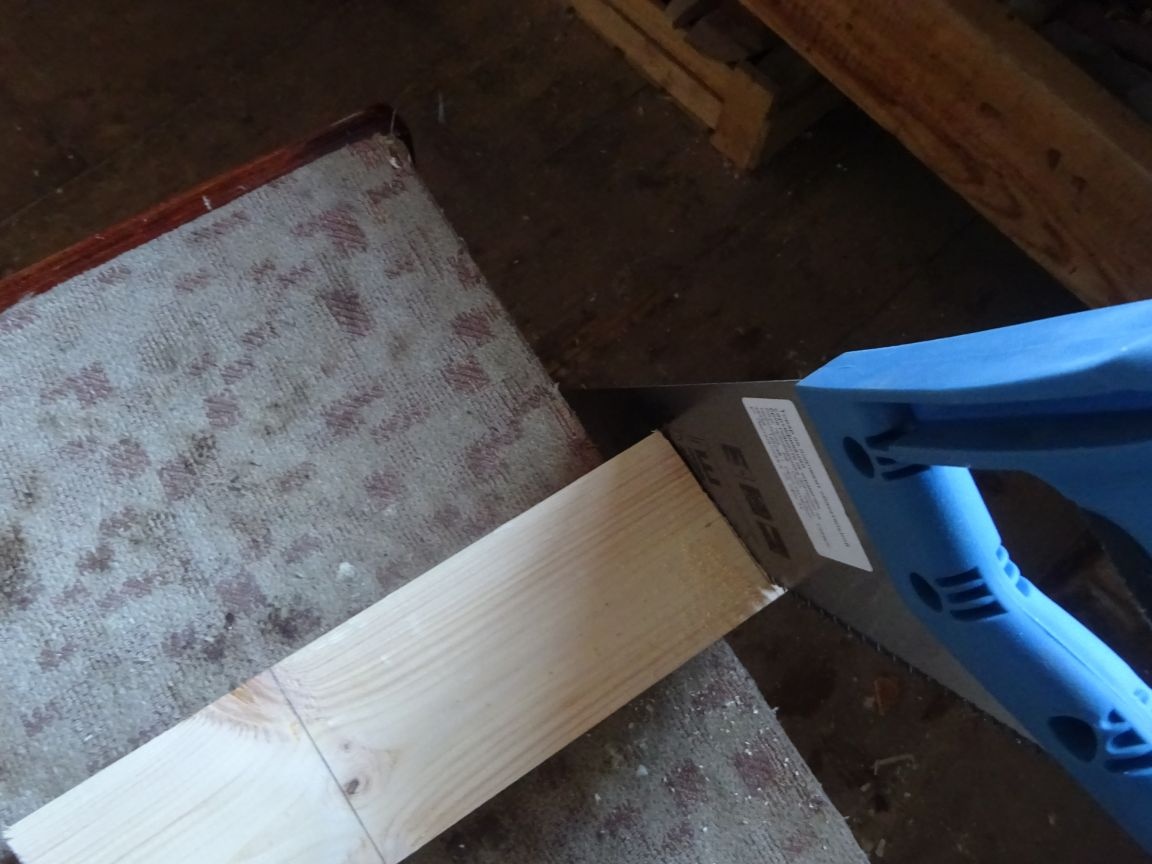
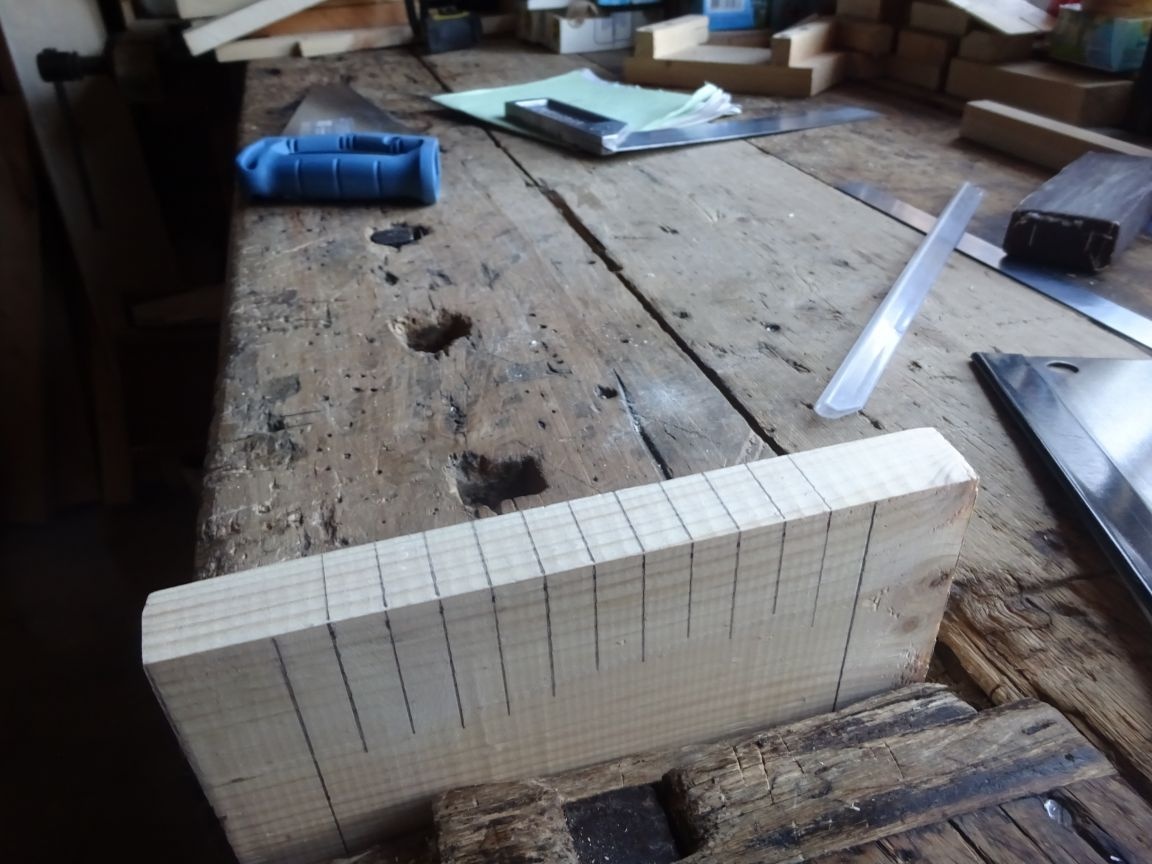
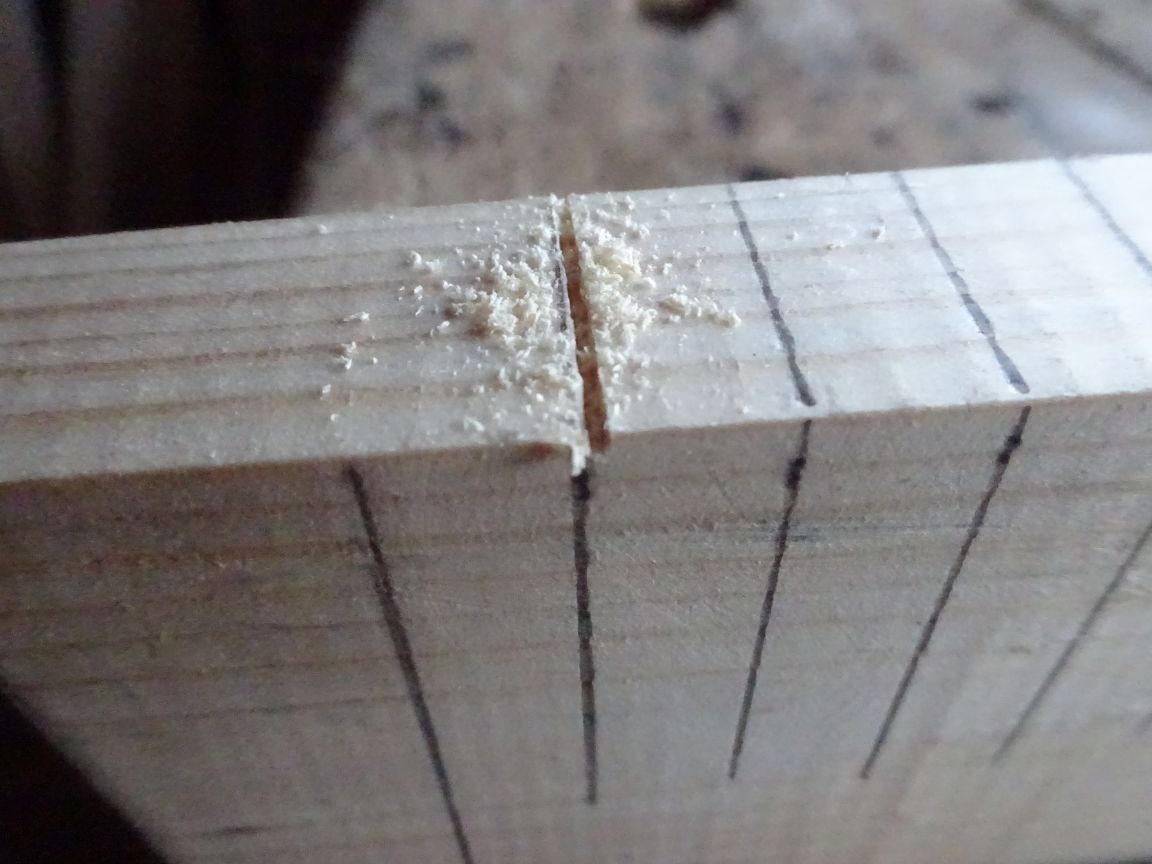
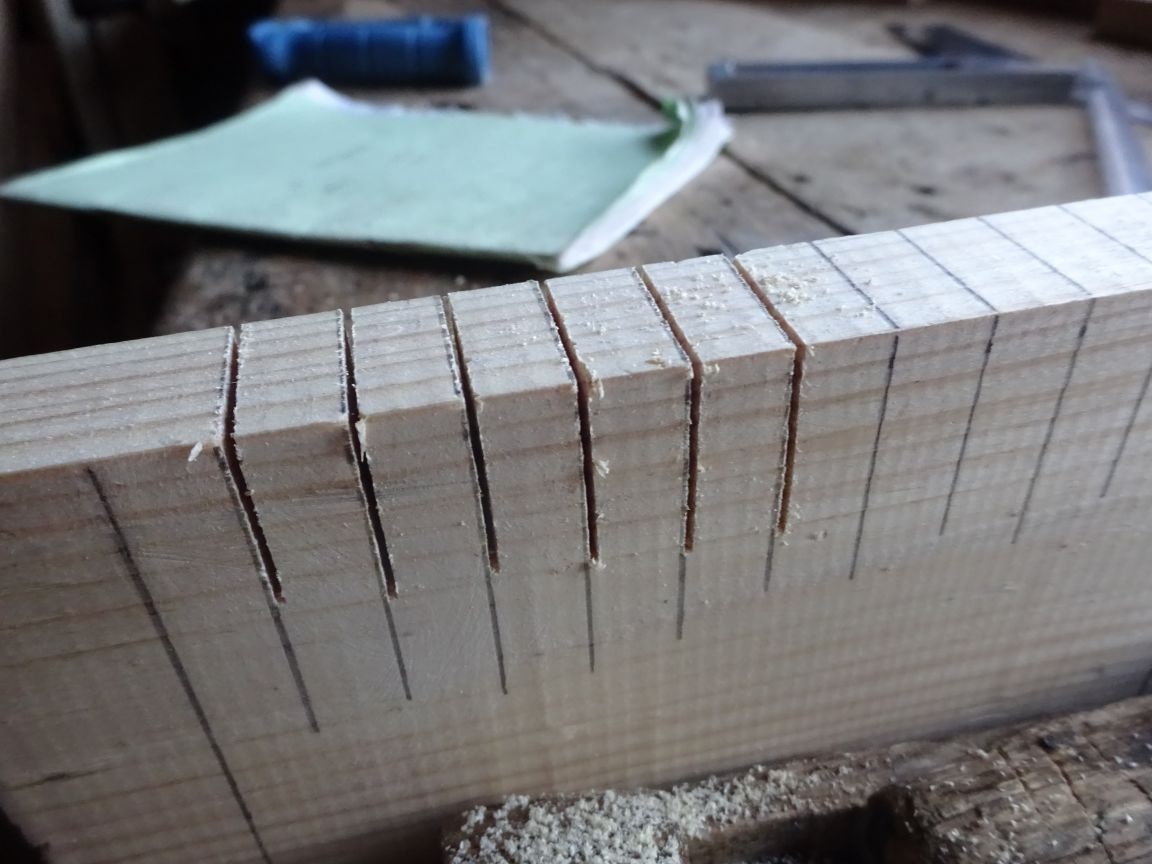
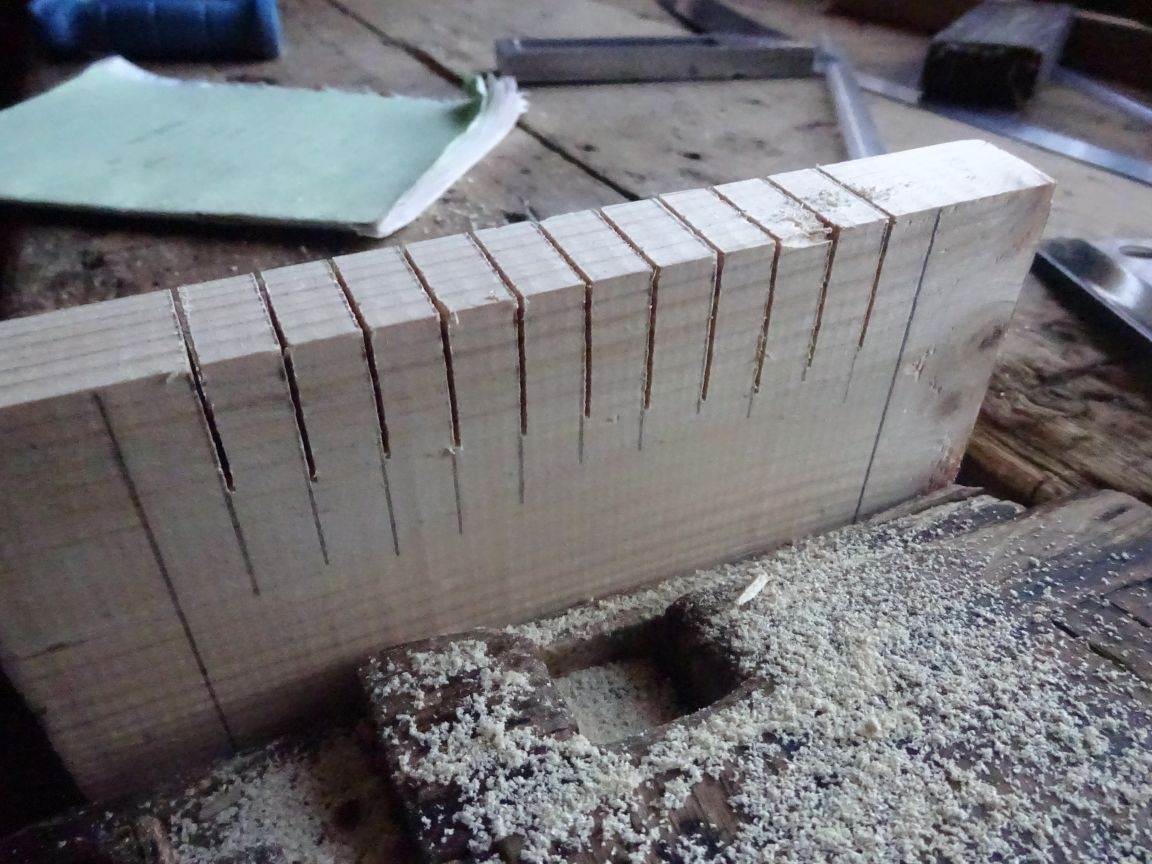
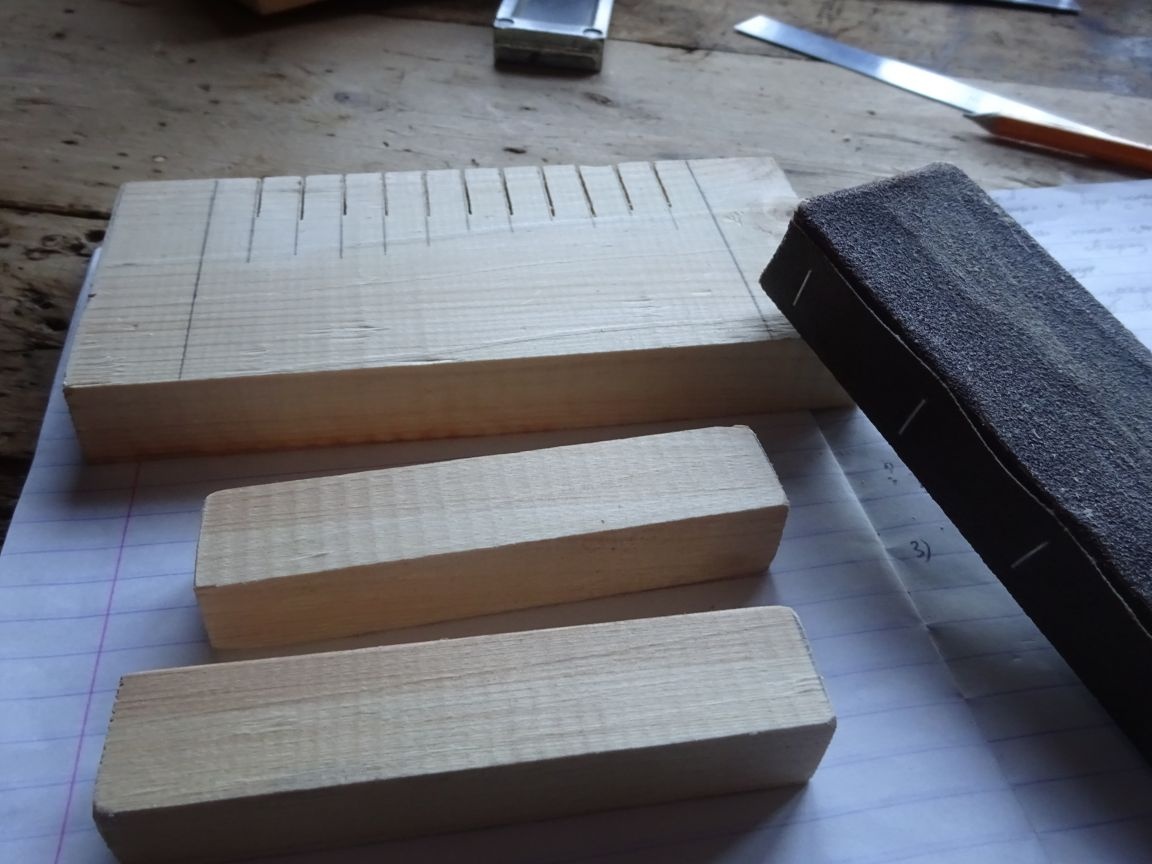
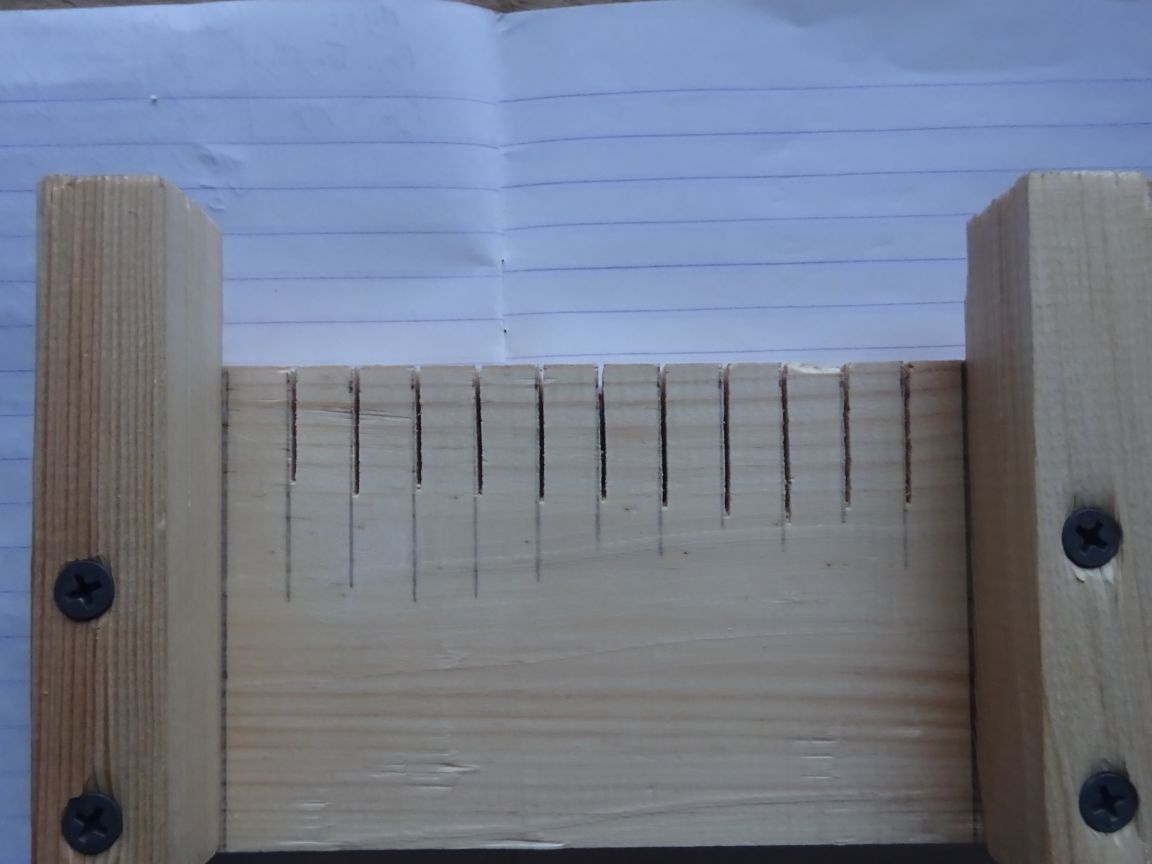
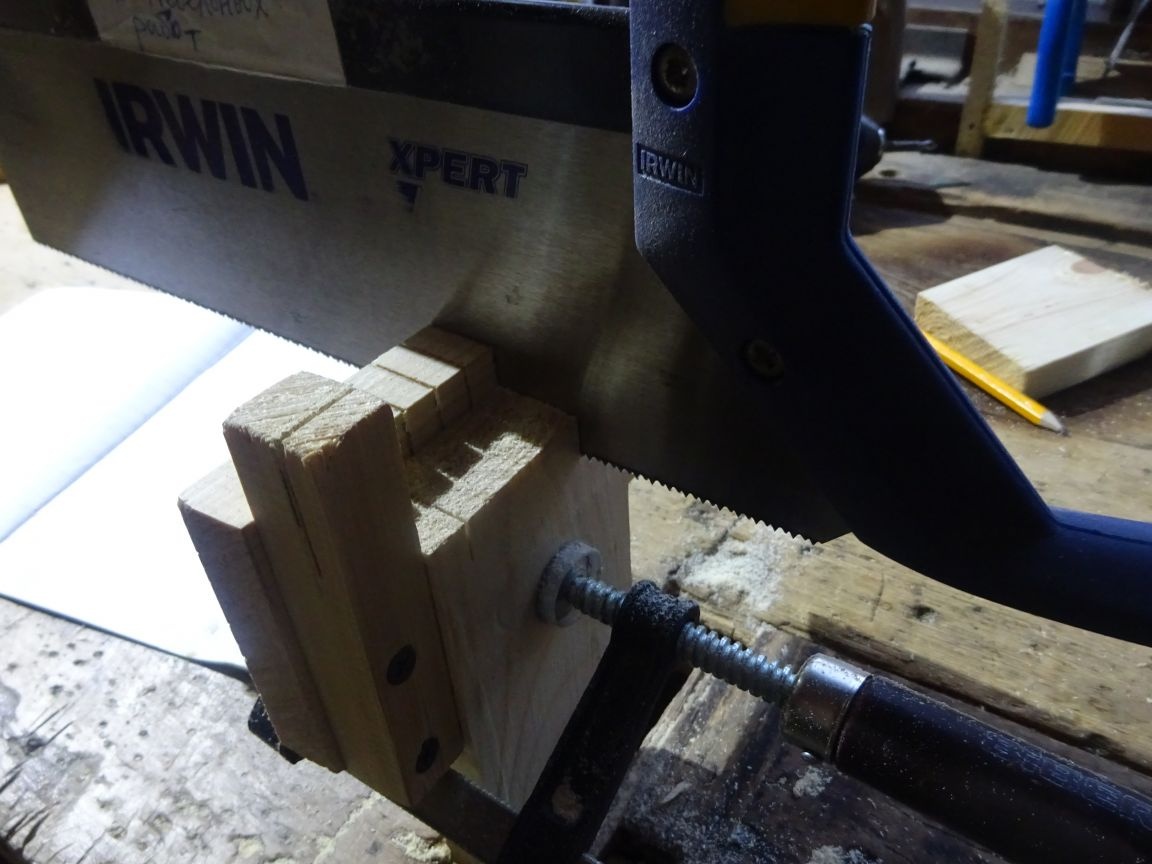
Step Three Turning the bar into a miter box.
Clamp the workpiece in a bench vise. With a saw blade (after all, an adaptation is being prepared for it) on the right, close to the line (in order to better control the process), we cut a bar to a depth of 2.5-3 cm. There are eleven such cuts.

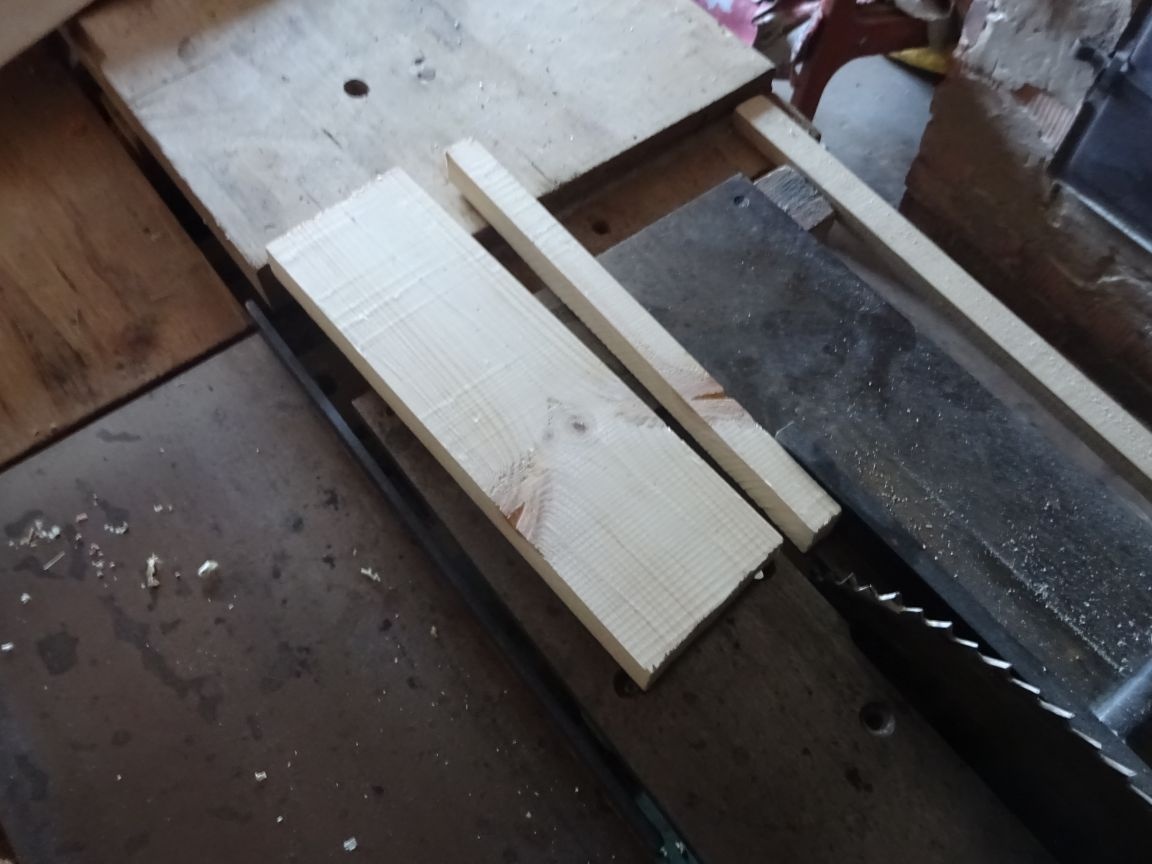
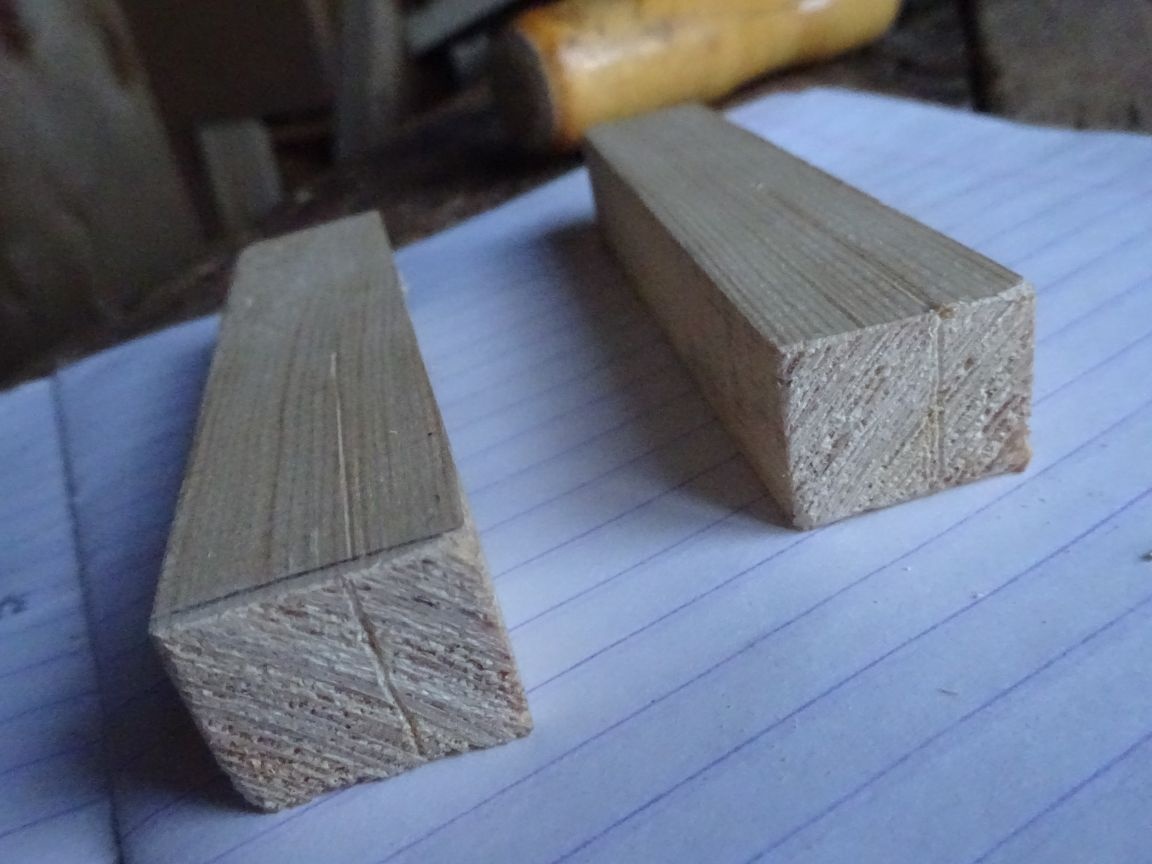
Step Four From reiki to bars.
We take the prepared rail and mark it in two parts with a length of 10 cm. We saw it. To remove gross irregularities, we process the obtained bars with sandpaper.
Step Five Drilling and thicknessing.
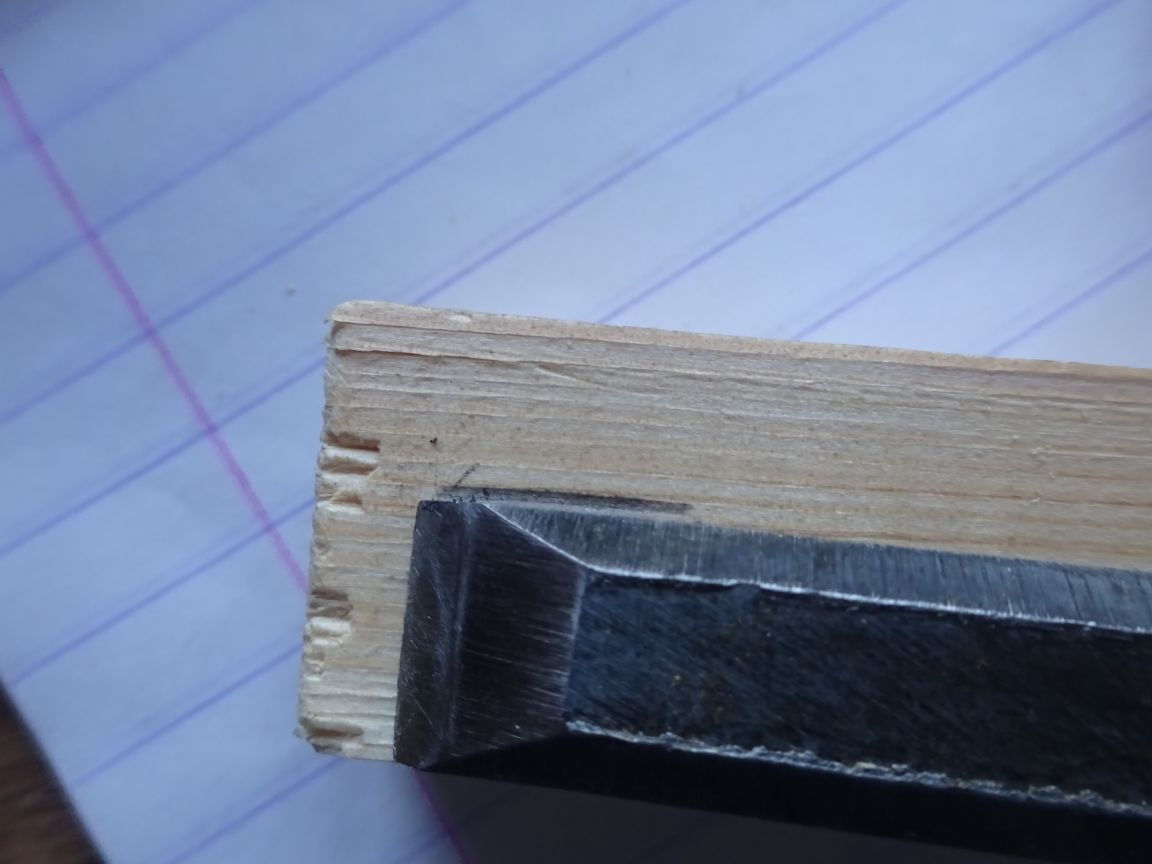
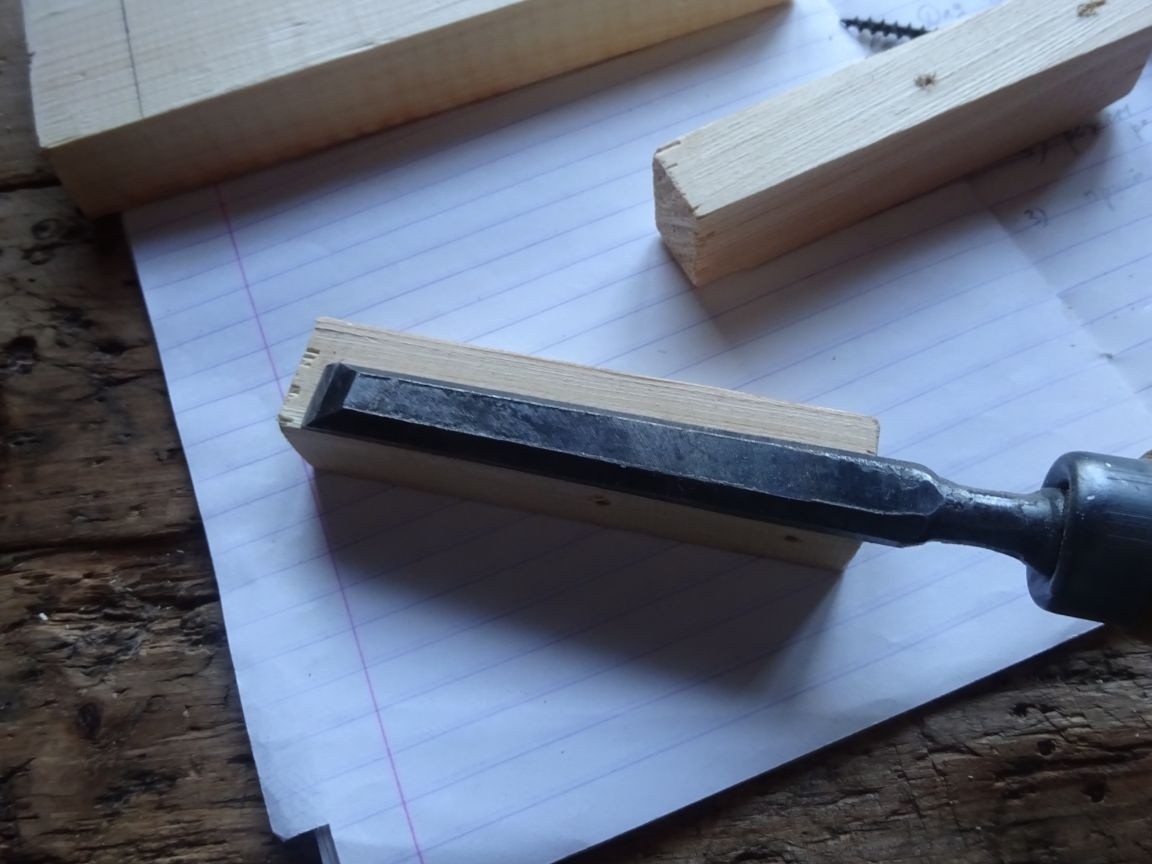
We put small bars on a large one along the edges near the long lines. We do this to correctly mark the places for the screws. Celebrate them. We drill with a drill. I take out the grooves in the legs of the stools, chairs, coffee tables, with rare exceptions, with one chisel, so we extend the thicknesser rail to a length equal to the width of the chisel, and draw it with respect to the plane in which the stops will touch the main bar, to a depth of 3 cm . We fasten the small bars to the large one with four self-tapping screws, extremely close to the long lines.
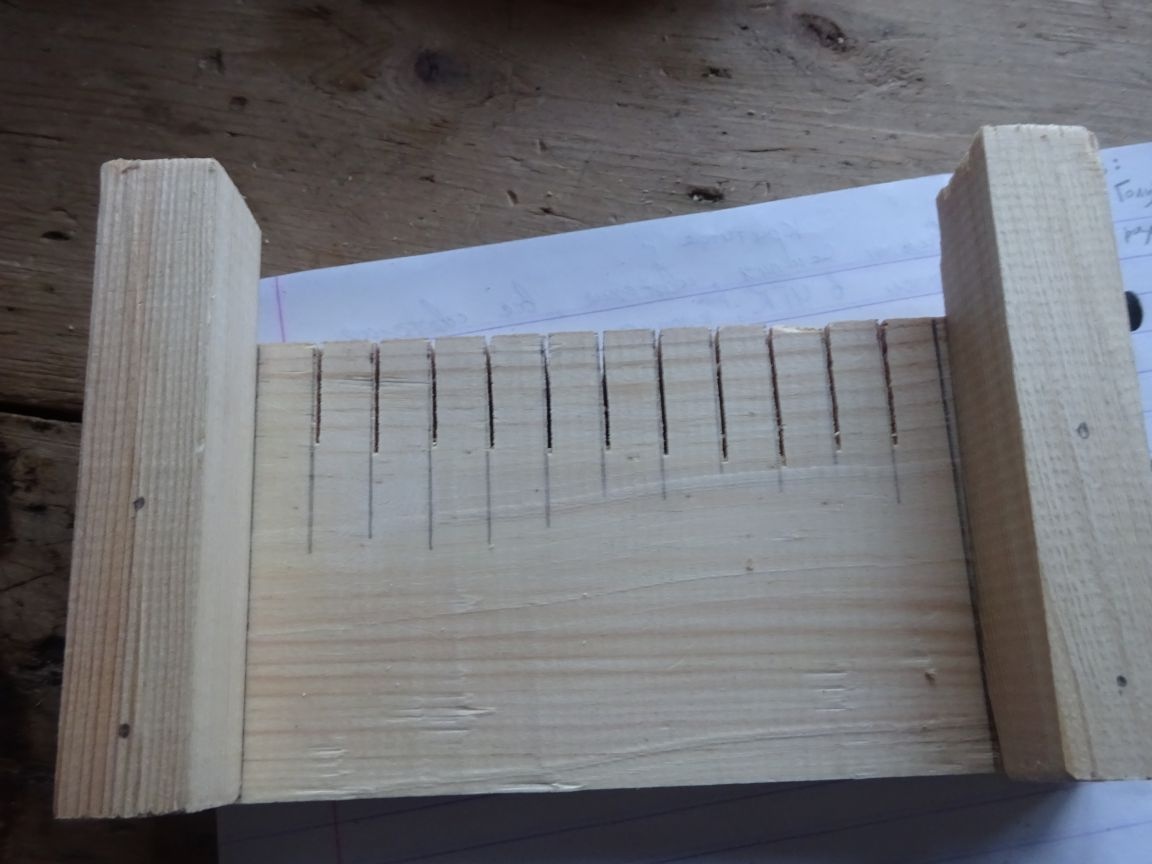
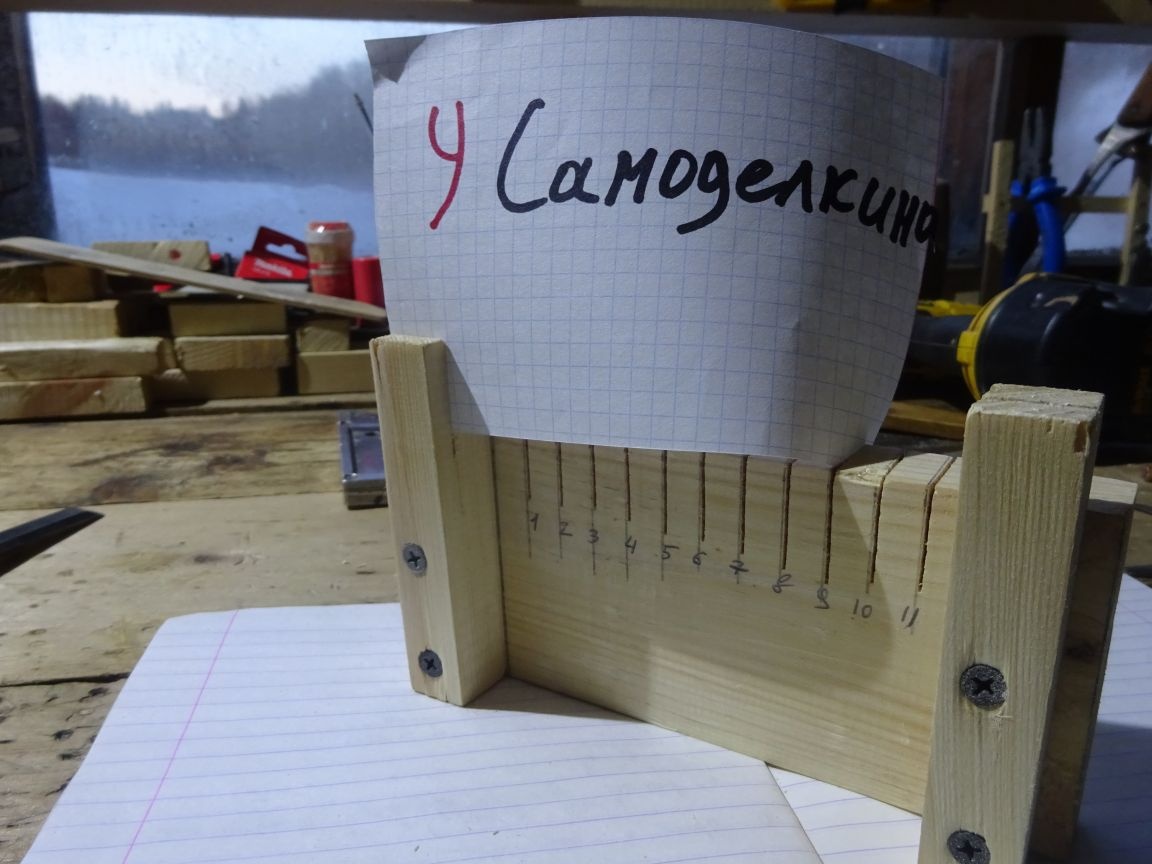
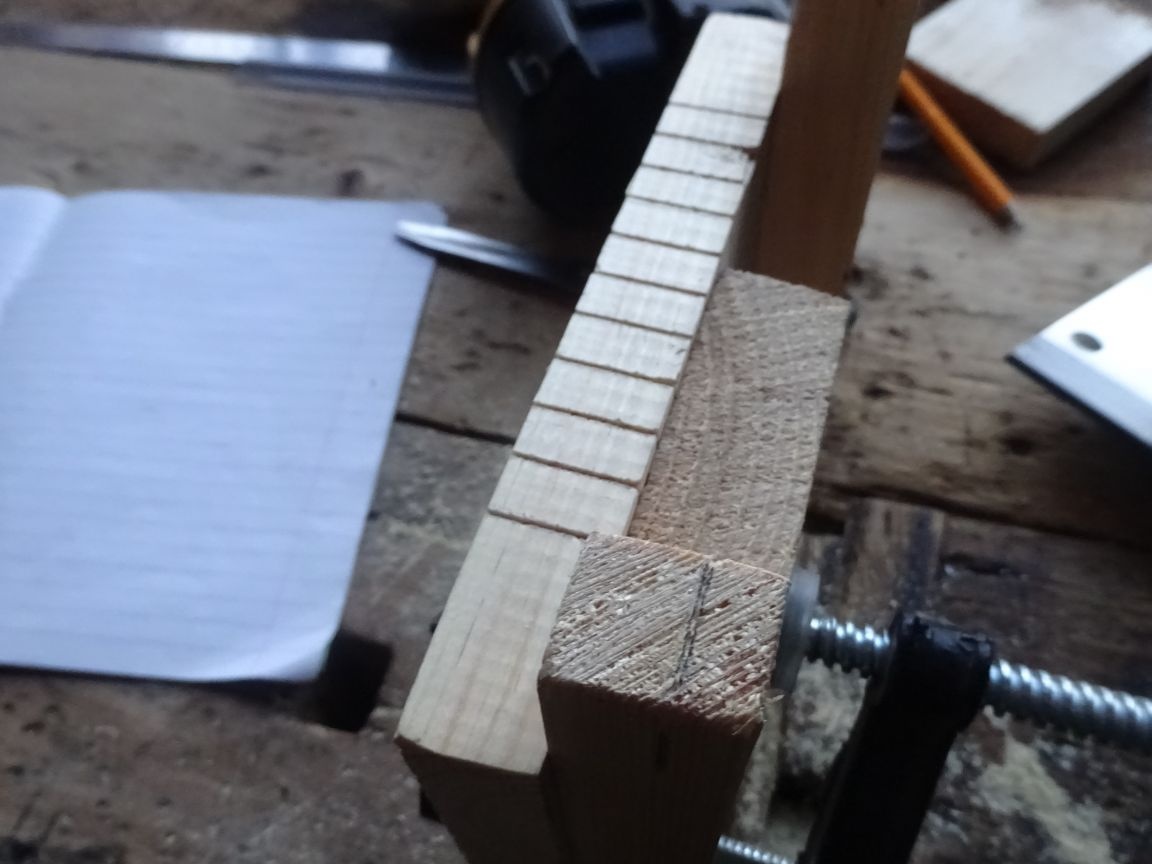
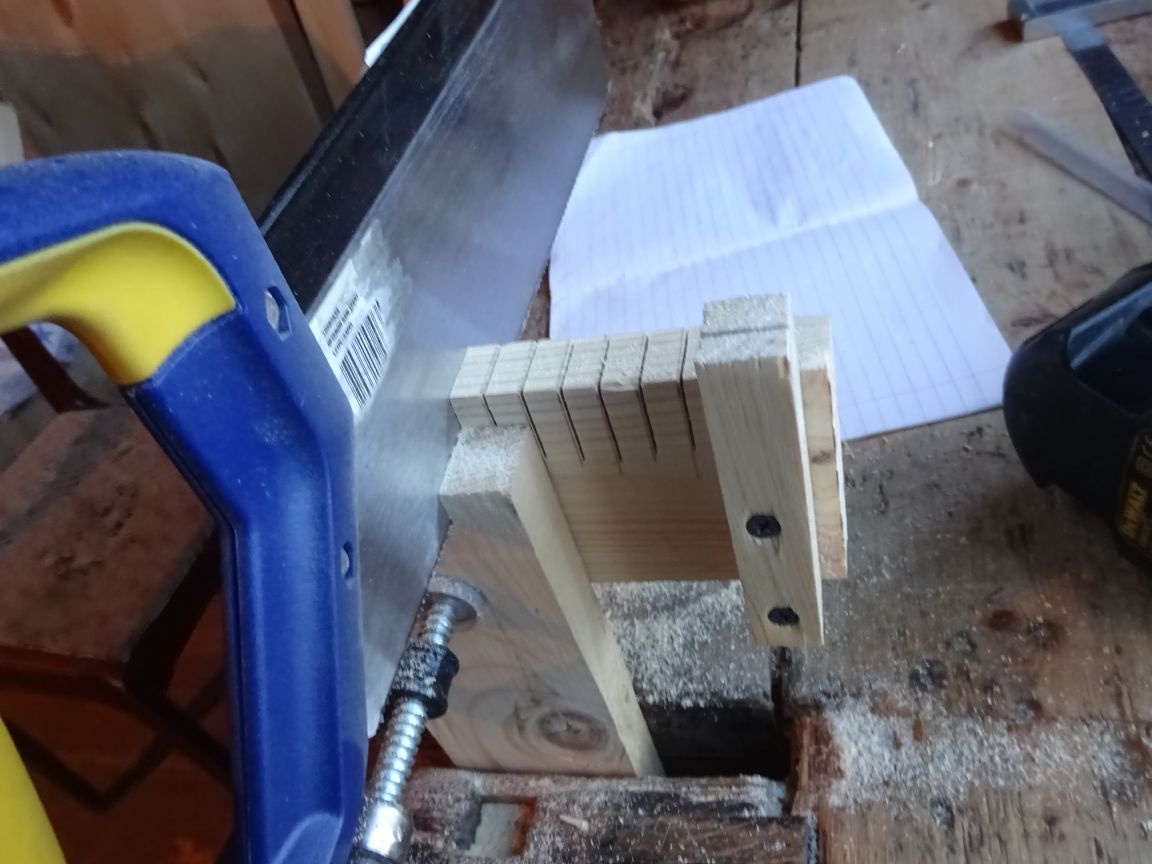
Step Six (final).
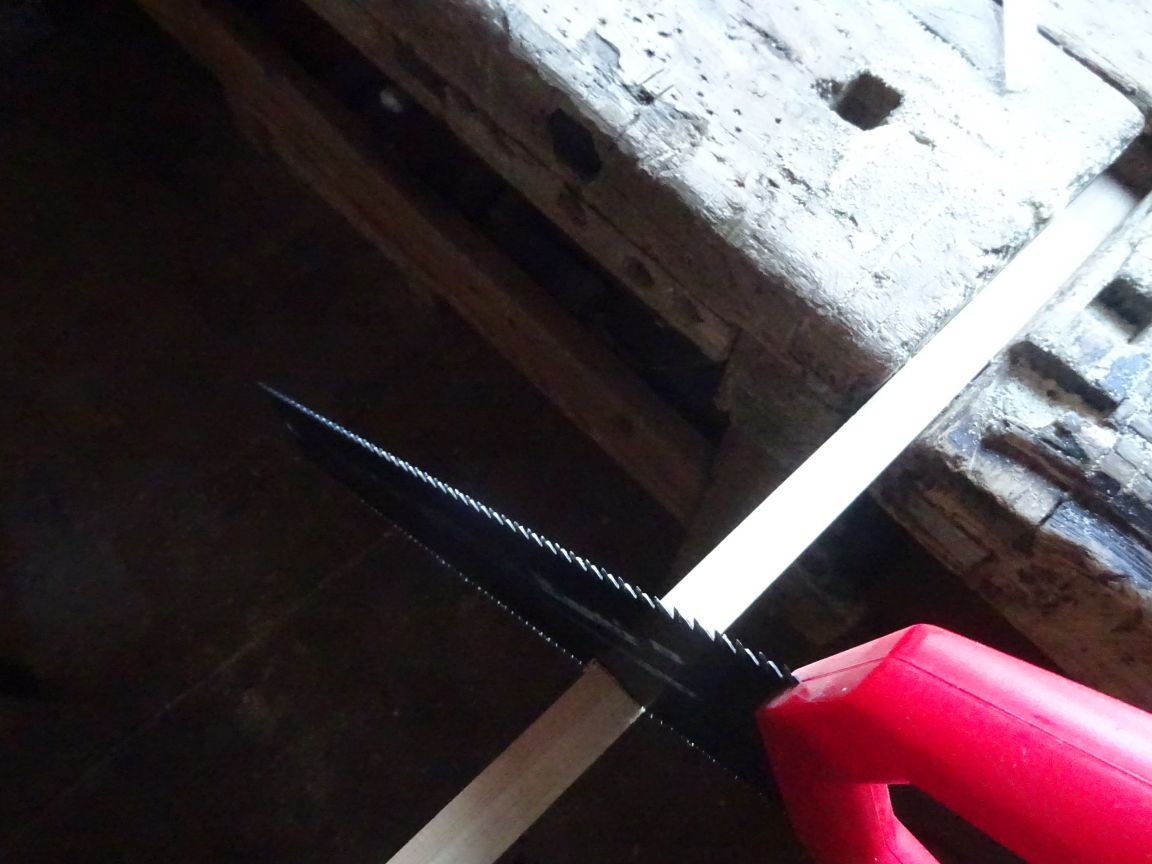
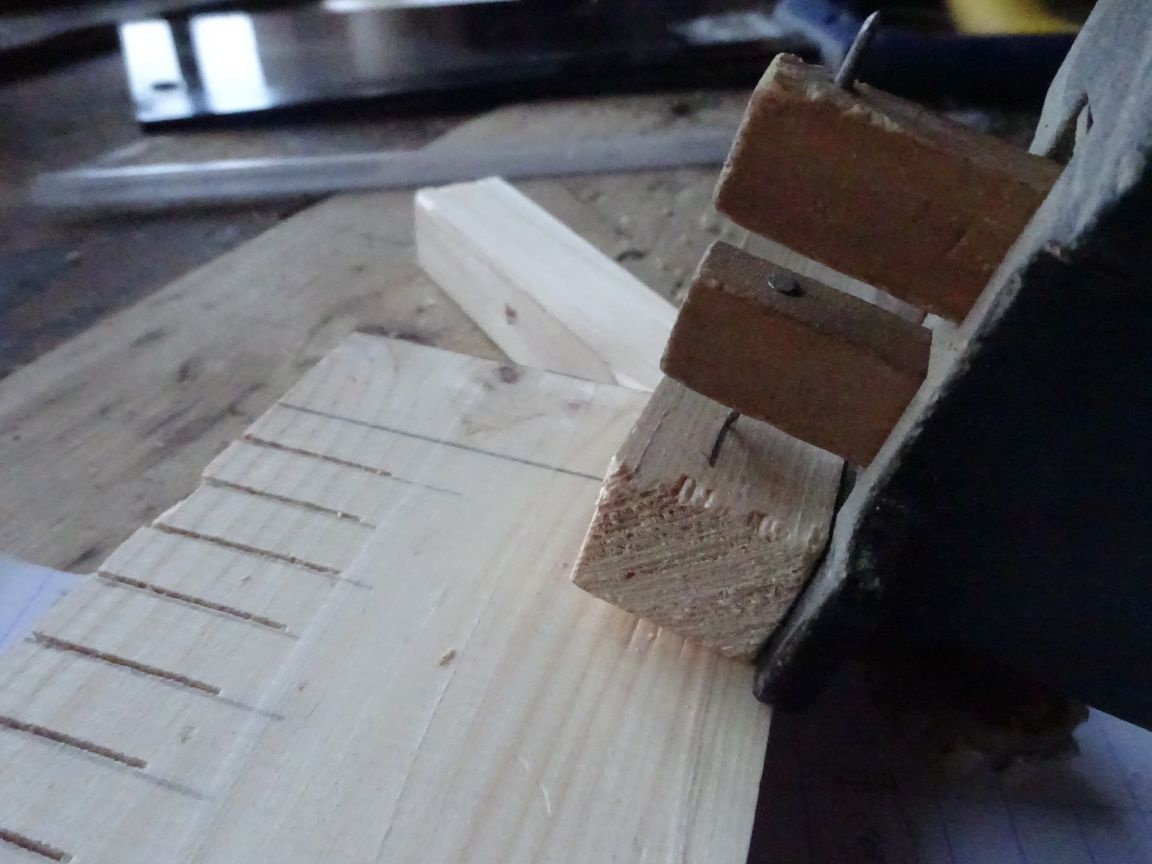
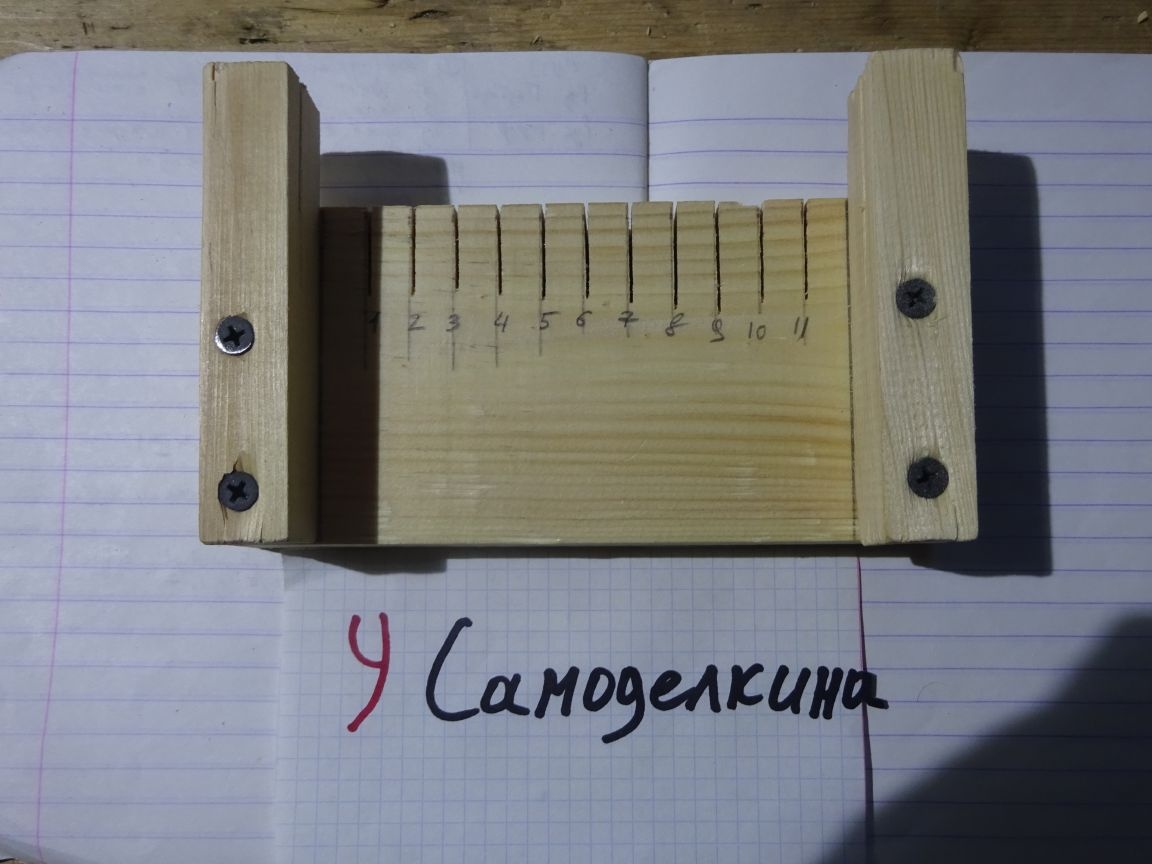
We take the second long bar that comes to hand, which will serve as a prototype of the czar. Clamp it tightly in the grip of a workbench. Next: we attach the still-not-ready adaptation with the left emphasis to the clamped wooden material so that the latter is just below the upper edge of the main bar. For a clearer identification of traces from the thicknesser, you can draw a pencil over them. With a saw blade, we follow these traces. Having removed the saw, we find the finished device. For convenience, we sign the numbers of the cuts with numbers.
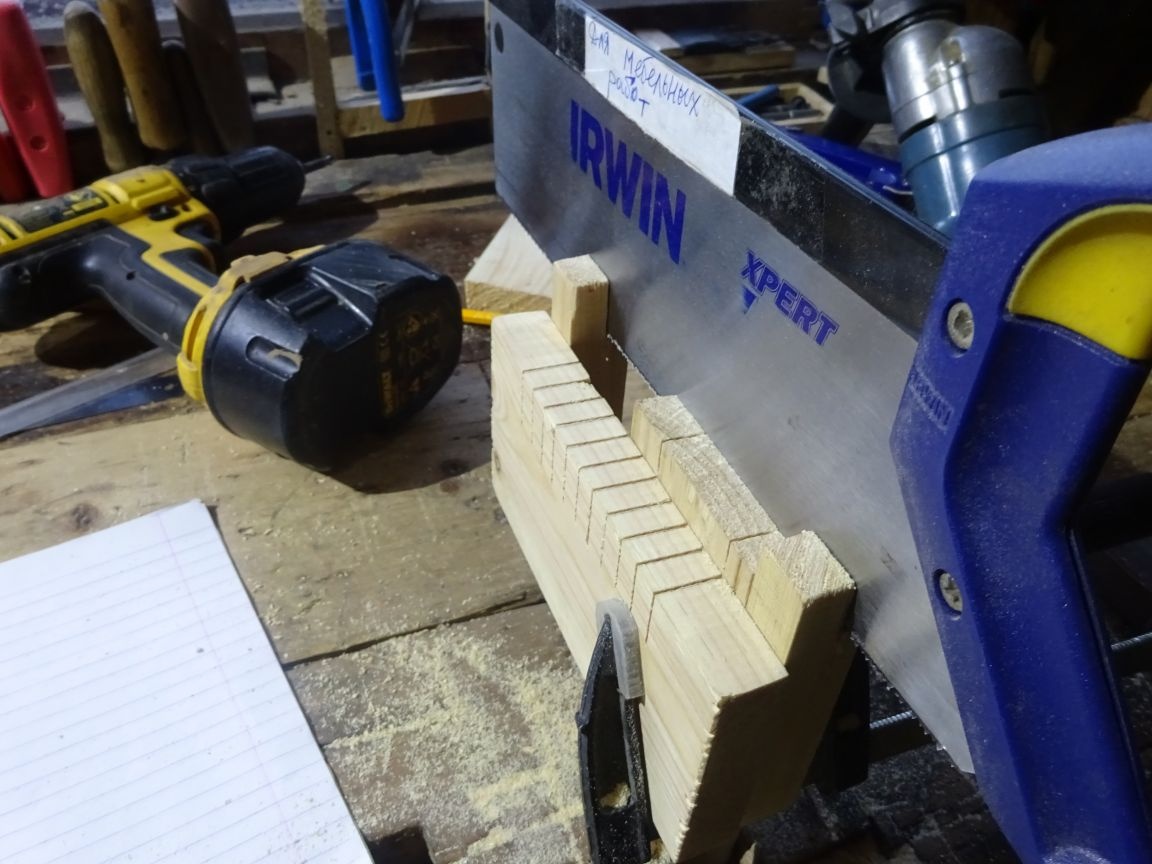
Seventh step. Check for suitability.
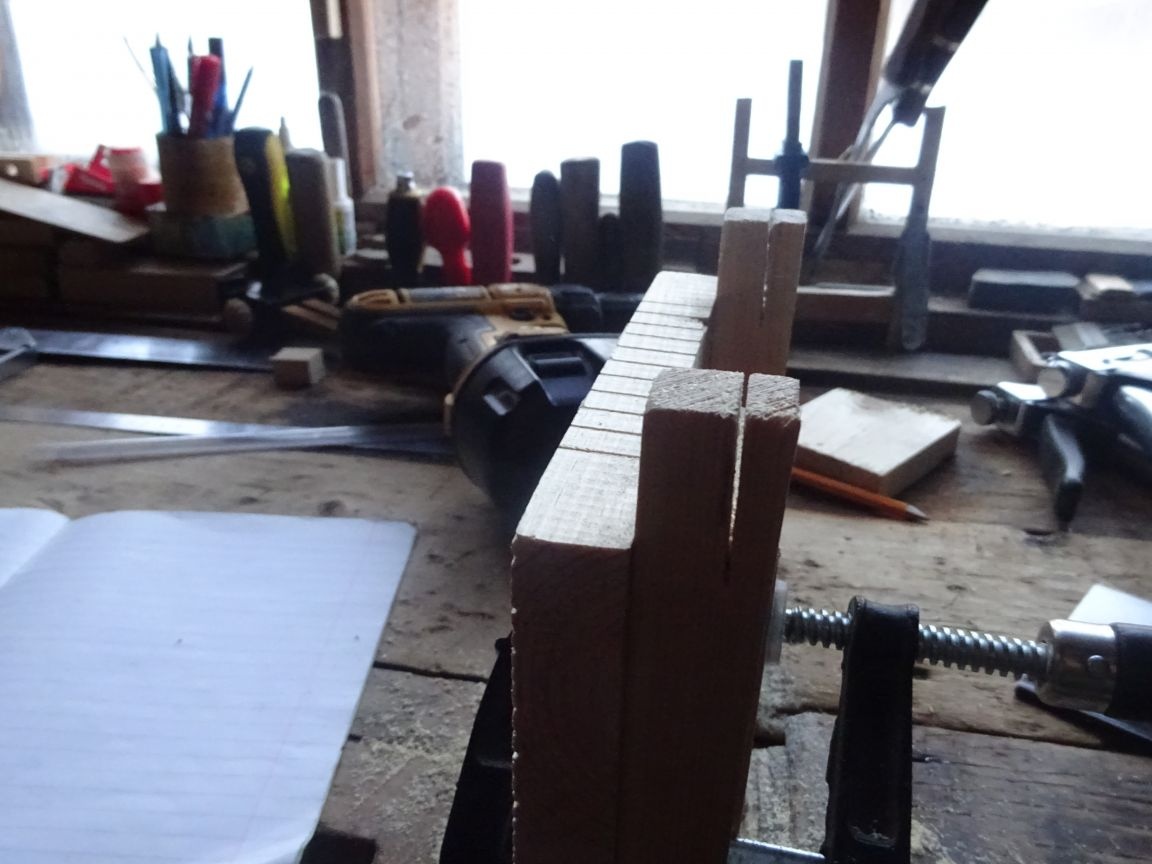
Now we need to test the resulting product. To do this, insert the saw into the recesses at a distance of 1 and 5 cm from the left stop (the distances are taken randomly, for clarity) and sawn alternately.
Then lower the tool by about 2 cm. And saw along the end of the workpiece. The length of all cuts should correspond to the height of future spikes.
It turns out the following.
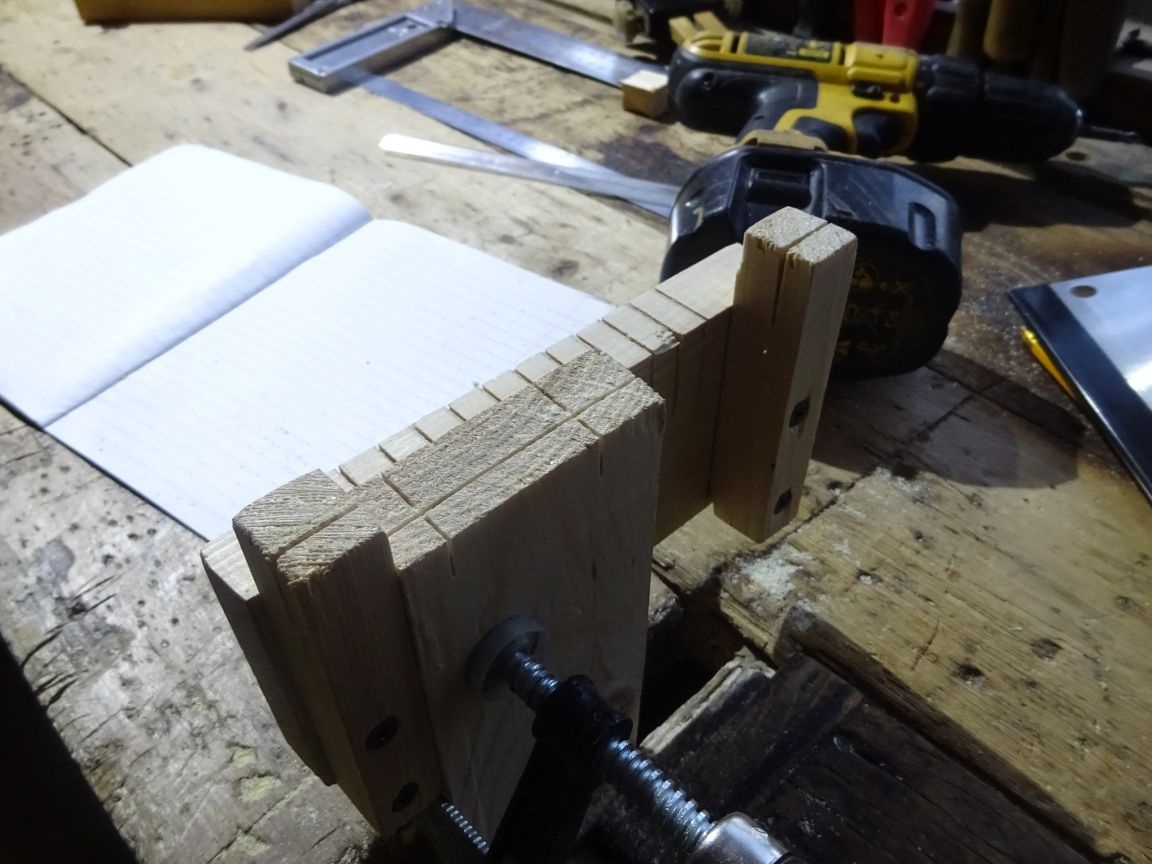


It remains only in the usual miter box to saw off unnecessary volumes. Now you can see how the device worked.
Conclusions.
When using this product, in addition to the saw, a clamp and a vice will be required. But immediately the work is significantly facilitated: you do not have to go through each tsinger with a thickness gauge. It is recommended that before using the device for the intended purpose, prepare two (or more) emergency stops, inserting them in the same way as the tsar, and saw them, because as they are used, the cuts in them will expand, and, accordingly, the spike width will be unstable. It should also be noted that I did eleven cuts not according to the dash, but next, that is, from the left stop I got the distances: 11, 21, 31 mm, etc. And it’s worth remembering when preparing the tsar, adjacent to the seat of the stool , a chair and other similar furniture. The accuracy of the dimensions of the spike itself is more important to me.