
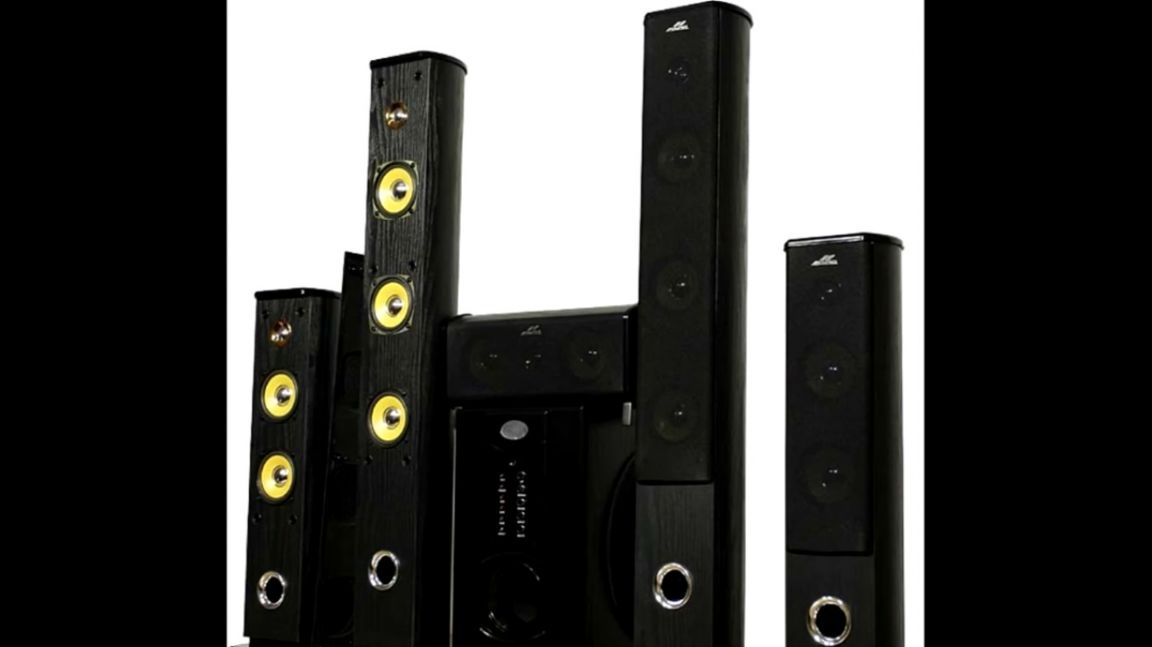
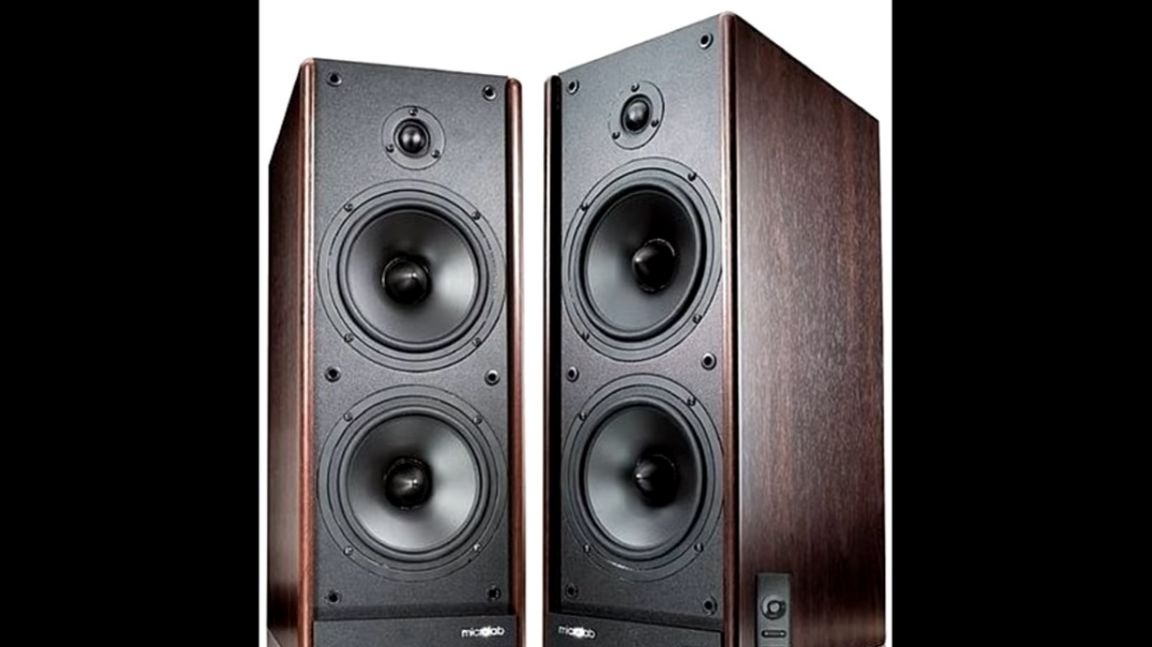
It all started with the fact that the author was asked to embed a bluetooth module with a display in the active speakers. But the speakers turned out to be quite powerful and expensive, and he did not dare to cut a window for them under the bluetooth module, as this can greatly degrade the sound, and also to some extent spoil the appearance. And there is not always a place where you can install this mortise module.
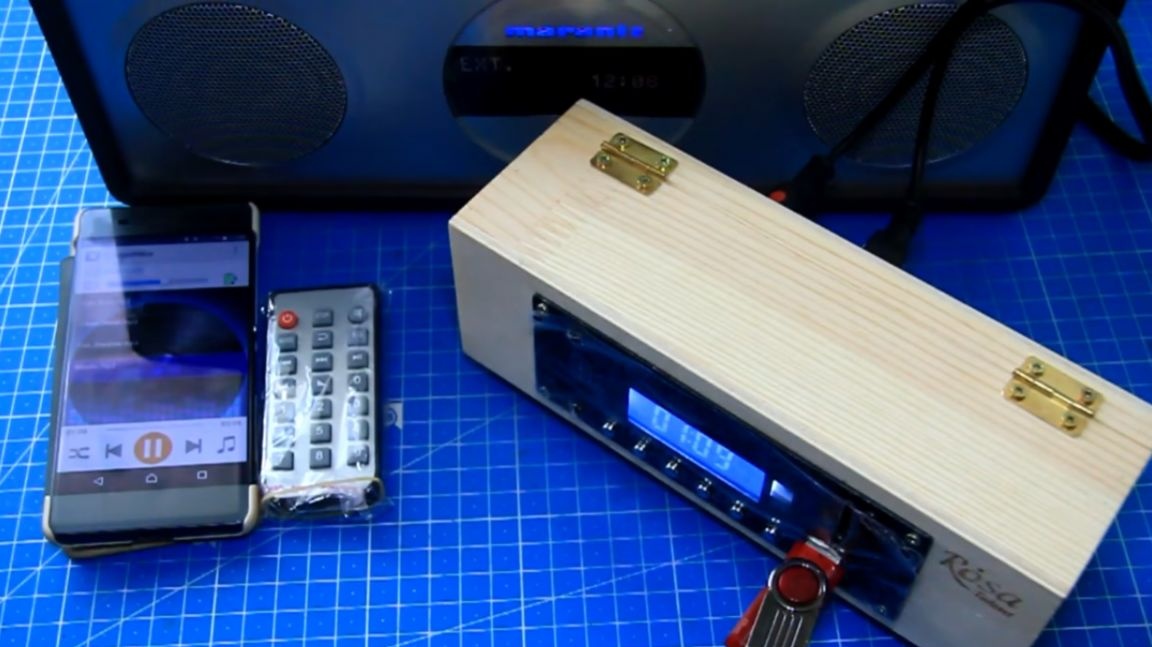
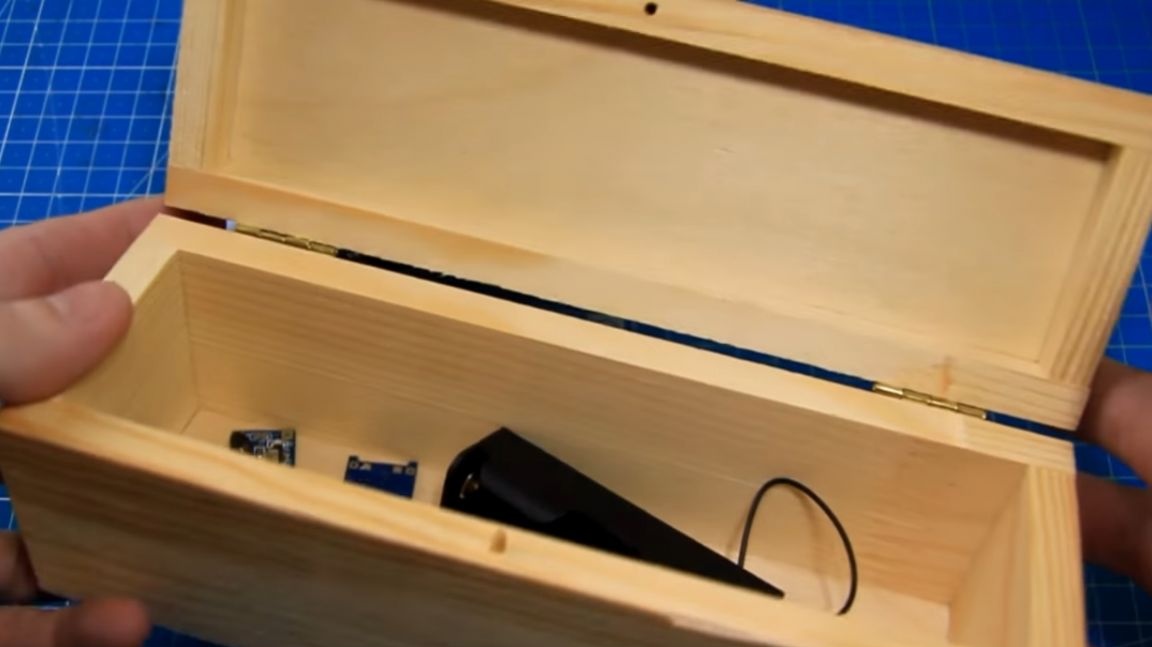
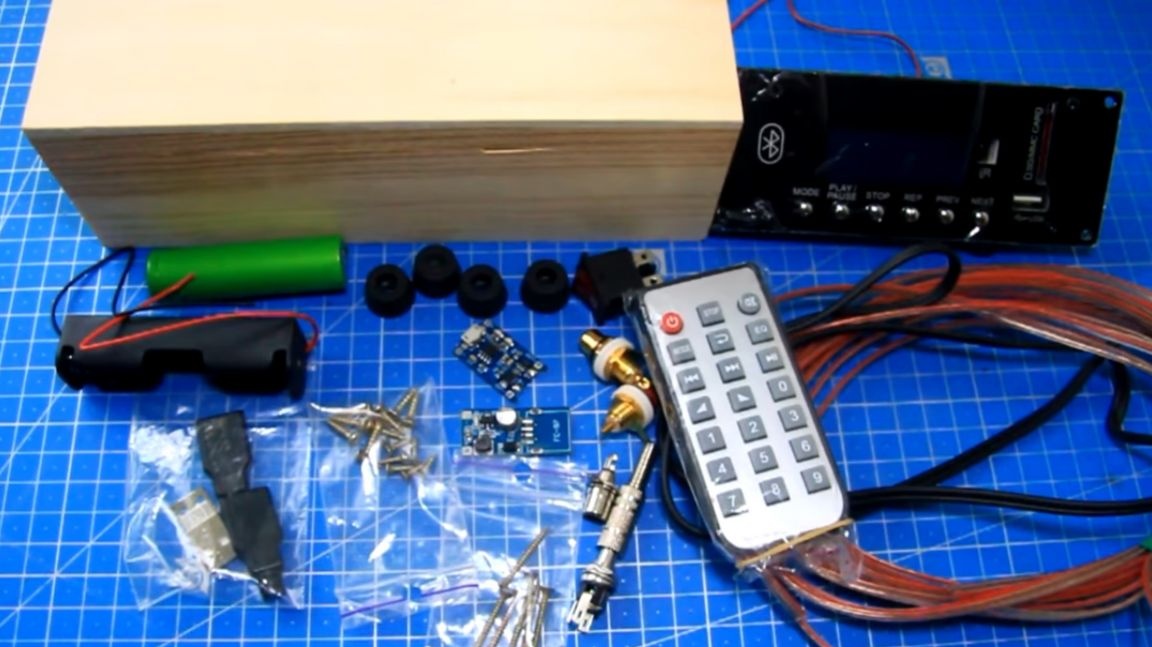
After some time, the author came up with one of the options how this can be solved, and most importantly, without direct intervention in the columns themselves. To do this, a wooden box was purchased at the stationery store for the dimensions of a mortise sound module. A lithium-ion battery, a box for it, a controller for charging / discharging the battery, as well as a mini boost converter with an output of 5 volts were also purchased. On the radio market, the author bought additional connectors for both rca and power supply, a microphone and an ordinary wire, rubber feet, and every little thing.
Stage One.
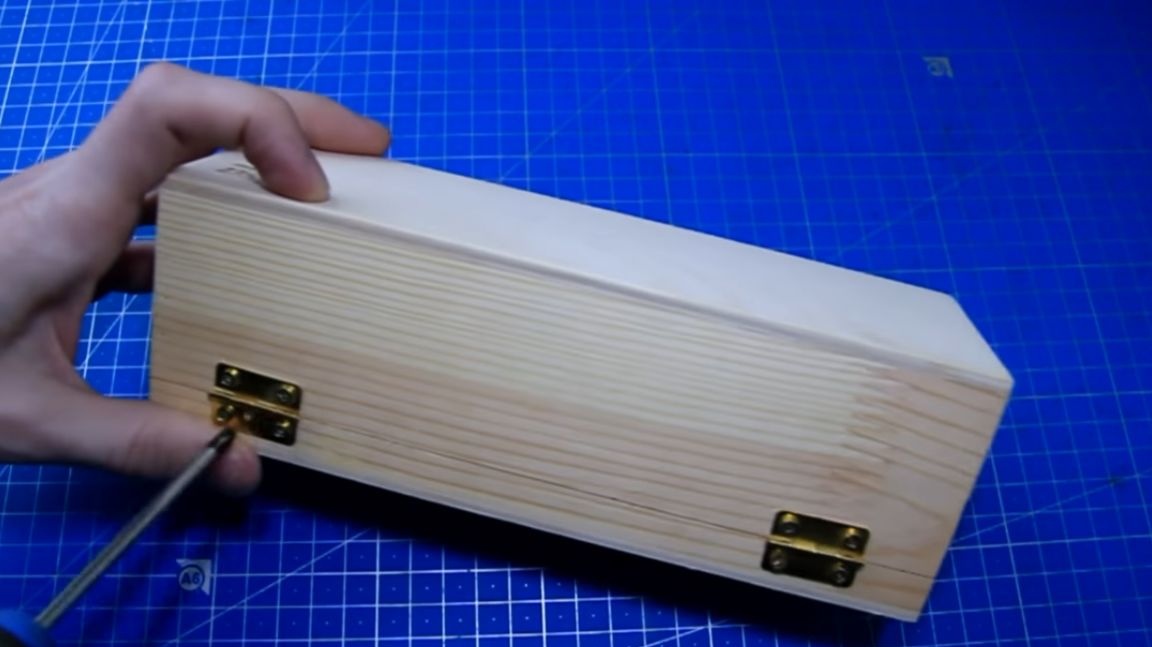
Carefully remove the hinges from the box so that they do not interfere and it is more convenient to work further.

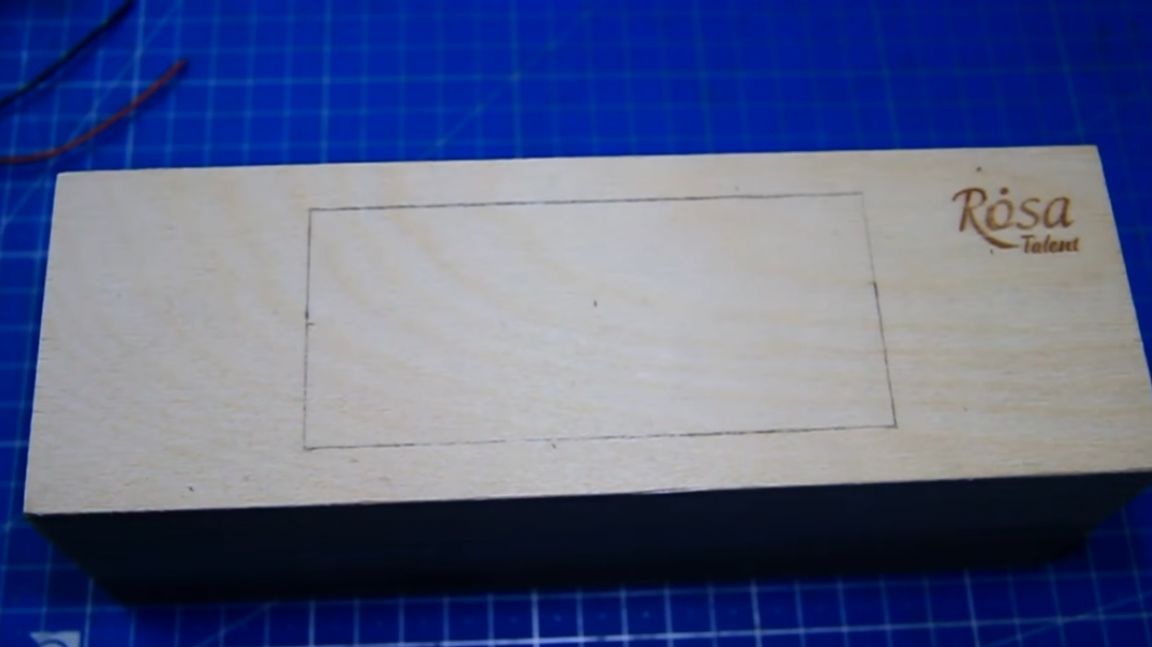
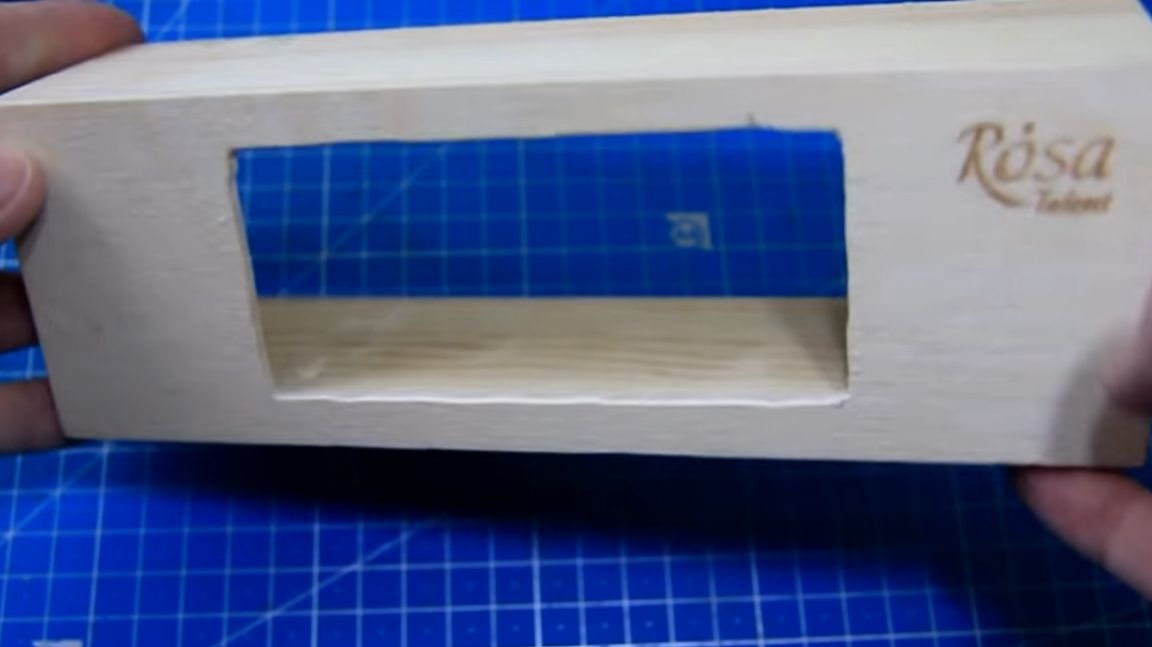
By the way, the case is made of wood, so that there is better communication via bluetooth. We try on and on the front of the case we mark out the future window for the mortise module.
Stage Two.
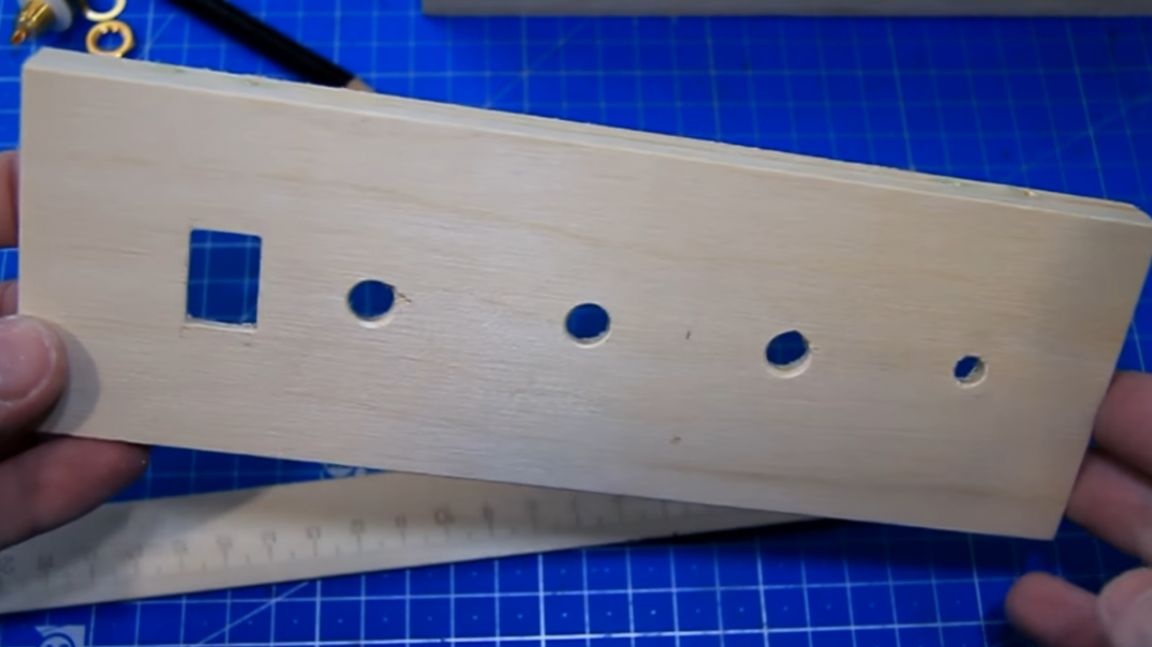
We draw and carefully cut out the future installation site of the module.
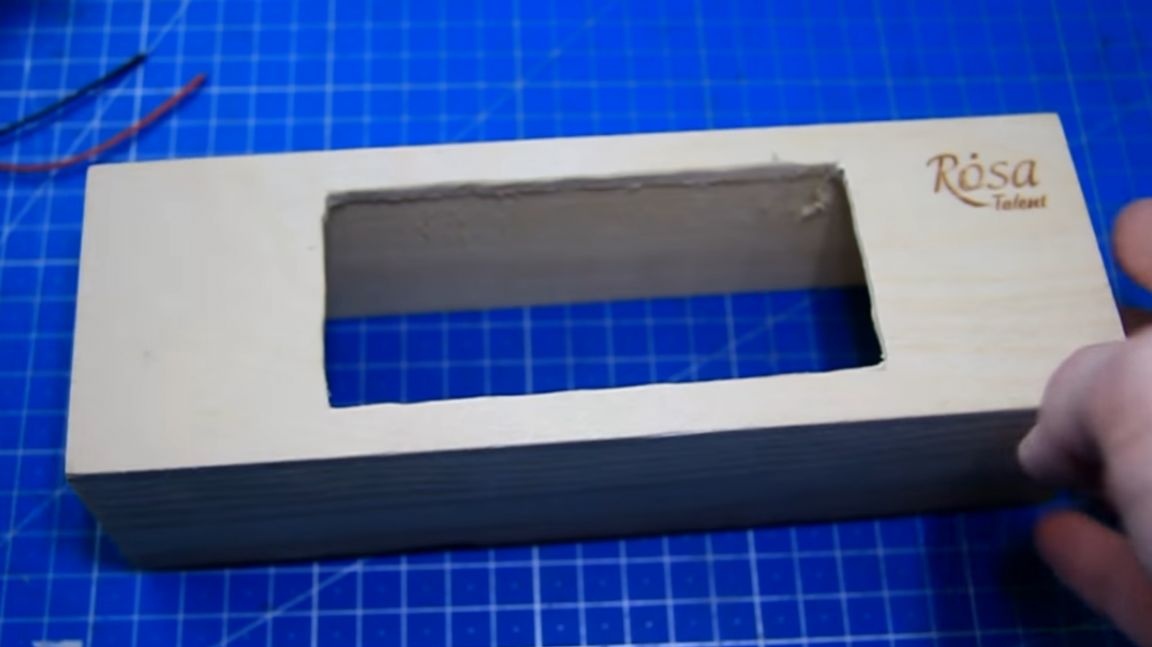
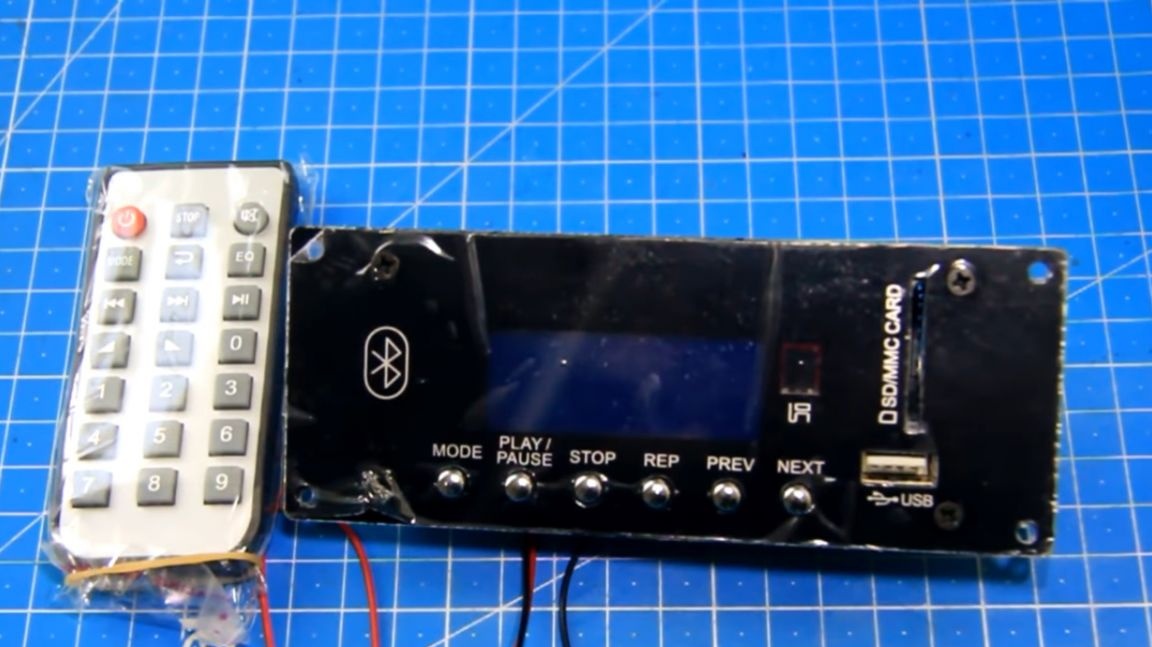
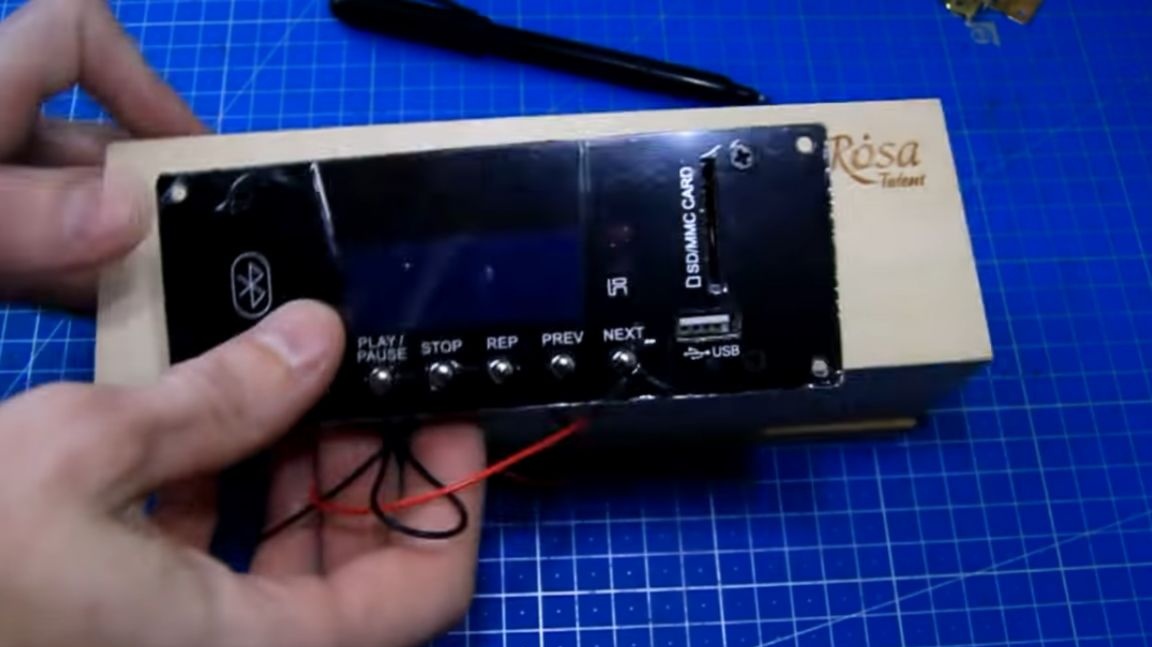
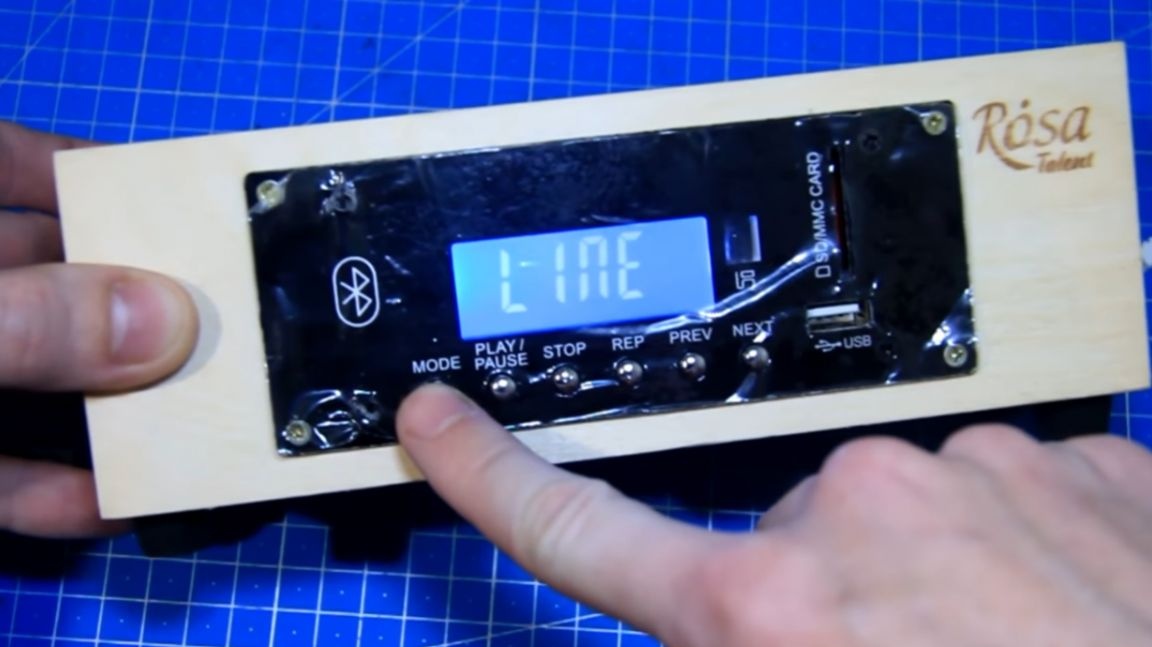
We are trying to install the module in its place.
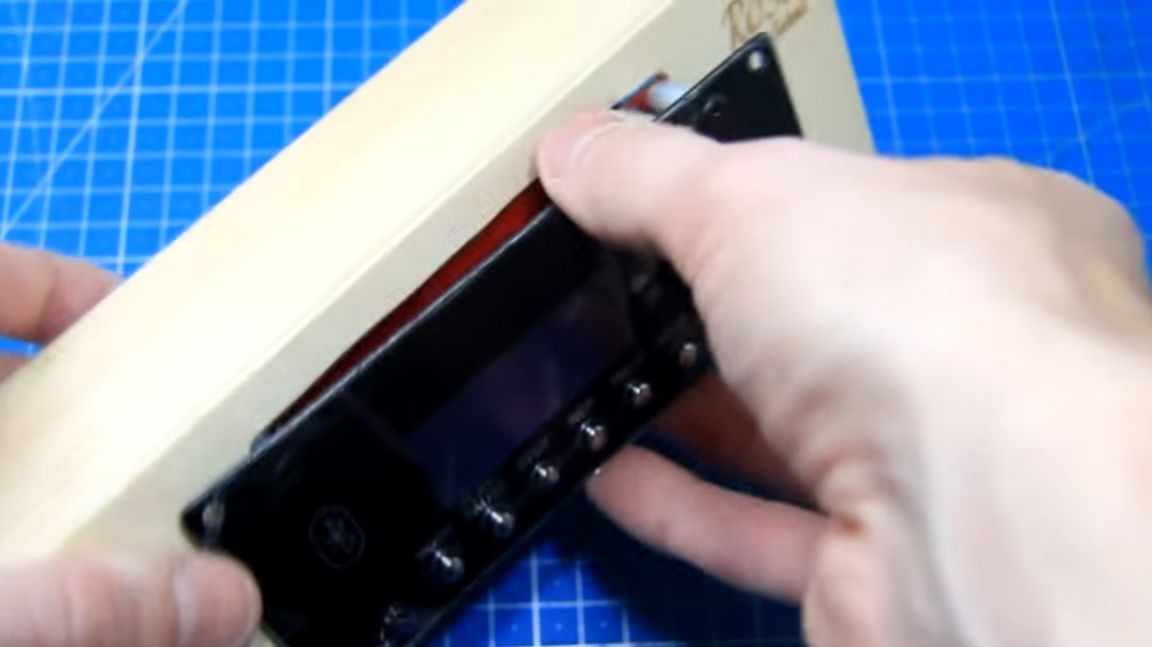
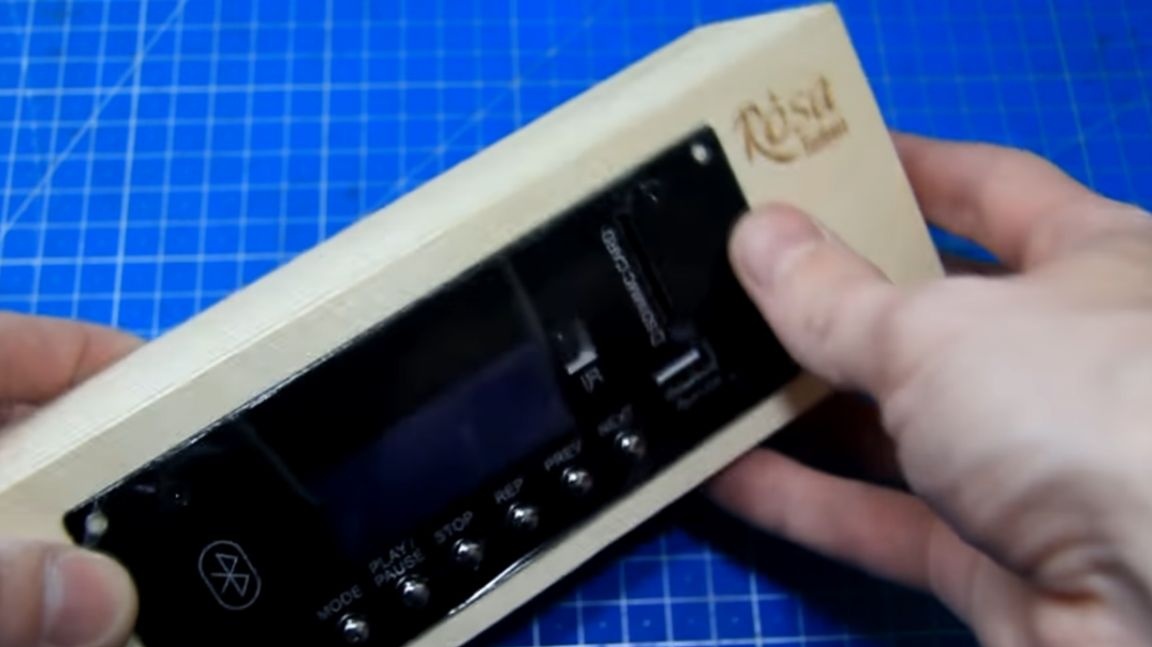
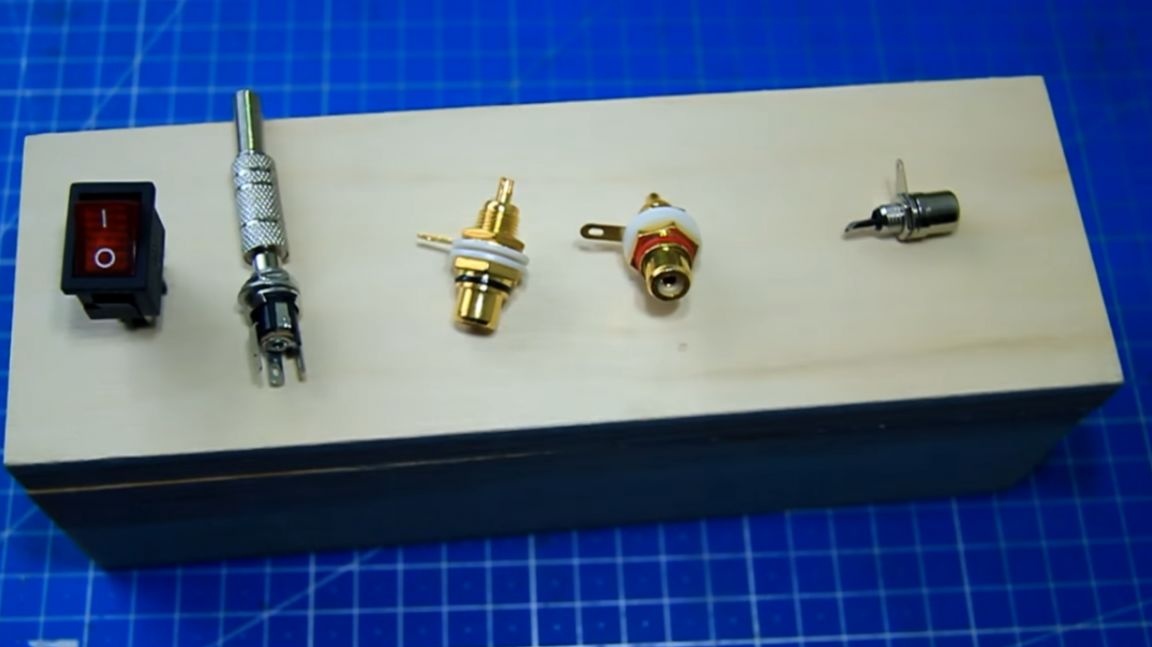
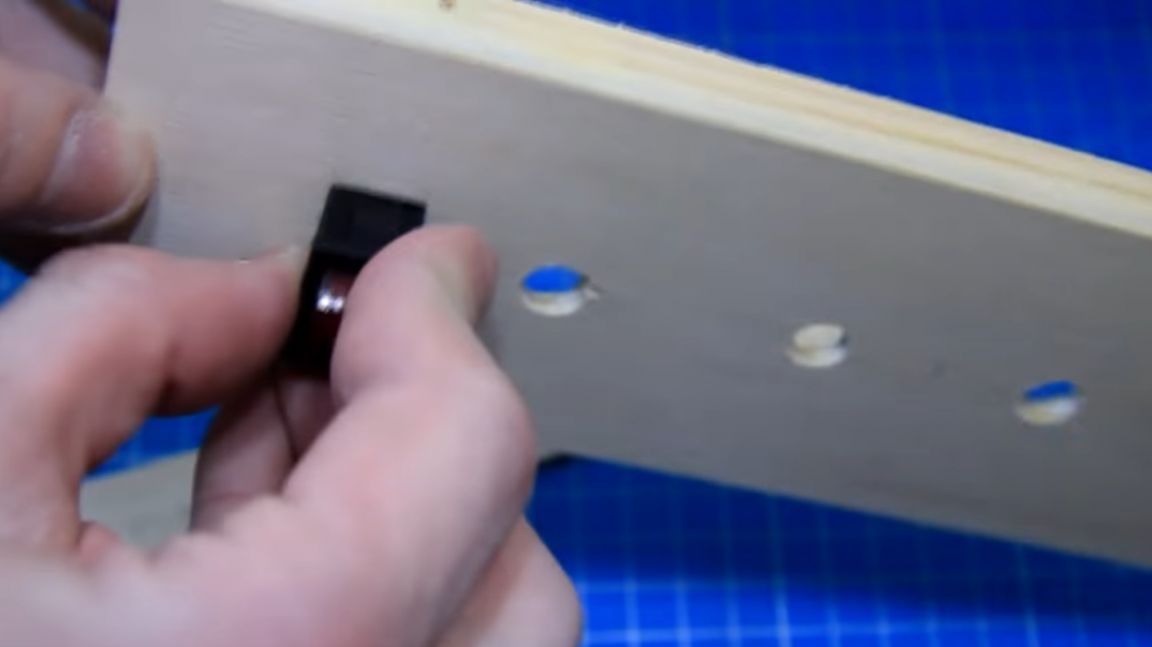
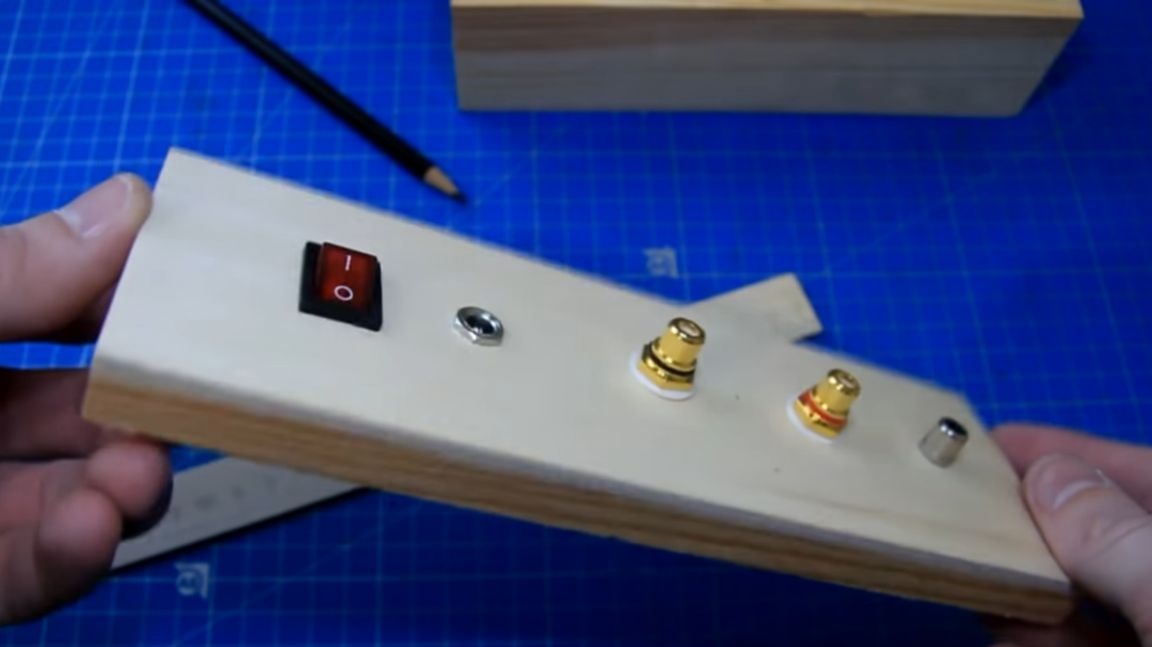
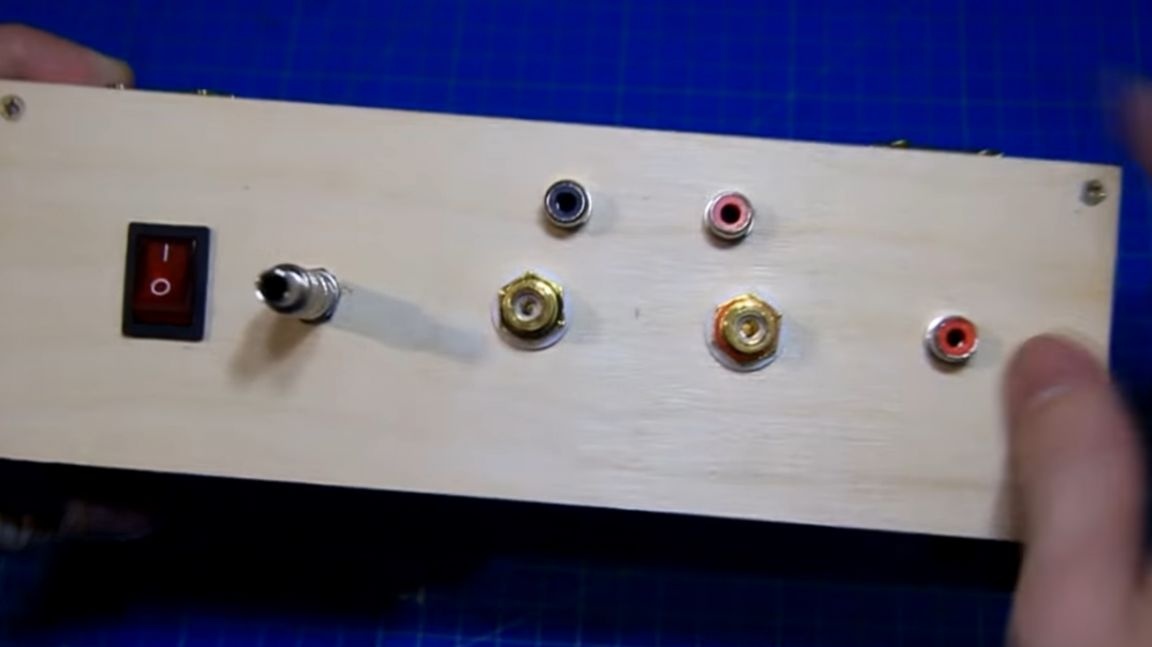
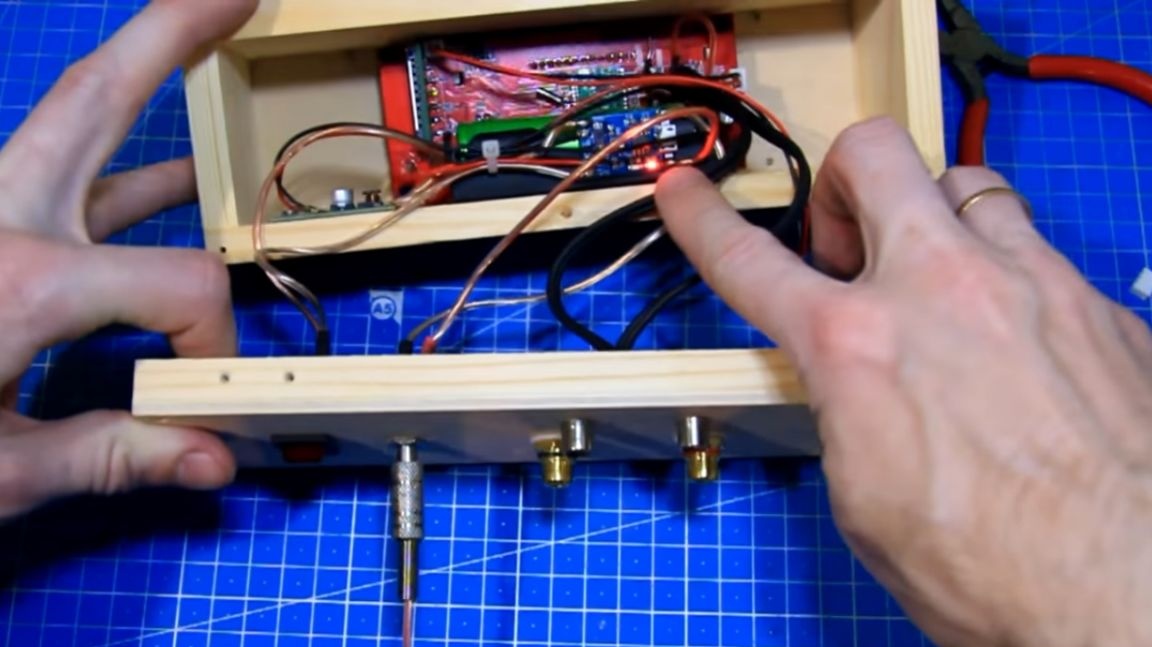
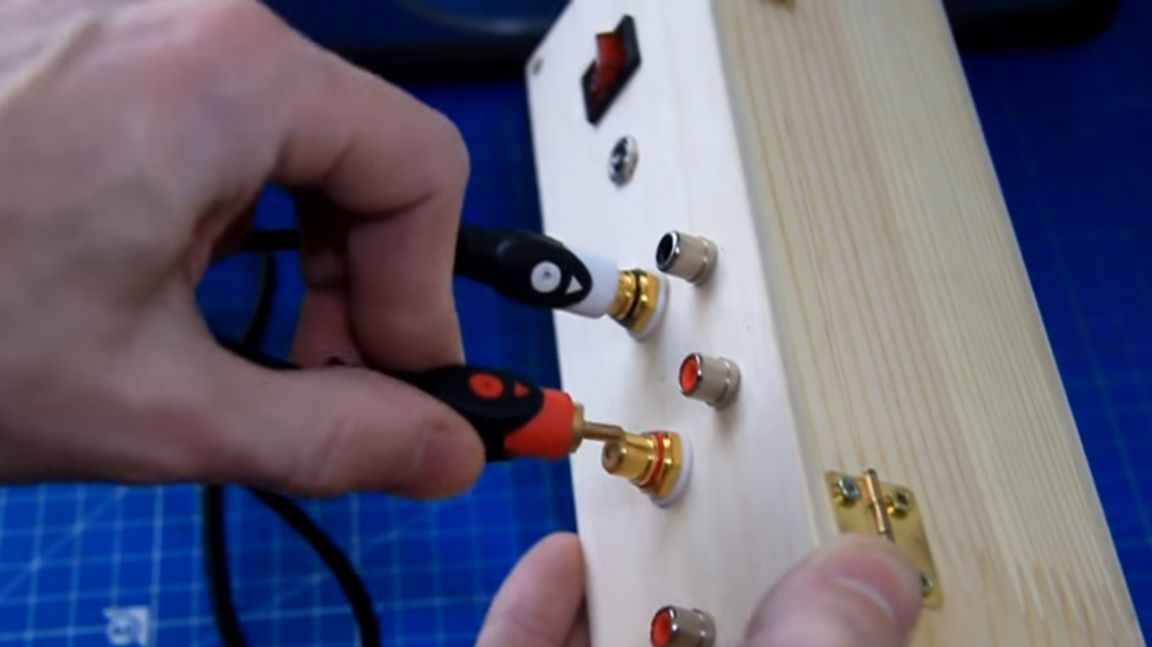
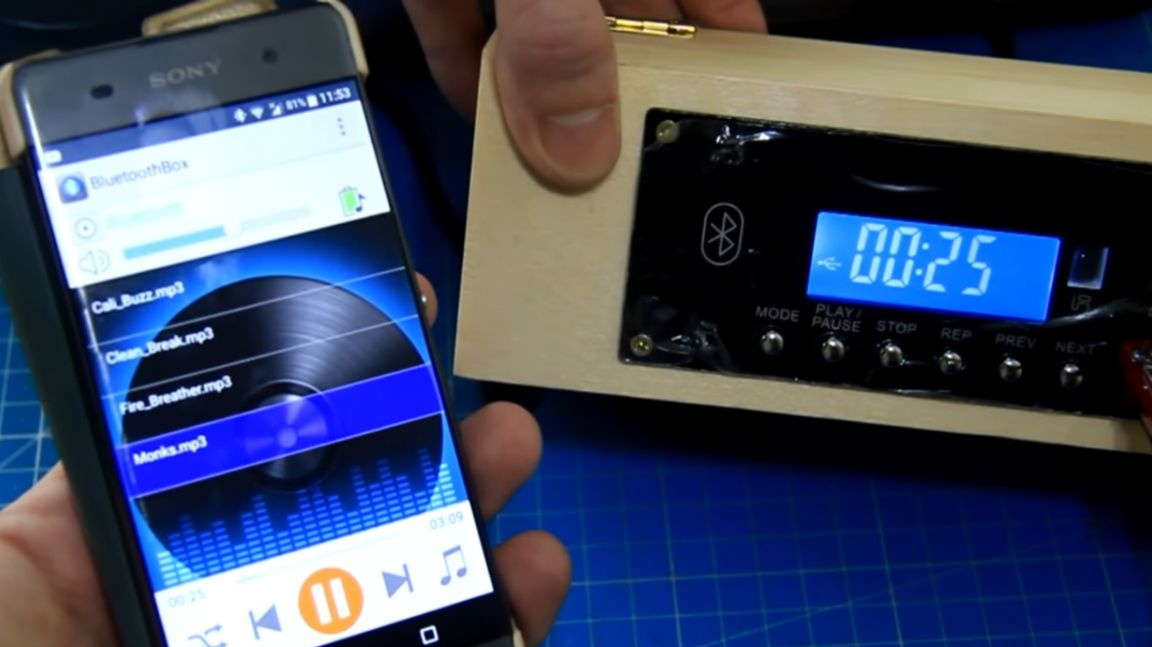
Everything fits, everything is fine. On the back wall there will be all the connectors and the power button, in front it does not look very nice. Carefully cut out all the necessary holes and install the power button, power and charging connector, a tulip for an additional external antenna, as well as more expensive tulip sound output from the module.
In the future, the author plans to add connectors for line-in. The back wall is almost ready. The case is not painted yet, so as not to accidentally ruin it. At this stage, the product looks like this.
Stage Three.
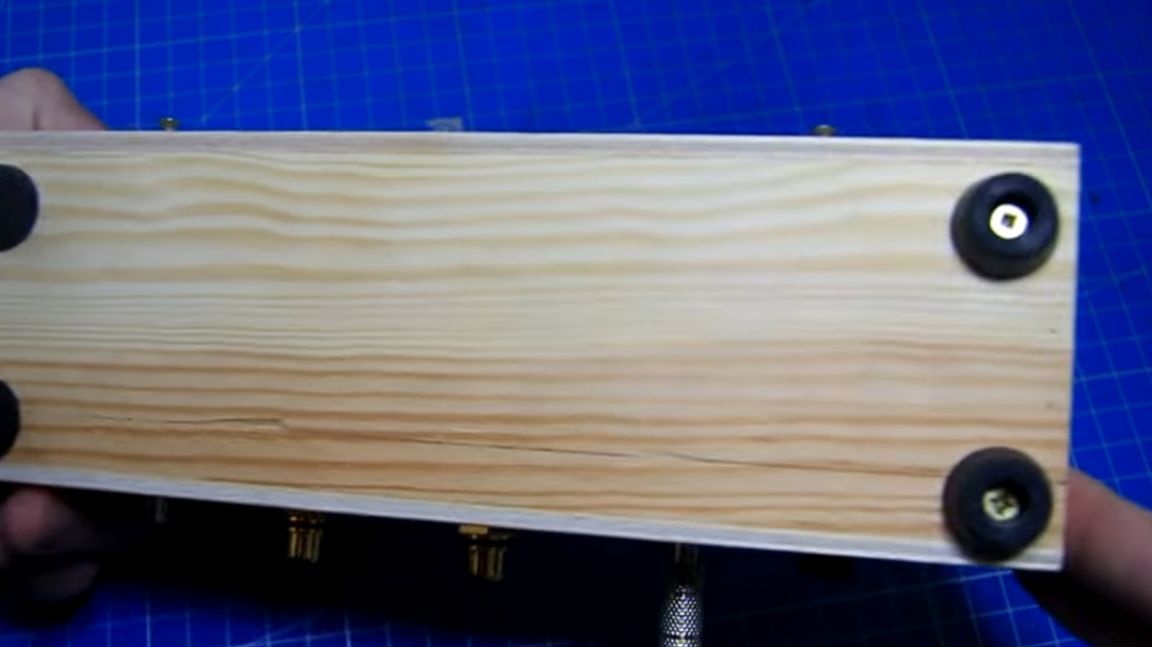
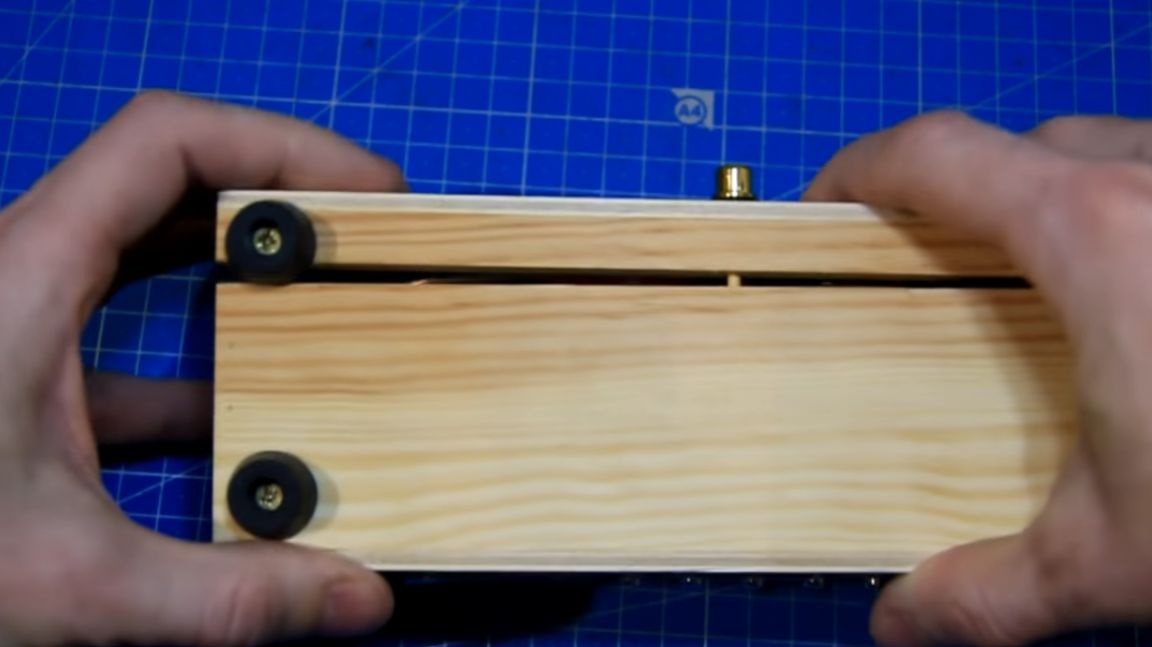
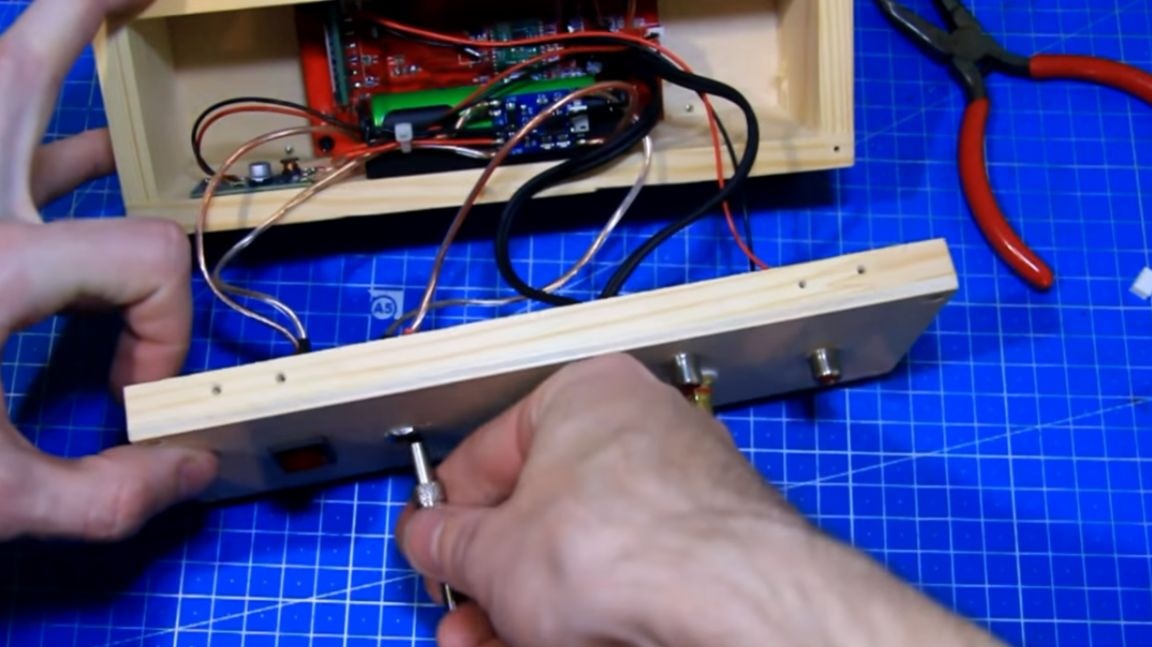
We make marks, and on the front wall we tighten the screws for fastening the mortise module. Also screw the rubber legs.
Stage Four.
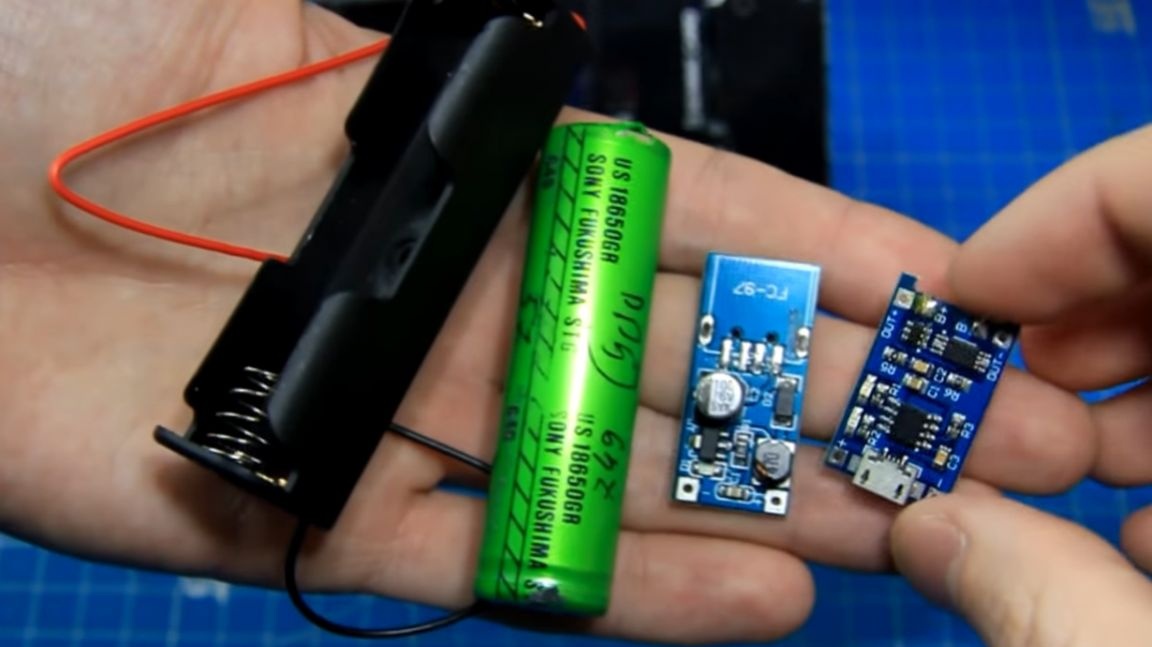
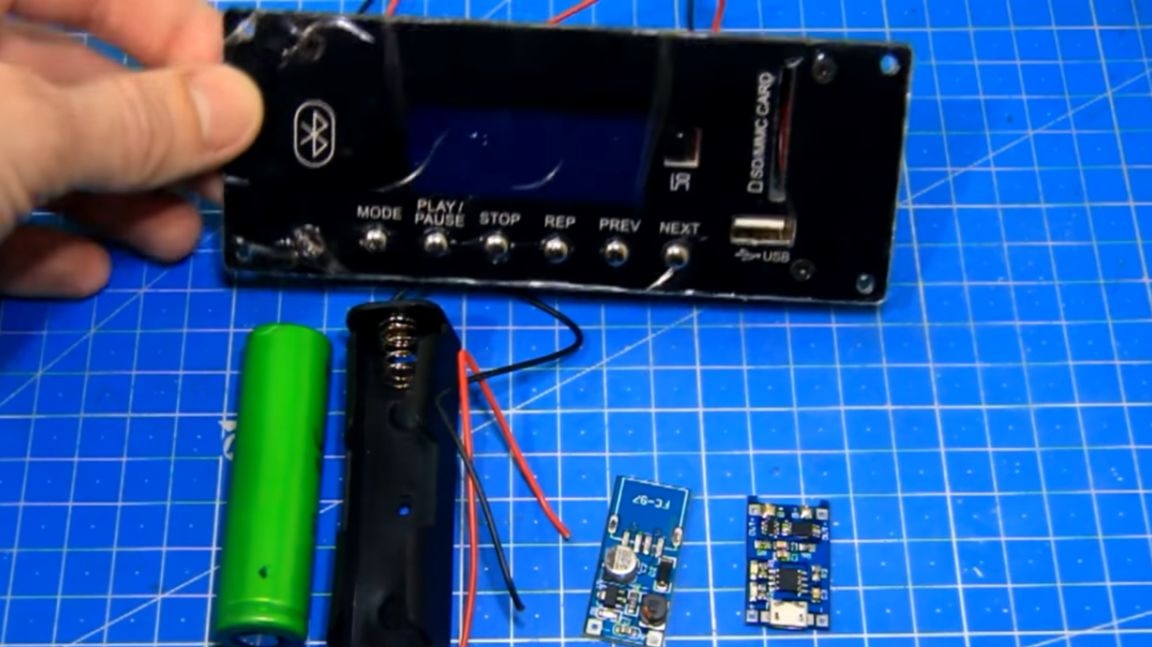
Now, slowly, you need to assemble the electrical part. It was decided to make the prefix with autonomous power. To do this, we need a lithium-ion battery and a charge controller. The battery produces 4.2 V and below, and for normal power supply of the sound module from the battery, we will use a 5 V dc-dc converter.
Also, the author added two more additional slots for line-in.
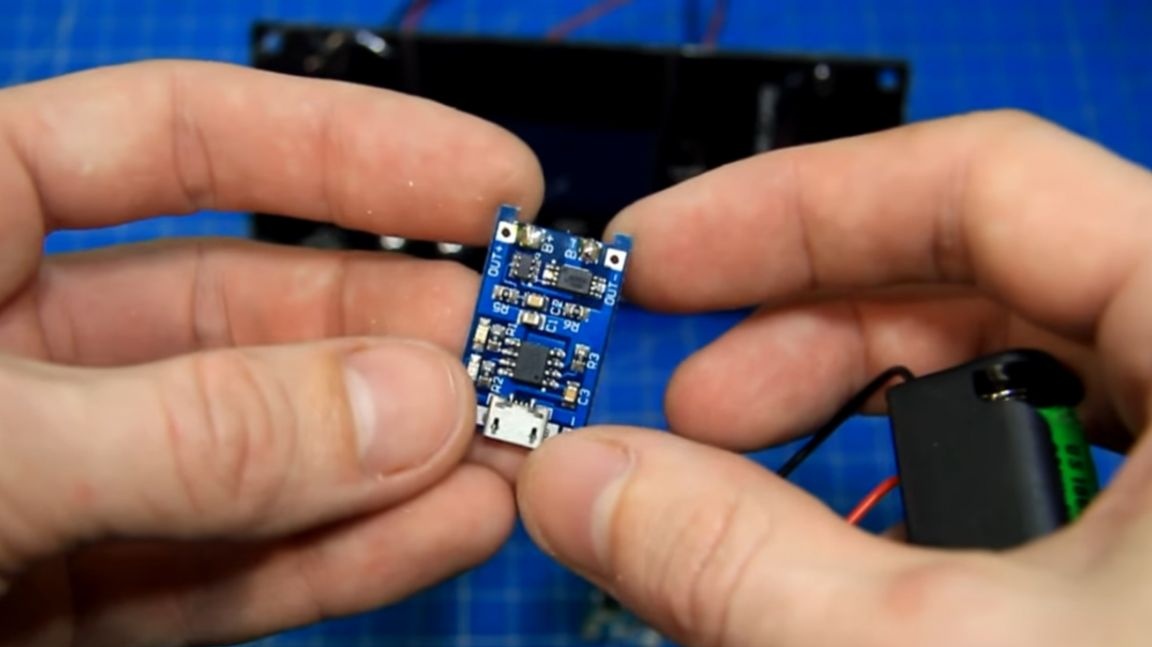
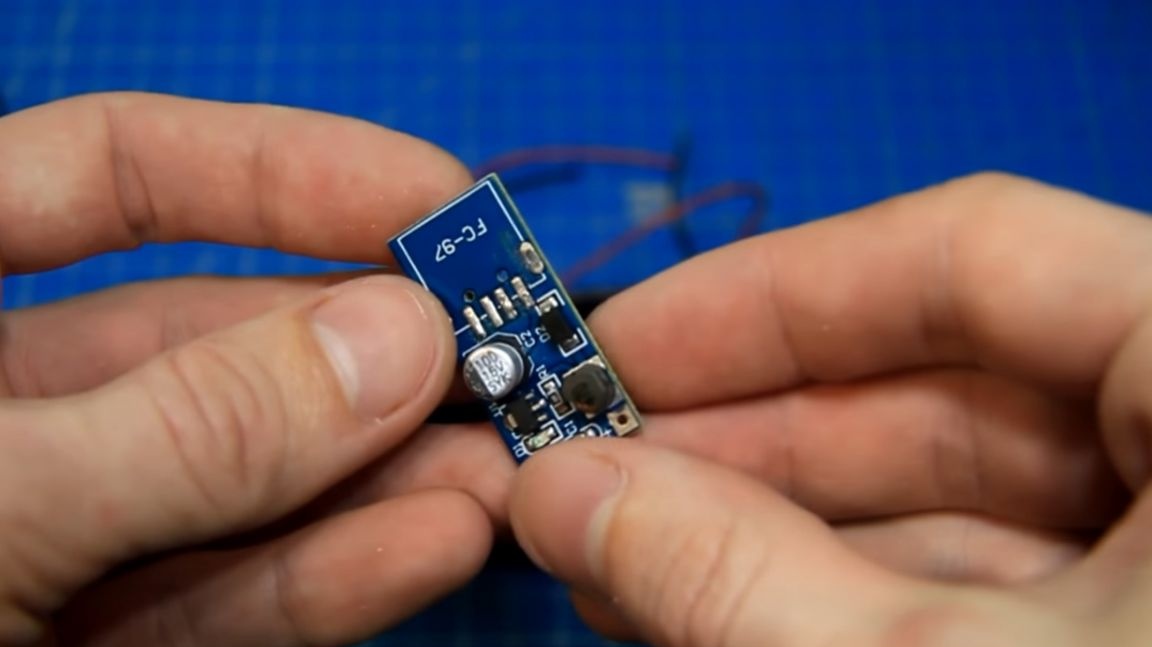
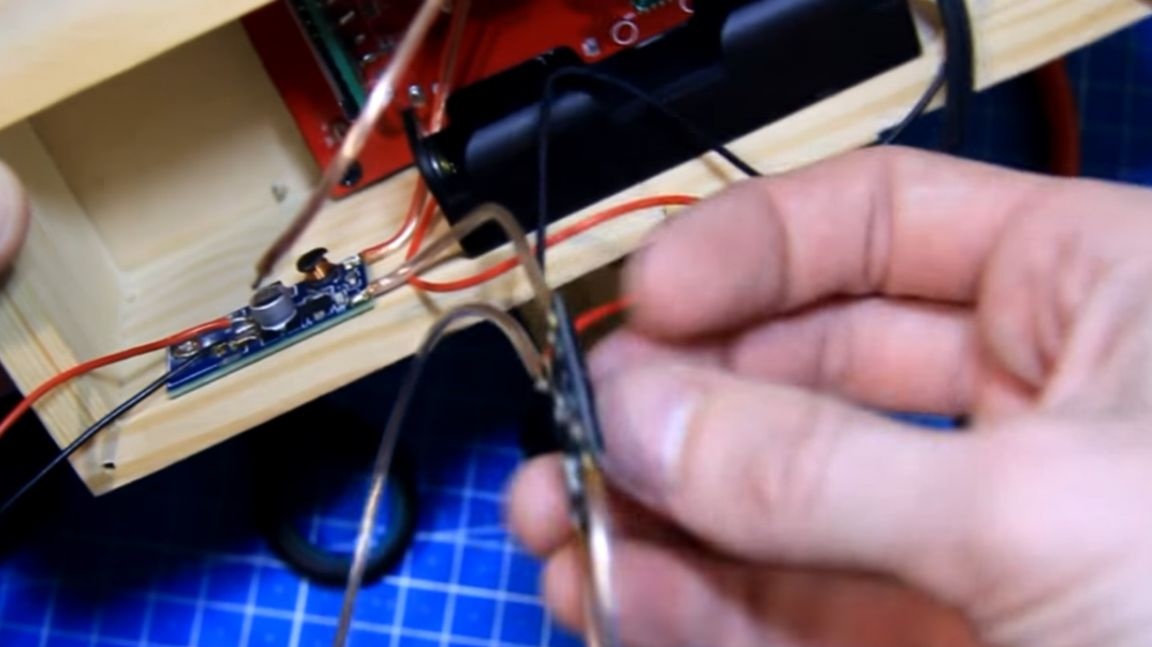
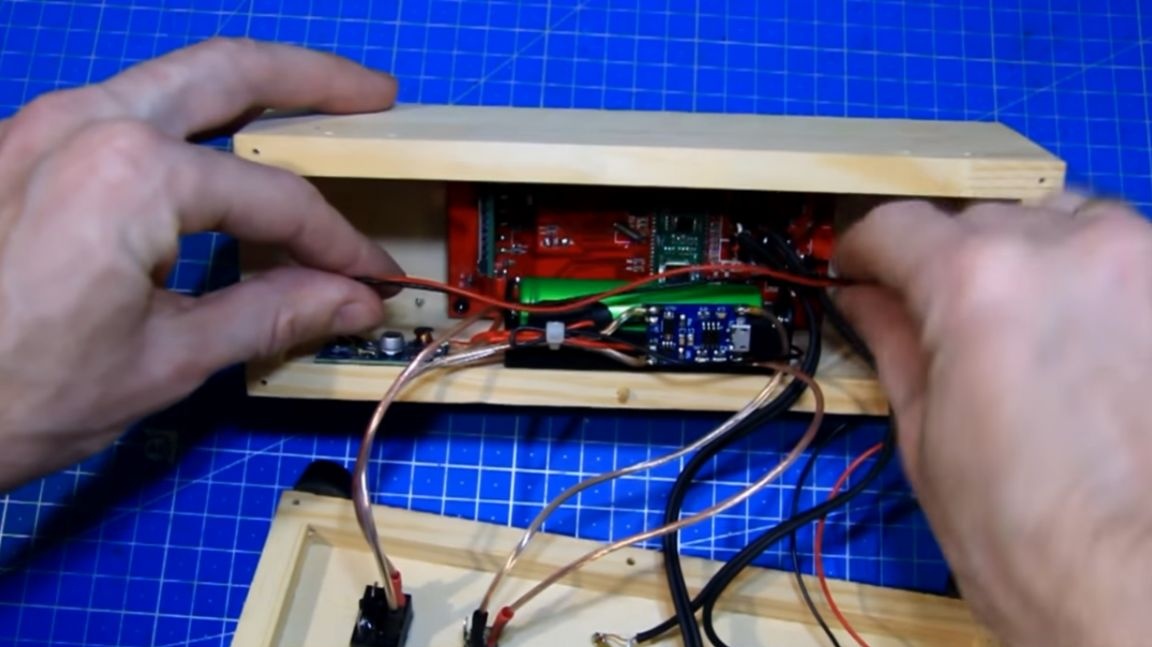
Observing the polarity, solder the battery box to the board of the charging controller of the lithium-ion battery on the contacts b + and b-. Next to the output contacts of this board, we solder the step-up dc-dc voltage converter, and make a break in the plus for the power button. Also, near the micro usb connector of the charging controller's handkerchief, we solder the power wires of the circuit.
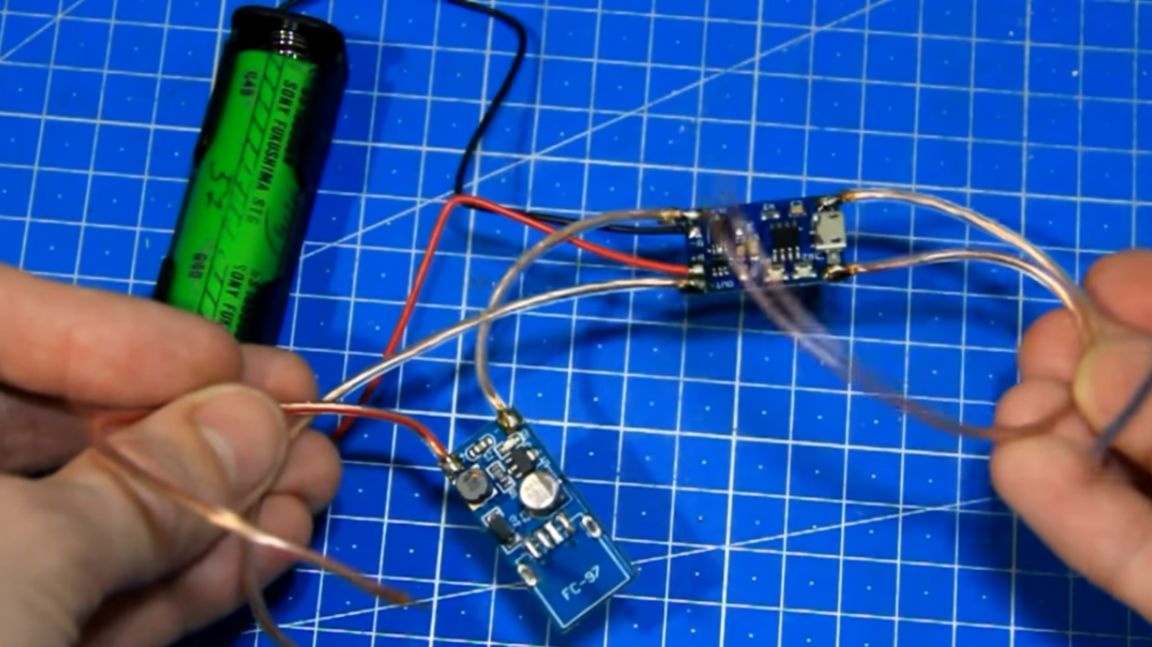
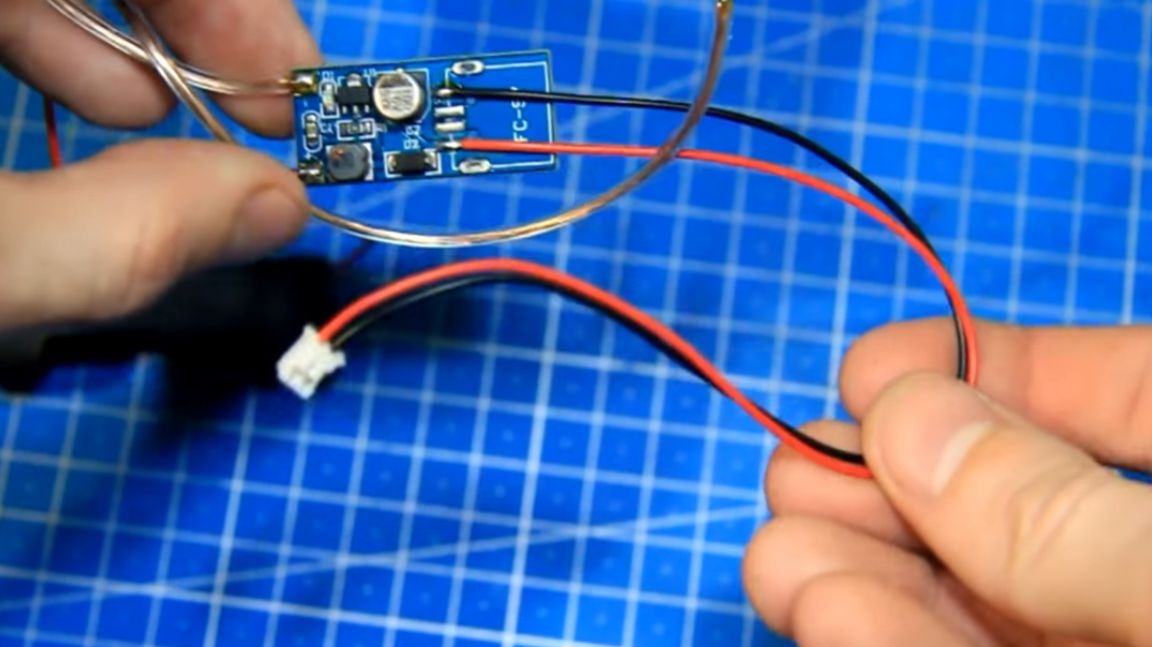
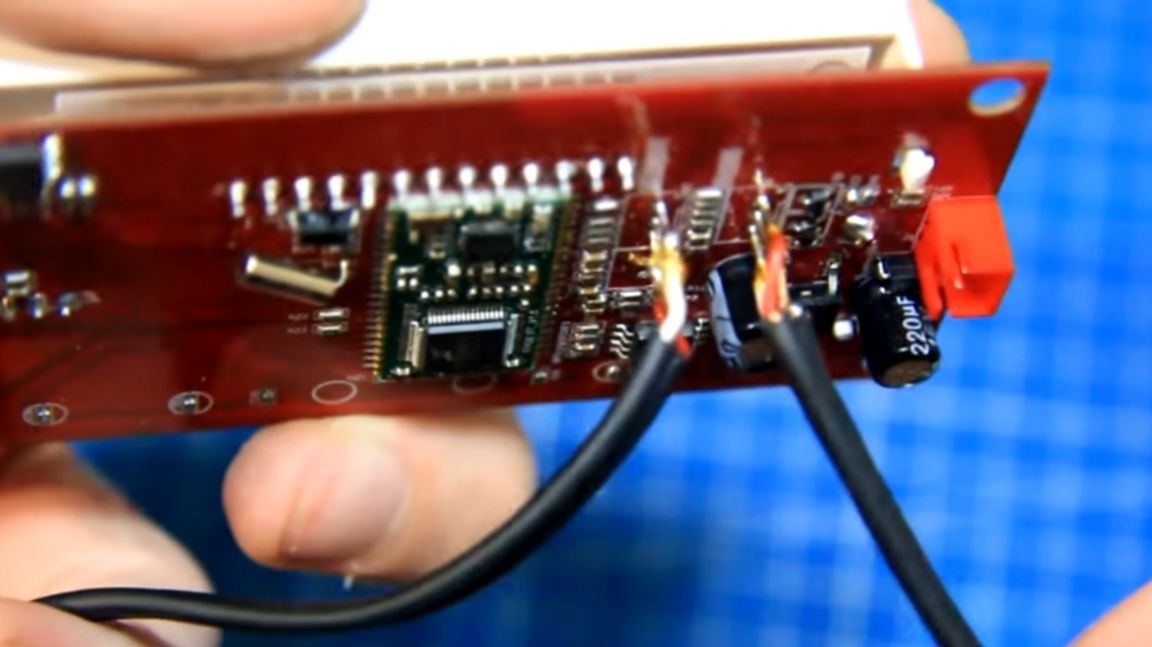
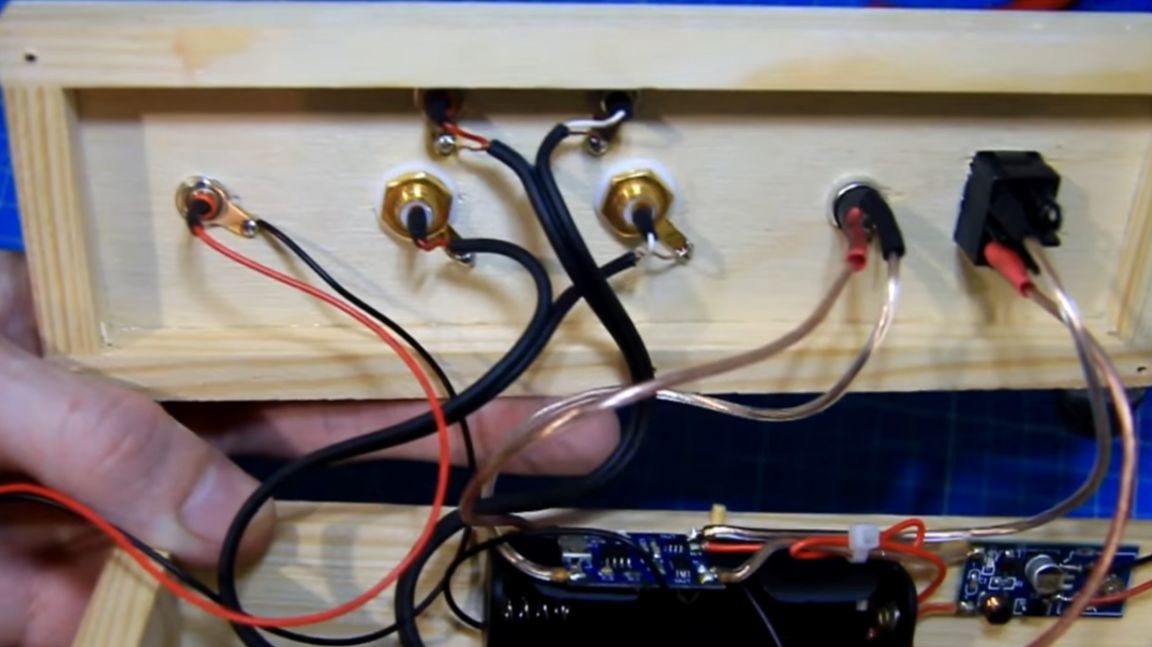
We solder the wire with the power connector of the sound module to the output of the converter, and solder the other wire, with a smaller connector, to the tulip of the external antenna. For linear input and output, we will use a shielded microphone wire, so that there is no interference. We remove the white cases and we will solder the wires to the pins.

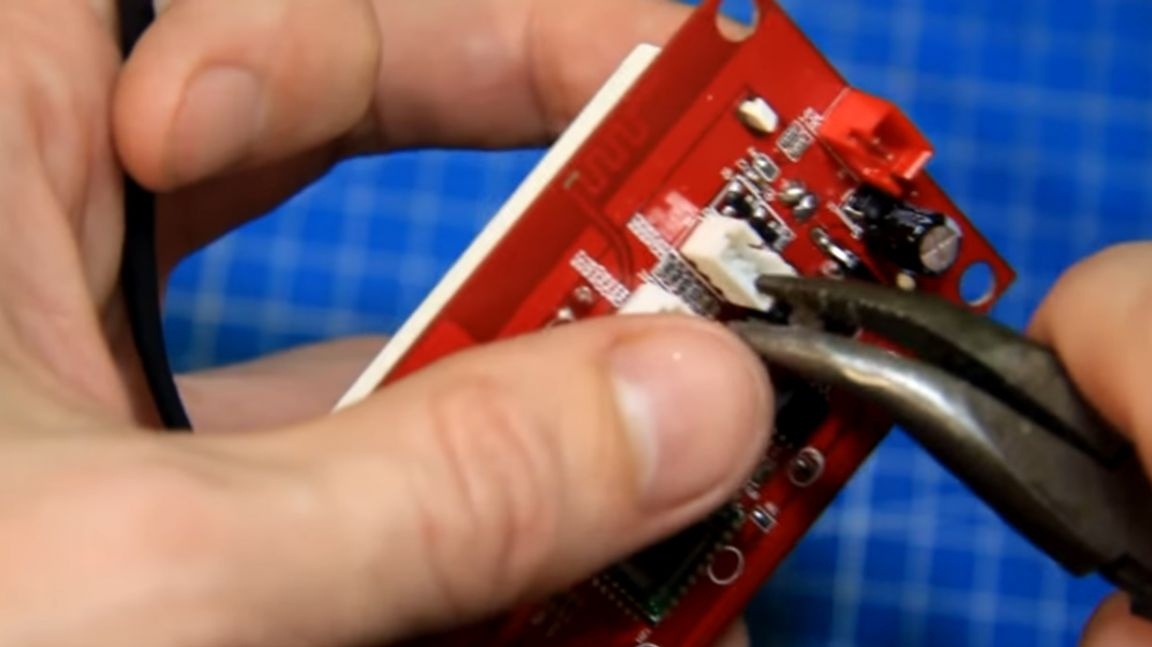
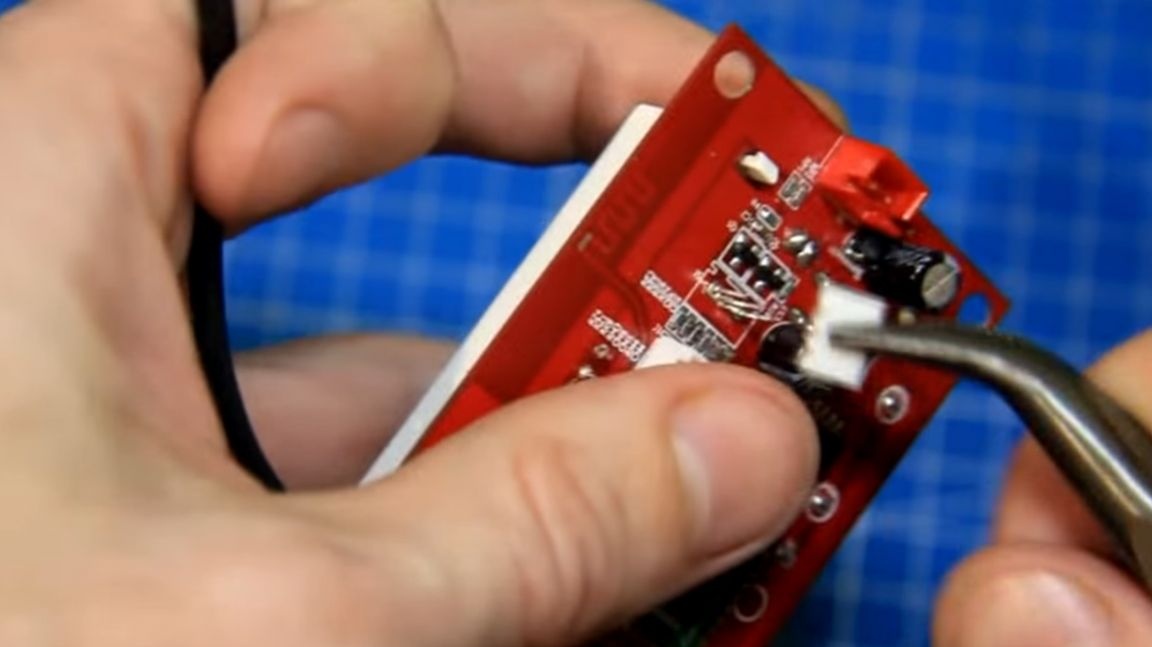
Where the input and output are left and right is indicated on the other side of the board. We twist the braid of wires and gently solder to the middle contact. This is how it looks.
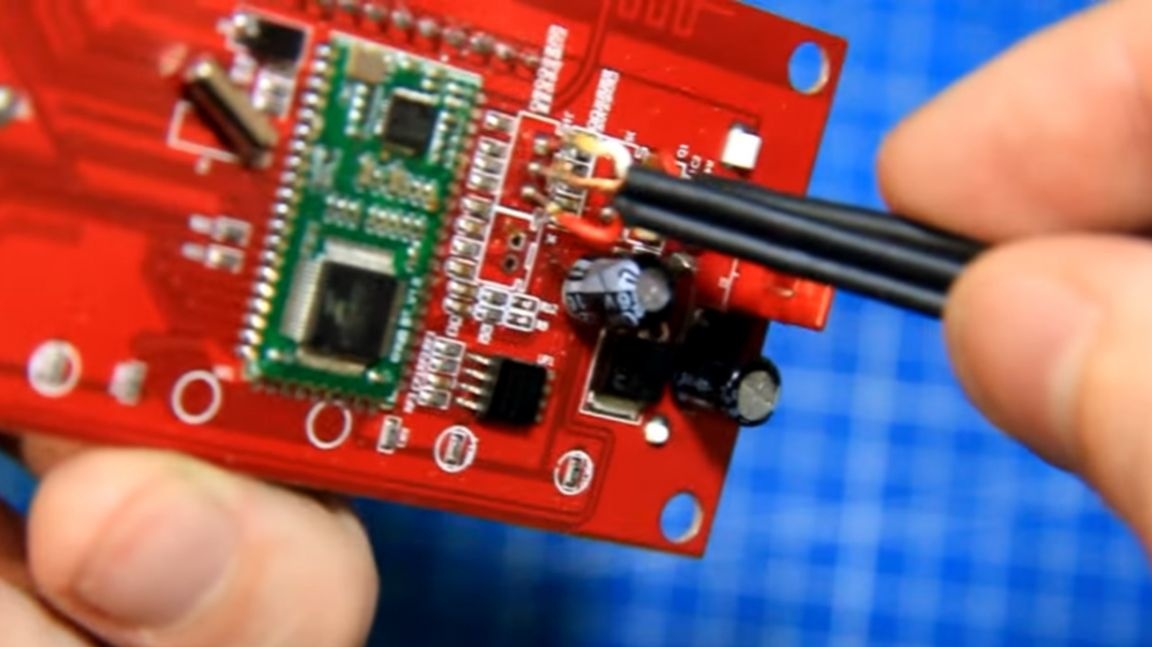
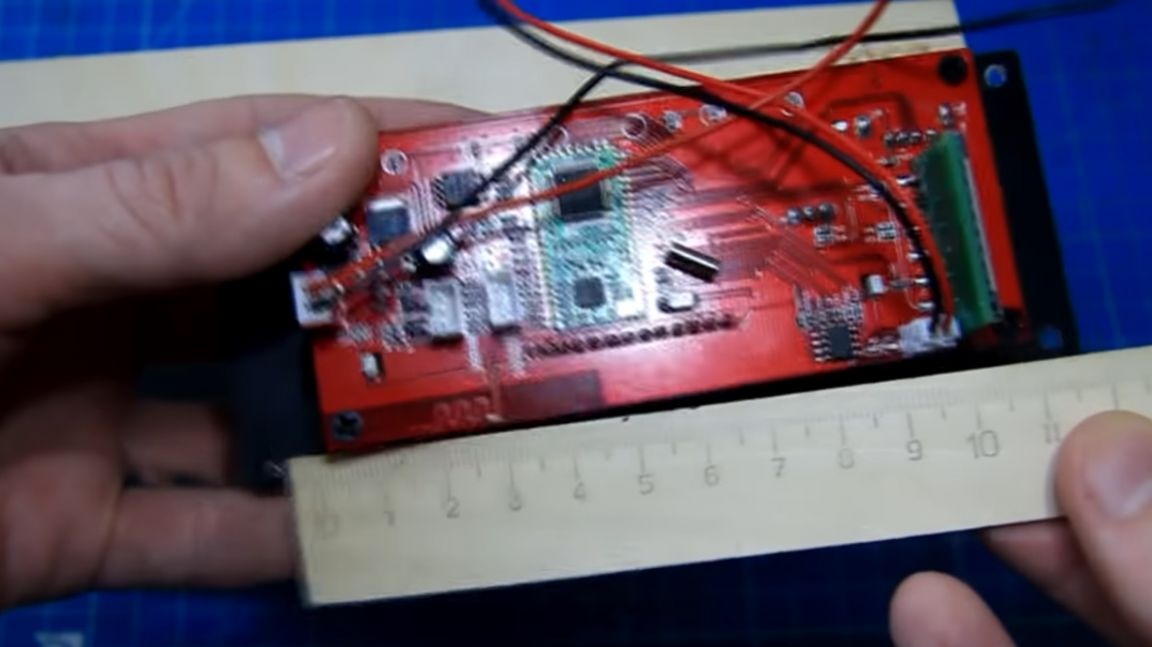
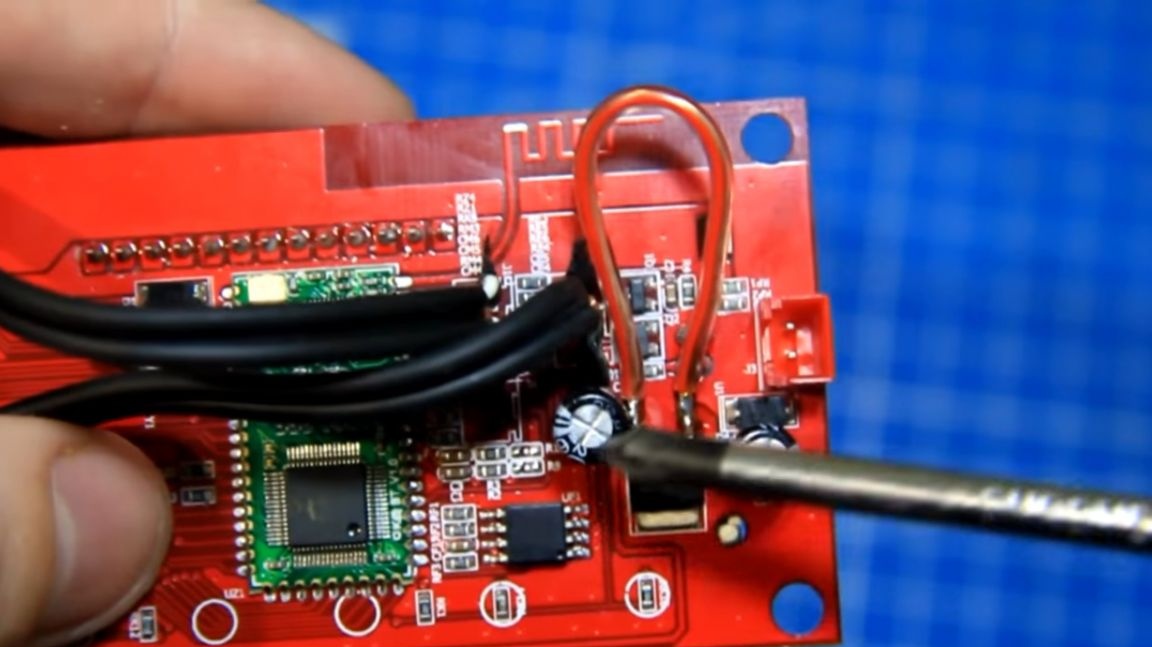
The Bluetoth module is 12 V and has a stabilizer, and in order to power it from 5 V, you need to make a jumper. Thus, we will bypass the 78M05 stabilizer.
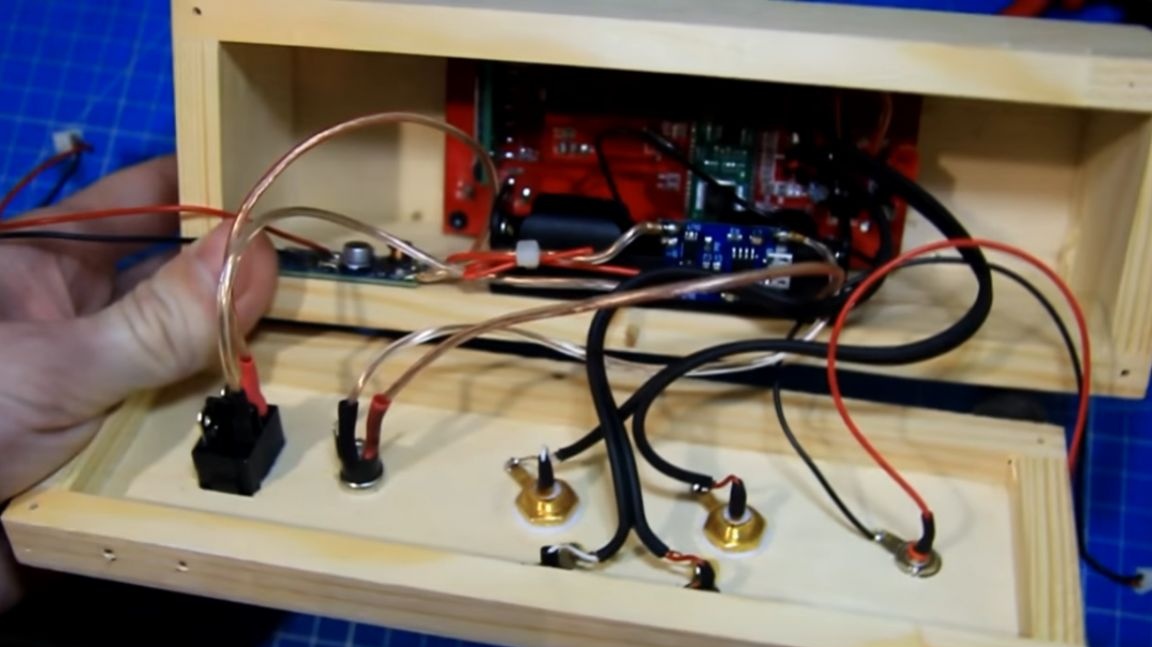
Now let's install the sound module in its place. It is also necessary to screw the box and the scarf of the step-up voltage converter with screws. And we glue the charge controller of the lithium-ion battery on a double-sided adhesive tape.
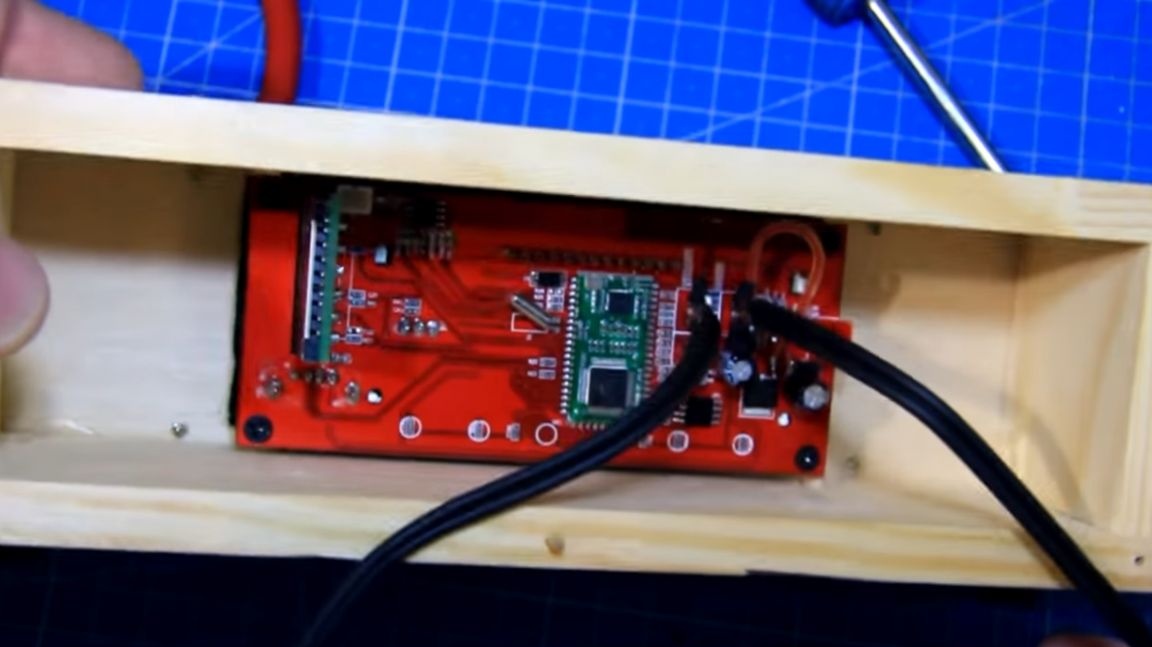
Observing the polarity, solder the power wires of the circuit to the power connector. We also solder the power button, line input and output. The soldering points are insulated with a heat shrink tube.
Very important! Module power wire, while it is not necessary to connect. First you need to check the voltage.
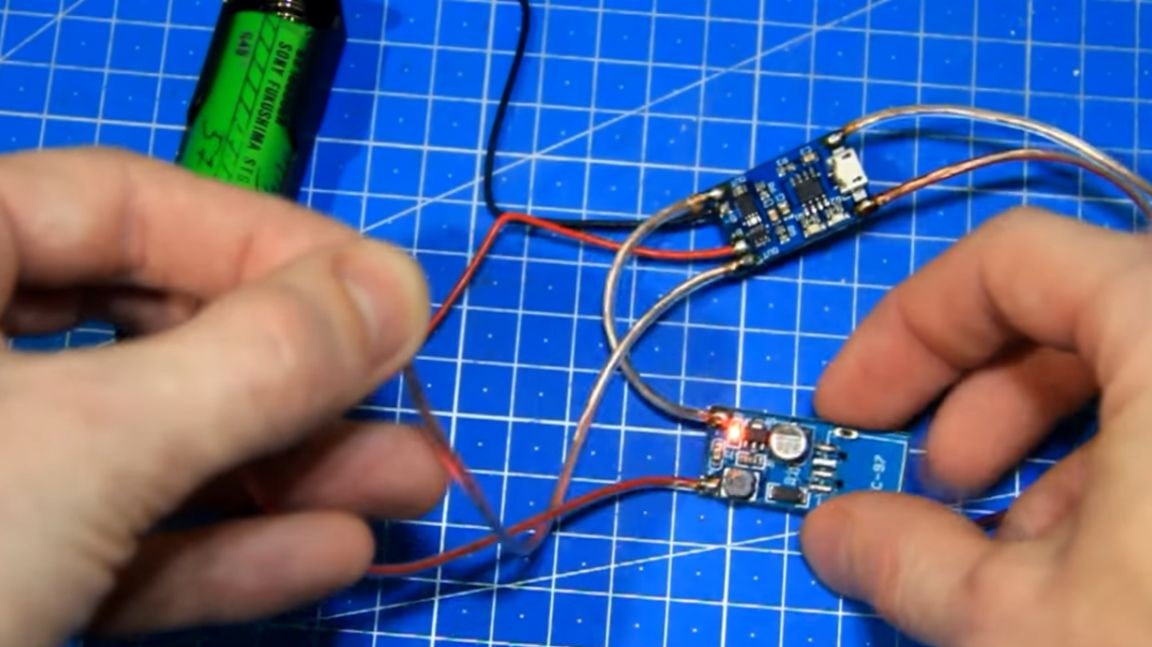
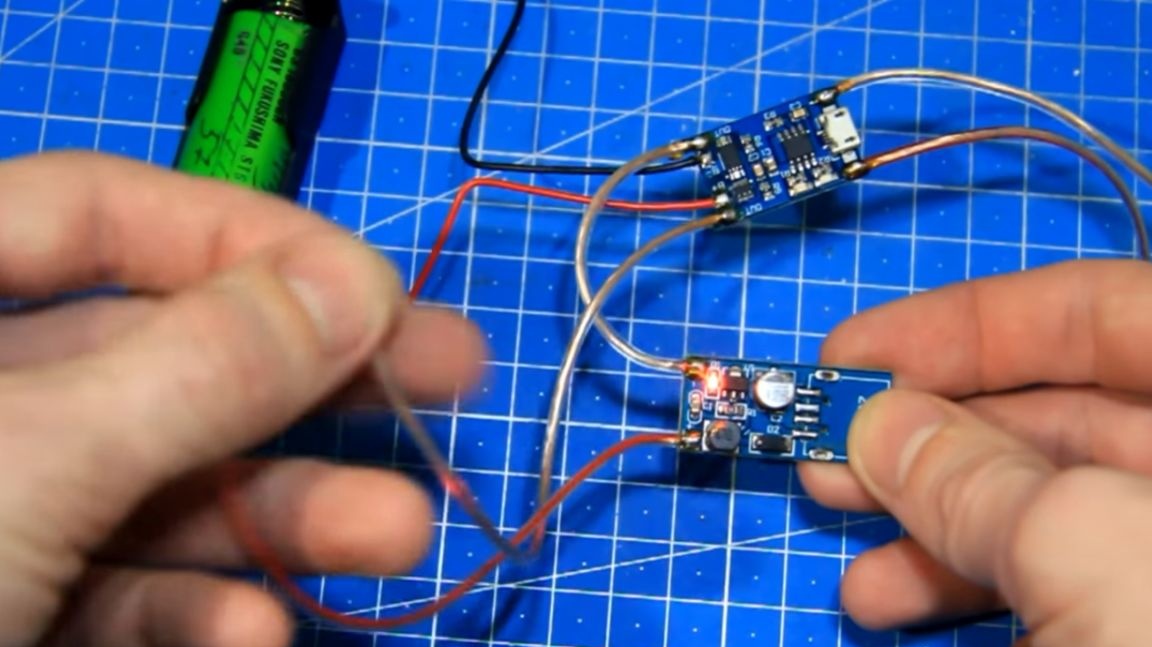
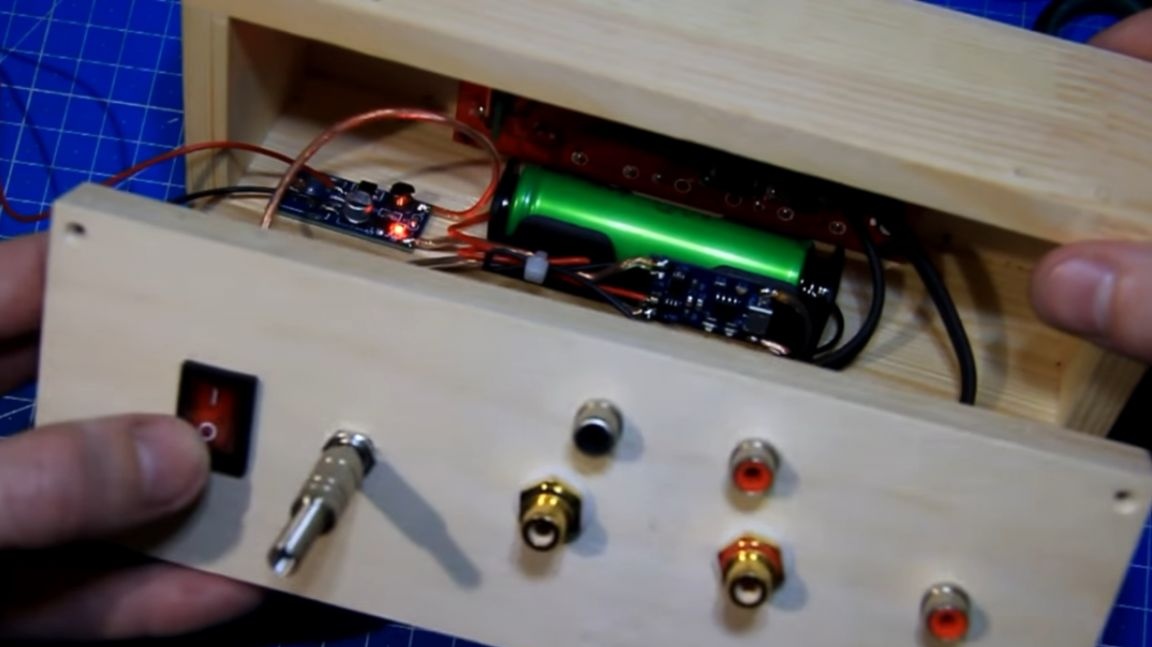
Install the batteries and try to turn on the power. The LED on the boost converter lights up, which is good.
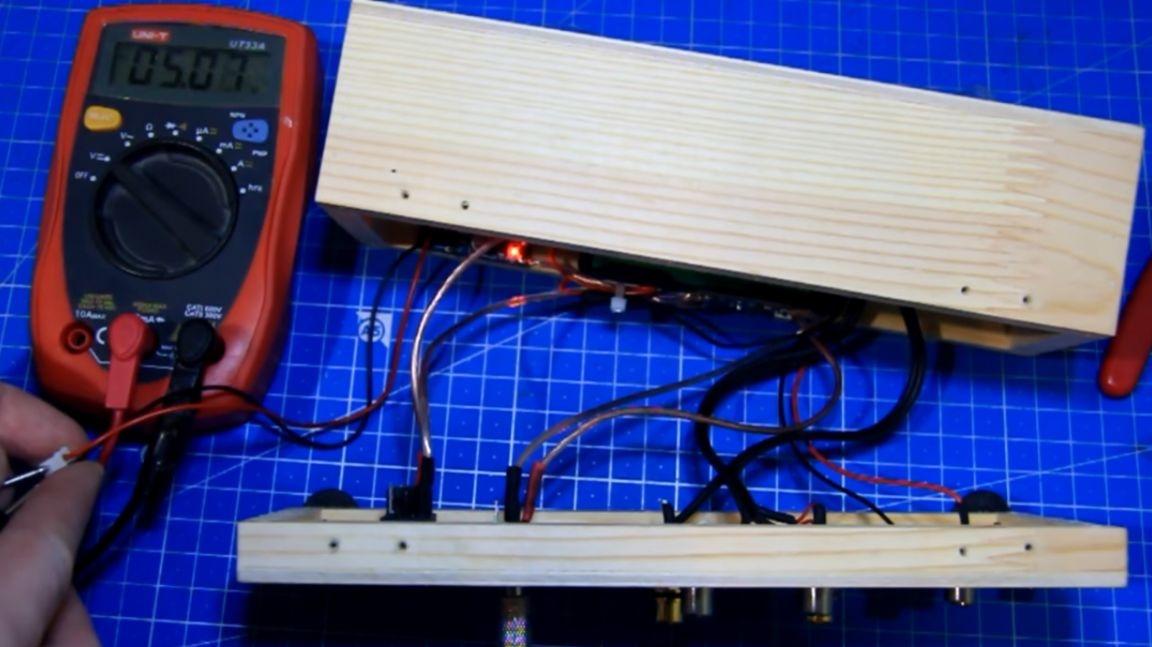
The voltage at the output of the boost converter is necessary 5 volts and the polarity is correct, red is plus (+), black is minus (-).
Stage Five.
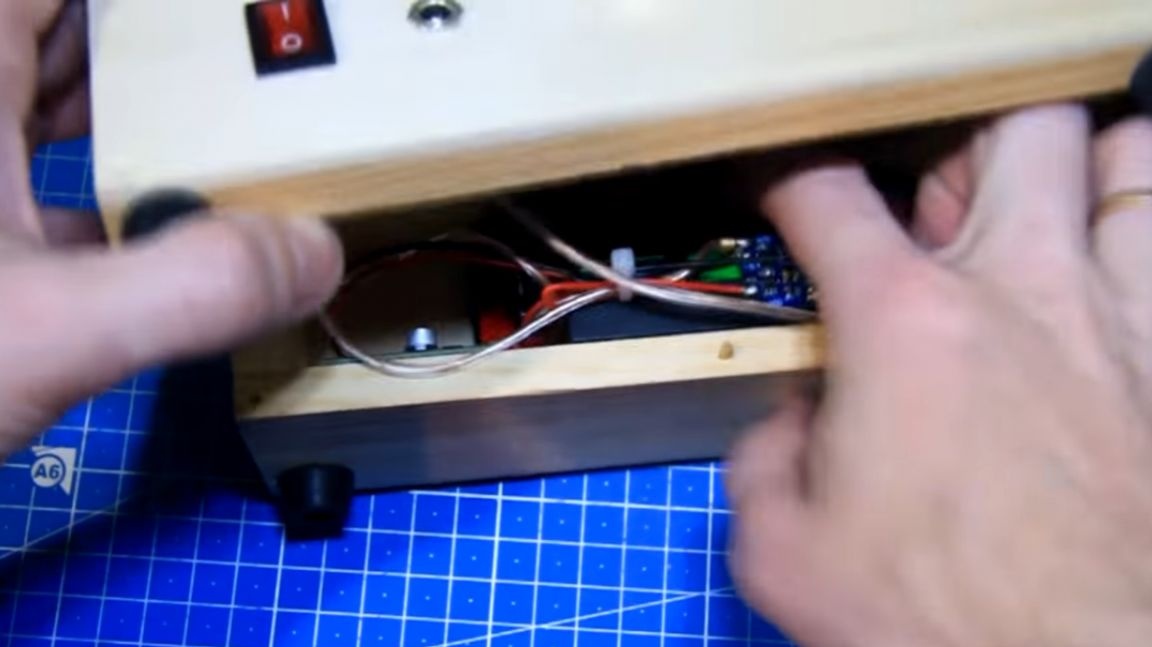
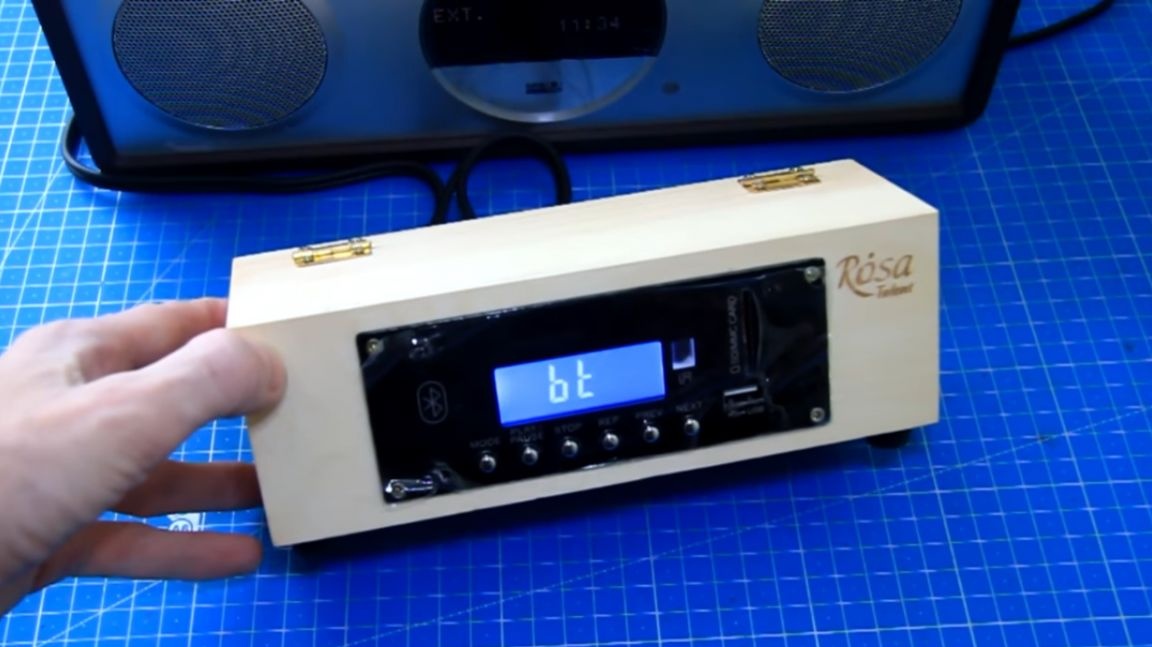
Now everything can be packed in a case. The author pulled the wires together with a cable tie, connected the power connector and the antenna connector. Next, carefully close the back cover and check the operability of the product. To do this, we serve food.
The module has earned. There is a reaction to pressing. If there are no errors, then everything works right away.
Stage Six.
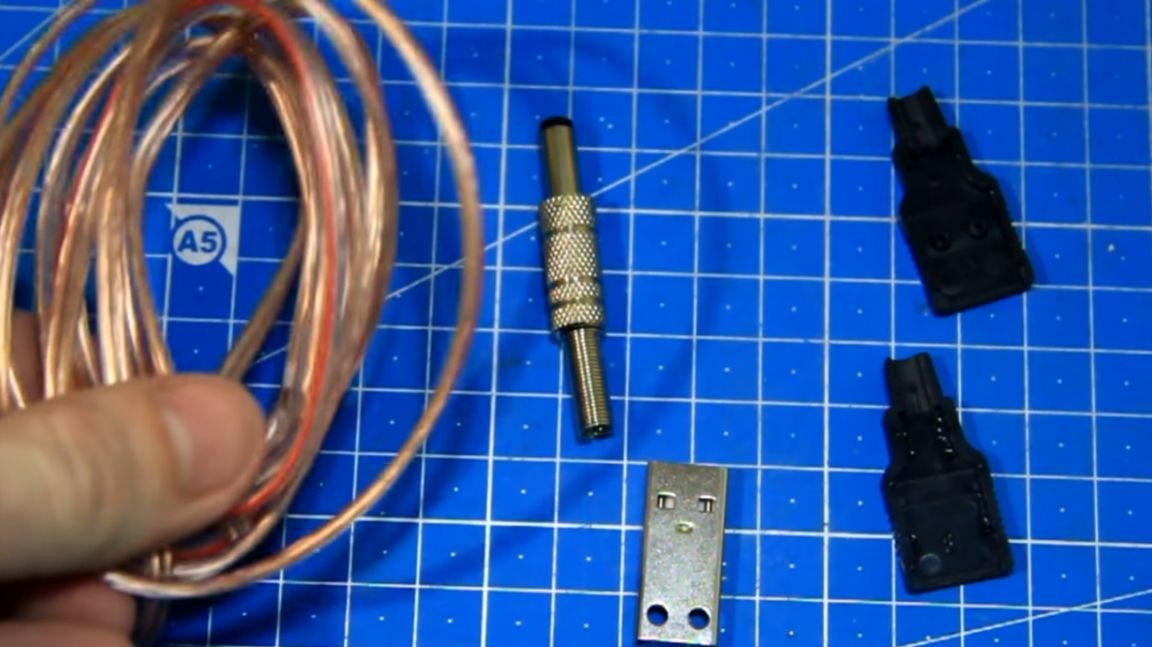
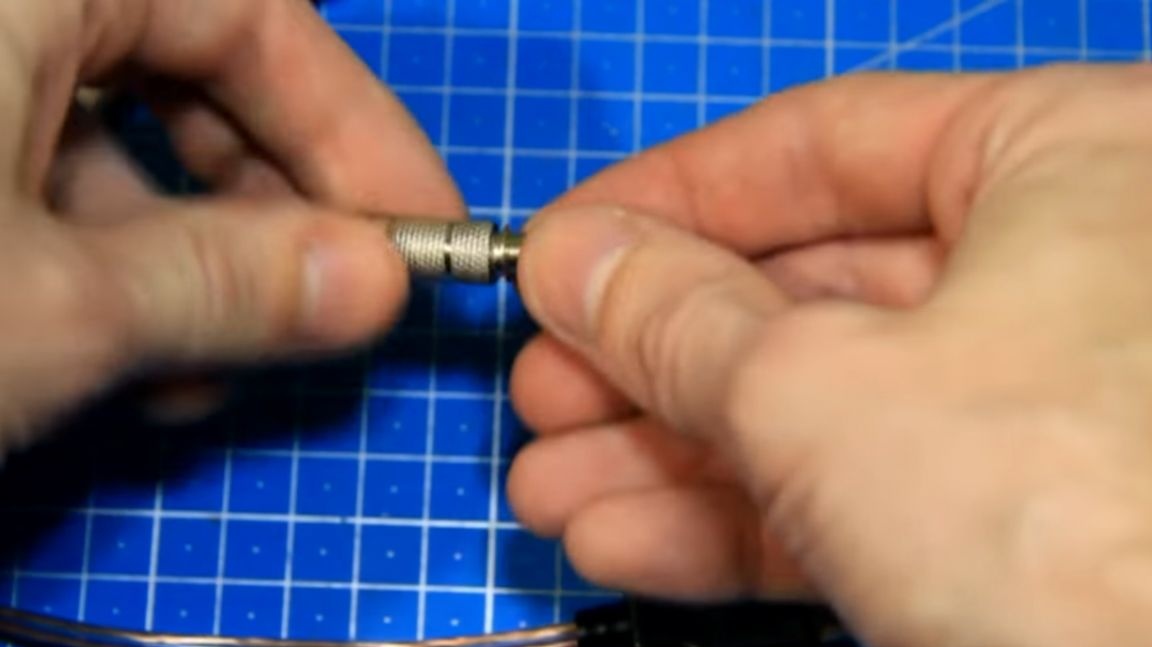
We connect the wire for charging and powering the device ourselves. There are no particular difficulties. Requires a flexible wire, usb connector, 5.5 to 2.5 plug. We collect all this into one. The main thing, again, is to observe the polarity.
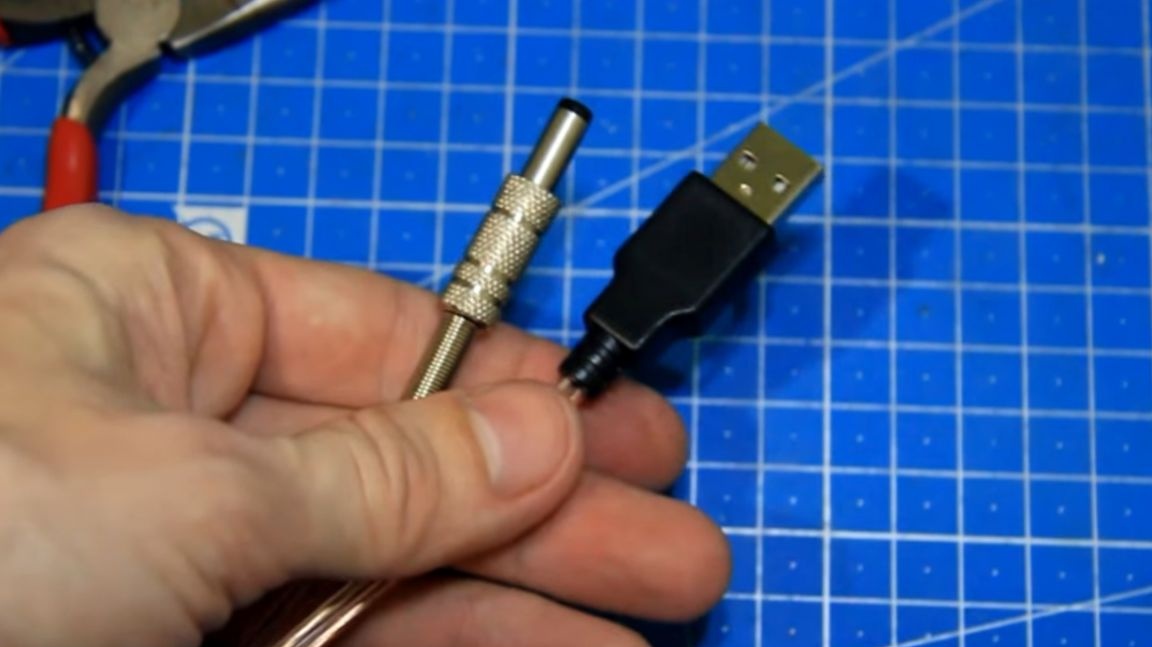
The wire for power and charging is ready. We connect the wire to standard charging with usb from the phone and connect it to the console.
The LED on the charging controller is working, charging is in progress. When the battery is charged, discharge control will only power the sound module. In the absence of external power, the console will operate on an internal battery.
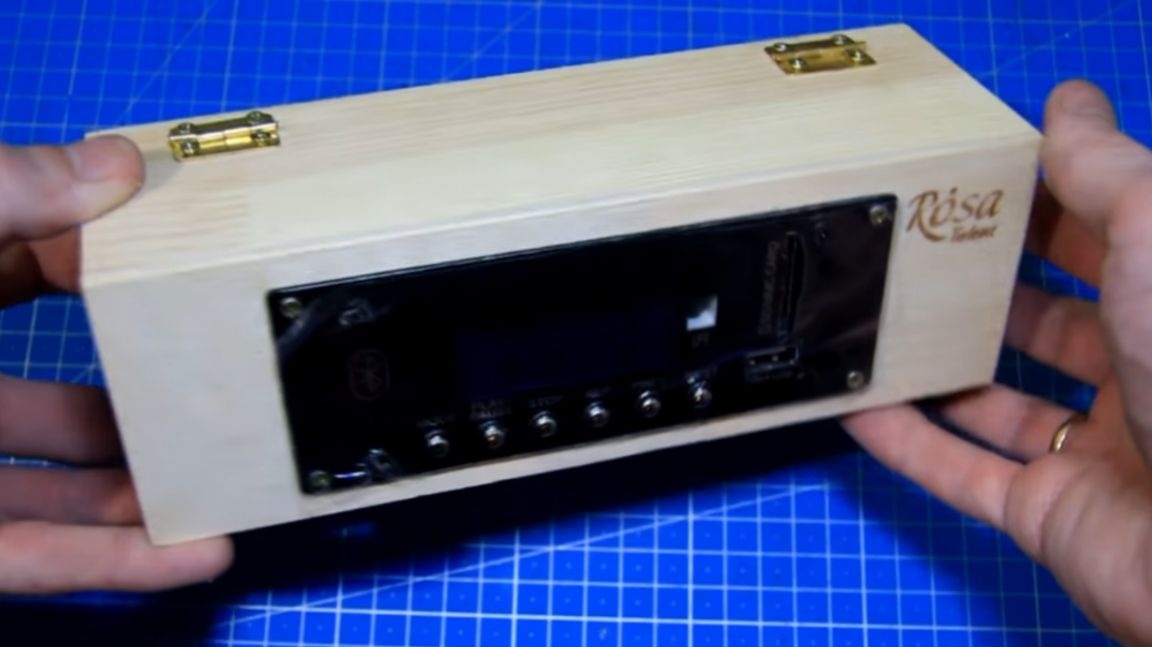
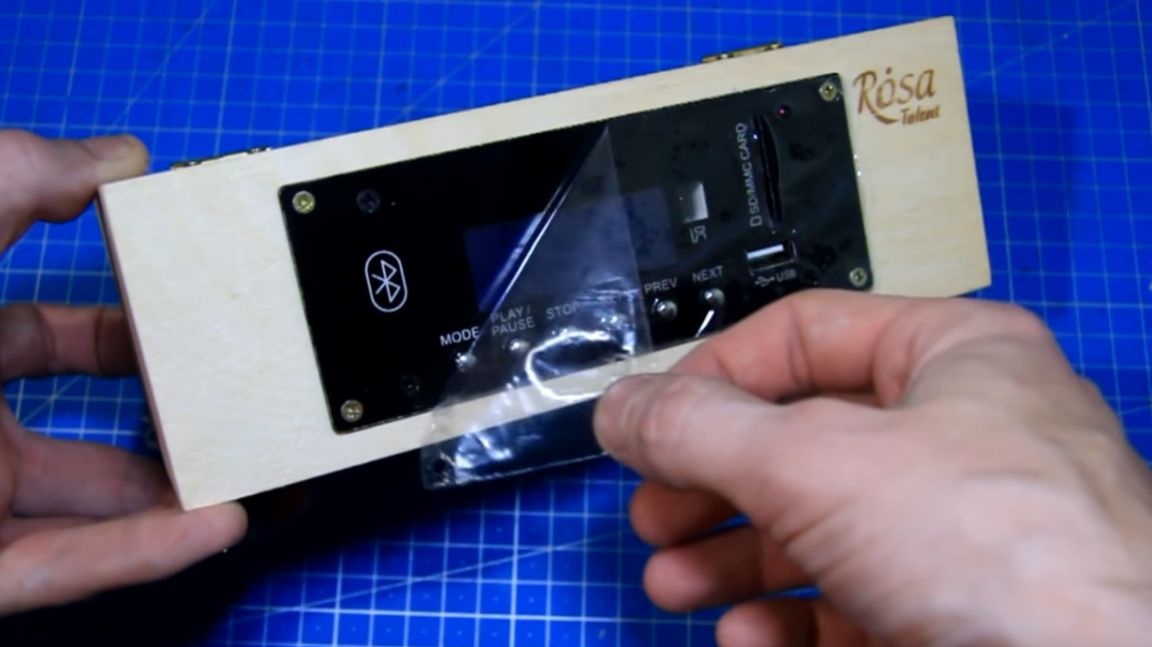
Well, friends, you can say everything is ready. We install the hinges so that no holes are visible. The film on the front panel, until we shoot.
Stage Seven.
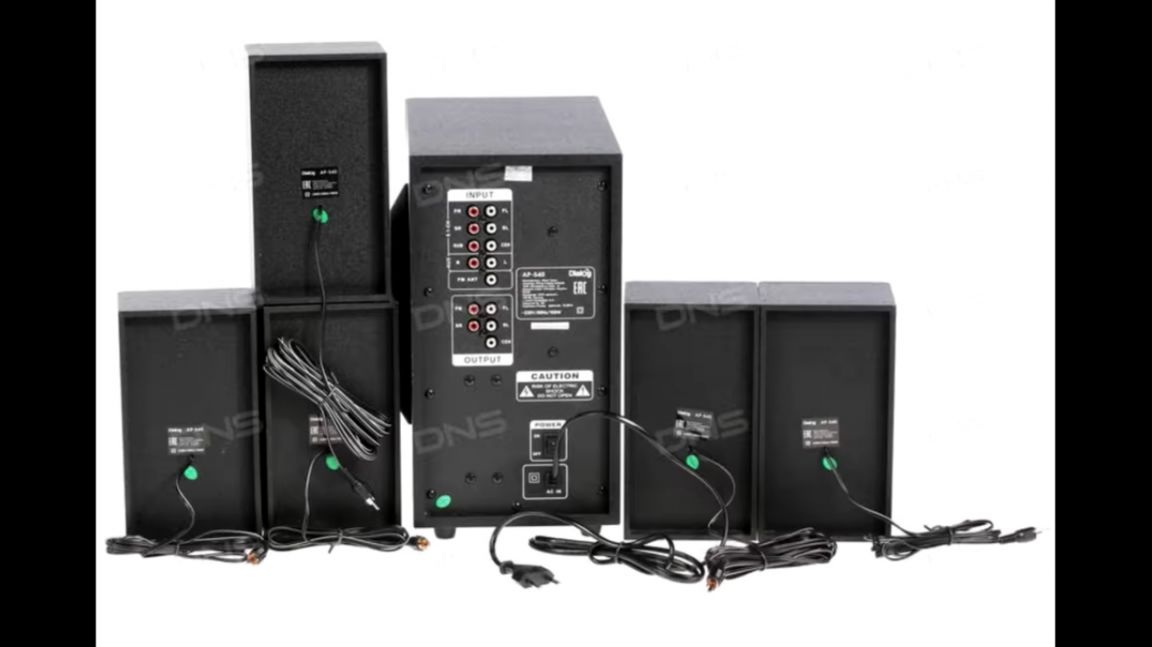
It remains to check the product for performance. For tests, the author took just such a column.
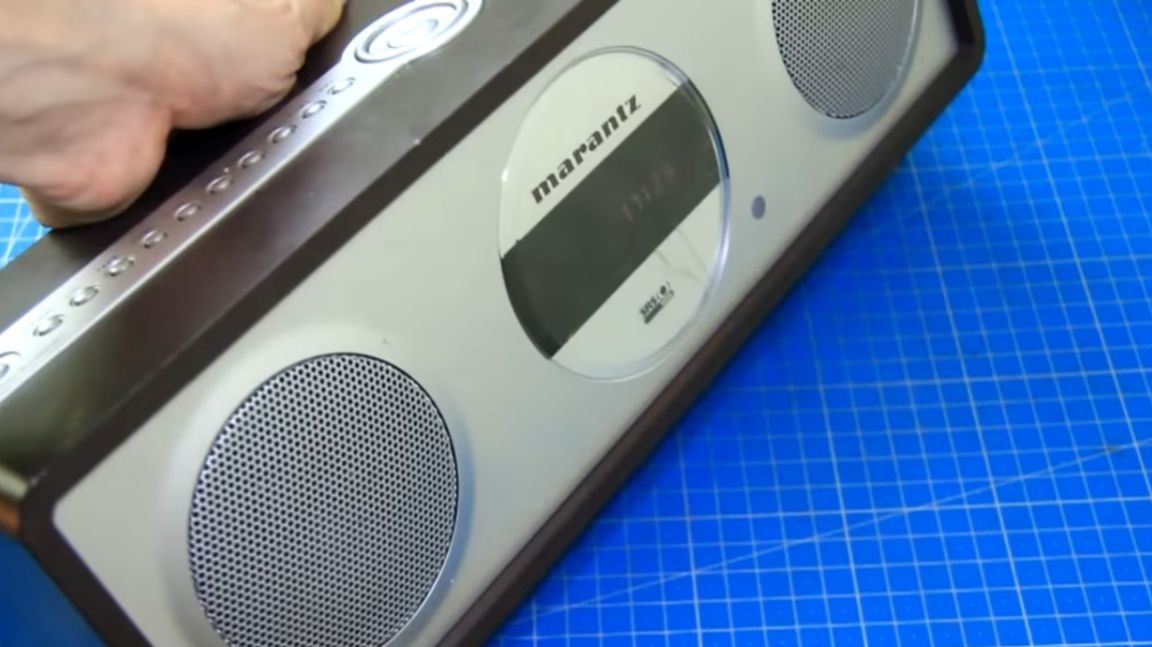
We connect the prefix to the column using a purchased shielded wire.
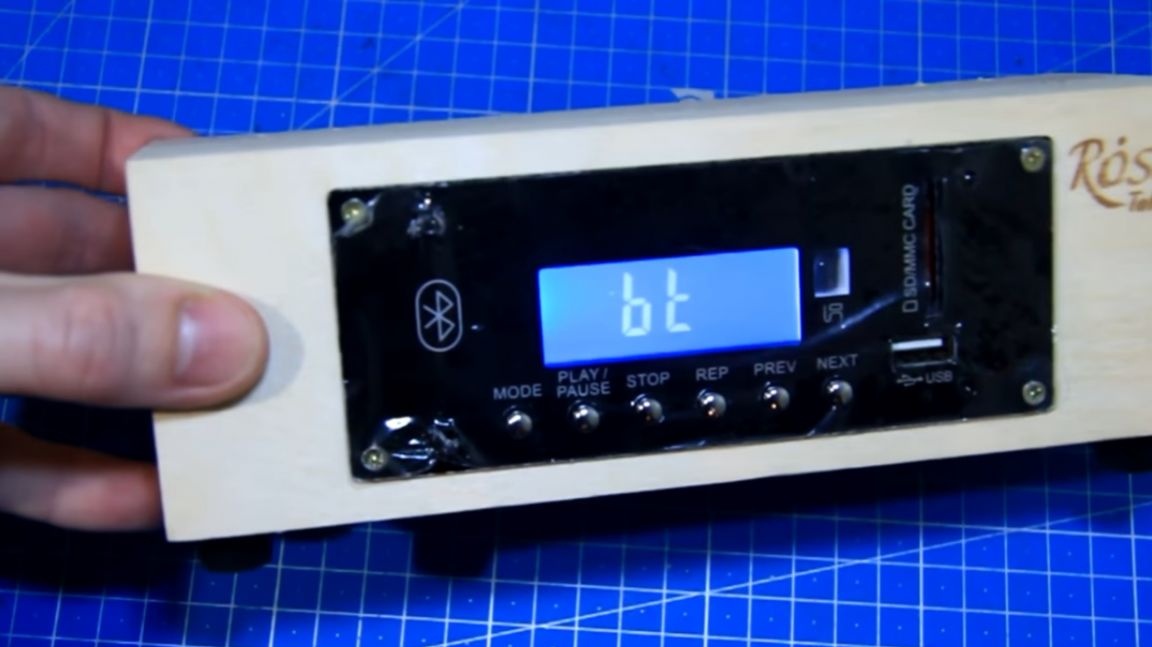
First, turn on the column, and then turn on the prefix. There are no claps and noise, everything is fine. In this case, the module is not speaking, we check the modes.
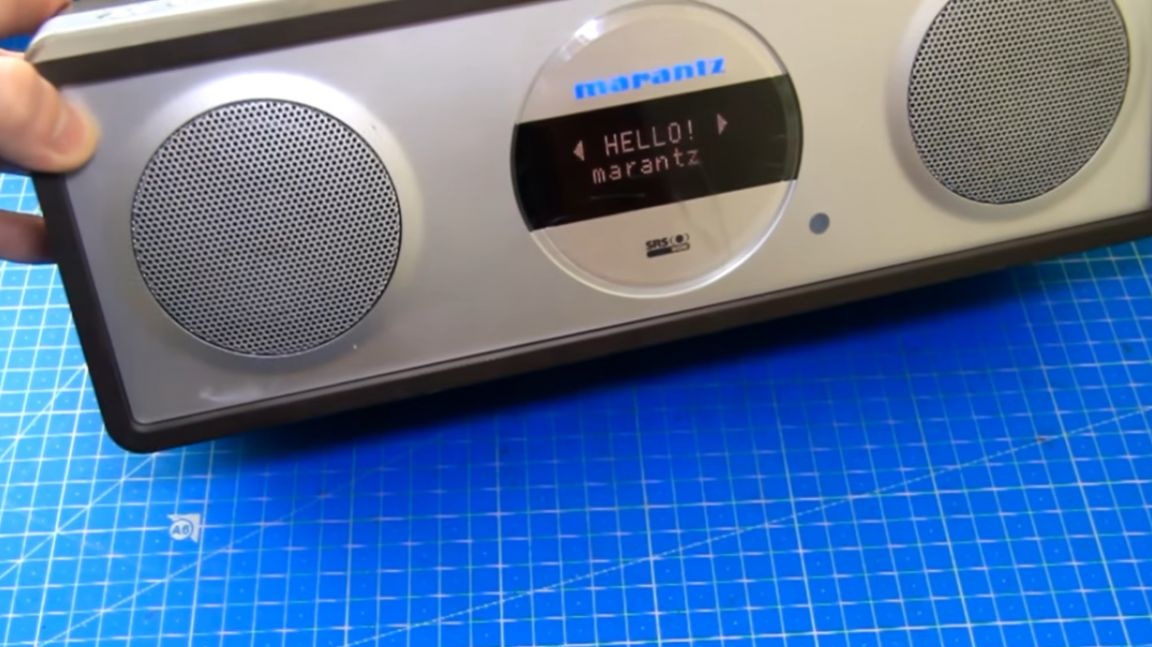
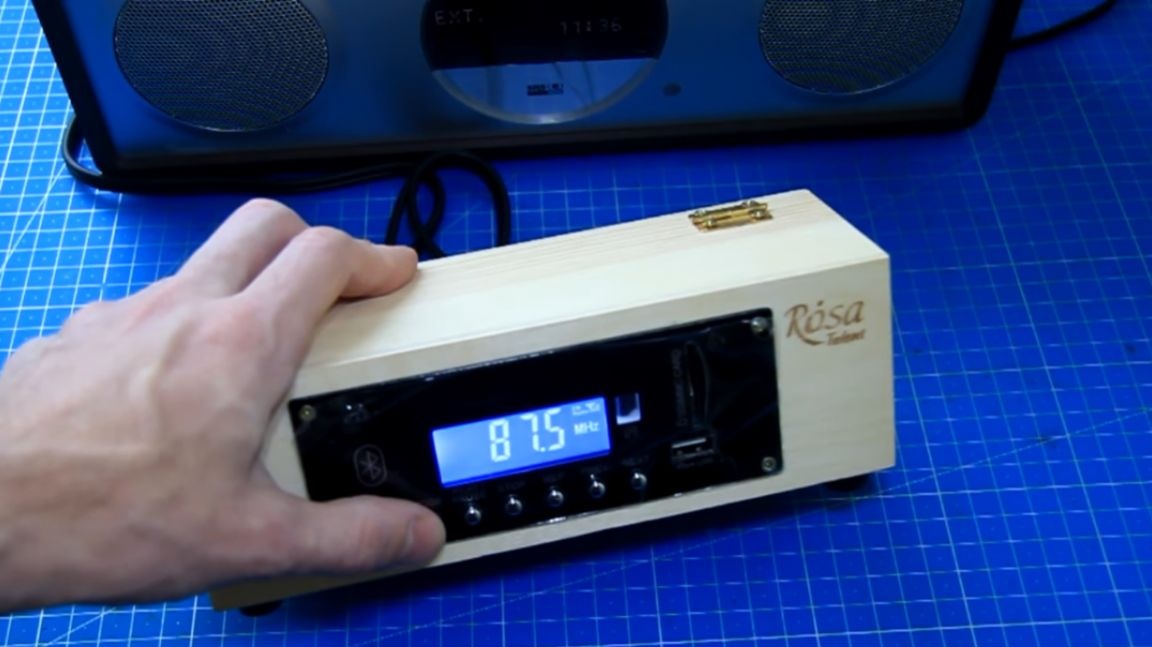
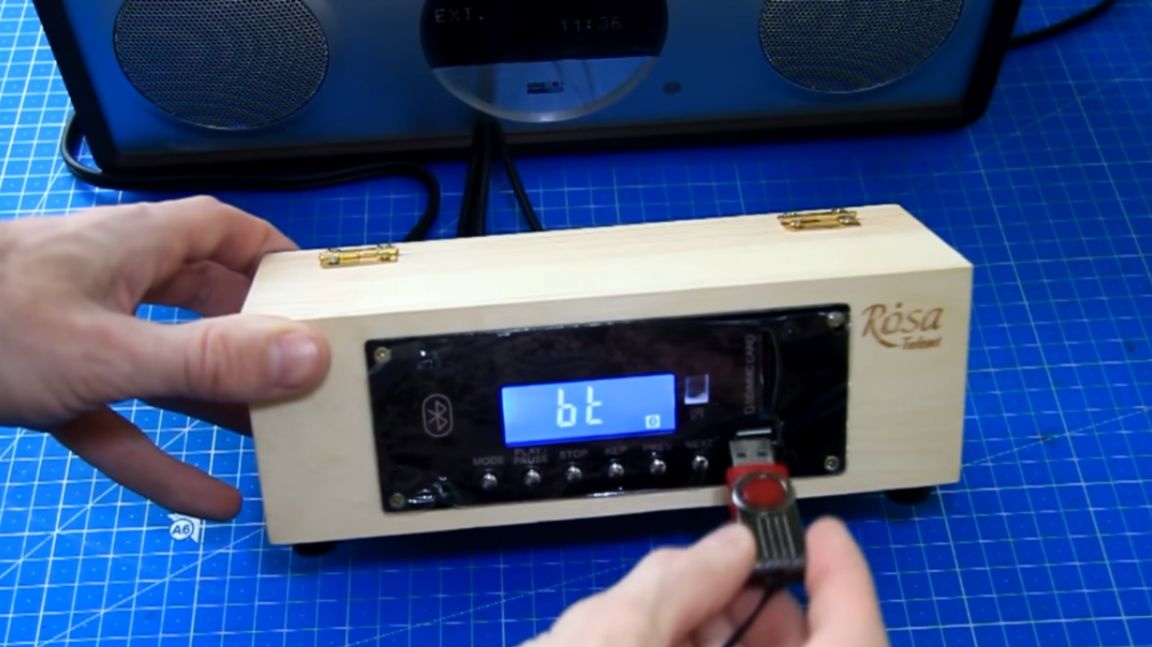
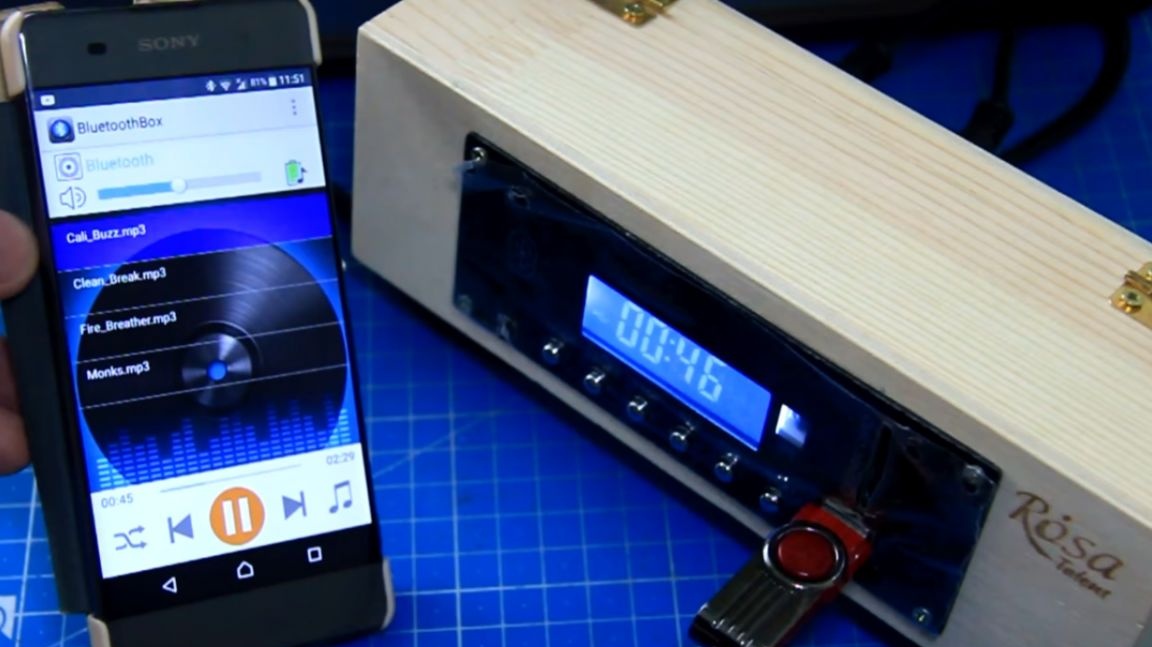
There is a signal and everything switches. Let's try to connect a USB flash drive.

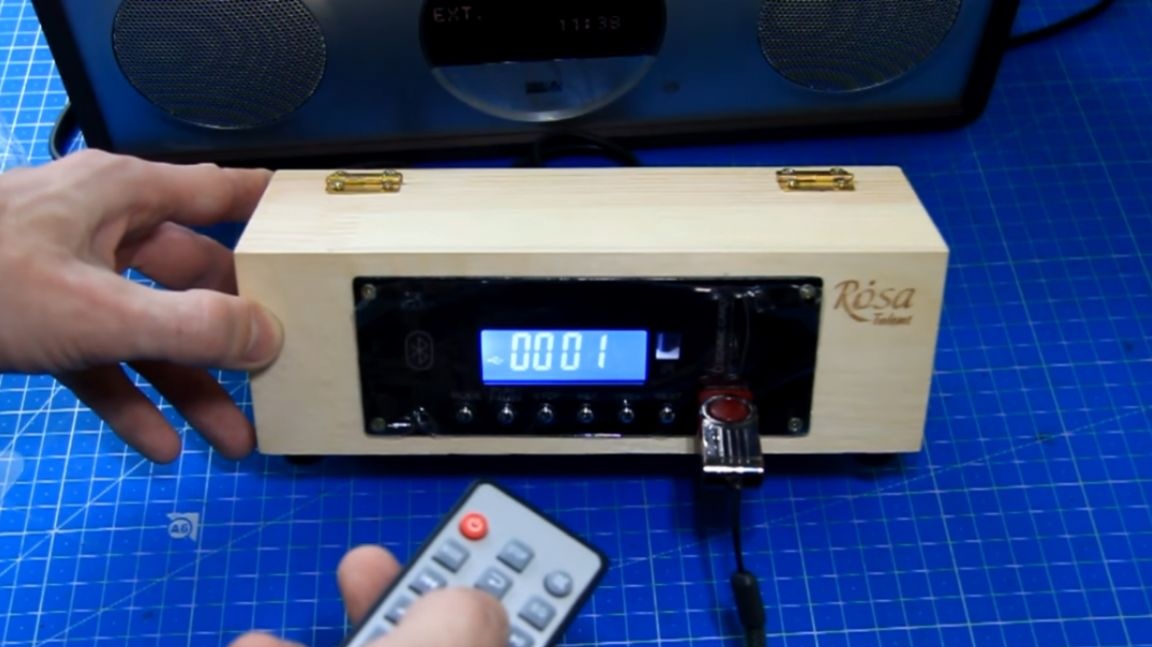
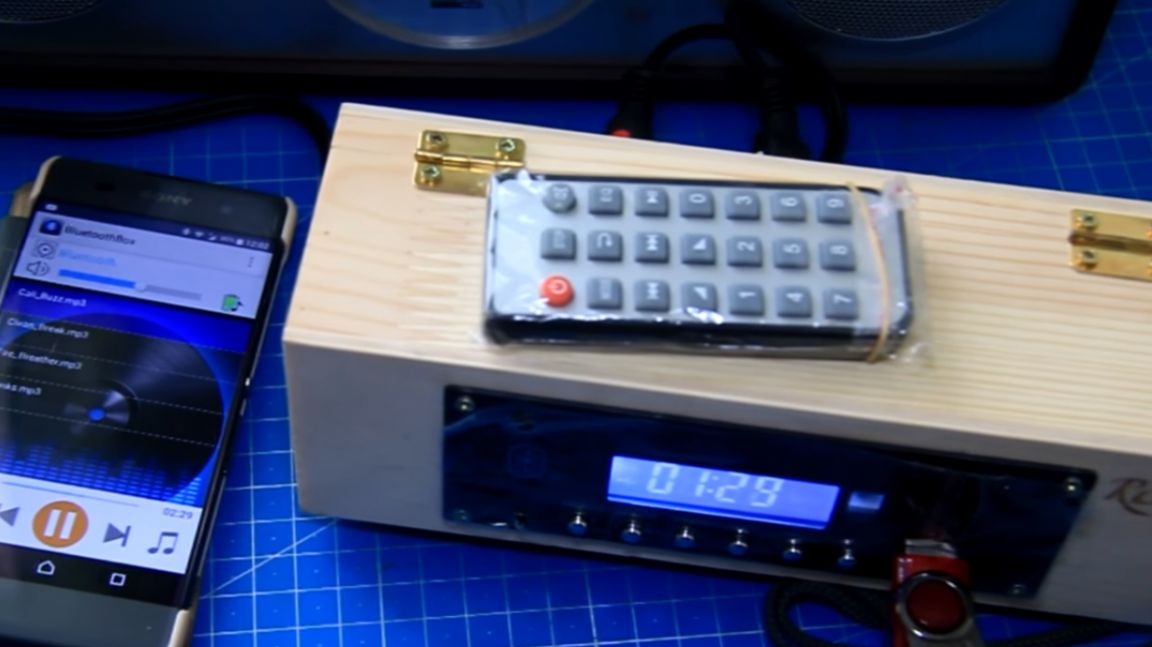
Now let's check if the remote works.
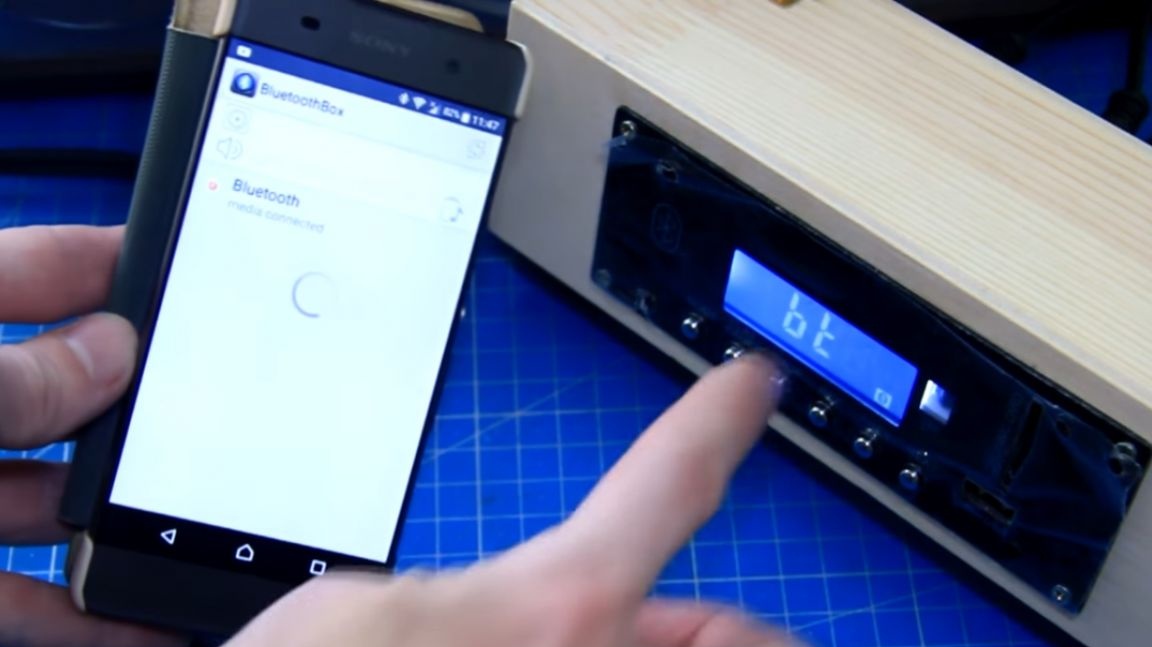
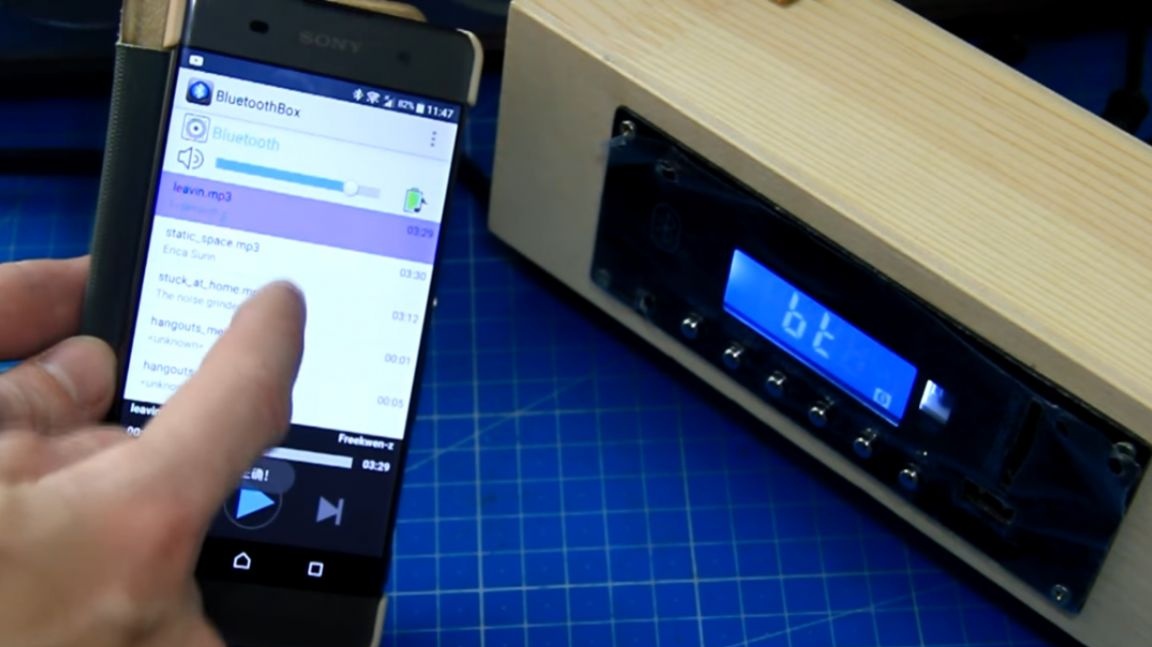
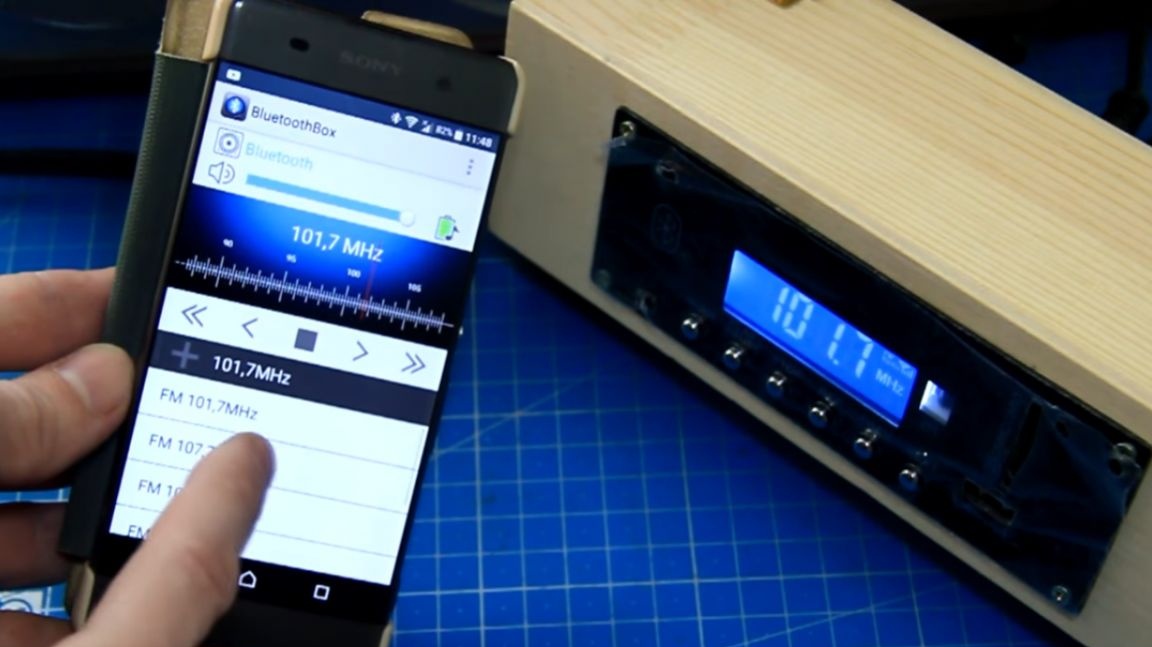
Everything works great. Also, this sound module works with the android and ios applications and allows you to control all modes and settings via bluetooth, and not as a simple headset. It is quite convenient. The application sees the music on the phone, also by sliding the curtain, you can control all modes, select a song or radio station, and also set the desired volume level. When you connect a flash drive, all the music from it is displayed on the phone screen, and you can simply select the track by tapping it with your finger.This is also very convenient, you do not need to click on the buttons many times and look for the desired song.
You get used to such functionality very quickly. Well, here we have such a sound prefix. The functionality is wide, plus its own battery just in case. I had to look for an alternative solution, so as not to spoil the expensive speakers. And now you can connect this sound box to your acoustics and listen to music, and if necessary, turn it off and transfer it to another place, take it with you. In fact, there are many options, these are some of them.
Thank you for attention. See you soon!
Video: