

Greetings to all lovers of tinkering and doing something from nothing do it yourself. Sometimes. during work, such an idea arises, now a drill would come in handy, but I don’t really want to buy a not very cheap tool in order to use it 1-2 times a year. In this case, you can independently make a simple nozzle for a drill for drill mills, it will help ease some tasks.
Tools needed.
1. Electric drill (preferably two).
2. Gas burner.
3. Sharpening machine.
4. Vise.
5. The hammer.
6. Hacksaw for metal.
7. Drills.
8. Needle files.
9. Sandpaper.
Materials and parts required.
1. Small bearings.
2. Long screw or stud.
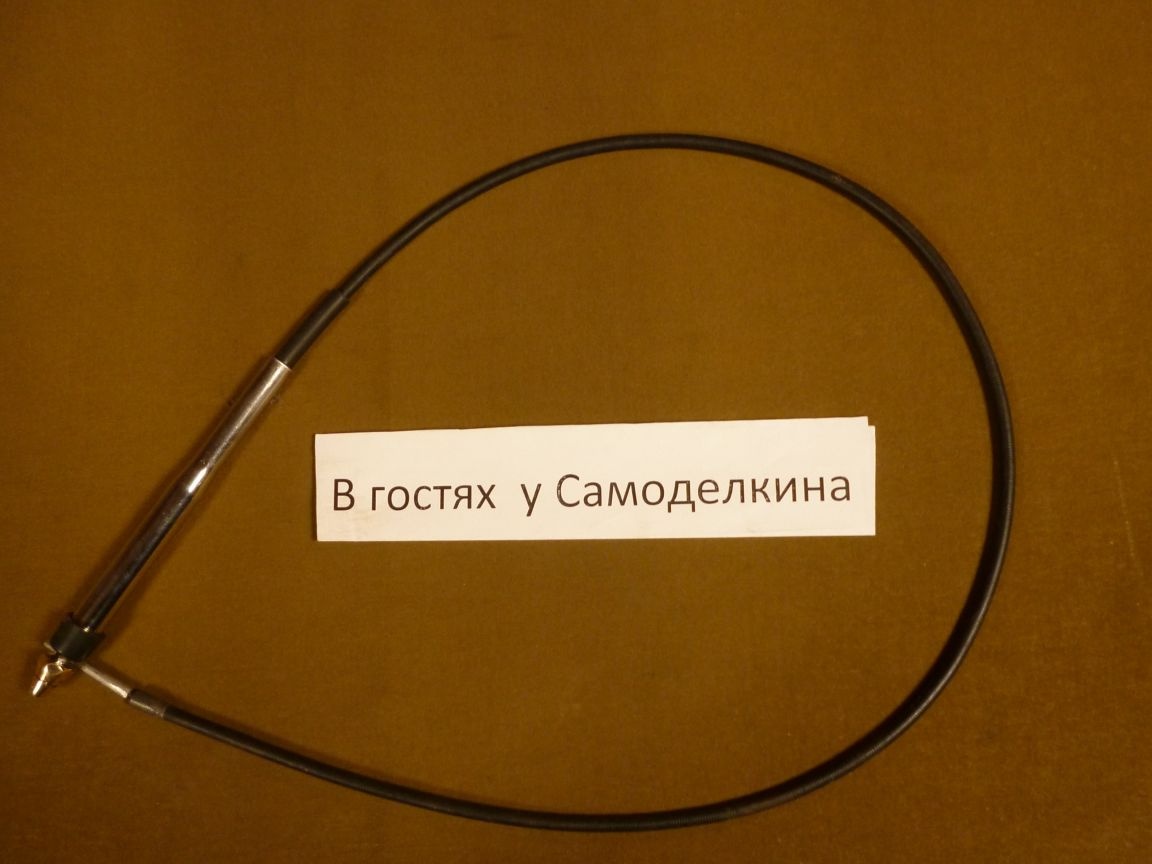
3. Cable from a moped or bicycle.
4. Broken gun for mounting foam.
5. Copper tube.
6. Aluminum tube.
7. Crane Mayevsky.
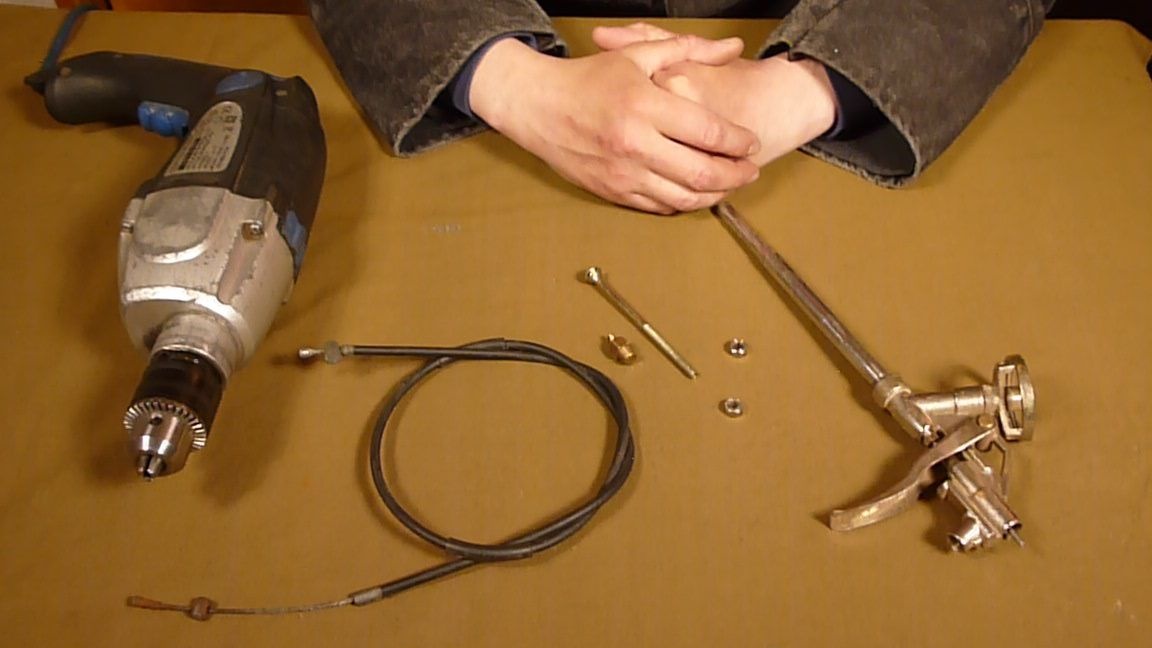
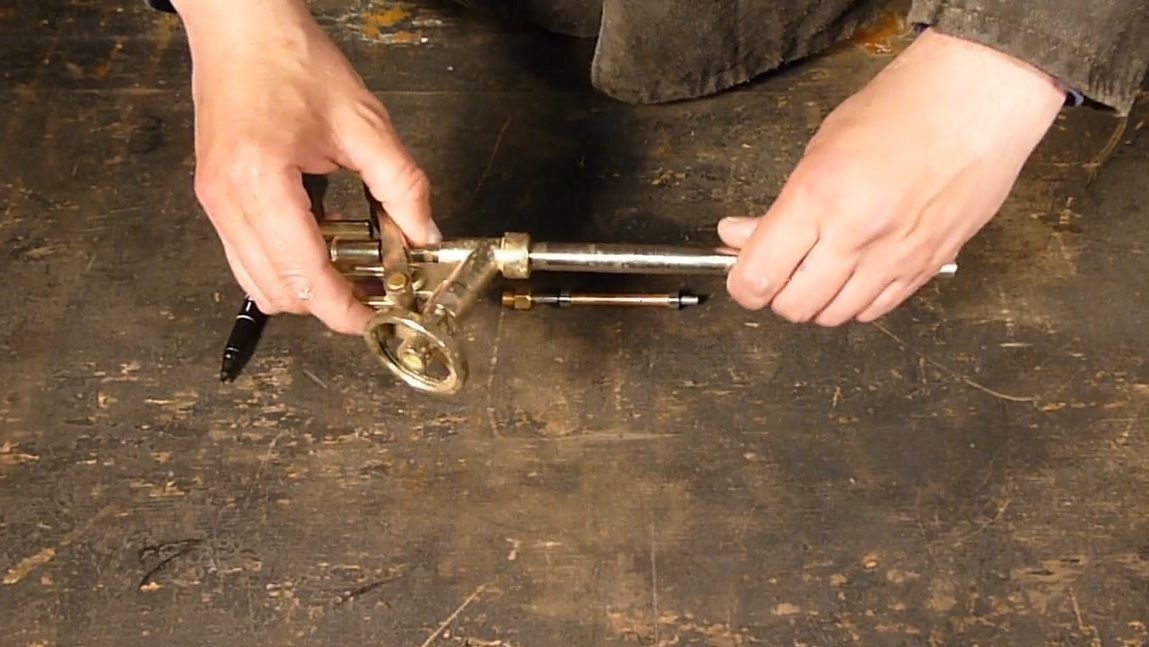
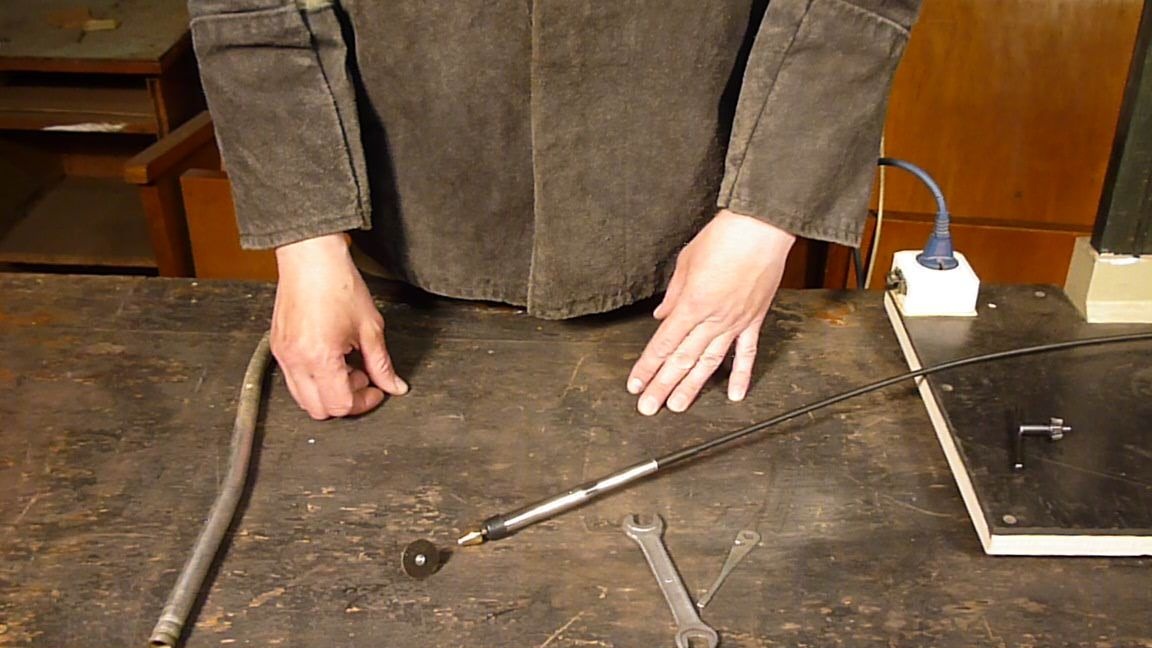
Having examined all the supplies in the workshop, they found everything necessary for the manufacture of nozzles for a drill.
A broken gun for mounting foam, a cable from some two-wheeled vehicle, small bearings and a long screw, the diameter of which is slightly larger than the internal diameter of the bearings and the Maevskoko crane is screwed onto its thread.
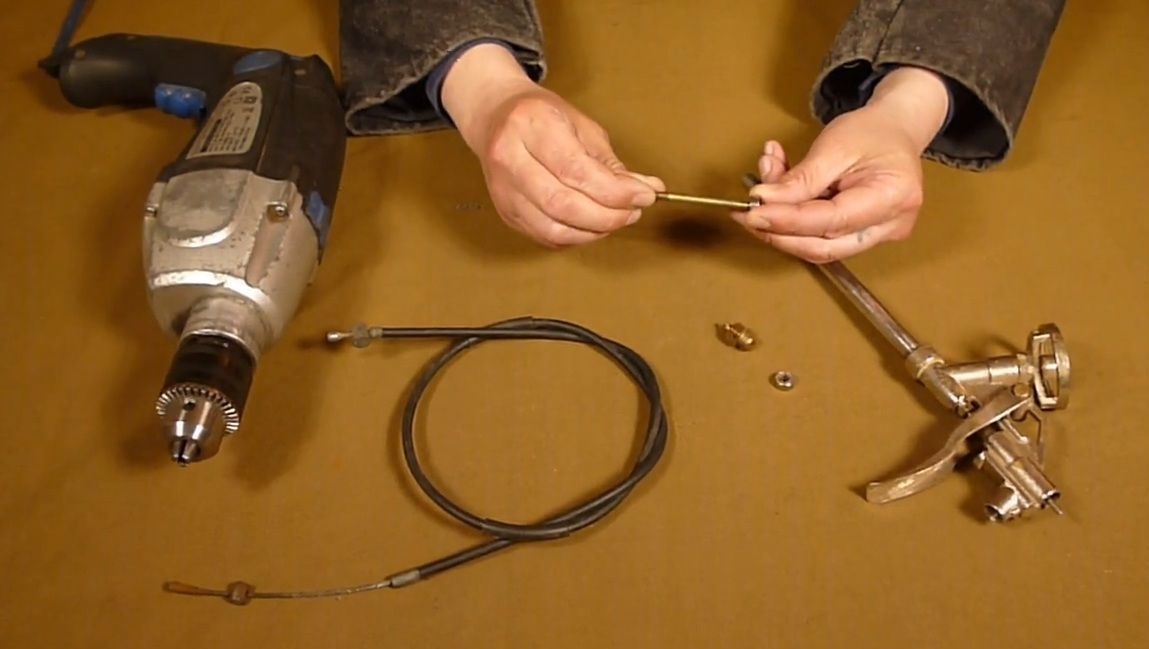
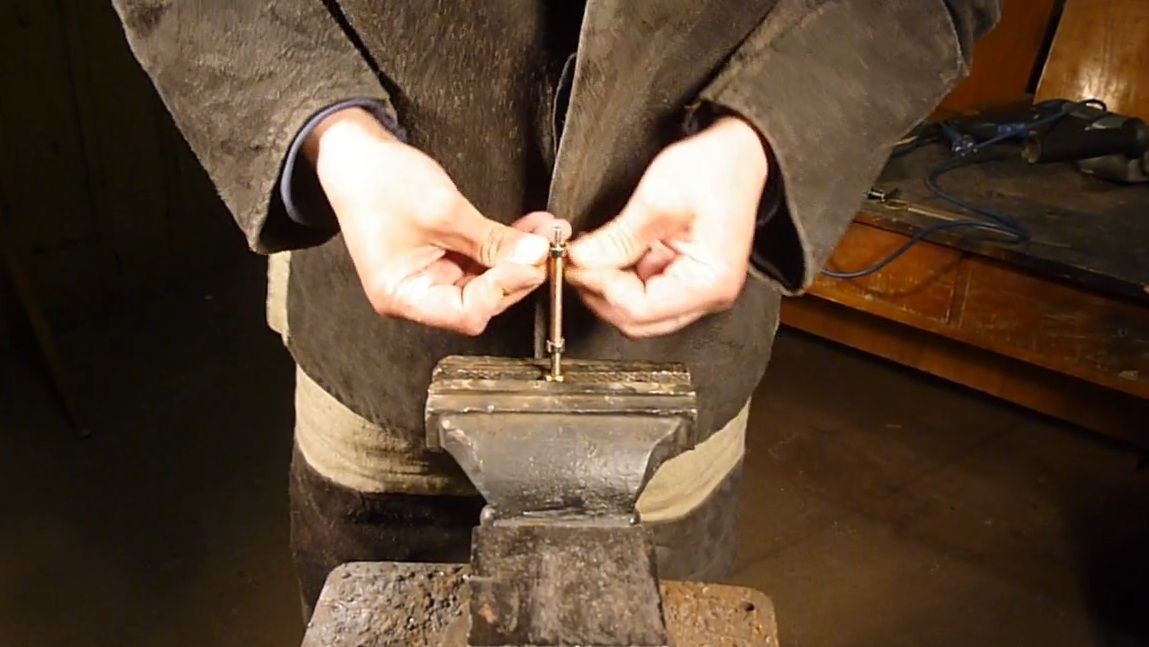
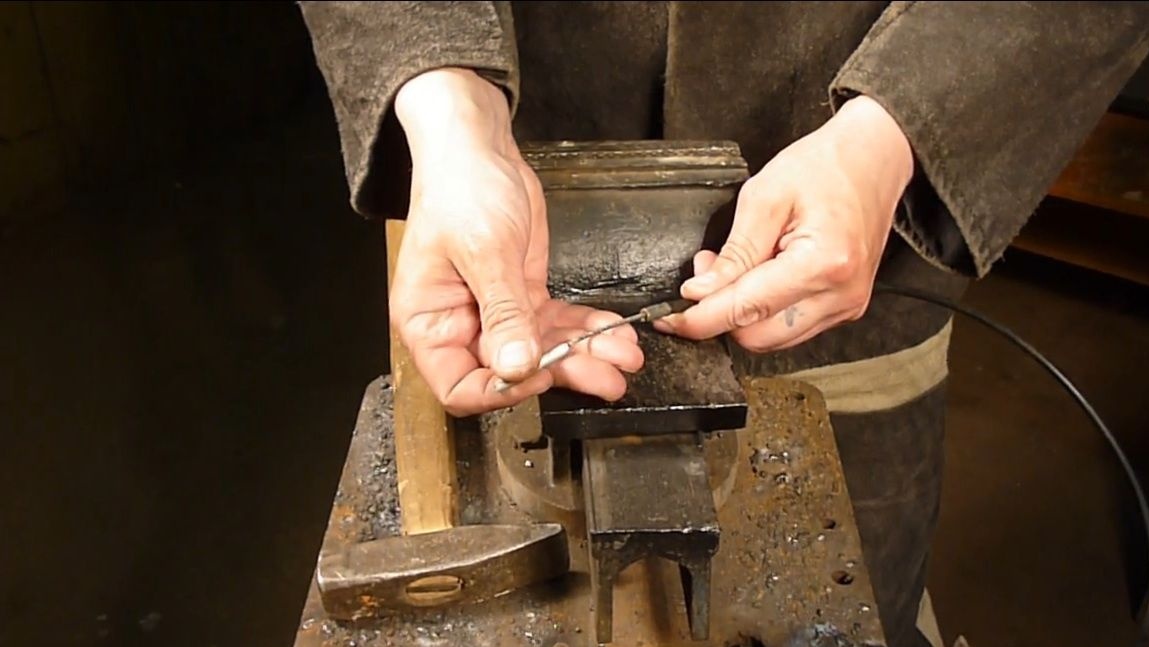
To begin with, we cut off the screw head and drill at the ends of the resulting workpiece for the shaft of the hole about 2 cm deep. From the edge where the thread, the hole diameter is calculated for the existing cutters, from the opposite, for the cable diameter plus a small margin for soldering. For drilling, it is best to use two drills to better center the hole.
We clamp the workpiece into a drill and, using two files, make a rough adjustment of the outer diameter of the shaft to the inner diameter of the bearing. This must be done very carefully, constantly checking the size, so as not to weaken the bearing seats.
The final fit of the seats is done with sandpaper.
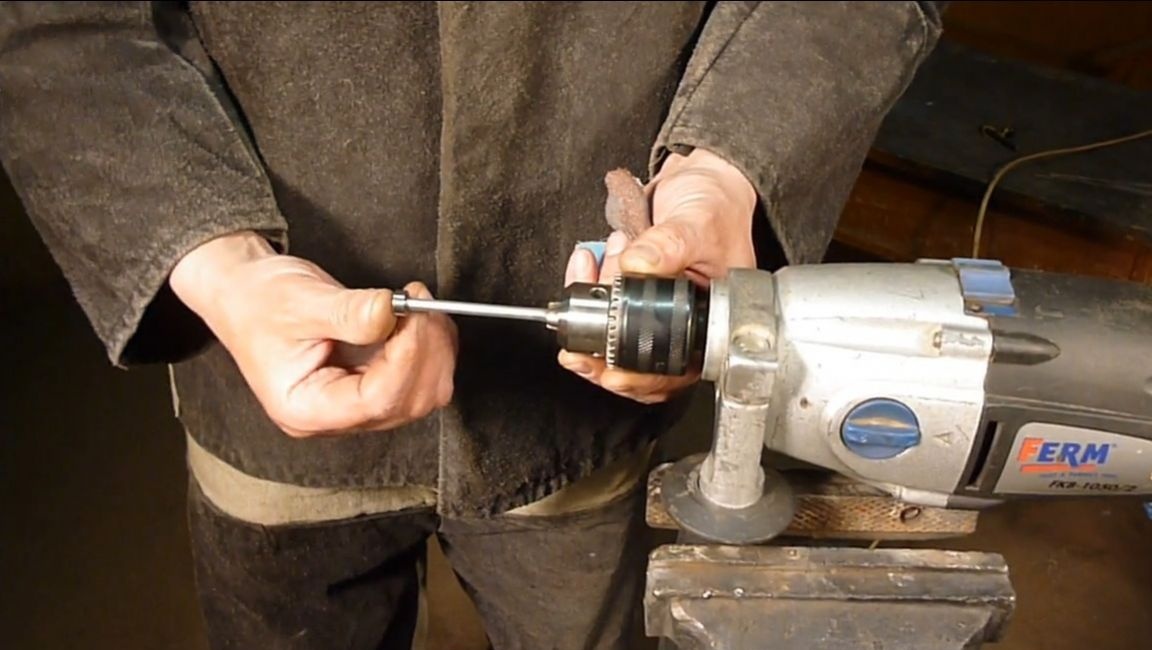
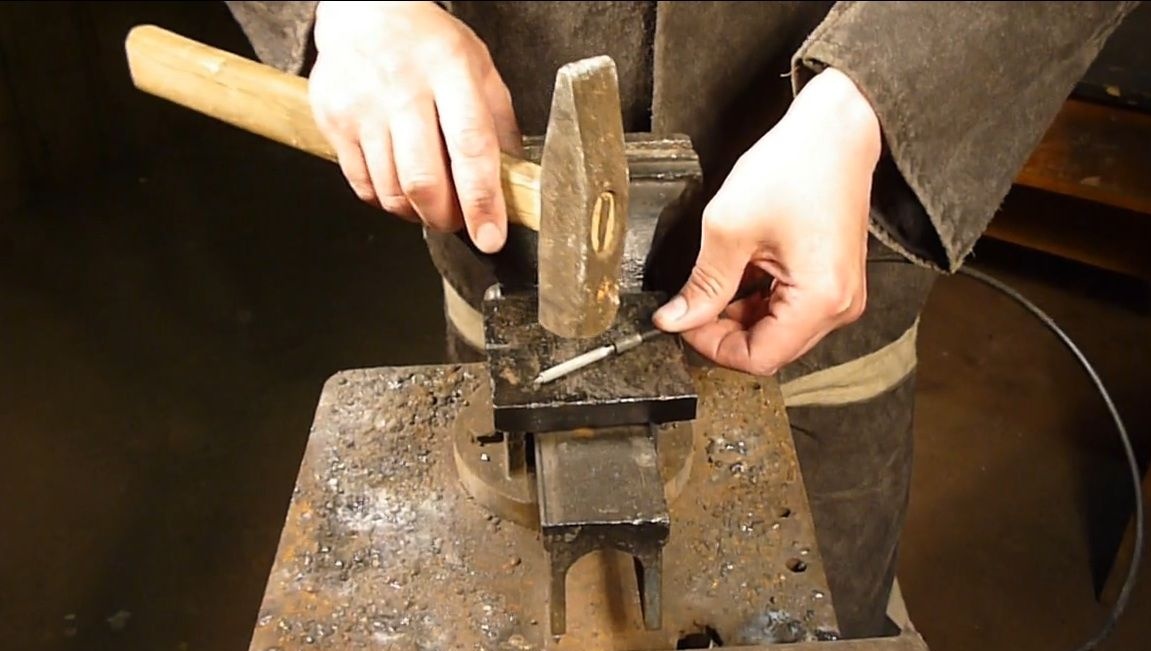
Clamp the shaft in a vice and fit the bearings. For the best work of our nozzle, it is necessary that they are inserted very tight, up to the nozzle with a hammer.
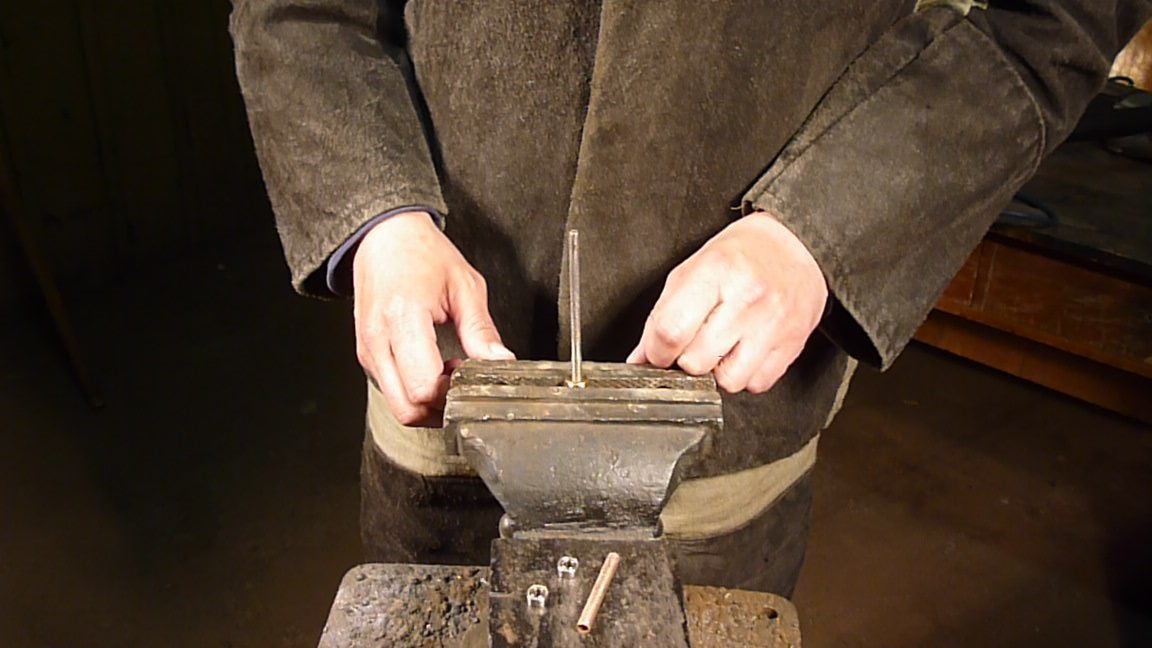
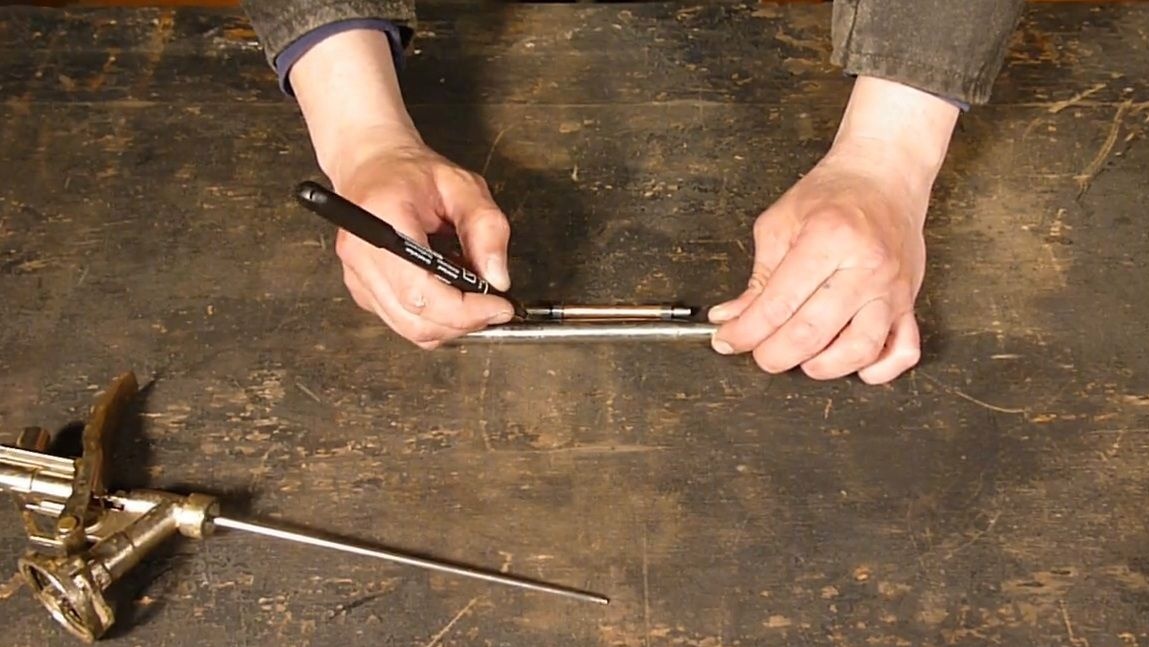
In order to fix the internal distance between the bearings, we put a piece of a copper tube of suitable diameter on the shaft.
Unscrew the nozzle from the broken gun for mounting foam.
He was the best suited for the manufacture of the body of our nozzle.On the one hand, its inner diameter almost coincided with the outer diameter of the bearings, it was necessary to work a little with sandpaper, in the other the outer braid of the cable is tightly fixed. The bearing will abut the diameter difference, thereby strengthening the structural strength.
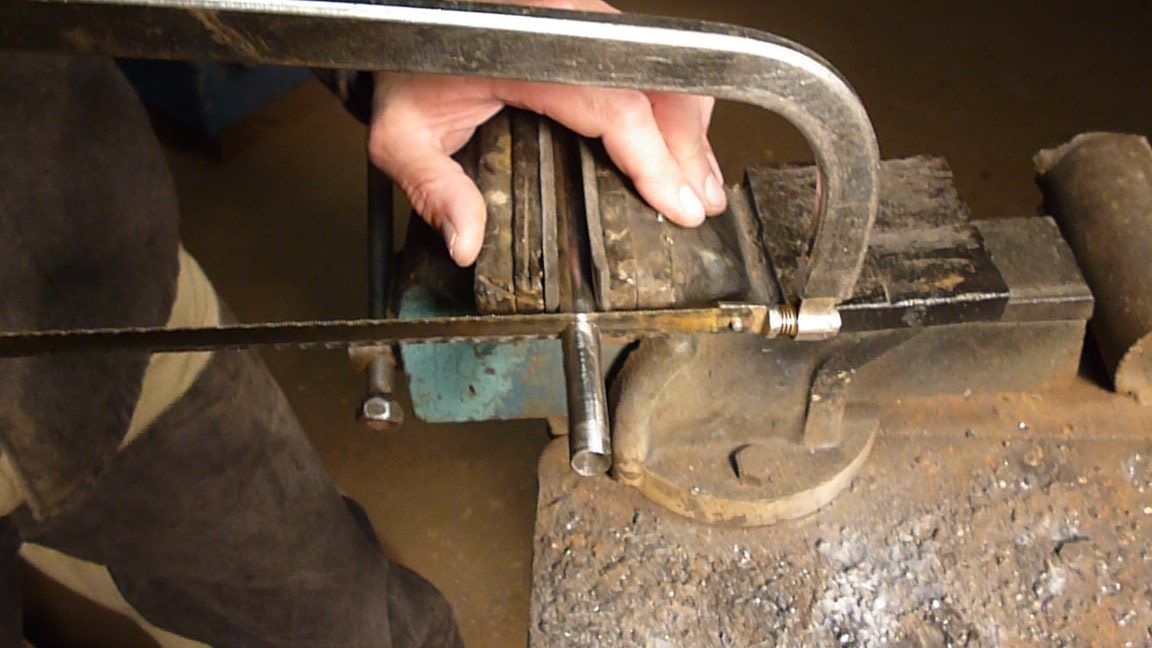
We mark the size we need and cut it with a hacksaw for metal.
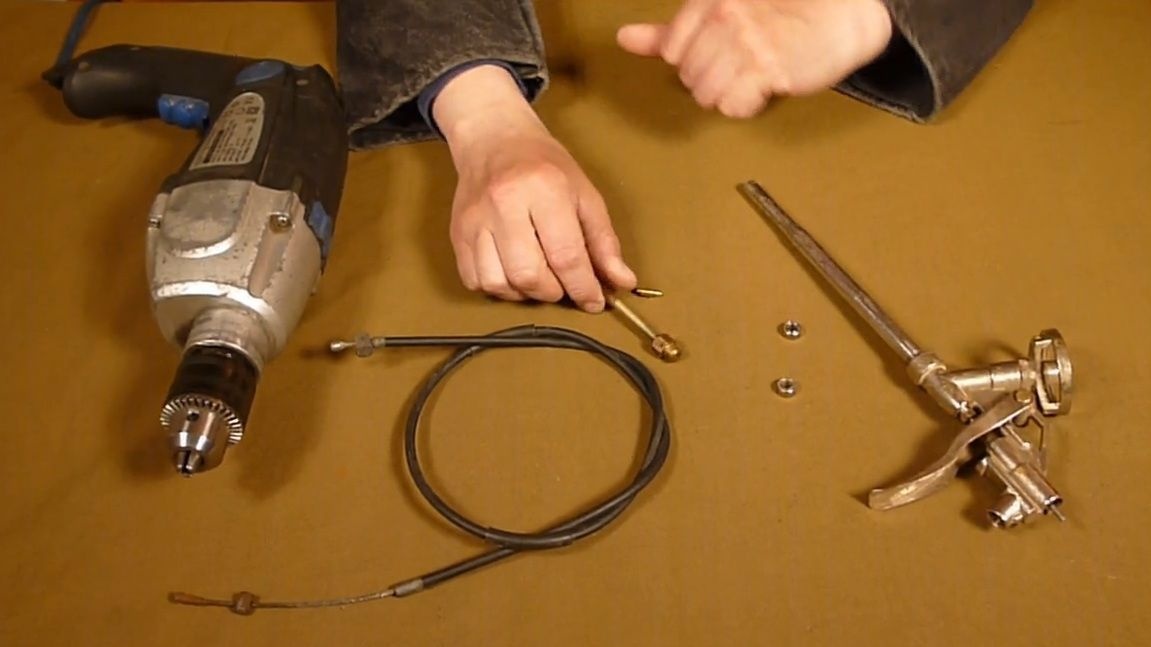
From the side of the thread on the shaft we make a collet clamp, two cut a cross on a cross. In more detail how to make it there is a separate article and video, anyone interested can watch it.
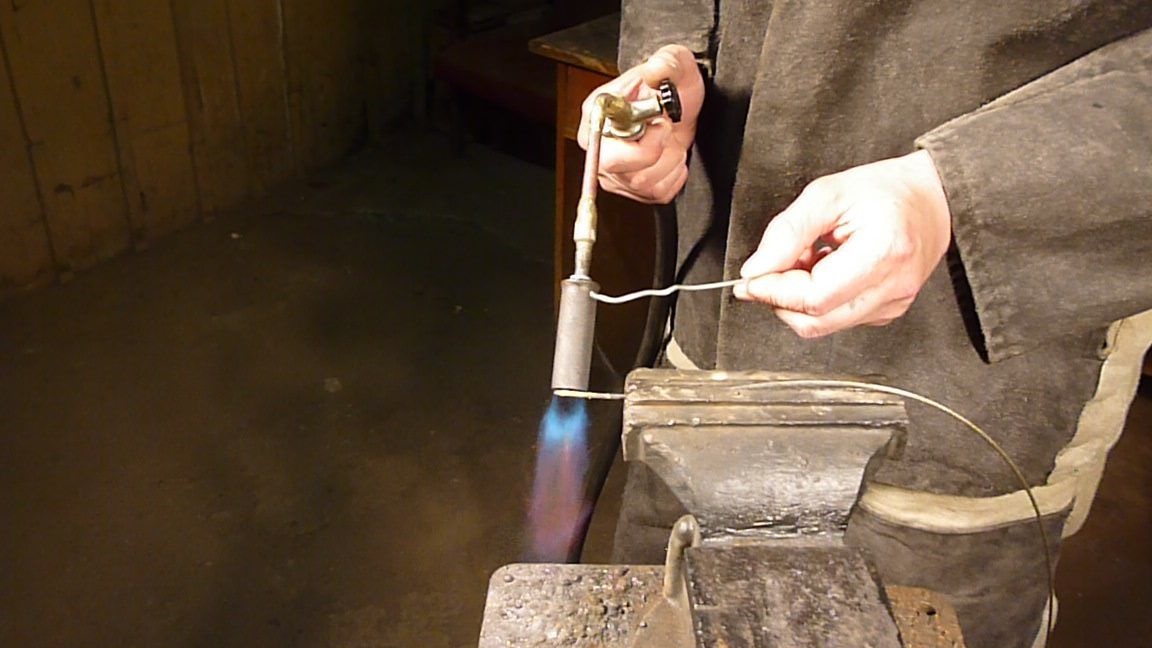
To the other edge you need to solder the cable. To do this, we use a gas burner and castolin, it is many times stronger than tin. We solder the edge of the cable and insert it into the hole solder to the shaft. It is better to remove one bearing and a copper tube so as not to heat up.

Having cleaned and sanded the place of soldering, we collect the parts together.
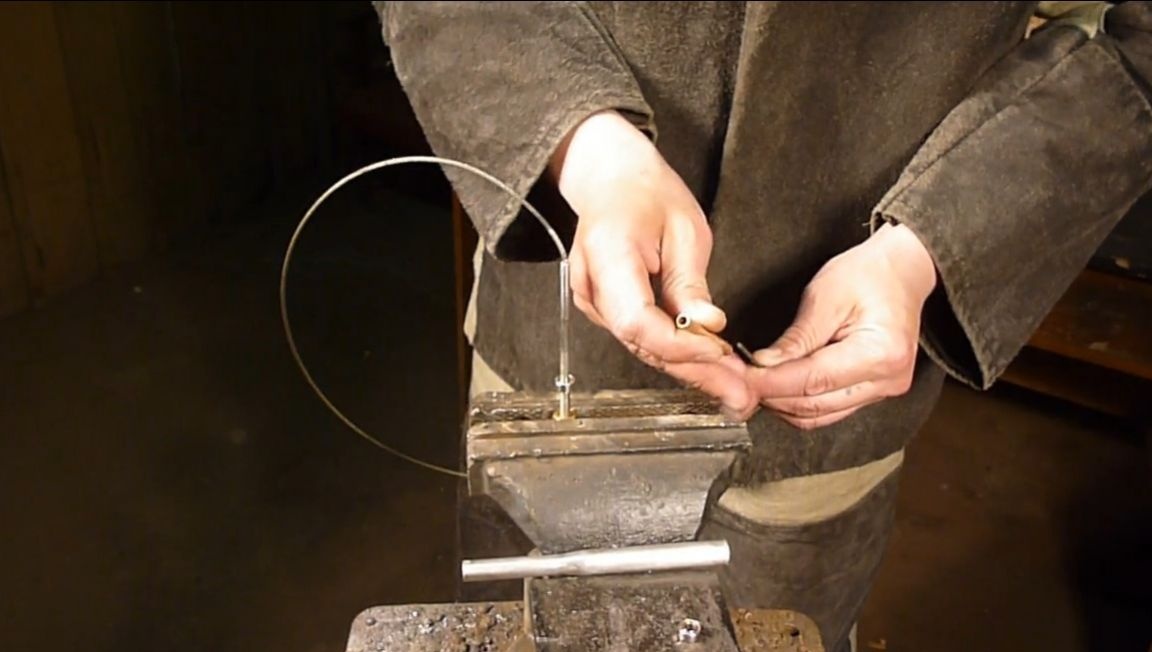

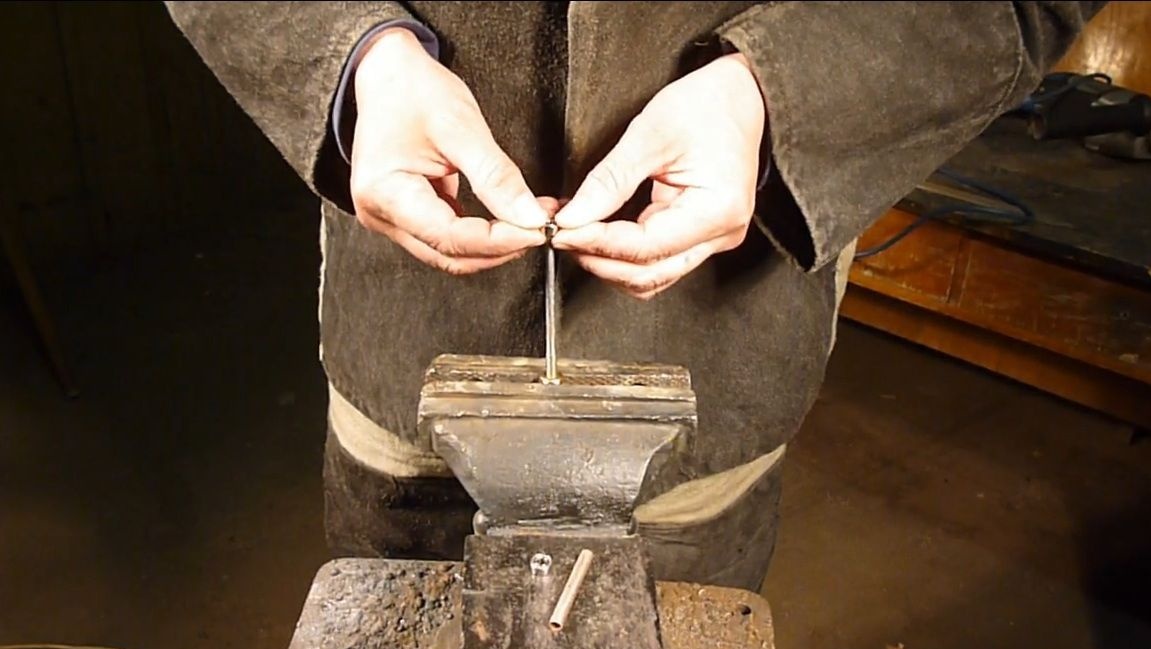
Now we put the nozzle body on the shaft.
We dress the outer braid on the cable and fix it in the body.
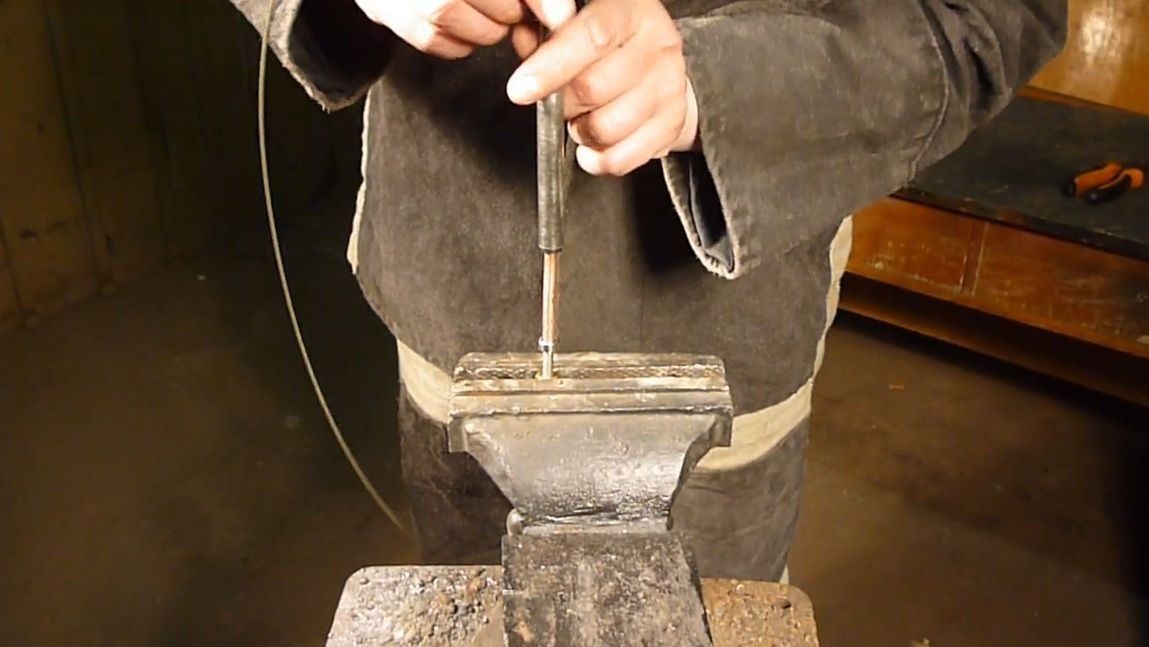
So that the drill chuck does not injure the cable, we put an aluminum tube on the free edge and crimp it with hammer blows.
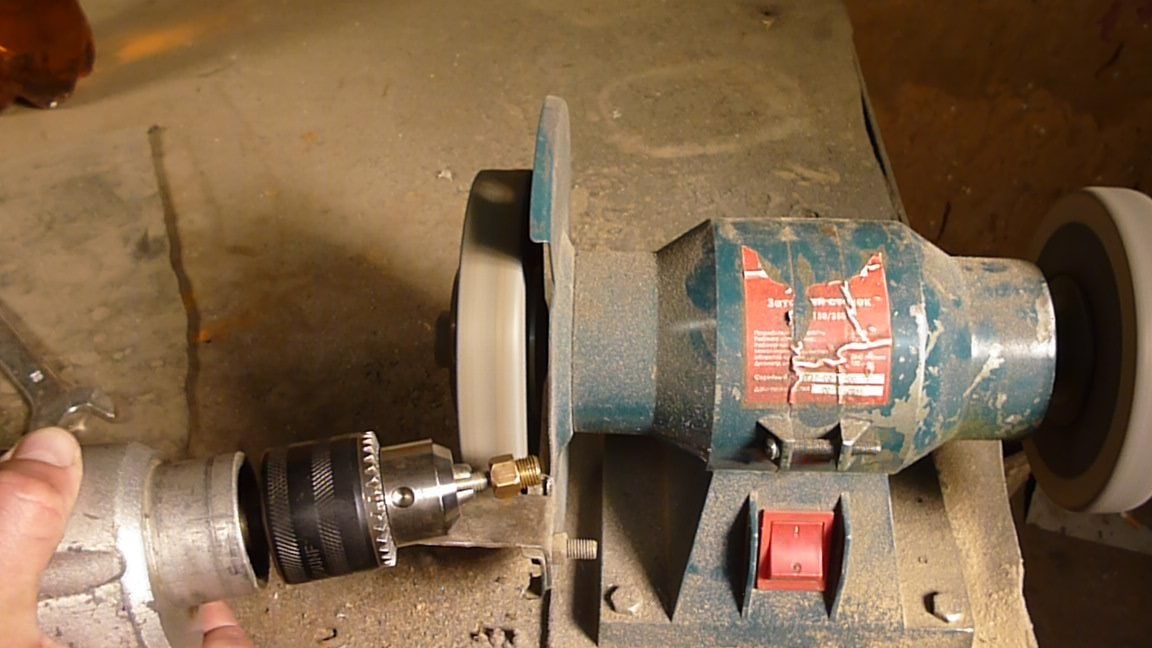
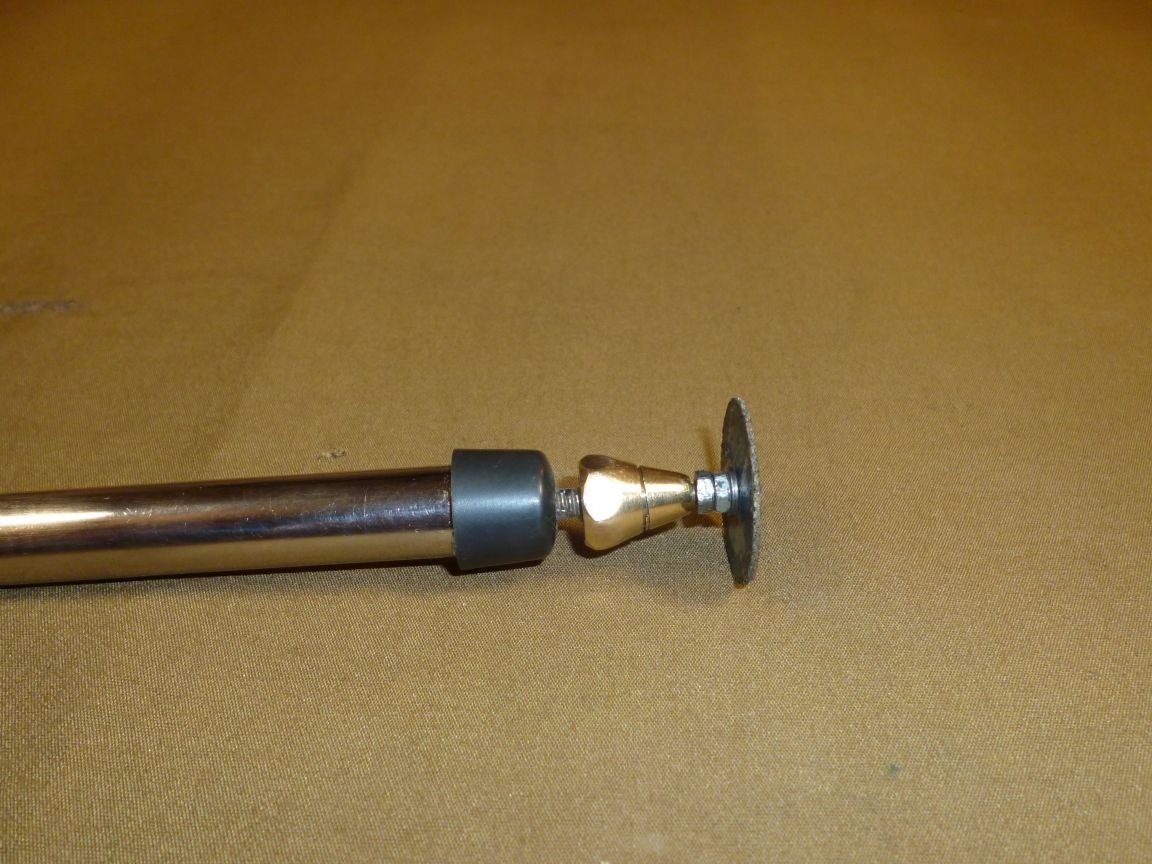
We wind the body of the Mayevsky crane onto the hairpin, clamp it into a drill and grind it on a grinding machine, giving it the desired shape. This crane is good because it has inside the body. after the thread, the hole tapers to a cone, and when screwed onto the collet, it clamps it.
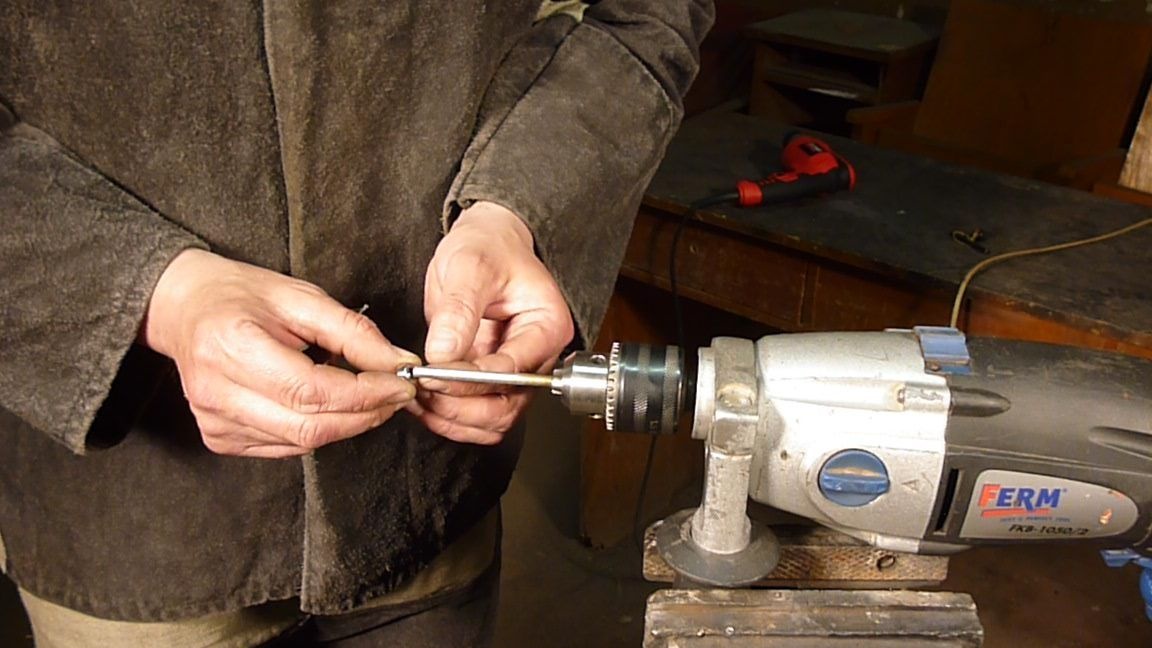
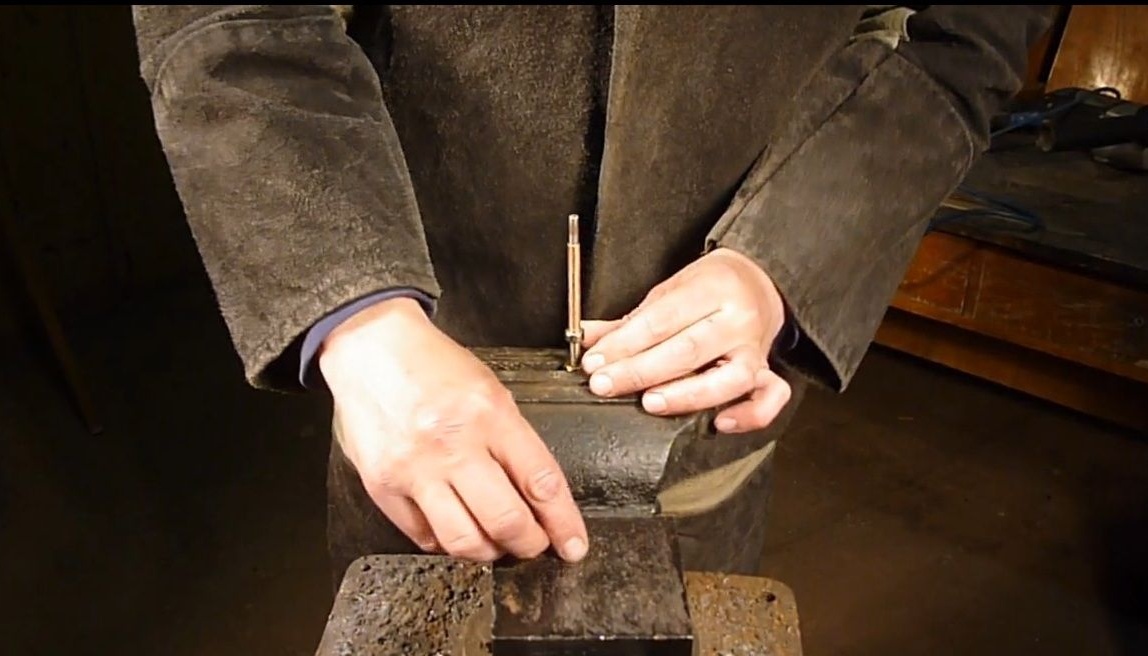
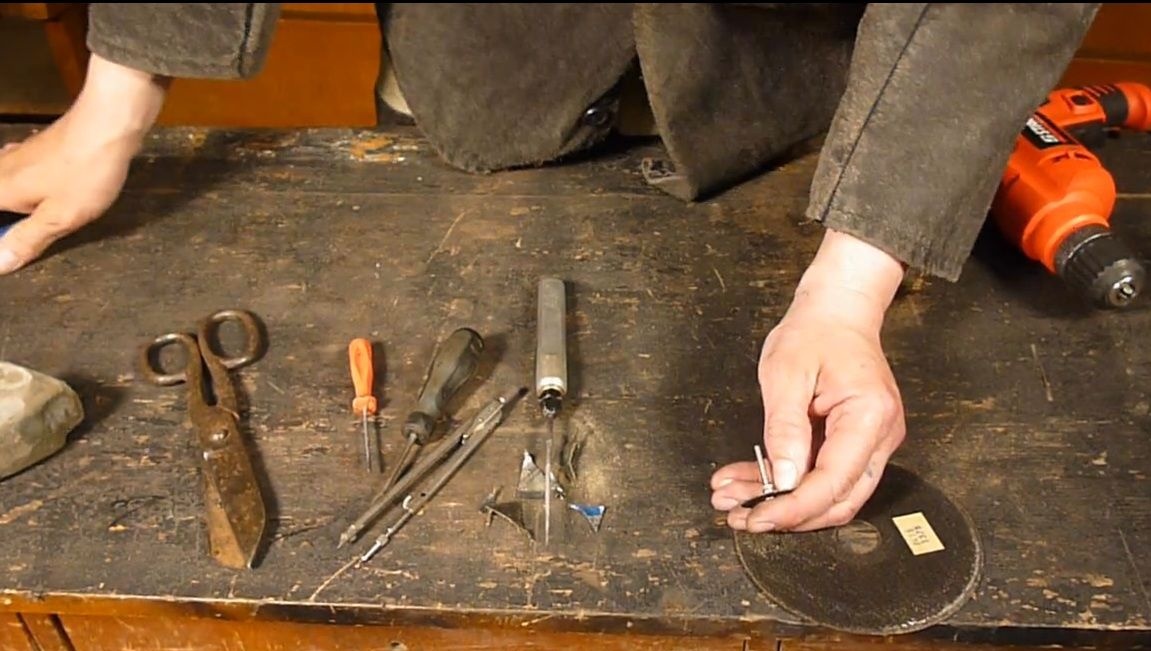
Between the edge of the body and the clamp, we make two small cuts on the turnkey shaft, to fix the shaft when installing the cutter.

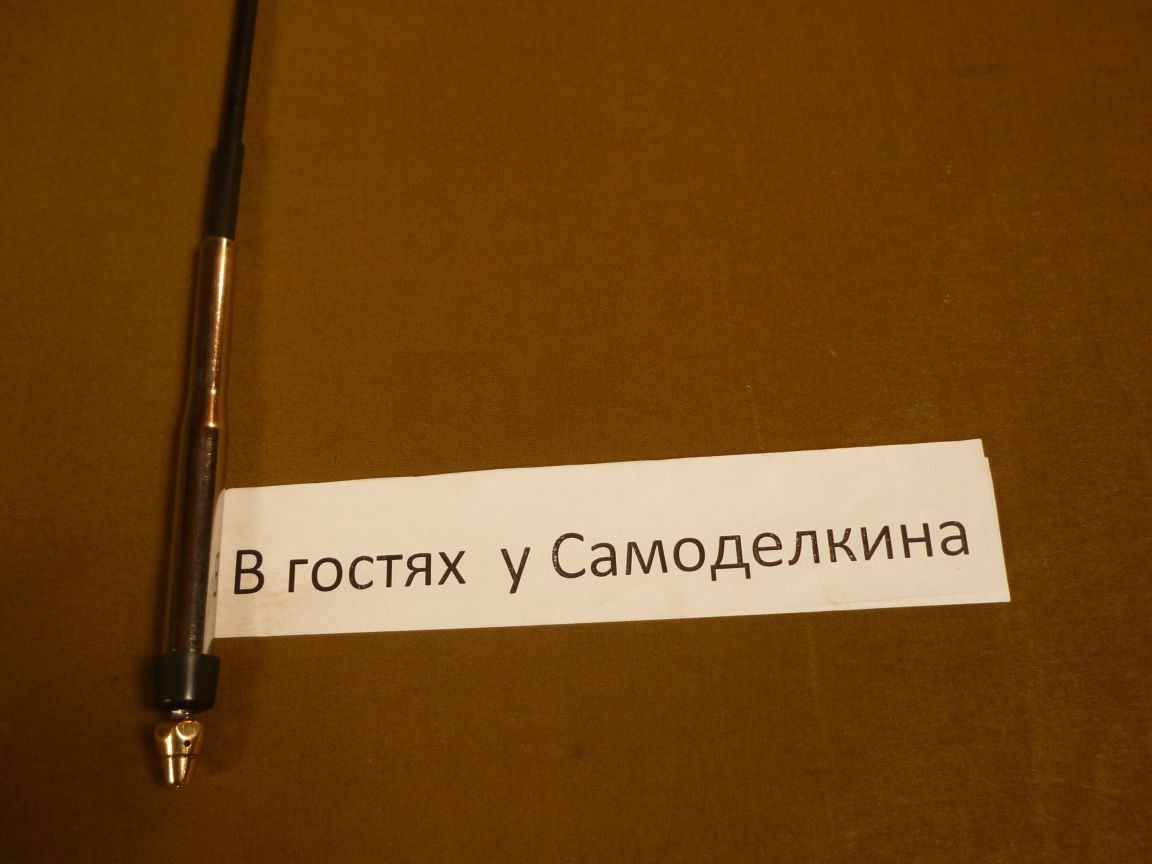
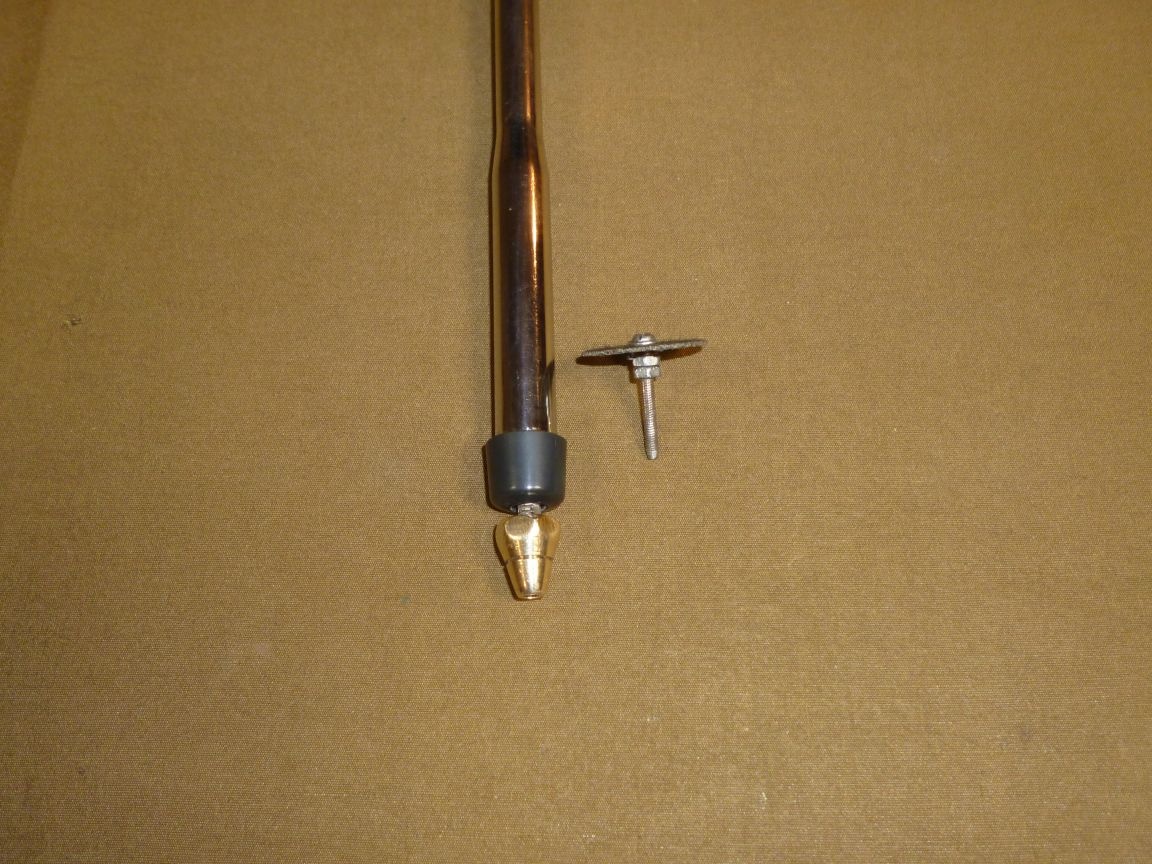
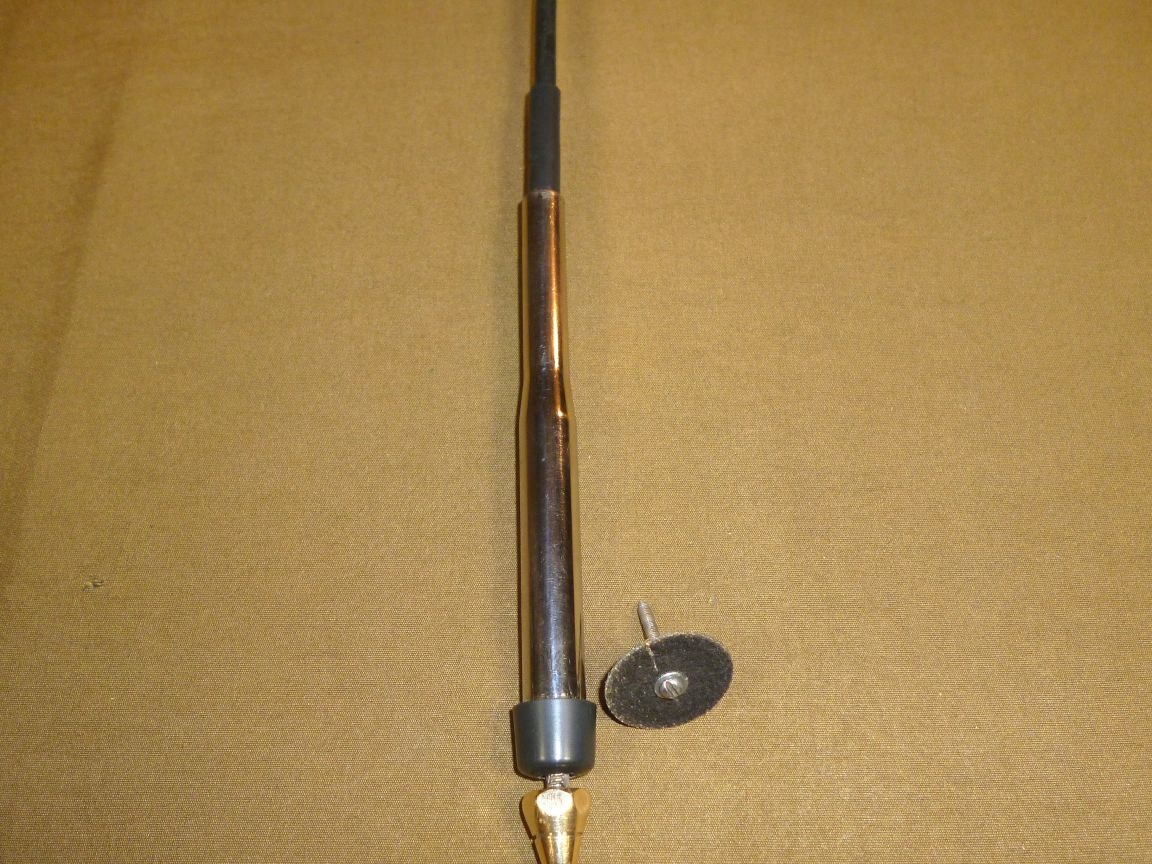
The drill head is ready. In order to avoid the ingress of the chips inside and the contamination of the bearings, they put a boot from a plastic handle from some kind of regulator.
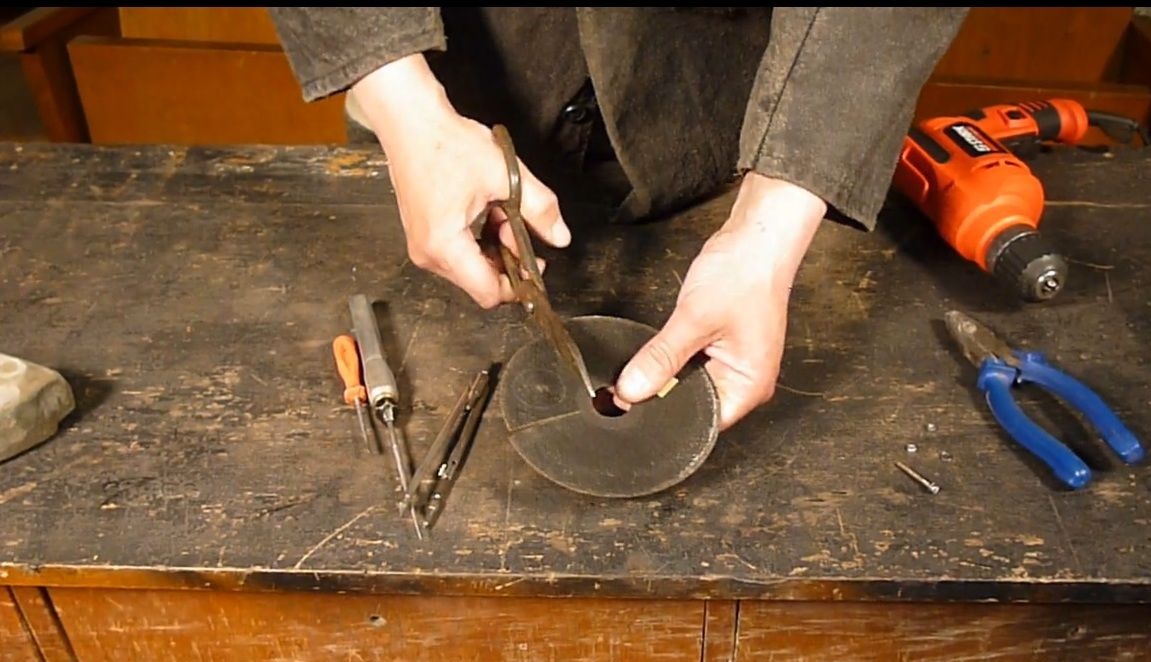
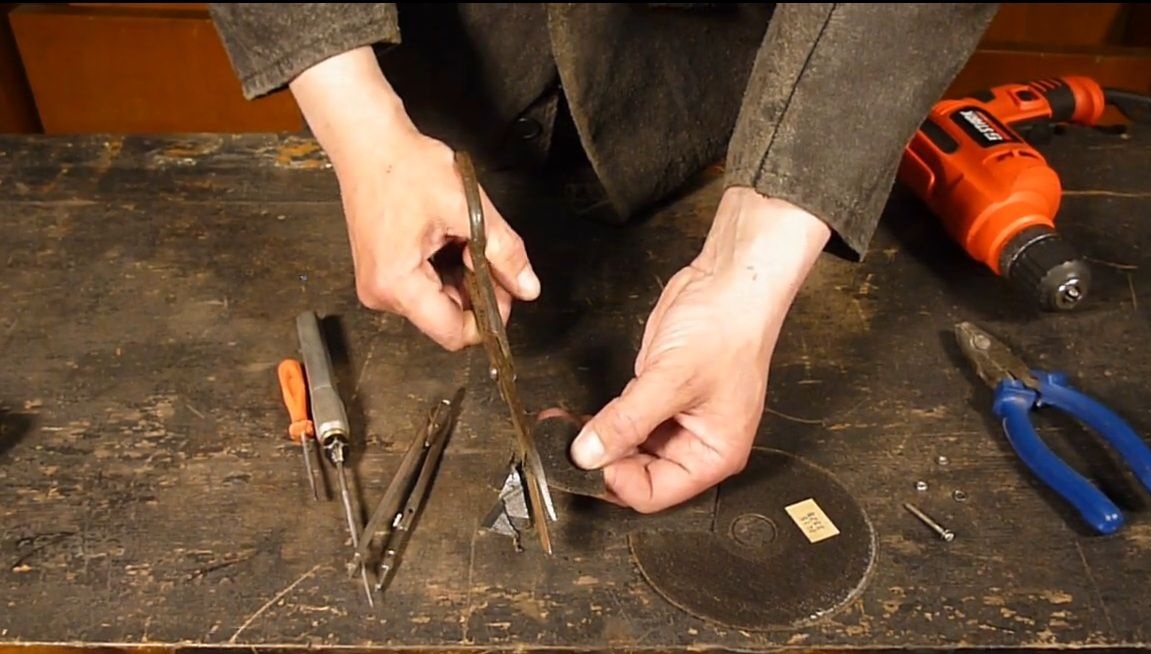
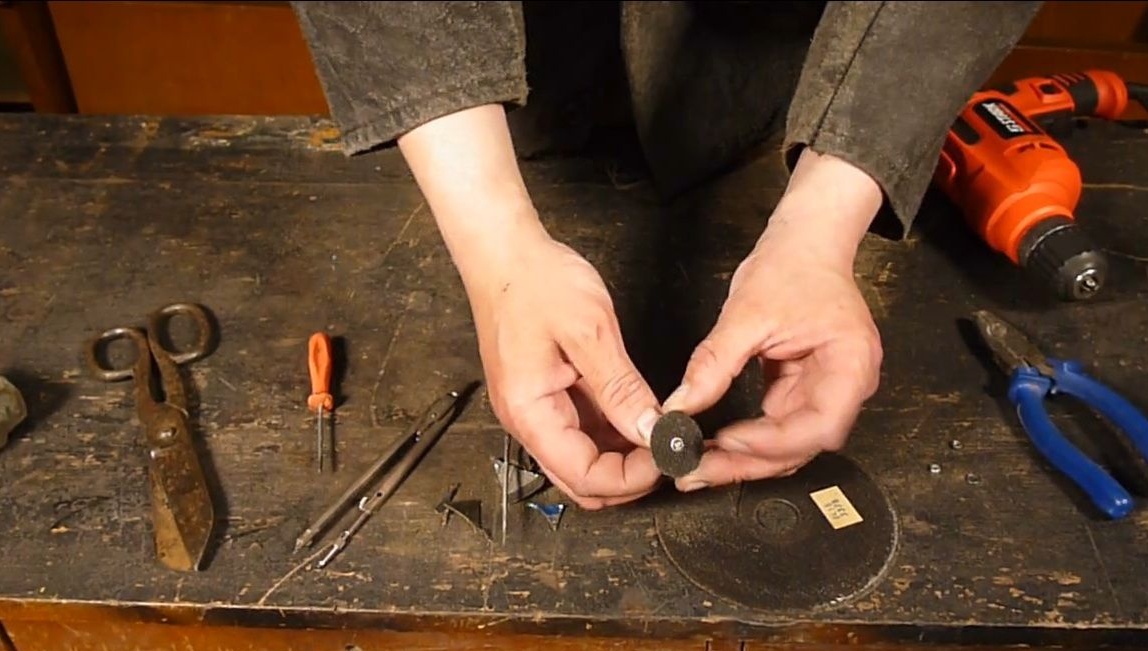
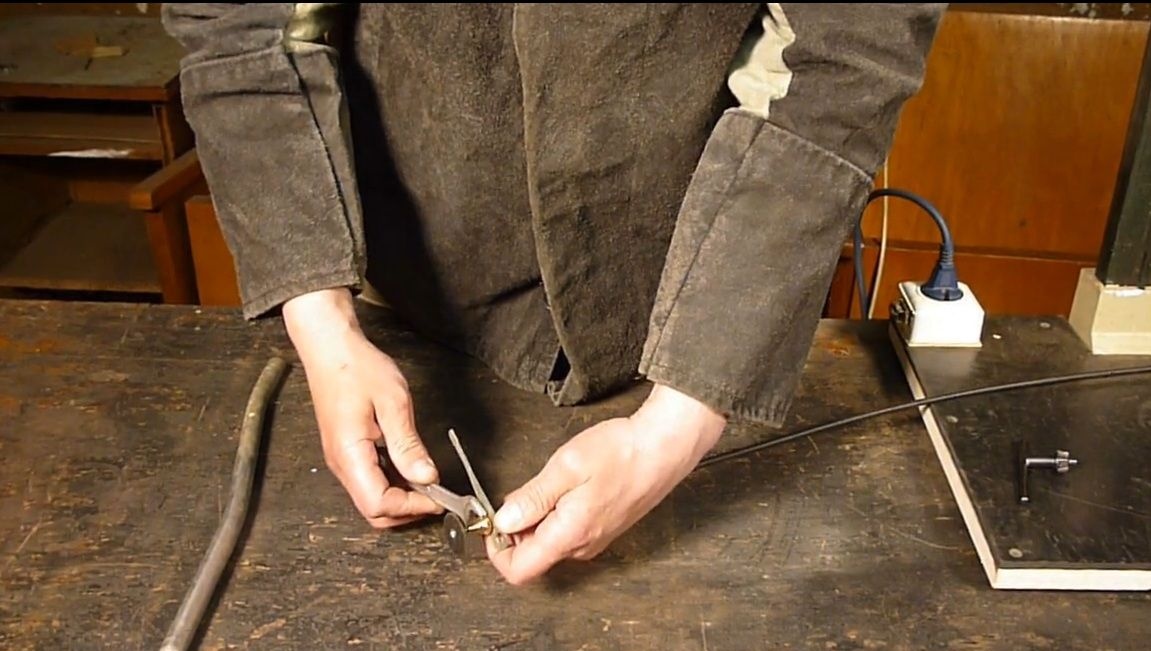
Now make a cutting disc for this nozzle. To do this, take a standard cutting disc, you can grind it, mark with the compasses the desired diameter and cut with scissors.
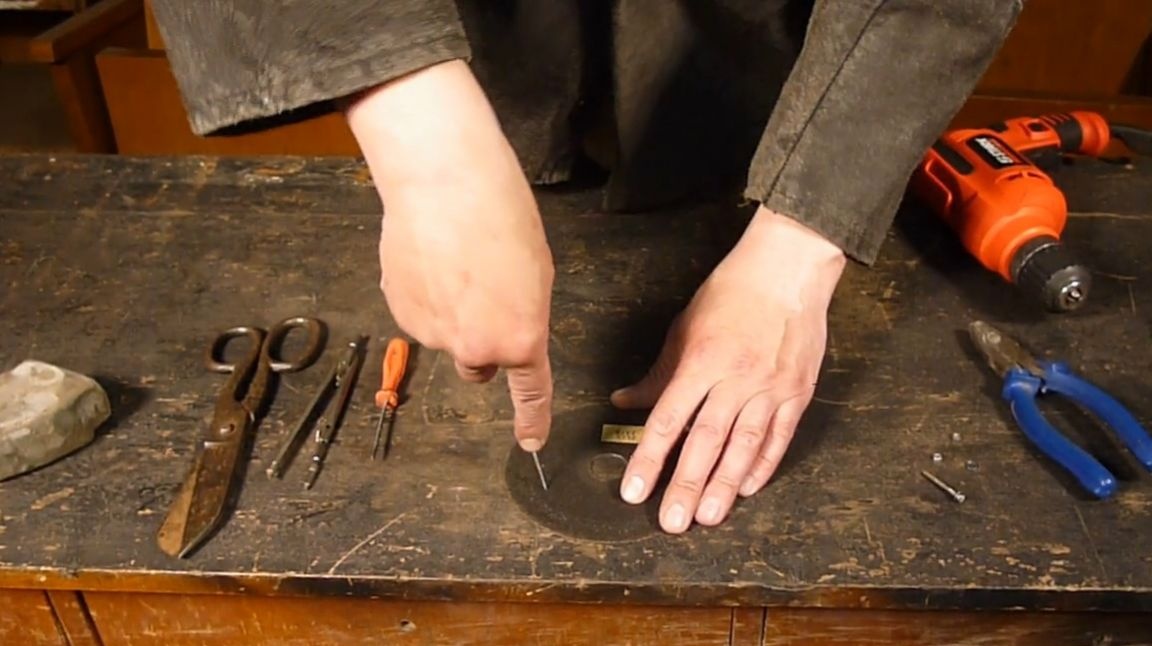
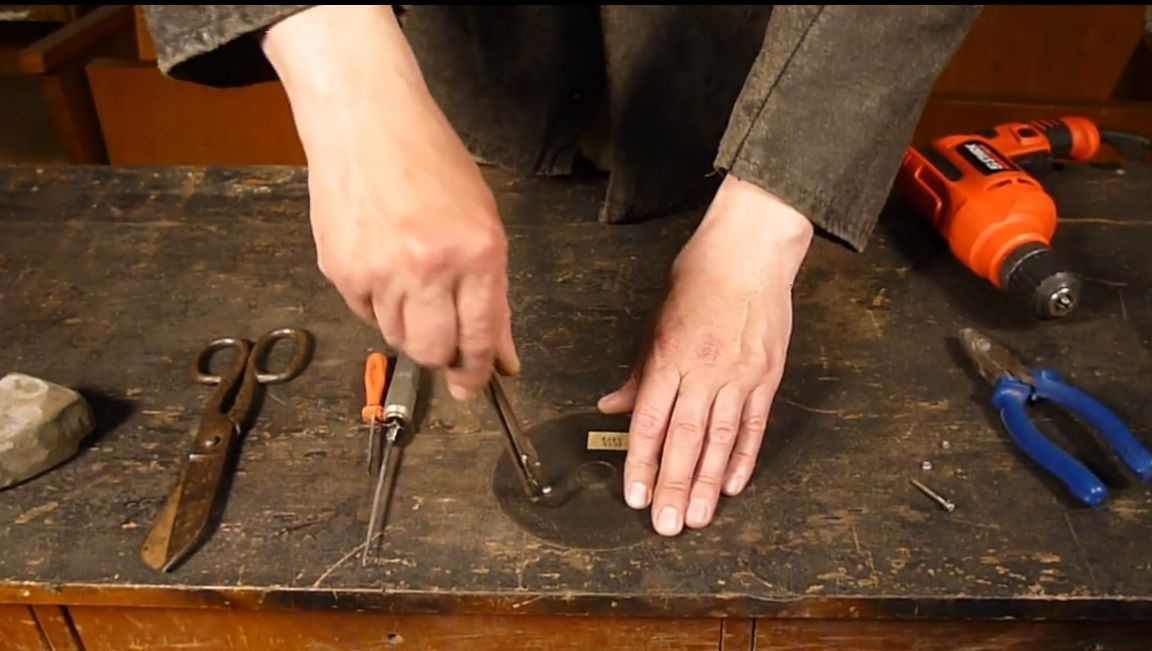
We pierce the center with an awl and fasten it to a screw that fits our clamp. For better fastening, we use a grover and another lock nut.

We clamp this workpiece into a drill, it is also possible to make a nozzle, and grind all the irregularities on the donkey or broken circle from the grinding machine.
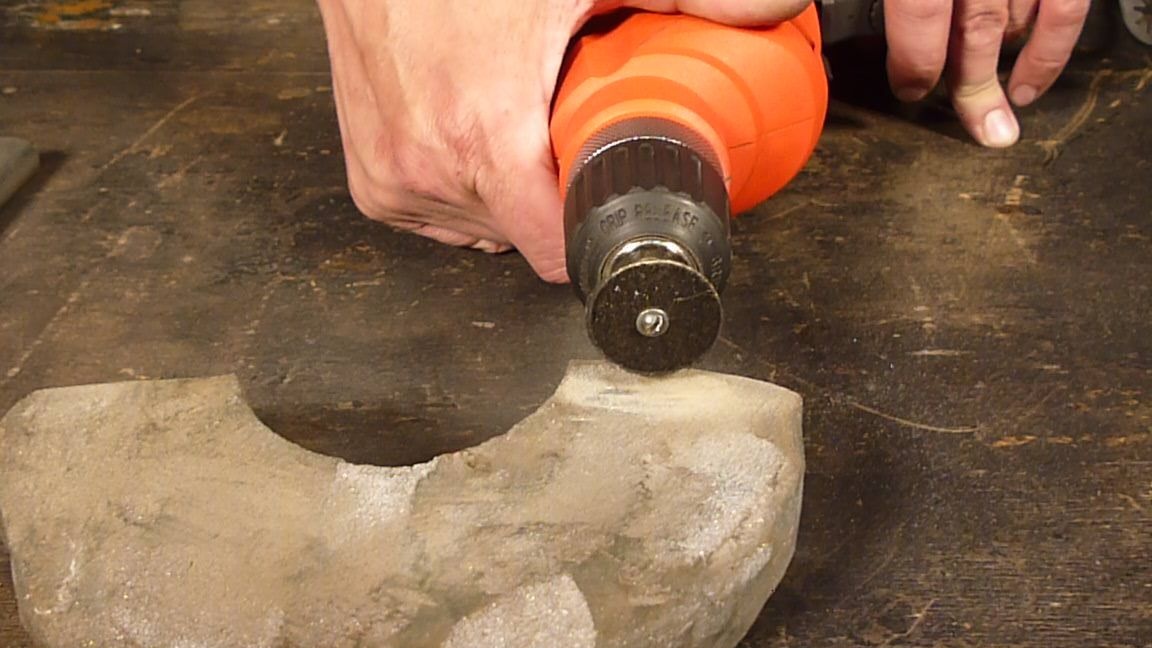
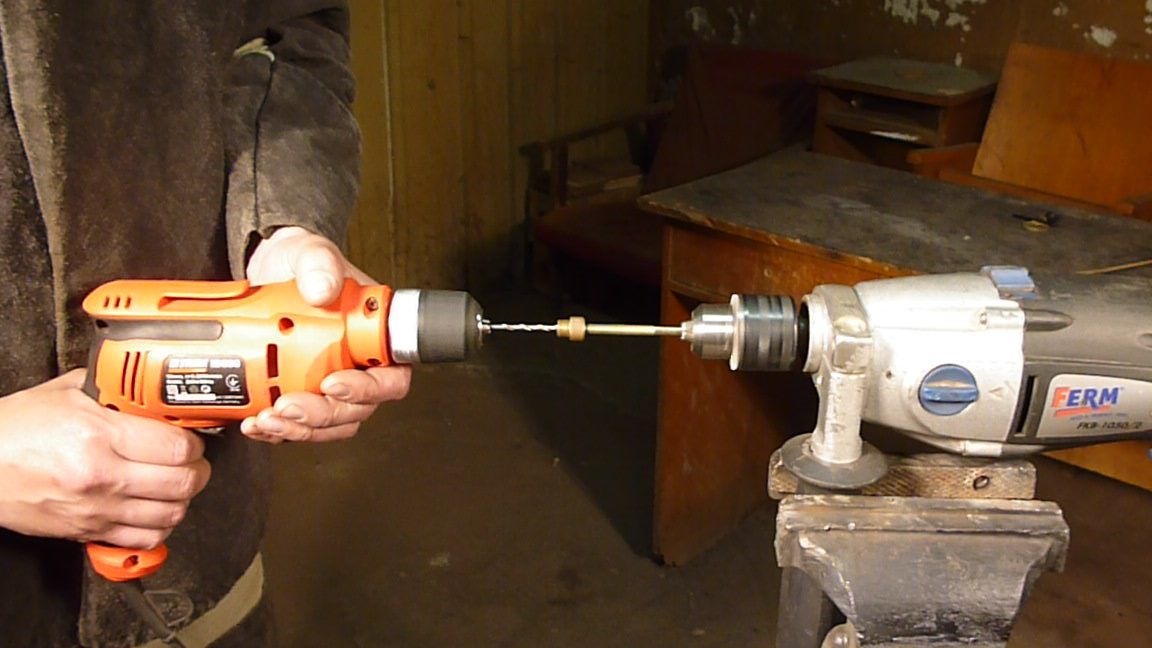
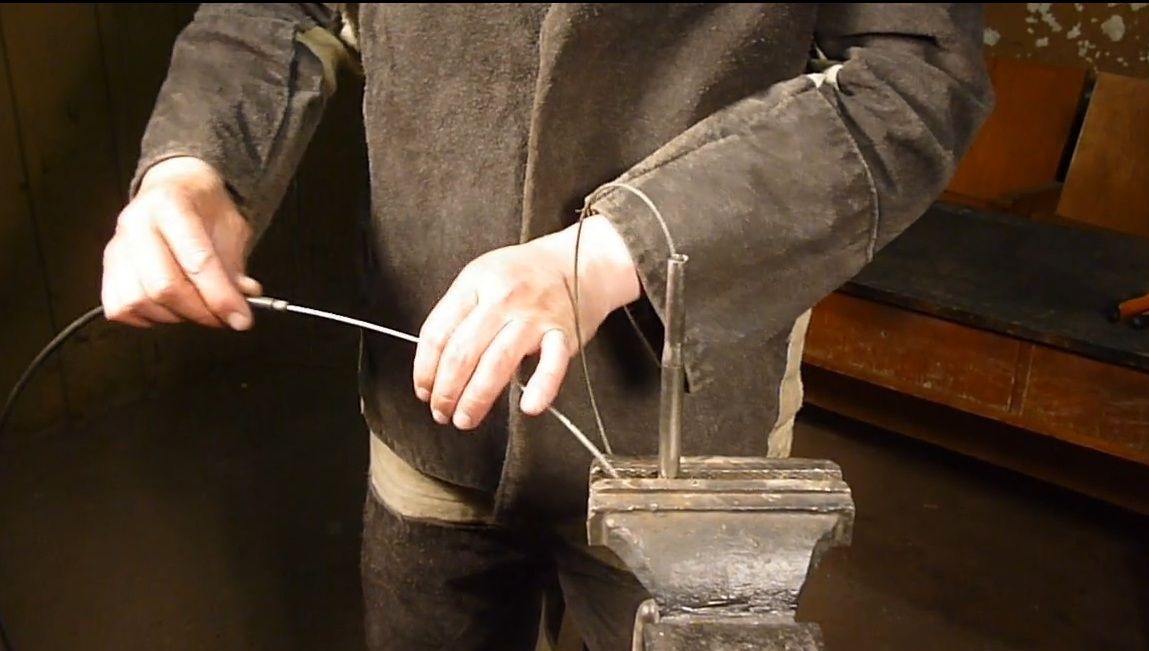
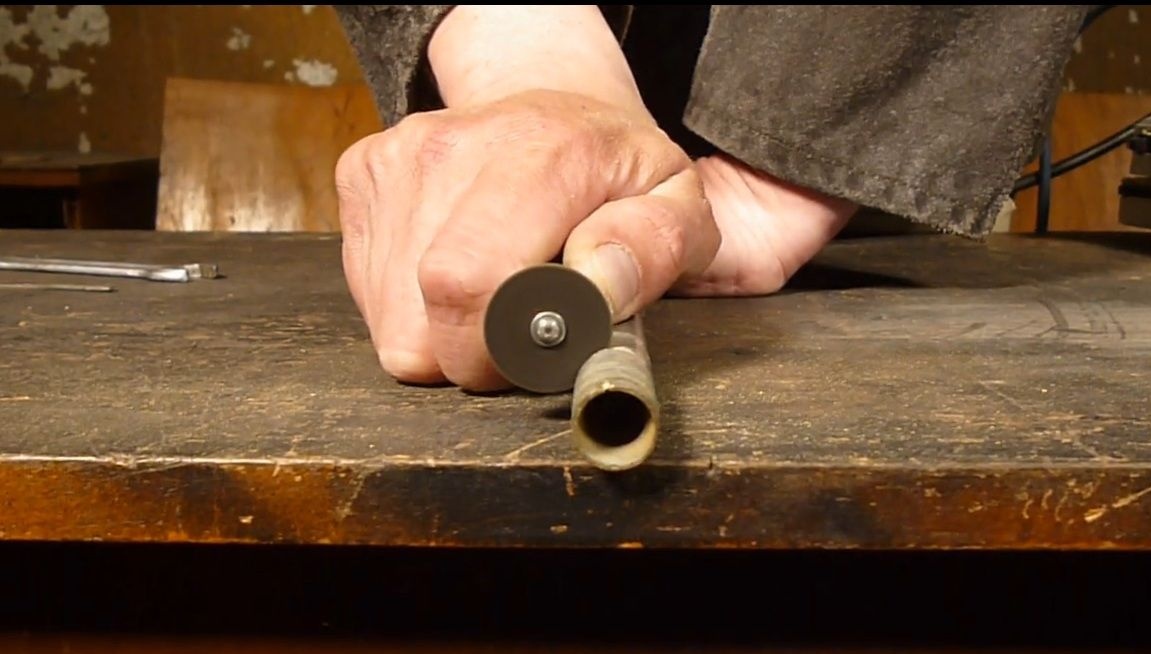
Now we are testing the resulting design. We clamp the edge of the cable into the drill, it is better of course that the drill is on a rack.
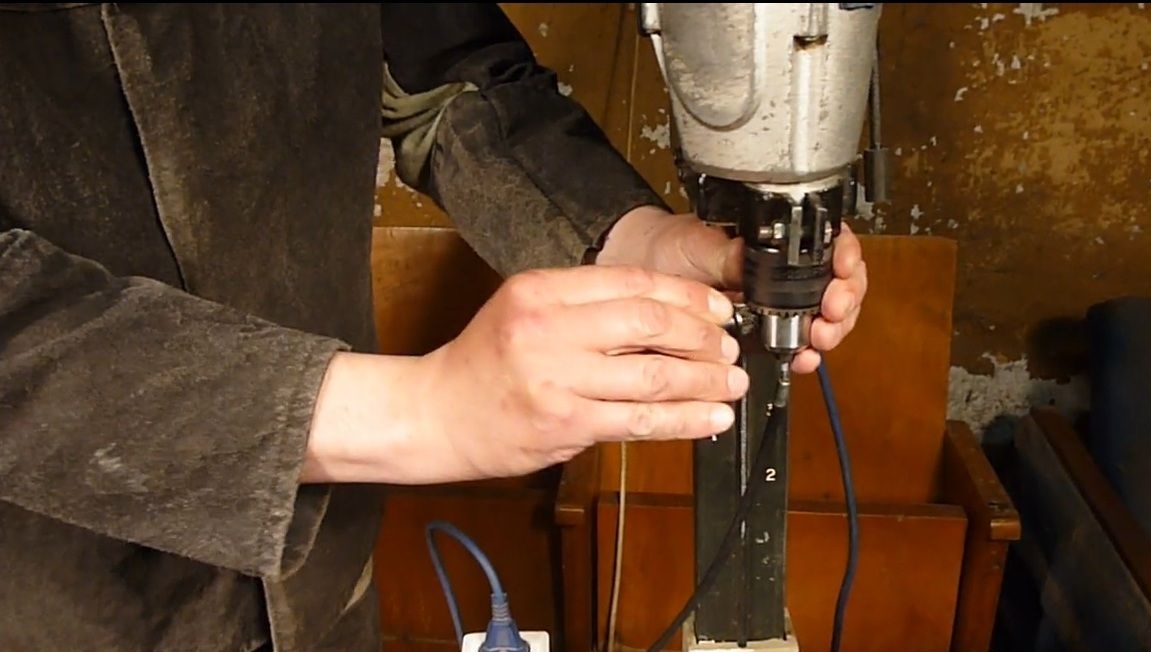
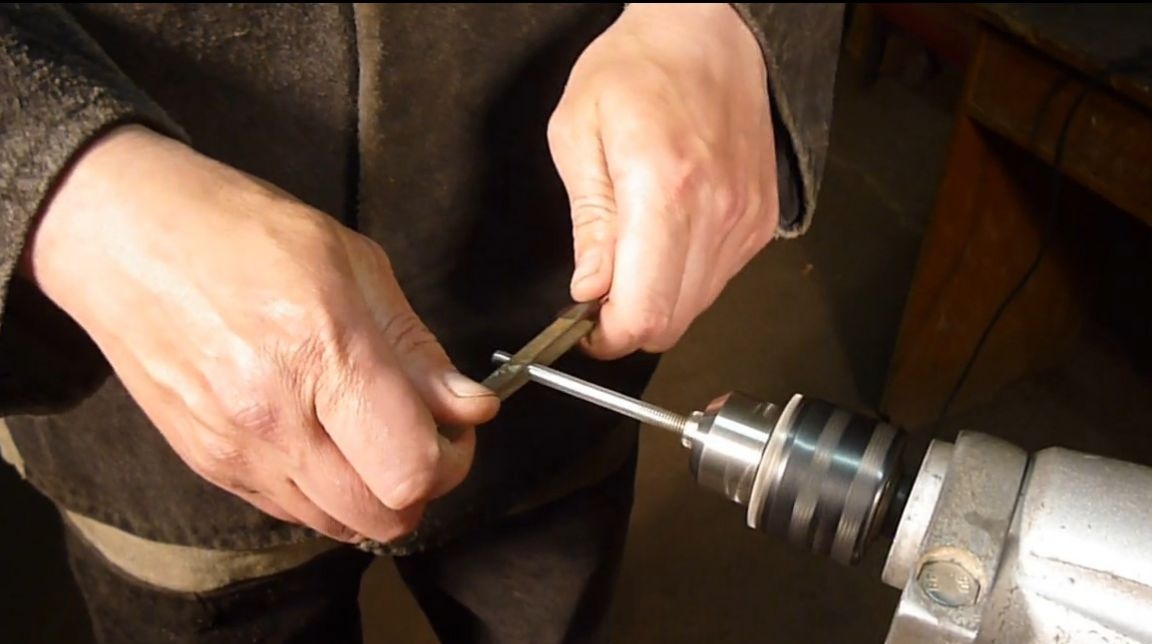
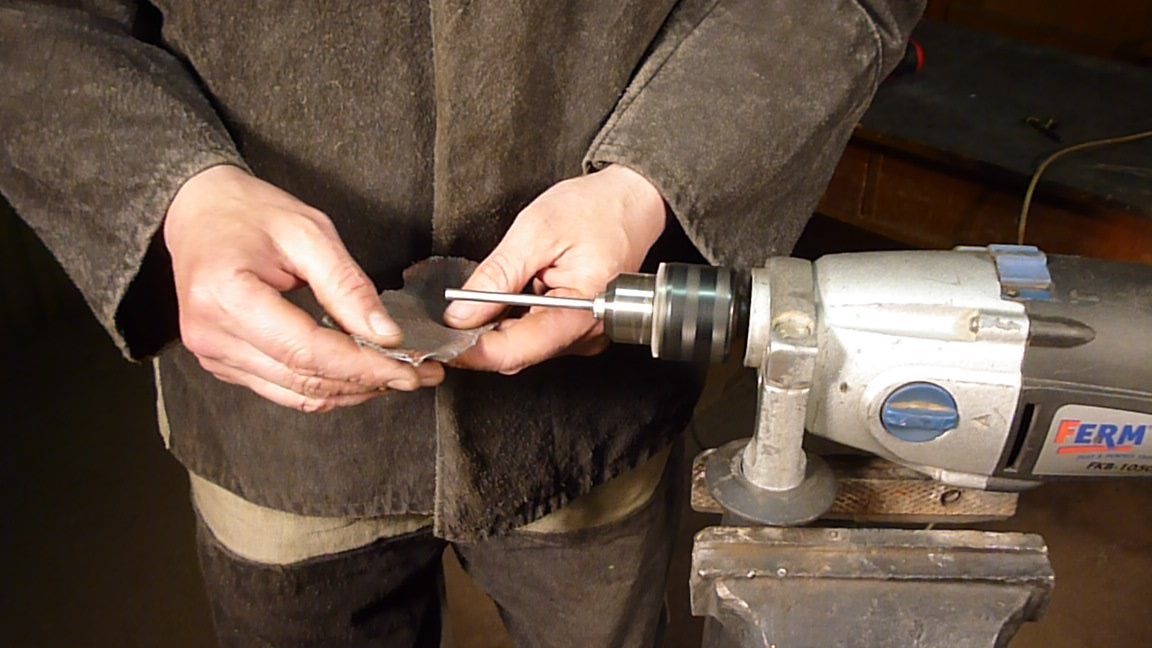
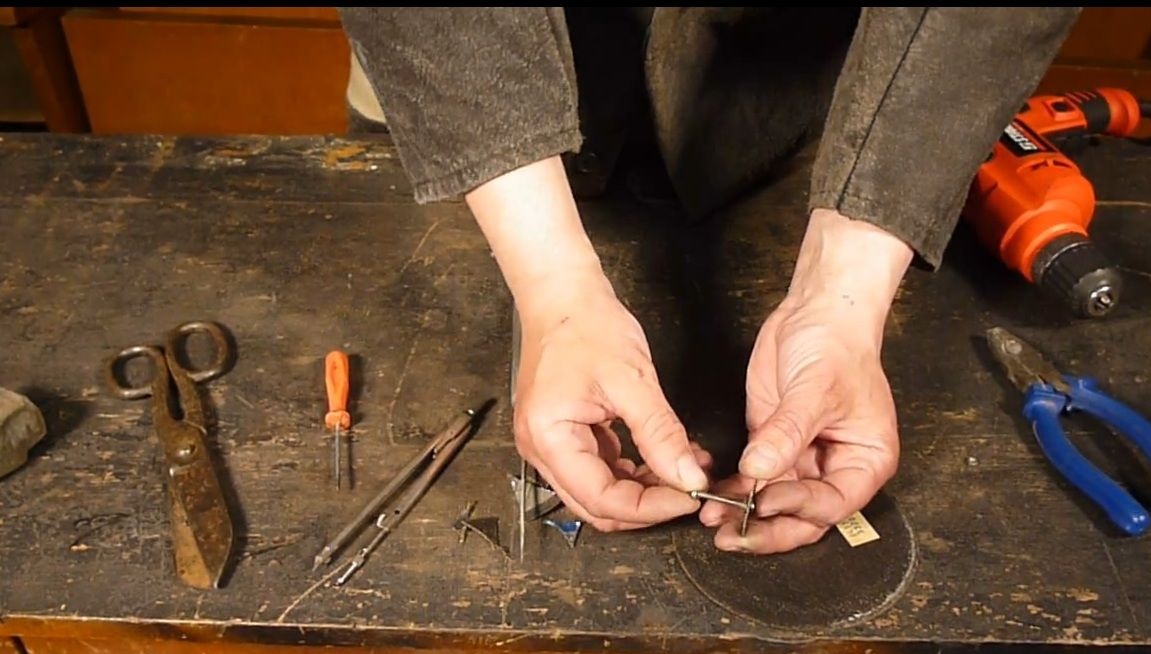
Holding the key with the axis, we set the cutting wheel in the nozzle.
Turn on the drill and try to cut.
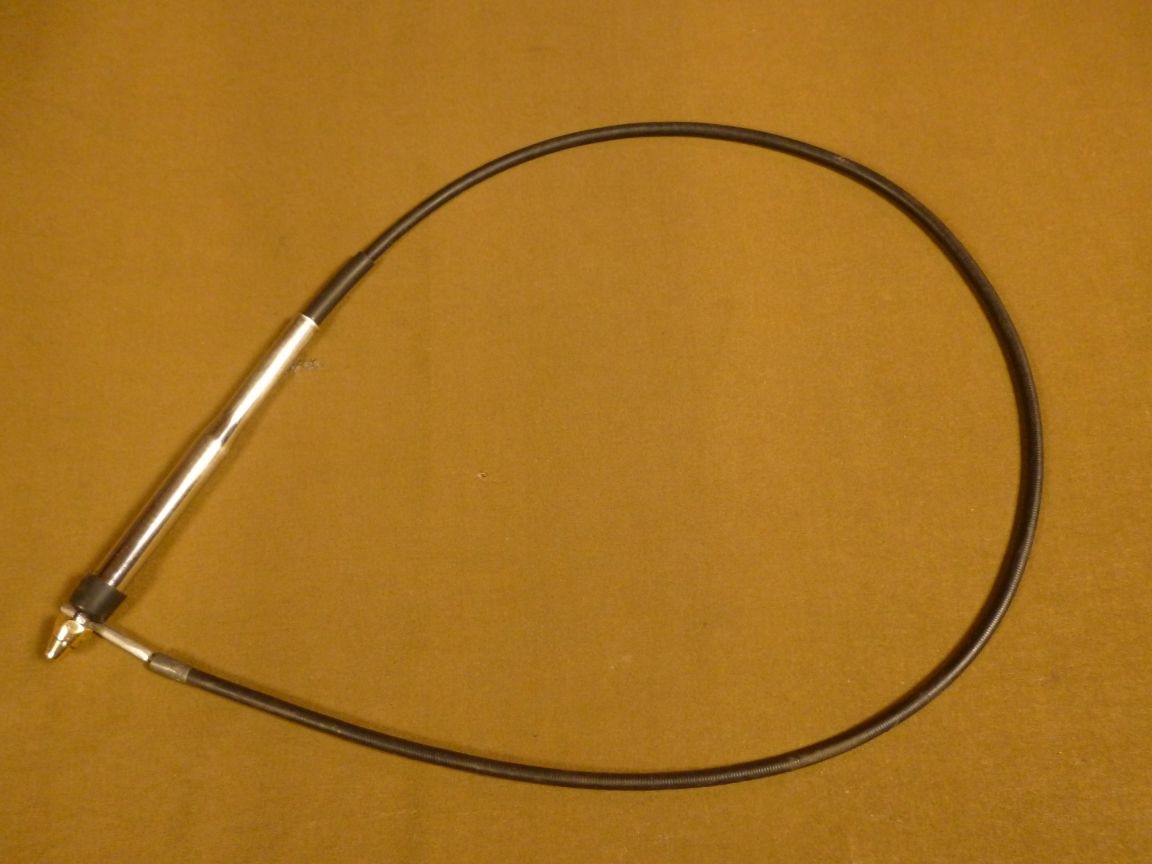
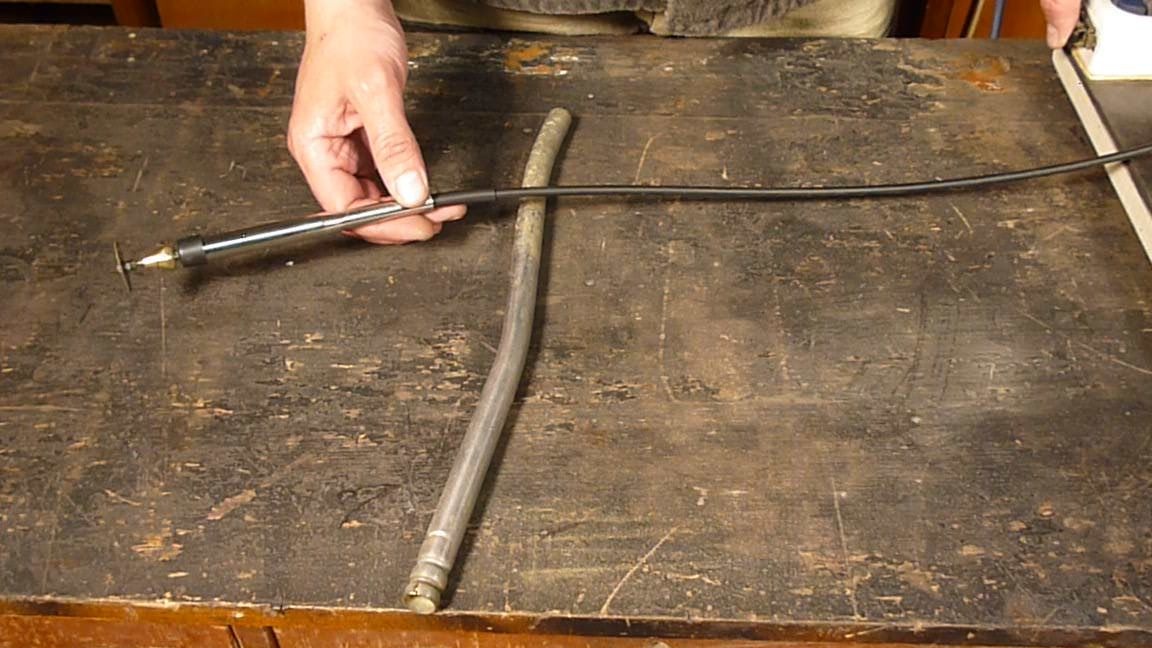
Of course, this nozzle will not replace the drill, because the drill speed is lower, but it can handle some tasks.
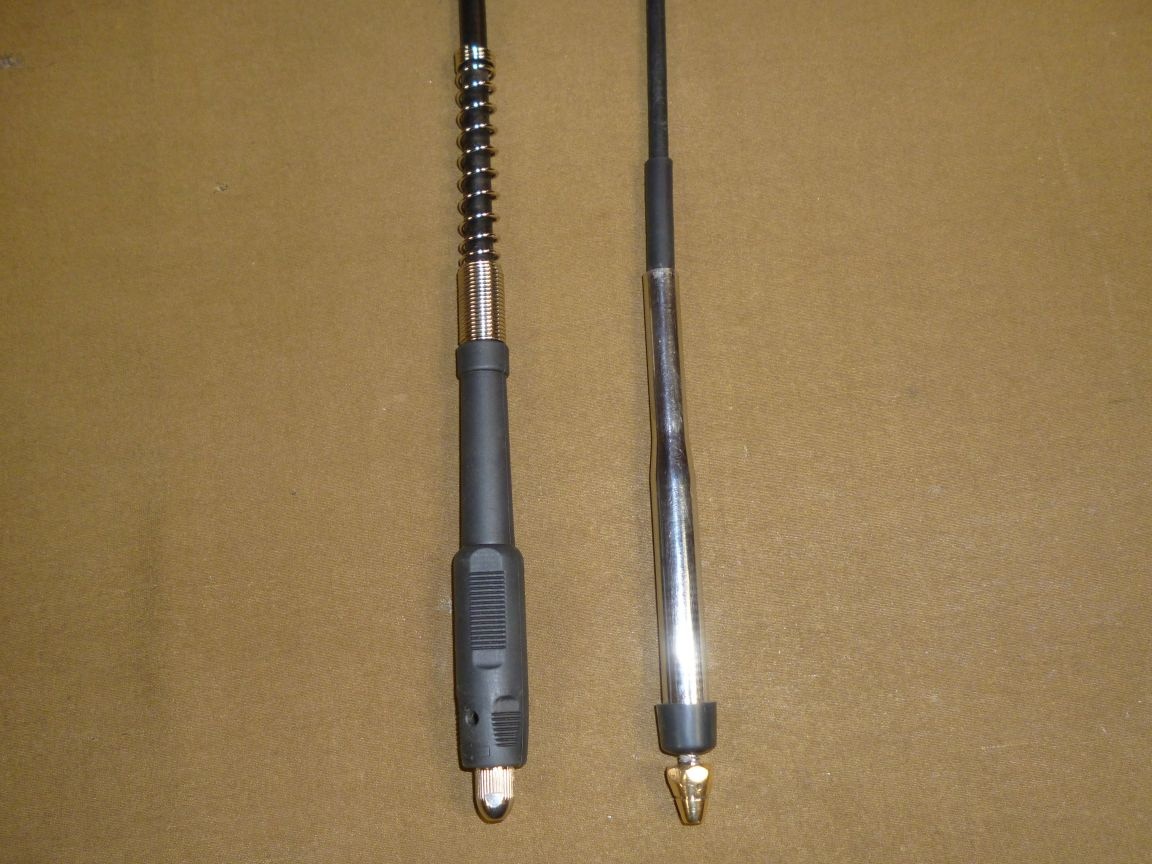
By the way, compare with the purchased nozzle, in my opinion it turned out pretty well)))
Good luck to everyone!

You can watch the video on making the nozzle here.