
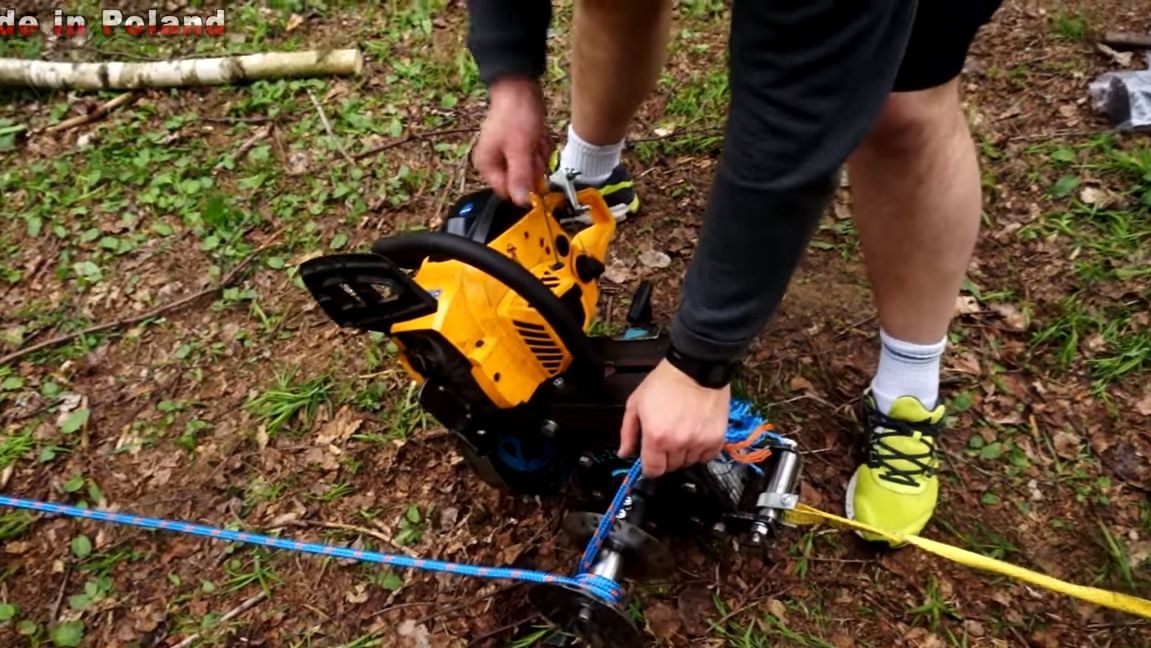
Hello everyone, in this instruction we will look at how do it yourself assemble based on a chainsaw. Such a useful device can be used for various purposes, because it is mobile and runs on gasoline. The author uses it to carry logs from a ravine. It is very convenient and useful when harvesting firewood, building materials and other things. Also, this can easily be used as a lift, it will be convenient during construction work. For example, you need to raise several buckets of cement, this winch can easily cope with the task.
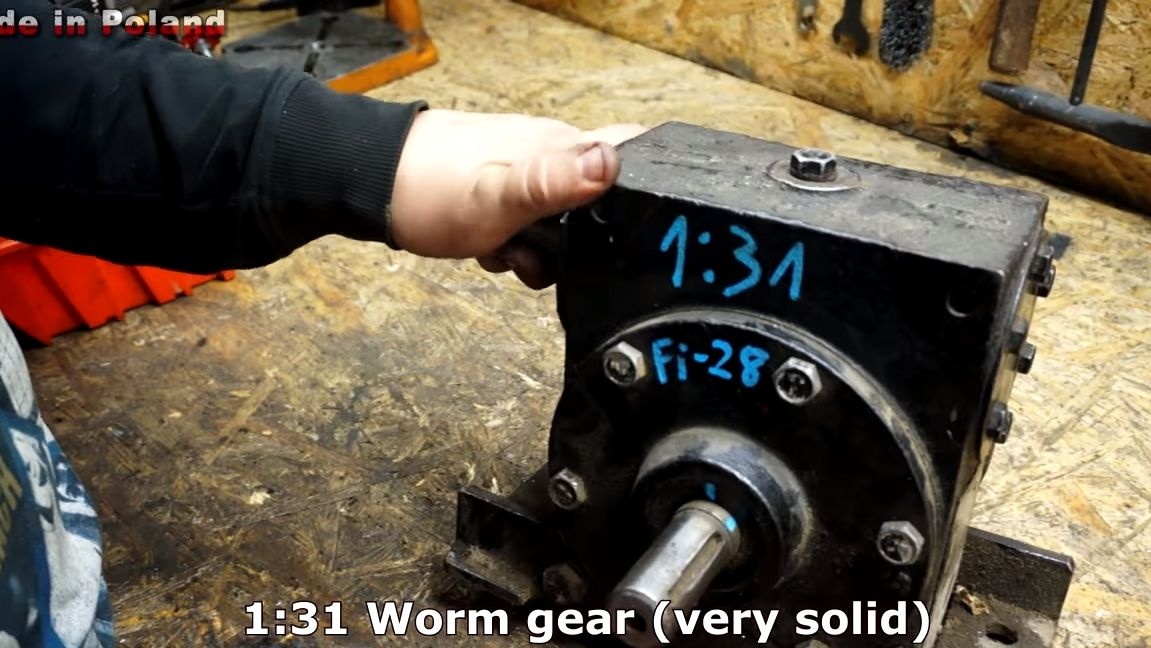
The author used a chainsaw as a motor. Another winch will need to get high torque. For these purposes, an old worm-type reduction gearbox from some technique was used. All other materials are easy to find or fabricate. So, we will consider in more detail how to do this.
Materials and tools used by the author:
Material List:
- chainsaw;
- reduction gear;
- spare parts from a bicycle;
- Sheet steel;
- corner;
- steel pipe;
- screws, nuts, etc .;
- cable for control;
- winch cable.
Tool List:
- lathe;
- drill;
- grinder;
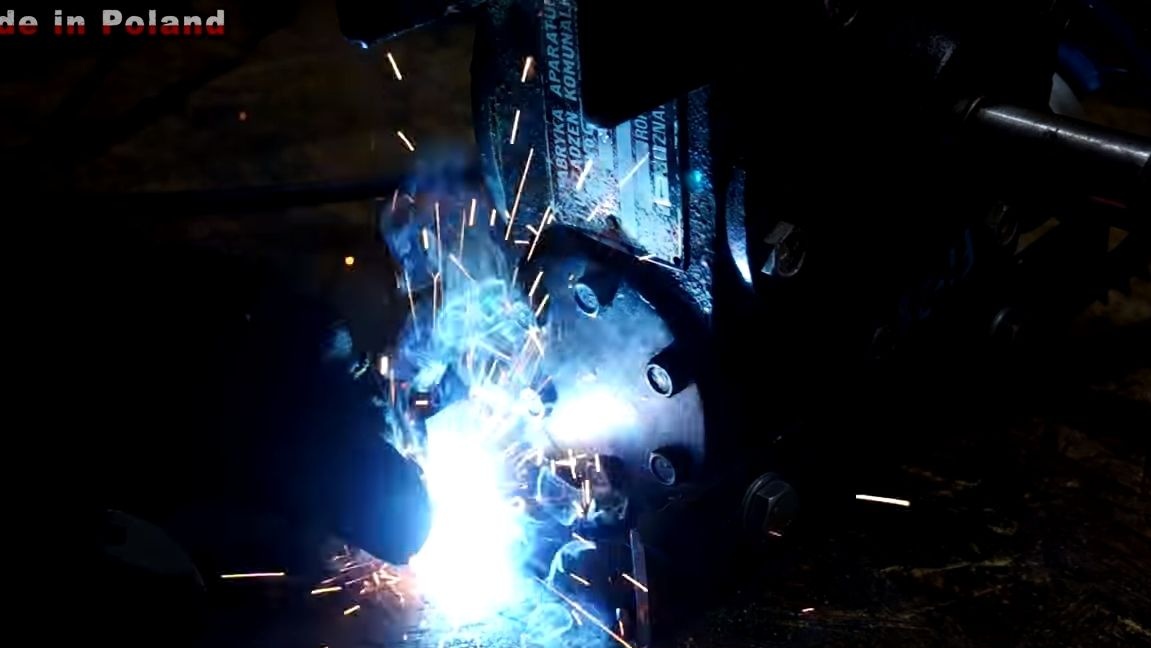
- welding;
- screwdrivers, wrenches, hammer, and so on.
The process of making a homemade winch:
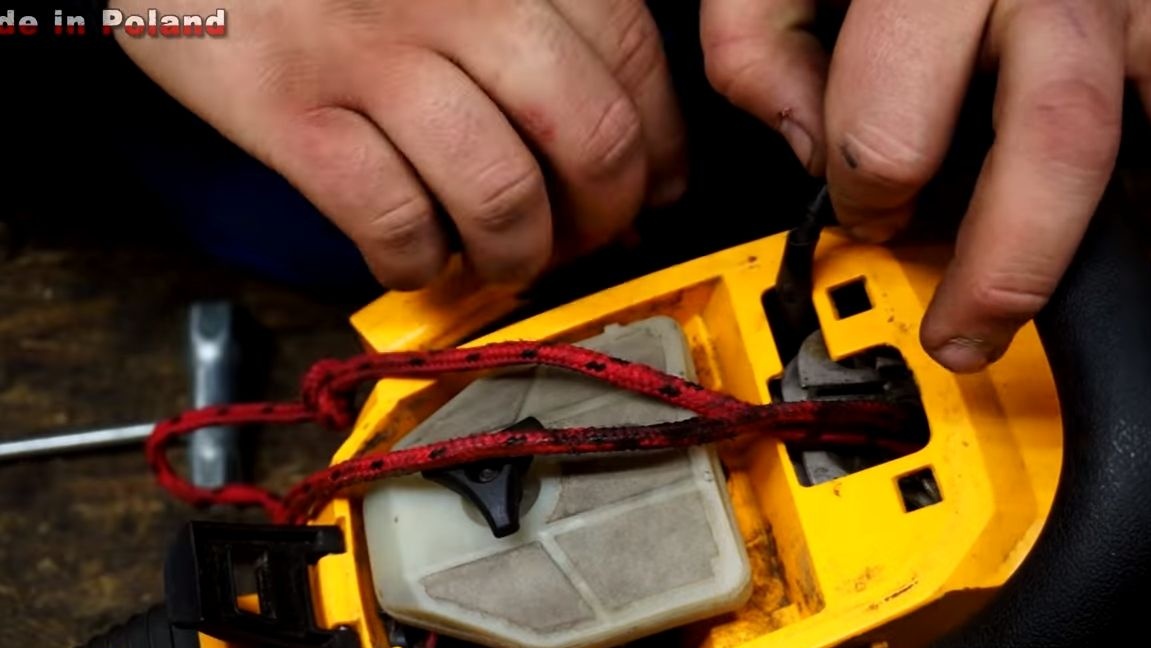
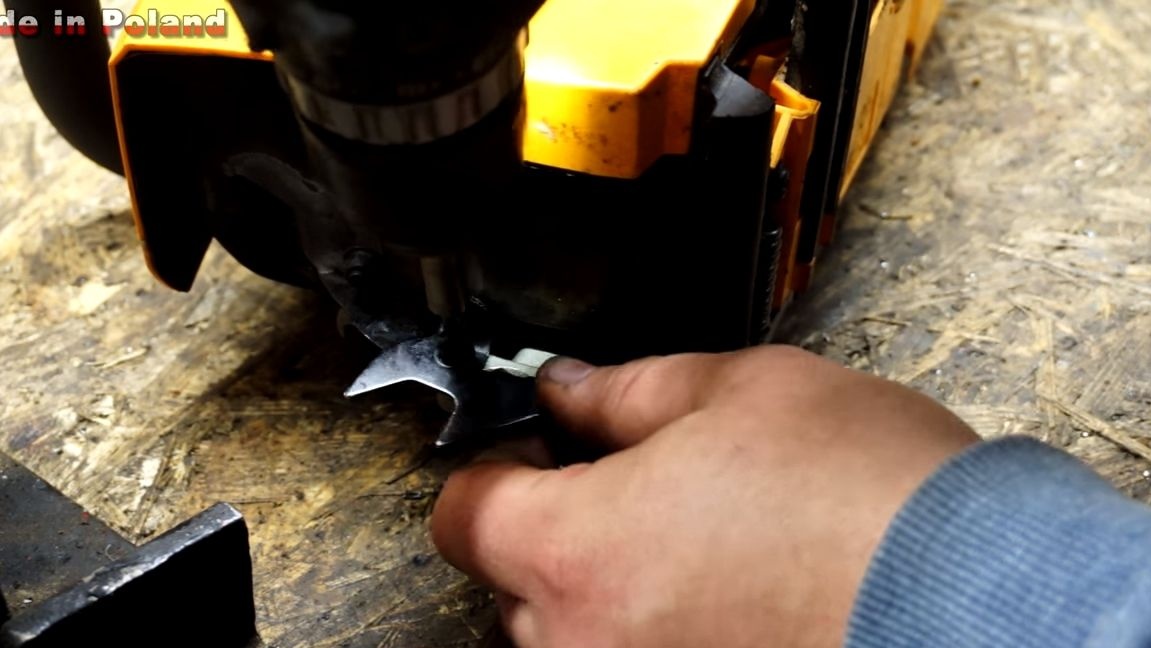
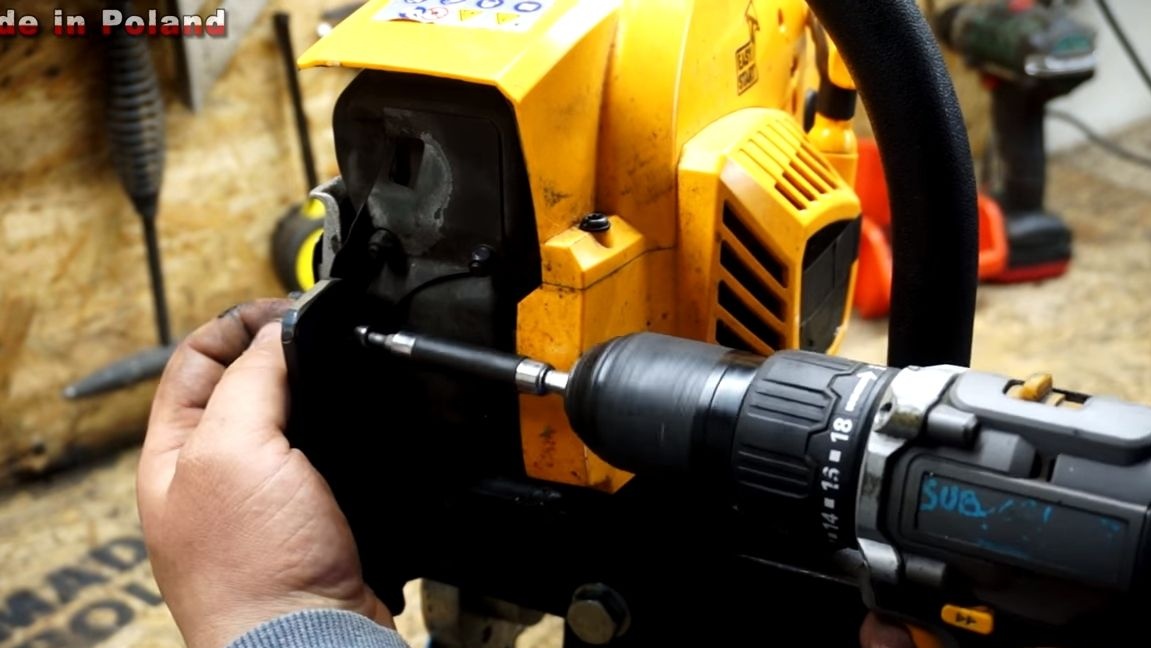
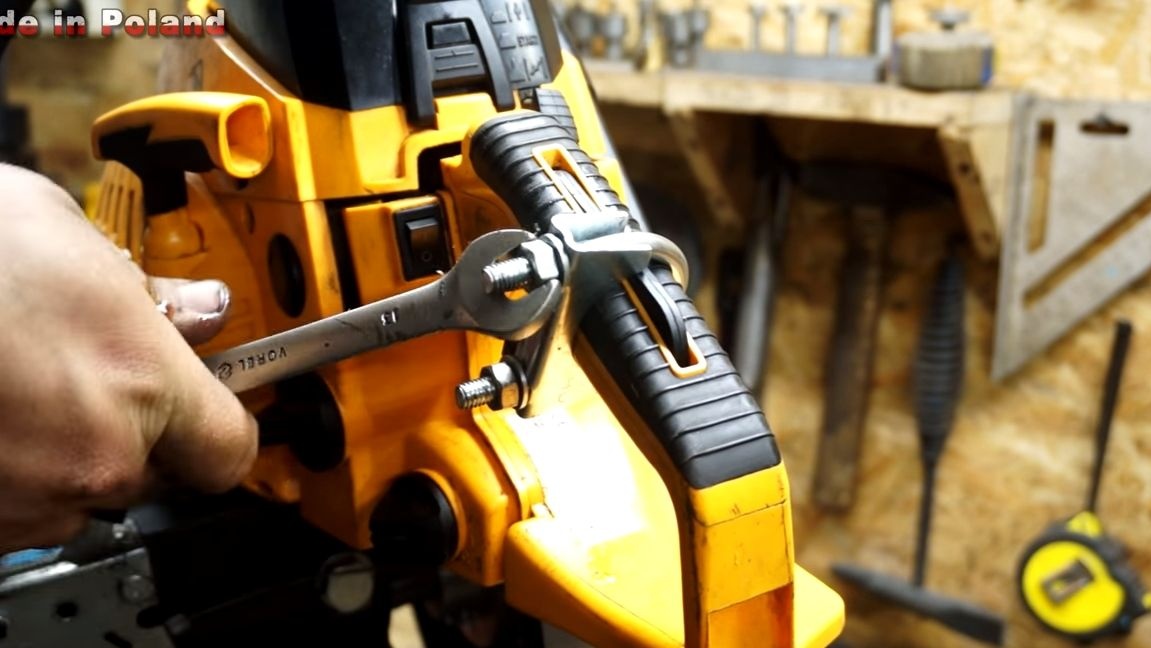
Step one. We disassemble a chainsaw
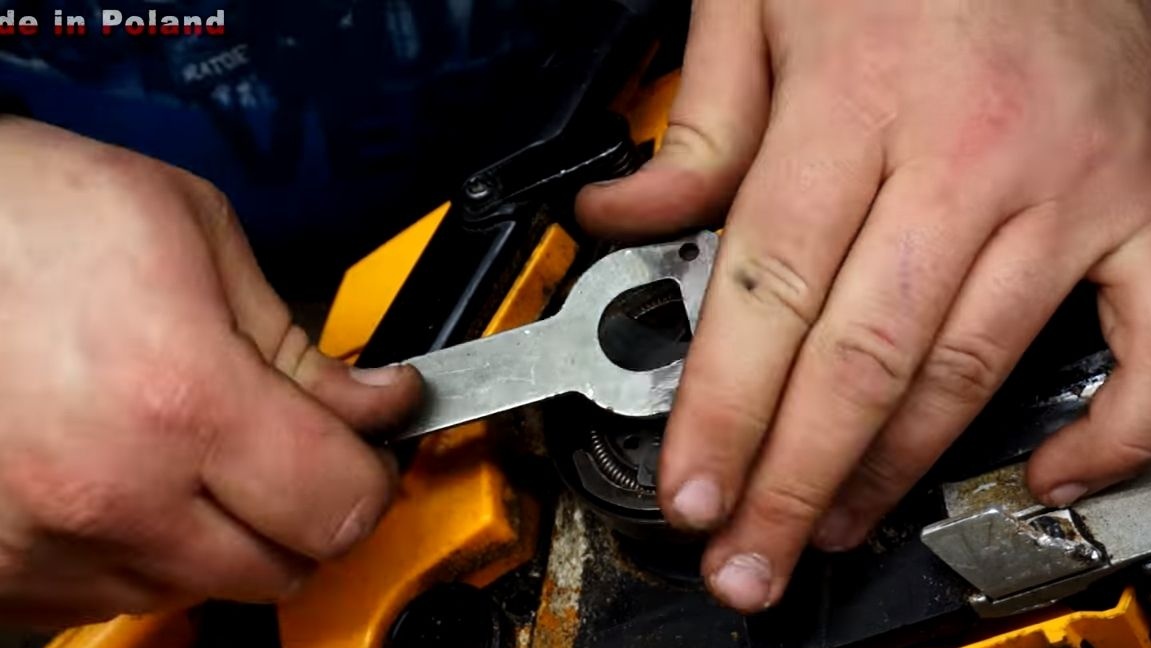
Let's start with the preparation of the chainsaw. First of all, we need to remove the clutch and sprocket. To unscrew it, the engine needs to be fixed, for these purposes we need to remove the top cover and turn out the candle. Insert a cord, a piece of leather or something similar into the candle hole. Now the engine will rest against the skin with a piston and will no longer crank. Using a special key, unscrew the clutch and remove the sprocket. The key to the grinder is suitable if the clutch is not tightened too much.


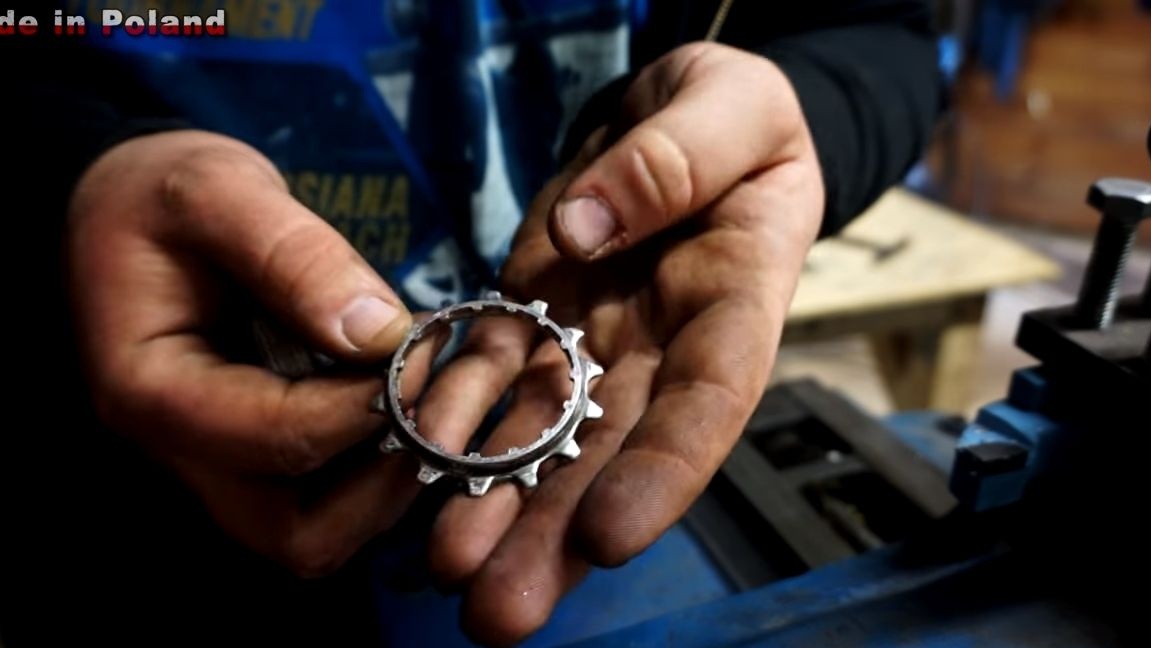
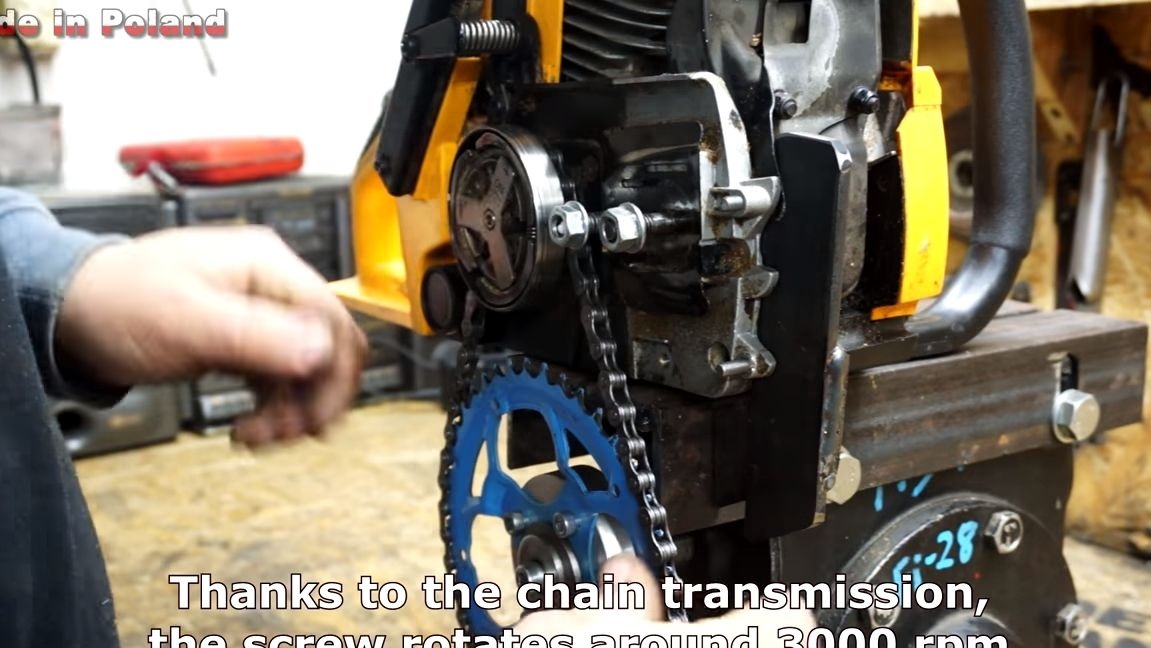
Step Two Setting the drive sprocket
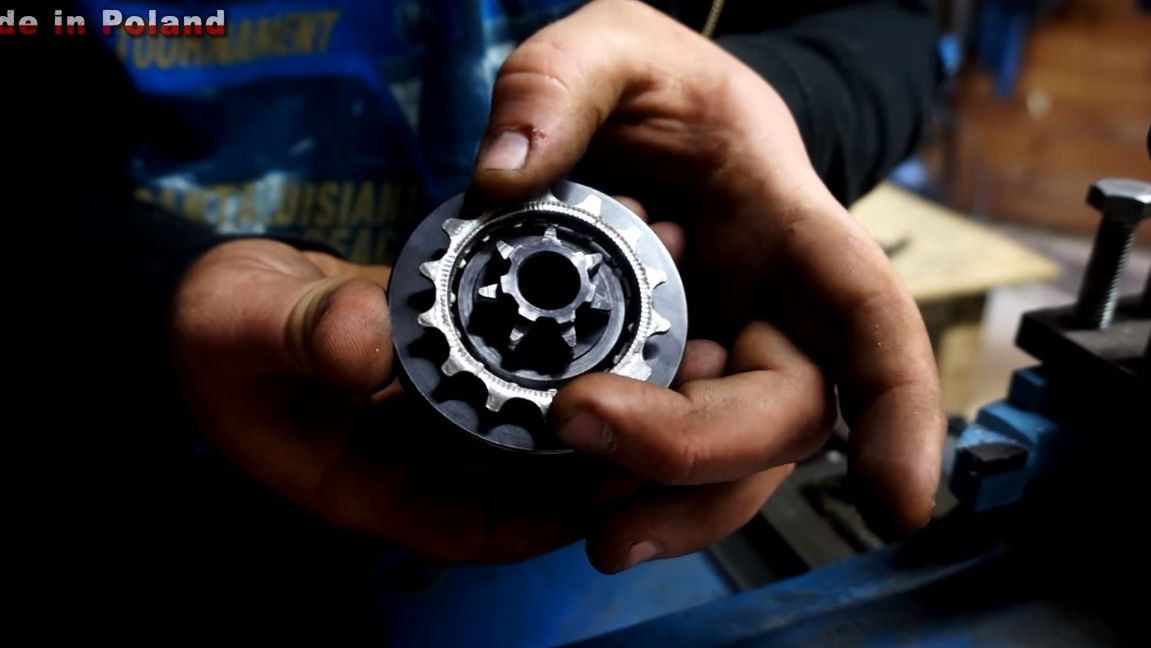
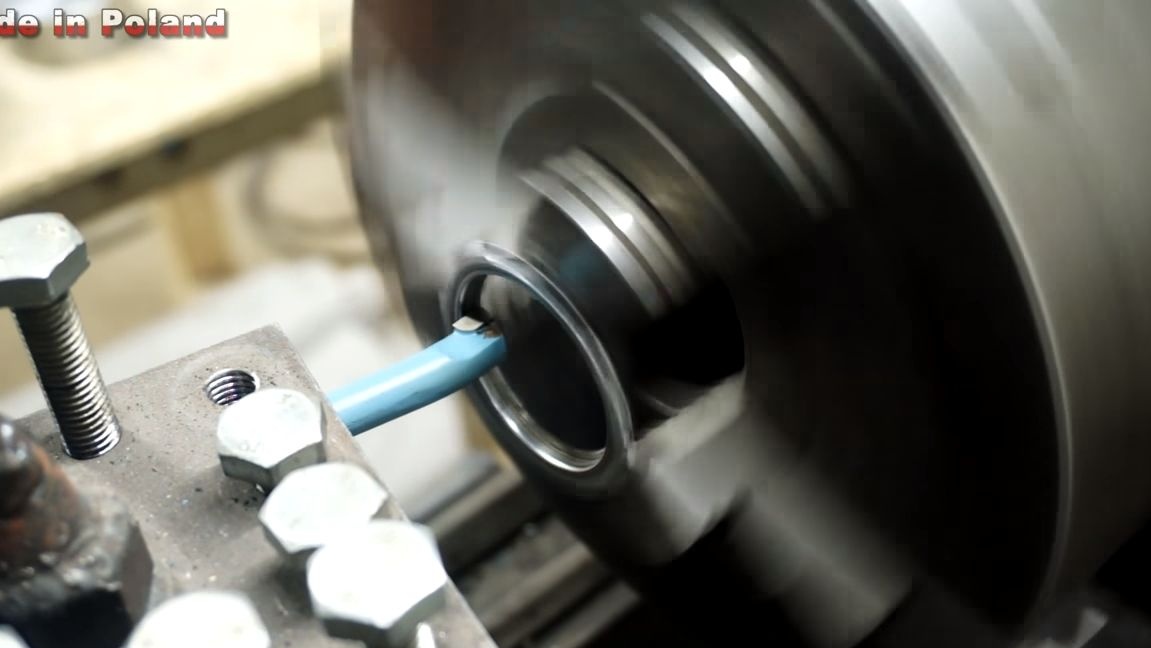
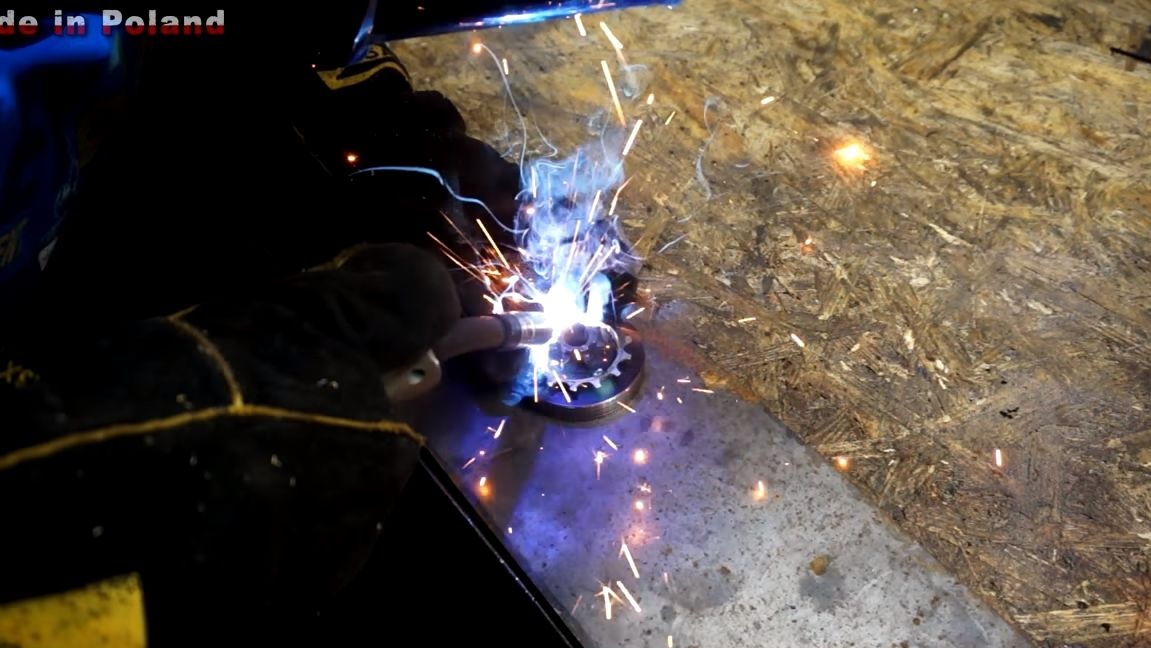
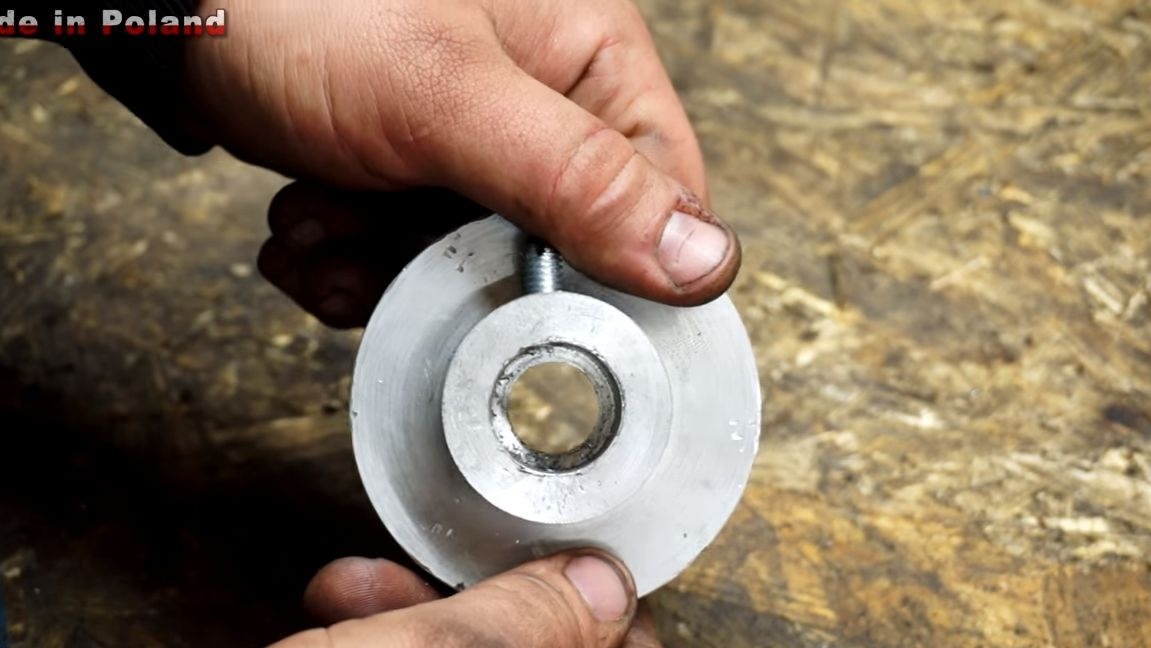
As a leading star, the author decided to use a bicycle star. For these purposes, disassemble the cassette of the rear wheel of the bicycle and select the desired asterisk. It is welded to the outside of the clutch. The author had to adjust the inner hole of the sprocket on the lathe so that it was exactly set on low tide. Well, then carefully weld the sprocket by welding. First, it is advisable to grab in a circle and make sure that there are no distortions.
As a result, after installing the structure on the saw, we have a leading sprocket equipped with a clutch, which is very convenient.
Step Three Installing a driven sprocket
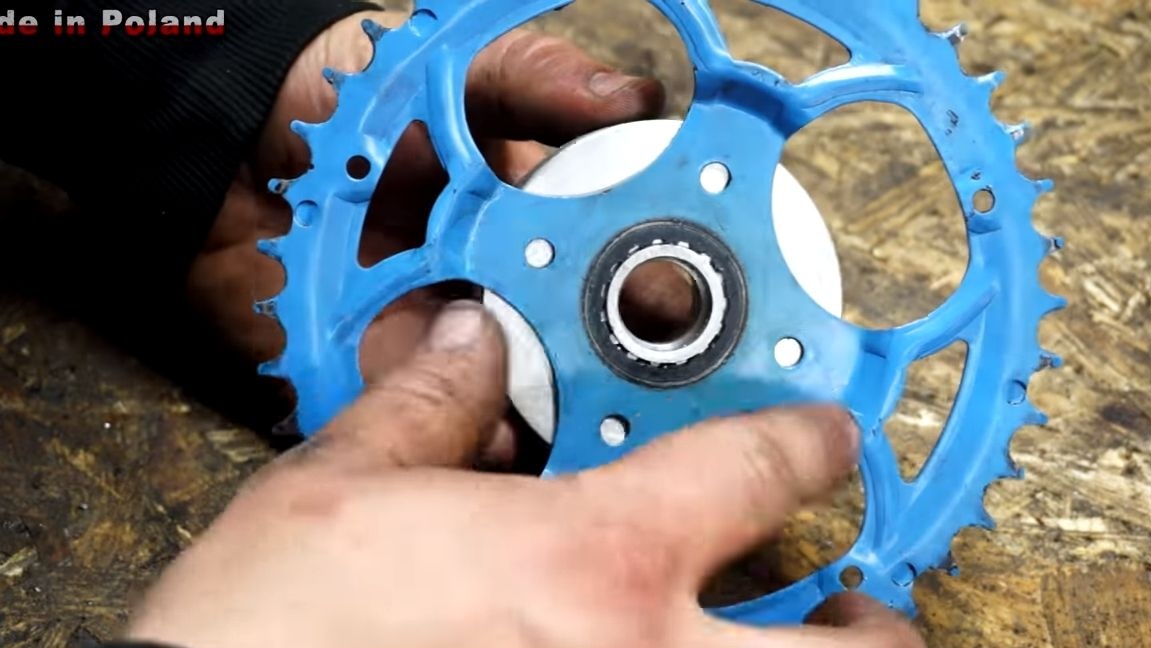
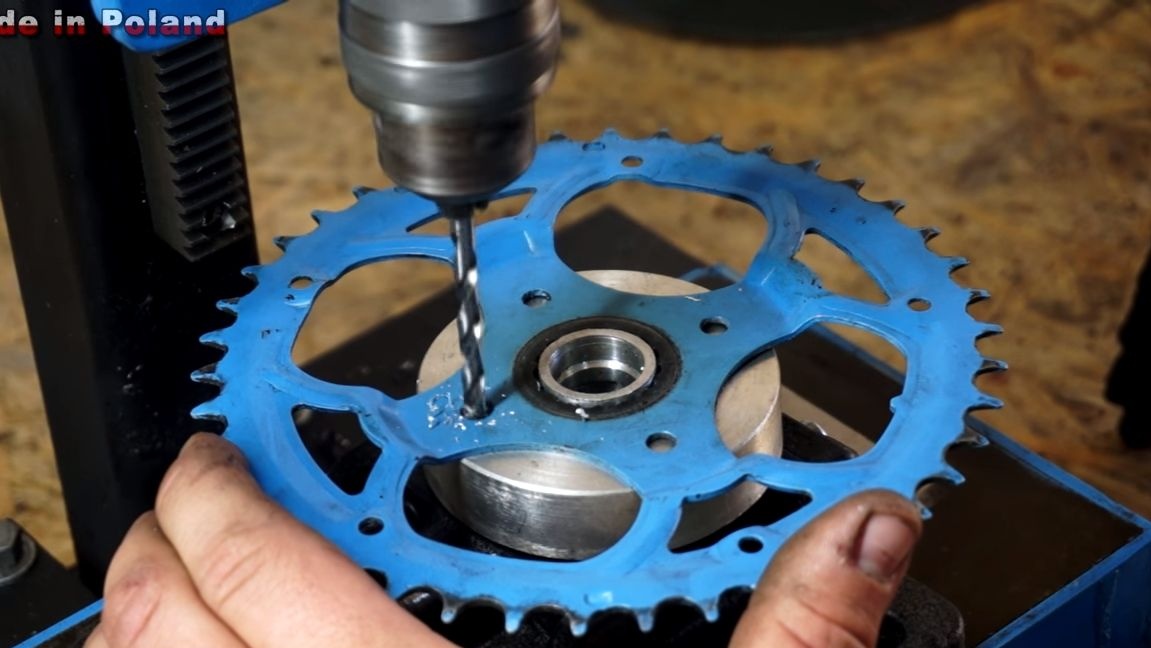
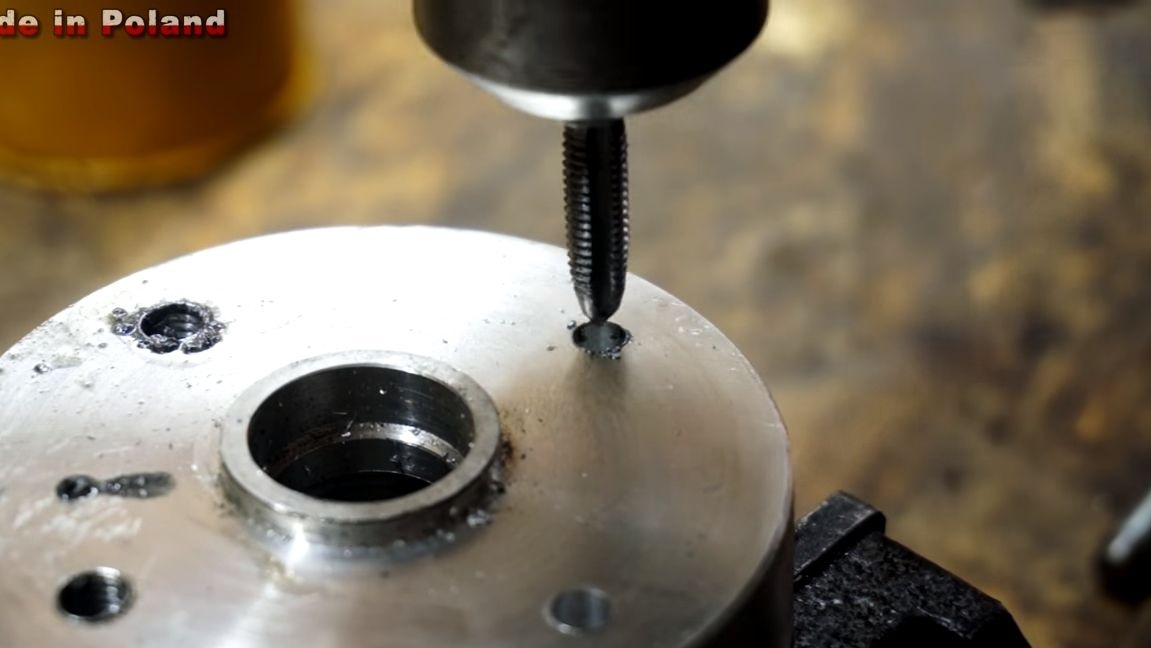
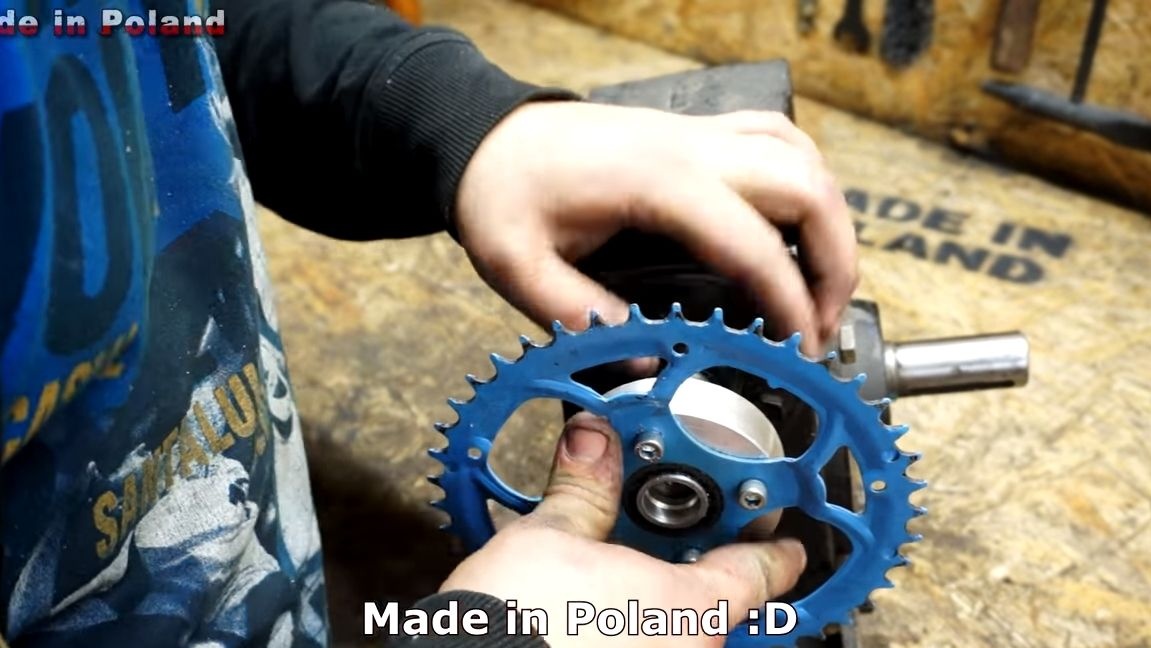
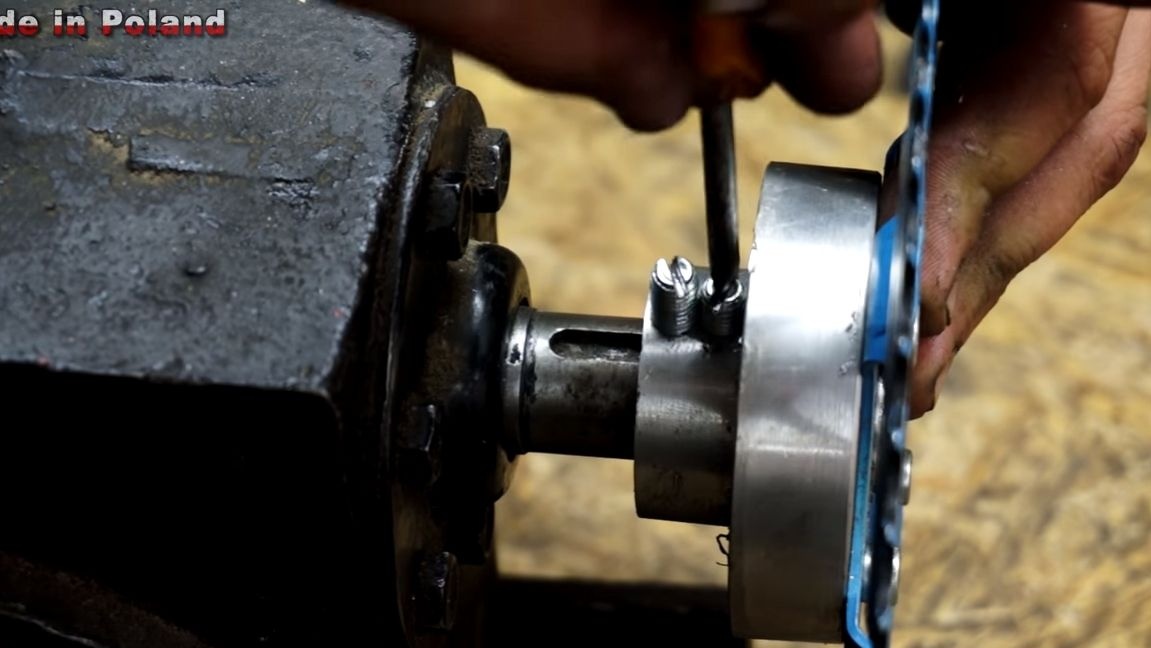
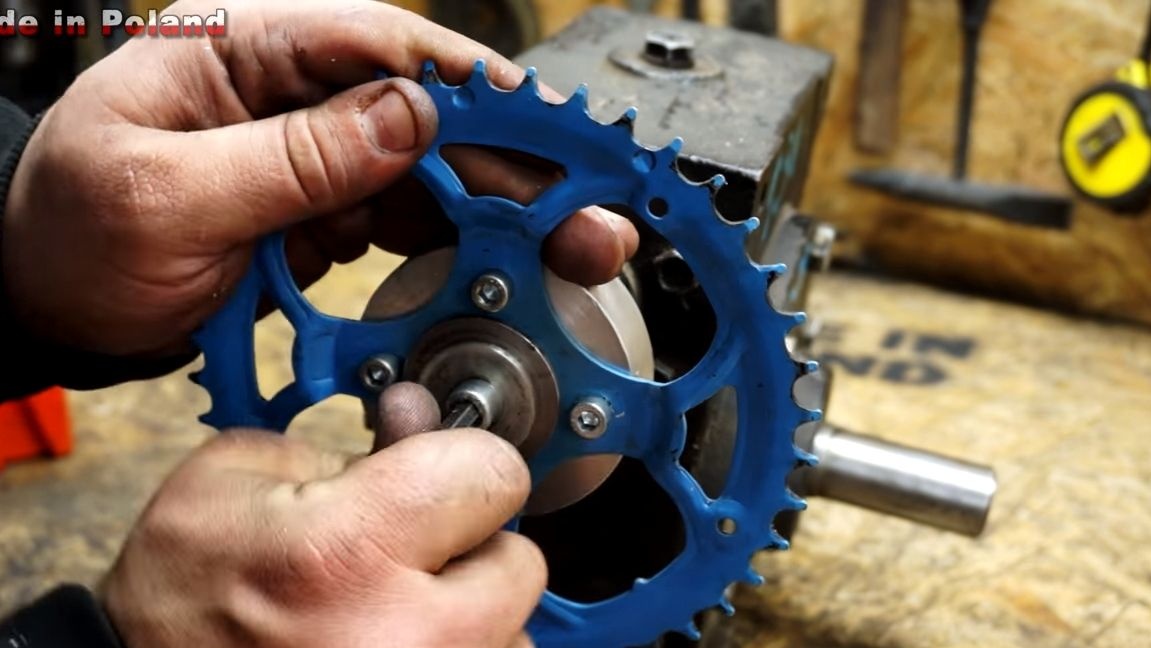
The driven sprocket is also made of bicycle, it is larger in diameter than the leading one in order to increase torque. To install it, the author decided to use a pulley from the selected gearbox. We drill holes in the sprocket, we will fasten it with screws. We also drill holes in the pulley and cut the threads for the screws.
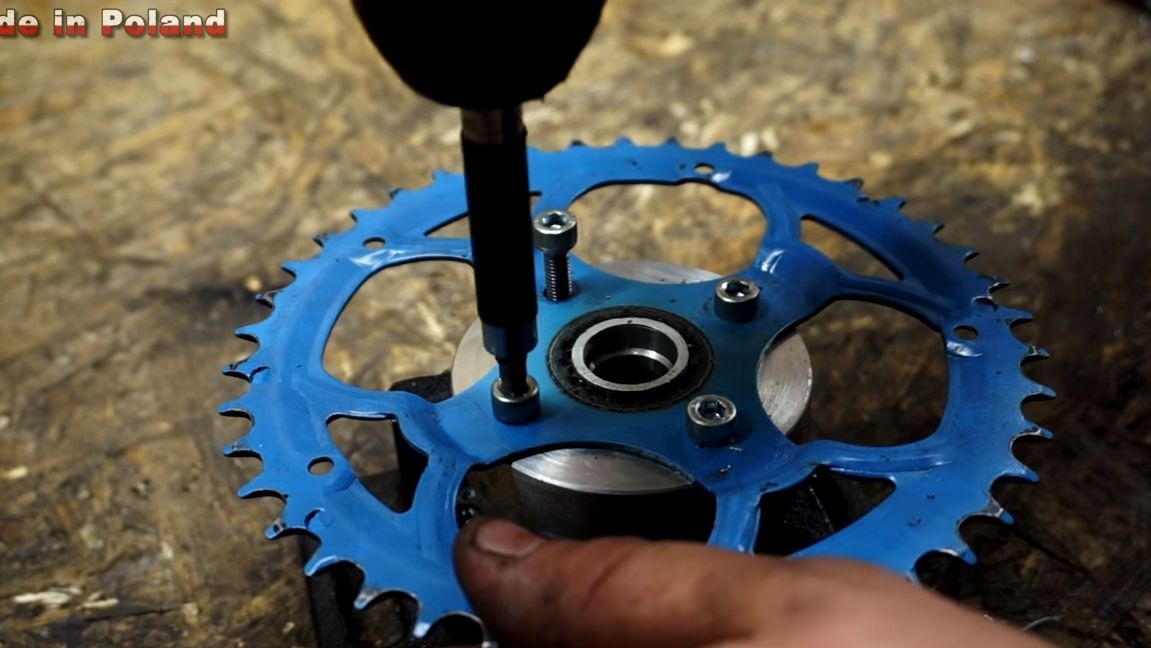
The author himself fixes the pulley with three screws, two of them fix the pulley from turning in a circle, and another one is wrapped so that the pulley does not come off the gearbox shaft.
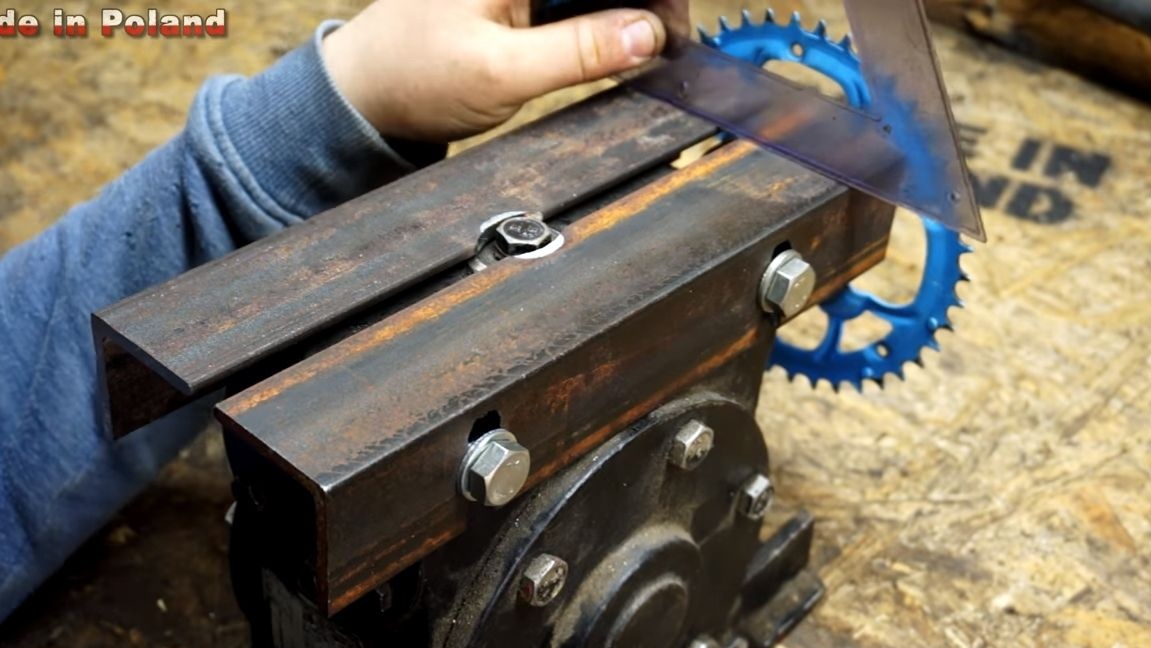
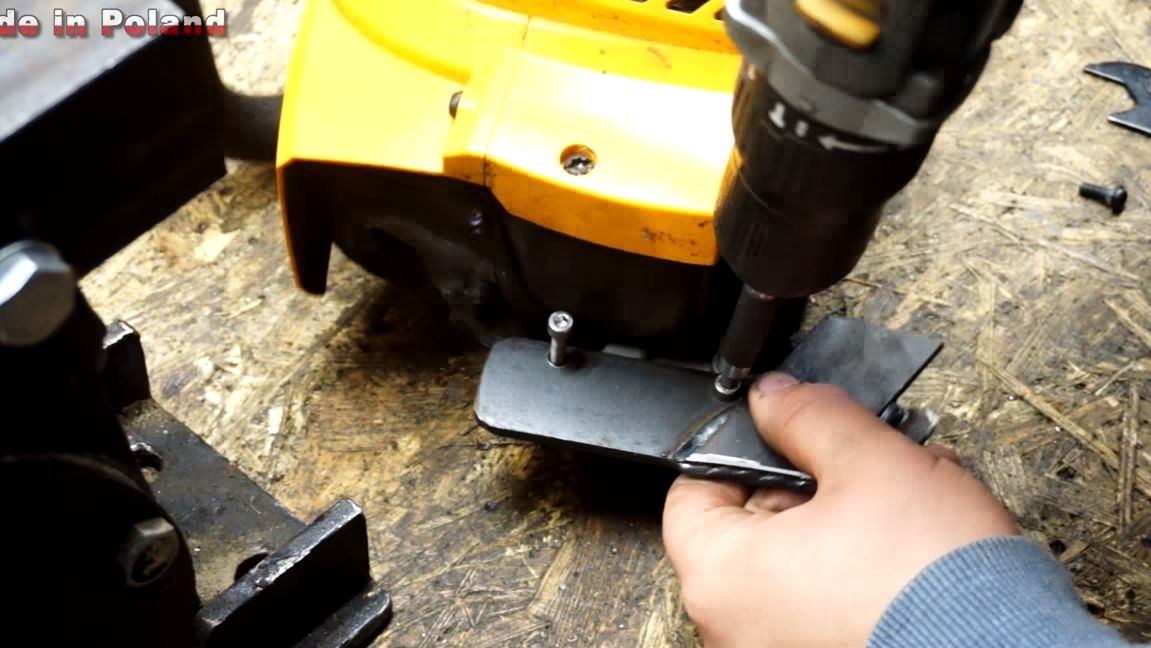
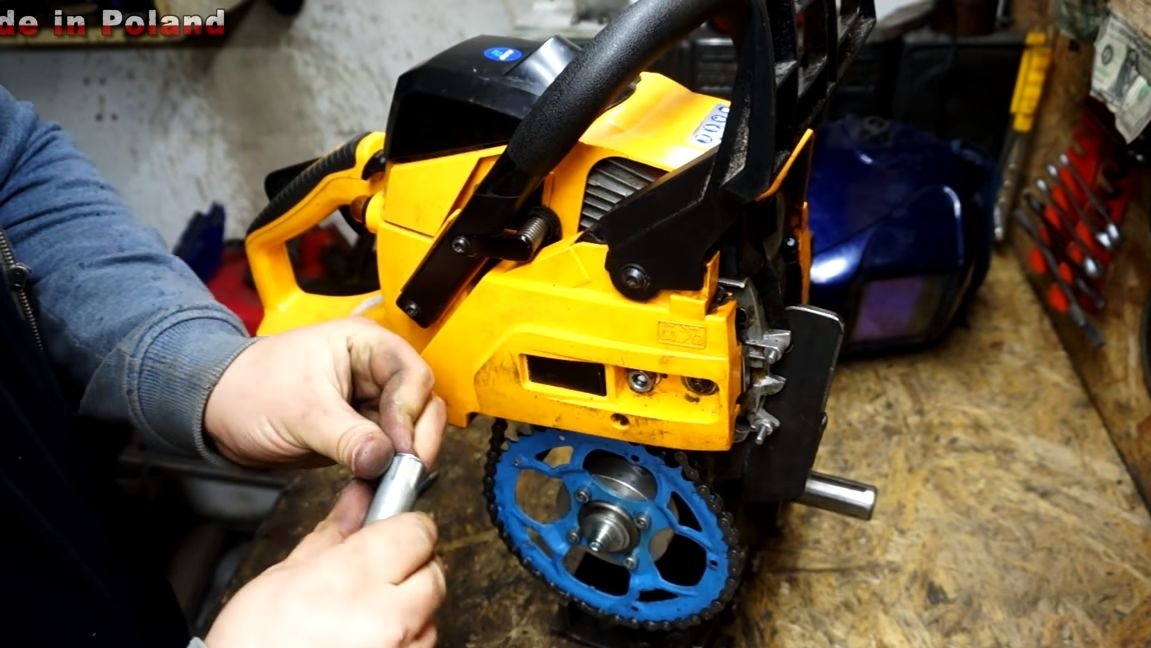
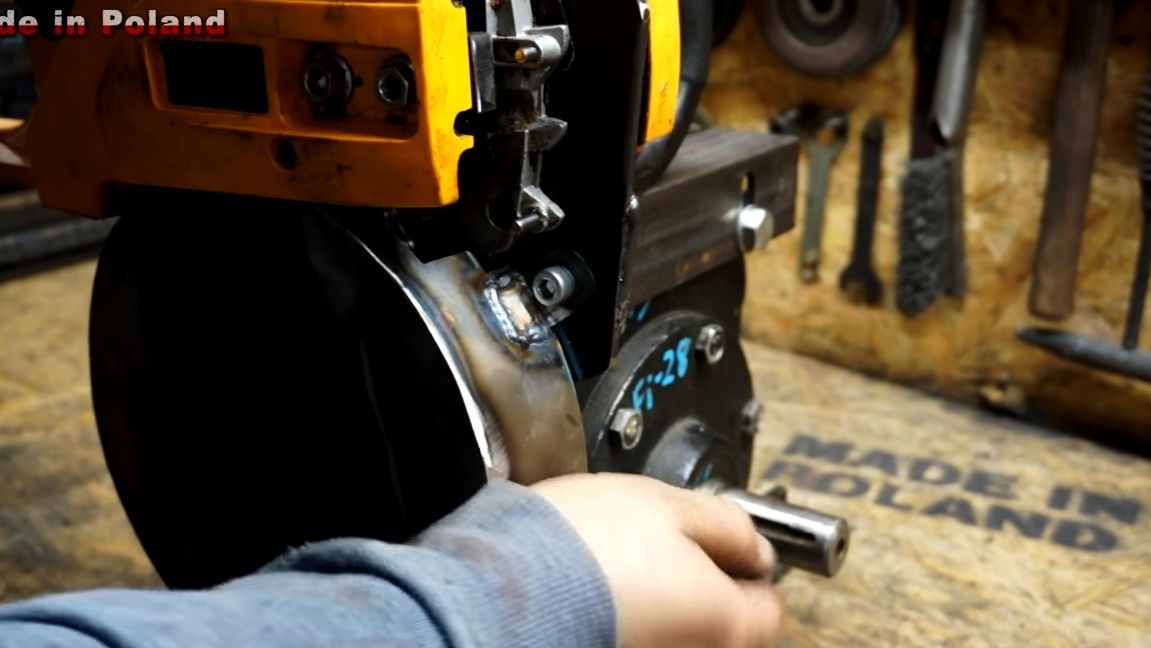
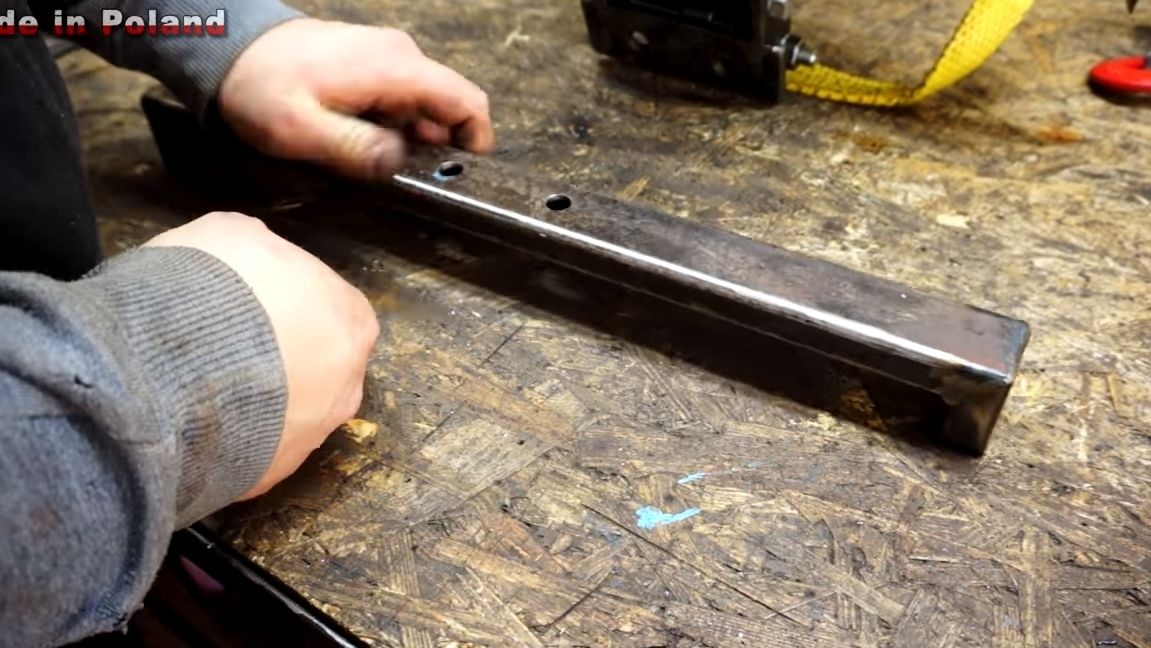
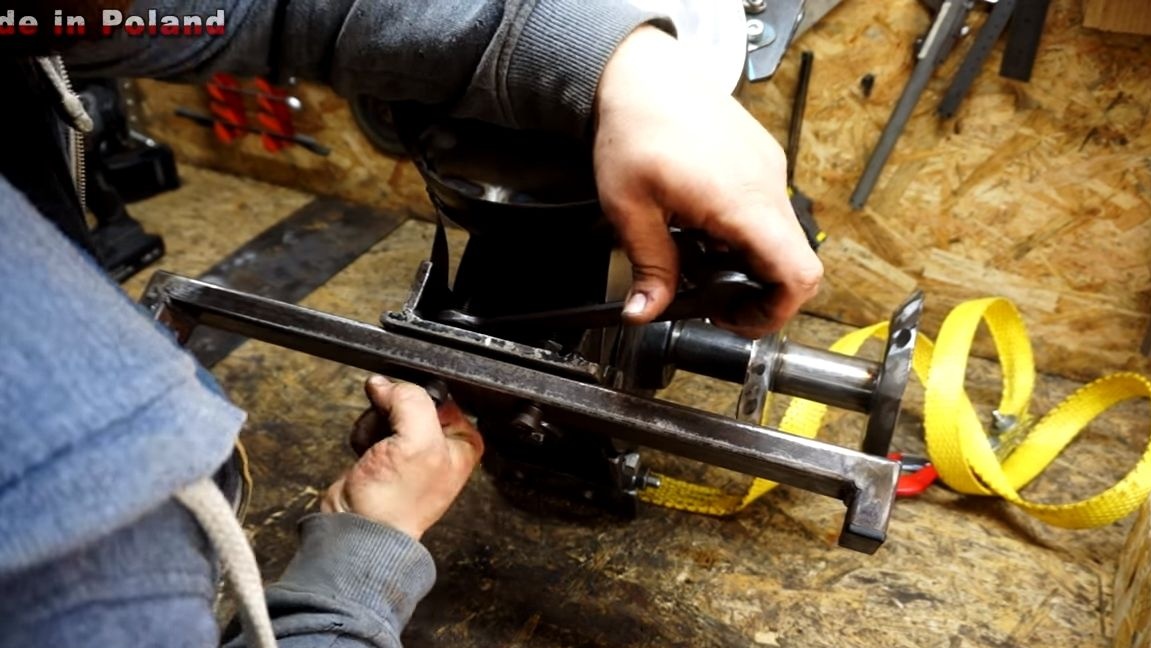
Step Four We install a chainsaw on the gearbox
On the gearbox, the author established a base of two steel corners. It is fastened with bolts, as the gear housing is most likely cast iron. We will attach the chainsaw to the place where the toothed support is installed. It needs to be unscrewed, it will not be needed. Instead, we fasten the steel plate. Well, then this plate is welded to the base of the corners. Before final welding, install the chain and make sure that everything is installed evenly, the chain does not fly off.
Step Five Protective shields
The chain transmission must be protected, as branches will fall here, and if clothes or a hand fall, everything can end tragically. There are two guards here, one native to the chainsaw, it is installed opposite the leading sprocket. If the hand brake interferes, it can be removed.
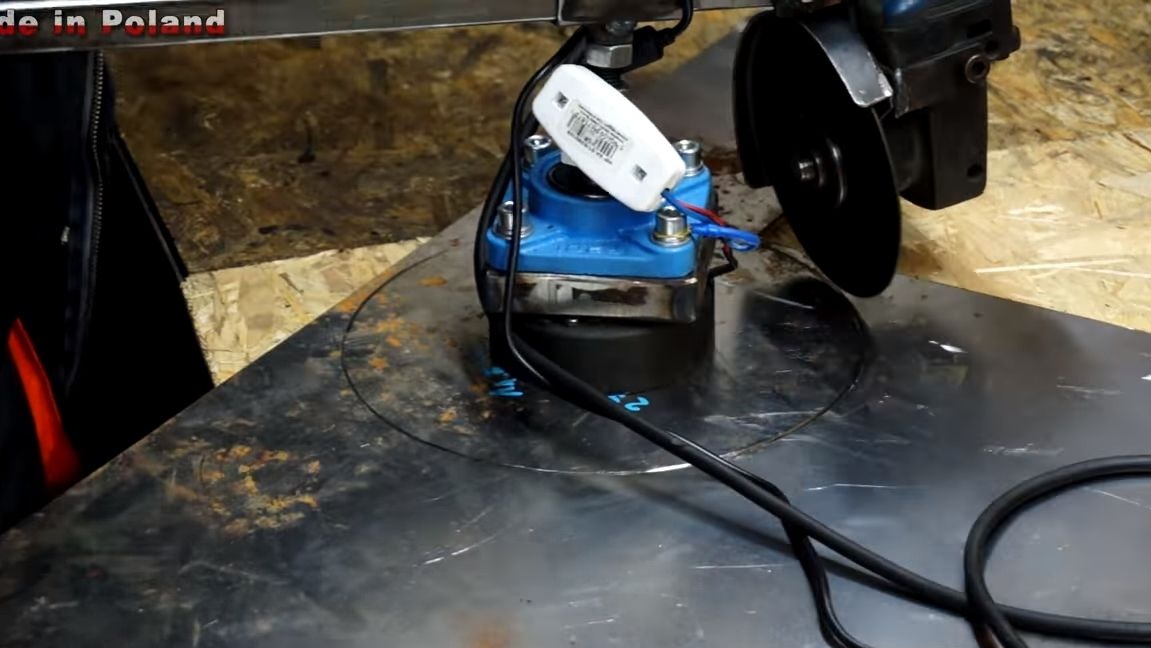
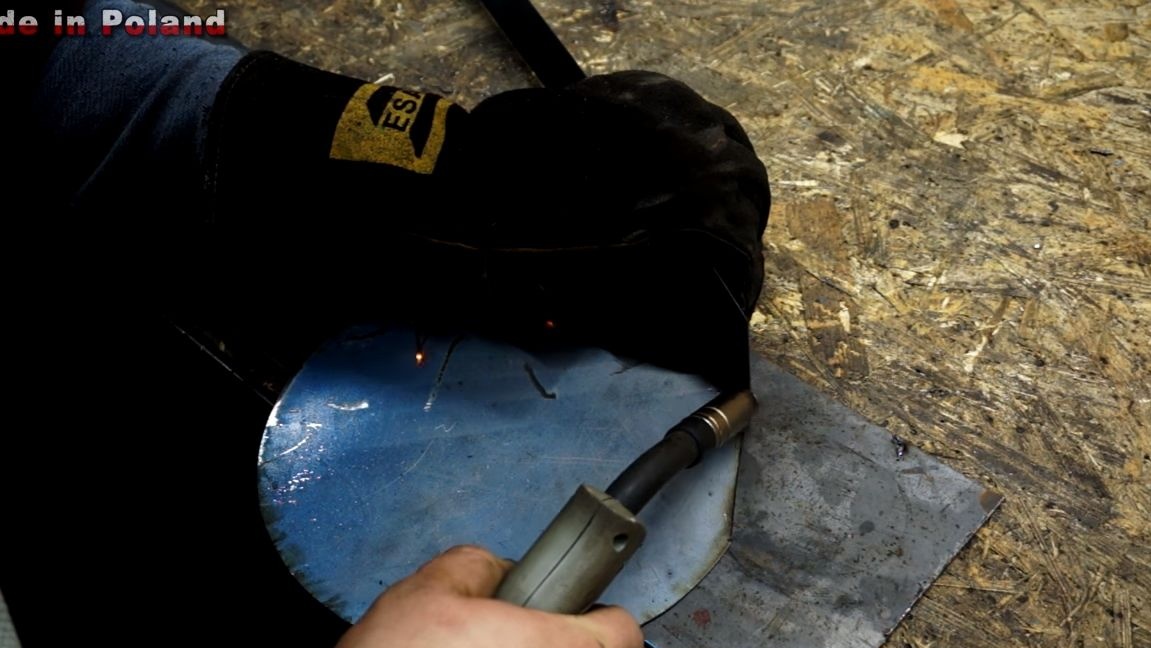
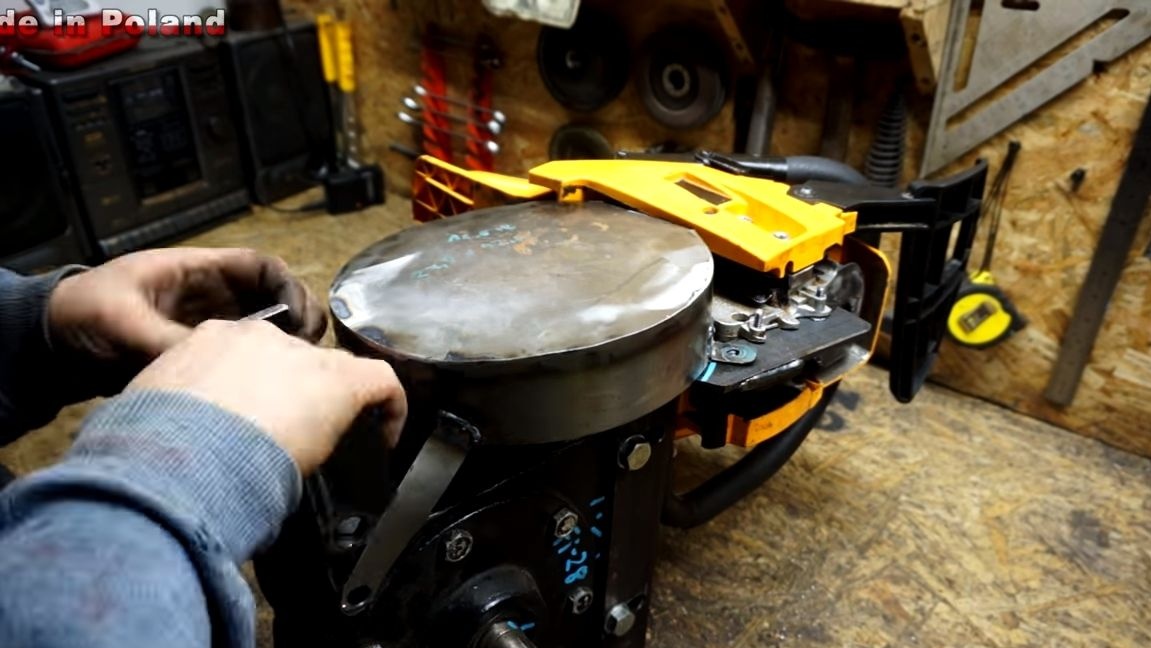
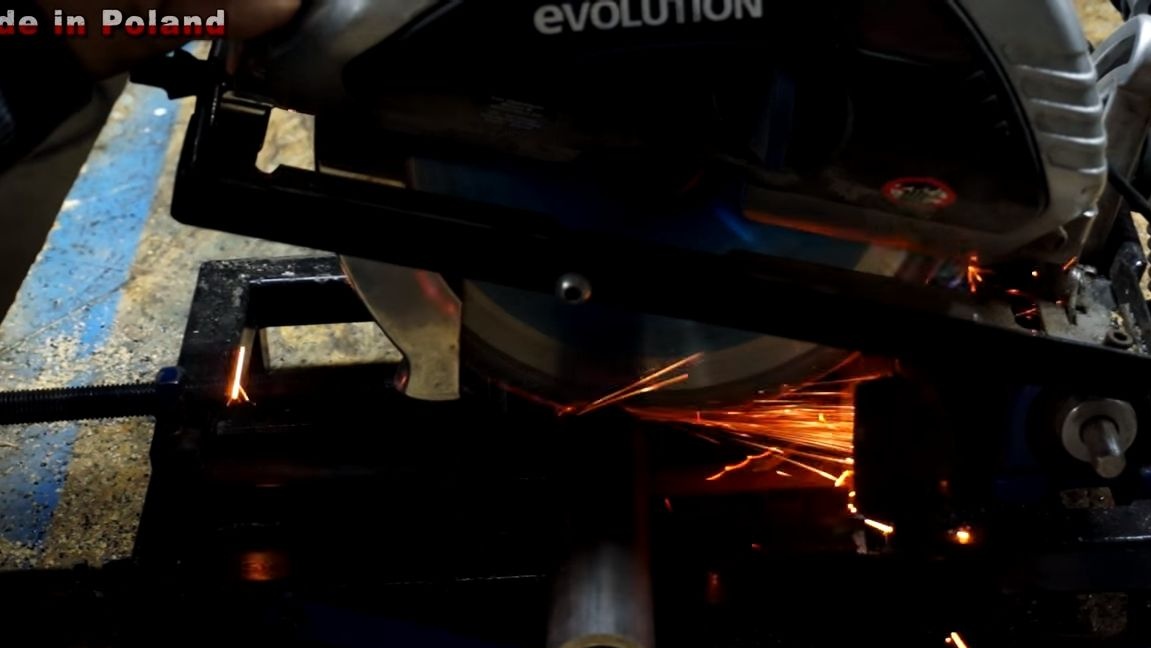
As for the shield, which is installed opposite the driven sprocket, its author makes it with his own hands. For these purposes, you will need sheet steel. With the help of a homemade machine from a grinder, the author cut out a circle from steel, and then welded a rim to it, an excellent flap was obtained. All that remains is to weld a few plates to secure the shield to the device with screws.
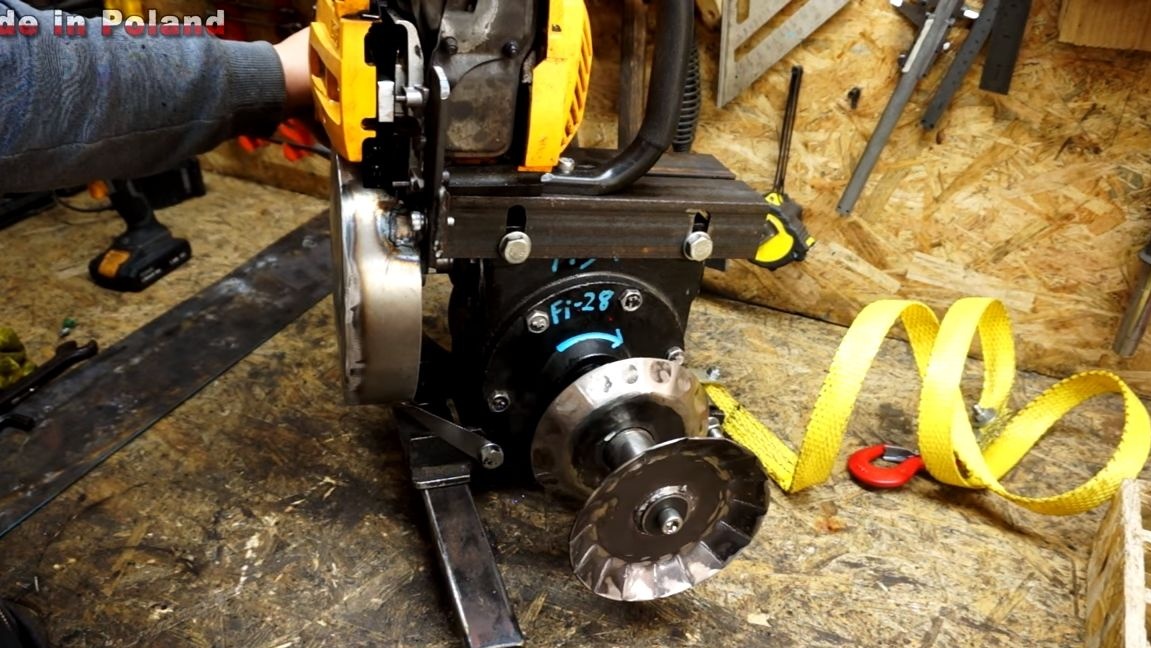
Step Six Making a winch pulley
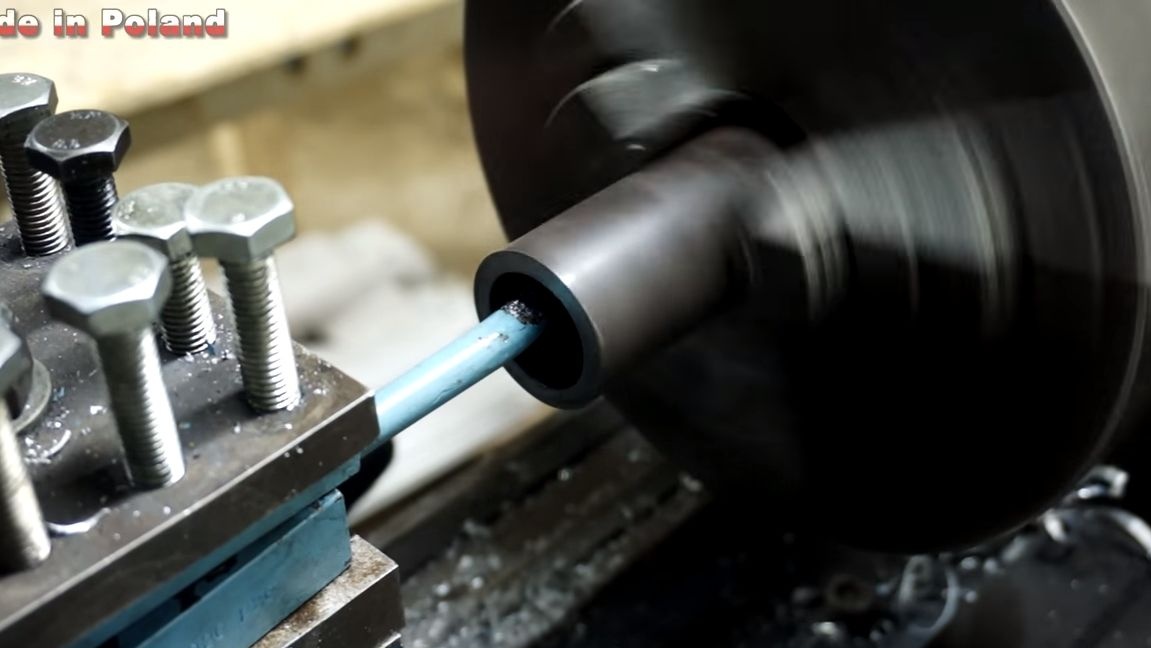
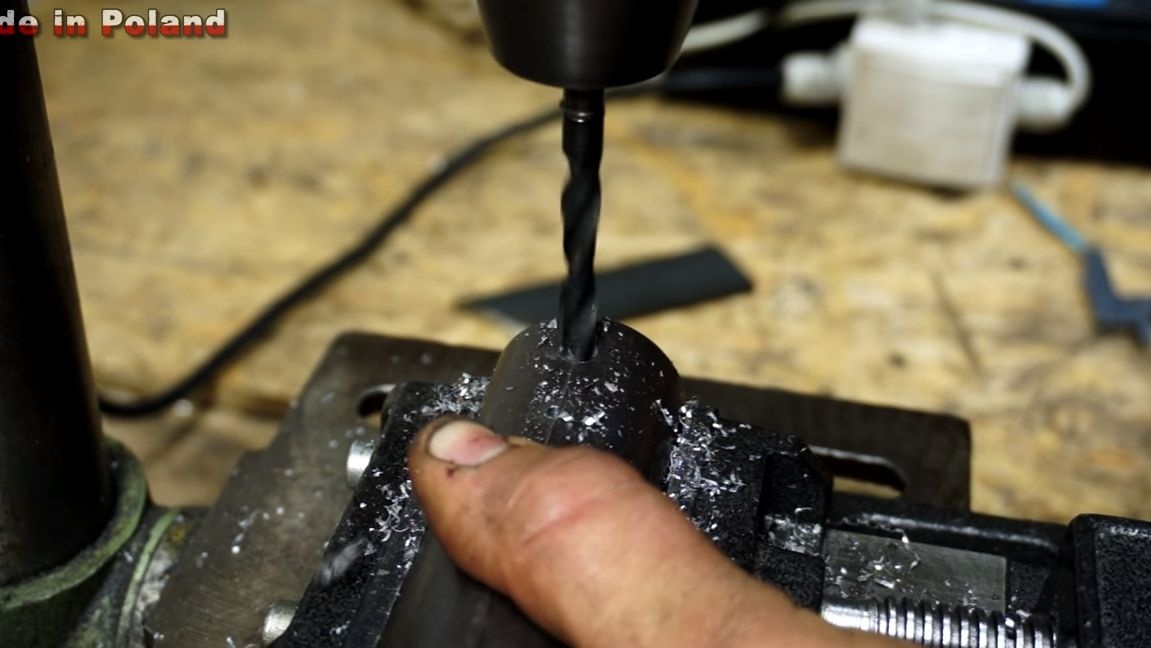
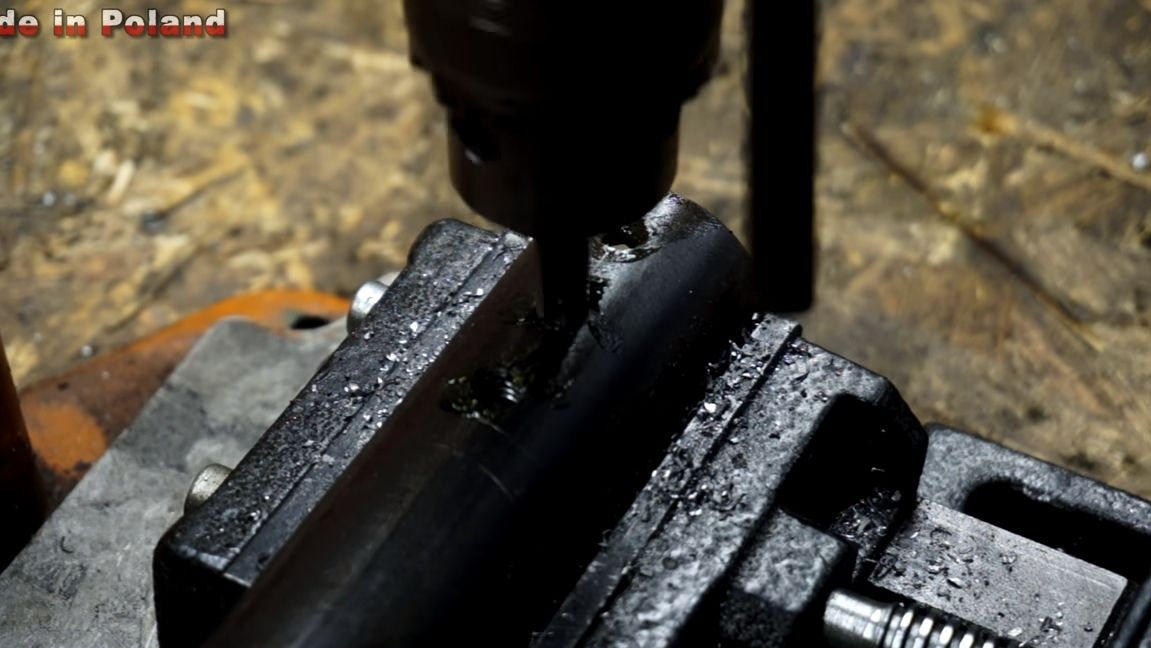
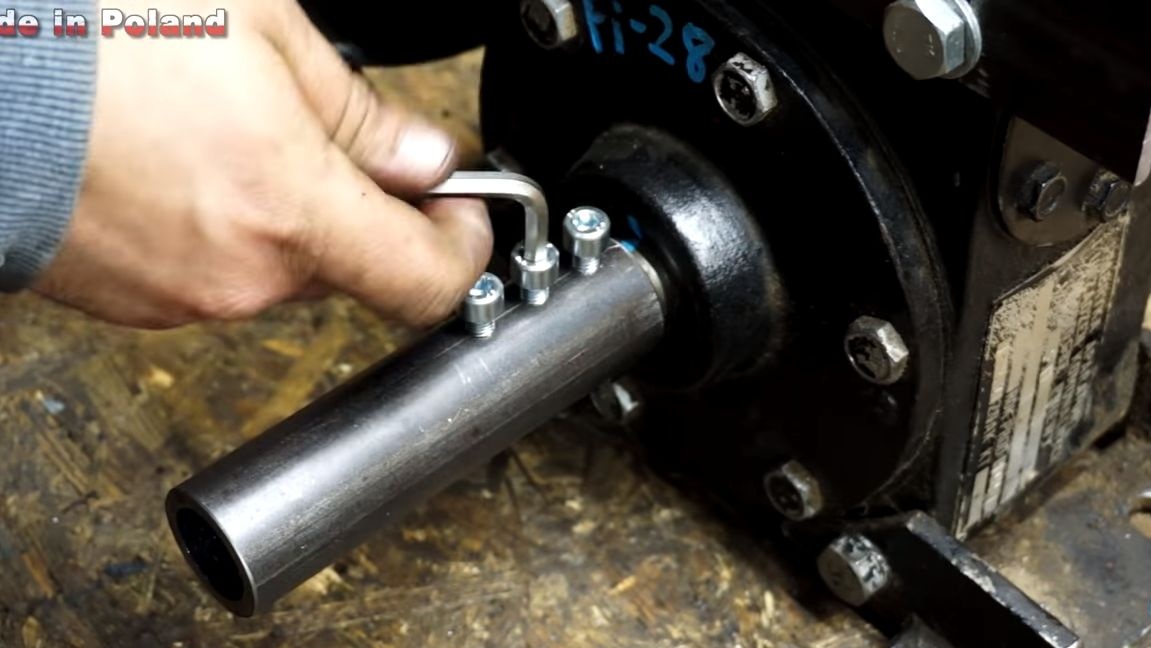
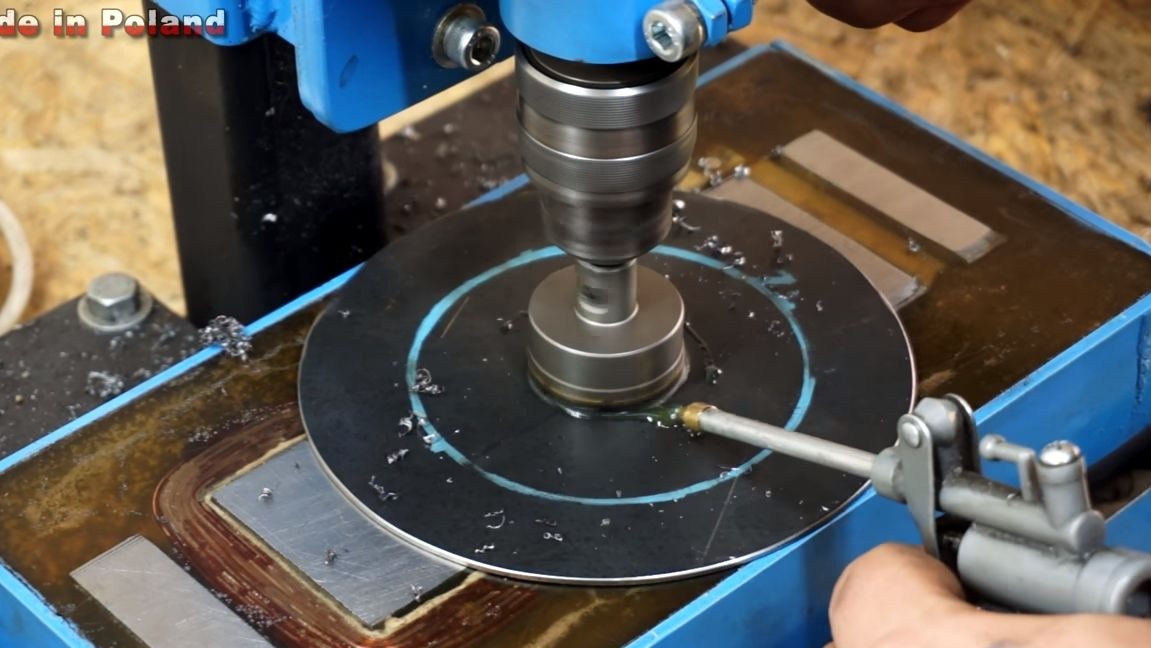
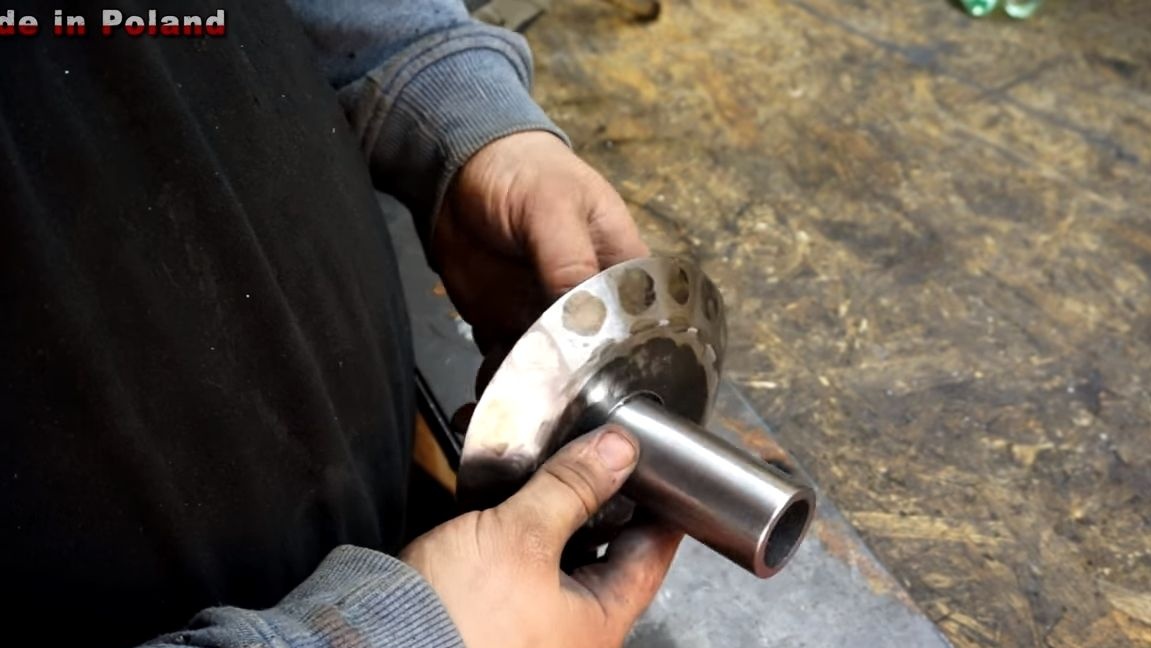
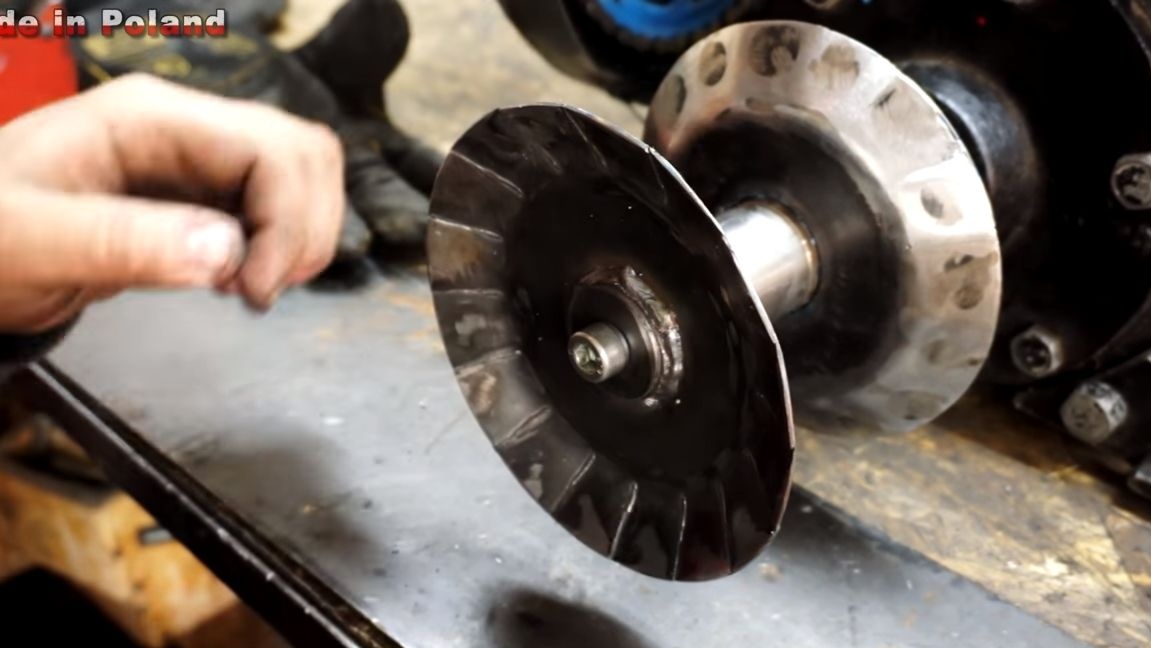
The winch pulley is needed so that it can be wound on a cable and perform the necessary work. For its manufacture, we first take a piece of steel pipe of suitable diameter so that it can be put on the gearbox shaft. Next, we drill holes and cut the threads for the screws. With the help of screws we fix the pipe on the shaft, there is a groove. The ends of the screws will need to grind along the diameter of the groove.
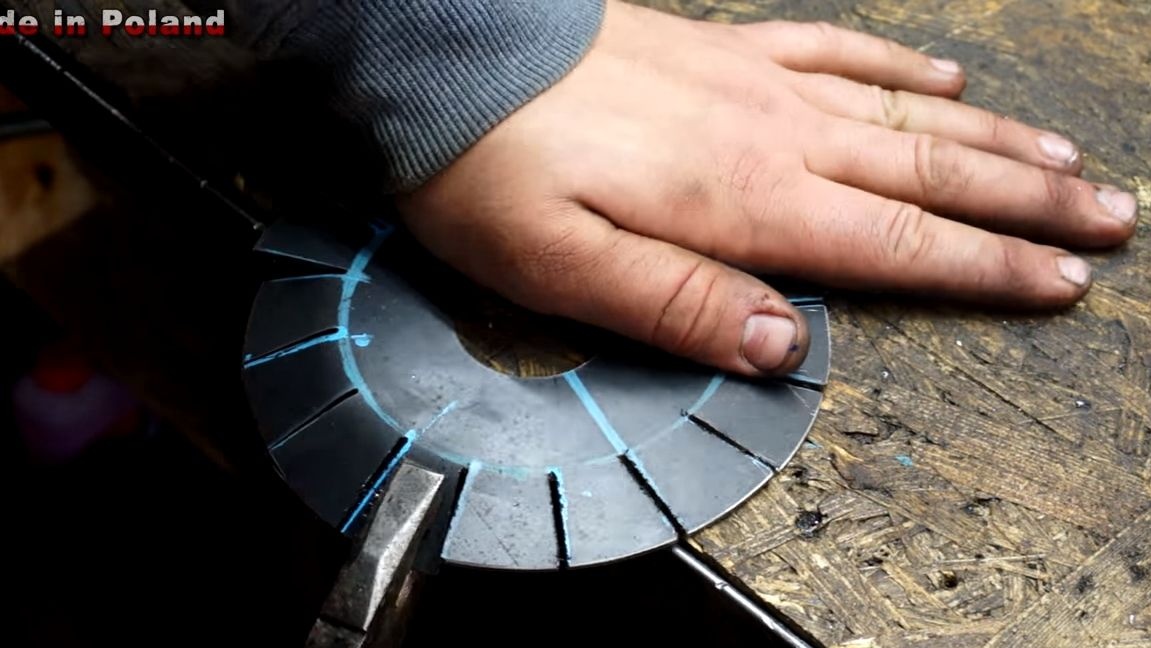
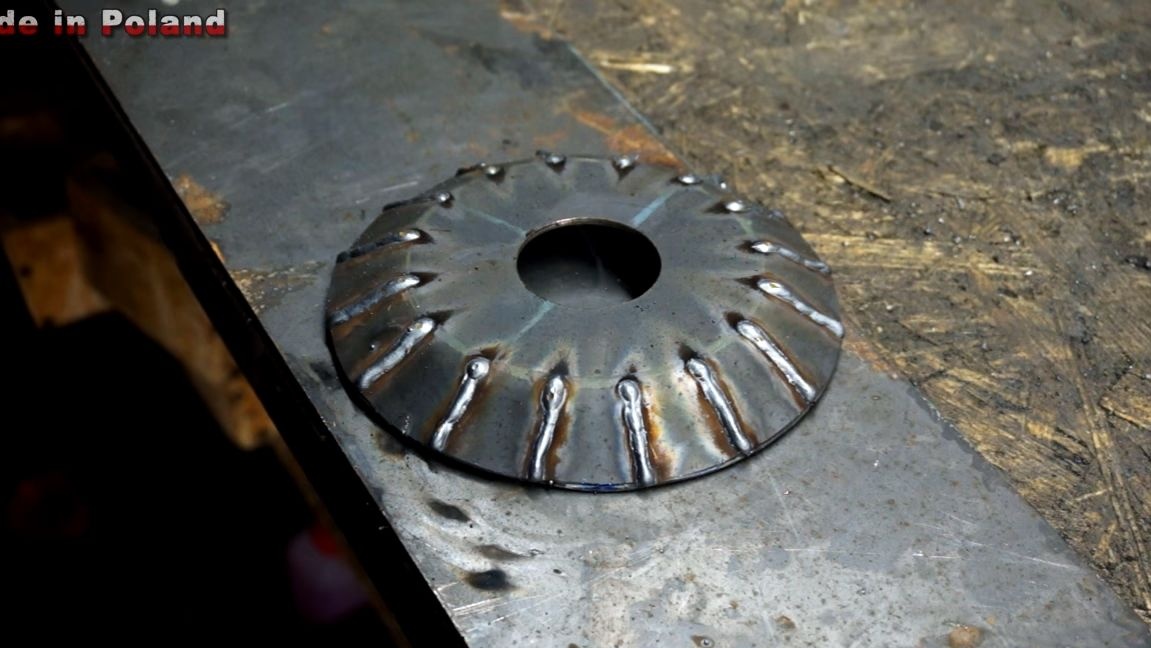
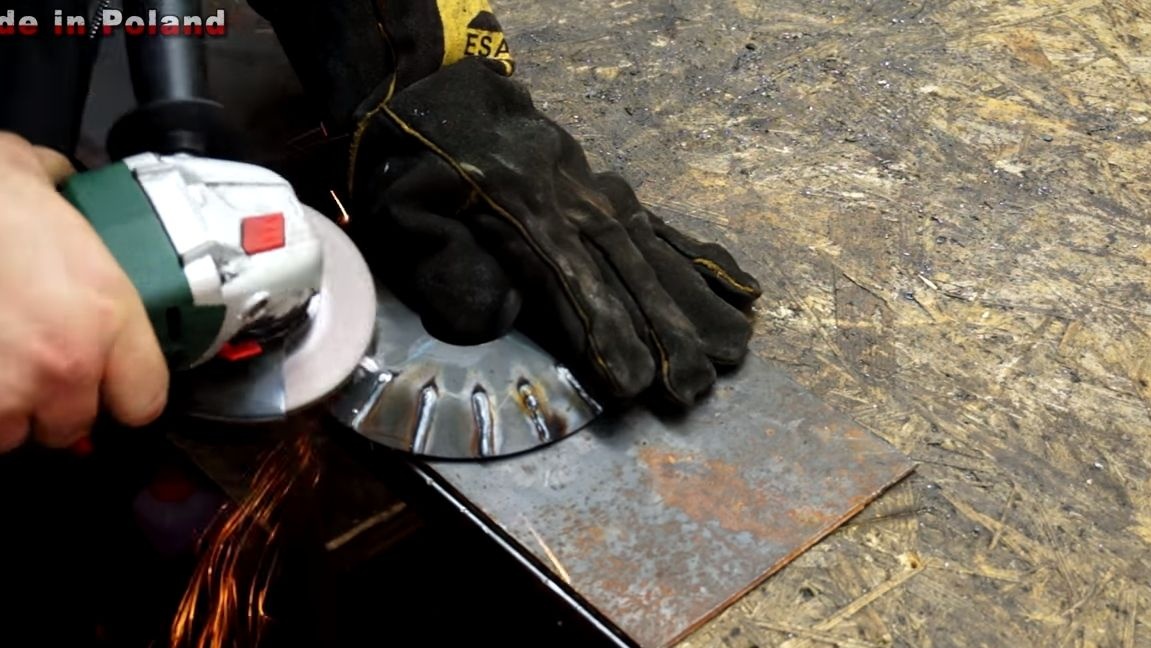
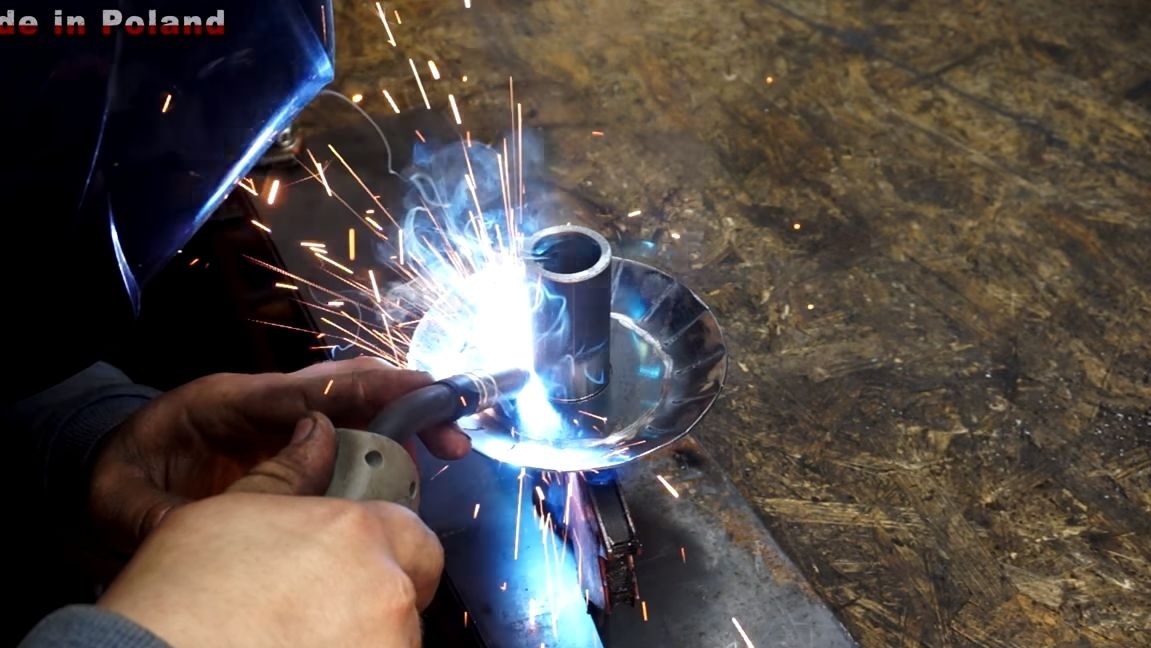
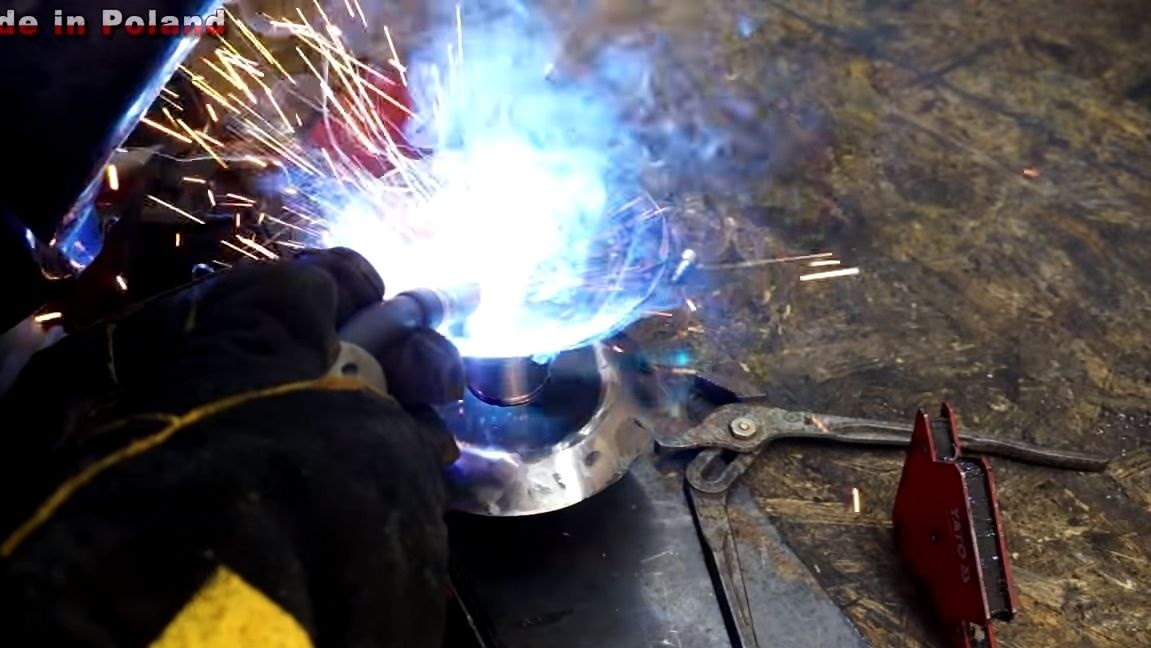
Now you need to make two "plates". To do this, cut out two circles from sheet steel, and then with the help of a grinder we make incisions. As a result, now you can bend the edges and get two parts of the pulley. Saws need to be brewed, and then carefully clean the welds, otherwise they will tear the cable. Plates are welded to the pipe at the required distance. The author additionally fixed this part with another screw, which is screwed inside the gearbox axis.

Seventh step. The foundation
Make a base for the device so that the winch can be put on the ground, and it does not fall. For these purposes, the author used a piece of square pipe. We weld it to the base or fix it with bolts.
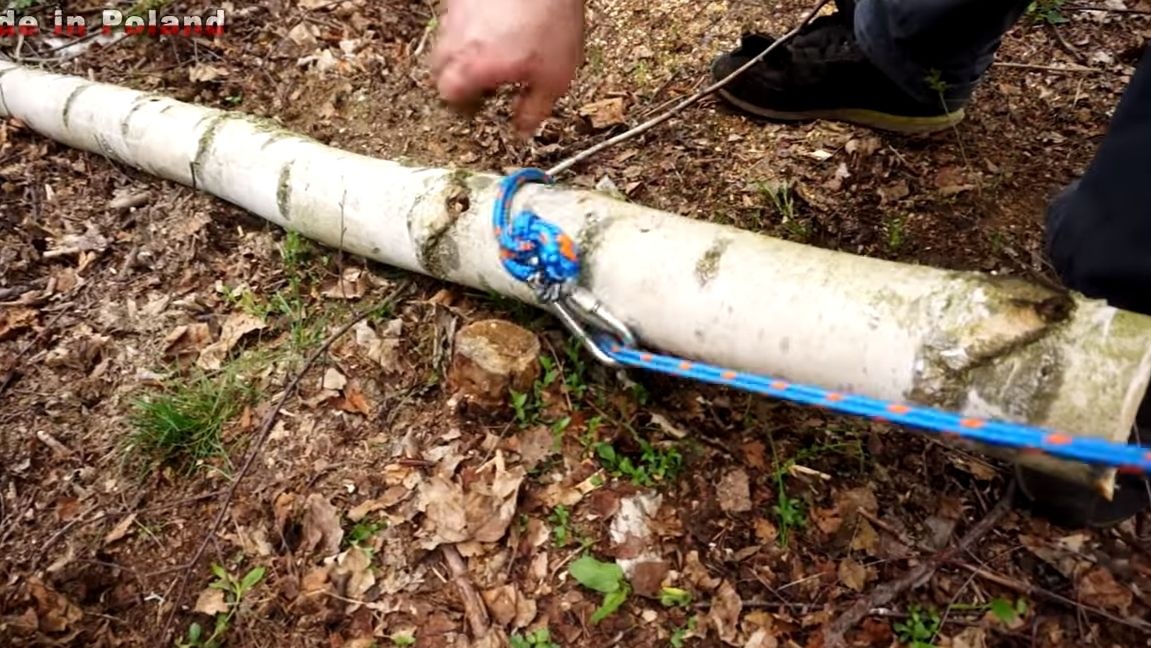
Attach a cable to the winch, with which you can tie it to a tree, car, and so on. At the end of the cable, install a hook for quick attachment.
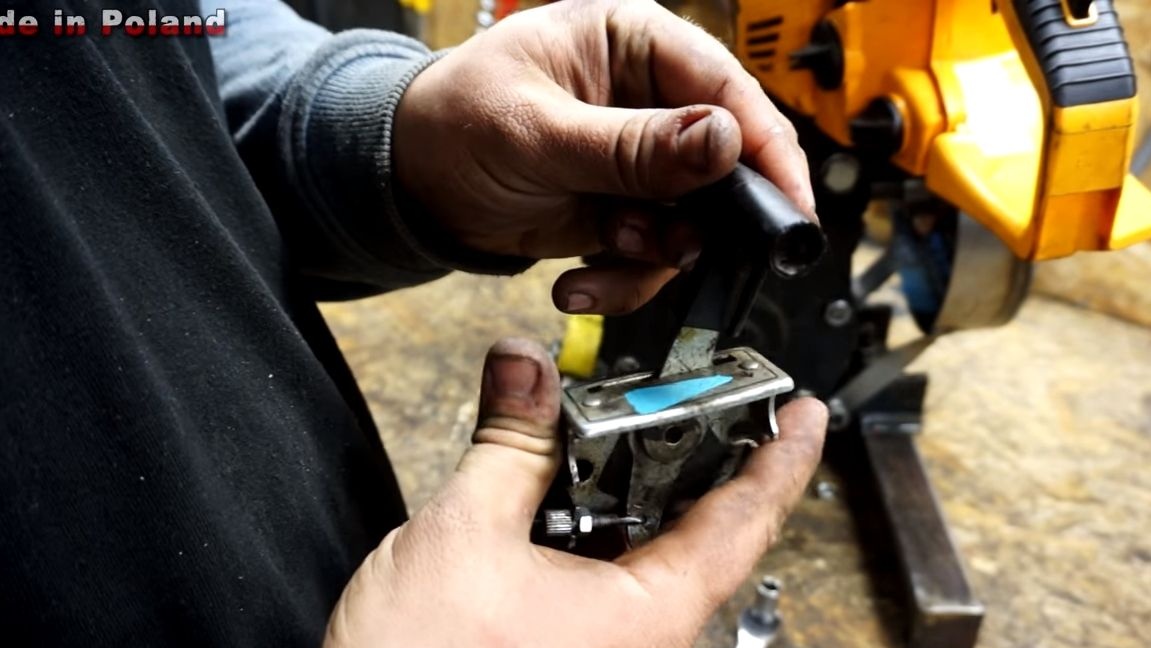
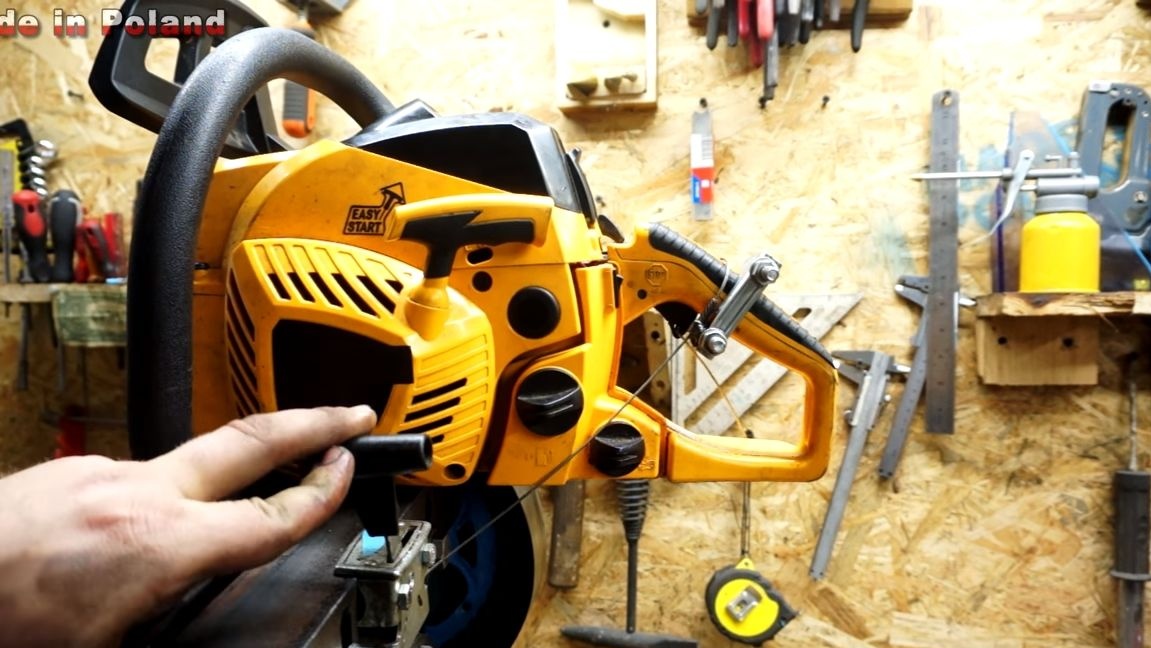
Step Eight. Control knob
All that is left for you is to install the handle to control the chainsaw speed. You can make such a pen yourself, but you can find a finished one, for example, from a bicycle and so on. We install a steel clamp on the chainsaw handle and use it to connect a cable. Around the "trigger" we make a loop so that when you press the handle, the loop is delayed and presses on the gas. Position the control handle in a convenient place. It is desirable that the handle can be fixed in a predetermined position, so you can once adjust the desired speed and constantly use this mode.

Also, be sure to make an emergency ignition switch and place it in an accessible place so that you can quickly turn off the engine in case of something.
Finally, paint the metal parts of the structure. When working in the forest, moisture will quickly cause metal rust.
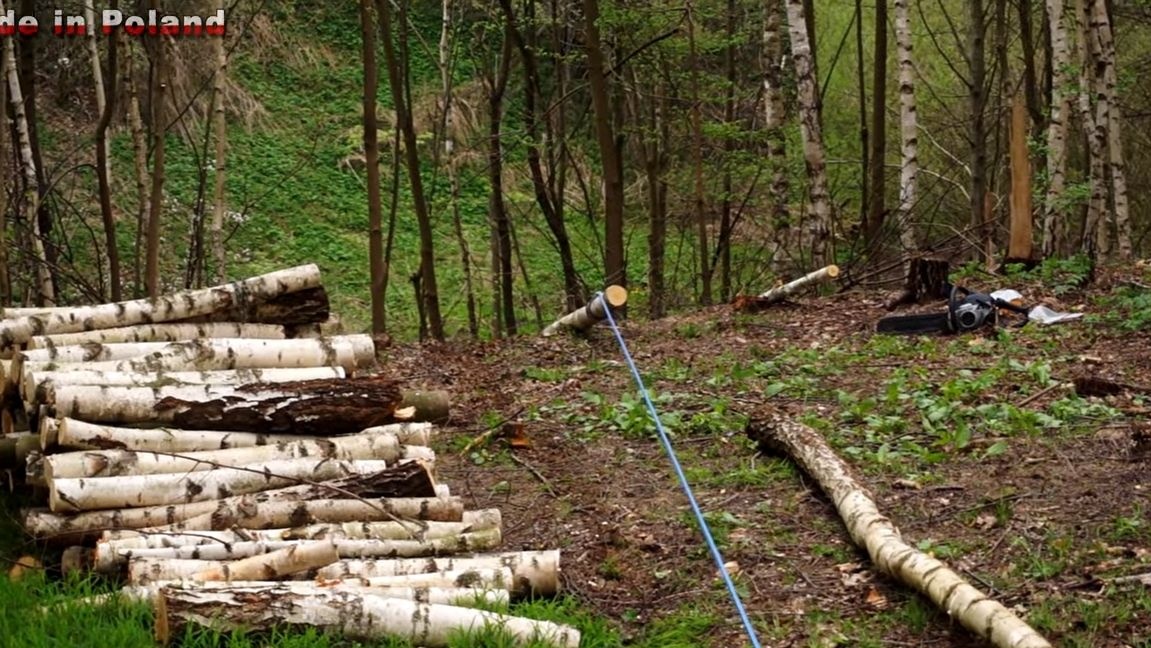
Step Nine. Test
You can start testing the winch! Tie it to a tree a car or other reliable support. We attach one end of the cable to a log that needs to be pulled out of the ravine. Well, we wind the other end onto the winch and turn on the machine! Slowly adding speed, we make sure that the log begins to crawl towards you from the ravine. The author has trained many columns in this way. In any case, it will be much easier than dragging them by hand, after which you get very tired and your muscles hurt.
And so that the forester would not catch you in such an occupation, it would be useful to install a silencer on a chainsaw.
The author used a synthetic rope as a cable; it is quite strong and durable. The steel cable will be stronger, but it is inconvenient to work with it, and the winch's capabilities are far from unlimited.
That's all, I hope you enjoyed the project and found something interesting for yourself. Good luck and inspiration in making your own homemade! Do not forget to share your best practices with us!