
Today we will collect do it yourself a device with which you can draw whole color pictures in the air. And no, I'm not exaggerating a bit.
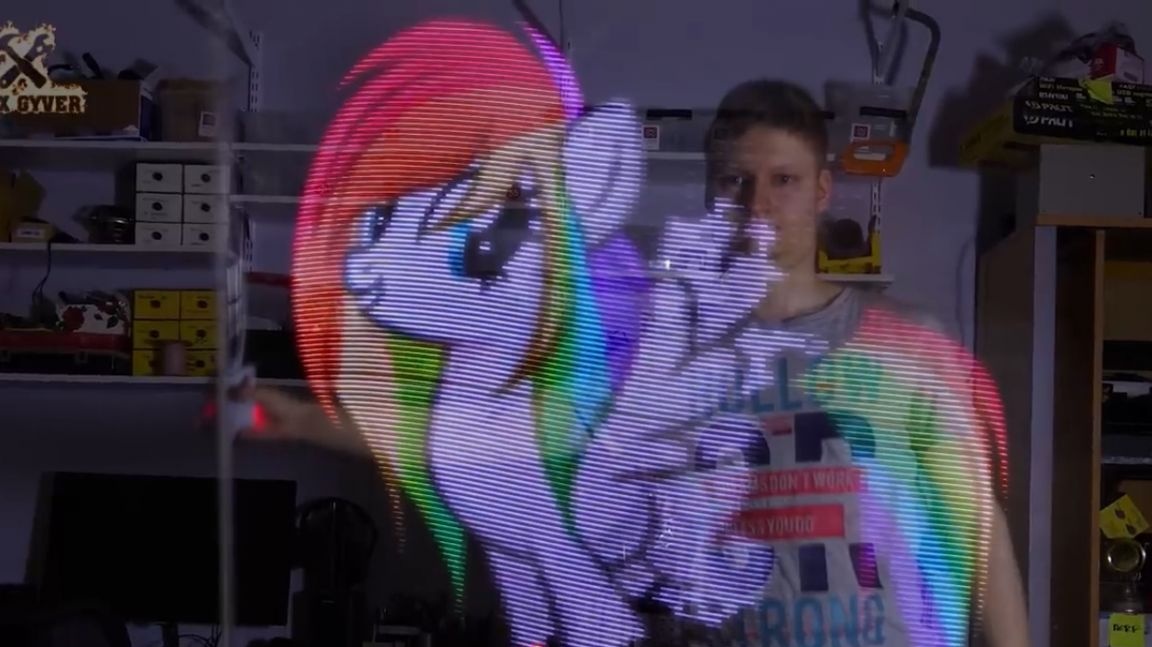
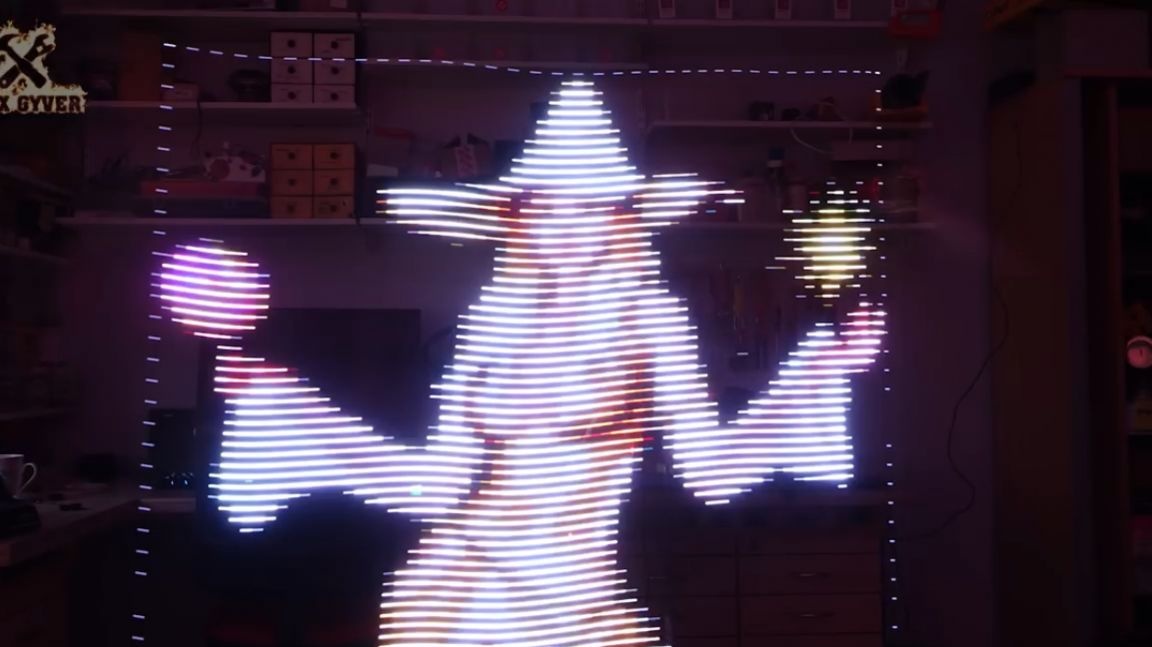
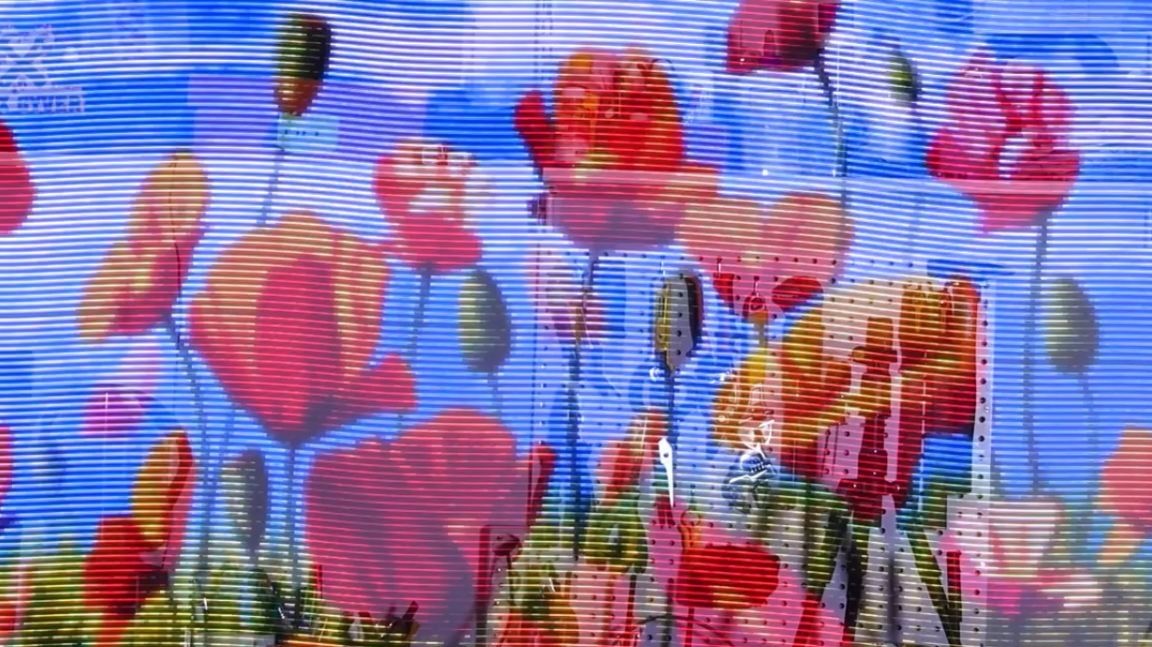
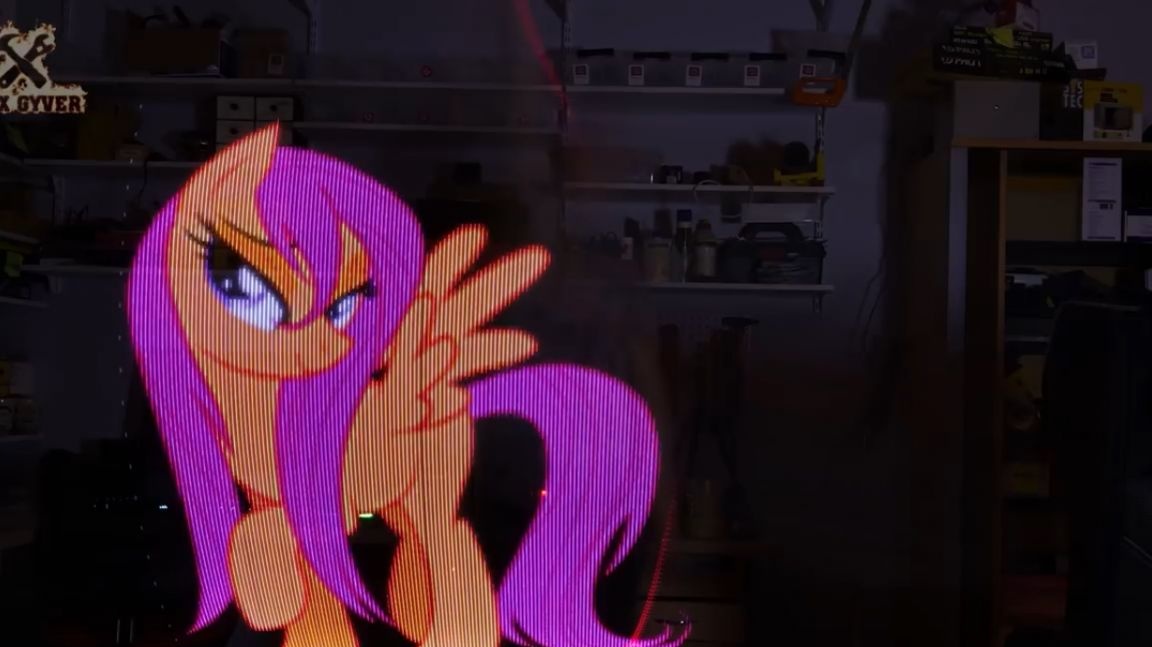
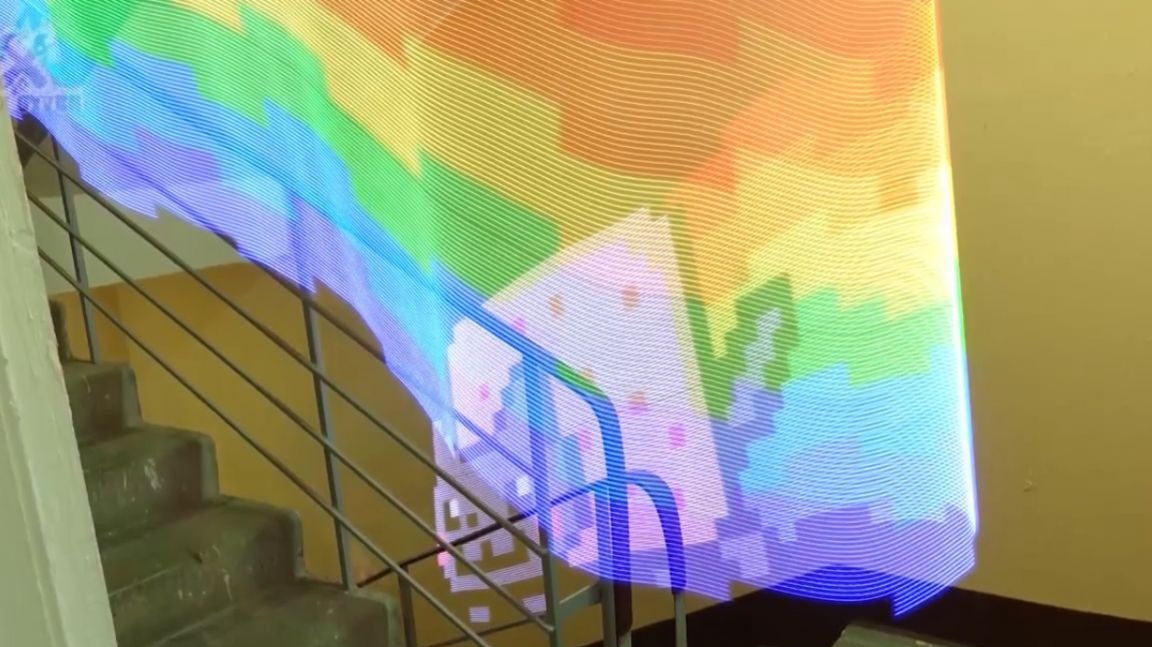
To capture such a picture, the shutter speed when shooting a photo should be about two to three seconds. In addition to a digital camera, such exposure can be obtained on the camera of a regular smartphone using various applications for the camera. Photos from today's device look something like this.
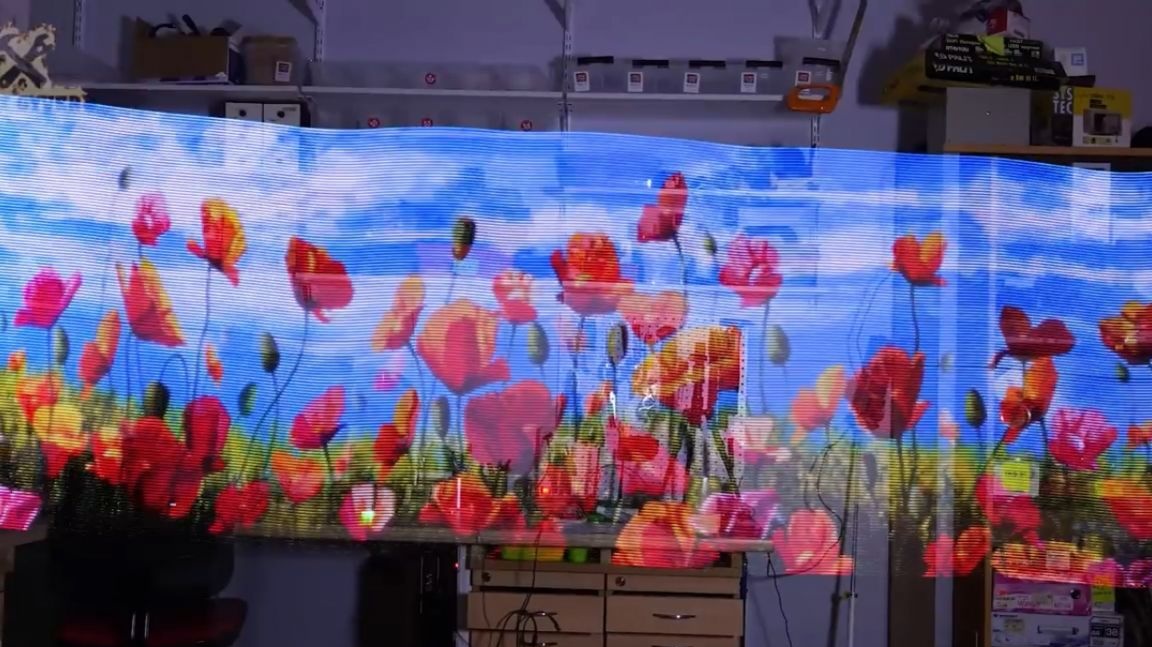
Impressive, isn't it?
The device is based on an address LED strip that allows you to control the color of each of its LEDs individually. So, we take such a tape and give the command to display a large color image in layers, showing each column of pixels after a short period of time. We put the camera on a long shutter speed, draw with a stick, and get a color picture, which seems to freeze in the air.
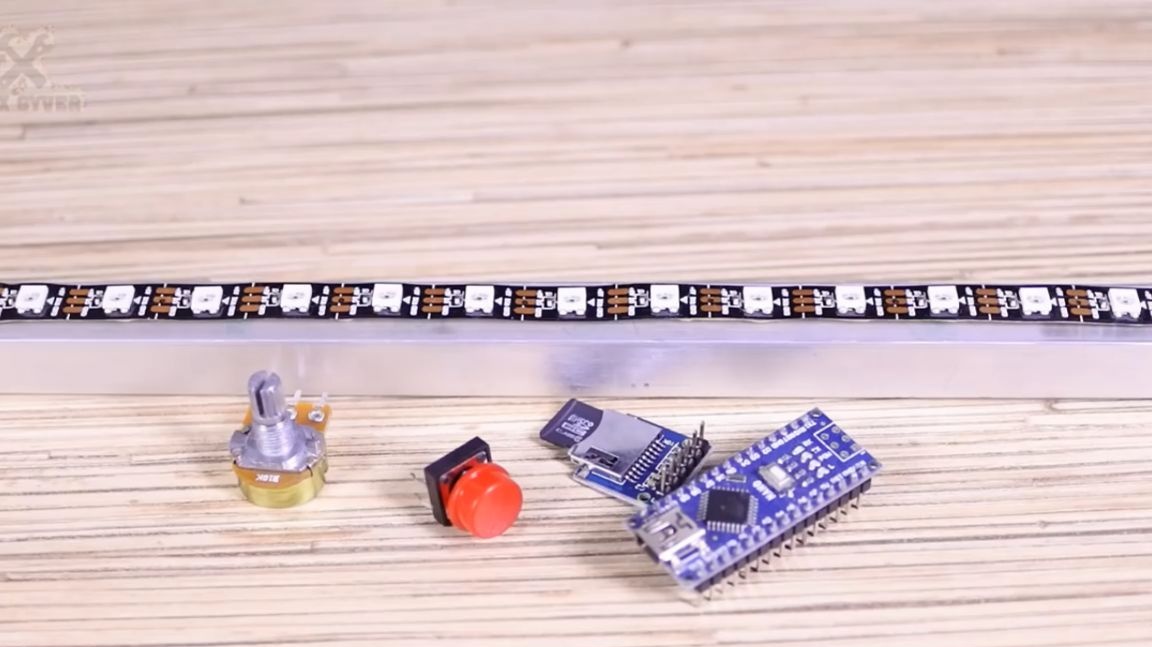
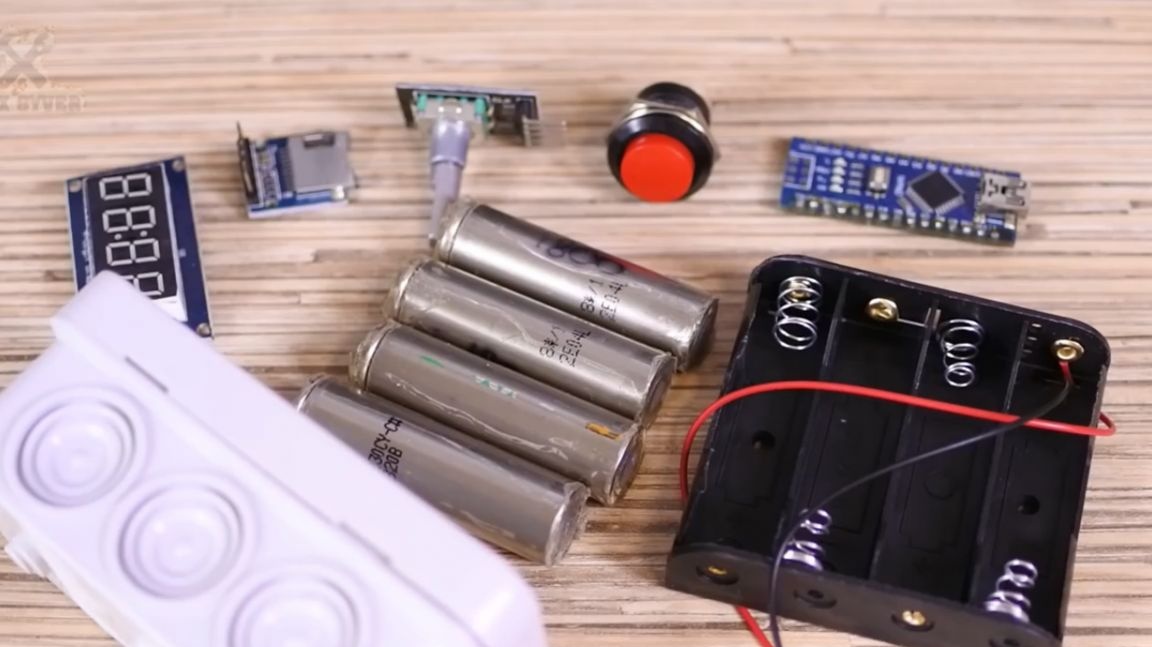
For assembly needed:
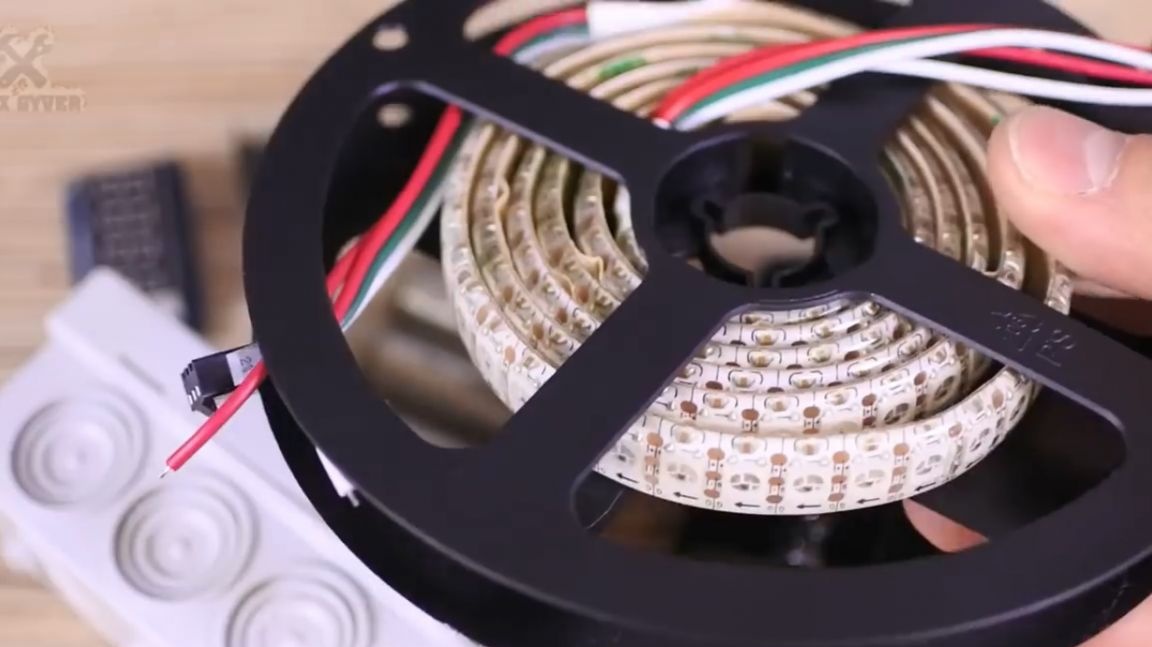
1. The address tape itself. The author took a resolution of 60 LEDs per meter and fixed it on a metal profile.
2. Next, you will need a micro sd memory card and a module for connecting it. On the map will be image files for rendering.
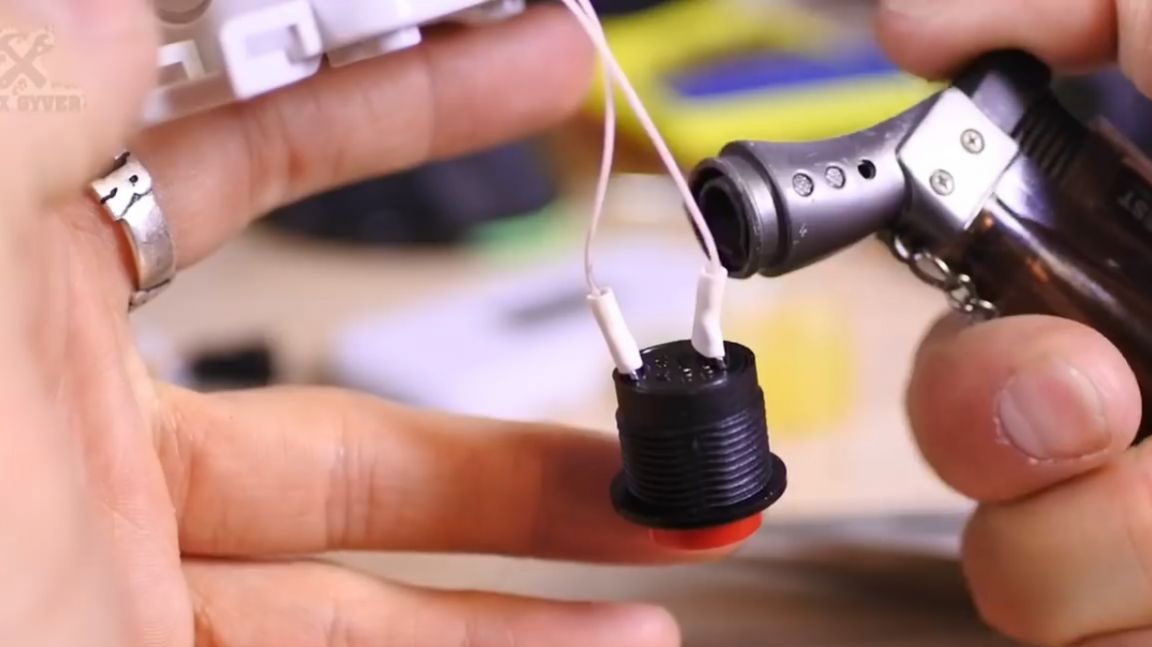
3. Button to start the animation.
4. And of course, the platform arduino nano that will manage it all.
5. Also in the original circuit there is a potentiometer to adjust the brightness and speed of the animation.
6. The tape requires 5 volts of power, and in bright areas of the image it will take a decent current. Therefore, we will feed from the Chinese bank.
Everything is going to be very simple. The author put together a circuit on a breadboard to test performance. The tape is fixed on a piece of a square aluminum profile found on the balcony, and everything else is tied with screeds and electrical tape. In short, the maximum collective farm.
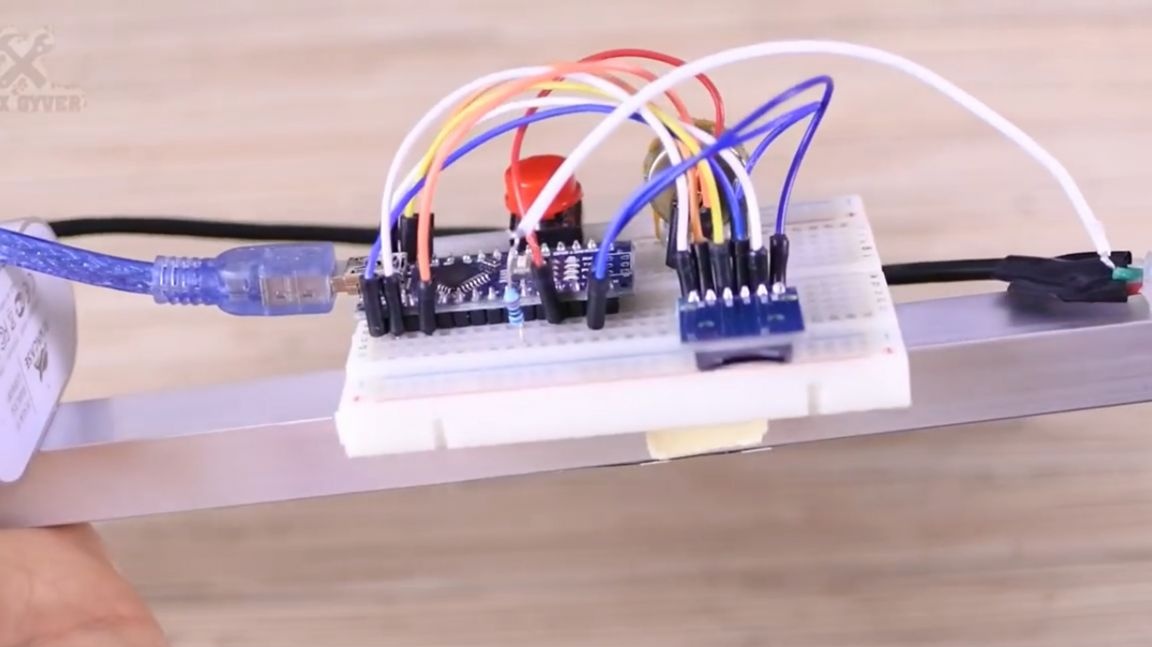
Well, this is called the layout, but the layout is working.
Before you begin, you need to prepare a memory card and the images themselves. The card needs to be formatted in fat format. And so that no additional questions arise, we will format the official utility, which has only the format button. The program is archived with the project (link at the end of the article).
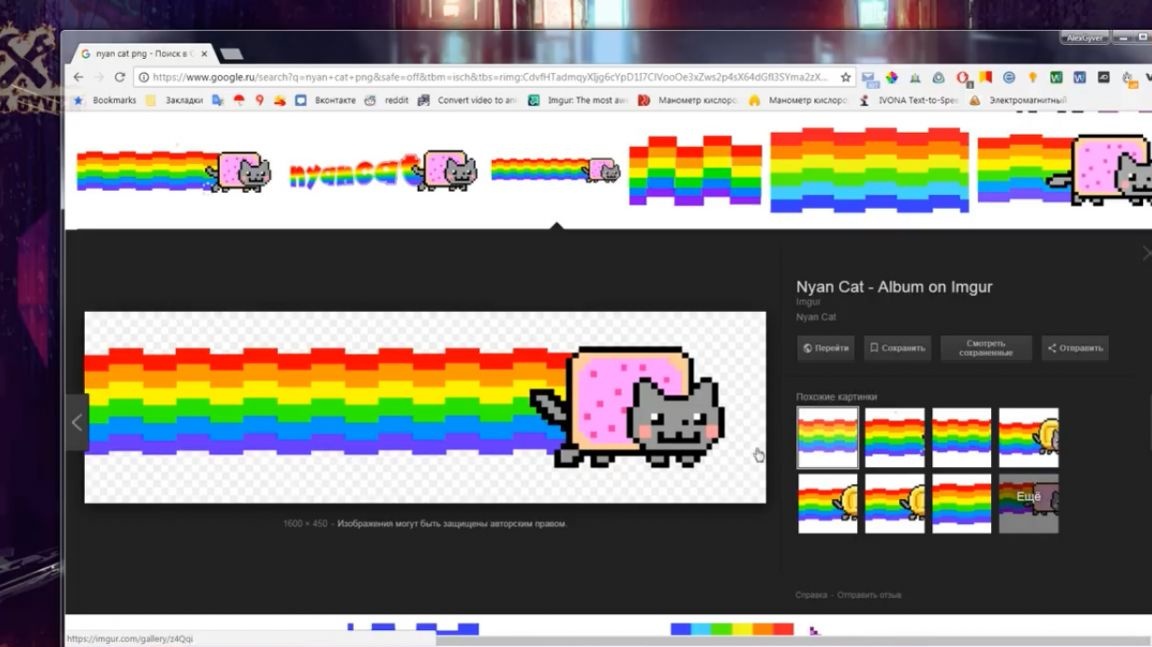
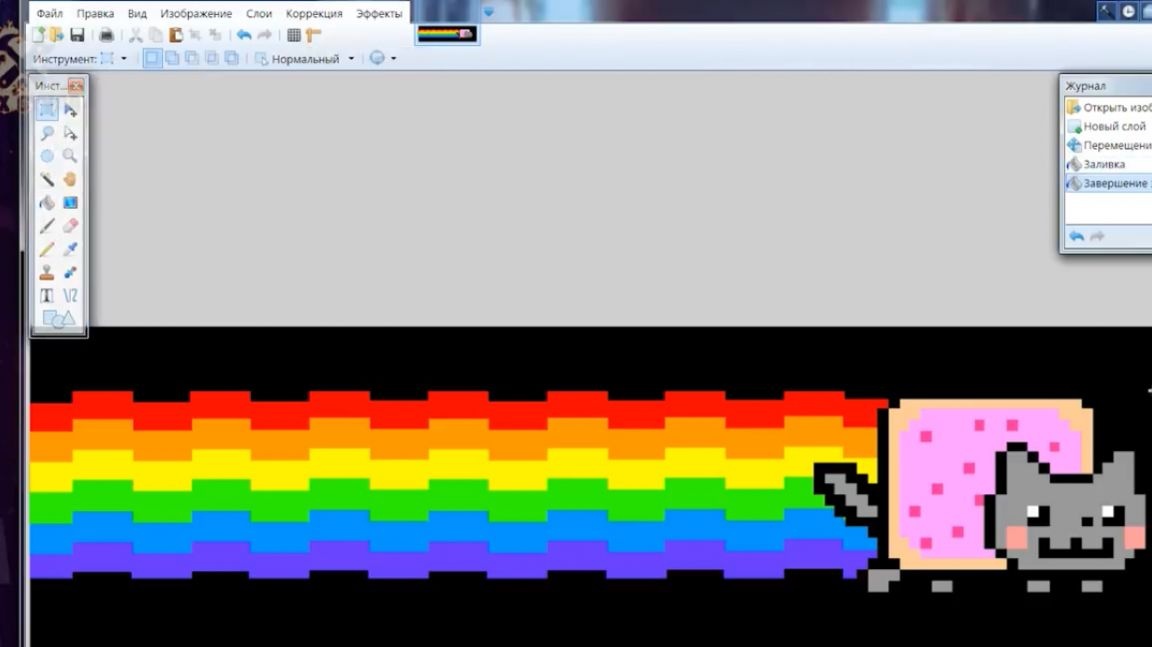
The next preparation step is the images themselves. They also have a number of stringent requirements. Firstly, the image width should be equal to the number of LEDs in your piece of tape.Secondly, the image should be in bmp format with a color depth of 24 bits. Thirdly, the image is located vertically from the bottom up, the upper side of the image is looking to the left. For the preparation of images do not need any supernatural programs, just the standard windows-ovskogo paint. Let's look at the classics -nyan cat as an example. He is a great picture for this kind of effects. We find a picture in Google, I immediately note that where the picture is black, there the LED will not light. If you want to draw a picture without a substrate, that is, without a background, you need to find either a picture on a black background, or download a picture in png format with a transparent background.
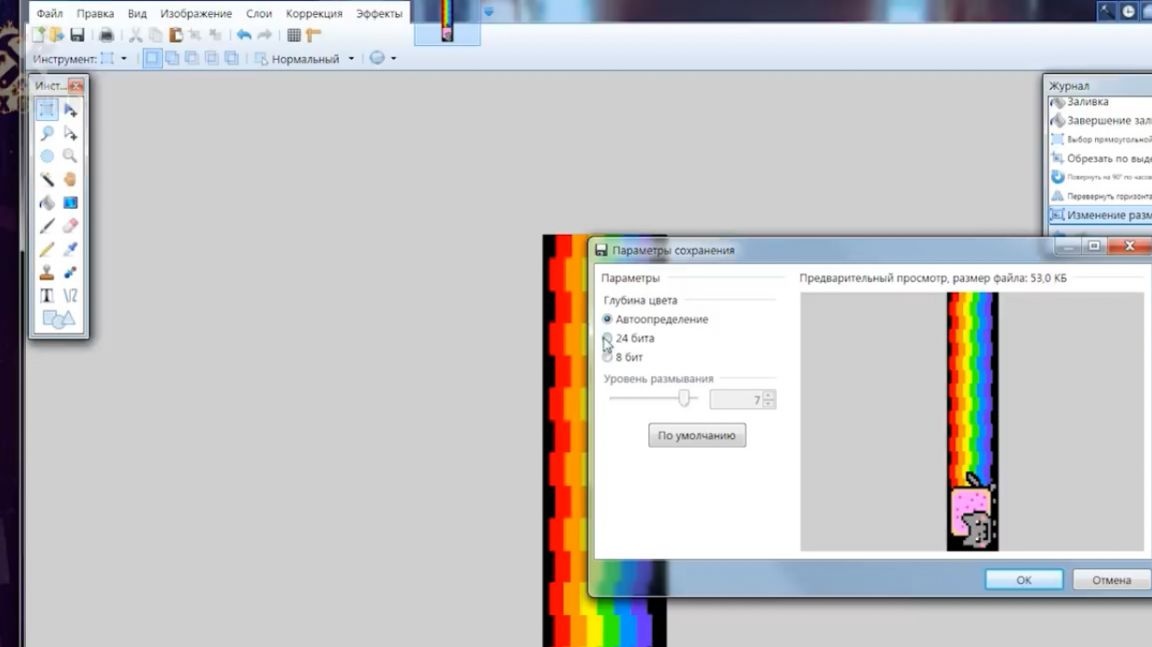
First, fill the background with black. To do this, create a new layer, place it down and fill it. Now we turn the picture and flip it so that it stands as it should. Change the width of the image by the number of LEDs (the author has 60). And now it remains only to save in bmp format with a color depth of 24 bits. All.

As a result, we need to get a formatted memory card and on it ready-made pictures of the right size in bmp format and under the necessary names: frame 000, frame 001, 002 and so on.
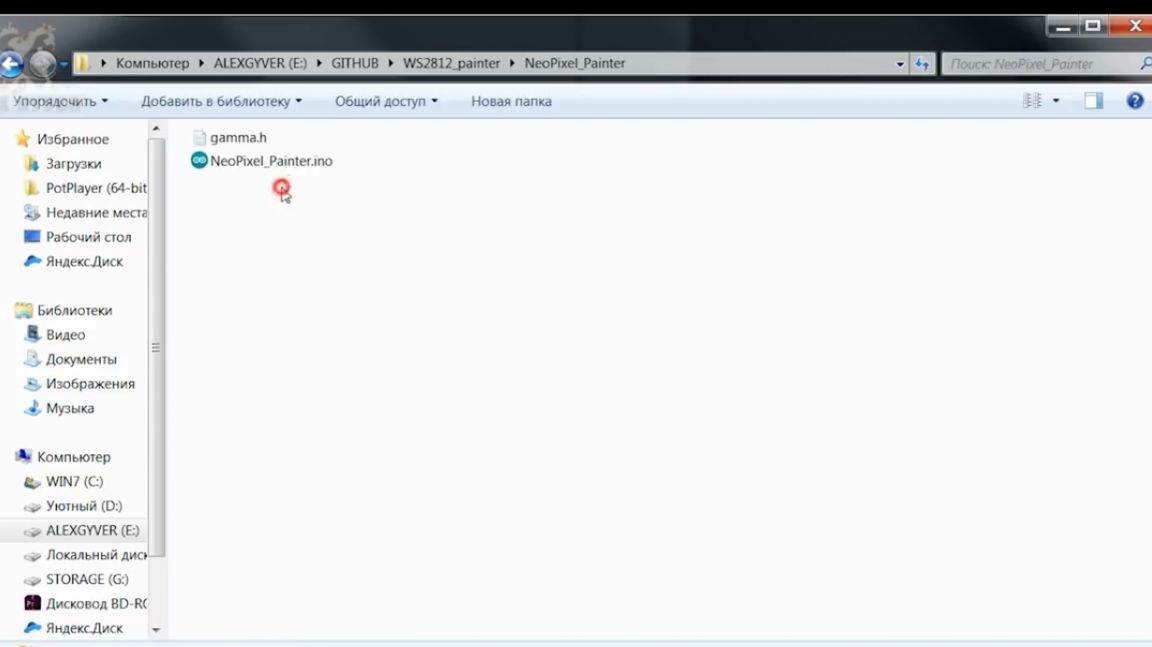
Now go to the project page and download the archive. Here you will find a collection of ready-made images, as well as all the necessary programs, firmware, diagrams and instructions. For those who have not come across arduino, there is a separate ultra-megasuper-detailed article.

We start it, and the only thing that needs to be changed here is the number of LEDs, it obviously should correspond to the number of LEDs of your tape and the number of pixels to the width of your pictures. After reading all the instructions and completing the necessary steps, click the download button. All prototype is ready.
I recommend the first launch without disconnecting from the computer and opening the port monitor, there will be a lot of any useful information. After each change or adding pictures to the memory card, you will need to start the system with the button pressed, then the image conversion mode will turn on and each of your image will be converted. Also, the potentiometer during the first start-up acts as a brightness adjustment knob, because the brightness is adjusted at the start-up stage with processing. Also, the first launch is important in that you can see all the possible errors.
In general, after a successful download and a bunch of OKs, you can disconnect and make further launches without pressing a button. Now everything is extremely simple, turn on, wait a bit and when you click on the button, the animation will be shown. The next click will show the next picture from the map, and so on in a circle. The potentiometer now adjusts the speed of the animation.
We put the camera on shutter speed for two or three seconds, turn on the timer and drove to the original. It turns out magically frozen image in the air.
For smartphones, by the way, there are special applications that allow you to shoot with a slow shutter speed and you do not need an expensive camera with manual exposure settings.
The gizmo turned out to be cool, but there is one huge drawback - it is stupidly inconvenient, and if you have more than 10 pictures on the map, then this is generally complete trash, it will be impossible to select the right one.
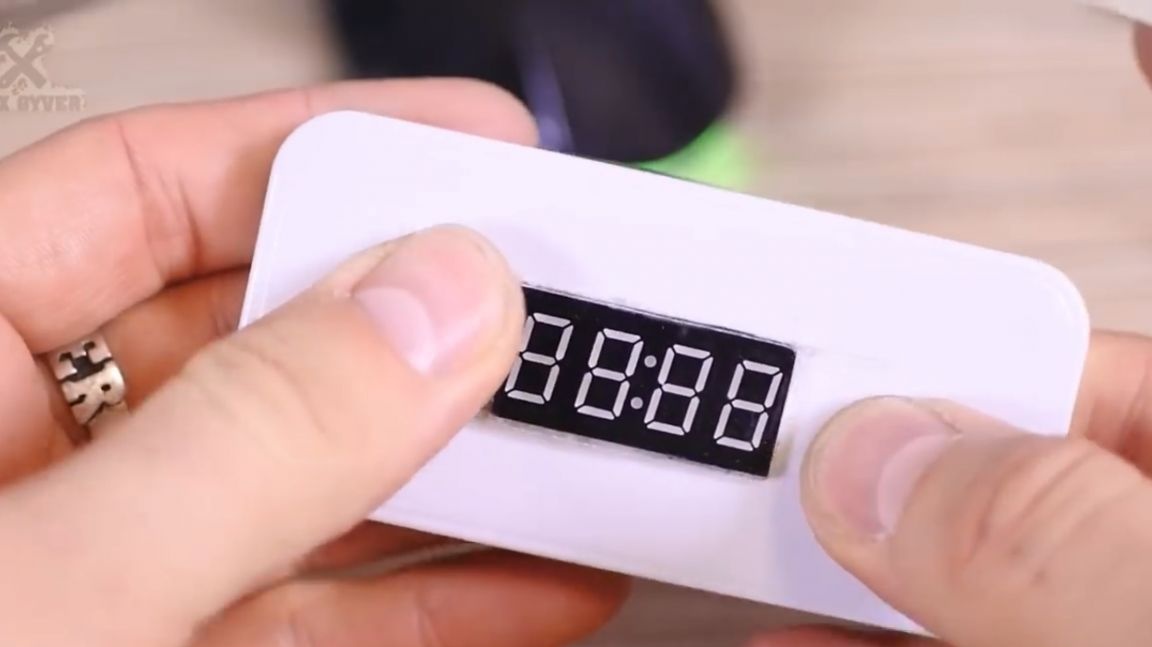
Let's expand the capabilities a bit and add a display. We use the display like this:
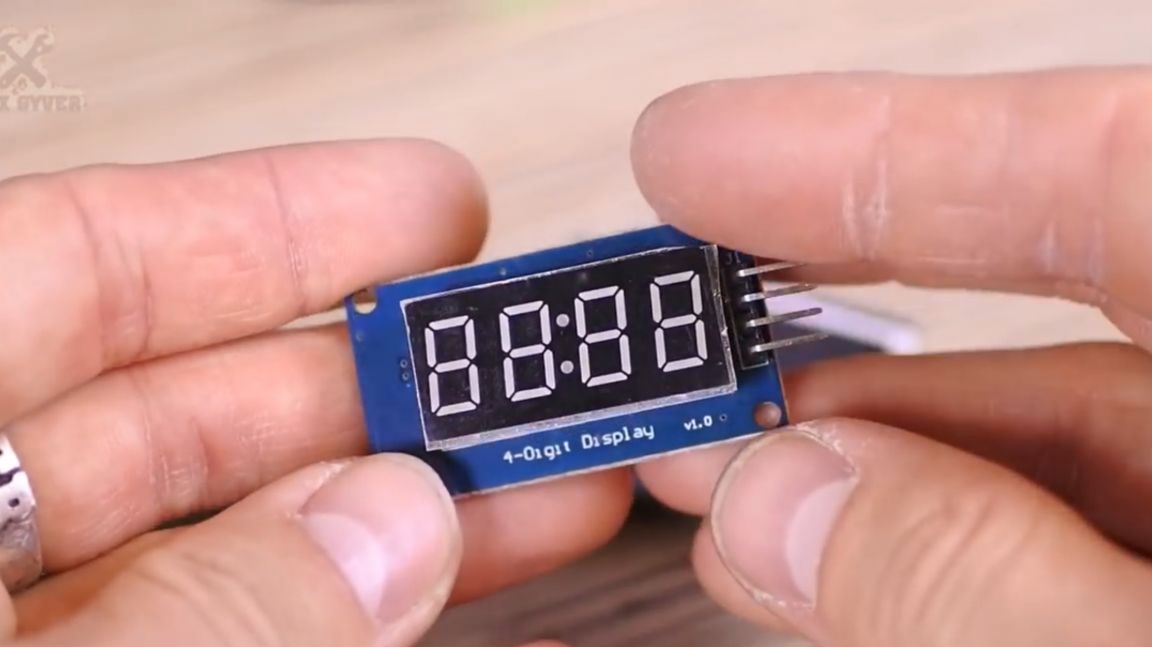

This is a simple display on the shift register TM1637. He does not need fast communication protocols for work, and the library does not take up much space. It is planned to display the numbers of brightness, speed, error messages and other system messages on the display. And the most important thing is the choice of the image number for rendering. To control this whole thing, we use an encoder. It is cooler than a potentiometer in that it rotates an unlimited angle and does it with small steps, as if in steps.He also has a button.
We will connect here according to this scheme:

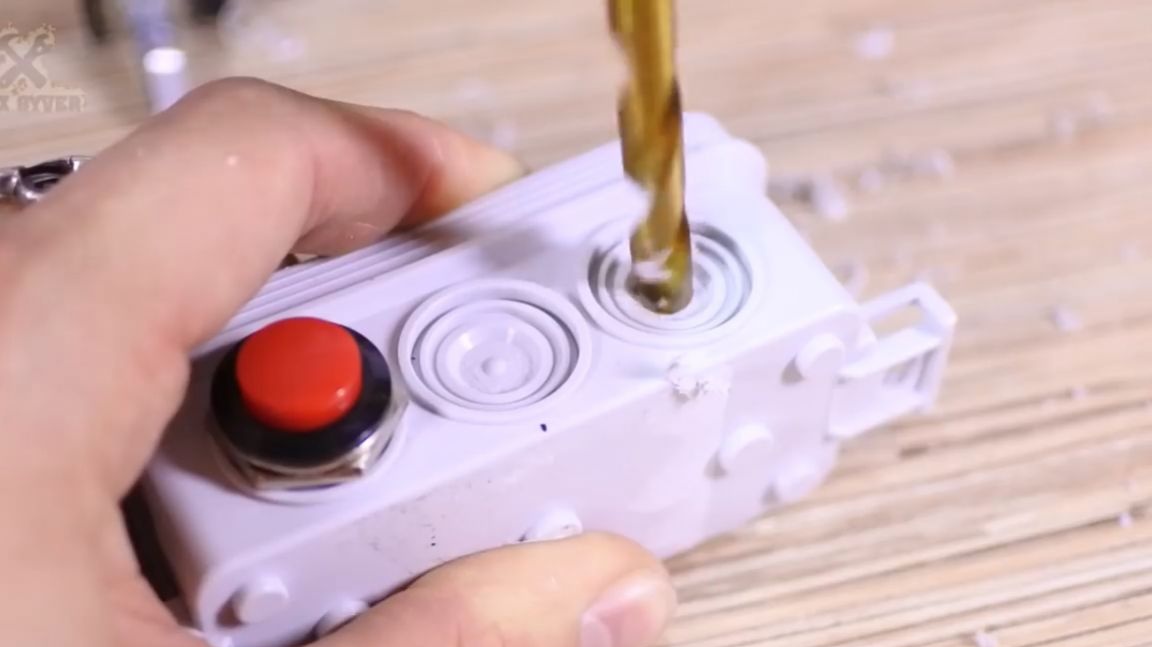
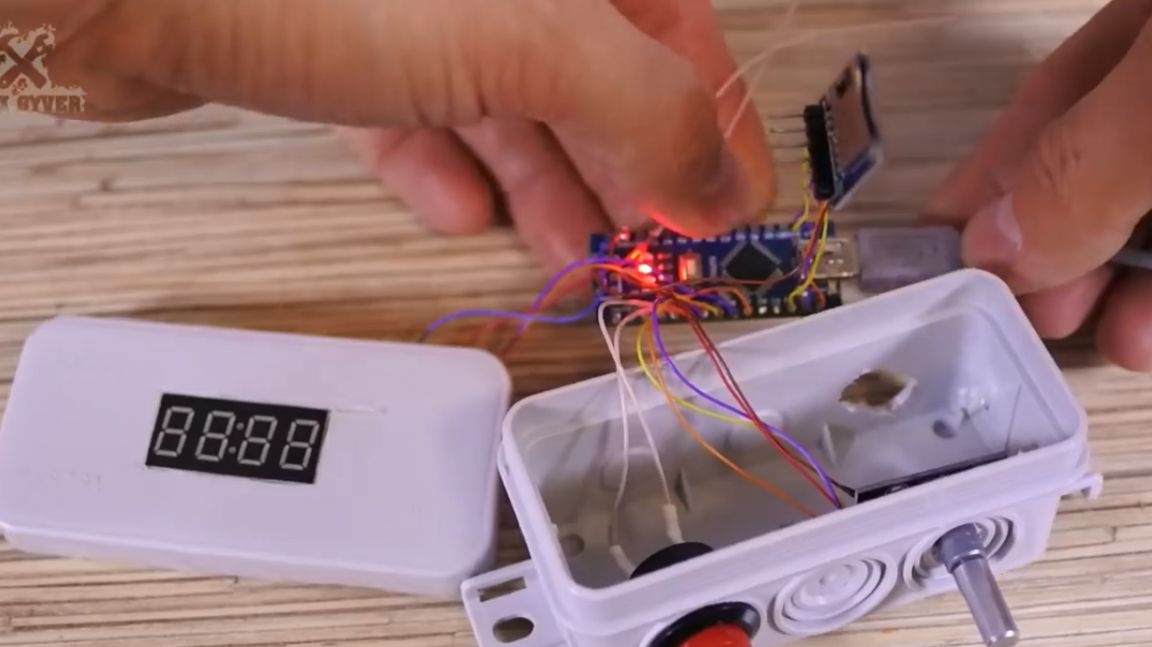
For this scheme, there is a separate firmware in the project folder. We start and flash. How to use it - a little later, and now let's collect all the iron in a normal case. Down with the layouts and the collective farm, we will solder and hide everything in a small junction box.
We will feed the system from 4 nickel batteries, they have a voltage of 1.2 V, and 4 pieces will give just 5 V to power the tape and arduino. Also, these batteries calmly give 3-4 A, which is quite enough for us. Take the tape 144 LEDs per meter to increase the resolution of the picture.
First, we will cut a window for the display, and then we will deal with the placement of the remaining components ..
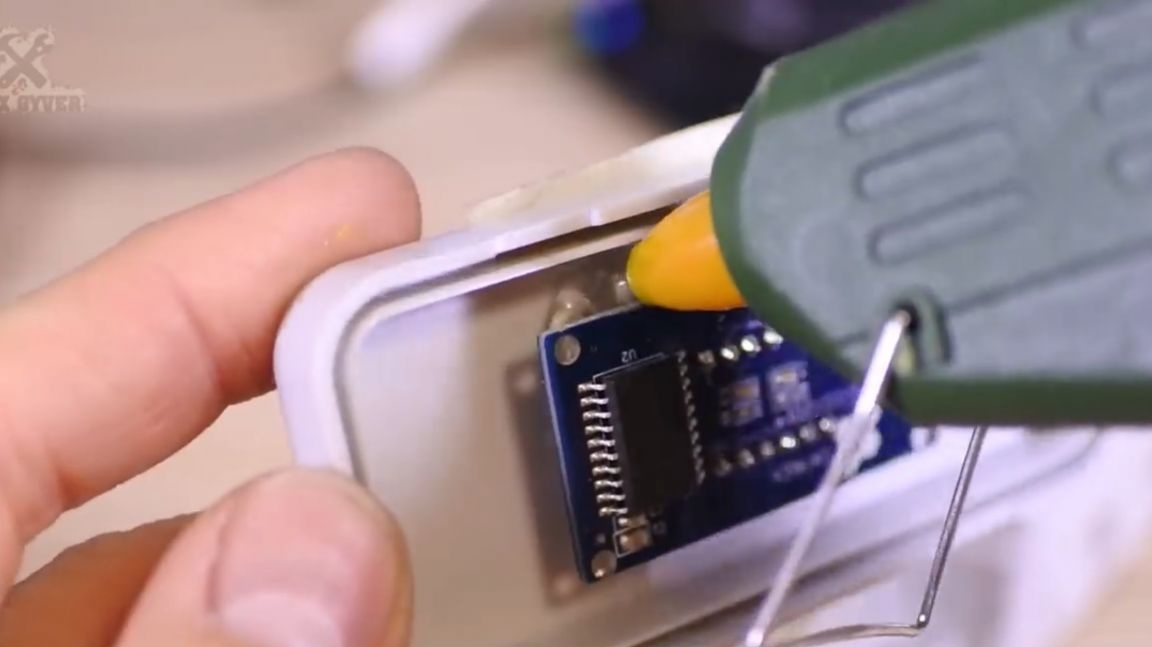
It remains to solder the food and, in principle, everything.
For encoders, by the way, there are very cool caps, but they are sold in whole packs, like almost all small things on aliexpress.
In general, everything is ready, we fasten the system to the profile. This is such a drawing with a resolution of 144 pixels, a length of 1 meter and a neat electronics unit with convenient settings.
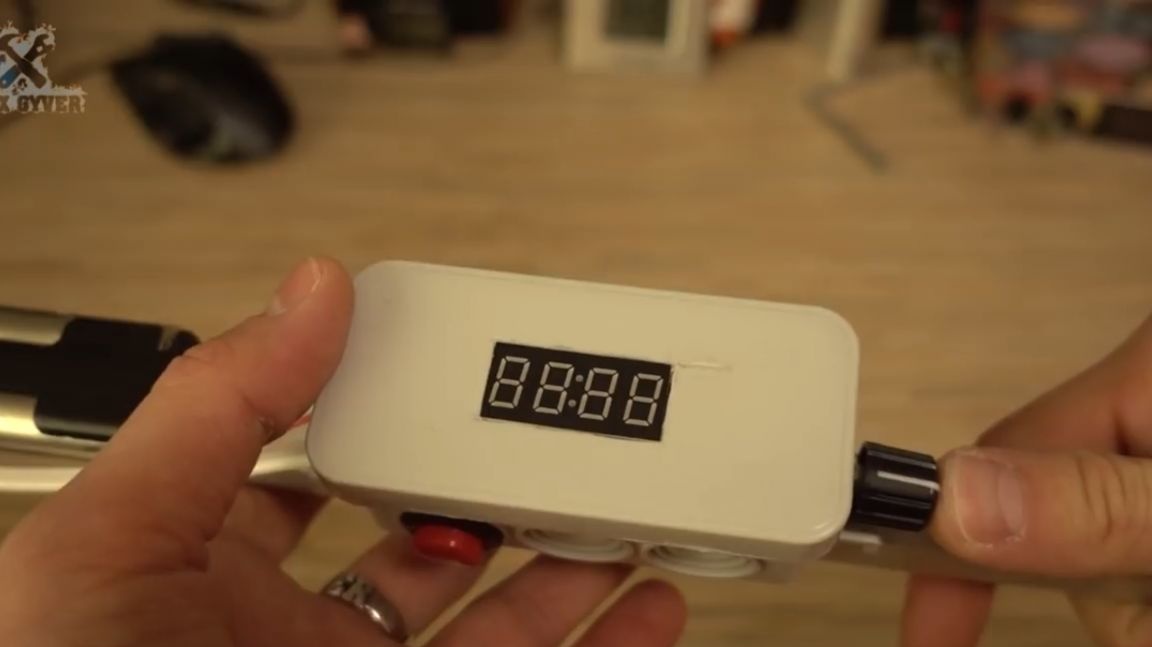
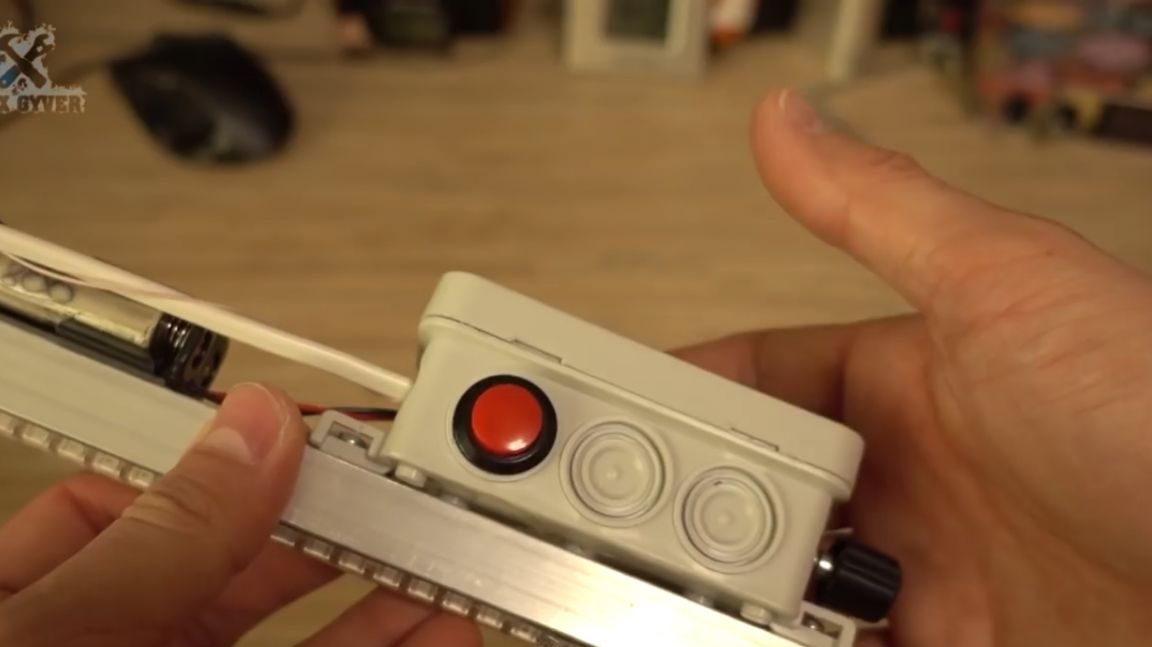
Speaking of settings. So, how do you use this thing? The author changed the design a little, moved the power switch, moved the memory card.
Turn on the power, grab the case, press the button and draw with a drawing. As for the launch and settings: after any addition or change of the image on the memory card, it is necessary to start with processing (in this version, you need to press the encoder and apply power, the start message appears, release the button, the preparation message appears). Preparation takes a few seconds, depending on the number of images on the memory card and their length. Now we are invited to choose the brightness. Brightness changes from 10 to 95.
The maximum brightness is not limited by the brightness of the tape itself, but by the current that we set in the settings, that is, it all depends on your power source.
In general, now we select the picture we need, that is, we need to know under what number what is going on, press the start button and the animation is played.
To adjust the speed, hold down the encoder button, sp (speed) appears and holding the encoder pressed, you can adjust the speed.
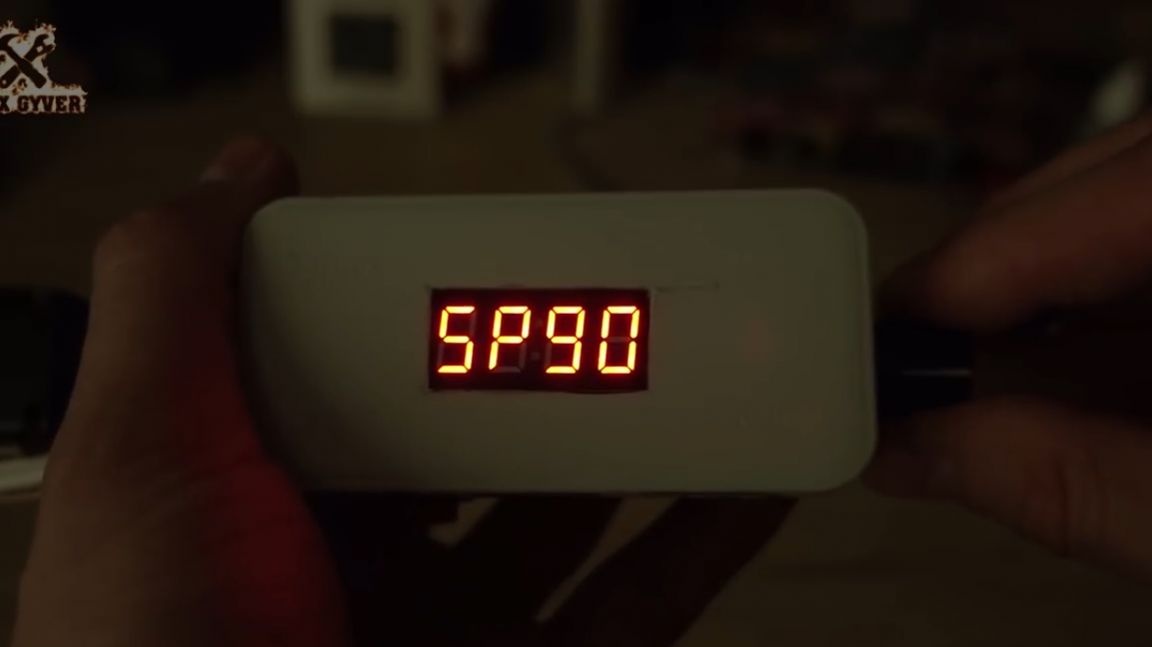
The maximum speed depends on the maximum speed of reading from a memory card.
The selected speed is written to non-volatile memory and is not reset during reboot. By the way, subsequent launch is much faster.
Thank you for attention. See you soon!
Video: