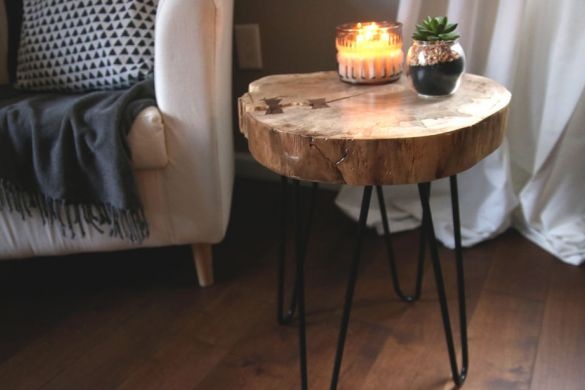
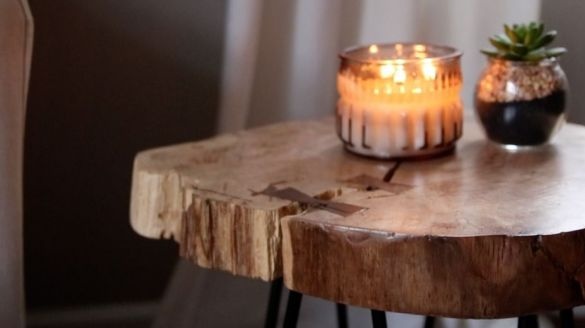
I present to you the instructions for making a simple table. For the manufacture of countertops, a slice of wood was used. This is a great, strong, beautiful natural material that is easy to get if you have a forest and a chainsaw nearby. You do not need to cut a living tree for these purposes, a cut can be made from fallen trees, just choose a stronger and more beautiful wood.
The possibilities and ideas, in fact, are endless, using this method you can make tables, chairs, cutting boards and more. Under the varnish, this material looks very impressive. As for the legs, it is easiest to make them of metal. Here steel pipes, fittings and much more can come up. So, we will consider in more detail how to make such a table!
Materials and tools used by the author:
Material List:
- cross section of the tree;
- a piece of board (if you need to make jumpers);
- epoxy adhesive;
- varnish;
- wood screws;
- fittings;
- paint for metal (black);
- Sheet steel.
Tool List:
- ;
- a planer;
- orbital sander;
- ;
- a chisel;
- a clamp;
- sandpaper;
- a pencil;
- ;
- manual frezer;
- brush and more.
The process of making a table:
Step one. We make a cut of a tree
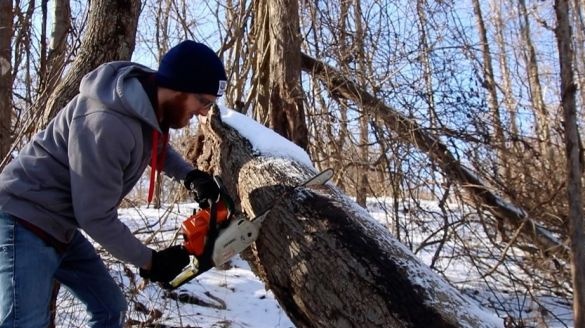
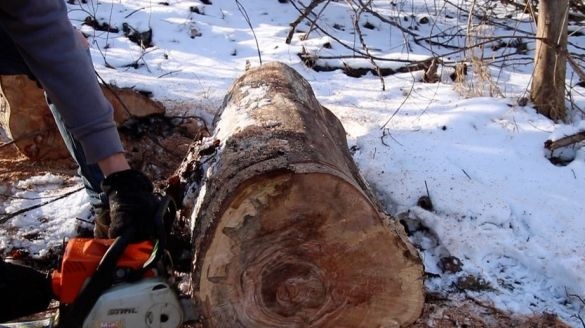
We go to the forest in search of material. This is best done in a dry summer, as a result, the material you get will be as dry as possible. The author made a cut in the winter, this is bad, since such a cut can be deformed or cracked. Choose beautiful species of trees, for example, maple, walnut, oak and more. To make the cut even, the chain of the chainsaw must be sharpened well. Do not choose rotten wood.
When you bring the slice home, dry it for at least a few weeks, only then you can begin to make a table out of it.
Step Two Rough processing
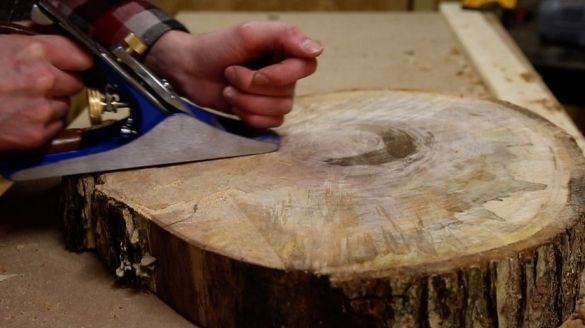
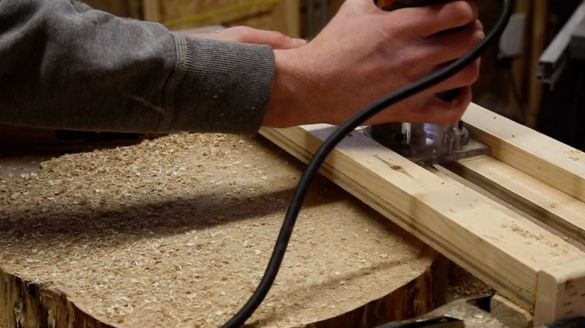
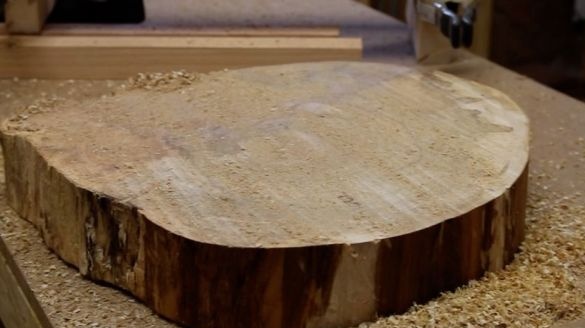
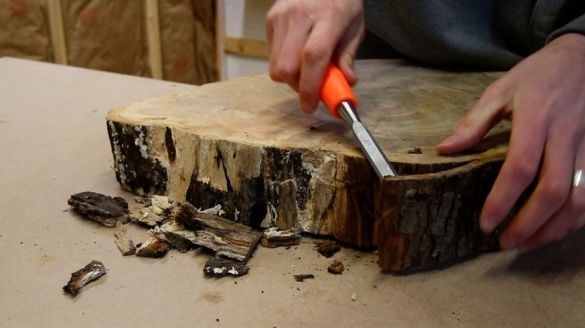
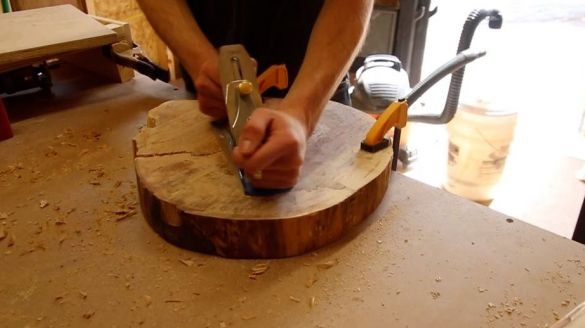
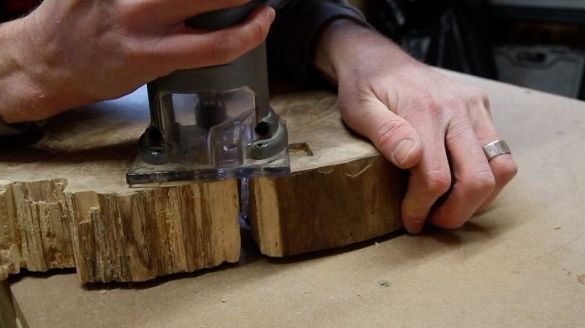
First of all, we need to get a perfectly flat plane for the table. We take a plane and form a plane. The author also uses a manual milling cutter. It is advisable to remove the bark from the cut if the tree is already old. Different pests usually live under the bark, and it can fall away.But some craftsmen leave bark for beauty if the tree is fresh.
Step Three Crack reinforcement (if necessary)
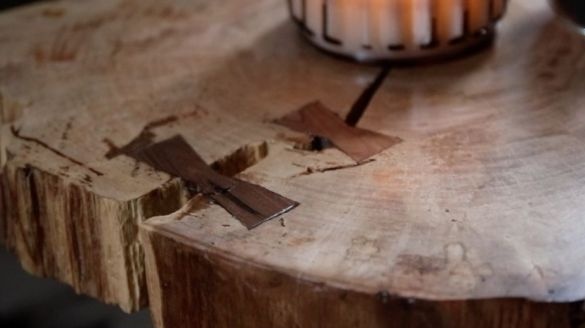
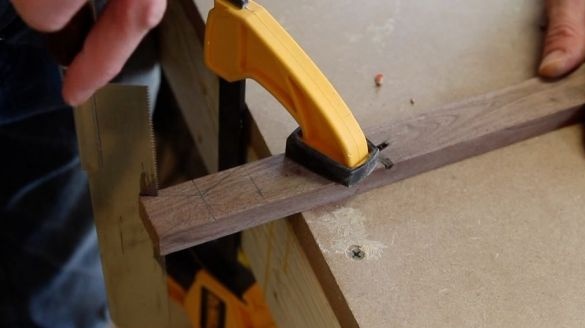
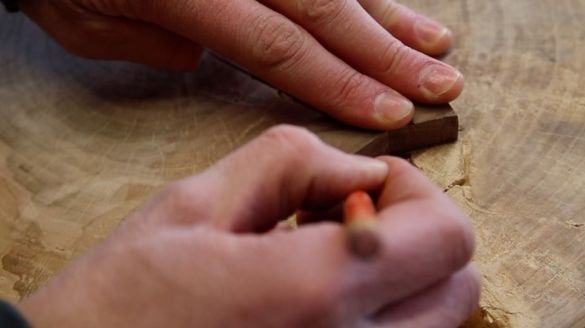
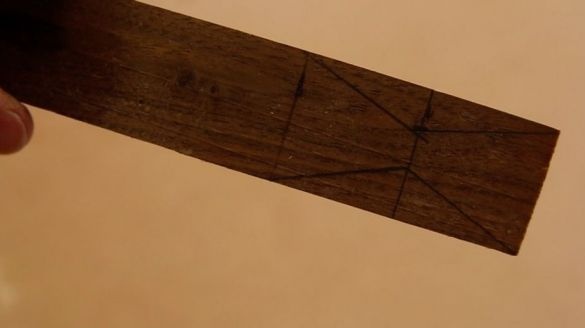
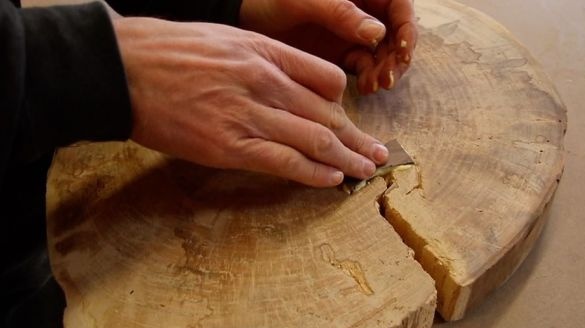
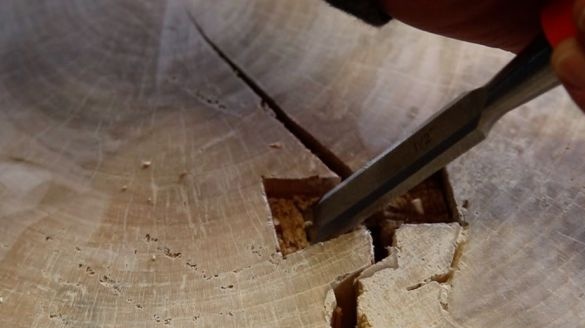
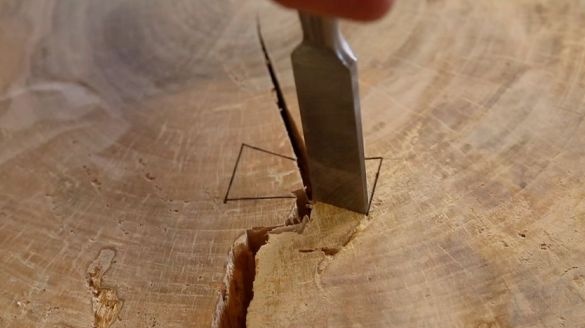
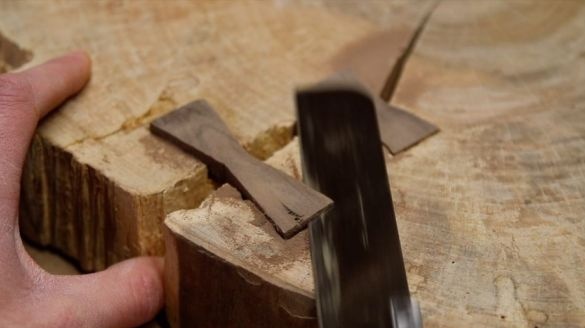
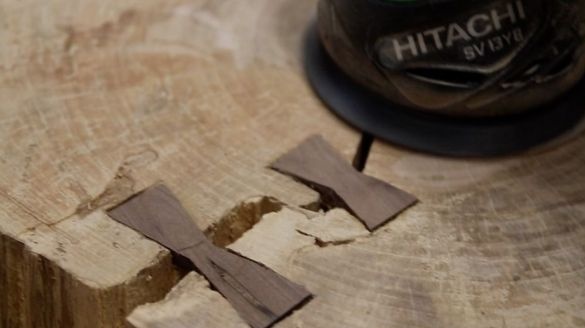
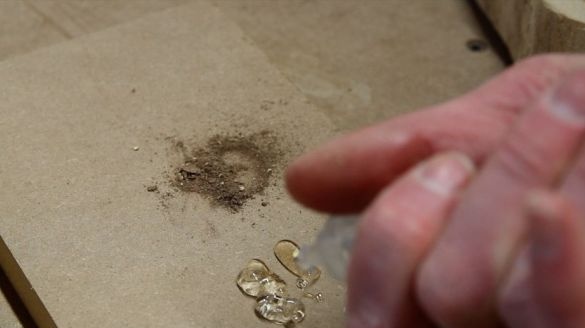
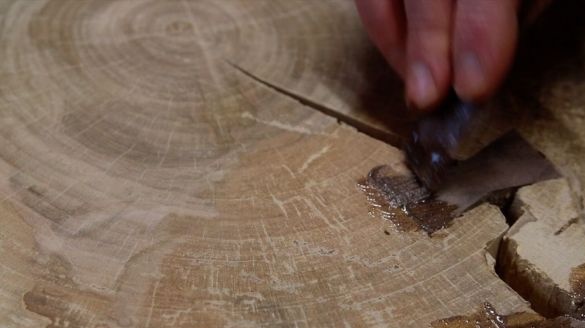
If there are cracks in the section, it is advisable to strengthen them so that the countertop does not fall apart. To do this, you need sturdy wood, you need to cut out products resembling butterflies from it. With their help, both halves of the chip will be held. On the countertop itself of exactly this shape and suitable depth, we also cut out grooves in the form of butterflies. Such grooves are easiest to do with a chisel or using a hand mill. Well, then we take epoxy glue and paste the parts into place. Instead of epoxy, PVA glue or the like for wood is quite suitable, it will hold no worse than epoxy.
Step Four Grinding
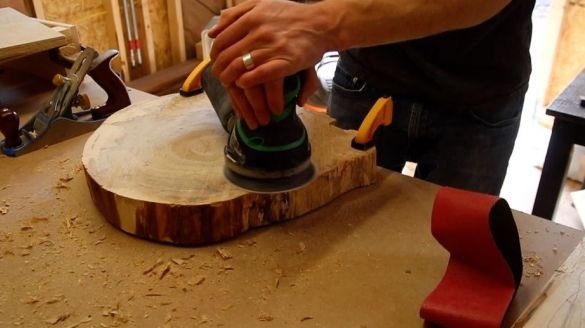
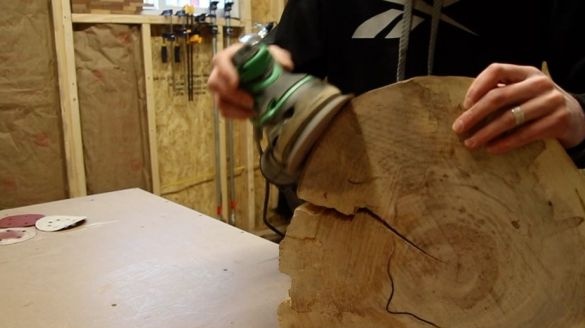
Now we arm ourselves with an orbital sander and carefully process the surface of the countertop. This task can be handled manually, but you need to make a lot of effort and spend time. First, we process it with rough sandpaper, then with smaller sandpaper. If desired, the countertop can be made perfectly smooth.
Step Five Countertop processing
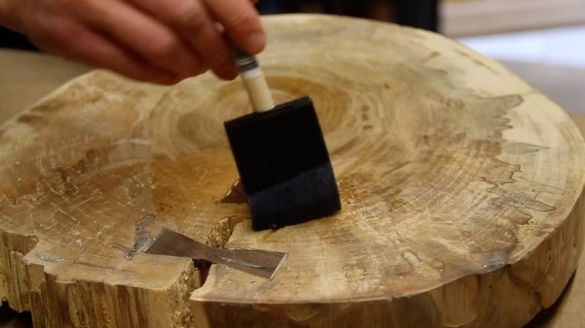
To protect the tree and emphasize its beauty, apply a layer of varnish. Instead of varnish, an epoxy resin coating can be applied. Now your table will not be scared if you spill something on it. But before applying the varnish, the wood must be perfectly dried.
Step Six Fasten the legs
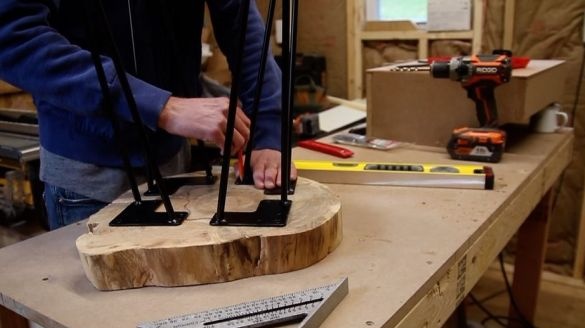
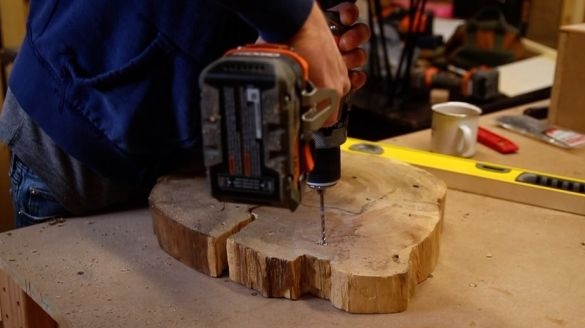
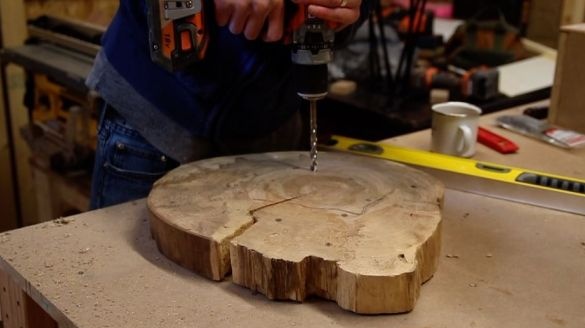
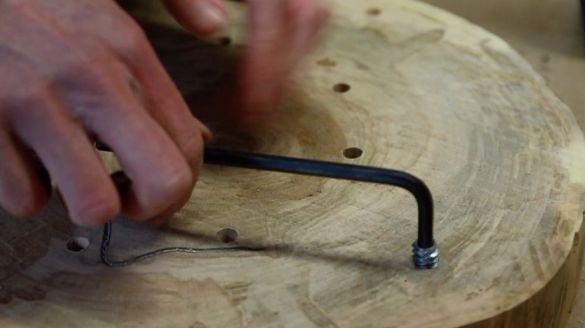
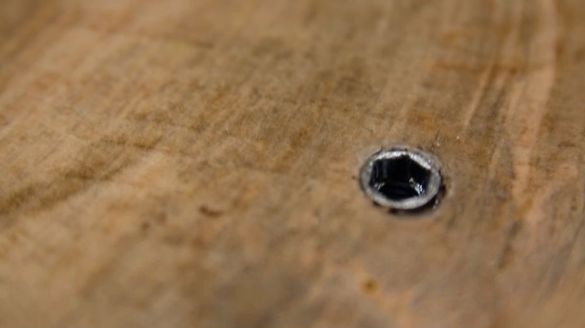
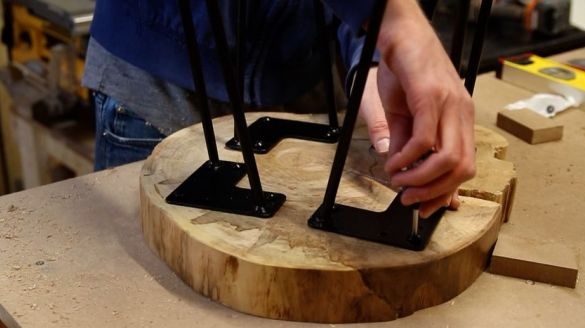
The table is almost ready, now you need to assemble it! For these purposes, we take a drill and drill holes. In them, the author wrapped furniture nuts, putting them on glue. That's all, now screw the legs using the screws. If desired, the legs can also be easily removed. For the manufacture of legs, the author used fittings to which metal plates were welded.
That's all, our wonderful table is ready! I hope you enjoyed the project, and you gathered useful information for yourself. Good luck and creative inspiration in making your own of furniture. Do not forget to share your best practices with us!

