This time we will look at how do it yourself make a simple blacksmith furnace. With it, you can easily engage in forging, hardening of metals and more. The design is quite simple, you can use a car disk or brake drum as the basis. But the main advantage is that the installed fan, which pumps air, works from a 12V power supply. This means that you only need to have a battery for such an oven to work. Of course, a 12V power supply is also suitable for connecting. So, we will consider in more detail how to assemble such a furnace.
Materials and tools used by the author:
Material List:
- a steel disk from a car or a brake drum;
- square pipes;
- Sheet steel;
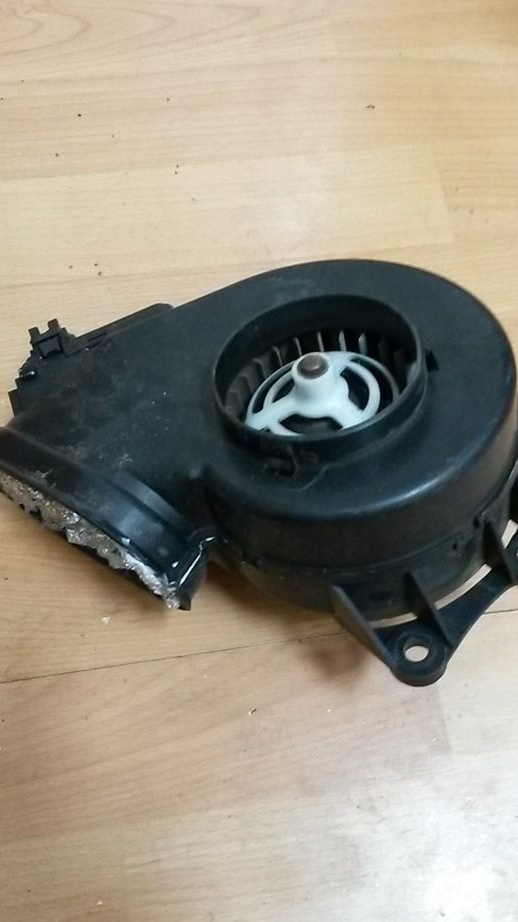
- a fan from a car stove or the like;
- ;
- 12V power supply or battery;
- foil;
- sealant;
- heat resistant cement;
- heat resistant paint.
Tool List:
- a grinder with grinding and cutting discs;
- welding machine;
- files;
- whetted.
Furnace manufacturing process:
Step one. Preparation of materials
The principle of operation of such a furnace is very simple. It is a bowl in which fuel burns during forced air supply. Coals are most often used as fuel, but firewood is also suitable. The author made the cup out of a steel automobile disk. Also for such purposes, the brake drum is great, but there is a slight problem. Brake drums are often made of cast iron, that is, it will be problematic to weld steel securely to it.
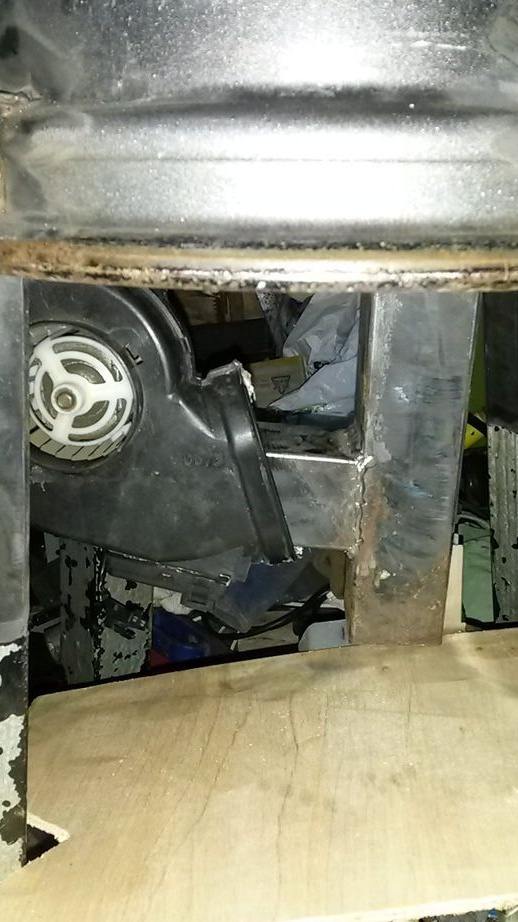
As for the air supply, for such purposes the author adapted a fan from a car stove. In his opinion, such a part is excellent for supplying air to the furnace. Of course, the combustion rate needs to be controlled, so the fan is connected via a speed controller.
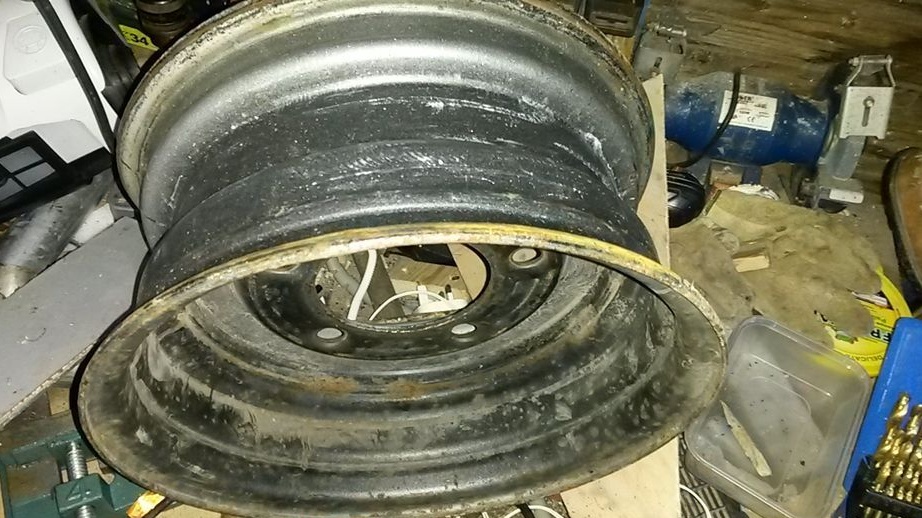
Step Two Cut the rim
First of all, remove the tire, camera and other rubber that is on it from the disk. Only bare metal should remain. The surface inside which the flame will burn should be polished to a shine, then a heat-resistant coating will then be applied. To remove the paint, you will need a grinder with a wire brush. For convenience, the disc can first be annealed at the stake, the paint should be charred.When cleaning, be sure to use eye protection and breathing protection, as there will be a lot of dust, very harmful to health.
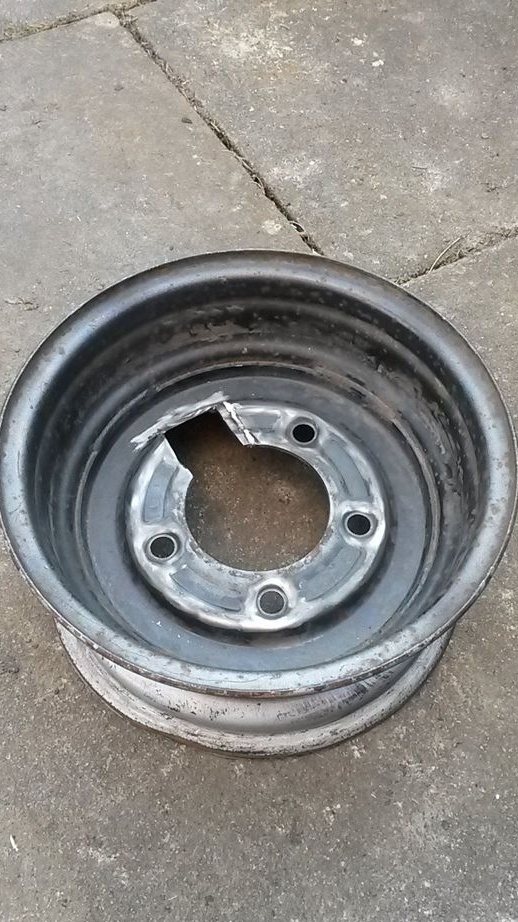
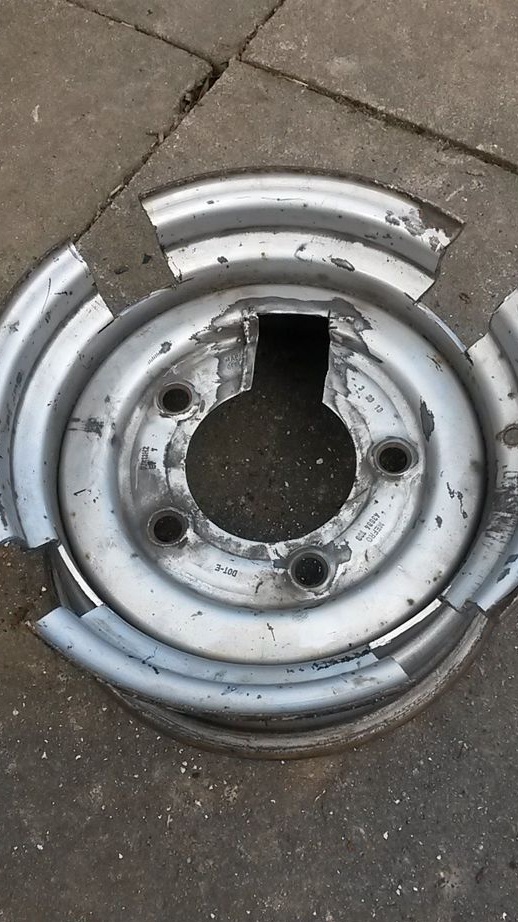
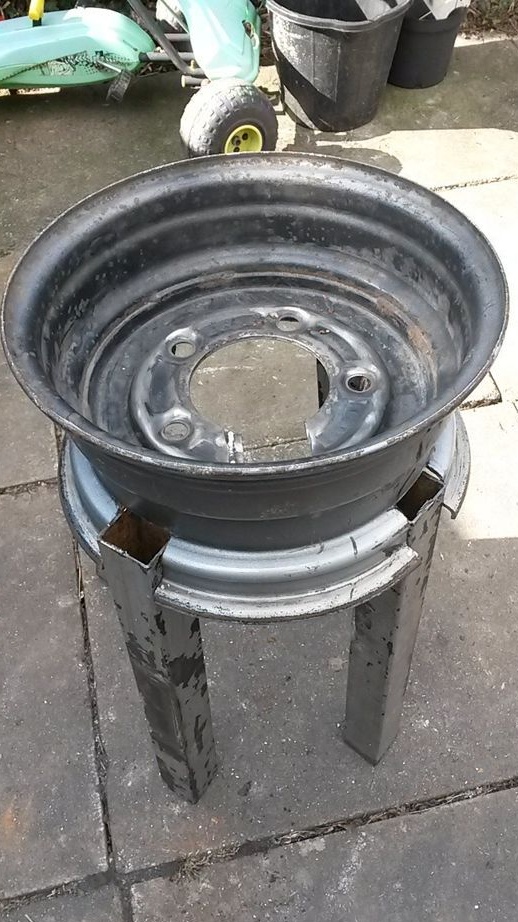
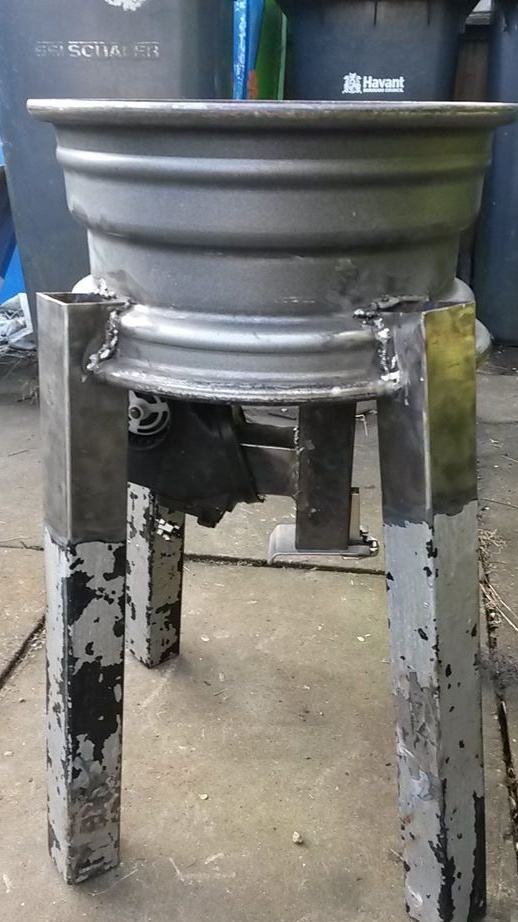
Next, we arm ourselves with a grinder and in the center of the disk we make a rectangular slot for a square pipe. Through this pipe we will supply air to the furnace. You also need to make four more grooves along the edges of the disc. They will be needed to install the legs, which are also made of square pipes.
Step Three Arrangement of blowing
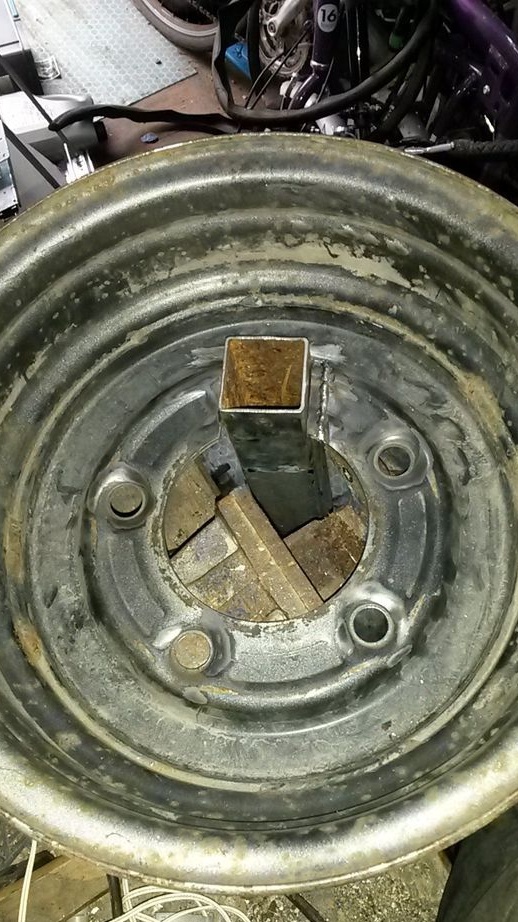
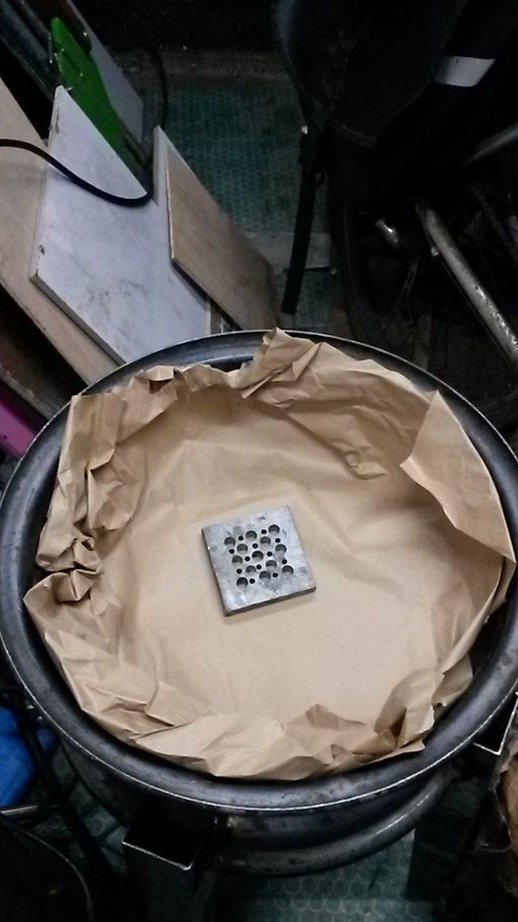
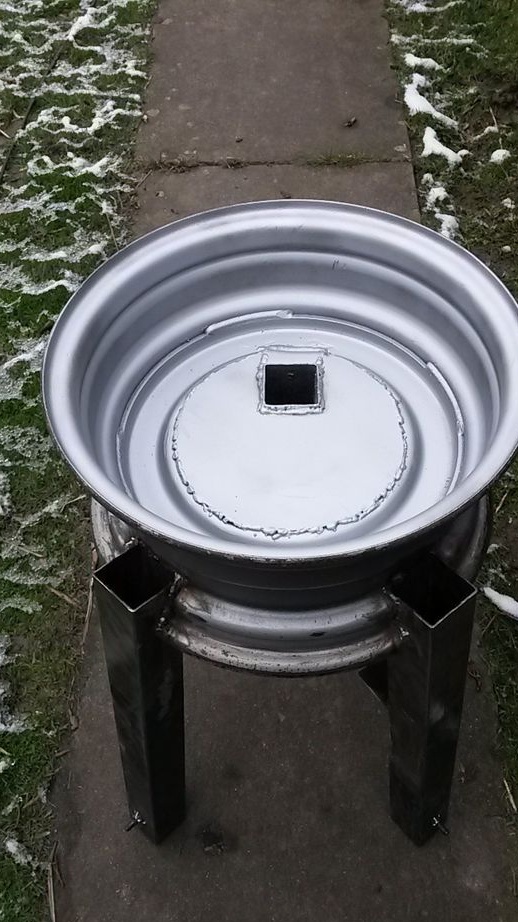
Getting to the production of a blower. In the center of the disc we weld a pipe, as well as a steel round plate. Choose steel for this business thicker, as thin quickly burn out. Visually, the design should somewhat resemble a sink. Directly above the pipe, you need to install a protective grille so that large coals do not pour down. For these purposes, you will need a piece of thick sheet steel, in which we drill holes. This part is also welded by welding.


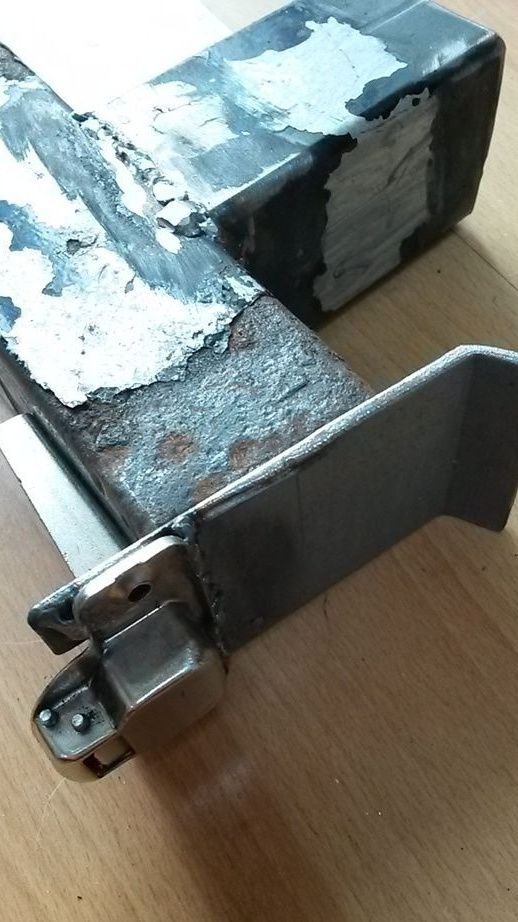
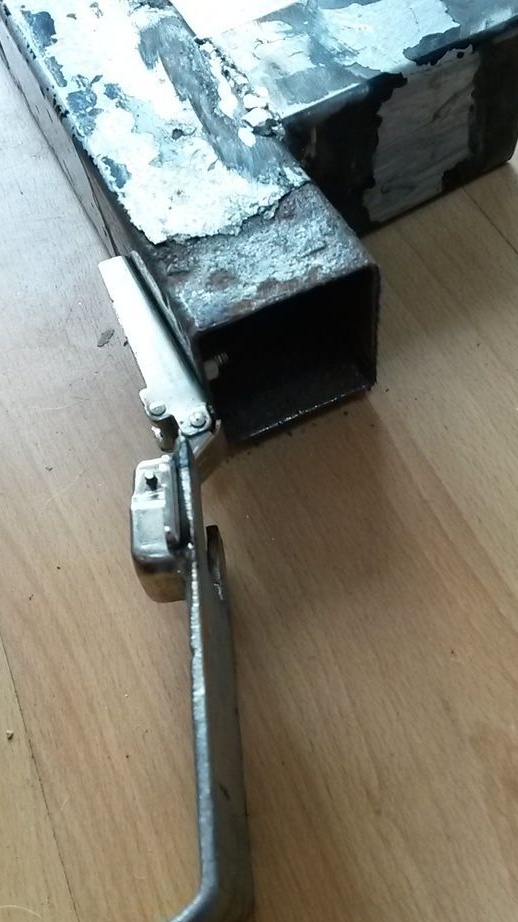
Step Four Blower installation
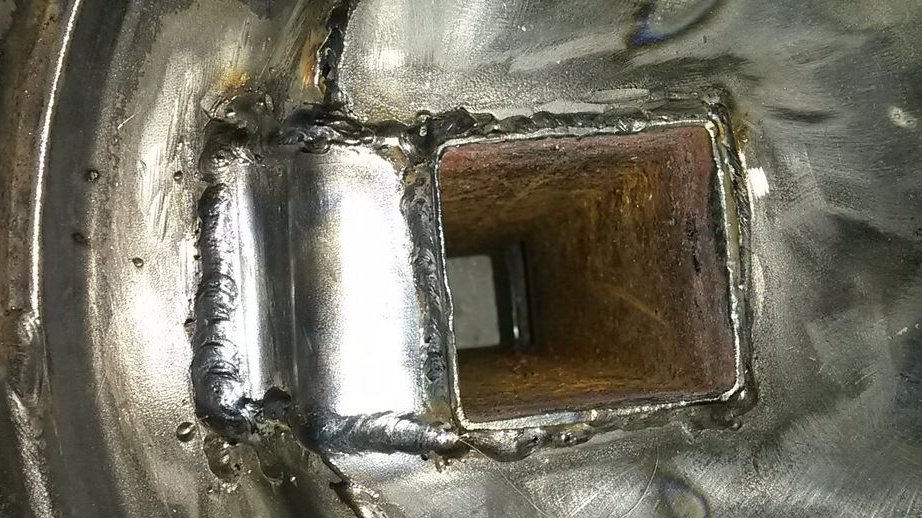
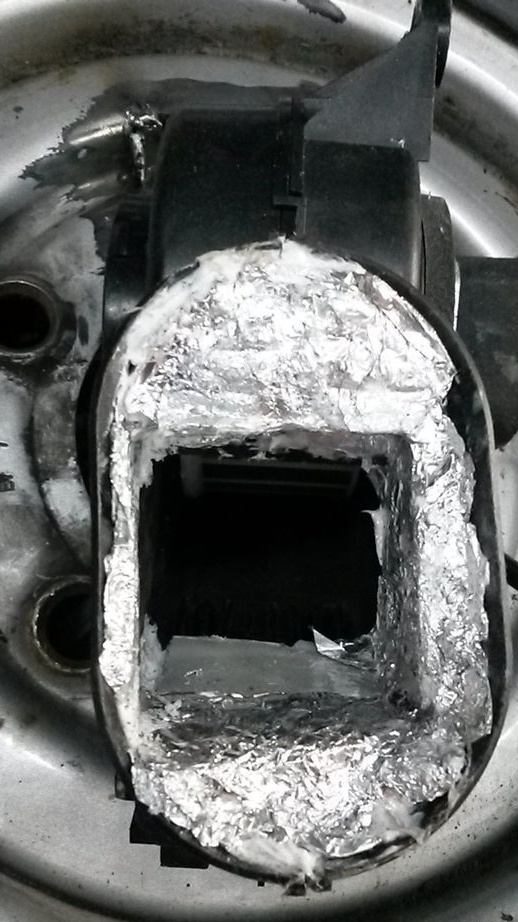
The air supply channel resembles the letter "T", that is, it is a tee. One part enters the furnace, and the other is located opposite and has a door that is designed to clean the ashes. And the blower will connect to the third part, as a result, ashes and coals cannot get into it. So that the blower does not blow anywhere, the channel must be insulated with foil, heat-resistant sealants and so on.

Step Five We apply an insulating coating
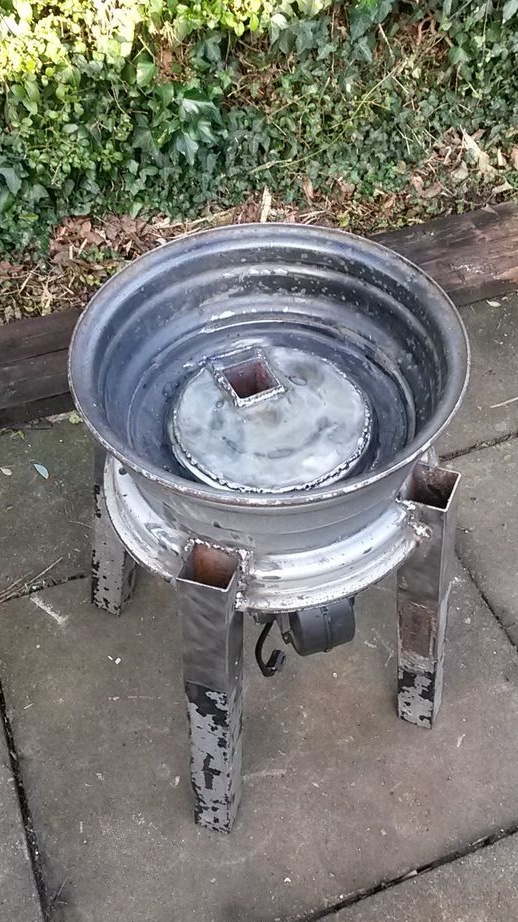
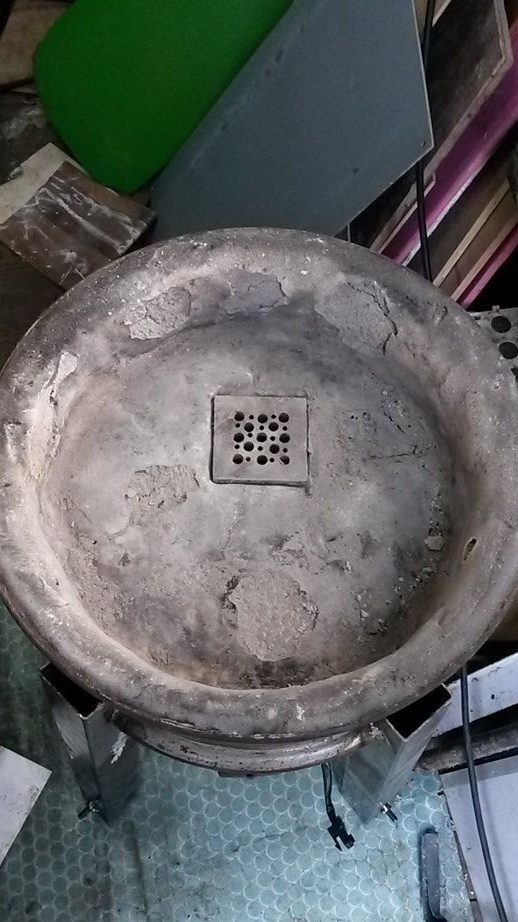
So that the forge metal does not heat up too much, the author decided to apply an insulating coating on it. However, is it harmful if you manage to raise the temperature so that the stove burns out. As an insulating material, the author used refractory cement. Stir it to the state of heated plasticine and coat the oven from the inside. The metal must be well cleaned. Also, with the help of this cement you can cover up all holes, crevices and other defects.
When the cement has dried, put firewood in the oven and set it on fire. Due to the high temperature, the coating must burn and become refractory.

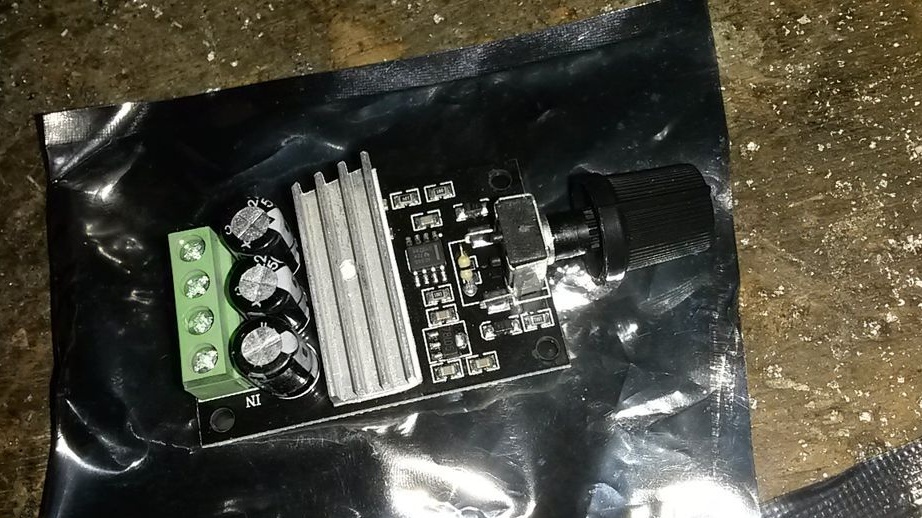
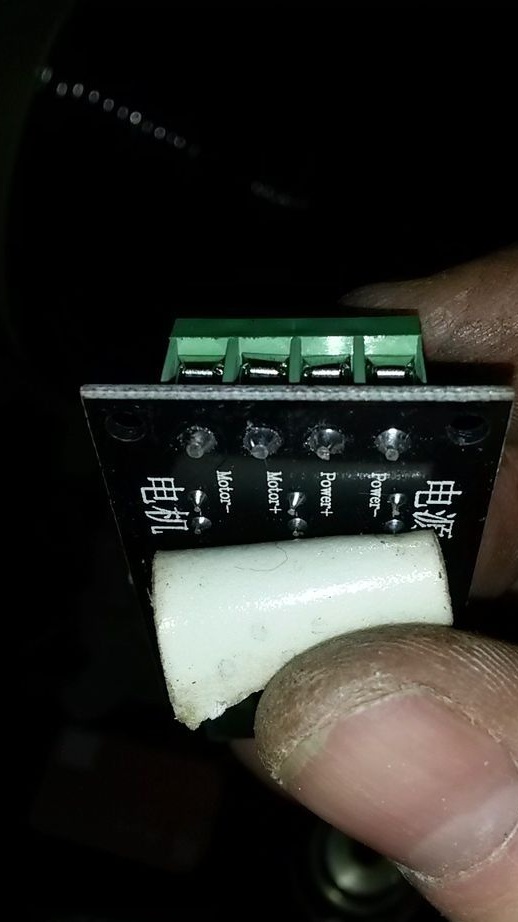
Step Six Speed controller
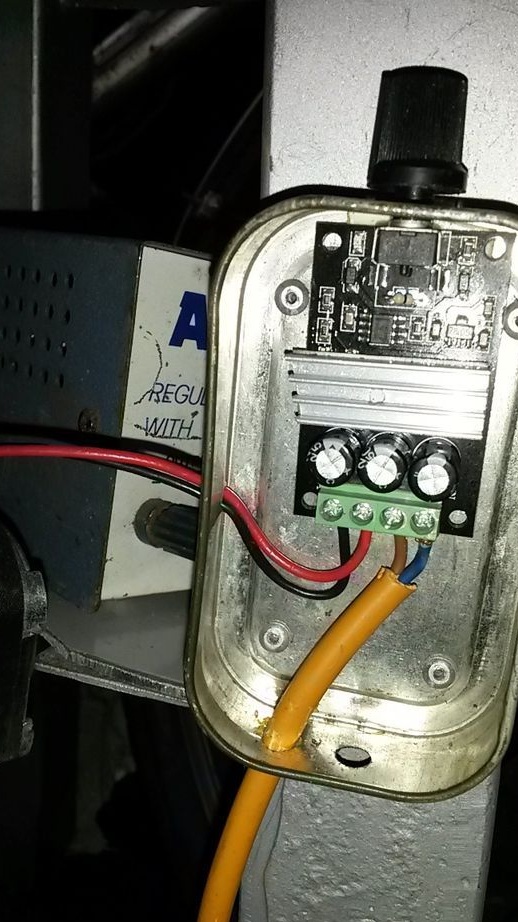
Be sure to use it for the fan, this will allow you to control the intensity of combustion and, as a result, the temperature. Such a controller can be ordered from China, they are full of them at a ridiculous price. Think of a case so that water and dirt do not get on it. When choosing a regulator, do not forget to consider the power consumption of the fan.
Weld a steel plate at the bottom of the oven, away from the heat source. We do not install a power supply unit, as well as a speed regulator.
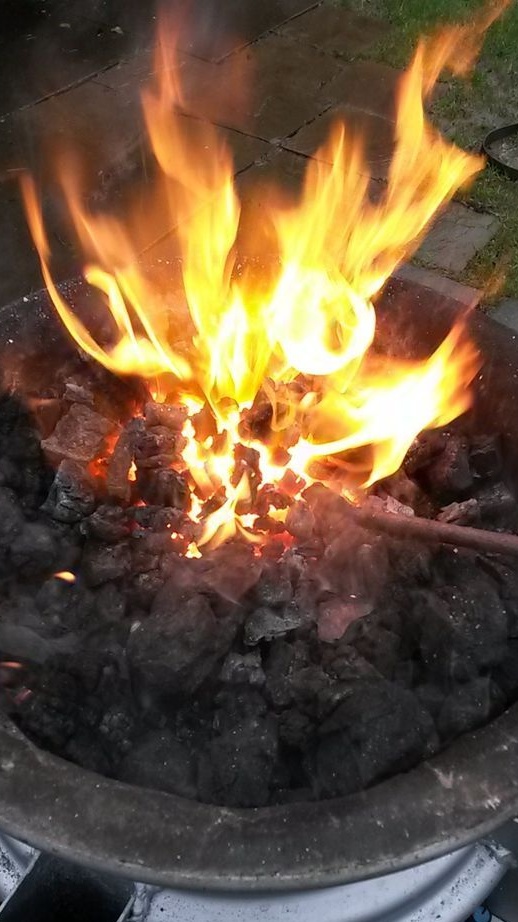
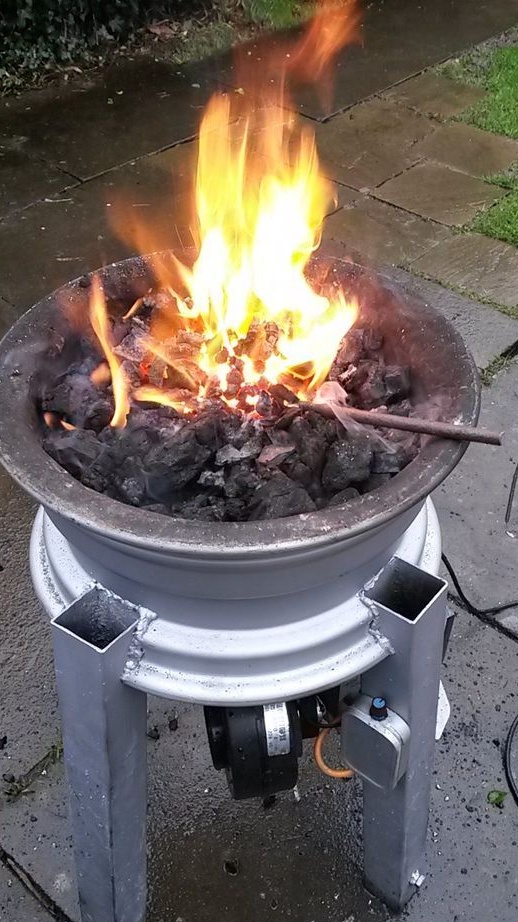
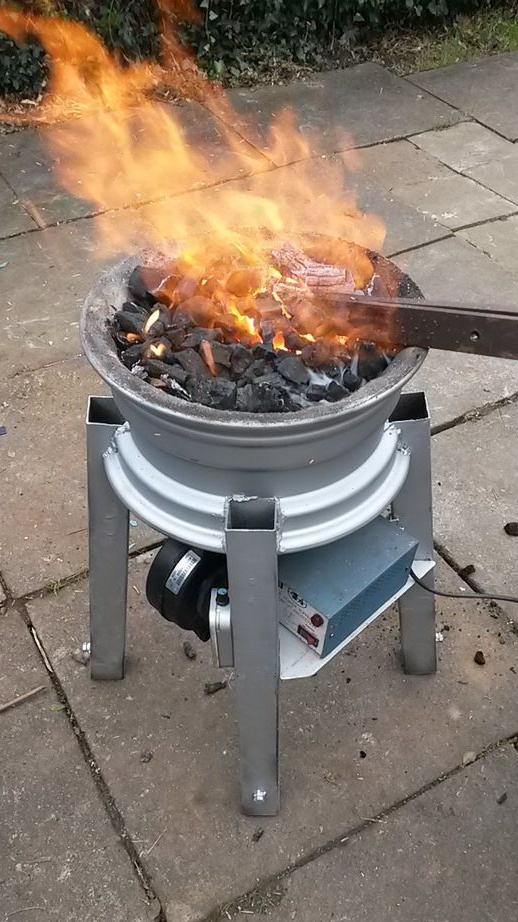
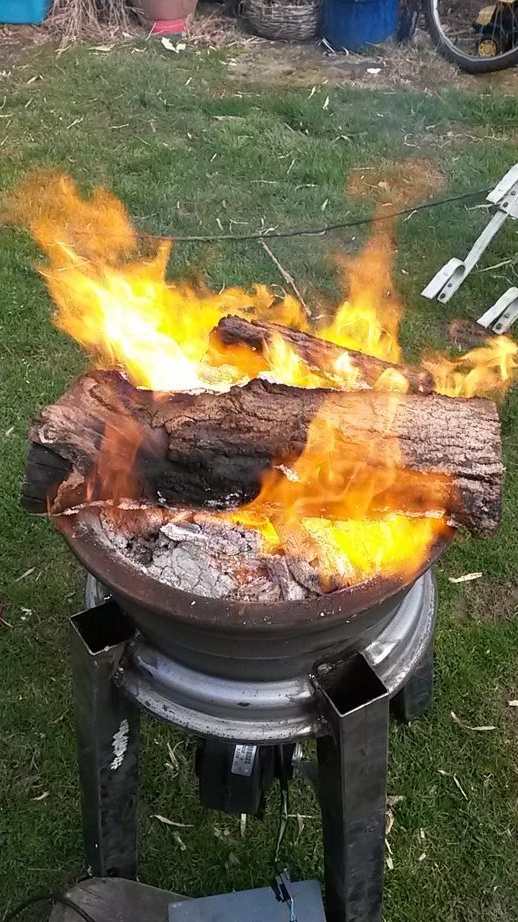
Seventh step. Getting started testing!
The oven is ready and can be tested. We fall asleep coal and kindle. Then we turn on the air supply at low speeds, gradually increasing power. When the coals heat up, you can try to heat some piece of iron. And when you use a hearth, you can easily melt lead or even aluminum. Author of his homemade satisfied and successfully tested it.
That's all, the project is over. I hope the article was useful to you, and you have found something new for yourself. Good luck and creative inspiration in the manufacture! Do not forget to share your best practices with us!