
Greetings to readers of this wonderful resource! If you have a lot of things lying around in your house, you will need some kind of furniturewhere all this could be put. The simplest device for these purposes is a chest. This type of furniture has been in demand for many centuries, today it also does not go unnoticed, since it is considered an antique and it is fashionable to have a chest. In this instruction, we will look at how to make a simple chest of wood do it yourself.
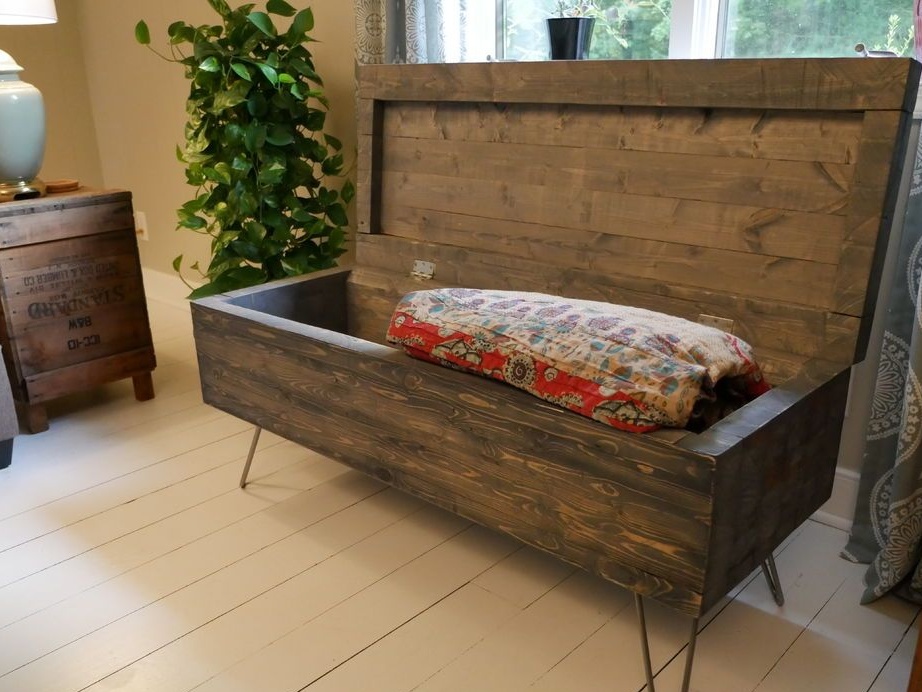
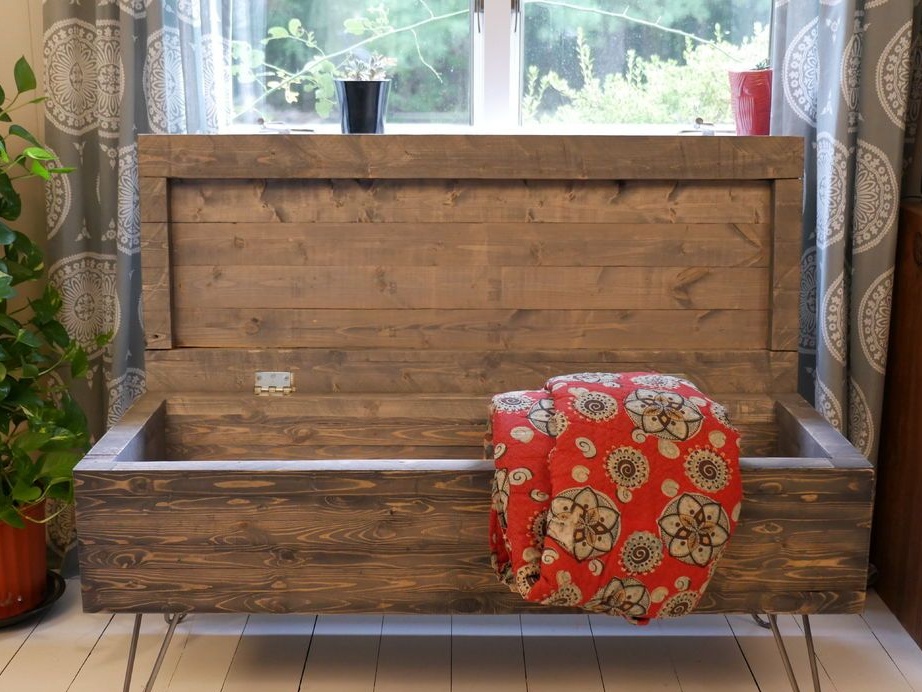
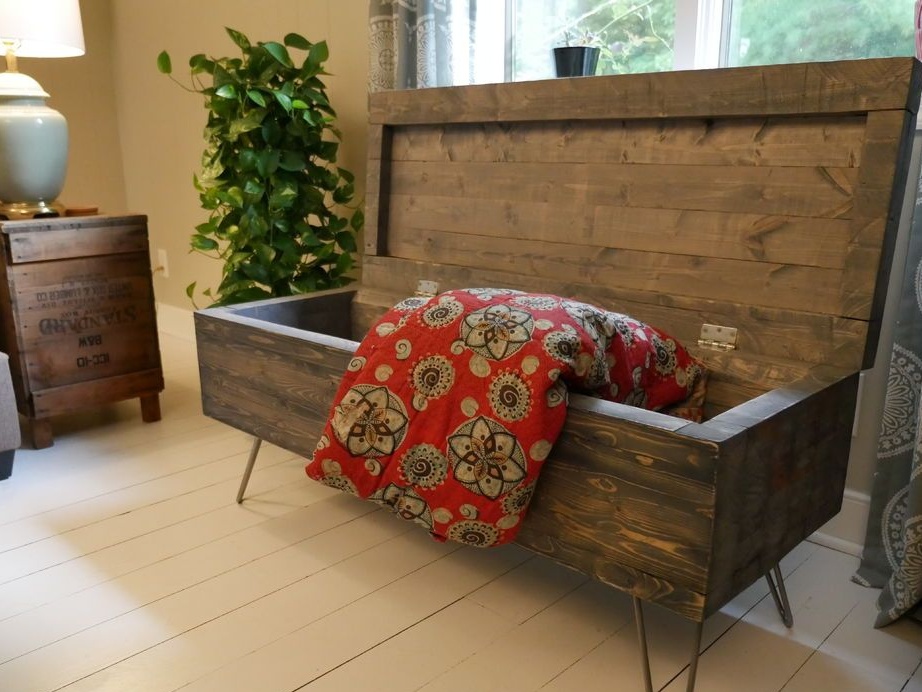
The design turned out simple and strong, everything is made of wood, the author used bars and boards. If you close the lid, then you get a small table or even a place where you can sit. You can store shoes, clothes, things for a bed and much more here. If you have a country house, it is good to keep food in such a chest so that mice and other pests do not reach it. So, we will consider in more detail how to make such a chest with your own hands!
Materials and tools used by the author:
Material List:
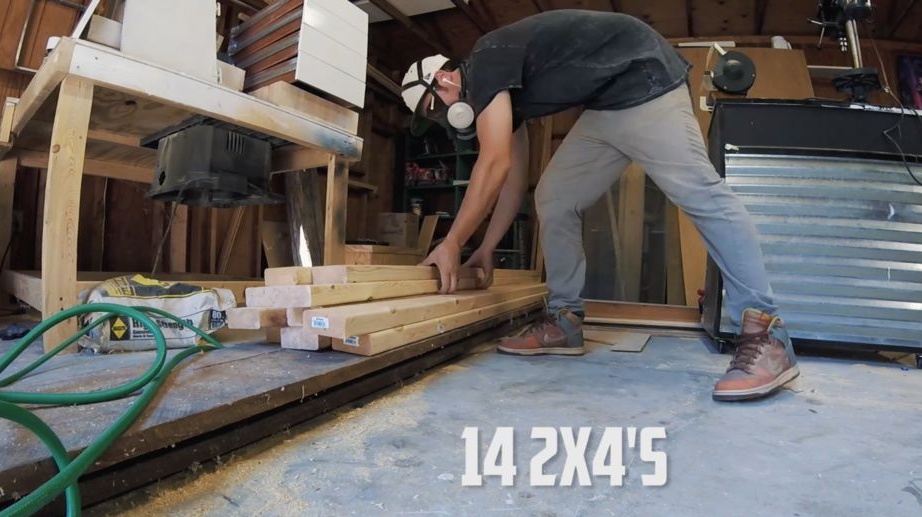
- bars;
- boards;
- hinges for the cover;
- fittings and sheet steel for the manufacture of legs;
- stain;
- wood screws;
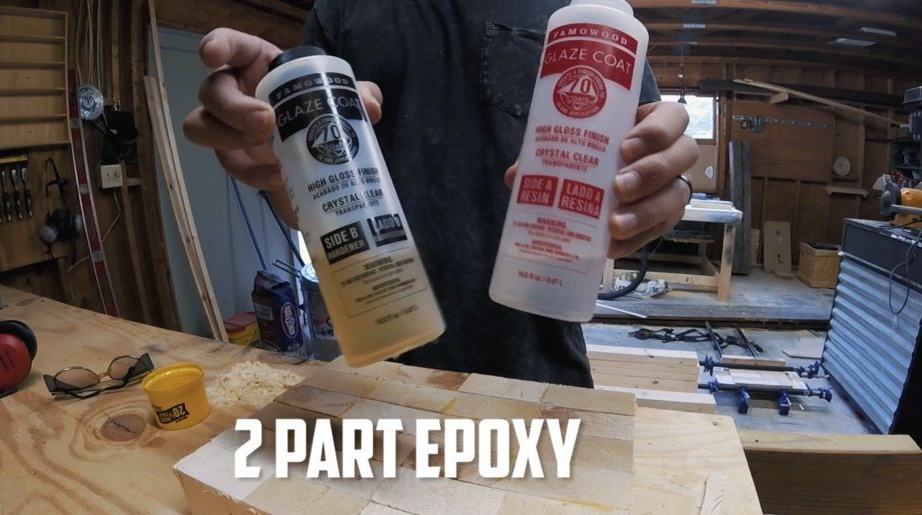
- epoxy adhesive;
- glue for wood.
Tool List:
- roulette;
- a pendulum saw or other cutting tool;
- clamps;
-
- Grinder;
- a chisel;
- ;
- manual circular machine;
- a screwdriver.
The process of making the chest:
Step one. Scheme
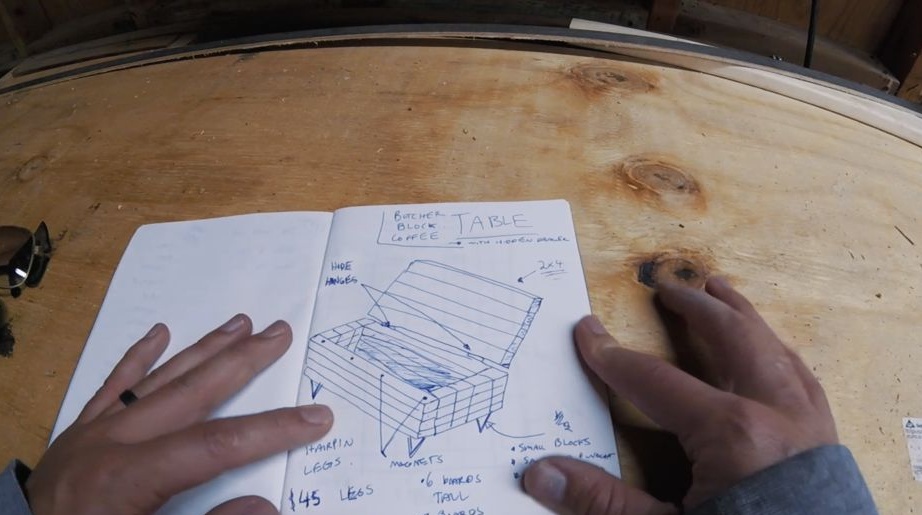
Consider the scheme of the chest. All power parts of the structure, that is, the frame, is made of timber, including walls. The side walls, which are the smallest, the author made of cubes, which he cut from a bar. They are glued together and interesting sheets of material are obtained. The top cover is hinged. At the lid, only the frame is made of timber, it is sheathed with boards to facilitate construction. Metal legs, you can make it yourself from fittings or find ready-made ones from old furniture.
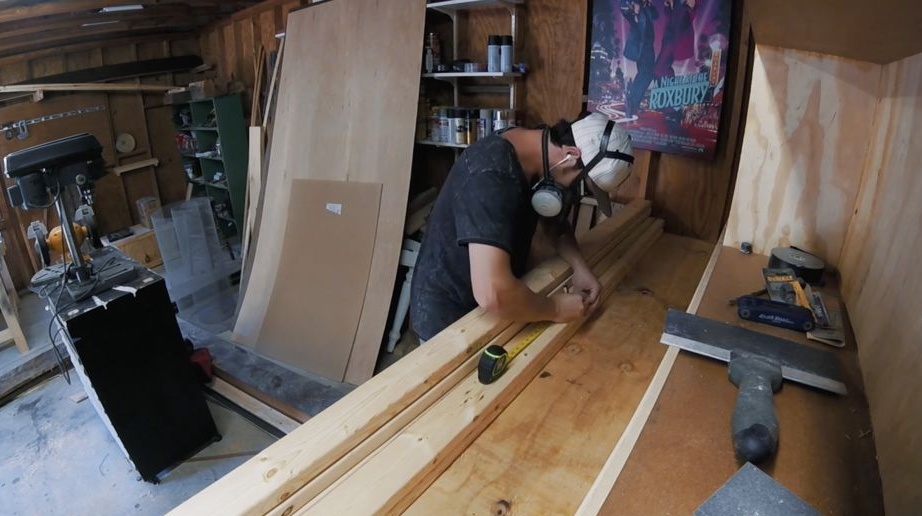
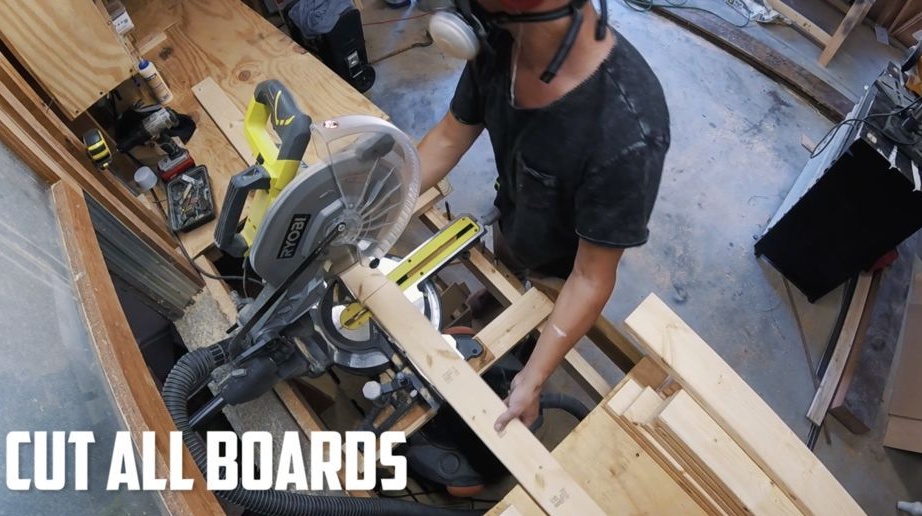
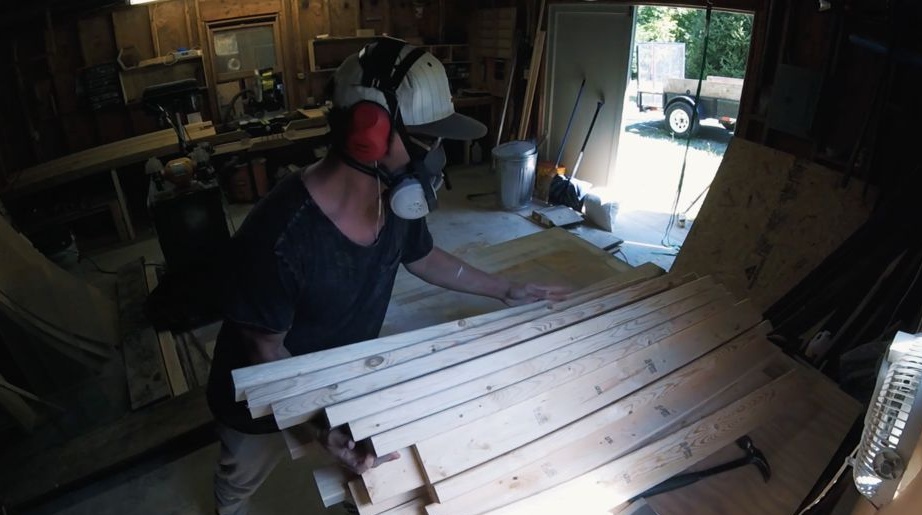
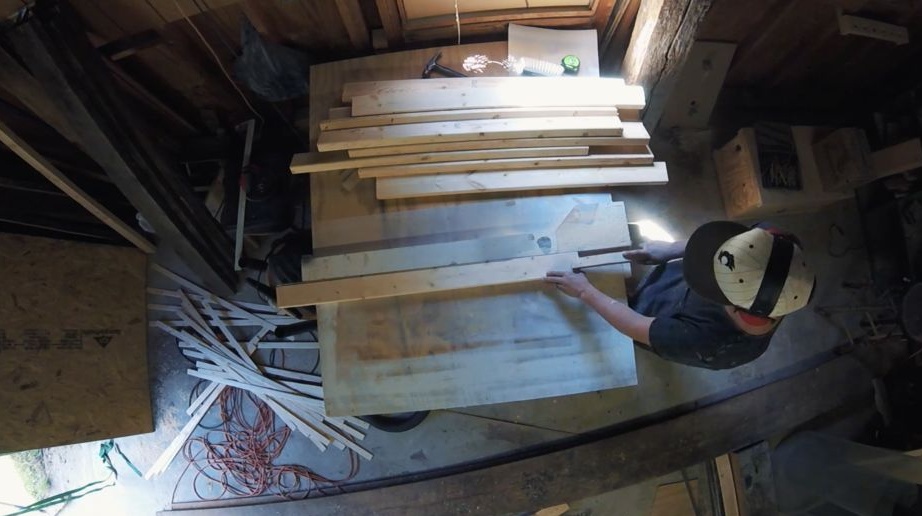
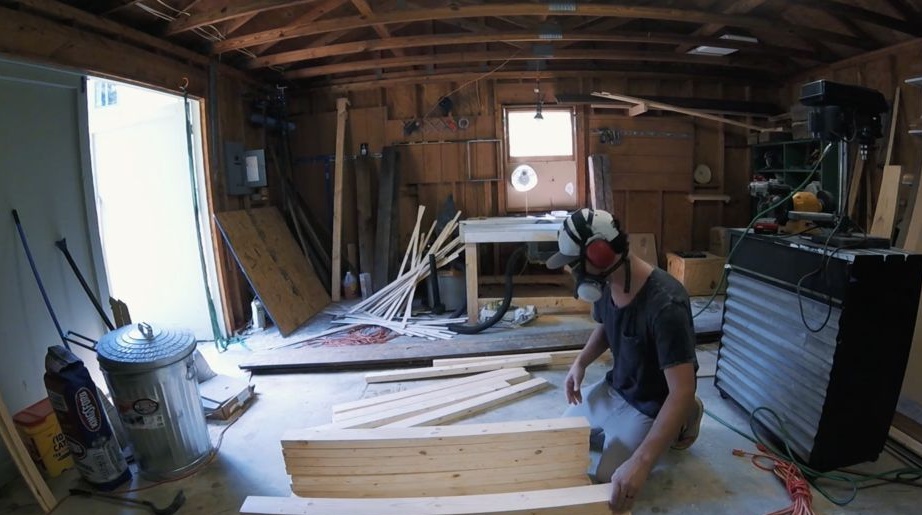
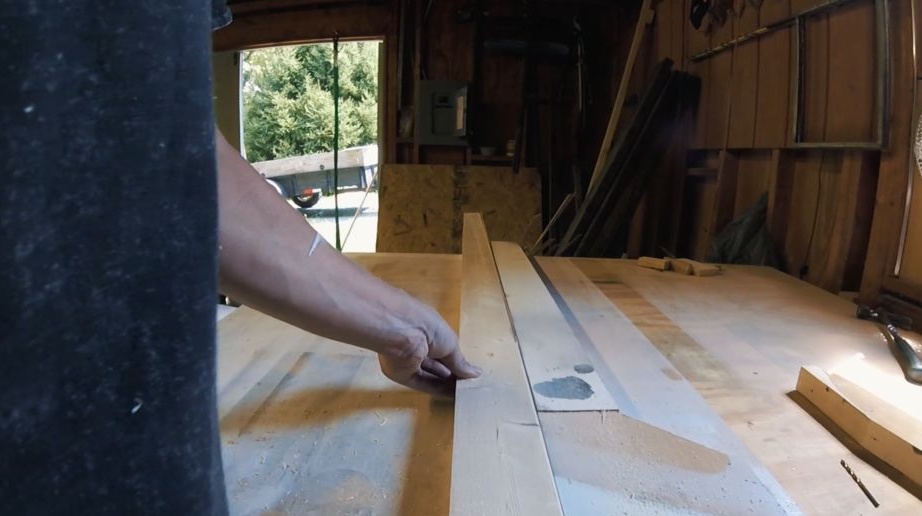
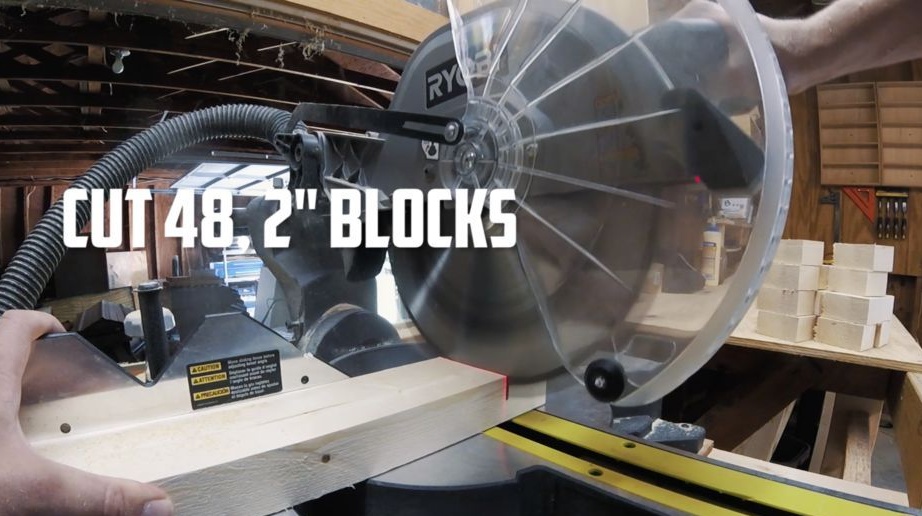
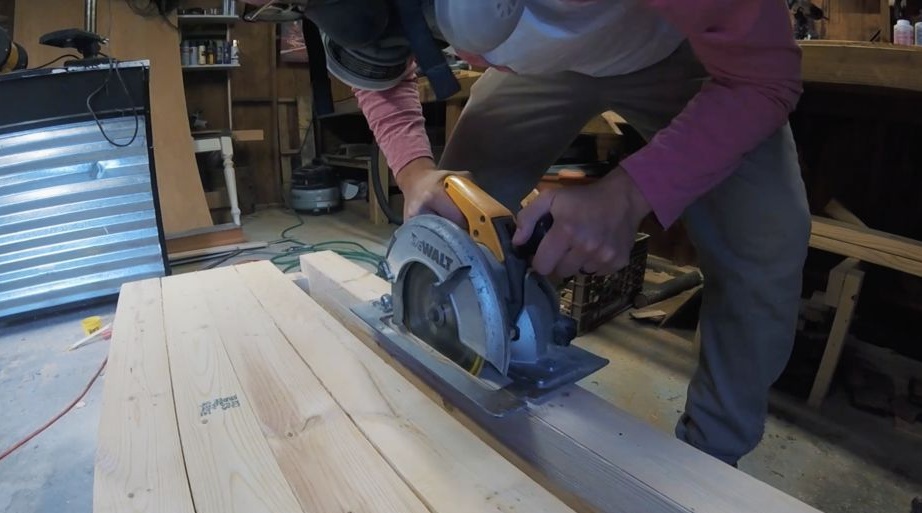
Step Two We cut materials
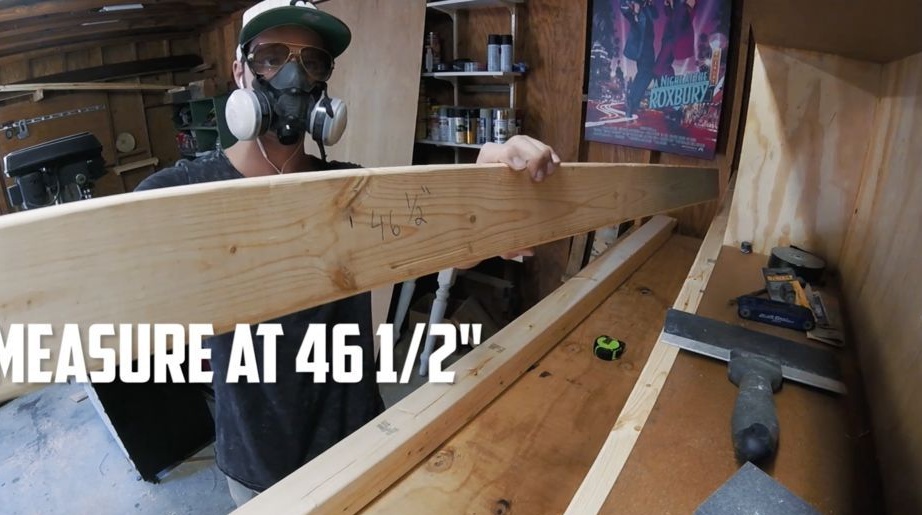
Measure the desired number of blanks and cut. It is most convenient to use a pendulum saw for such purposes, you will get perfectly even edges. For the frame we cut the bars, and for the walls of the board. In addition to this, you need to cut cubes from the bars to glue the side walls out of them.
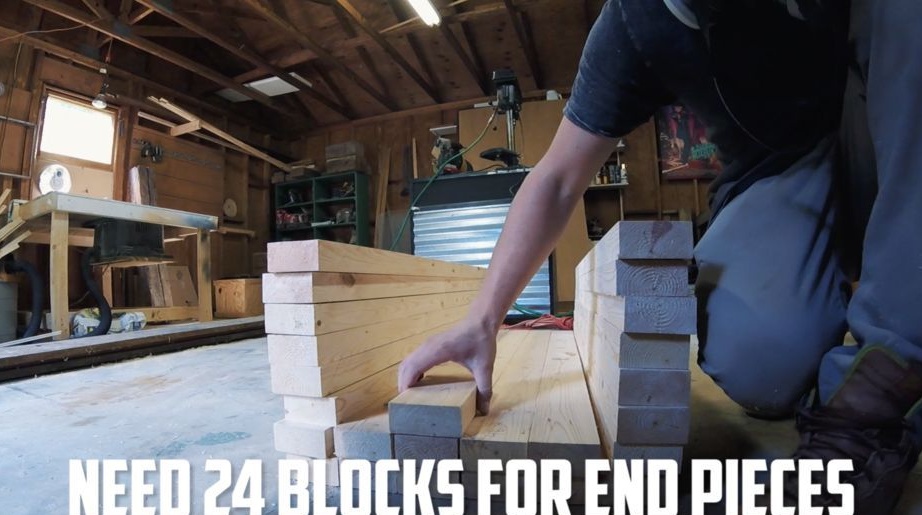
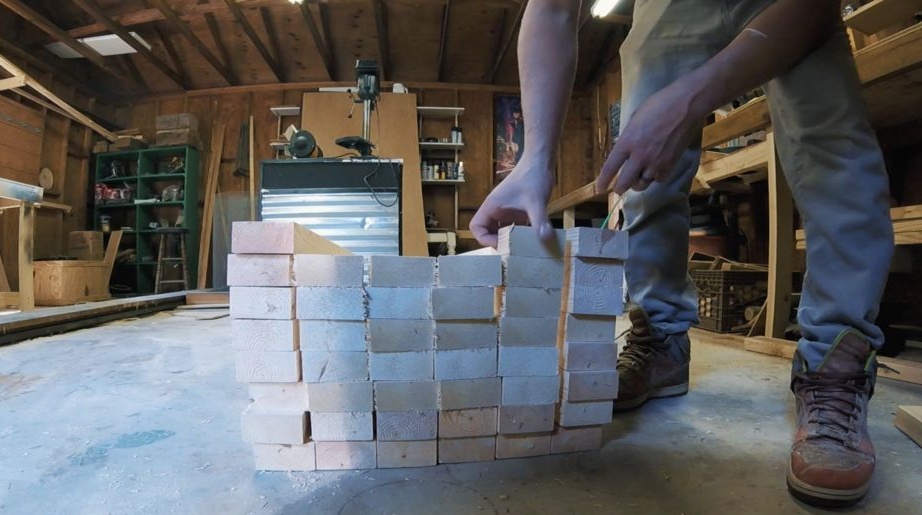
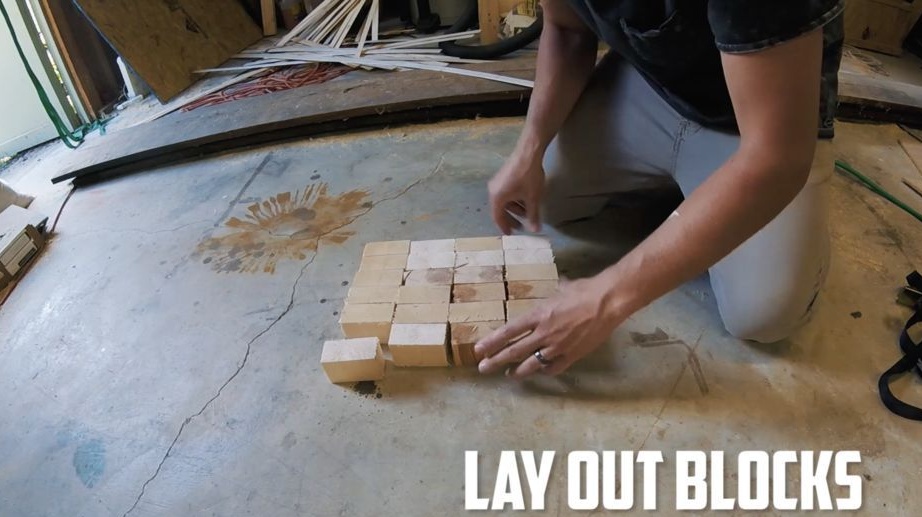
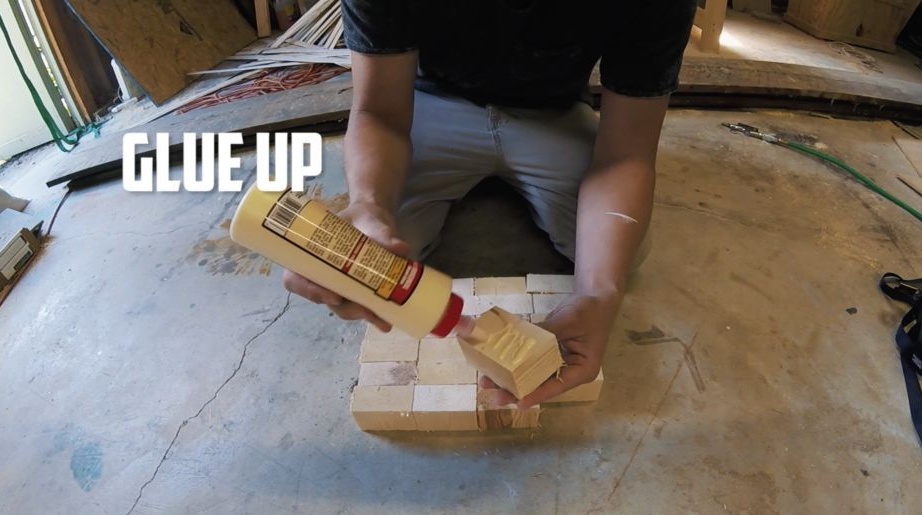
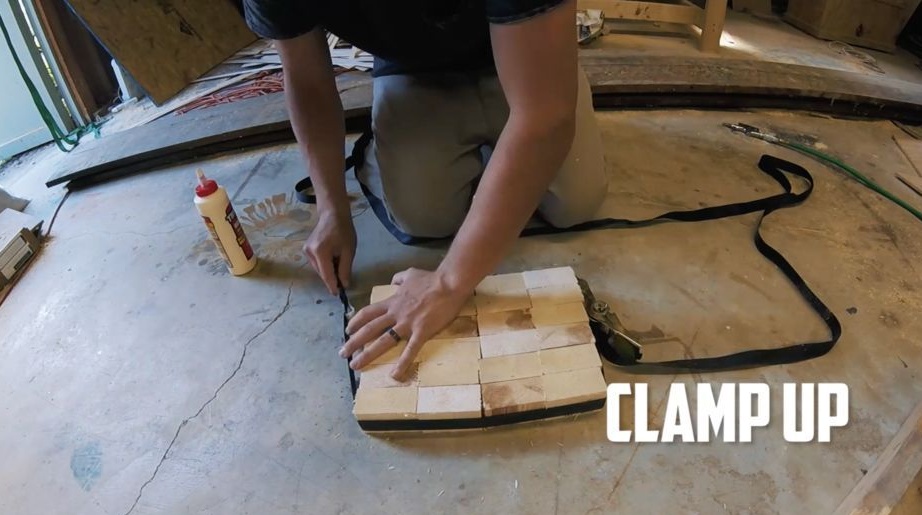
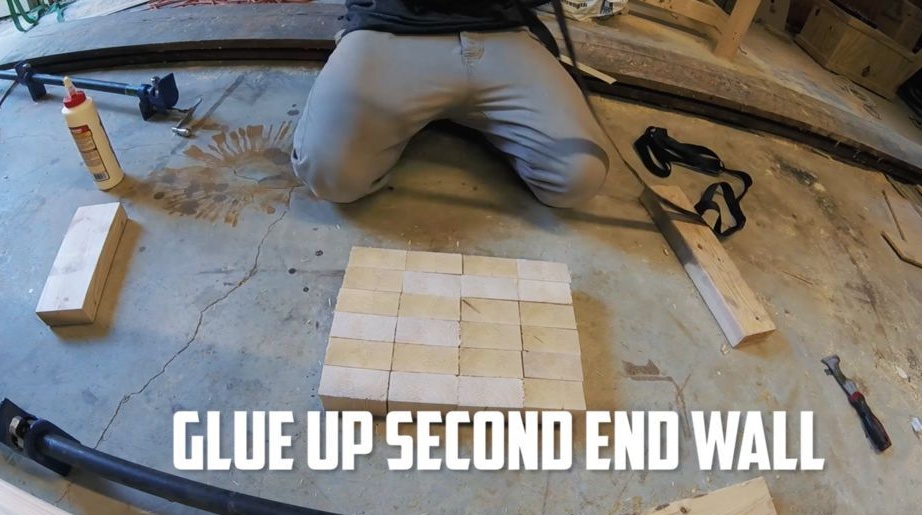
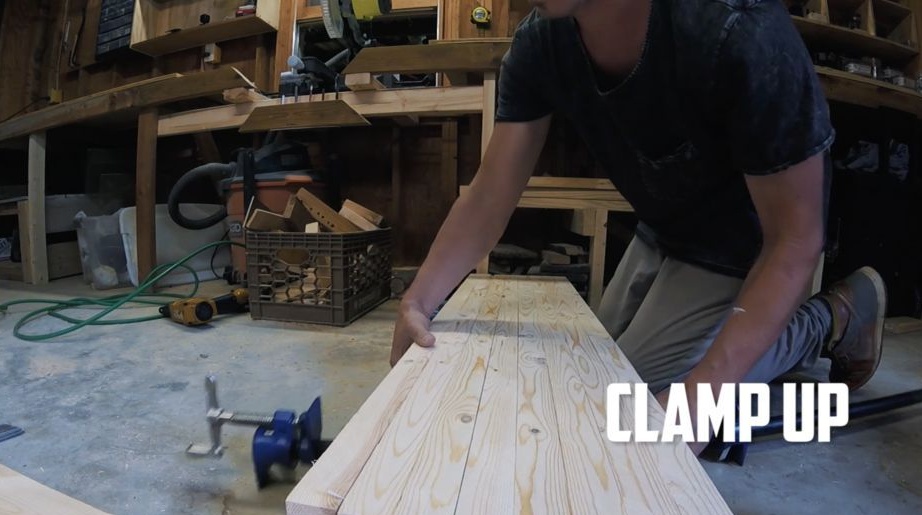
Step Three We collect the side walls
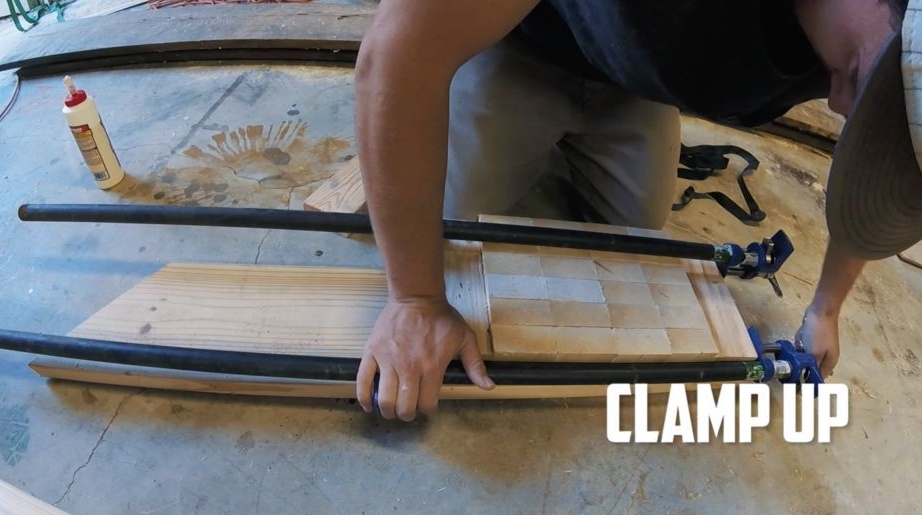
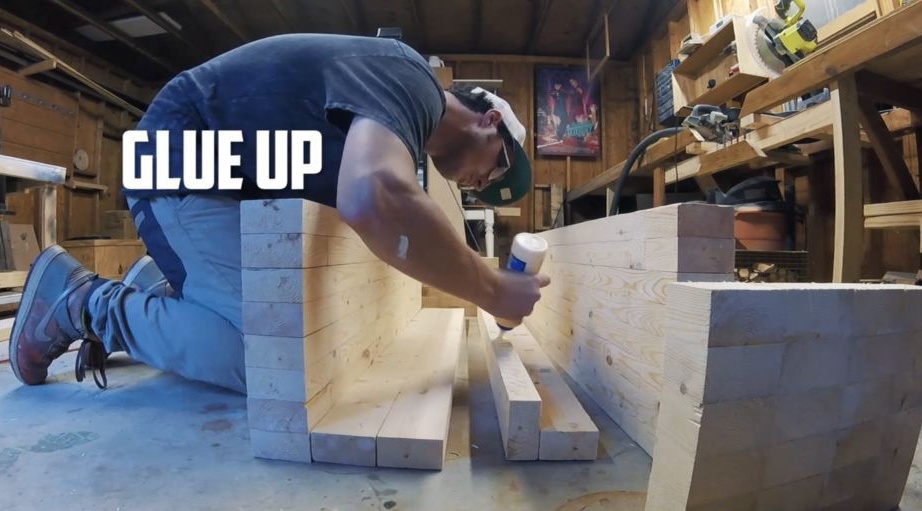
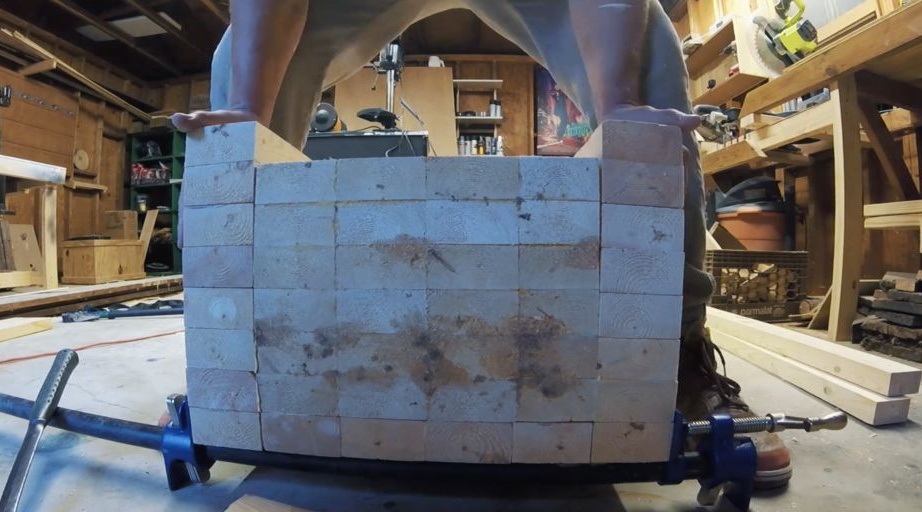
The author decided to assemble the side walls from pieces that are cut from a beam. This complicates the task a bit, but makes the chest stylish, interesting and unique.We select the desired number of segments and form two rectangles from them. We glue the parts well together using PVA glue or the like. Pull the whole thing well with clamps so that the parts stick together in a high-quality and reliable manner.
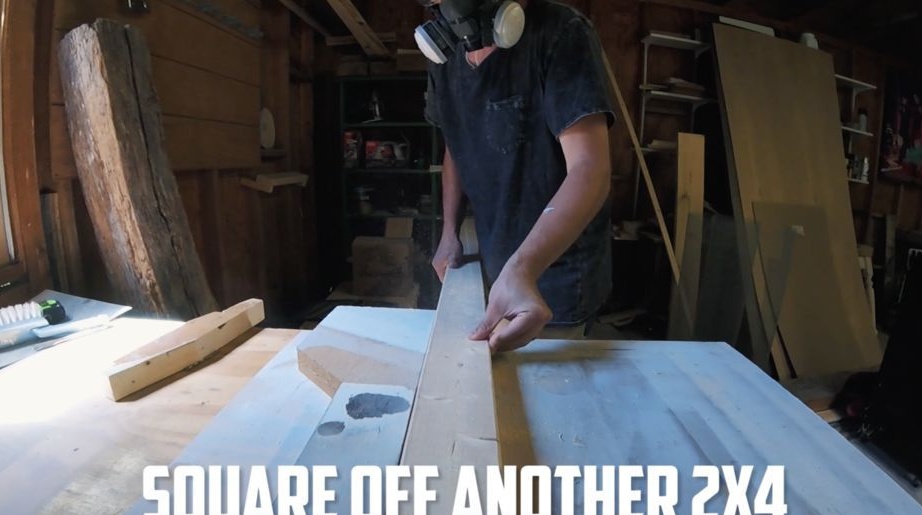
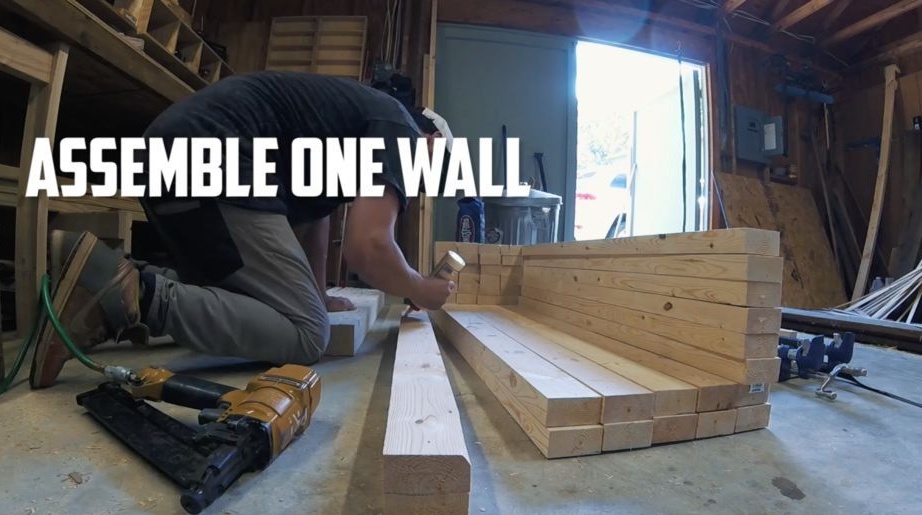
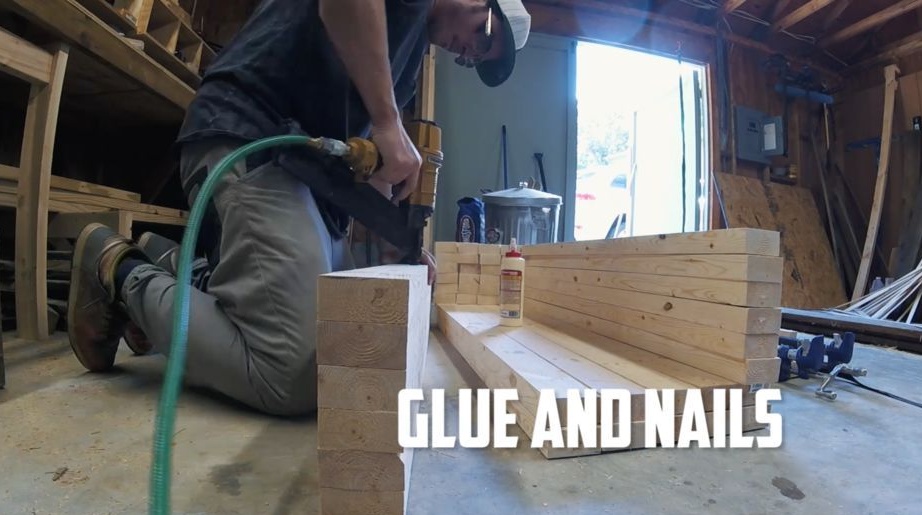
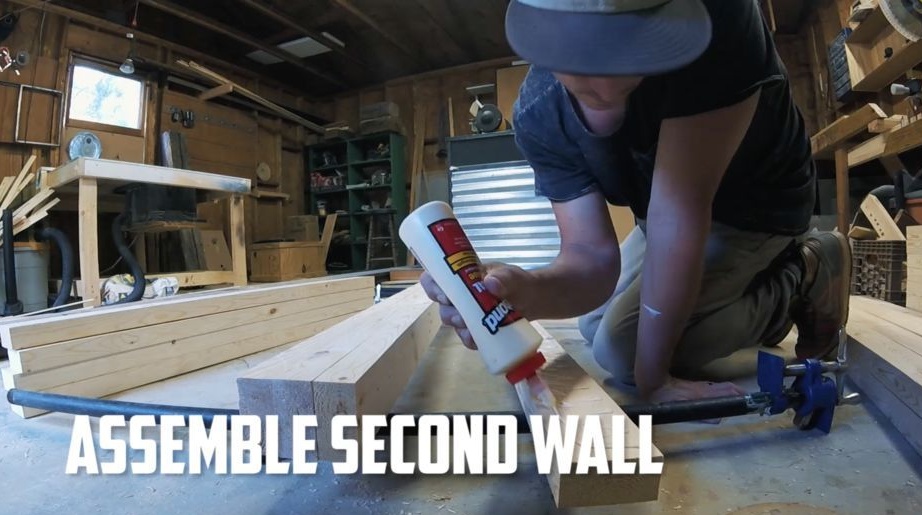
Step Four We collect the walls
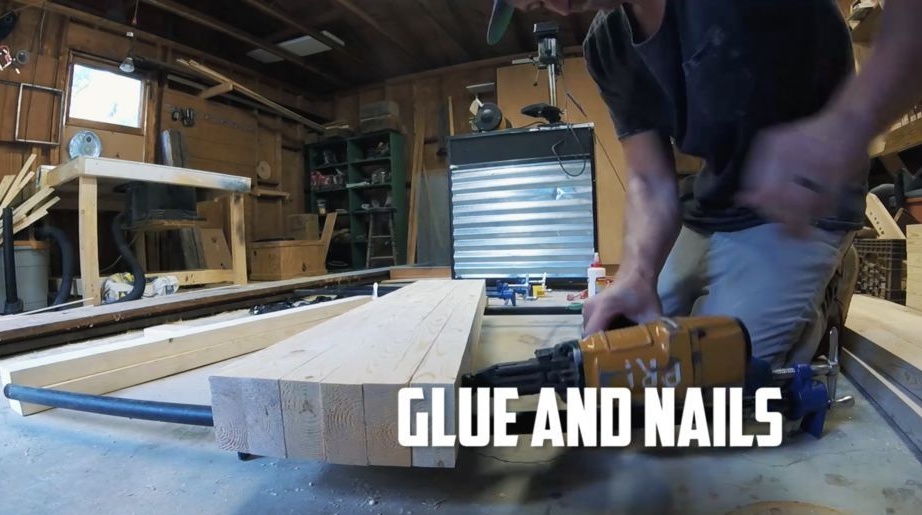
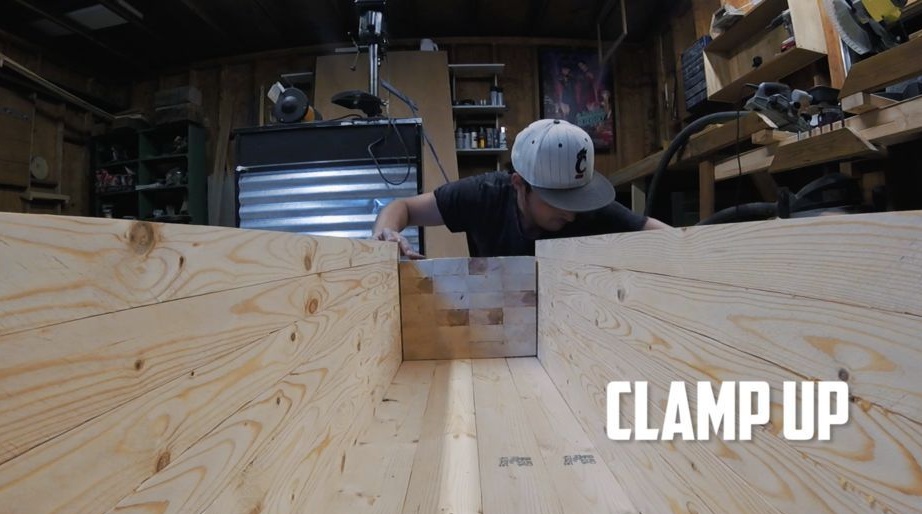
The long walls of the chest are also assembled on glue. We apply glue between the bars, press them tightly, and then fasten them with nails for additional hardening. It makes no sense to clamp them with clamps, since the bars are already pressed to each other with the help of nails. The first and last beam can not be nailed so that they do not spoil the appearance.
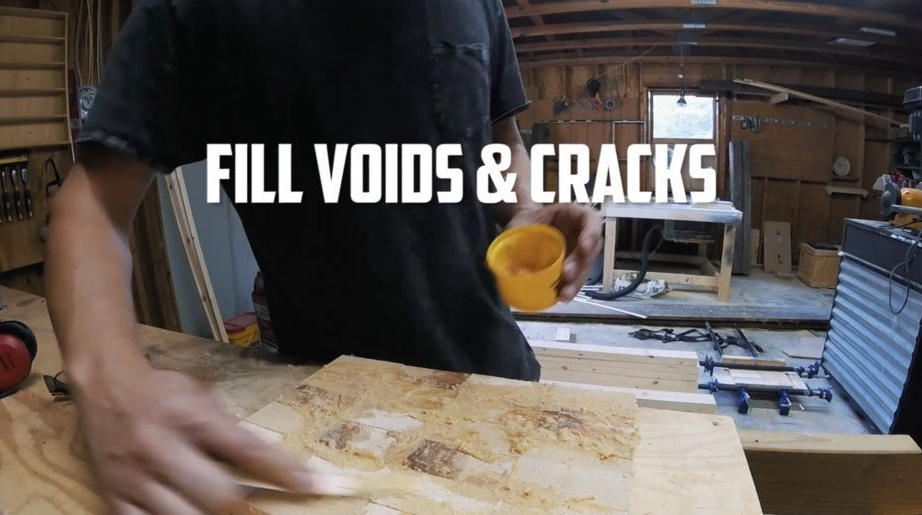
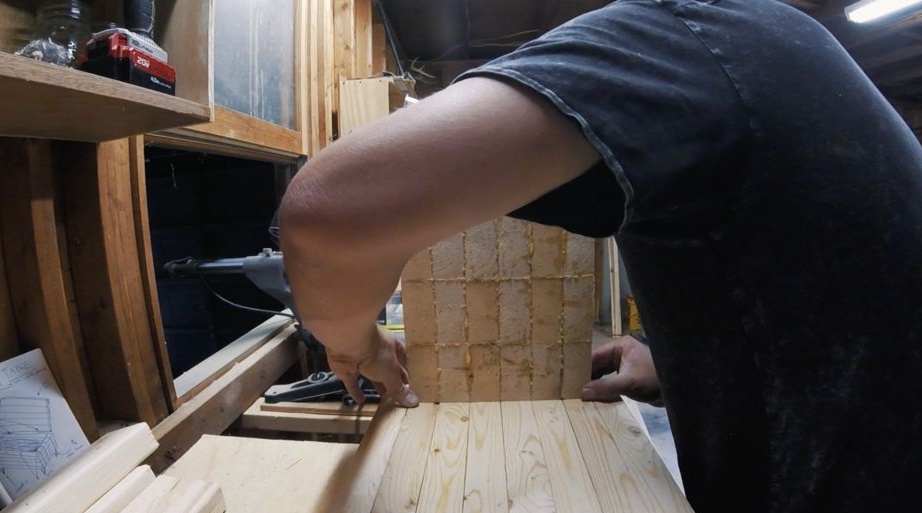
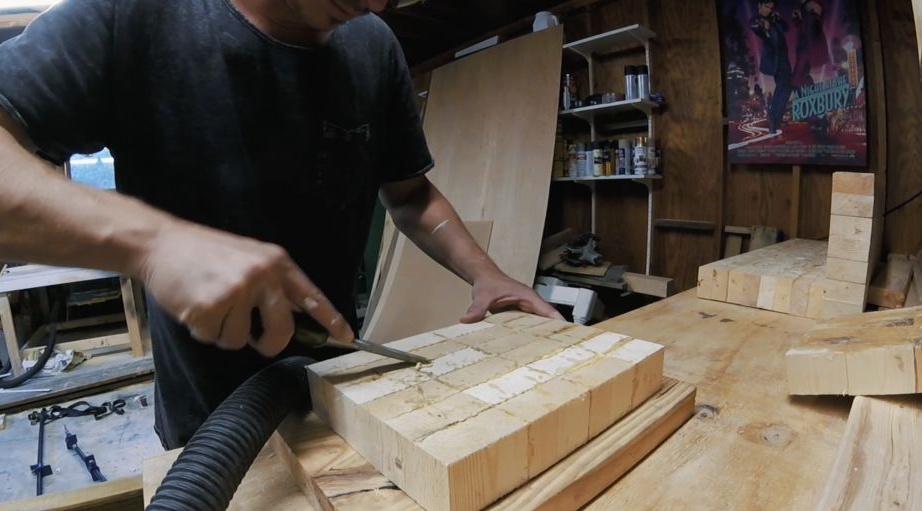
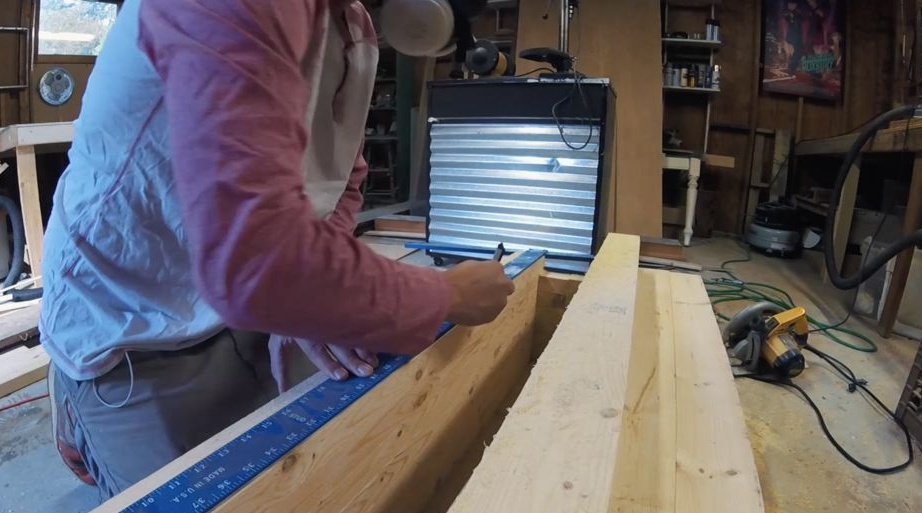
Step Five Finalization of small walls
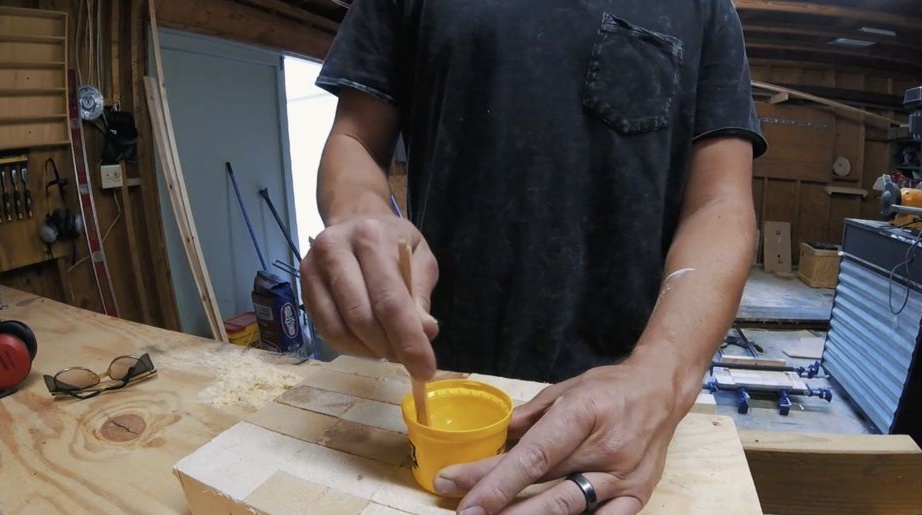
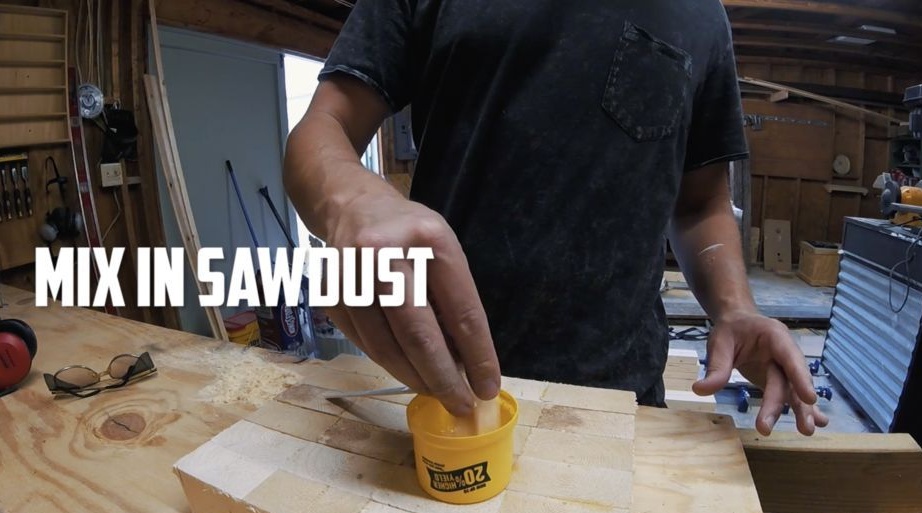
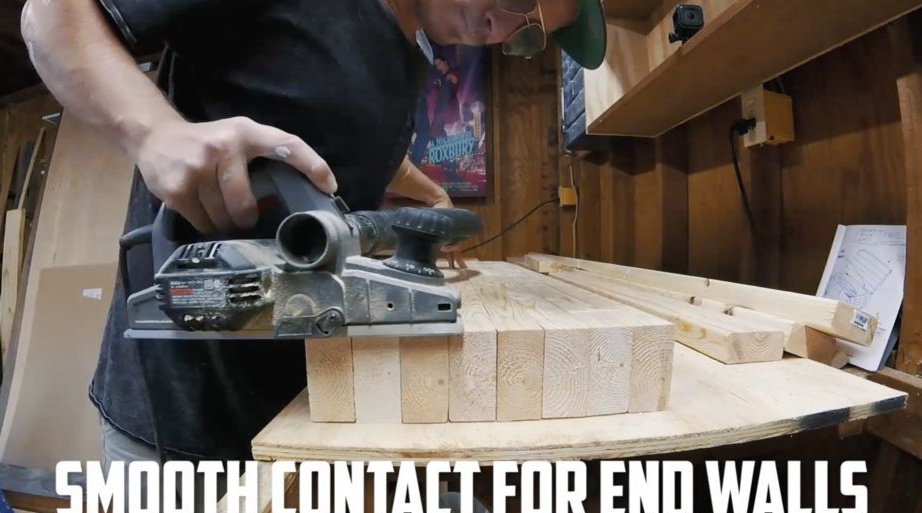
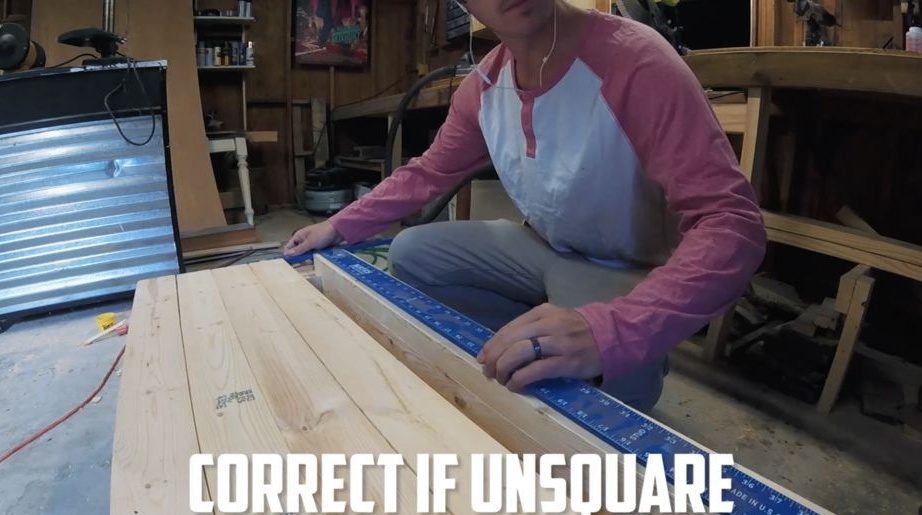
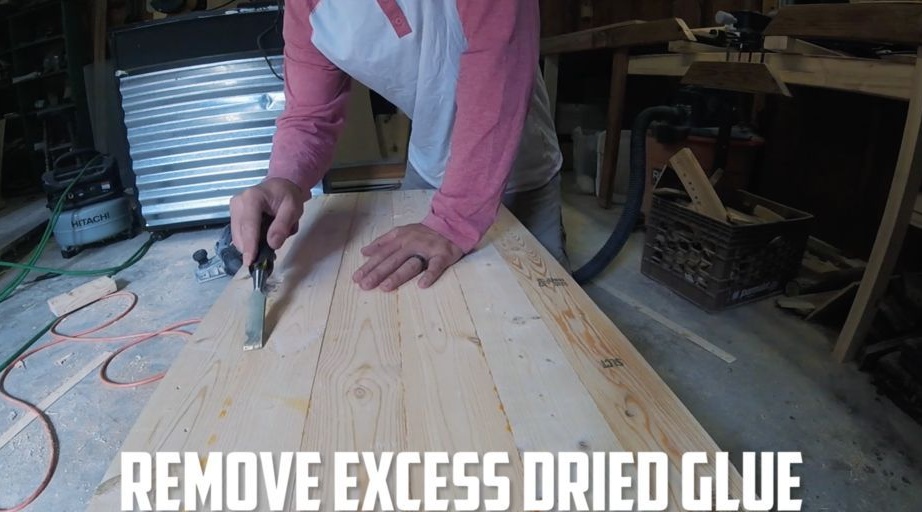
The side walls that we collected from the small cubes now need to be finalized. At the docking of the material there will be many gaps, bumps and so on. To solve this problem, take small sawdust and mix with epoxy glue or wood glue. We cover all the cracks and eliminate other defects. When the glue dries, sand the surface to a smooth state. But this is not the final grinding.
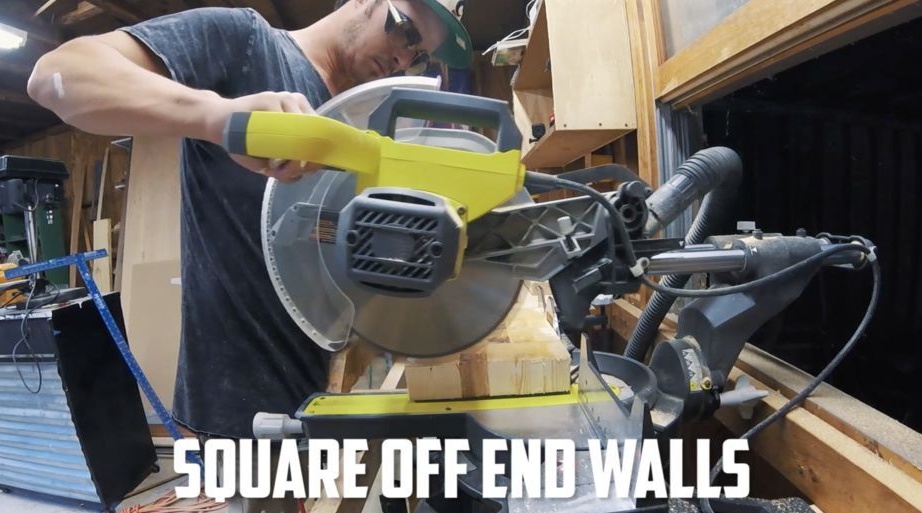
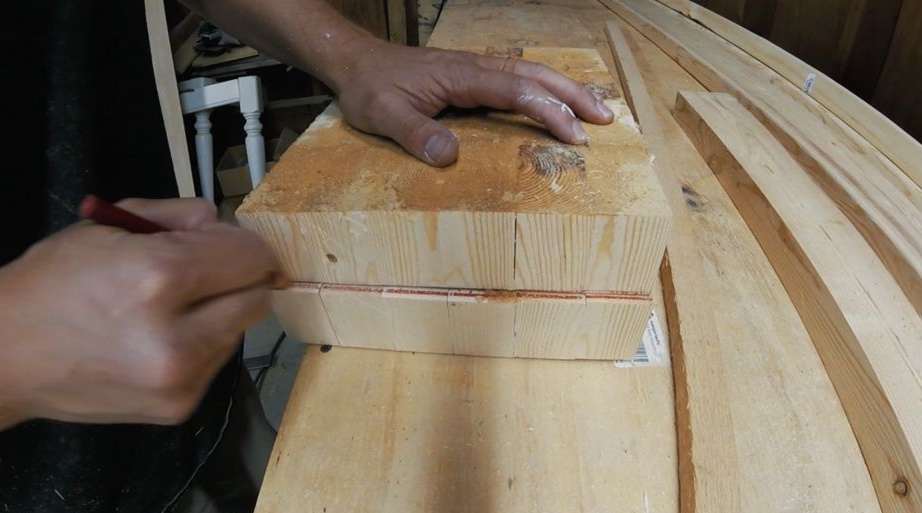
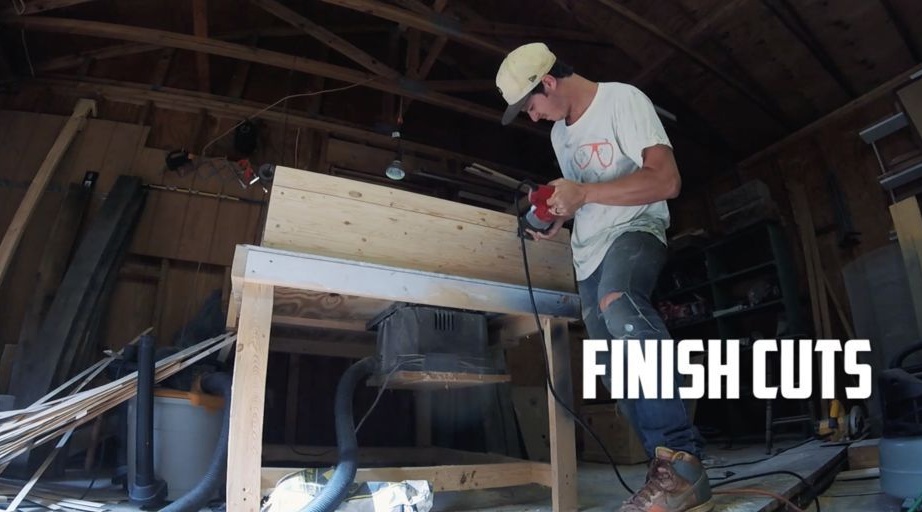
Next, we put both plates together and cut them to the same size. Here the pendulum saw is perfect.
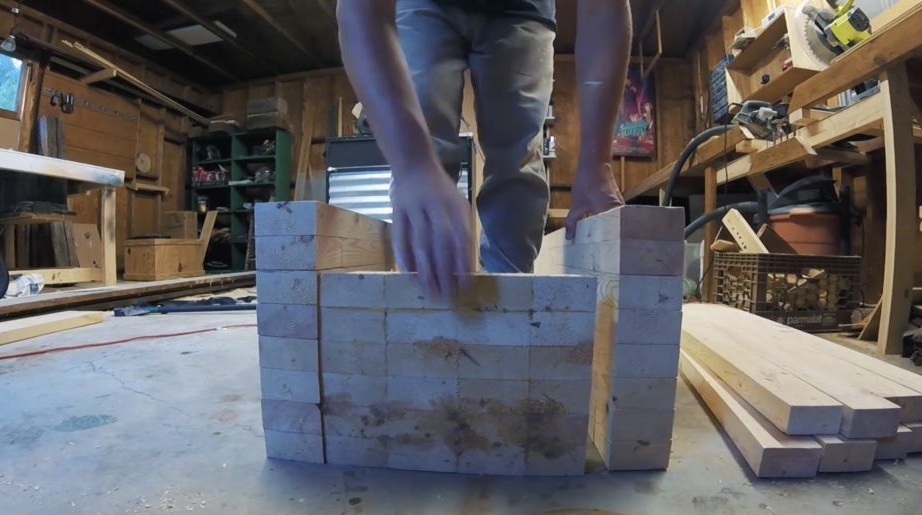
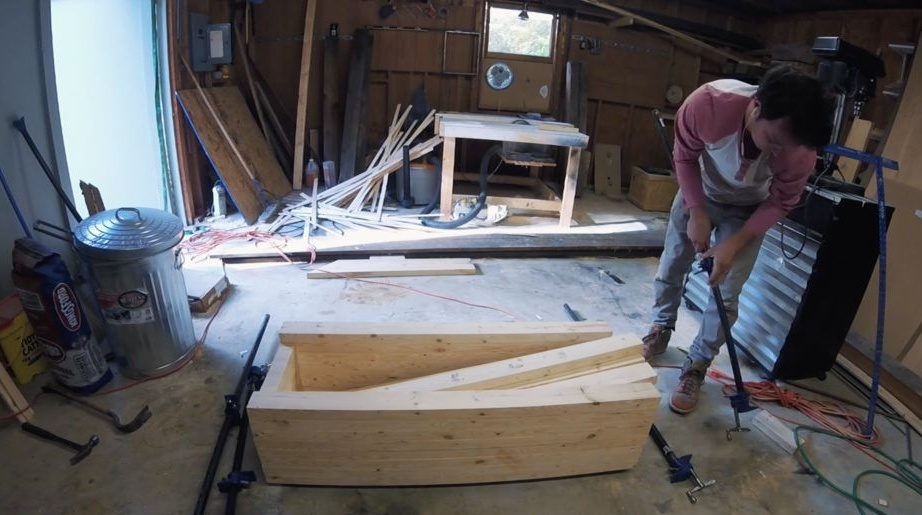
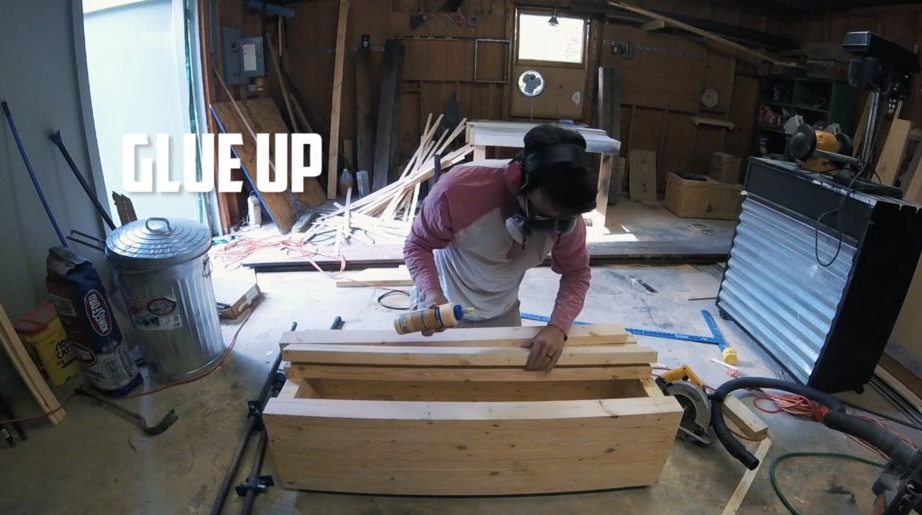
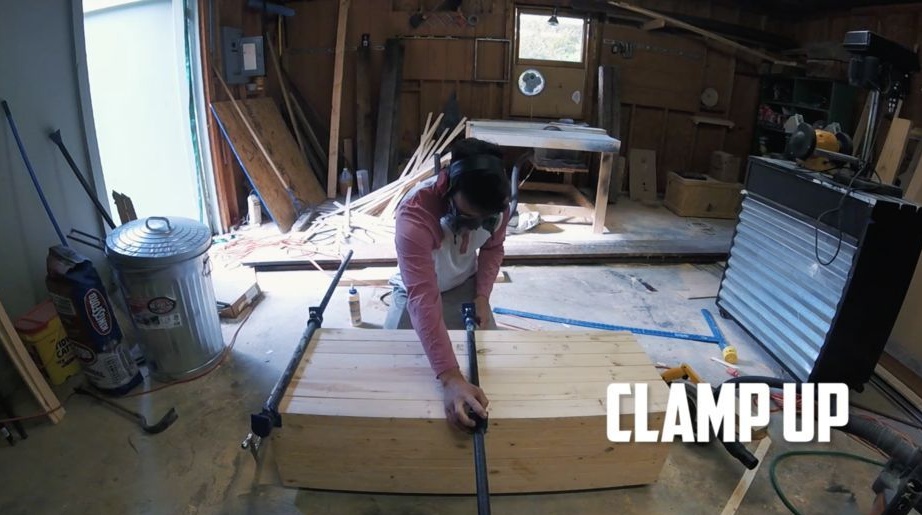
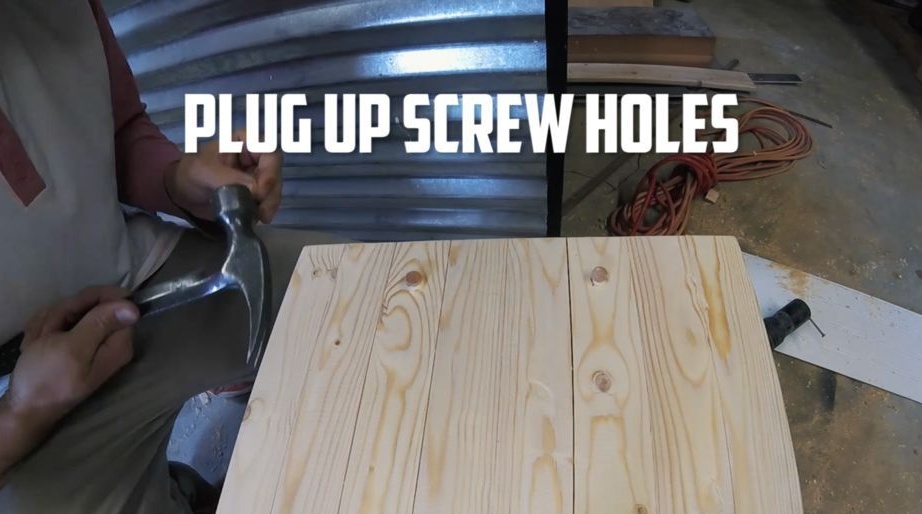
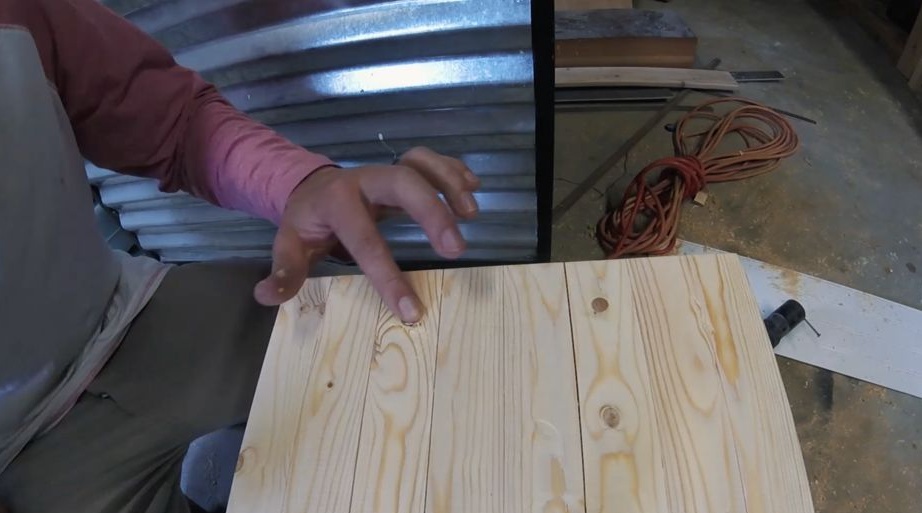
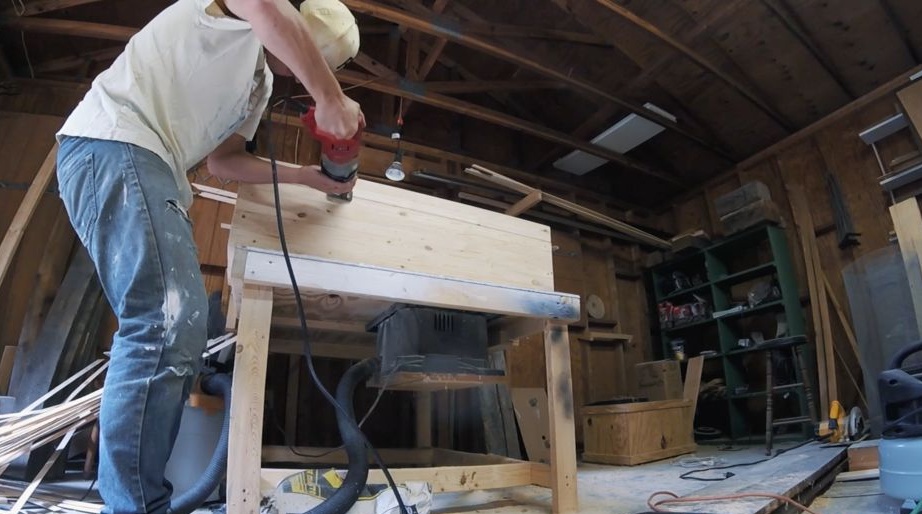
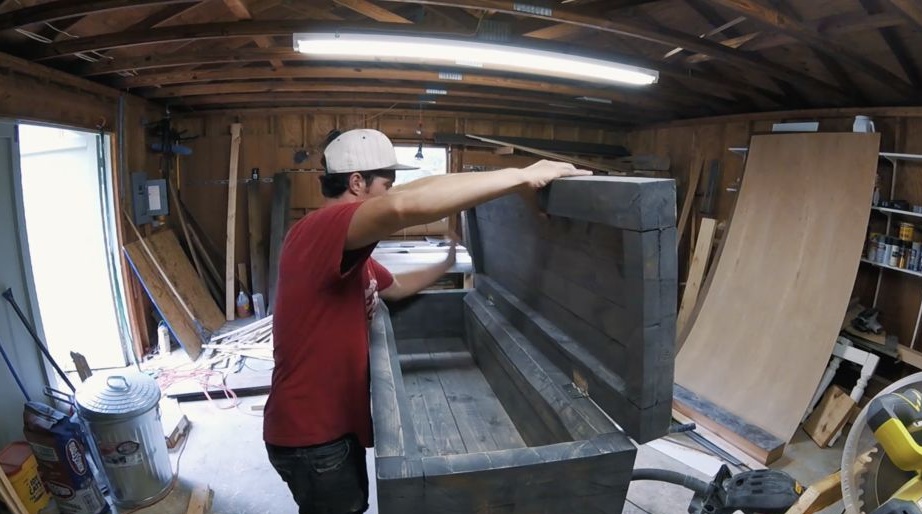
Step Six Chest assembly
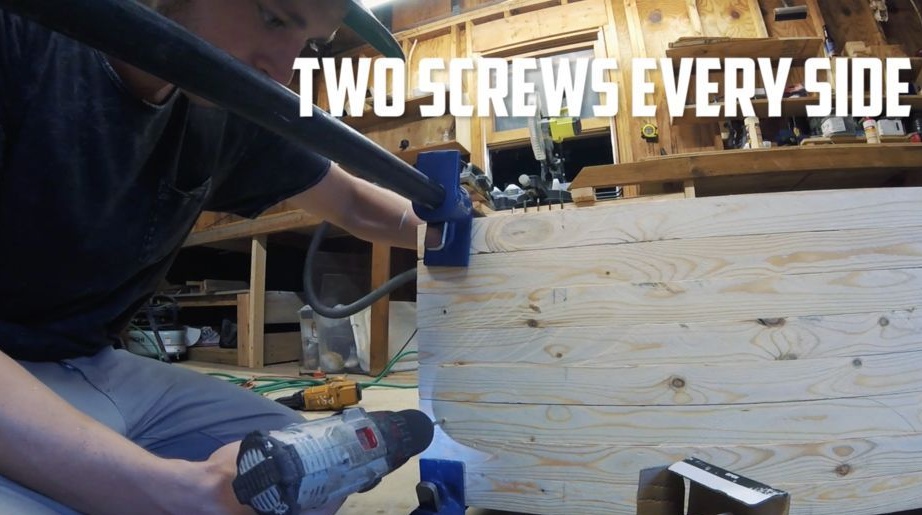
The chest can be collected without considering the lid. We lubricate all joined parts with glue for wood and press tightly against each other. To strengthen the structure, we tighten all the walls with self-tapping screws. The hat can be made secret, then on top they can be covered with sawdust with glue and self-tapping screws will not be visible. Clamp everything with clamps and let the glue dry.

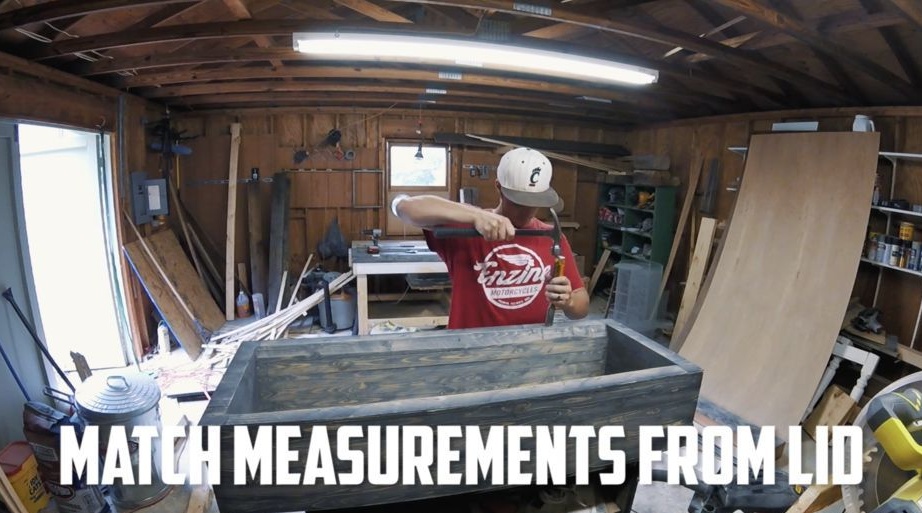
Seventh step. Cap
You can start making the lid, take measurements and cut off four pieces of timber, this will be the lid frame. We cover the lid with boards, and if you are not afraid of the weight of the lid, then it can also be made entirely of timber. We assemble the cover using glue. And you can first assemble the rectangle, and then cut out the lid in it, as the author did. But this is difficult, and, in my opinion, poorly meaningful.
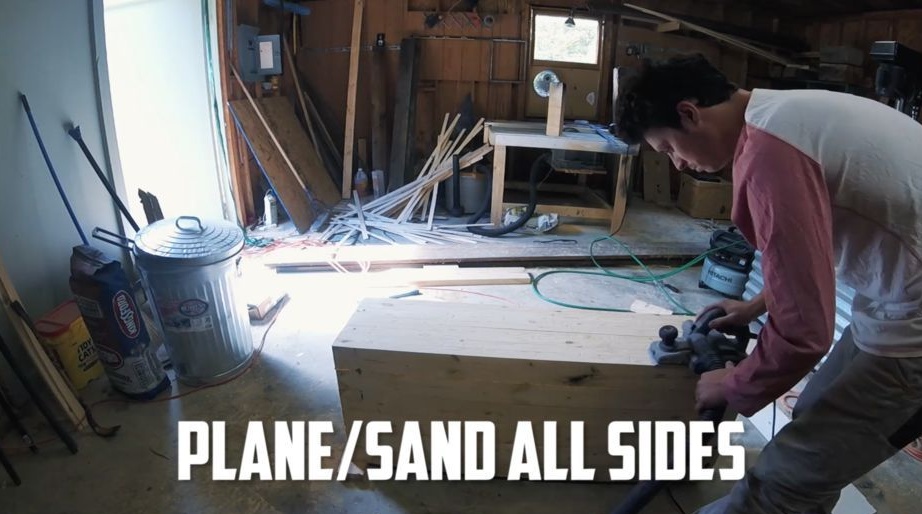
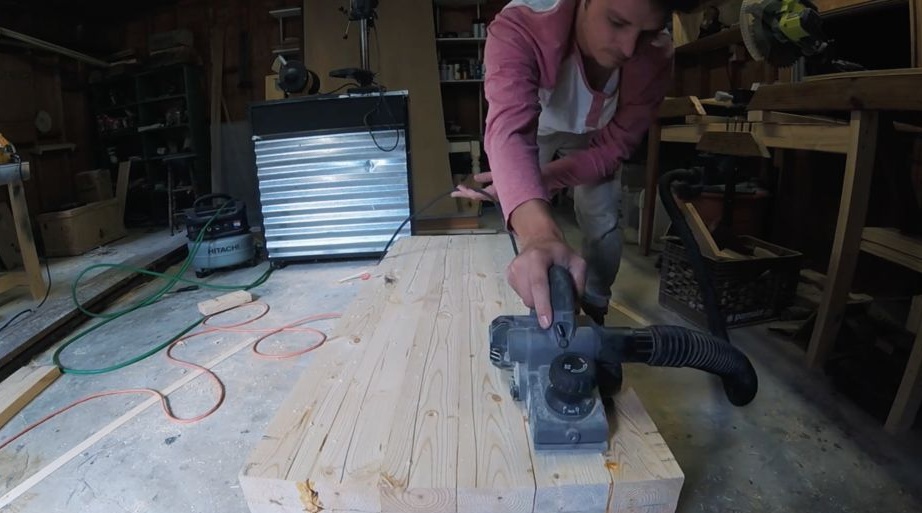
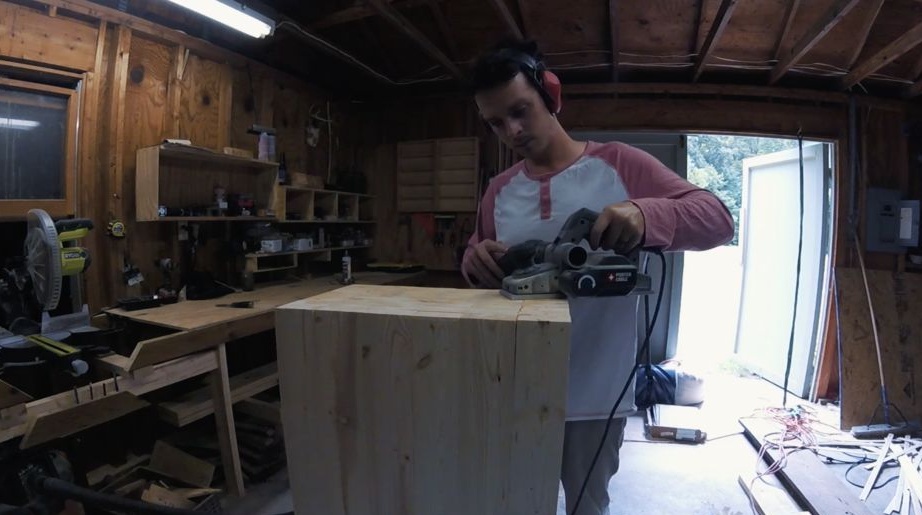
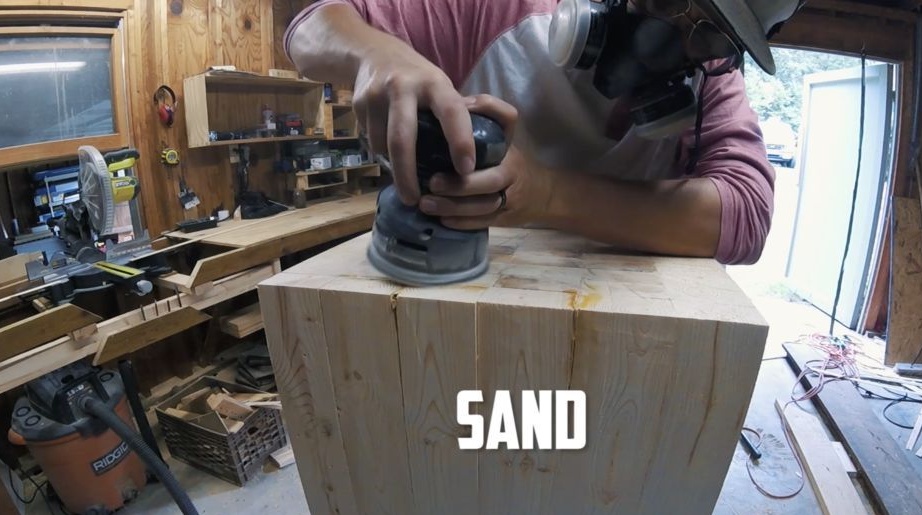
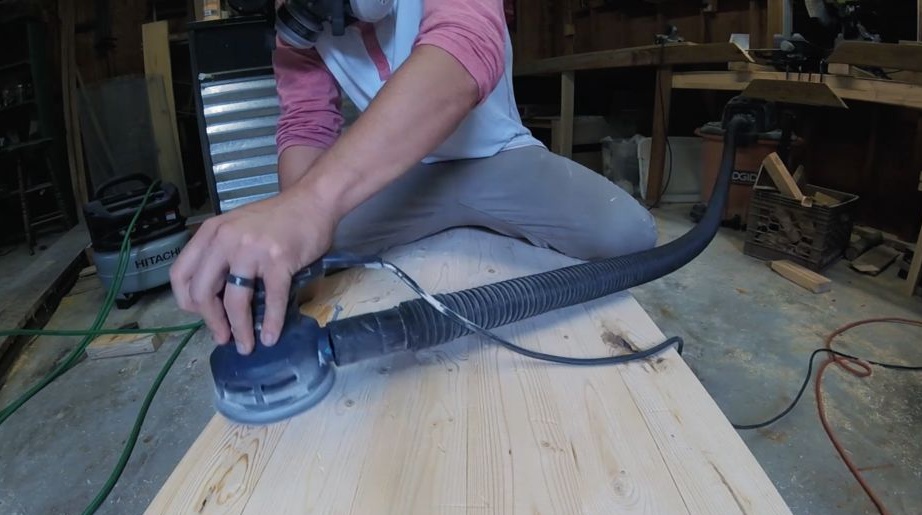
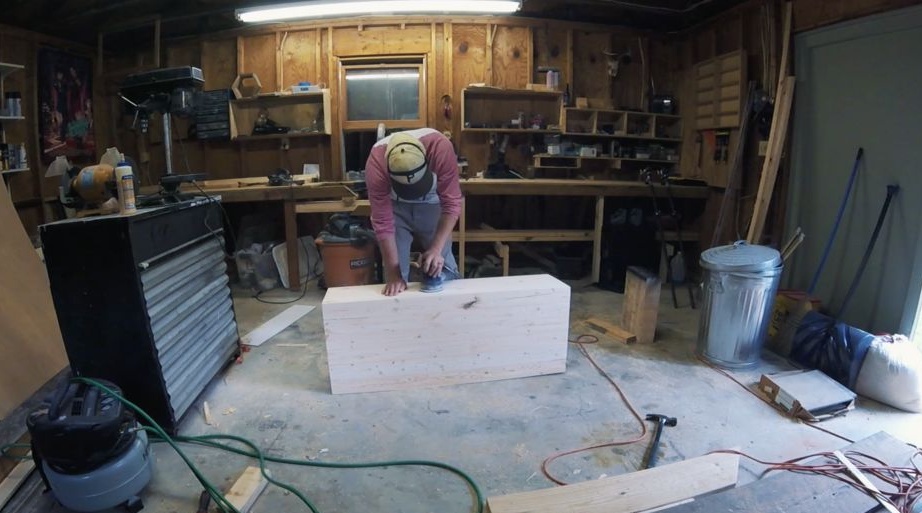
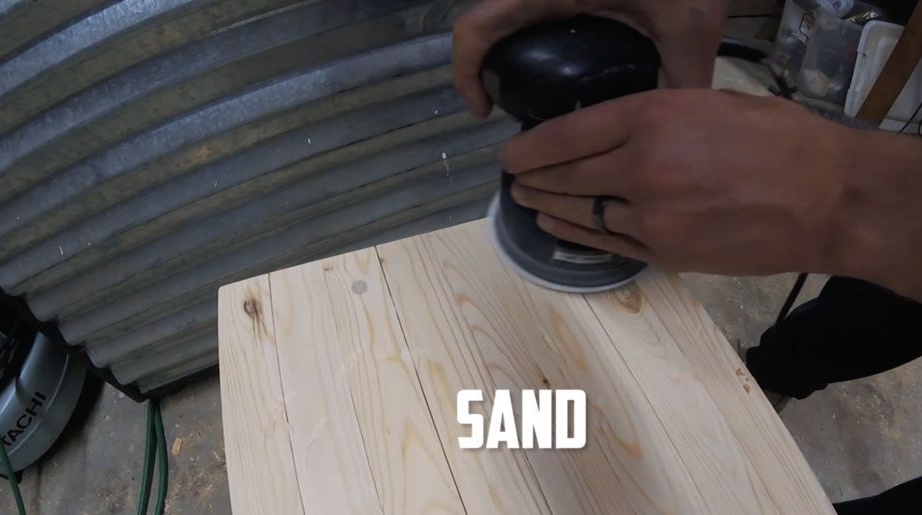

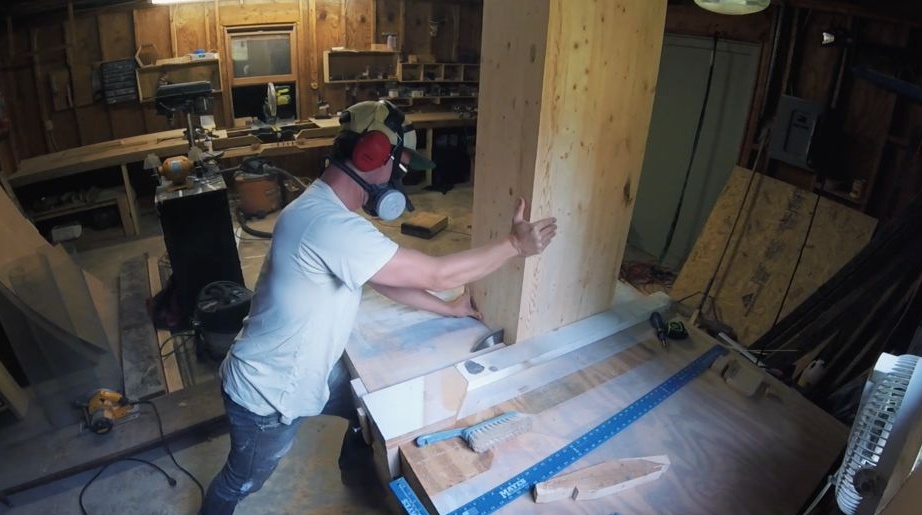
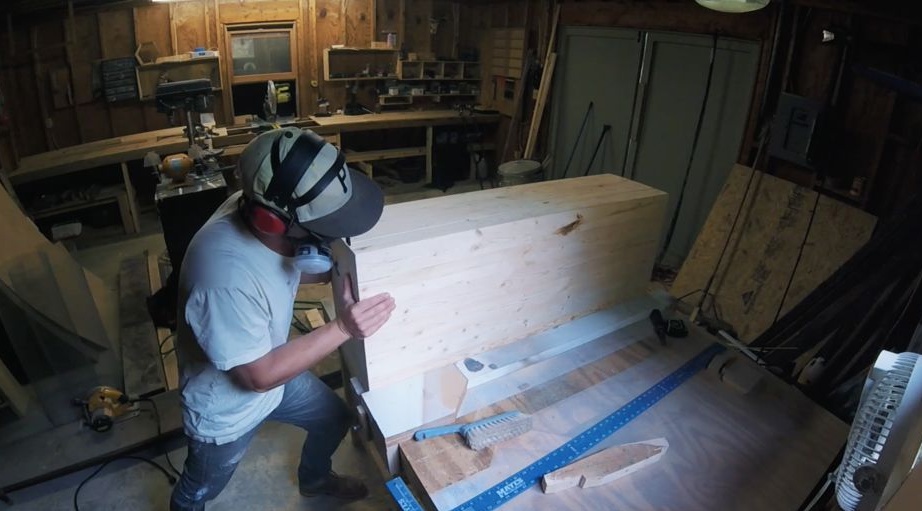
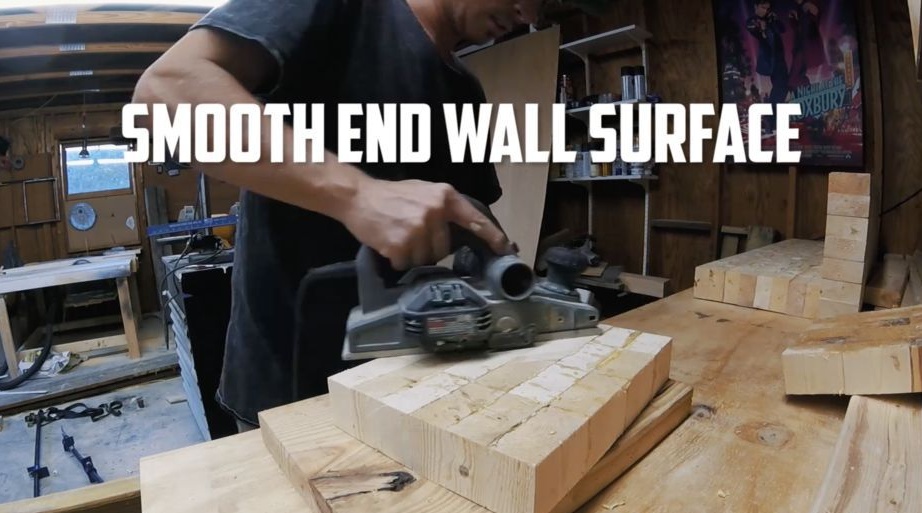
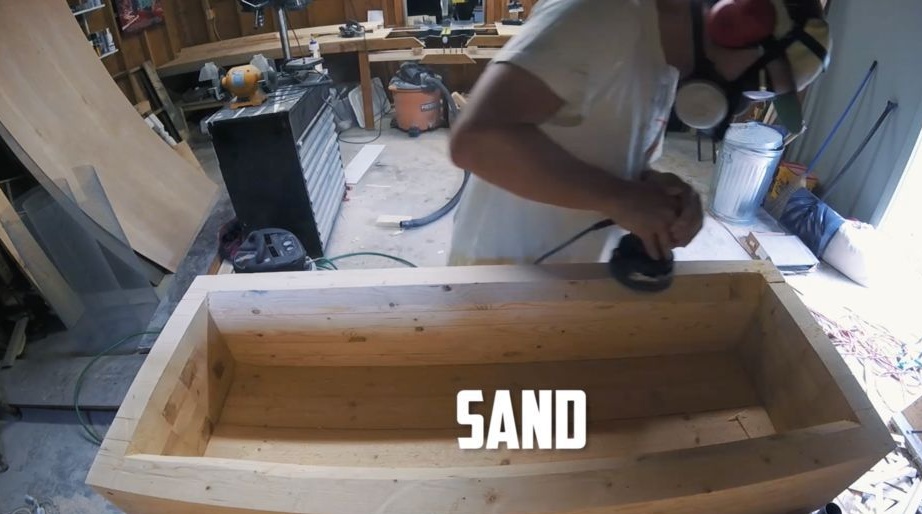
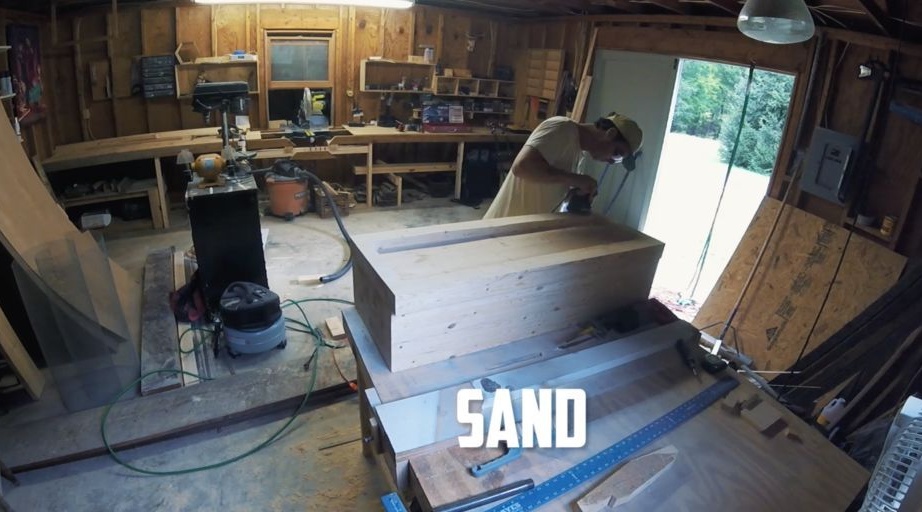
Step Eight. Grinding a chest
The entire surface of the chest needs to be carefully sanded; you may need a planer to level the planes. Well, then we arm ourselves with an orbital sander or belt. We make the surfaces perfectly smooth, remove sharp edges. If the surface is poorly processed, the chest will look ugly, and you can easily get a splinter when using it.
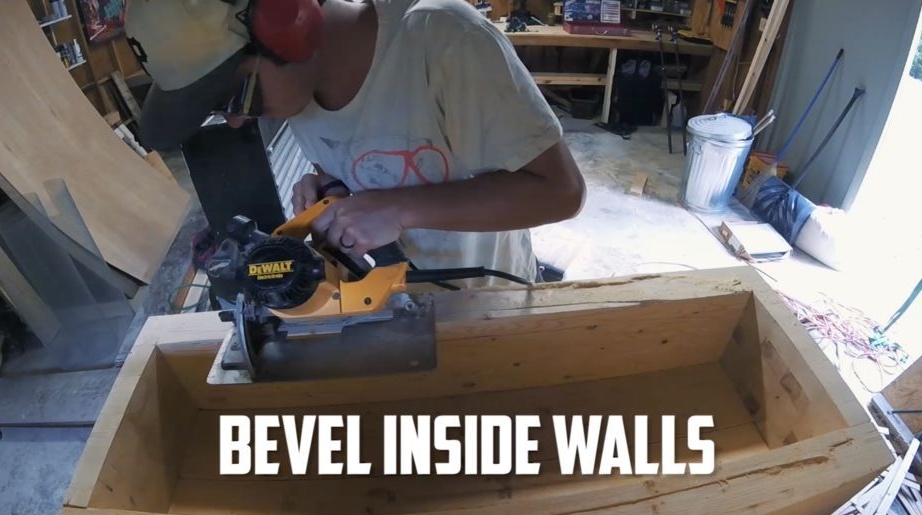
Cut off the sharp edges on the inside of the chest so that you don’t cut your hands about them when using the chest.
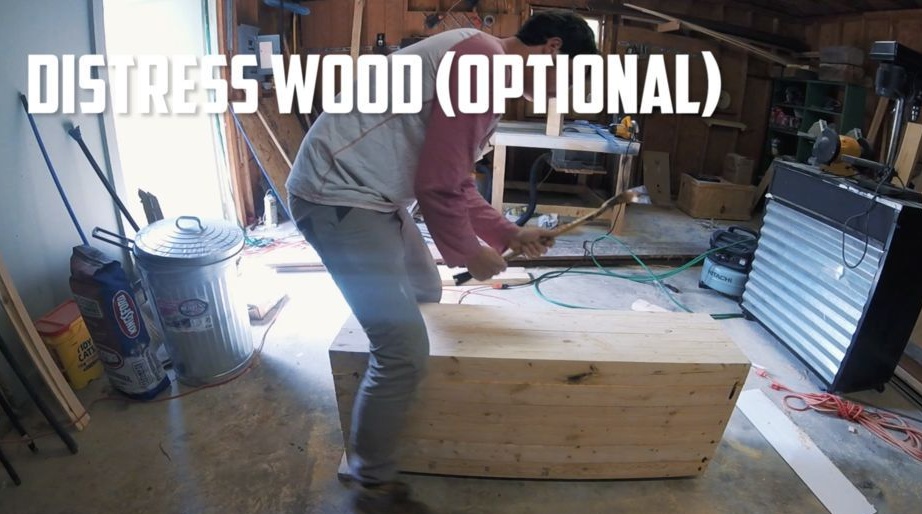
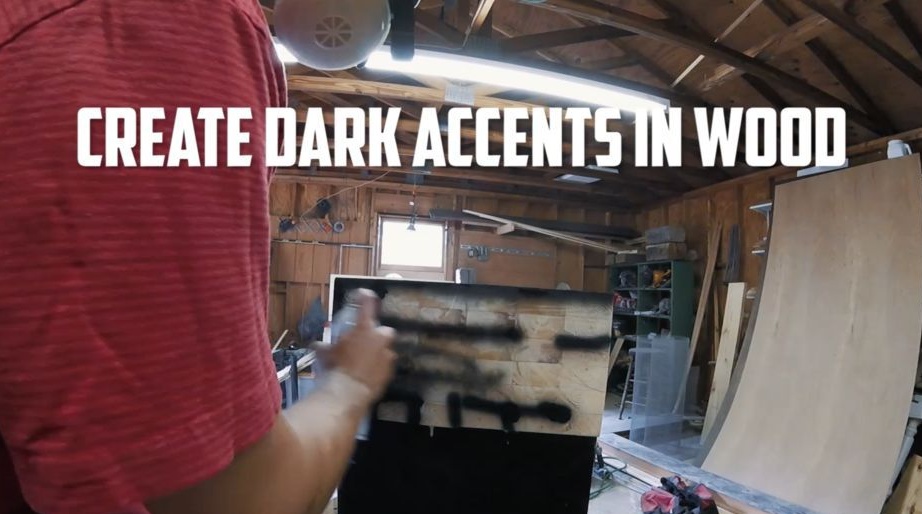
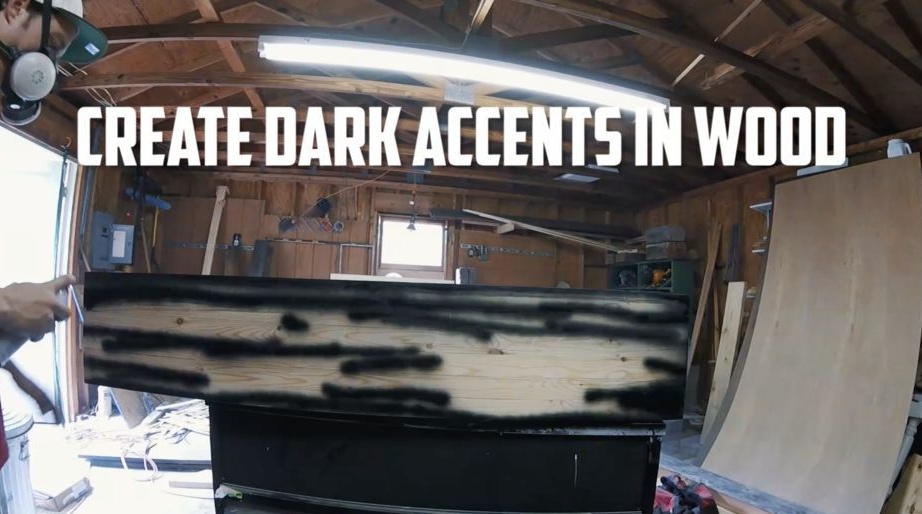
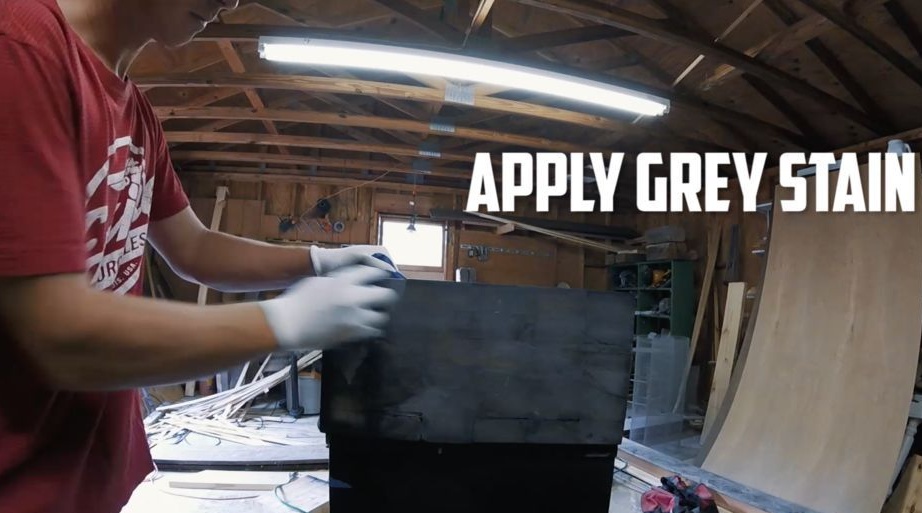
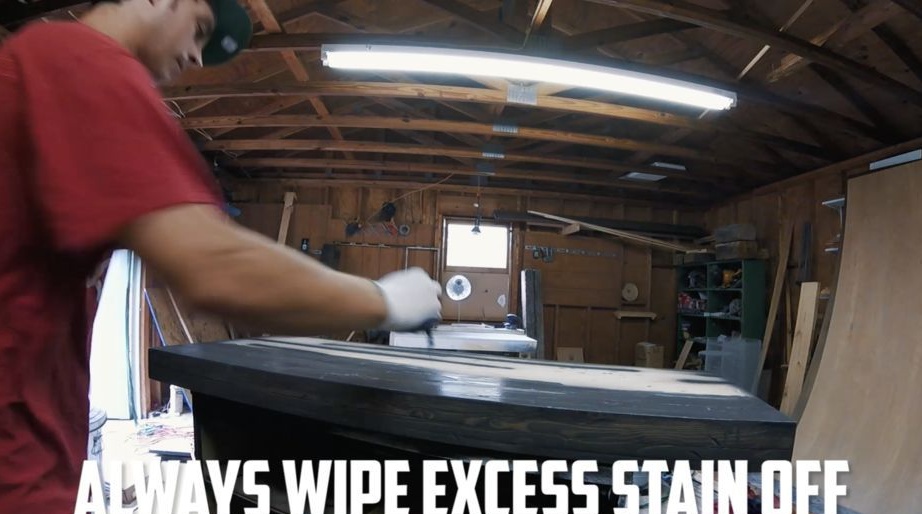
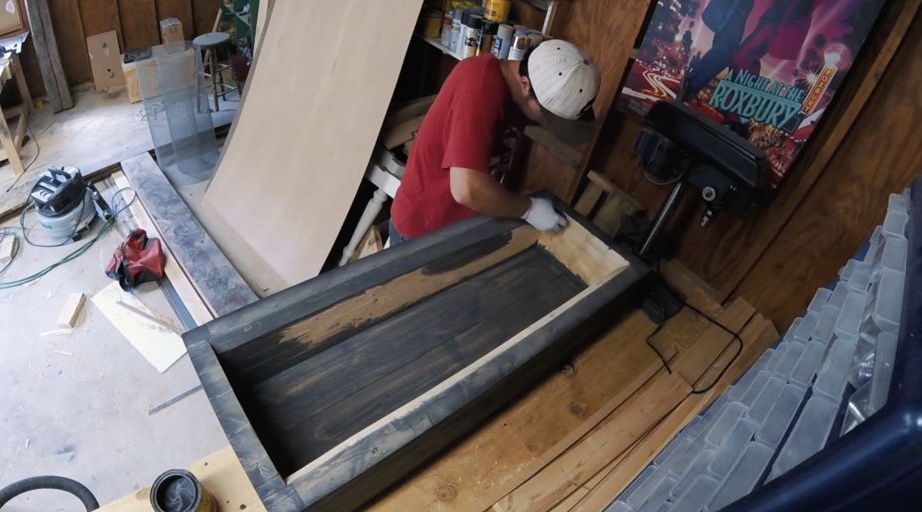
Step nine Paint the chest
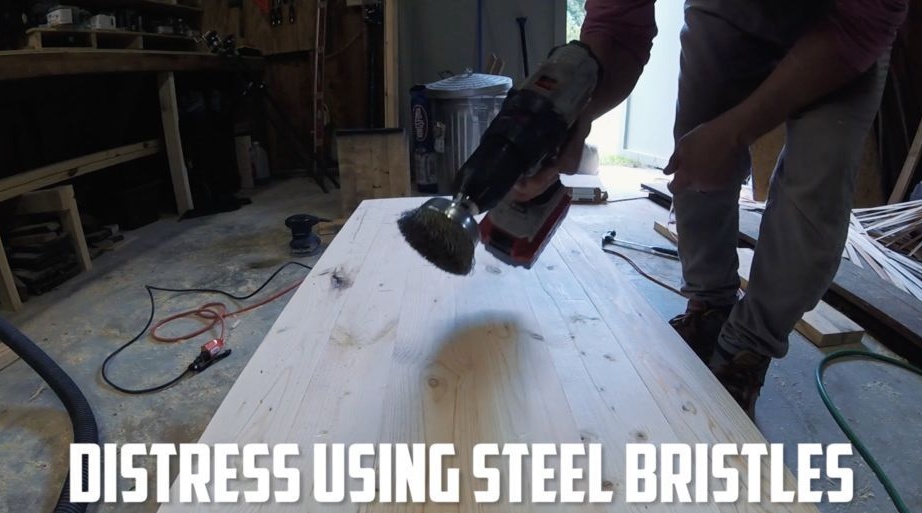
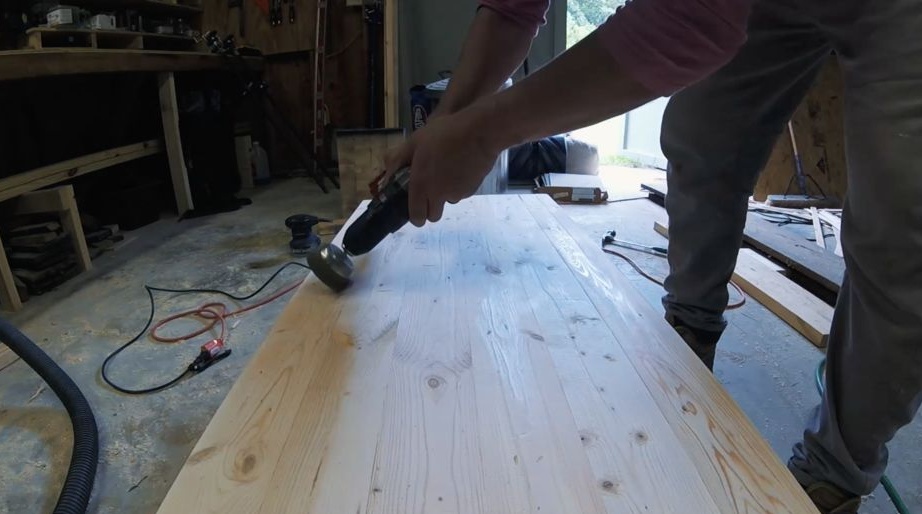
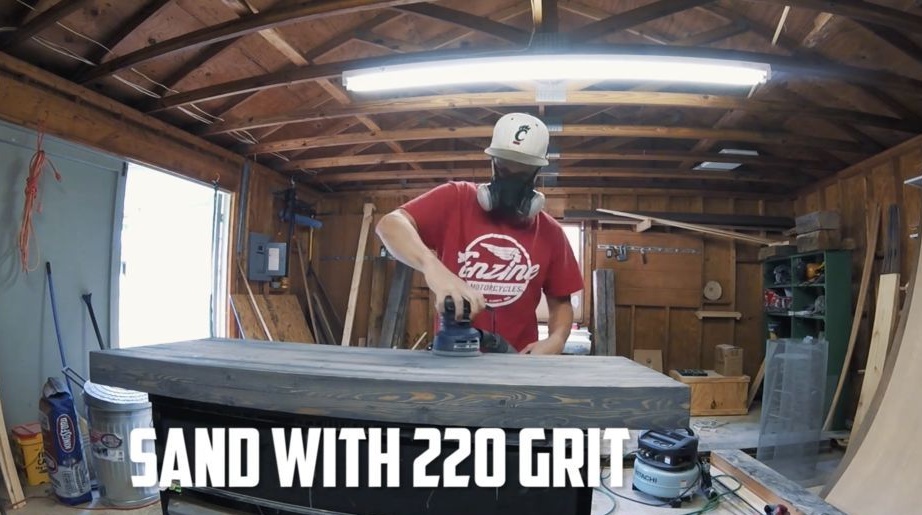
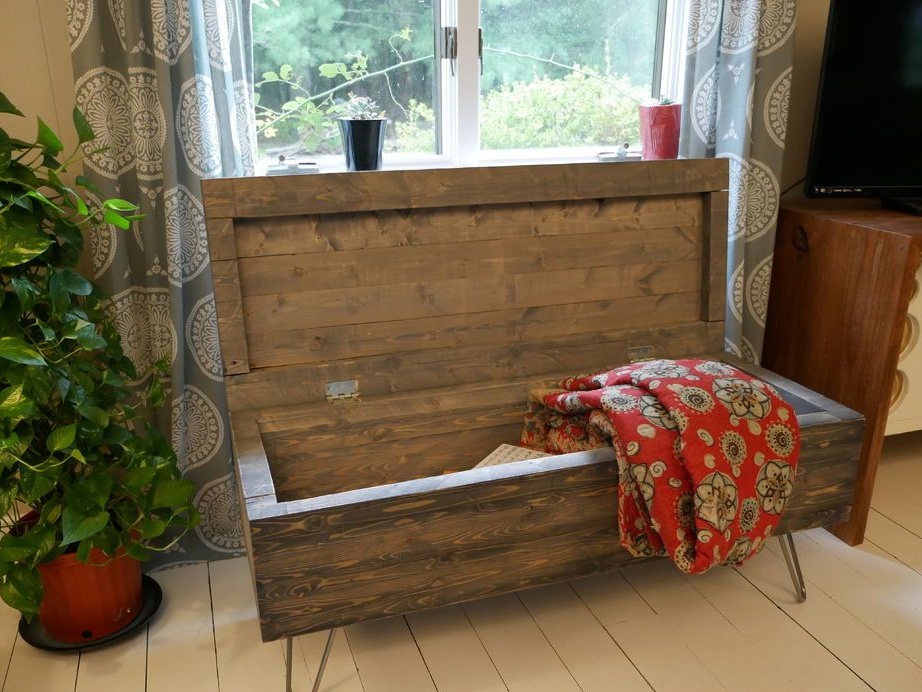
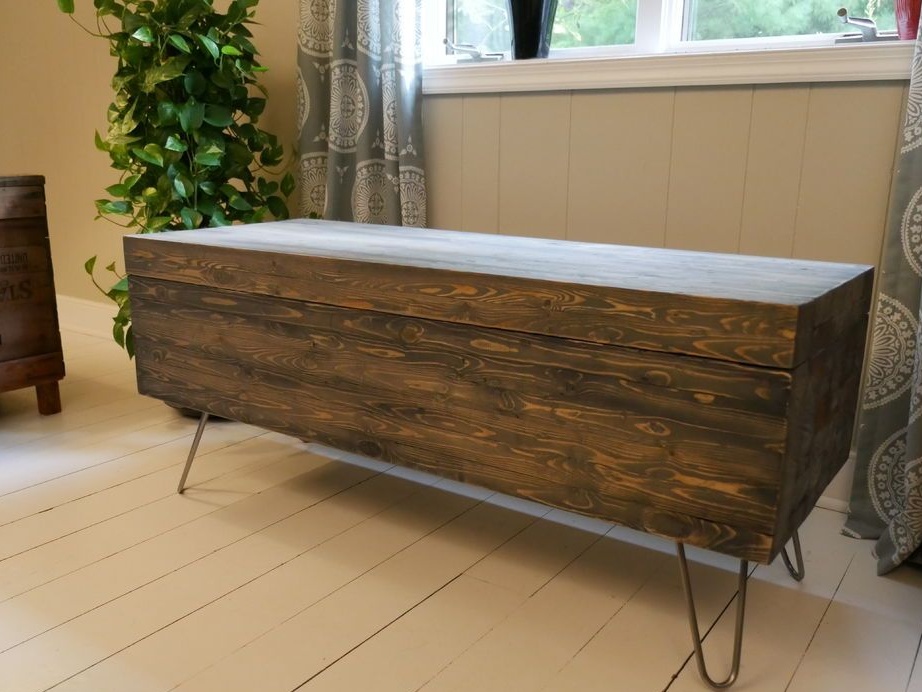
Let's make an interesting pattern on the chest, the author’s idea was to make it antique. For these purposes, we need a dark stain. Apply it evenly on the entire surface of the chest and let it dry. And then we take a grinder or sandpaper and do the grinding. The result is scrapes that resemble antiquity. You can achieve a similar effect when using paint. If the color is too light, you can apply another coat and then grind again.

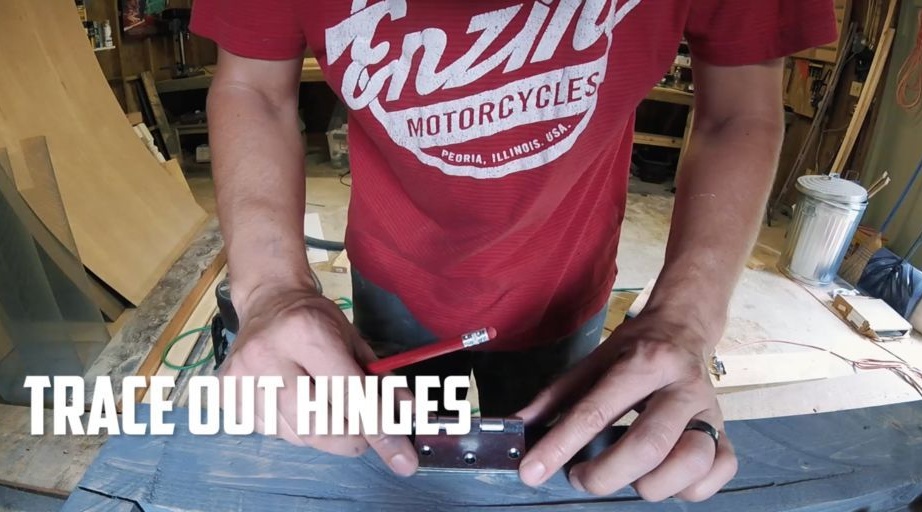
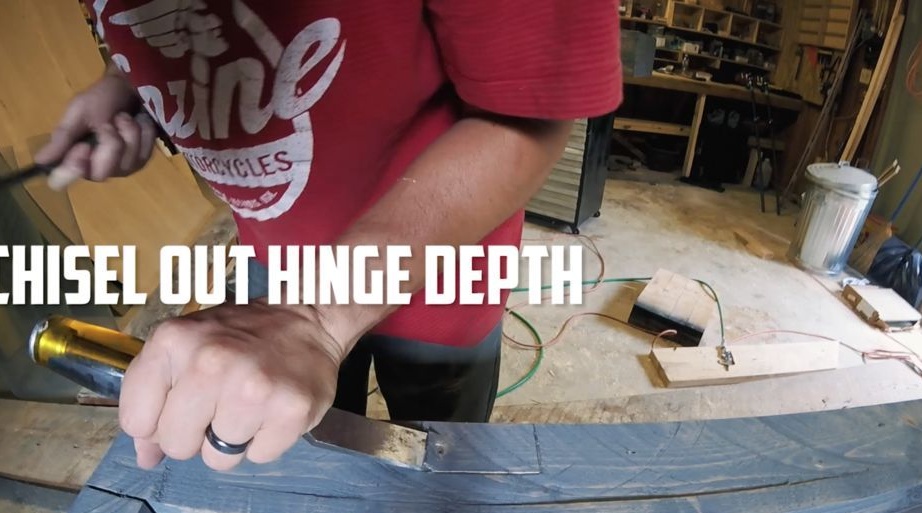
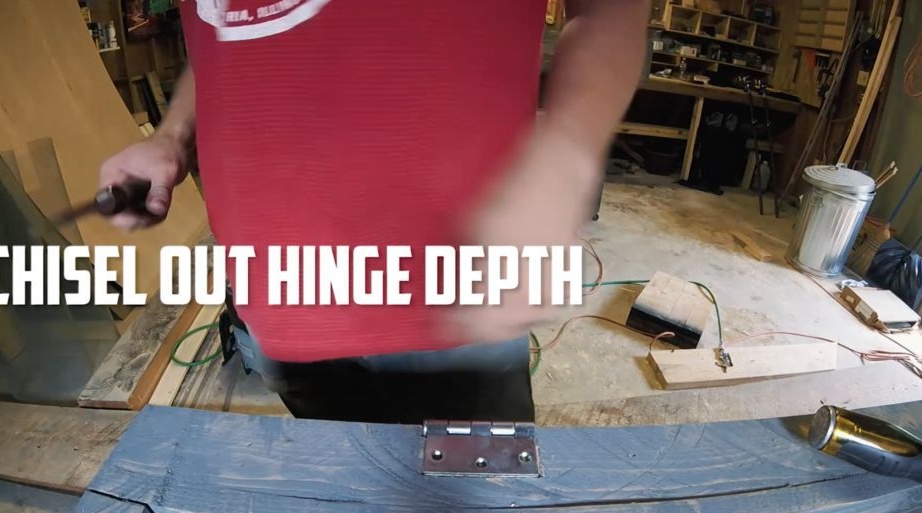
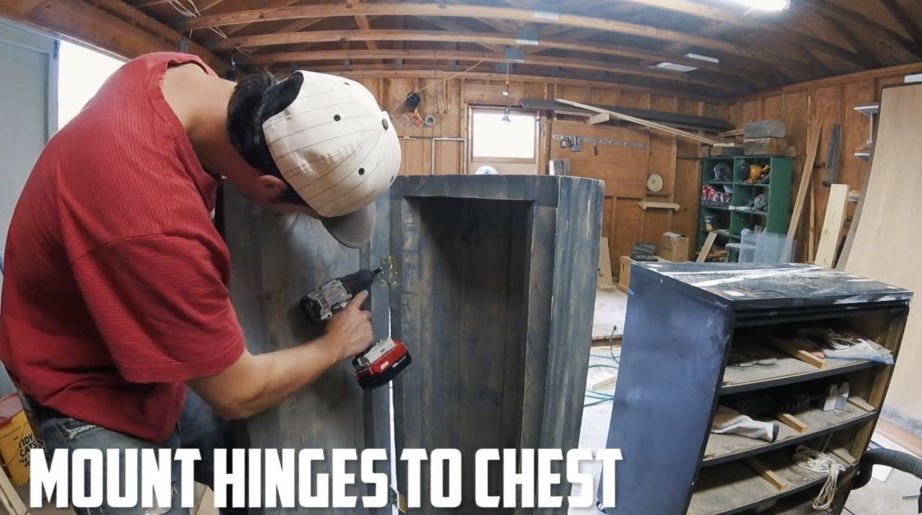
Step Ten Hang the cover
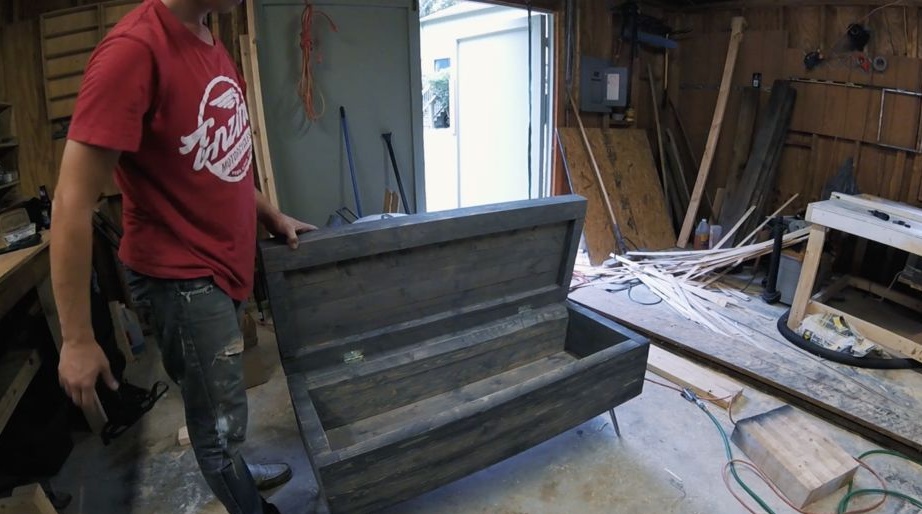
To attach the lid you will need two strong hinges, since the lid is quite heavy. Under the hinges, the author cut out small grooves. Fasten the joints using screws of suitable length. It is highly advisable to make a latch for the cover so that it does not fall back and tear out the hinges. It is also highly recommended to make a latch that will keep the lid open.
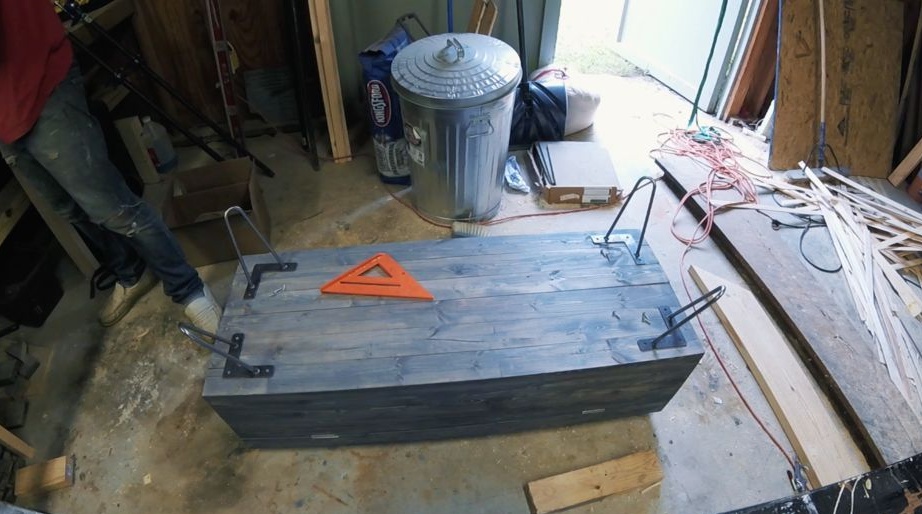
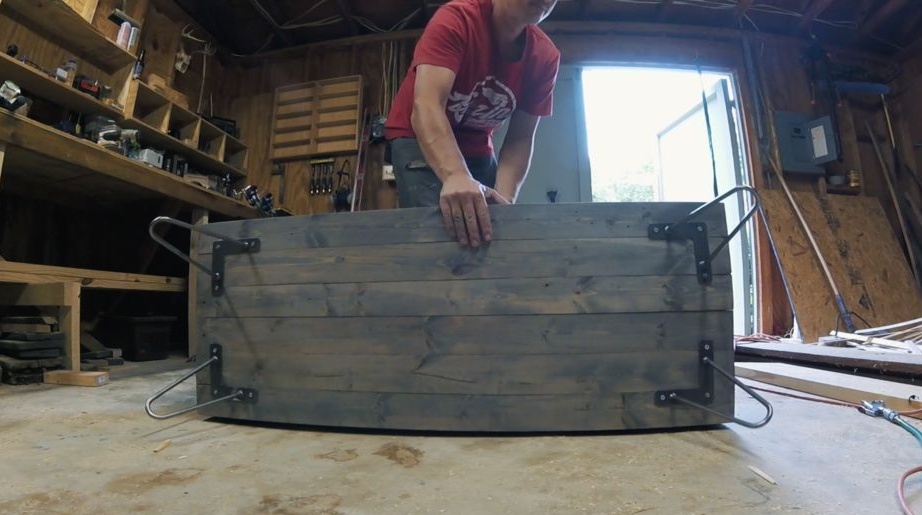
Step eleven. Fasten the legs
Legs can be made with your own hands, just bend steel rods and weld plates to them. Also, legs can be made of pipes and so on. Securely fix the legs using self-tapping screws. The legs were quite strong so that you could even sit on the chest.
Step twelve. Finishing touches
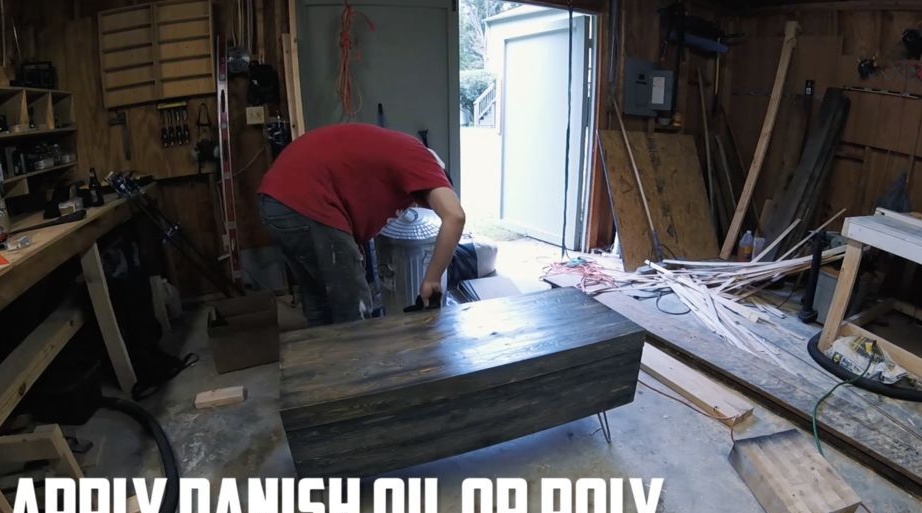
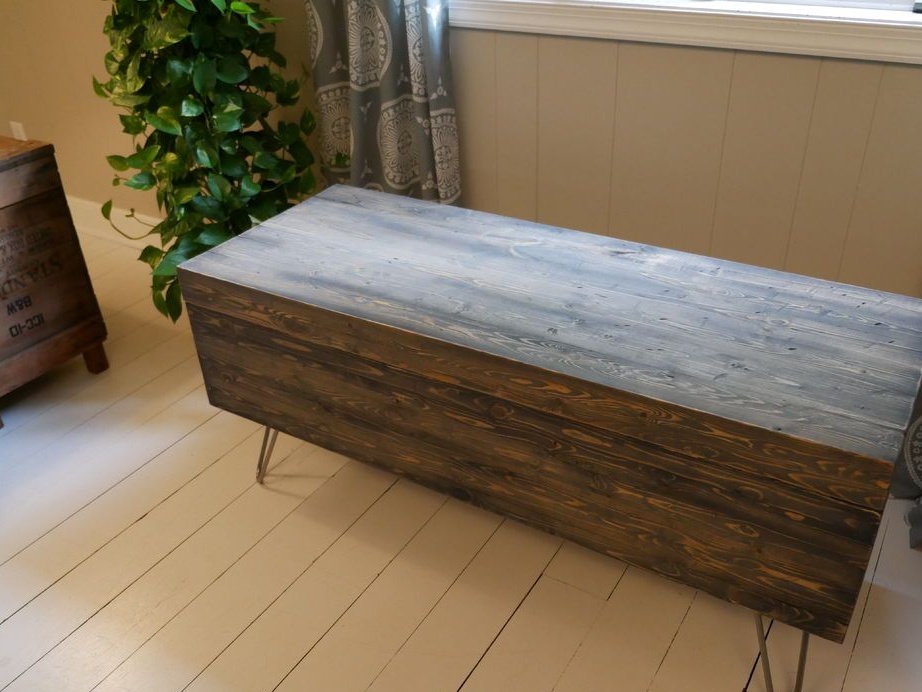
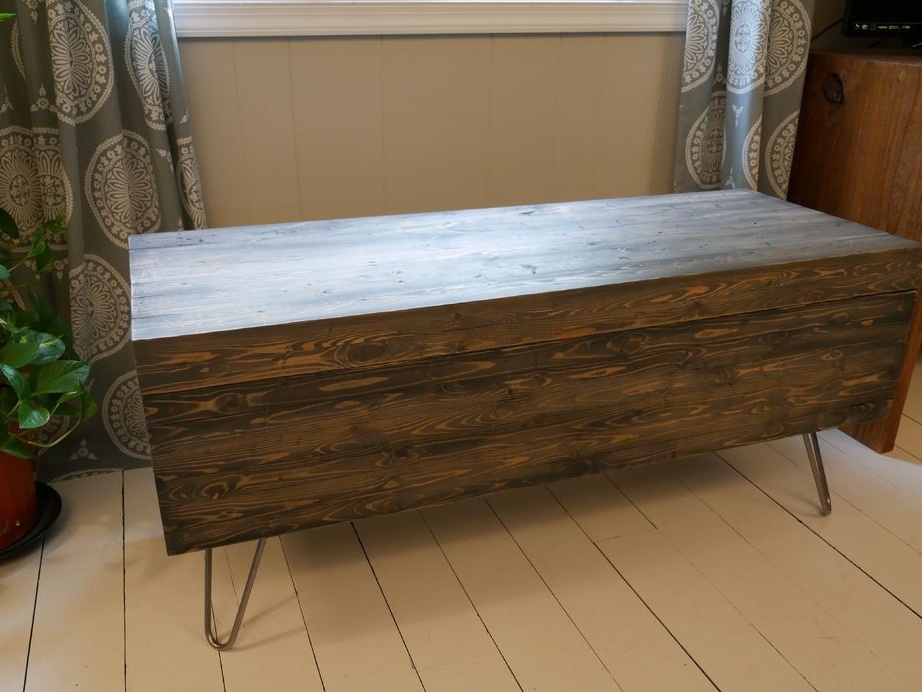
Finally, apply oil to the surface of the chest and polish it well. So it will look beautiful, and the wood will be protected from moisture.
That's all, the chest is ready! I hope you enjoyed the project, and you found something new for yourself. Good luck and creative inspiration in making homemade! Share your best practices with us!