
Hello to all lovers homemade. I think many of you like to do home-made electronics-related things, so for those who are interested in this topic, I suggest reading this article. In this article I will tell you how to make a night lamp do it yourself using radio amateur tools and, of course, a kit kit, which you can order on aliexpress at the link at the end of the article.
Before you start reading the article, I suggest watching a video with a detailed processor for assembling this kit kit, as well as its performance checks.
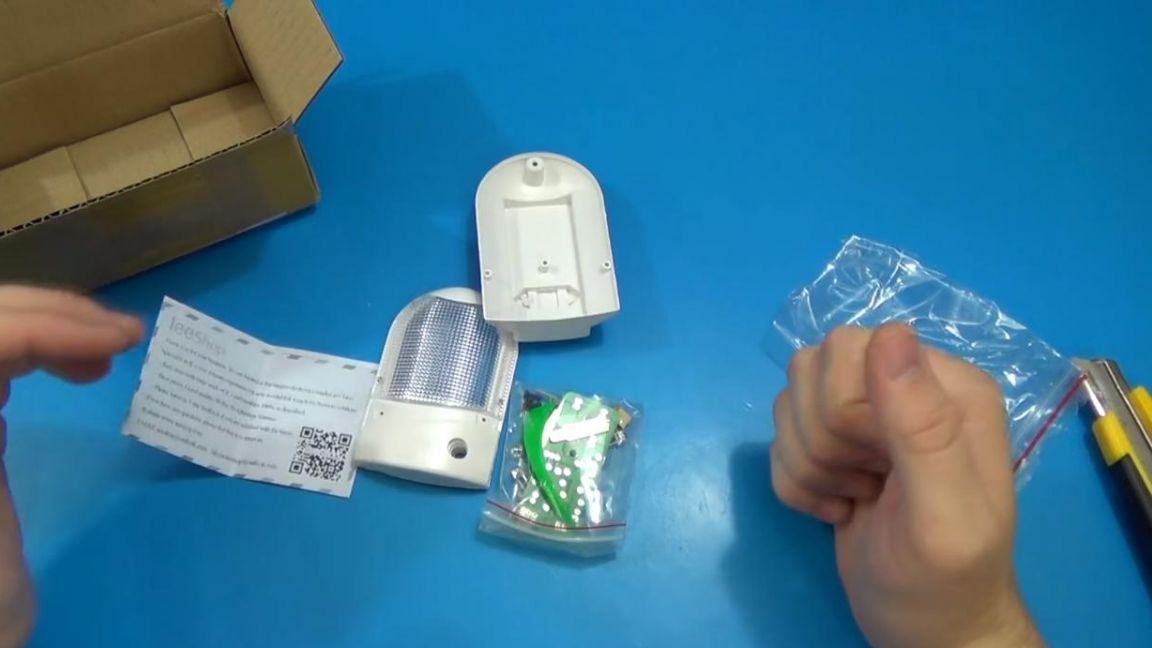
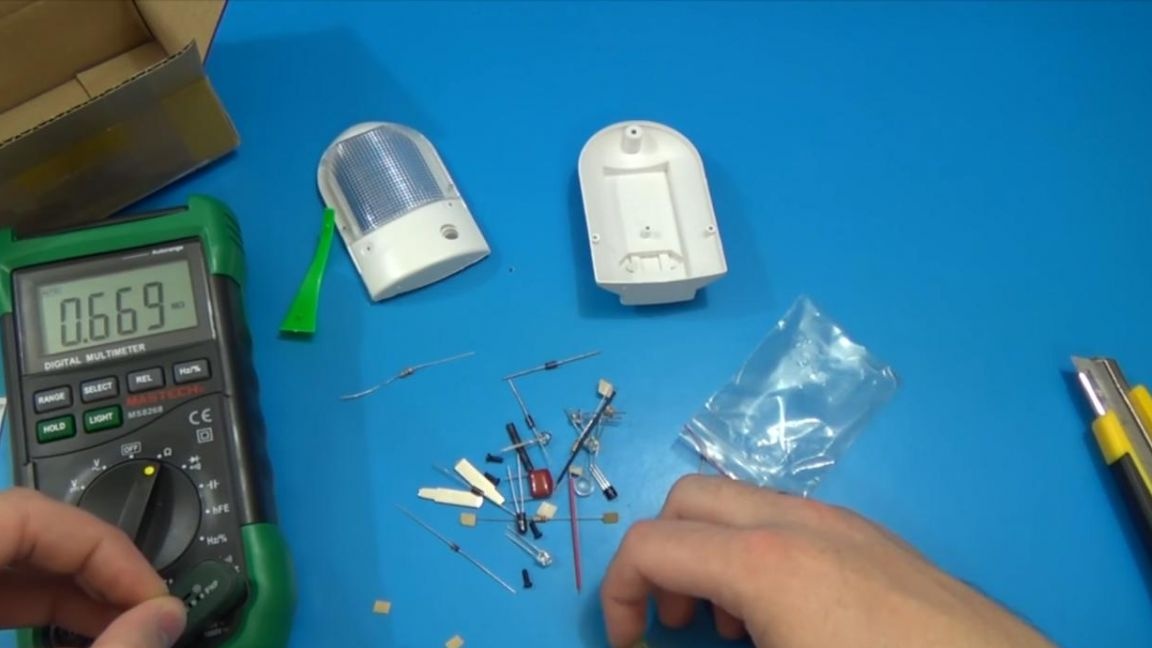
In order to make a night lamp with your own hands, you will need:
* Kit
* Soldering iron, solder, flux
* Side cutters
* Multimeter
* Device for soldering "third hand"
* Phillips screwdriver
* A couple of wires
Step one.
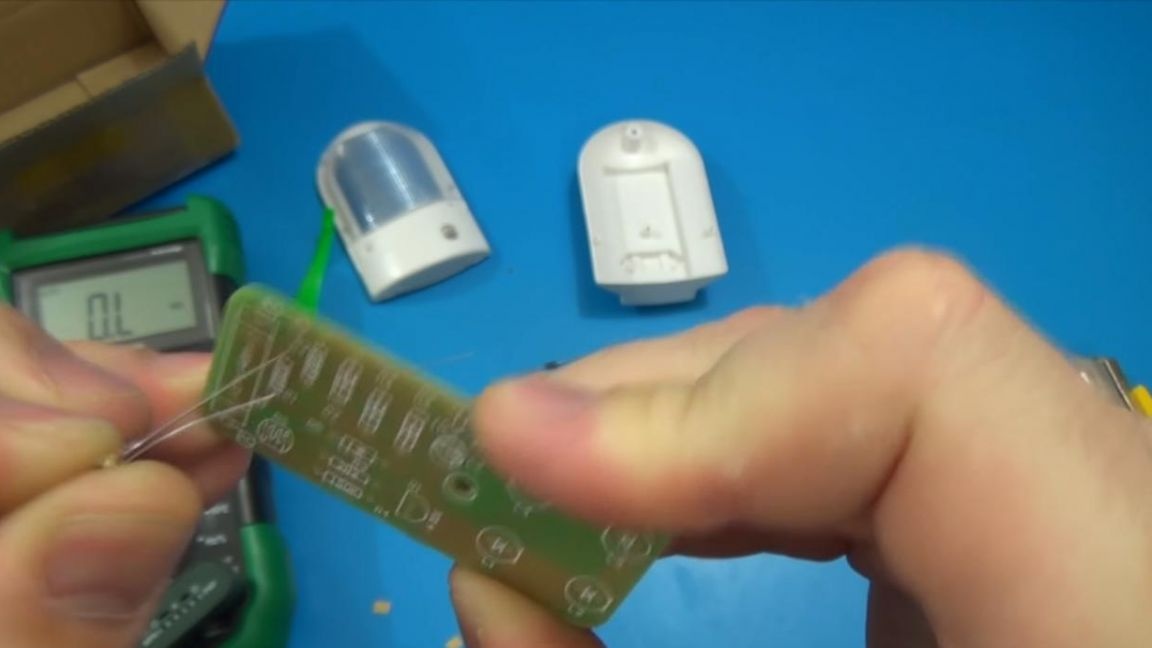
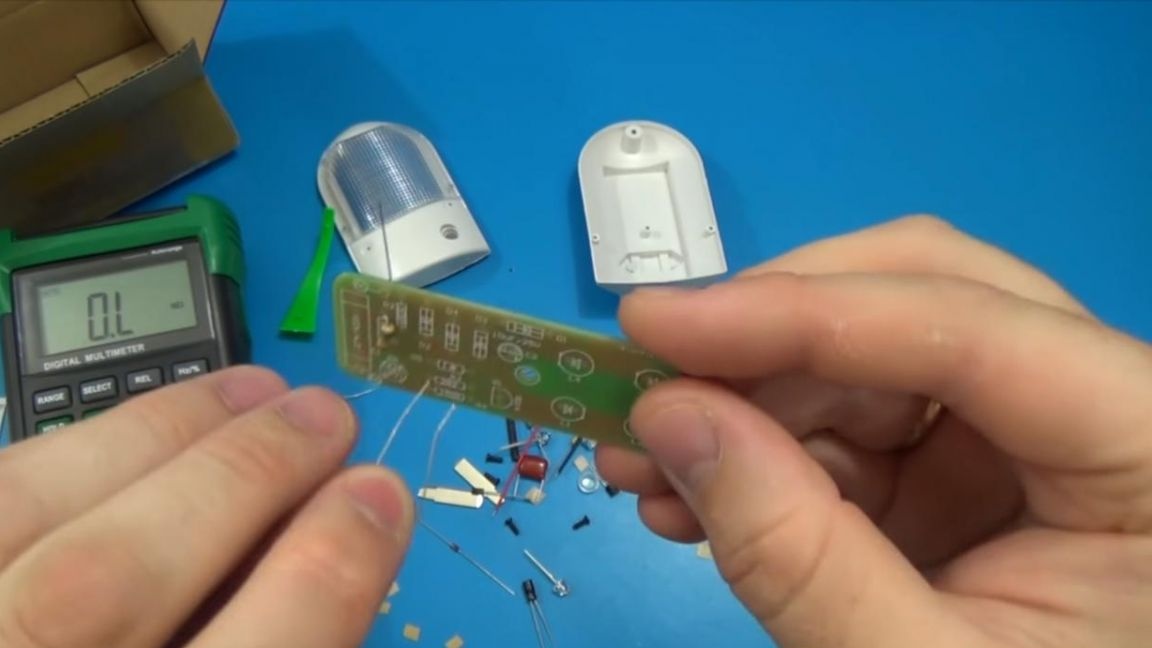
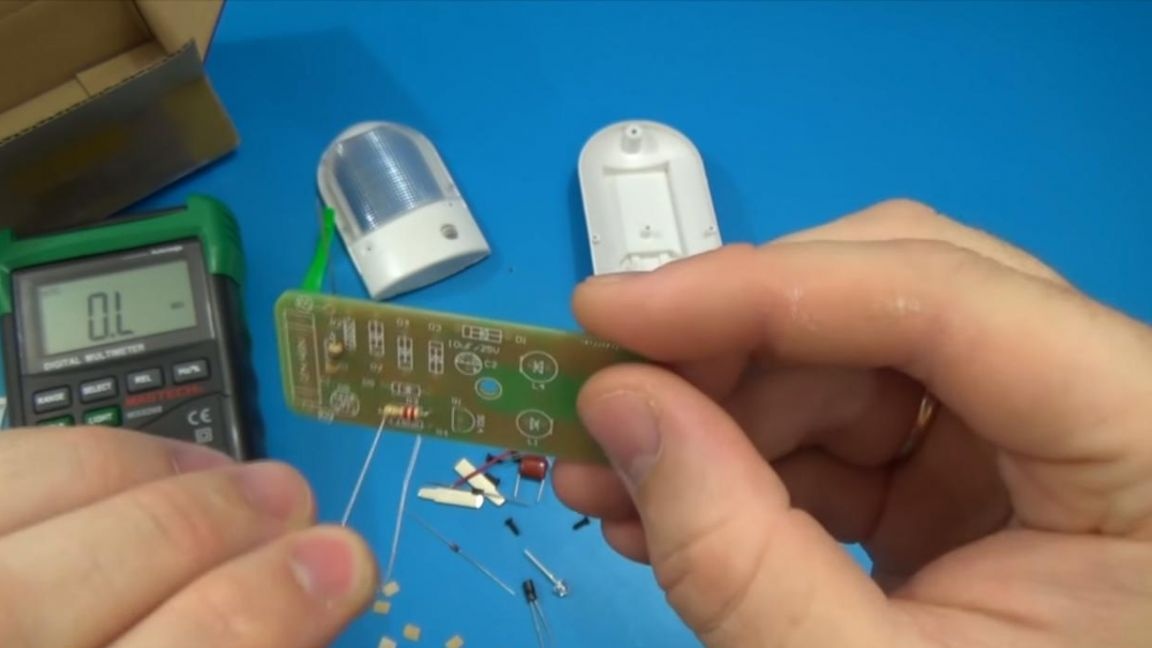
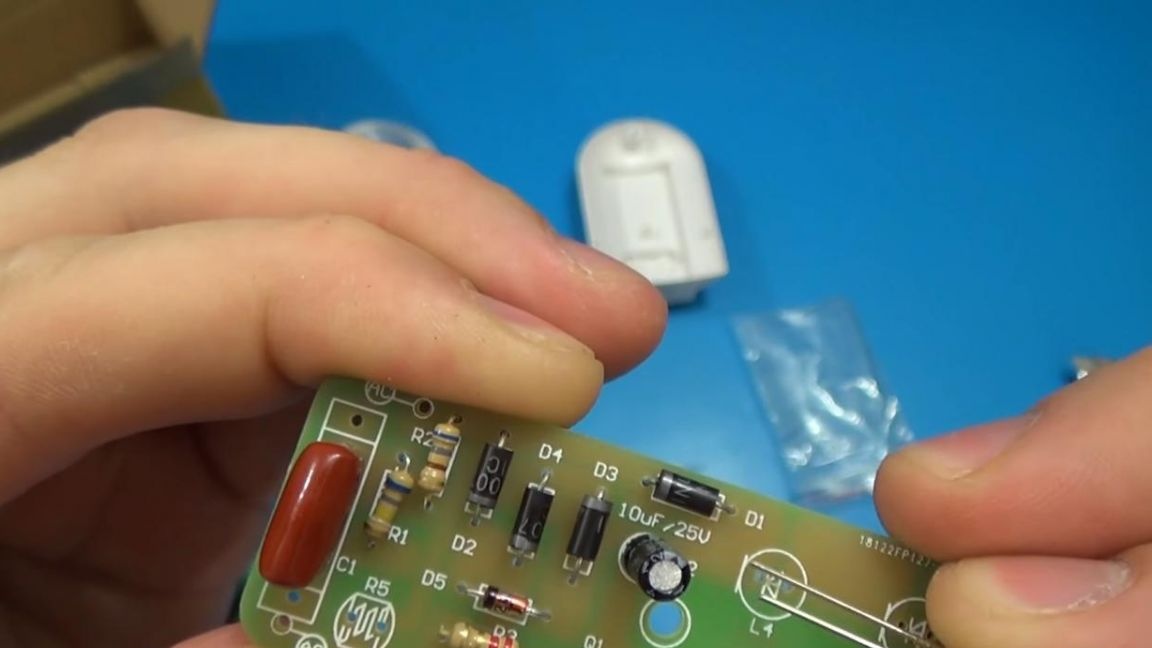
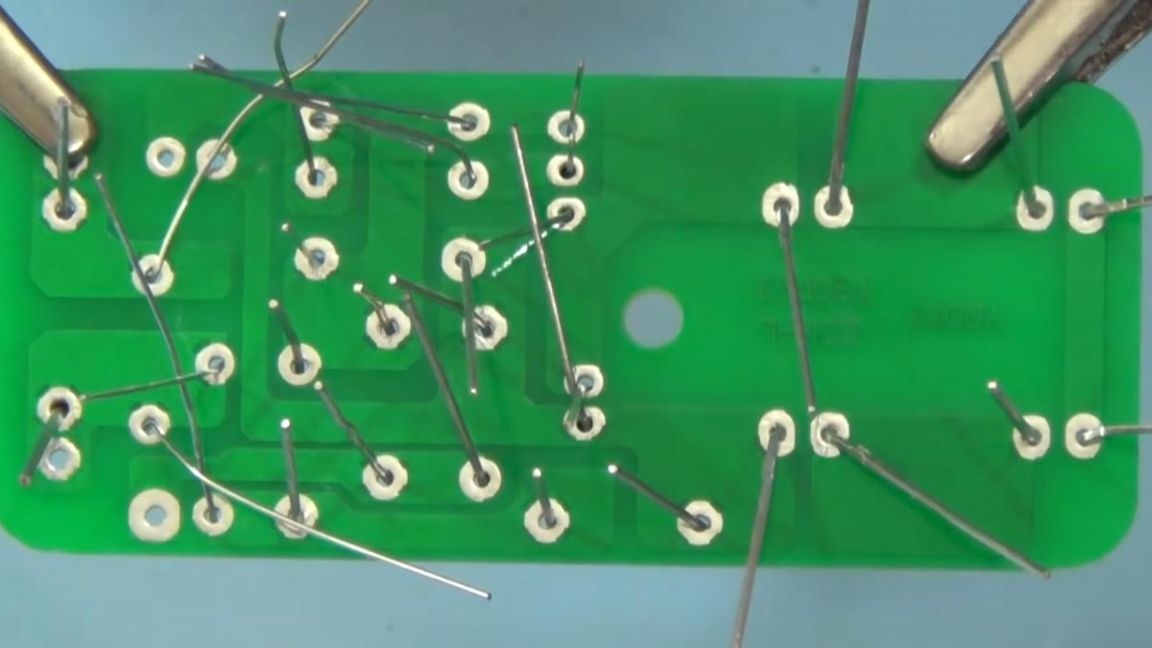
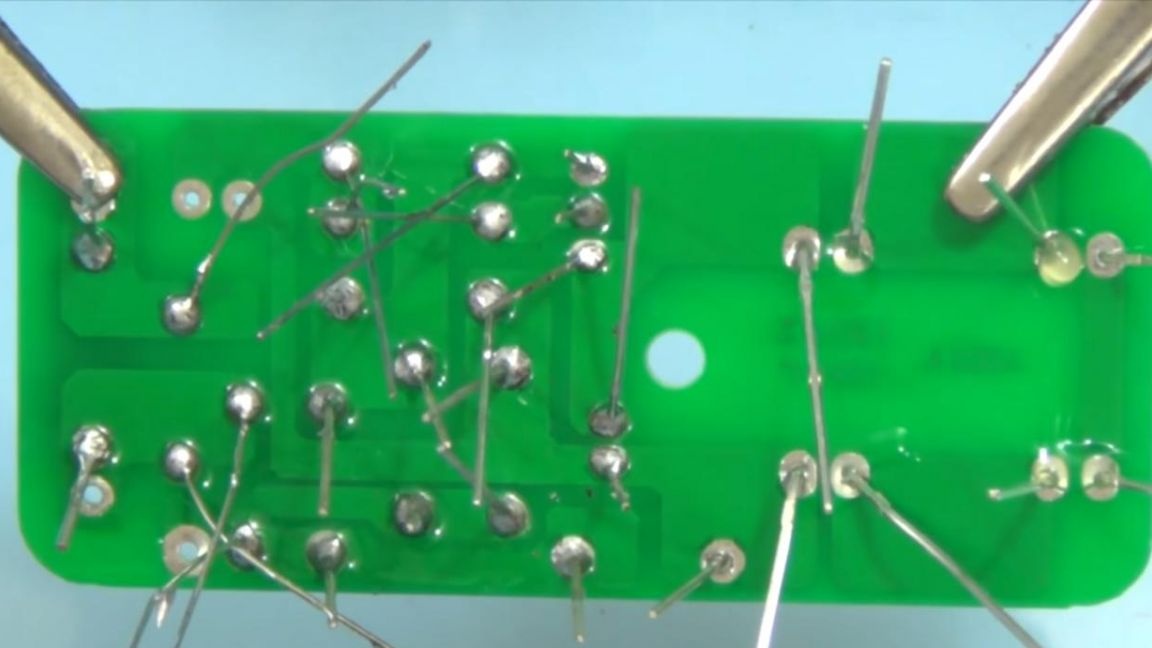
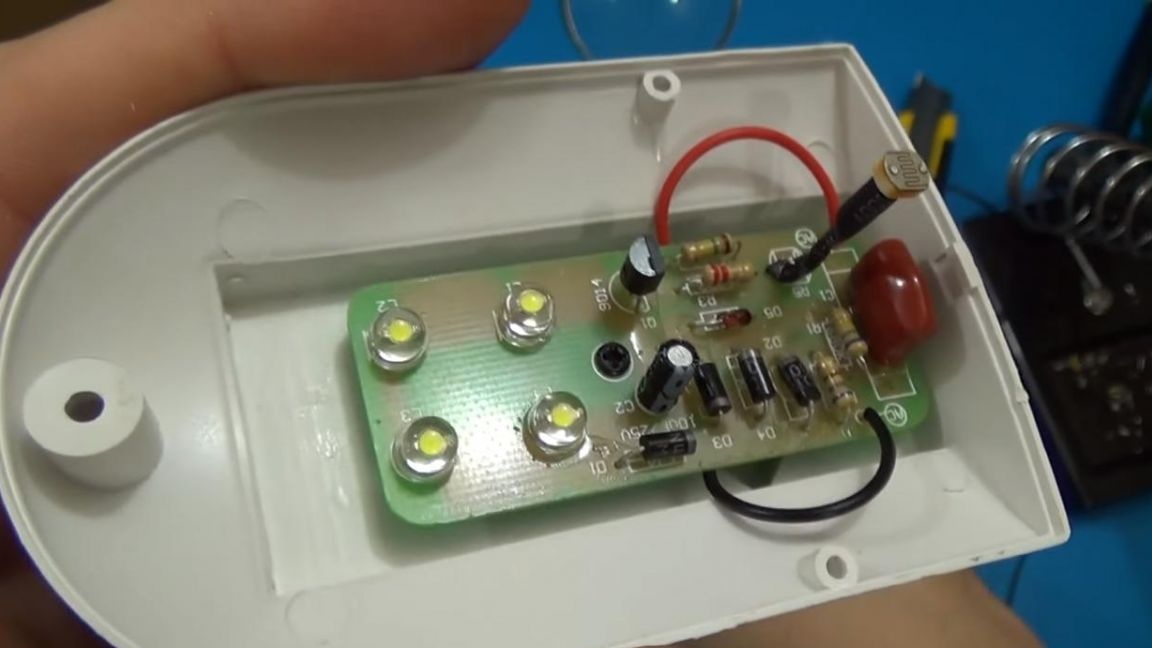
To begin with, consider a printed circuit board, it is made quite high quality and with an indication of the components, I think even a beginner will figure it out.
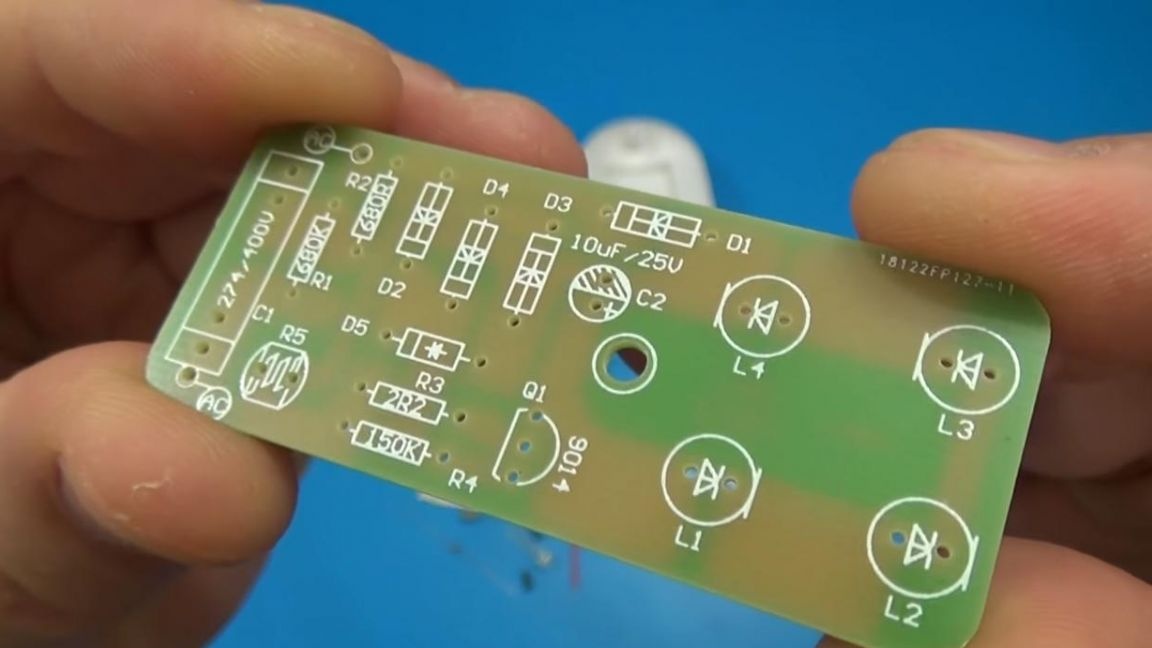
First of all, you need to install all the components on the board, there are a sufficient number of them. First, let's start putting the resistors in their places. On the board they are signed with the English letter R indicating the nominal resistance. You can find out the resistance of each individual resistor using a multimeter, a reference table on color marking, or using an online calculator where you need to enter the color of the strips on the resistor, there is also a special application on your smartphone. Gradually determine the value of the resistors, put them according to the inscriptions on the board, slightly bend the conclusions from the back so that the resistors do not drop out when soldering.
Step Two
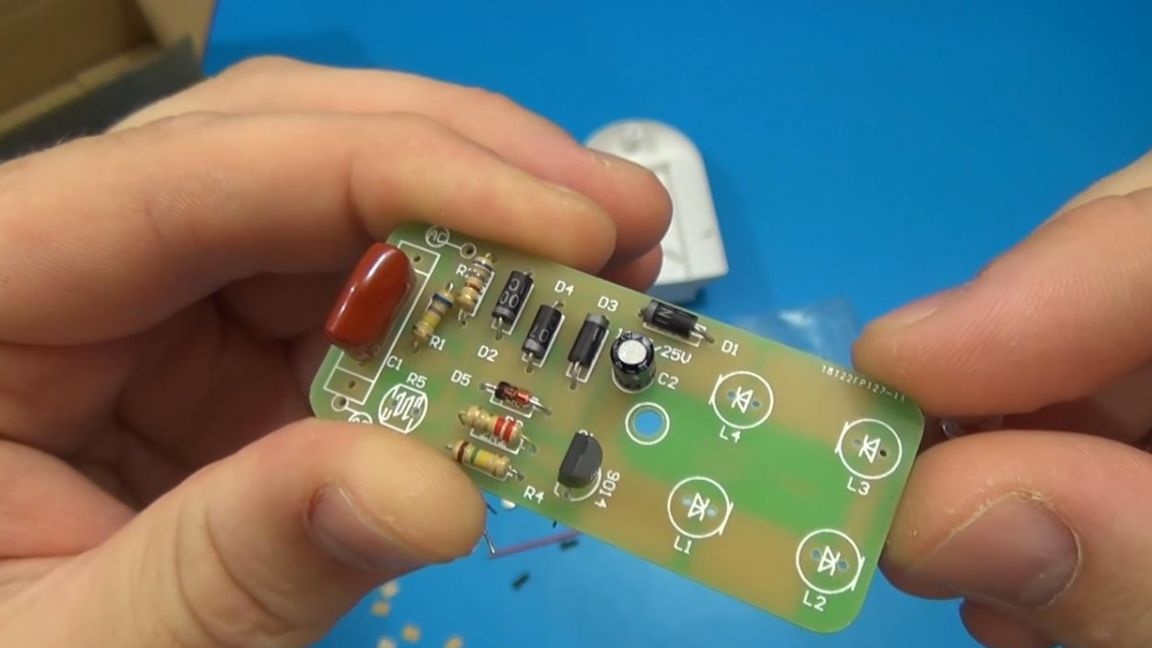
After the resistors, we arrange the diodes, on their case there is a gray strip, which must be placed in the direction with the strip on the board. Next, we install the transistor, combining its flat side with a bevel on the board, and then the capacitors, their negative output is indicated by a gray strip with a dash, on the board minus this is a shaded semicircle.
Step Three
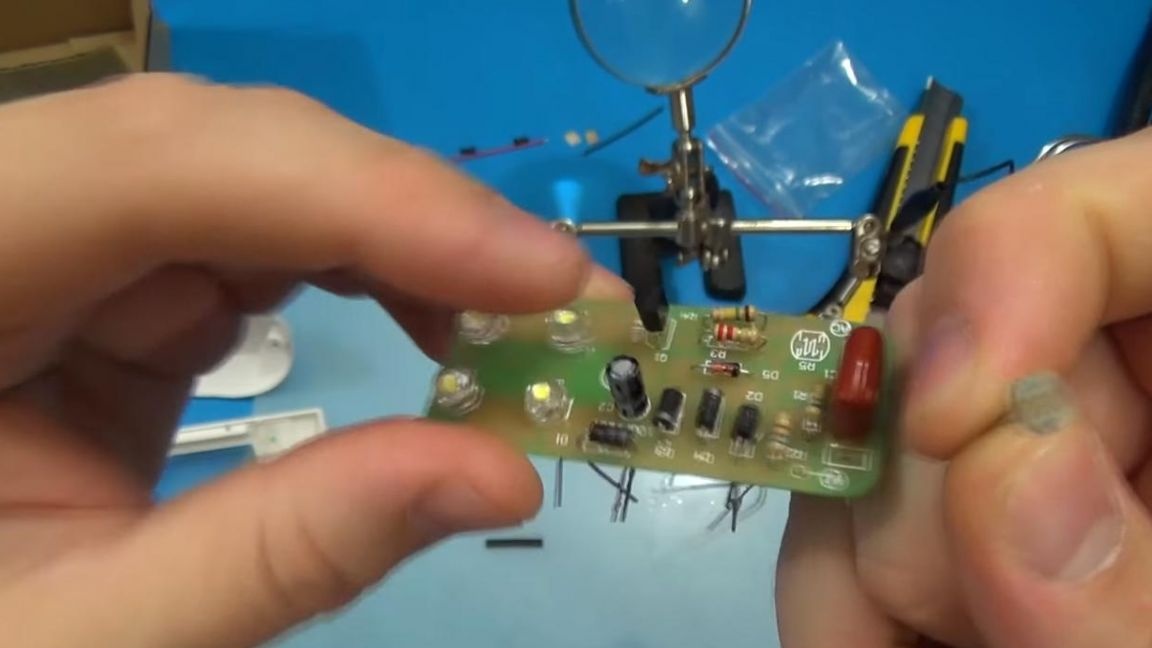
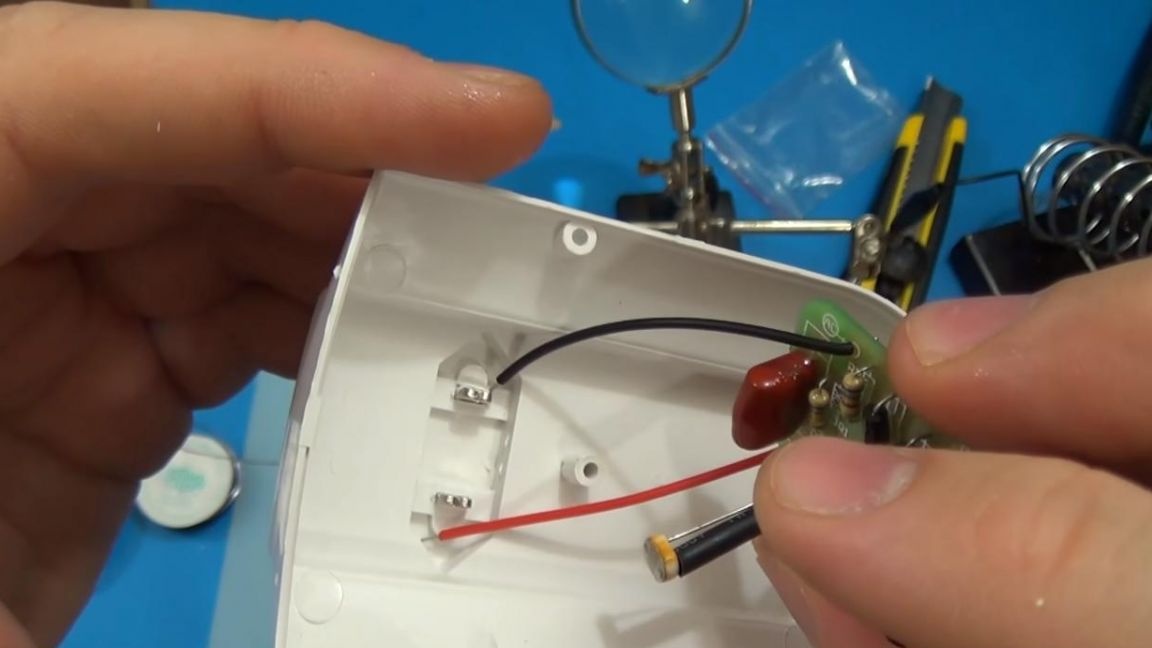
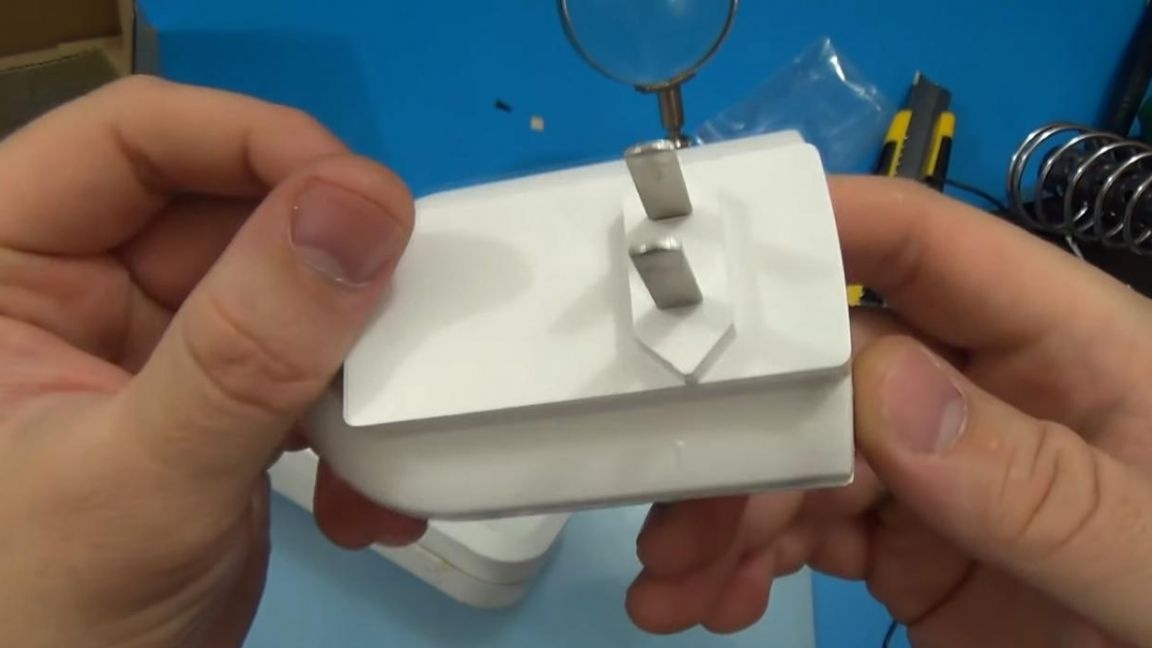
Now you need to install the LEDs. The LED has two leads, the cathode and the anode, the cathode has a short leg, and the anode is long. On the board itself, plus, minus are not indicated for installing LEDs, but there is an image of a triangle with a dash, so the triangle in this case is the cathode (-), and the dash is the anode (+).
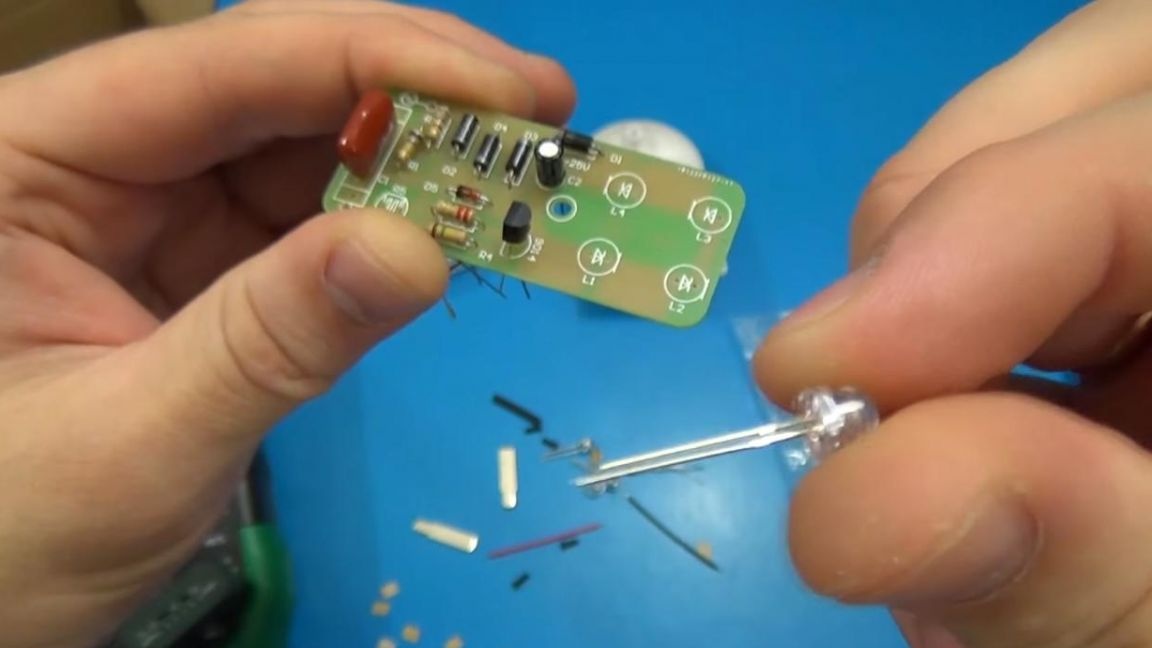
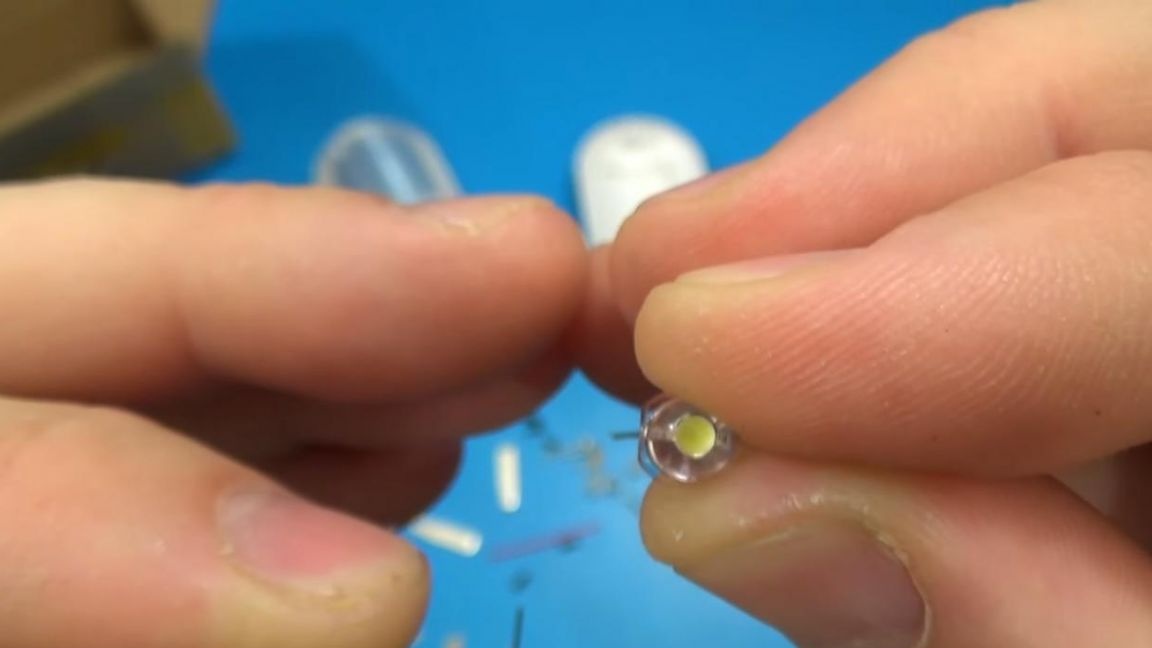

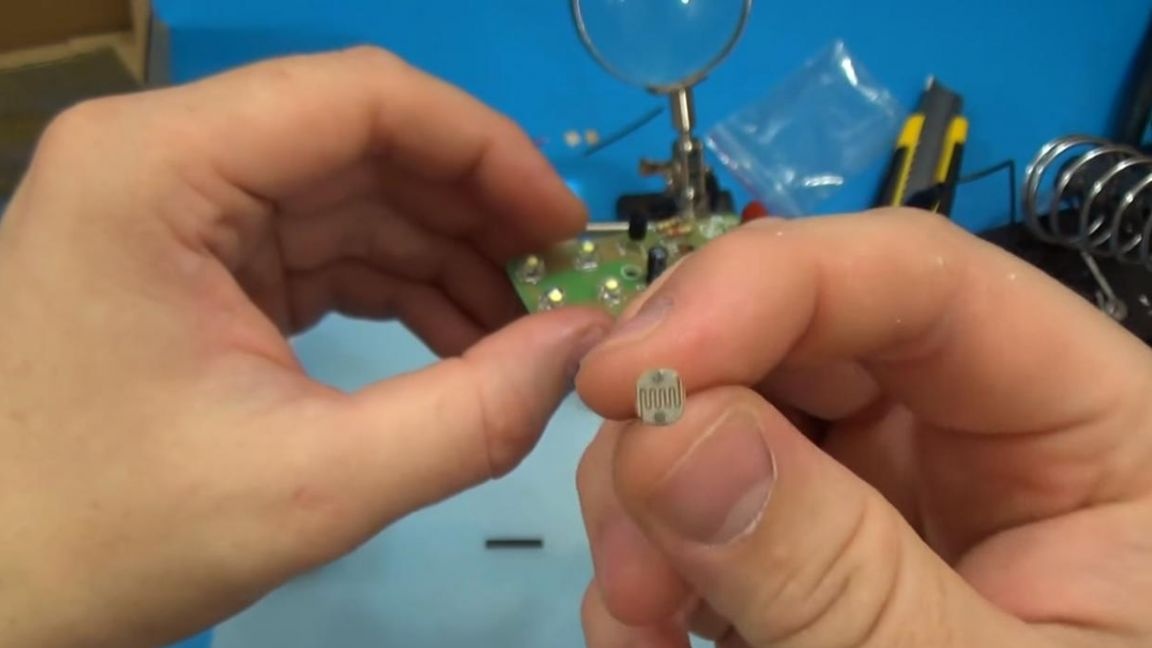
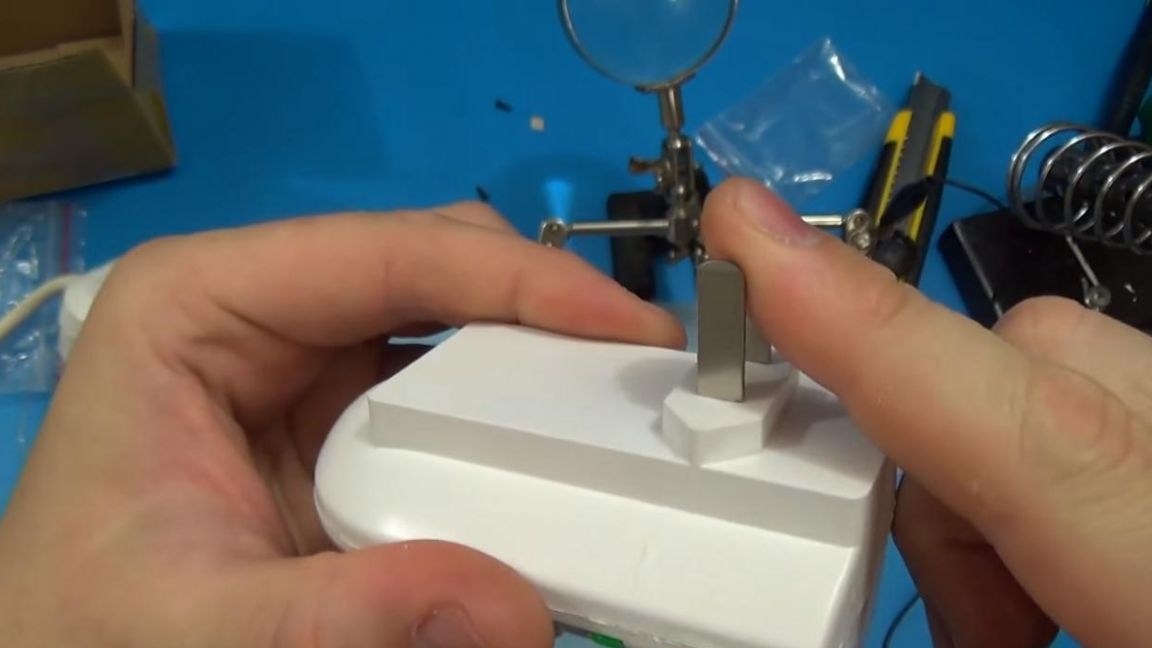
Also on the LED there is a small bevel, which is shown by a strip on the board touching the circle. You do not need to install a photoresistor yet, since it will need to be set in height so that it works correctly.

Step Four
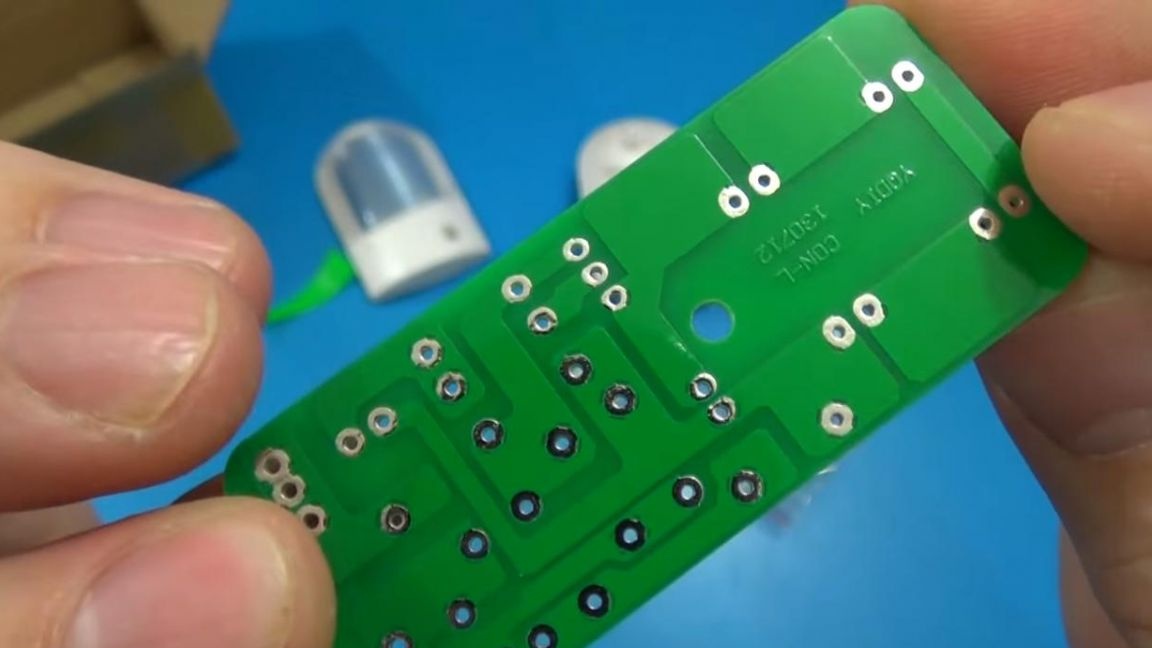
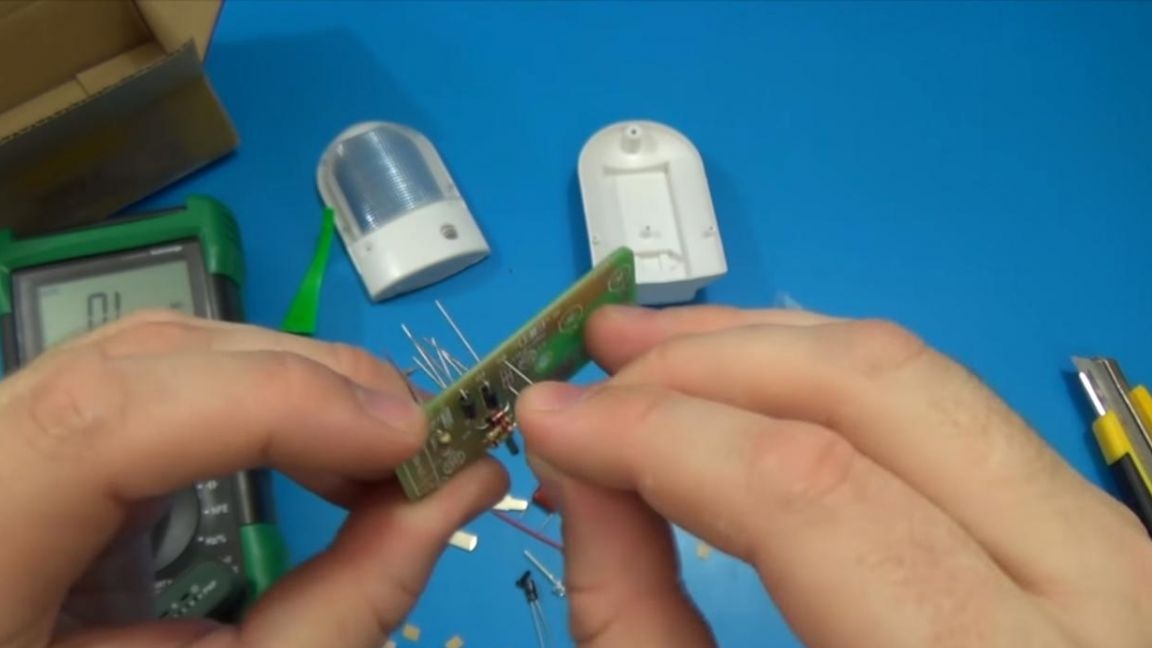
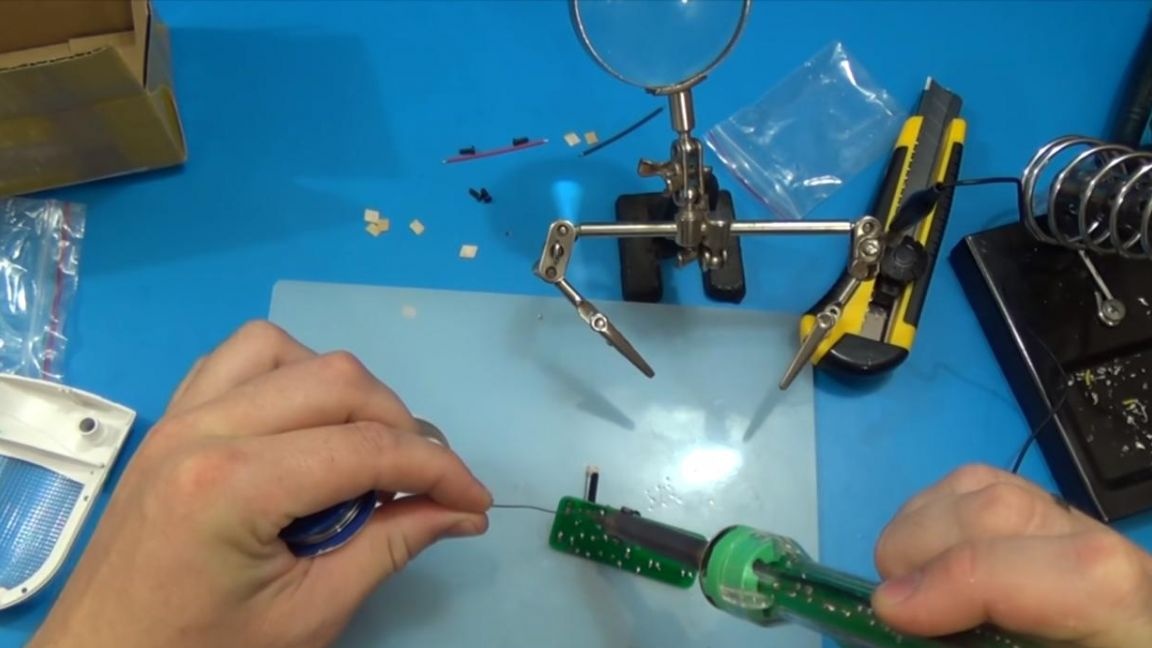
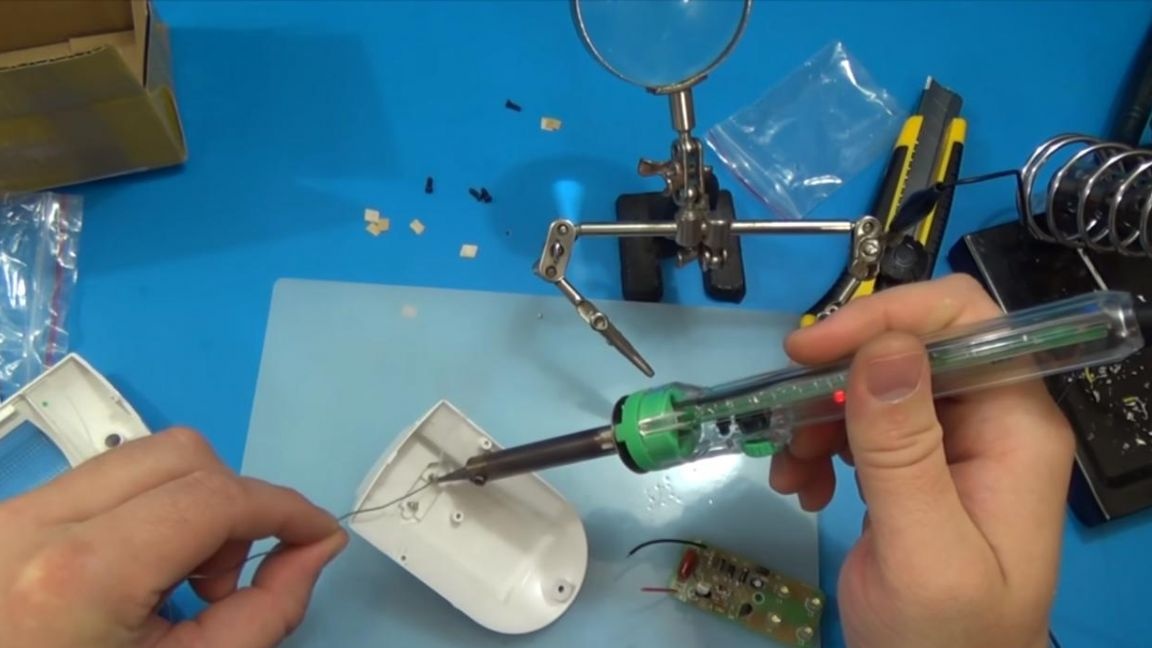
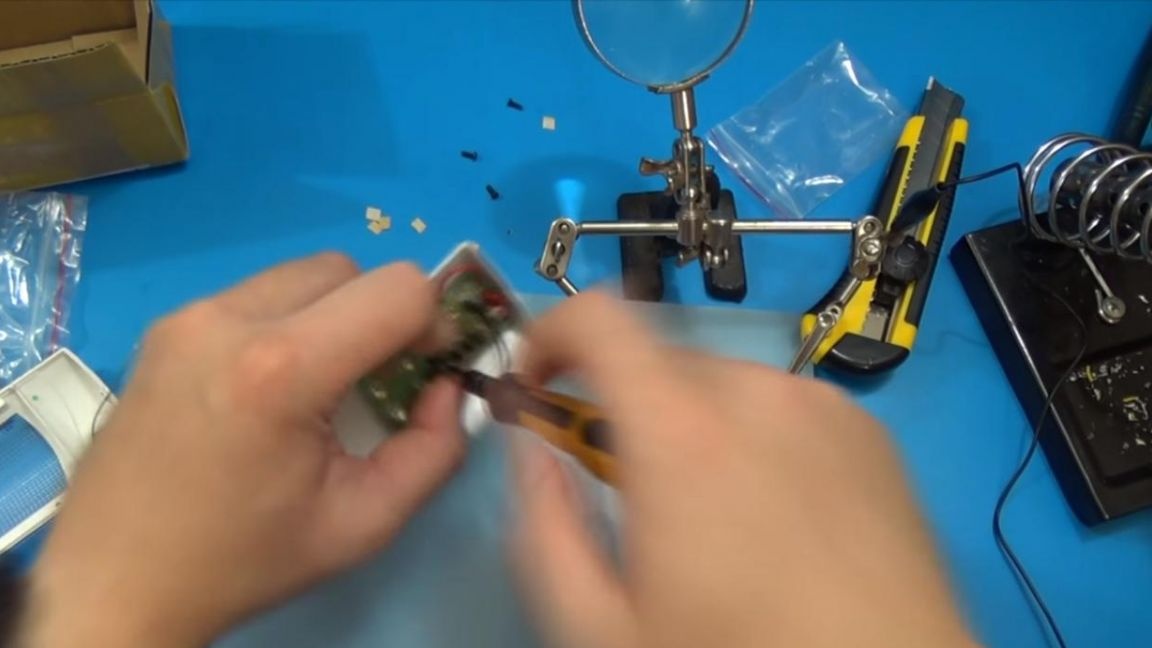
Without a photoresistor installed on the board, we proceed to solder the component leads.We fix the board in the soldering device "third hand" and apply a flux to each leg of the radio component.
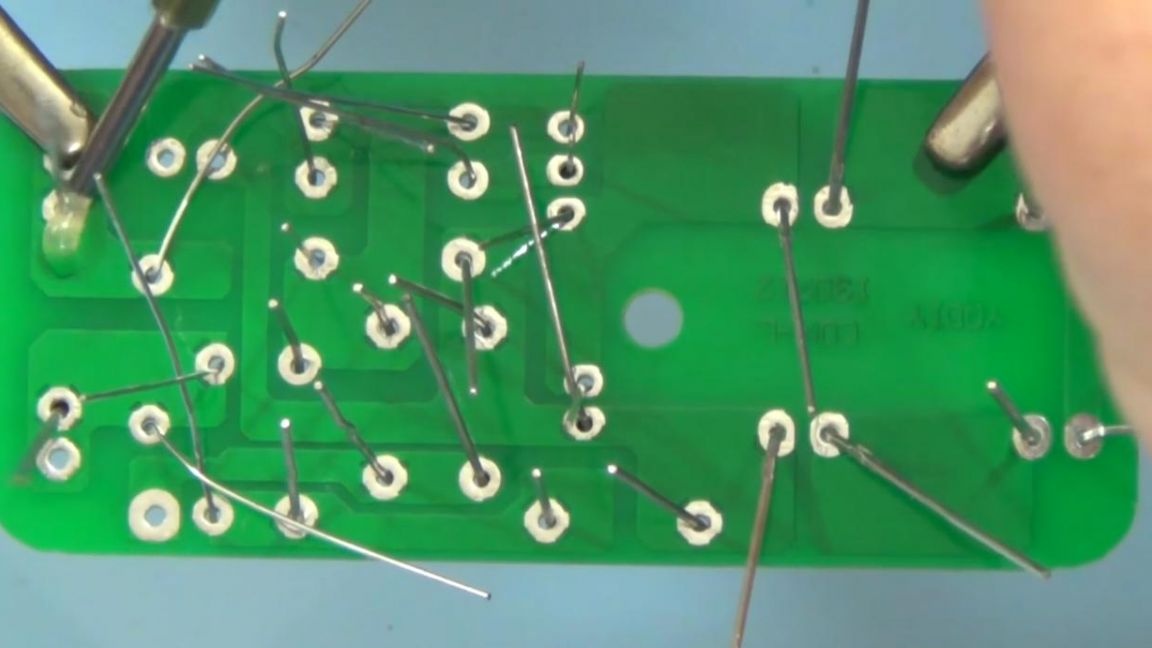
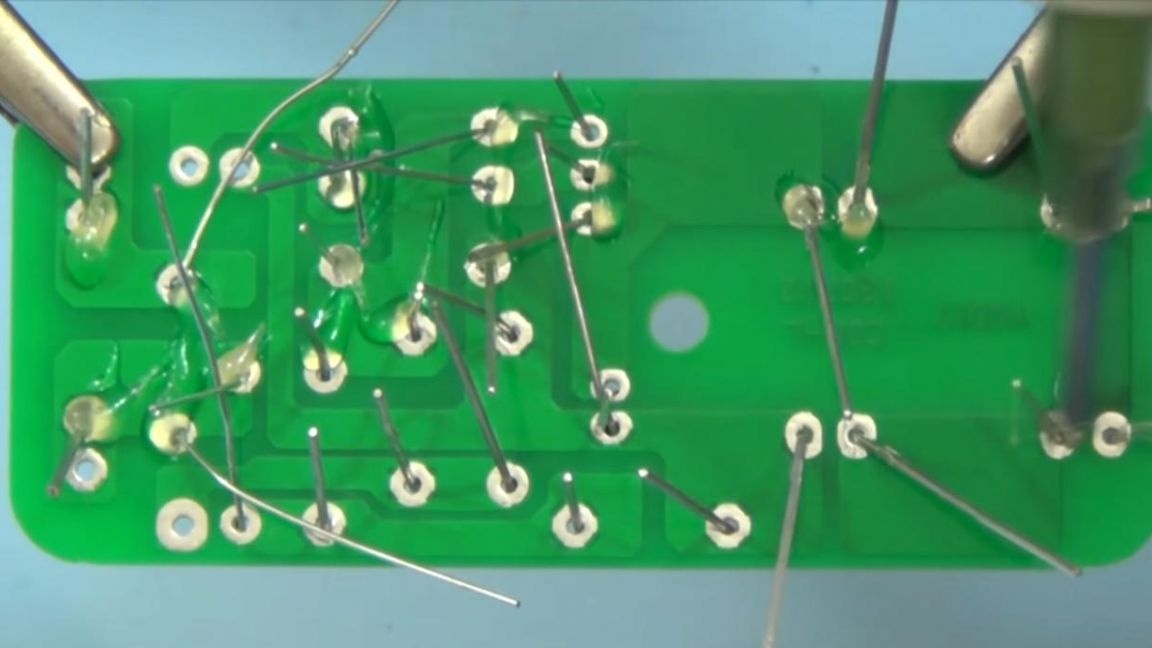
Little by little giving solder, solder the components. Next, you need to remove unnecessary residual conclusions using side cutters.
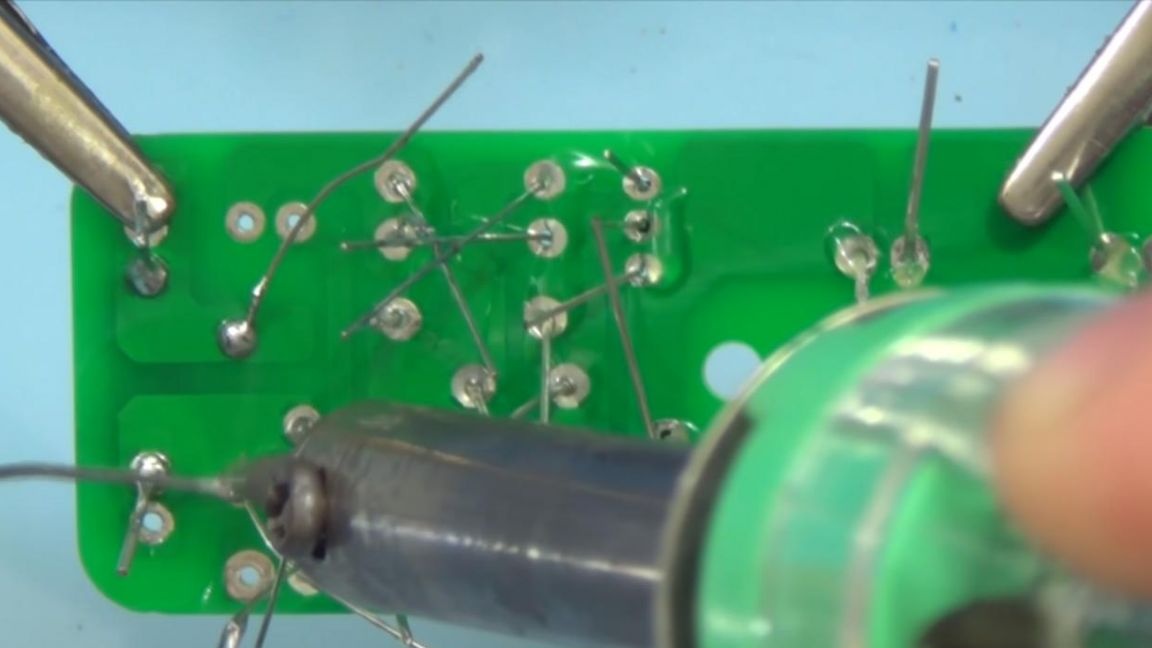
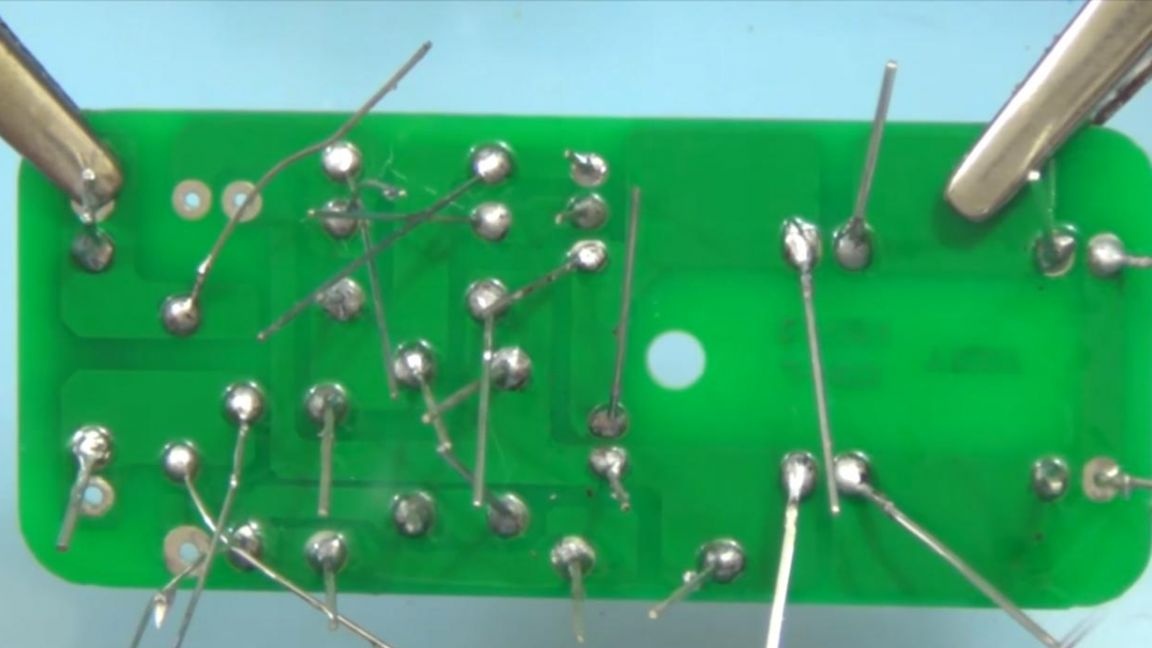
When biting conclusions with side cutters, be careful, as you can accidentally remove the track of the board along with the output.
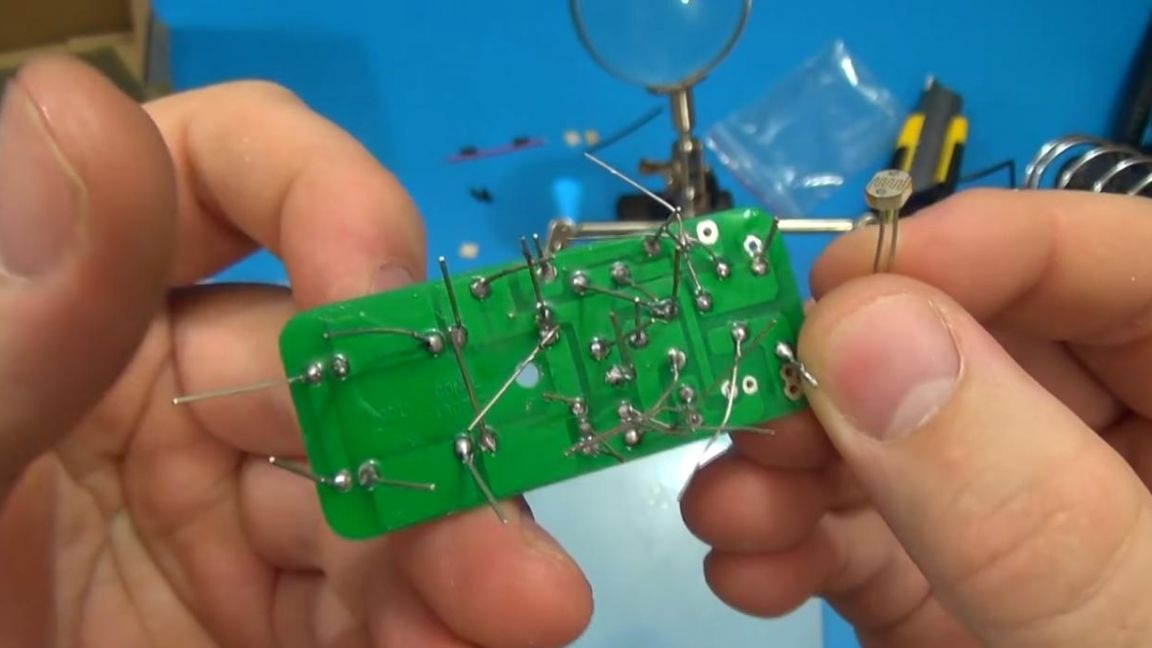
Step Five
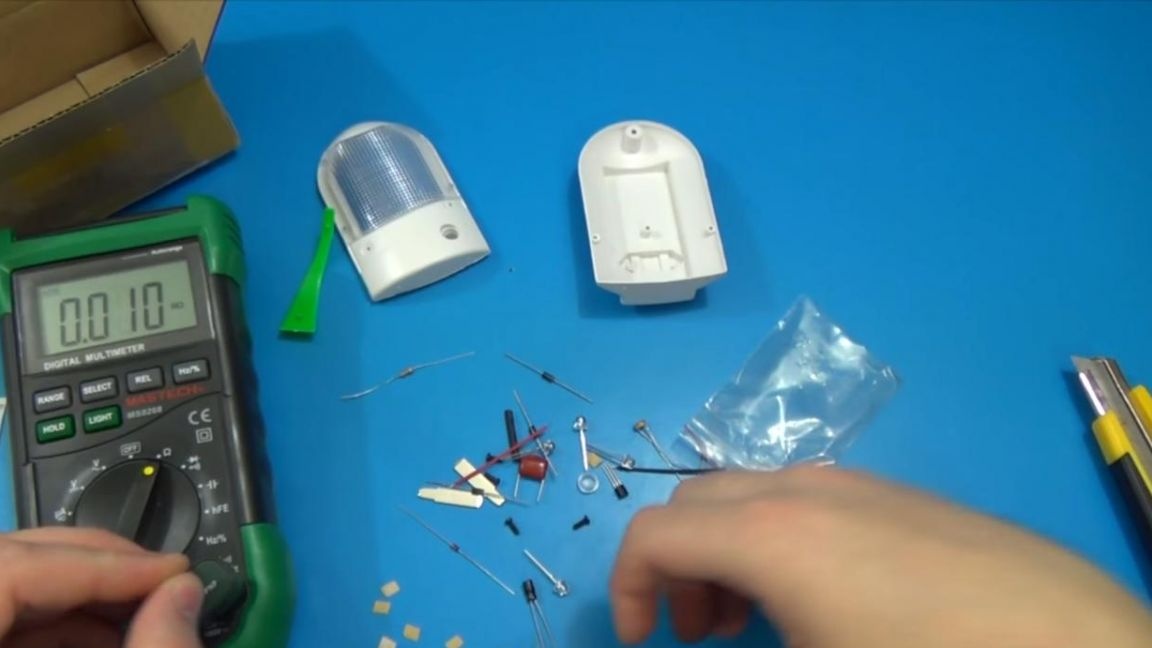
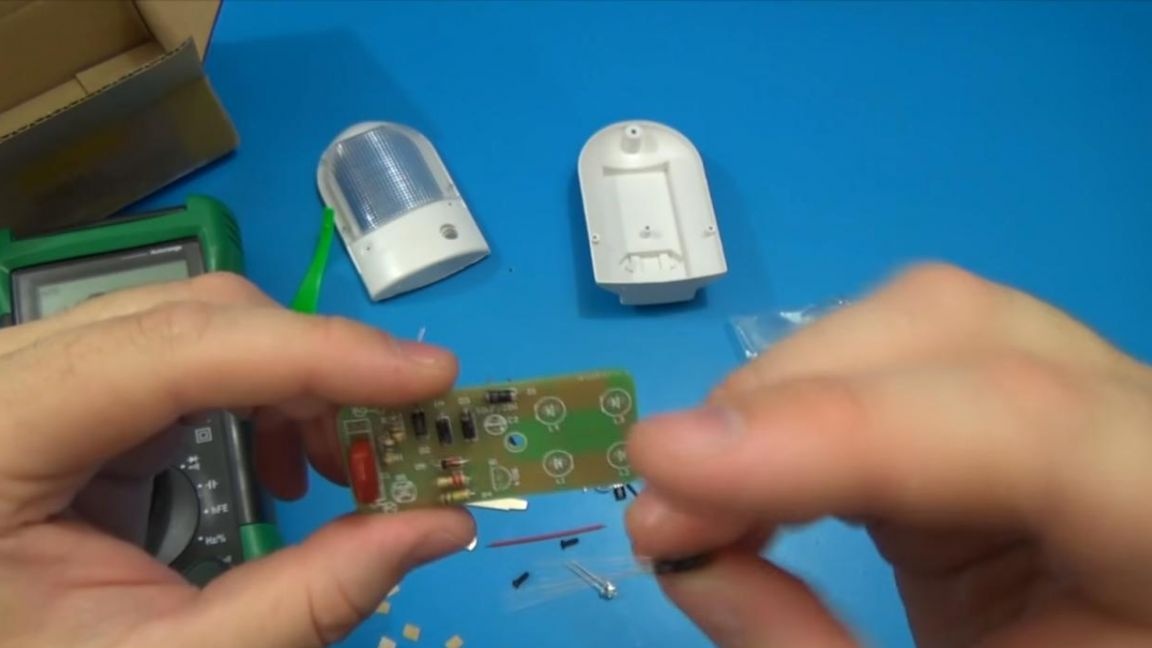
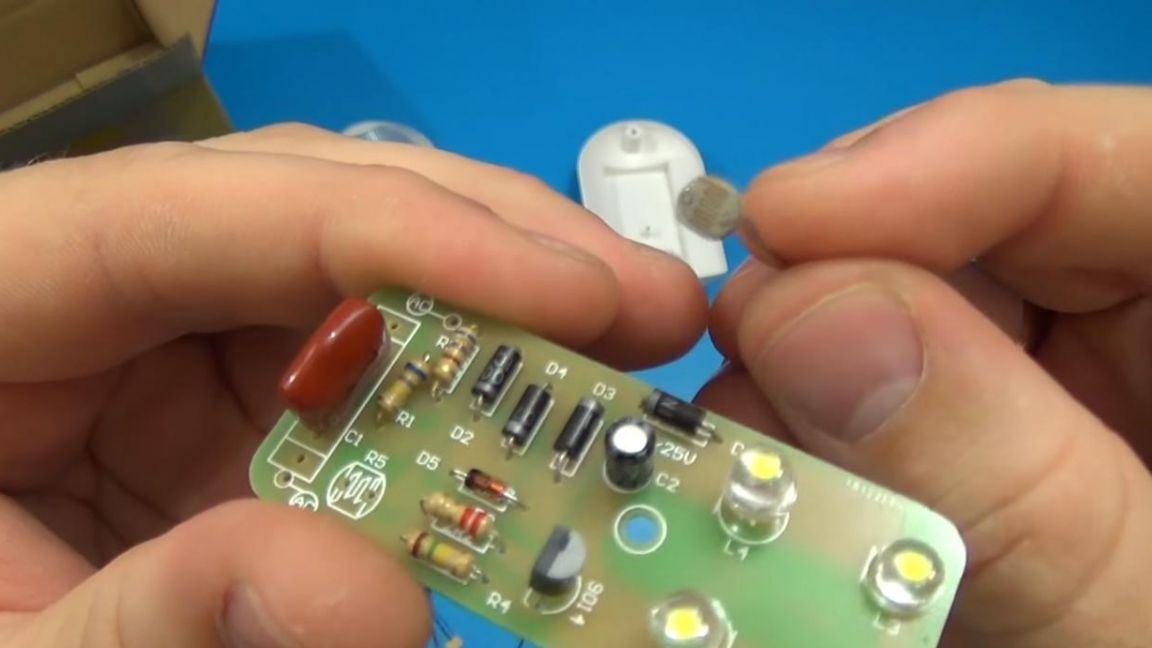
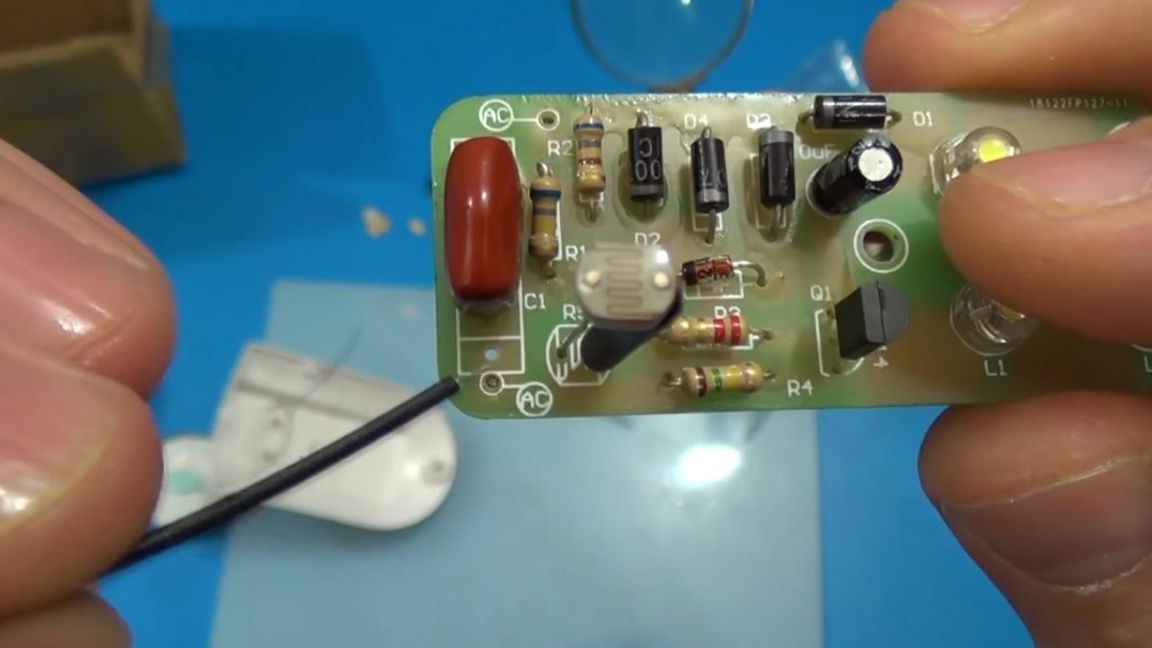
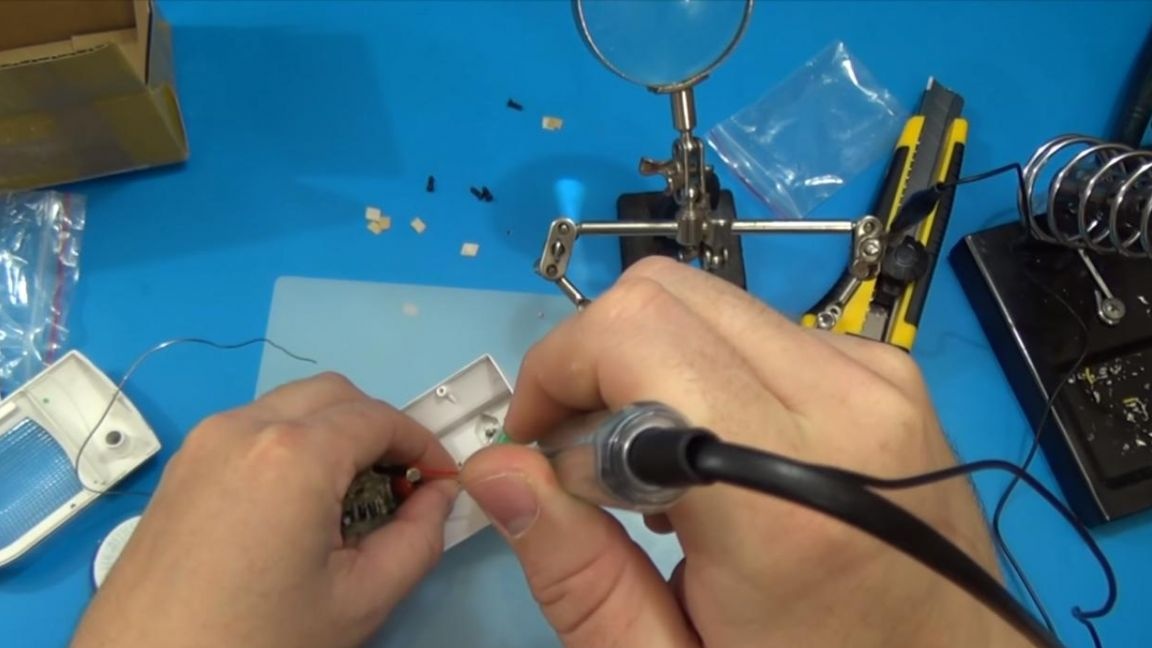
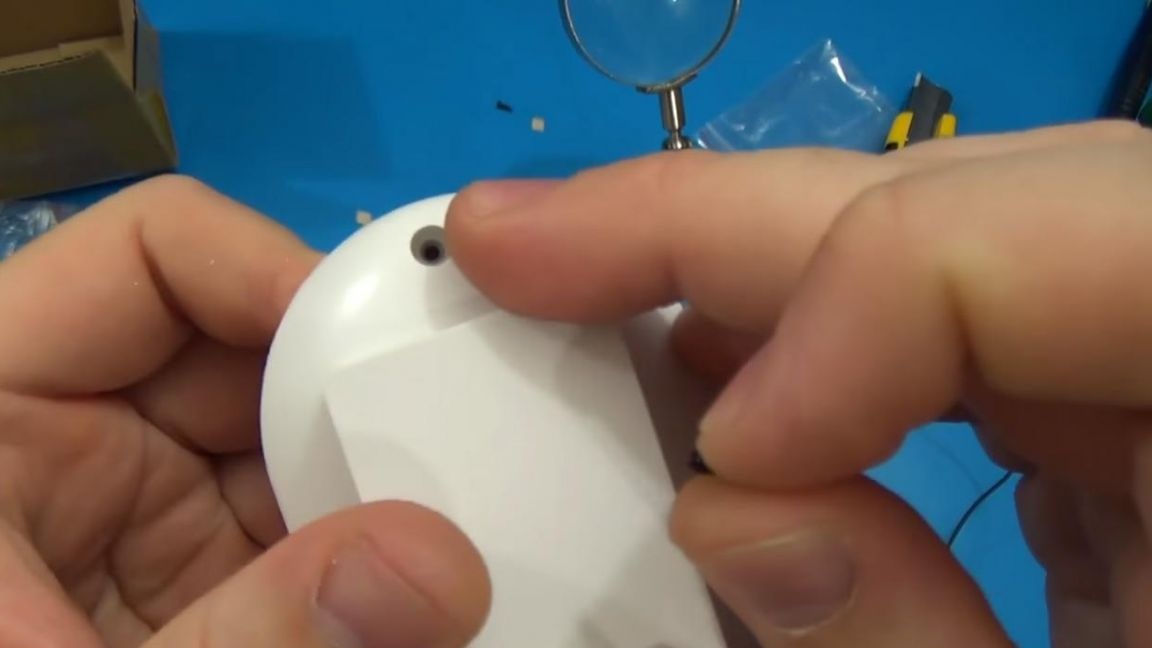
After trying a photoresistor in the case, we solder it to the board, and one of the conclusions is better insulated, for example, by heat shrinkage, it also serves as a kind of emphasis.
After soldering the photoresistor, we turn to the power wires. Our device is powered from a 220 volt network, the board indicates AC, where you need to solder two wires for power.
Step Six
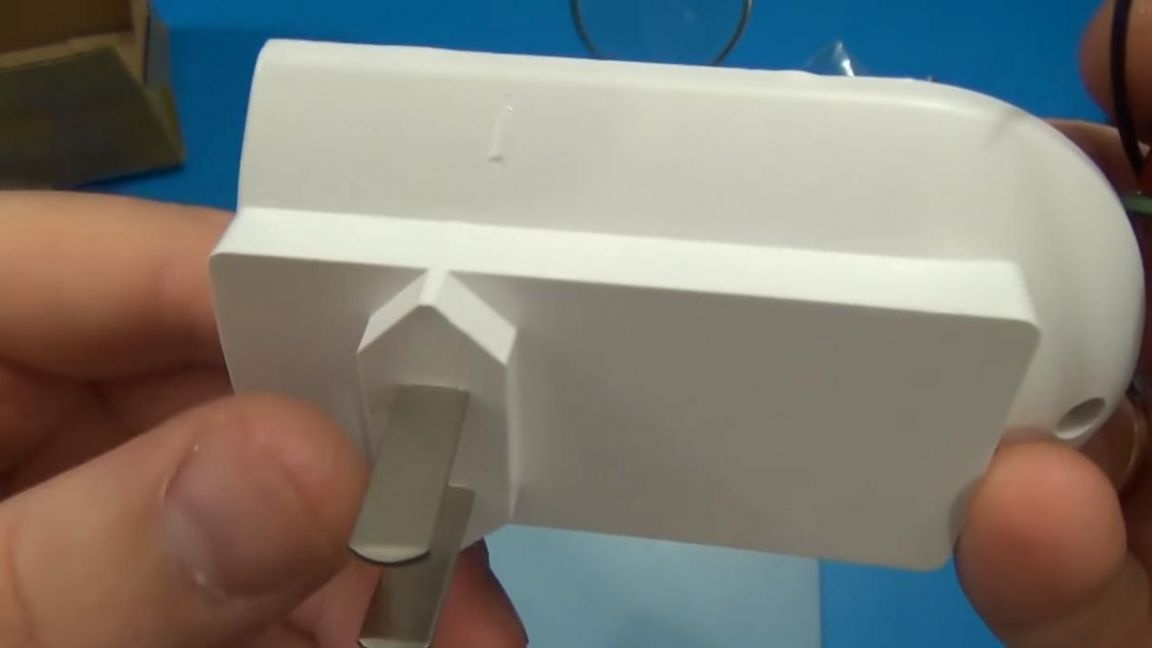
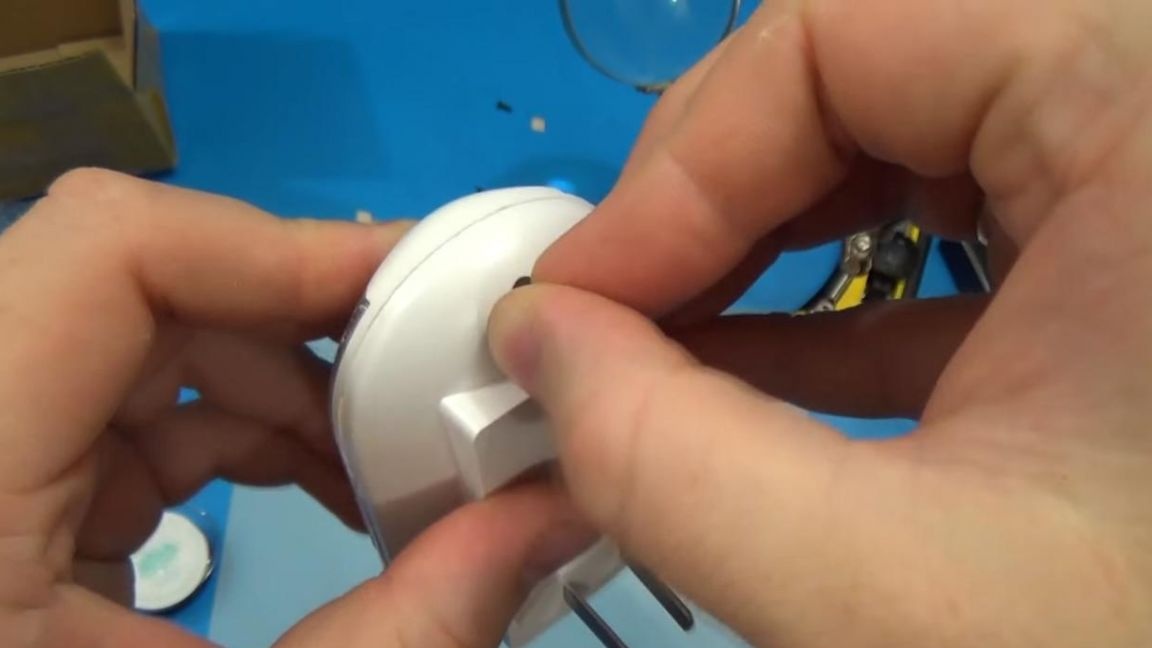
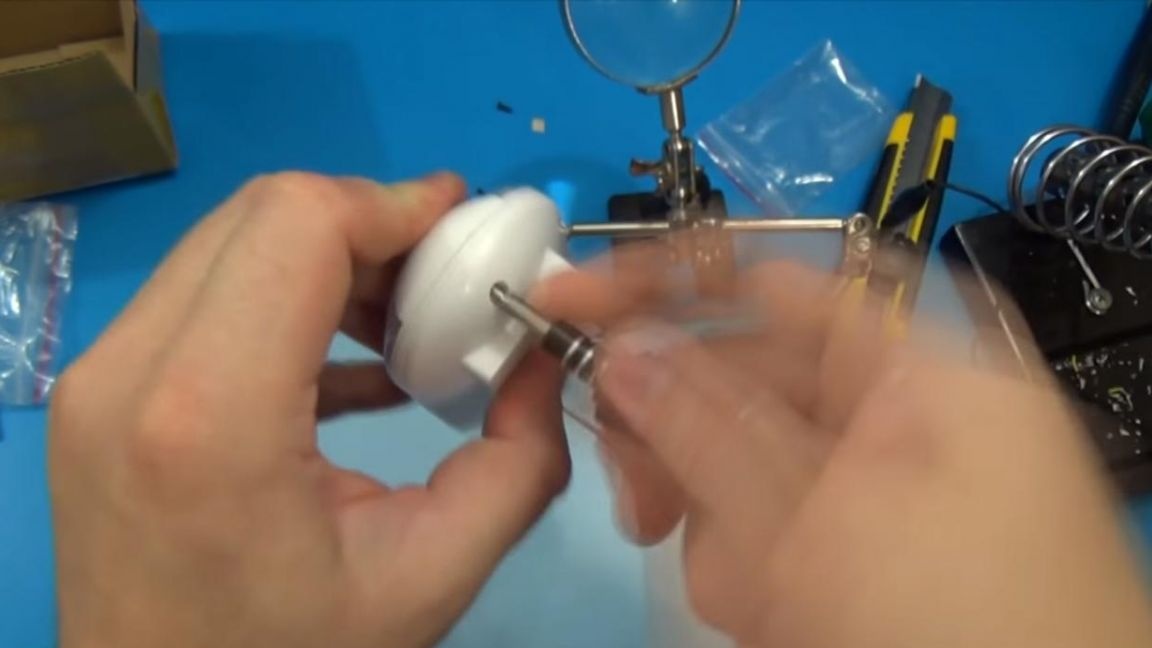
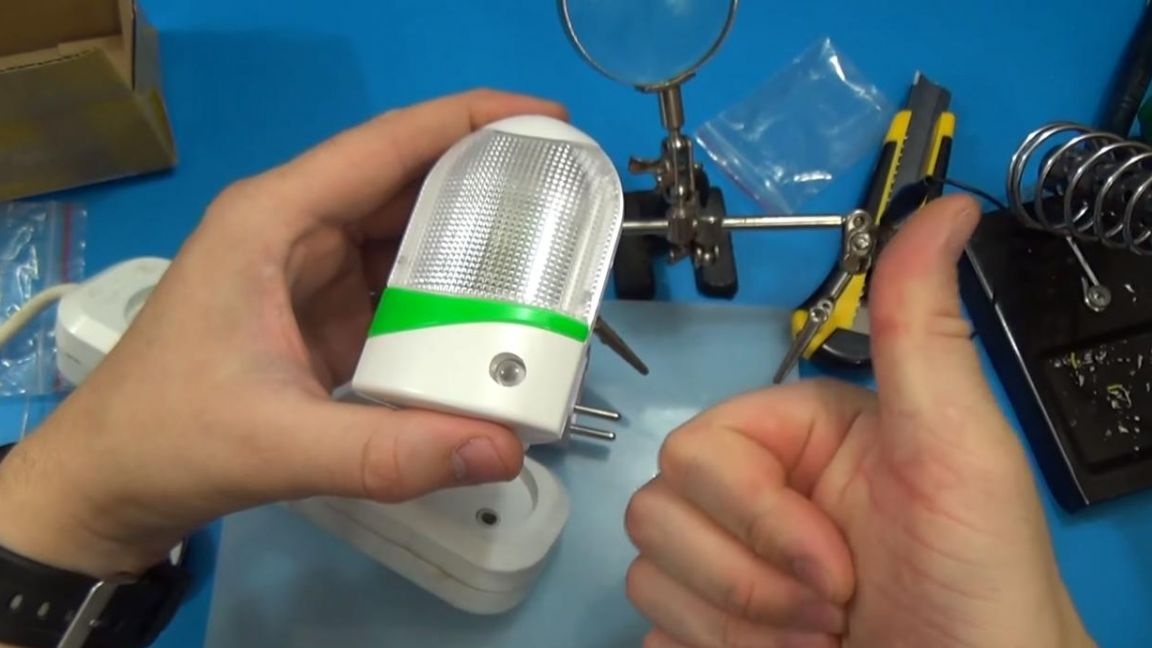
In the case we install elements of the plug, to which you will still need an adapter from American to European.
After that, solder the wires that were installed earlier to the terminals of the plug.
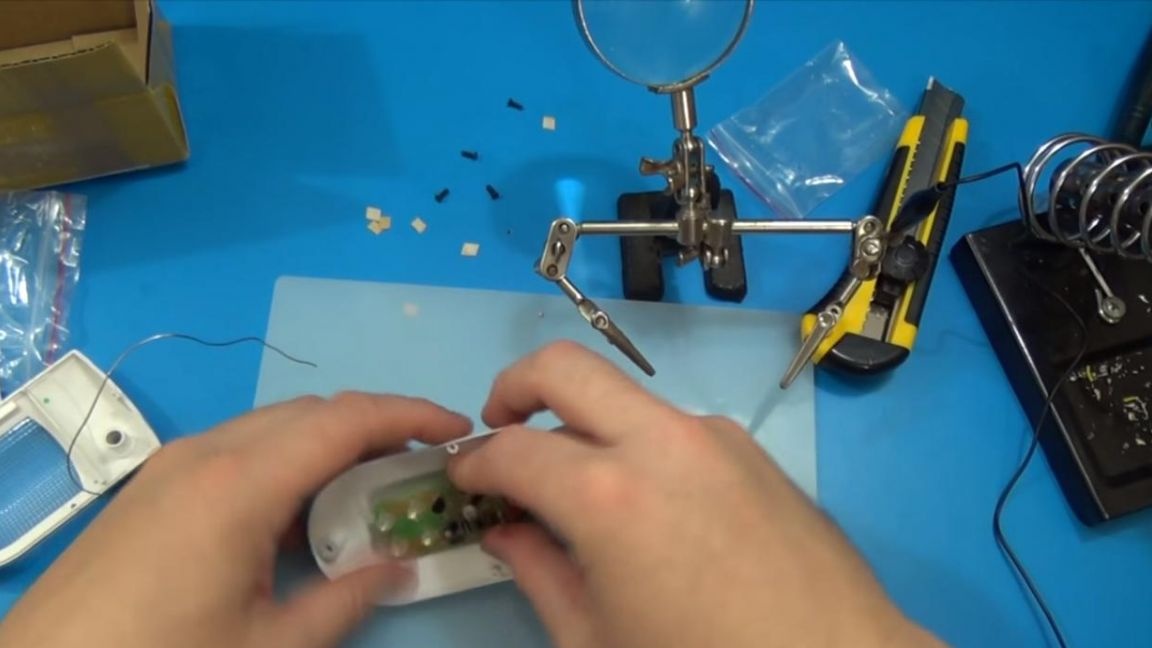
Next, we screw the board one screw with a Phillips screwdriver to the case, close the case and fasten the two halves with the same screw.
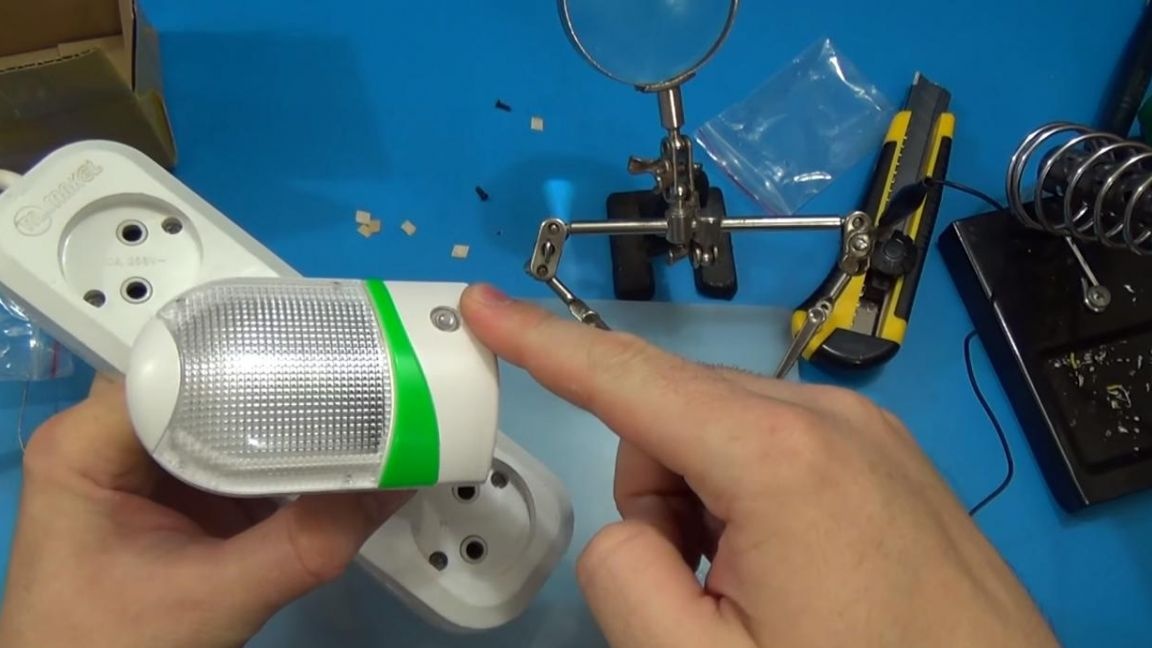
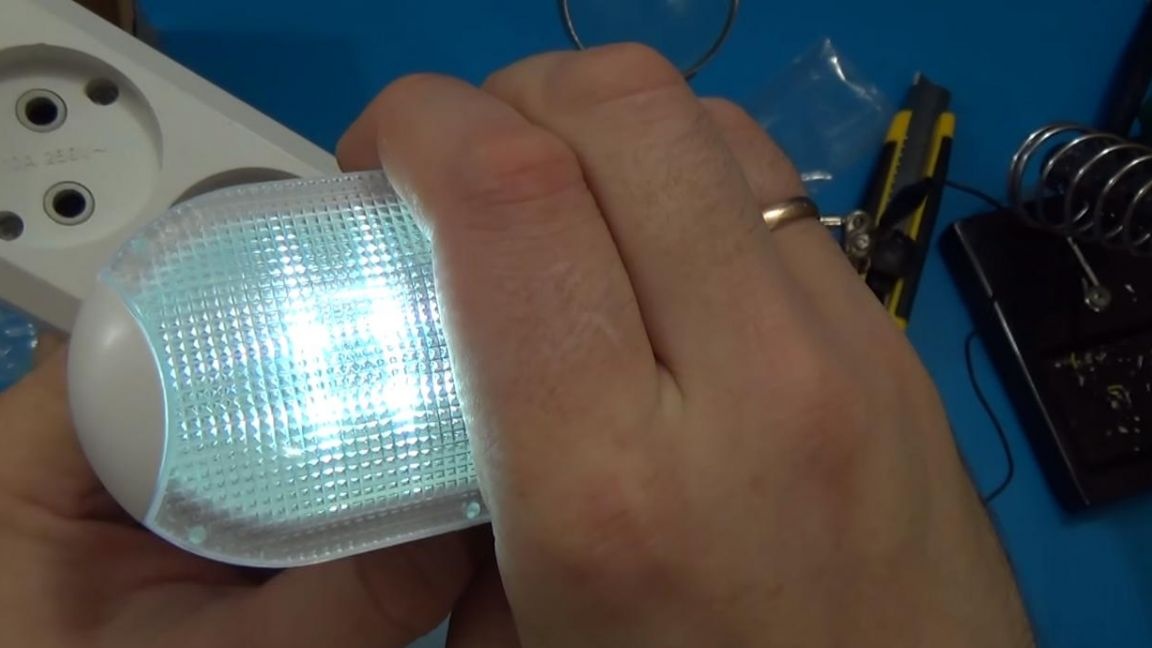
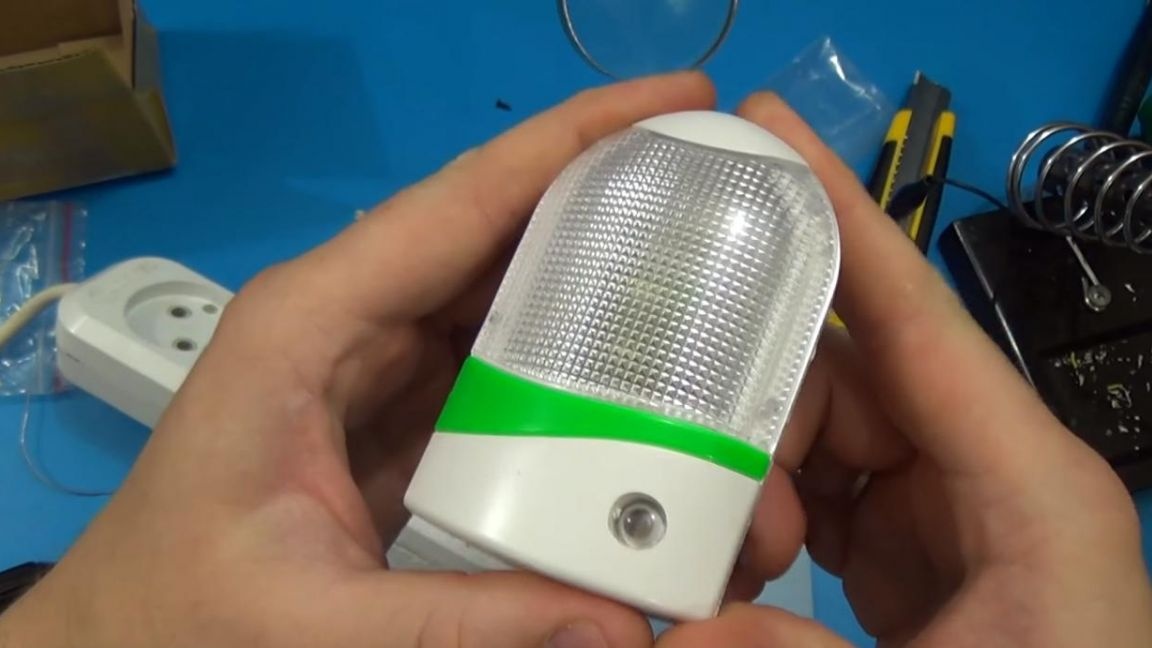
On this device can be considered ready. It remains to verify it.
Seventh step.
To the American plug, we select the adapter for the European one and stick it into the outlet. LEDs do not light up, but this is due to the fact that the light is on in the room, as soon as it becomes dark in the room or the photoresistor is covered by hand, the LEDs begin to light.
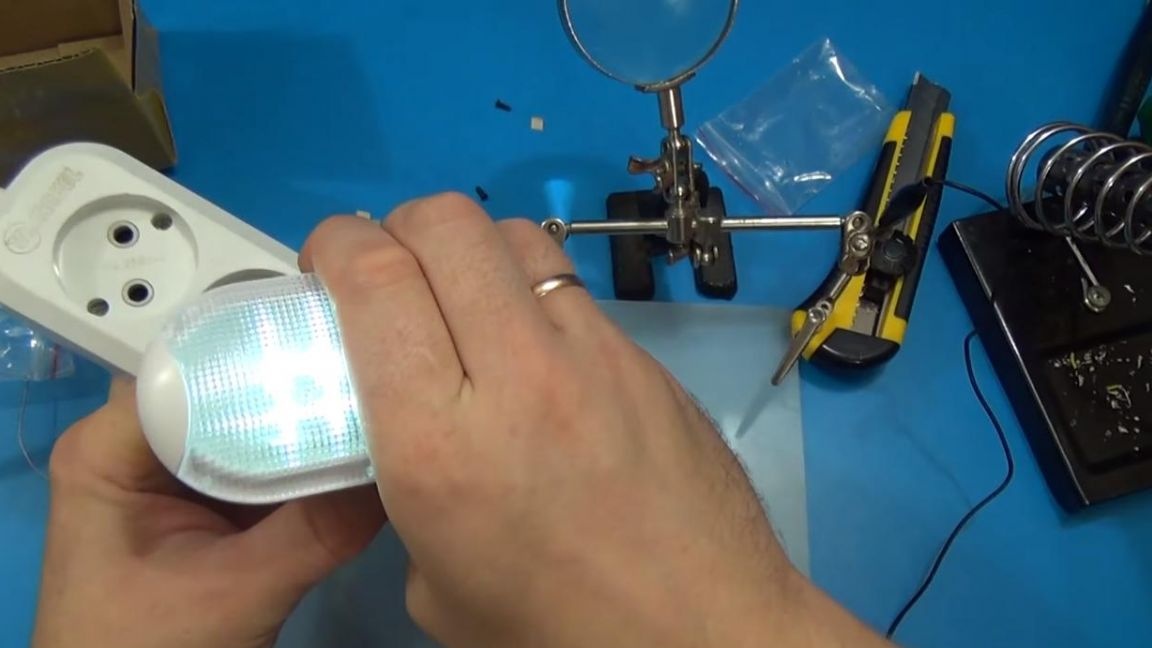
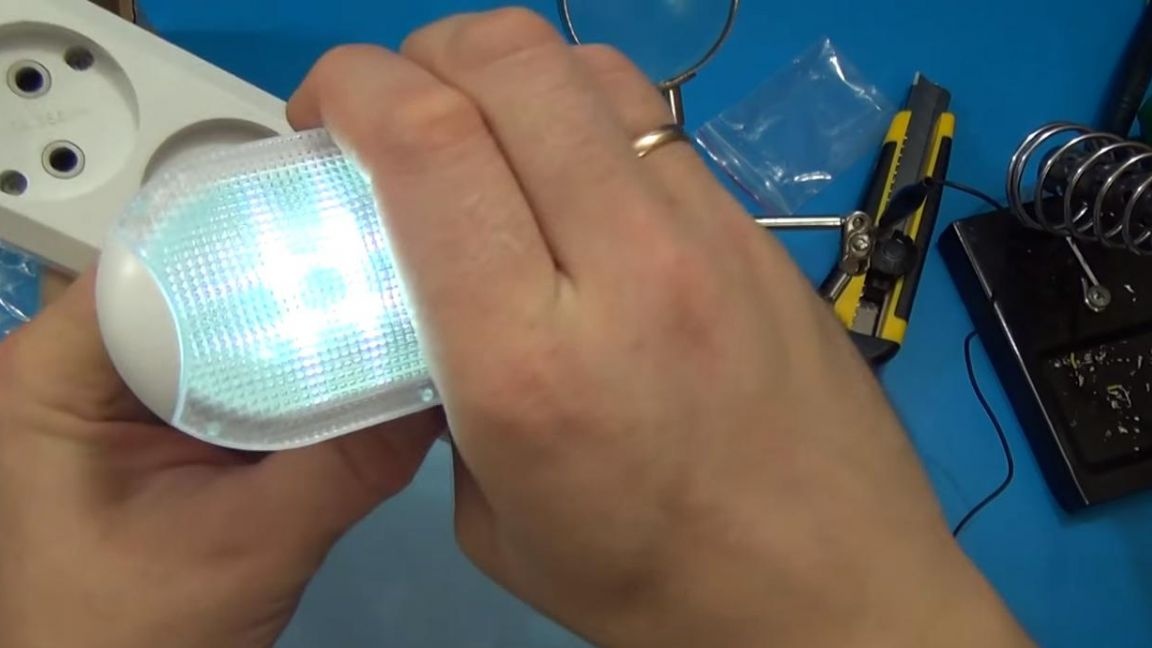
As for me, this nightlight is quite convenient, it does not need to be turned on / off, which means that at night it will turn on itself, and turn off when morning comes.
That’s all for me. Thank you all for your attention and successful homemade products to you.