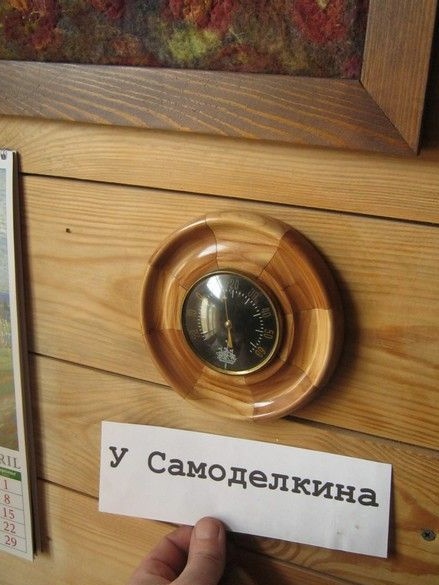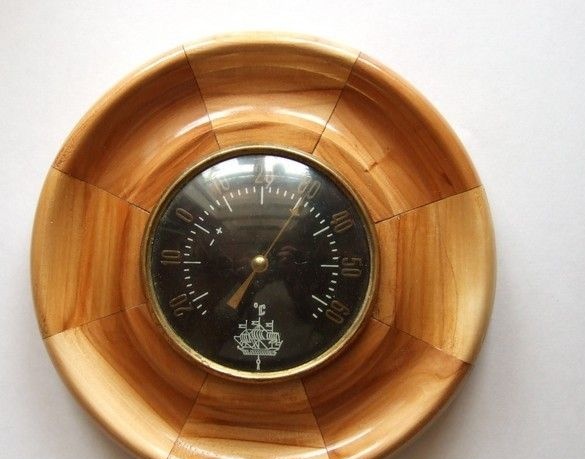
Somehow my friends gave me such a thermometer when moving. A little more and there will be a rarity. And so he stood in front of my nose for quite some time and worked faithfully. Yes, I must say, in a house with stove heating, a room thermometer is a daily necessity, especially for beginners, a heat-sensitive brick oven, the unit is very inertial, the reaction to any action is calculated for hours and with a lack of experience, you always look at the thermometer - well done or somewhere he missed it - he didn’t make an additional bookmark of firewood ... Yes, and the sensations of warmth are sometimes quite subjective and better to always maintain a stable temperature in the room, the very same, treasured 20 ... 22 degrees, and who freezes, kindly put on a sweater.
The device of the thermometer is “dry”, the thermosensitive element is the thinnest metal tape, molded into a sort of cochlea behind the scale — one end is attached to the axis of the arrow, the second is anchored. When the temperature changes, the spiral expands or contracts and rotates the axis with the arrow, but the latter is already clearly visible to us - the truth is in the eyes of the uterus ...
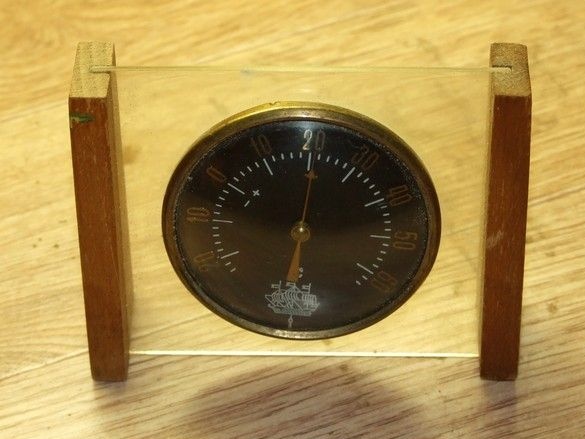
The design of the thermometer, frankly speaking, is unpretentious, but you know ... moving your fingers in the air ... something reminiscent of Olympic rings with a bear, a bunch of balloons in the air, something from a past life. In a word, a well-deserved such thermometer is not like the new ones - civilian shtafirki, who have not seen anything in life except for the conveyor and storage racks. The time with the device was not very affectionate - the plexiglass panel is pretty crooked, the wooden side legs and feet are worn and in some places are scratched with paint. In the photo, by the way, it’s not very visible, but it was, it was.
Well, I decided - why should a useful device vegetate in such an unpretentious form? It would be necessary to cultivate it, all the more so since the mechanism is intact and healthy, and on the whole quite nice - pretty much resembles a barometer. If so, and to look like a barometer to him, sort of a sea one on a bulkhead ... And so it looks like a boatswain with a silver pipe on his neck, - "Captain, the barometer is falling!" Captain with a short gray beard in a vest and with an indispensable pipe in his teeth ... Yes, in a word - on the wall, something so tidy.
What was used in the work.
Tools, equipment.
A set of carpentry tools, a small circular saw, an end pendulum saw.Wood lathe with accessories and accessories. Jewelry jigsaw with accessories, wood jigsaw, screwdriver, metal scissors, marking tool. For the finishing varnish - a small brush, dishes.
Materials
In addition to the blank thermometer itself, a blank was needed - a piece of fruit tree, and I used simpler pieces of birch for equipment. Glue "moment-joiner", a long elastic rope, epoxy glue. Sanding pad of different numbers. For the "abalone" a small piece of roofing sheet, small fasteners were needed. For protective and decorative coatings - LKM, cotton rags.
The first thing I took apart was a thermometer - a plastic plexiglass plate was made at the same time as the thermometer case, I had to work with a wood jigsaw and medium sandpaper. Nothing done. A kind of round formed with an arrow and a scale, the rest went into the bin. By the way, the front glass covering the scale turned out to be just glass, not plastic, which is very good.
Picked up an apple wood pole. One hundred years ago, my grandmother, a neighbor, helped cut down an old apple tree, and, well, I scooped up some poles, which is bigger, and they came in handy. On a planer, he planed one barrel for him - he made a supporting plane, the “base." On a circular saw, from this base, sawed not thick boards. He drew one of the long edges under the ruler and sawed off according to the marking on the same circular saw. He cut the slices. Now, I set the parallel emphasis of the circular saw to the desired thickness and “missed” all the blanks - we got boards of the same thickness and width.
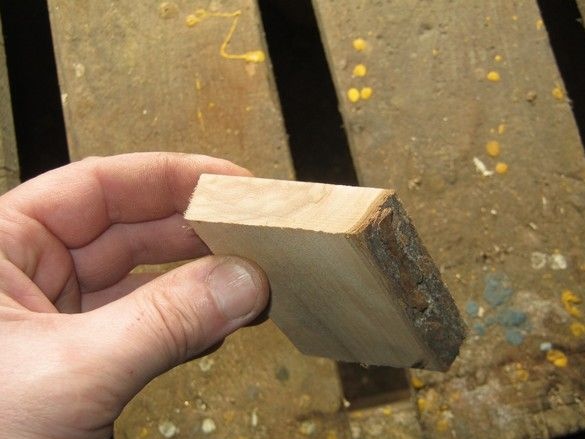
After marking, I sawed the blanks for a wide ringlet on the pendulum saw, so that the internal cavity was somewhat in reserve, glued it with a “moment-carpenter” tied around the outer edge with a thin elastic rope. The excess glue that came out wiped off with a wet cloth. He laid the blank on a flat surface covered with several layers of newsprint, covered it with a newspaper and a piece of plain board, laid a heavy load on top. Left to dry.
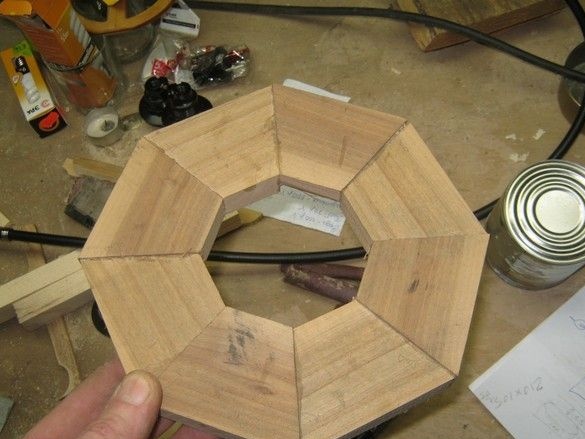
Here's the workpiece turned out. I hooked the workpiece with small screws to the ends on a large faceplate. I made an internal hole - I made a seat for the thermometer and a small area around. He took off a prepared piece of wood. I installed a birch wood block on the machine, made it for installation in a “cup” - the workpiece is mounted in it without preloading by the rear center. He left a couple of centimeters from a clamped block and made a seat on my butt for my apple harvesting. He planted it tightly so that it would not fly off, and pressed the plywood washer of the equipment screwed to the end. If you miss a tight fit on a snap, you can rewind a couple of layers of paper tape. Well, that’s it. Face turning as it is - fooled the workpiece, smoothed the edge, made a small groove for revitalization. The apple tree is a very good tree for turning - it’s dense, beautiful, well polished, and the smell ... Yes, end turning does not involve the use of cutting tubes, it is simply dangerous.
After, I carefully polished my circle - three numbers of the skin from large to small, each number when changing the direction of rotation - “to myself”, “from myself”. That is, a total of six approaches, then smoothing out a handful of shavings - glossing. The order can be removed.
Varnishing - yacht varnish was applied (boatswain with a pipe, captain with a pipe), coated in three layers. The primer diluted in half with varnish, before each next layer, clean and smooth the bristling hair with a fine wiped skin.
After the final drying of the last layer of varnish, the thermometer glued with epoxy resin. For the preparation of small portions of epoxy glue, it is convenient to use cells from box confections.The remainder of the unused glue should not be thrown away right away - it is convenient to use it as an indicator of polymerization, so as not to move the bonding agent. Let me remind you - epoxy glue polymerizes faster when the mixture is heated to 80 degrees, while the adhesive joint is more durable.
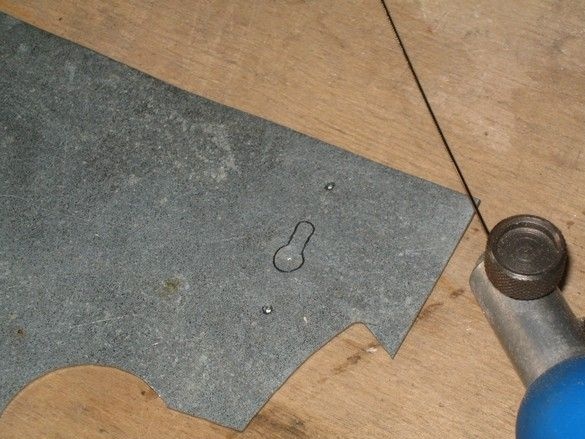
Well, the cherry on the cake - a suspension for cloves. After marking on a piece of galvanized roofing steel, the suspension contour was cut out with scissors for metal. I cut out the inner contour with a jewelry jigsaw, having previously drilled a small hole inside to pass the nail file. When cutting it is convenient to use a special stand - “dovetail”, like a wooden counterpart. Roofing steel 0.5 mm thick, easily and quickly sawn with a No. 0 file. After blunting the sharp edges with a medium-sized sandpaper, I marked, screwed and drilled two mounting holes for tiny self-tapping screws.
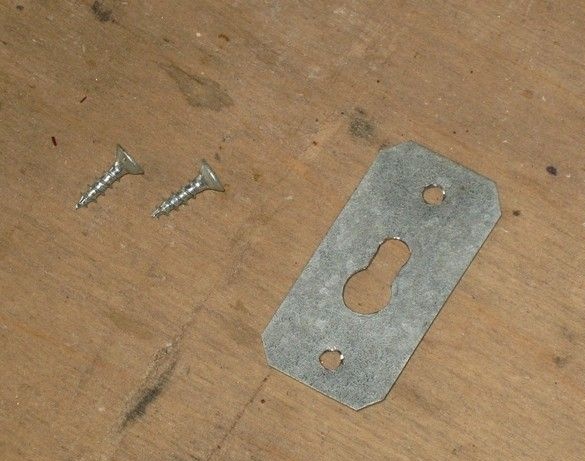
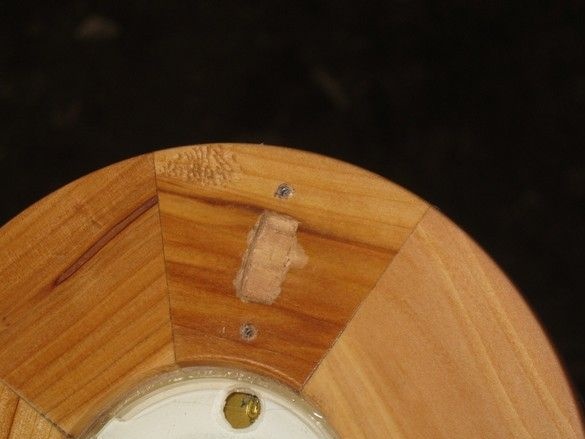
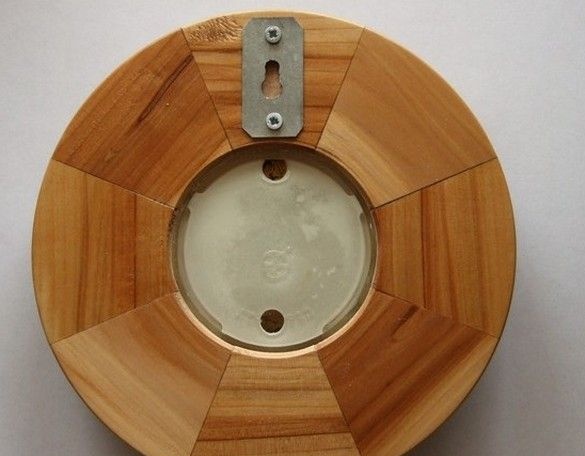
He marked a place for hanging on a piece of wood, carefully drilled blind holes for self-tapping screws, a small cavity for the head of a clove under the curly hole of the suspension, picked out a narrow sharp chisel - it was reluctant to unfold with the milling cutter and come up with workpiece fasteners. Screwed a tin suspension - voila! Come godfather to admire.
