
Hello to all lovers homemade. Music has now become so popular that few can do without it, someone listens to it with headphones, someone through the speakers. That is why, in this article, I will tell you how to make a sound amplifier do it yourselfthrough which you can listen to your favorite music, and you can order such a kit kit for assembling homemade items on aliexpress, a link to which will be at the end of the article.
Before reading the article, I recommend watching a video on the assembly of this amplifier and its verification on two speakers.
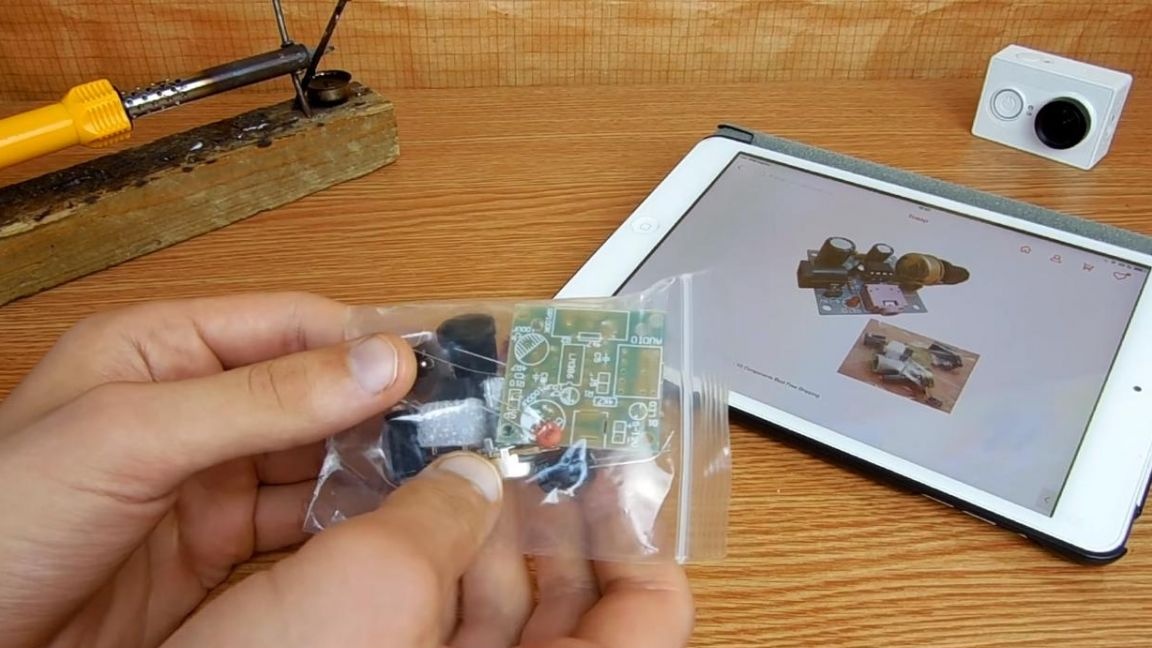
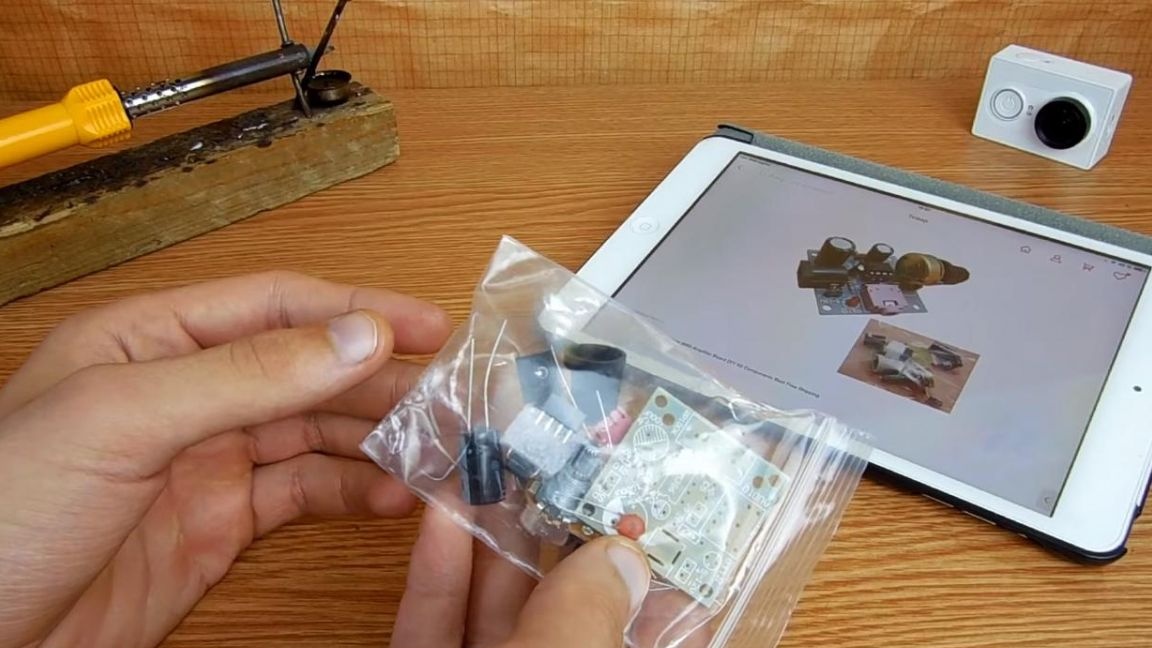
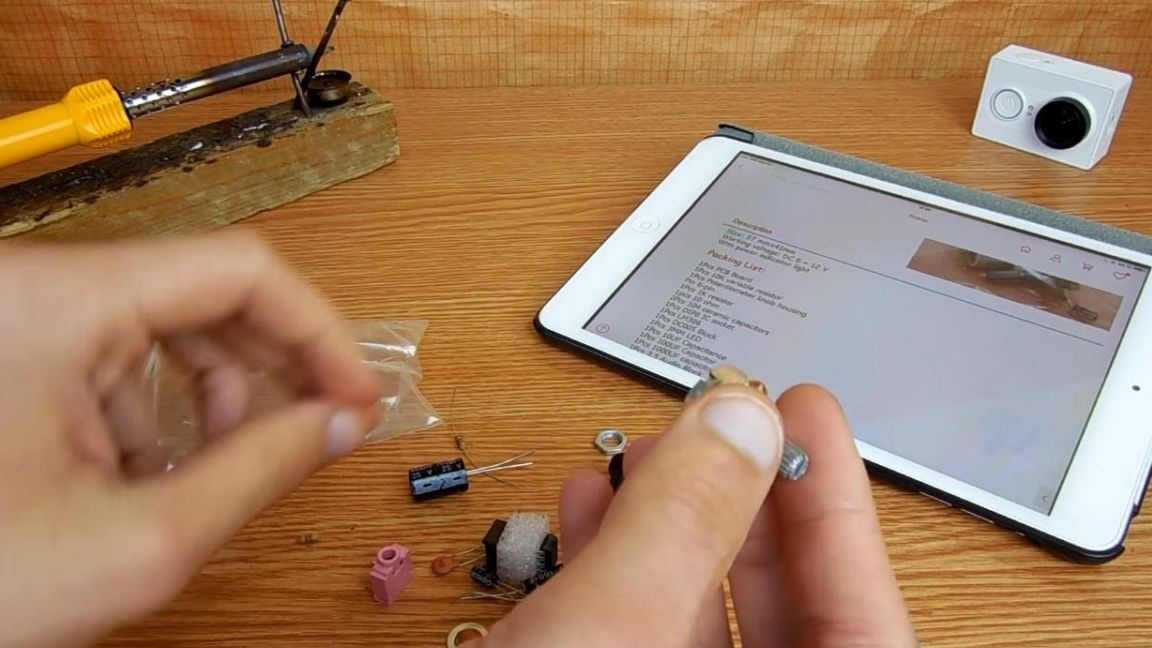
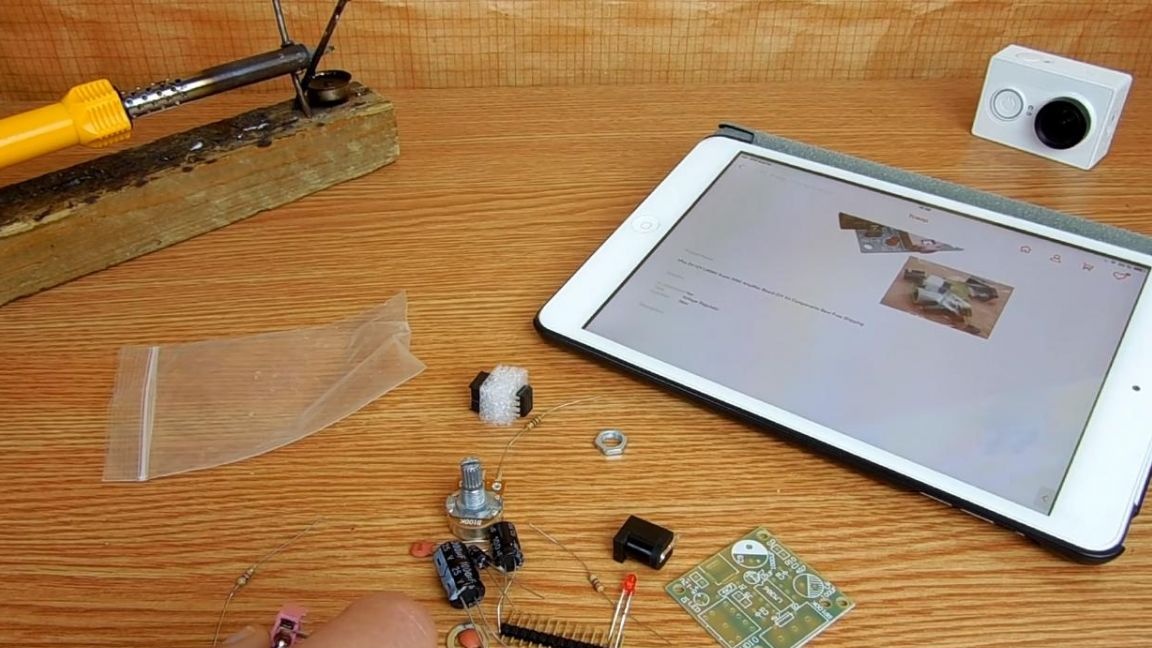
In order to make an amplifier with your own hands, you will need:
* Kit
* Soldering iron, solder, flux
* Side cutters
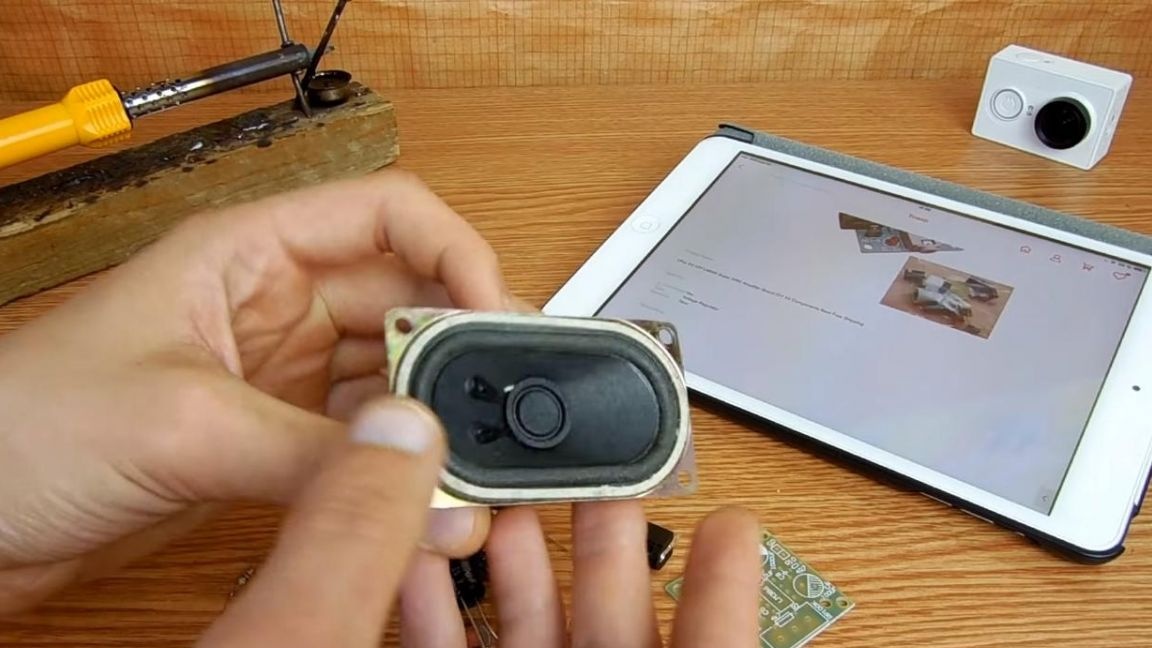
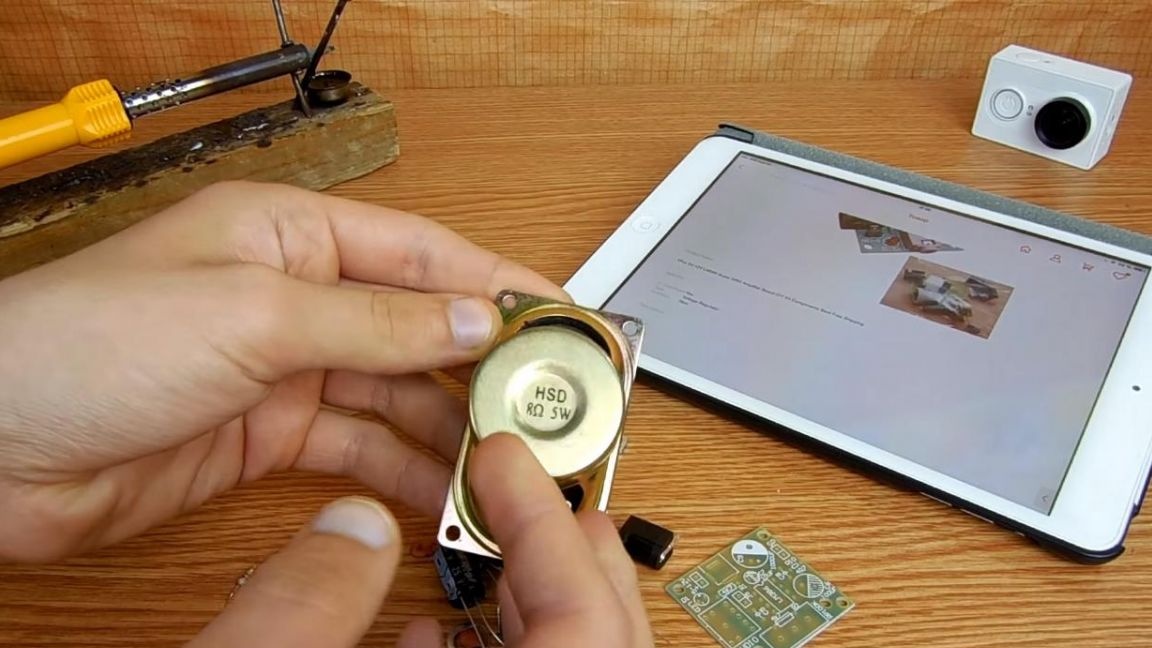
* 4 ohm speaker
* Homemade clip for soldering circuit boards
* 12V power supply or power bank
Step one.
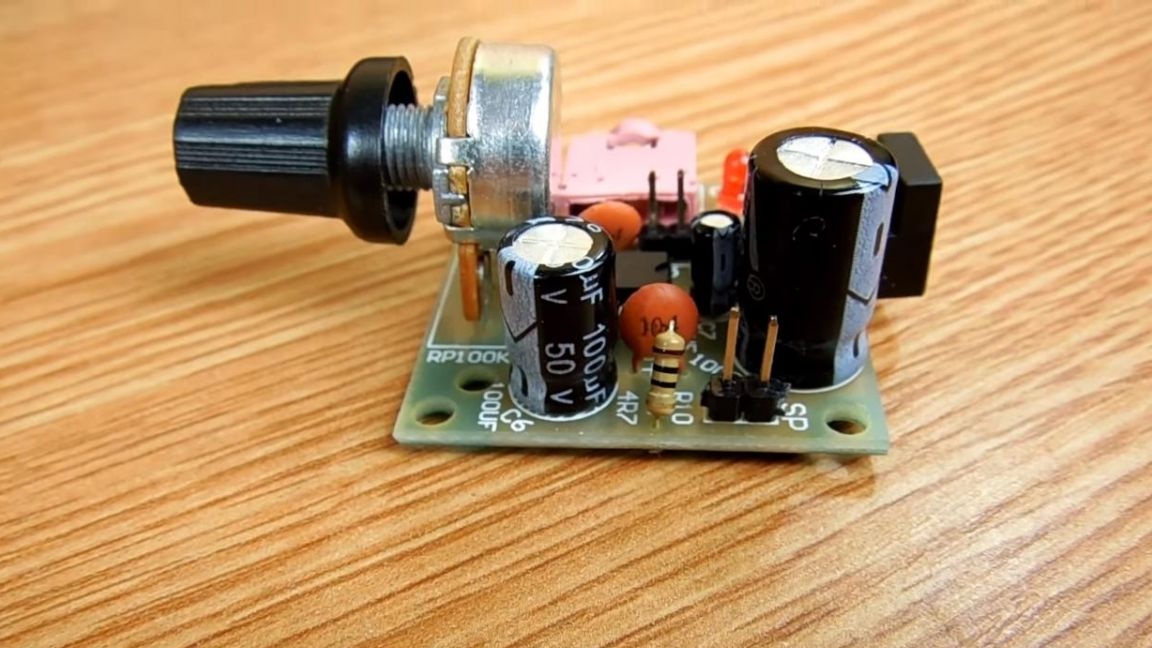
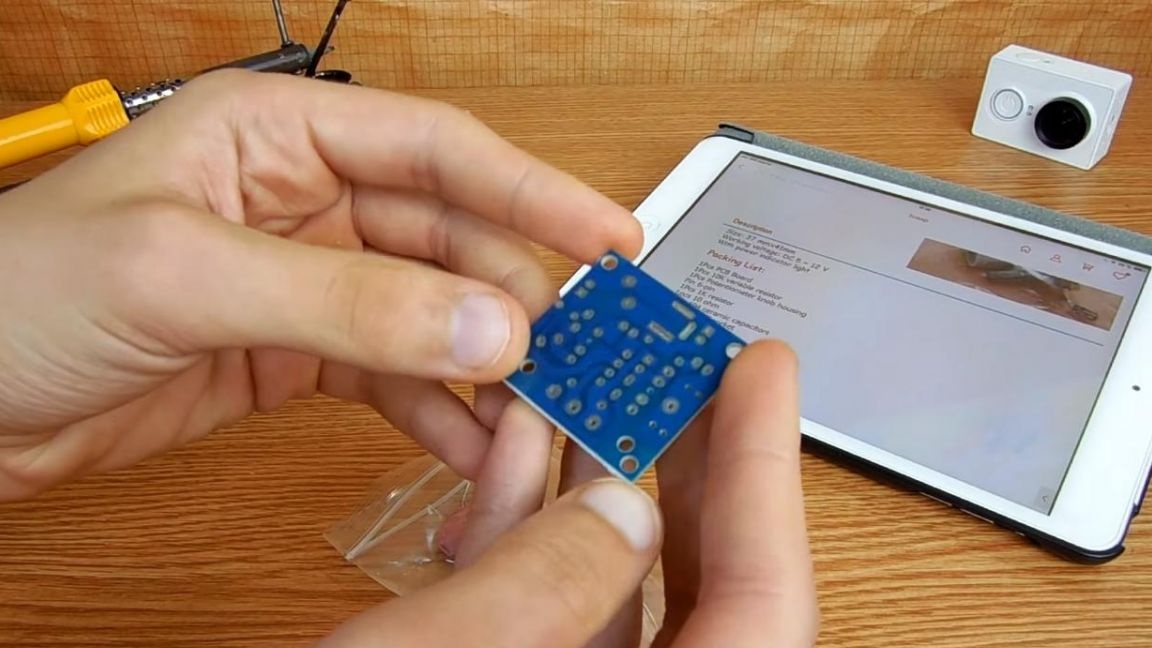
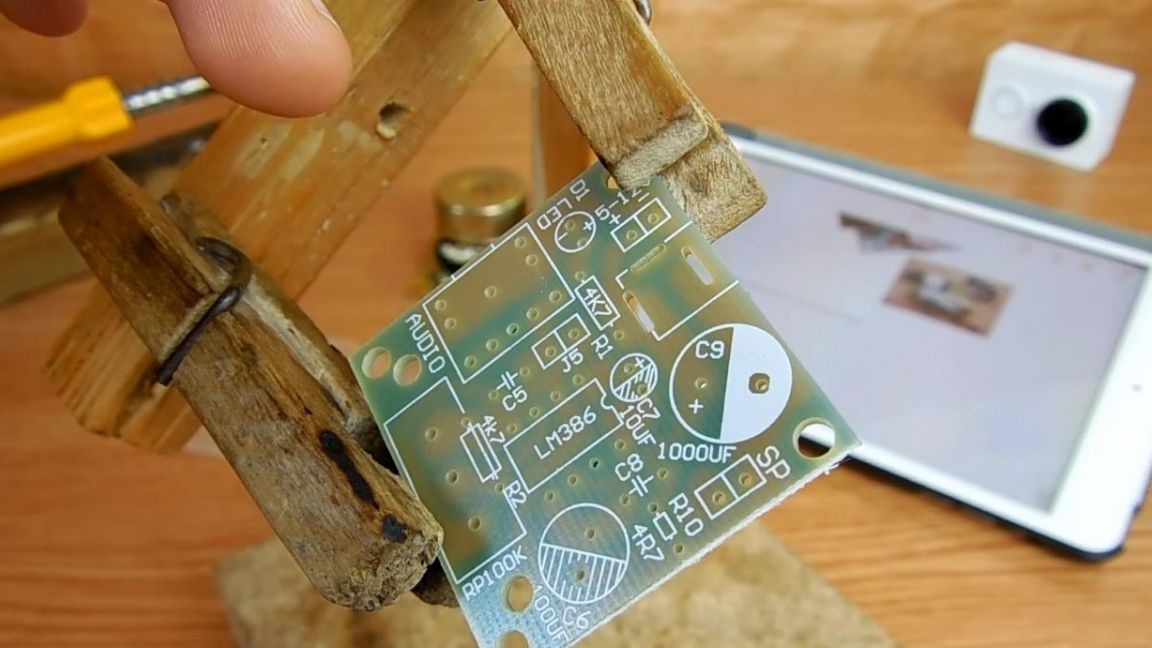
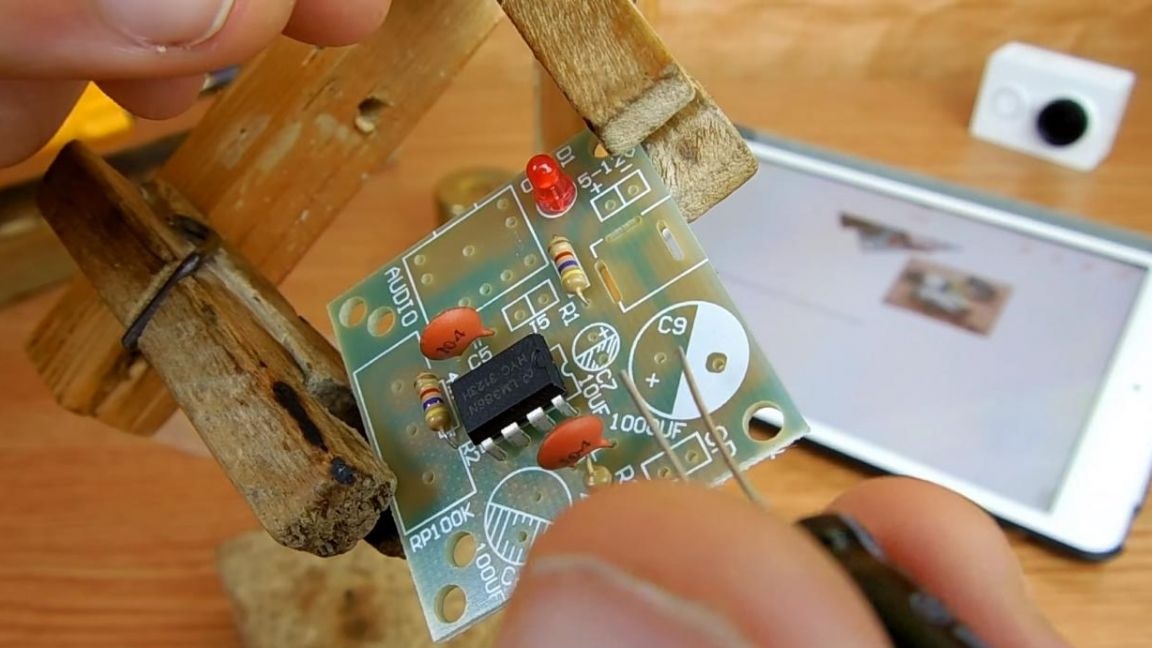
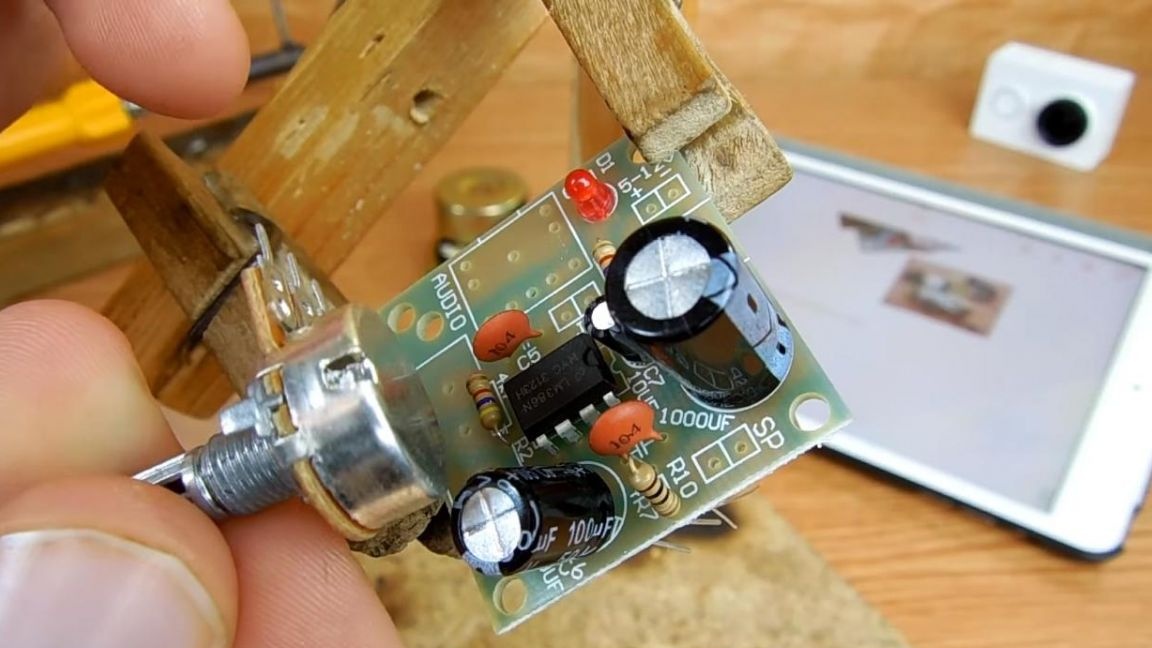
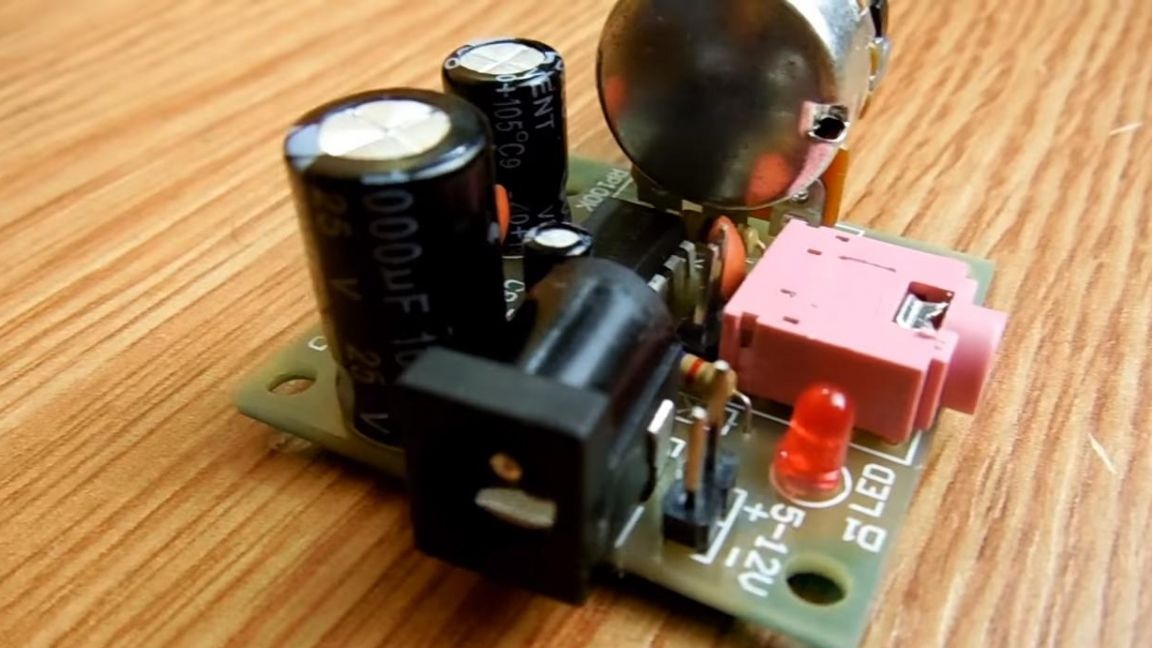
First of all, you need to place all the components on the board. The board in this case is one-sided, not all components are marked on it, but now we’ll gradually deal with everything.
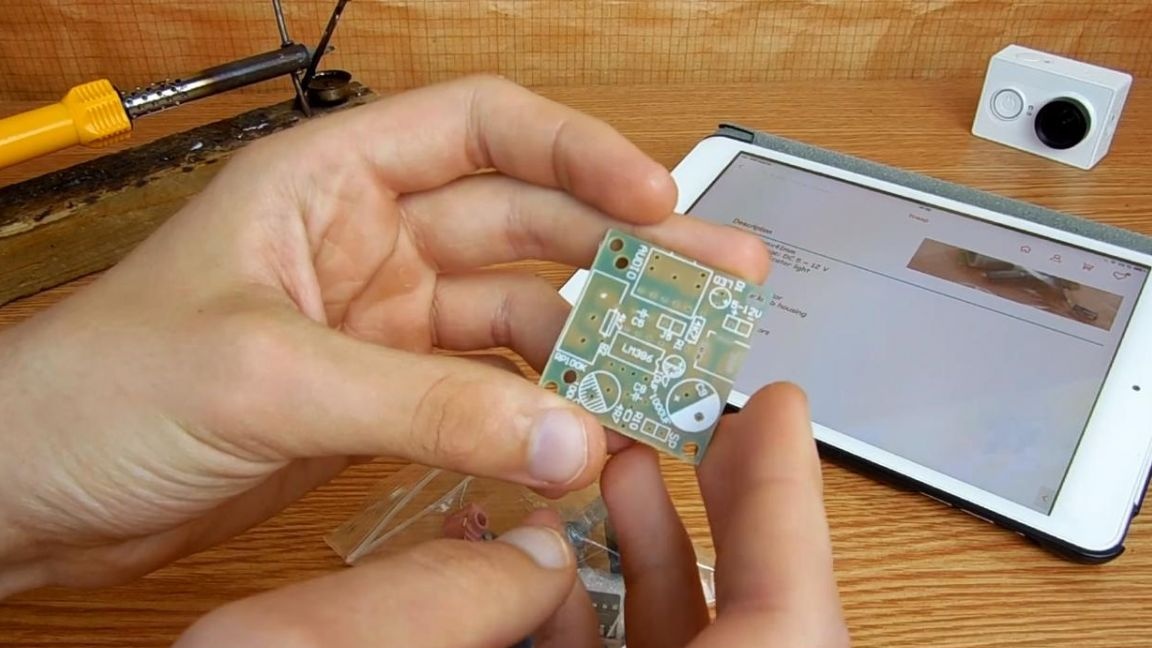
The kit also put a variable resistor and a chip that amplifies the sound.
We fix the board with a home-made clamp, also well suited for these purposes device "third hand".
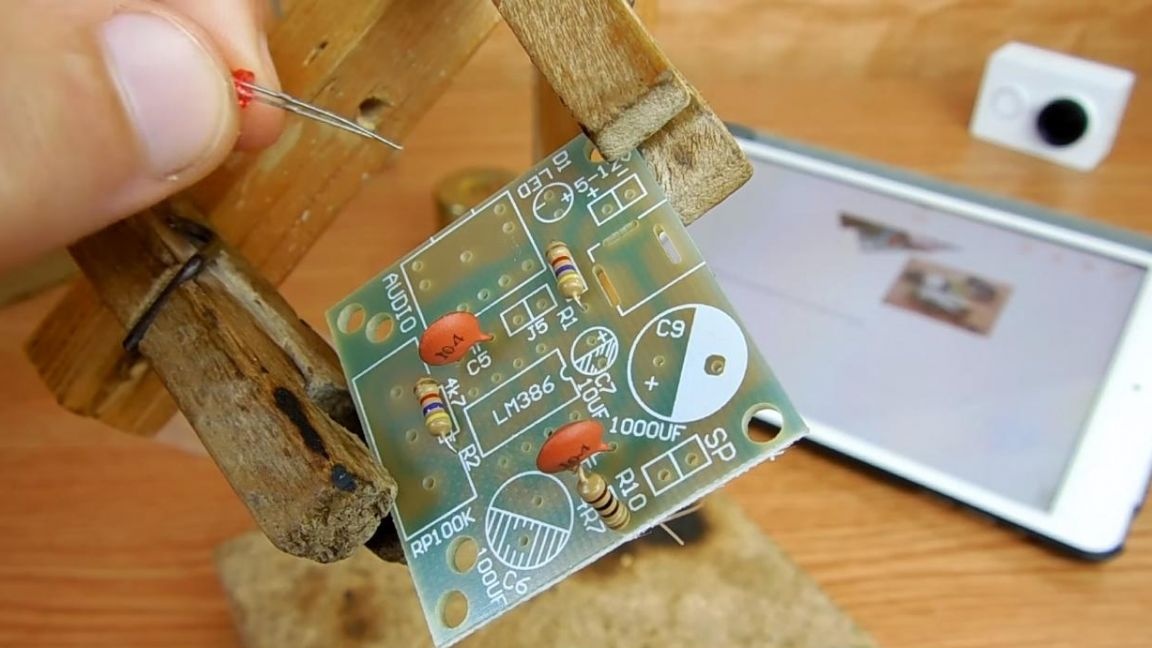
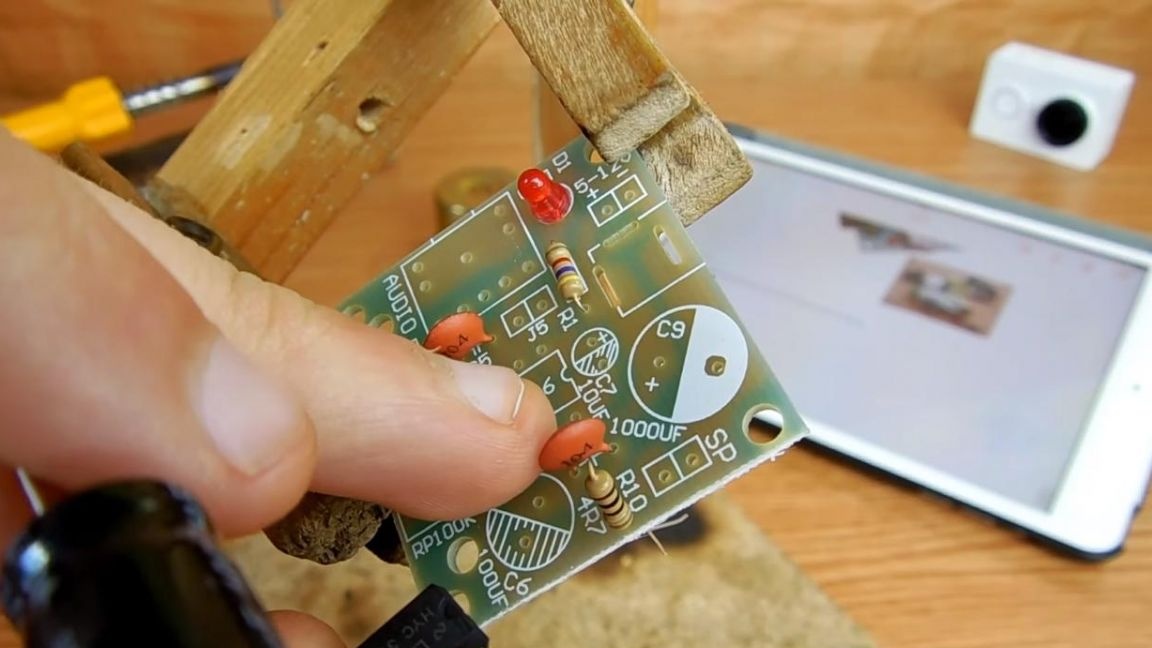
Next, we begin to arrange the resistors. There are only three of them in the kit, to determine the nominal resistance you need a multimeter or a look-up table, but not in this case, since we have two resistors of the same value, it is 4.7 kOhm and the other at 47 Ohm. Therefore, we put all three resistors in their places, I think here to confuse them in places they will not work.
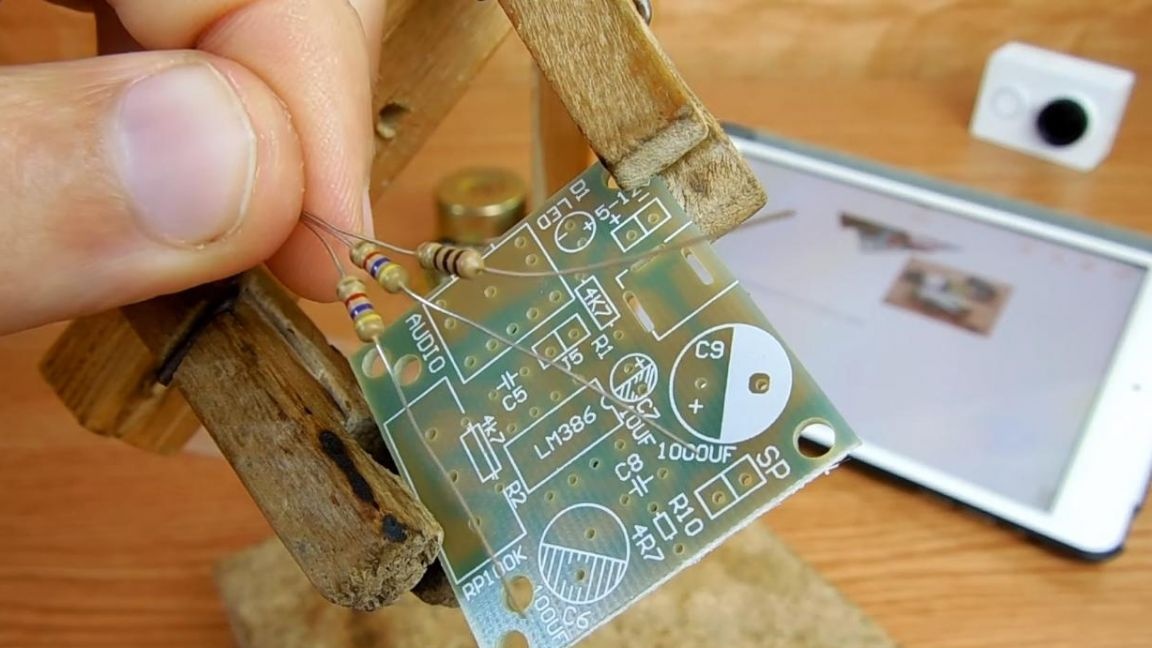
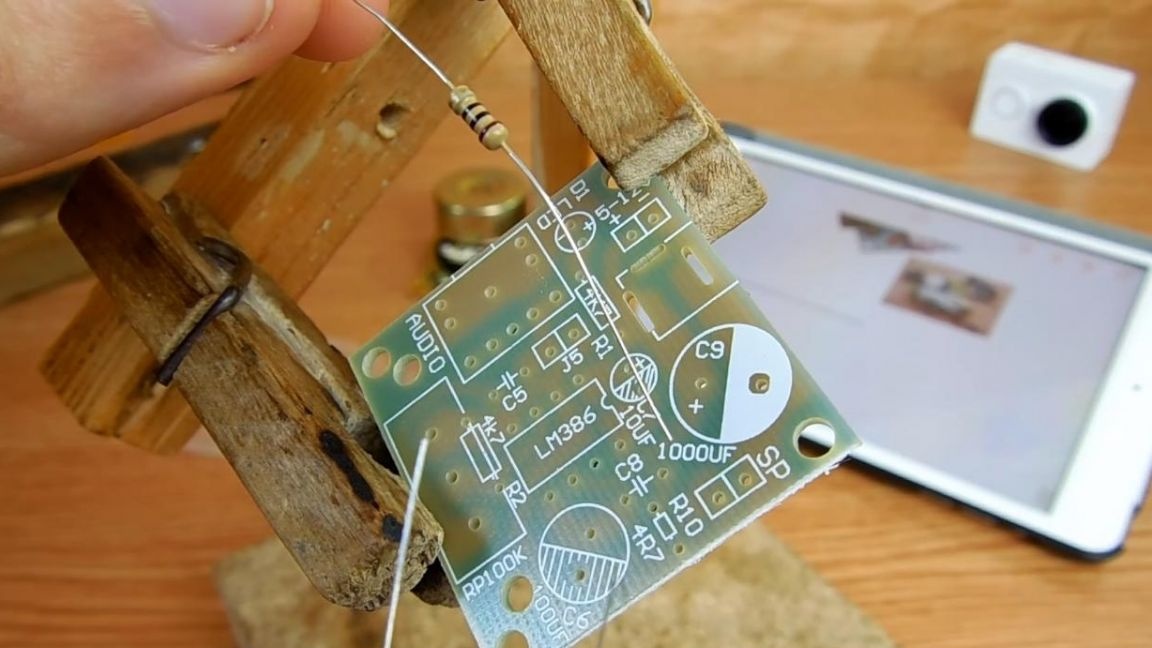
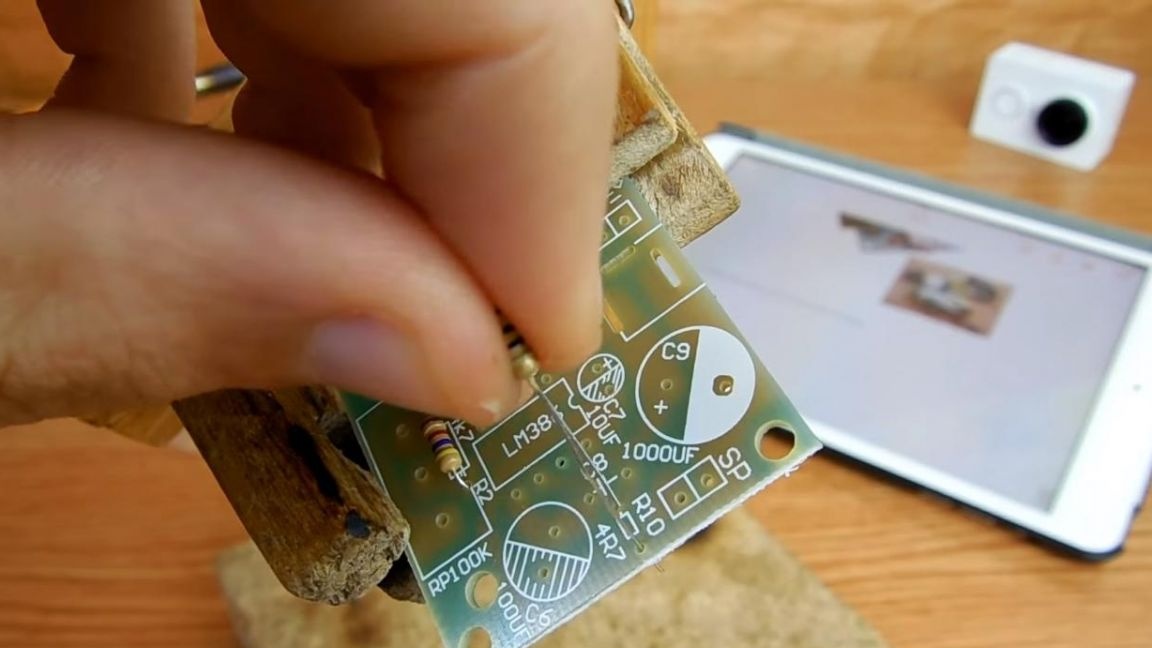
Step Two
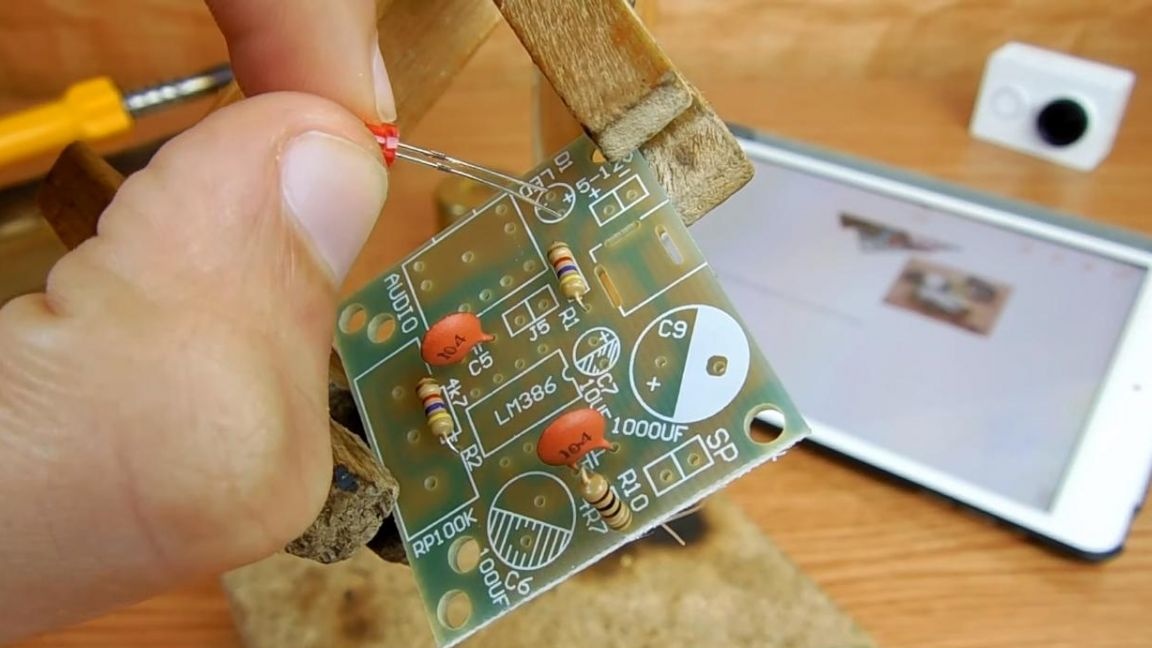
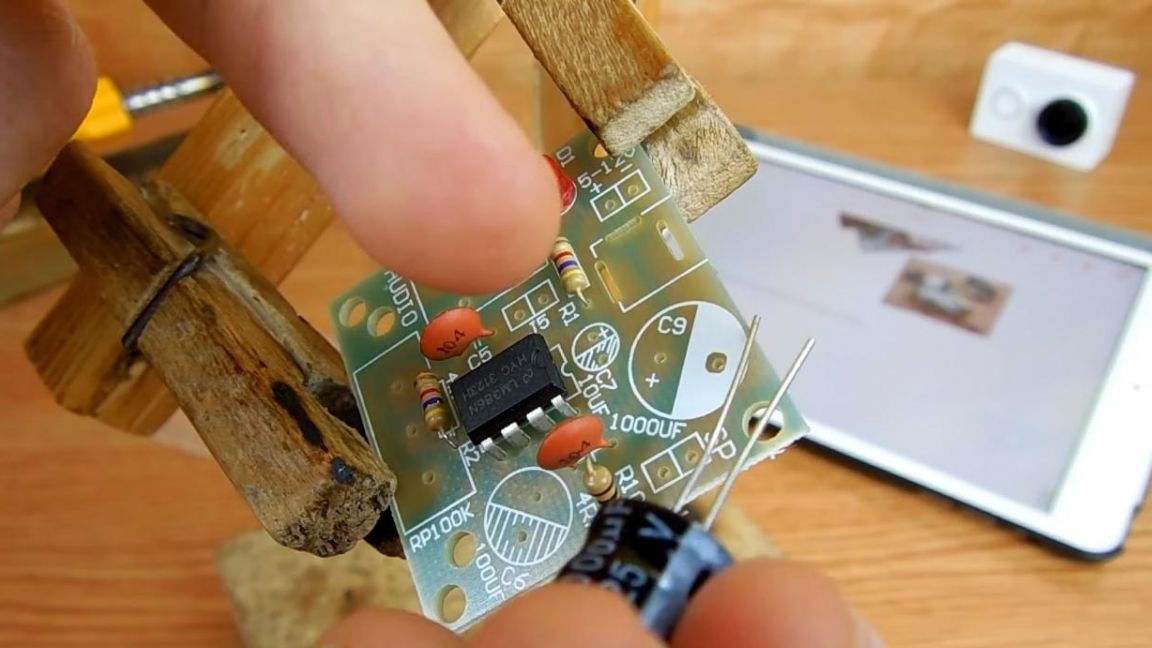
After installing the resistors, we turn to non-polar ceramic capacitors, the marking 104 is indicated on their case, but there is no such information on the board itself. We insert these capacitors in places with the designation C5 and C8.
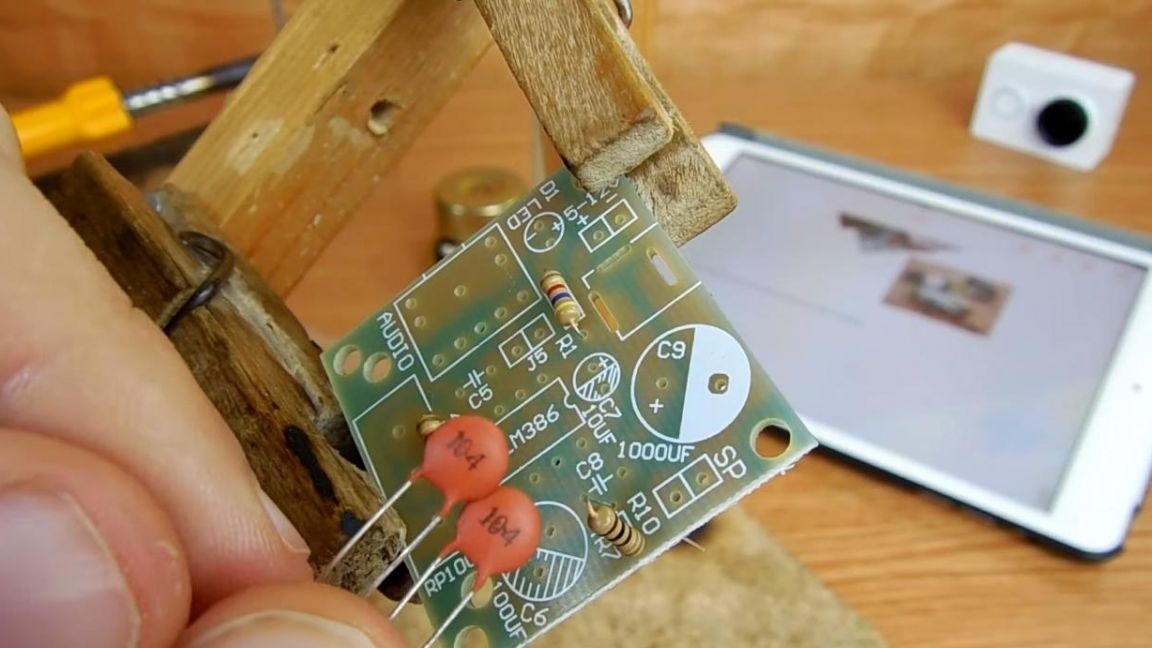

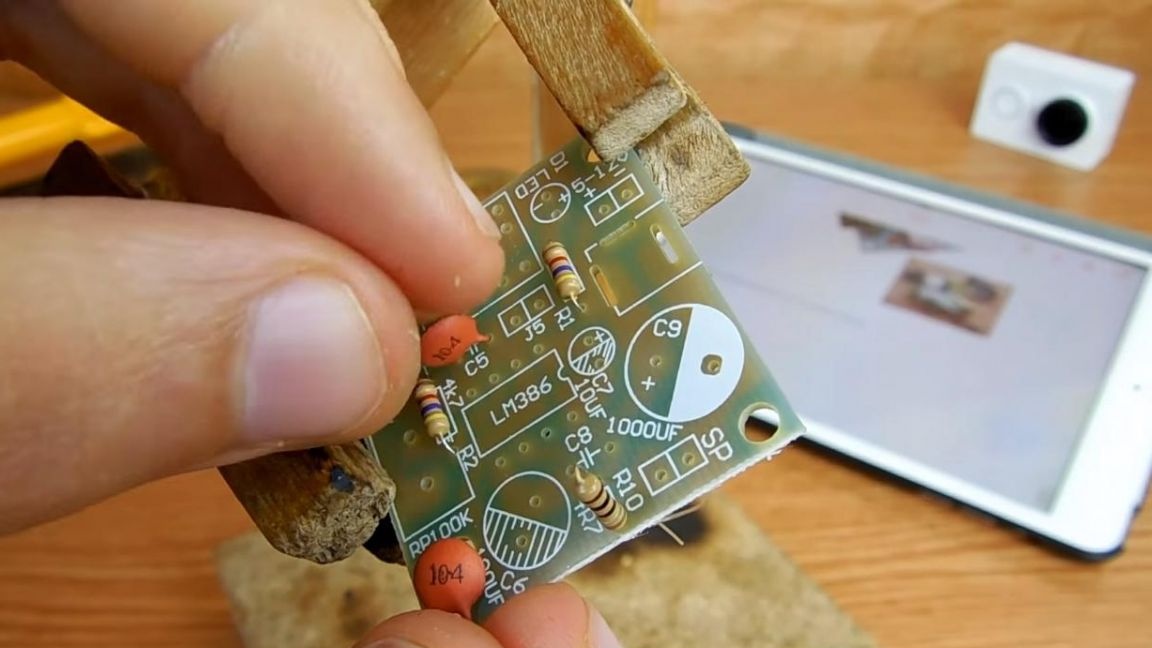
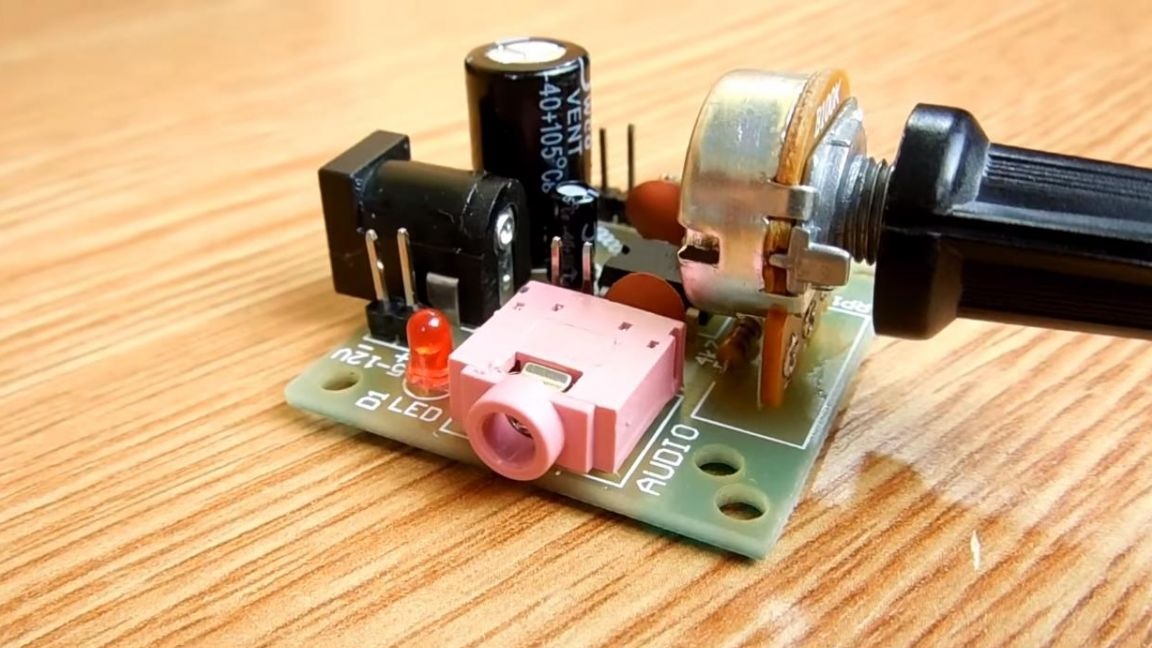
Next, we attach the LED, its long leg corresponds to the positive output, short - to the minus. Polarity is signed on the board.
Step Three
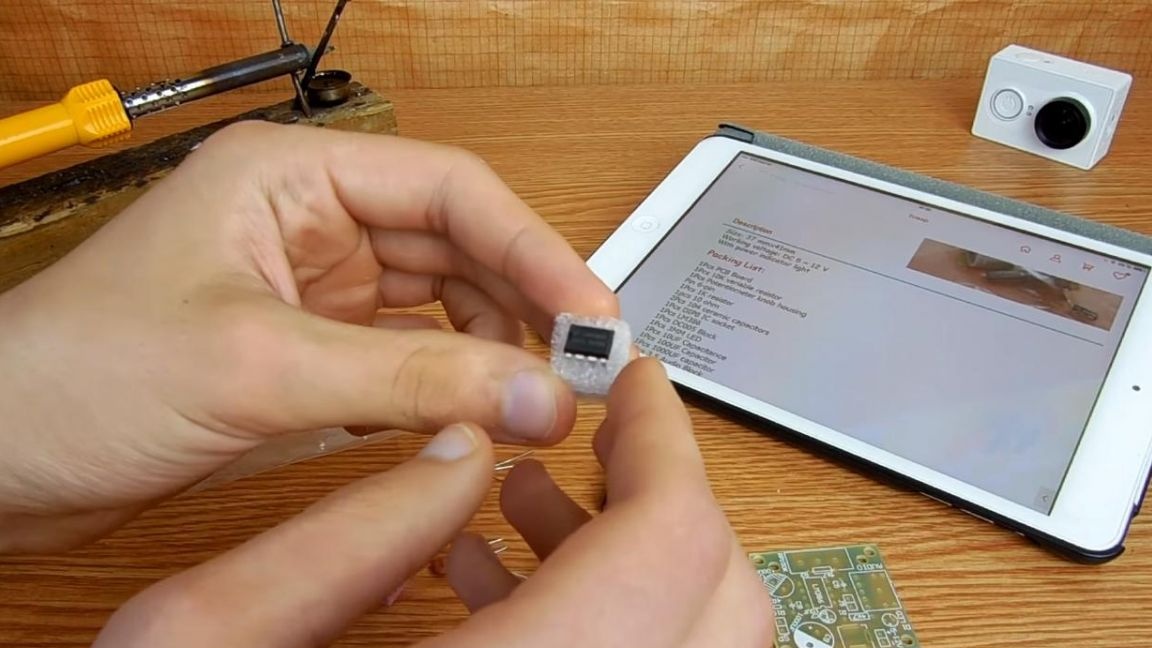
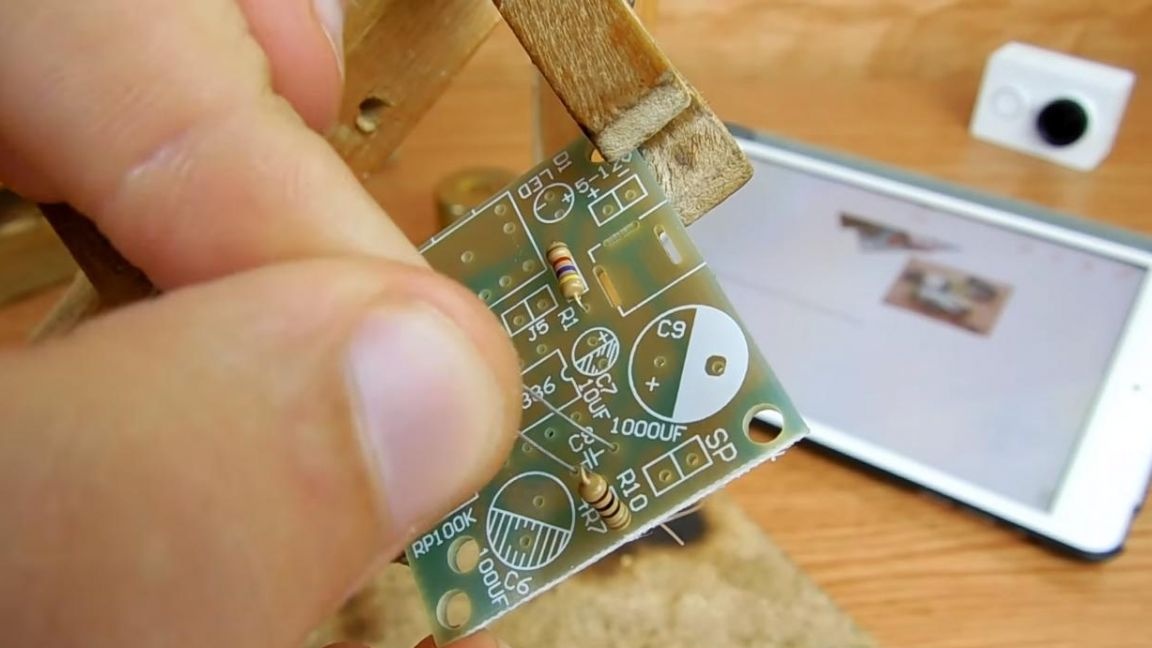
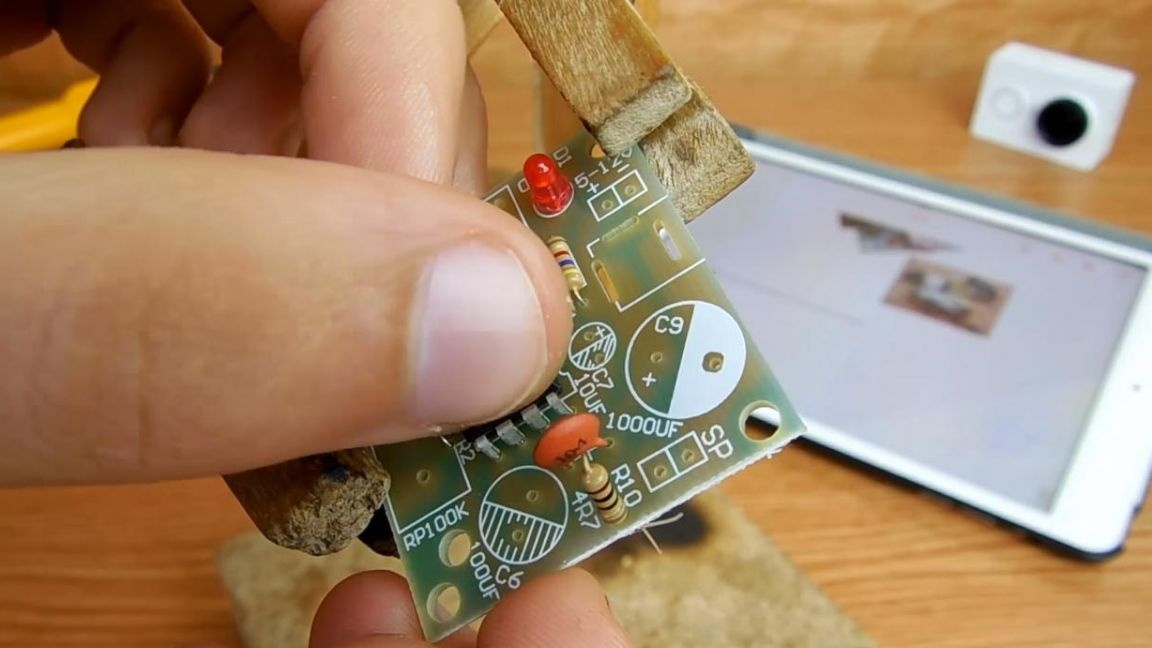
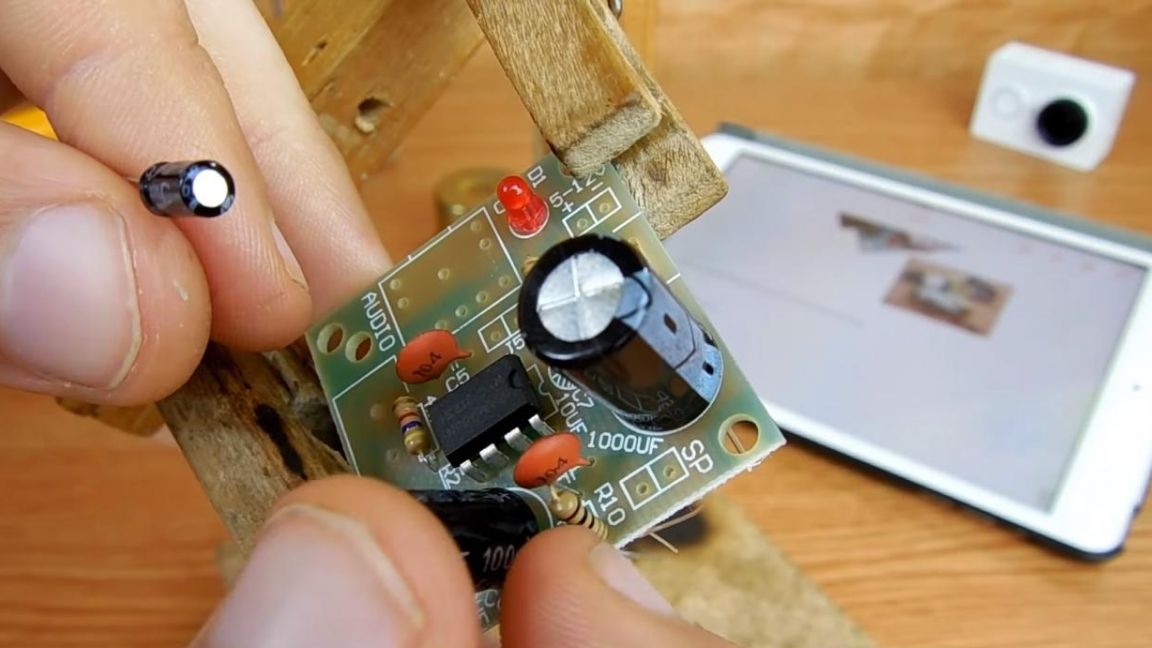
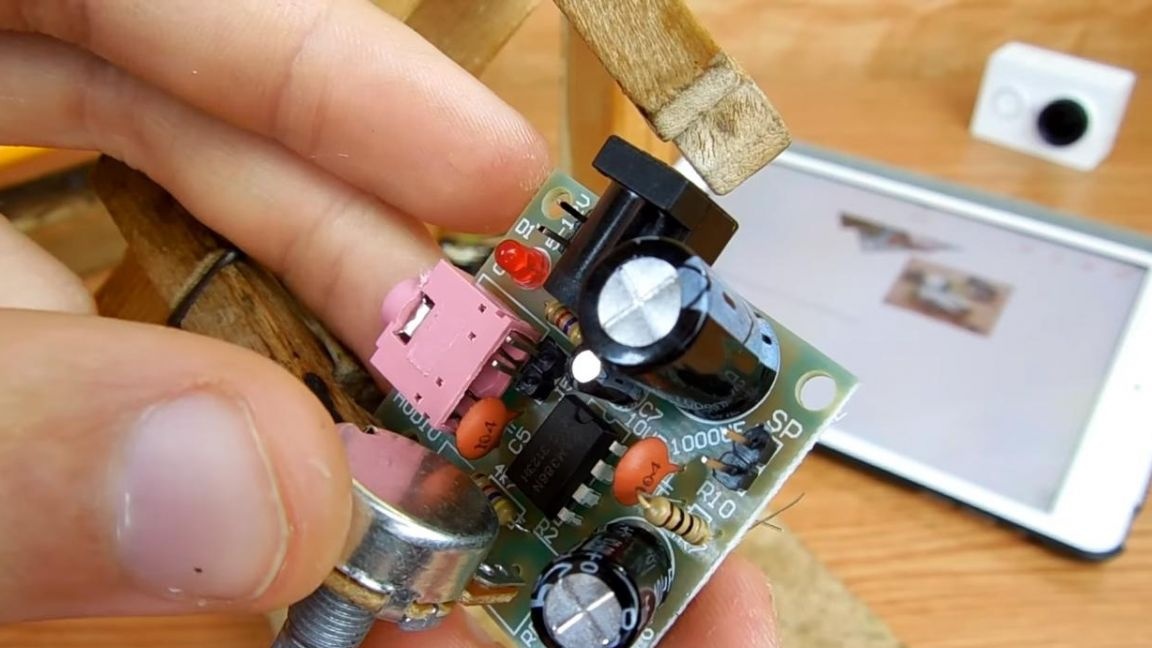
Since the microcircuit in this case is located next to the polar capacitors, the height of which will not allow it to be installed normally, we will do this in advance.
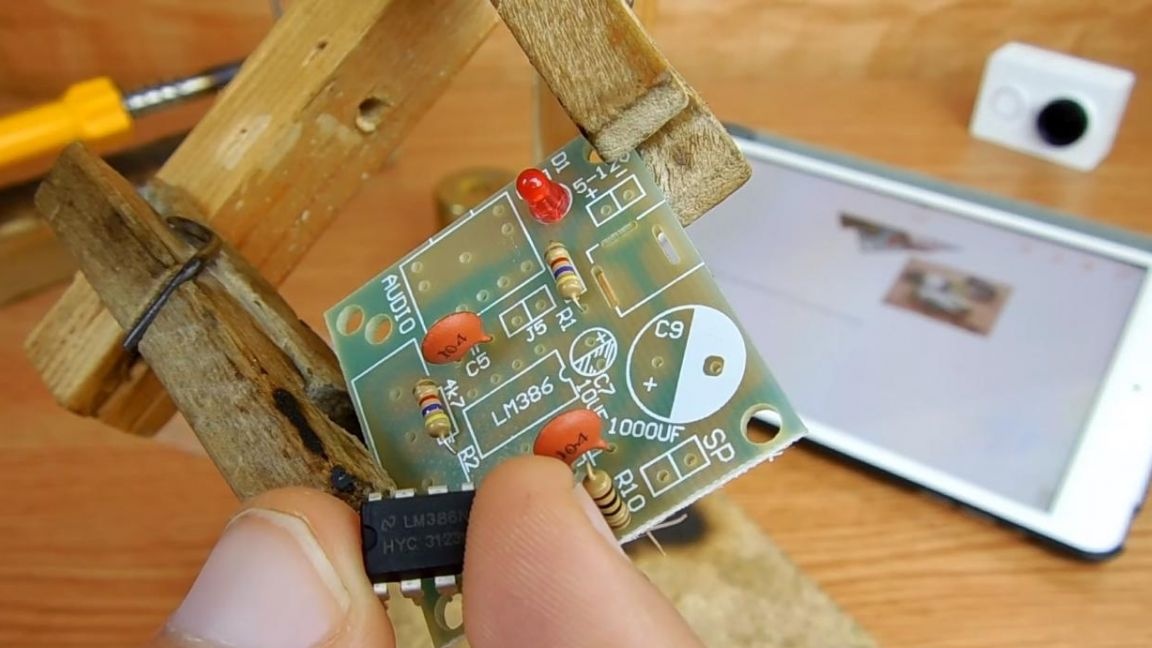
We combine the key on the chip with the key on the board and slightly bend the legs so that they enter the holes in the board.
Step Four
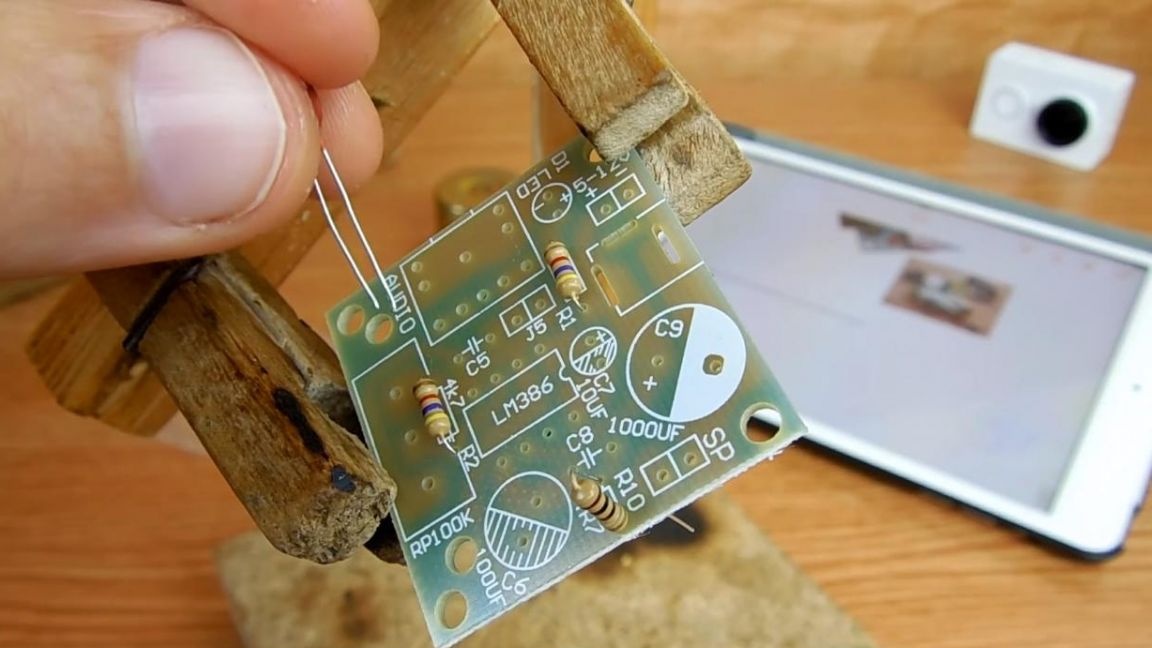
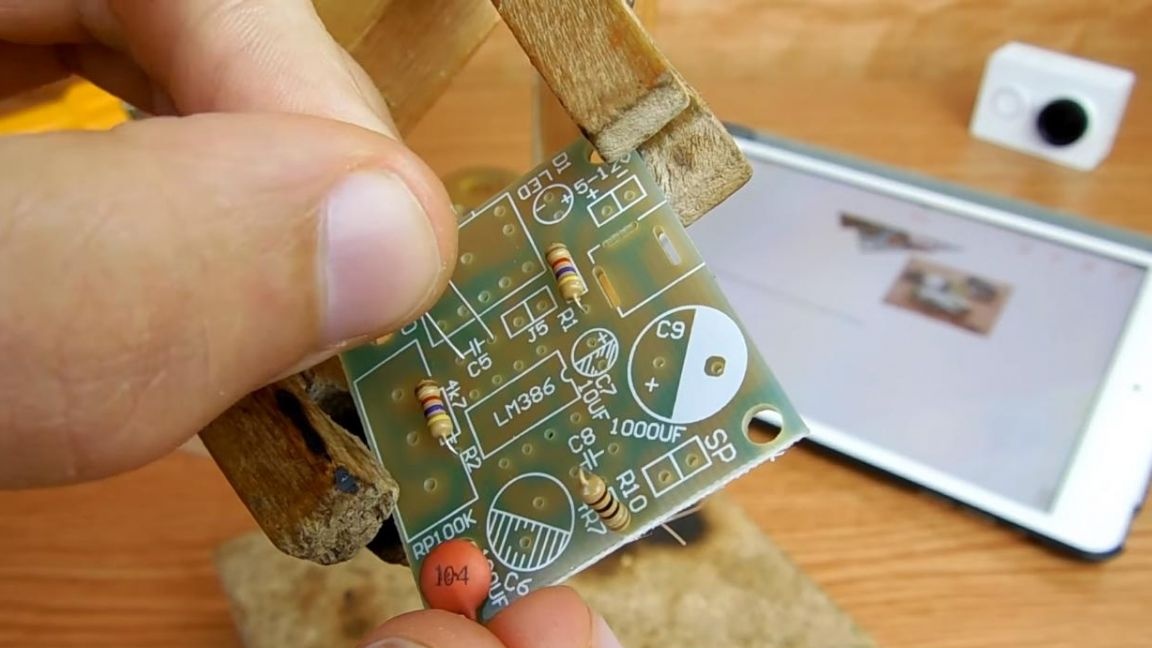
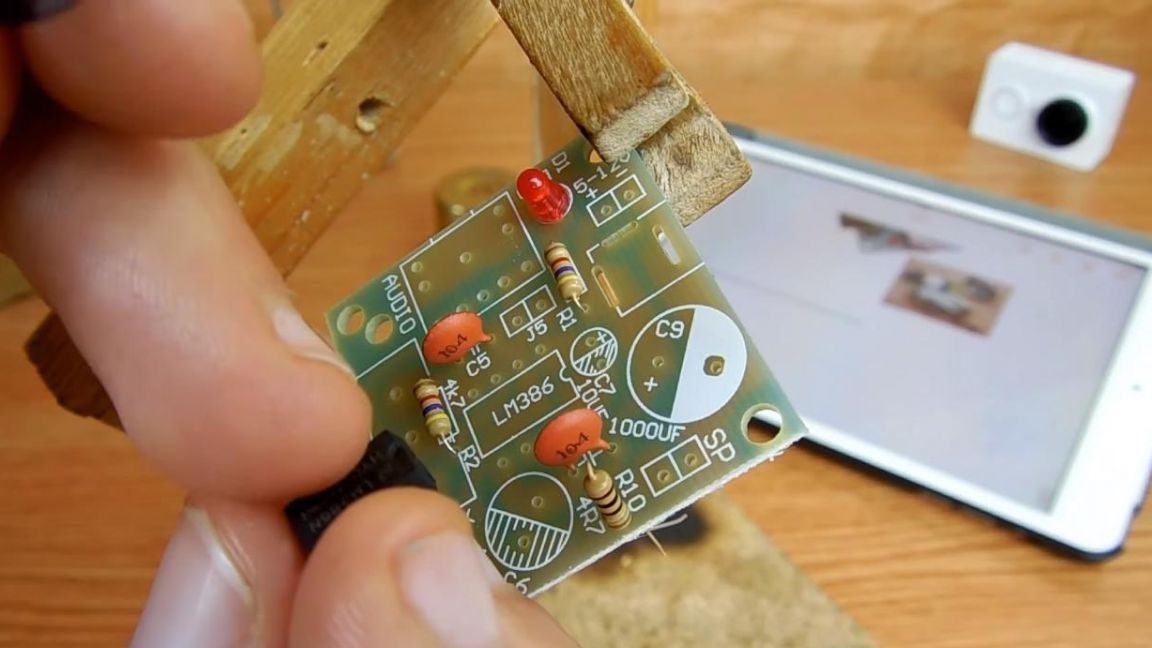
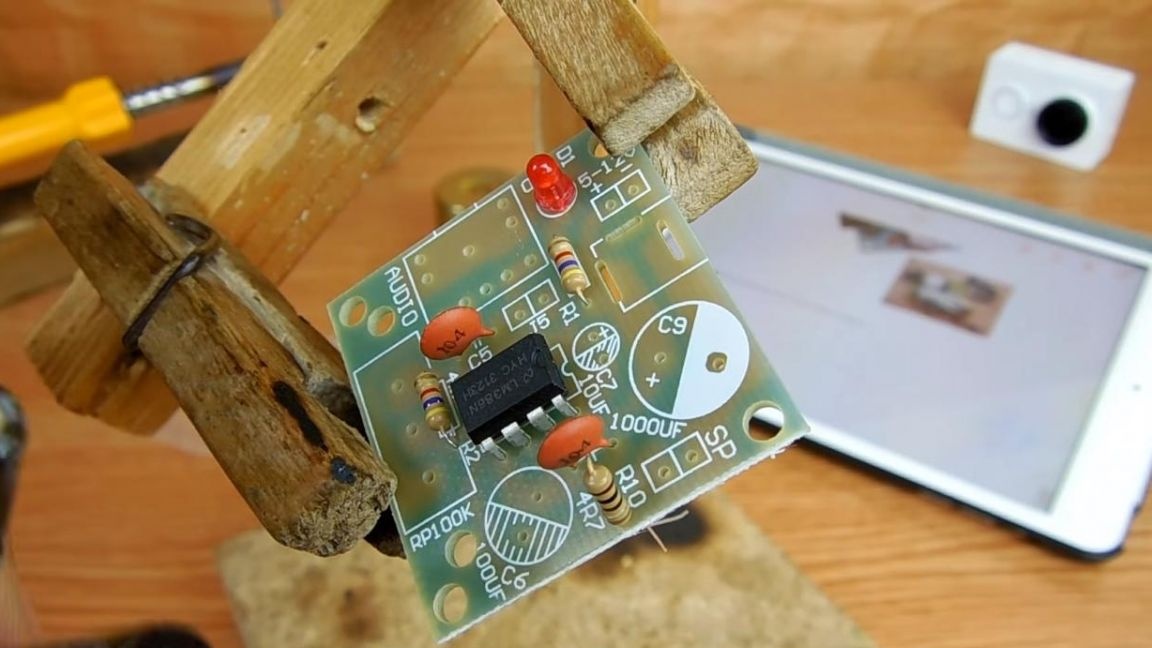
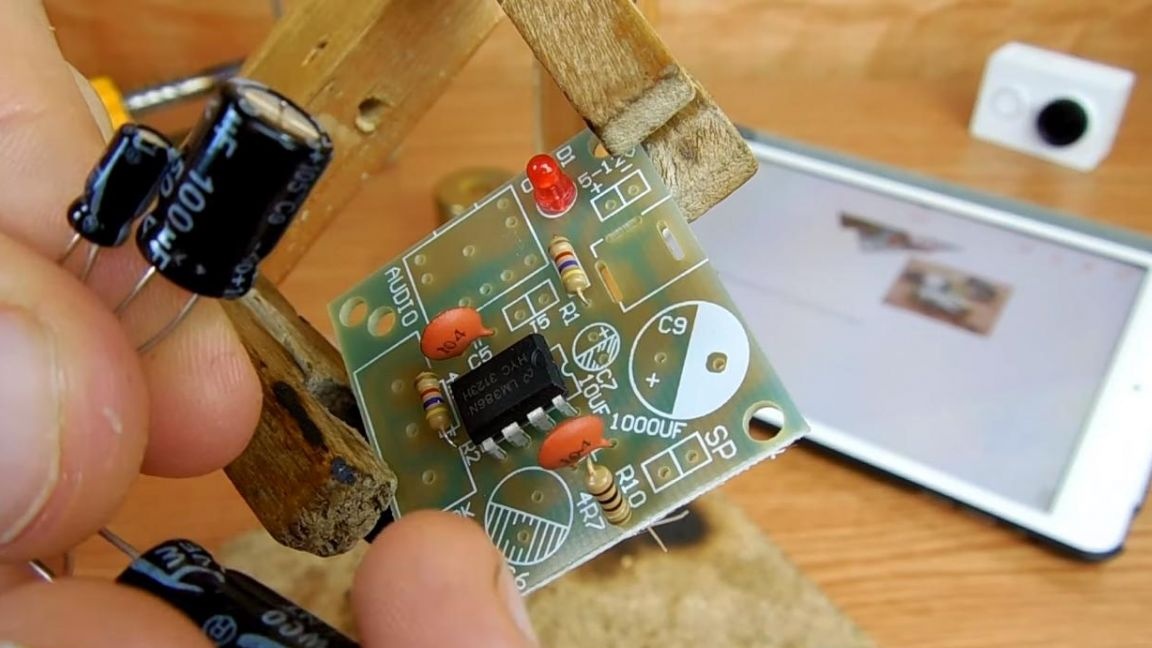
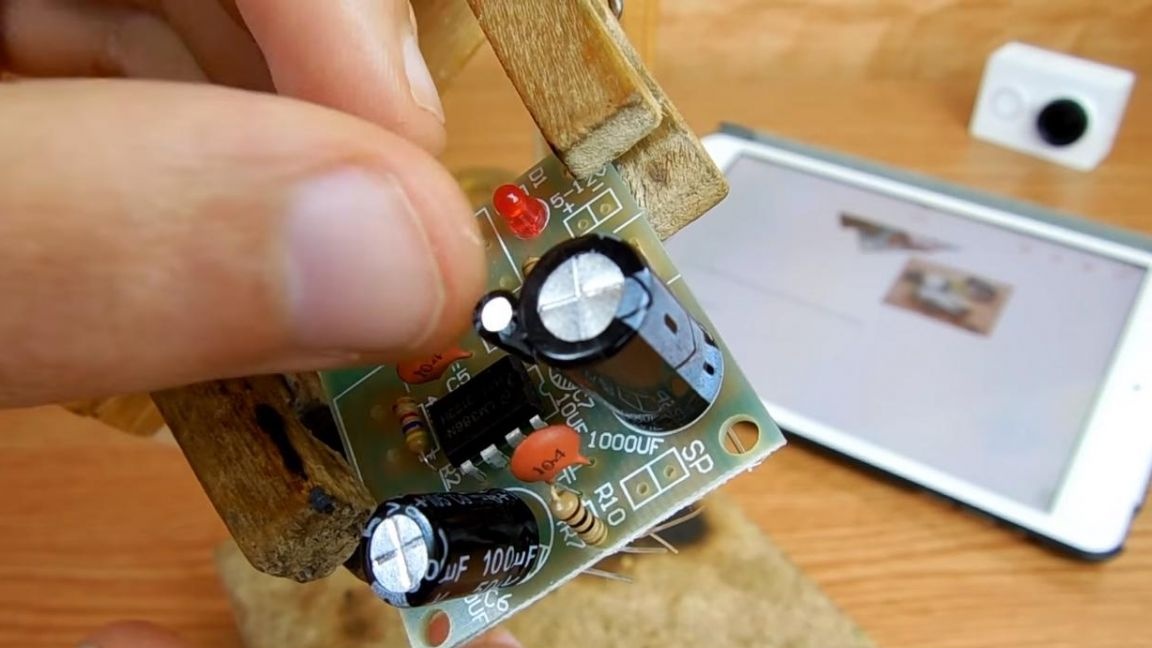
Having installed the microcircuit in its rightful place, we turn to polar capacitors, we have three of them in the circuit and they have different capacities, voltages, and sizes.It will be easiest to arrange the capacitors exactly in size, we compare the long leg of the capacitor with the unshaded surface of the circle and the minus with the shaded one, also on the capacitor there is a gray strip, near which the negative terminal is located.
We do the same with all three capacitors.
Step Five
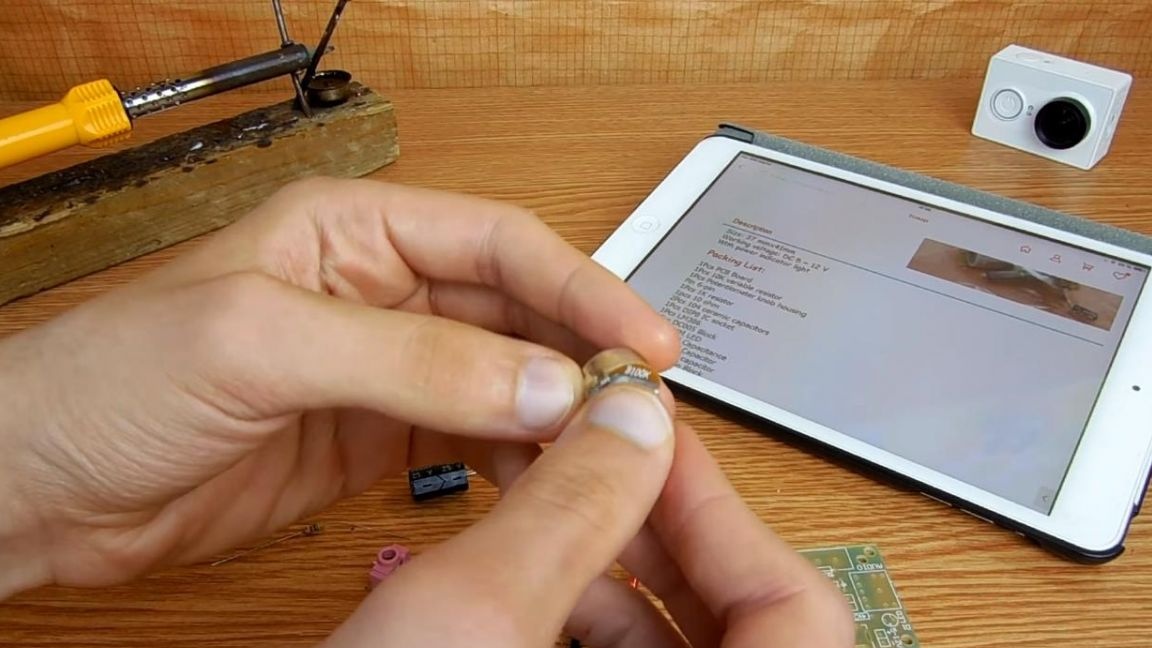
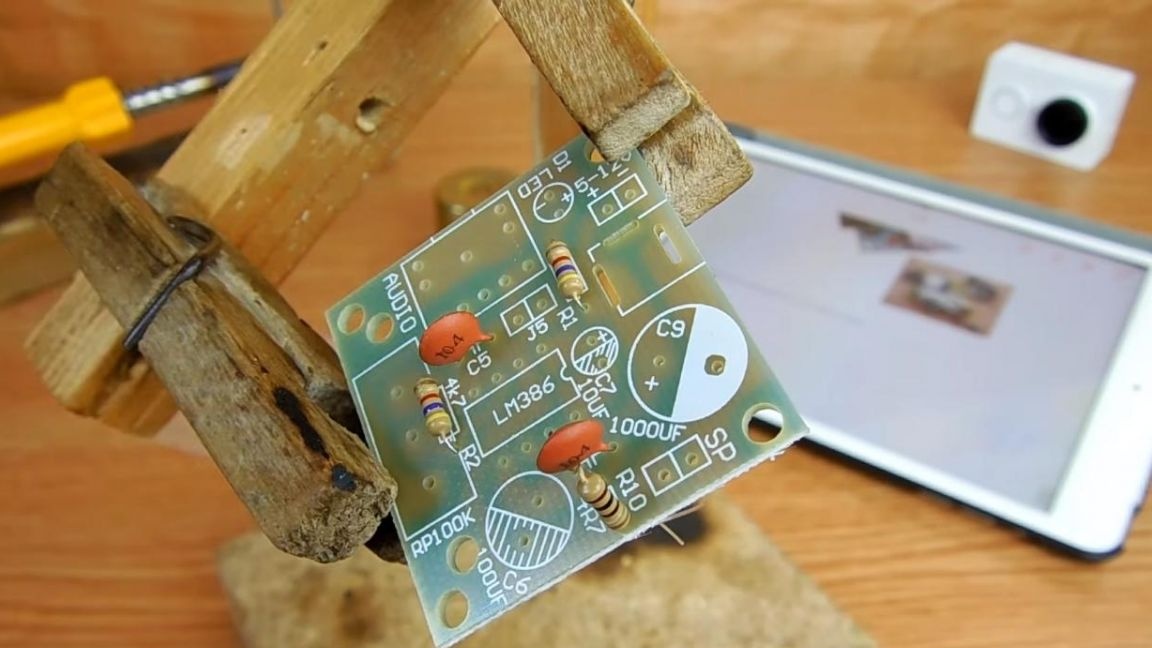
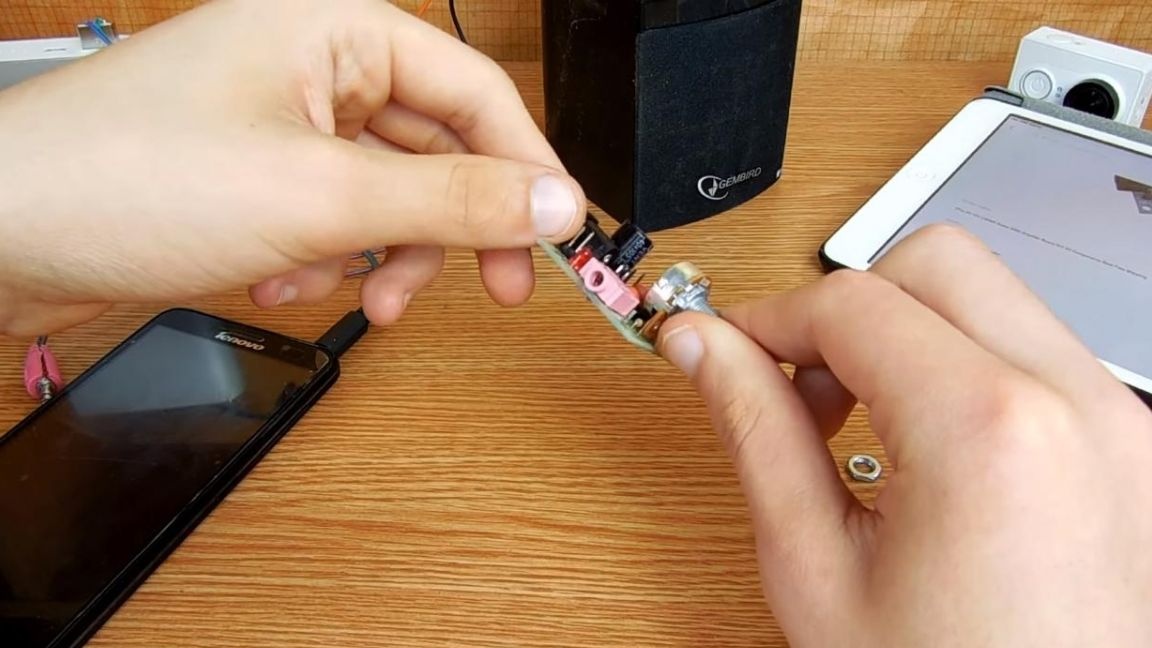
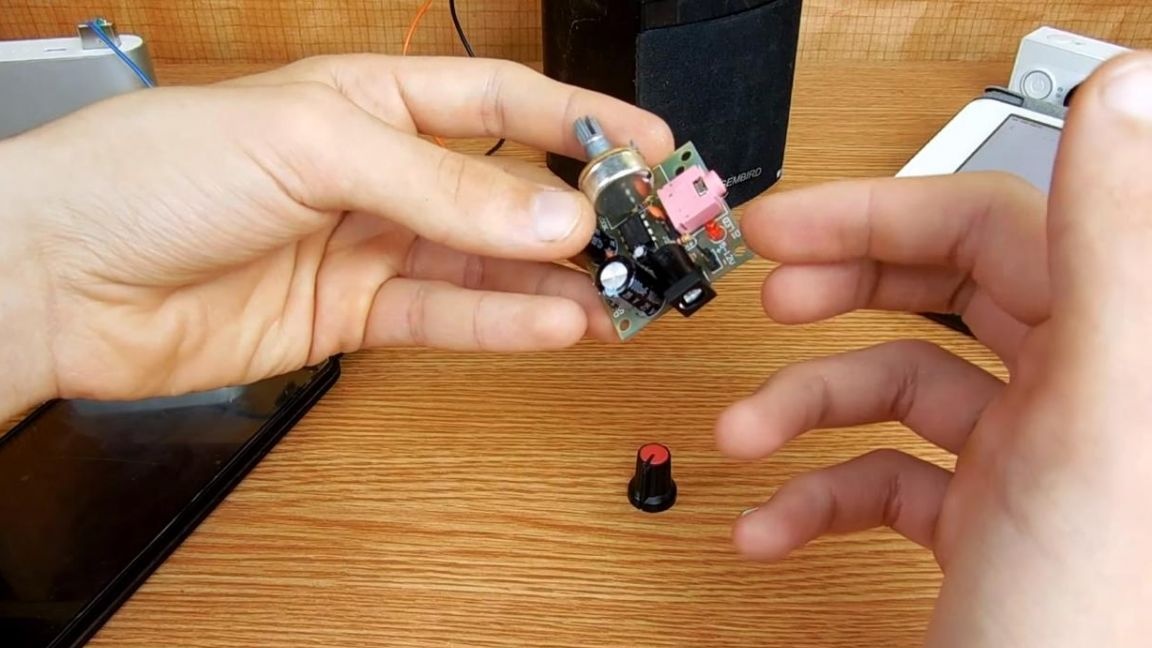
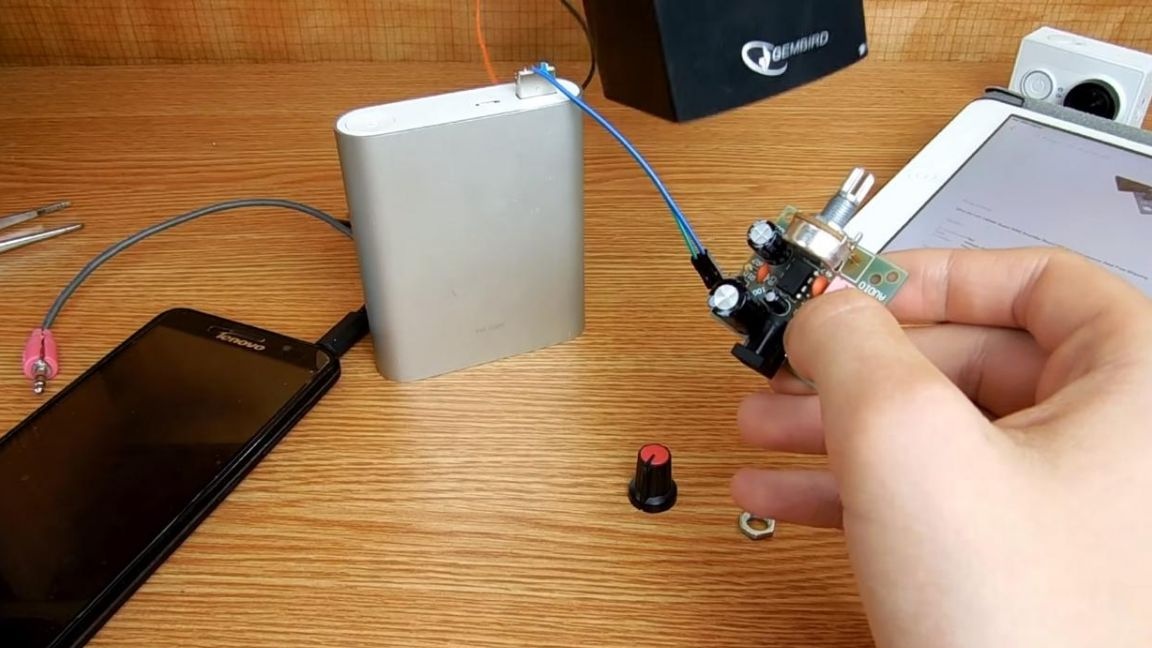
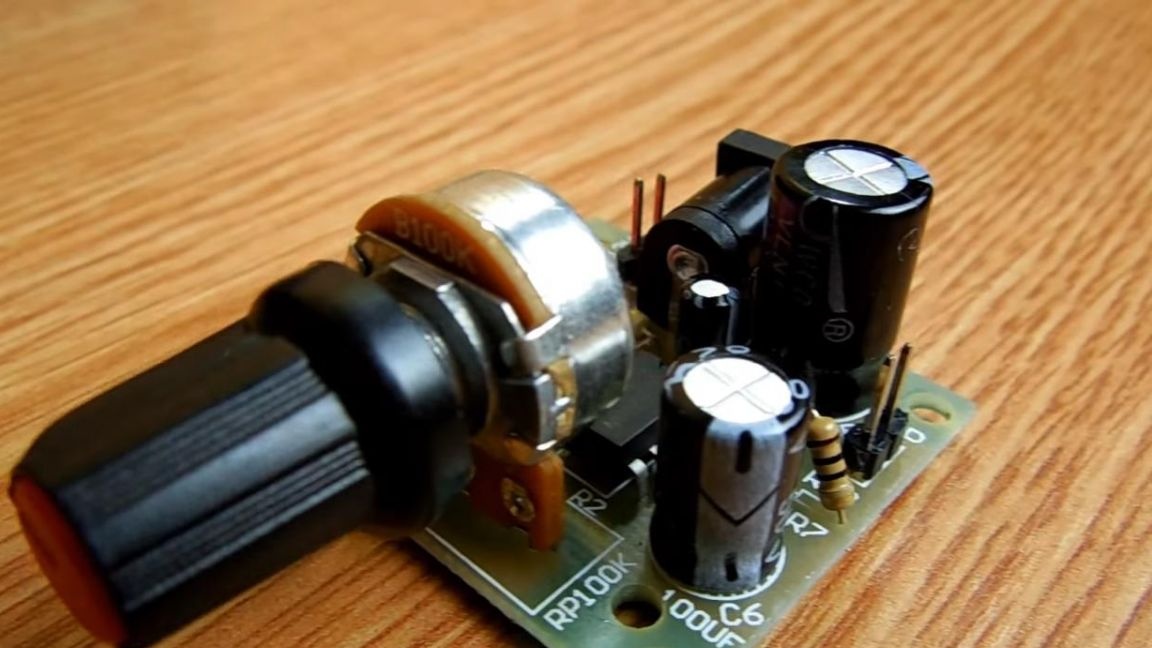
In order to adjust the volume level on our home-made amplifier, you need to install a variable resistor, to which there is a special handle in the kit for convenience and beauty.
Also, do not forget to install a socket under the 3.5 mm plug and a socket for connecting power. We set the conclusions for the power and move on. So that the details do not fall out at the next stage, we follow up their conclusions.

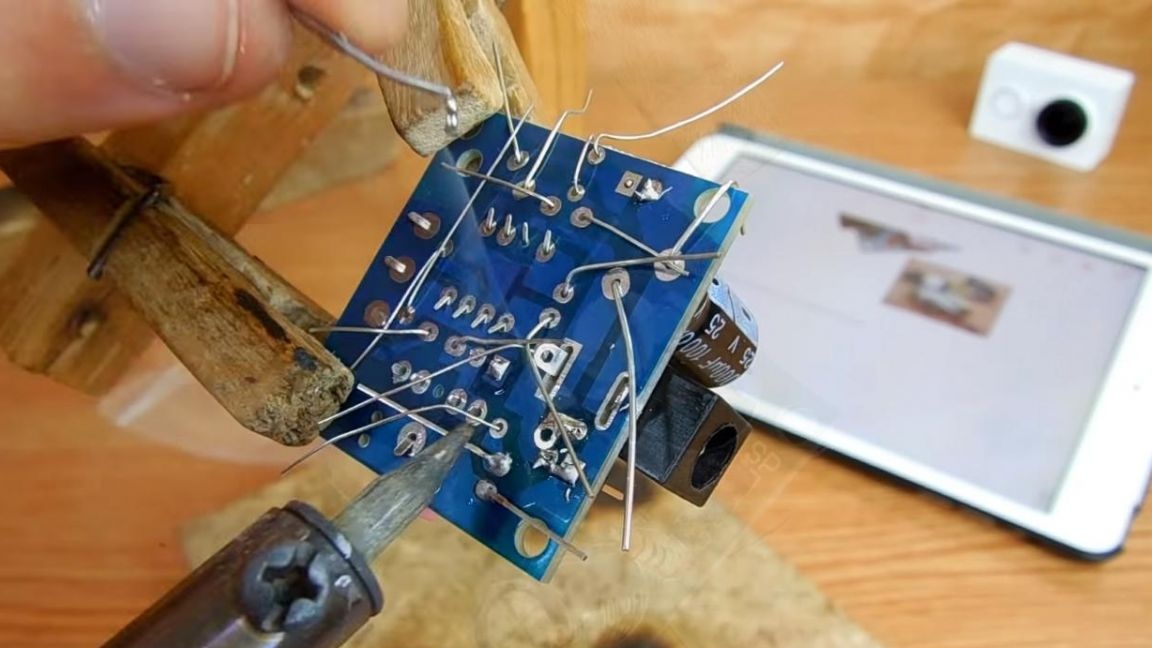
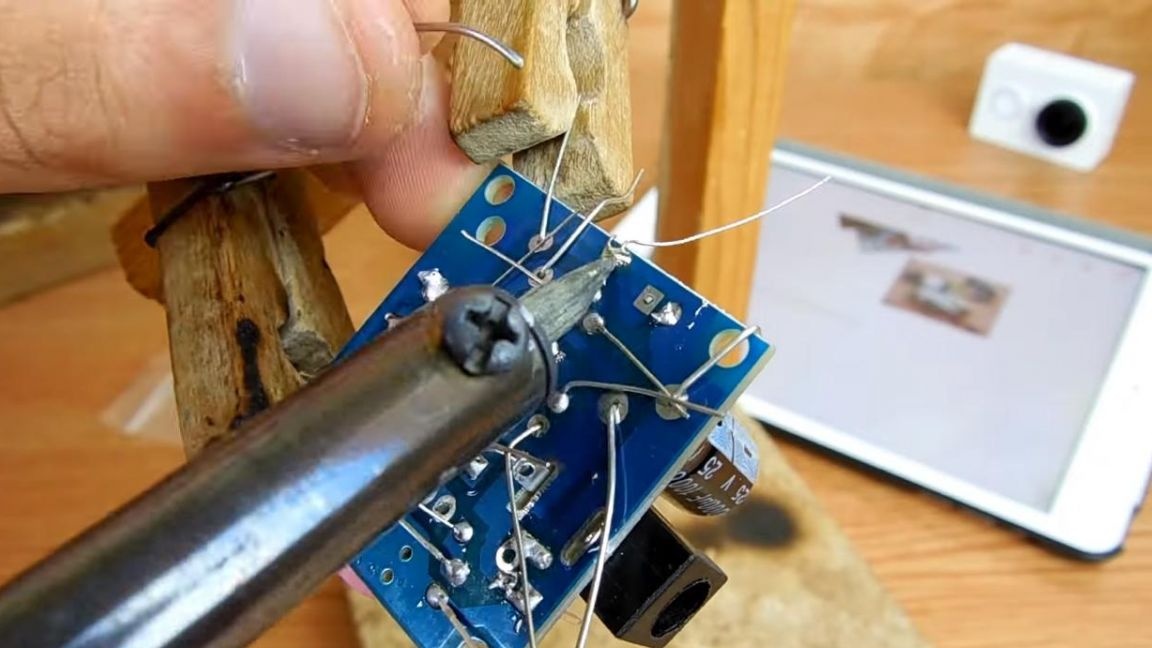
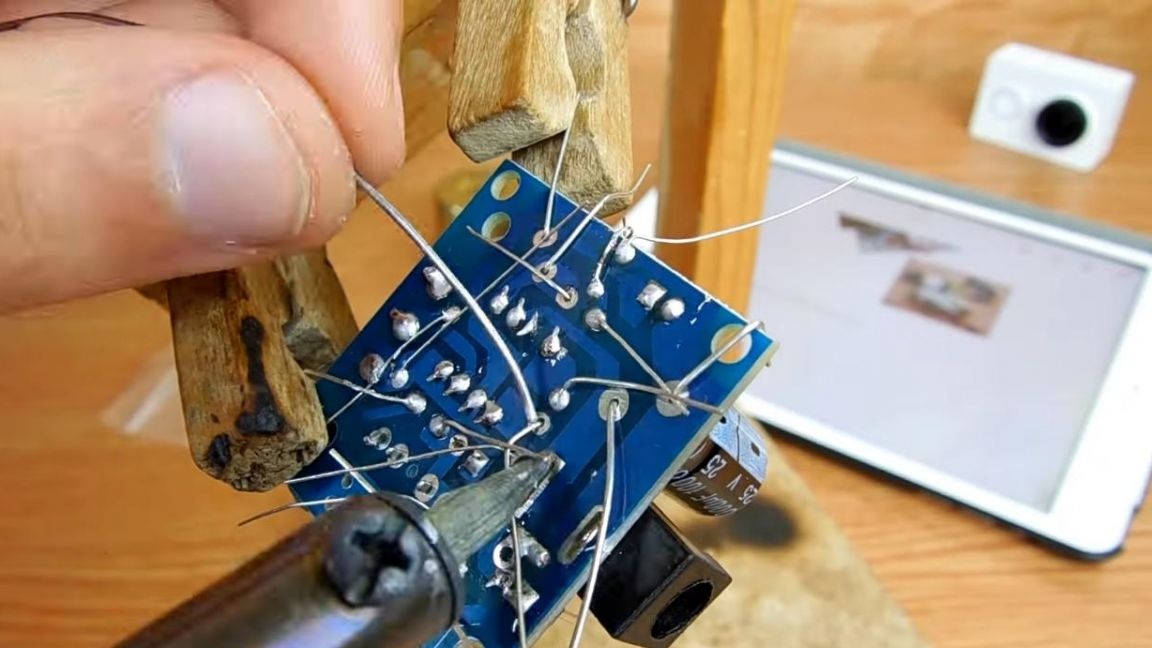
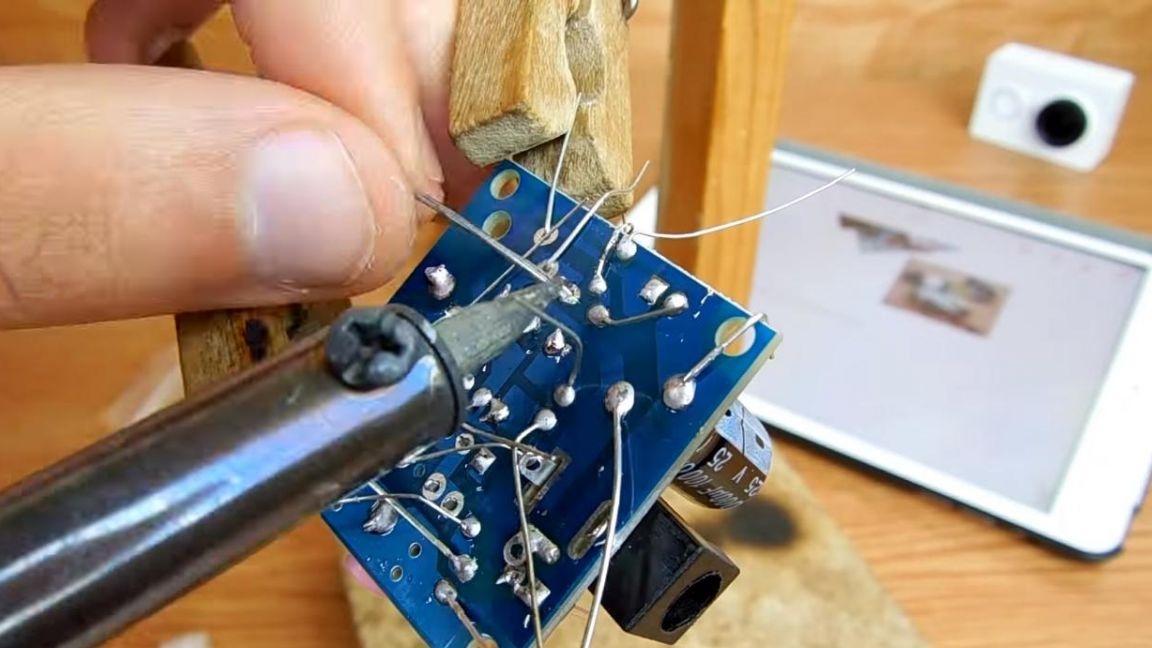
Step Six
It's time to solder the parts. Turn the board over and fix it in the solder clamp. We apply flux to the contacts and solder the components with a soldering iron, add solder as needed. When soldering a microcircuit, do this as quickly as possible, try not to overheat the terminals, otherwise the microcircuit may fail.
Seventh step.
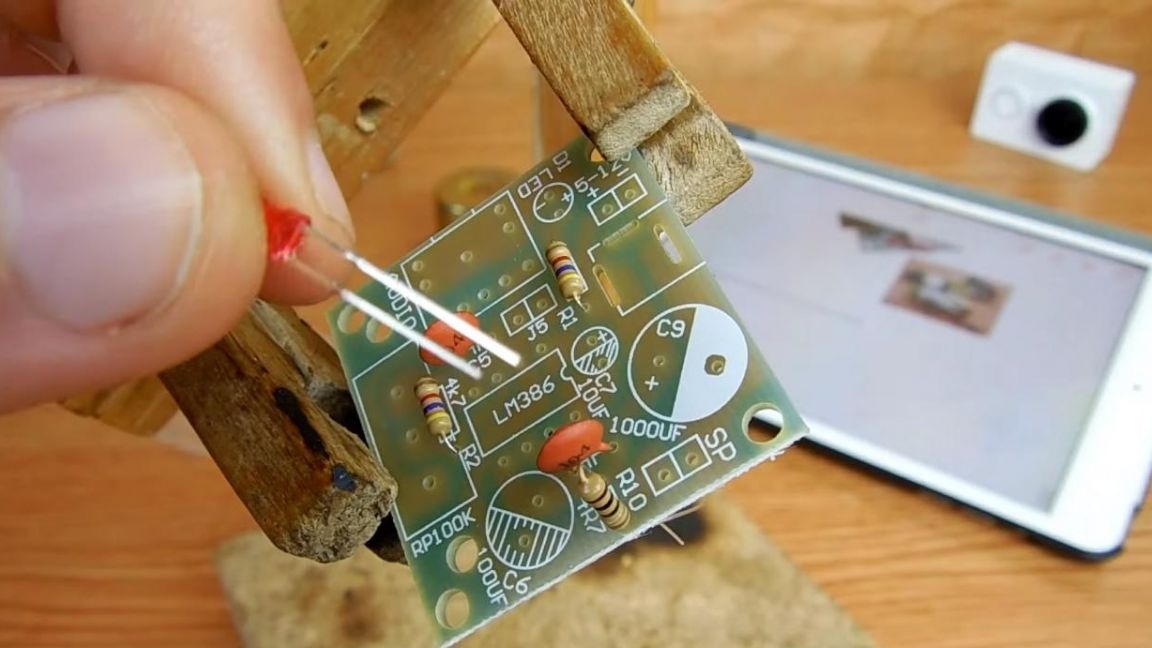
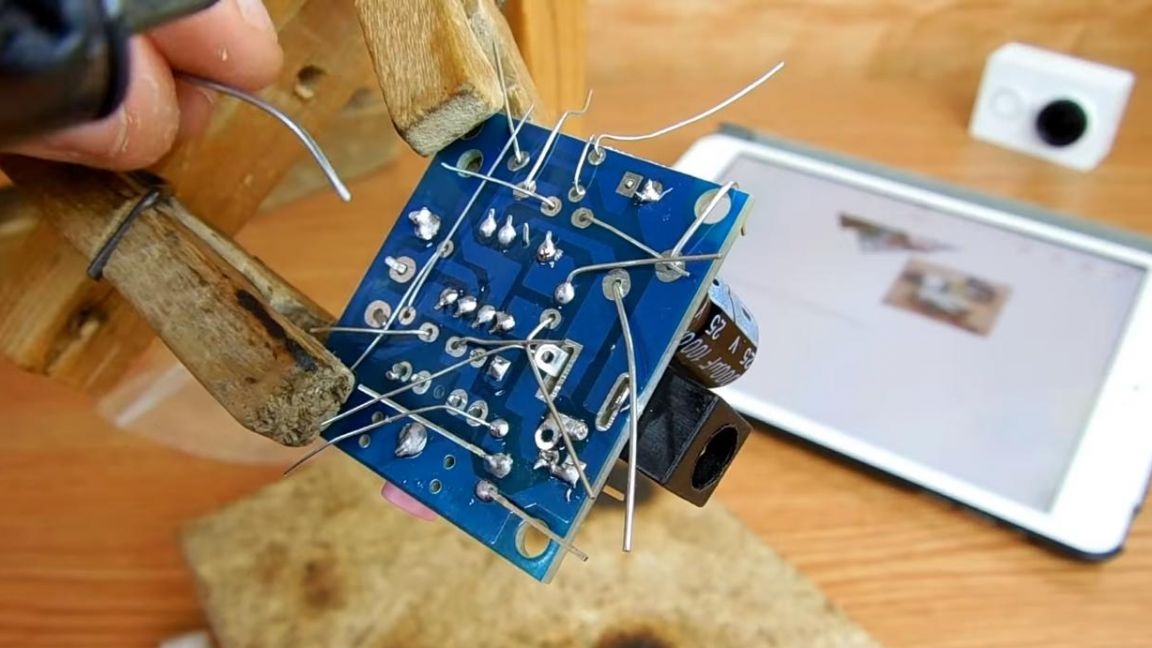
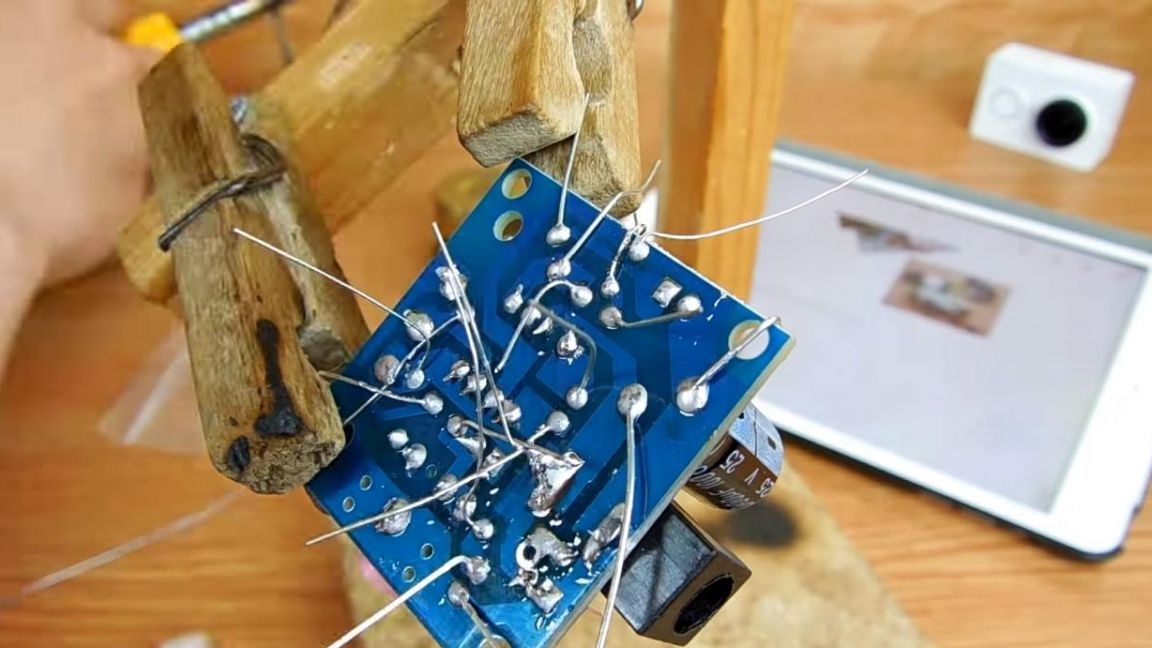
After the components are soldered, we remove the remnants of the findings using side cutters.
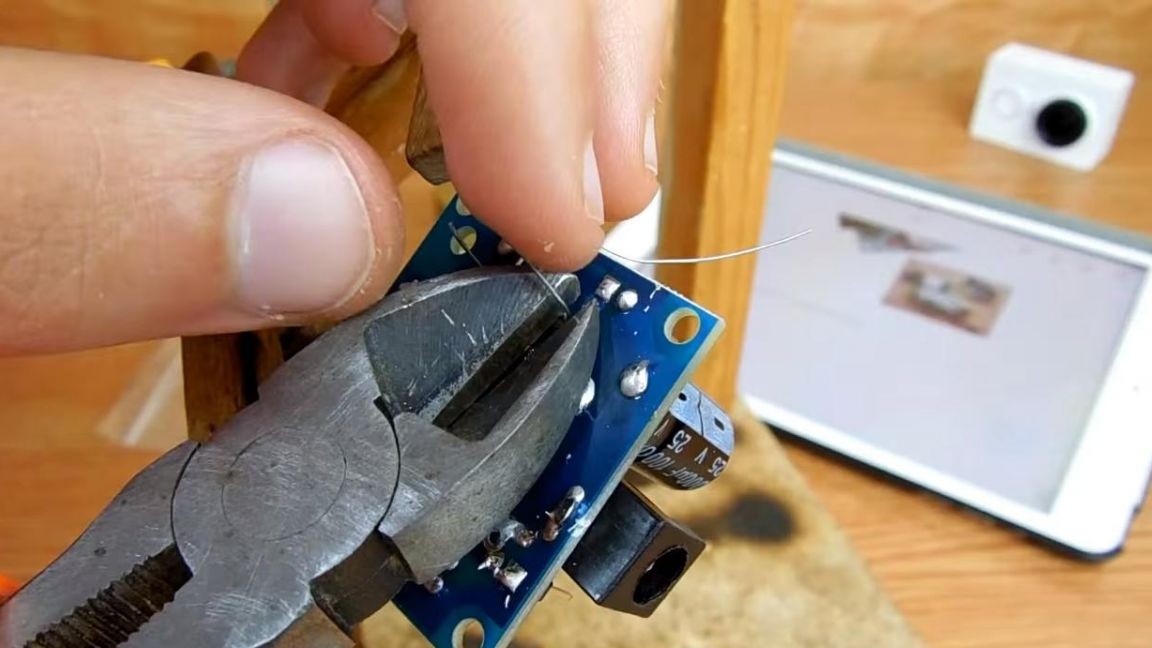
When biting conclusions with side cutters, be careful, as there is one awkward movement and there are no tracks on the board. Next, we clean the circuit board from flux, for this acetone or galosh gasoline will work well.
Step Eight.
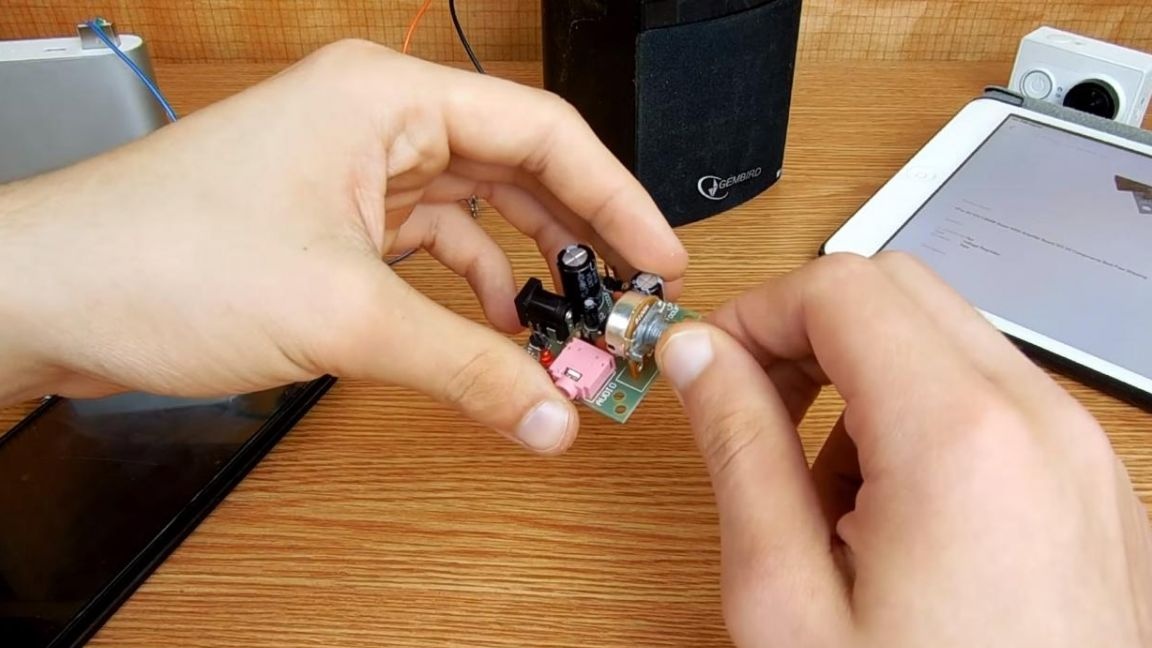
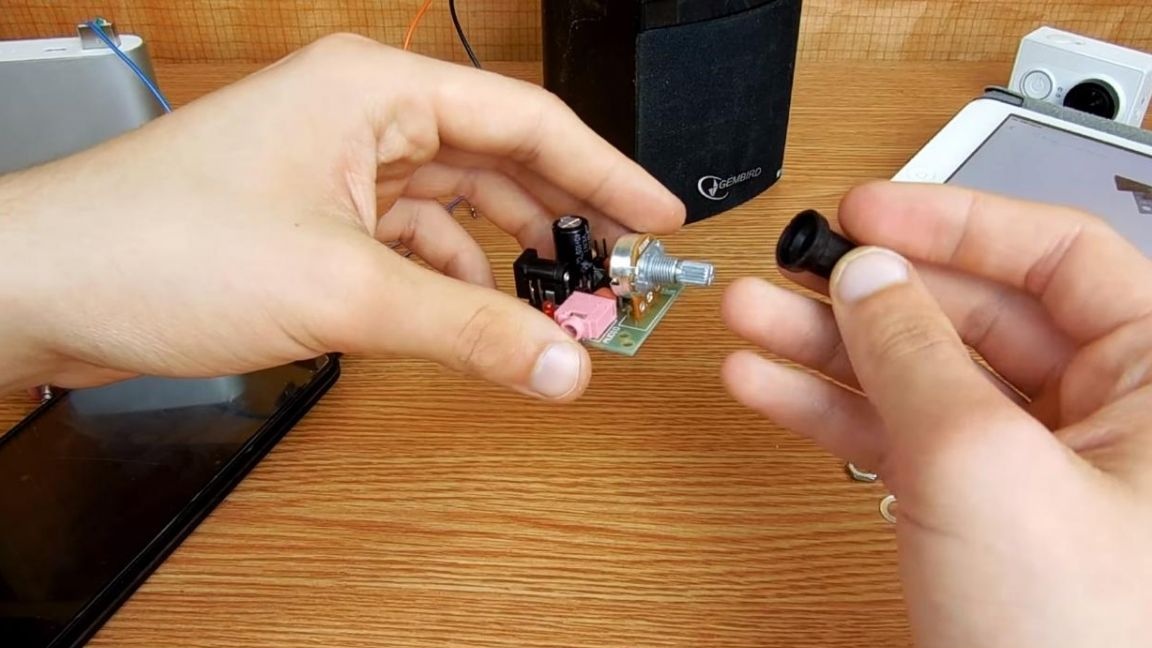
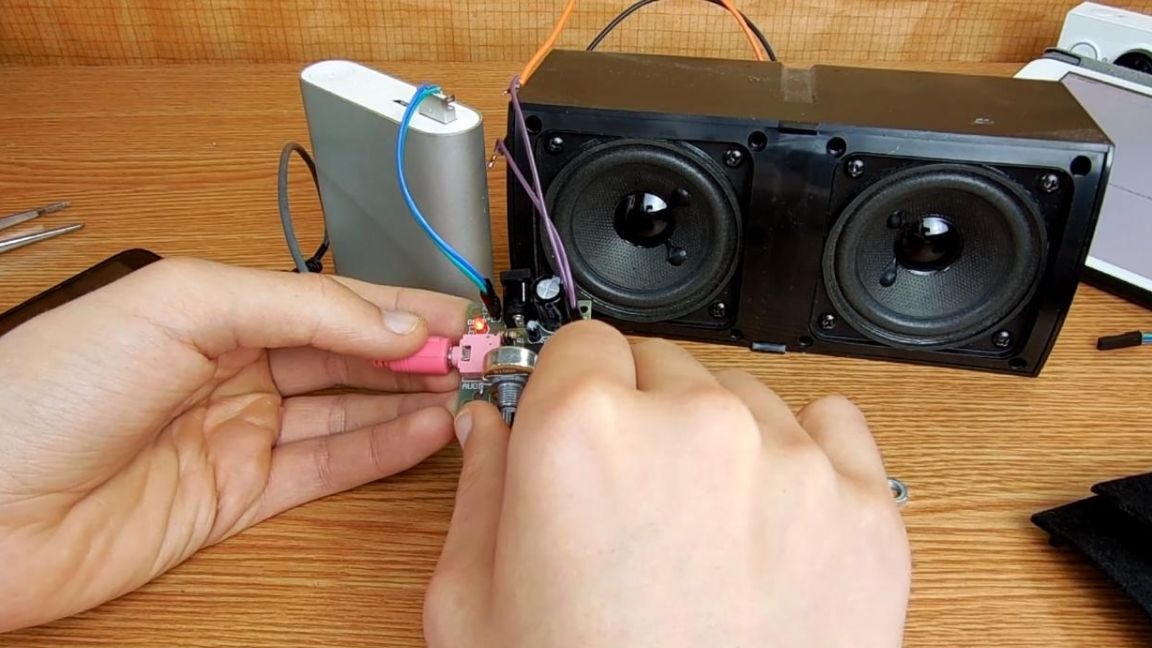
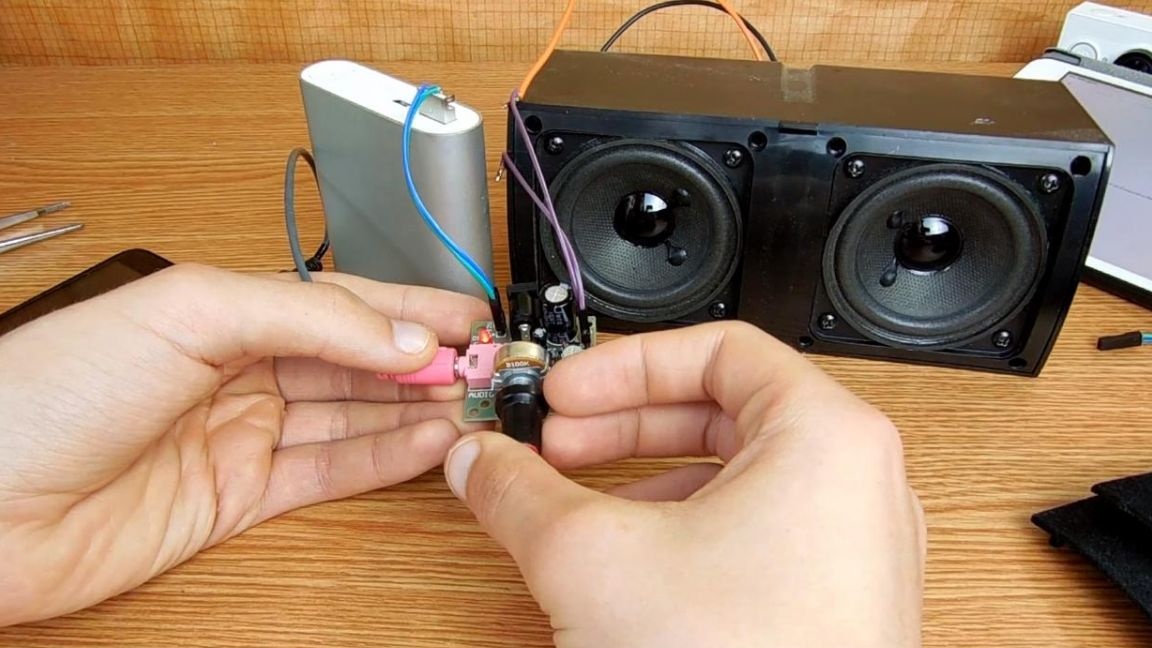
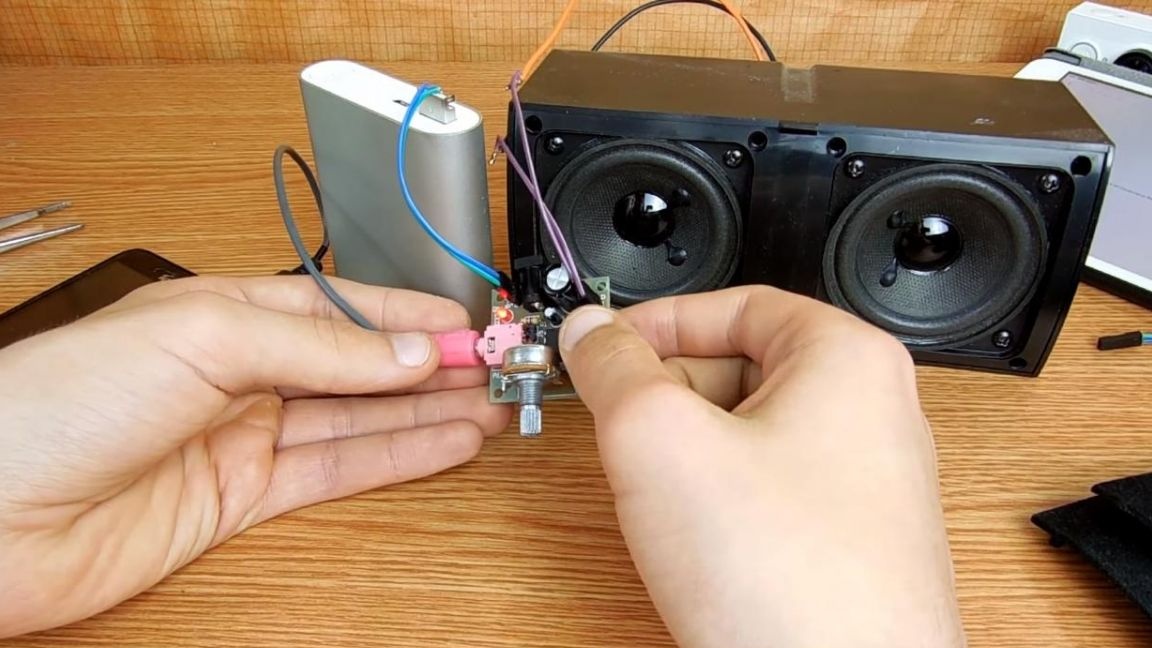
Next, put the handle on the variable resistor and begin to test the finished amplifier.
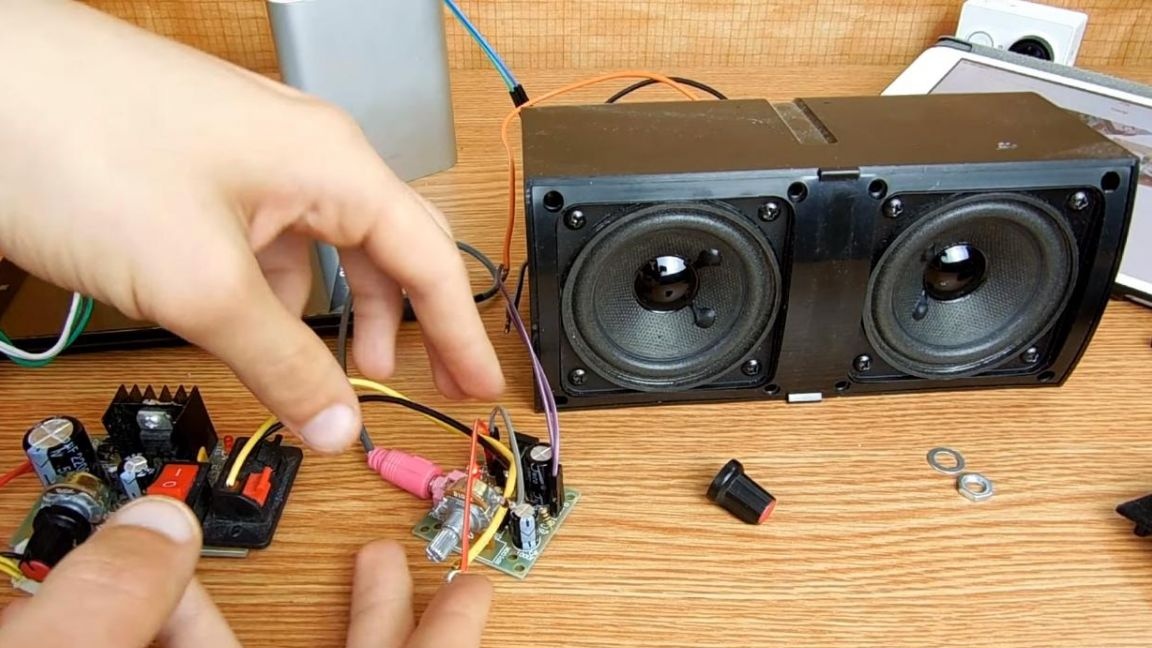
First, we check on the speaker with such characteristics, 5 watts 4 ohms.
We connect the bank to the amplifier and feed the sound from the phone, for this you will need an AUX wire, on both sides of which there is a 3.5 mm plug.
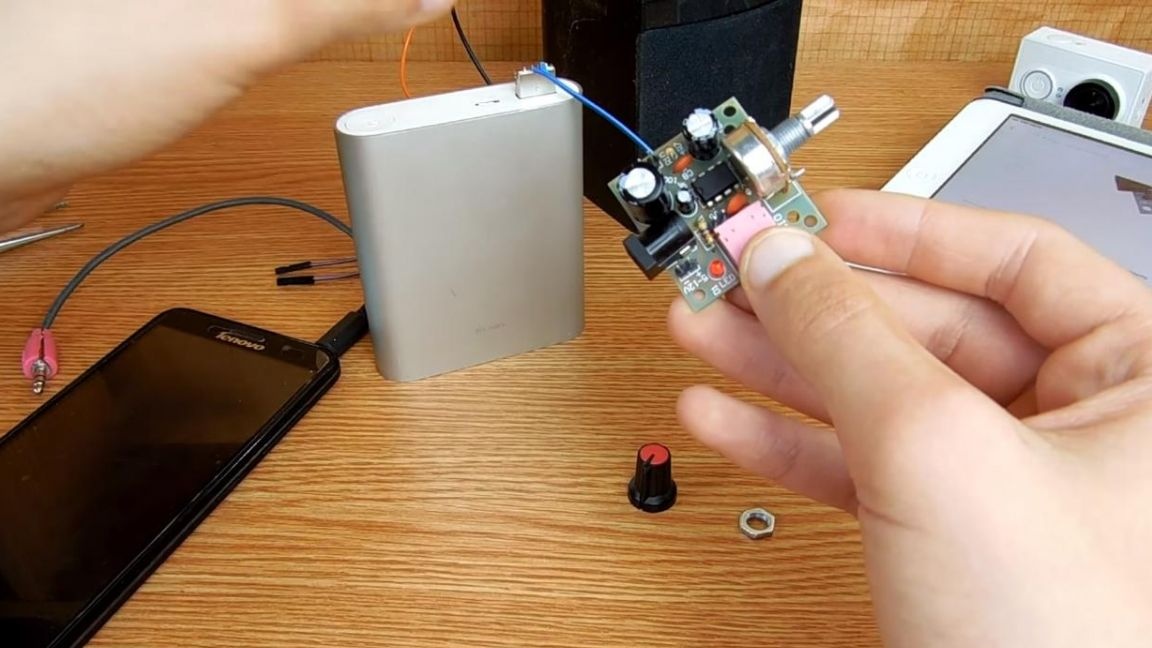
As it turned out, the sound from this speaker is mediocre, so we try with speakers more powerful. For better sound quality, the amplifier needs 12 volts of power, so the amount of noise is reduced, and at maximum volume there are small rales, but not as expressive as when connecting 5 volts from the power bank.
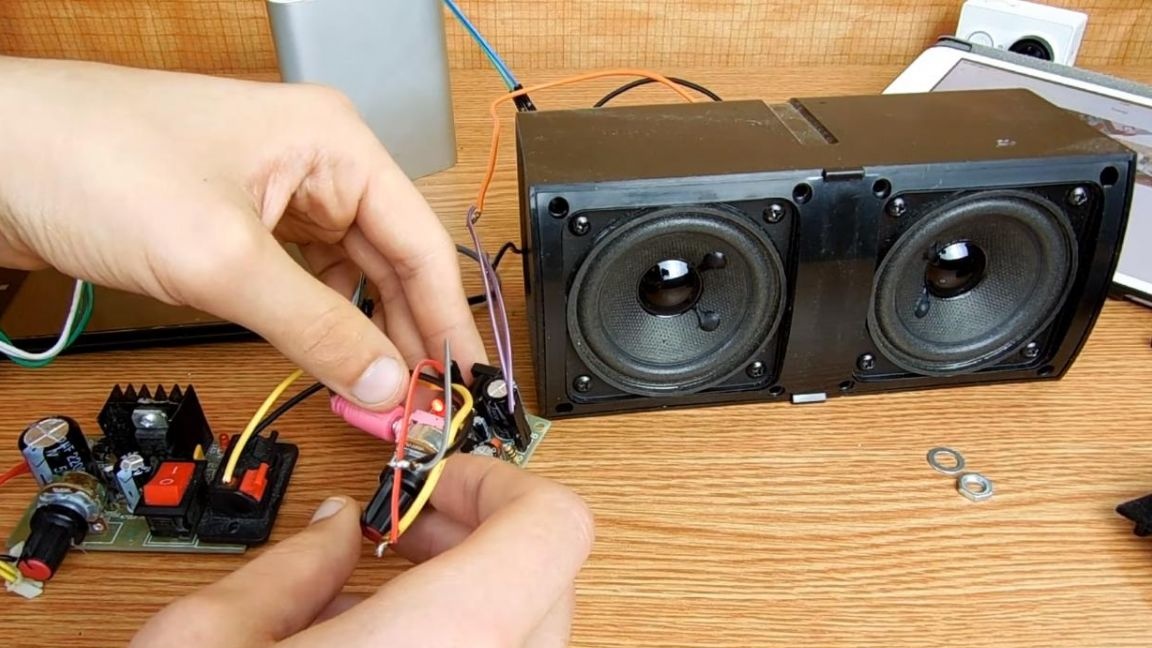
That's all for me, this amplifier can be used for computer speakers or in the assembly of portable speakers. This is how the amplifier looks from all sides.
Thank you all for your attention and good luck in homemade products.