
On the street it got warmer and it was the very time when you can move out into the nature, into the fresh air, relax from the bustle of the city and fry the kebab. And this means that the time has come for new summer life hacks and inventions. Today I’ll show you how to make a very interesting and useful device for outdoor activities - device for blowing coal in the grill (starter for ignition of coal).
For the manufacture of our device, the first thing you need is this metal watering can:
Next, you will need such a spatula to smooth tile adhesive:

Still need a couple of battery holders, each holds 4 pieces.
Also in this homemade product we find application for an old unnecessary hair dryer. This is how it looks:
Well, from small things we will use plastic clamps and some kind of switch. The tumbler, I think, is best suited for these purposes.
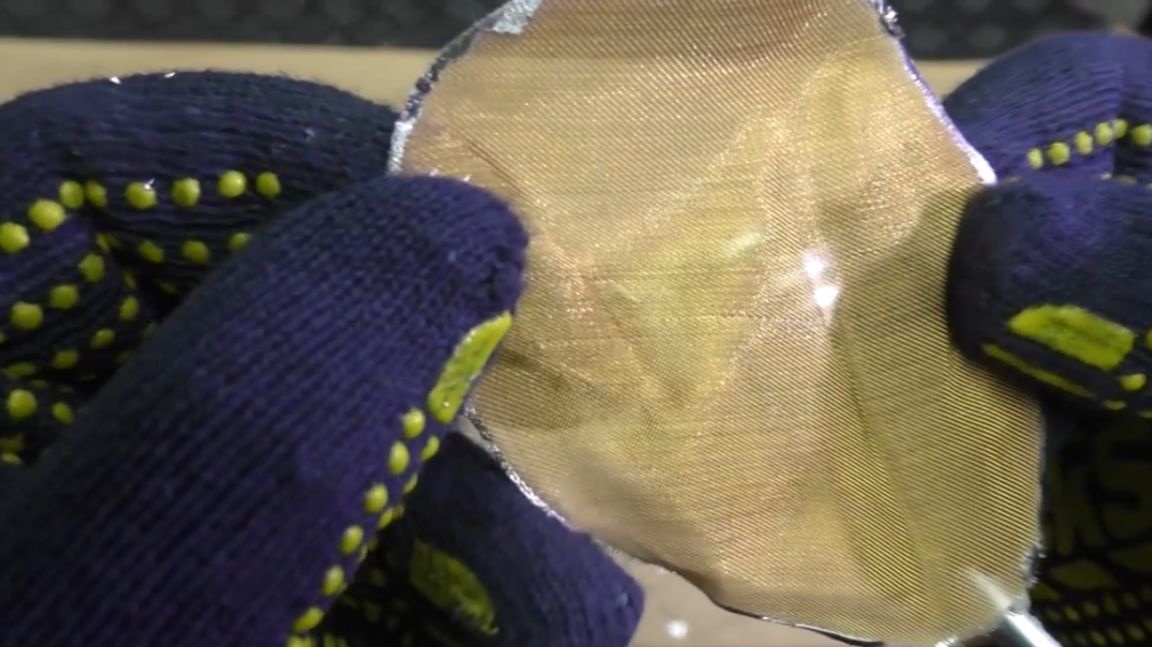
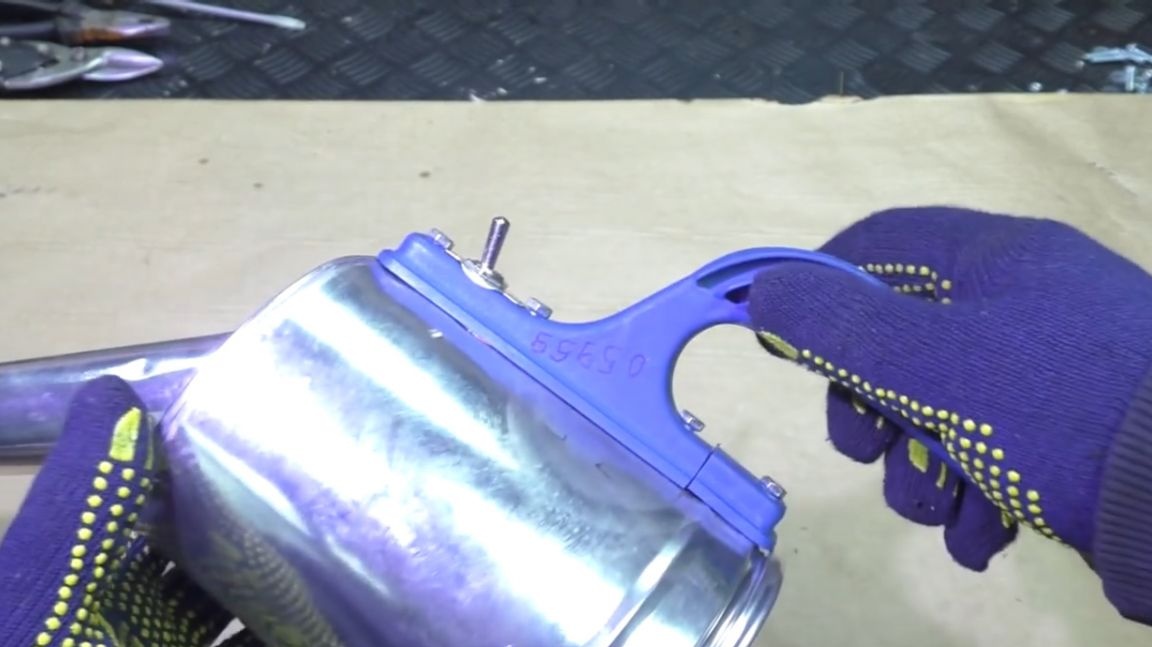
The first step is to remove excess parts from the watering can. The extra details in our case will be: the eye (handle) and this mesh here, we also do not need it in this case.

Since this handle is soldered, it can be easily removed with an ordinary gas burner. In exactly the same way, we can remove the mesh we do not need. We simply heat the place of soldering with a gas burner and the eye will by itself separate from the watering can.

In order to remove the grid, on the back of the watering can you need to place some weighty object and then just warm this place, well, to which the grid is soldered.
That's all, the mesh is completely extracted. It will still be useful to us in other projects, as it consists of brass and is very, very small. In general, I’m sure she will definitely find some application.
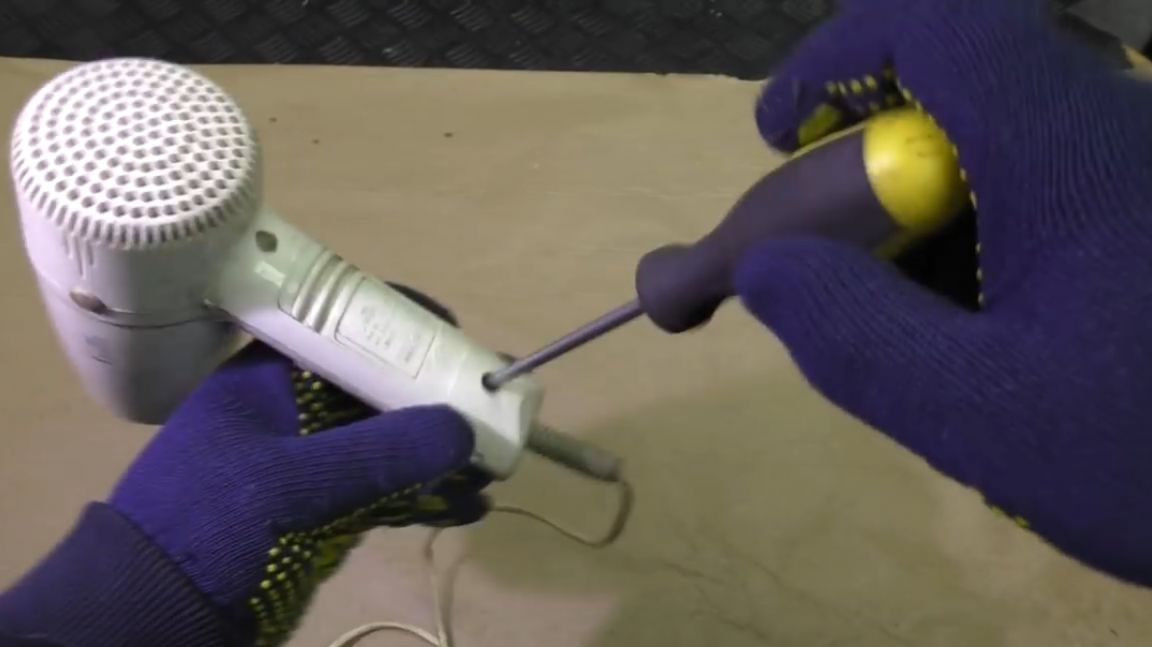
Next, let's take a hairdryer. The hairdryer needs to be disassembled. It is necessary to remove the electric motor from it.
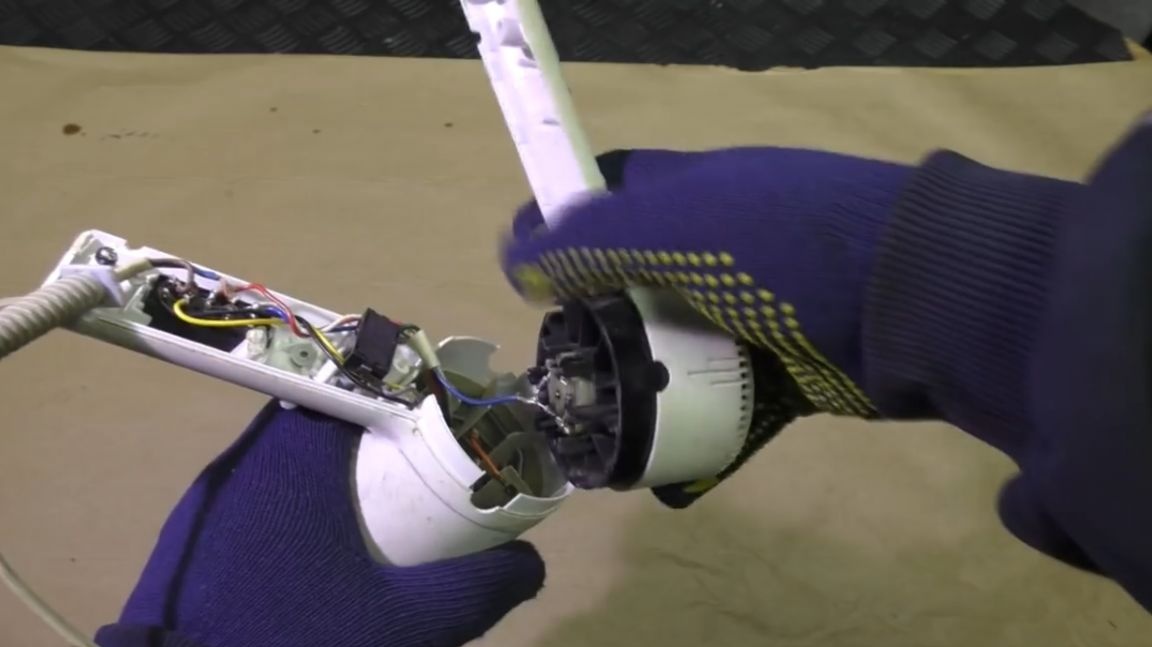

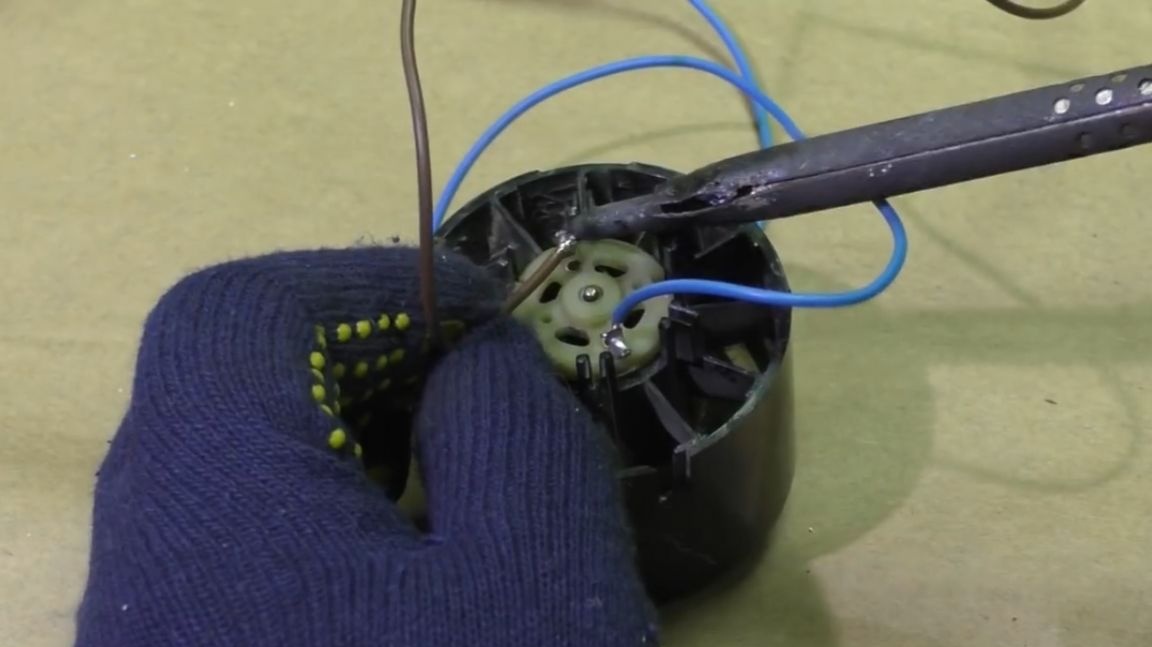
To make our homemade products today, we need the engine itself. Electric motors in household hair dryers are most often designed for a voltage of 12 volts and require direct current to operate, but since the hair dryer itself is powered by an alternating voltage network of 220 volts, the electric motor is connected through a diode bridge, which makes this voltage constant. But since our homemade product will be powered by batteries, then we need them no longer, and they can simply be removed with the help of wire cutters.
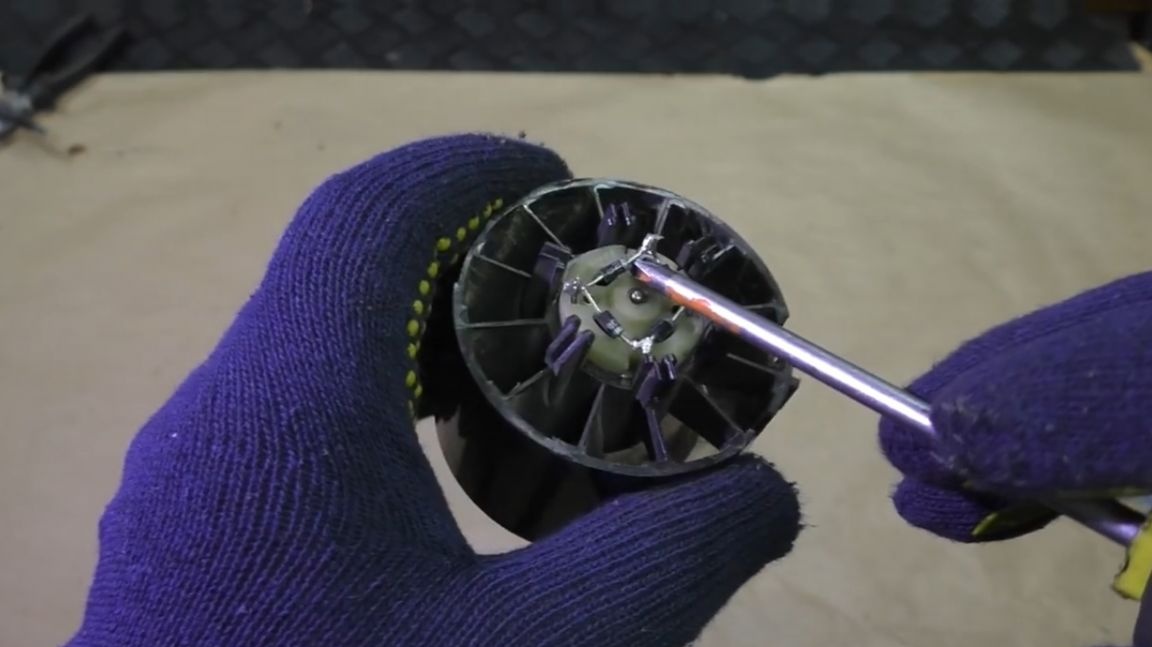
Now we have only 2 outputs on an electric motor. To these contacts you need to solder two pieces of wire.To do this, we take a soldering iron, give it something to warm up and, after thoroughly irradiating the wires, as well as the contacts of the electric motor, we solder the whole thing.
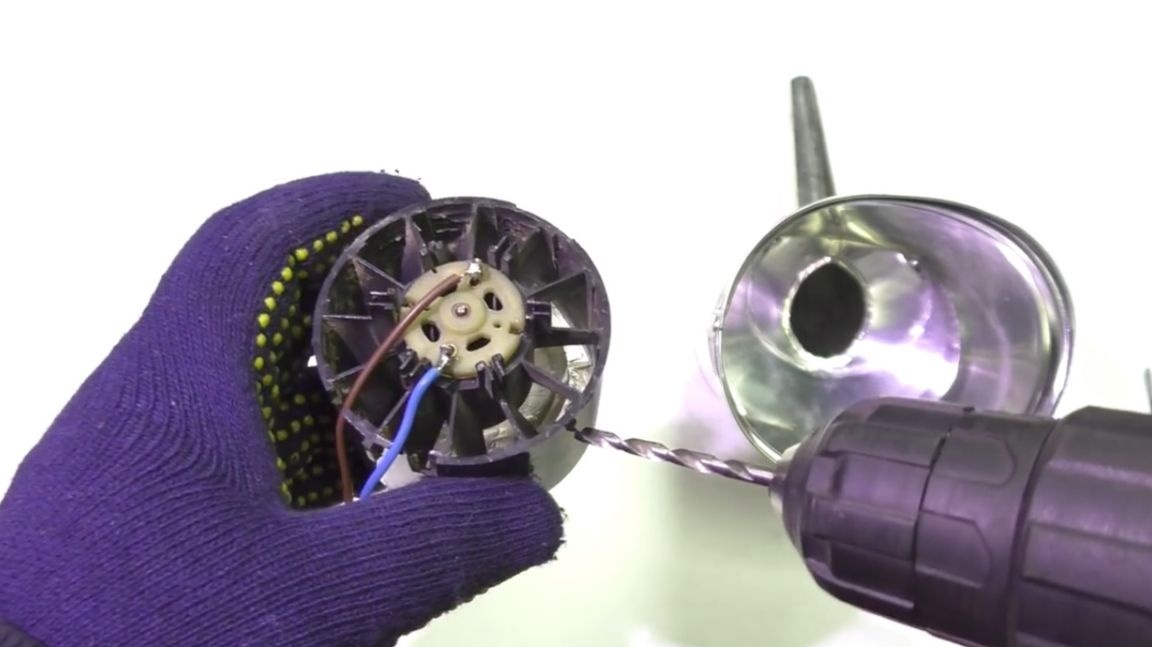
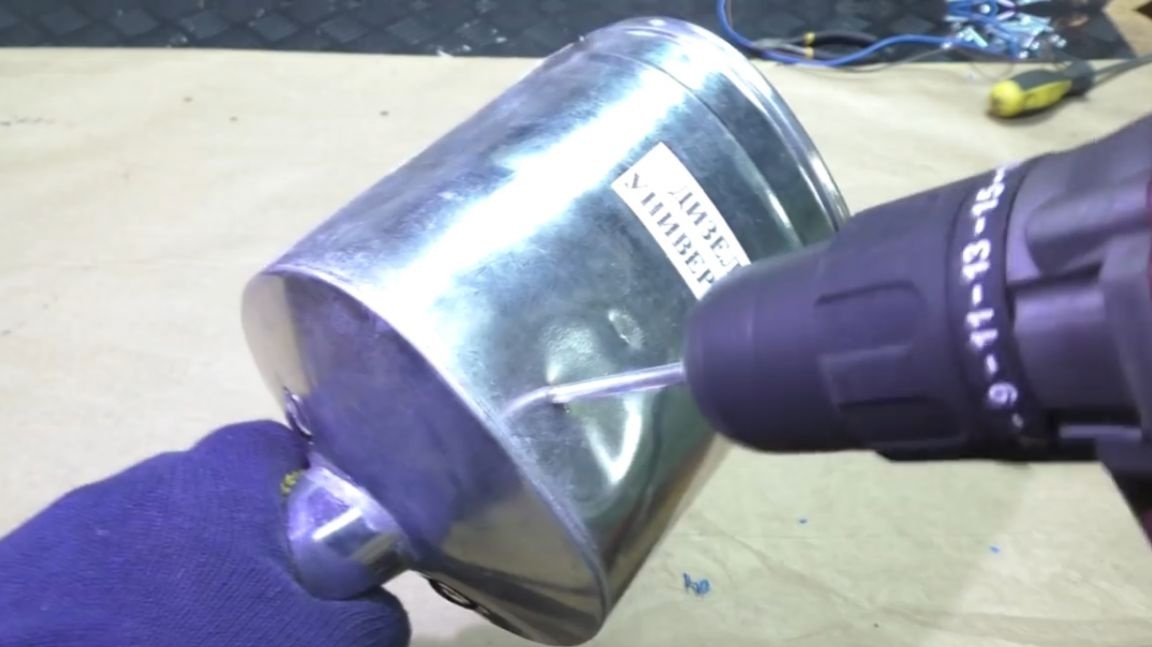
Then the electric motor from the hairdryer must be installed in the watering can. The engine will be attached to the watering can with the help of plastic clamps. But in order to catch a clamp, it is necessary to drill several holes in the plastic part of the engine, as well as to make the same holes in the watering can itself. We will do this with a screwdriver and a small drill.
Now we have something to hook the clamps on. We thread them into the holes just drilled and tighten, thereby firmly fixing the electric motor from the hairdryer inside the metal watering can.
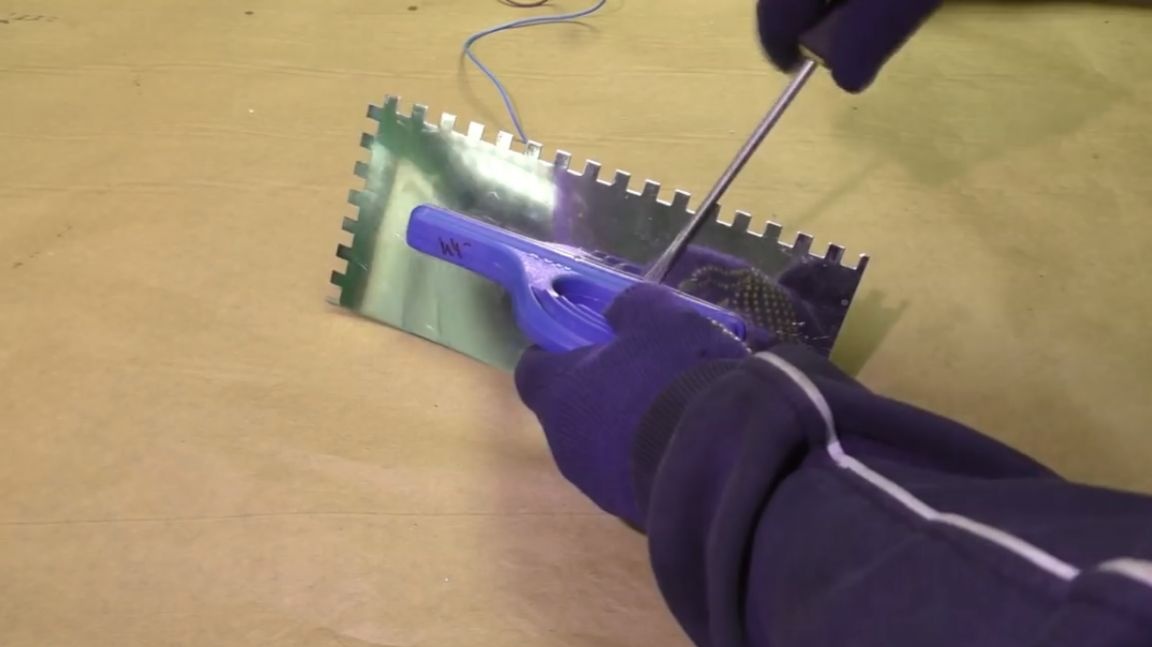
From the tiled spatula we take only the plastic handle. It must be disconnected from the metal plate of the spatula, and then fixed on our watering can.
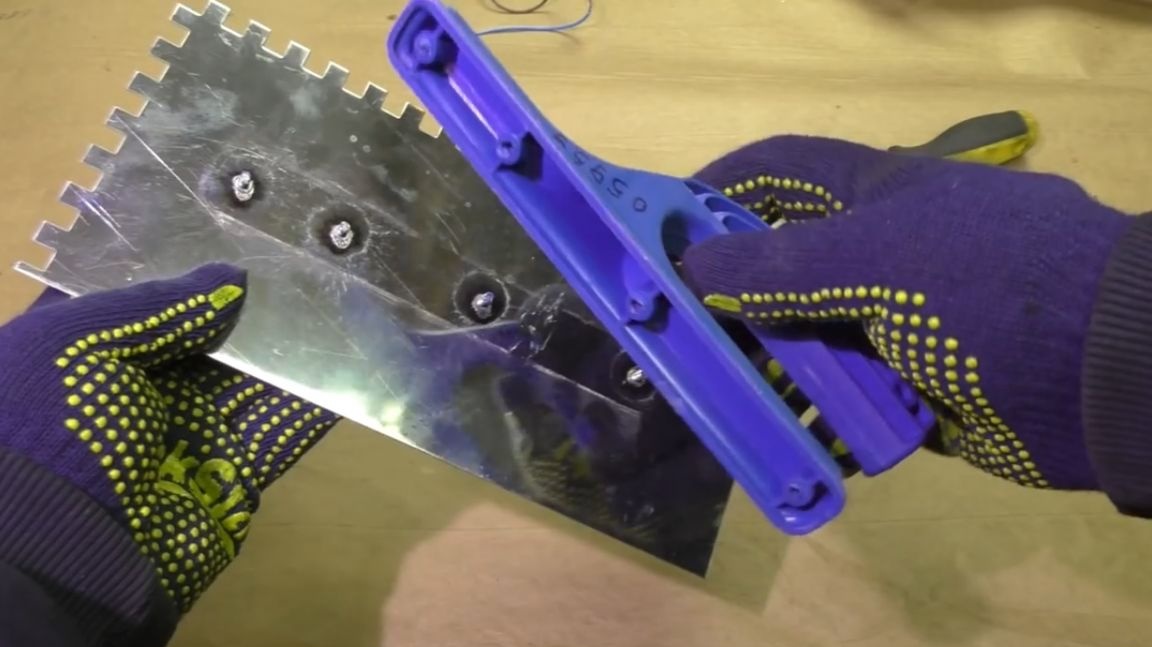
This is how the plastic handle easily and simply comes off. It is enough to work a couple of minutes with a screwdriver or any other tool suitable for these purposes. The most ordinary screws were screwed into it, and then, on the other hand, everything was sealed and polished.
We will fix the plastic handle on the watering can as follows:
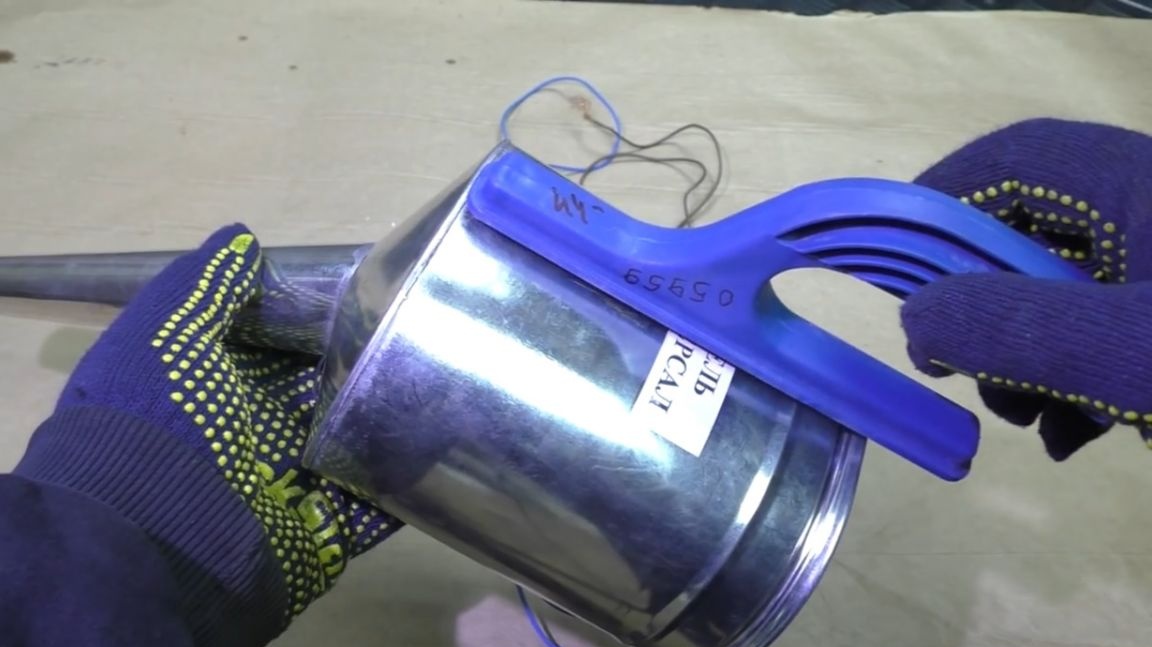
As you can see, the handle is a little longer than we need, so you have to cut it a little. Cut off the extra protruding part of the handle with a grinder, but a little later. And now we will deal with the placement of the on / off button of our device.
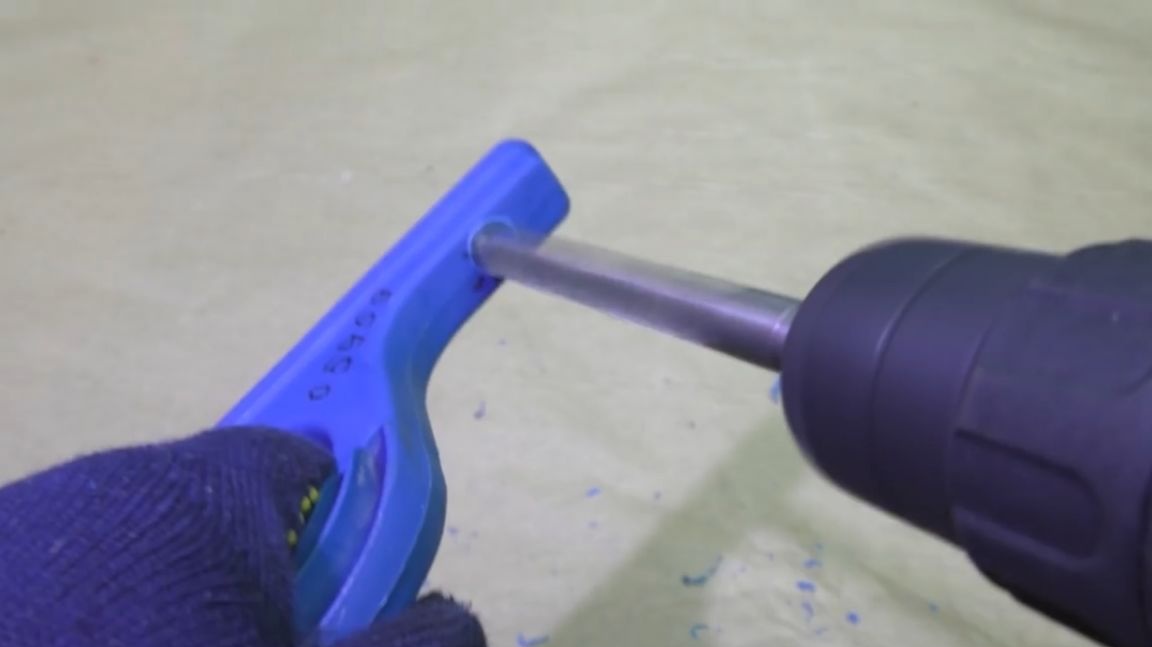
Before attaching the handle to the watering can, a pre-selected toggle switch must be mounted in it (in the handle). With the help of this toggle switch, in fact, our homemade device will turn on and off. In order to install the toggle switch on the handle, it is necessary to drill a hole of the required diameter in the intended place, insert the toggle switch into it and tighten the nut.
The hole is ready. Let's immediately install the toggle switch in the handle. It turned out here is such a nice toggle switch, with which our device will turn on.
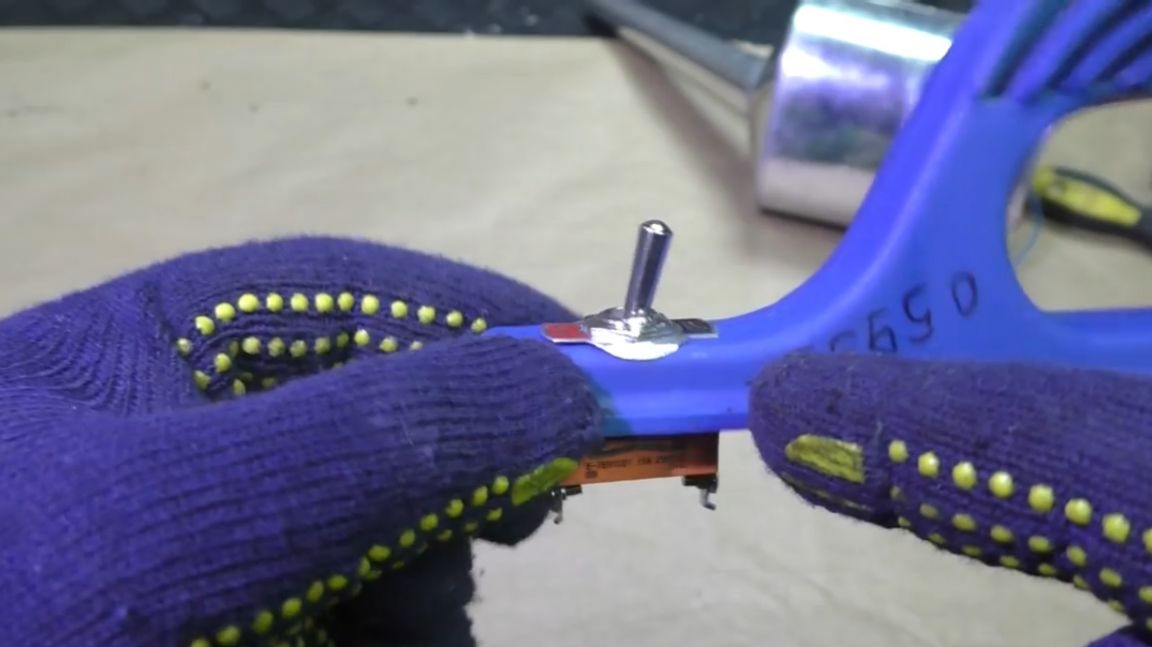
Now you need to make a hole in the metal wall of the watering can under the lower part of the toggle switch and fix the handle. We will make the necessary hole using the same screwdriver.
Next, you need to solder the wires to the toggle switch of the device. And then using bolts and nuts, we fix the plastic handle on the body of the watering can. The result is such a device.
The next step is to mount the battery holders inside our device. For this, it is also necessary to make holes in the watering can. Through the resulting holes we thread the clamps and tighten them, thereby pressing the battery compartments to the wall of the watering can.
This is how the device looks at this stage of assembly, after fixing both battery holders.
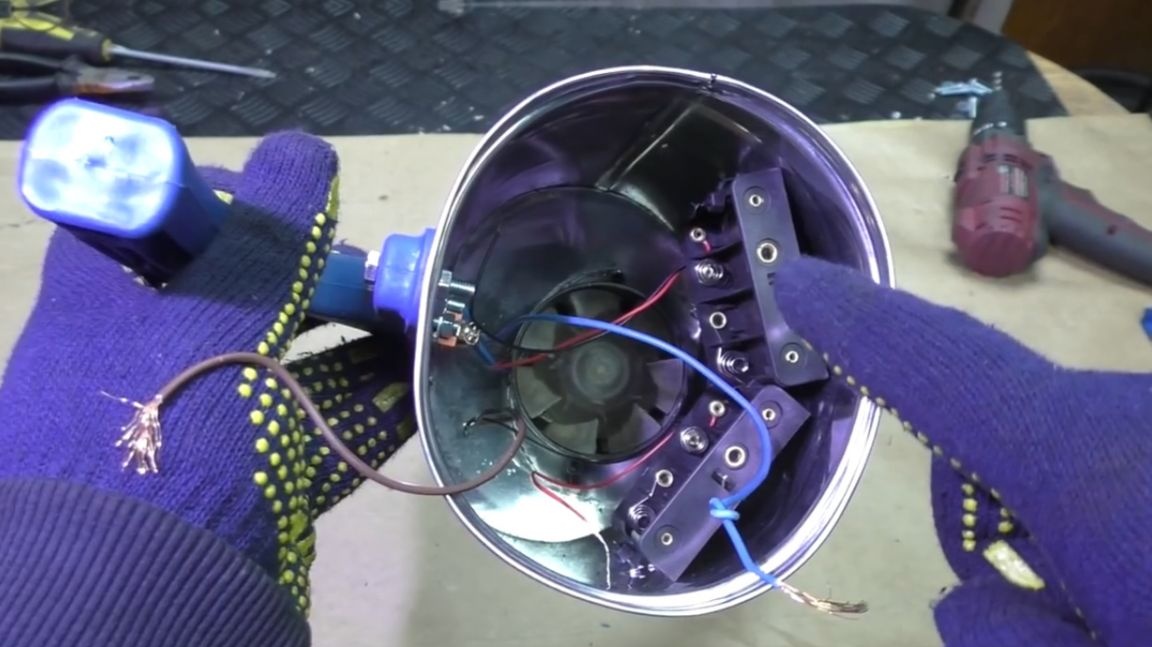
Now it remains only to connect the wires. We connect two modules with batteries in series and in total their voltage will turn out to be just 12 volts. This is the voltage that is necessary to start and operate the electric motor from a hairdryer. But for everything to be completely good, this hole must be closed with a lid.
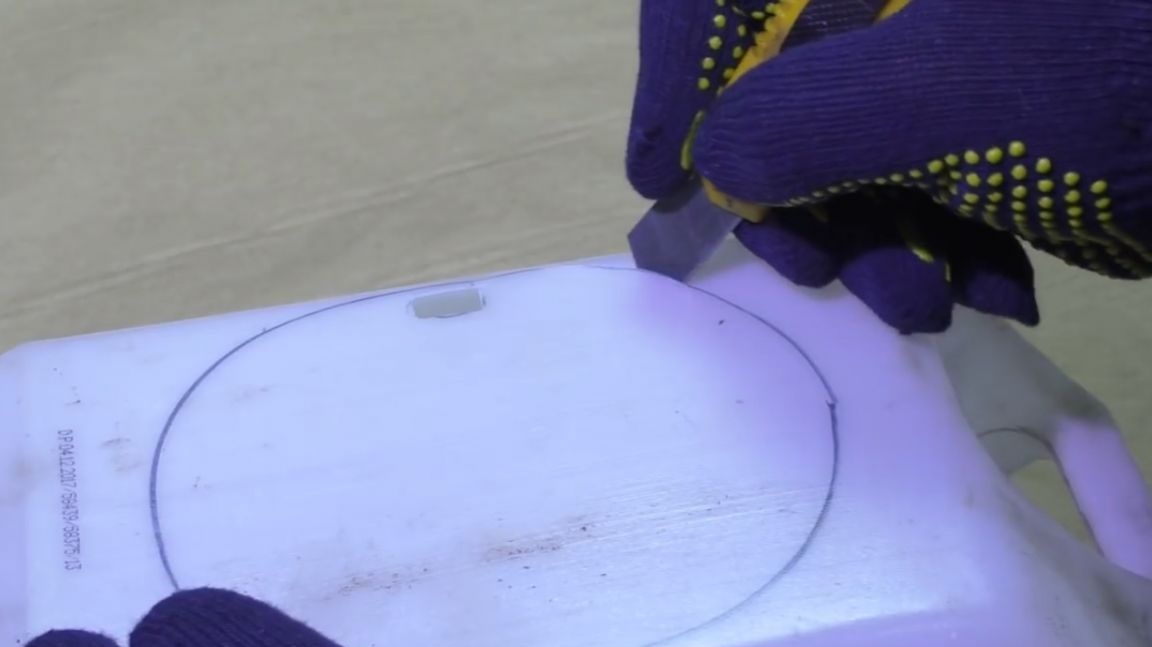
We will make a cover from a usual plastic canister. We draw a future cover on one of the walls of the canister. Then we cut it out with a clerical knife. The plastic of the canister is thin and quite soft, so for a regular stationery knife - this is not a problem.
Next, with the help of a compass and a ruler, we outline our cover as follows:
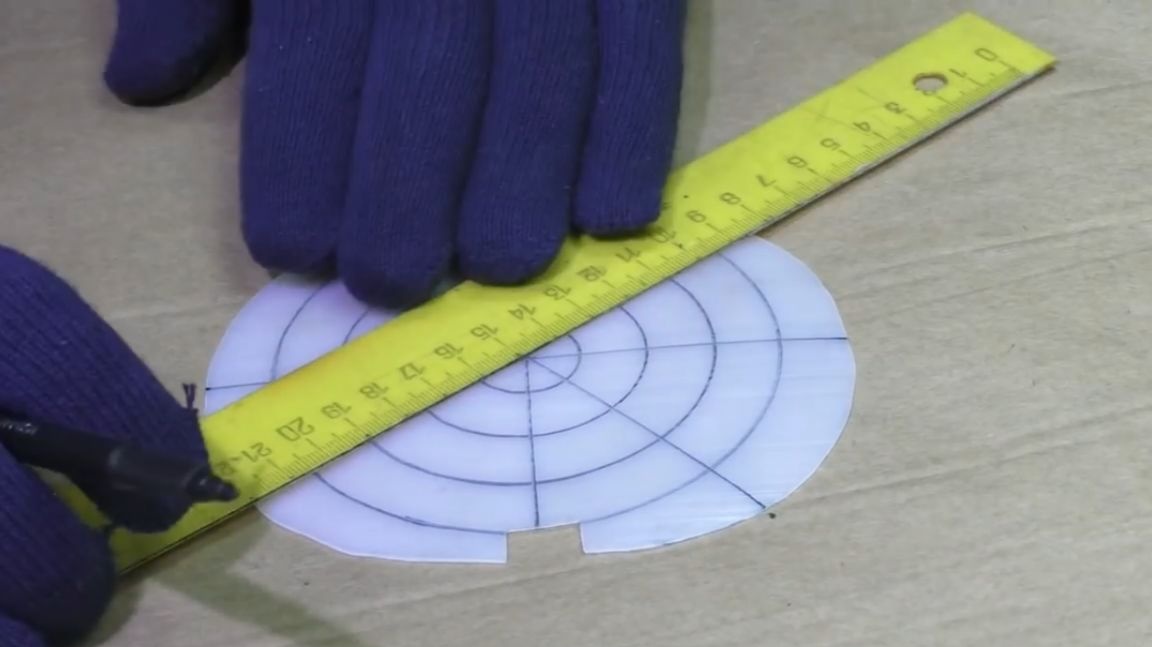
At the intersection of the lines, holes must be made. We pick up a screwdriver and drill.
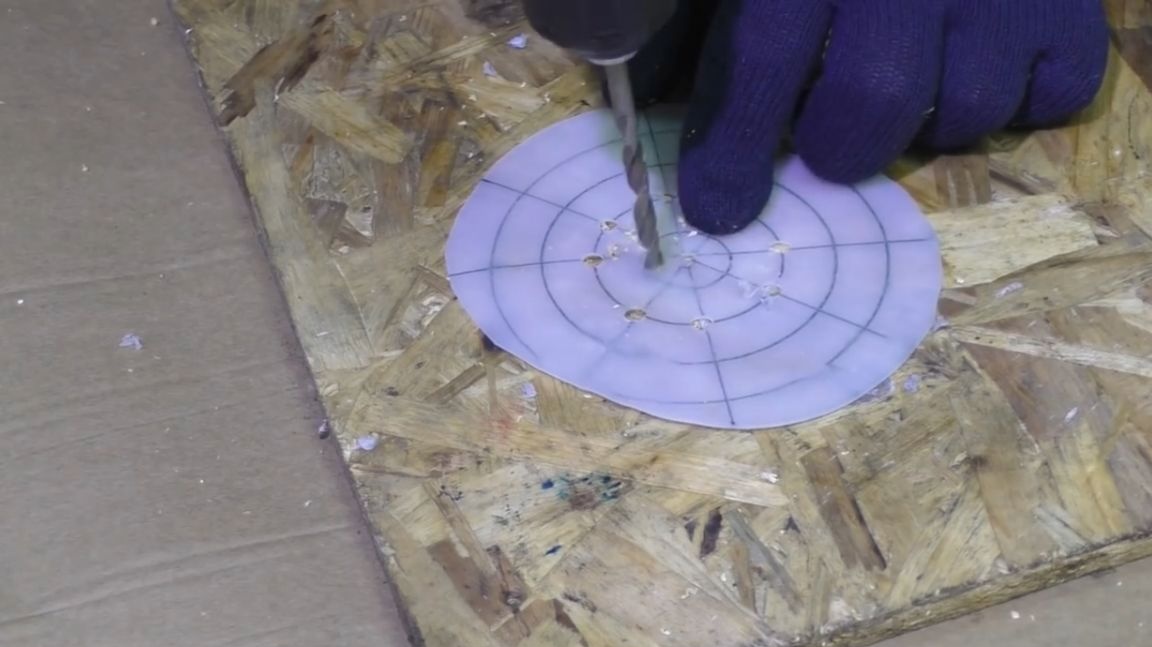
As a result, we got such a lid with drilling.
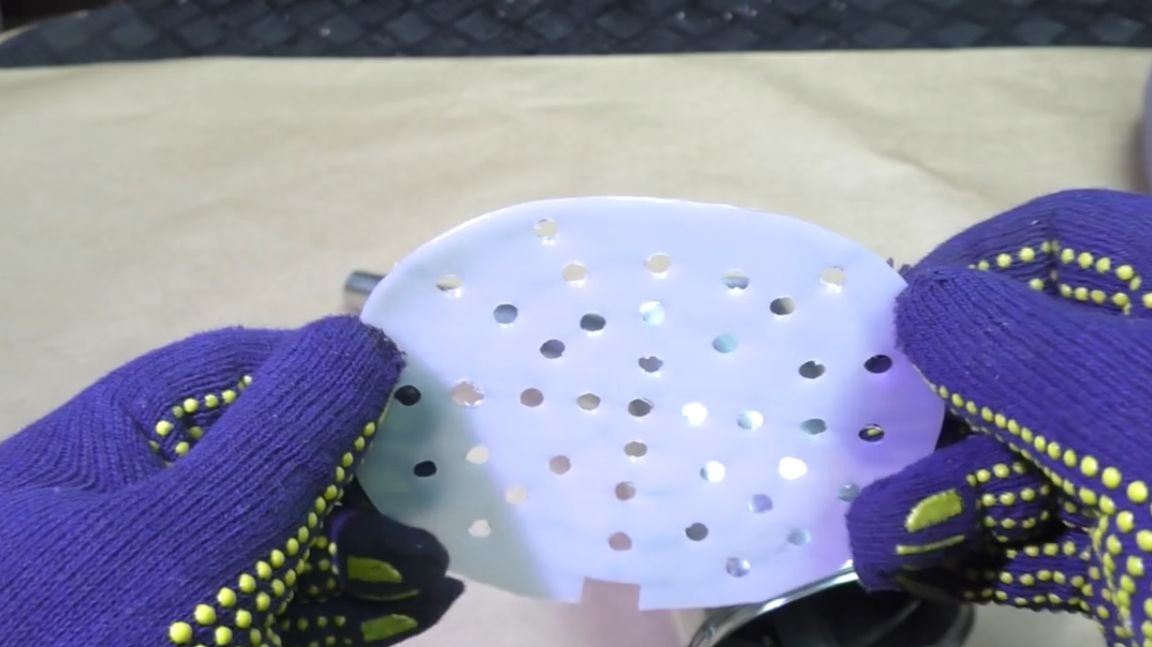
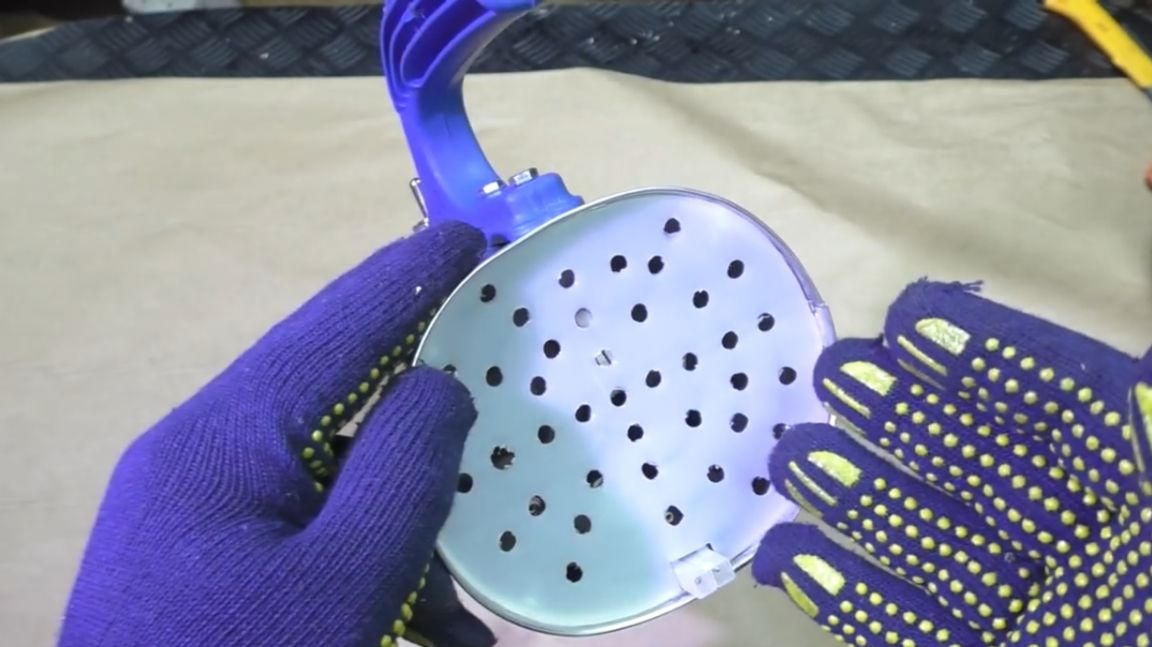
It will have to pass air well, and protect our device from foreign objects getting inside the case. Quite easily and simply the cover is installed in its place. It snaps into the groove of the rolling watering can.To open the cover on it you just need to press a little.

And in order to slightly decorate our device and give it a factory look, we will use old labels from canisters. We just cut out various beautiful inscriptions from them and stick them on our device.
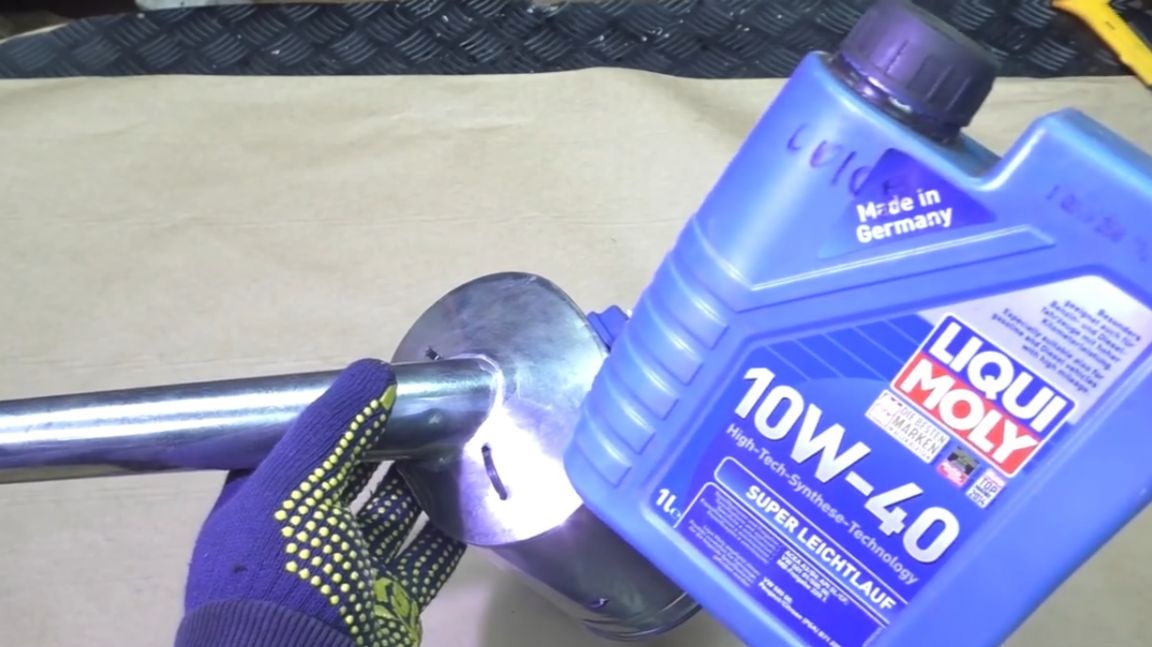
Well, friends, and the finished device.
Now it remains only to insert the batteries into it and you can begin the tests.
To power our device, you will need either 8 finger batteries (AA) or 8 AA batteries. The author will use Palo nickel-metal hydride batteries. These are very cheap batteries that can be bought on aliexpress website.
So, everything is ready. Batteries installed. It remains only to check how this device works. When you turn on the motor rotates, then everything works. And since the author uses batteries in this product, he also brought out such a connector for charging batteries.

Batteries can be charged without removing them. The author plans to use such a charger here:

This is a charger from a radio-controlled car in which the battery was 9.6V. 9.6V, this is exactly the same battery for 8 cans (8 cans of metal hydride battery). The charger is connected using the same connector and fully charges these same batteries in 4 hours.
Since our device was conceived in order to inflate the barbecue, now we will check how it works in real life.
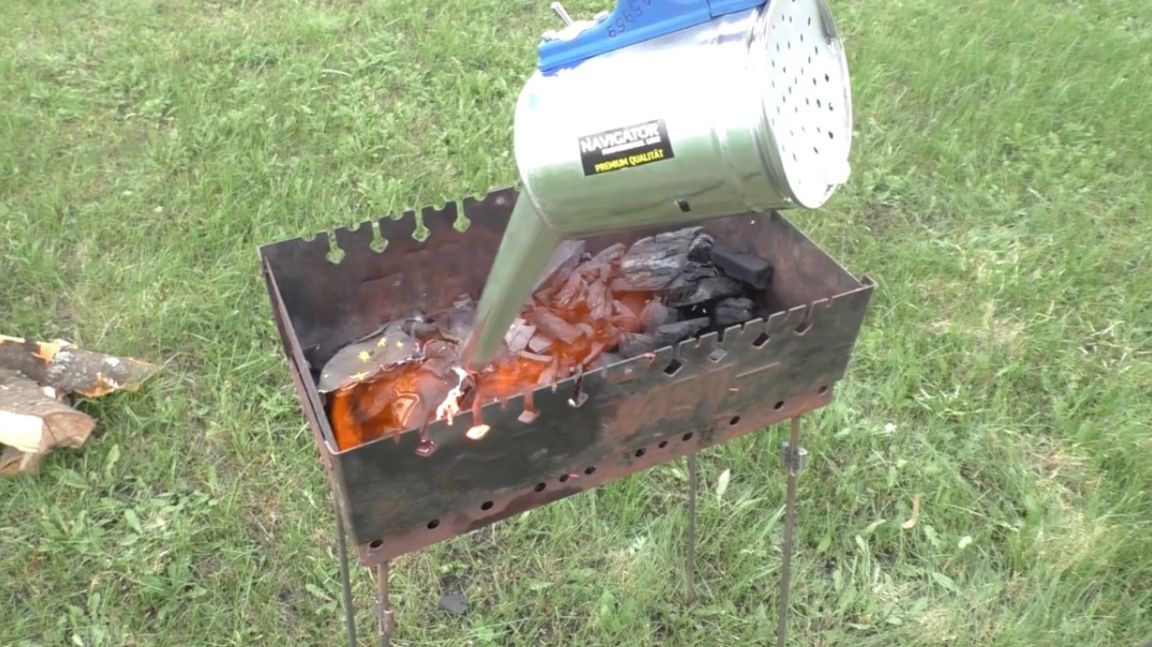
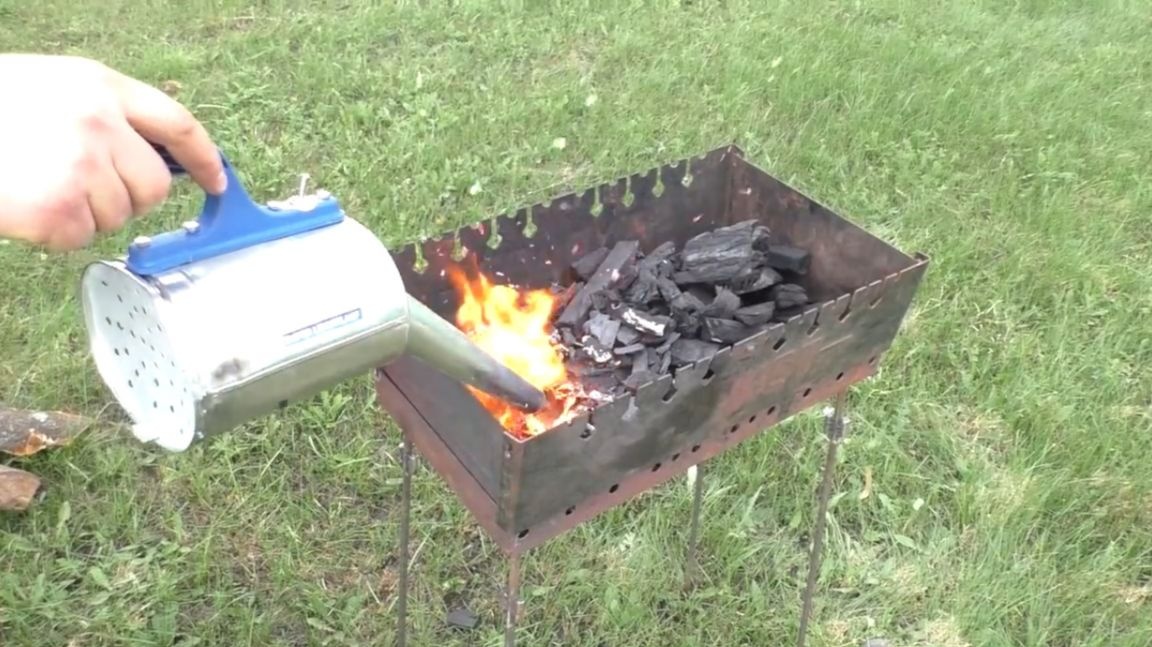
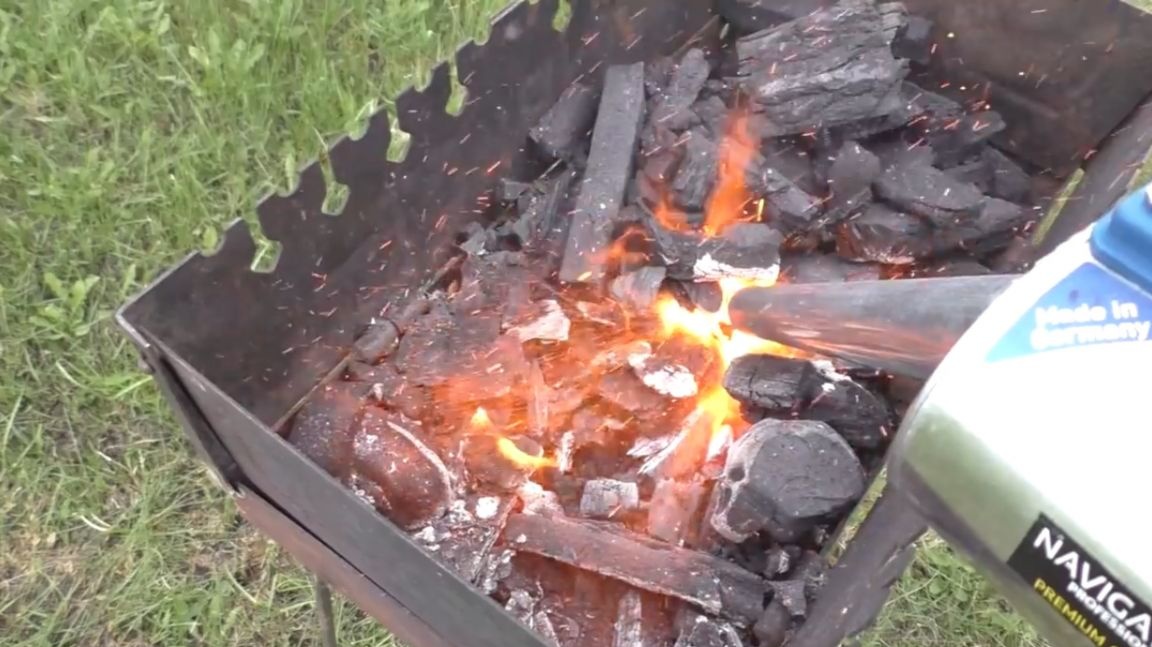
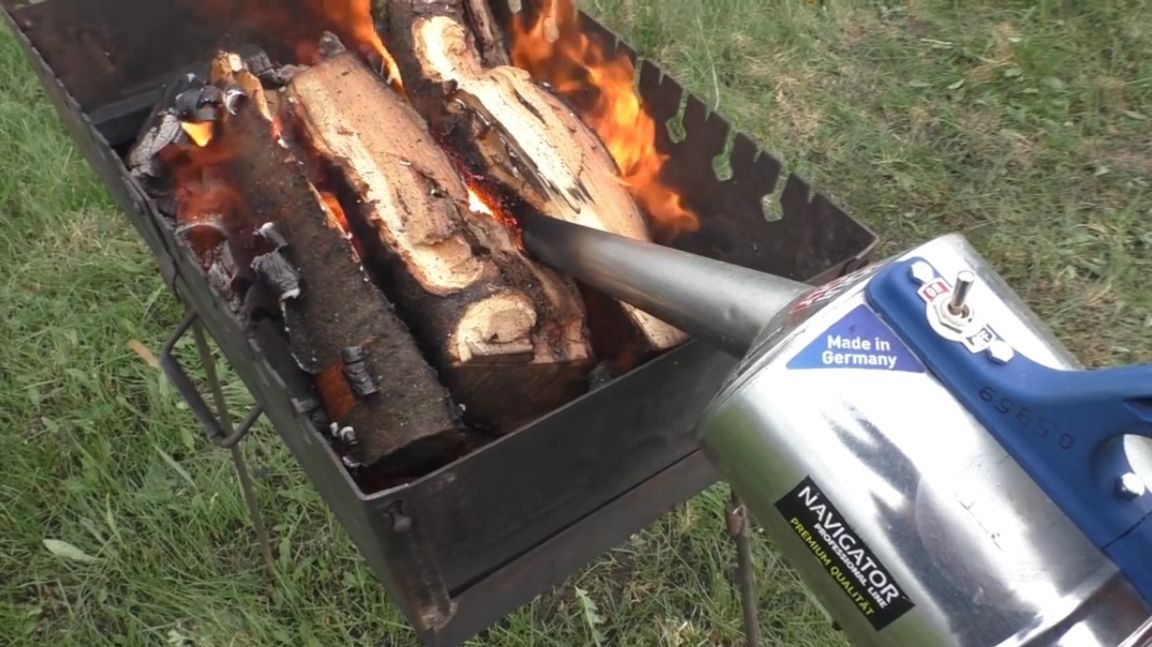
We no longer need all kinds of inflated rugs and mudguards (in this case), pot covers. Instead, we have a miracle device with which you can very quickly and well inflate the barbecue.
Thank you for attention. See you soon!
Video: