
Hello to all lovers homemade. There are a lot of music lovers in our time and the need for it does not quench, but, on the contrary, is gaining momentum. In this article I will tell you how to make homemade speakers with stereo sound in a plexiglass case powered by usb. The kit kit will help in the assembly of this homemade product, which can be ordered by the link at the end of the article.
Before you start reading the article, I suggest watching a video where this kit kit is assembled and tested.
To make stereo speakers do it yourself, you will need:
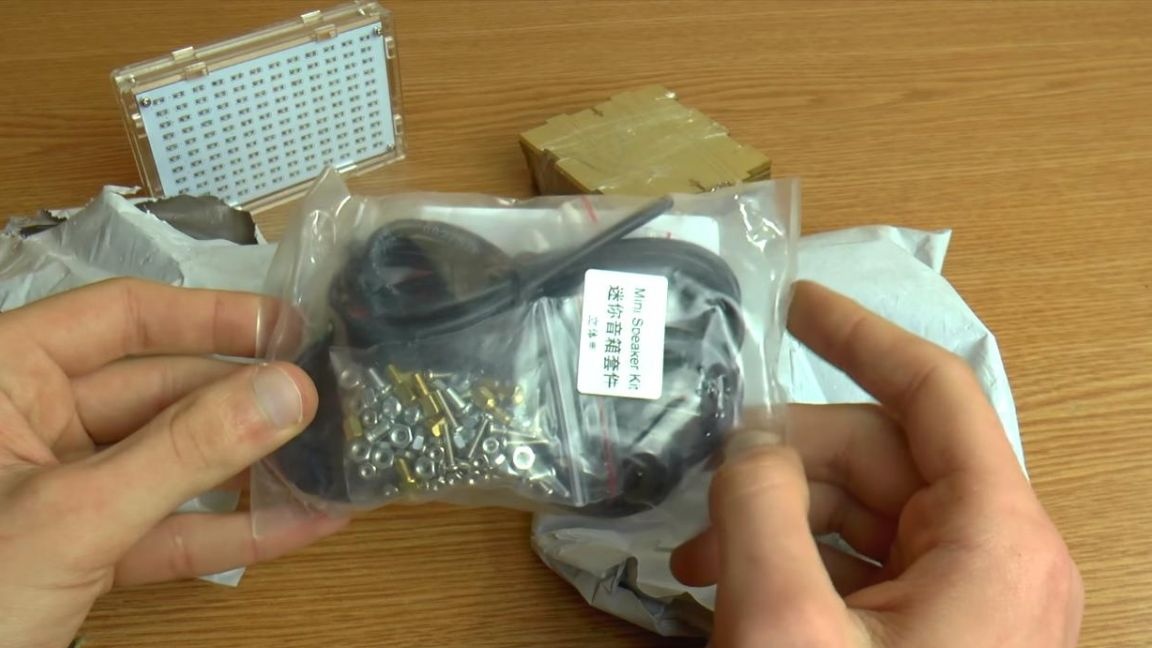
* Kit
* Soldering iron, solder, flux
* Side cutters
* Crosshead screwdriver
* Homemade circuit board clip
* Power supply with usb output or power bank
Step one.
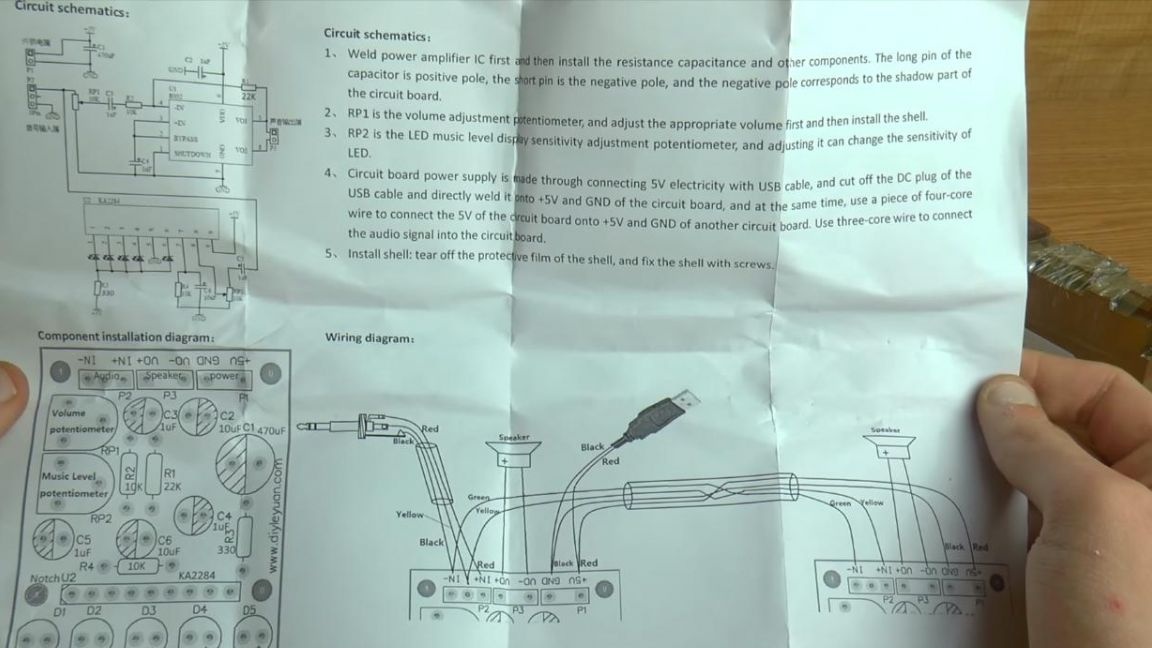
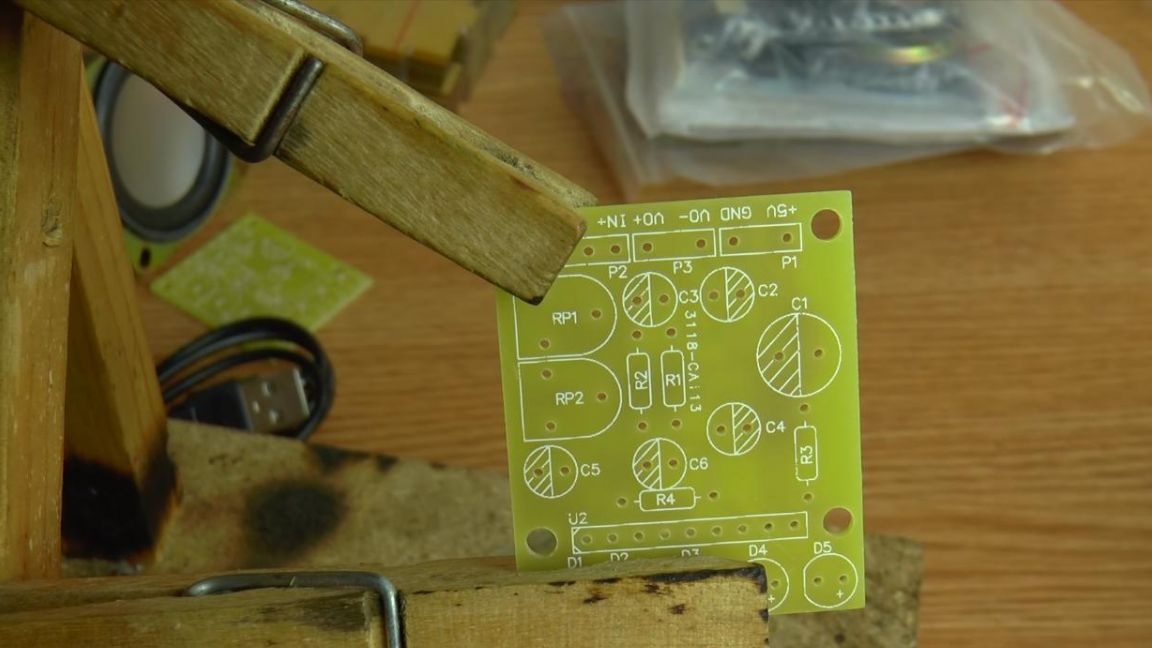
In the kit there is an instruction in English, it indicates some points during assembly and a diagram of connecting the wires and the plug to the finished amplifier board is clearly shown.
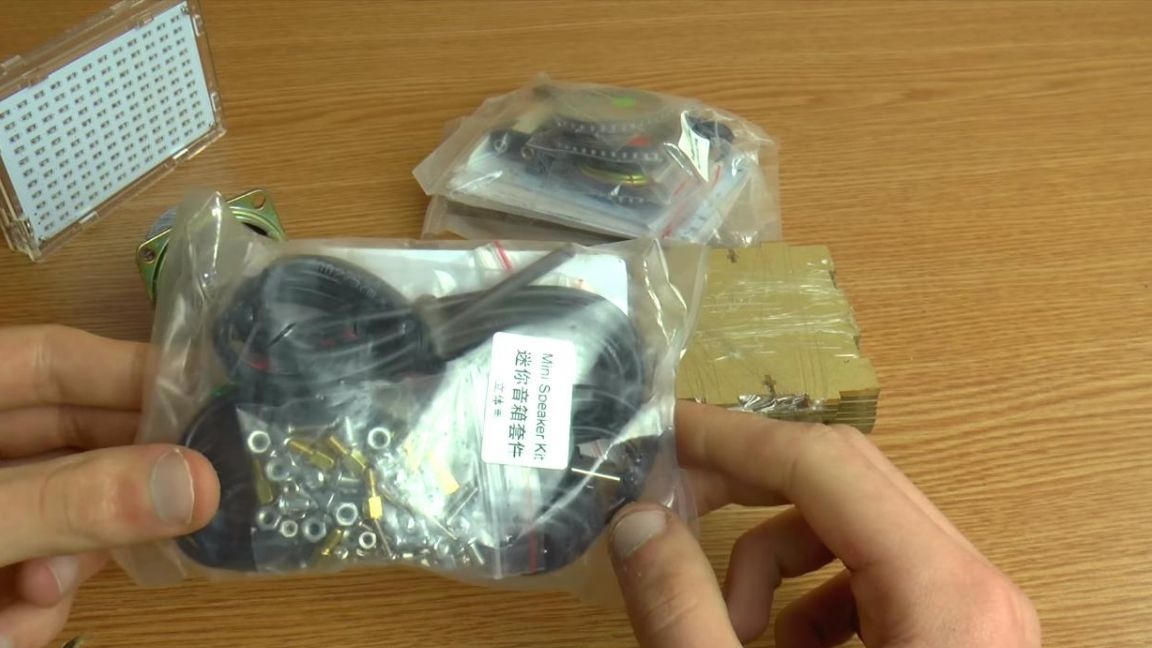
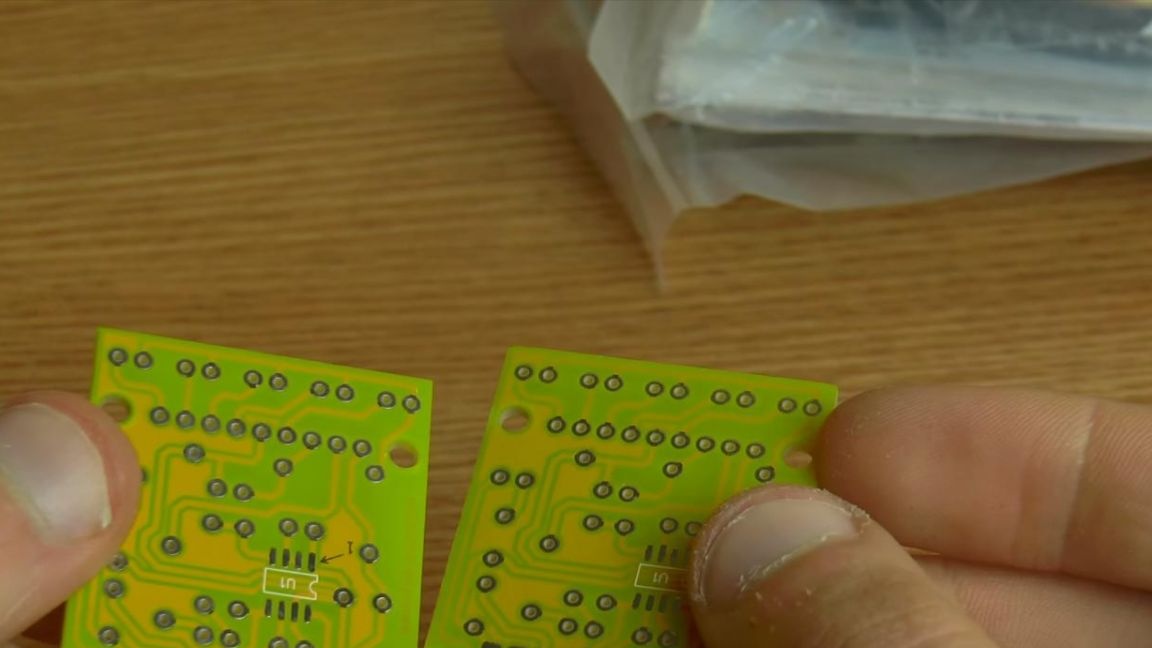
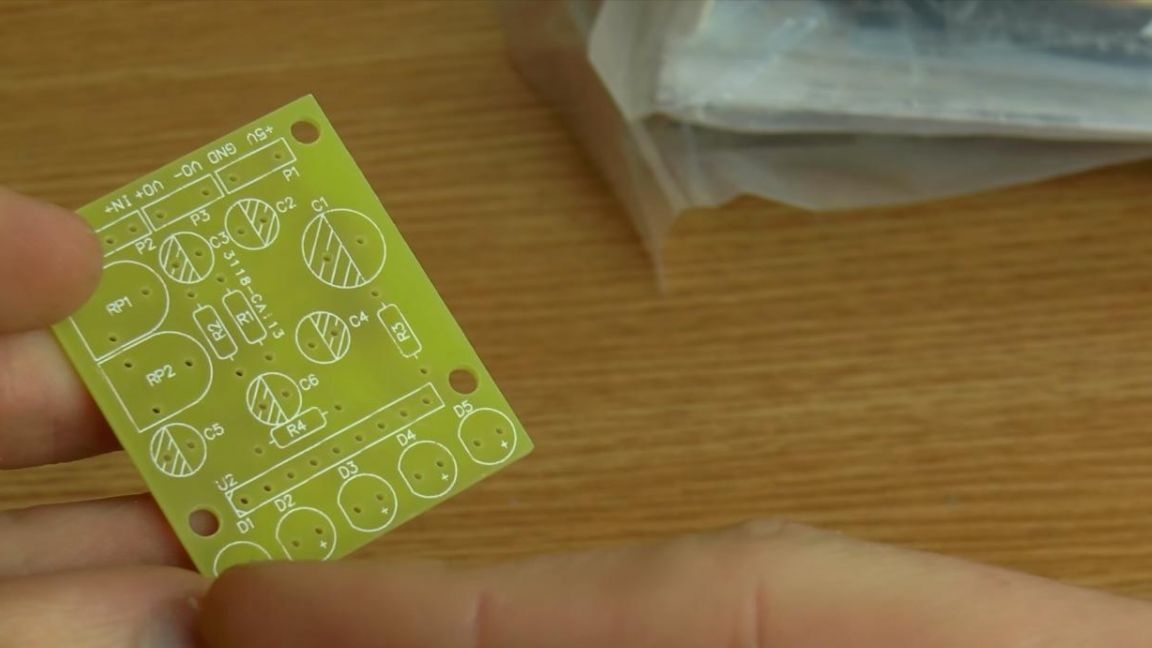
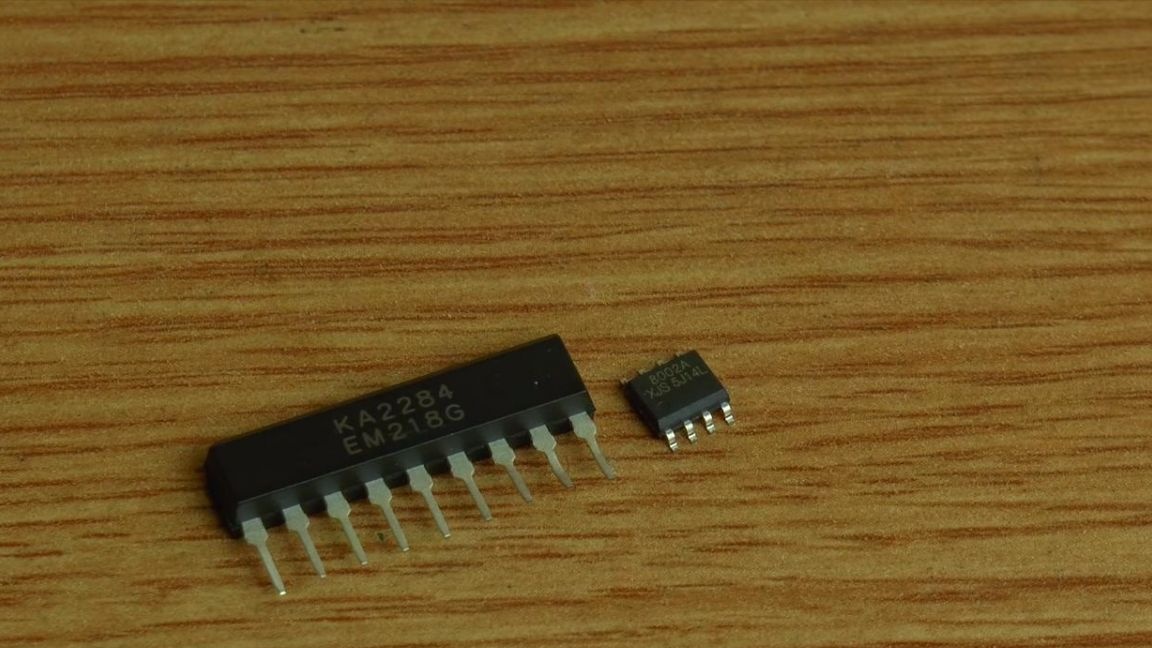
Also, two printed circuit boards go to the kit kit, which will be installed in the columns with the spectrum analyzer through special spacers, on which the microcircuit for light music and the SMD microcircuit of the amplifier will be located.
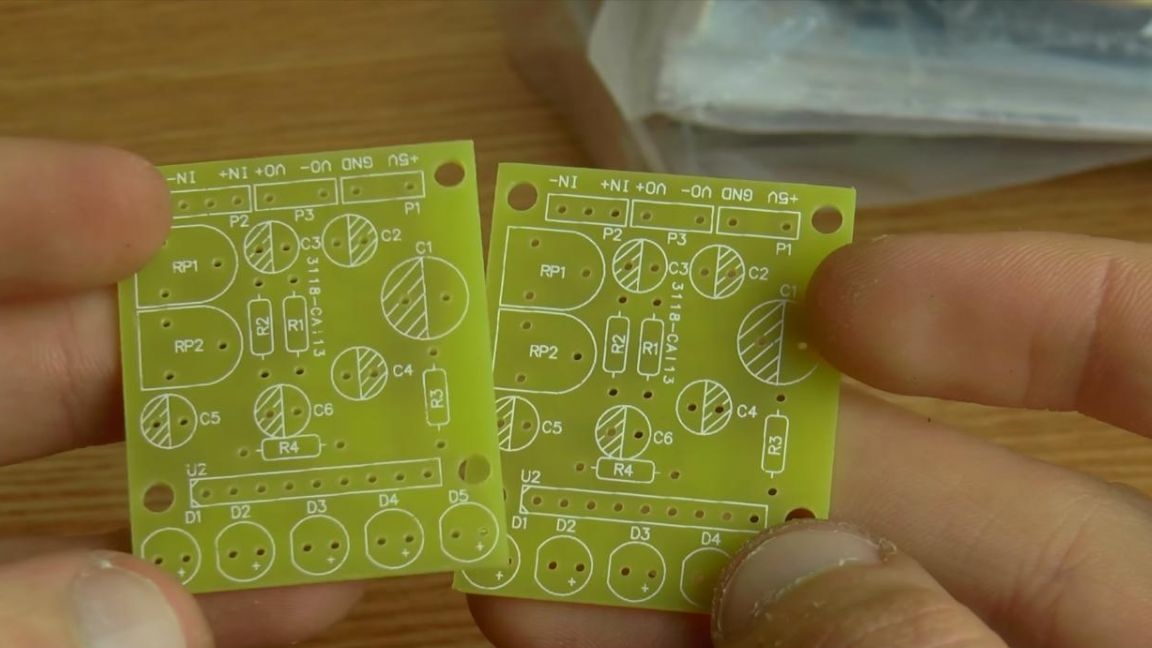
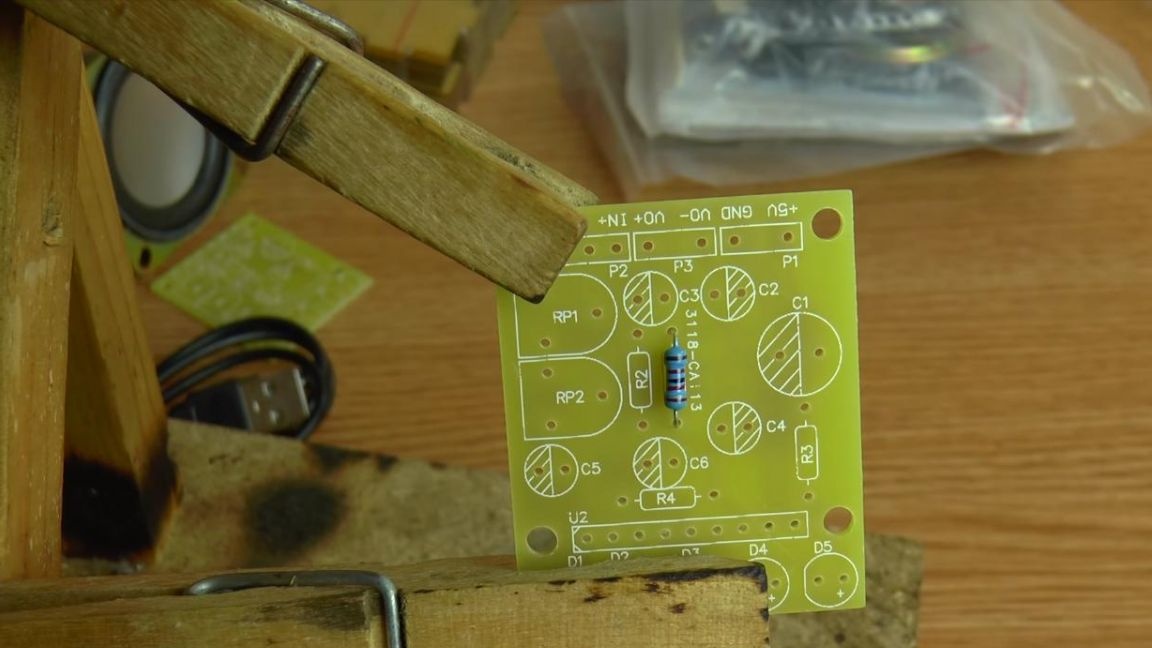
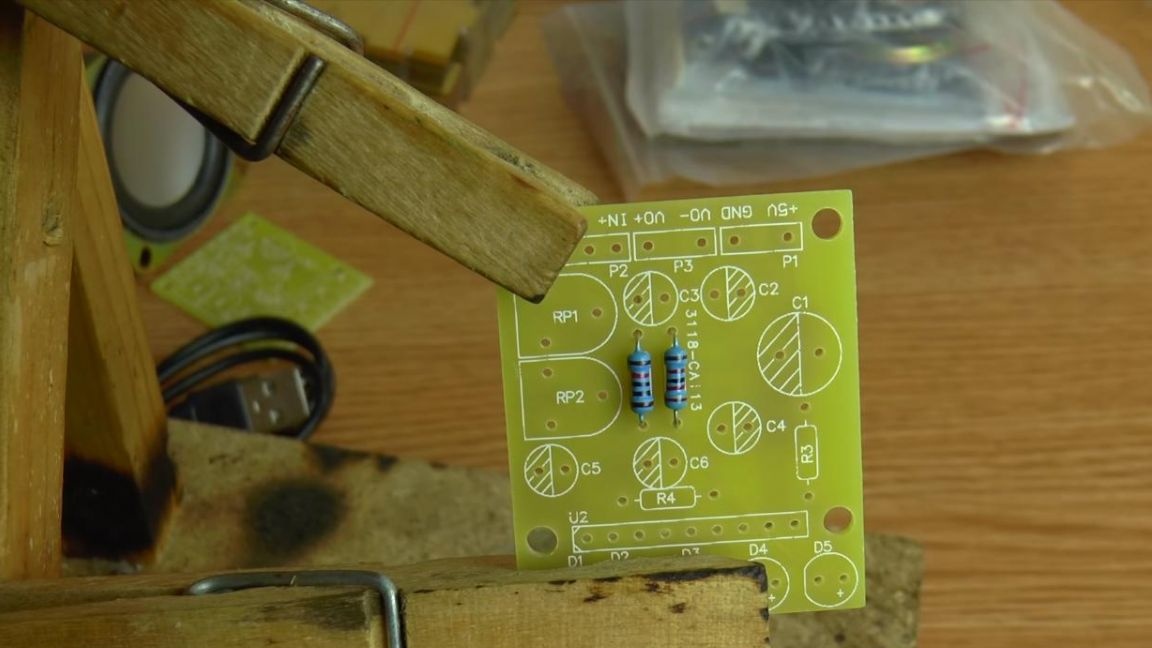
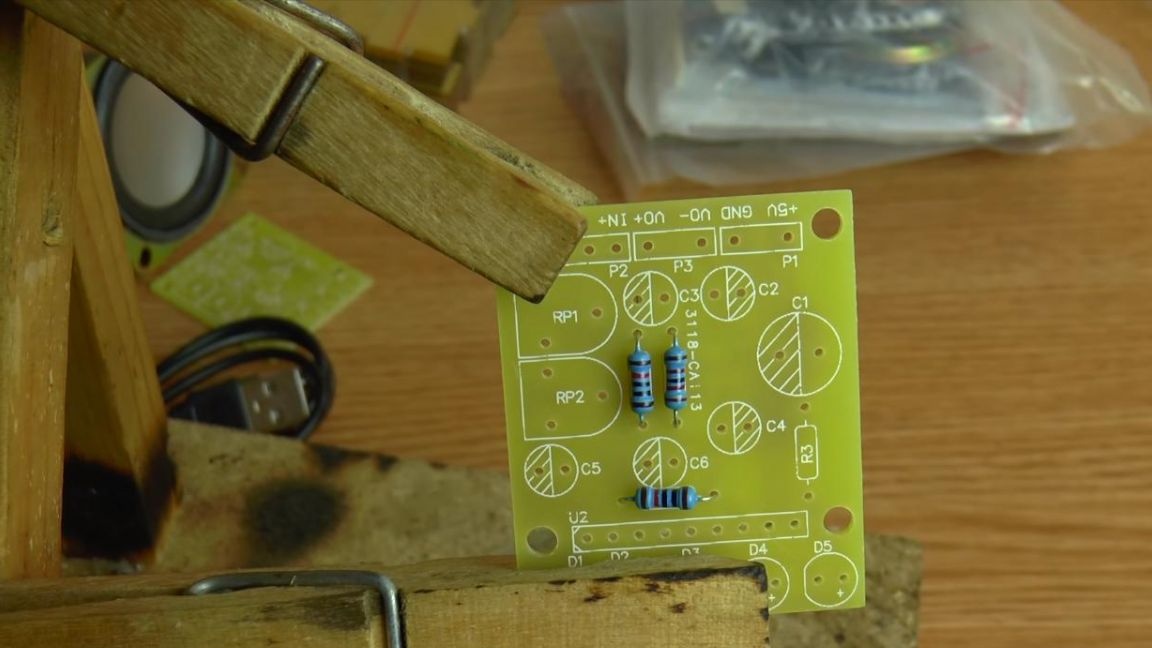
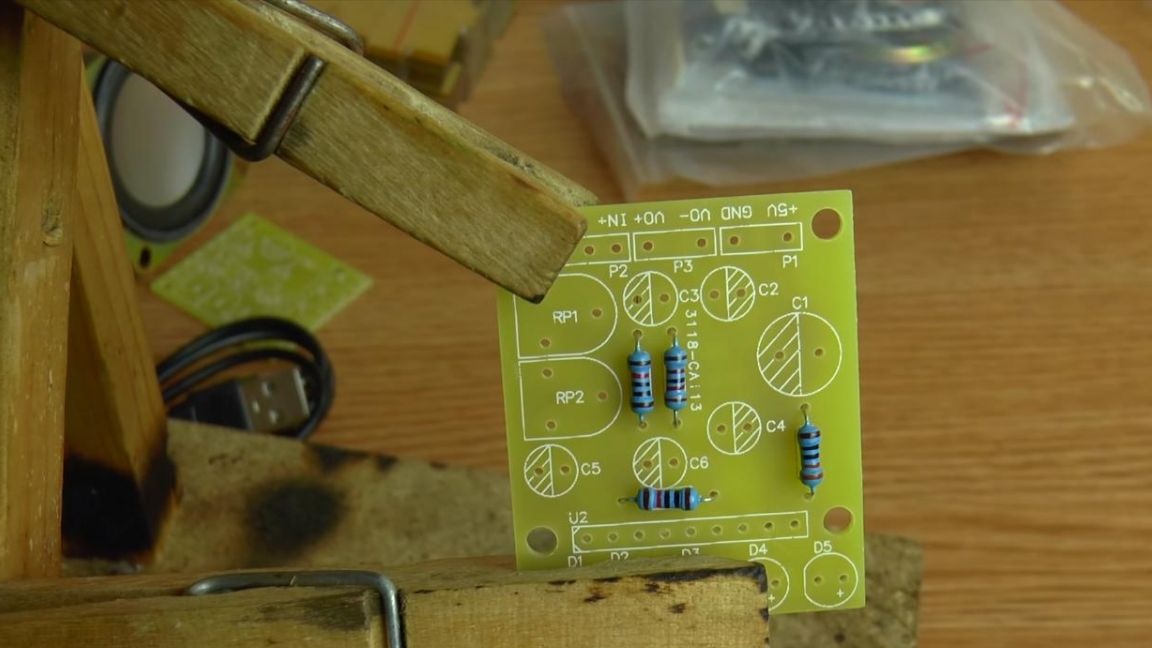
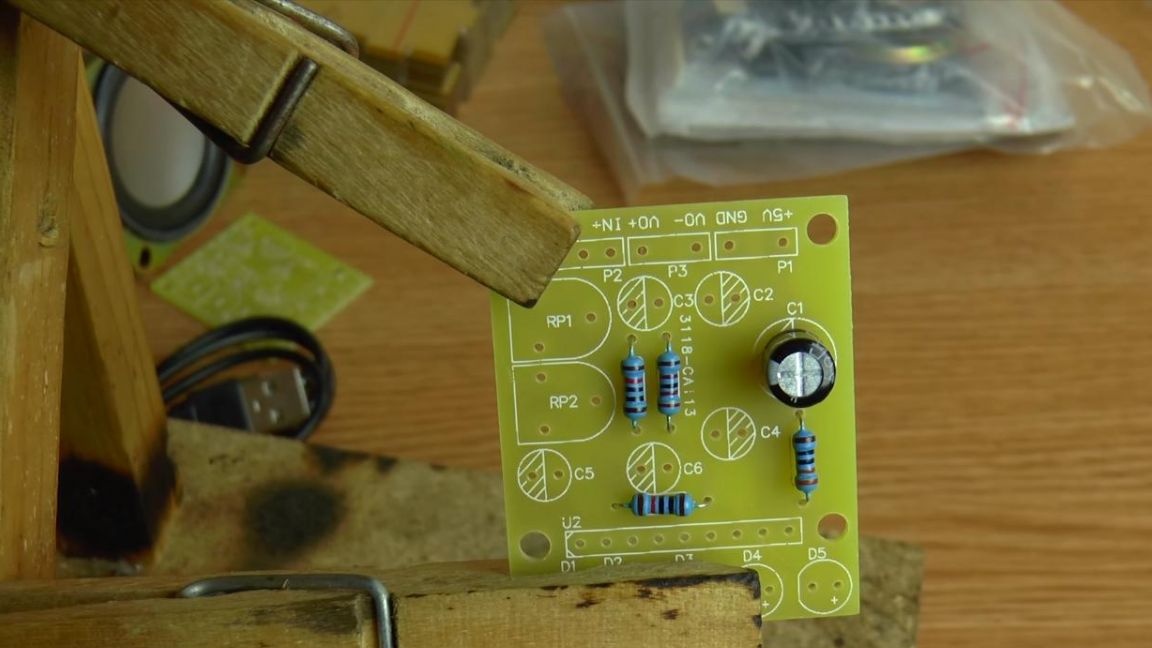
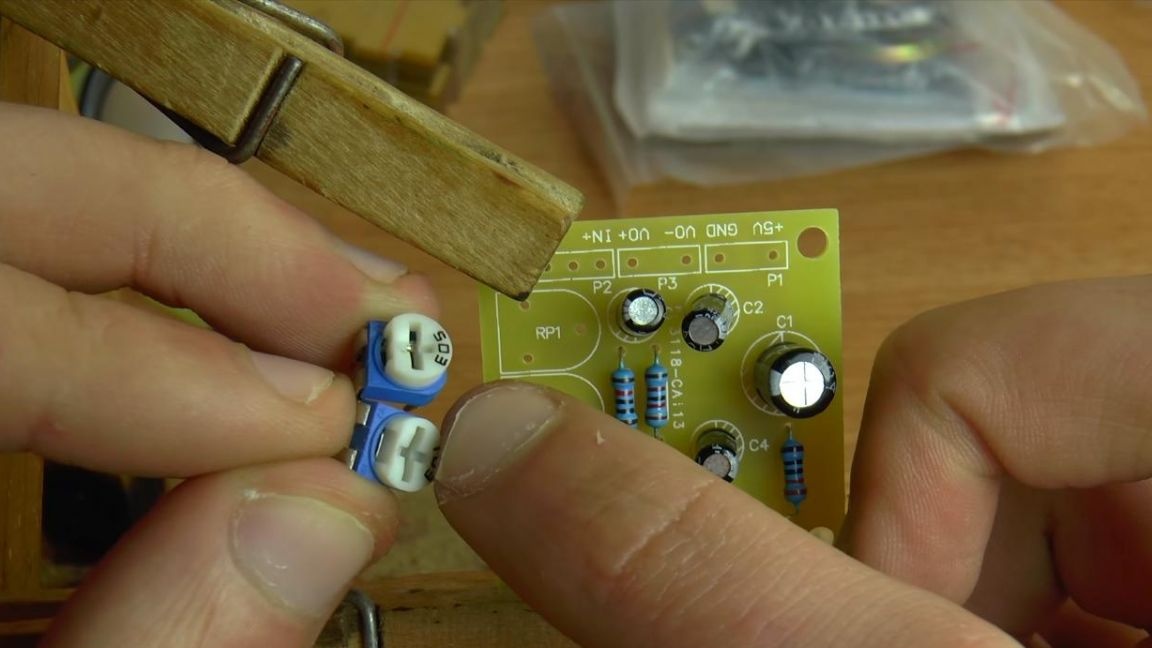
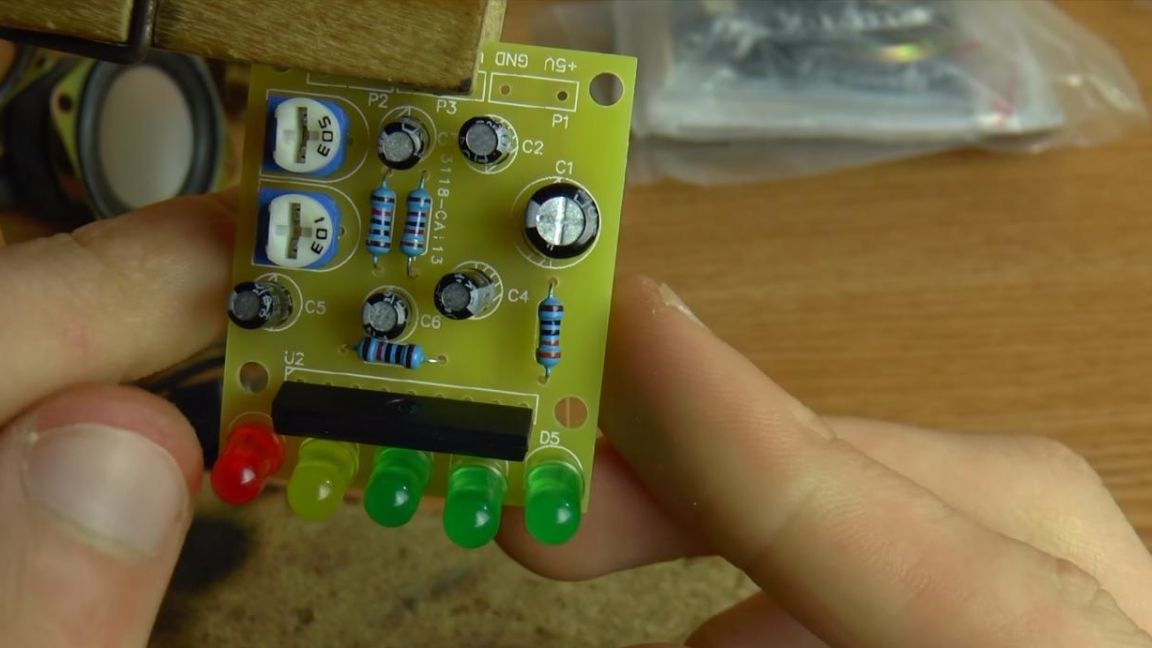
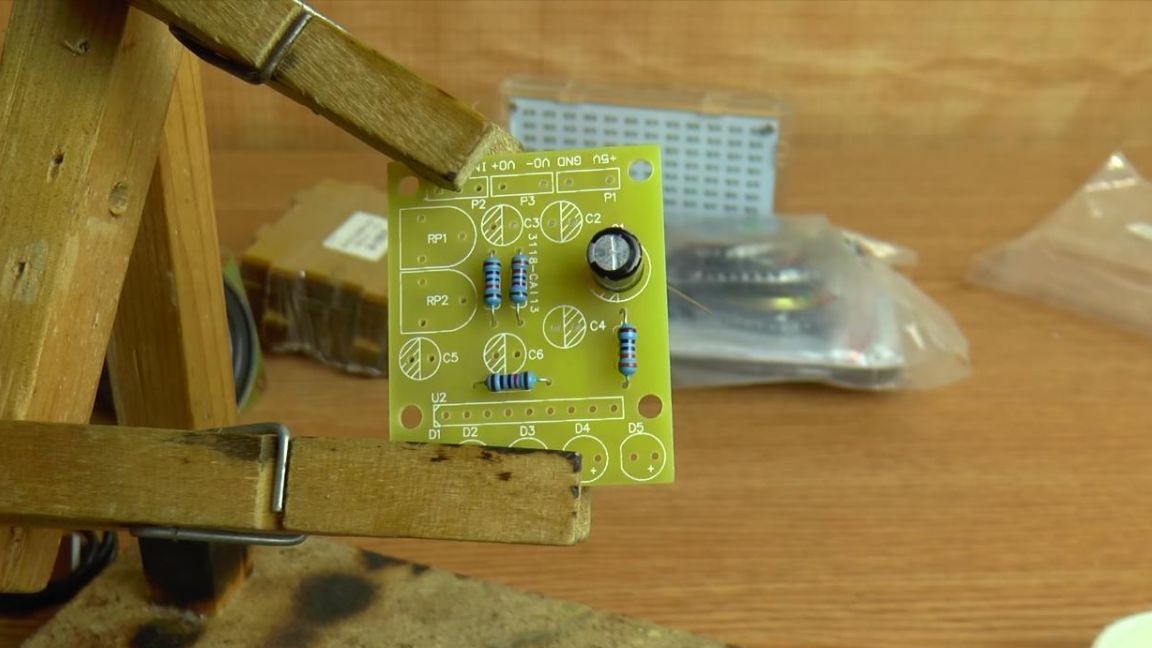
First of all, let's start with resistors, which are twice as many as needed in the kit. Most likely this was done in reserve. It is not necessary to determine the values of these resistors, since they are already signed initially on a piece of paper. We look at the values of the resistors according to the instructions and according to it we install them on the board.

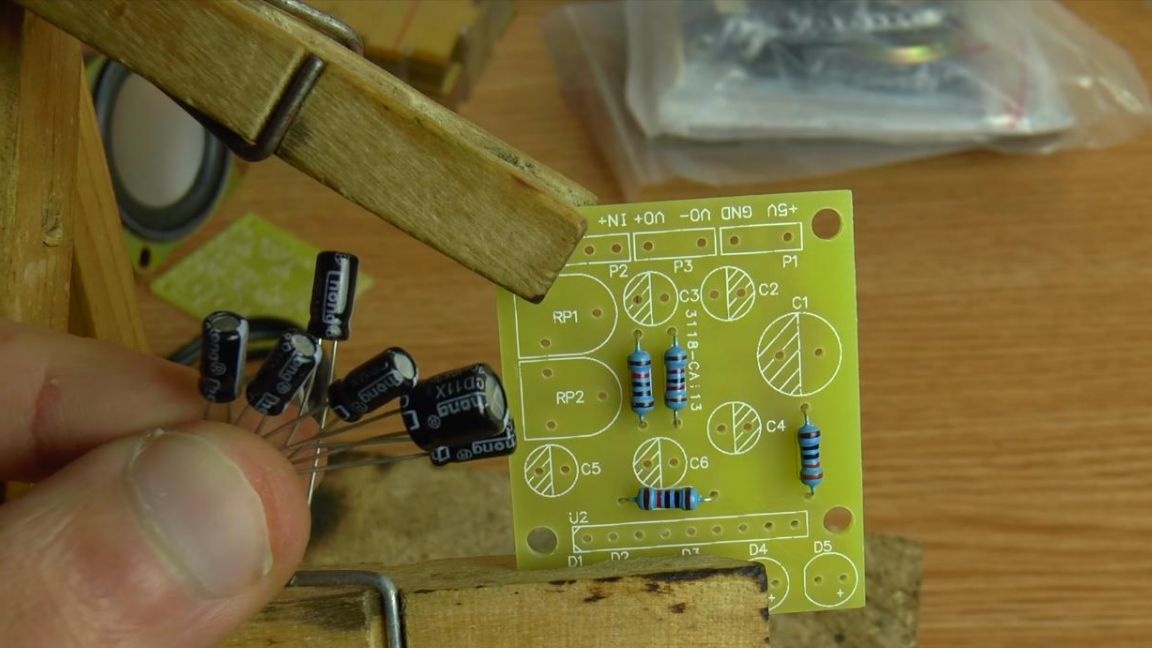
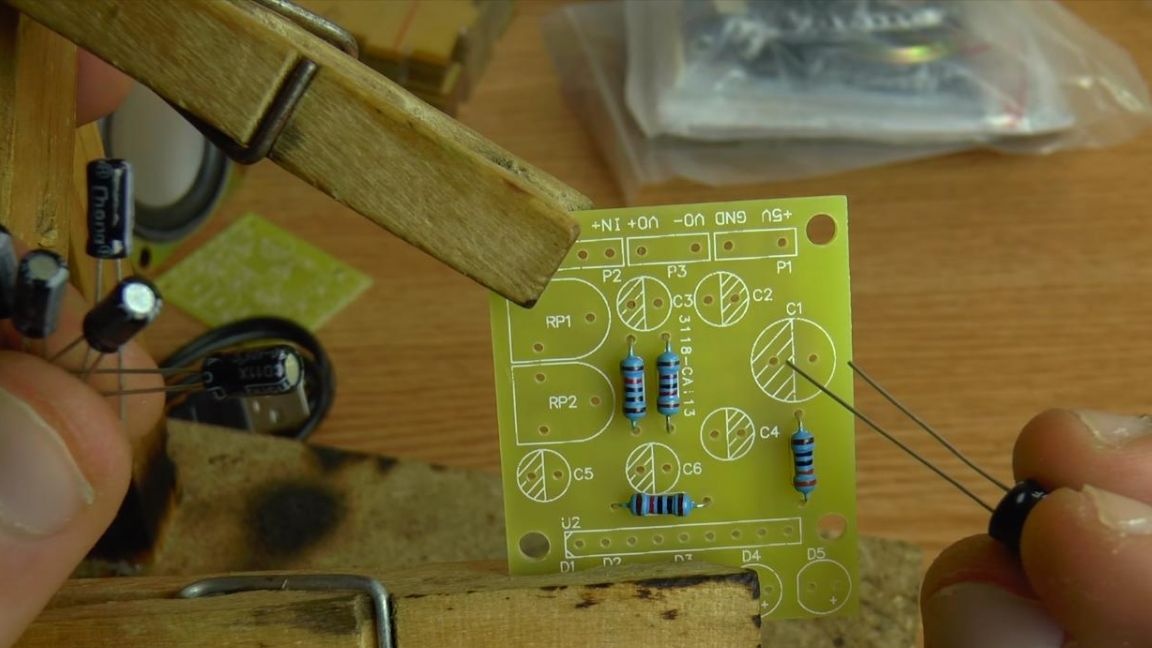
Step Two
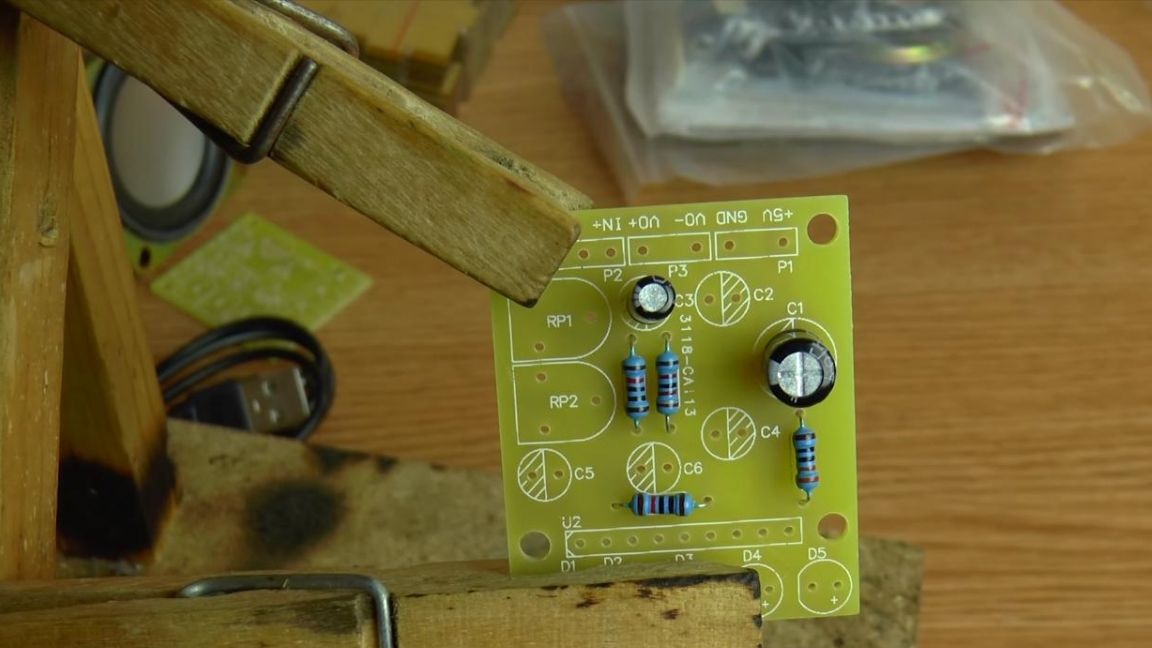
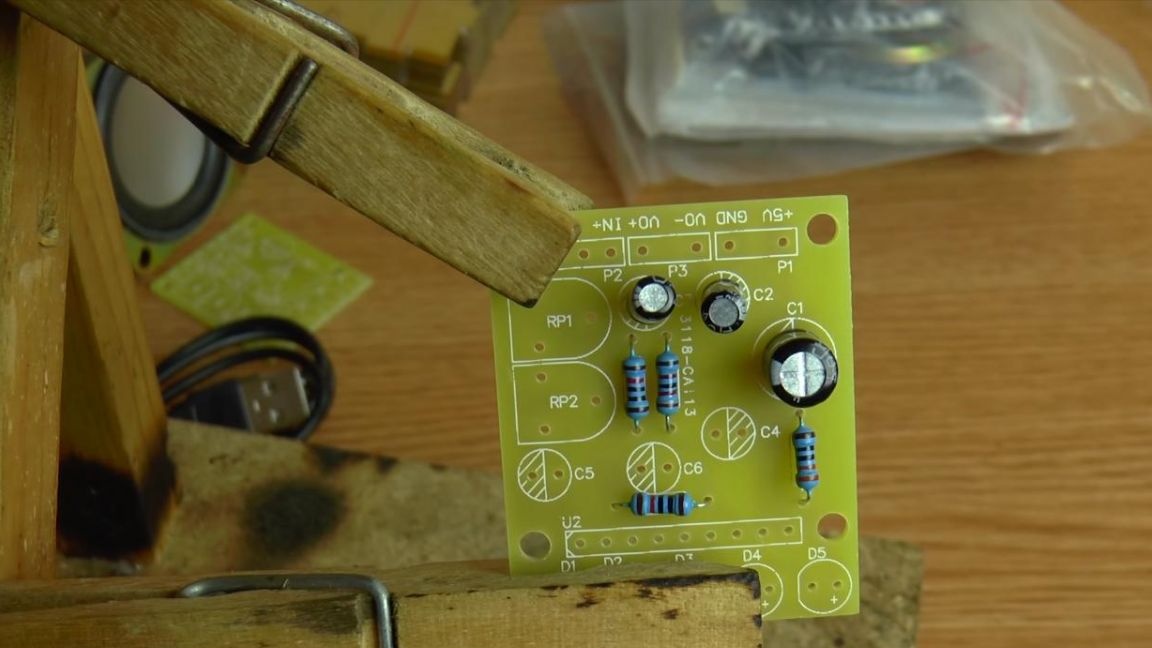
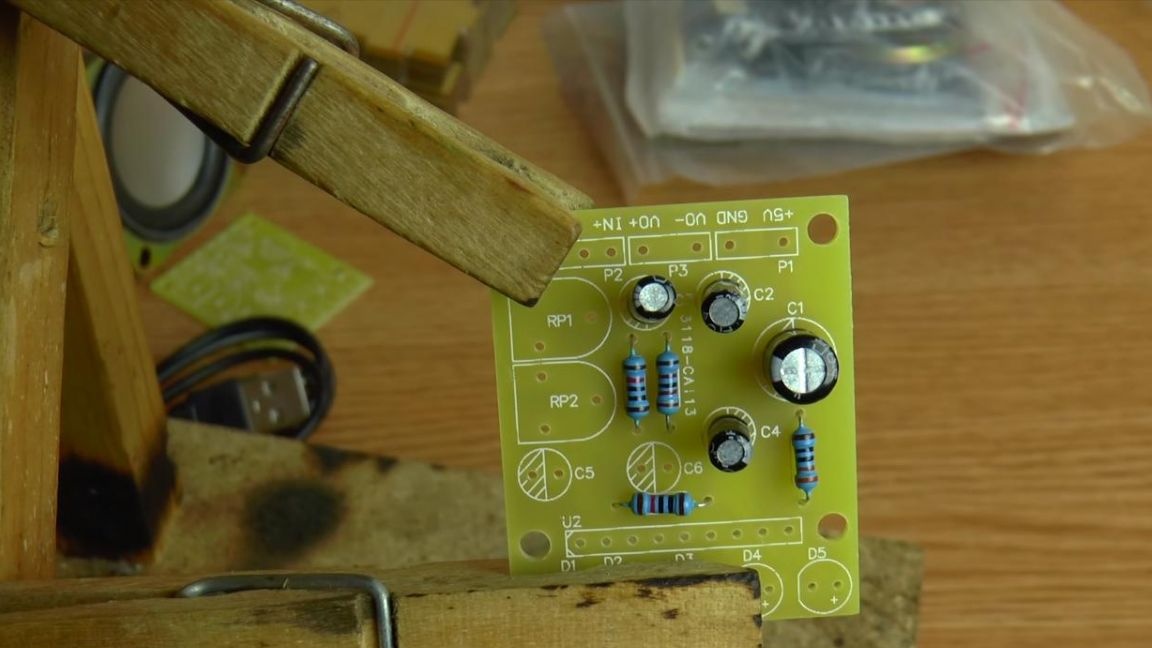
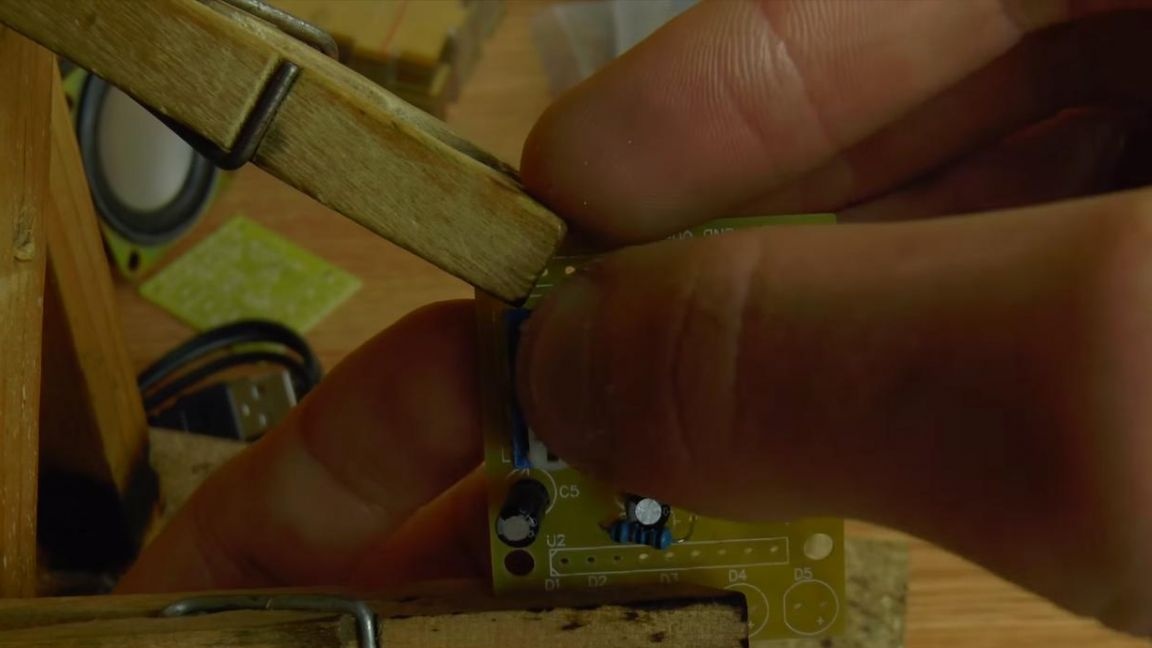
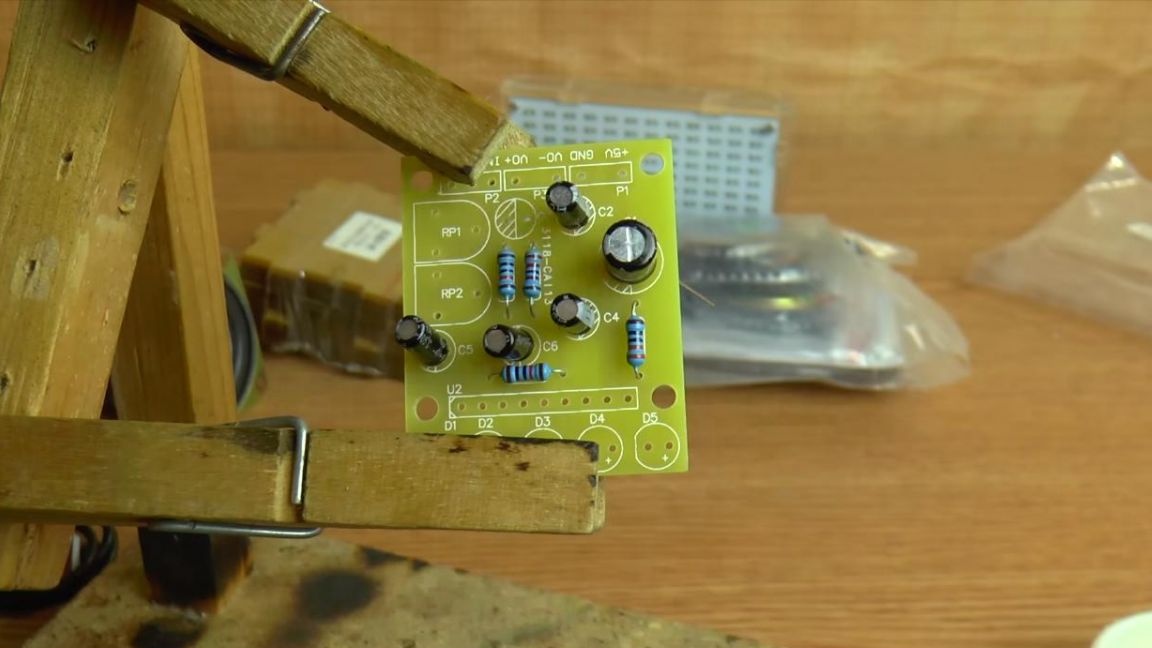
Now install the electrolytic polar capacitors. The polarity can be determined by the length of the terminals, the long leg is a plus, short minus. Also on the capacitor housing itself is a strip, opposite which there is a negative contact. We look at the capacitors values according to the instructions. On the printed circuit board, the polarity is indicated as follows, the shaded semicircle is a minus, and the other, therefore, a plus.

Step Three
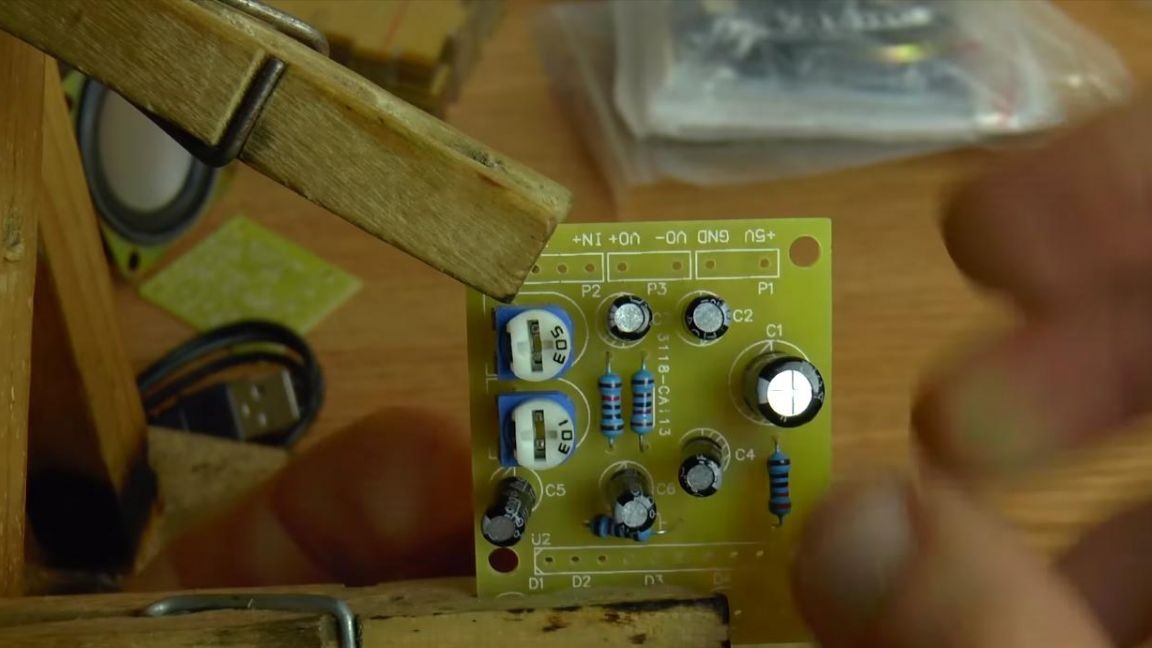
Next, we install two trim resistors with the marking 503 and 103.
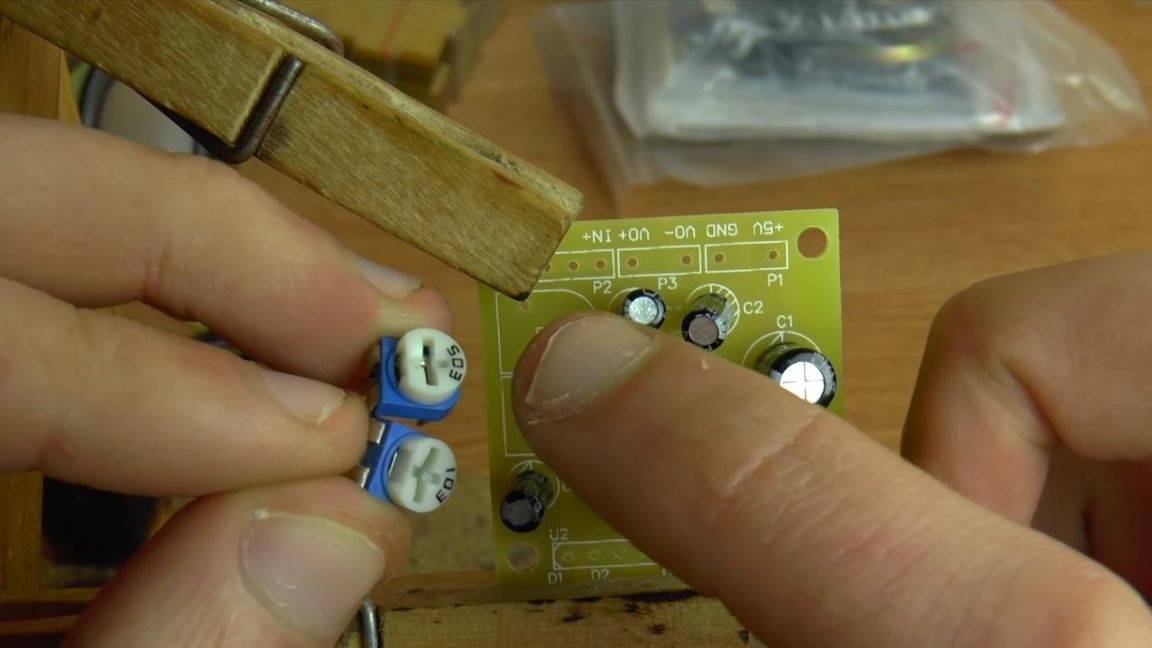
The 503rd is responsible for the volume, and with the number 103 on the body for the level of the spectrum analyzer.
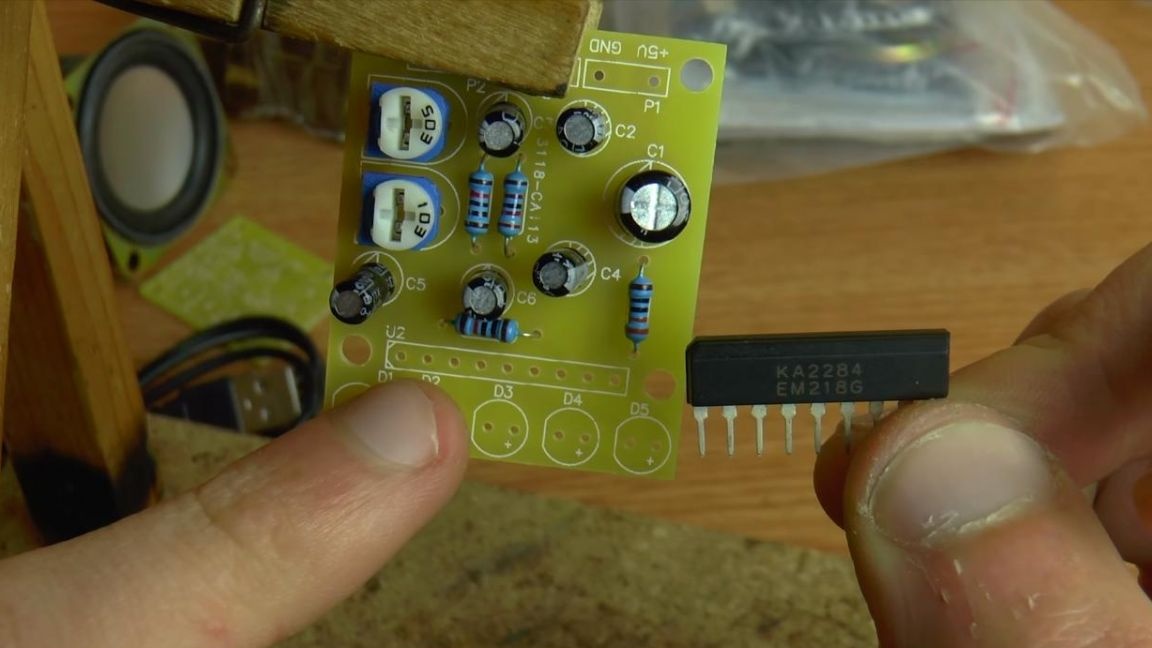
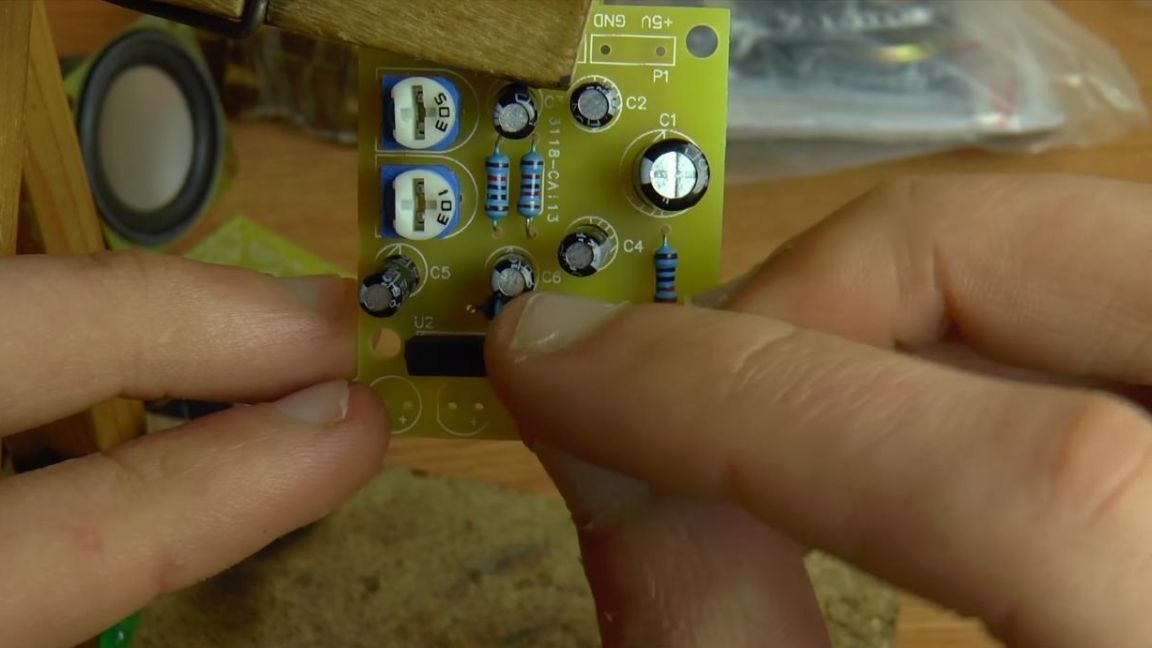
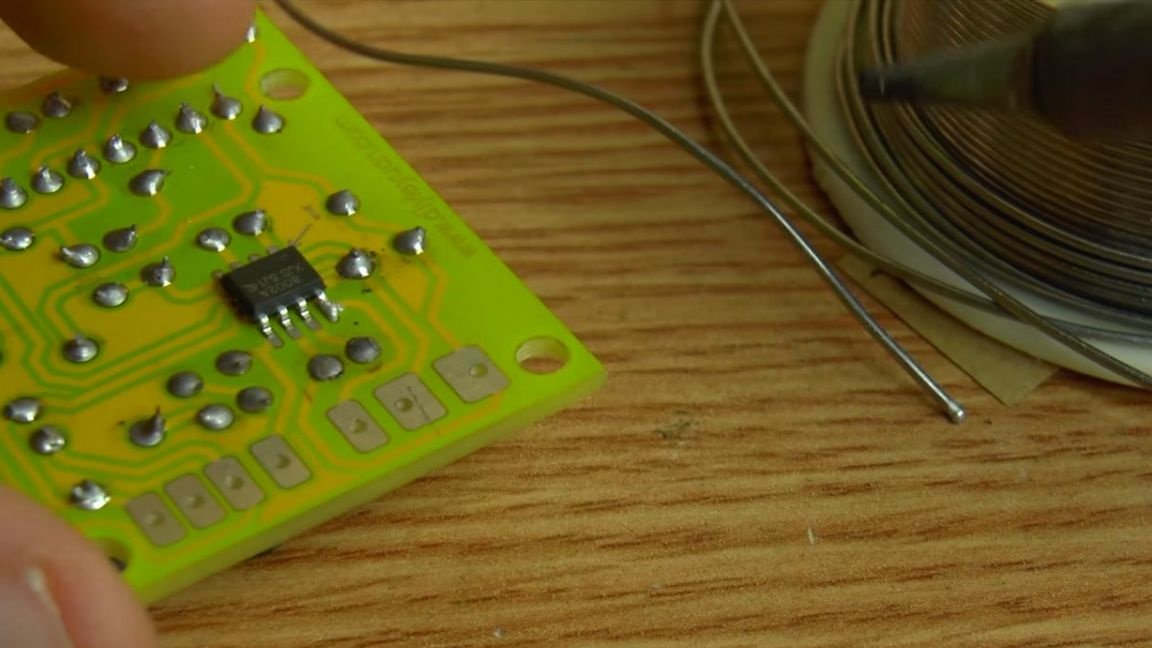
Next, we put the microcircuit for light music, while we are guided by the beveled edge on the case from the side of the first contact, this skok is also indicated on the board.
Step Four
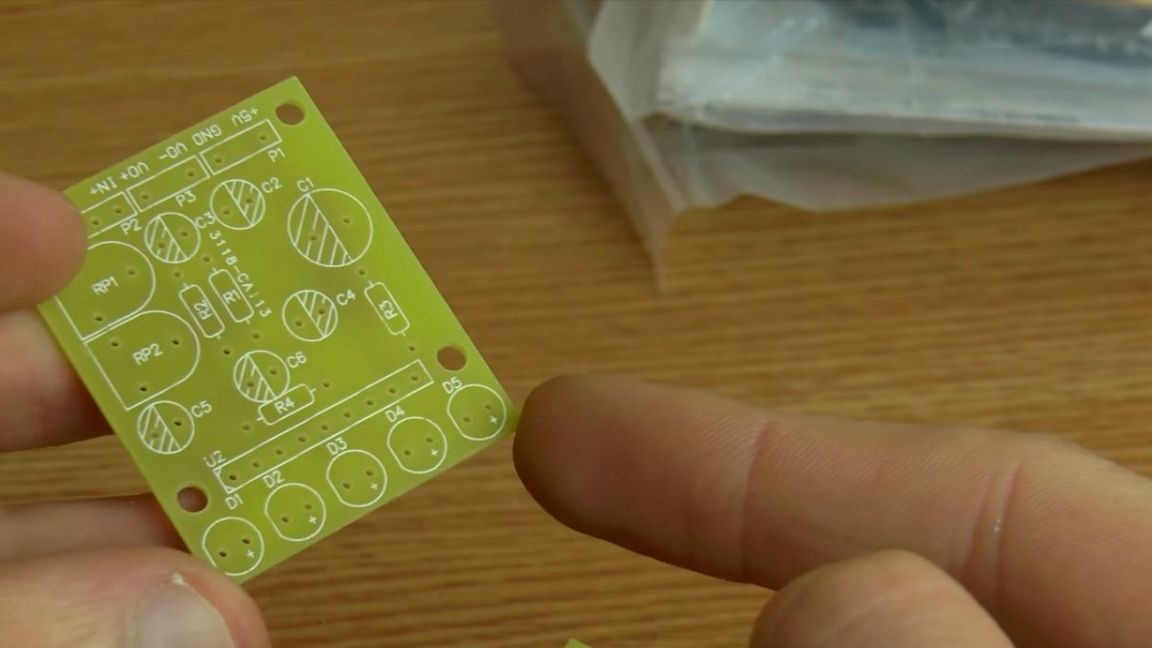
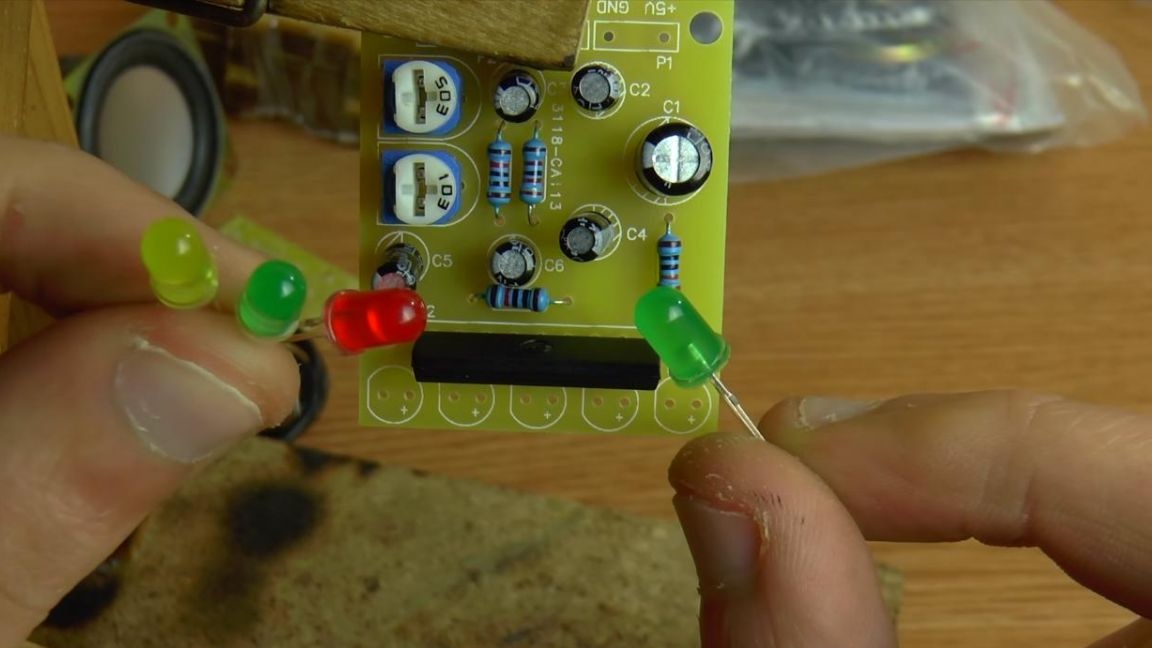
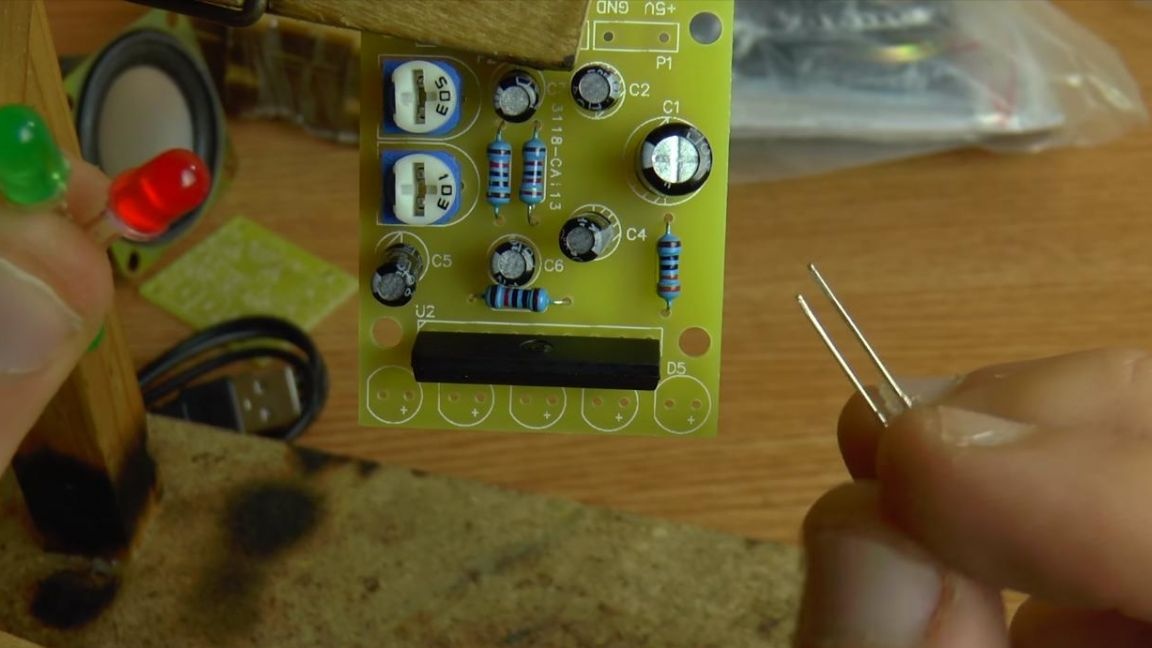
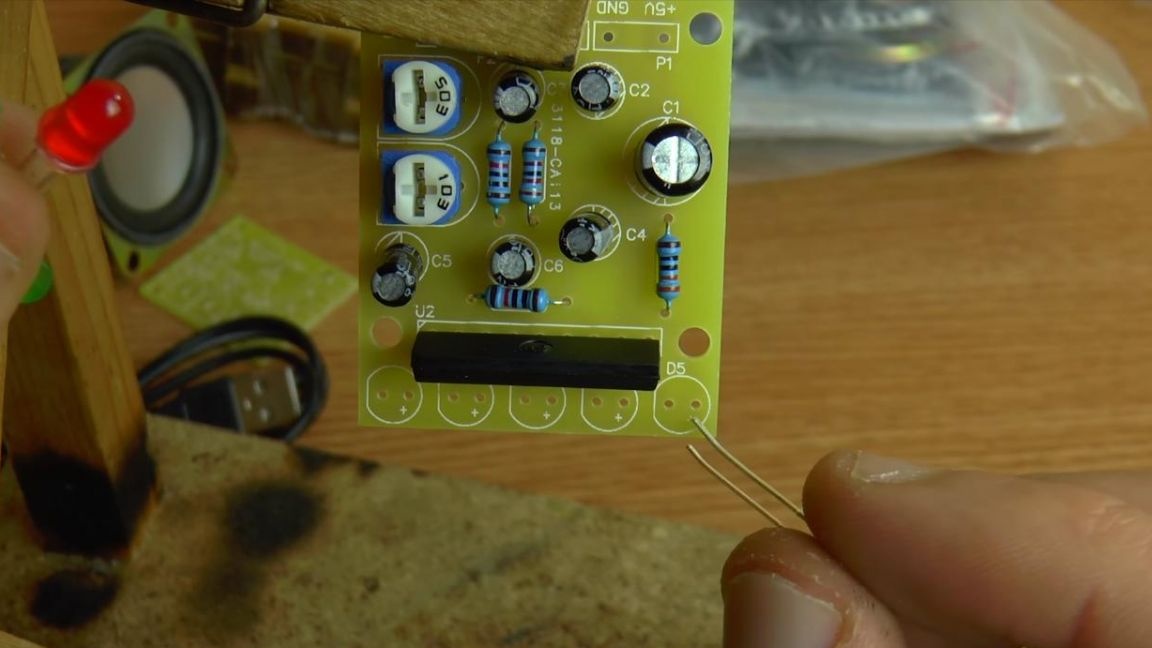
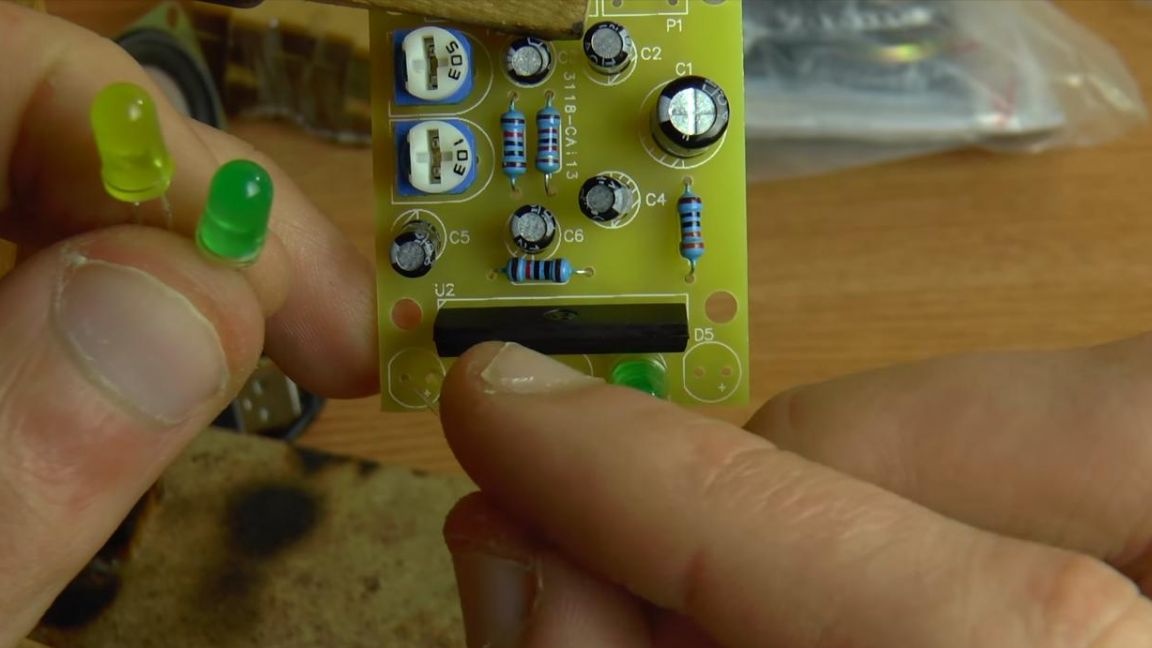
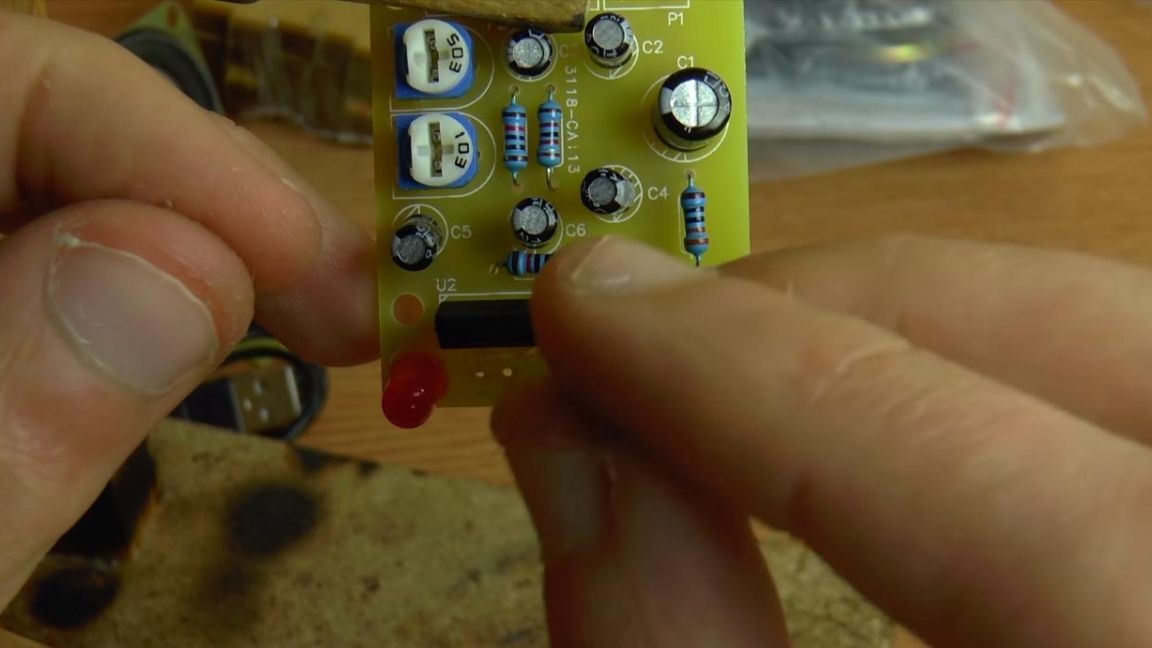
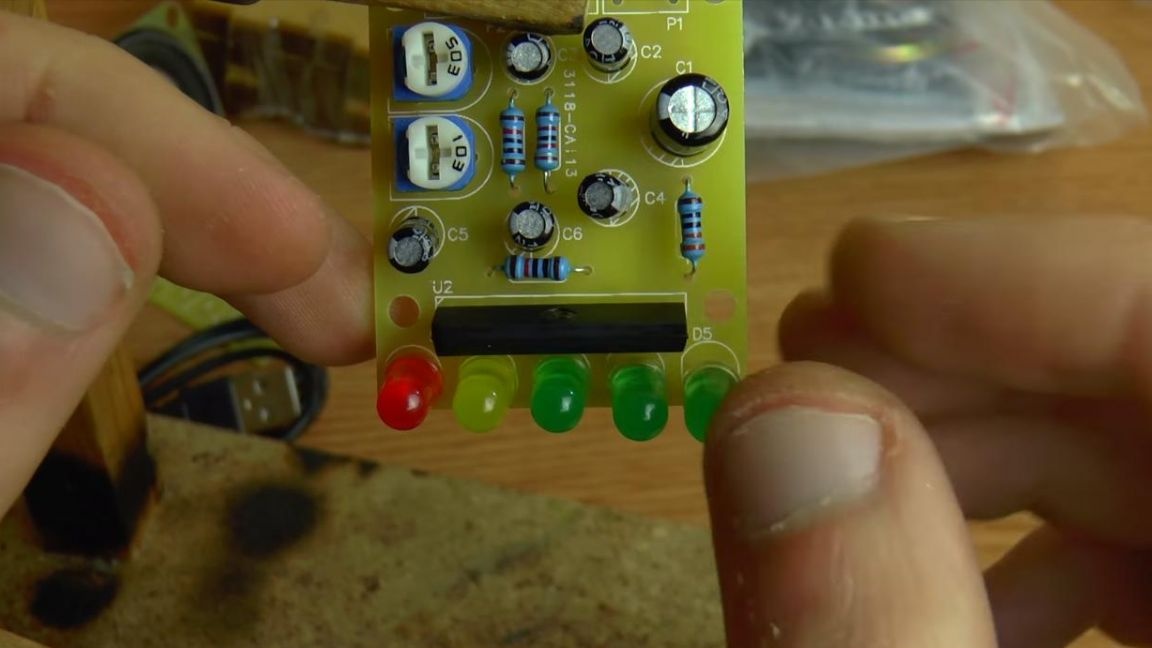
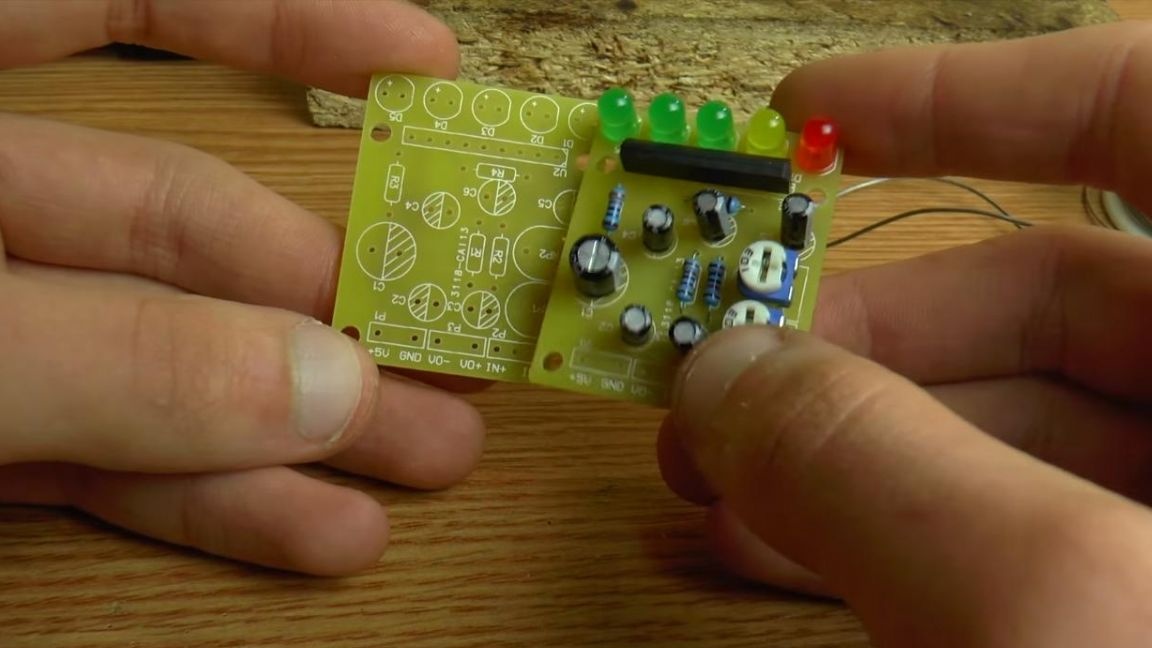
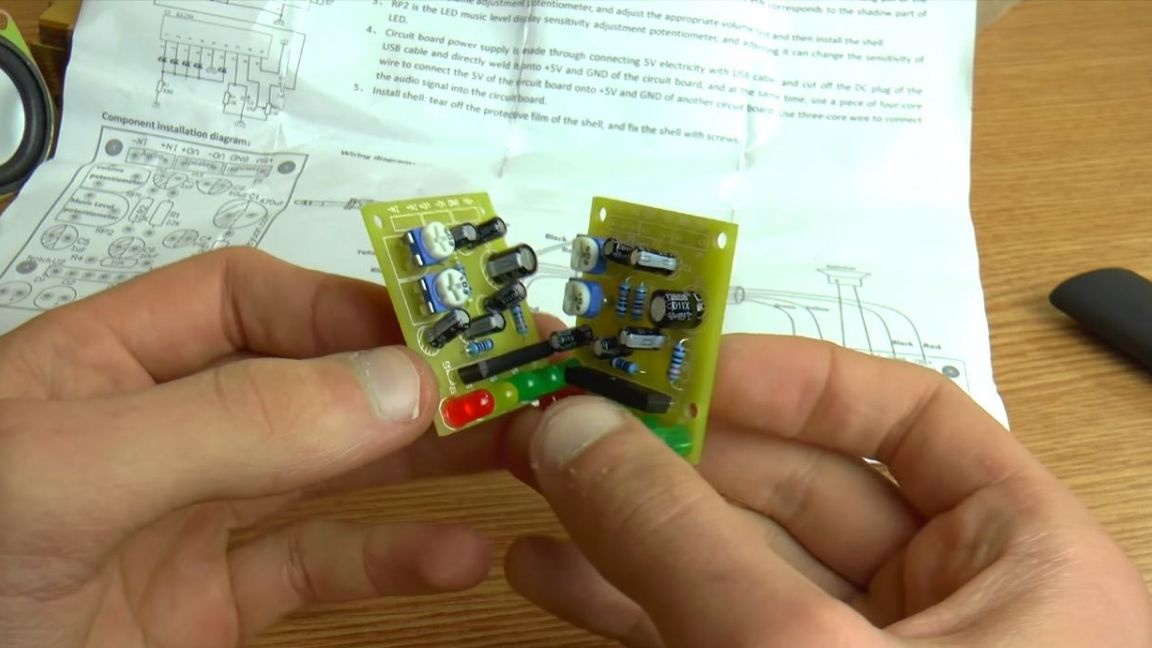
After that, we install the LEDs of the spectrum analyzer, the polarity is determined as well as for capacitors, the long leg is plus, the short is minus. In order, they are arranged so, first a red LED, then yellow and three green, from left to right.

Step Five
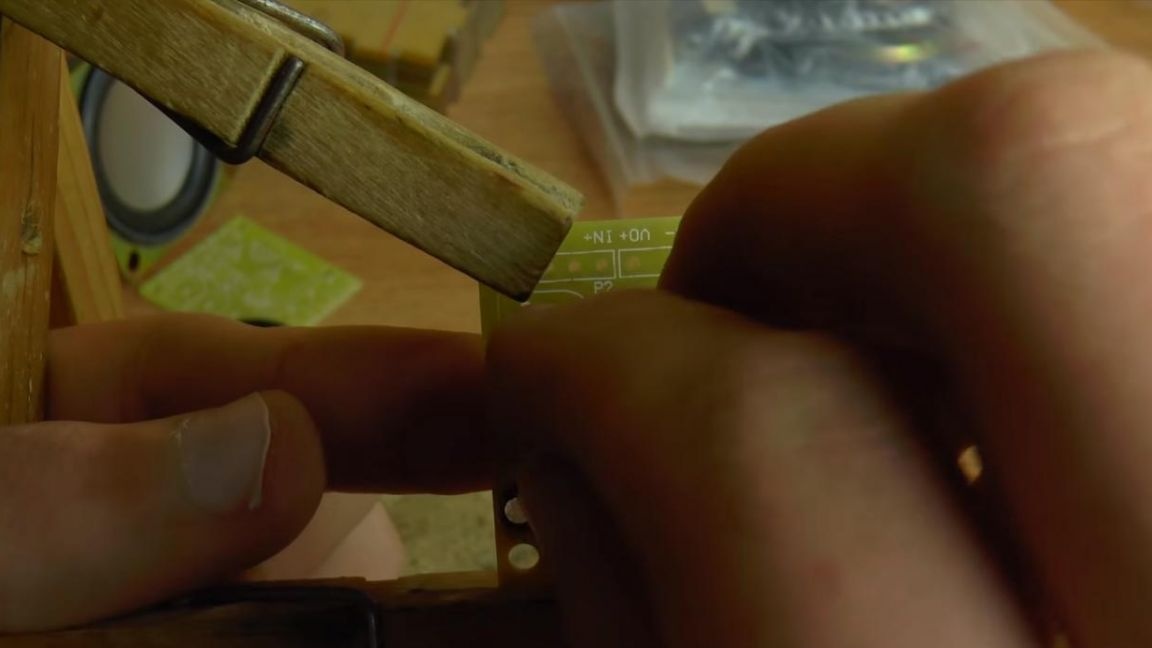
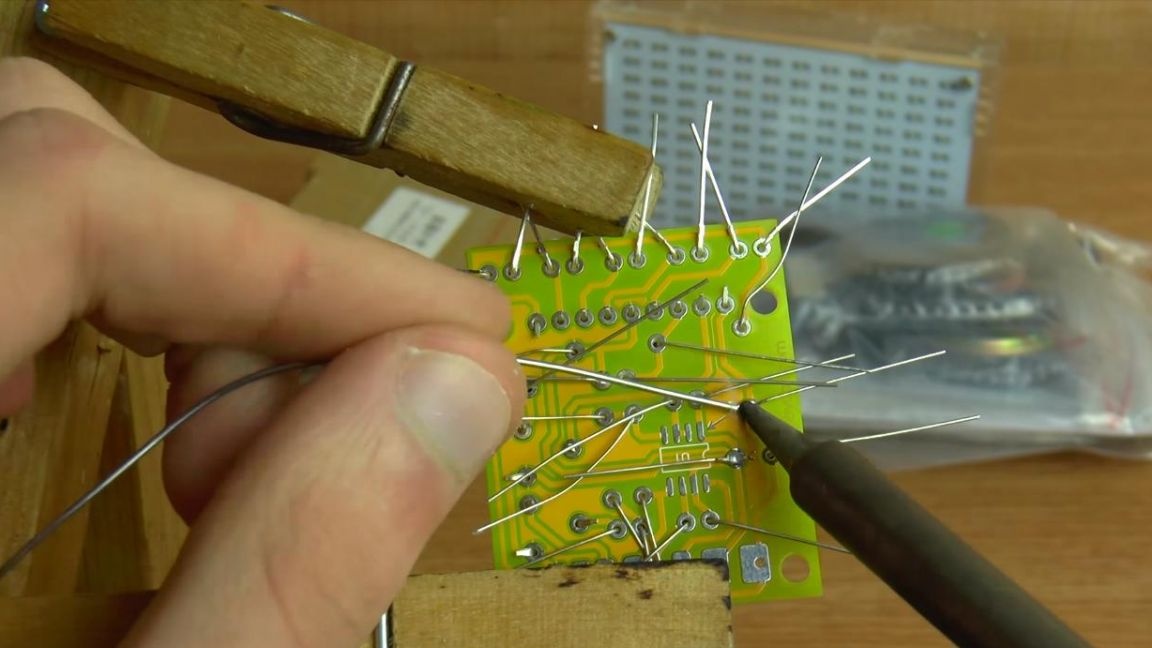
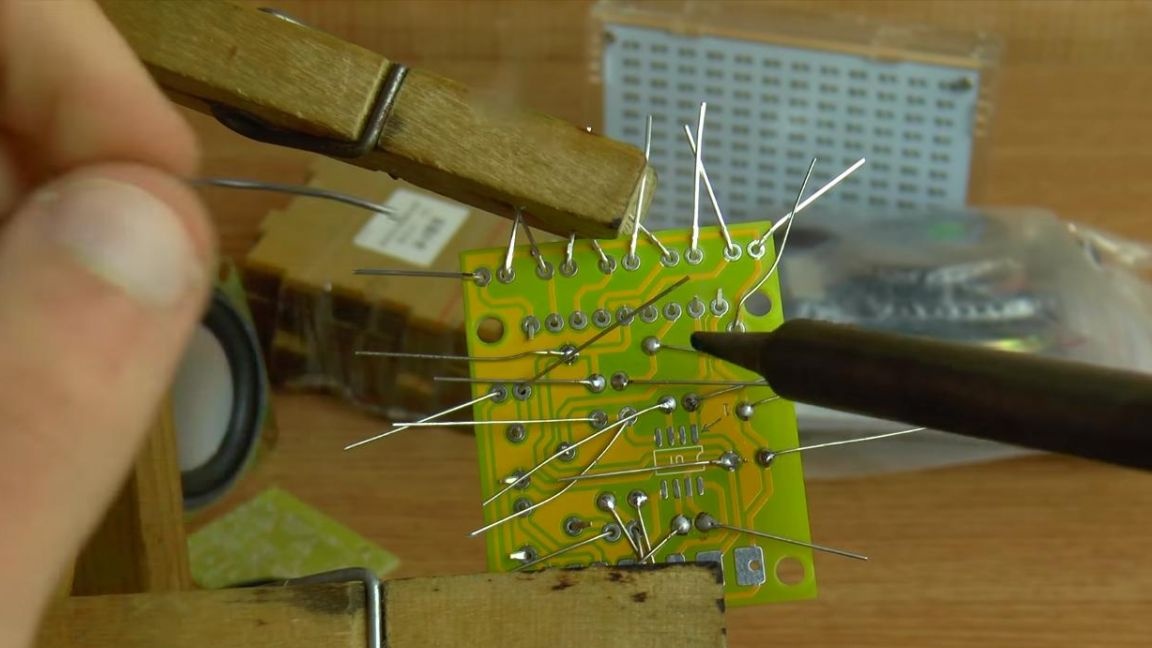
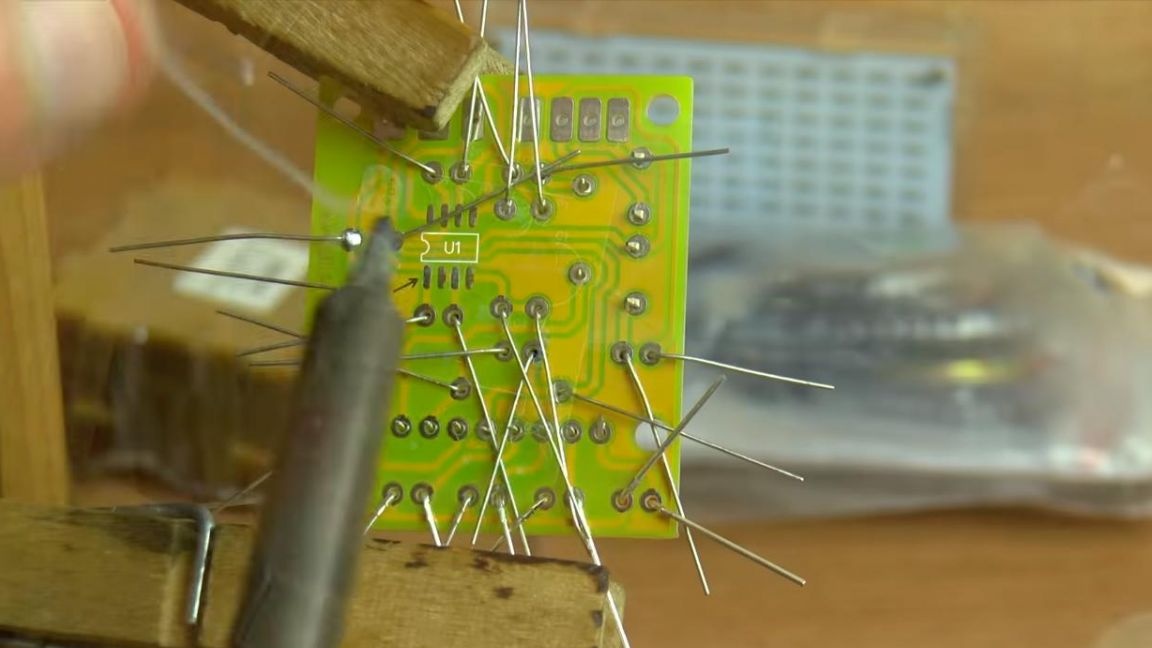
When all the parts are installed on the board, we bend the legs on the other side of the board and proceed to soldering.
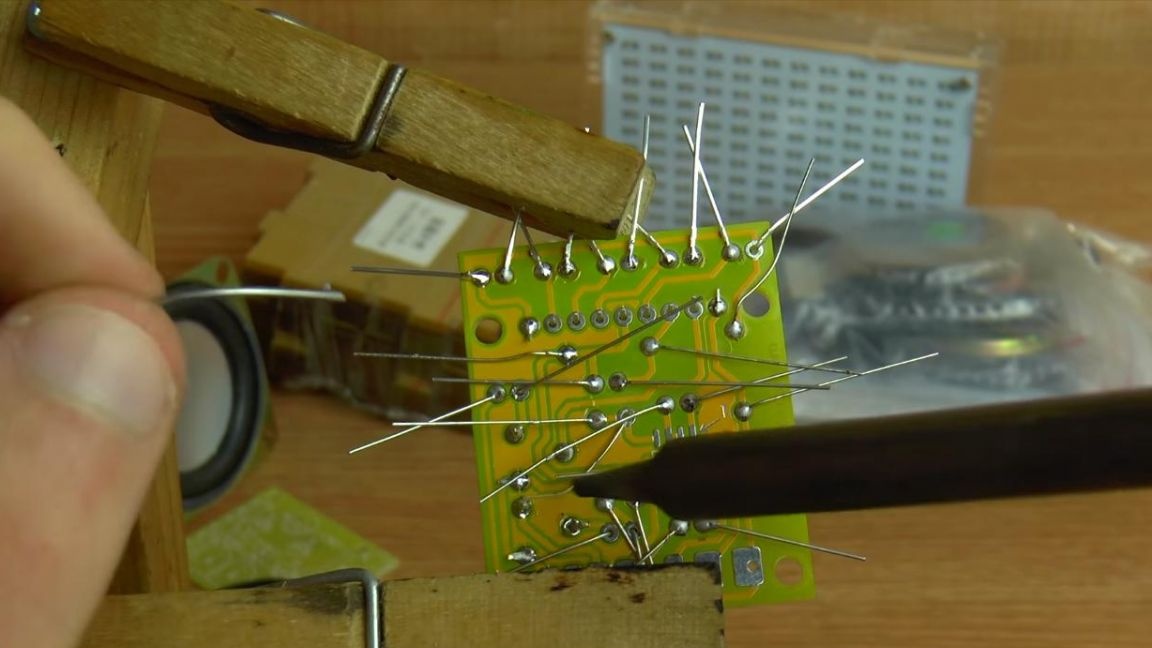
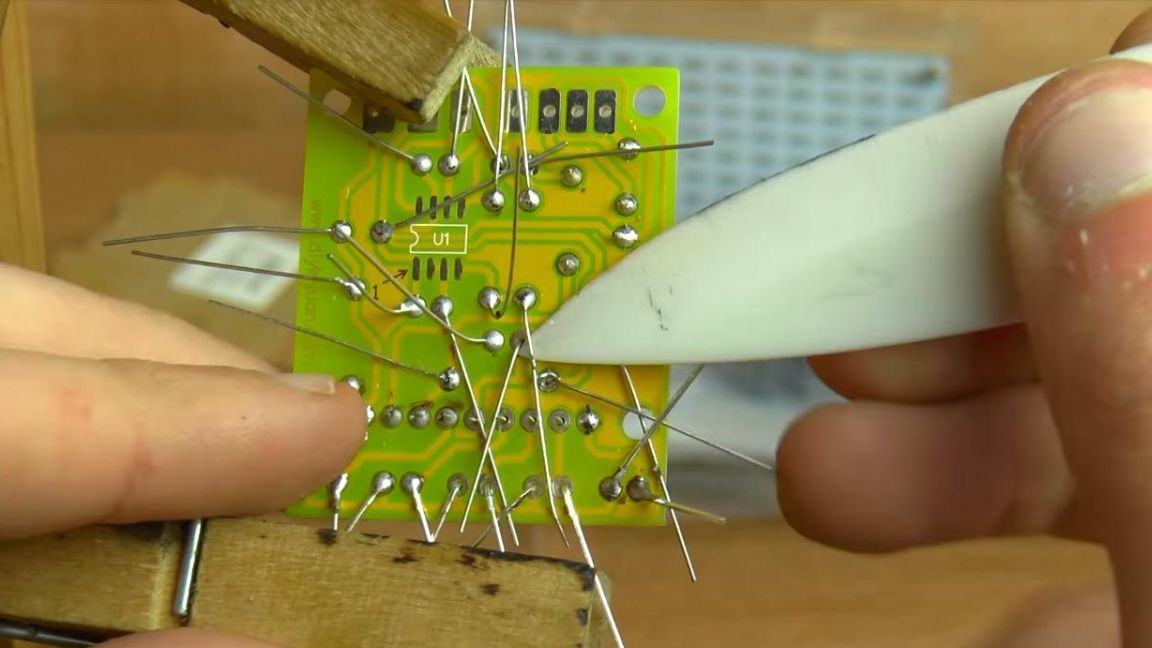
For better soldering of parts, apply a flux and solder the conclusions with a soldering iron, feeding solder to the contact point. We remove the remains of the conclusions with the help of side cutters.
When biting the component leads, be careful as possible, as you can accidentally tear the track off the board.
Step Six
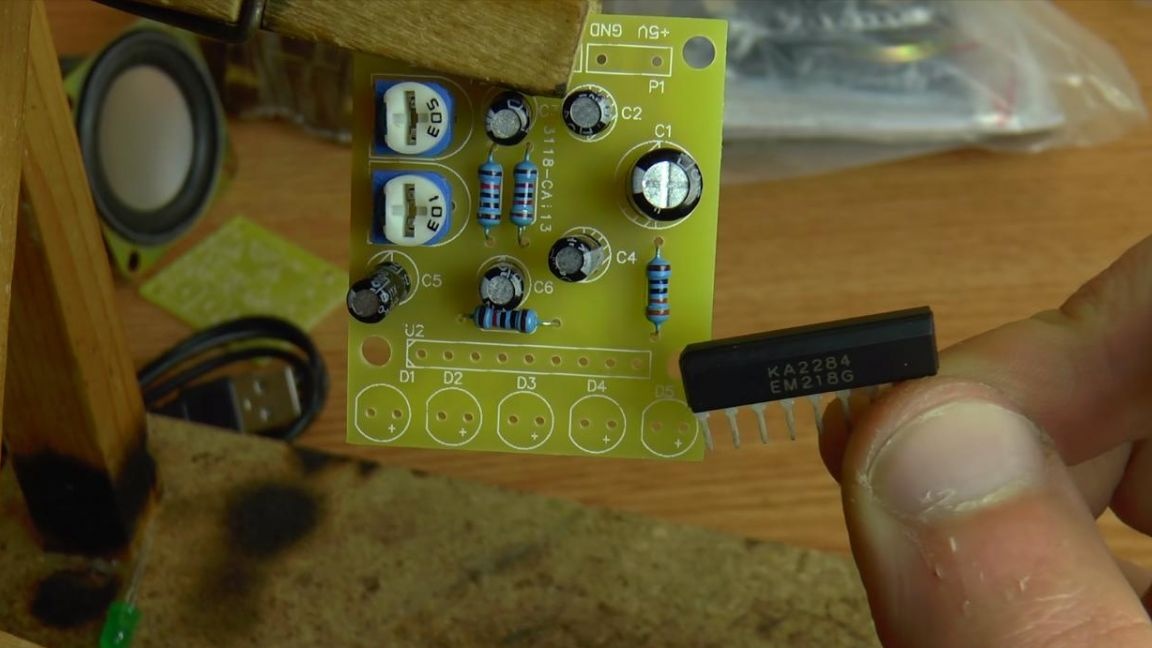
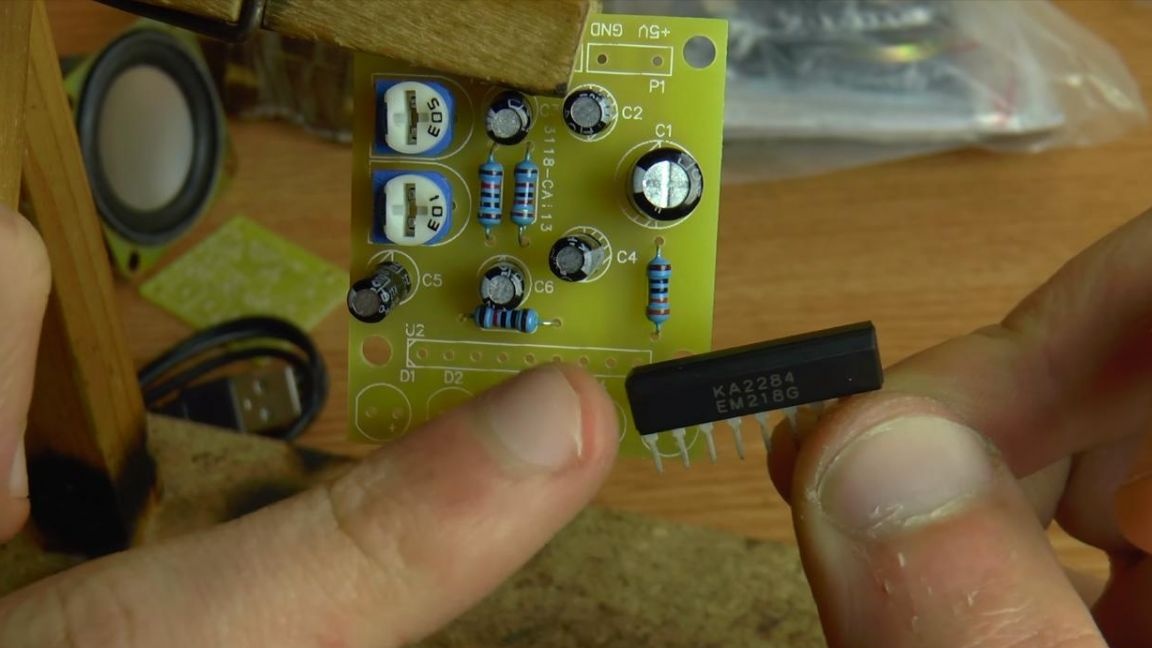
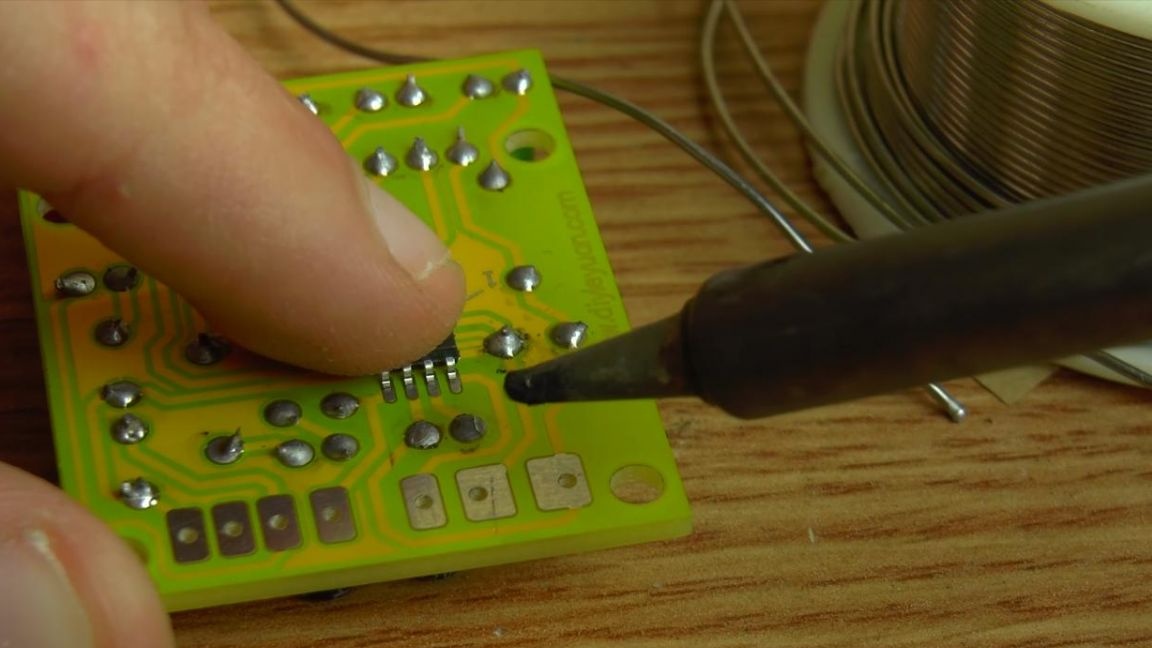
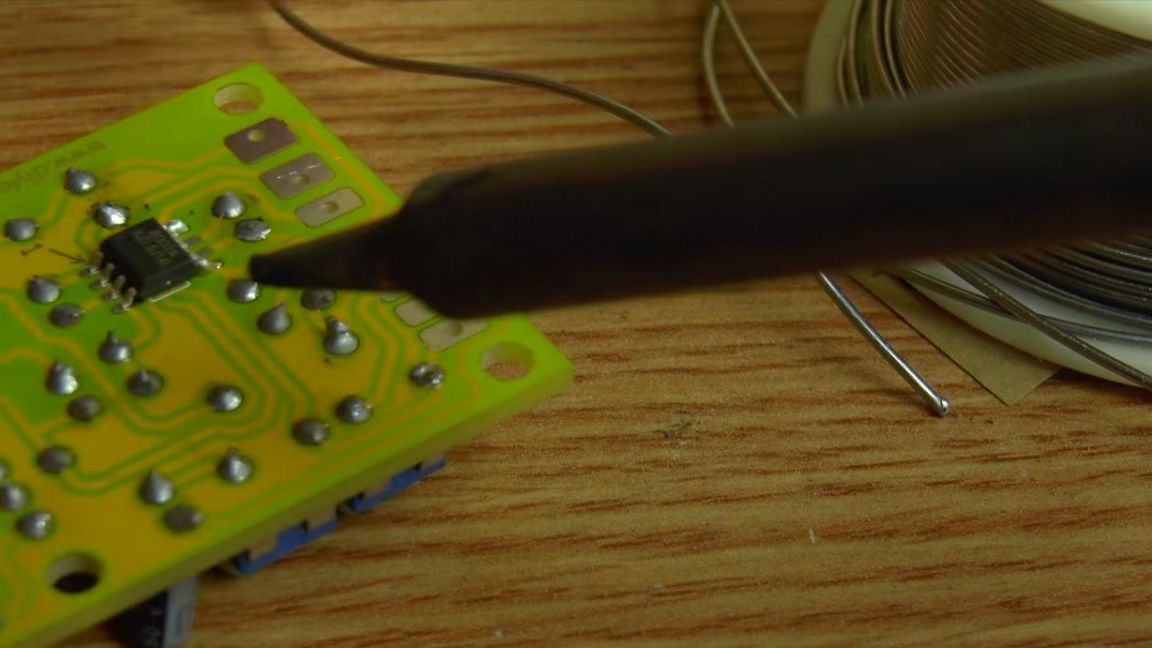
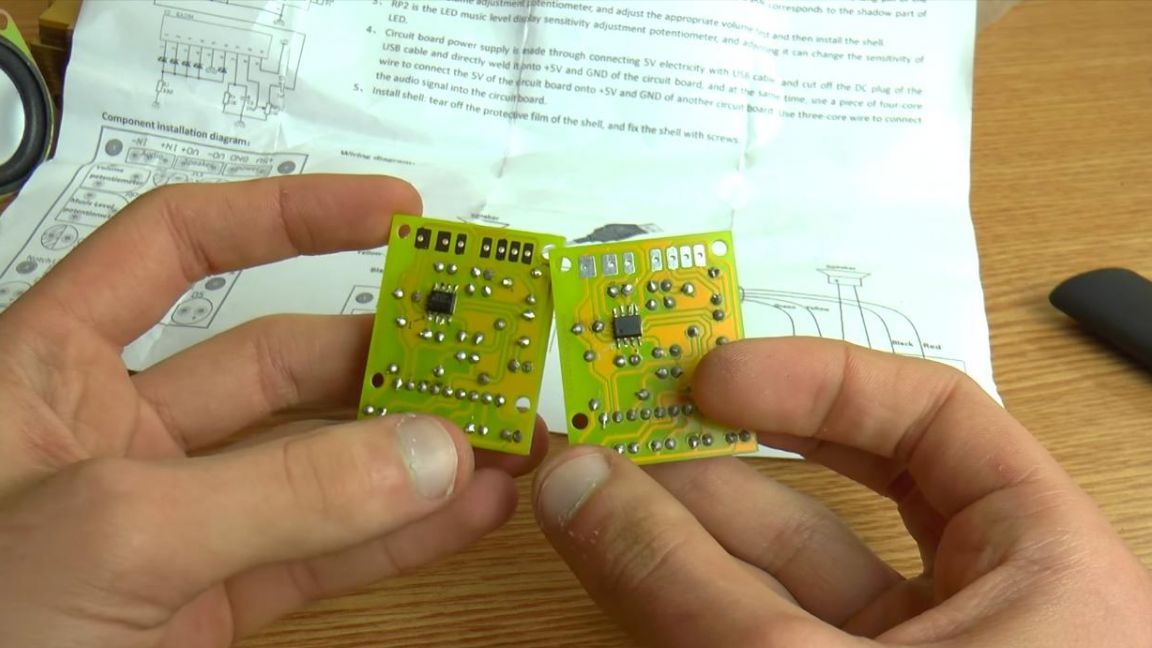
After all the parts are soldered on the board, you need to install the SMD chip on the back side, there is a small dot on its case, which serves as the key near which the first contact is located, this point is compared with the key indicated on the board. The board also shows the first pin on the chip.
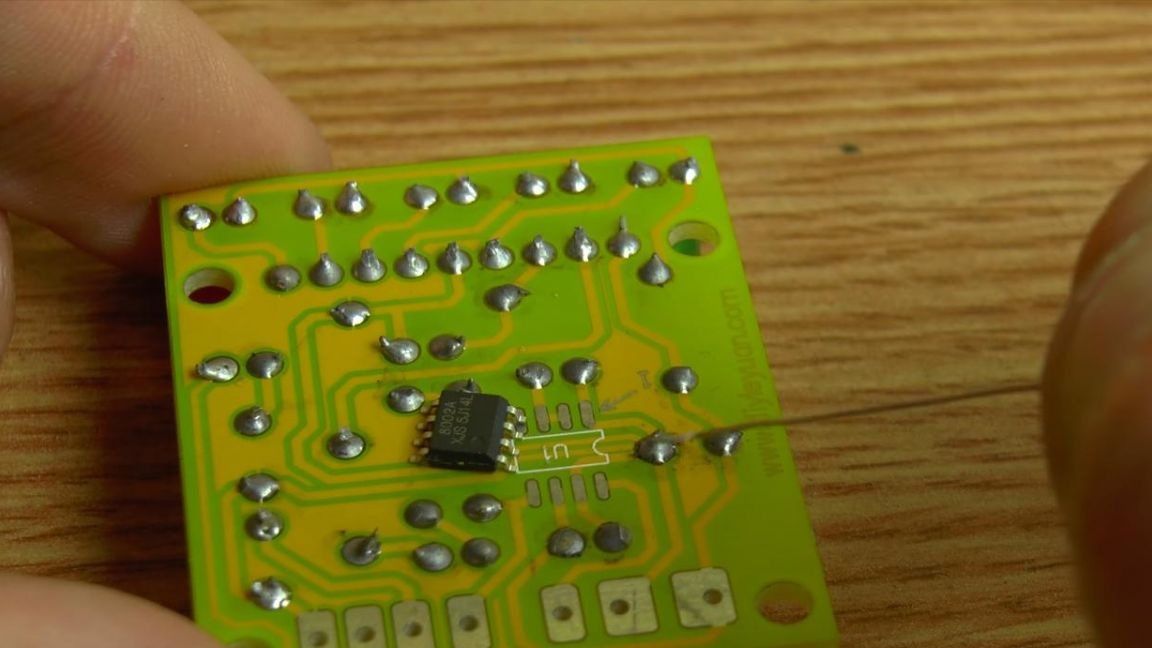
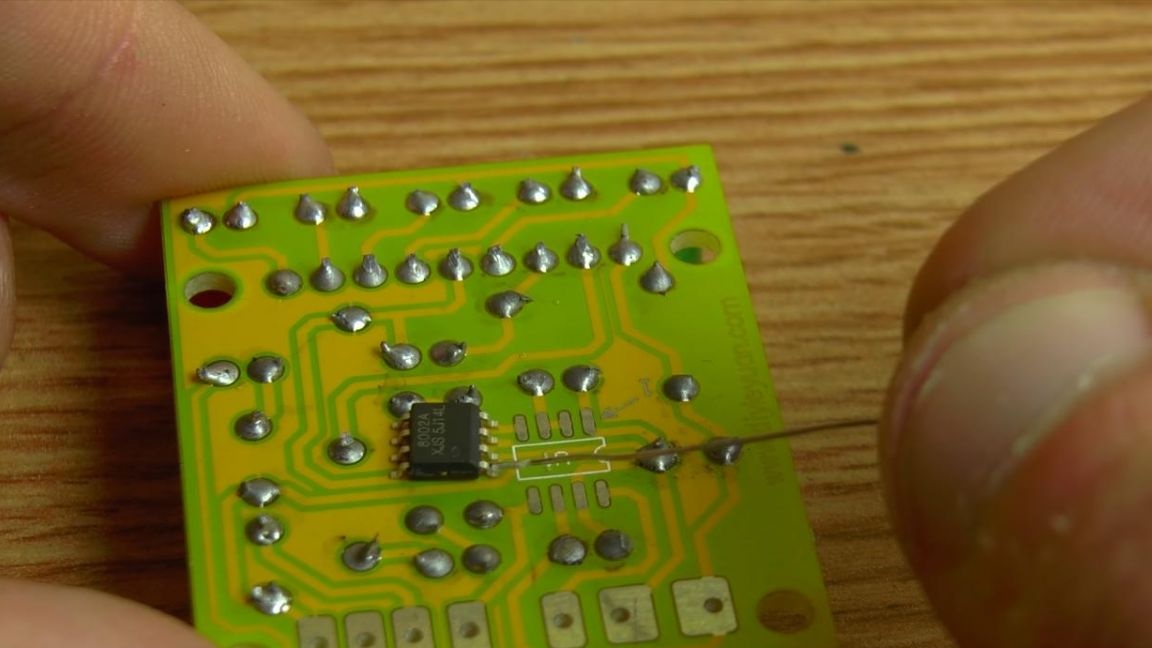
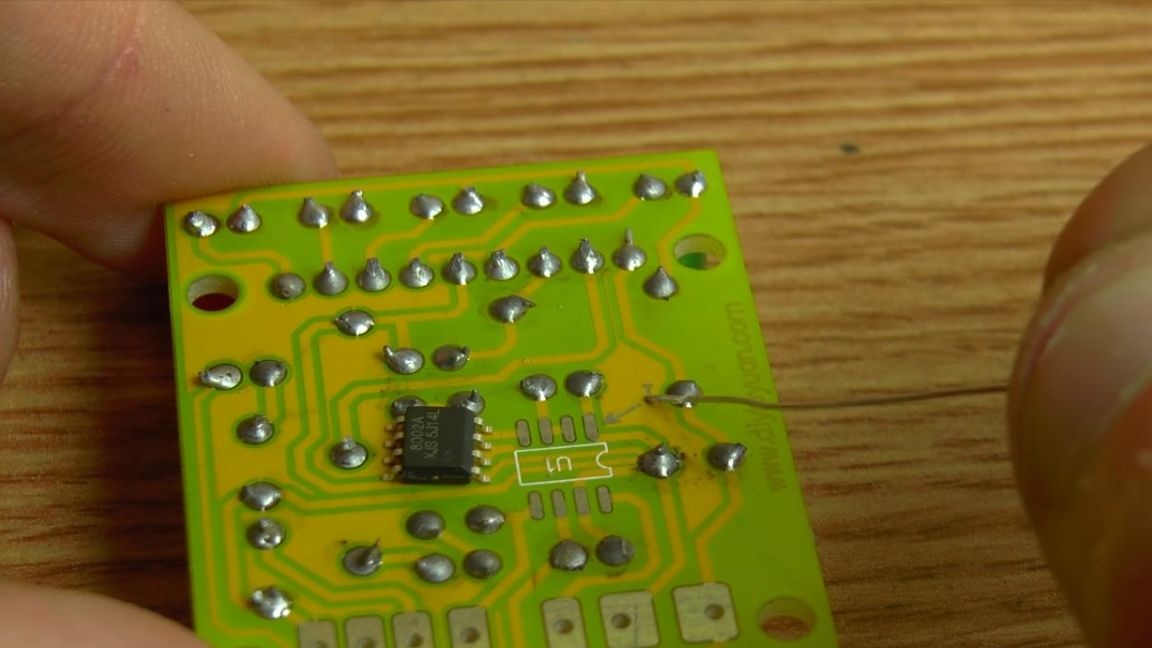
We solder the microcircuit to make it easier, first we solder one leg, holding the microcircuit, and then all the other conclusions. When soldering, try not to overheat the microcircuit, so it can be easily disabled.
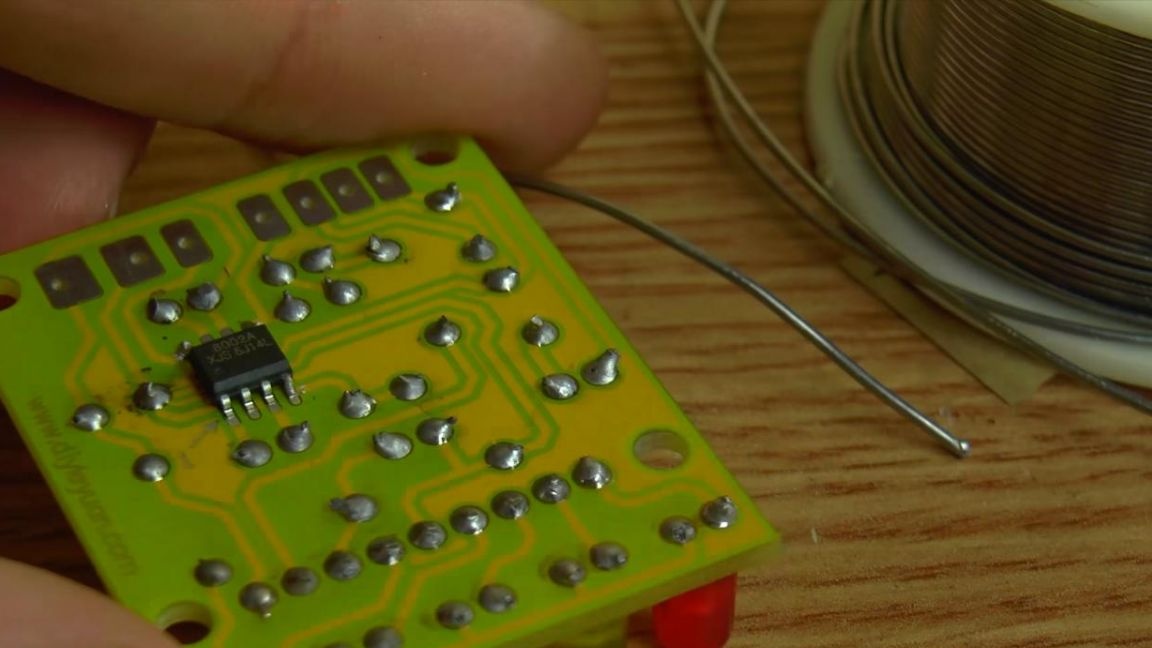
One circuit has already been assembled, according to the same scheme we make the second board.


Seventh step.
Now you need to solder the wires that came in the kit to the boards themselves.

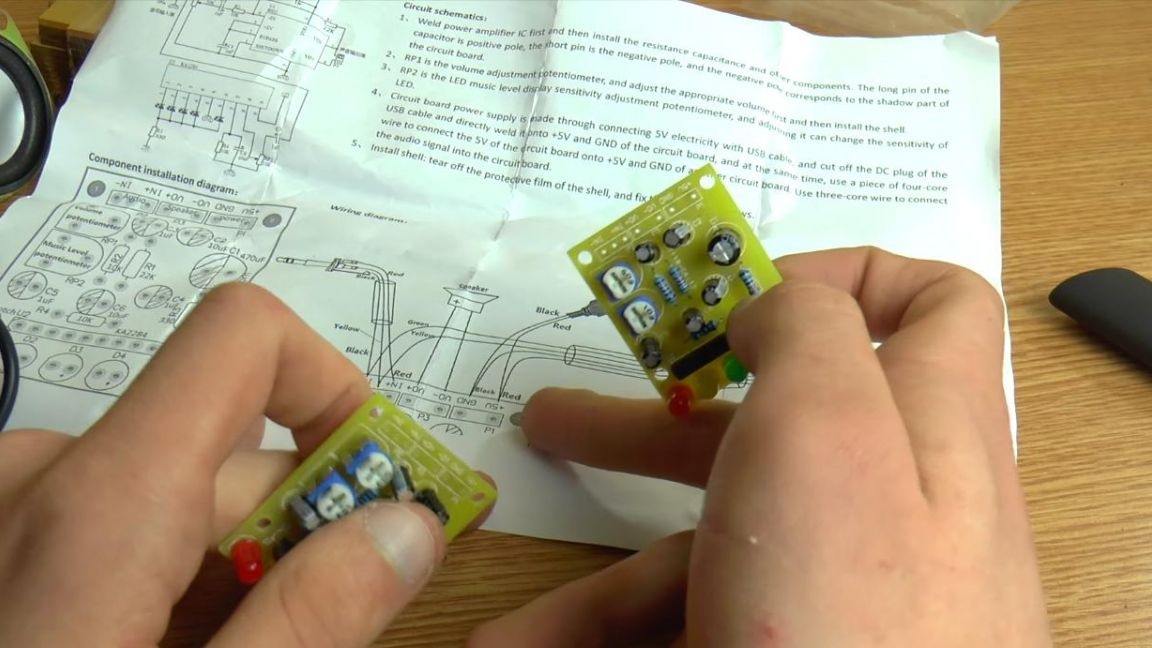
For convenience, the instructions show perfectly where and how to solder the wires.

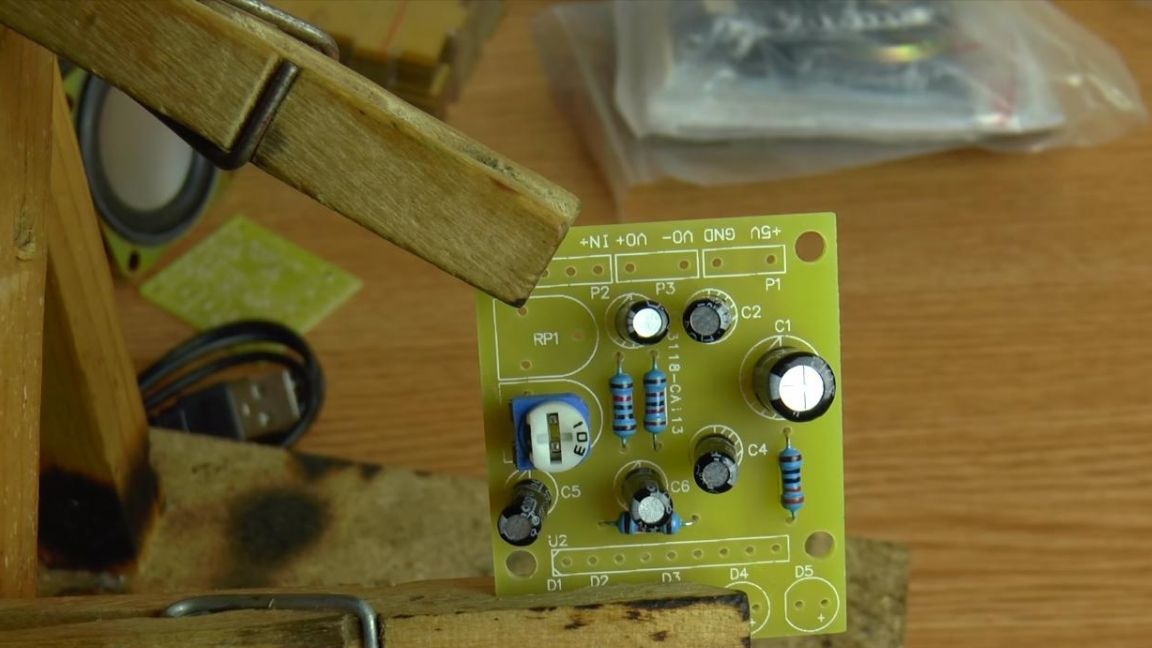
The result was such a filling for stereo speakers.
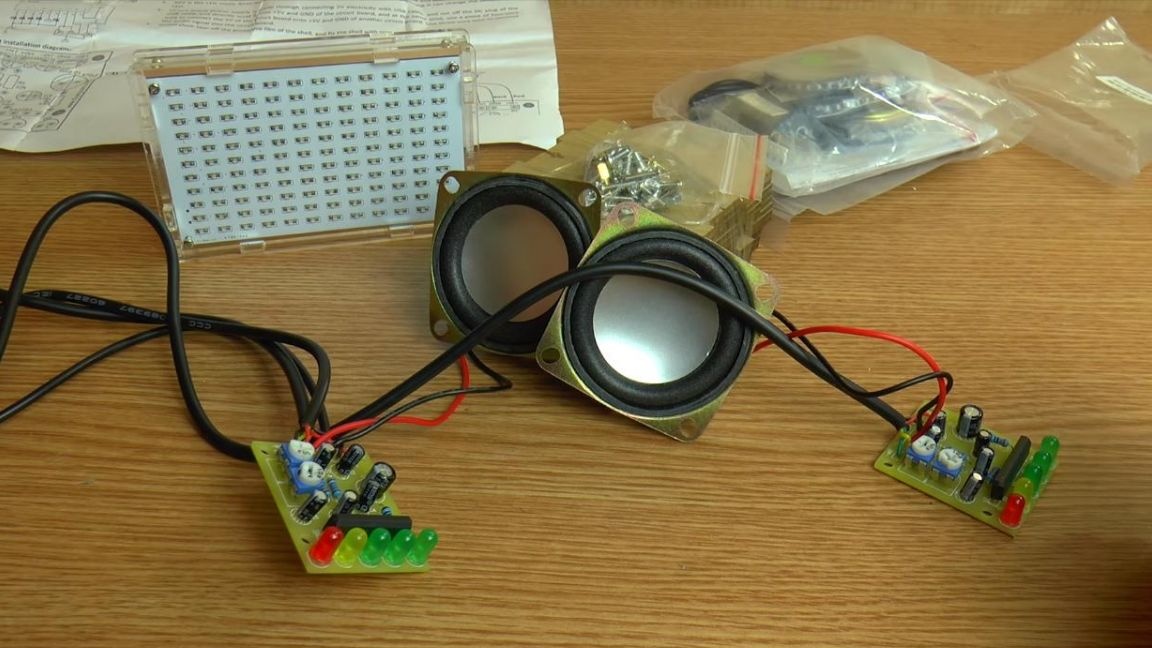
Now you need to check everything for performance, since disassembling the case, if something is not assembled correctly, will take a lot of time.

Step Eight.
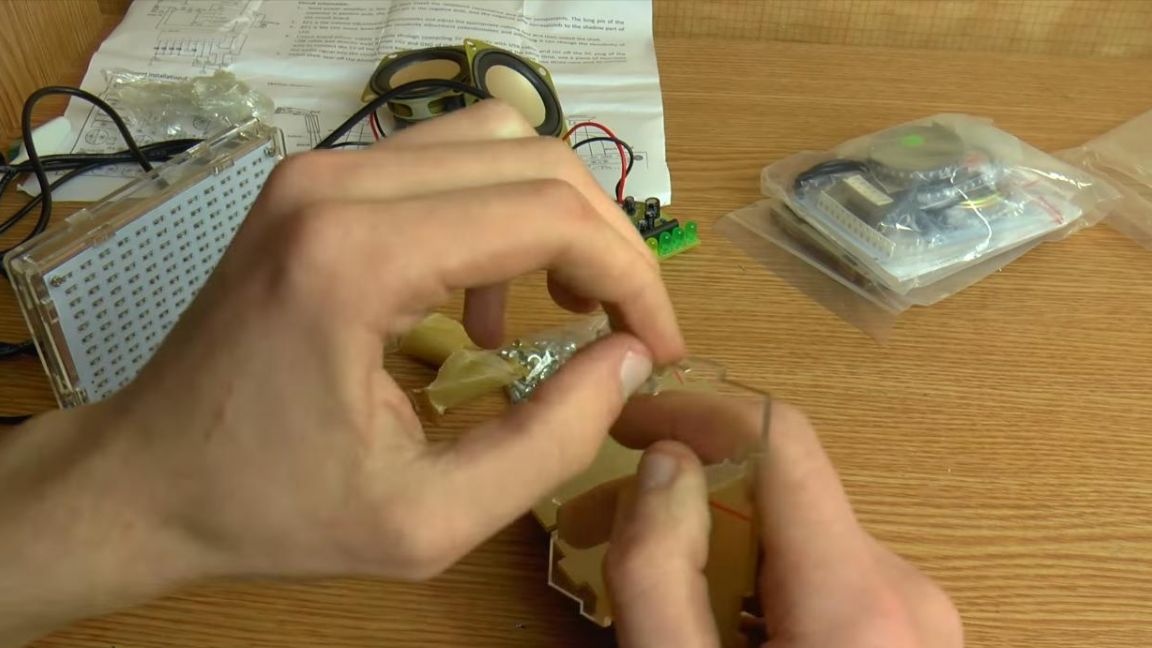
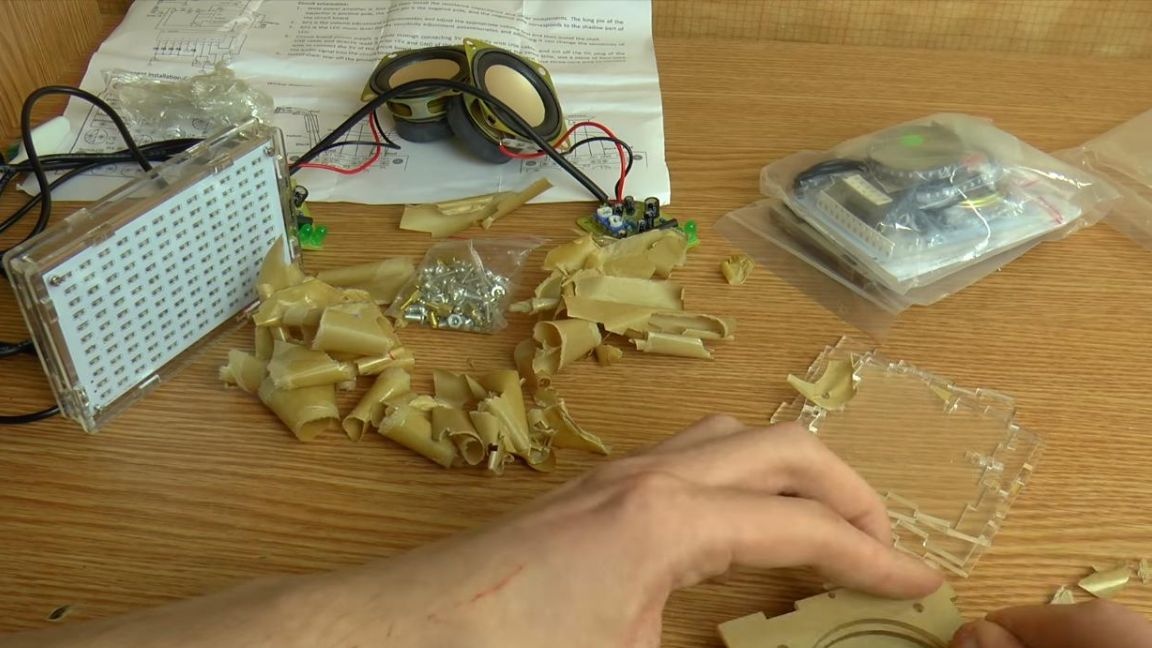
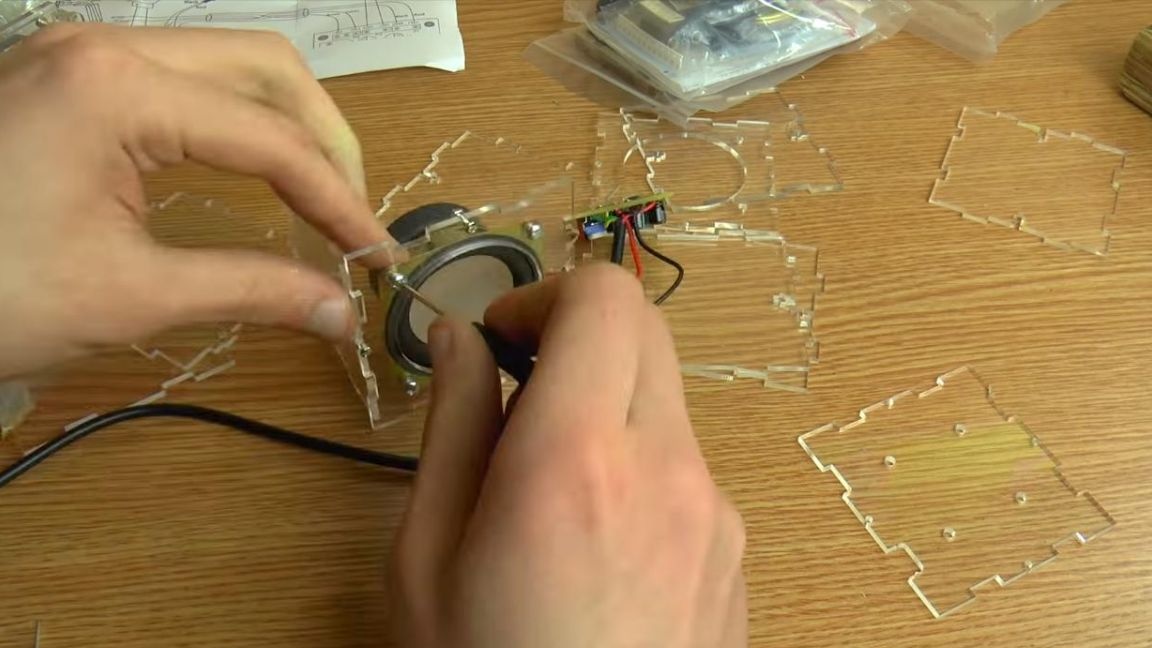
We assemble the case for the speakers. We remove the protective films from plexiglass plates, then we collect the column from them, gradually twisting the sides with screws using a Phillips screwdriver.
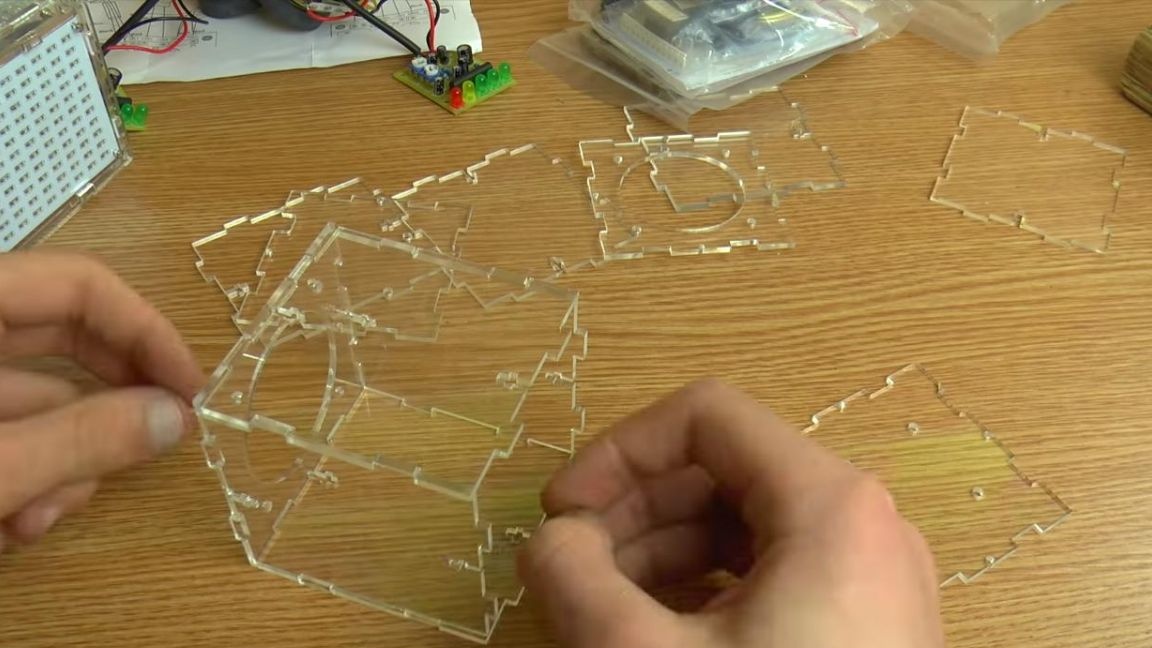

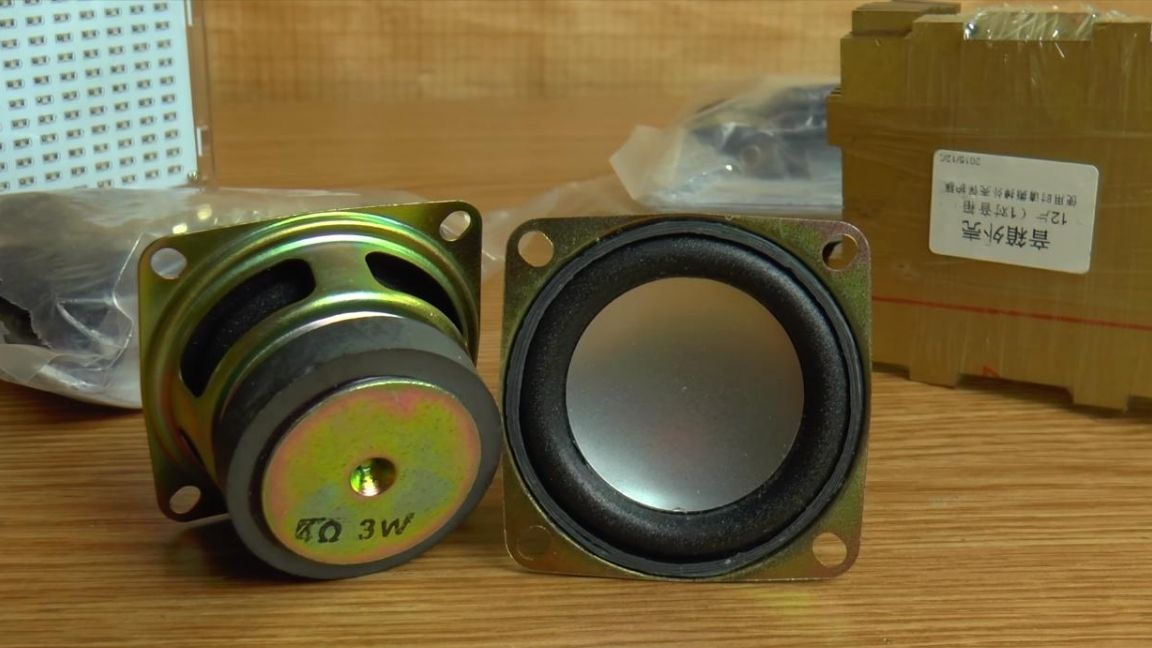
We fasten the speaker onto the plate with the hole using screws and nuts.
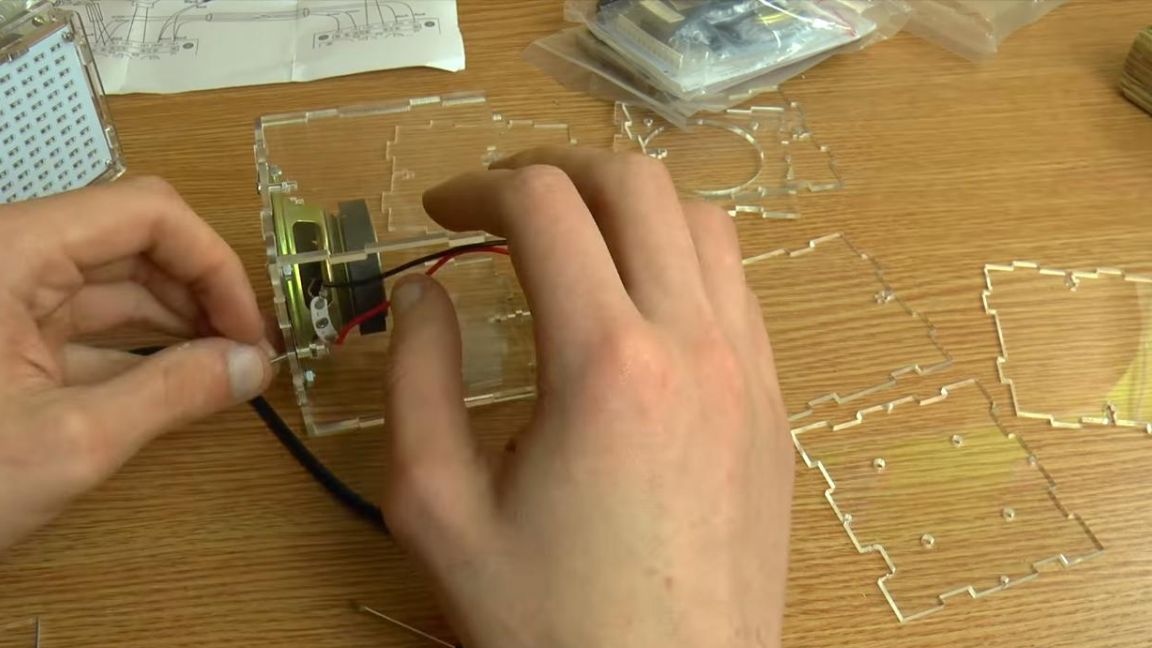
On the back cover, we install the board through special threaded spacers.
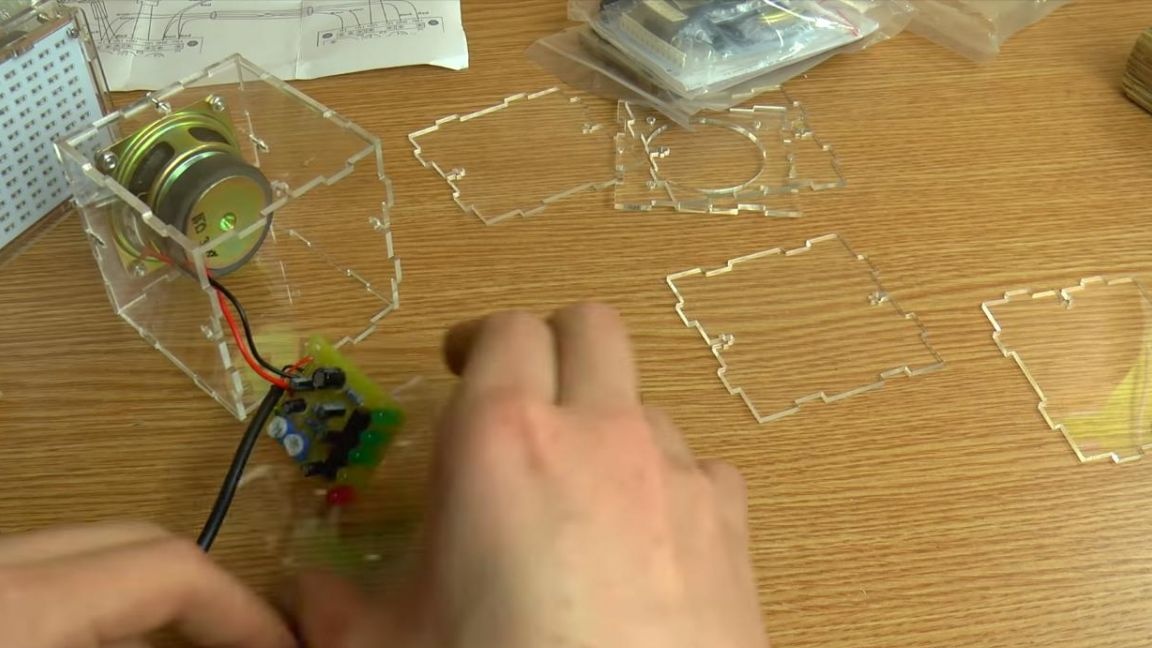
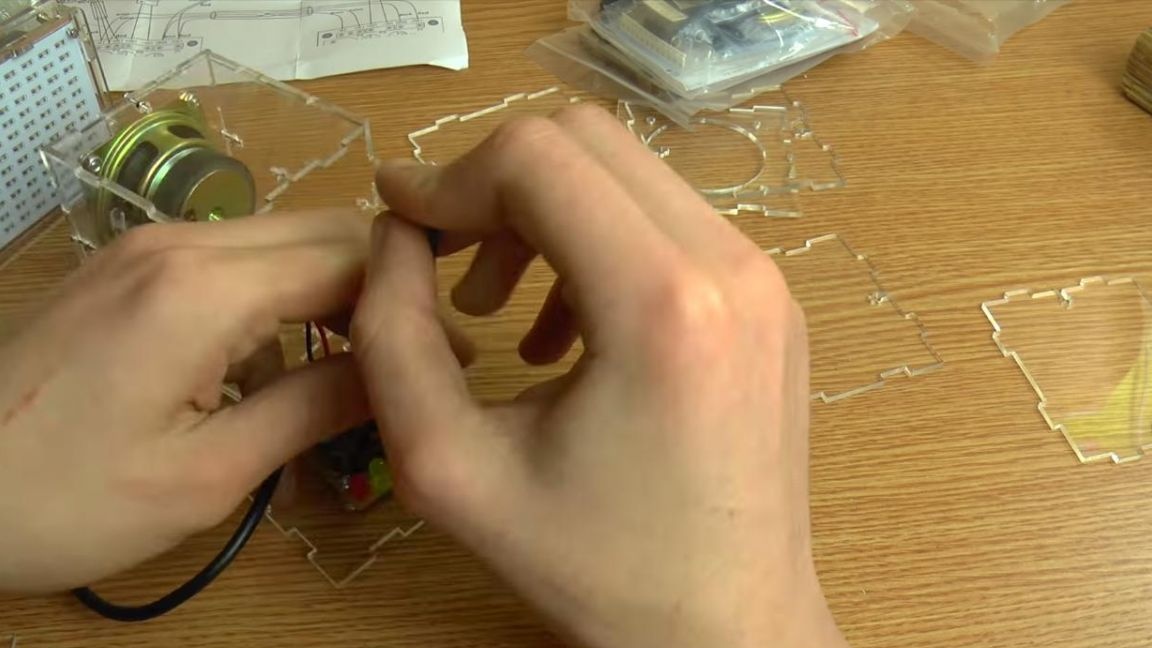
We collect the second column similarly to the first.
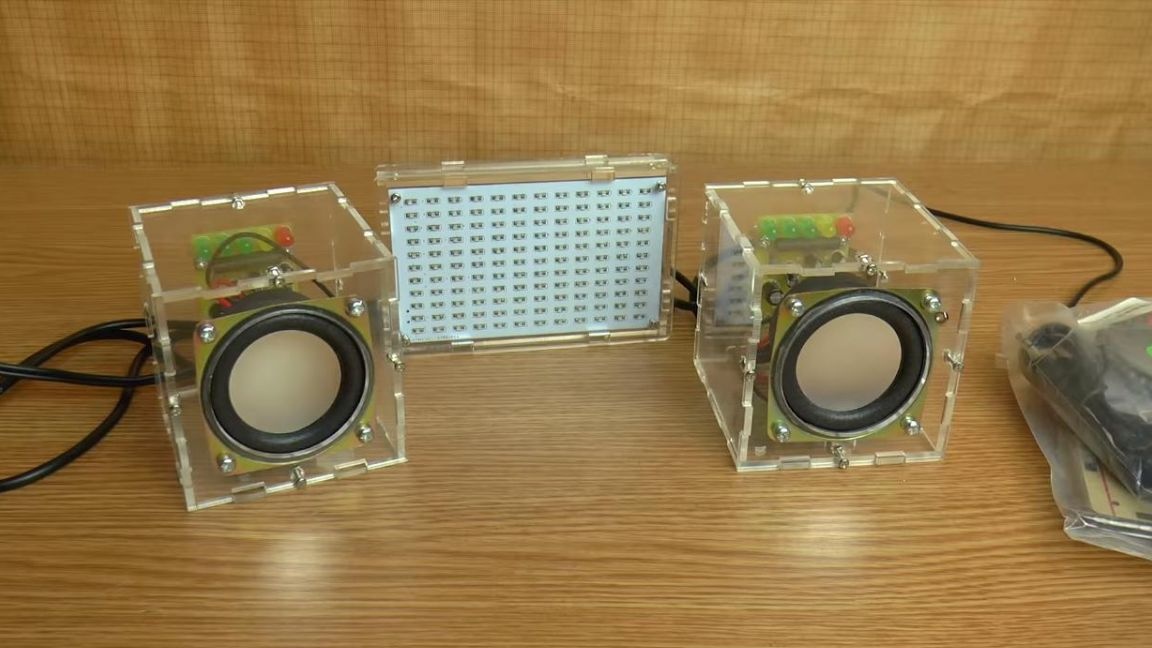
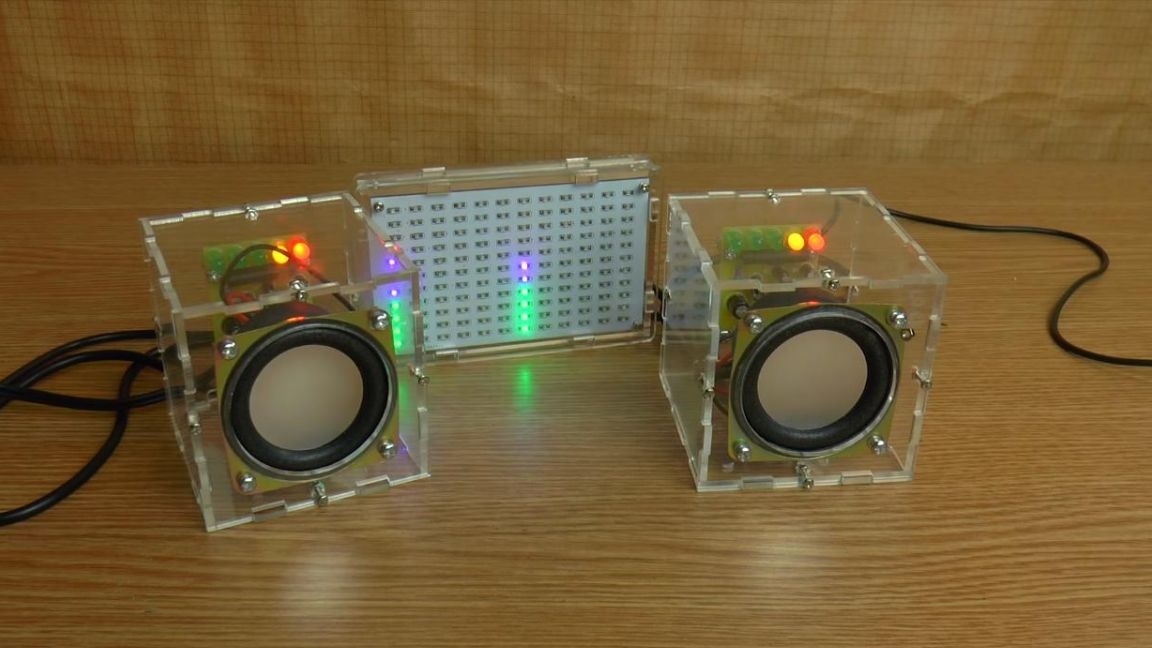
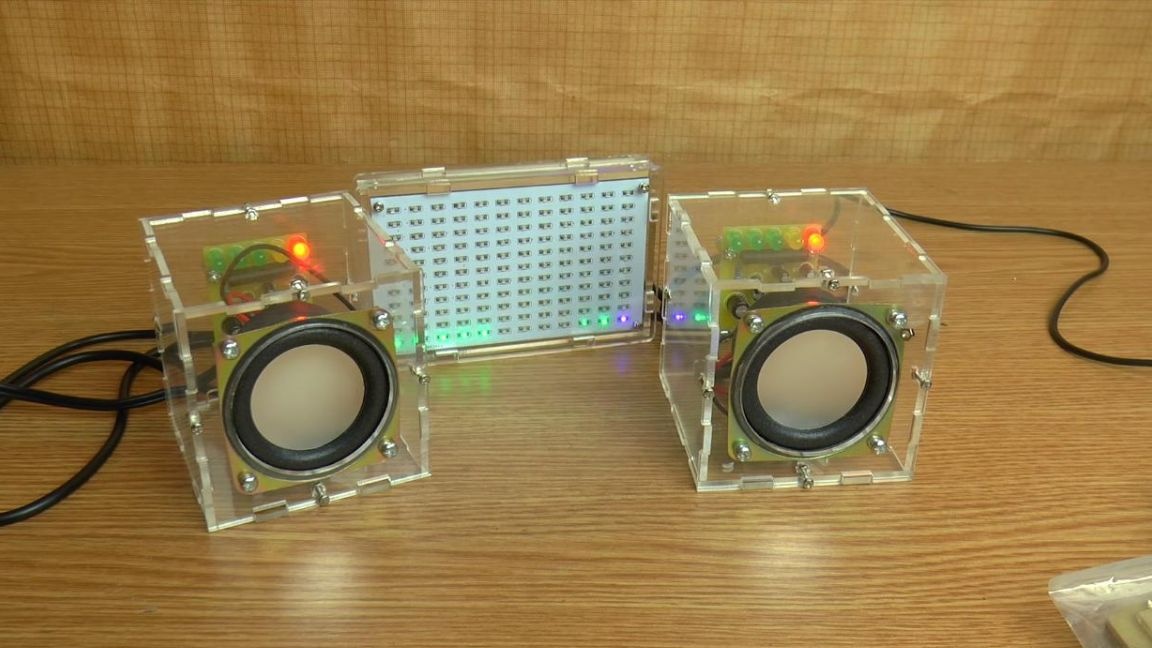
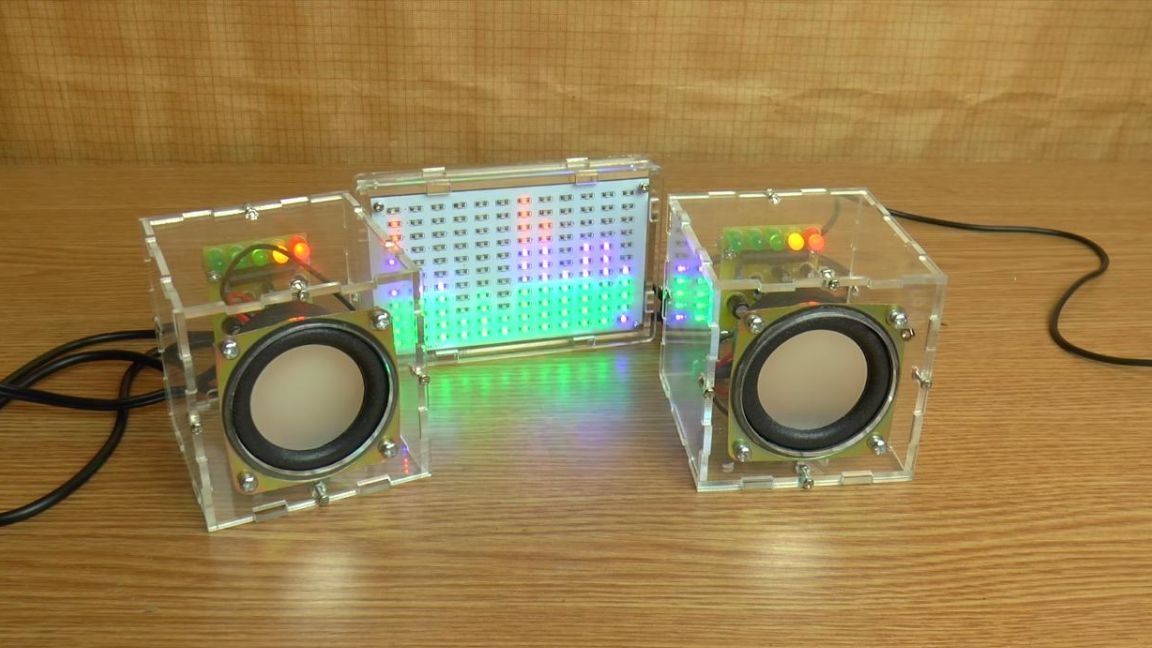
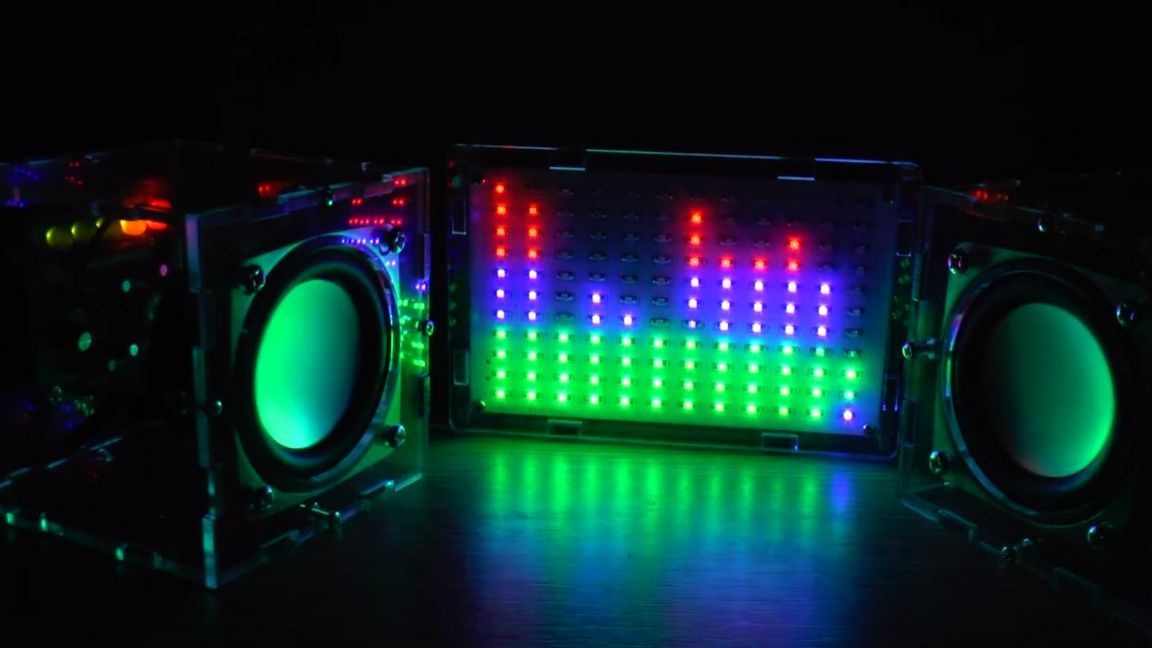
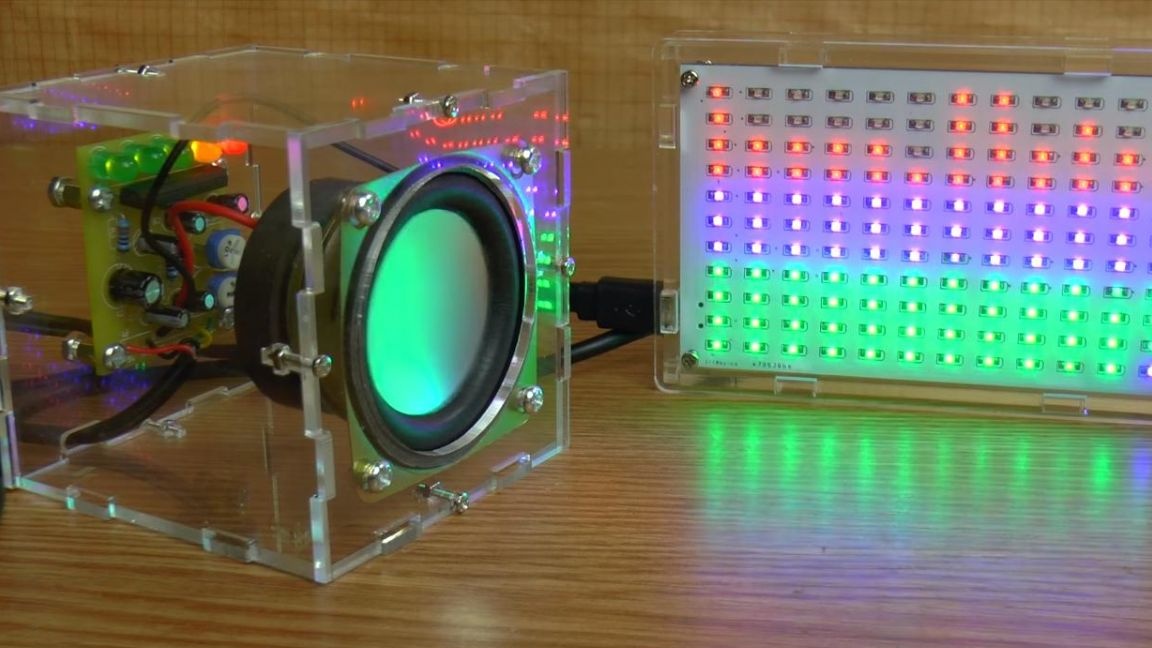
Now we check the fully finished stereo speakers, turn on the power, it is possible both from the unit and from the bank through the USB cable. Turn on the music and enjoy. The sound from these speakers will turn out to be sufficient in quality, of course this is not the level of some expensive speakers, but nevertheless, these speakers can be made by yourself, and their transparent case adds originality to them. This is how the speakers look in working condition.

That's all for me, thank you for your attention, collect this kit kit and enjoy the music.