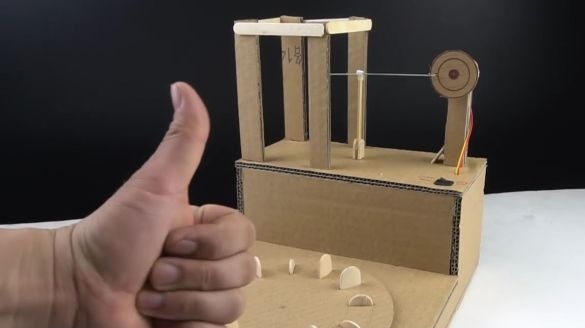
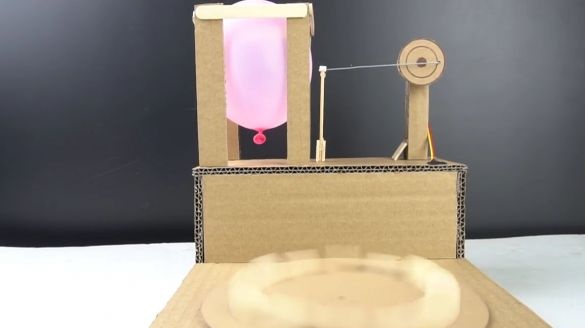
And so, for this board game we need:
-corrugated cardboard
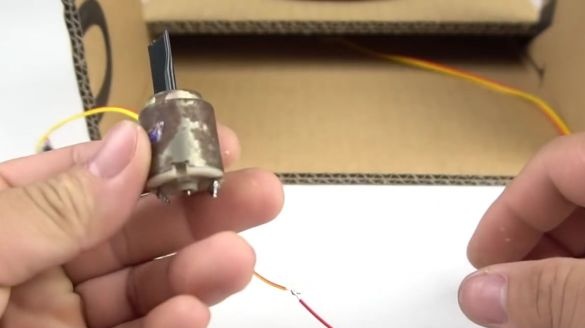
-electronic move
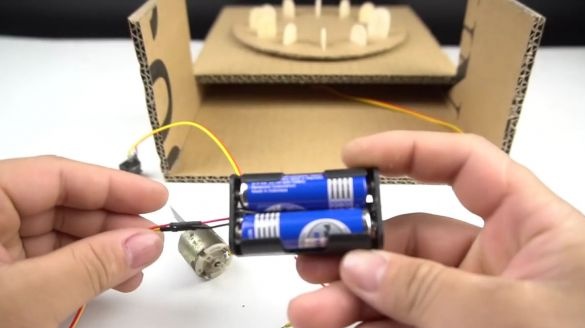
box for two finger batteries
wire
-switch
- wooden spatulas
ice cream sticks
paper clips
-balloon
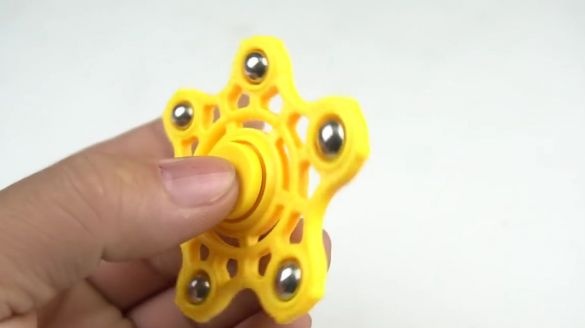
- ball bearing (the author of this video uses an inexpensive fidget spinner, inside which there is a ball bearing)
Of the tools we will also need:
thermal glue
soldering iron
nippers
pliers
-stationery knife
-scissors
-compass
-pencil
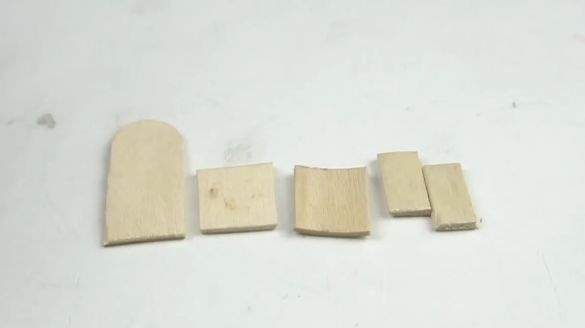
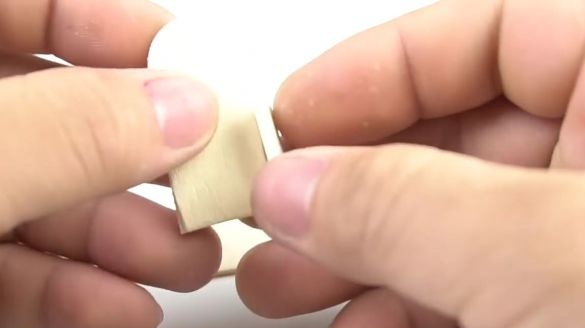
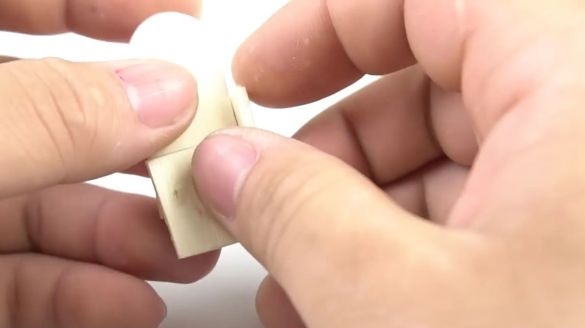
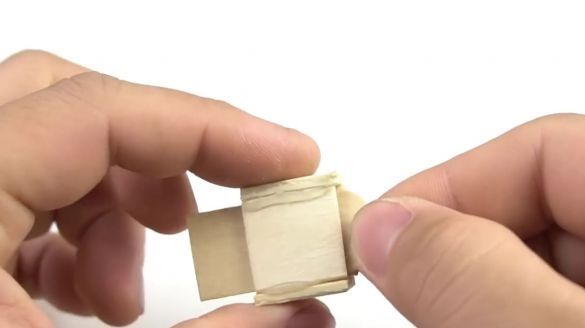
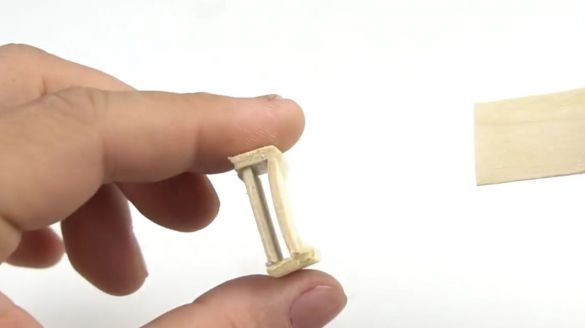
And so, first of all, it is necessary to make the following details from a wooden spatula and ice cream sticks, they are shown in the photo below:
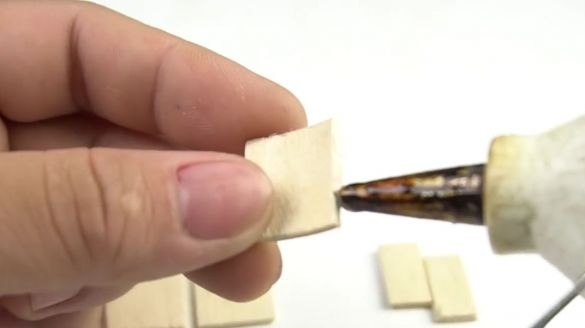
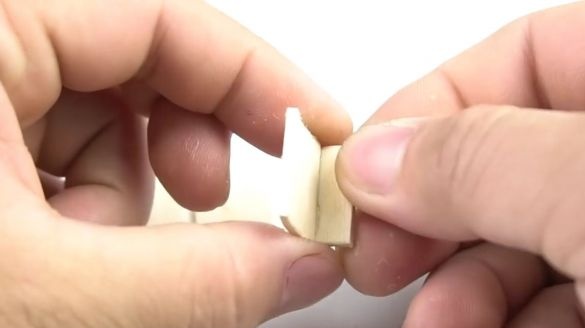
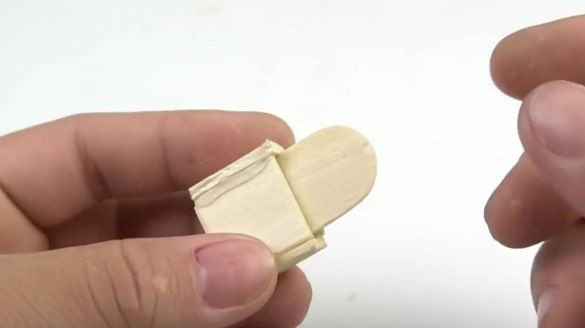
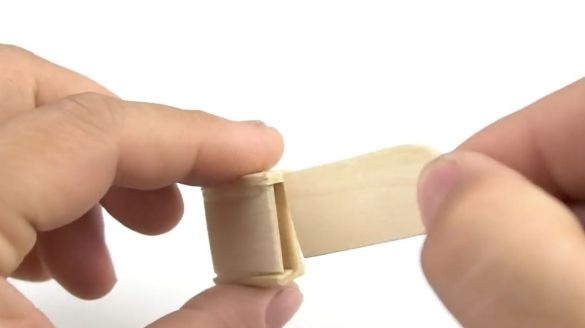
Then they must be glued using thermo adhesive as follows:
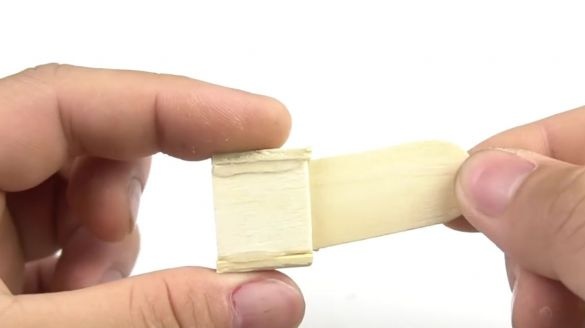
The central part of this entire workpiece should move freely forward and backward:
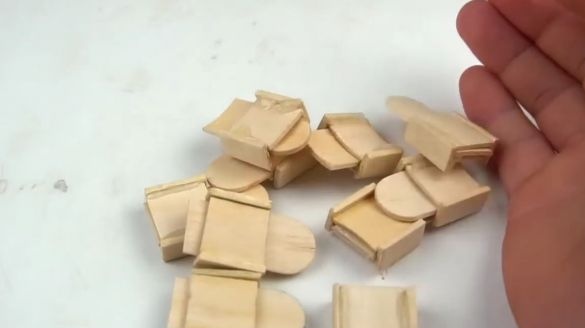
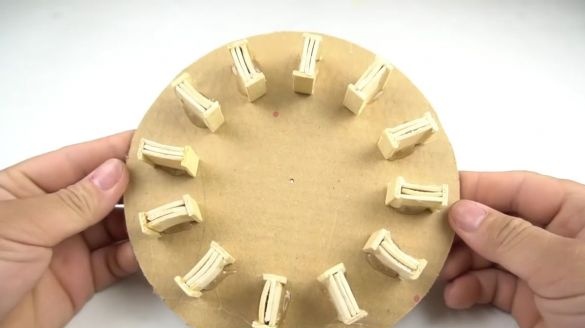
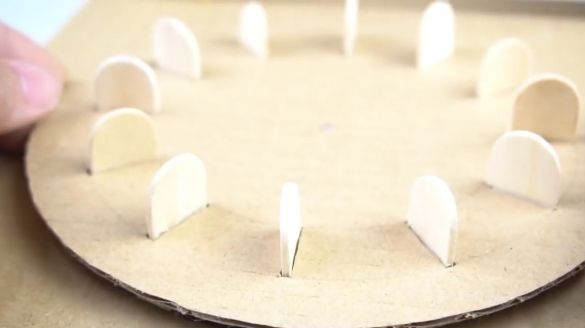
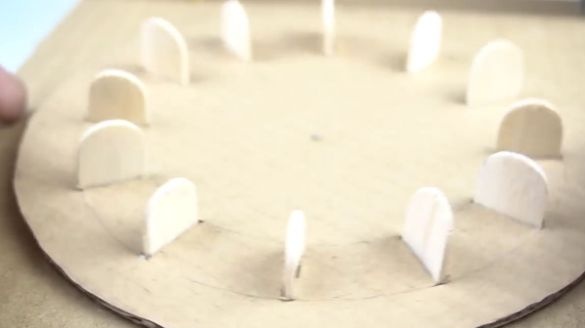
In total, we need twelve such blanks:
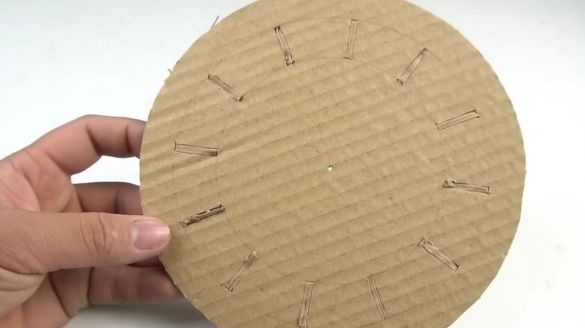
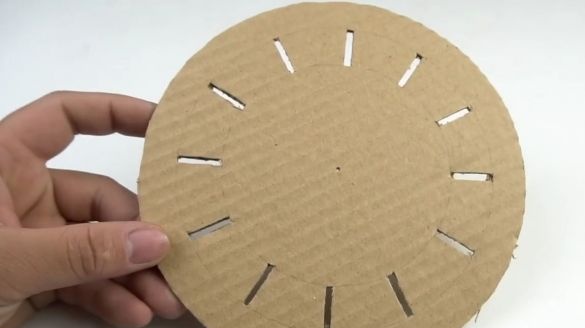
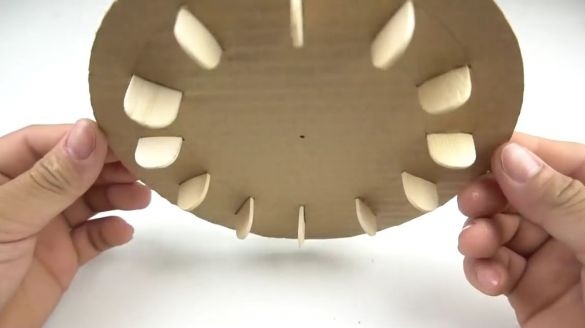
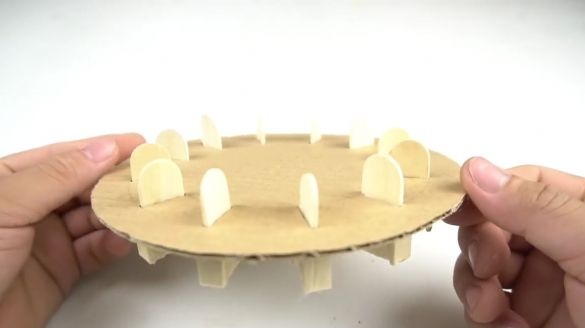
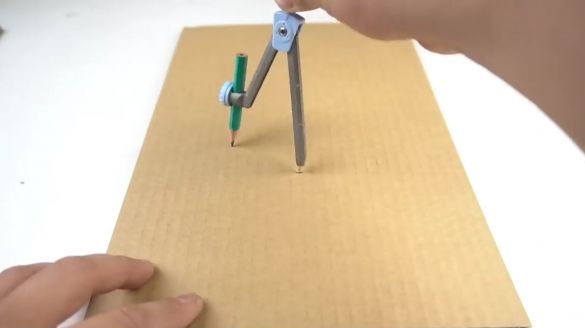
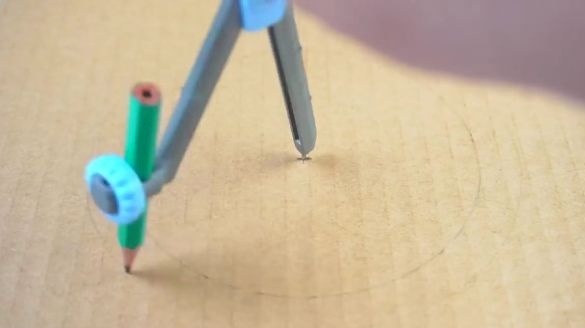
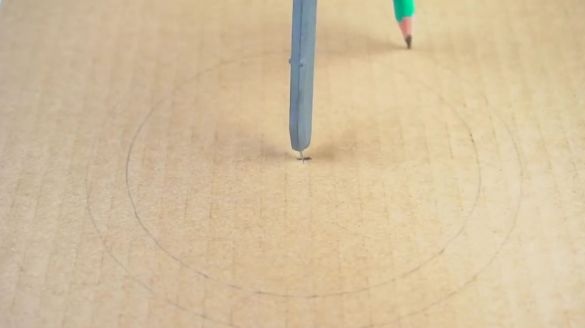
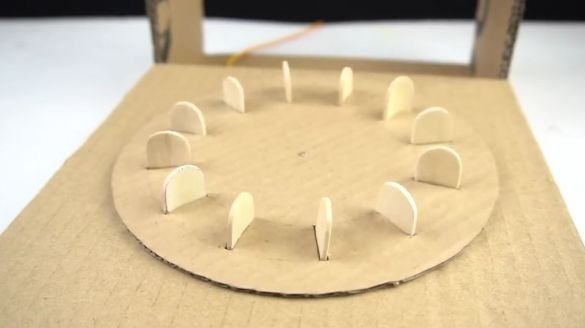
From a corrugated cardboard (preferably a double one), we cut out an even circle, after which we draw two more with a compass inside the circle, so that the workpiece we made earlier could be perpendicular between them, after which it is necessary to cut a hole for each of them:
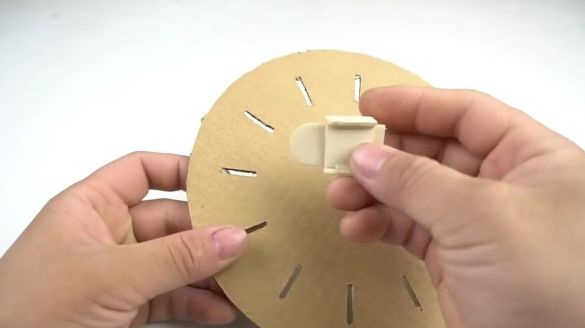
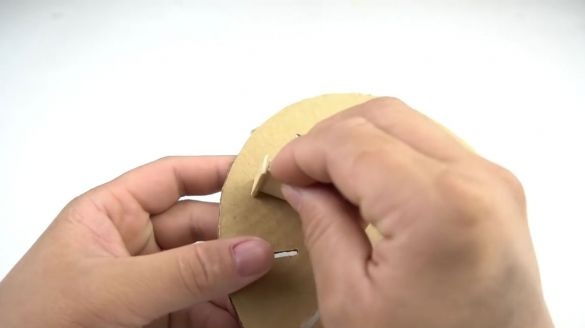
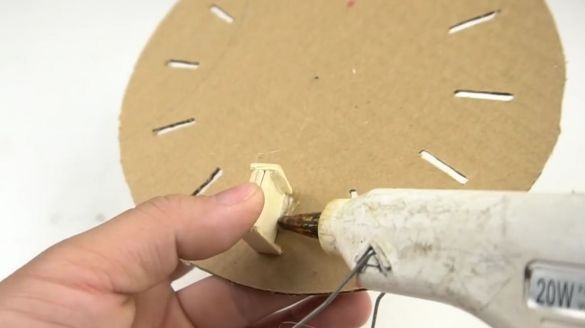
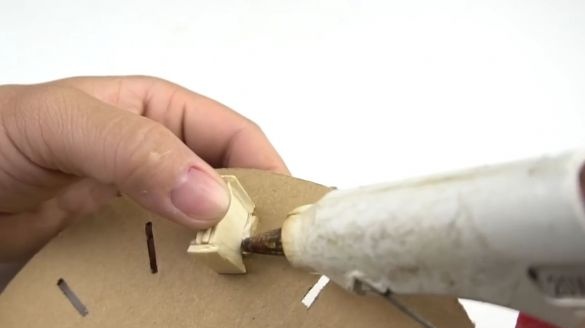
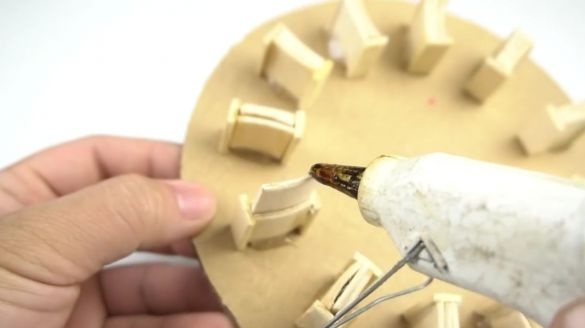
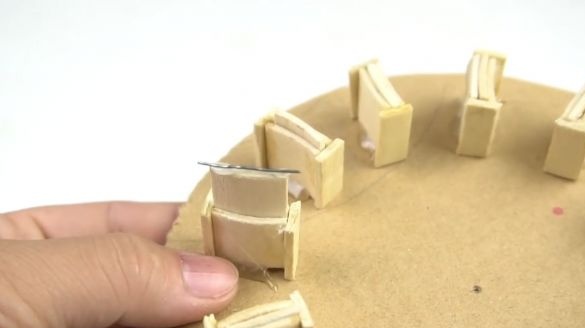
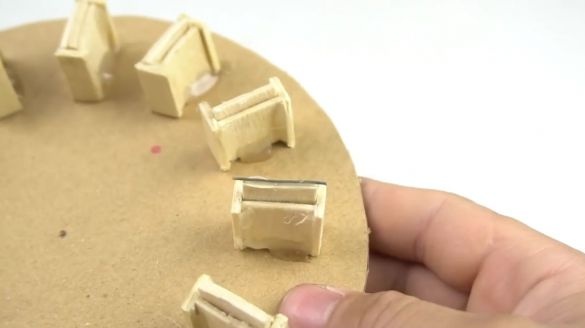
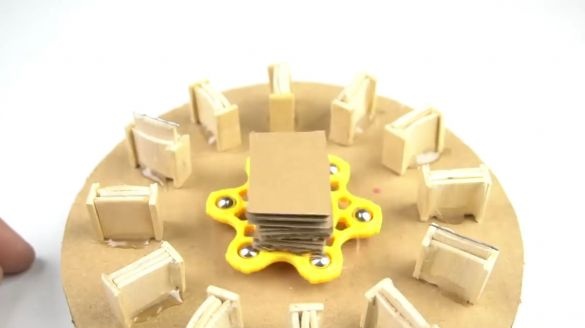
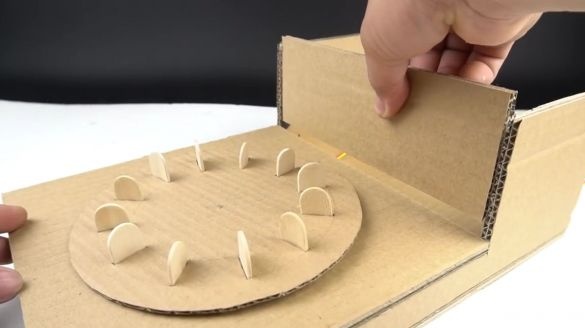
We insert all the blanks into our holes, gluing them thermo-glue to the cardboard circle on both sides, they should all “look” in one direction:
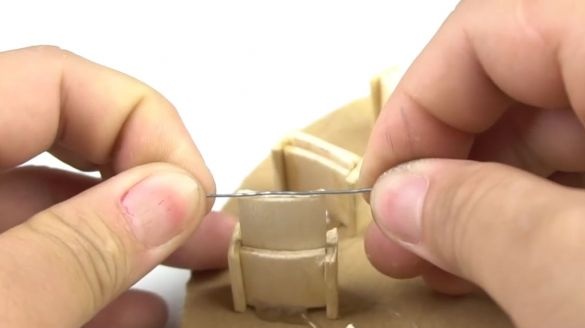
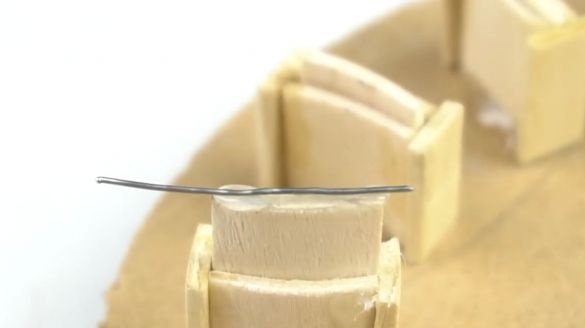
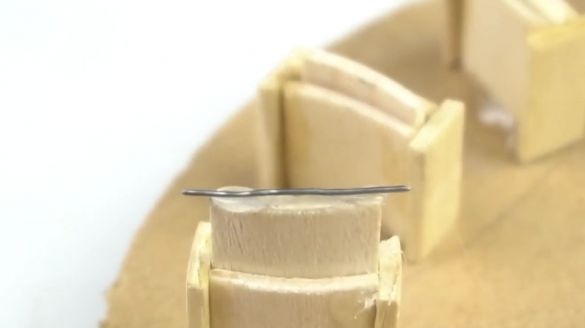
We pull out one of the “buttons” in the opposite direction and drip a little thermo glue on its back, after which we glue a piece of dense wire or a straightened paper clip:
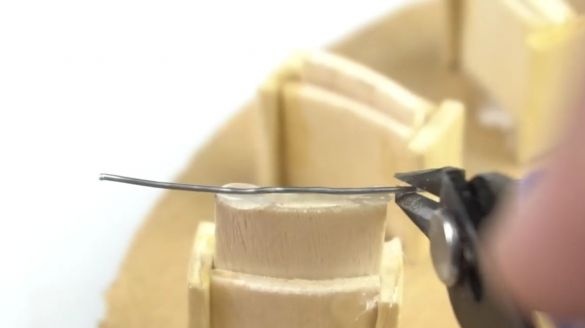
With the help of nippers "bite off" the excess around the edges:
We do exactly the same with another button anywhere:
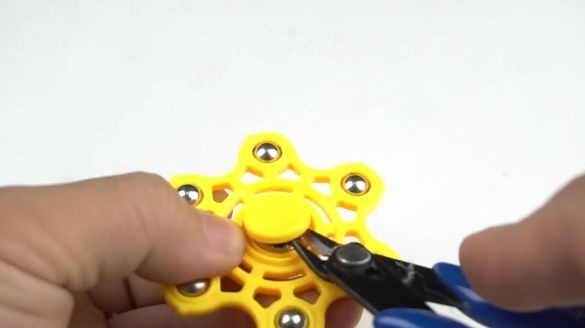
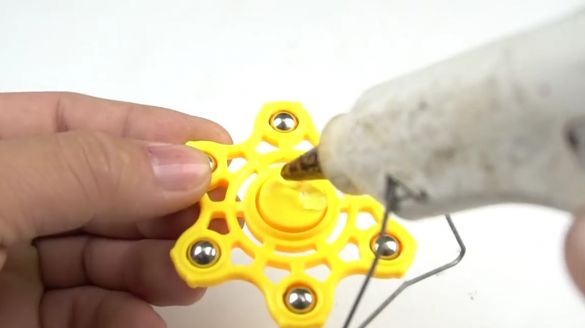
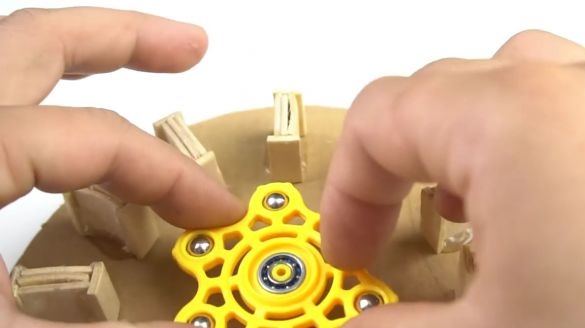
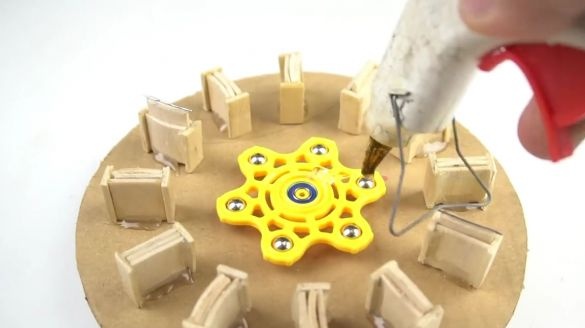
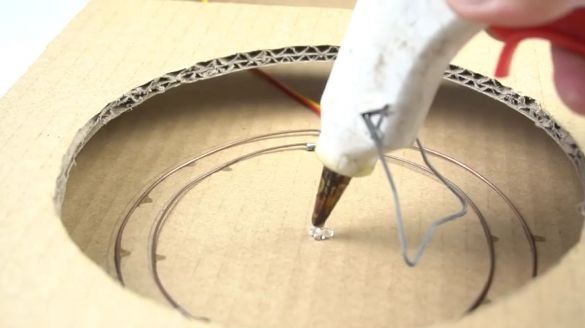
We take the fidget spiner and remove the plug from the ball bearing from it, but only on the opposite side, on the other side, drop a little thermal glue on the other side and glue it in the center of the cardboard circle:
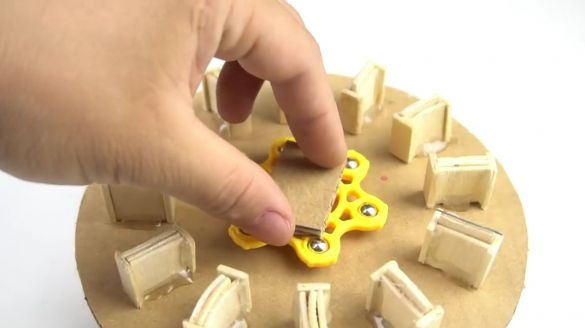
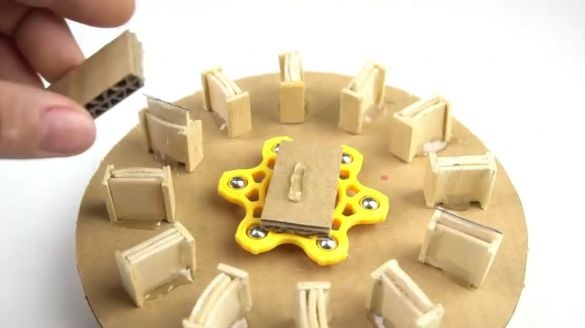
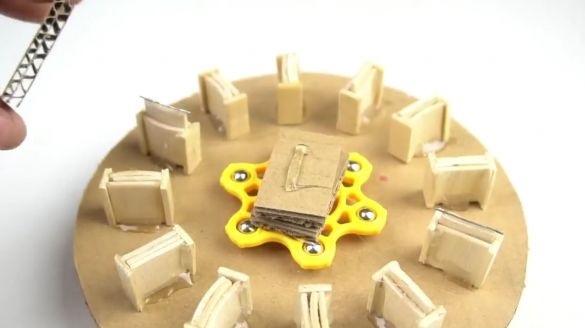
On the spiner, you need to glue 3-4 rectangles of corrugated cardboard as follows:
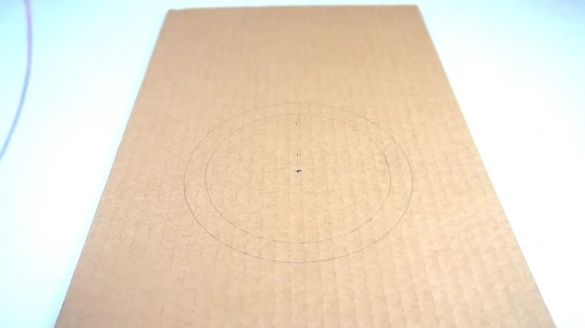
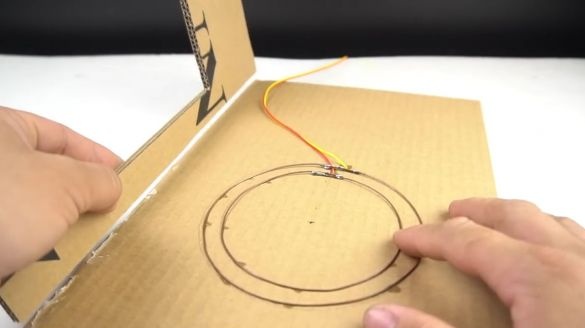
On the other sheet of cardboard, we draw two circles with the same compass, one larger, the other a little smaller in diameter:
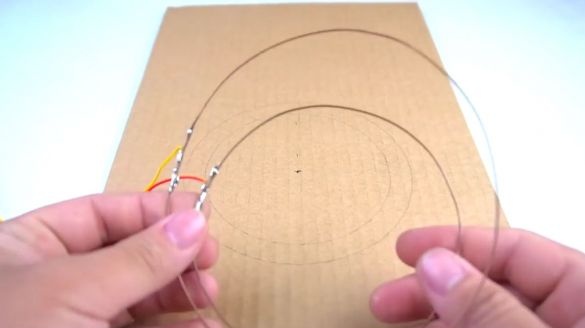
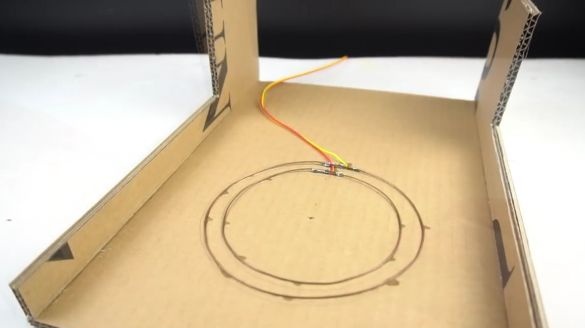
From uninsulated wire we make two such rings here, so that their diameters are equal to the diameter of those circles that we drew earlier, you also need to solder one insulated wire to these wire rings:
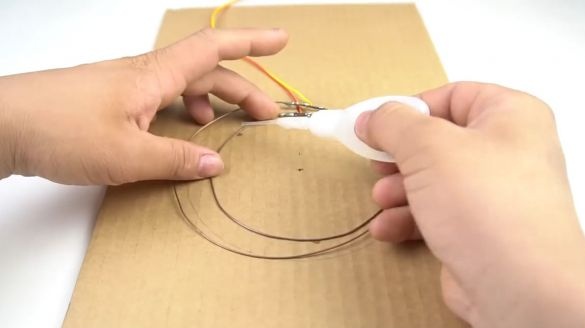
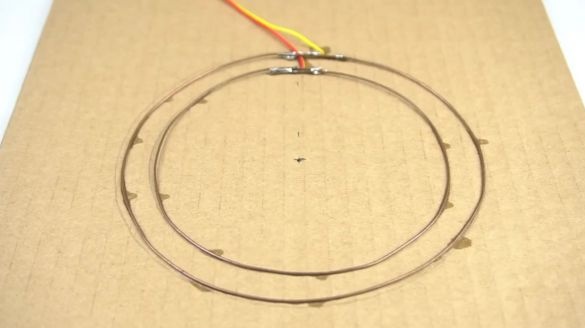
Glue the rings with super glue as shown in the photo:
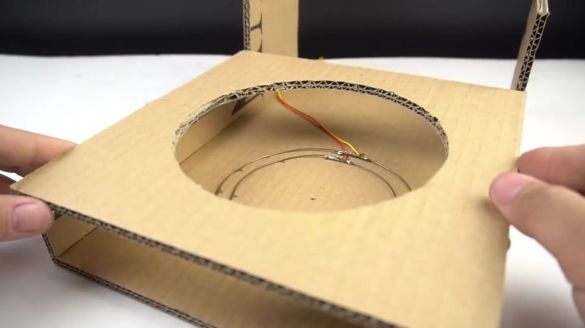
We assemble a corrugated cardboard frame:
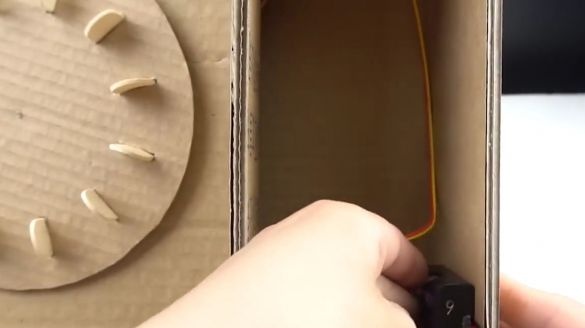
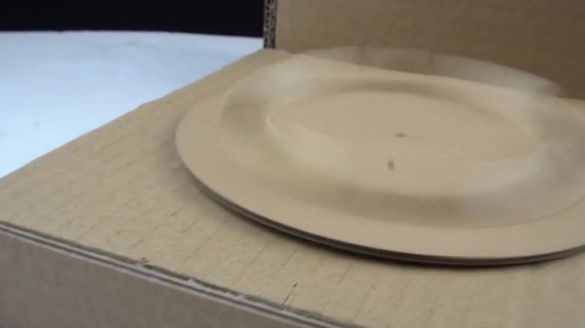
At the bottom of the whole structure, we glue the cardboard circle with buttons, which we did earlier, exactly in the center, this circle should rotate freely around its axis. In general, glue as follows:
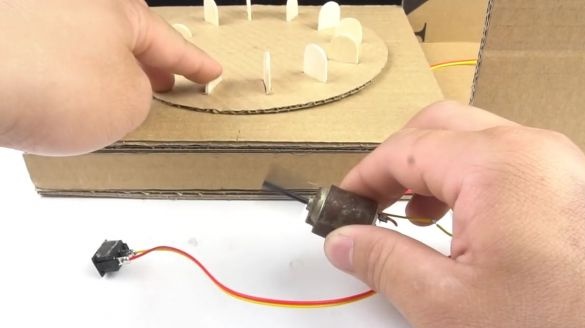
We begin to assemble the electrical circuit.
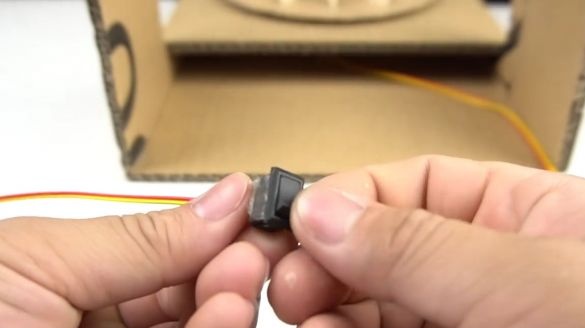
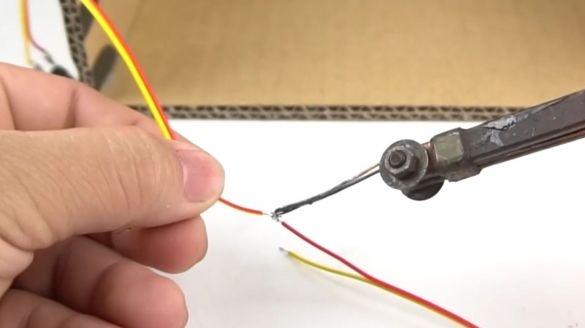
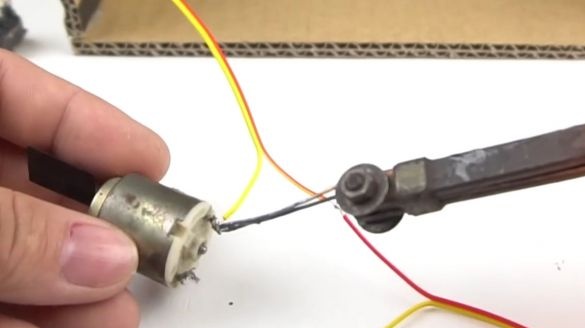
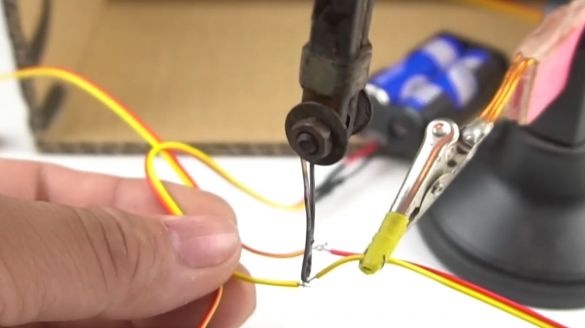
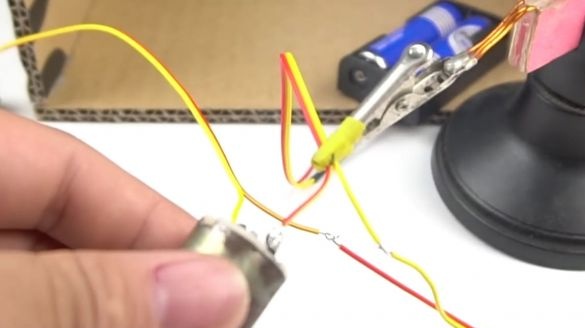
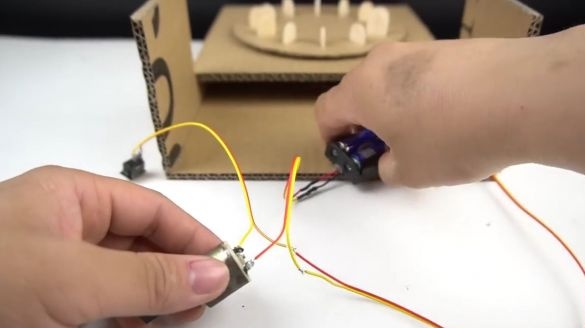
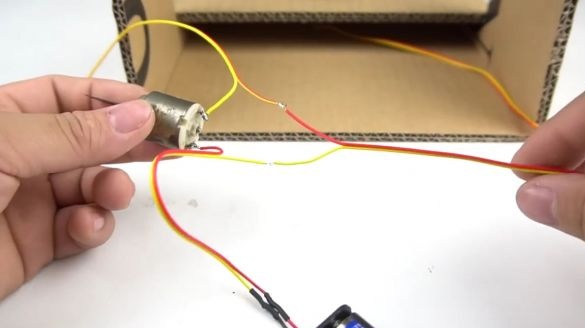
We take the switch and solder one of the wires from the wire rings to it, then solder the contacts from the motor to the other end, after which we solder the battery power to the entire circuit, you should get a classic electric circuit with a switch, when pressed, the motor starts to rotate, but it will do this provided that the wire rings are closed:
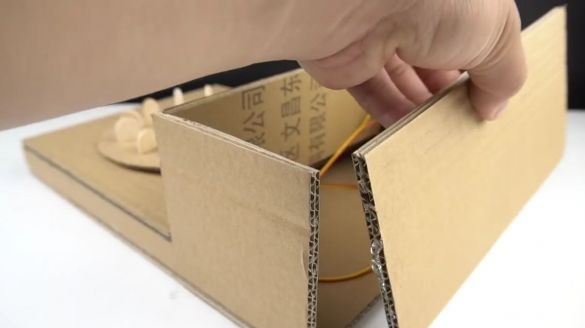
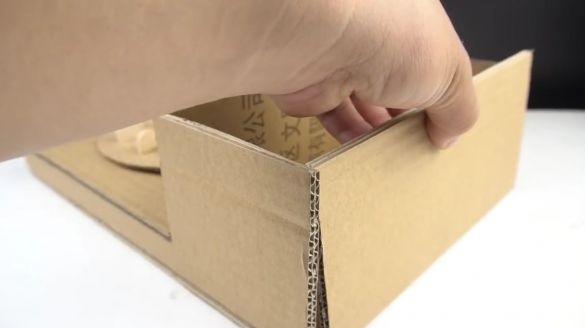
We glue the walls of the frame, there’s nothing complicated here, just do as shown in the photo:
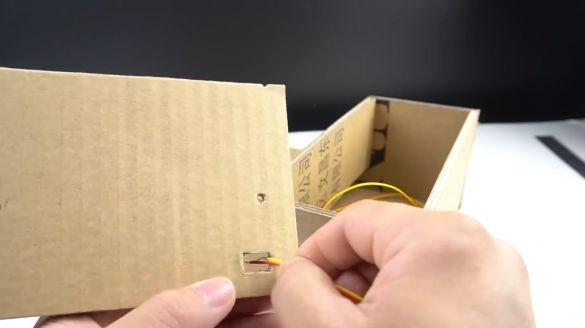
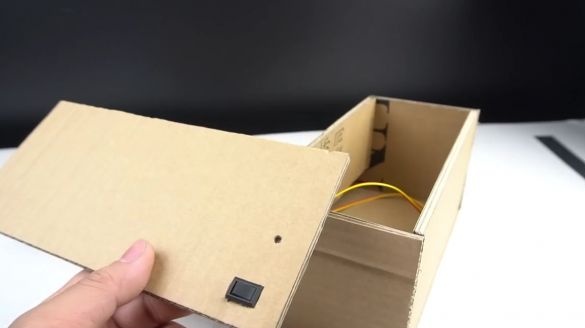
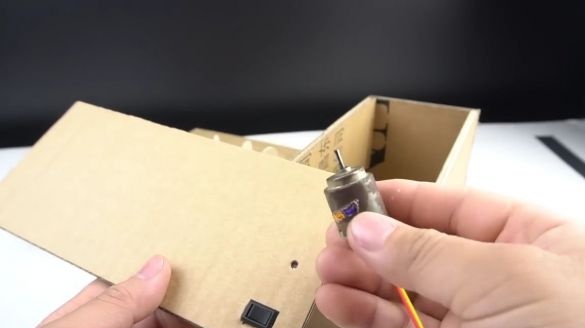
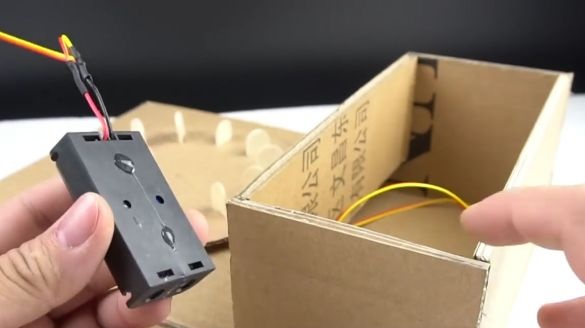
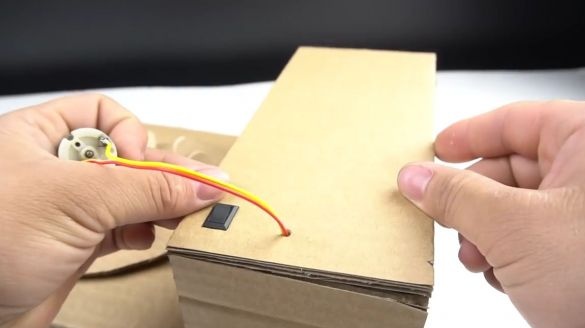
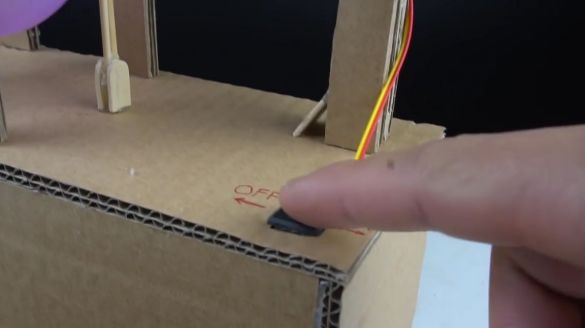
In the cardboard cover we make a hole for the switch and put it there, we also make a small hole for the wires from the motor. The battery box together with the batteries must be glued to the side of the structure, after which we install our cover:
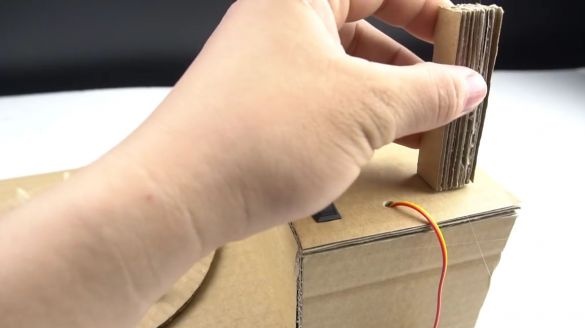
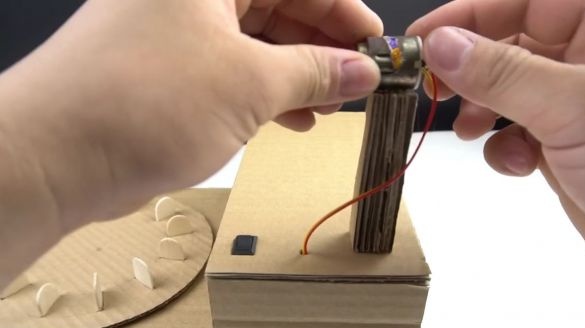
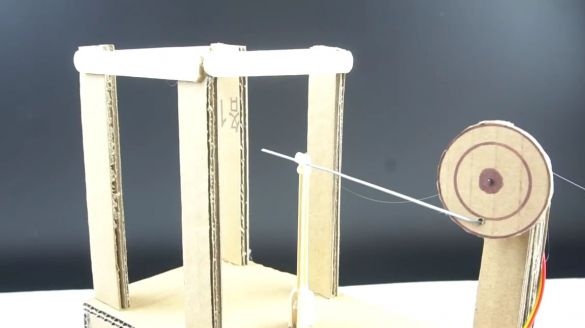
Glue a cardboard stand made of several cardboard rectangles onto the top of the whole structure, after which the motor itself must be glued to this elevation, as shown in the photo:
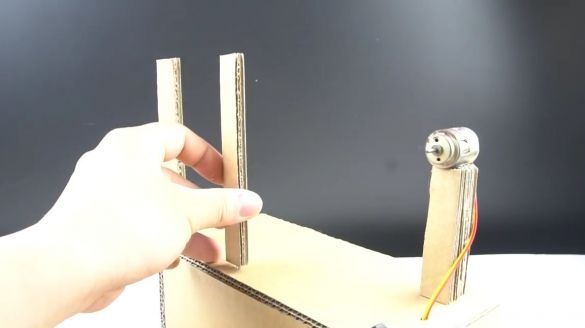
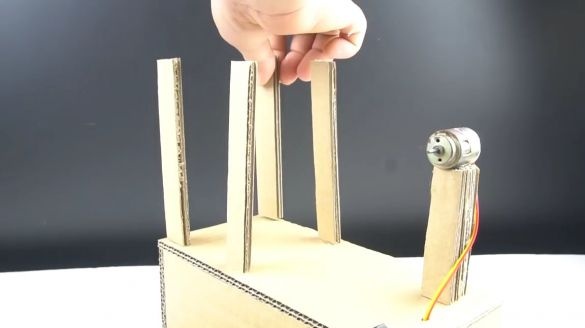
Now next to the rack with the motor we glue with thermo glue 4 more cardboard “columns”:
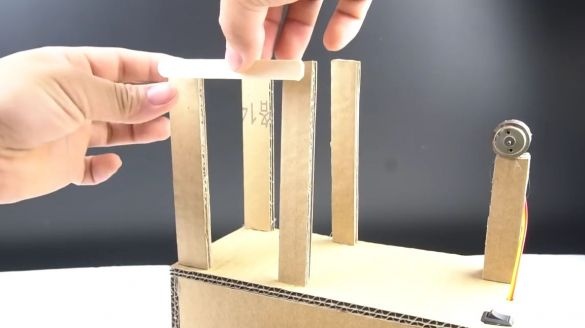
Glue the most ordinary ice cream sticks to the top of these "columns", all with the same thermal glue, but you can certainly use super glue and PVA glue:
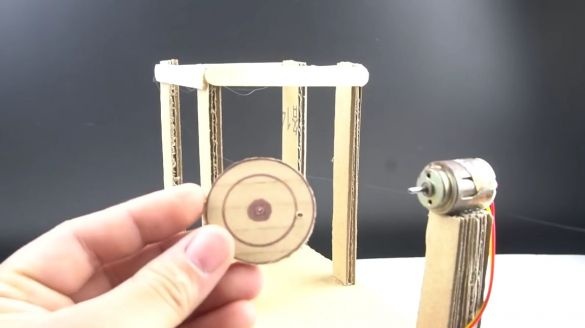
We cut out a small circle from the cardboard, mark the center in it and make a small hole for the wire near the edge, in the center it is also desirable to make a hole for the motor shaft:
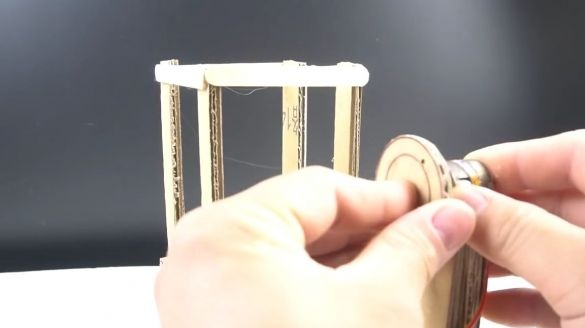
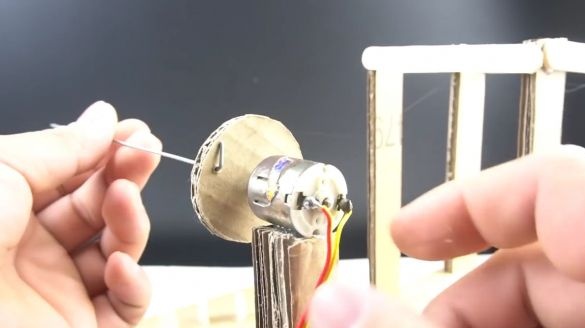
We put a cardboard disk on the motor shaft:
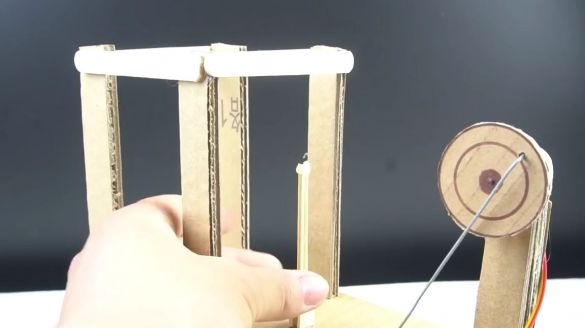
In the hole we made with the edge under the wire, insert a small piece of thick wire, and then bend it as shown in the photo:
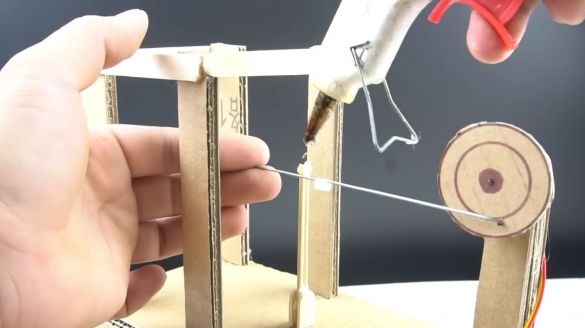
Glue a small billet of ice cream sticks against the cardboard columns, put a piece of cocktail roll on the open end of the wire, and then glue this tube on the top of the ice cream stick billet (by the way, one end of the wire should be slightly sharpened):
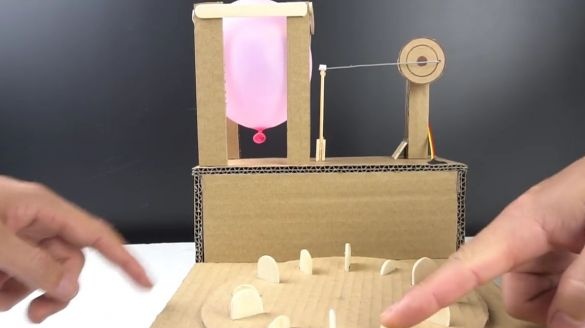
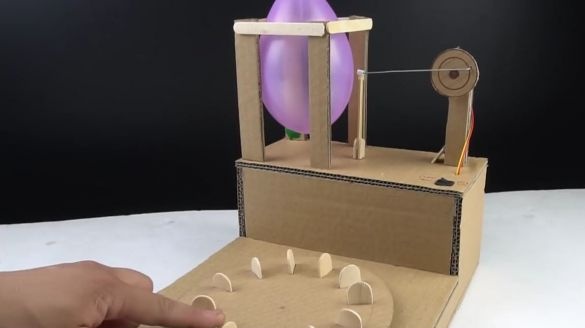
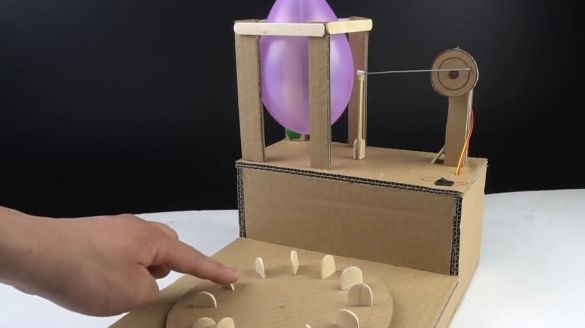
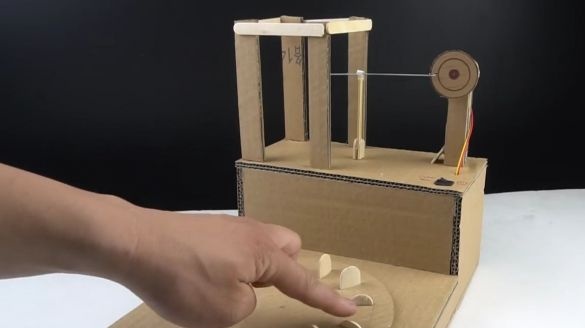
That's it! Our board game in random is ready and it remains only to test it.
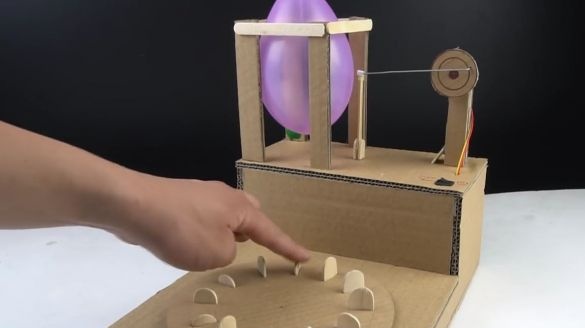
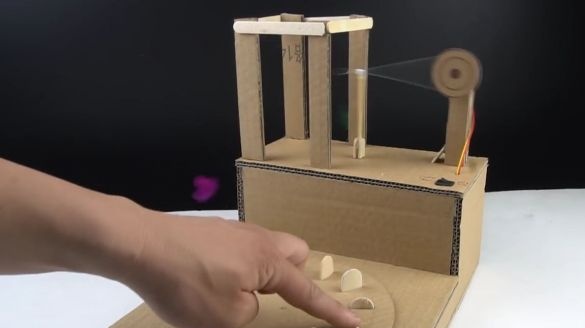
To do this, first turn it on, then put the most common balloon between the cardboard columns, turn the wheel with buttons and after stopping it, you can start to randomly press them in turn, when we press the button to which we glued a piece of paper clip, the electric circuit and motor will be closed will begin rotation, thereby moving the wire, and it, in turn, will burst the ball. All this will happen quickly and it will not be expected who first burst the ball, he lost. For a new round, just change the ball, open the chain and turn the wheel again.
The game is quite entertaining and I think many will want to do this for themselves.
Here is a video from the author with a detailed assembly and with the tests of this homemade product:
Well, thank you all for your attention and good luck in future projects, friends!

