

Hello to all lovers homemade. In this article I will tell you how to make a puller do it yourself, which will help you replace the steering tip, as well as the ball joint on your car. The materials required for assembly are not difficult to access, you can find them in your home the garage or at the reception center of the metal warehouse. Also, making this homemade product will help you save your money and gain experience, which is very useful.
Before you start reading the article, I suggest watching a video showing the detailed assembly process of this puller and checking it in action.
In order to make a DIY steering wheel remover, you will need:
* Angle grinder, cutting disc
* Bench vice
* Metal lathe, metal drill
* Feedthrough
* Welding machine, electrodes
* Personal protective equipment, gaiters, welding mask, goggles, headphones
* Steering tip for homemade testing
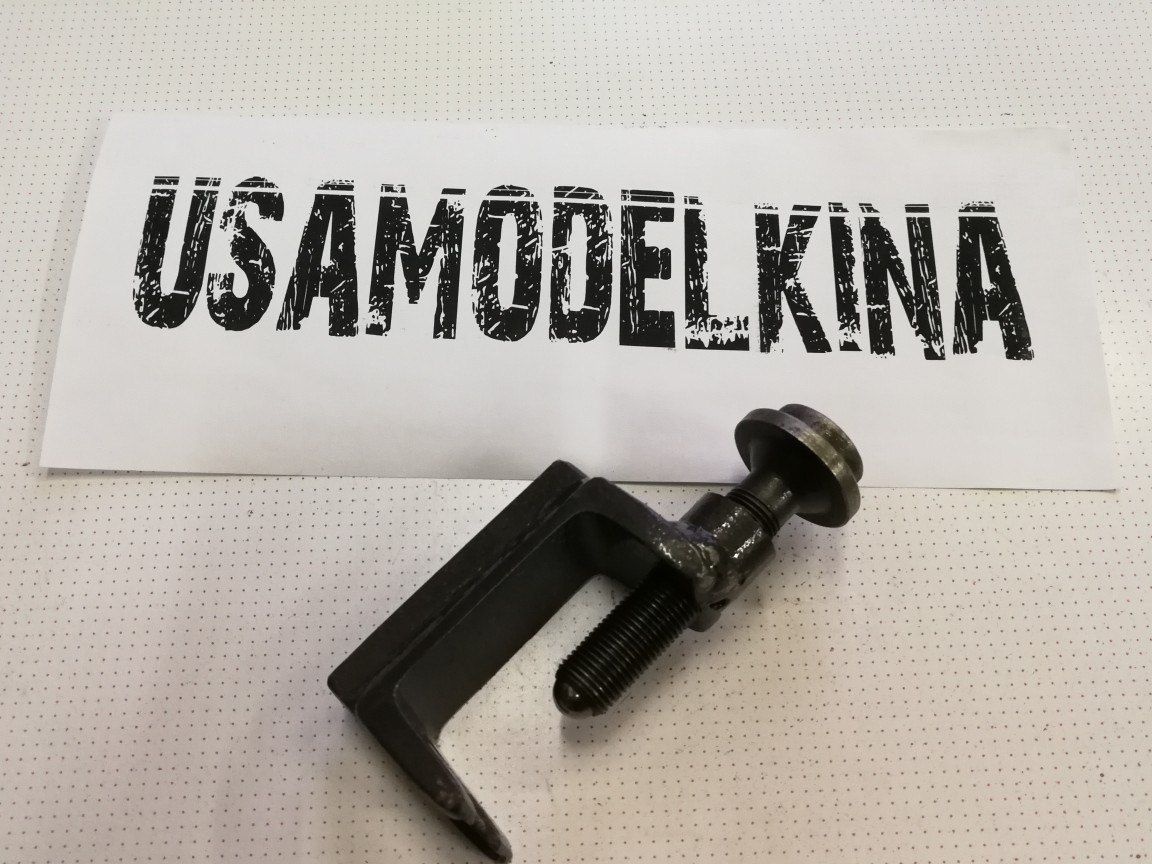
* Bolt from the car hub
* Spray paint can
* Ruler, marker
* Ball from ball bearing
* Metal square rod
* Drilling machine
* Tap for threading a hub bolt
* Channel 8 mm with a shelf thickness of 10 mm
Step one.
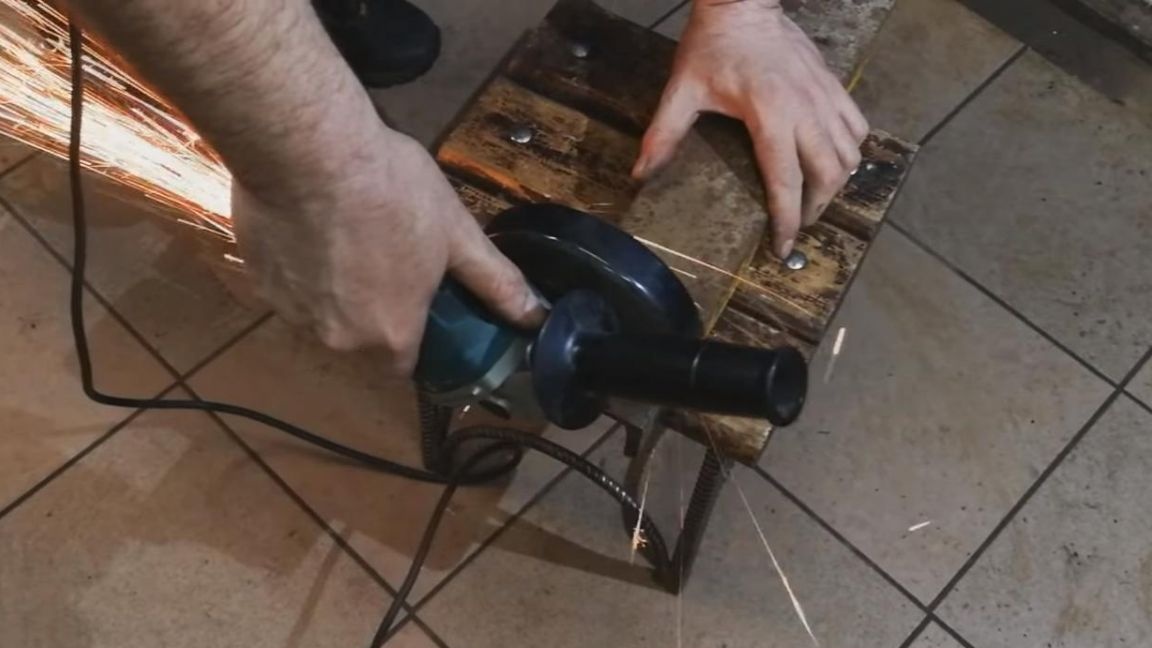
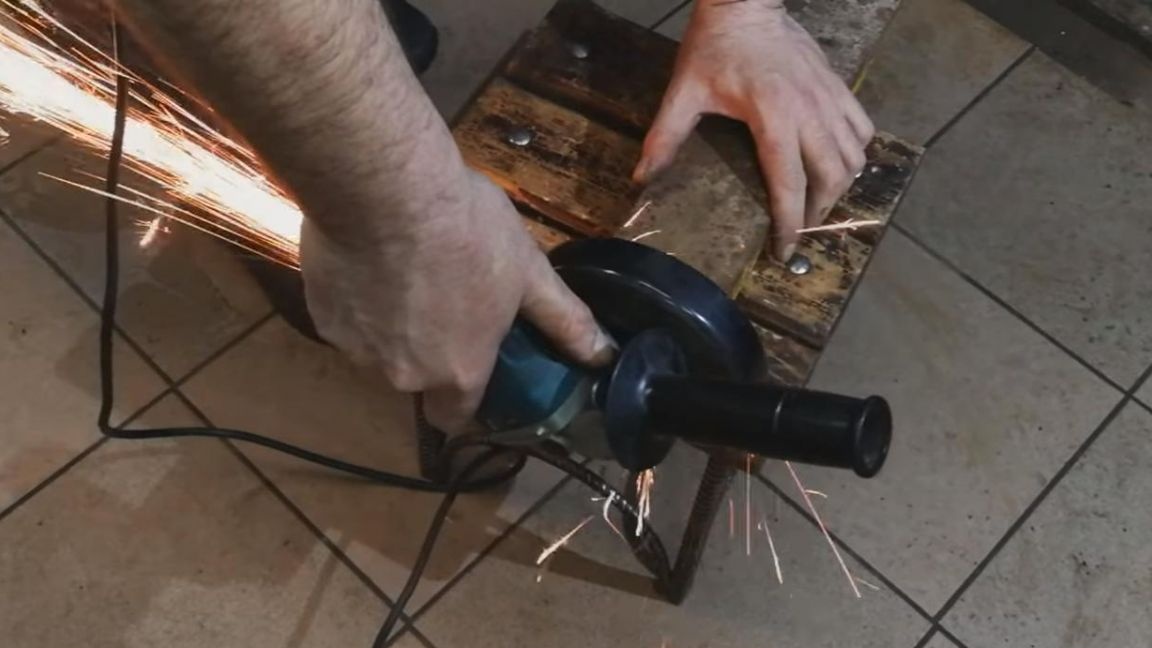
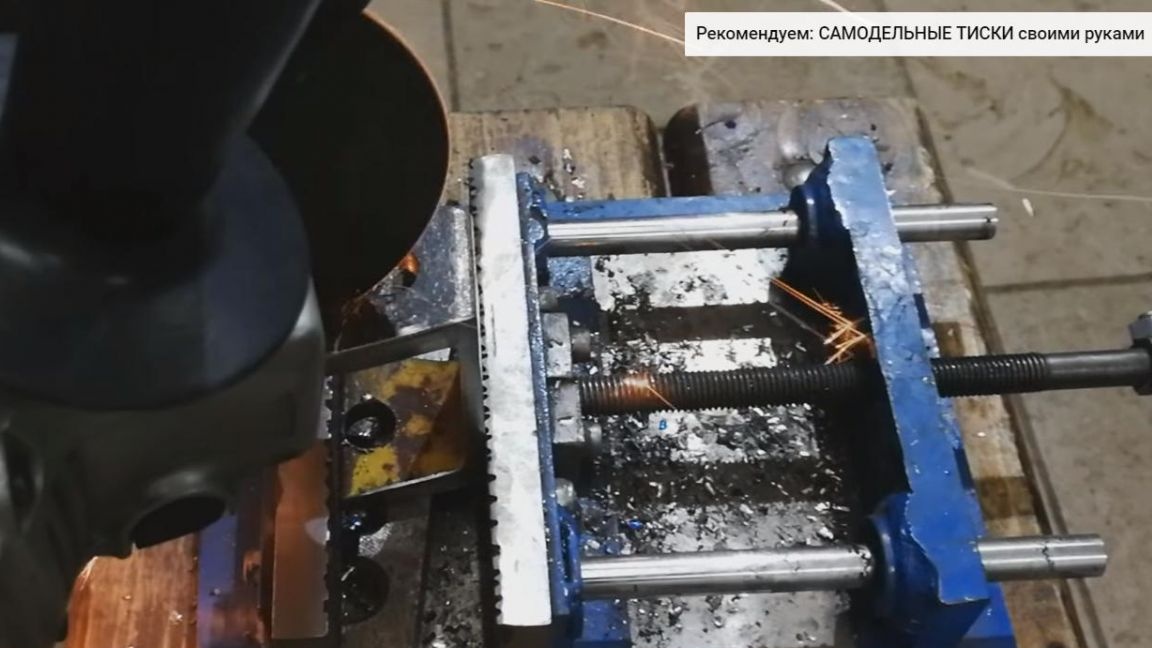
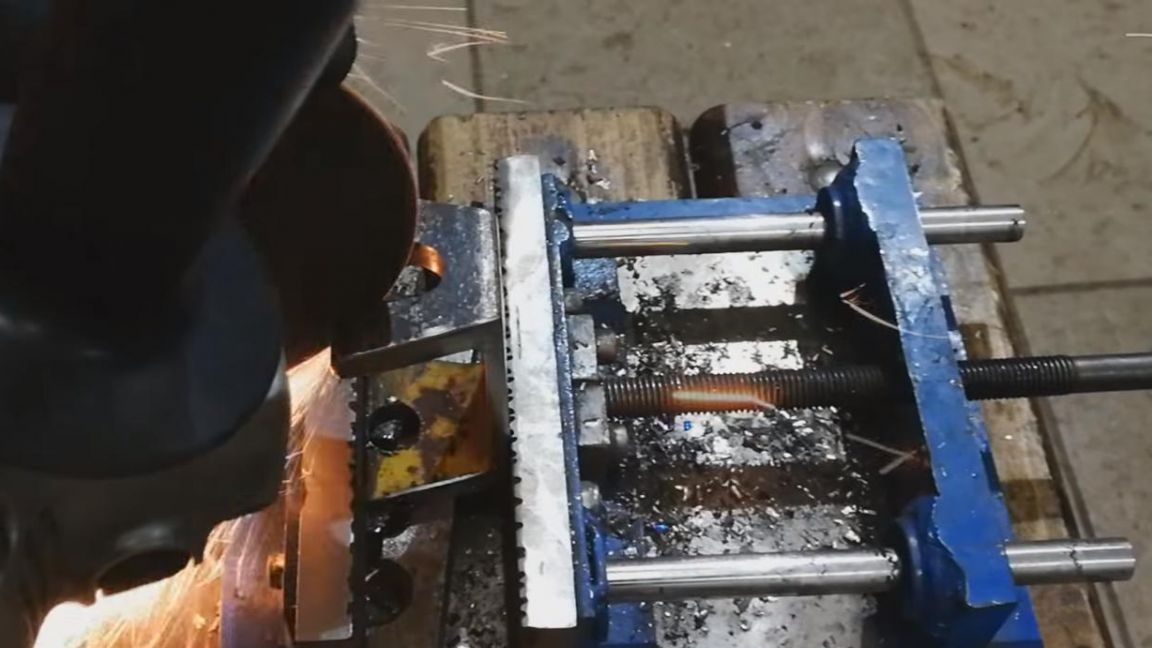
The first step is to prepare the channel for further work.
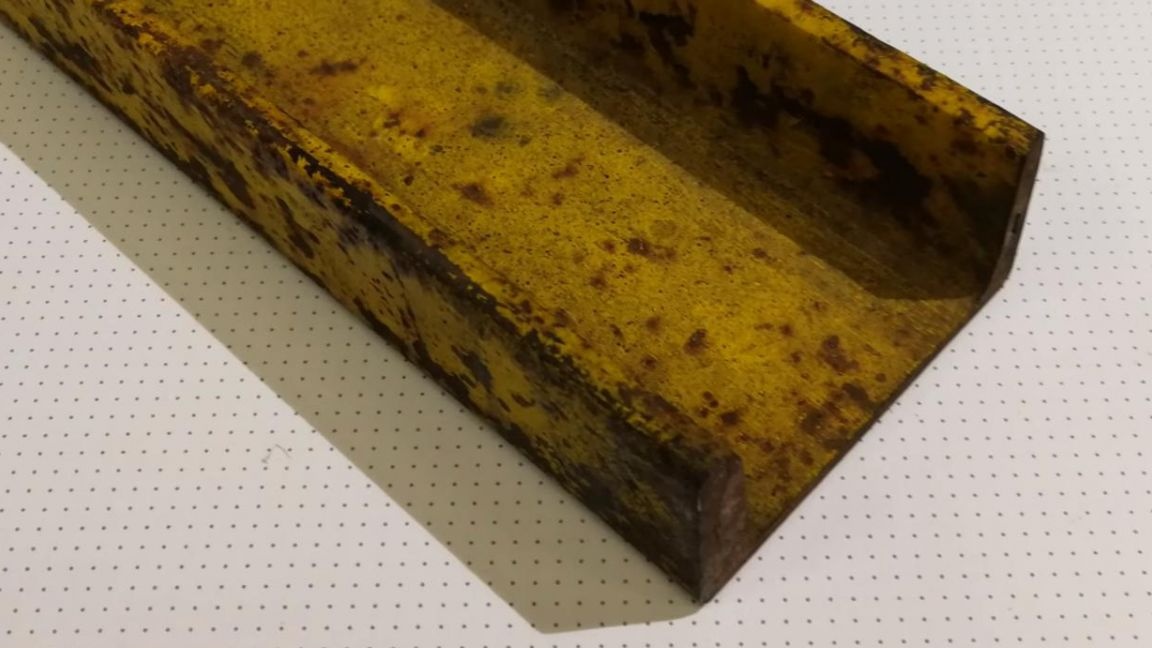
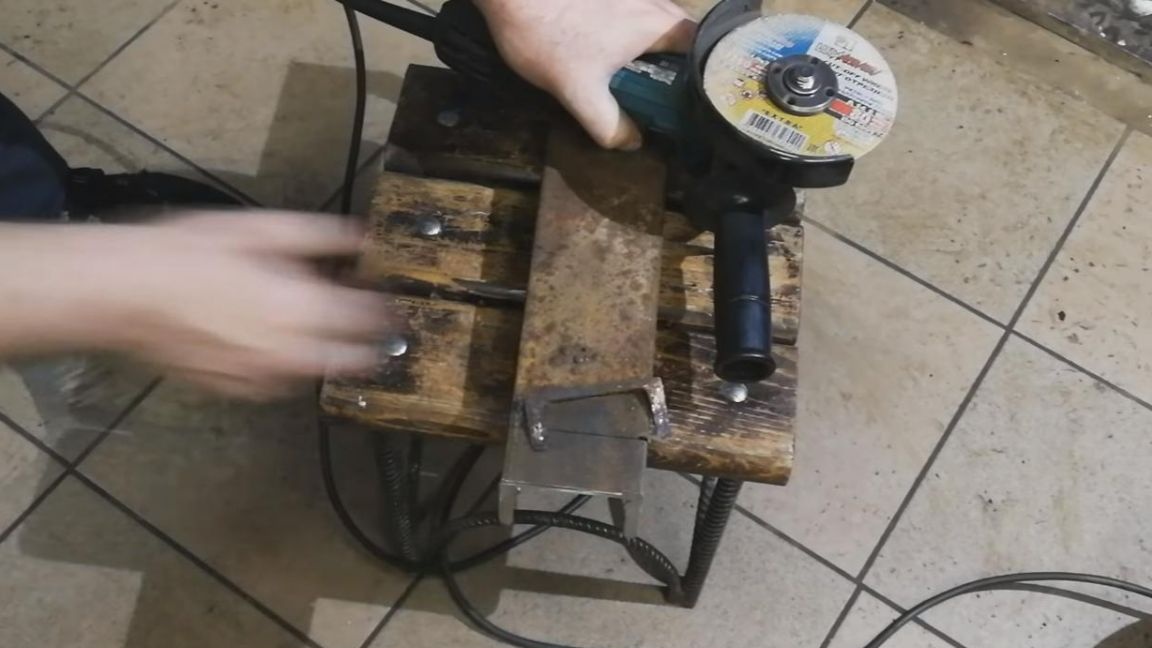
Its surface needs to be cleaned of rust, old paint and other defects that are most easily removed with an angle grinder, securing a circle with emery petals to clean it. When working with the angle grinder, observe safety measures, wear safety glasses, earphones and gloves.


Having cleared the surface of the channel, we proceed to the next step.
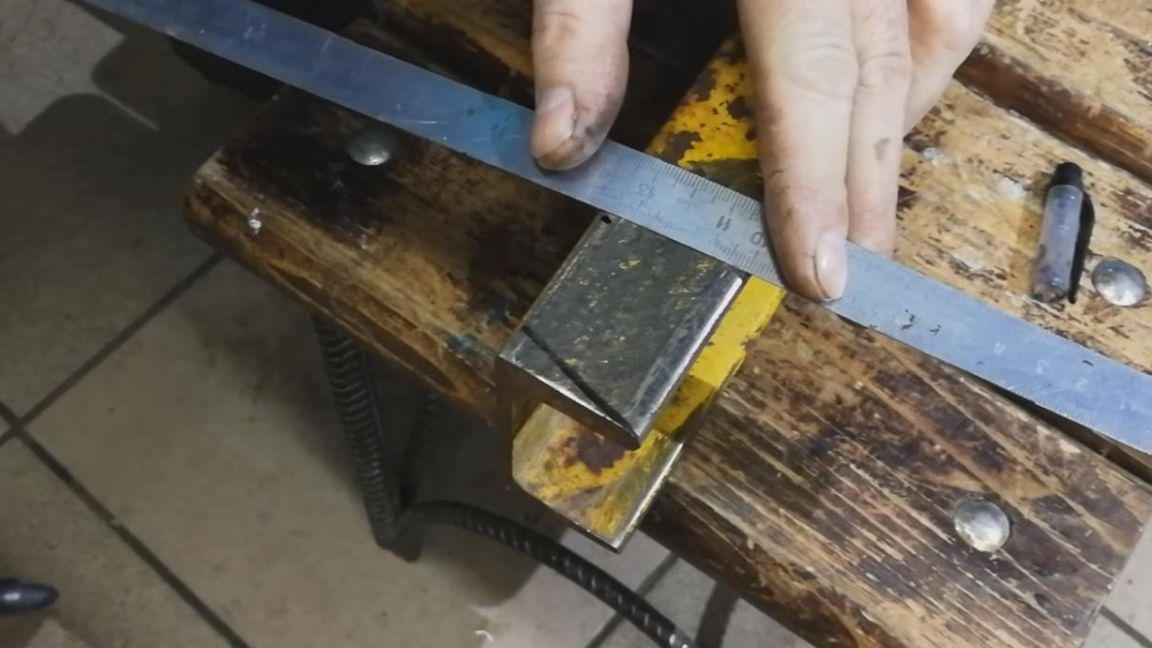
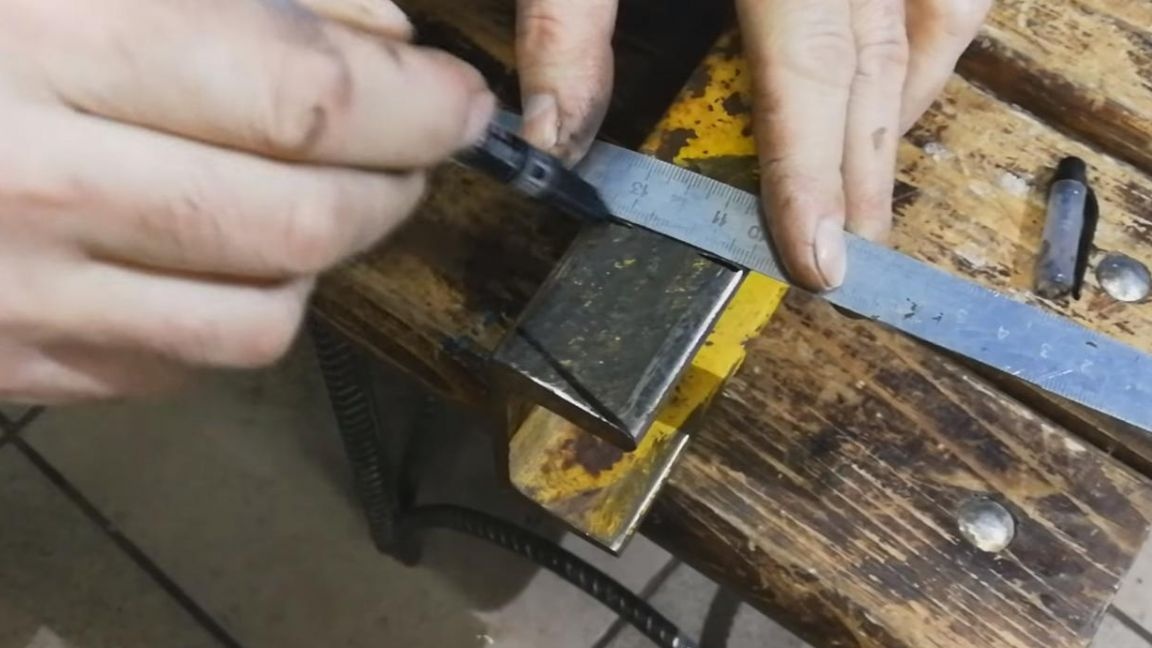
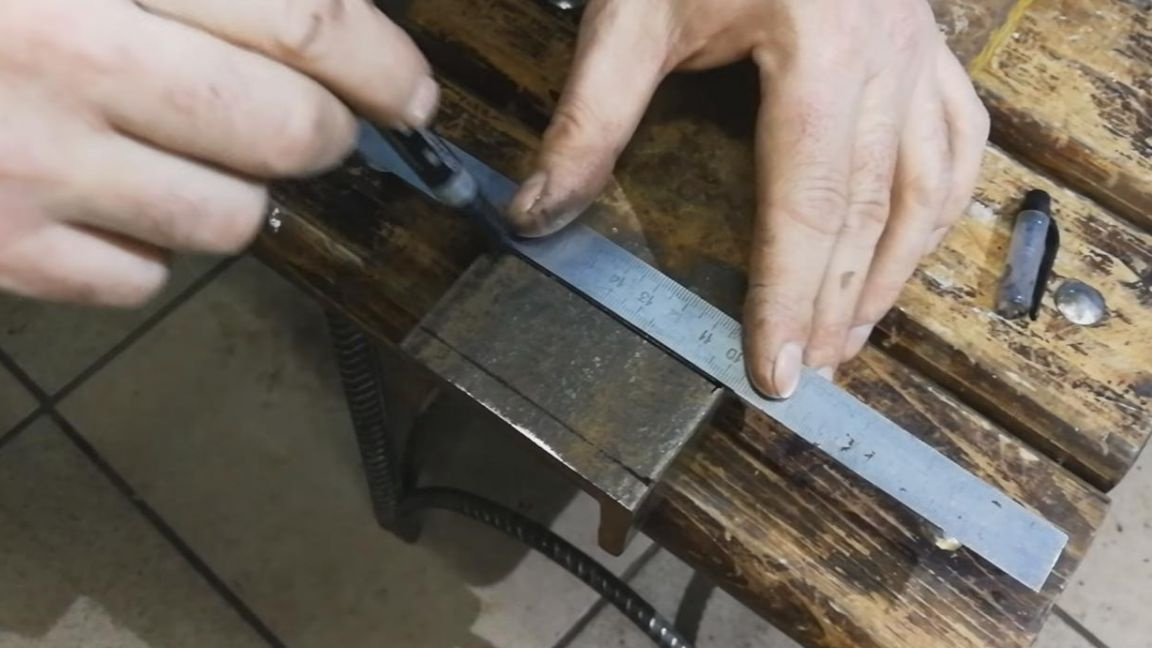
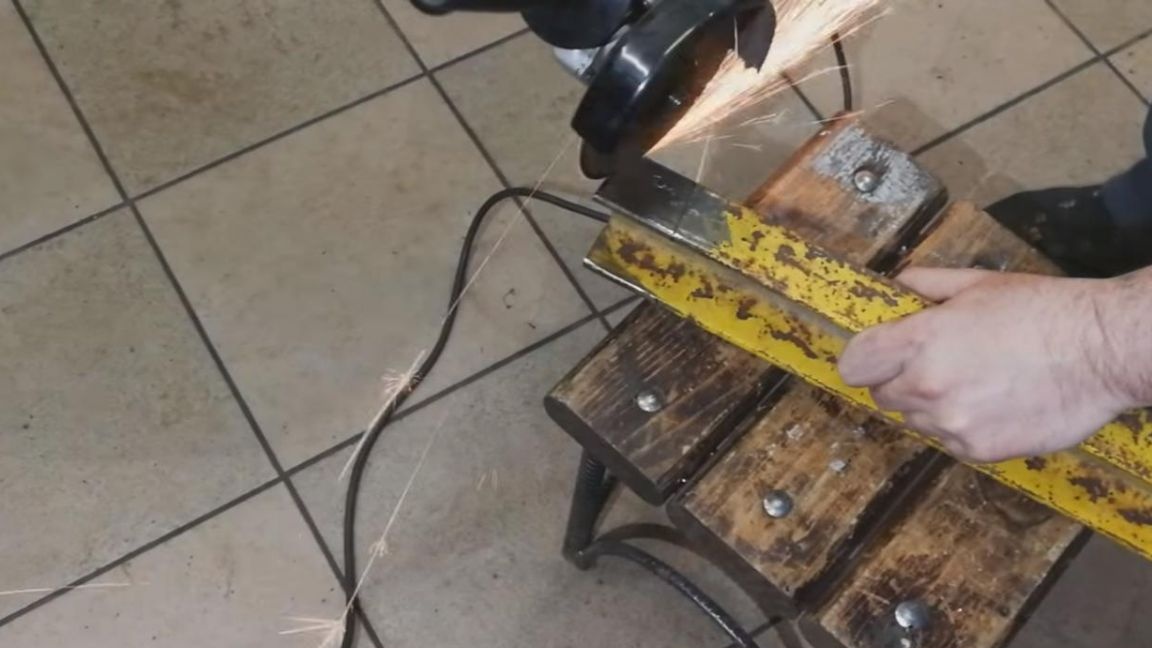
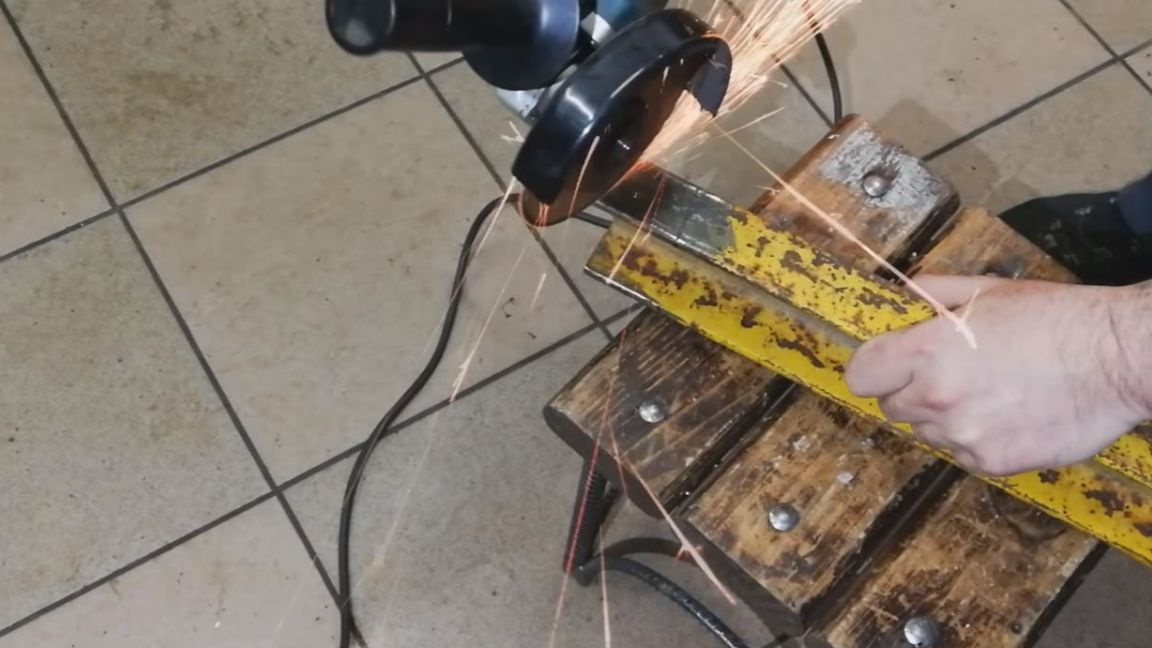
Step Two
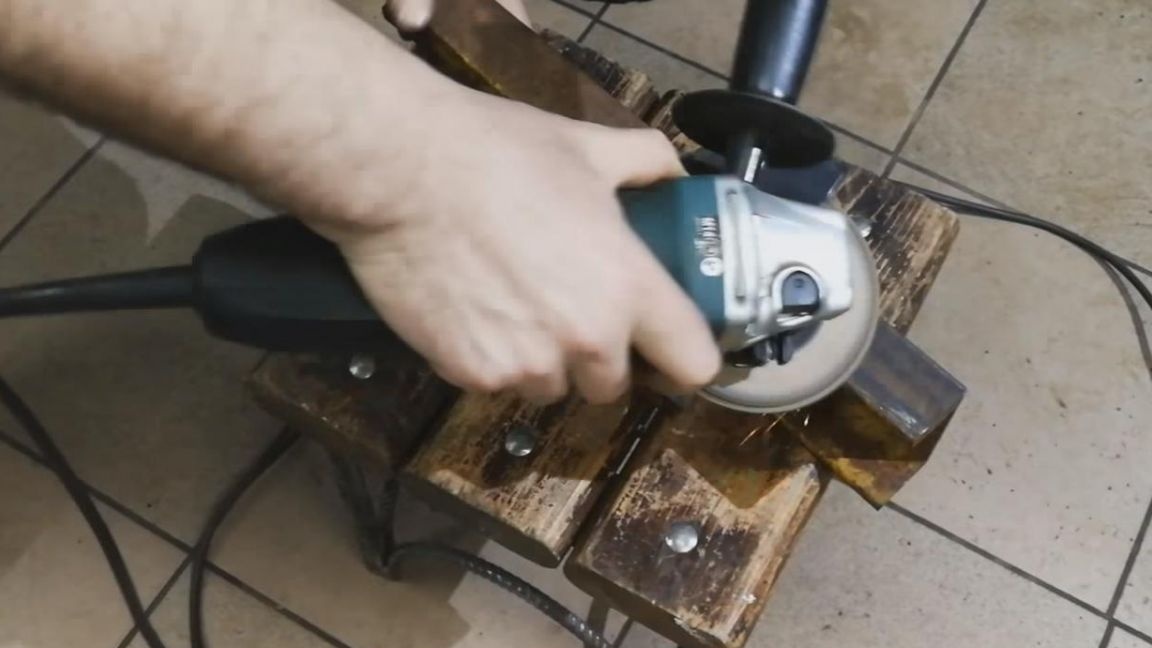
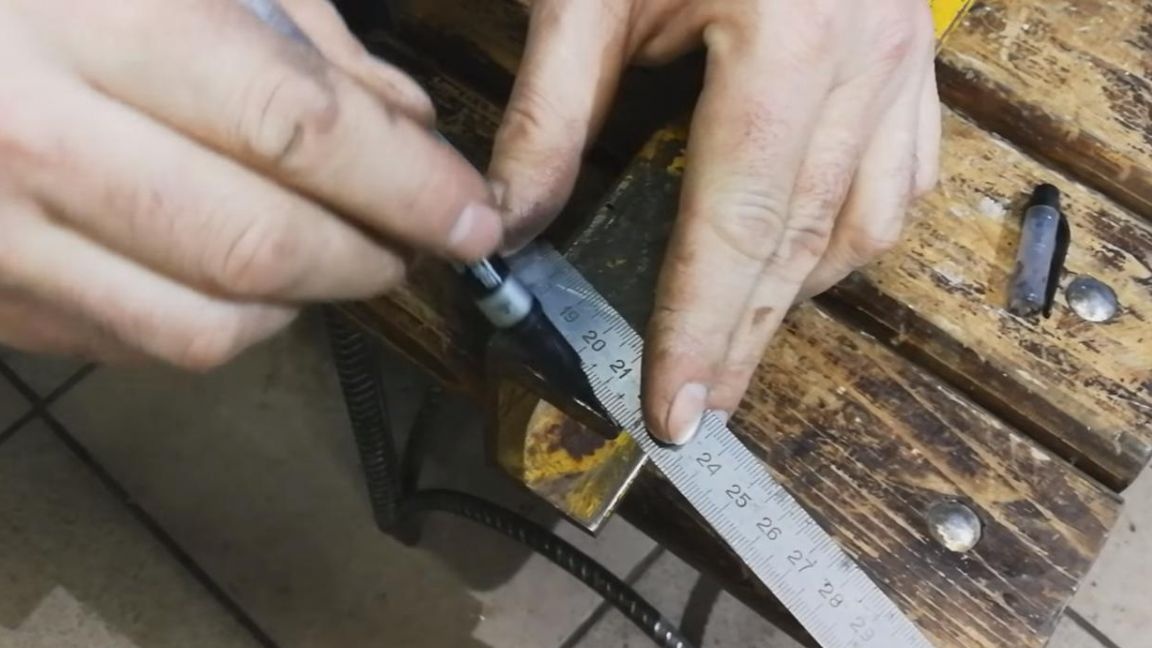
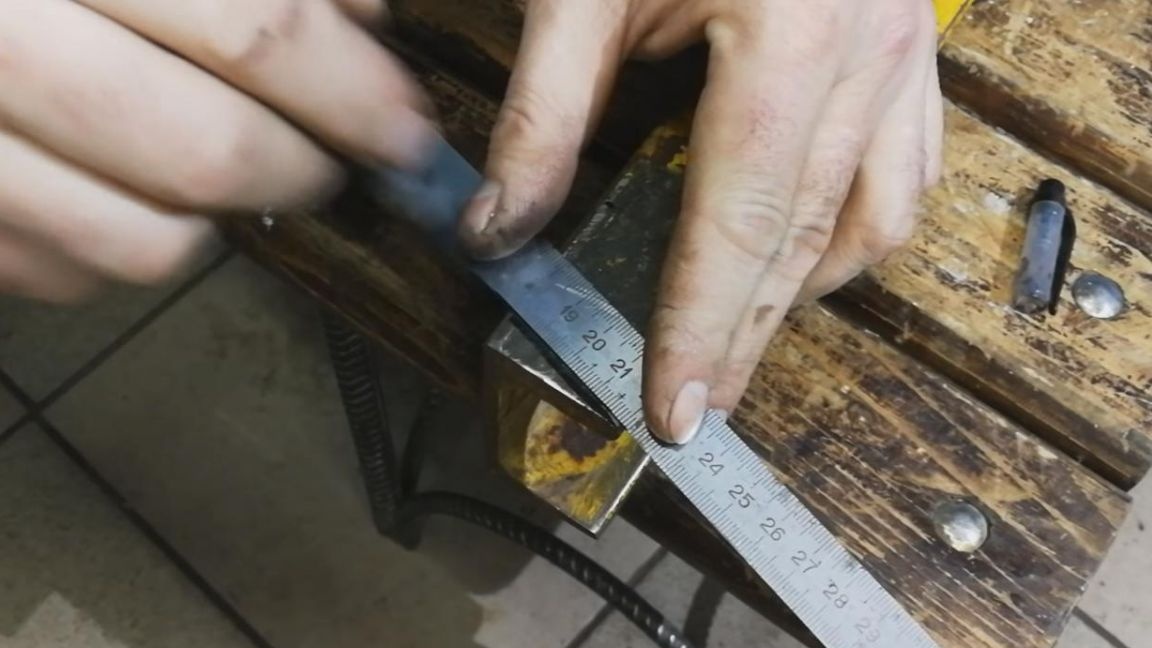
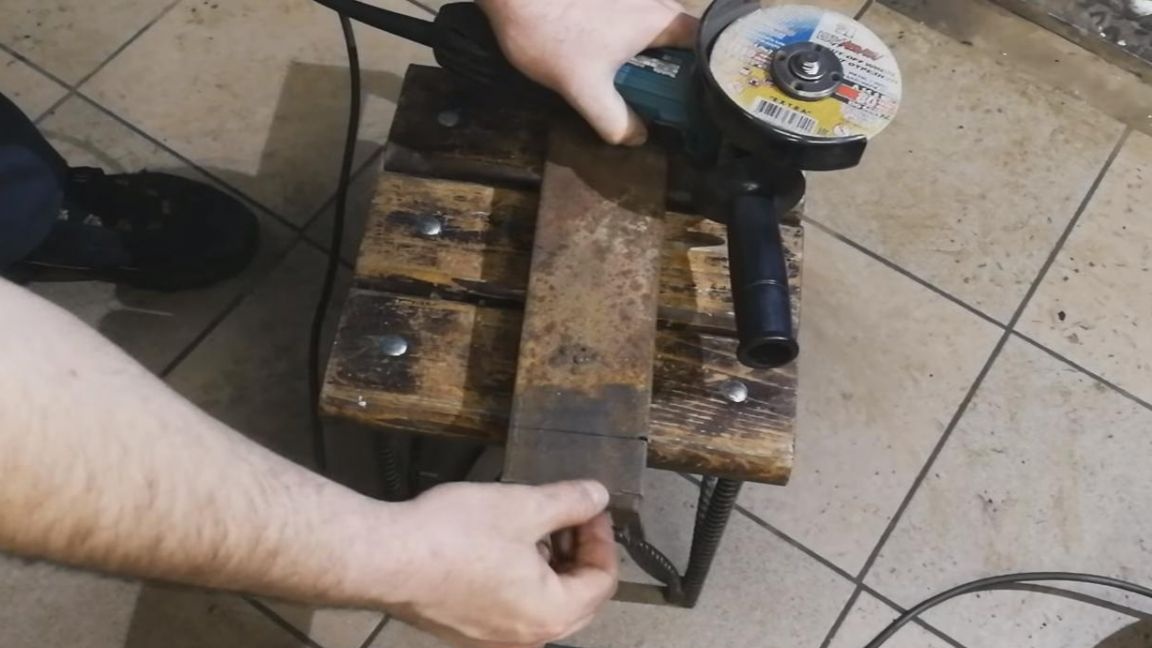
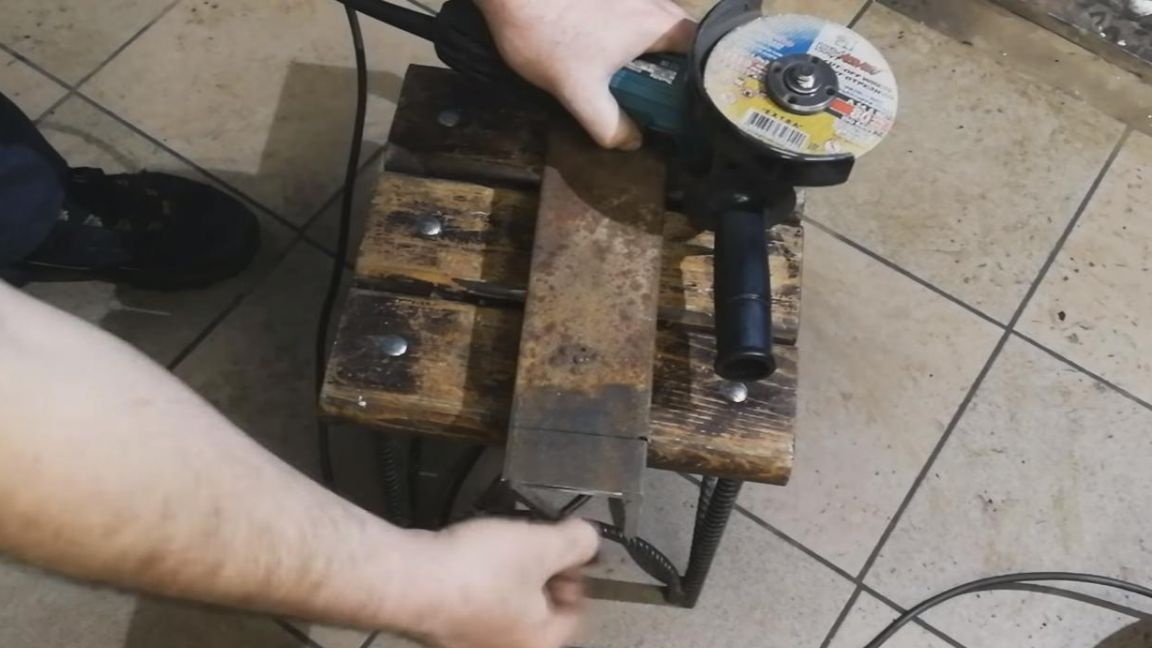
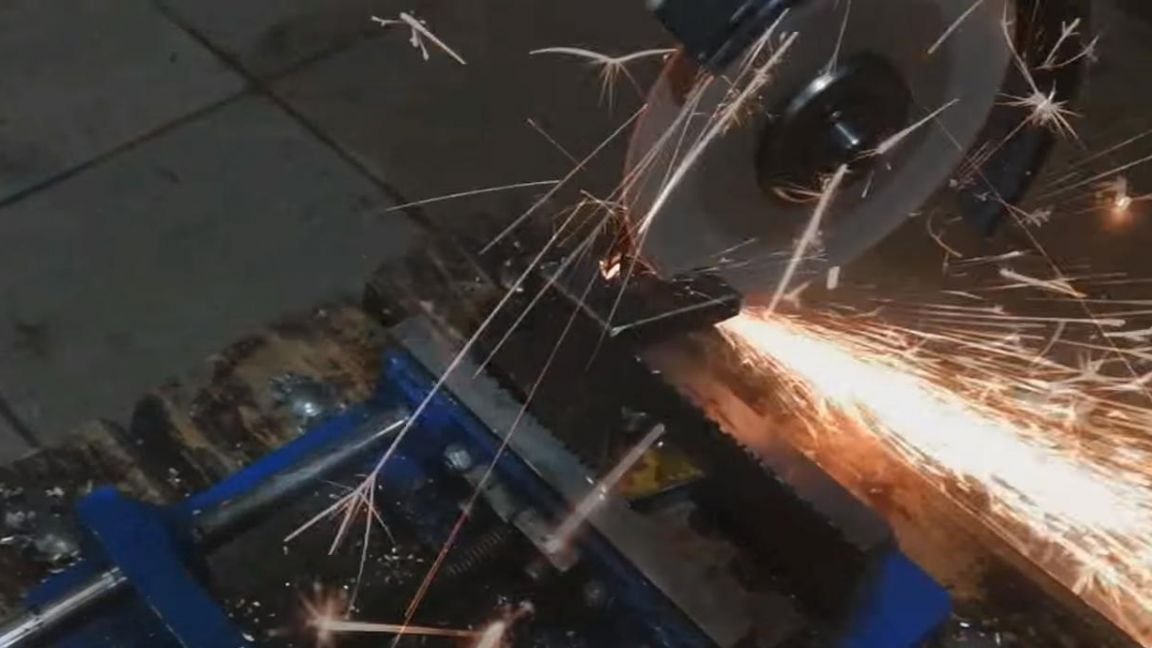
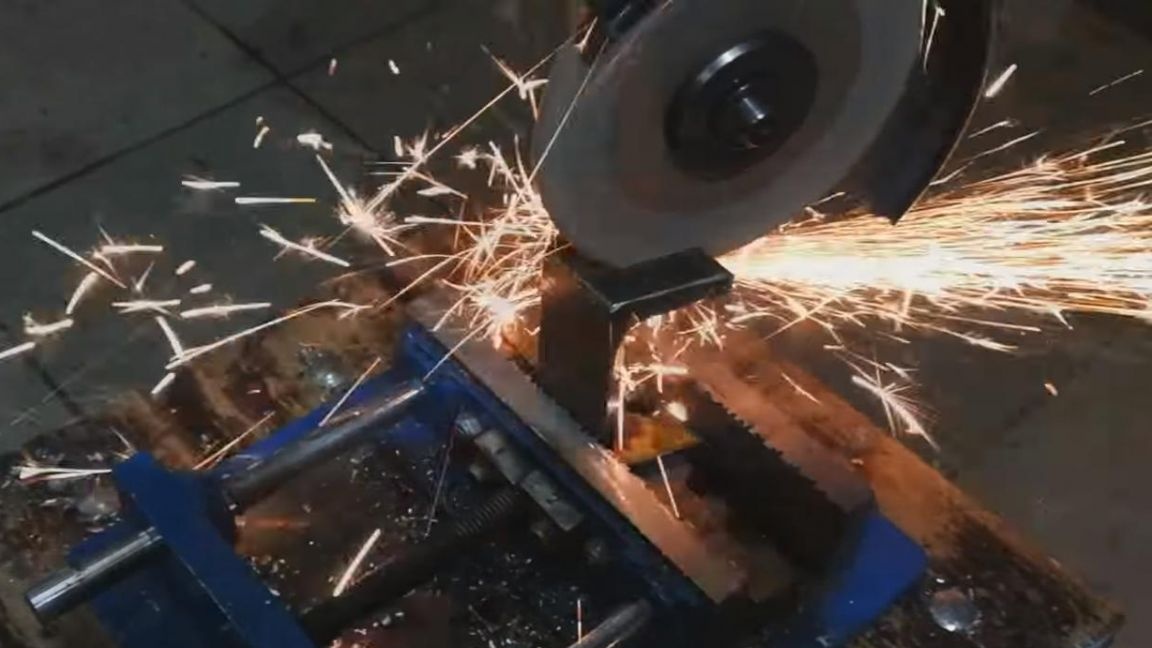
The cleaned part of the channel needs to be sawed off, but before that it needs to be marked out. Using a marker and a ruler, we mark up on the channel.

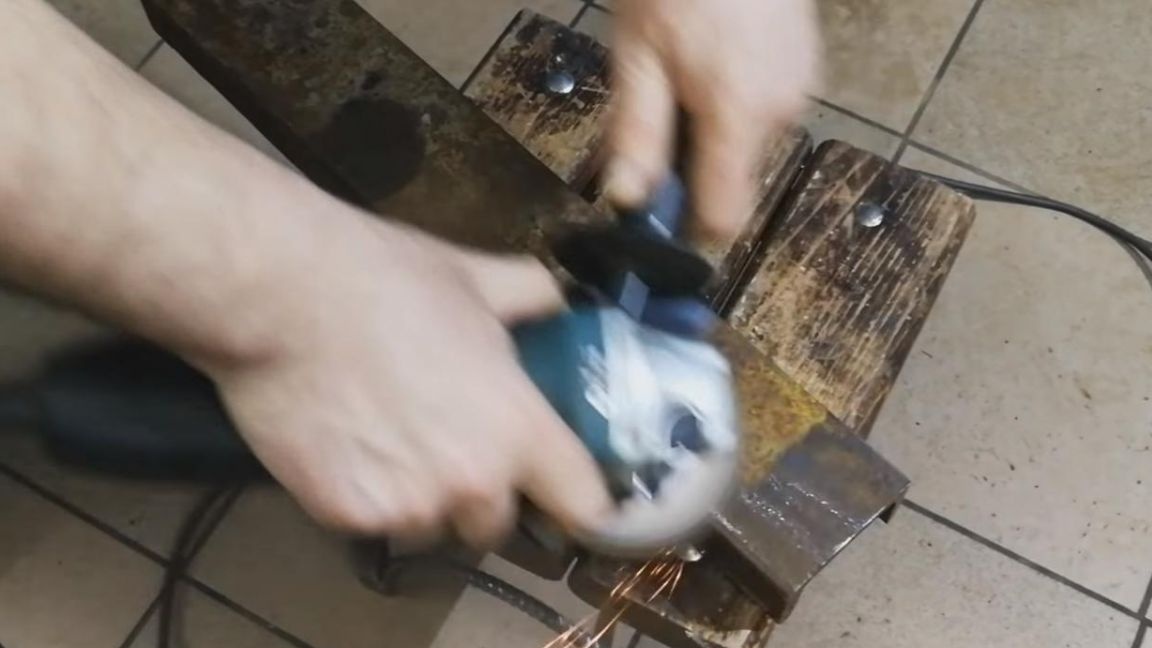
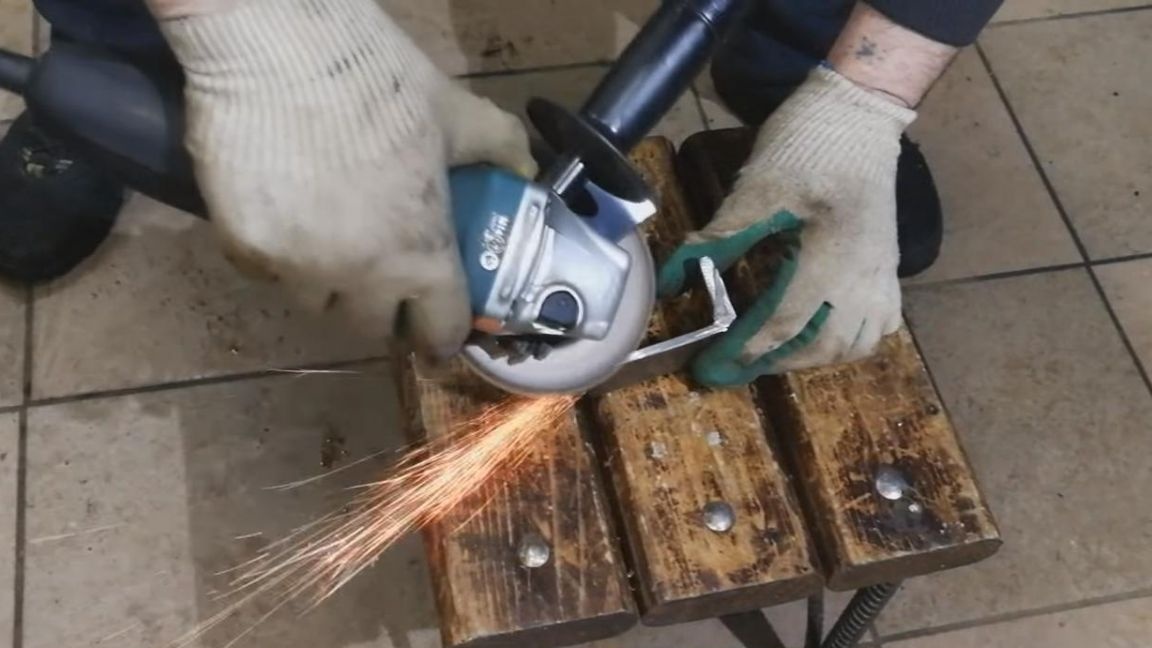
We turn off the grinding wheel from the angle grinder and install the cutting disc and tightly tighten the nut holding the disc.
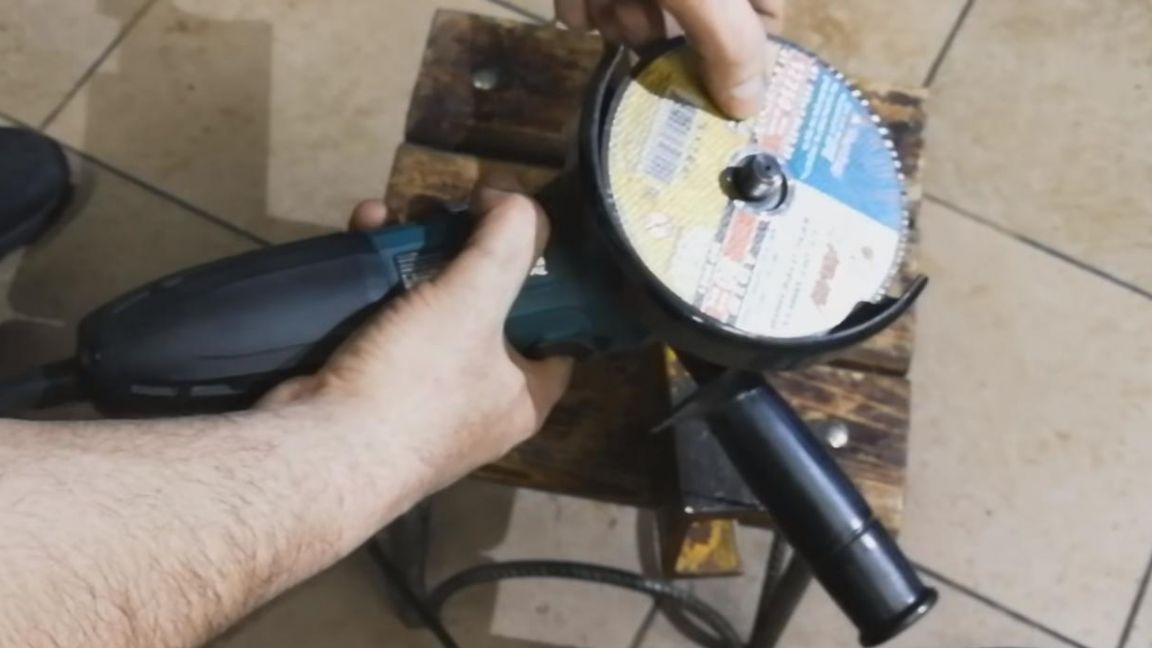
Working with an angle grinder without disc protection is prohibited, it is very dangerous for your health. Then we fix the channel and cut out the necessary part with the help of angle grinders, in the process of cutting we monitor the position of the disk so that there are no distortions.
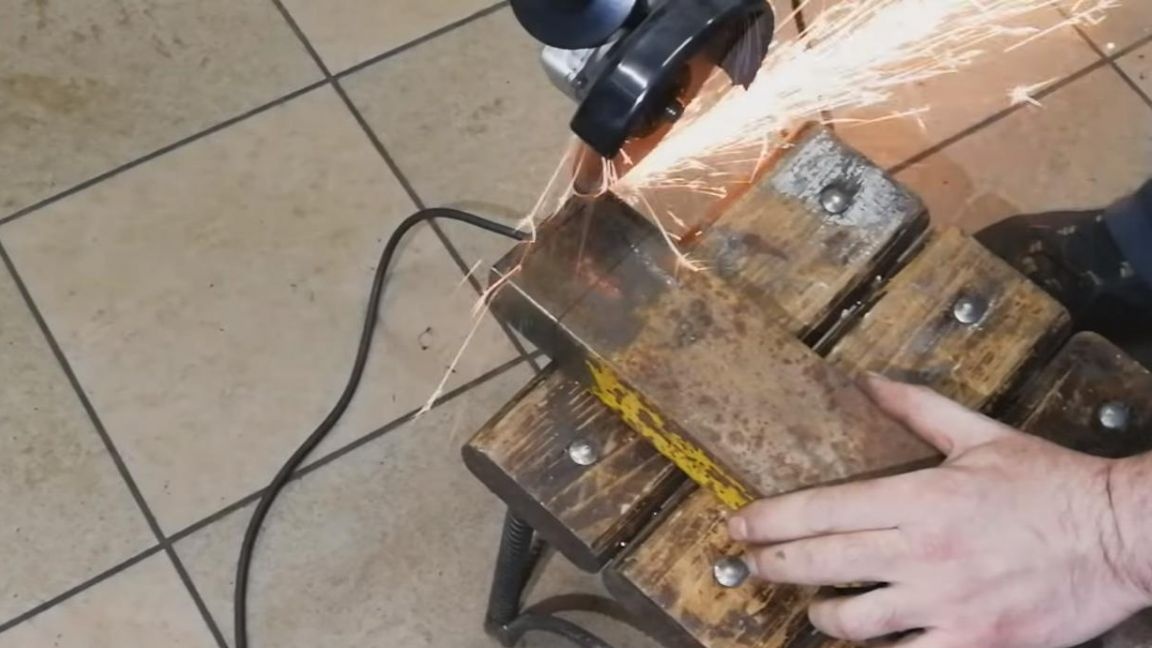
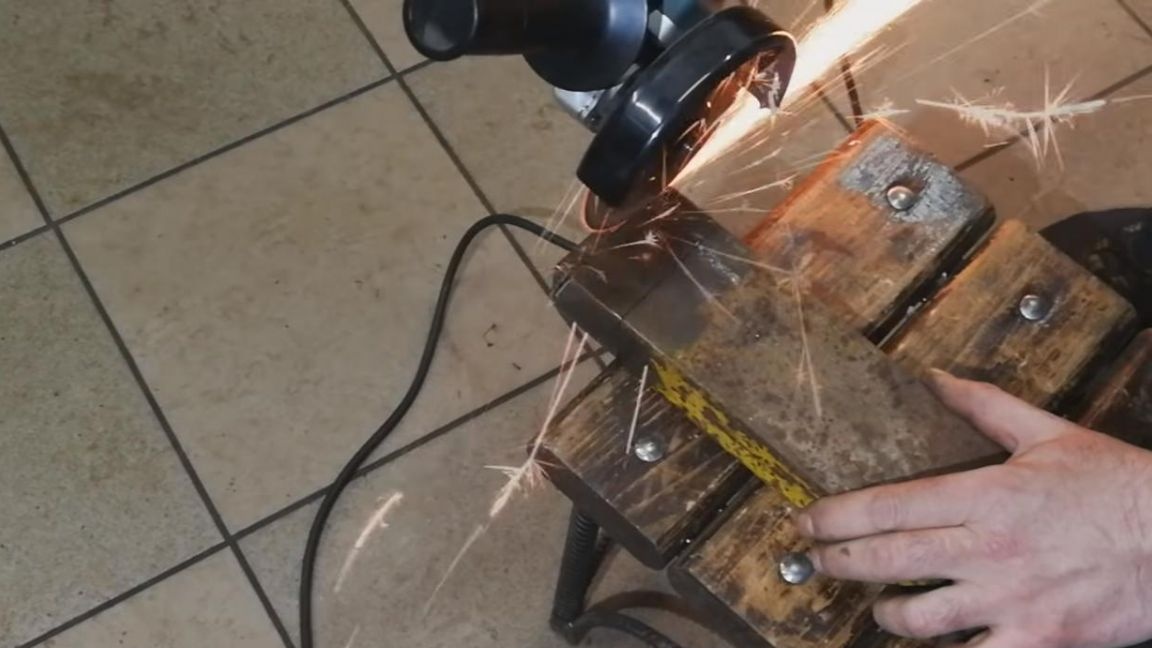
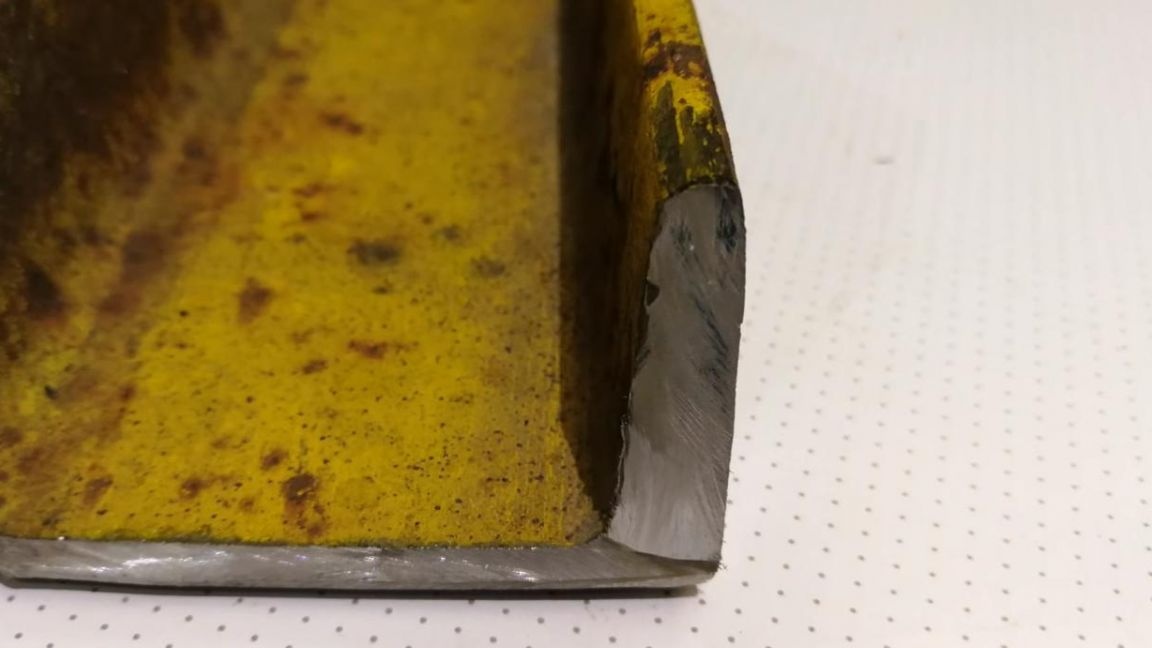
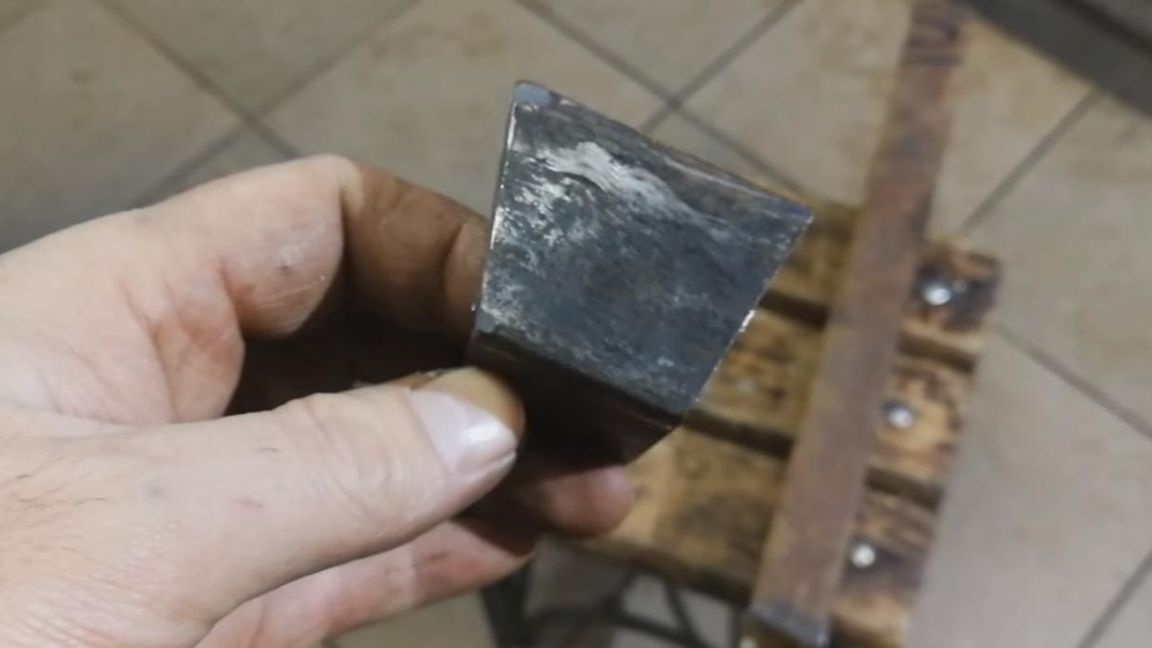
After all the manipulations with the angle grinder with the channel, a blank was obtained which will be further refined more than once.
Step Three
Next, for your own safety, you need to round off the sharp edges that formed during the cutting process, we do this using the same angle grinder, but with a grinding disc.

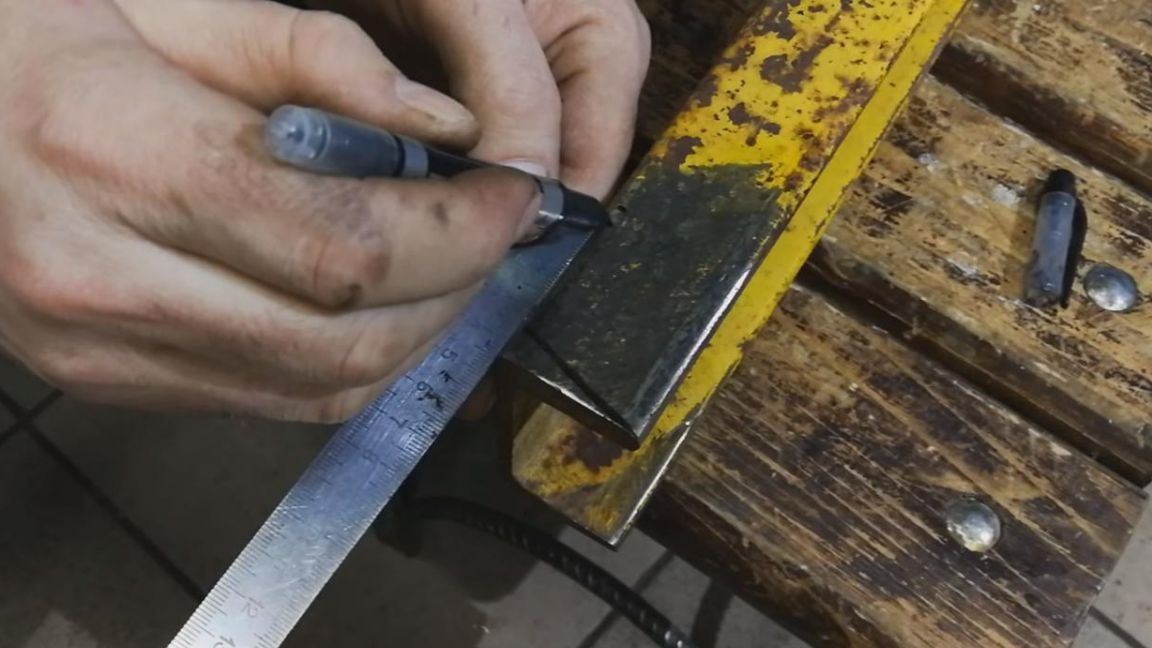
Then on the shelves of the workpiece in the middle we make a punch, which will help to position the drill.
After that, drill a metal hole into the workpiece using a drilling machine, periodically adding grease to the drilling site, which will allow the drill to maintain sharpening longer.
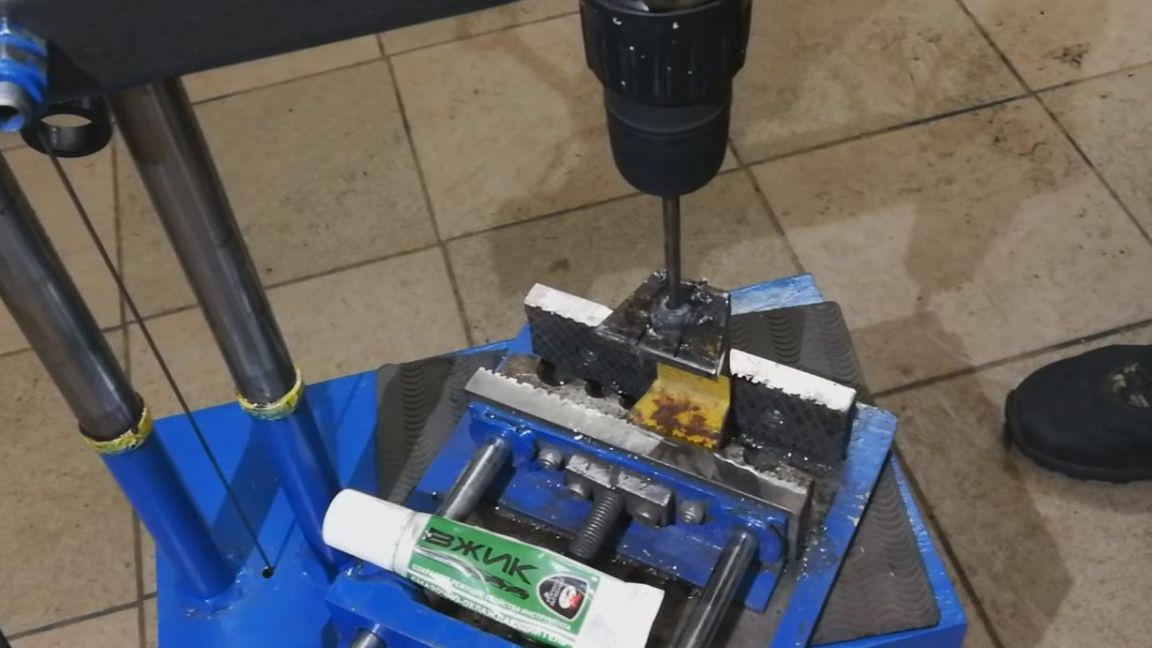

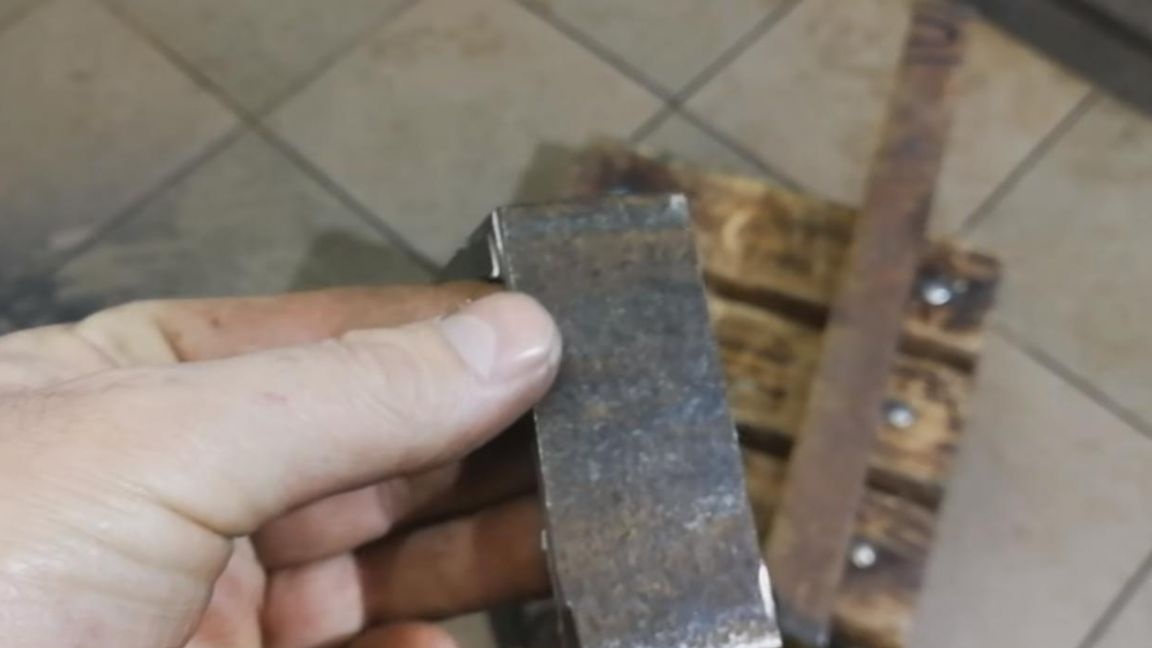
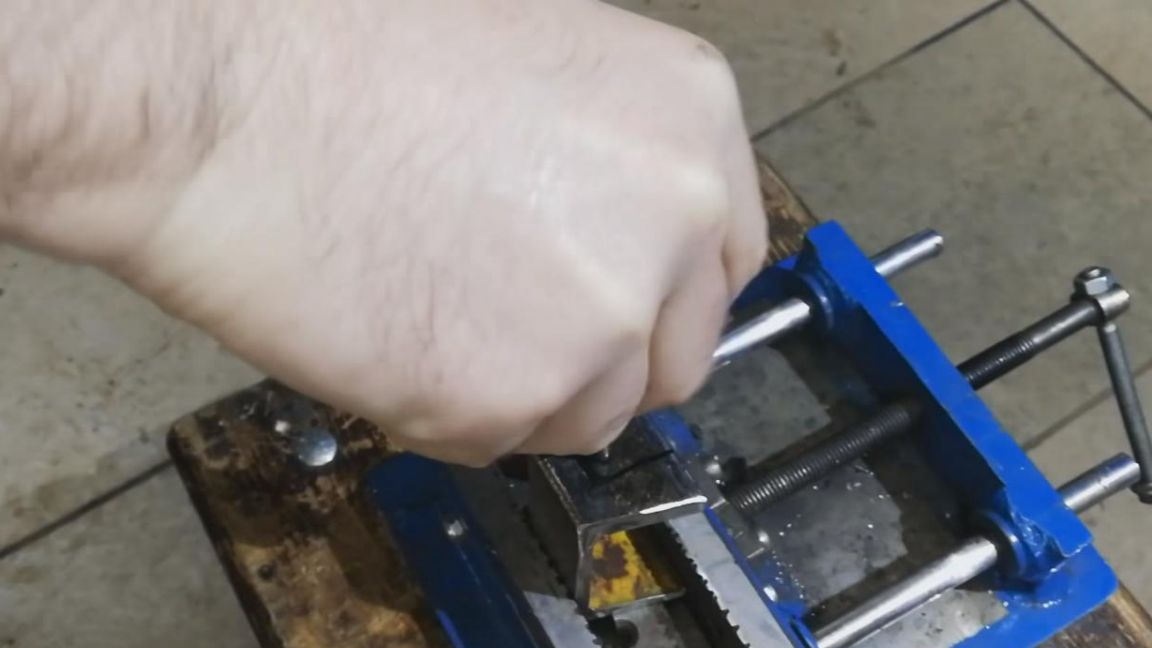
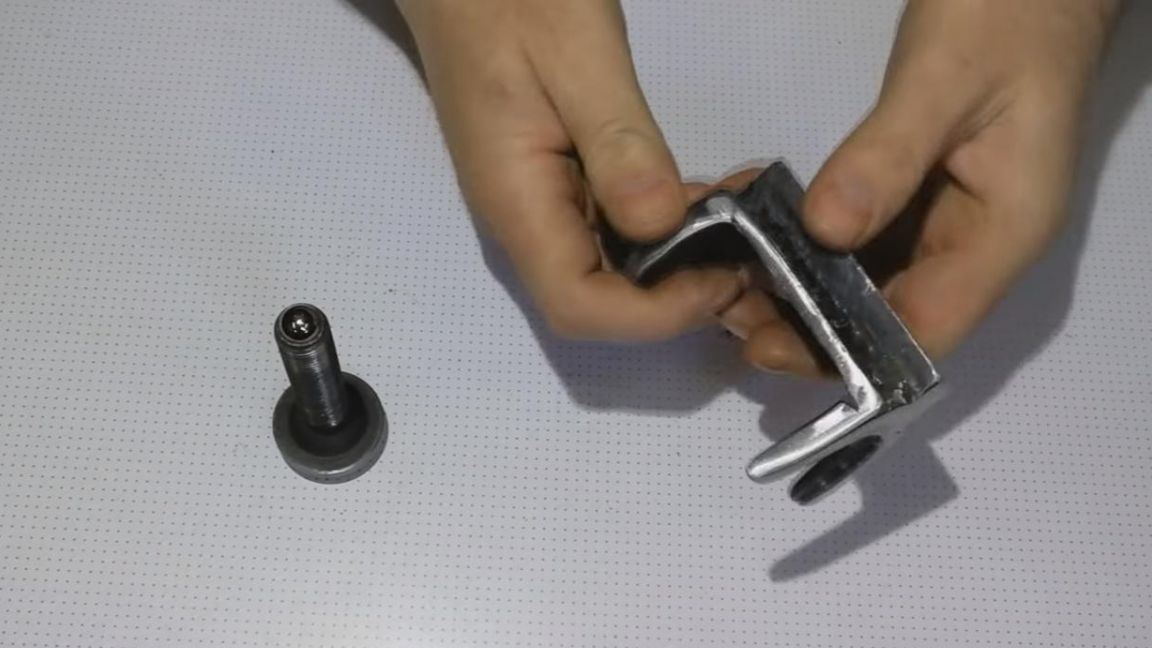
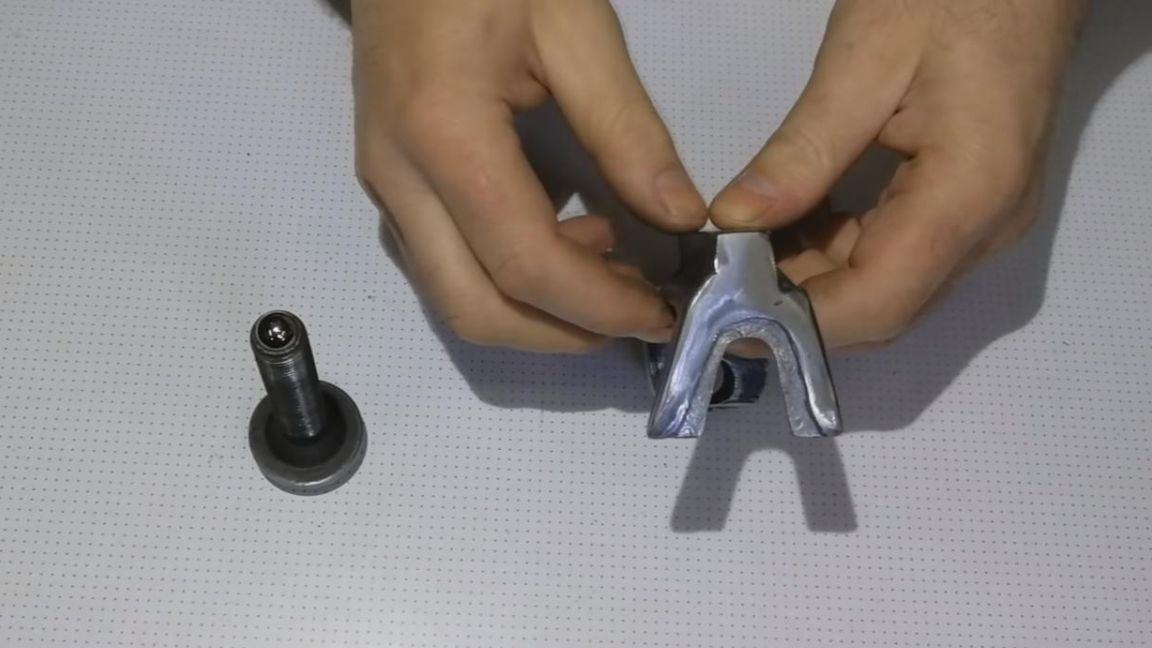
First, make a hole with a small drill, then a larger drill. When the hole is ready, we clamp the part in a vice, install a cutting disc on the angle grinder and saw part of one shelf to the hole, as shown in the photo.
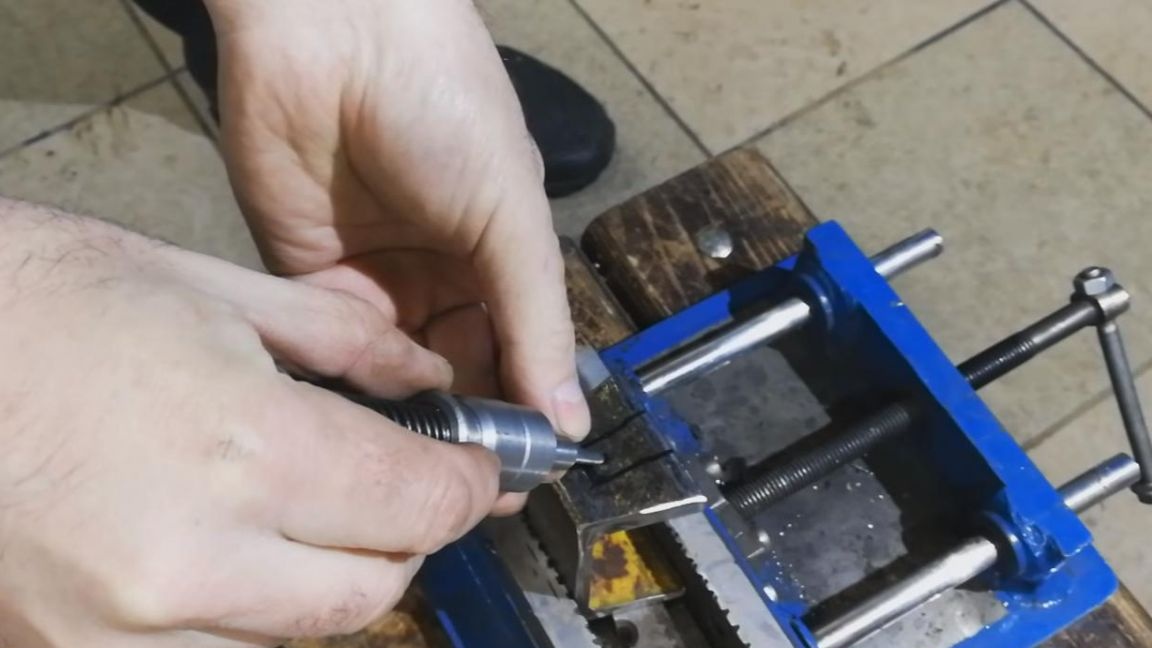
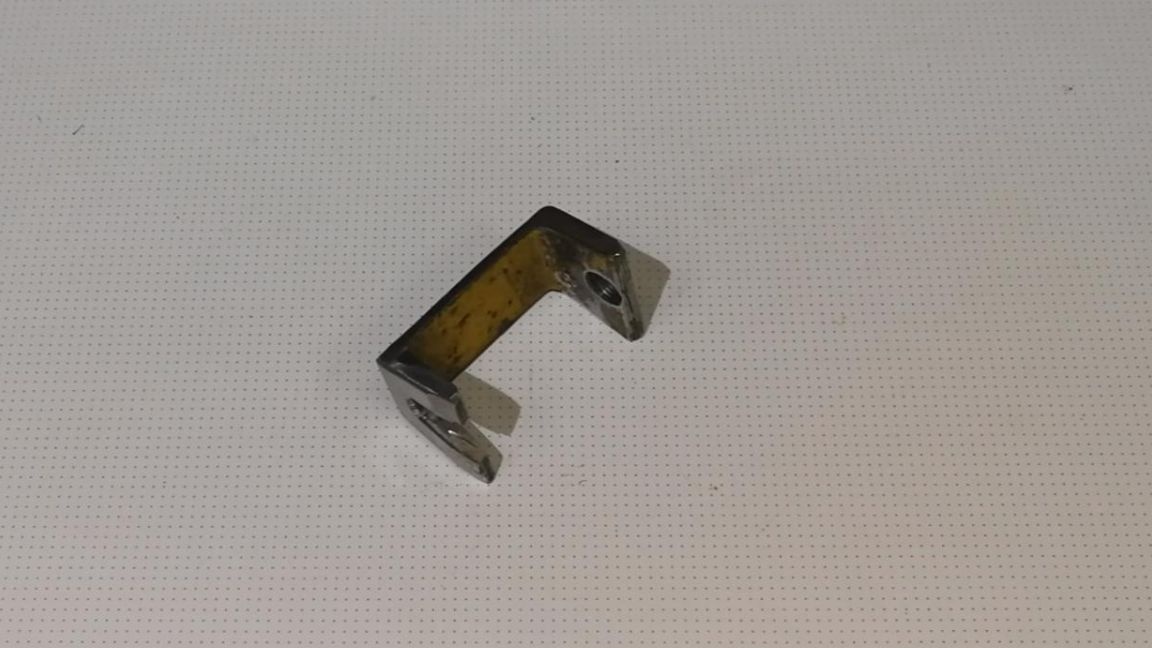
After sawing off part of the shelf, we make a thread in the opposite hole, for this we take a tap for threading under the hub bolt.
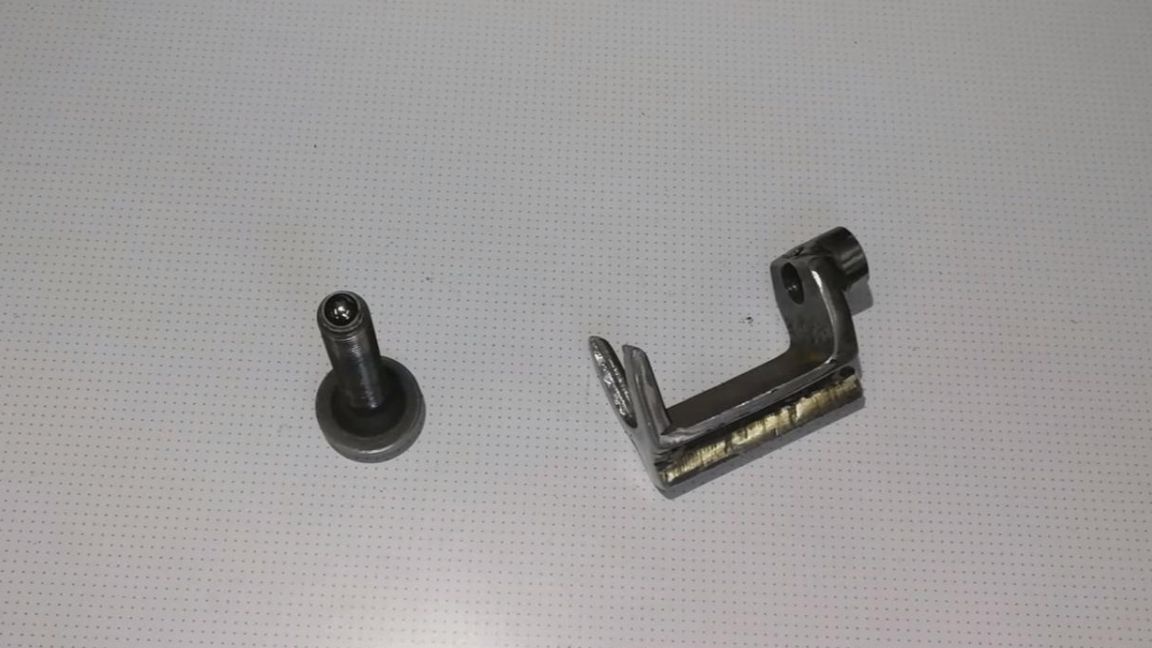
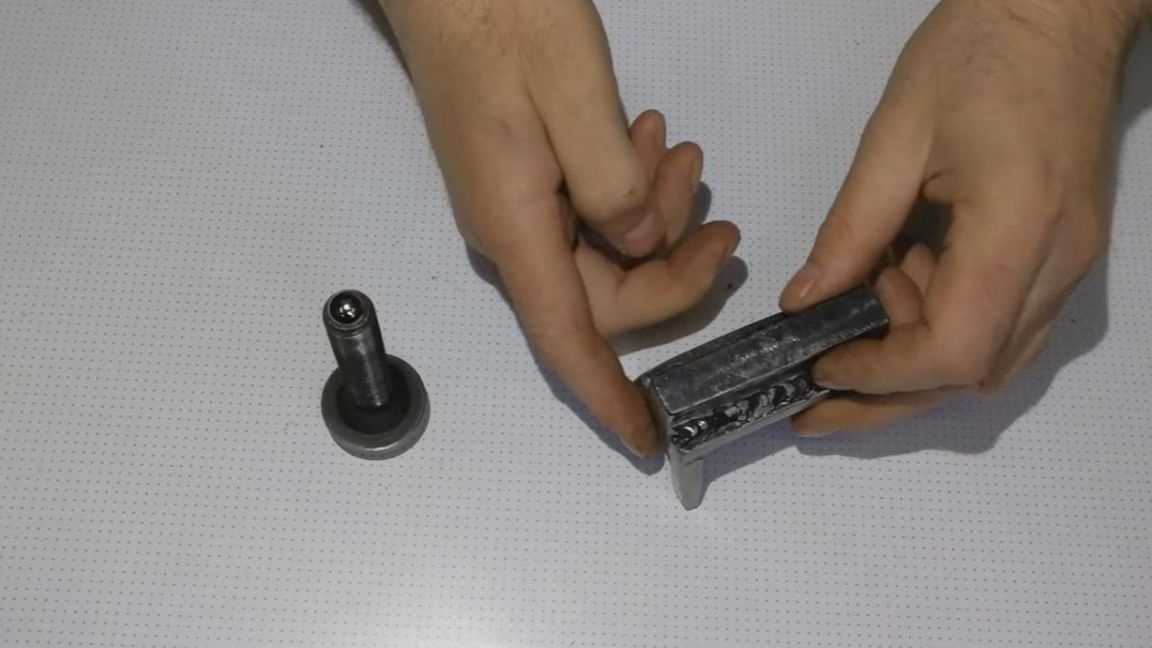
The result is such a detail that can be considered a practically finished puller.
Step Four
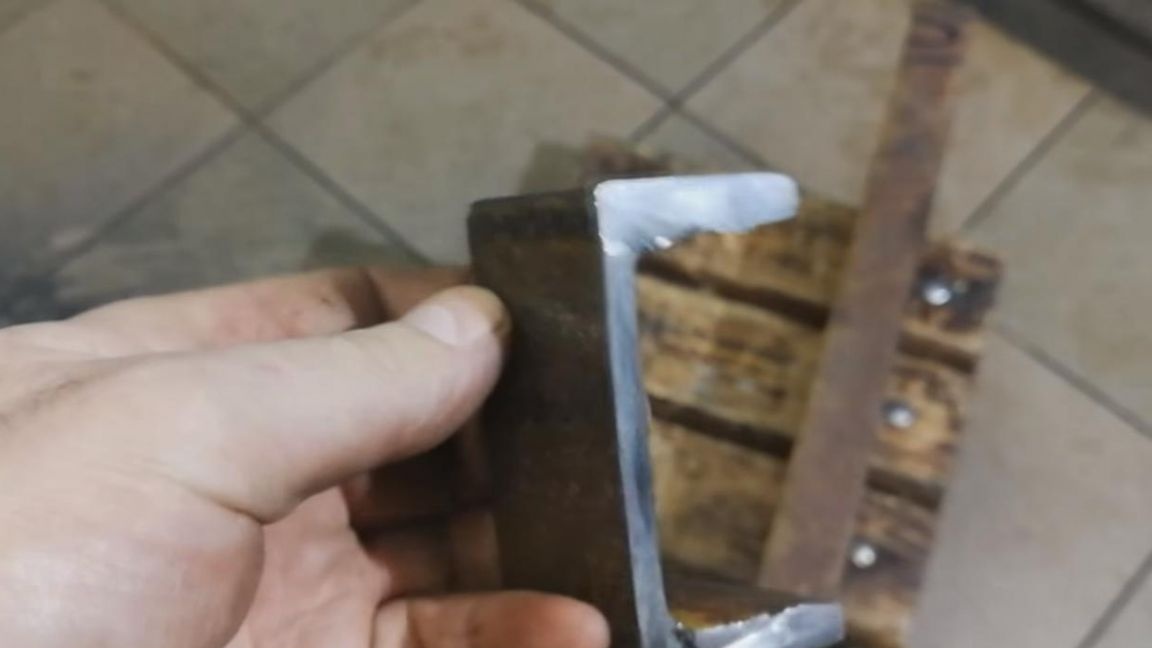
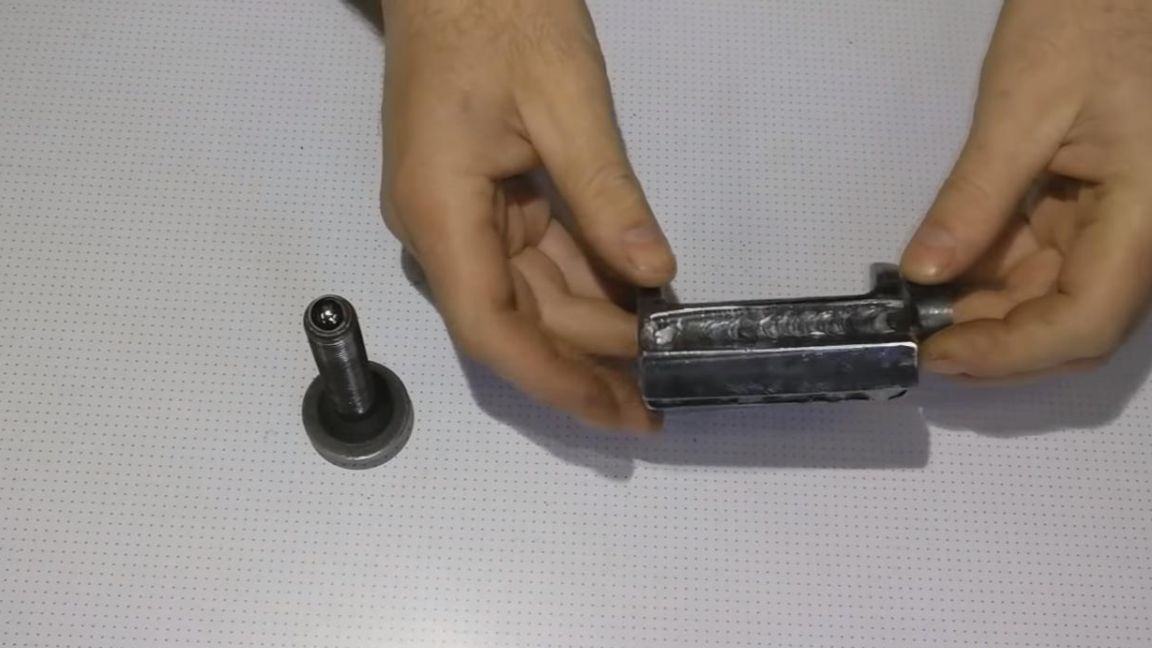
In order to avoid complaints when working with a homemade tool, we weld a square metal rod to the flat part of the workpiece, this will be a kind of stiffener.
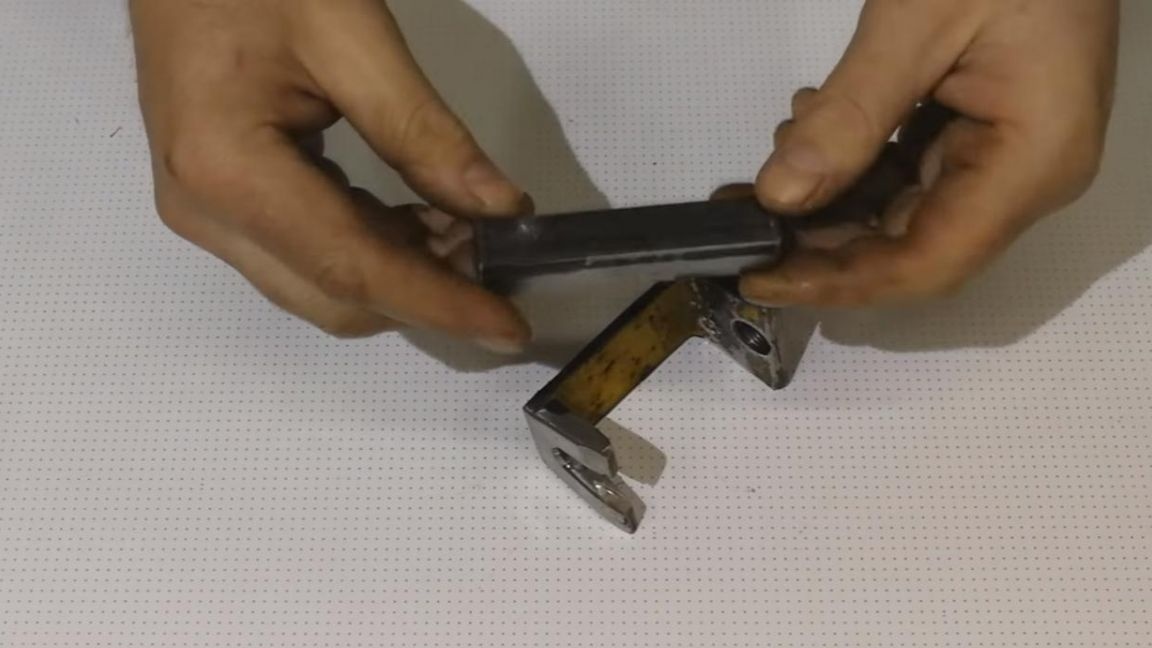

We clamp the part in a vice and weld the rod to it using a welding machine. When working with the welding machine, be careful to wear a protective welding mask and gaiters.
Step Five
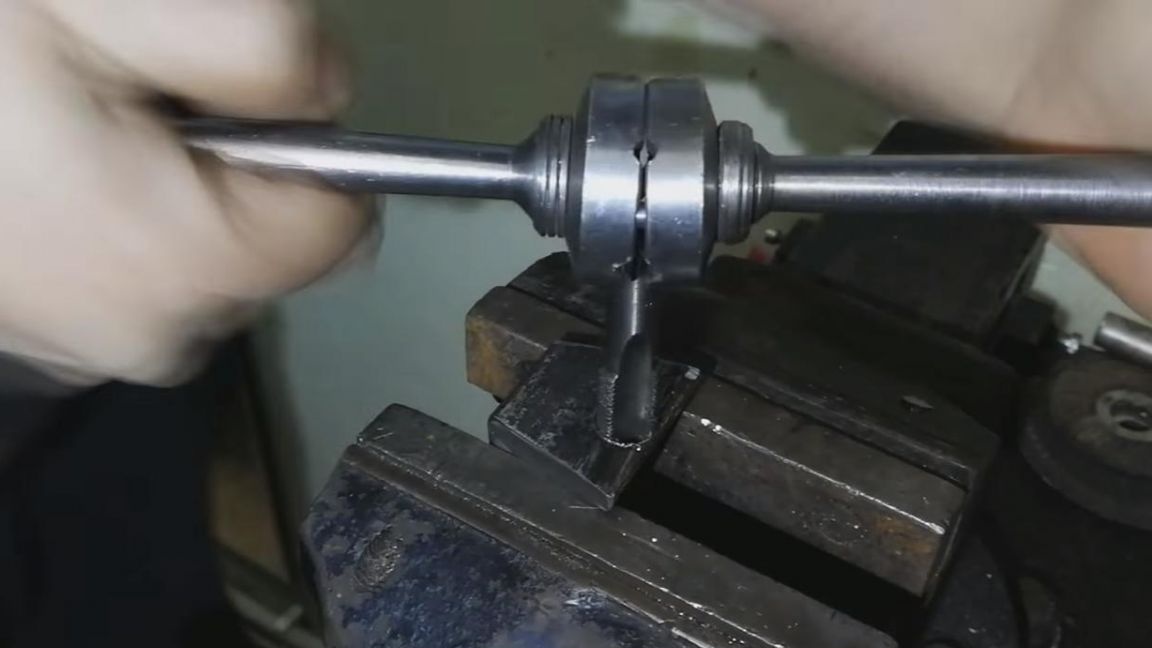
Now you need to modify the hub bolt.
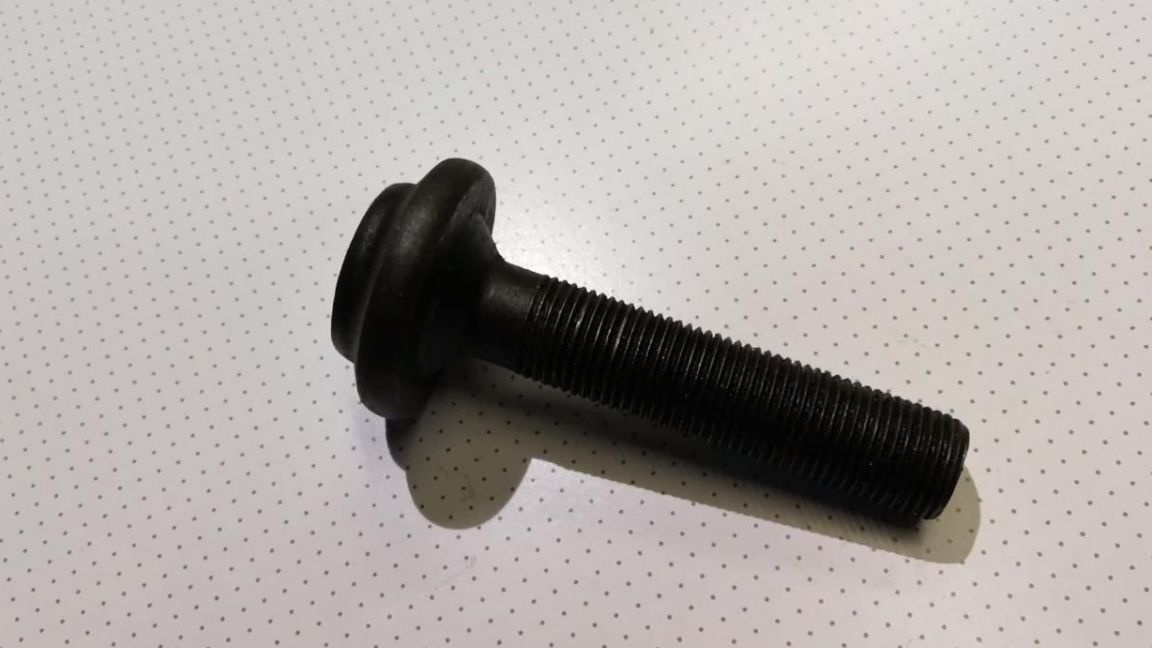
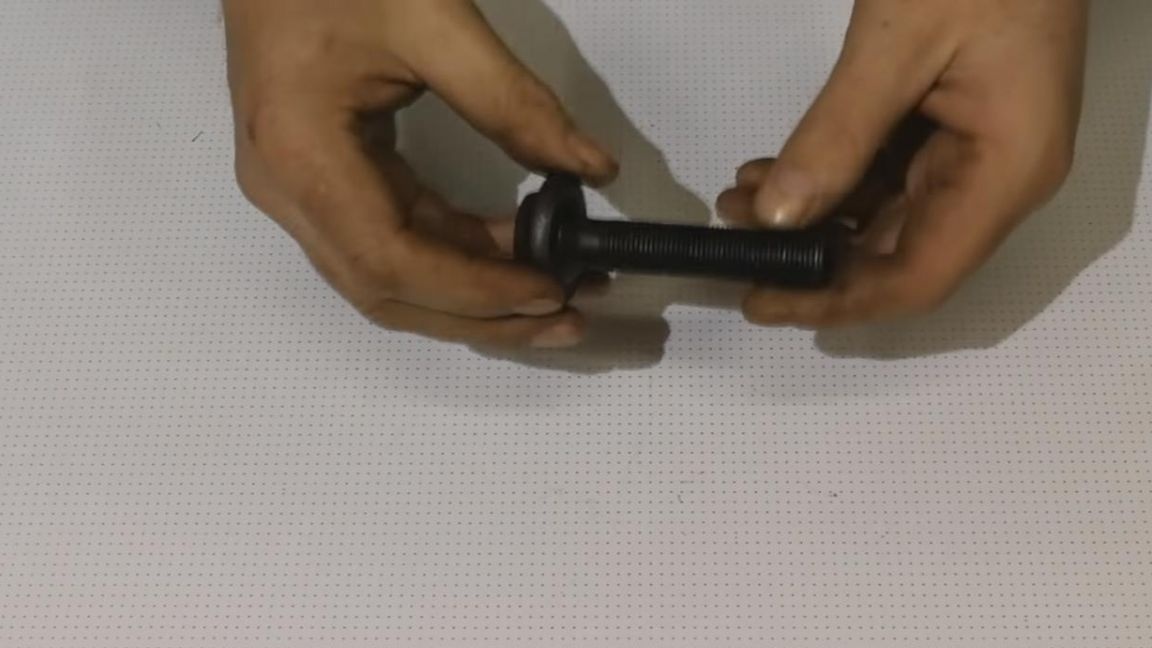
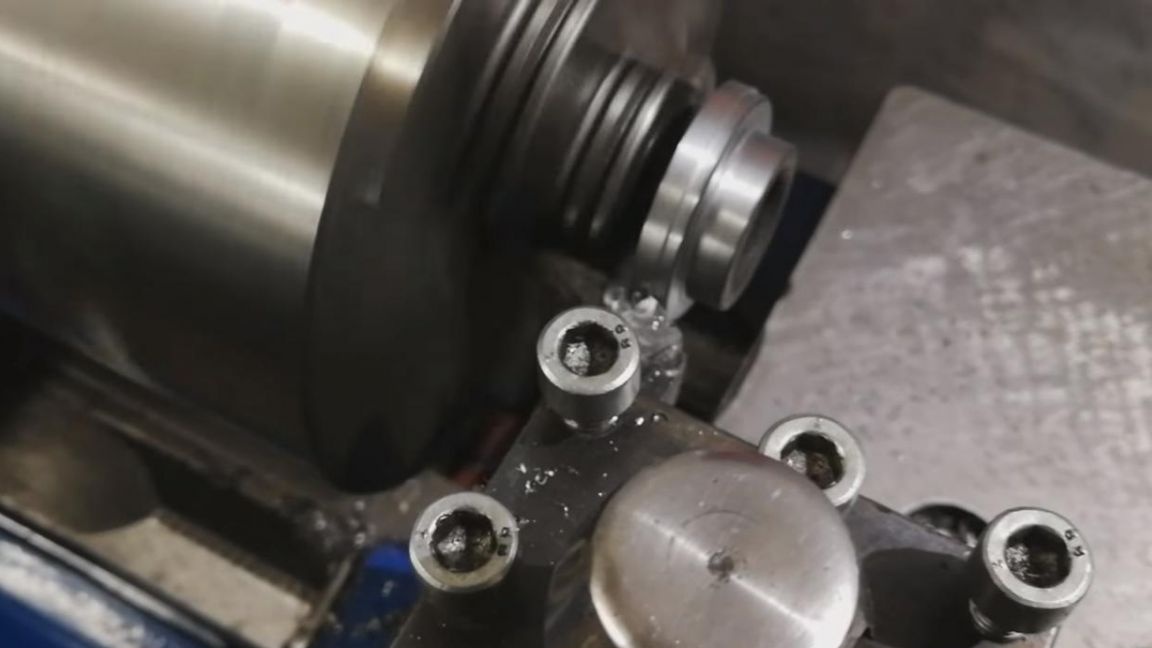
To do this, first we clamp it into the three-jaw chuck of the lathe, then we grind its hat, since it was initially a little uneven.
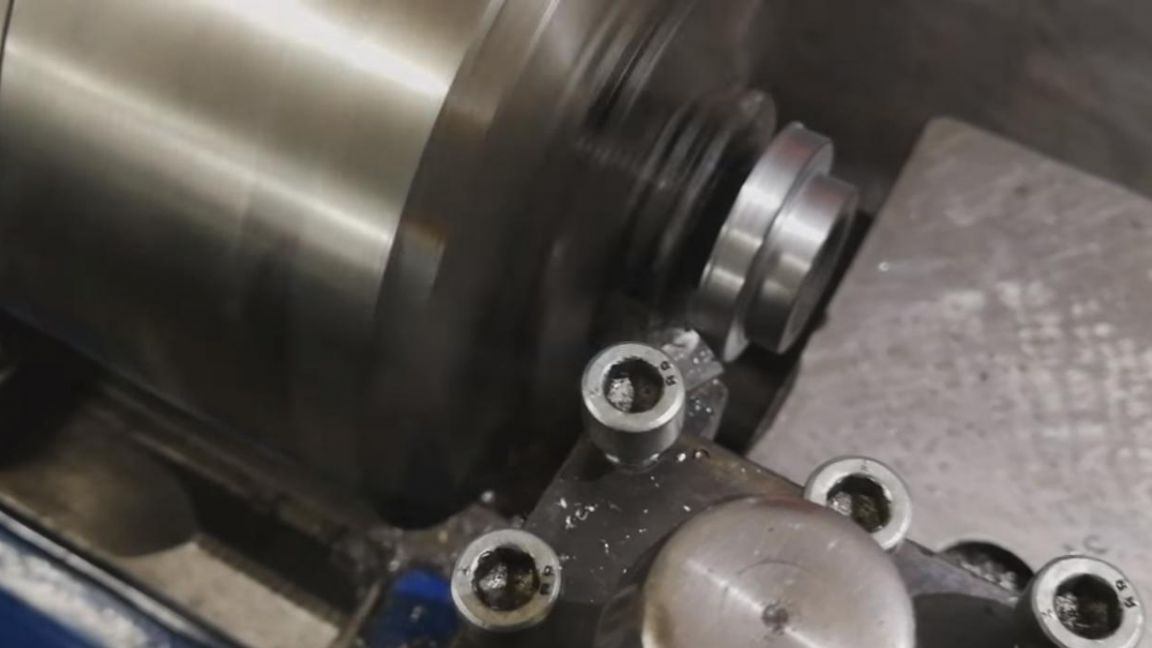
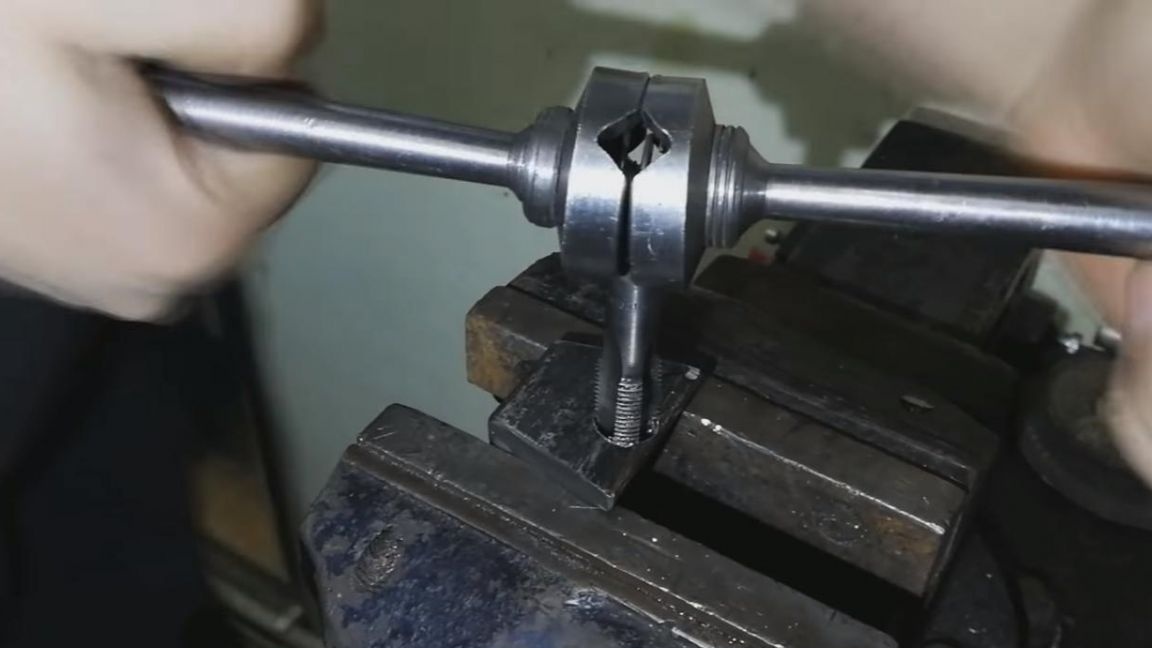
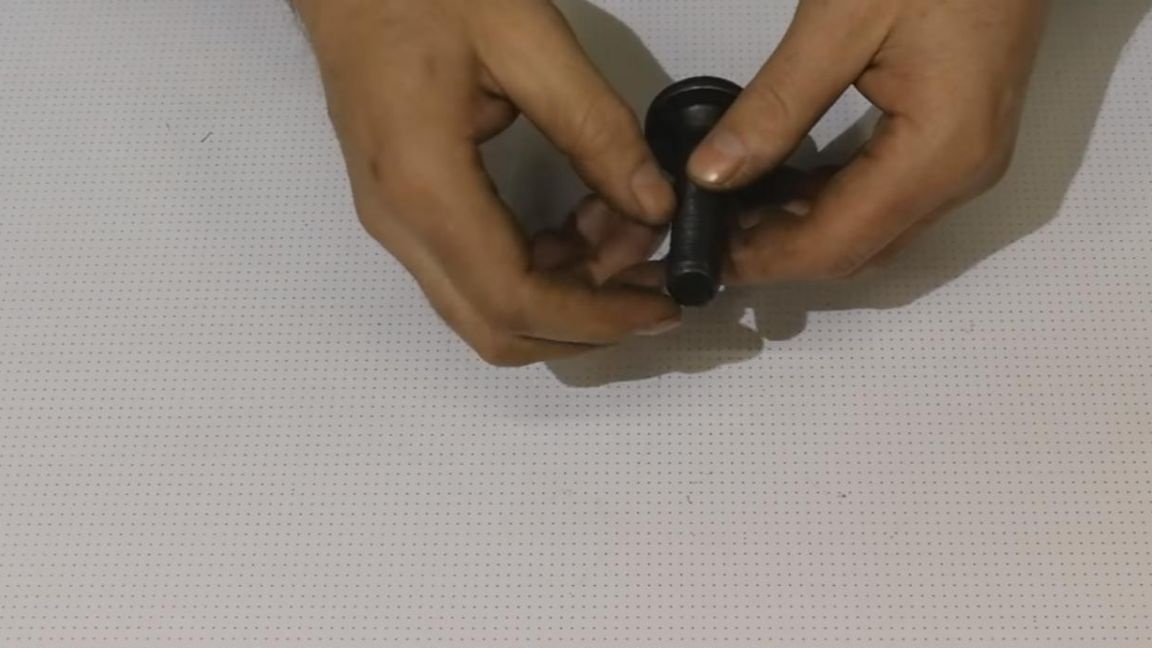
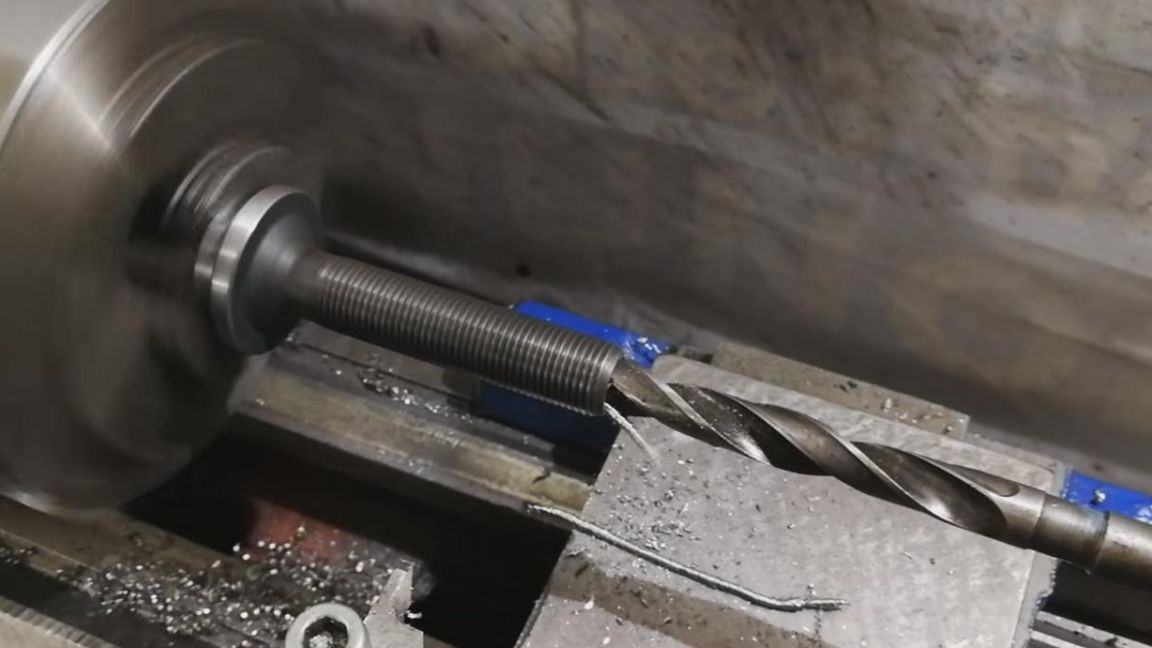
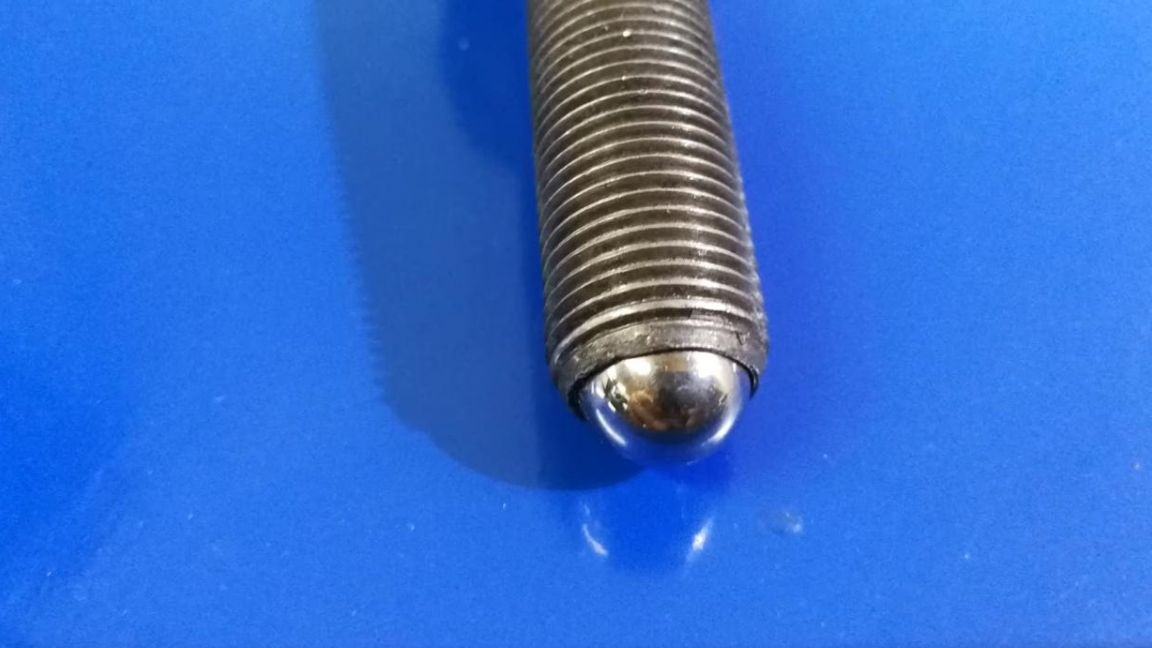
After that, we clamp the bolt by its machined cap, in the threaded part we make a hole with a metal drill, which should be slightly smaller than the diameter of the ball from the ball bearing, but before that we make a small deepening with a center drill to achieve greater accuracy.
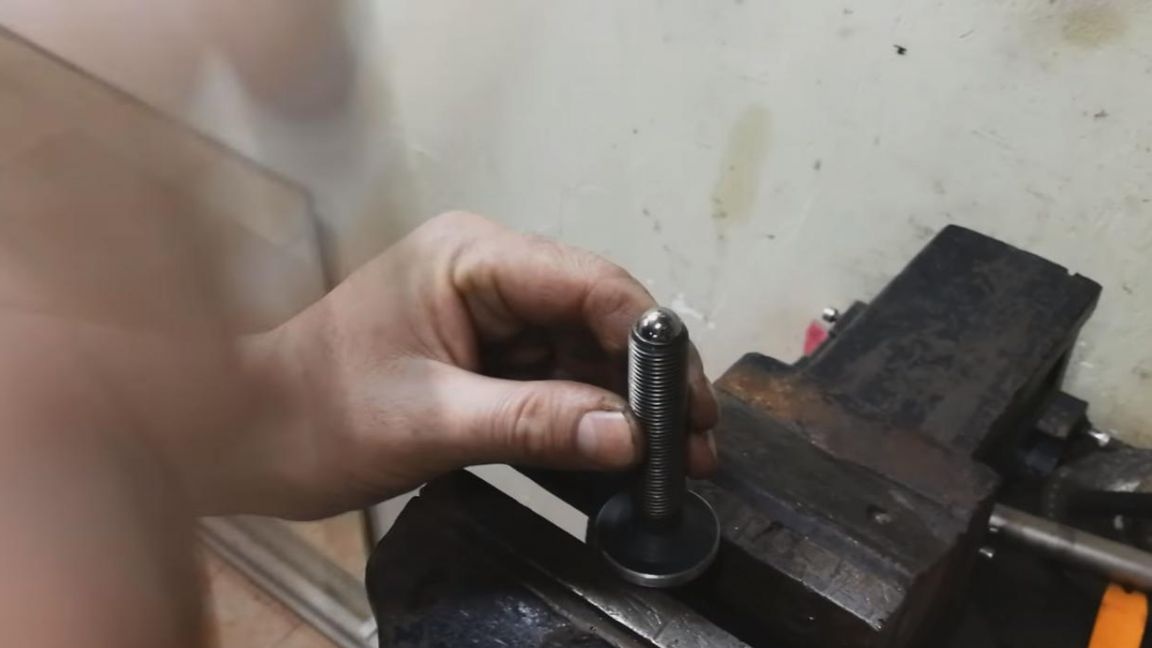
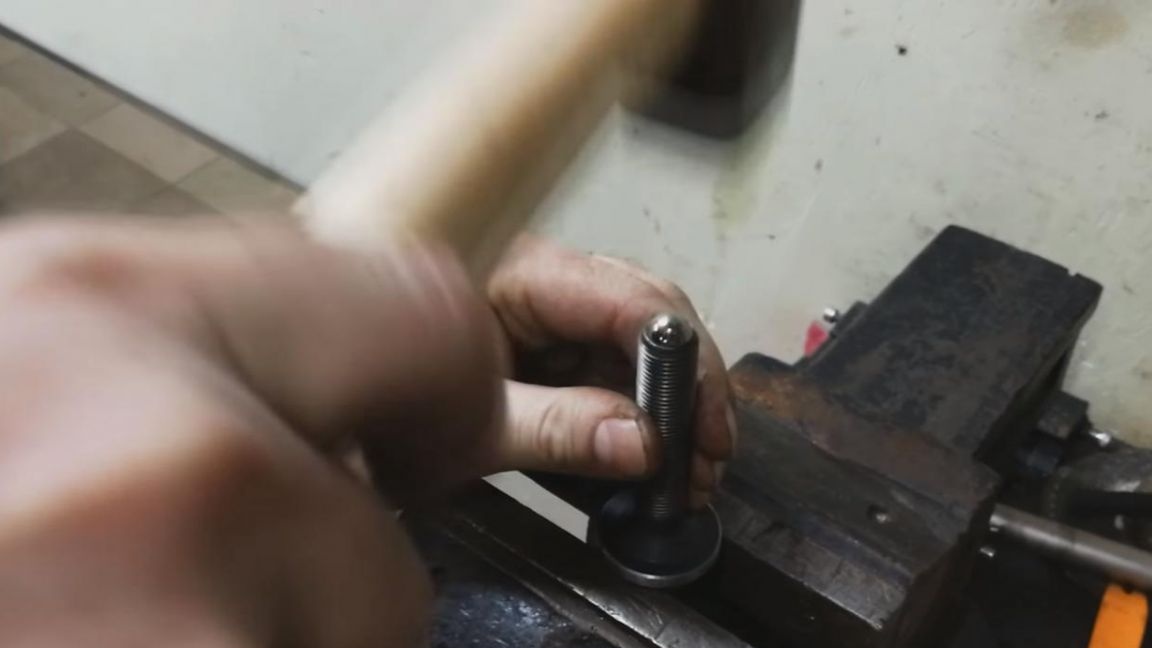
After drilling, we fix the bolt in a vise and with a light blow of a hammer drive a ball of bearing into a previously drilled hole. The ball in this case is needed so that the bolt does not flatten during operation.
Step Six
It was also decided to slightly strengthen the threaded part and weld a nut with the same thread to it.
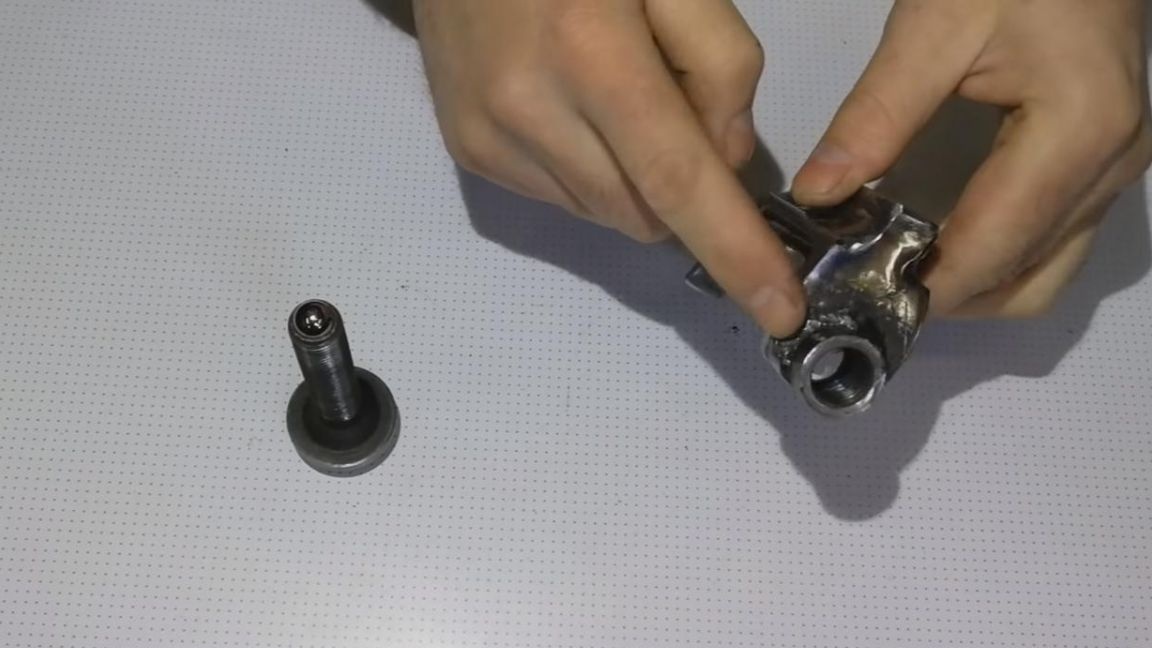
Milling was done in the tool shelf; it serves to ensure that the boot does not collapse when the steering tip is removed, since without this milling the puller would press on it.
At the end, we paint the finished puller with a hammer paint from a spray can and proceed to testing.
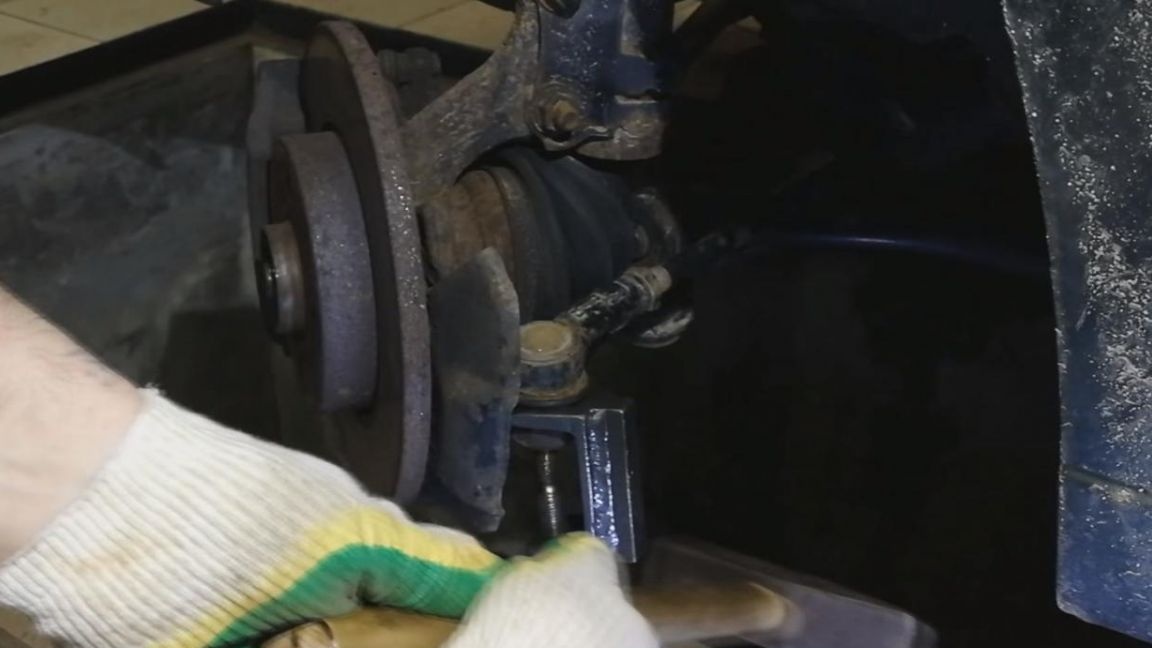
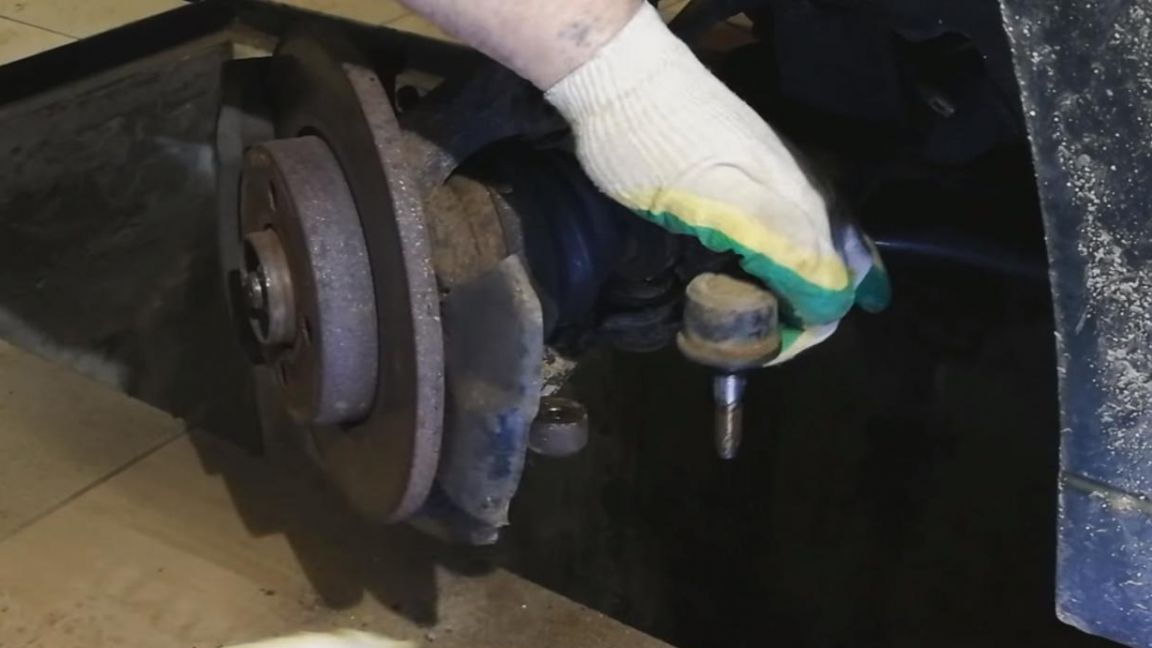
Seventh step.
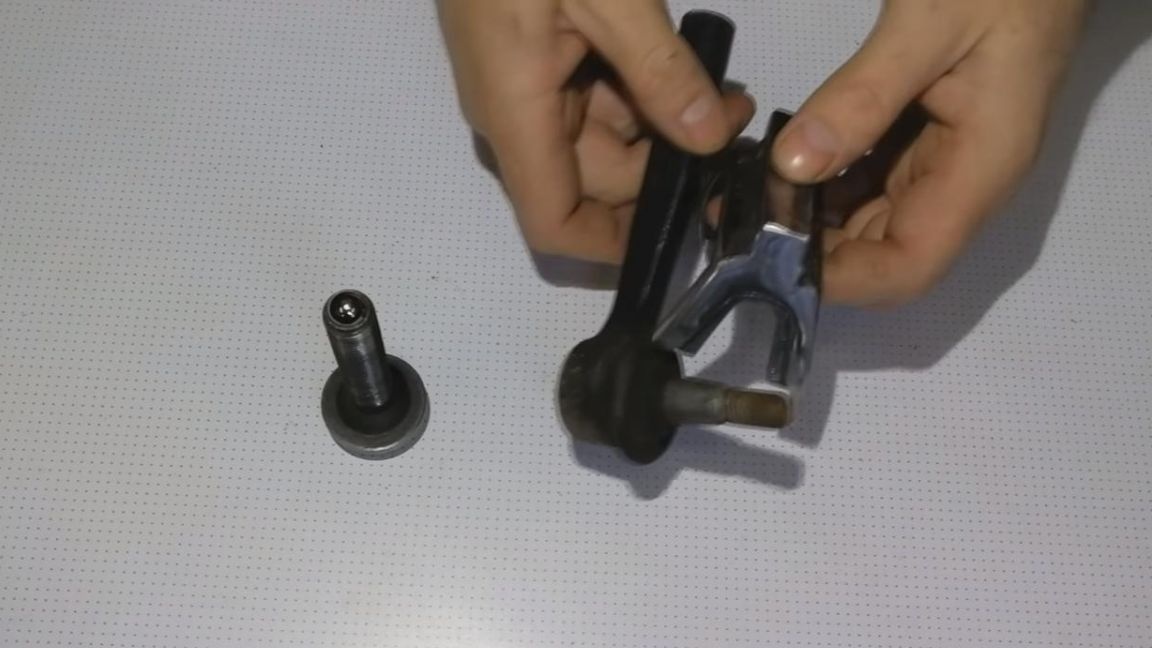
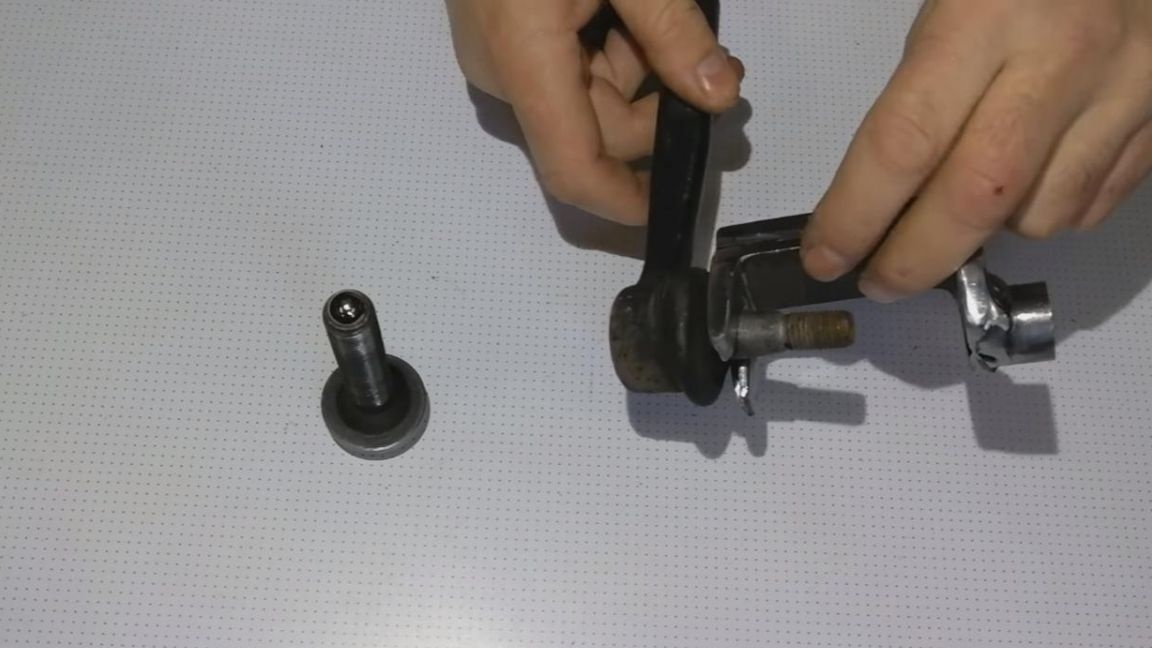
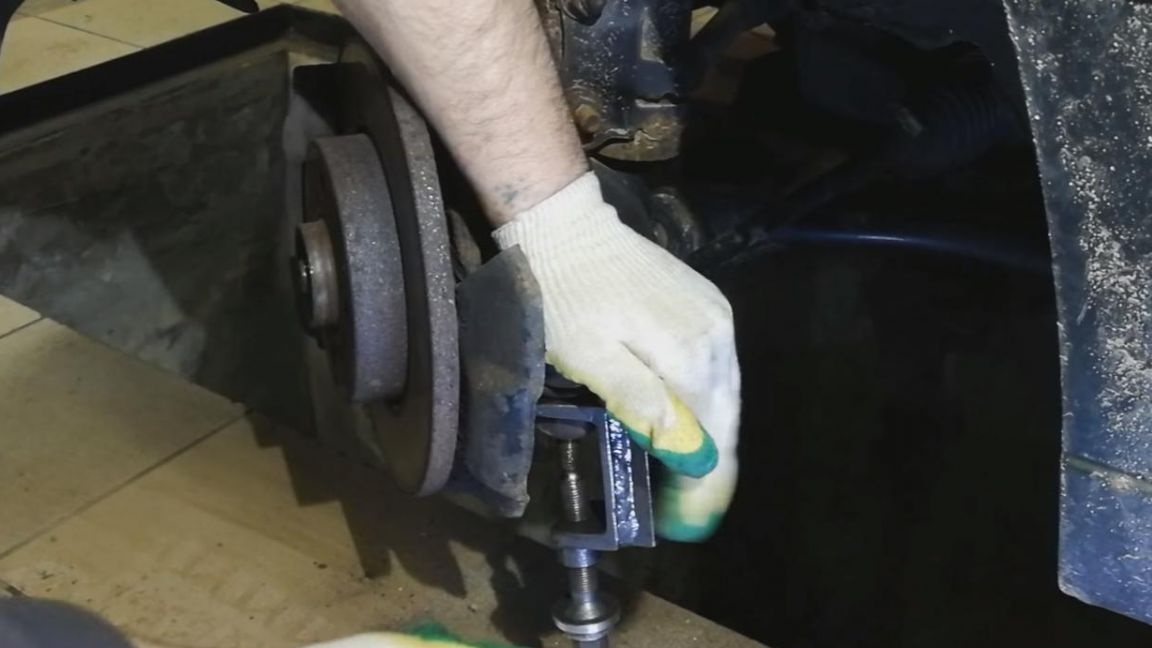
The paint on a homemade puller has dried, which means it can be tested. We screw the nut from the steering tip stud and install the puller on the steering knuckle, making sure that it does not damage the boot and stands without distortions and begin to gradually tighten the bolt.
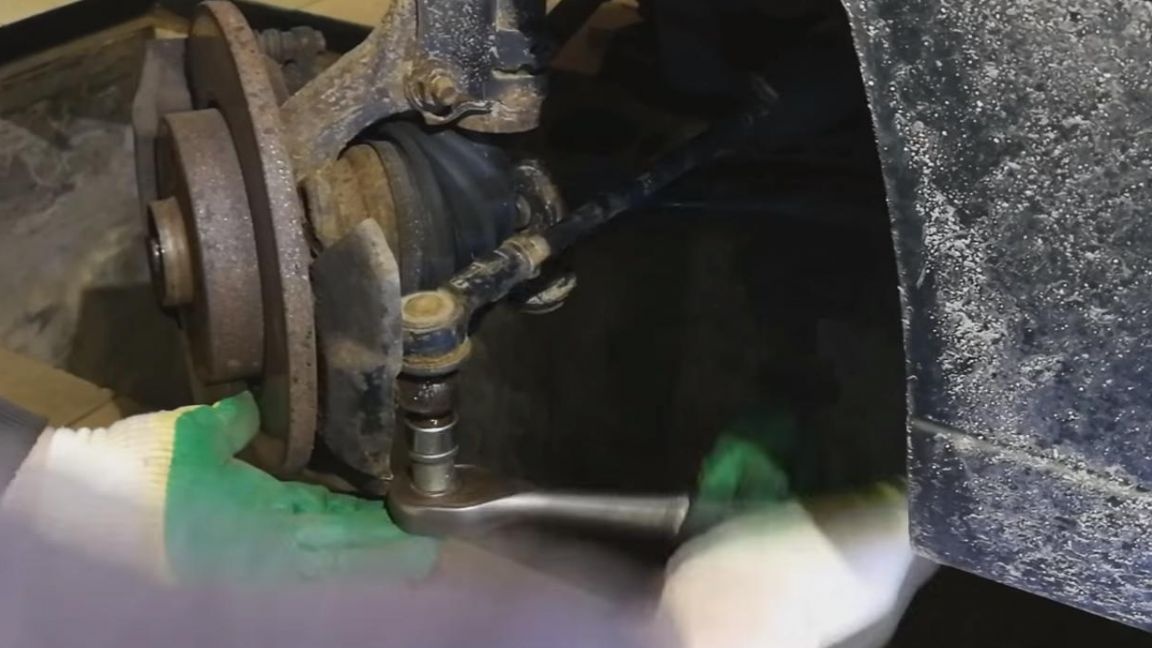
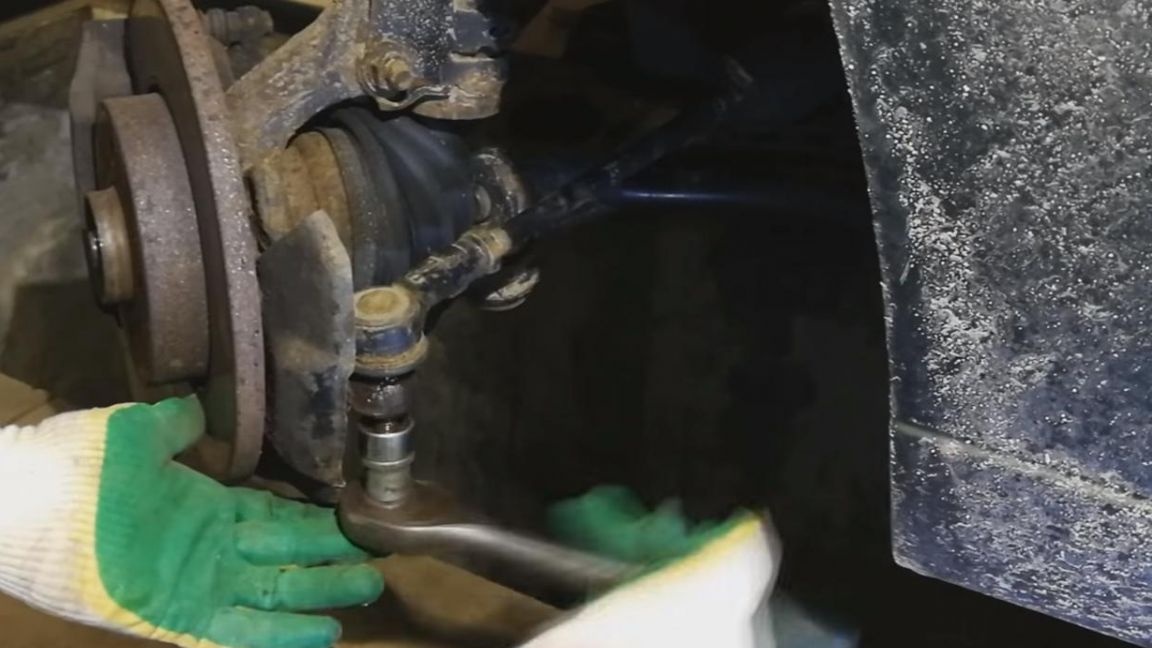
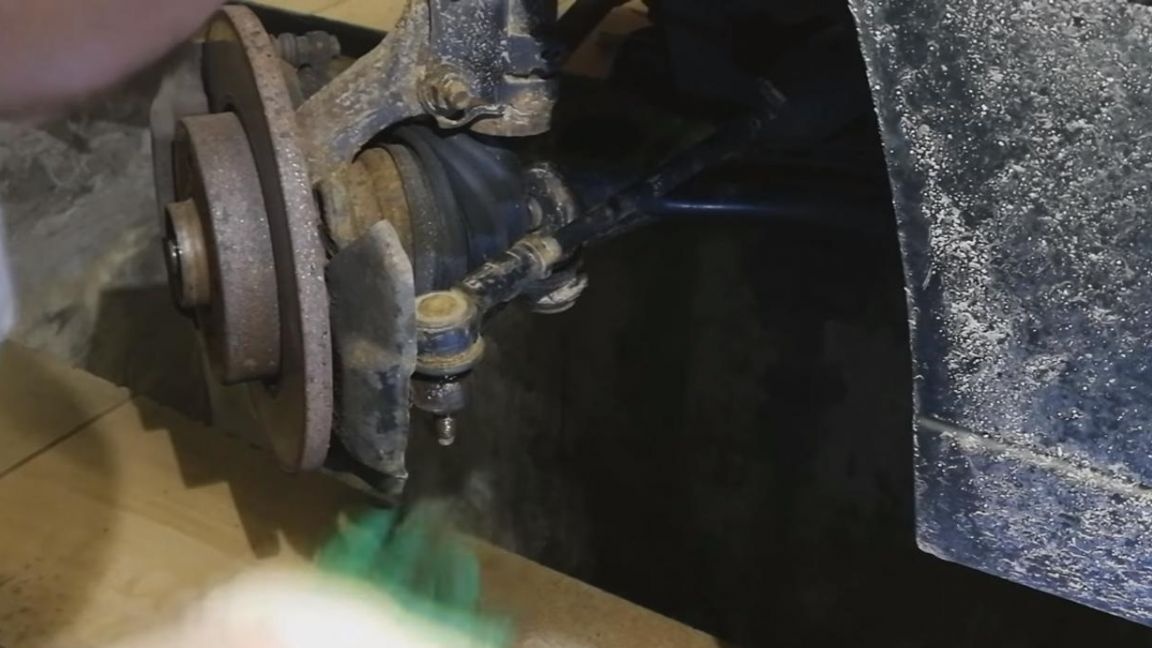

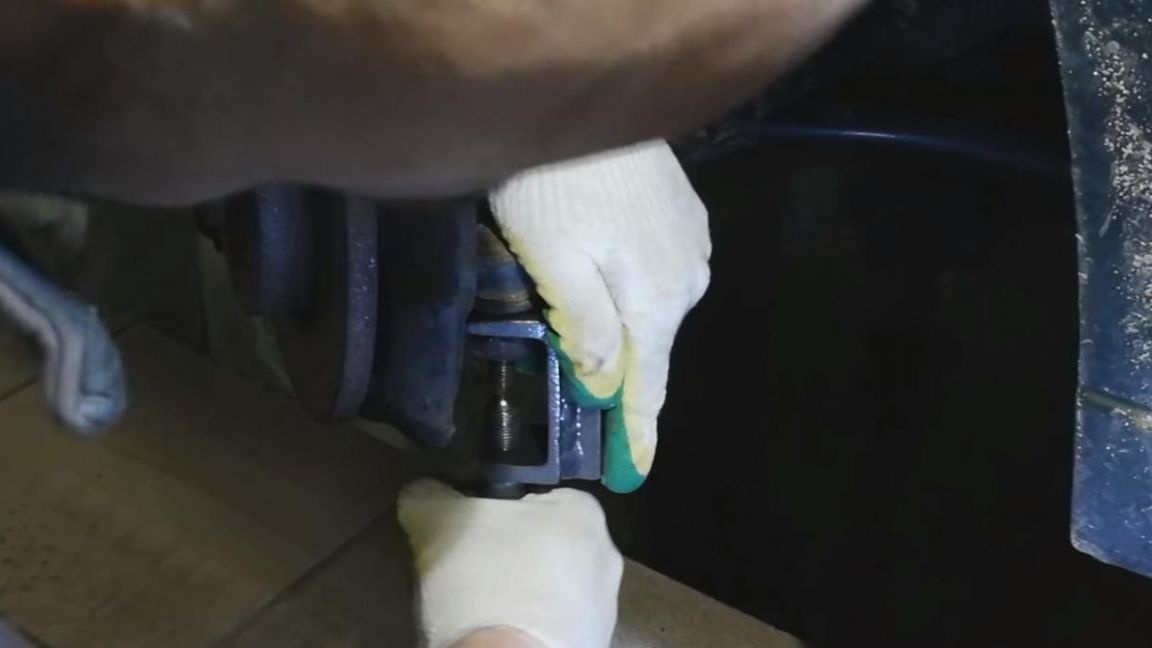
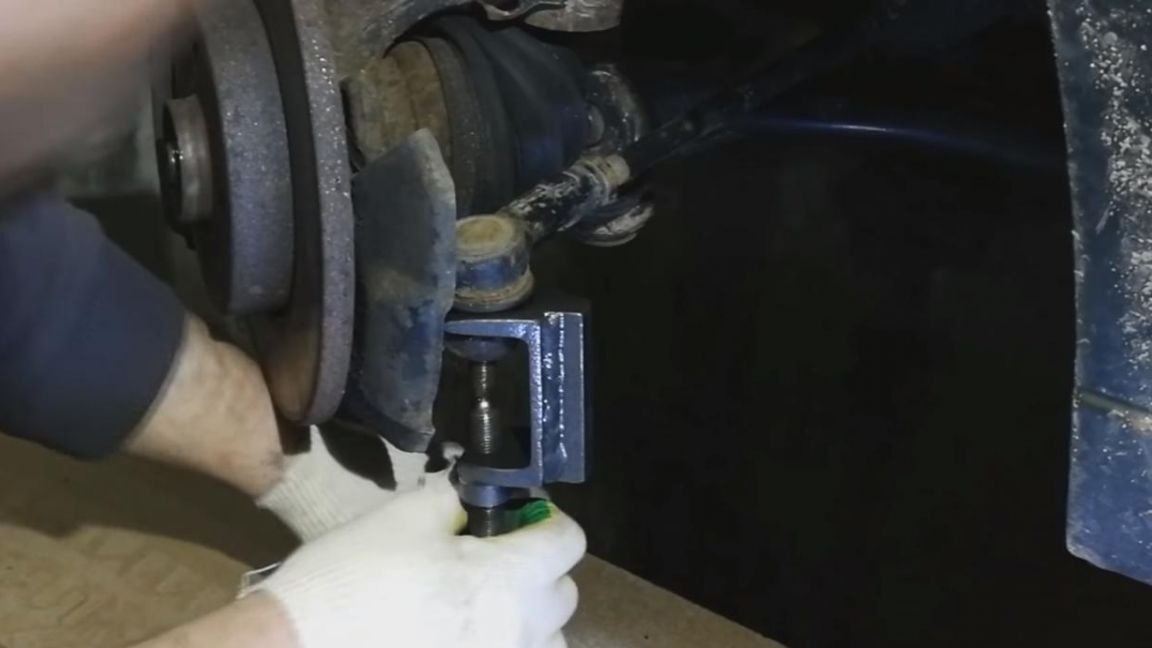
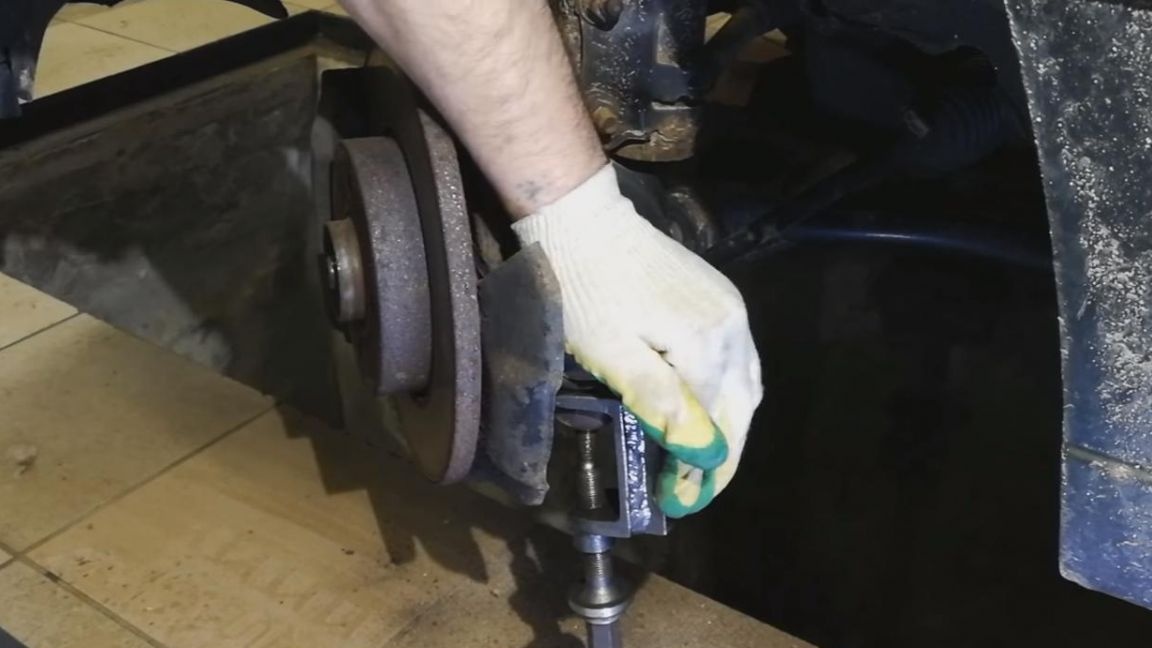
At this stage, be careful, as the tip can fly out of its place at any time. If the tip does not go out of its place, we make the tension of the bolt even stronger and use a hammer to strike the lower part of the puller, after the strike the tip comes out of the steering knuckle.
That's all for me, I think this homemade product will be very useful for car owners who periodically repair their cars on their own.
Thank you all for your attention, I wish you success and good luck in the new homemade products.