

Hello to all lovers homemade. Perhaps you had such moments when you had to fix something with a clamp, for example, a fuel hose to the filter, but it either wasn’t or was, but its size does not fit. Going to buy a clamp in the store is too simple a solution to this problem, why not come up with your own tool. In this article I will tell you how to make a clamp do it yourself for wire clamps, its design is very simple, as well as assembly. Parts necessary for the assembly of this homemade product are readily available. If you are an owner auto, then most likely you have all the details for creating this tool. Also, this homemade product will help you save money, and it will not be inferior in quality to the factory one.
Before you read the article, I suggest watching a video that shows the detailed assembly of the clamp and, of course, checking it by tightening the rubber hose with a hose clamp.
In order to make a clamp yourself, you will need:
* Wire
* Angle grinder and cutting disc
* Personal protective equipment, welding mask, gaiters, goggles
* 3 mm thick stainless steel sheet
* Waste car stabilizer bar
* Drilling machine, drill for metal with a diameter of 10 mm
* Welding machine
* 7.5 mm thick stainless steel plate
* Birch timber
* Wax candle
* Sandpaper
* Gas-burner
* Ruler, pencil
* Bench vice
* Clamp
* Kern
That's all the details that are needed to make a homemade tool.
Step one.
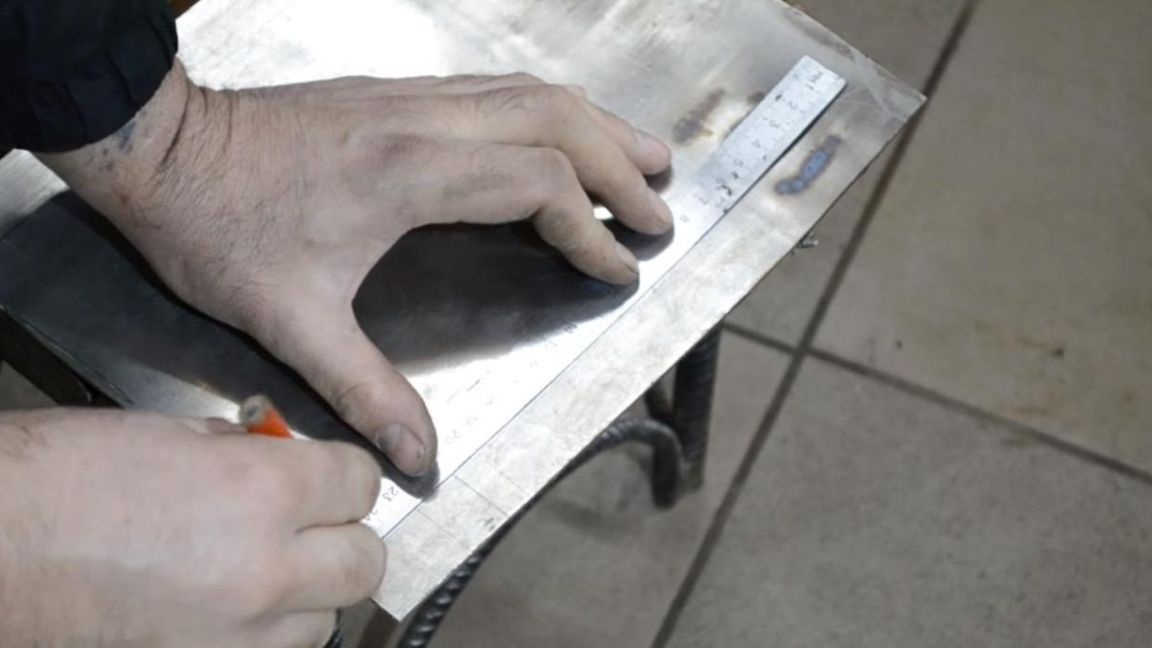
First of all, we mark out a sheet of stainless steel, in this case its thickness is 3 mm, I do not advise taking less, since rigidity is needed here.
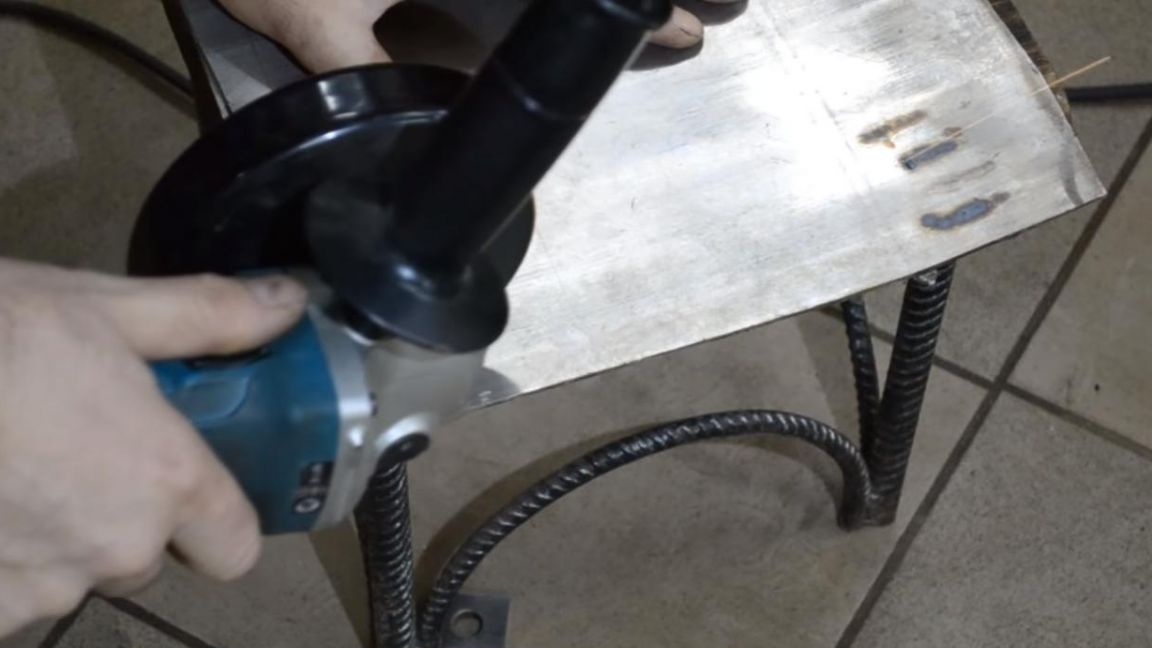
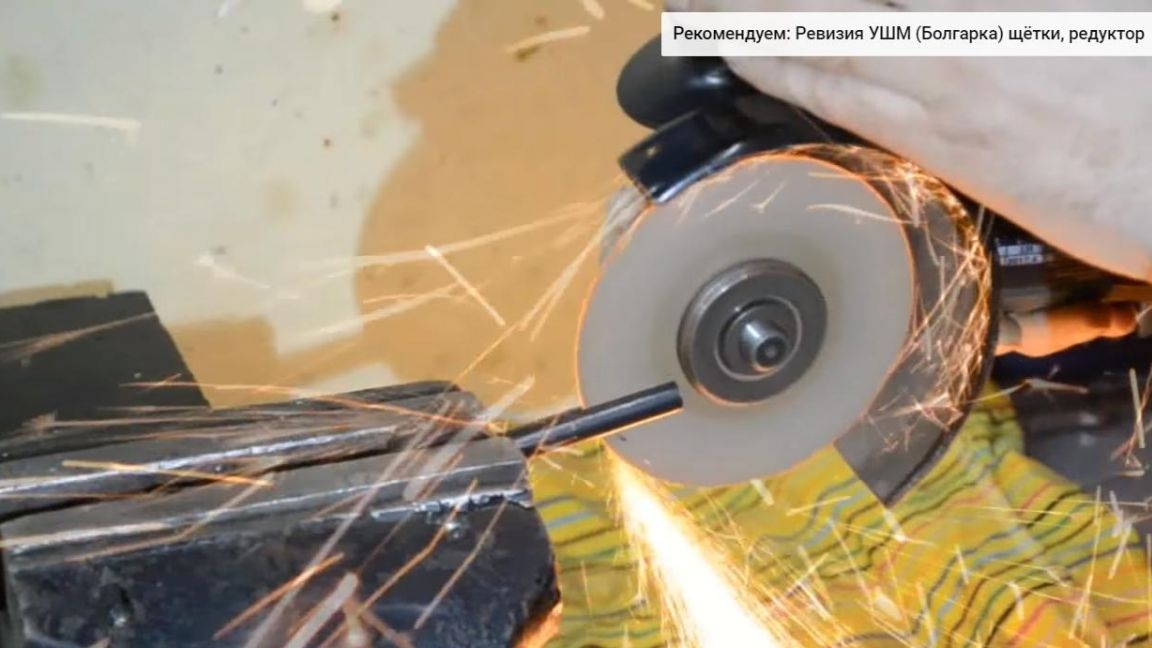
Next, by marking, we cut off the necessary strip of stainless steel using an angle grinder with a cutting wheel installed, we make the tip of the strip with a slight taper and a shallow cut in the middle for the wire, literally a couple of millimeters. When working with the angle grinder, be careful to hold the power tool firmly and wear safety glasses, as well as gloves and headphones.
After the strip of stainless steel is cut, go to the thicker stainless steel. We clamp the stainless steel plate with a thickness of 7.5 mm using a clamp to the table or in a vice and using the same angle grinder we saw off the necessary part, you need two square pieces of the same size.
Step Two
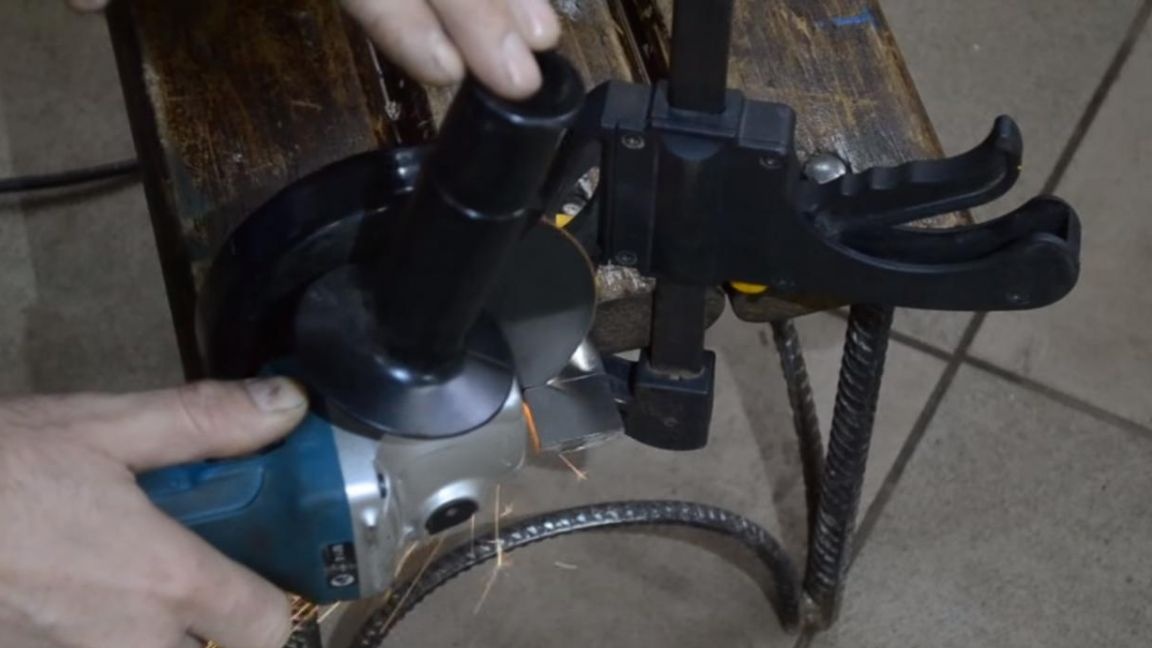
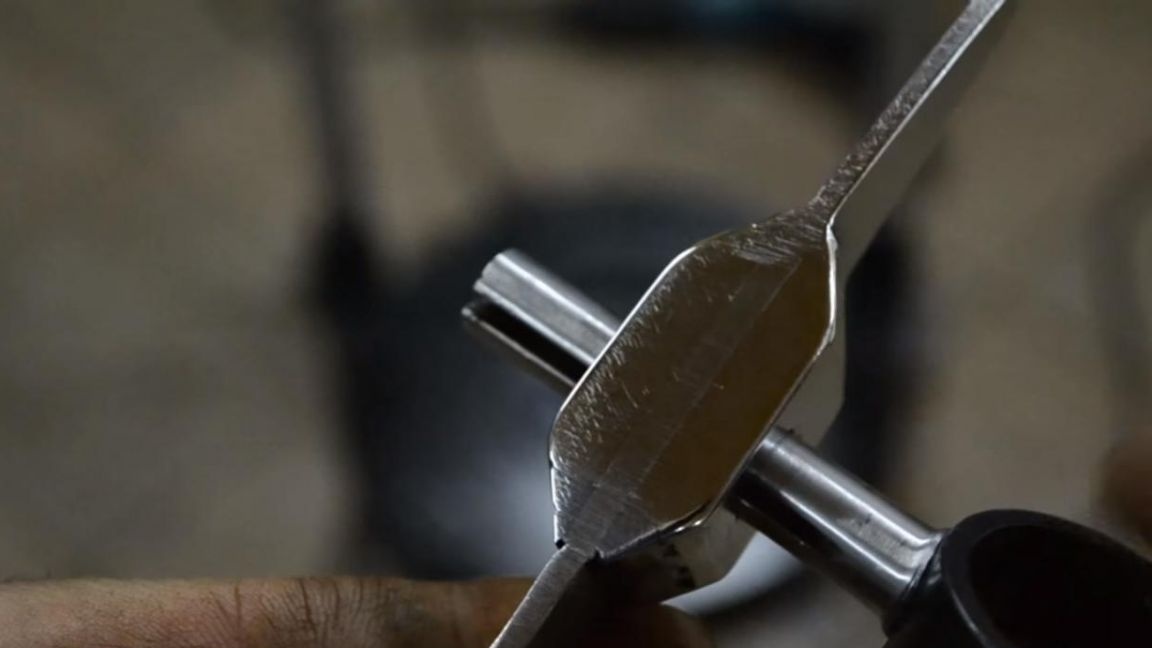
For the convenience of using the tool, we shorten the stabilizer strut using an angle grinder, holding a part of the strut in a bench vise.
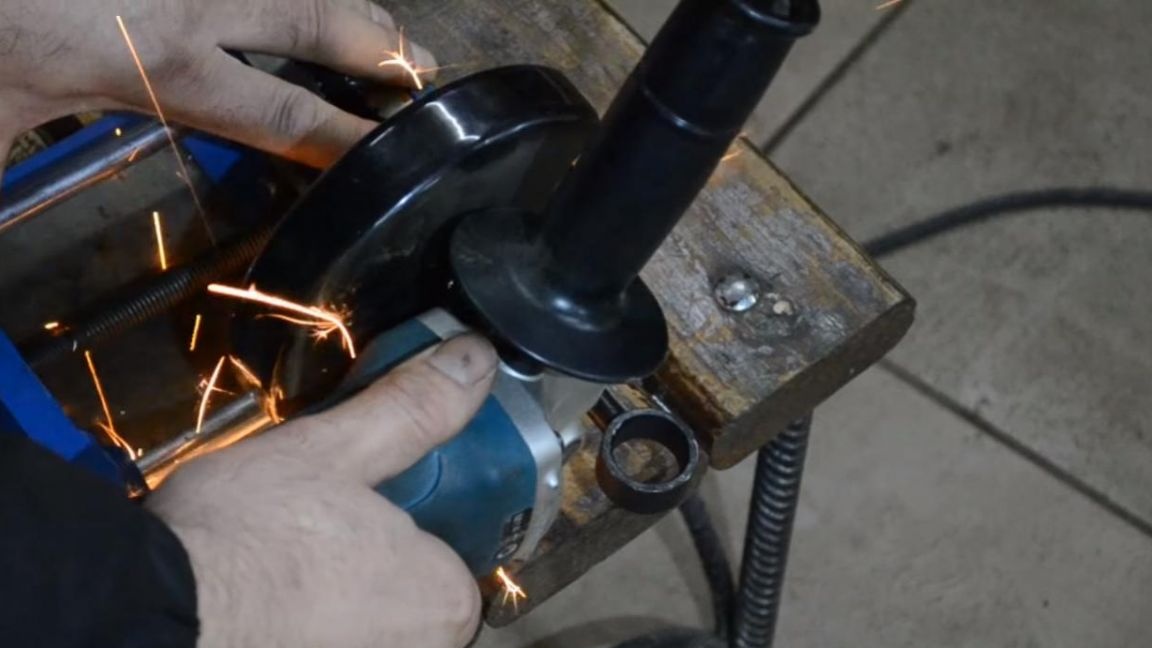
As a result, it should turn out as in the photo.
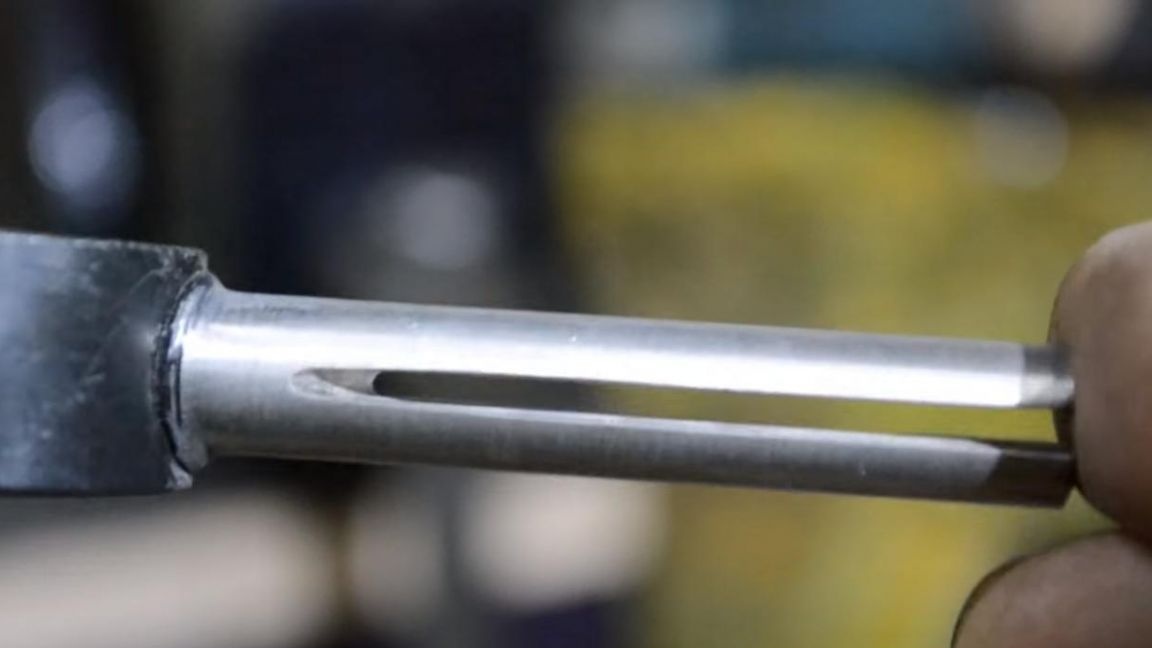
Next, you need to make a cut in its stock, for this we clamp our workpiece in a vice and with the help of angle grinders we begin to slowly cut the metal to almost its entire length, the cut width in this case should be about 2.5 mm.
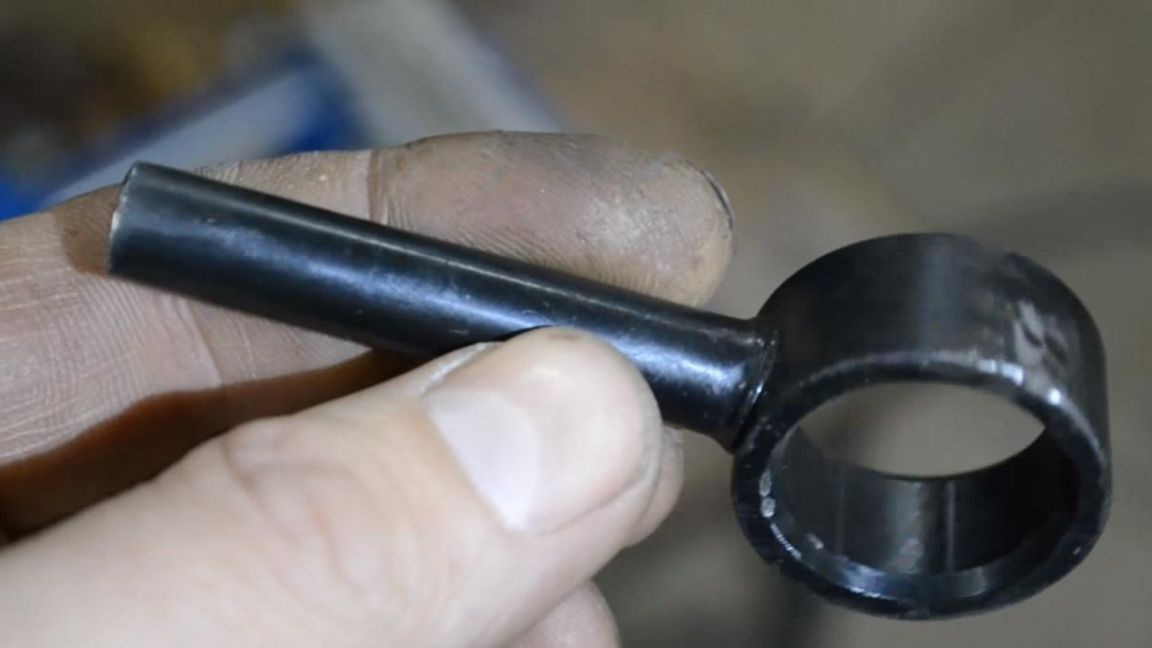
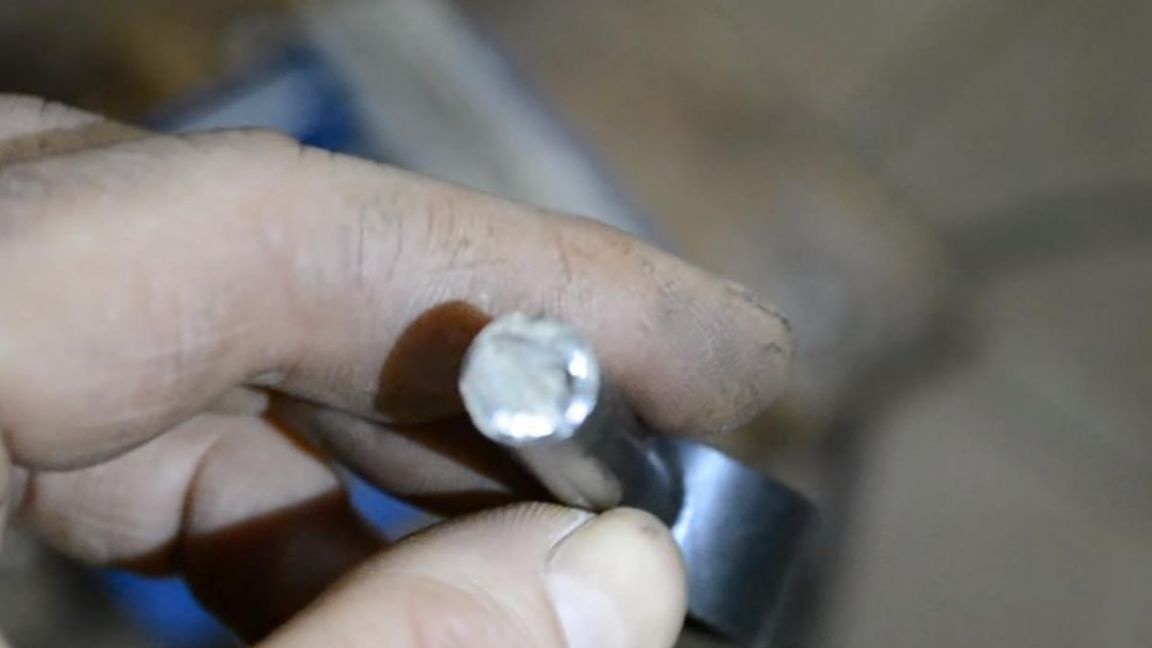
Now we remove the angle grinder to the side and begin to grind the rod with a strip of sandpaper, thereby removing the factory paint, since it can interfere with the normal operation of the tool and simply cannot fit into the landing hole.
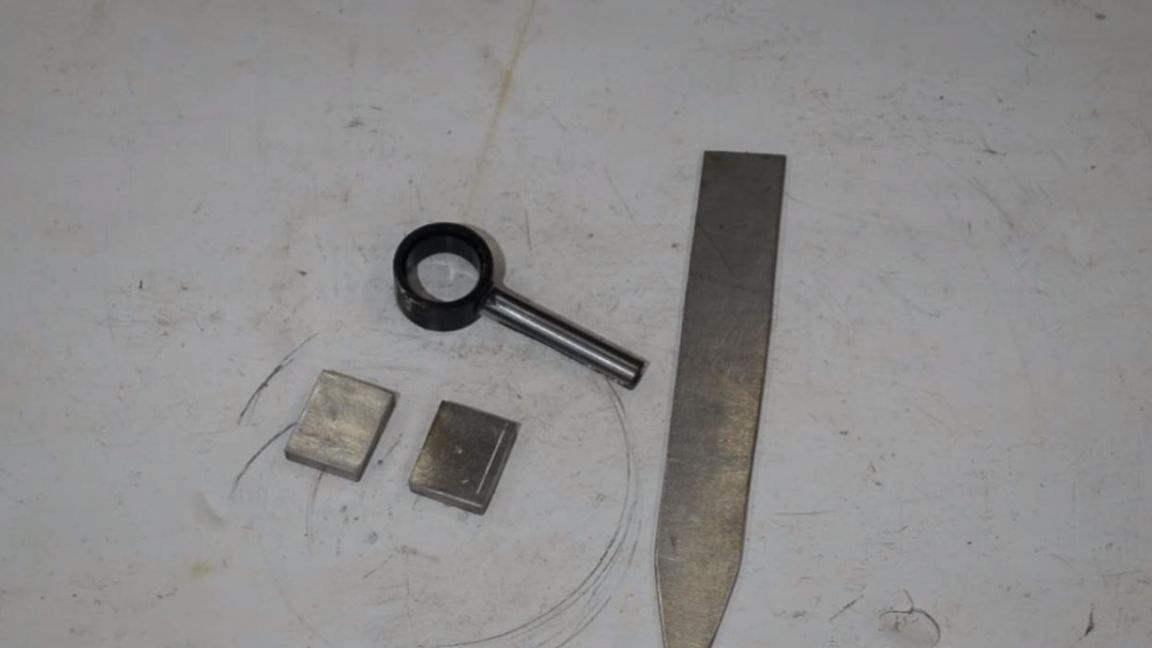
After grinding, such a detail is obtained.
Step Three
All blanks are made, now you need to assemble a clamp.
We apply the square of the stainless steel to the plate and, using a welding machine, grab them together, for reliability and to reduce the likelihood of skewing, you can clamp the part in a vice.
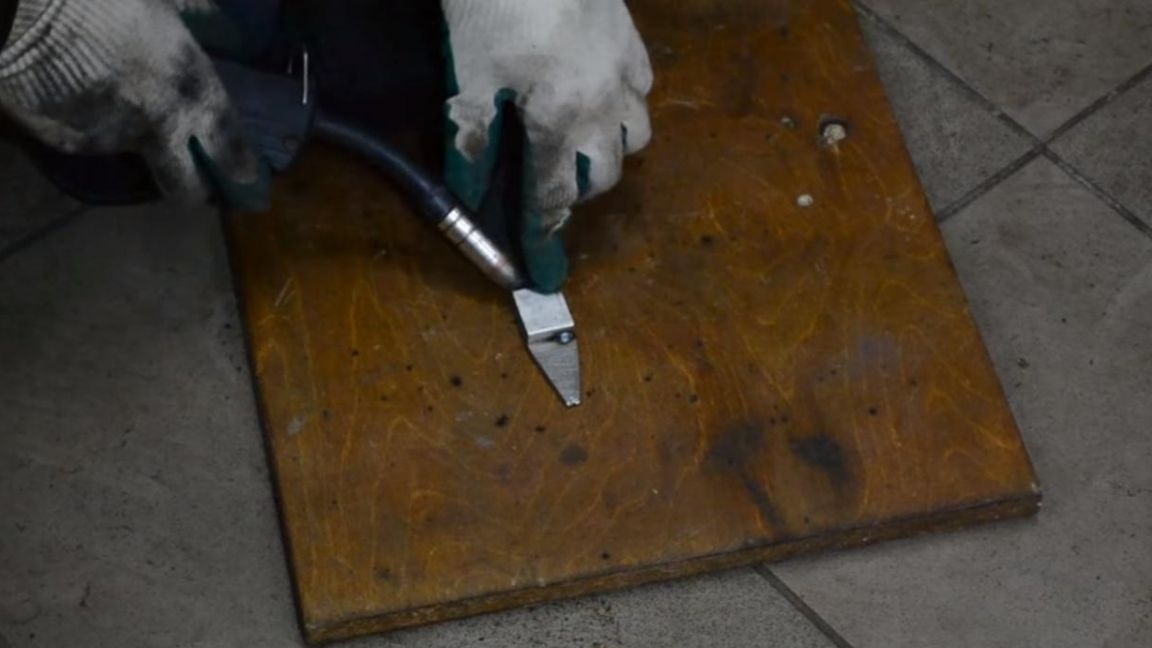
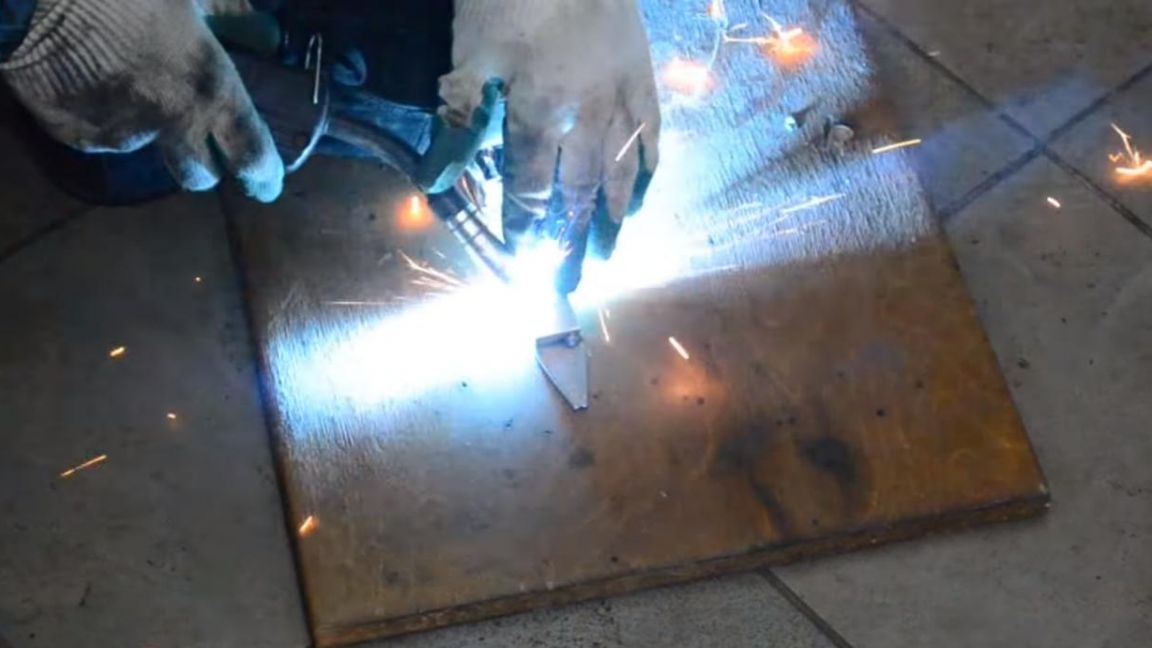
Next, we completely scald the joints, on the other hand, do the same. The welding seam should be lightly brushed with a wire brush after welding.
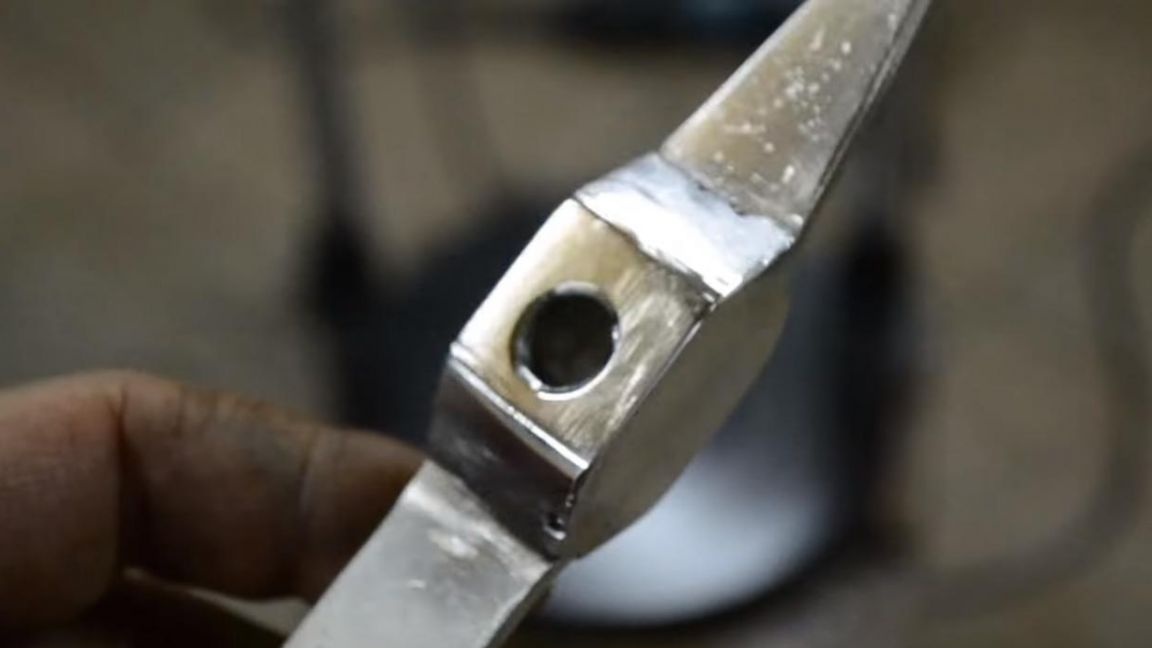
Then we mark the center on a square plate and make the punch a light blow of the hammer on the core, then in this place we drill a hole through with a drilling machine with a 10 mm diameter metal drill installed in it.
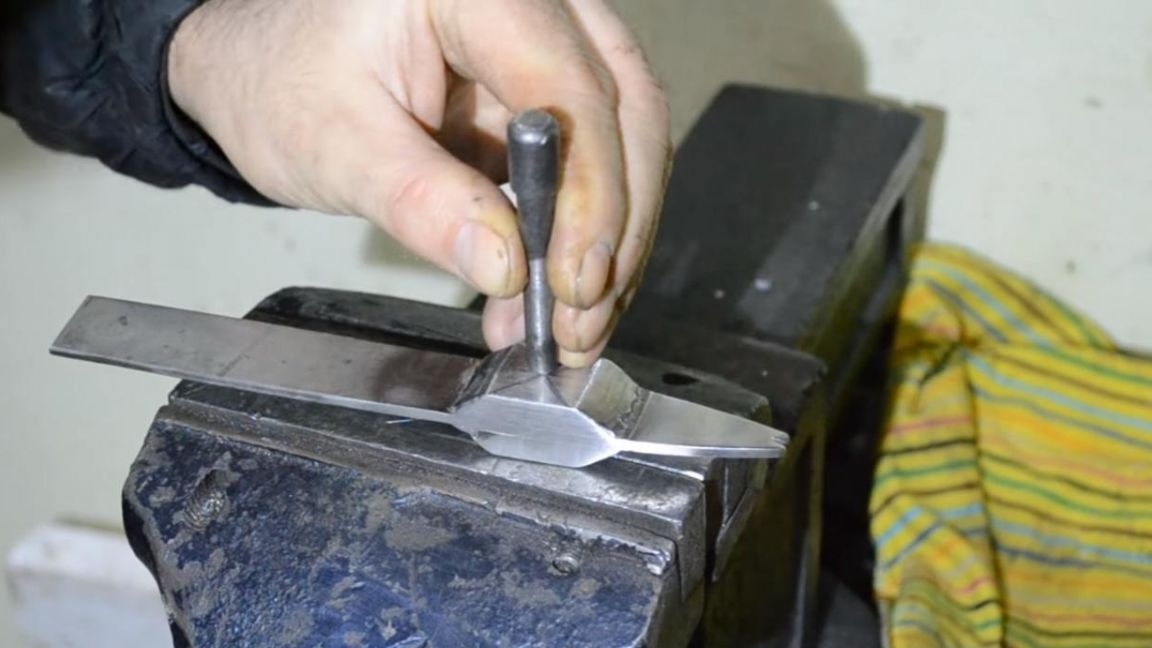
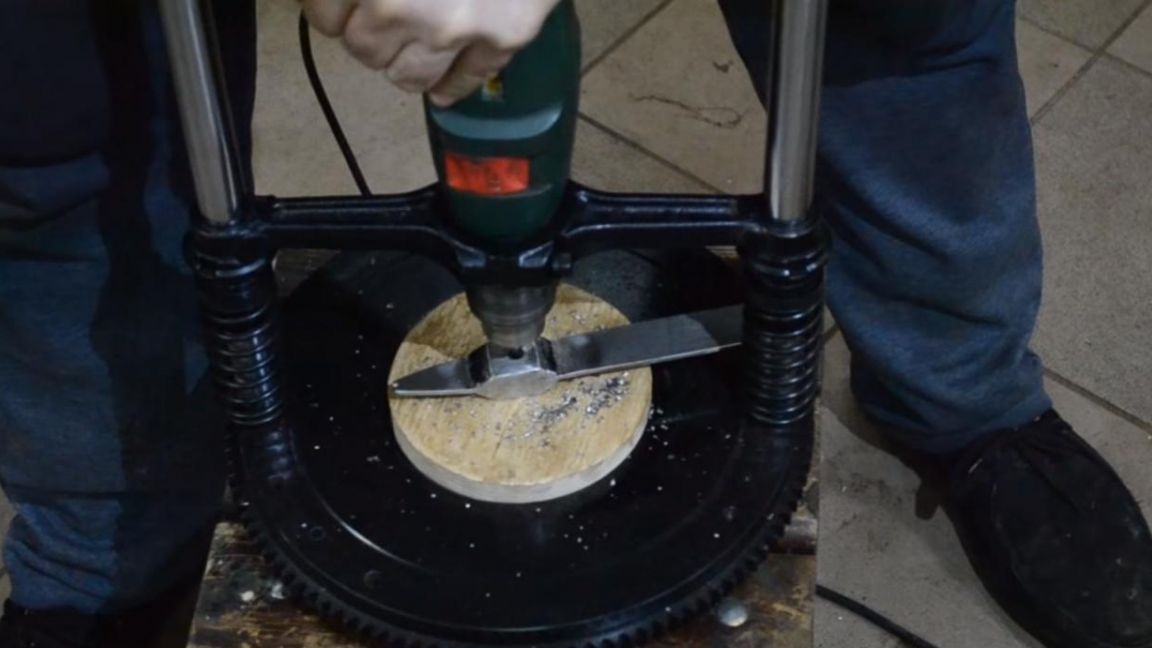
The diameter of the drill is selected so that it stabilizes the rod of the stabilizer, but without large backlash. After drilling, make a small chamfer at the edges of the hole and check how the stem enters there, if necessary, modify the hole.
Step Four
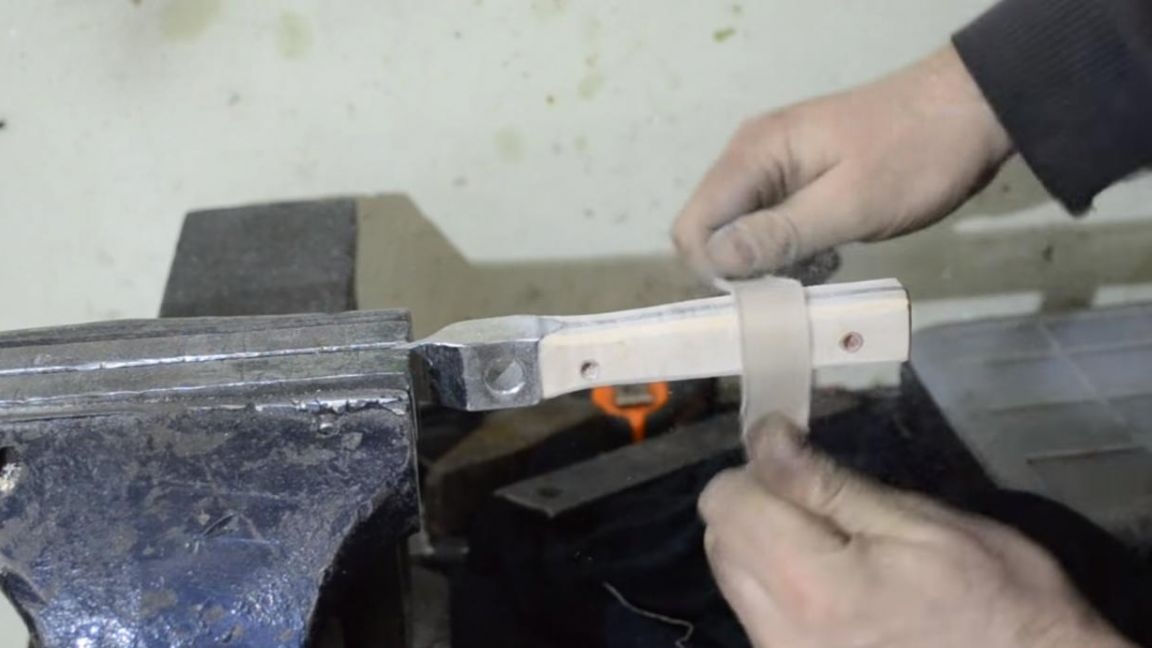
It's time to make a comfortable tool handle. We grind the handle out of a birch beam and rivet it on a stainless steel plate using tubes. Next, we grind the handle to a smooth state, for this we take first a large emery paper and then gradually move on to a finer-grained one.
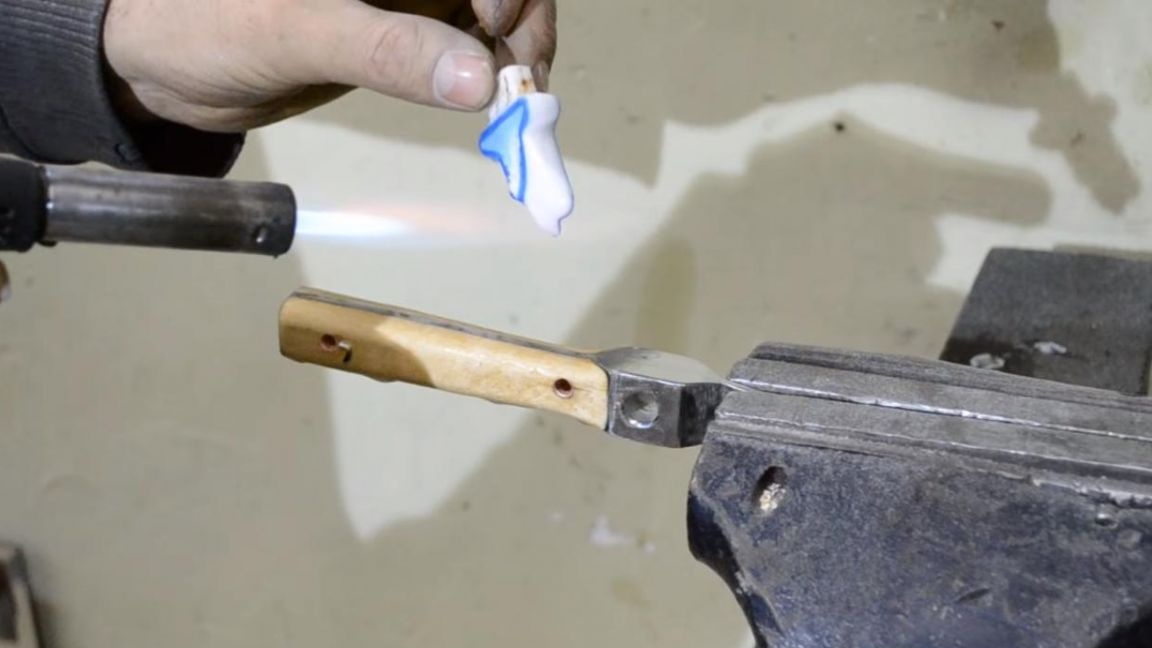
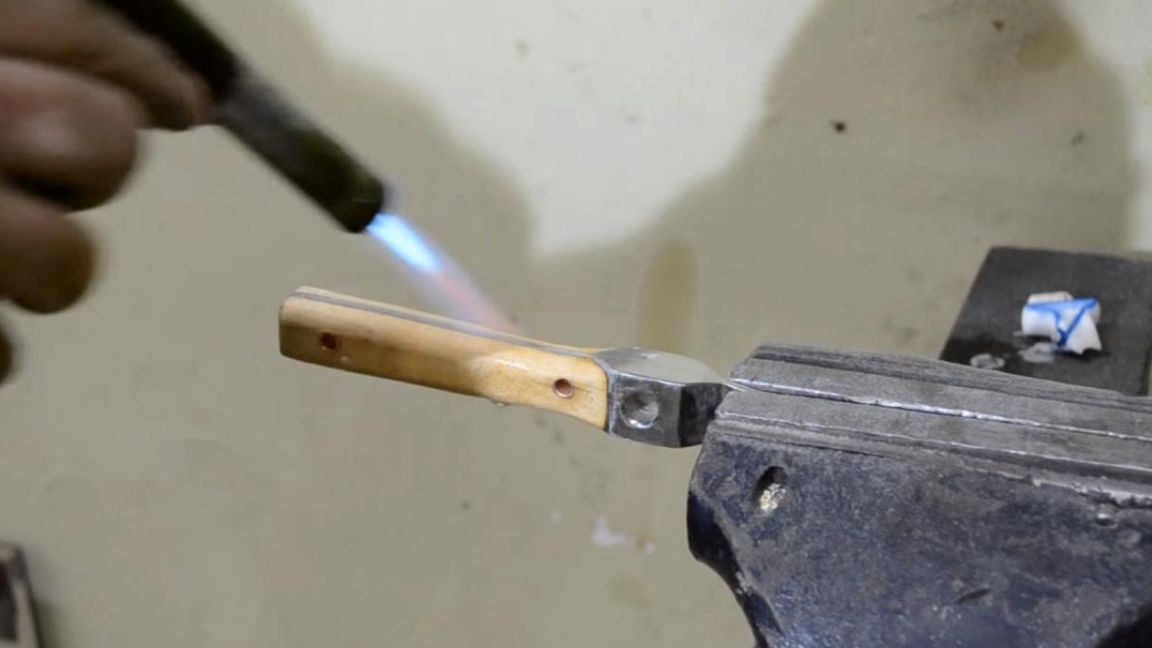
After grinding, we wipe the handle of wood dust and melt the candle with a gas burner so that molten wax drips onto the handle from it. Soak the handle well with wax and leave to dry, after which we wipe the excess lightly.
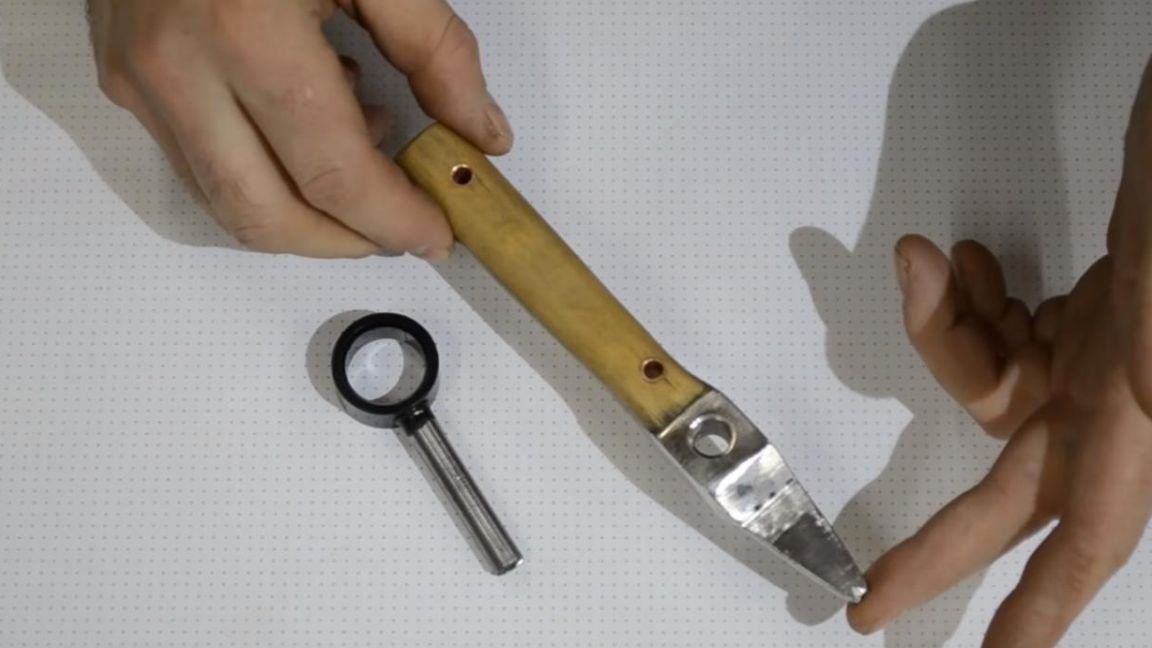
Step Five
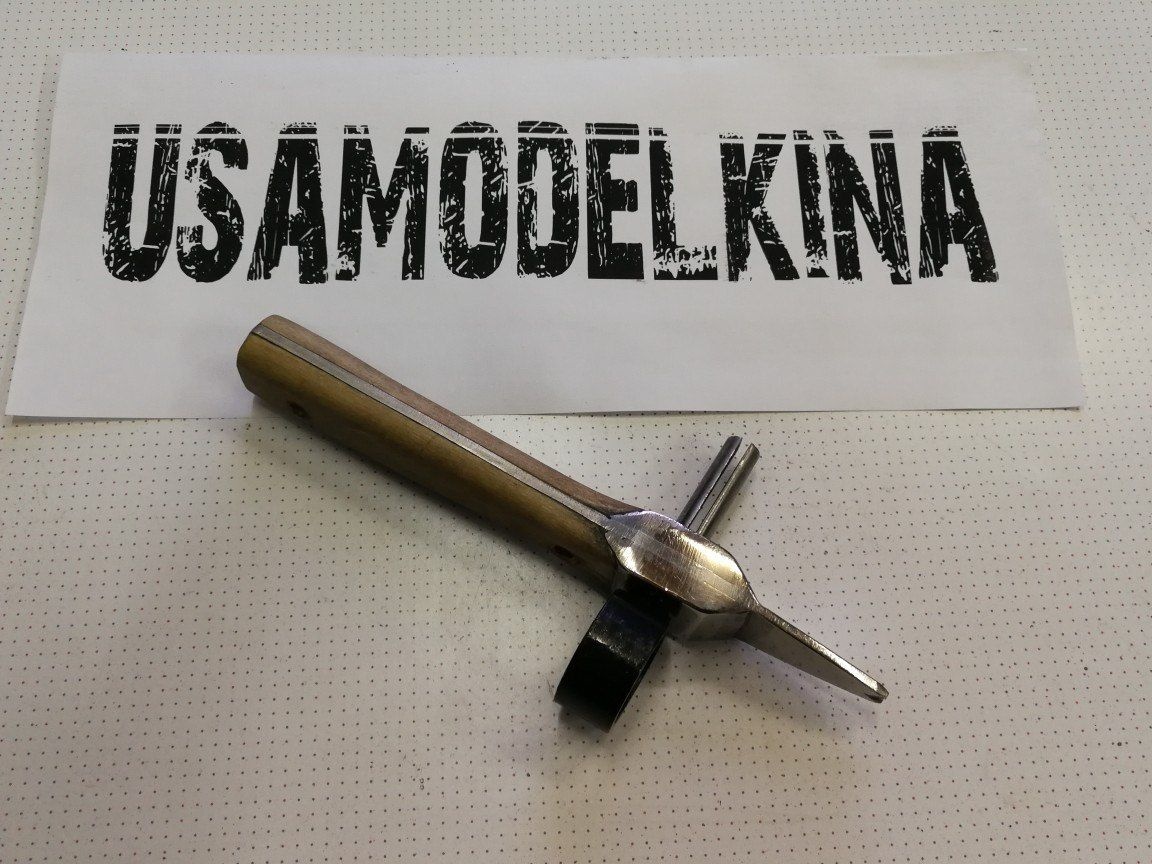
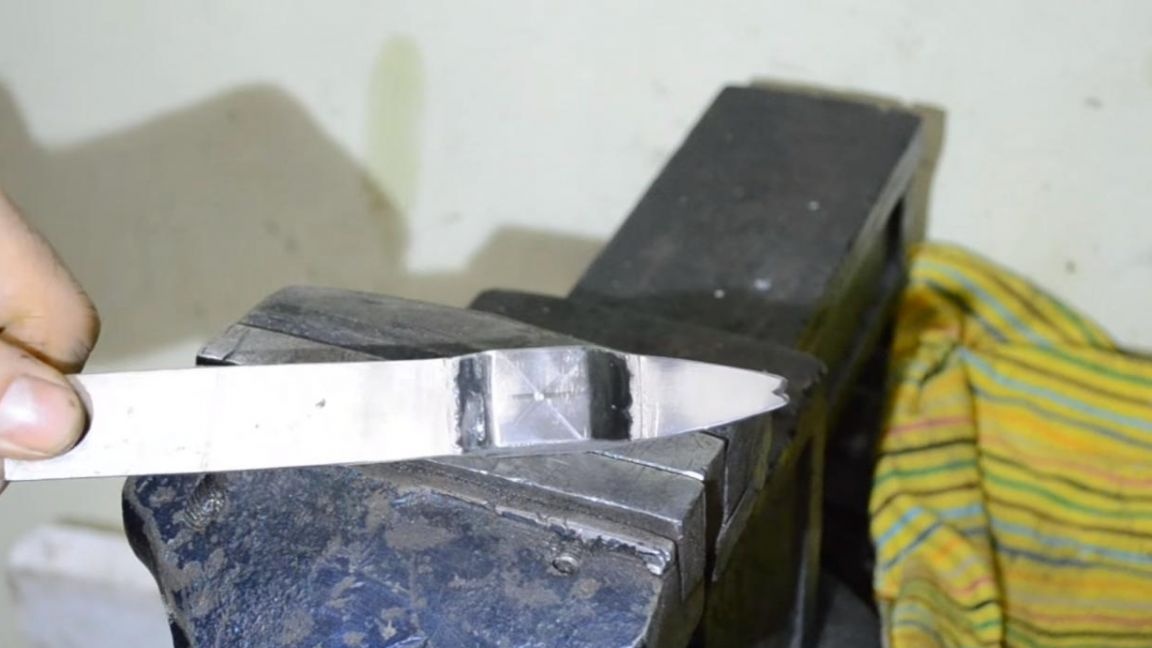
At this stage, a homemade tool can be considered ready, now it needs to be checked in real conditions, the length of the clamp was 180 mm, and the thickness is 18 mm. The cut width in the rod is 2.5 mm, for a thicker wire we do more.
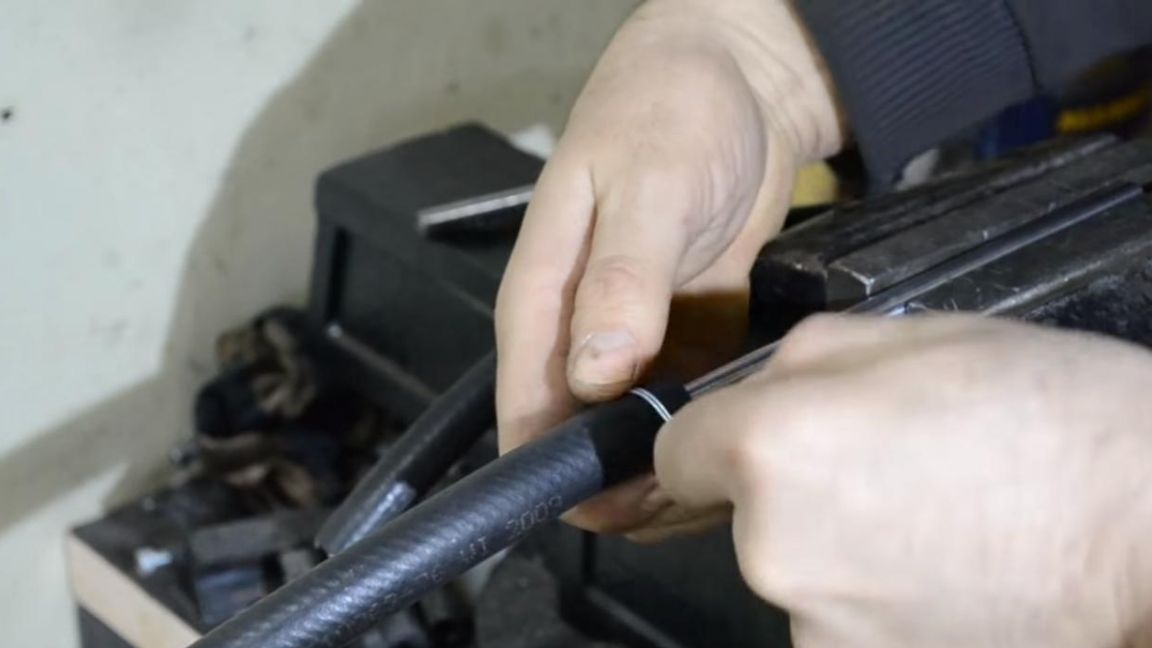
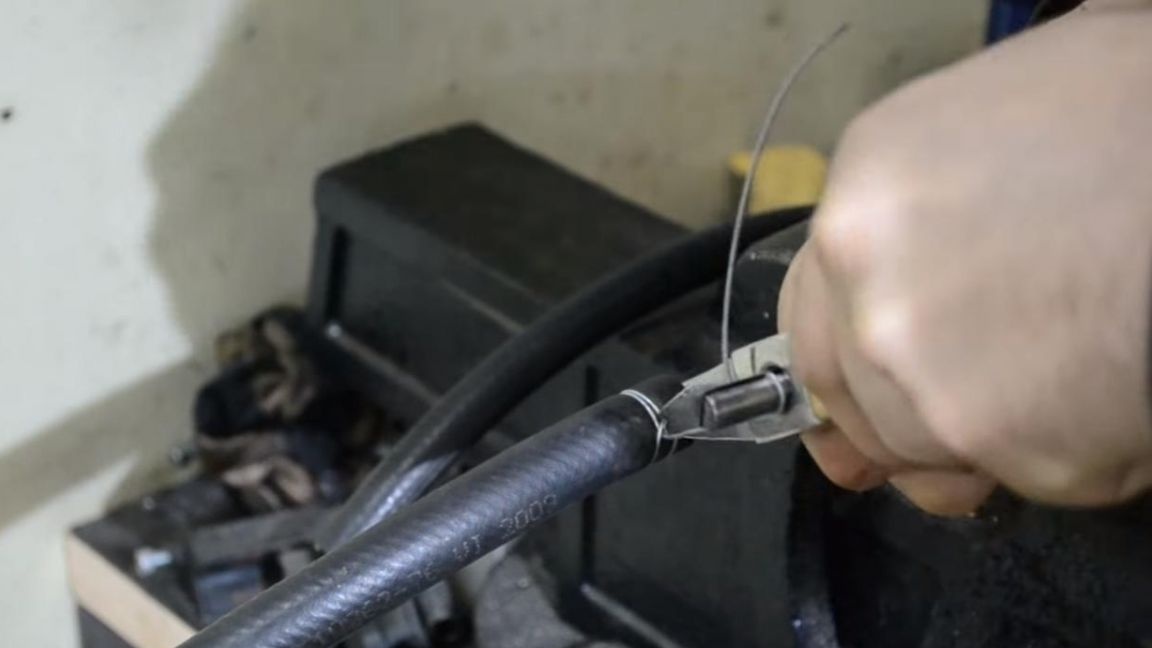
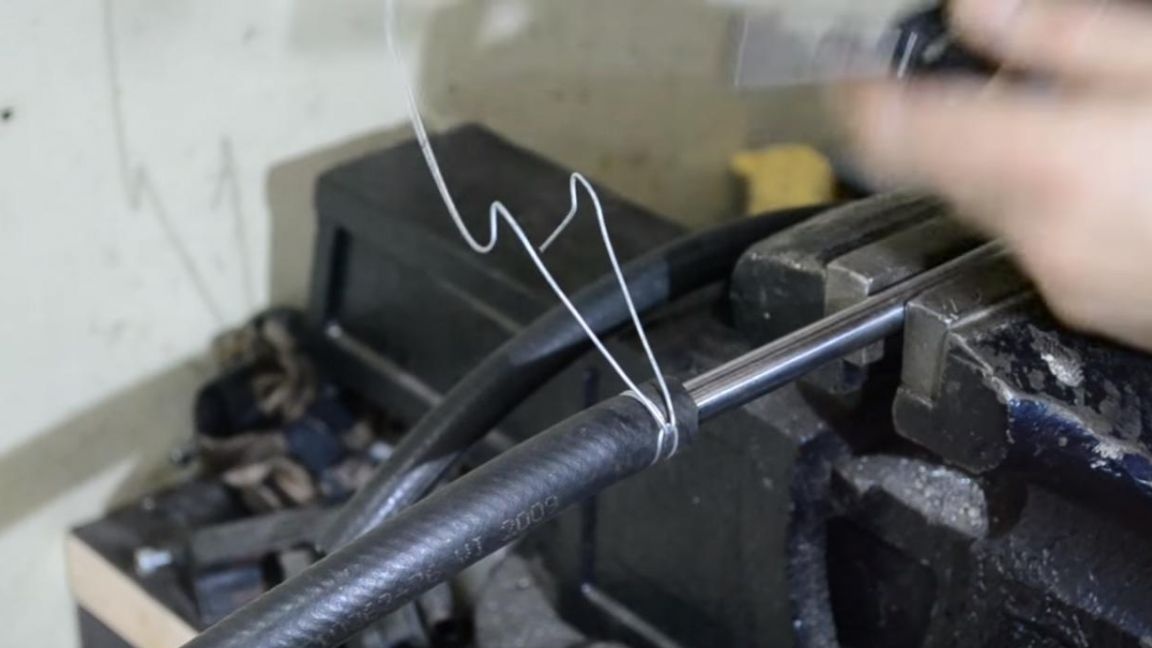
Now we’ll check the homemade work, first you need to make the clamp itself, for this you will need a wire and a hose with a tube, on which he will dress. We fix the tube in a vice, then we put a hose on it.
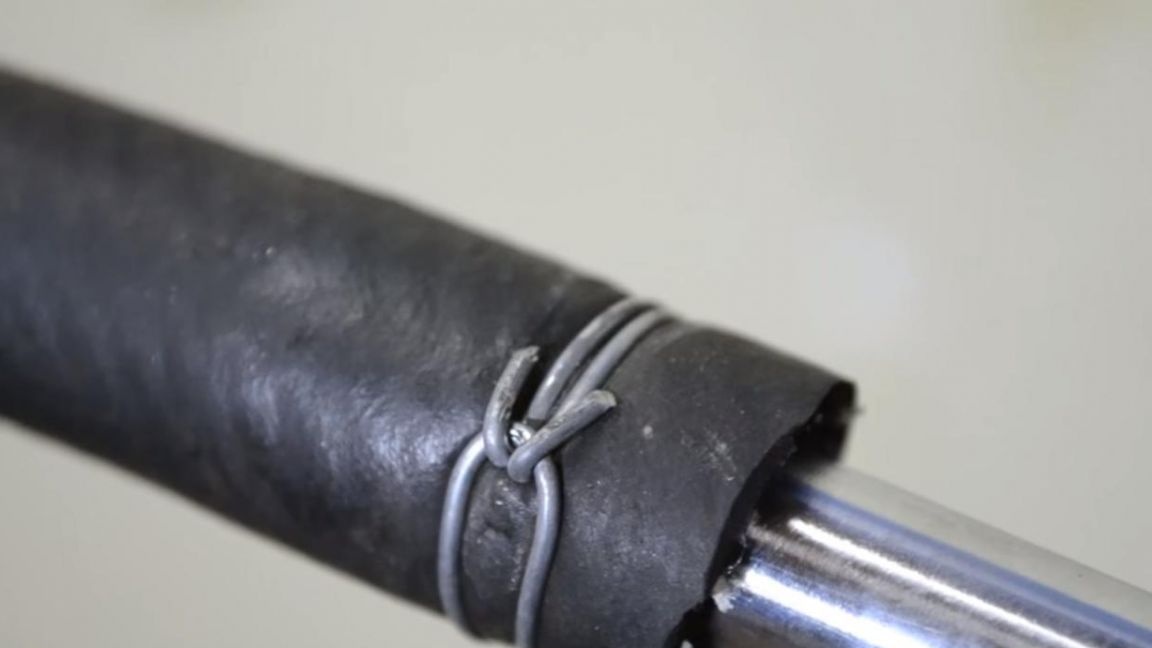
We take the wire and make a revolution around the hose, retreating a little and make another revolution, this should work, if you need a double clamp, then make two loops.

This workpiece is folded in half to get a double ring of wire and get such a clamp.
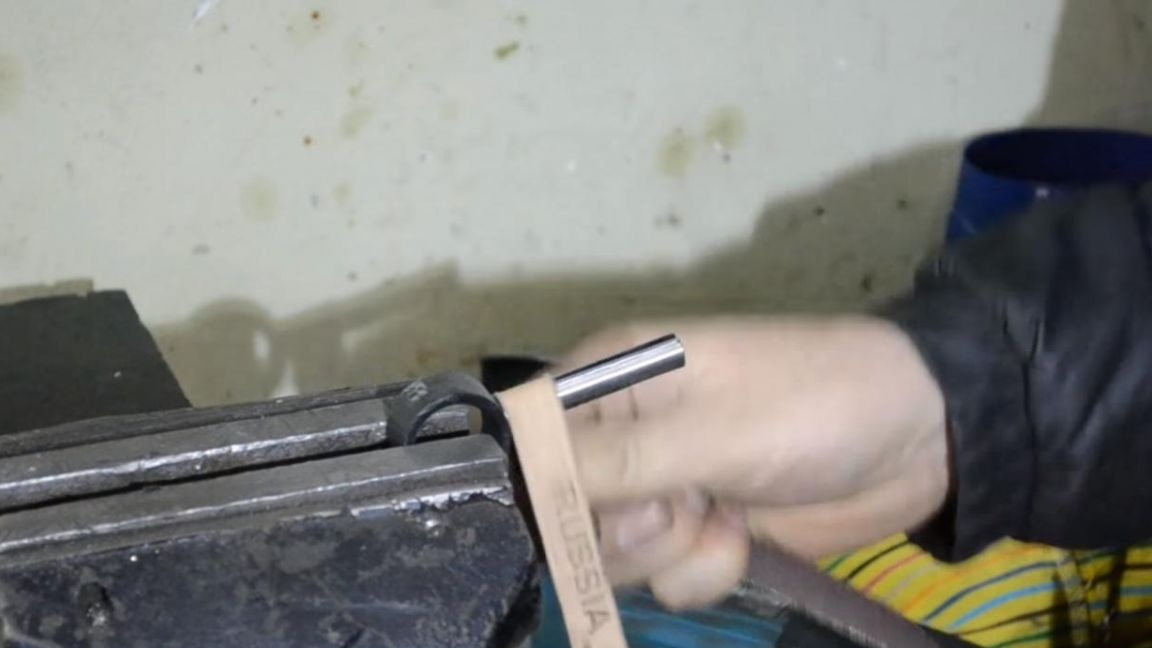
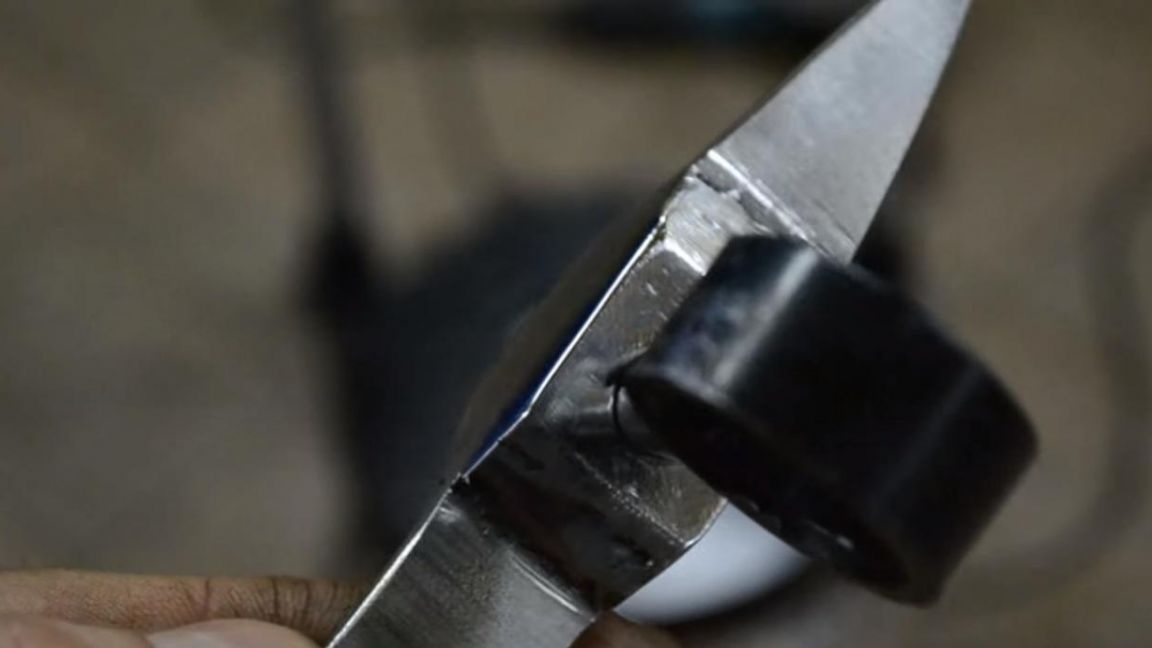
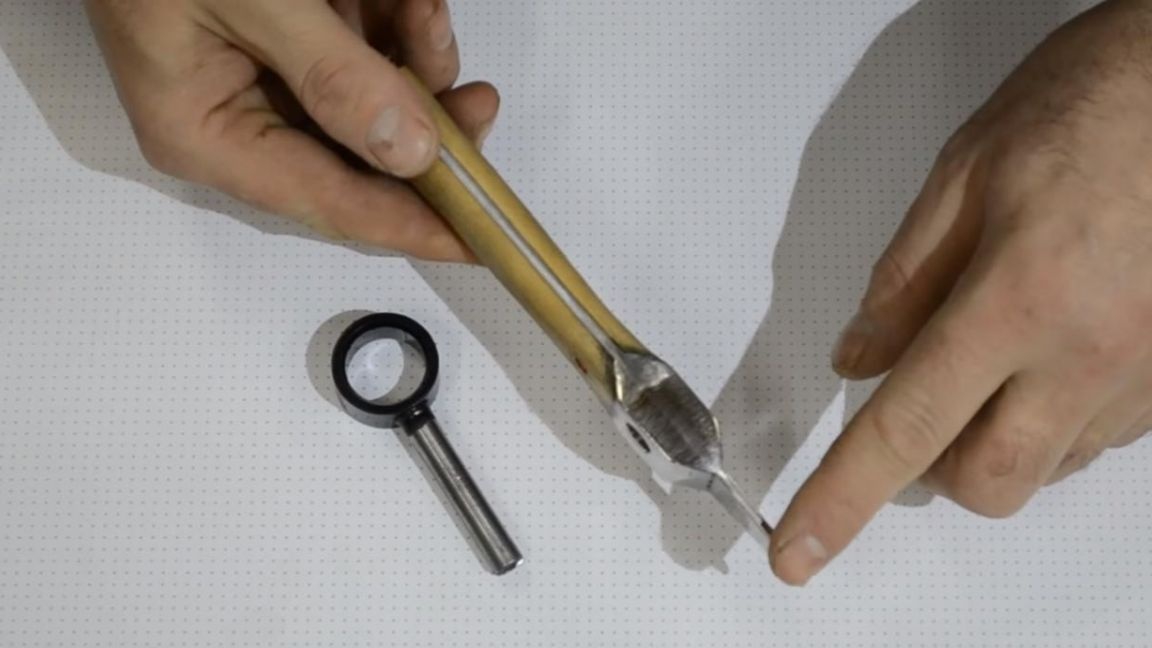
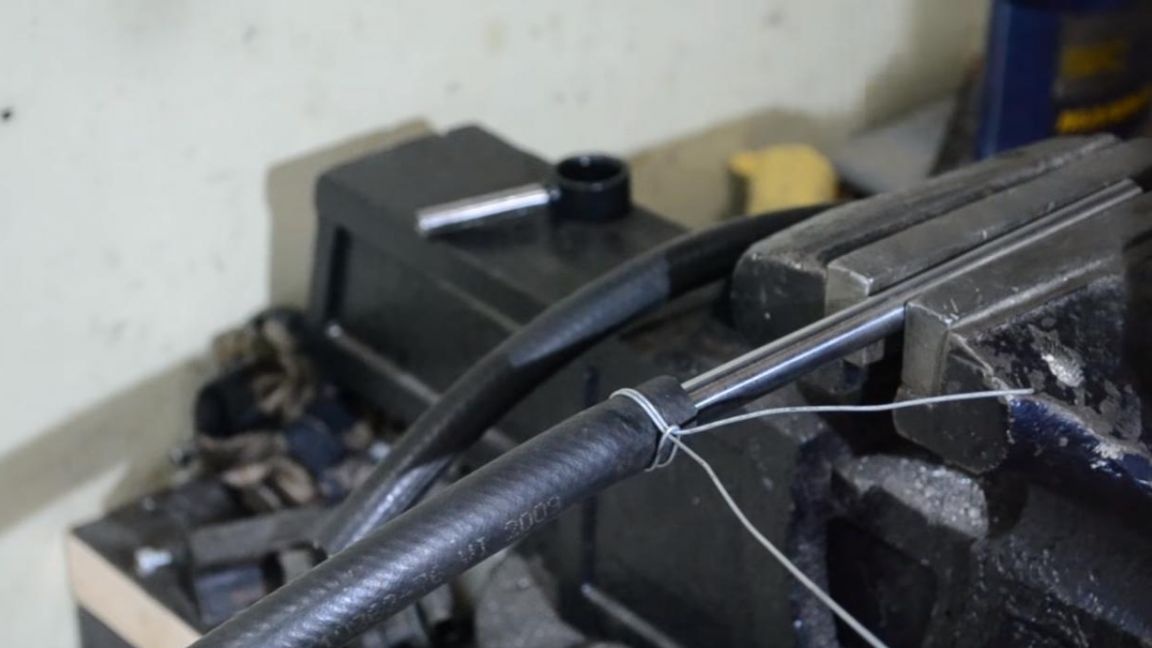
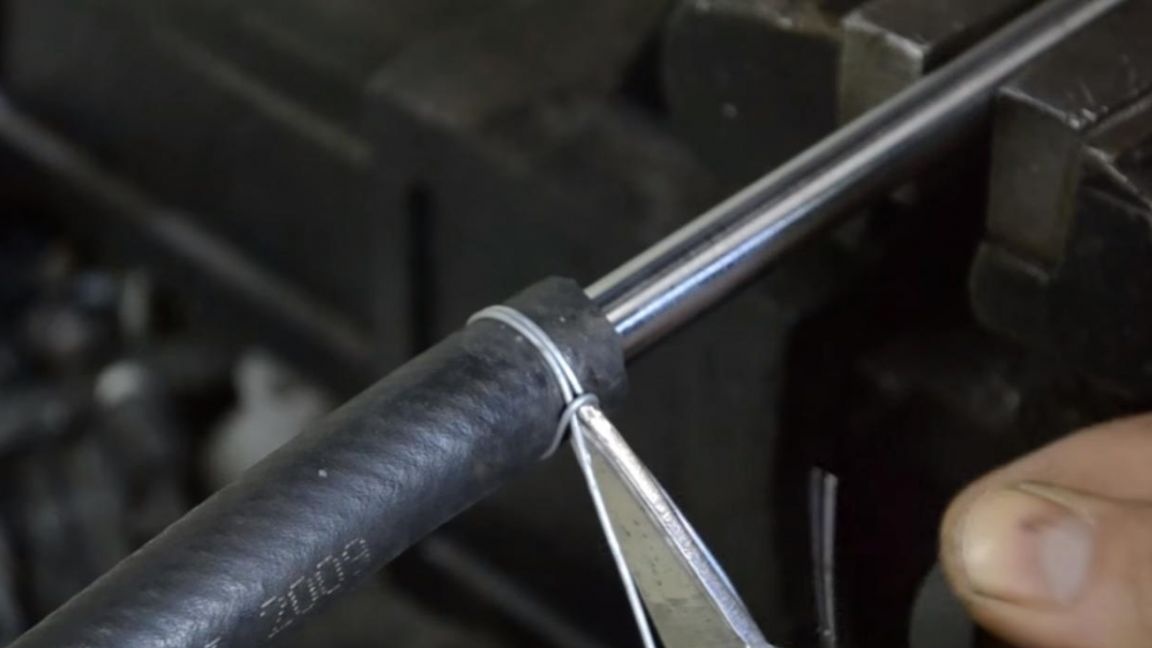
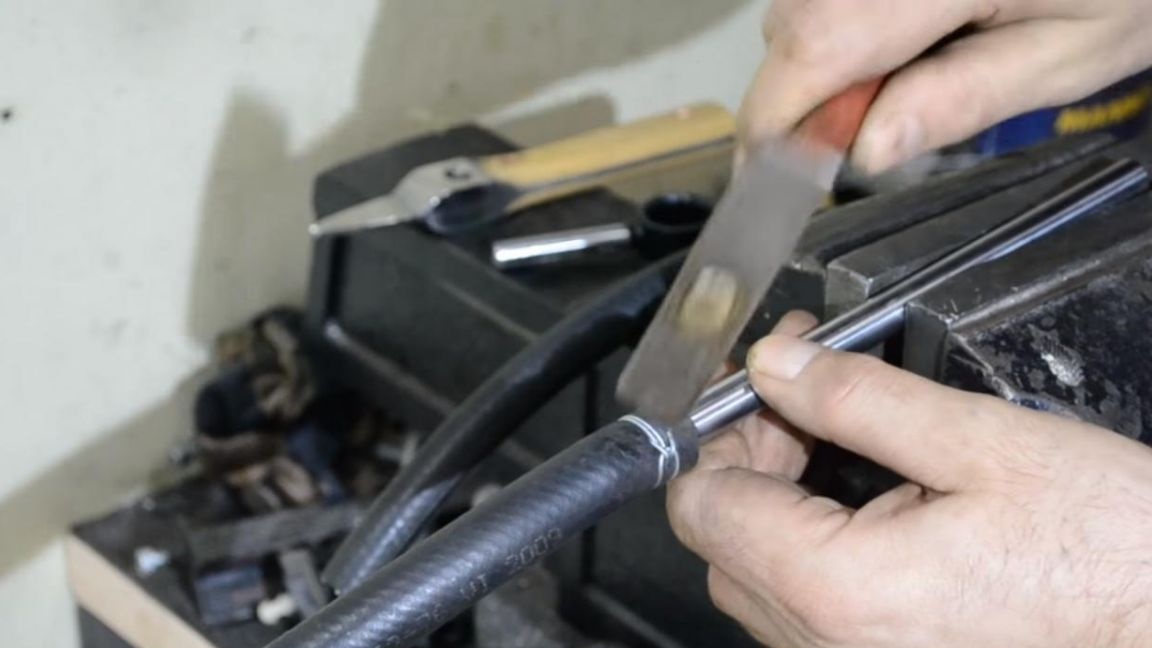
We put it on the hose that you want to squeeze, slightly tighten the clamp manually, place the ends of the wire on the sides and install the clamp with a special cut in the middle on the wire, and through the ends of the wire we thread the rod with a slot.
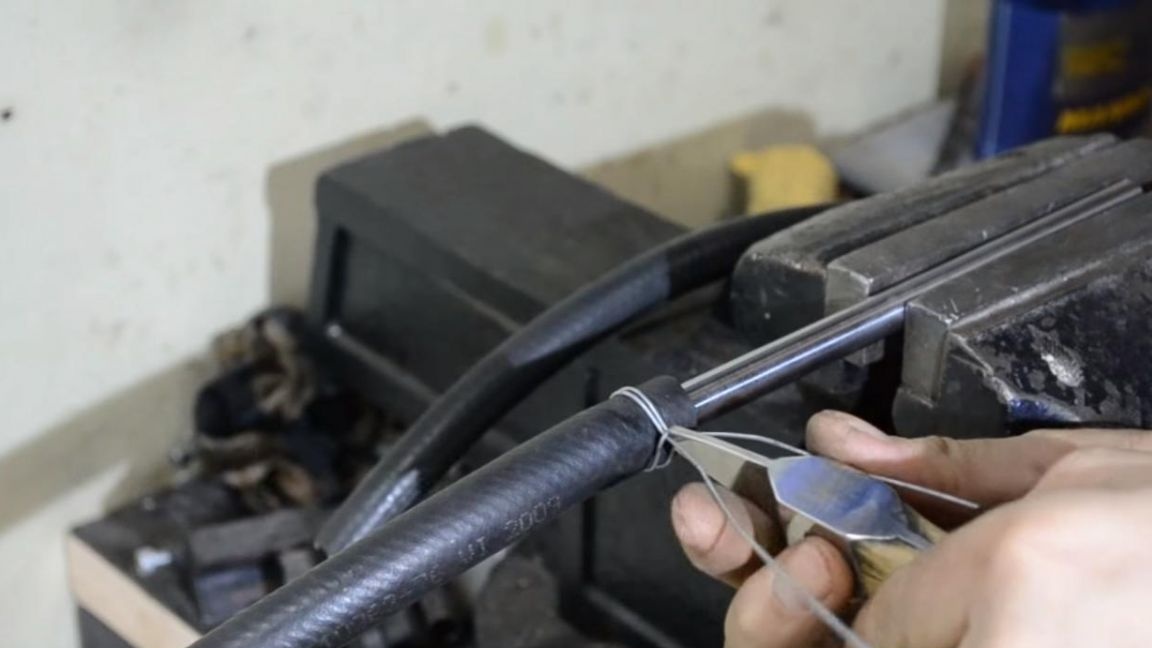
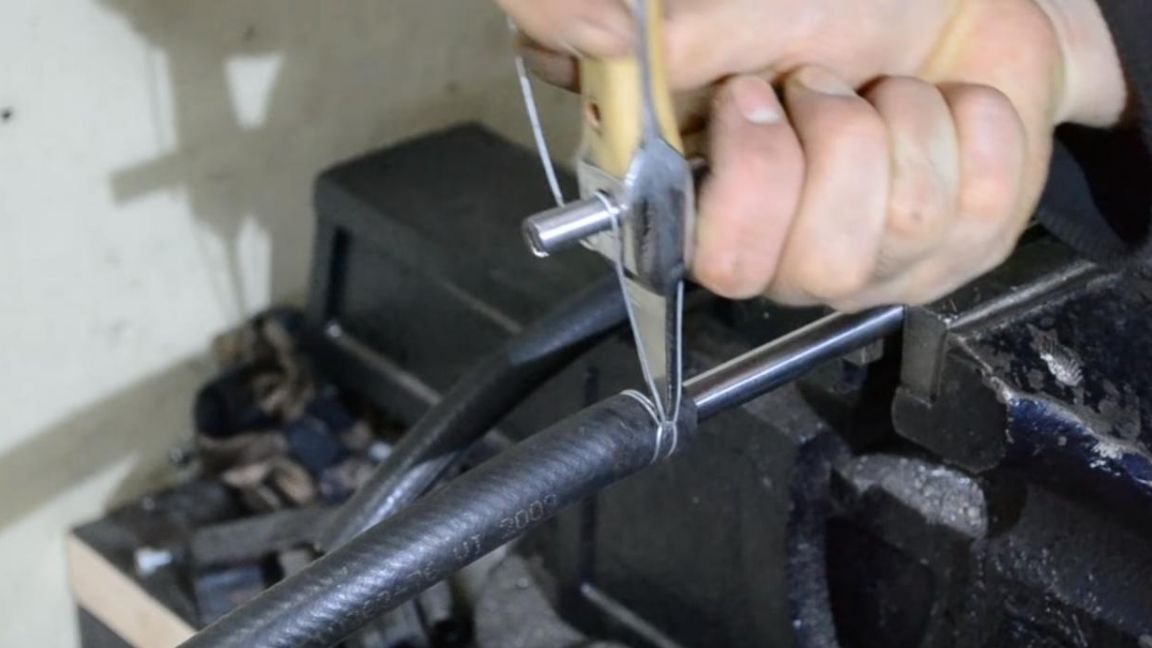
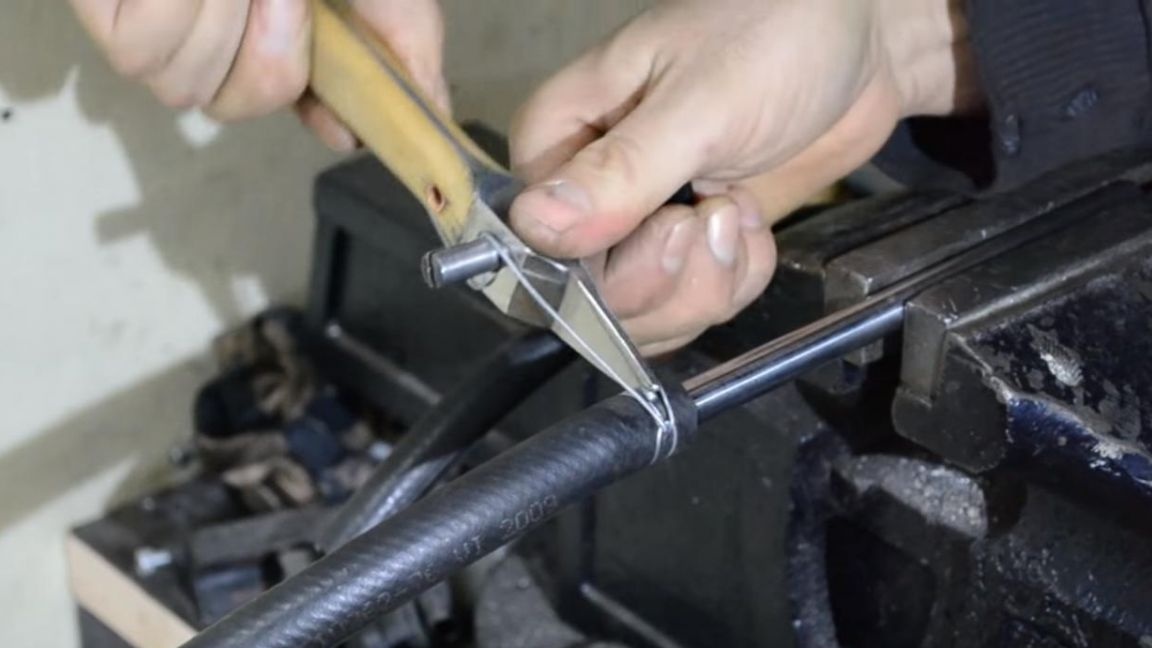
We rest the tip against the wire and begin tightening by rotating the rod in any direction, if you need to achieve a greater tightening force, you can insert an amplifier, for example, a pipe, into the rod.
Next, gradually start the clamp up, when we consider the tension sufficient and pull the rod out of the tool, freeing the clamp from the wire.
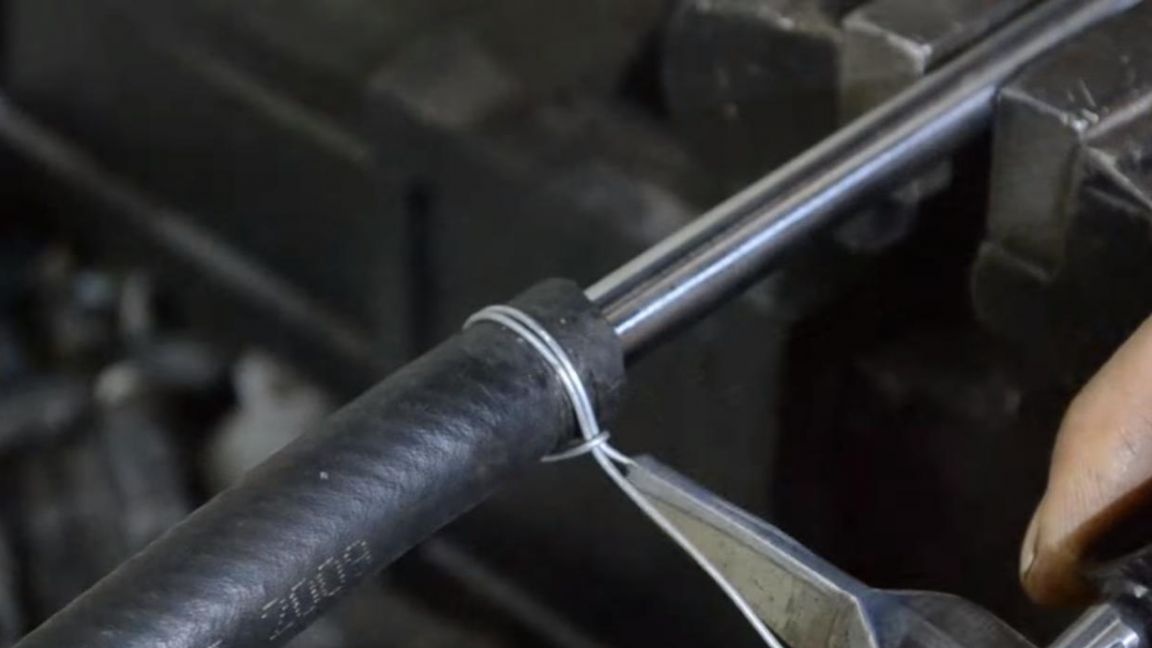
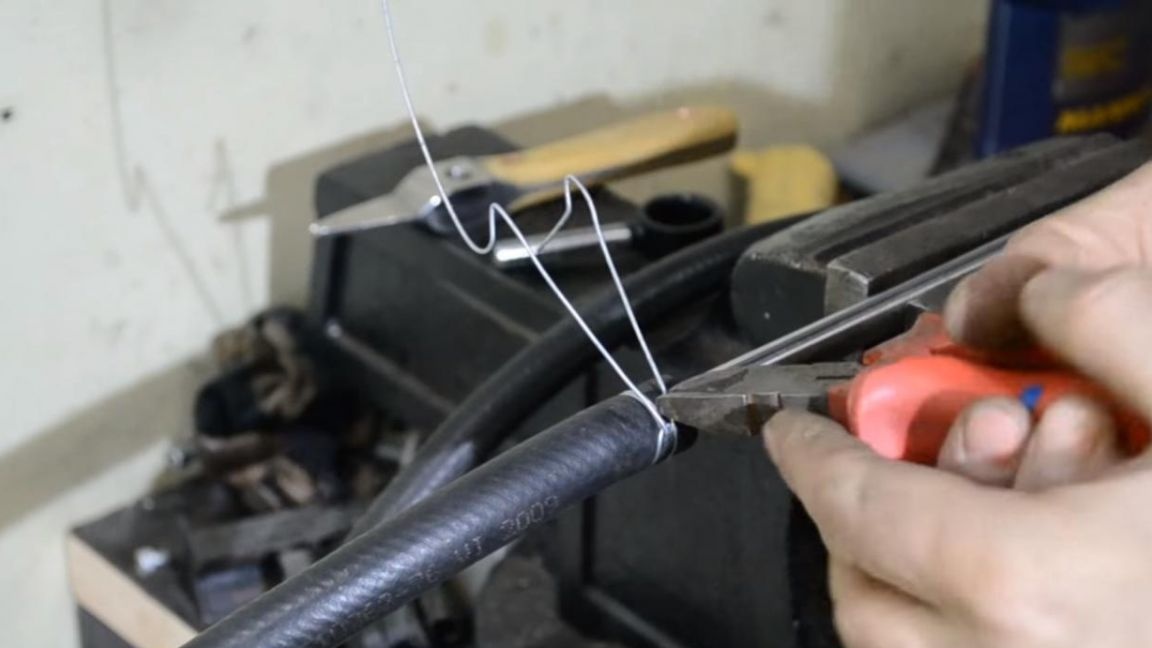
Now you can remove the remains of the wire using side cutters, the main thing is not to touch the hose itself, leave small “tails” of the wire, otherwise the clamp will not hold, they are bent with a light blow of the hammer.
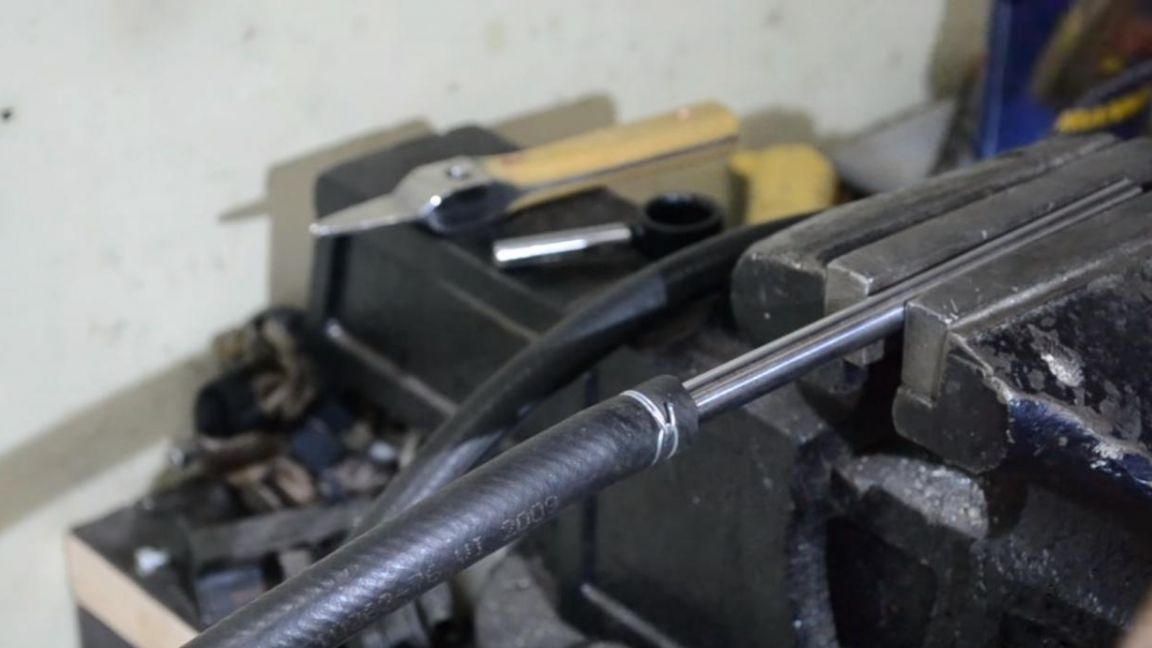
As a result, we got such a collar made with the help of a home-made clamp tool, which is useful on the farm when you need to tighten something, but you don’t have the right clamp at hand.
That's all for me, thank you all for your attention and creative success.